Common snese (which ain’t so common in the Army) would say use existin mounts - so I’d say this is a very likely location. Cool add if you do it.
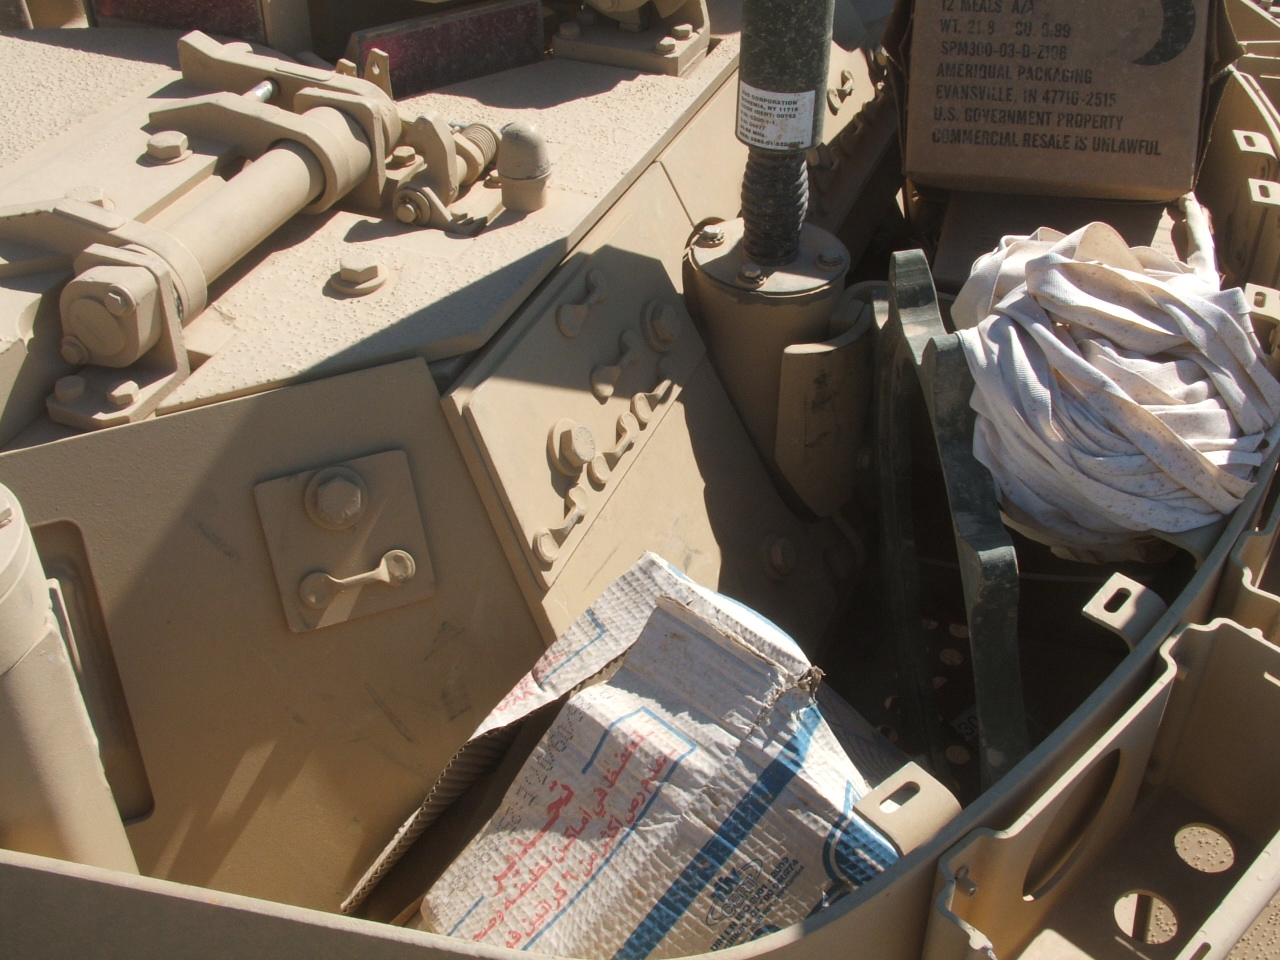
3 Likes
I was thinking of that same mount but the Warlock is off center behind the commander’s hatch but more to the right. The rear of the turret is angled so I am only guessing it would be mounted to the inside of the turret basket. I have the Panda 6x6 JERRV with the Warlock but not using it on that kit so thinking of using it on one of my Bradley builds.
Maybe it uses a similar mount as on the Cougar?
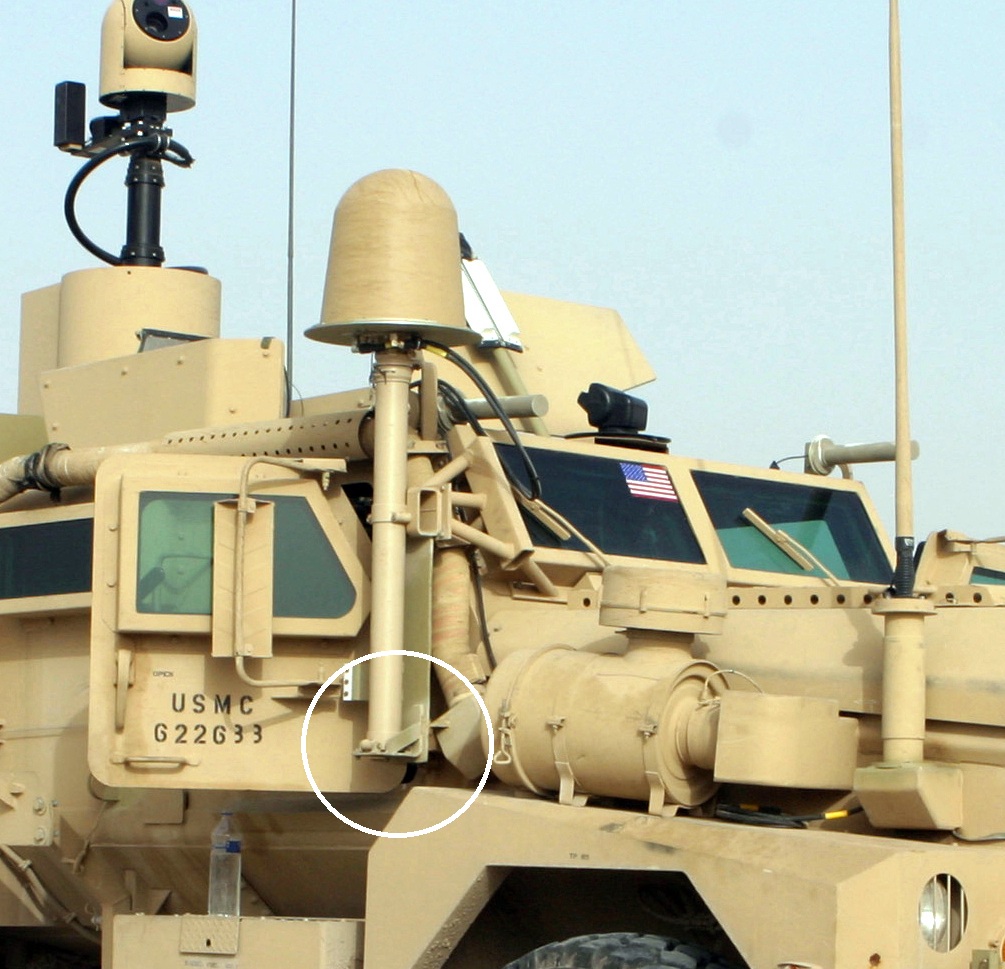
2 Likes
You are right - that does not appear to be in line with the mount I show. If you can’t get a definitive answer, I’d fabricate something that at least uses the bolt locations for the applique armor. That would make sense. If you can’t find any good photos - have it protrude from where you thinks it’s coming from, hide entire base with boxes, tarps, etc, like in the photo. Problem solved.
Edit: And camo netting! It hides a lot.
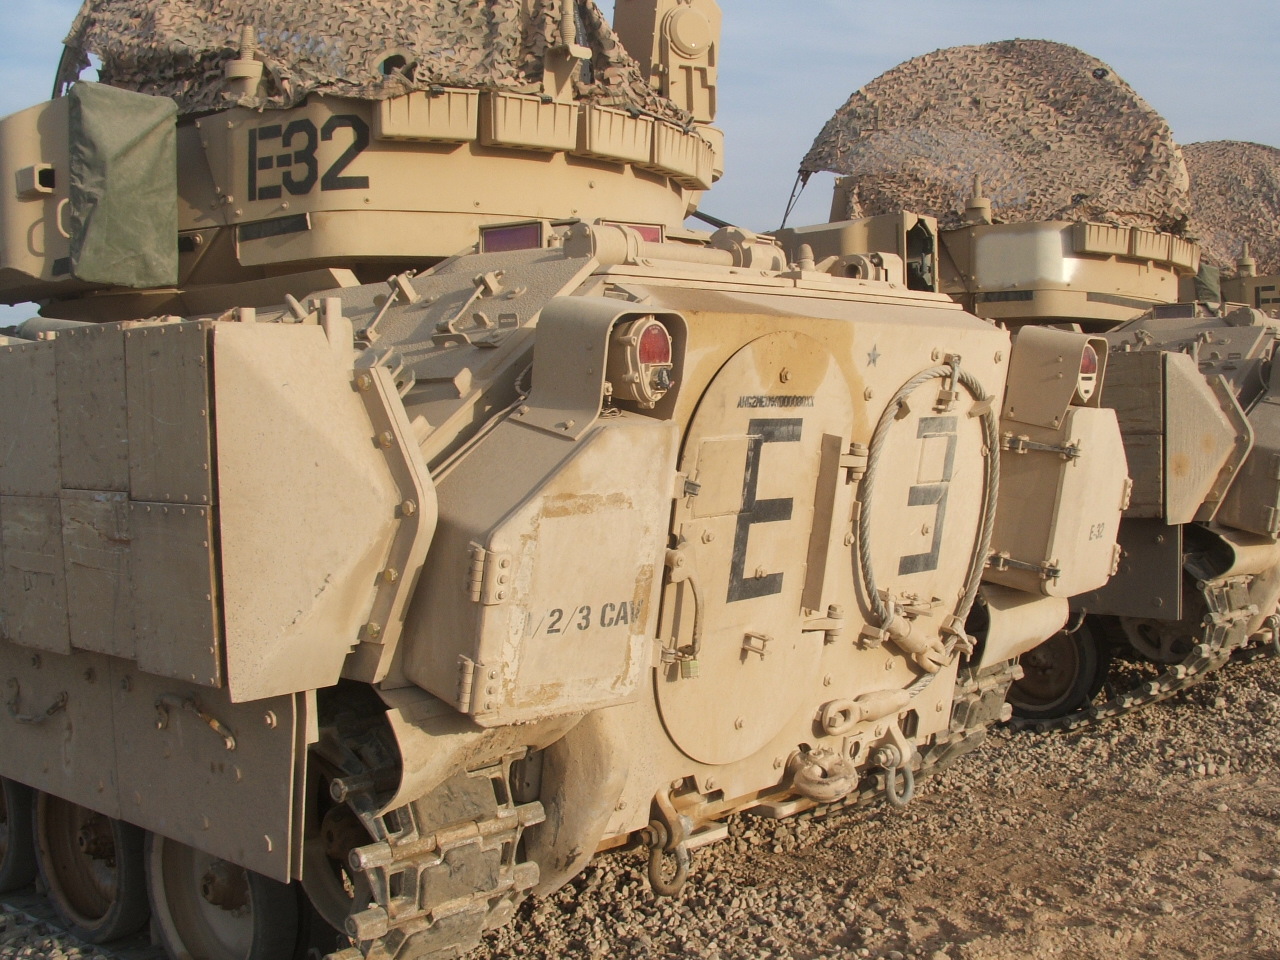
4 Likes
Thanks! Great idea using the existing bolt locations. I will do that with a makeshift mount and cover it as you said. I will probably use some MRE boxes.
Another one I can’t find the way it is mounted as it is on the opposite side of the turret and I can only find the one photo. Not a Bradley but a USMC M1A1 this time. It has the Boomerang sniper detection system mounted on it. From the angle of the photo, it looks like it is mounted on the side of the original bustle rack. I already have the Live Resin Boomerang and the Voyager exhaust snorkel so I am good to go but no idea how the Boomerang is mounted though. Notice the loader’s blast panels but missing the M240. As you probably already figured out, I like unique vehicles, not the usual cookie cutter ones.

I found the USMC M1A1 Boomerang photo here.
3 Likes
Got some more work done on the upper hull for the M3A2. I added the armored plates and the Meng shot trap, exhaust and M3 specific hatch cover.

5 Likes
Remember the old hand warmers that used lighter fluid to power them?
1 Like
Hand warmers in Germany came in frilly containers of different sizes. I remember 65C to be quite adequate for the job.
1 Like
1 Like
Got the Warlock test fitted. It is only stuck on with Silly Putty for now. This particular Tamiya M2A2 ODS kit was already primed last year. It started as a different version I was doing but not wanting to waste the Meng parts, I redid it as this version you see now. Still a lot more do do before I am ready to prime it again.


5 Likes
Might still have 1 of those around somewhere. Big hole so you could light your smokes. Wayne
1 Like
Did a little more work on the M3A2 ODS. Got the Meng TOW launcher assembled. The upper and lower sections of the TOW launcher itself are only snapped together as I need to paint the inside before gluing together. It is also only dry fitted to the turret. The turret and hull still need a lot more work.

6 Likes
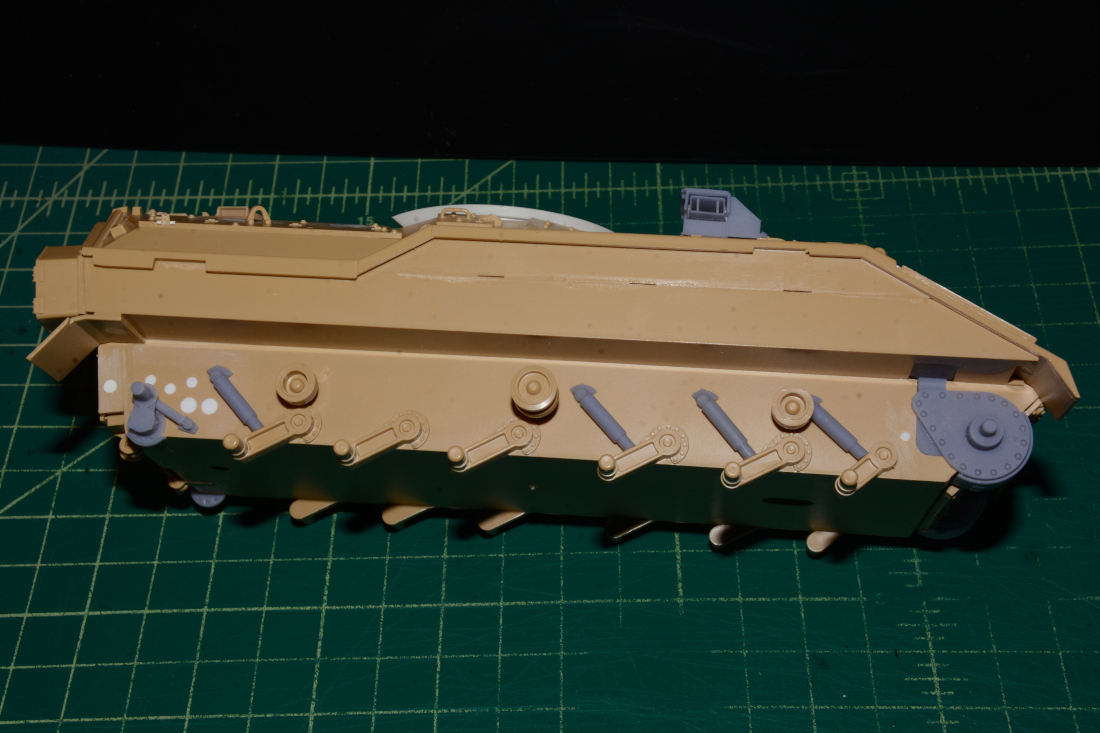
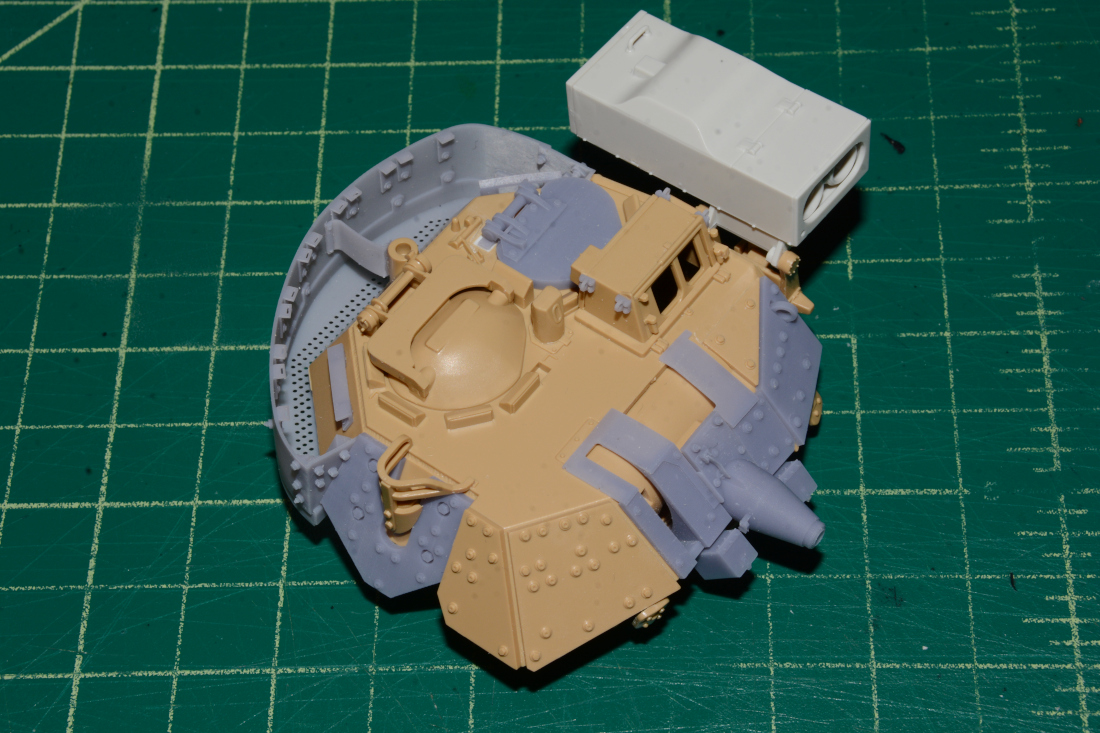

His printed parts are a must have for those older kits.
3 Likes
do you have a link to his site?
2 Likes
He sells them on Ebay.
https://www.ebay.com/sch/i.html?item=256686410721&rt=nc&_trksid=p4429486.m3561.l170197&_ssn=jdduquet
2 Likes
Looking great. Jacques’ parts are very nice. A must have to update the Tamiya Bradleys.
3 Likes
Thanks!
1 Like
You will want to take the printing supports out of the exhaust. Two in front, two deeper inside. Otherwise they look great, good job.
4 Likes
Thanks! I completely missed them. Will do that later today.
1 Like
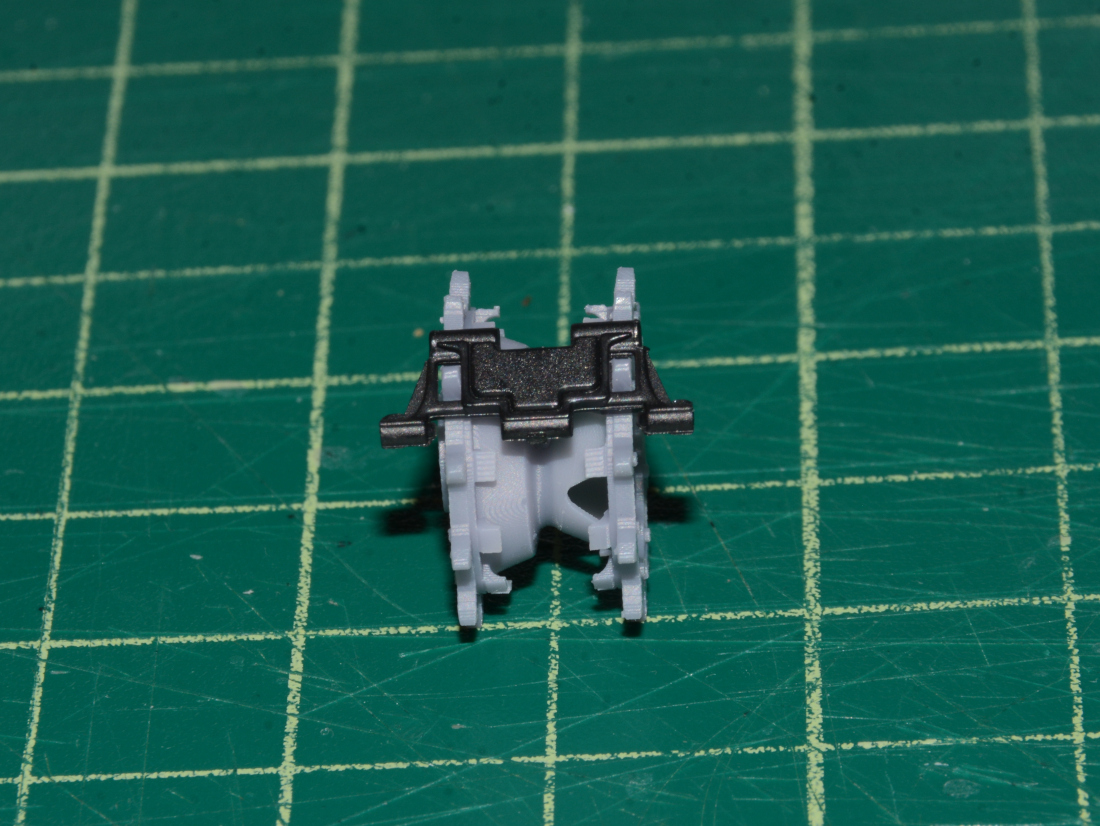
Today I decided to try to work on the tracks for the different Tamiya builds I am doing. I am using Hobby Boss tracks for the M3A2 ODS from OIF and Meng tracks for the M2A2 ODS with ERA. I am also using Jacques D’s 3D printed sprockets.
Meng tracks on the left, Jacques’ sprocket in the middle and Hobby Boss tracks on the right.
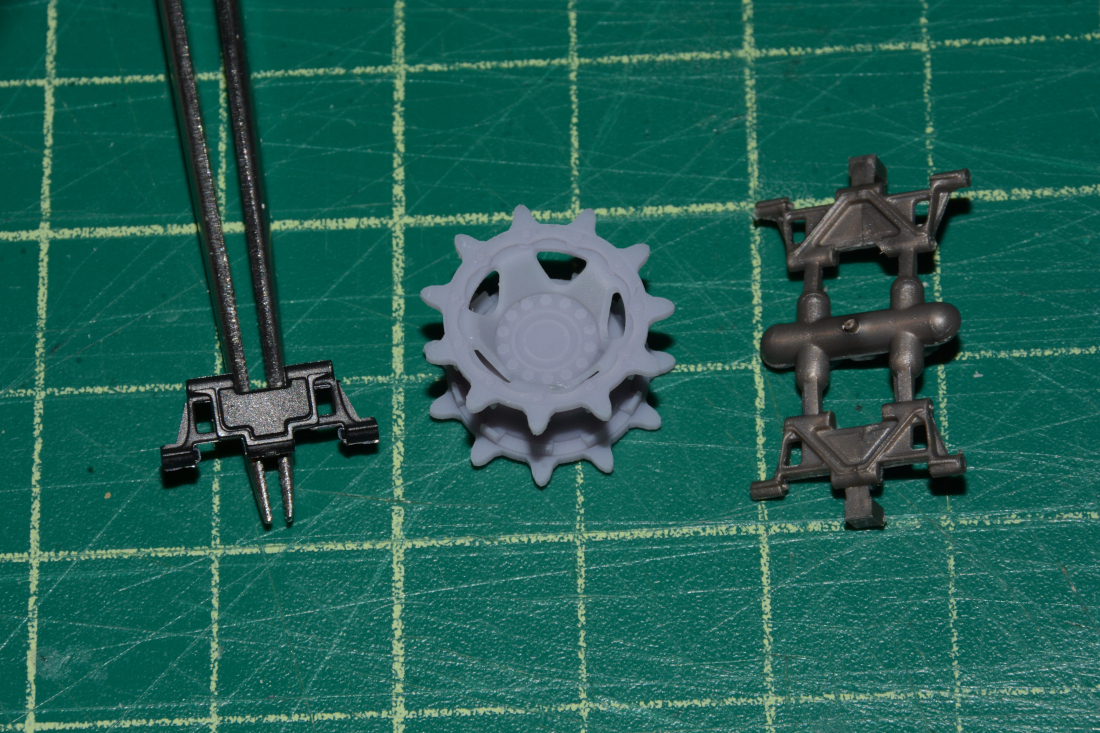
The Hobby Boss tracks do not fit the 3D printed sprockets so some work is needed. I haven’t checked to see if the Hobby Boss tracks fit the Tamiya sprockets yet but that is next on my list.
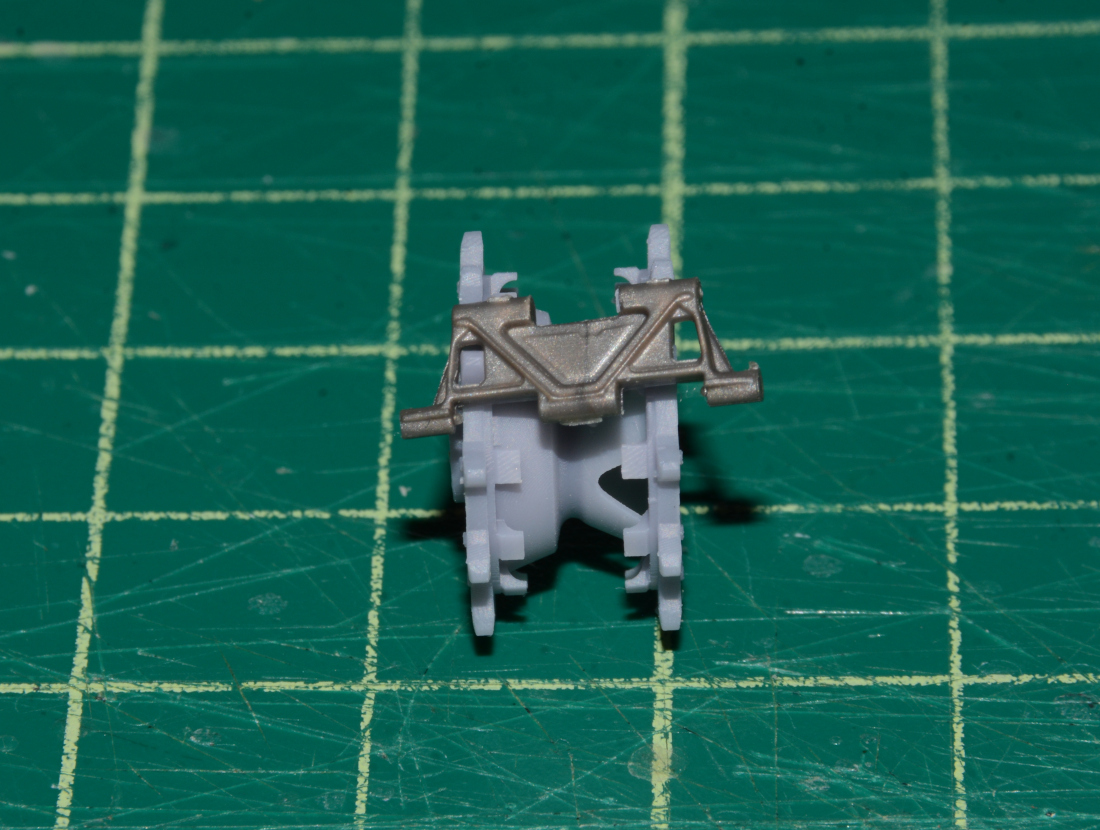
EDIT: The Tamiya sprocket is the exact same size as Jacques’ 3D printed sprocket so the Hobby Boss tracks do not fit the Tamiya sprocket either. As Seanmcandrews suggested in another thread, a spacer in between the Tamiya sprockets should work but the 3D printed sprockets are way nicer than Tamiya’s but it would take a lot of effort to fit them on the 3D printed sprockets.
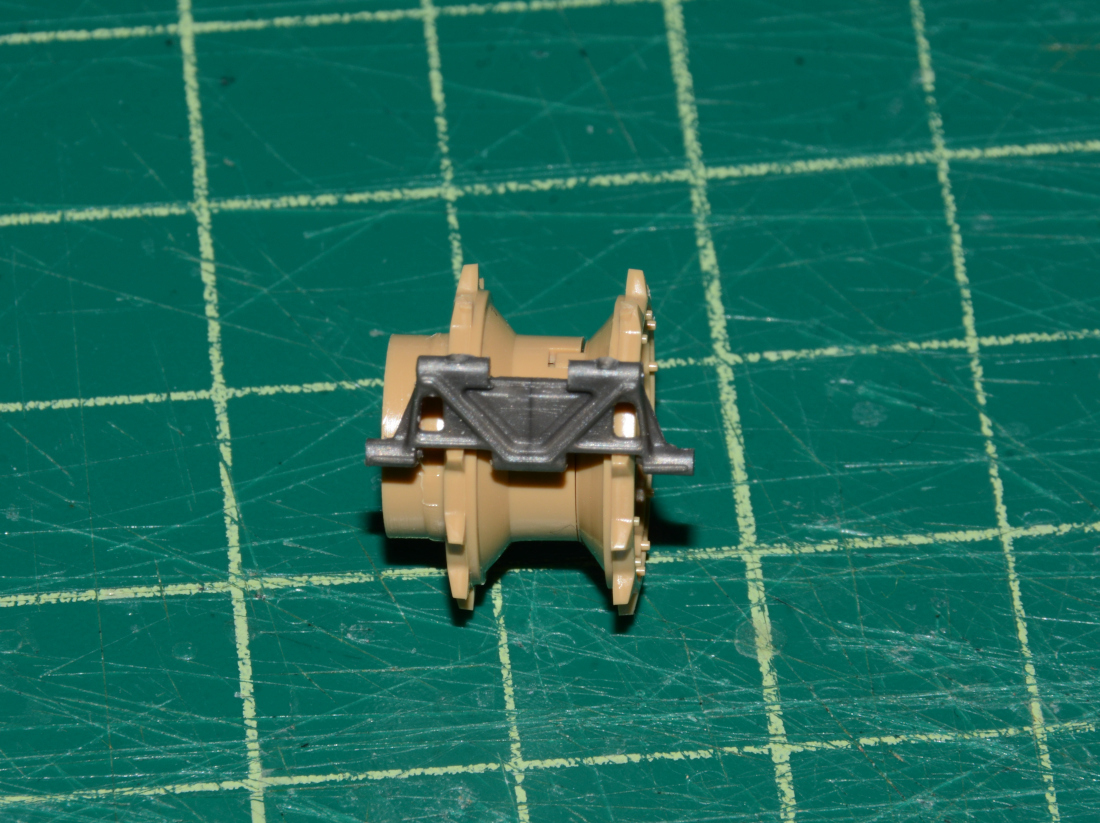
The Meng tracks fit the 3D printed sprockets perfectly.
3 Likes