He is not talking about modeling. He is talking biometric PII type information.
The build is looking great. ![]()
![]()
He is not talking about modeling. He is talking biometric PII type information.
The build is looking great. ![]()
![]()
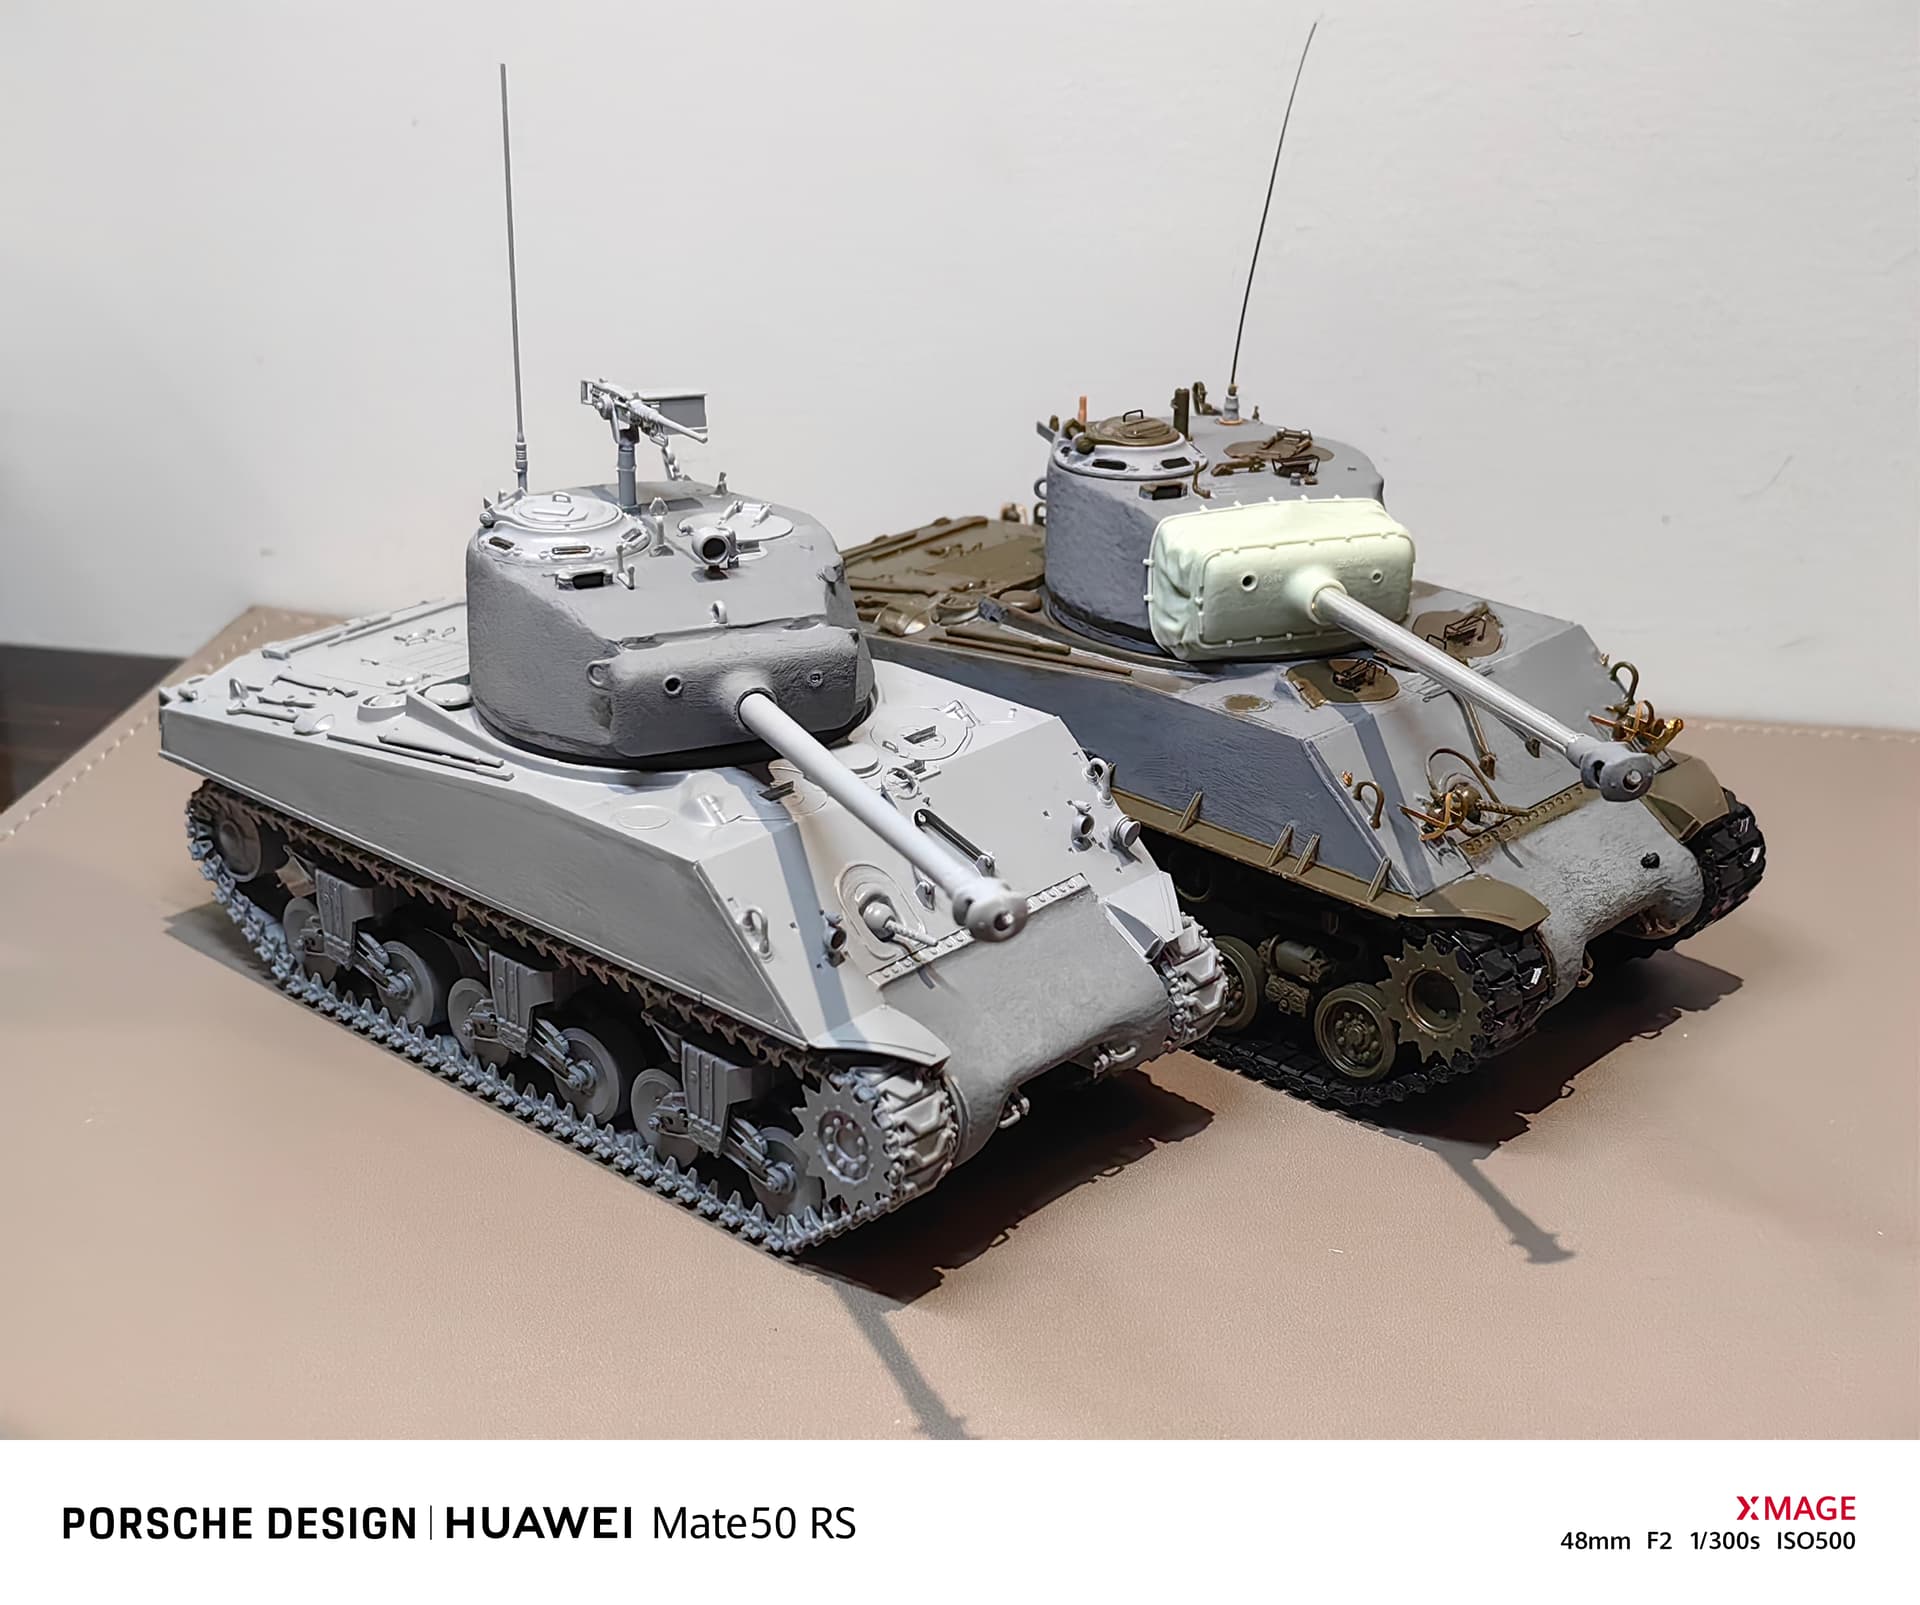
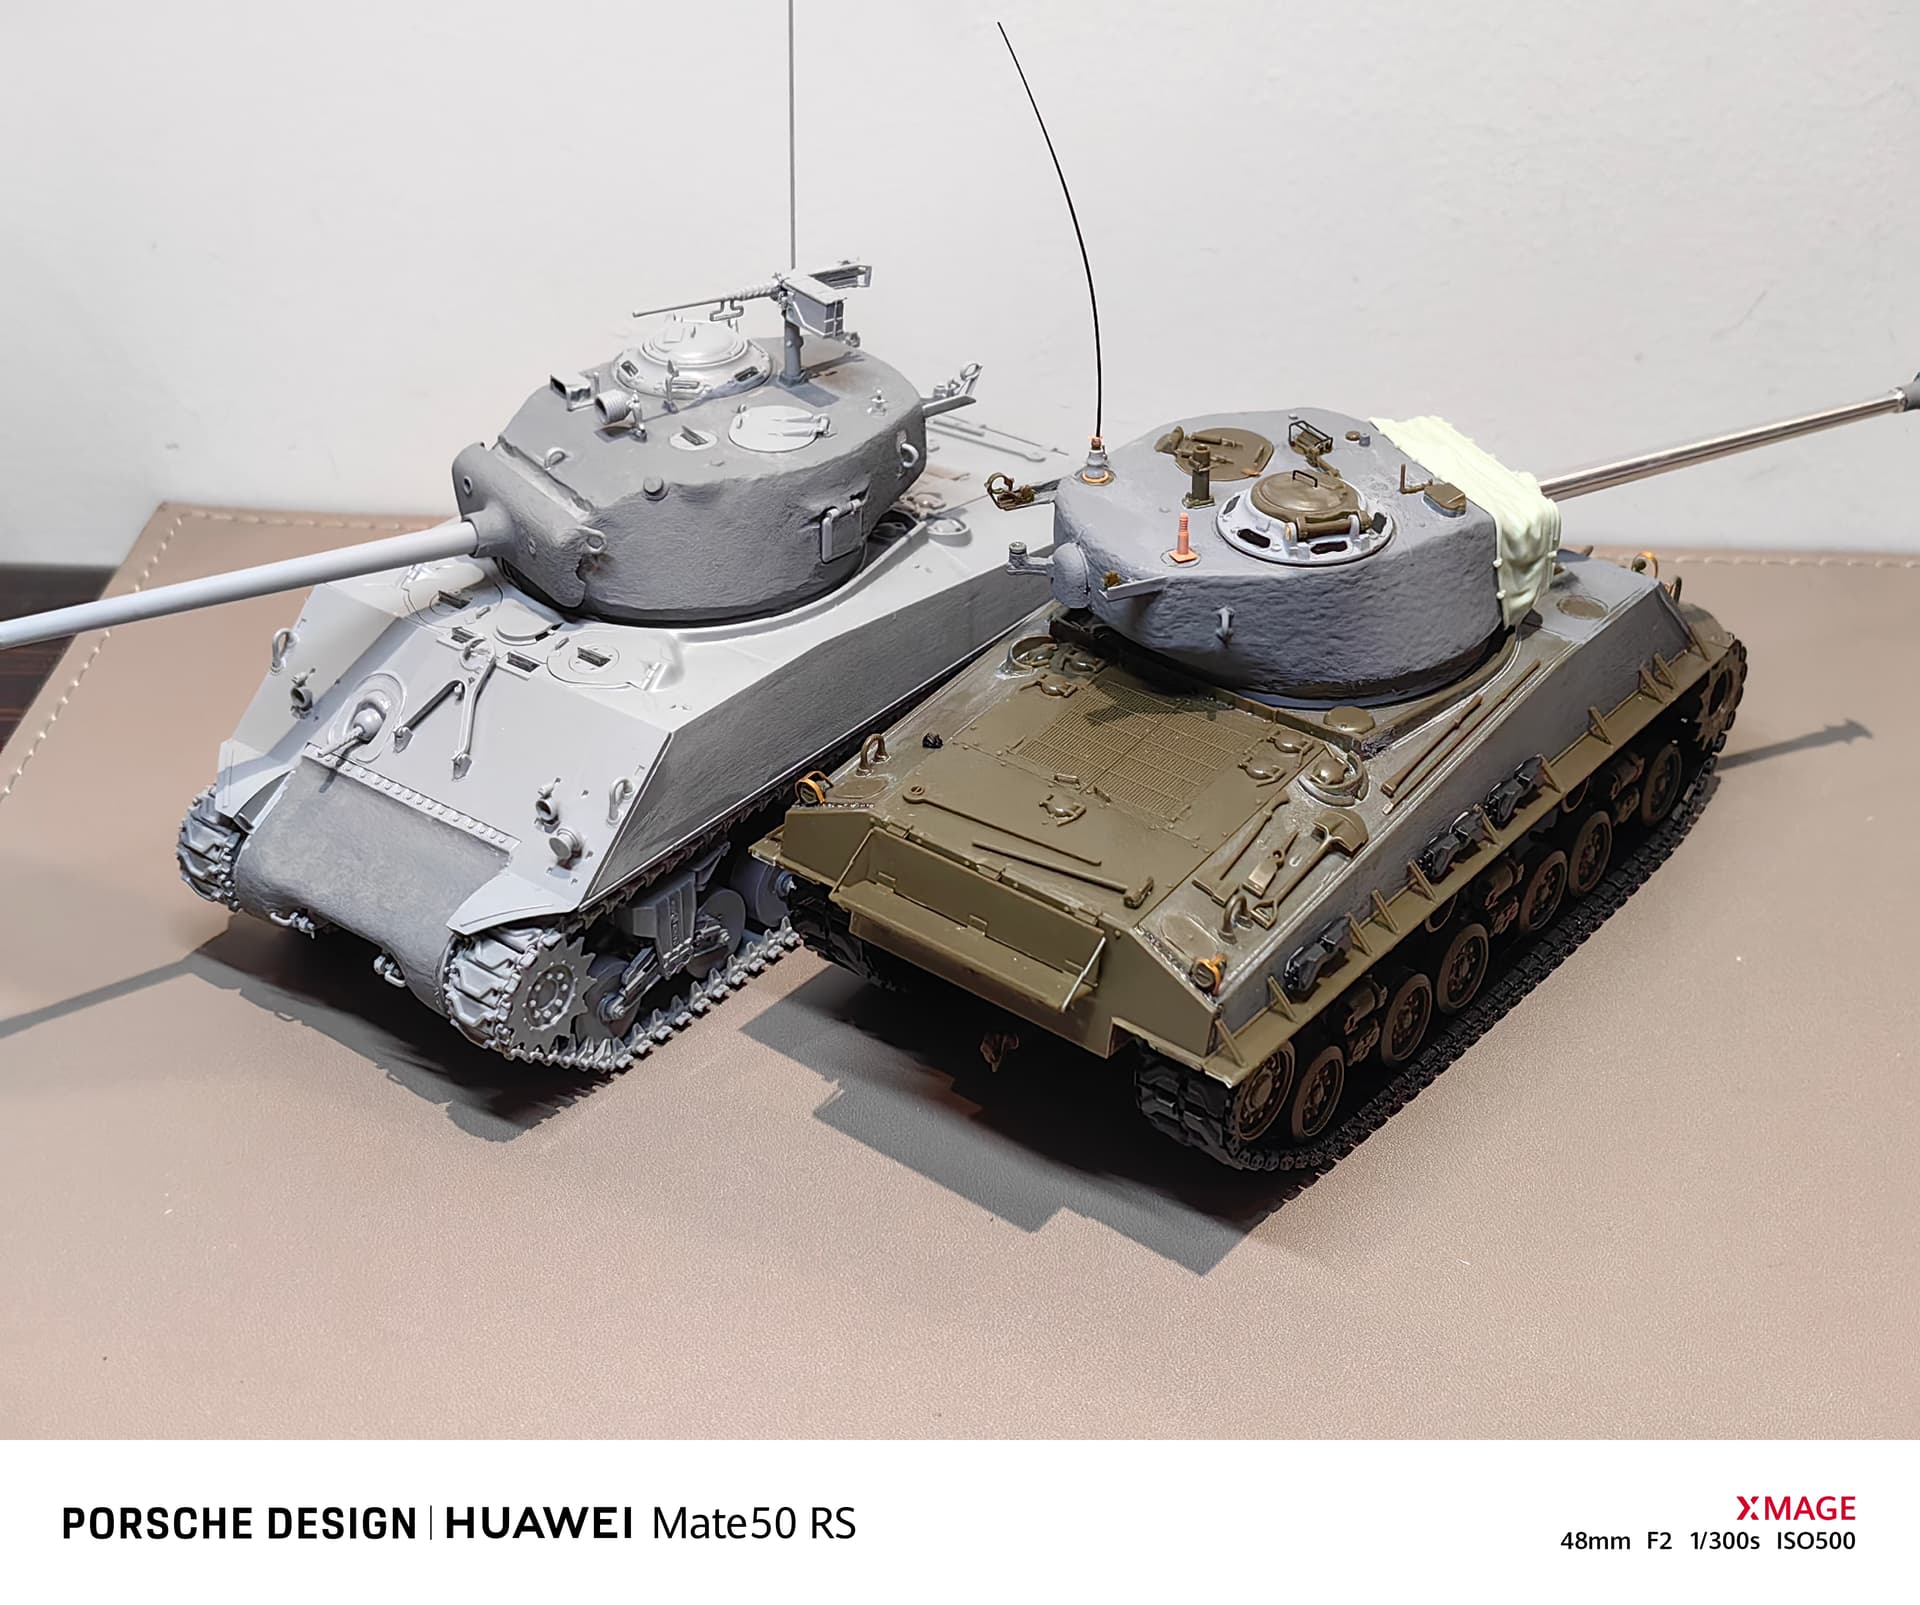
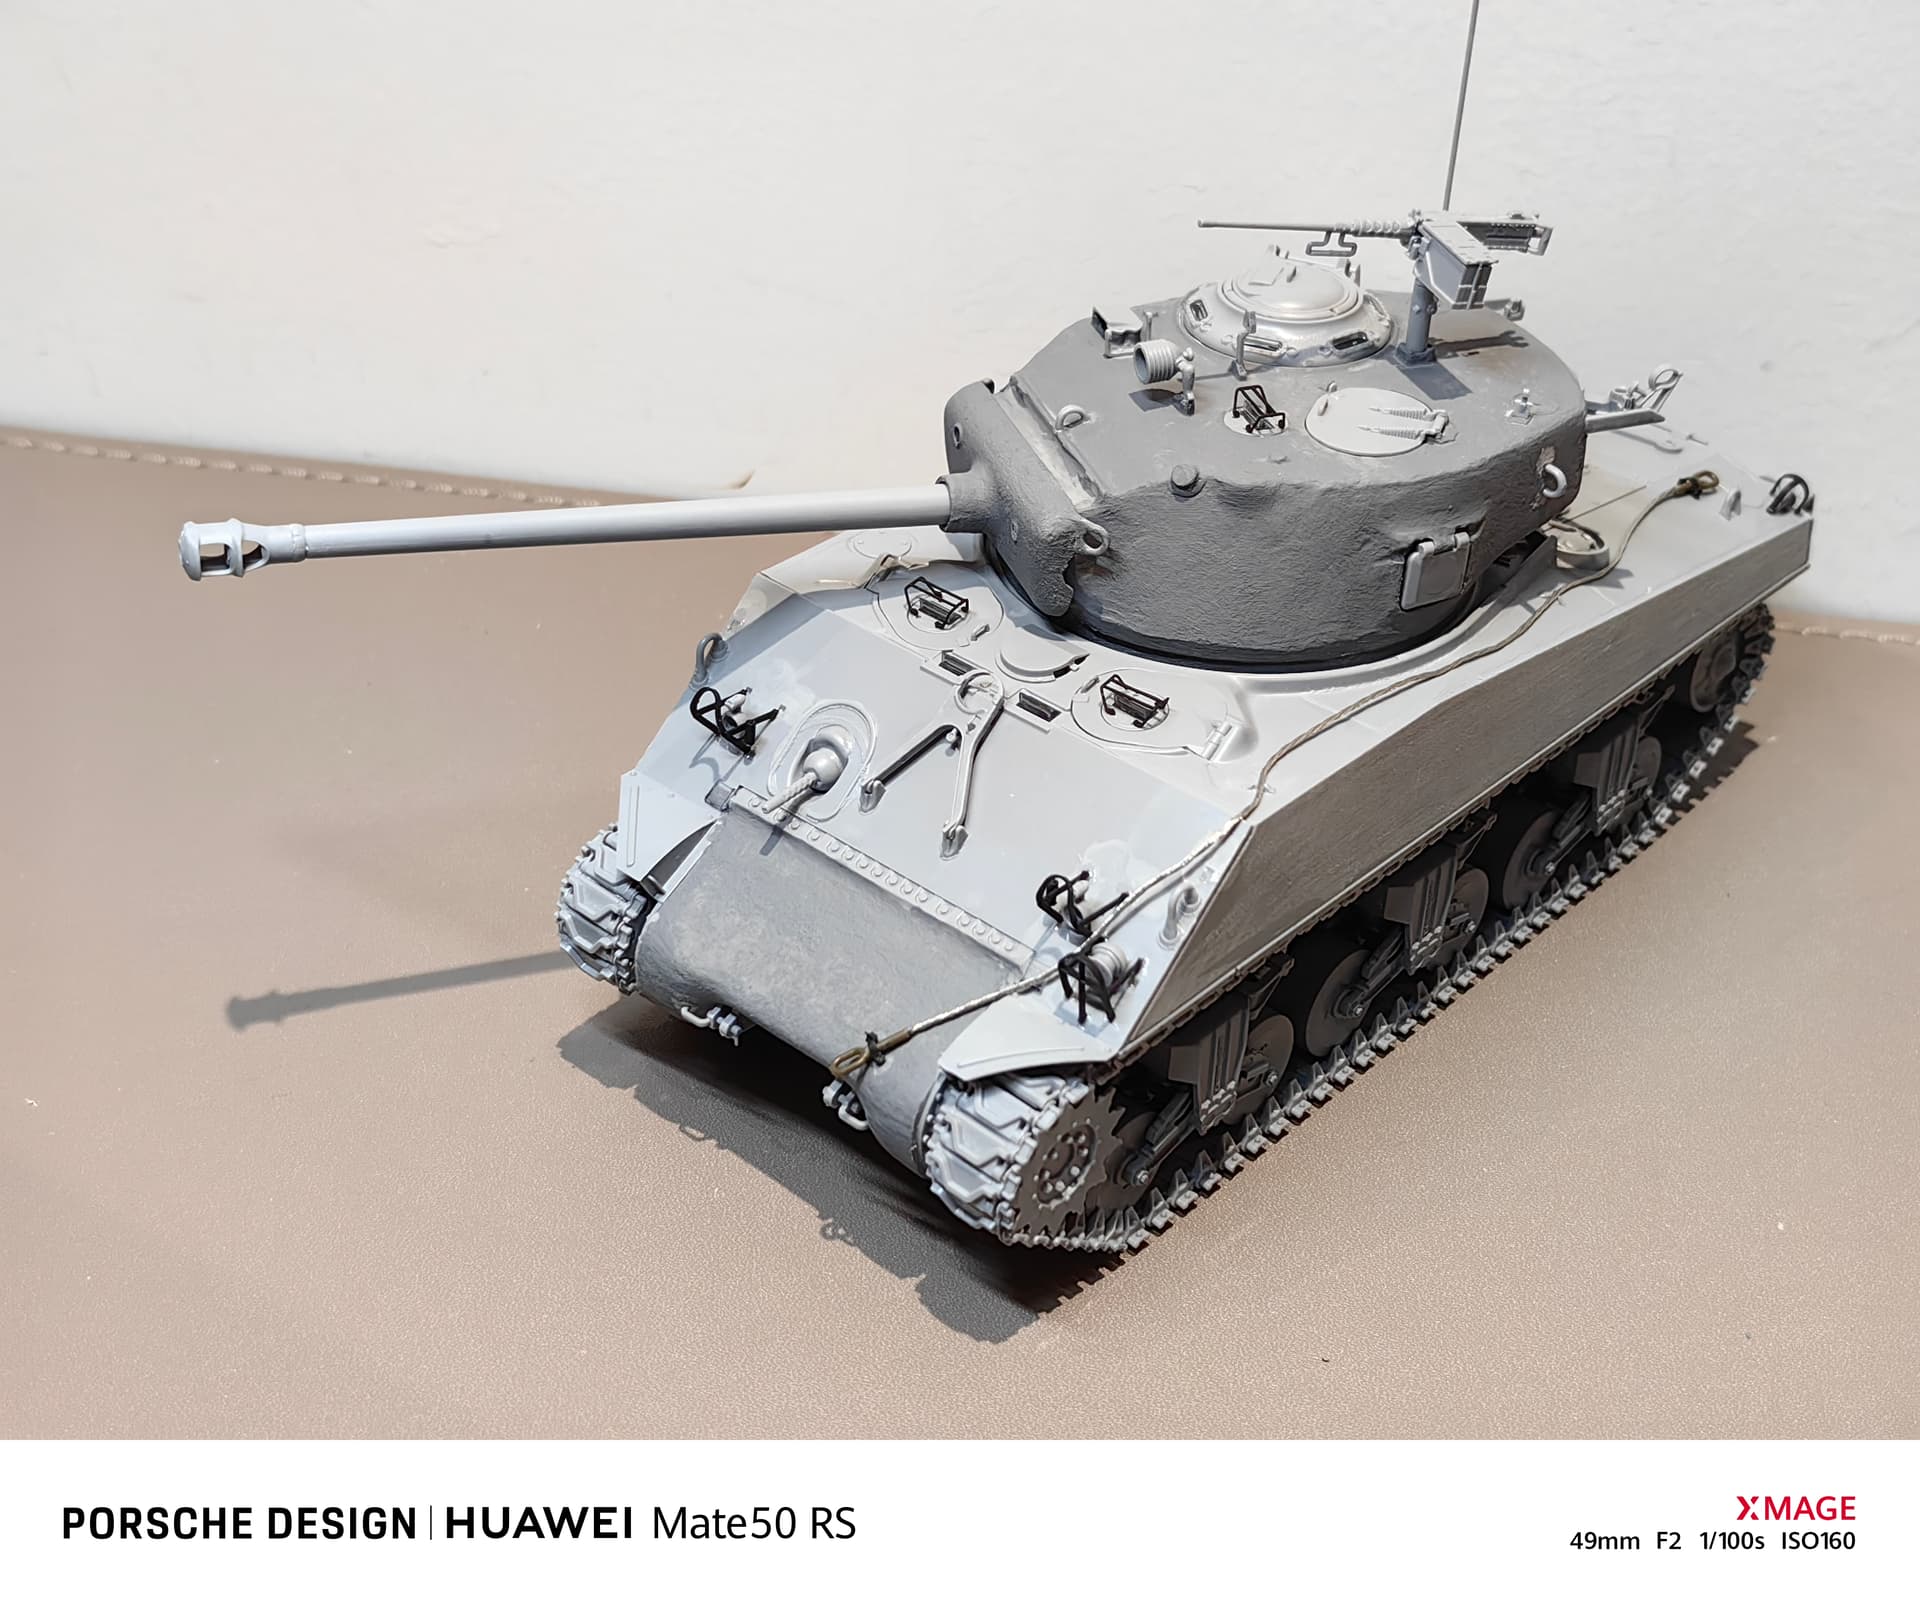
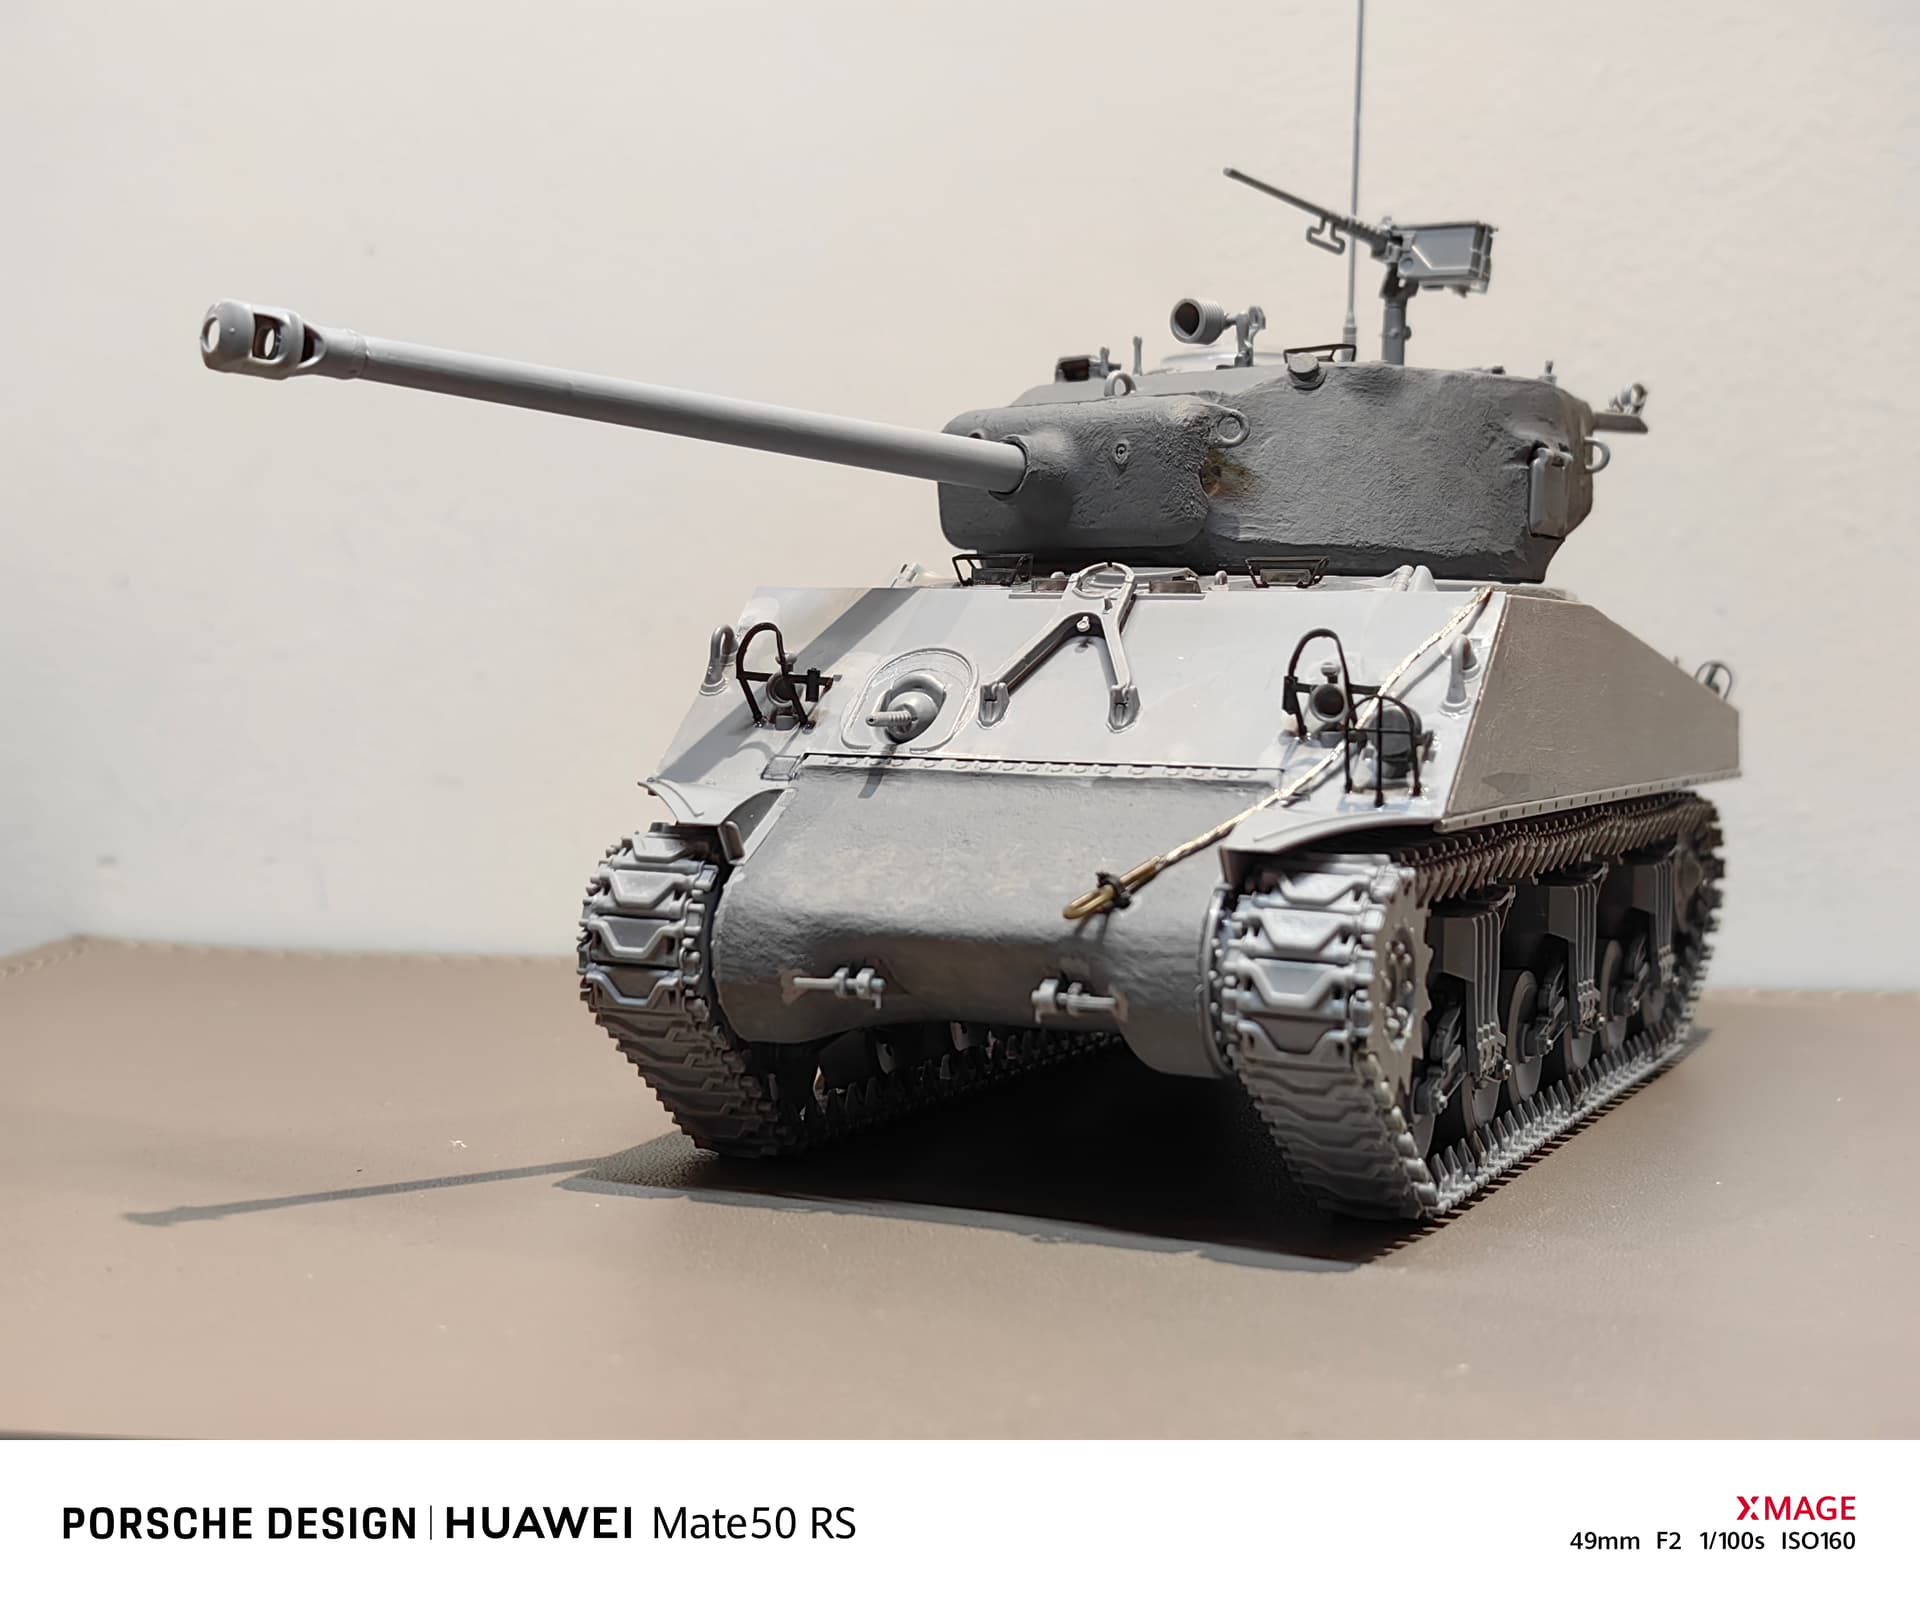
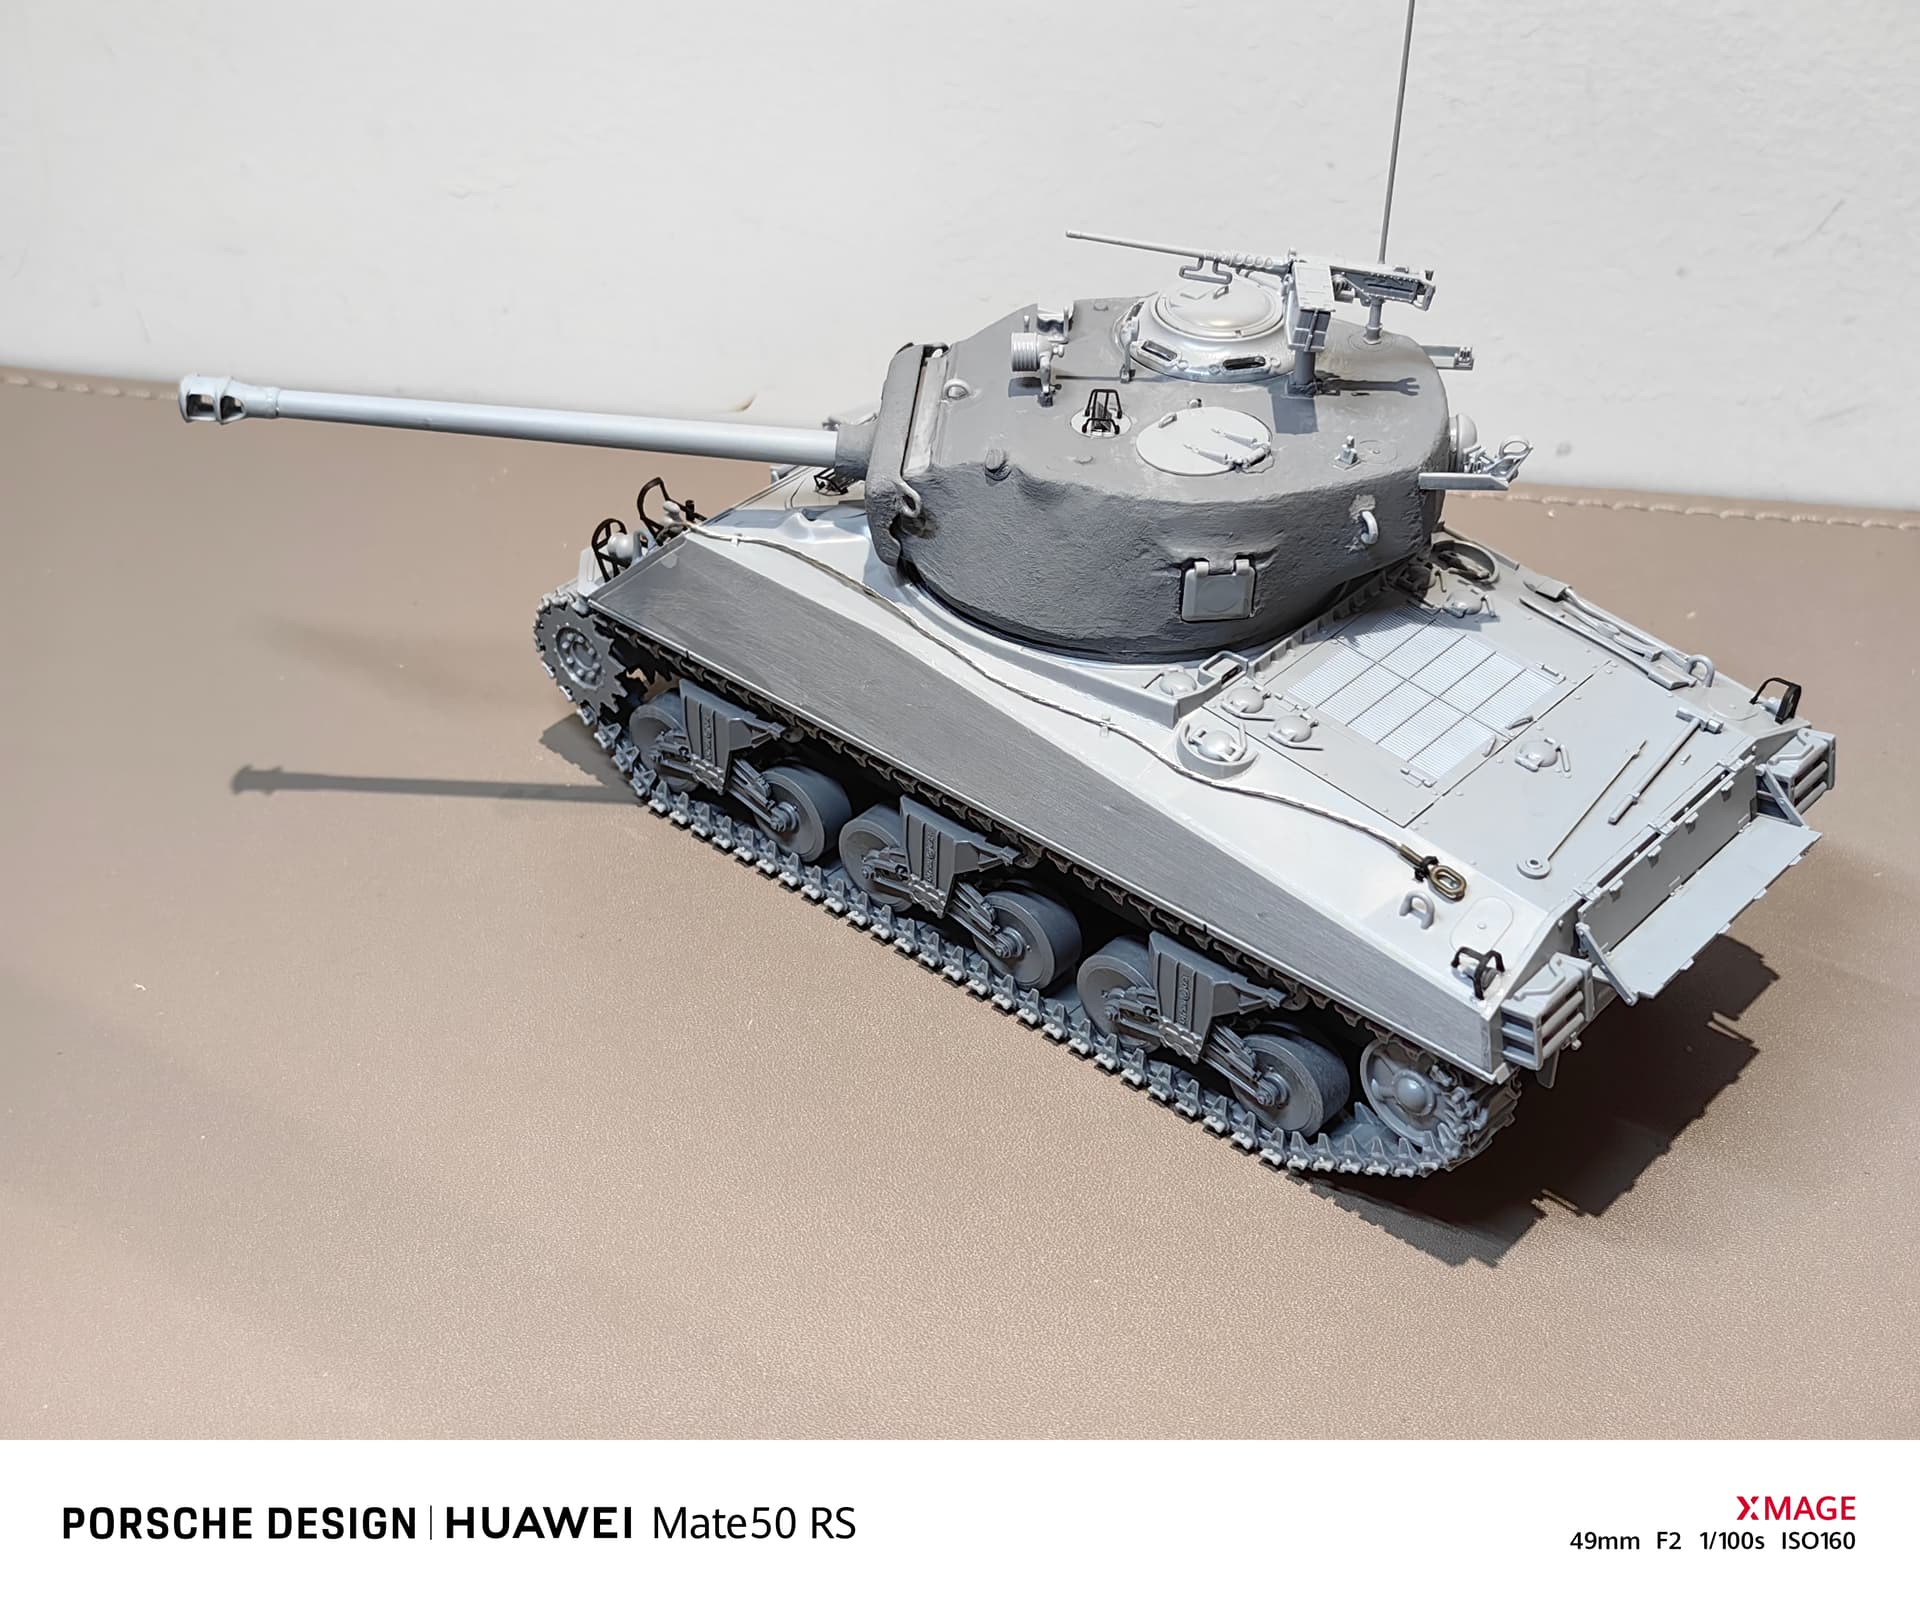
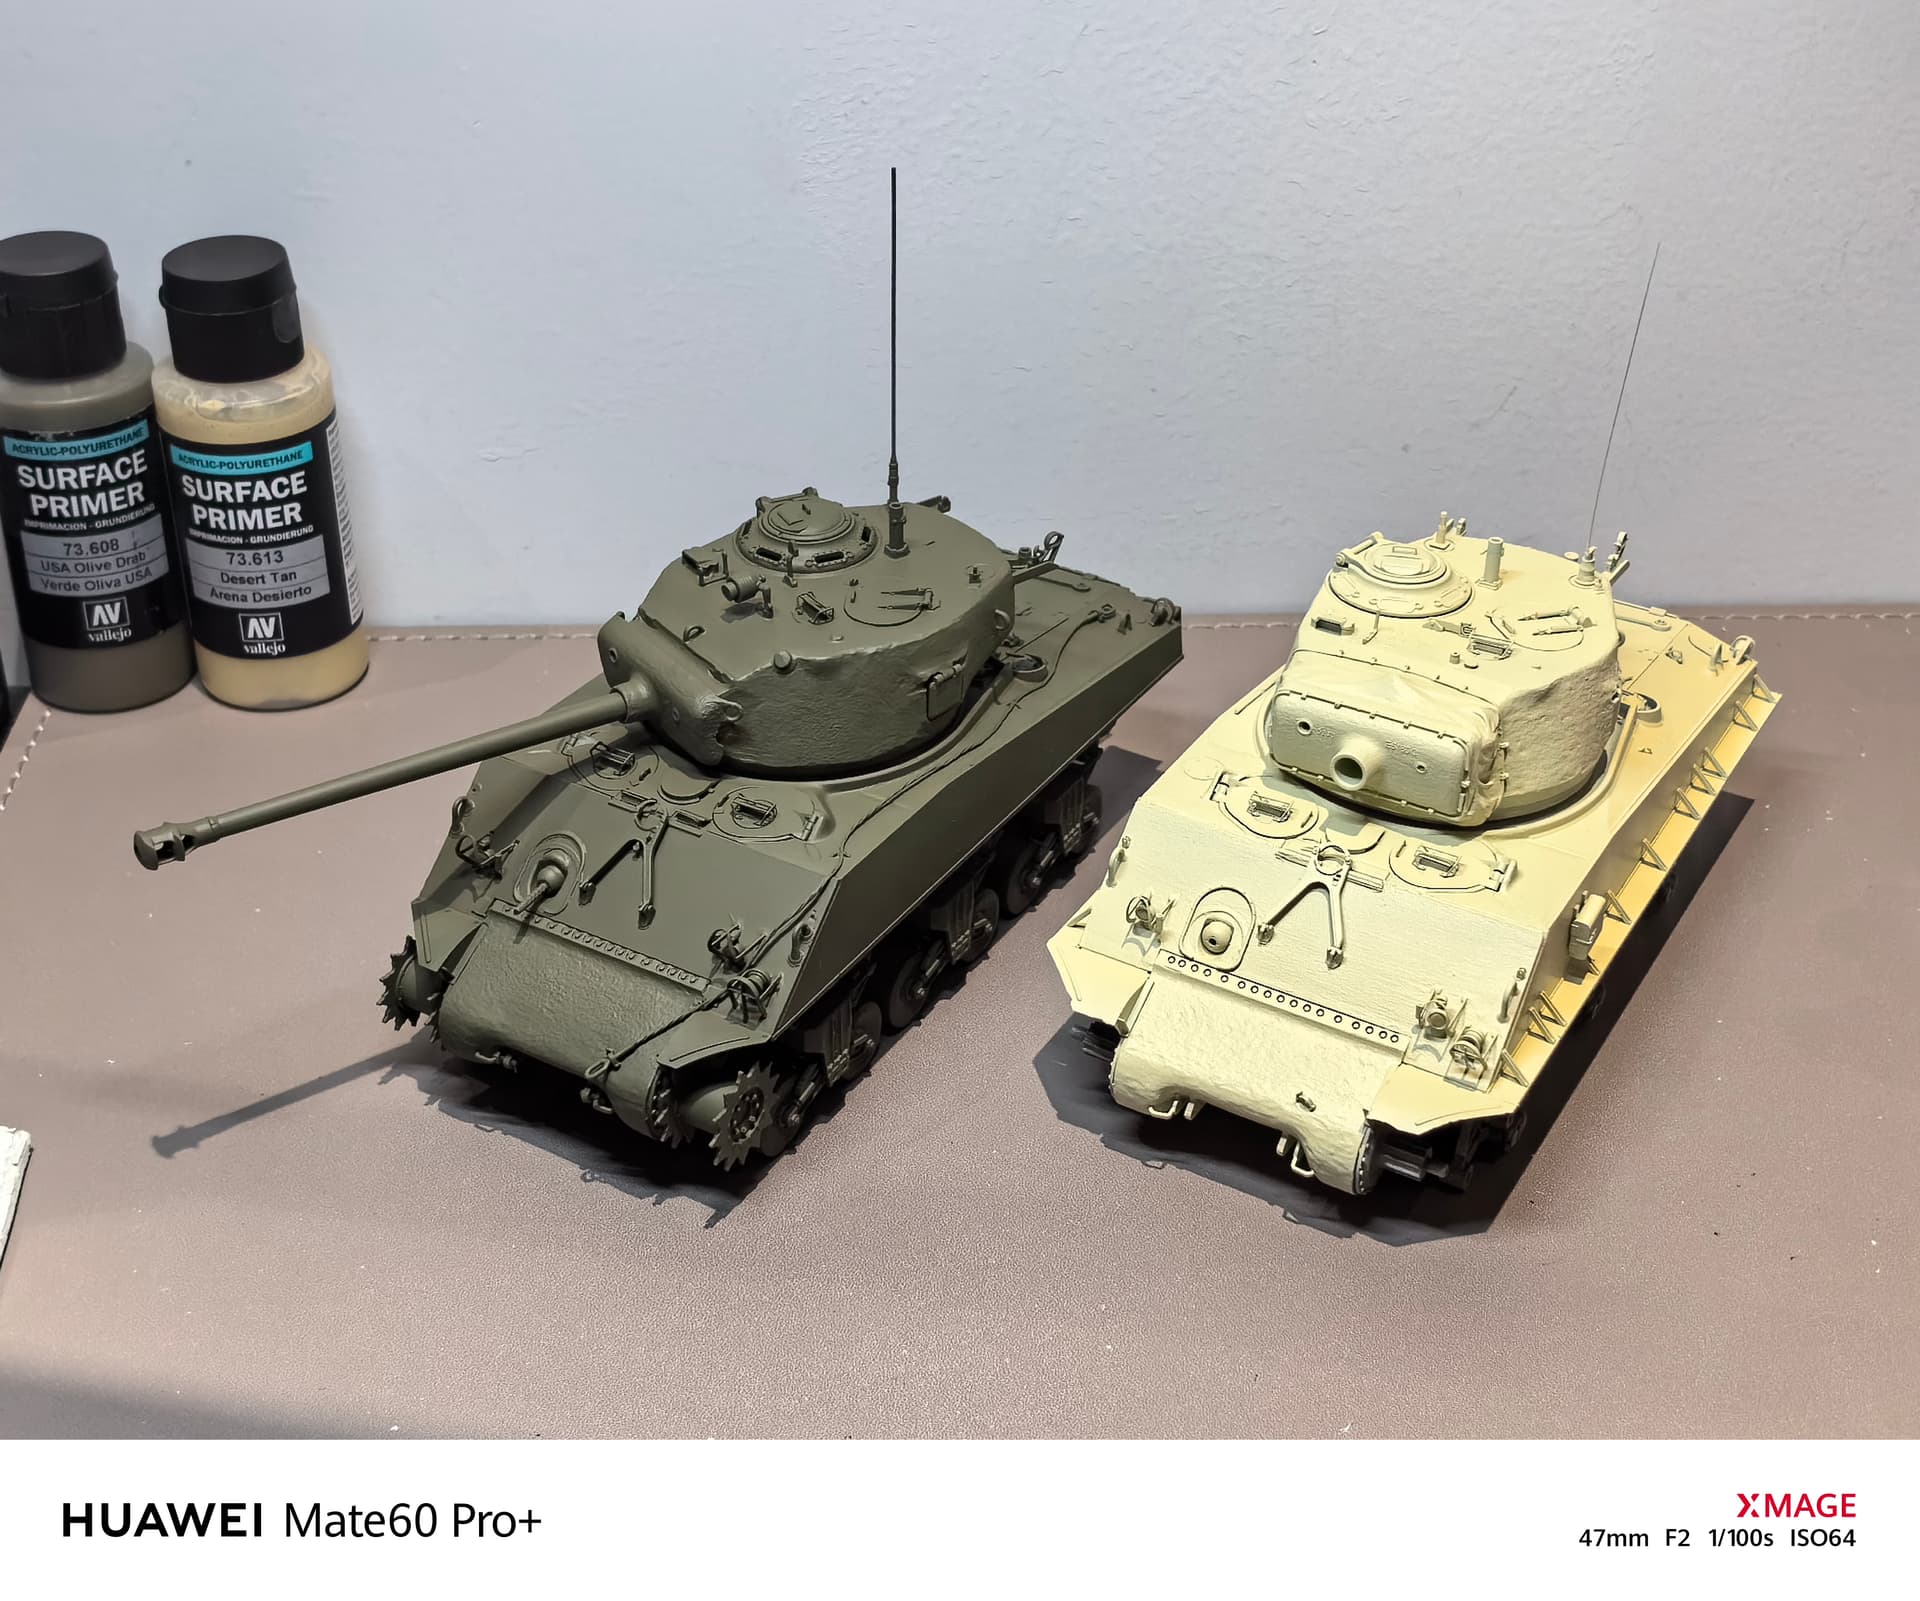
I post some photos about my another Sherman (the gray one)from ZVEZDA M4A2/76(W) that I made in the same period. It has not been made so much modification. Just for fun.
Thanks Ryan!
Hi Phil, these Shermans were a part of the Ontario Regiment (RCAC) based in Oshawa, Ontario. It also noted that the Regiment operated Shermans until 1972.
yeah that’s really interesting. I always thought we Swiss had old tanks, but no, at that time we even had our own products… (not for all too long though).
Paraguay had a few Sherman in inventory up until 2018 according to wiki.
well, we used a variant of the Hetzer, the G13, until 1973, I always thought that was strange…
Thank you for the information on the TRex parts and how to address issue.
Sorry rest of this post is off-topic but maybe still relevant.
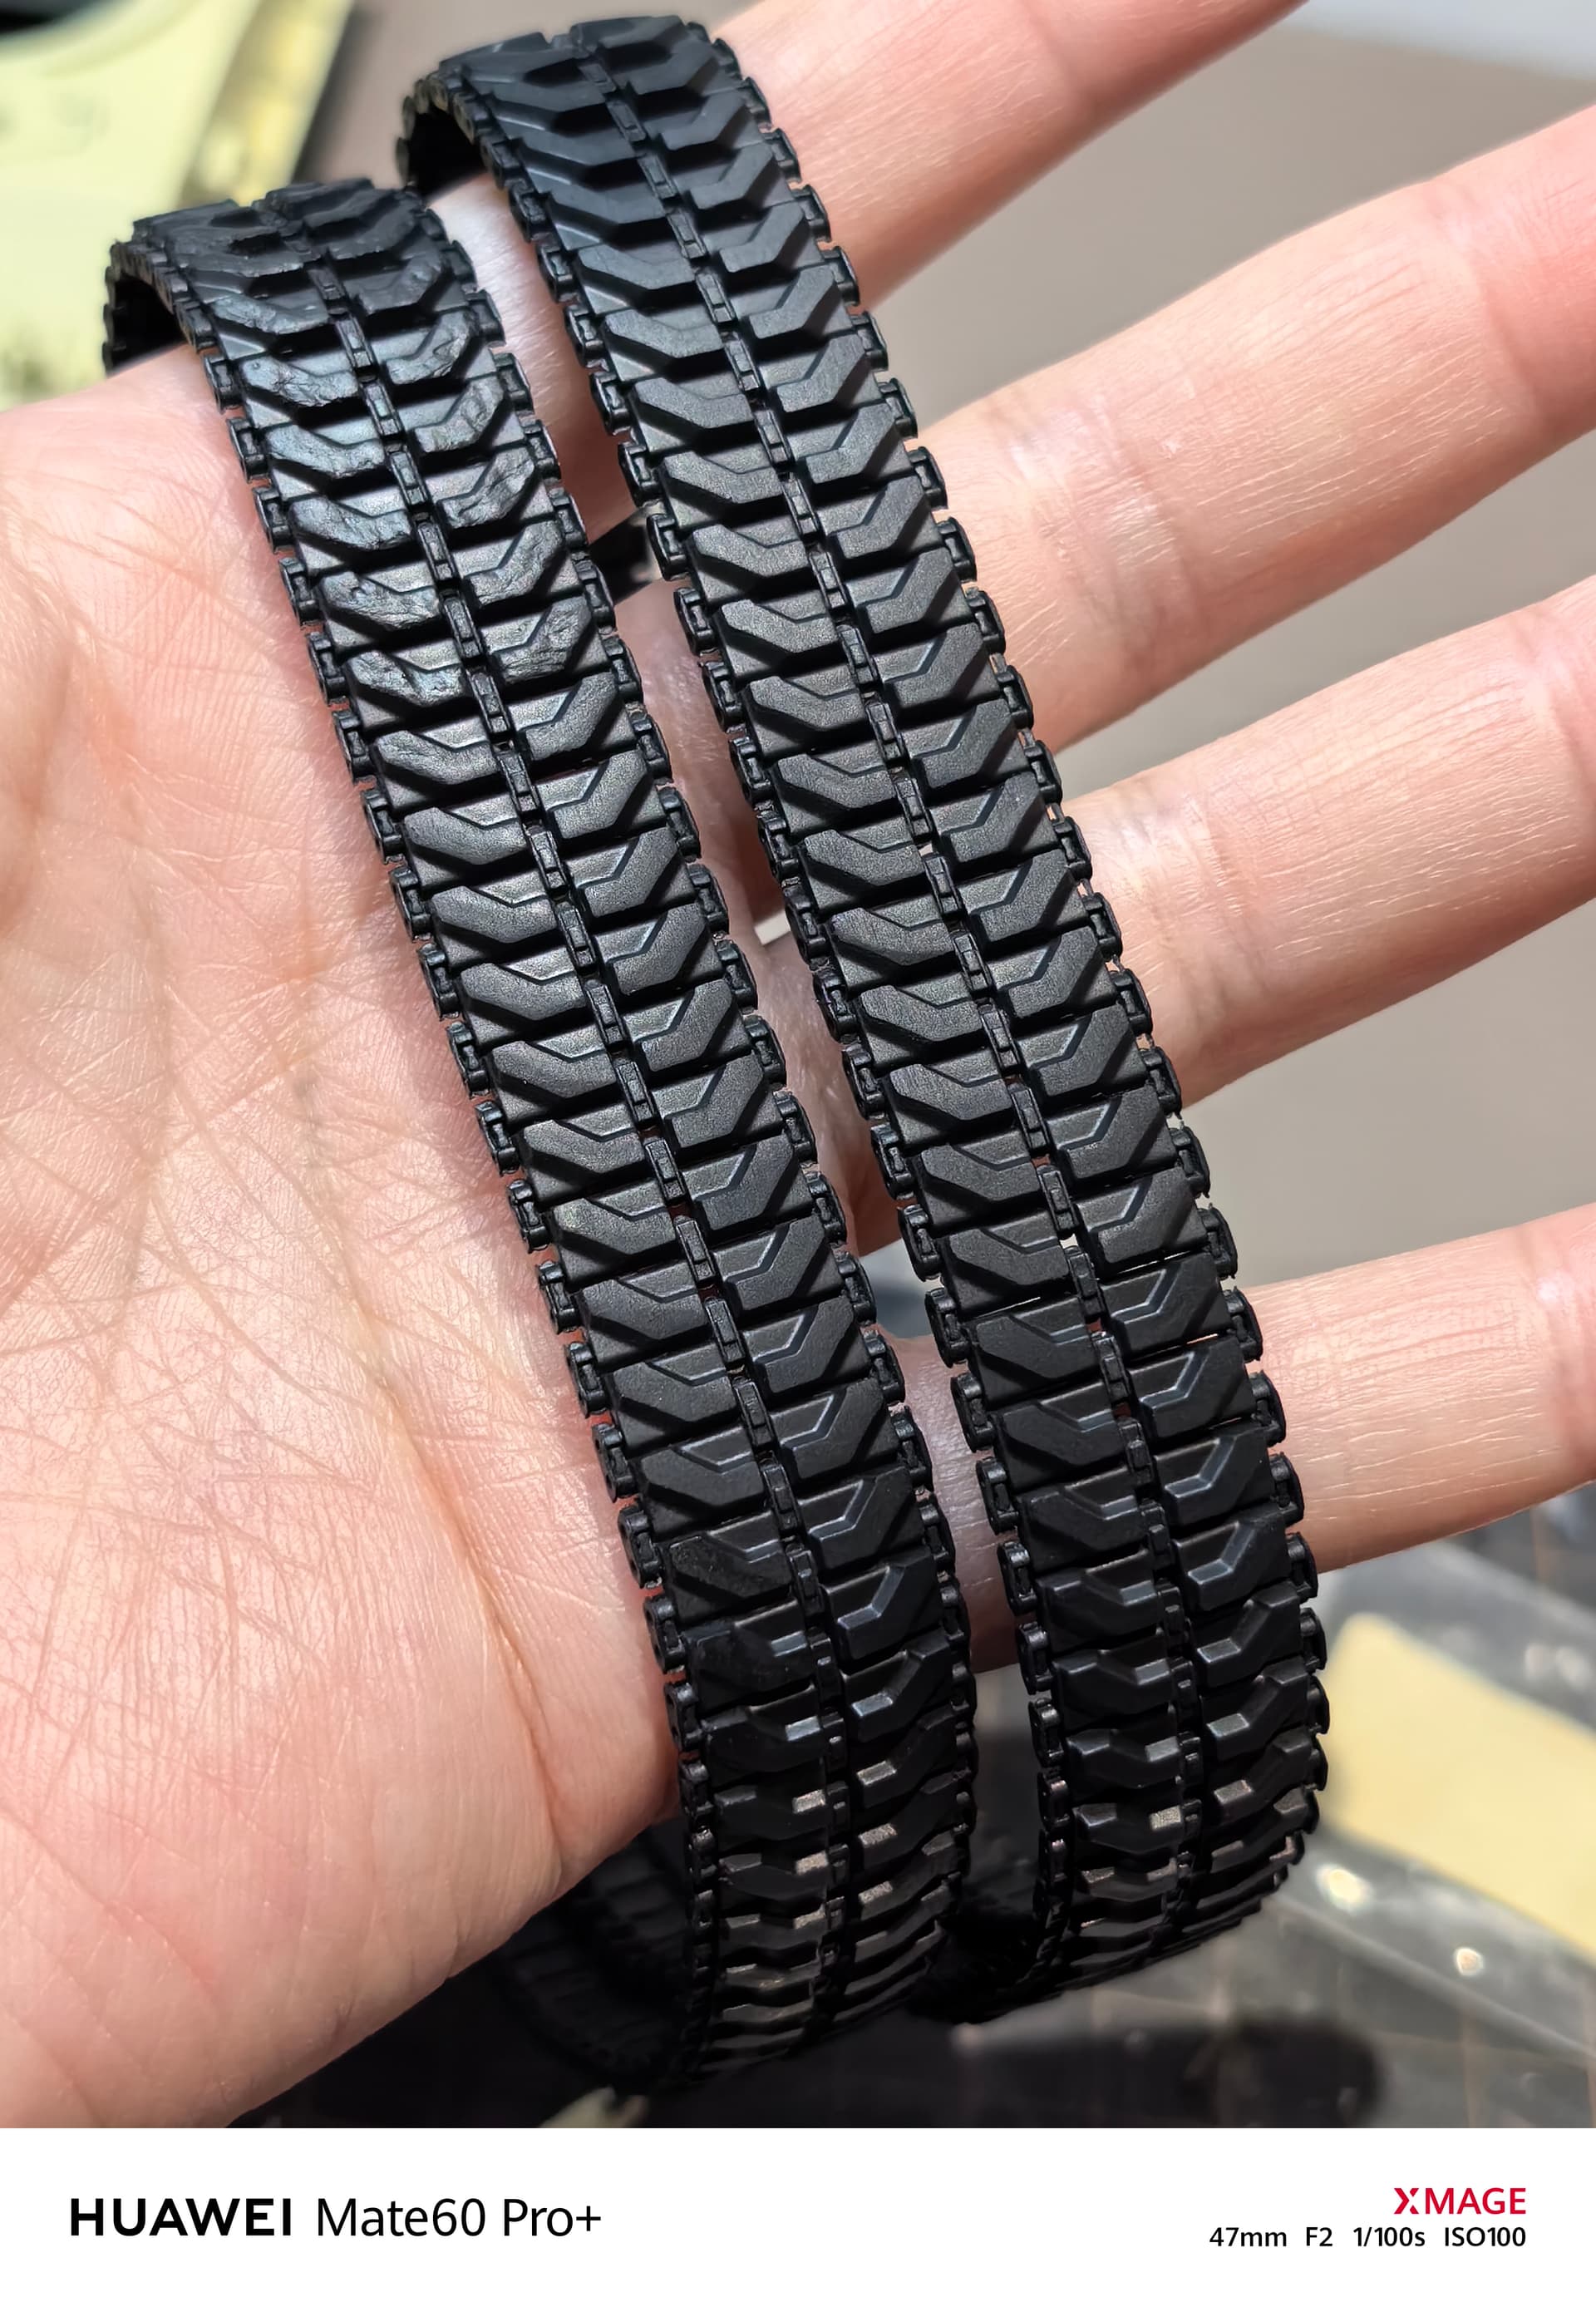
I thought Rick was suggesting protect ones personal biometric information from floating around the internet. Over seven years ago cell phone quality images of a finger print could be used and checked accordingly if the resolution was good enough etc.
Who knows whats possible now given this example.
Karken Labs Bypasses Biometric Security With Laser Printer & Wood Glue
Or maybe I read Neuromancer too many times back in the day.
I wasn’t worried about fingerprints in the paint. You open yourself up for identity theft by having a near perfect photo of your index fingerprint published on the web.
Wow! That’s very impressive modeling work. But, now, the true fun part begins… The painting and weathering.
Thanks for your reminder, I am also aware of this problem, so I now start erasing personal information from photos.
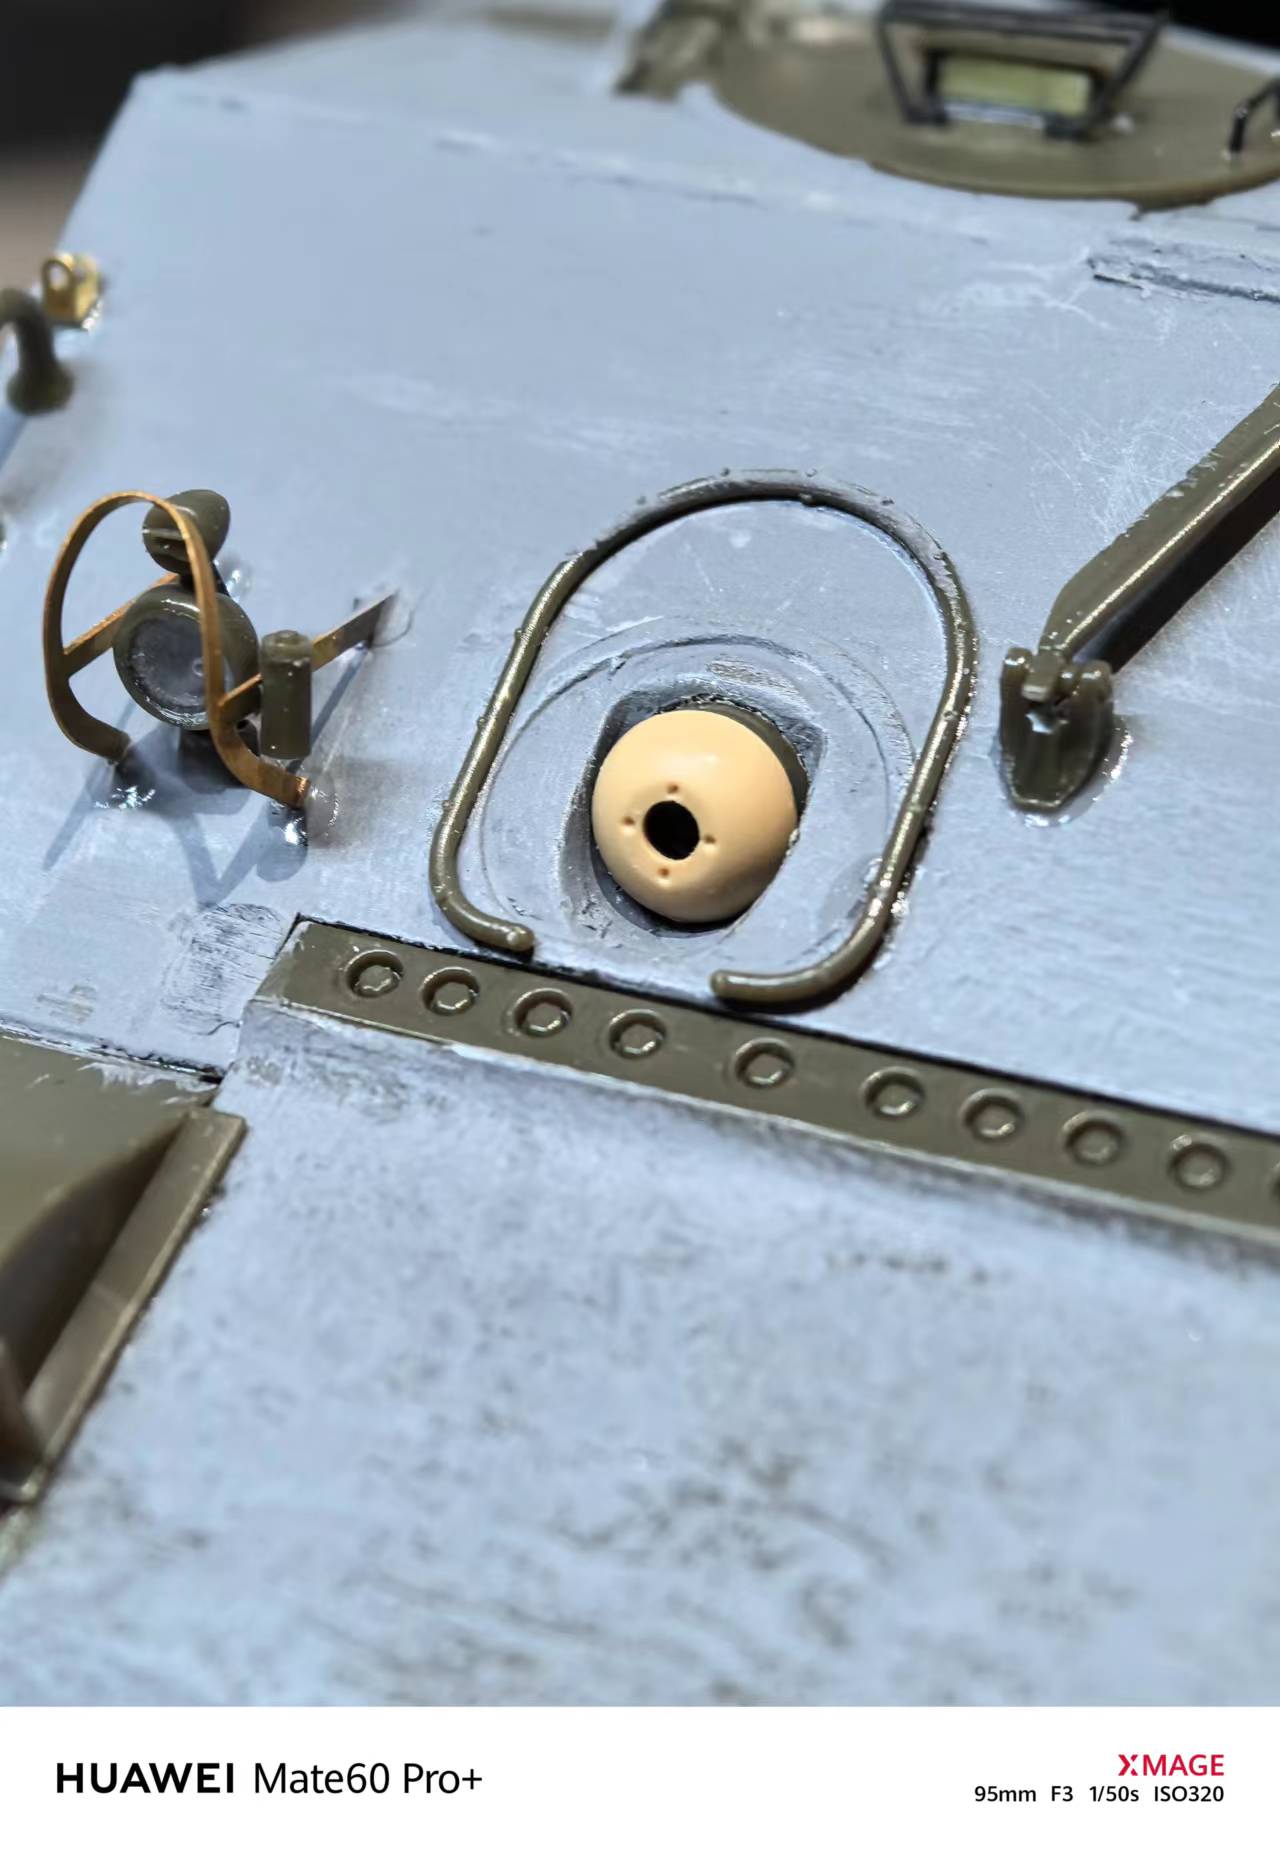
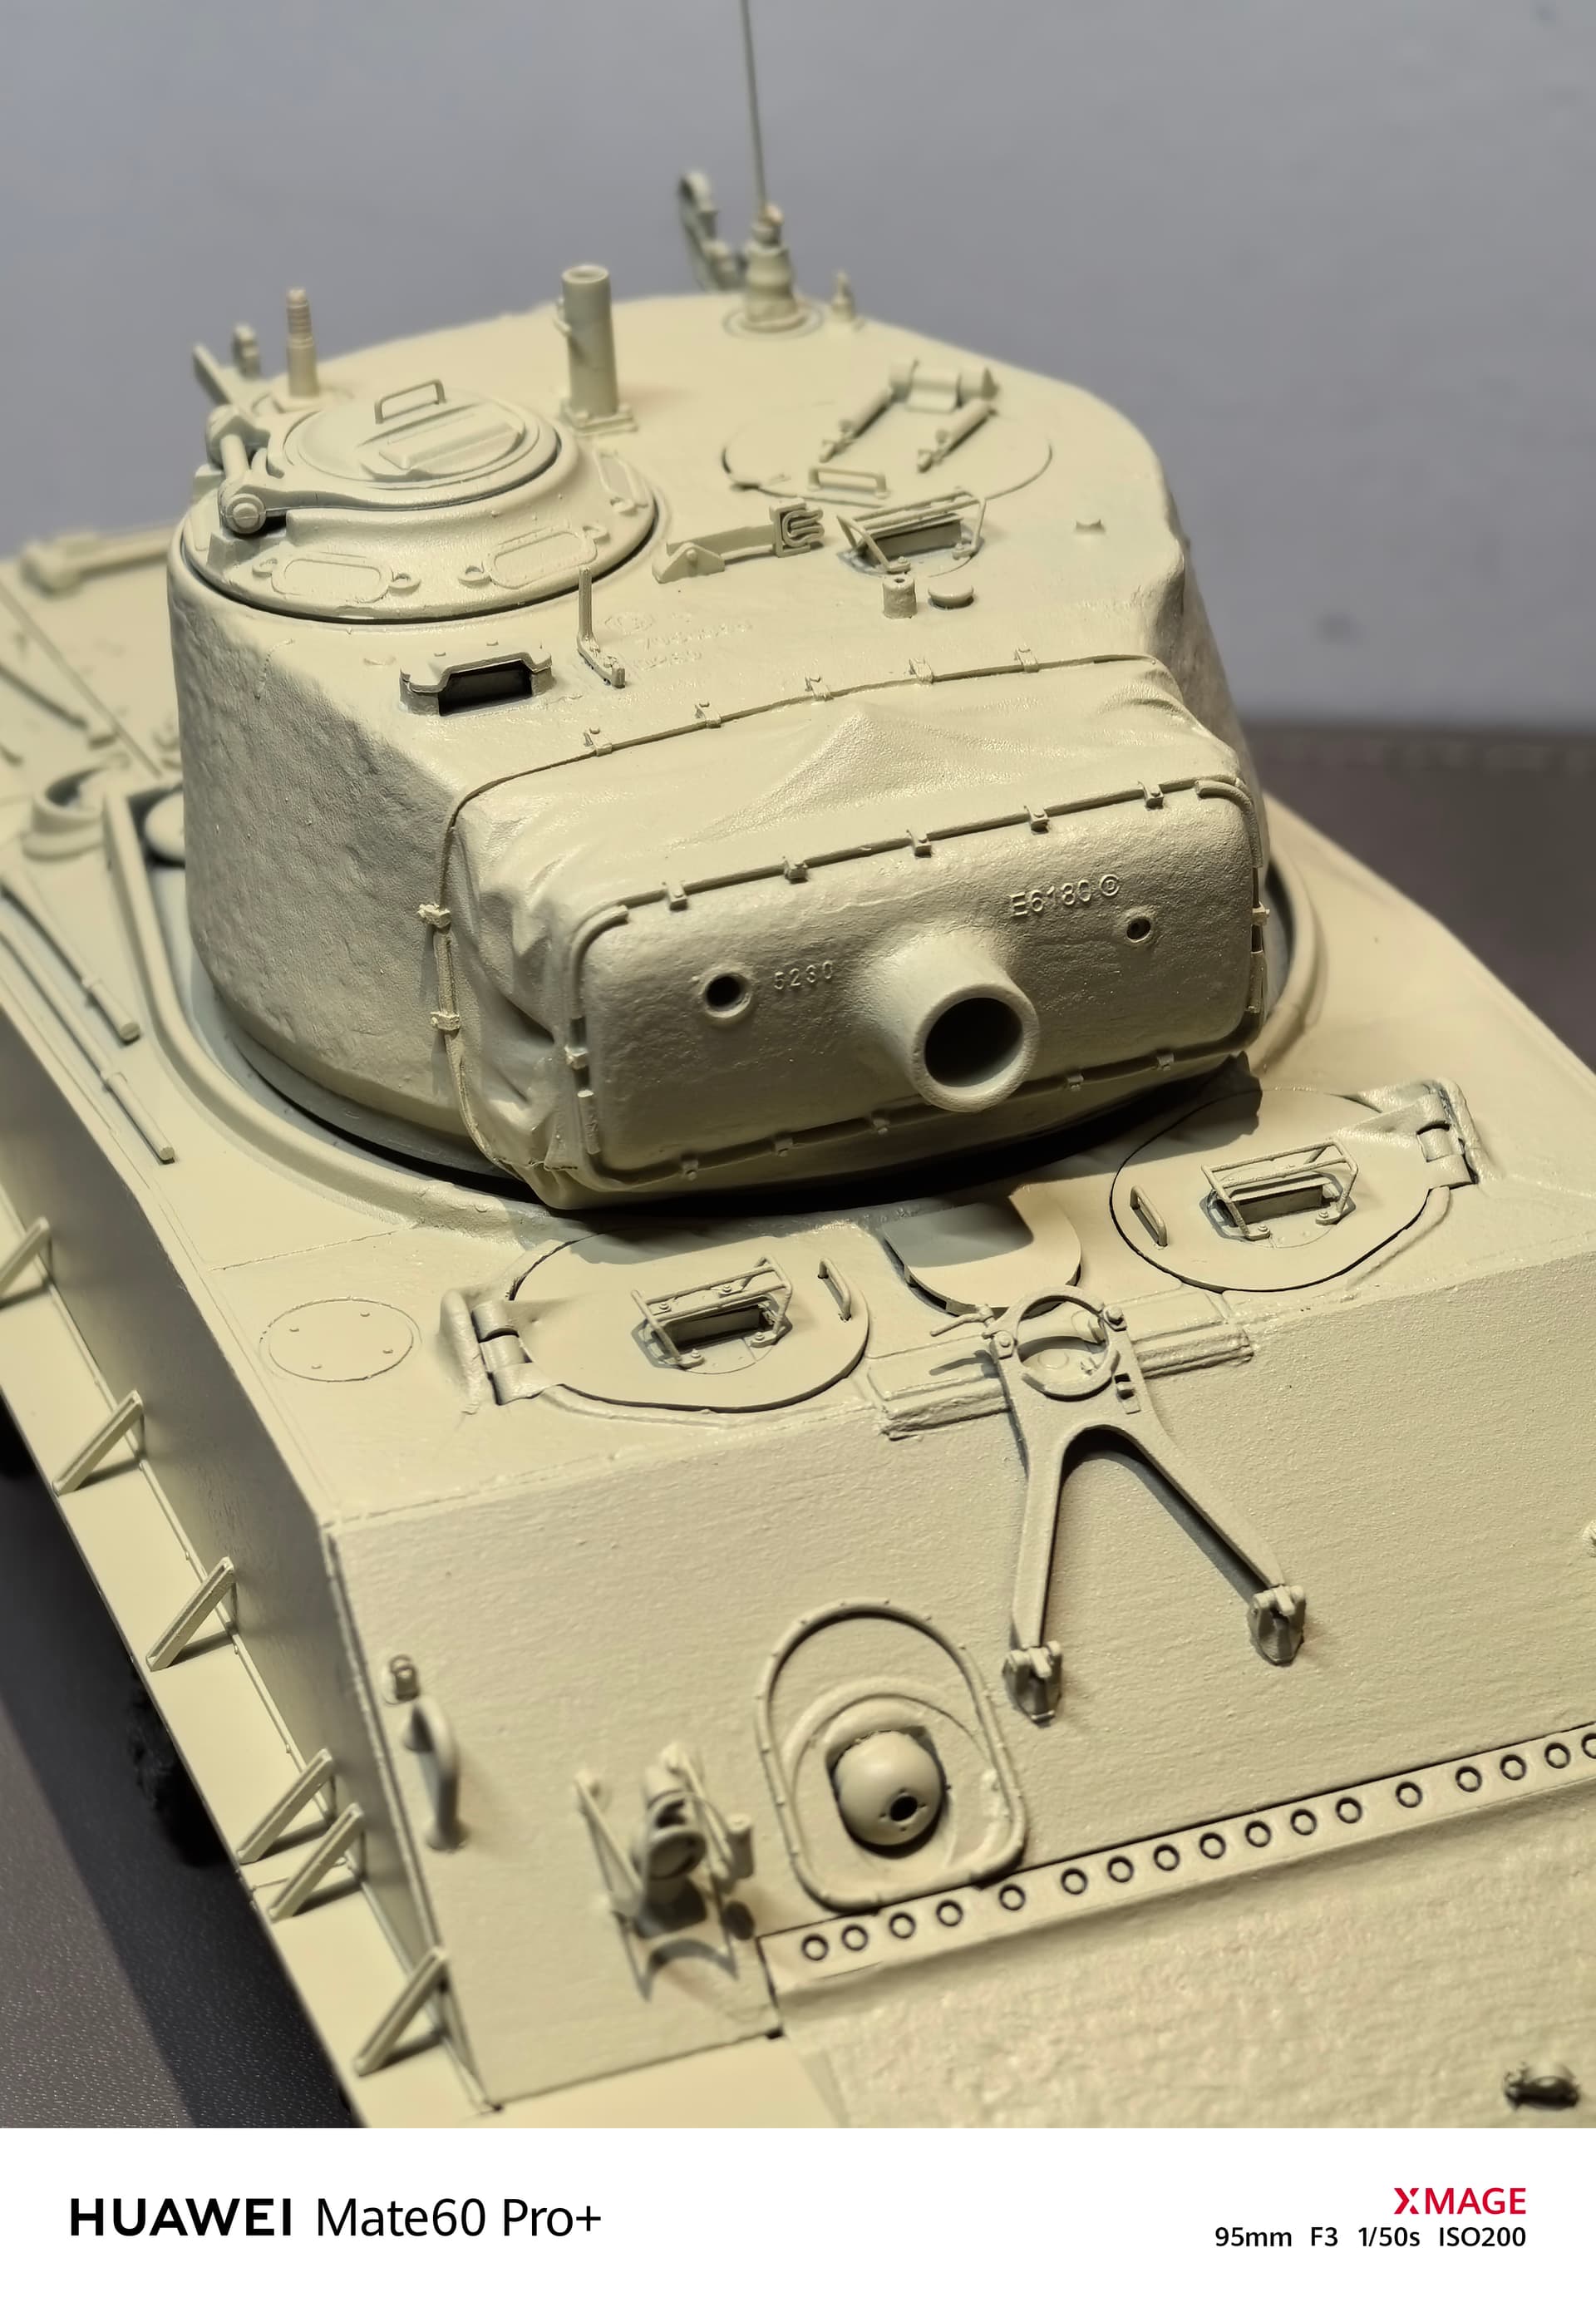
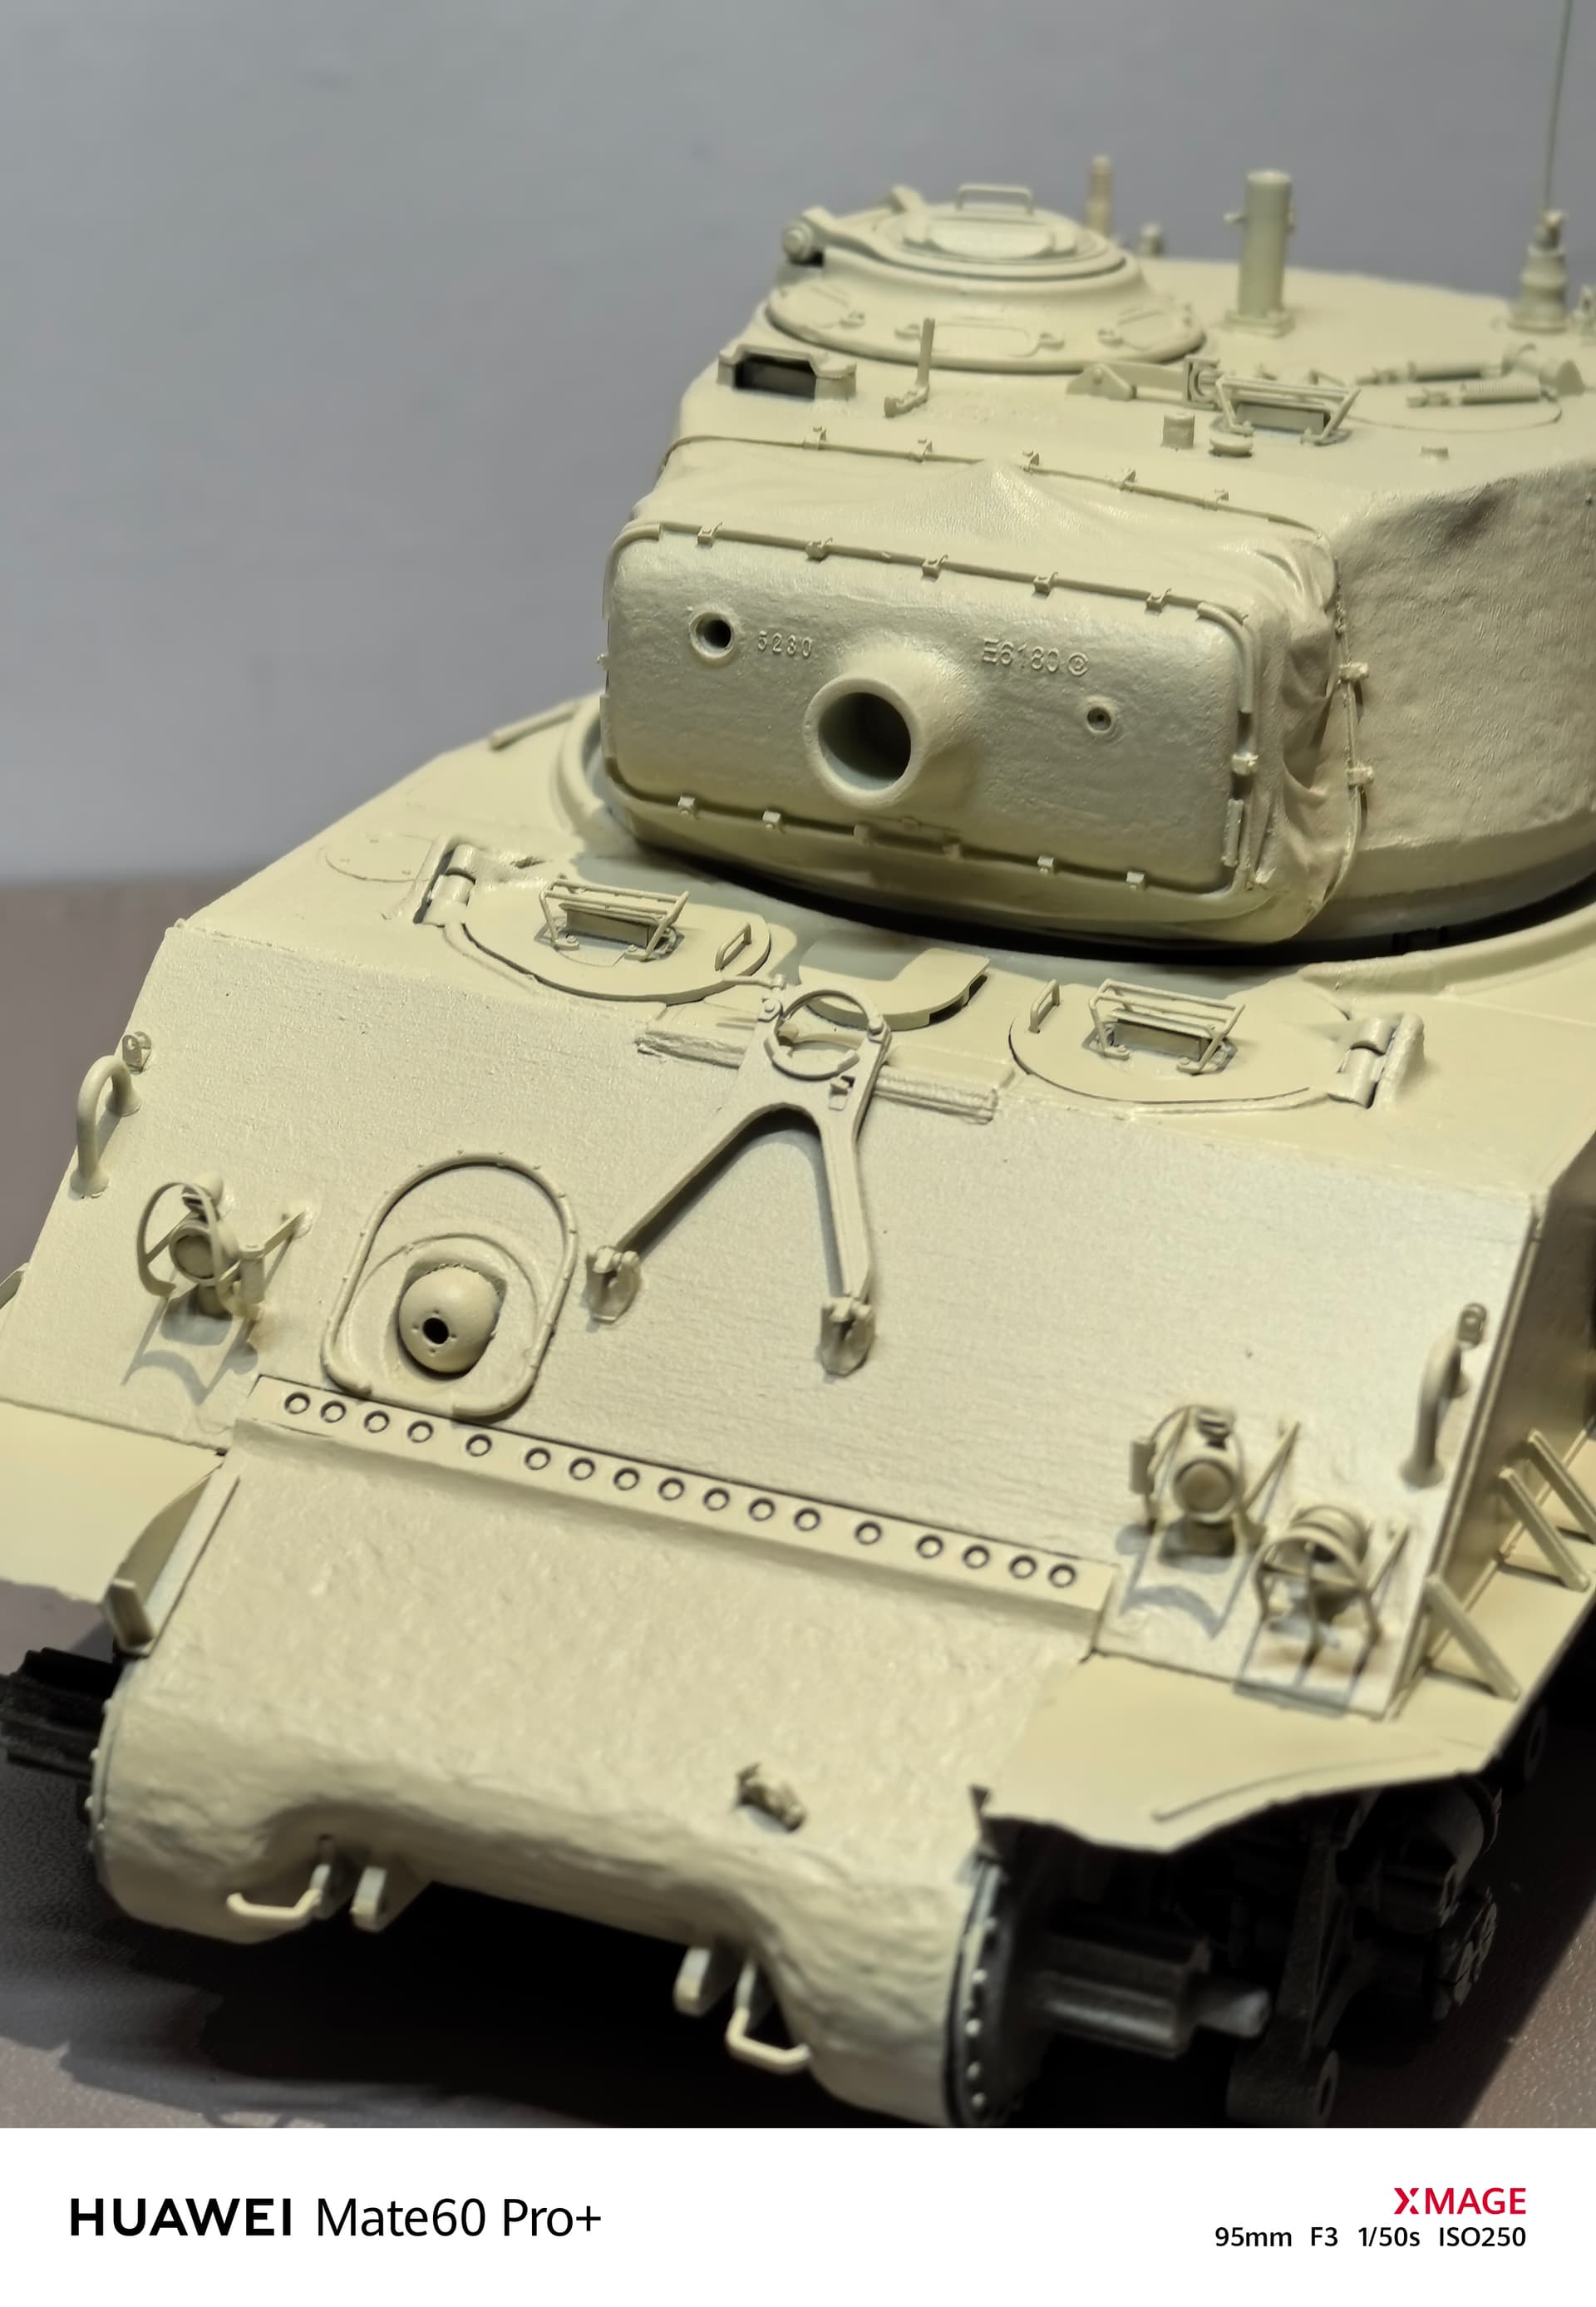
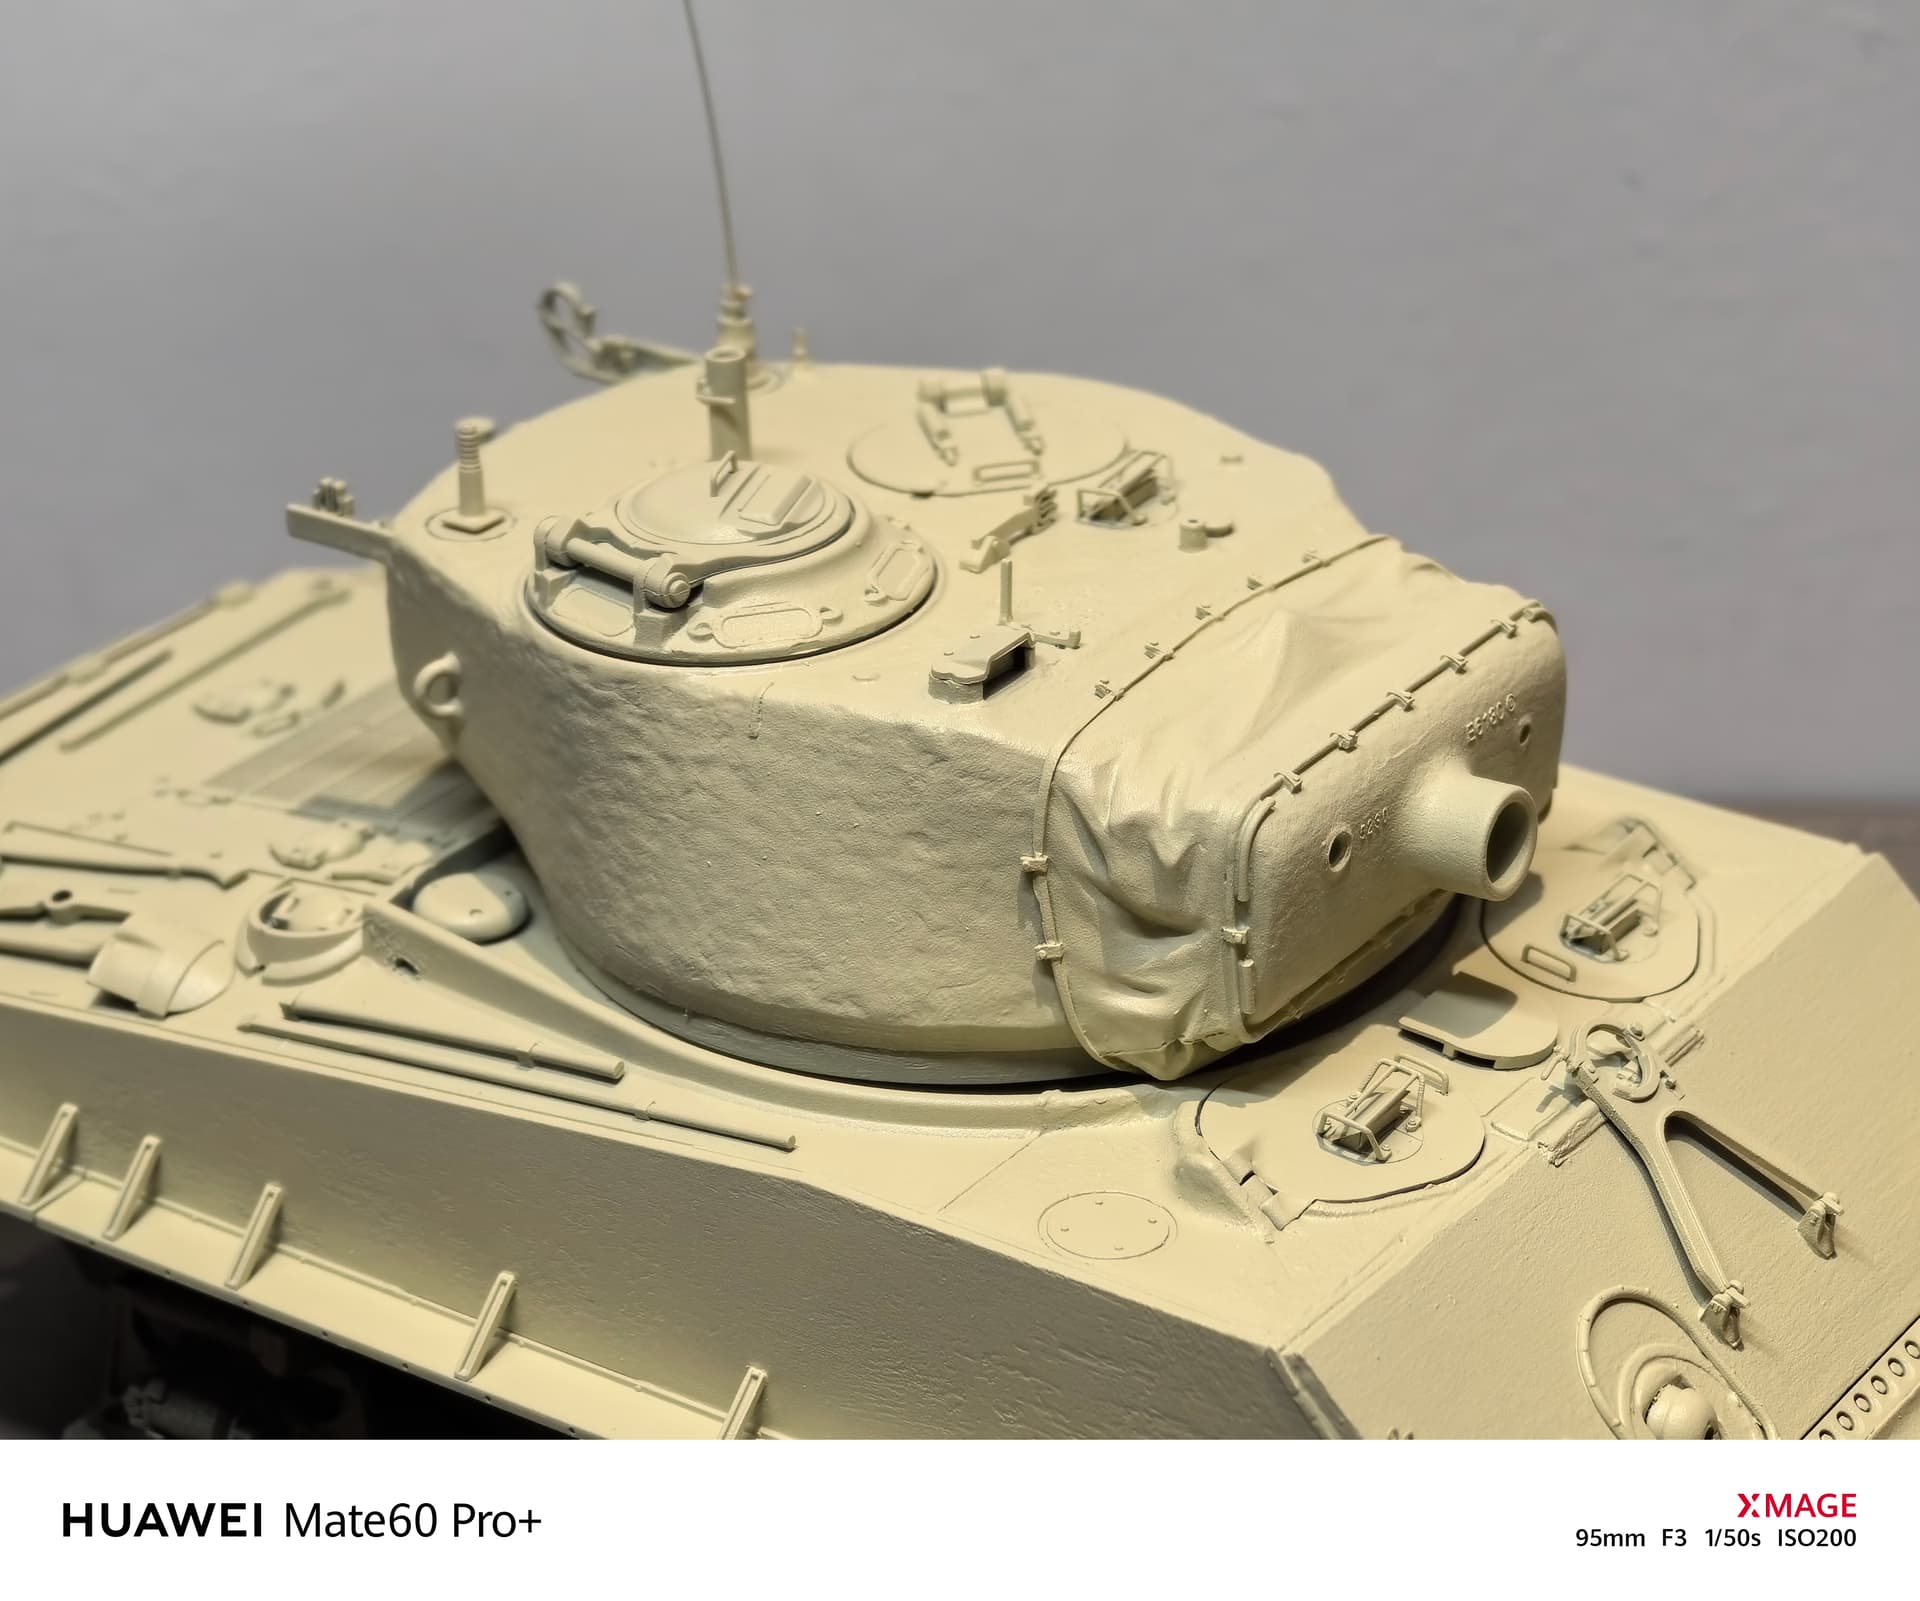
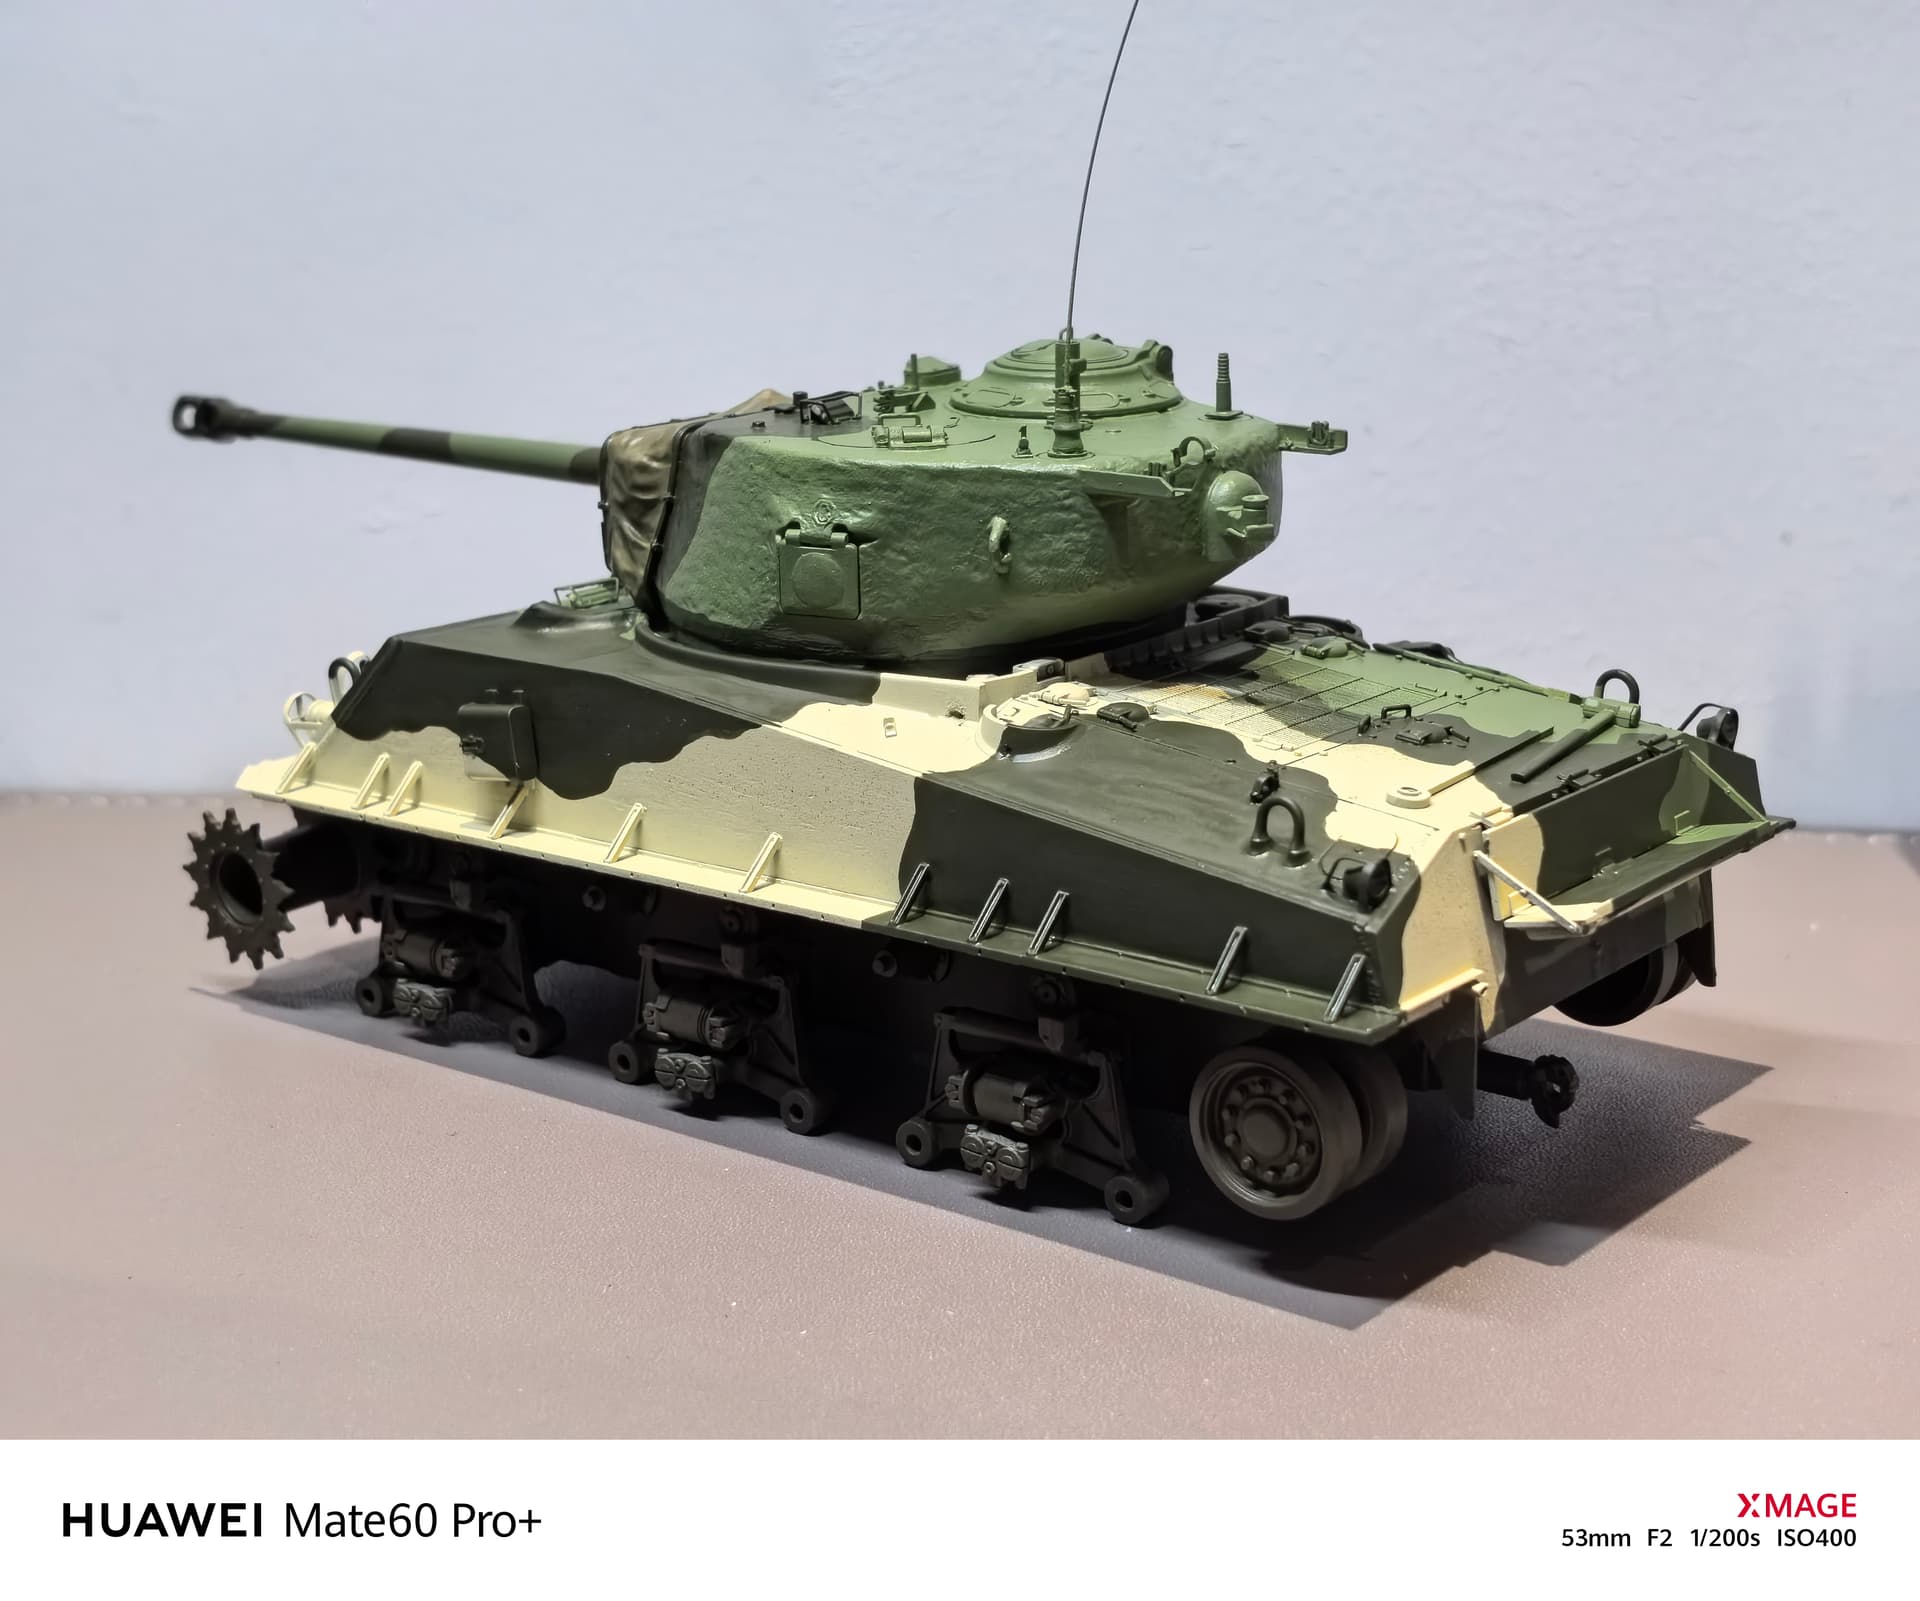
I made some final modifications before painting. The first is that from the photos of the real, none of them were equipped with the co-pilot’s M1919 machine gun, so I took this machine gun off. Replaced with an RFM machine gun shield (yellow), the details are still very good.
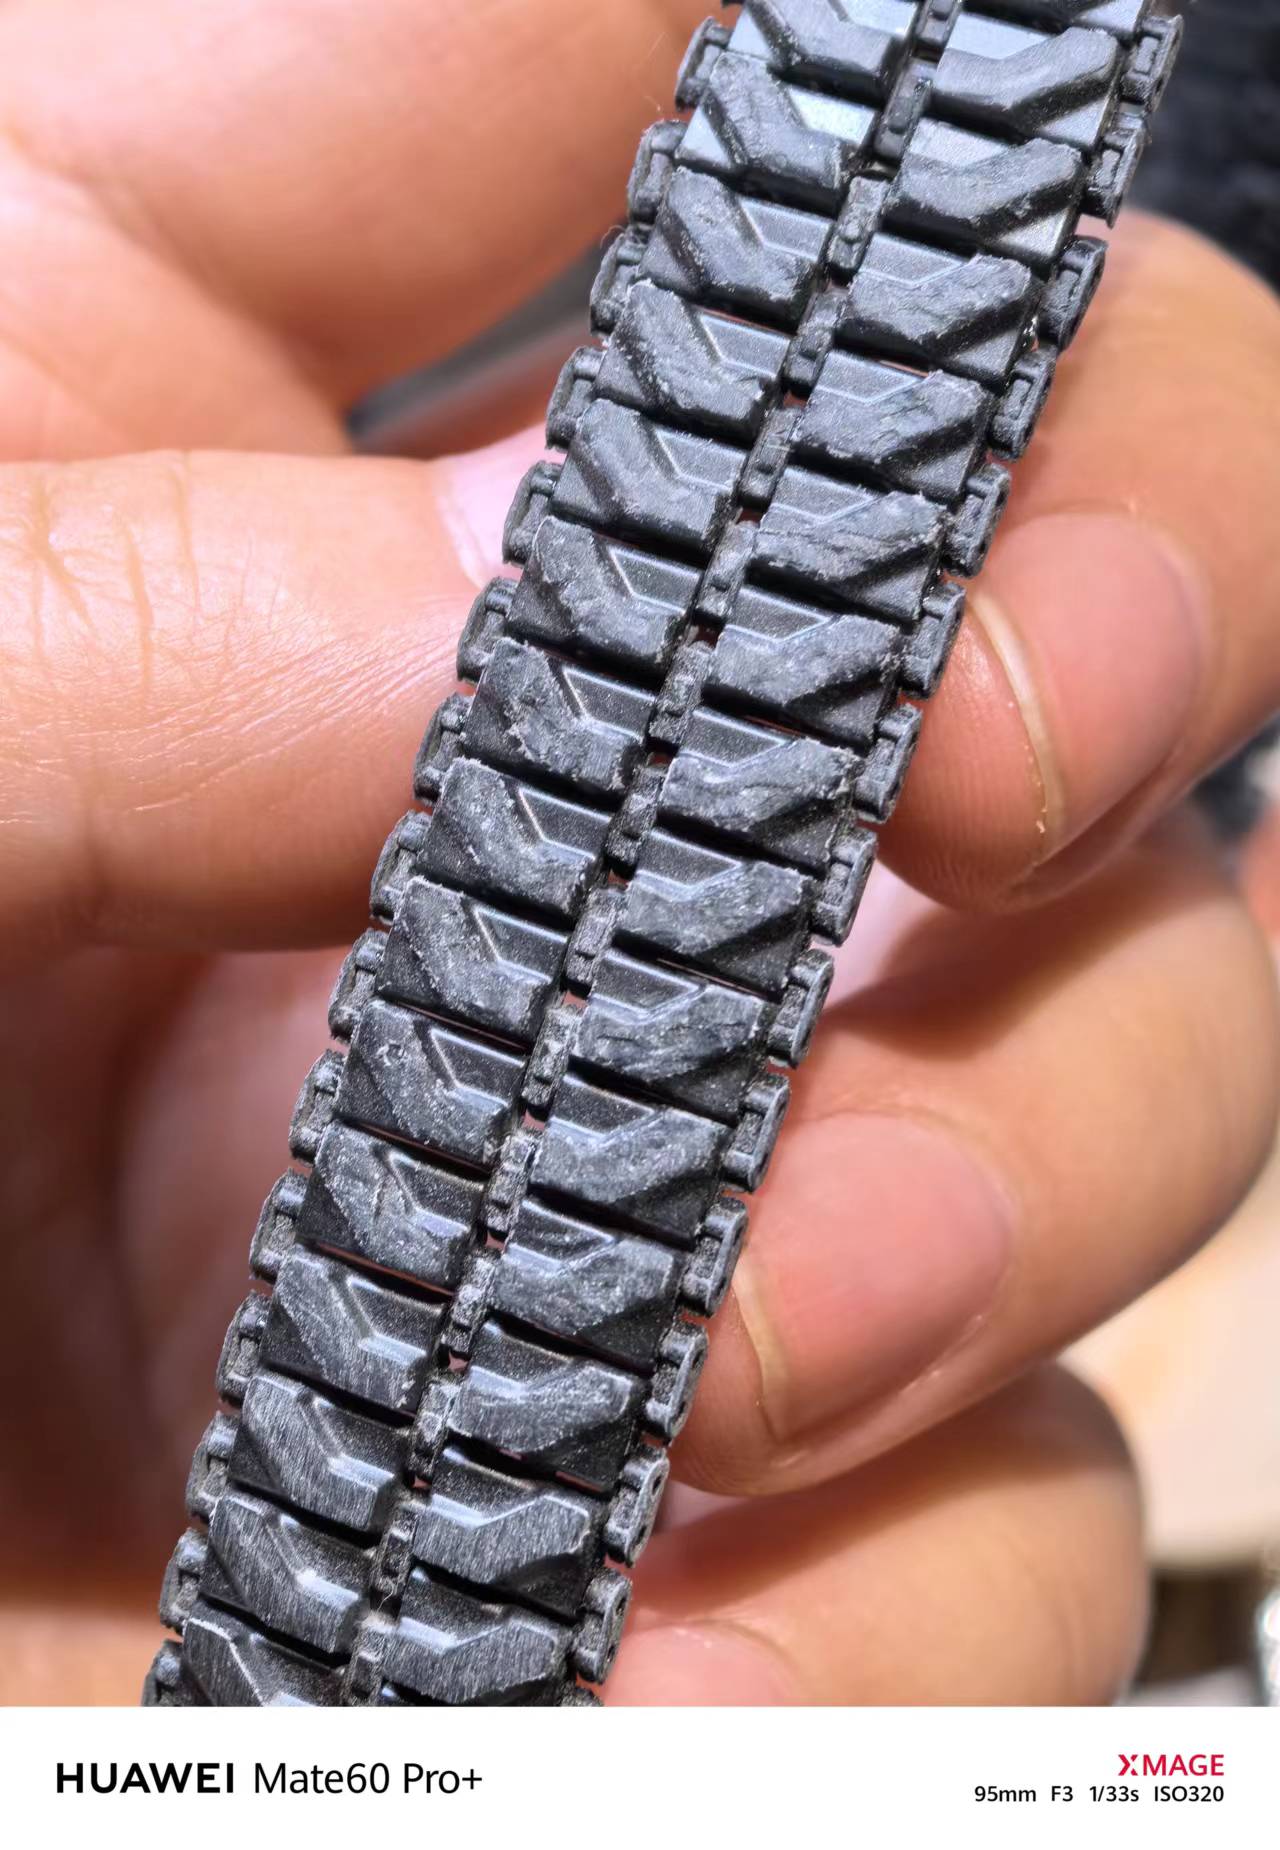
The second is that the actual tracks still have a lot of wear, so I also have to grind thin the tracks. ASUKA’s half-plastic and half-rubber tracks are ideal for grinding. It was easy to grind thin the rubber blocks of the tracks (actually it’s hard plastic on the model). In addition, I also heavy drinded a small section of the track to simulate the effect of high-intensity wear. If I need to, I will turn this section out and show it, and if I don’t need it, I will turn it in and hide it.
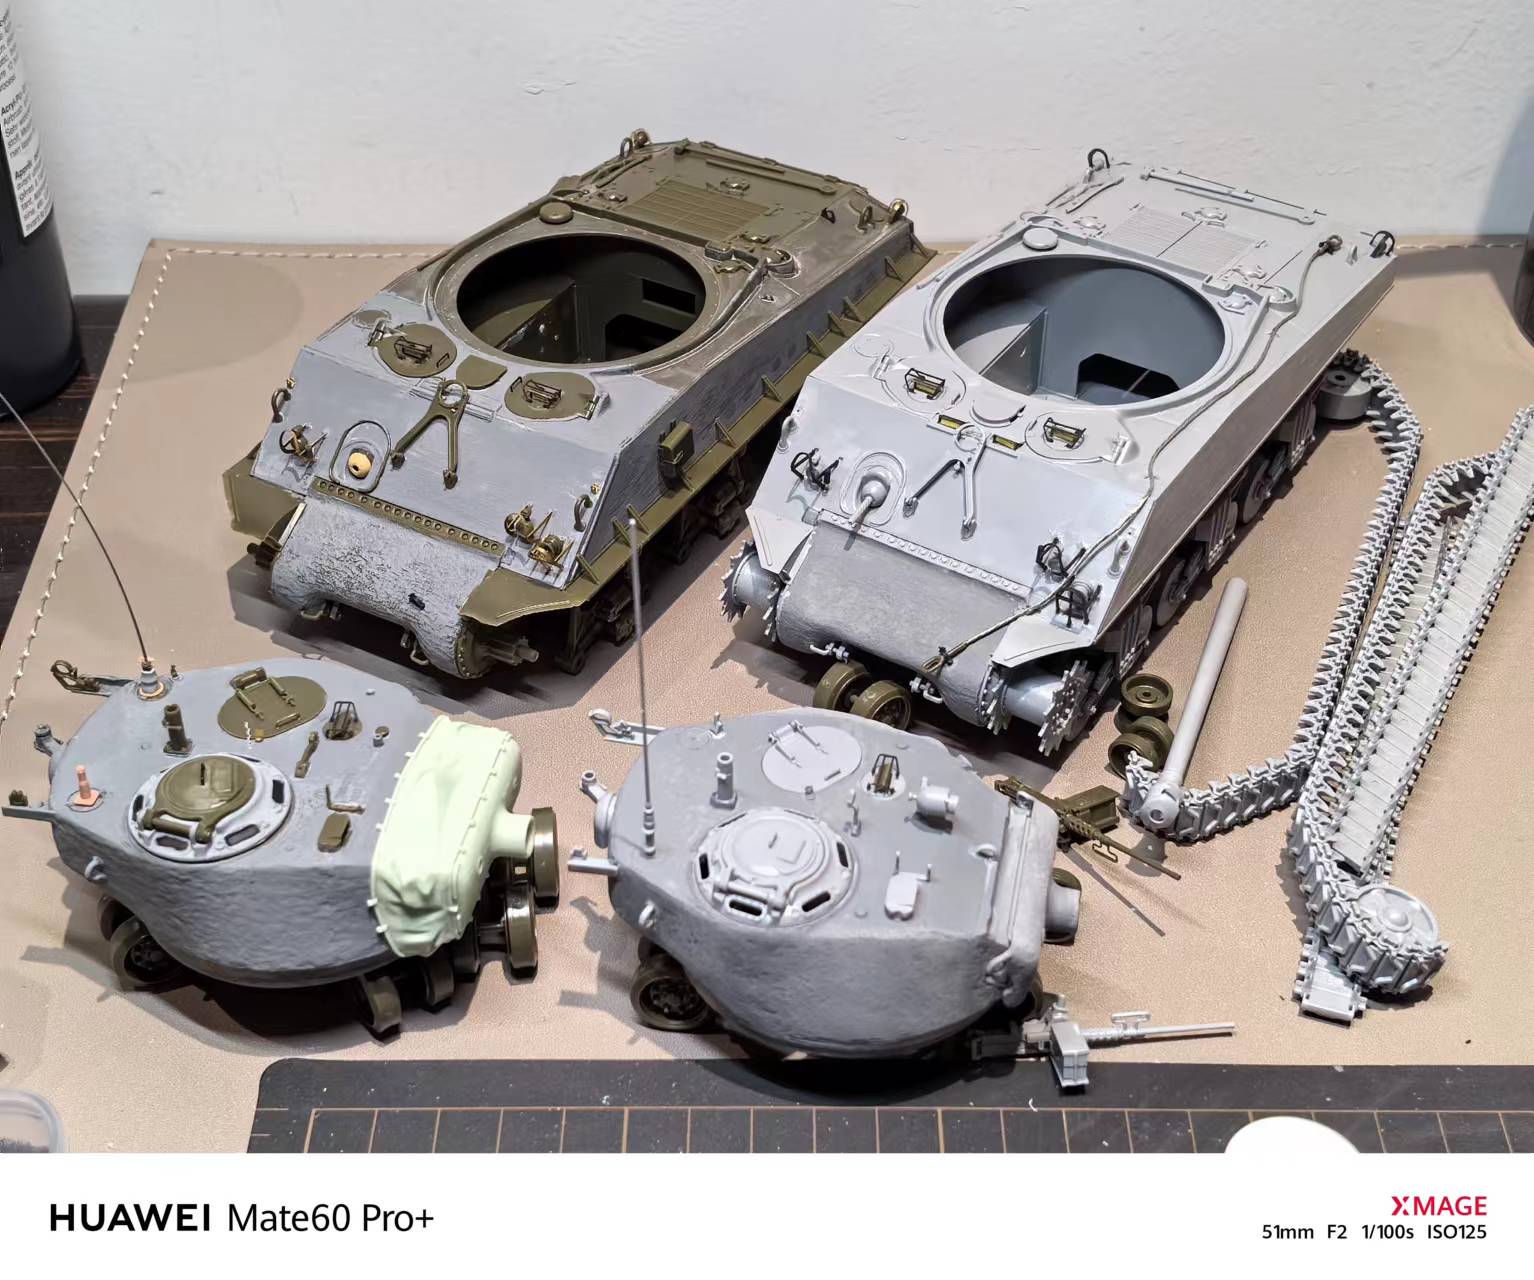
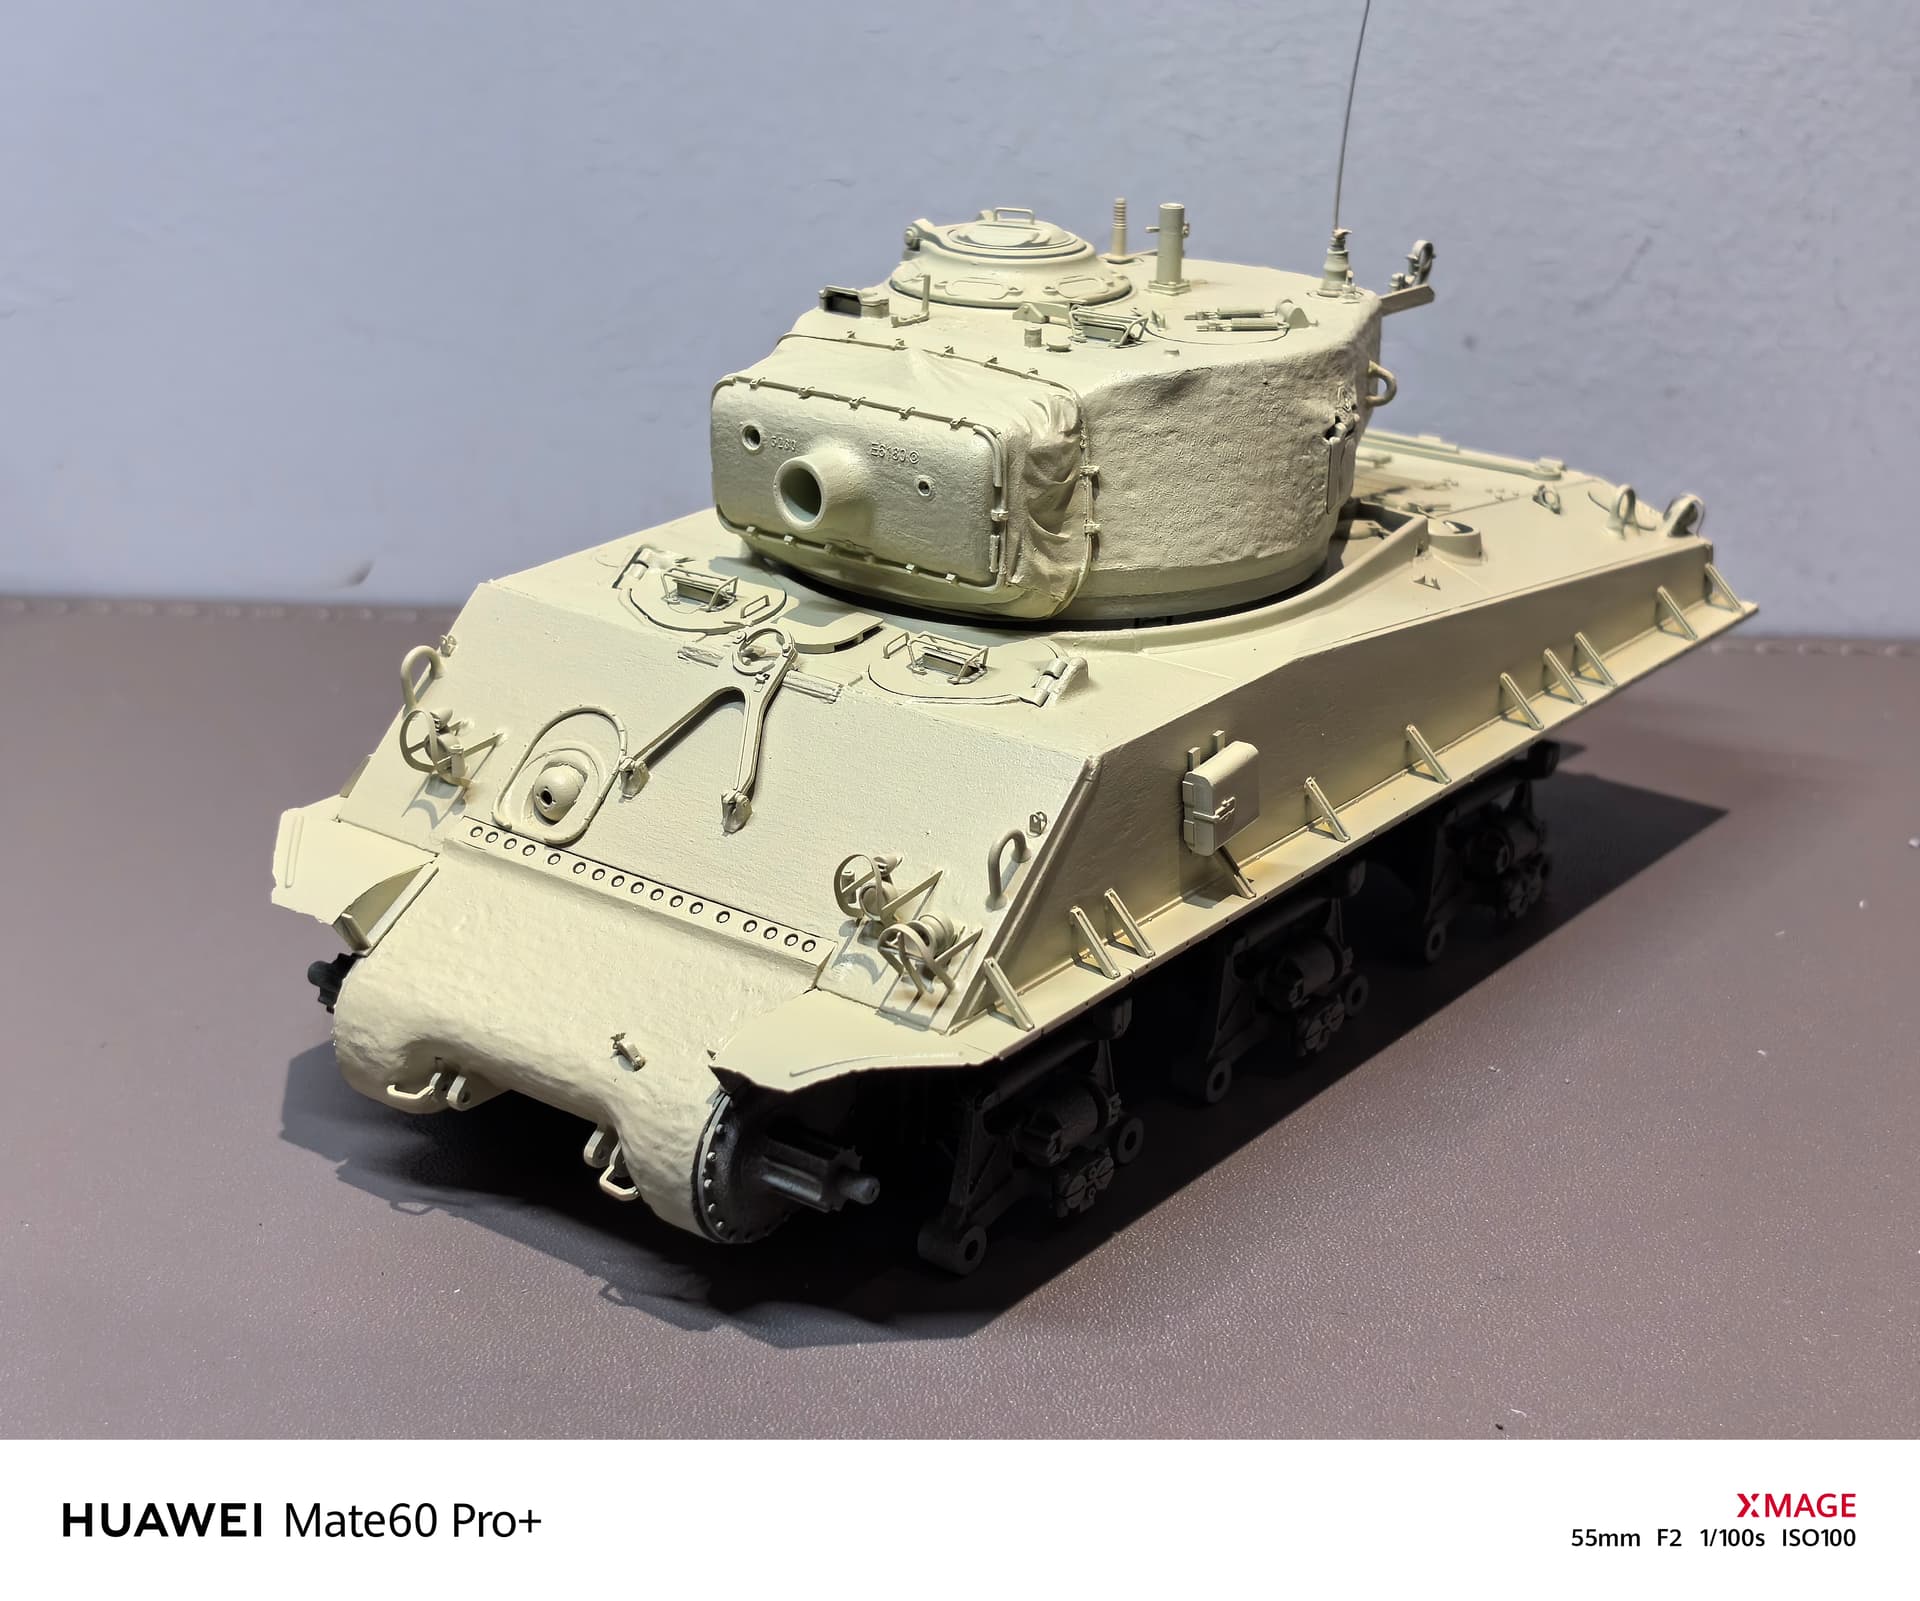
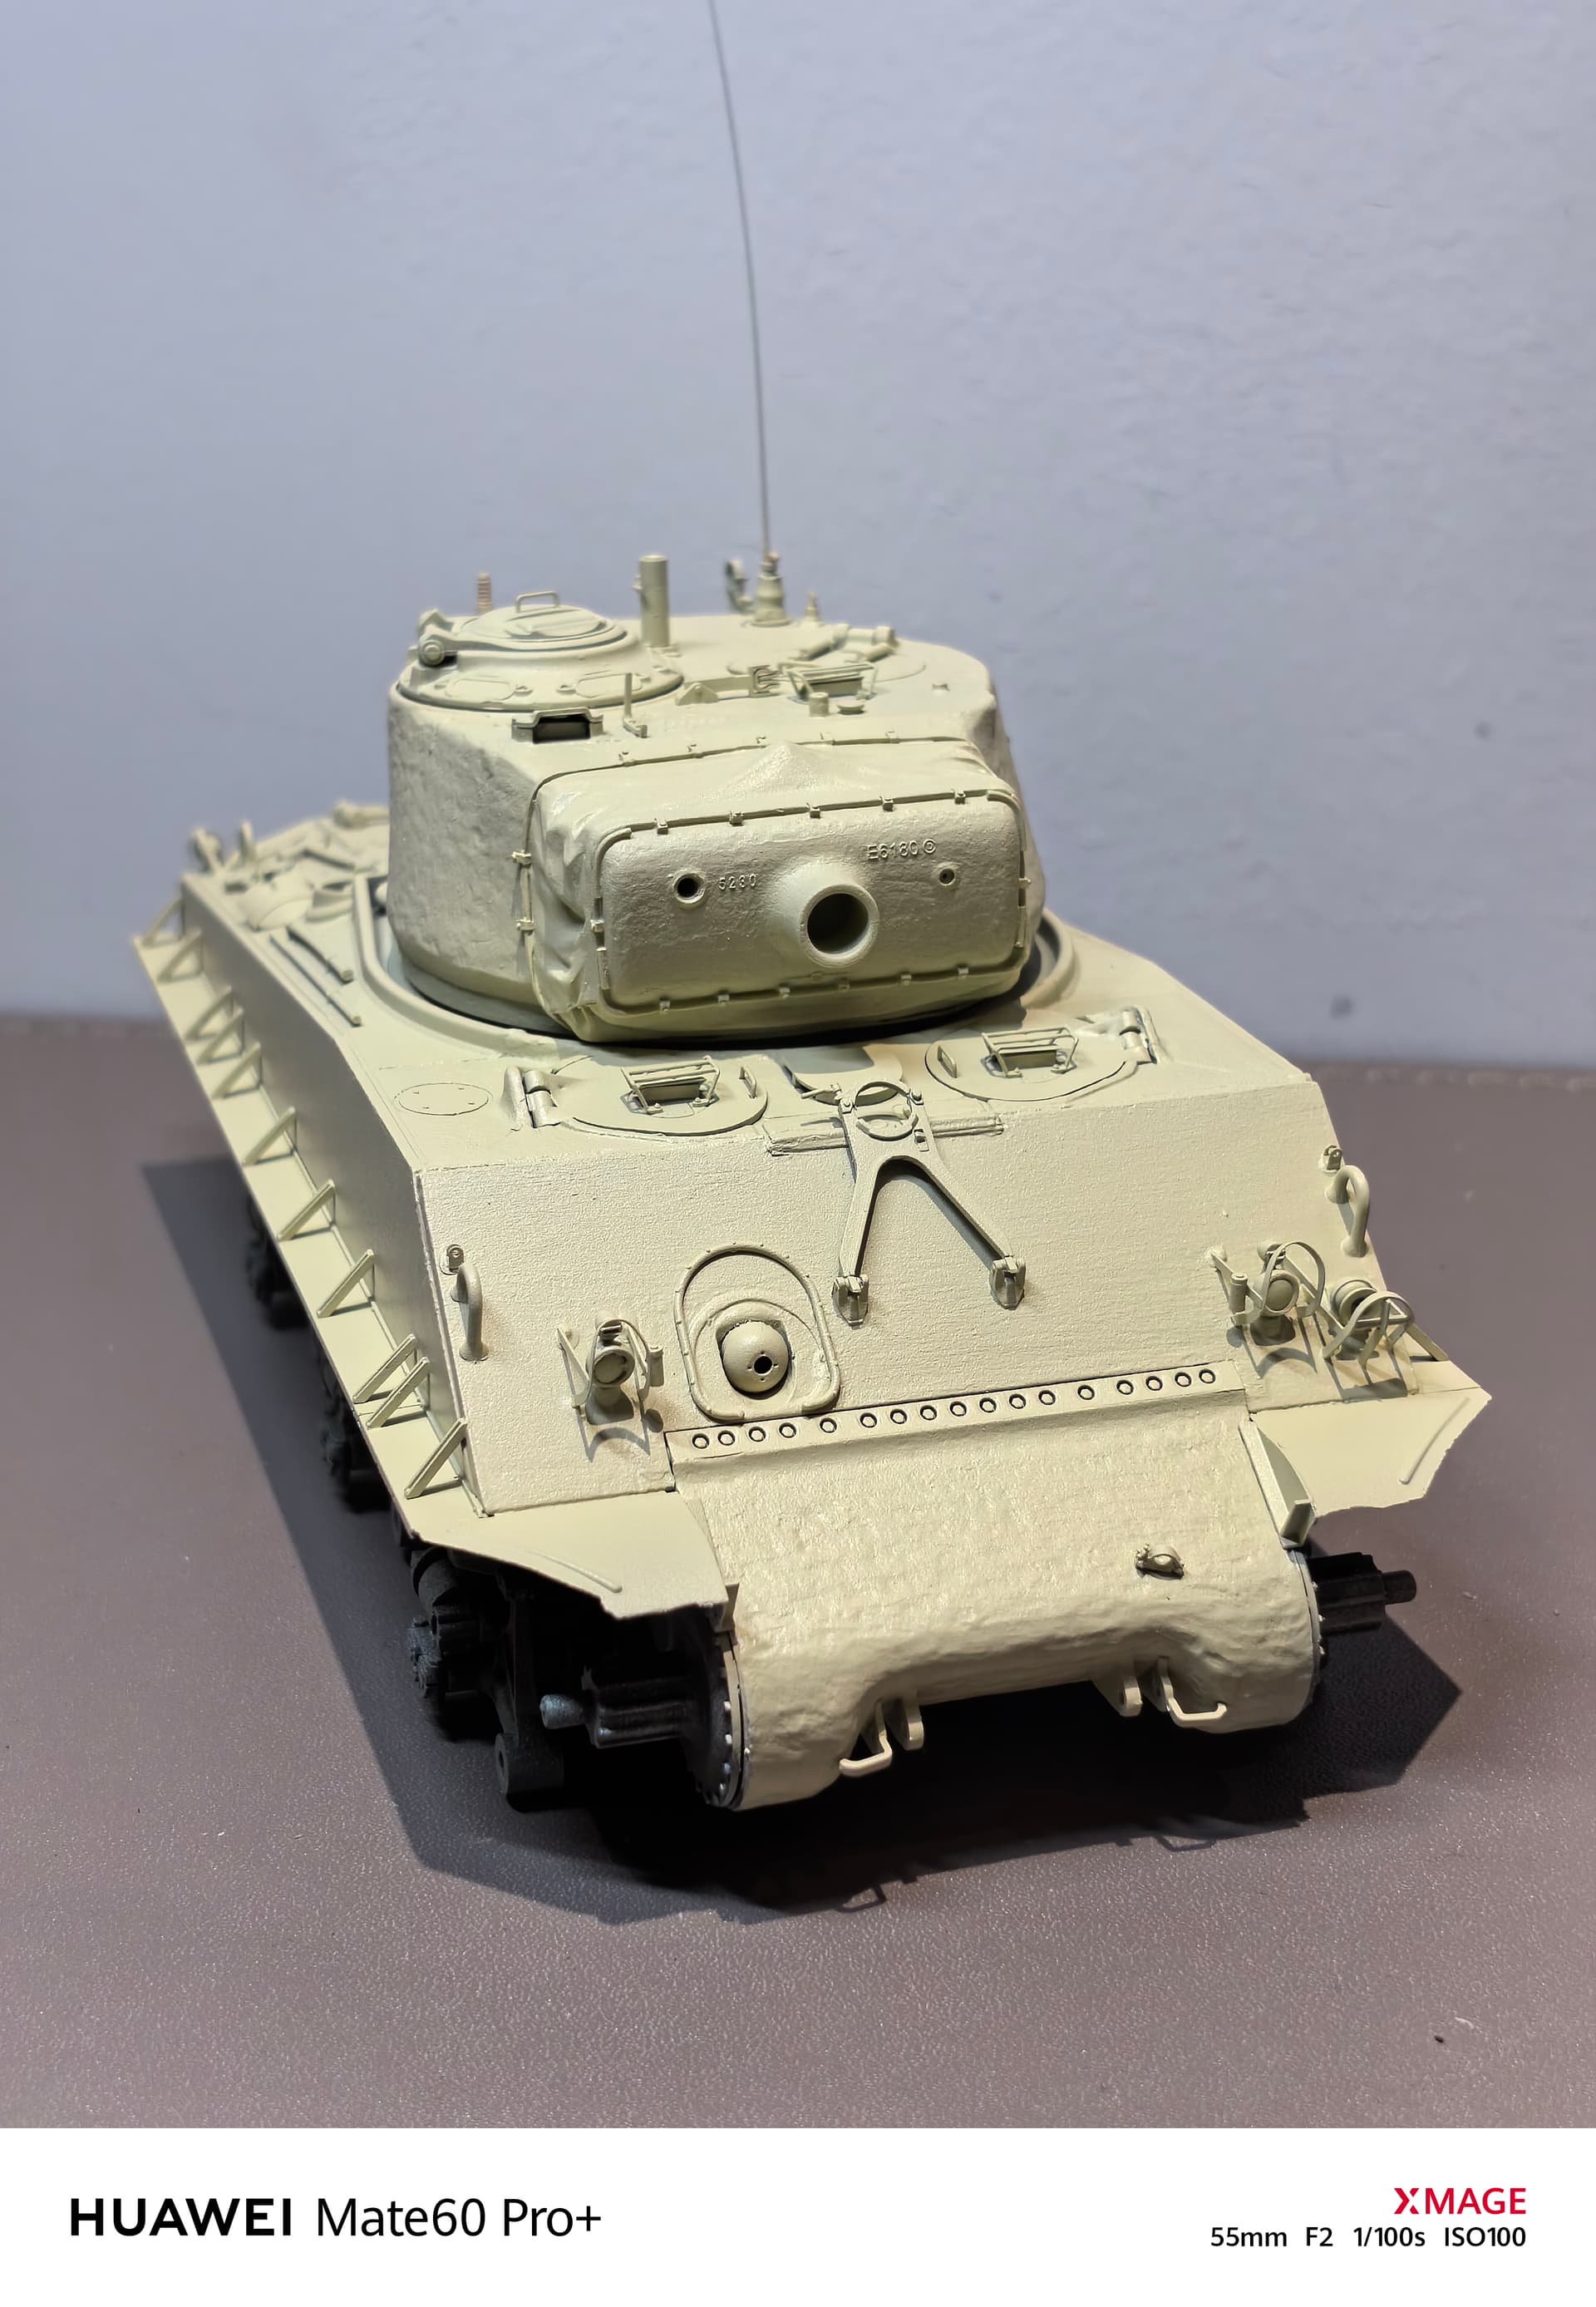
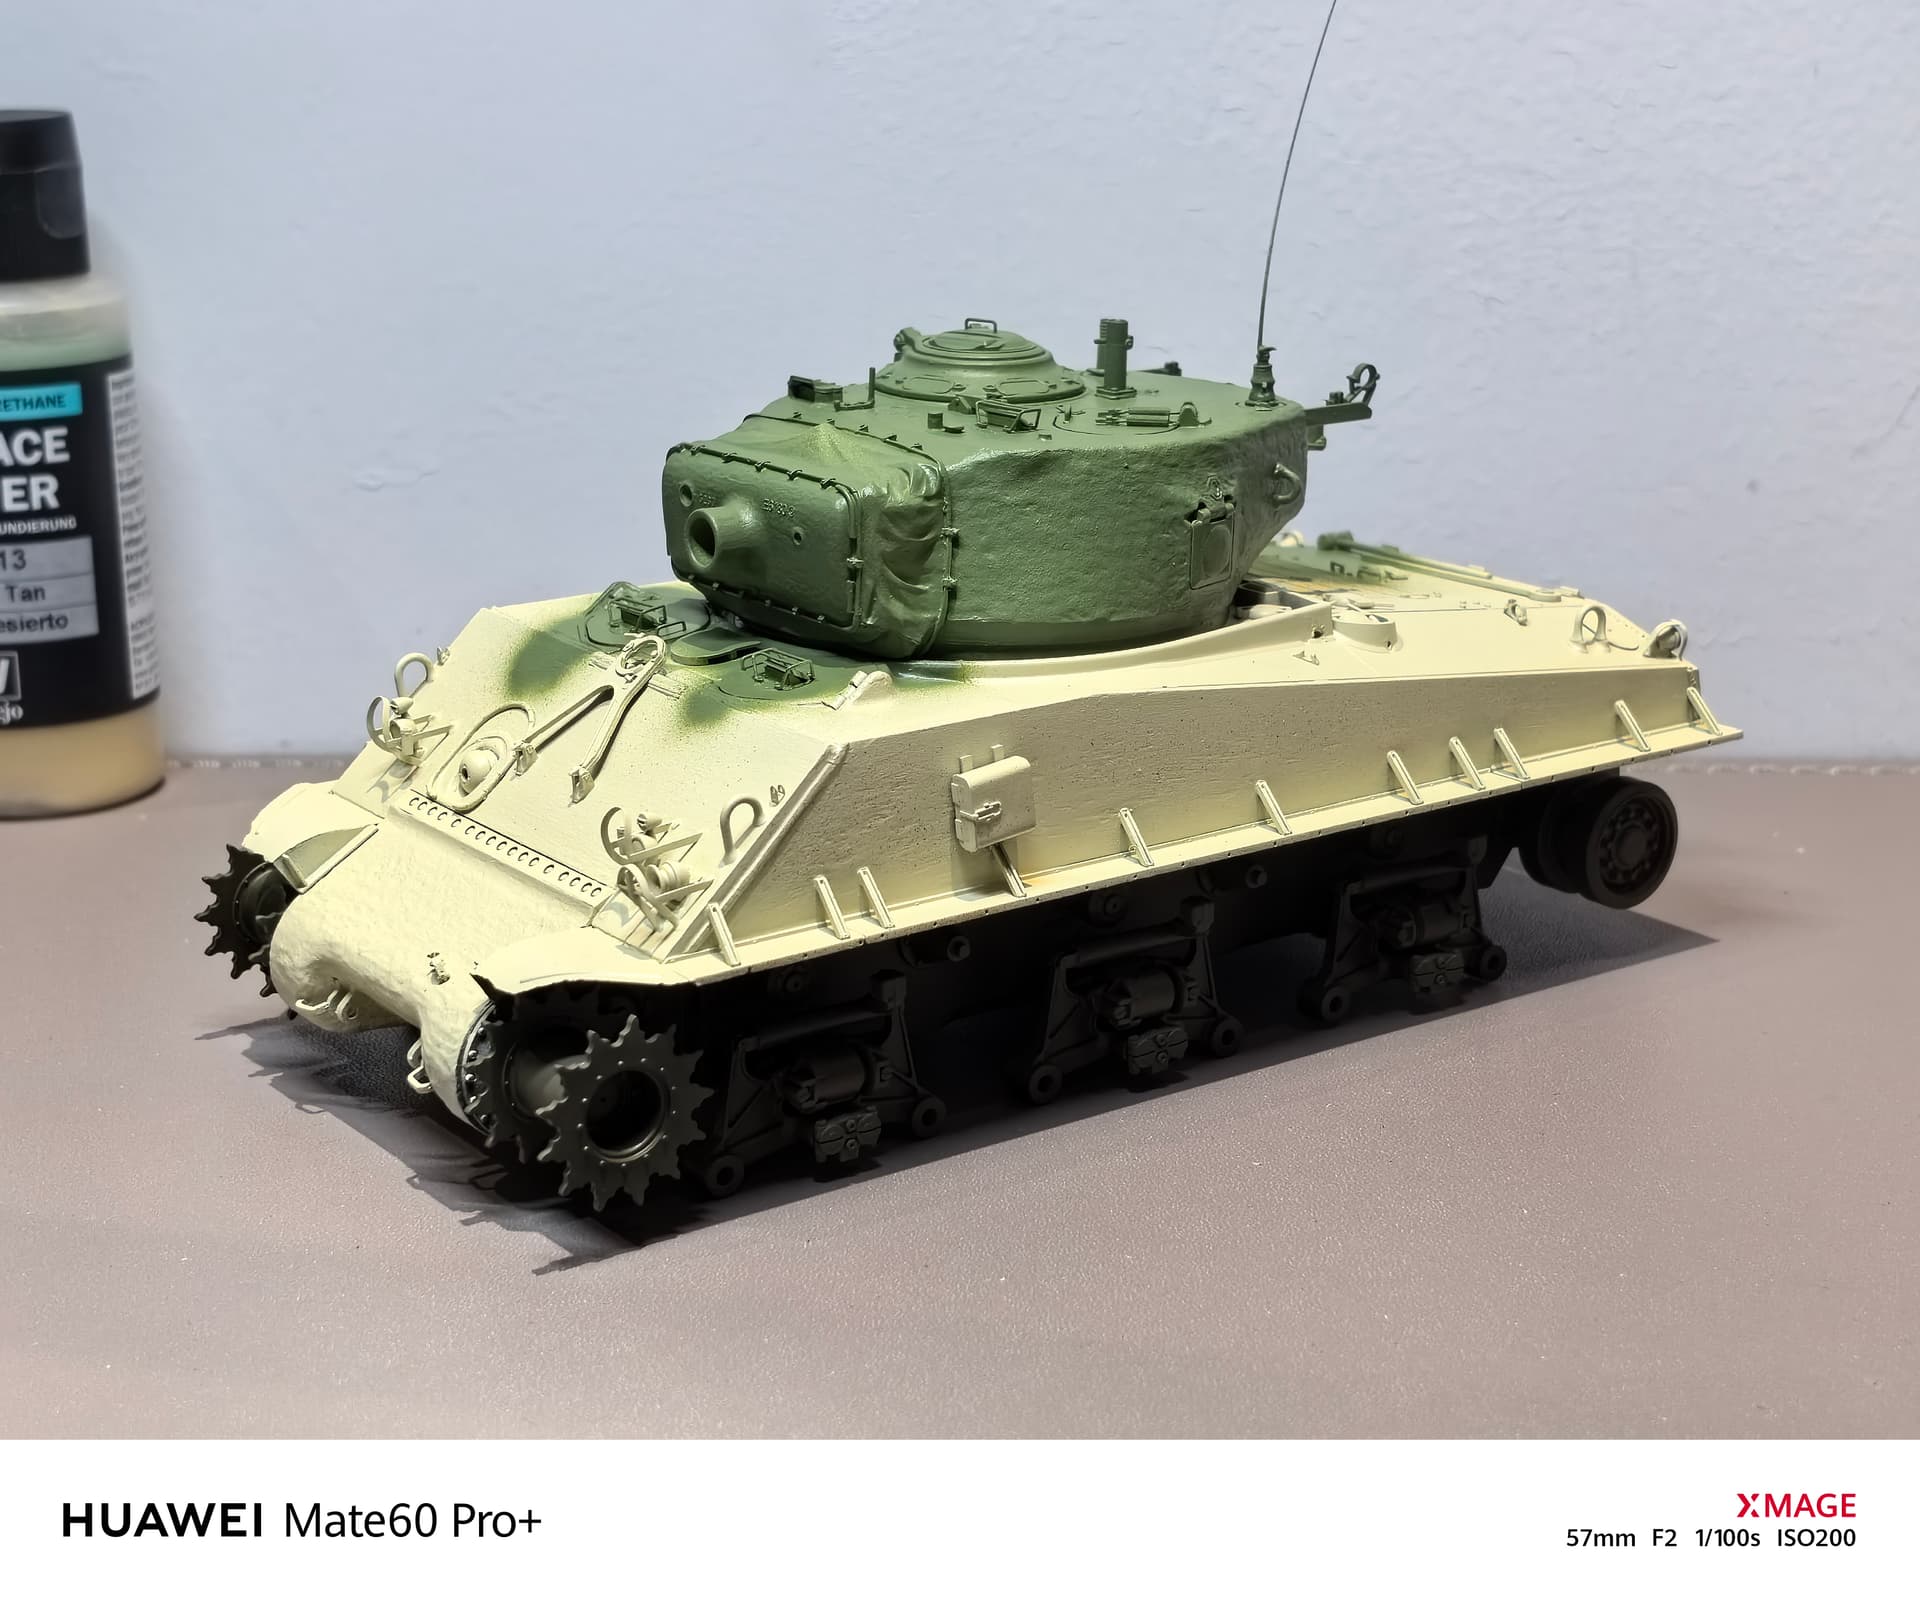
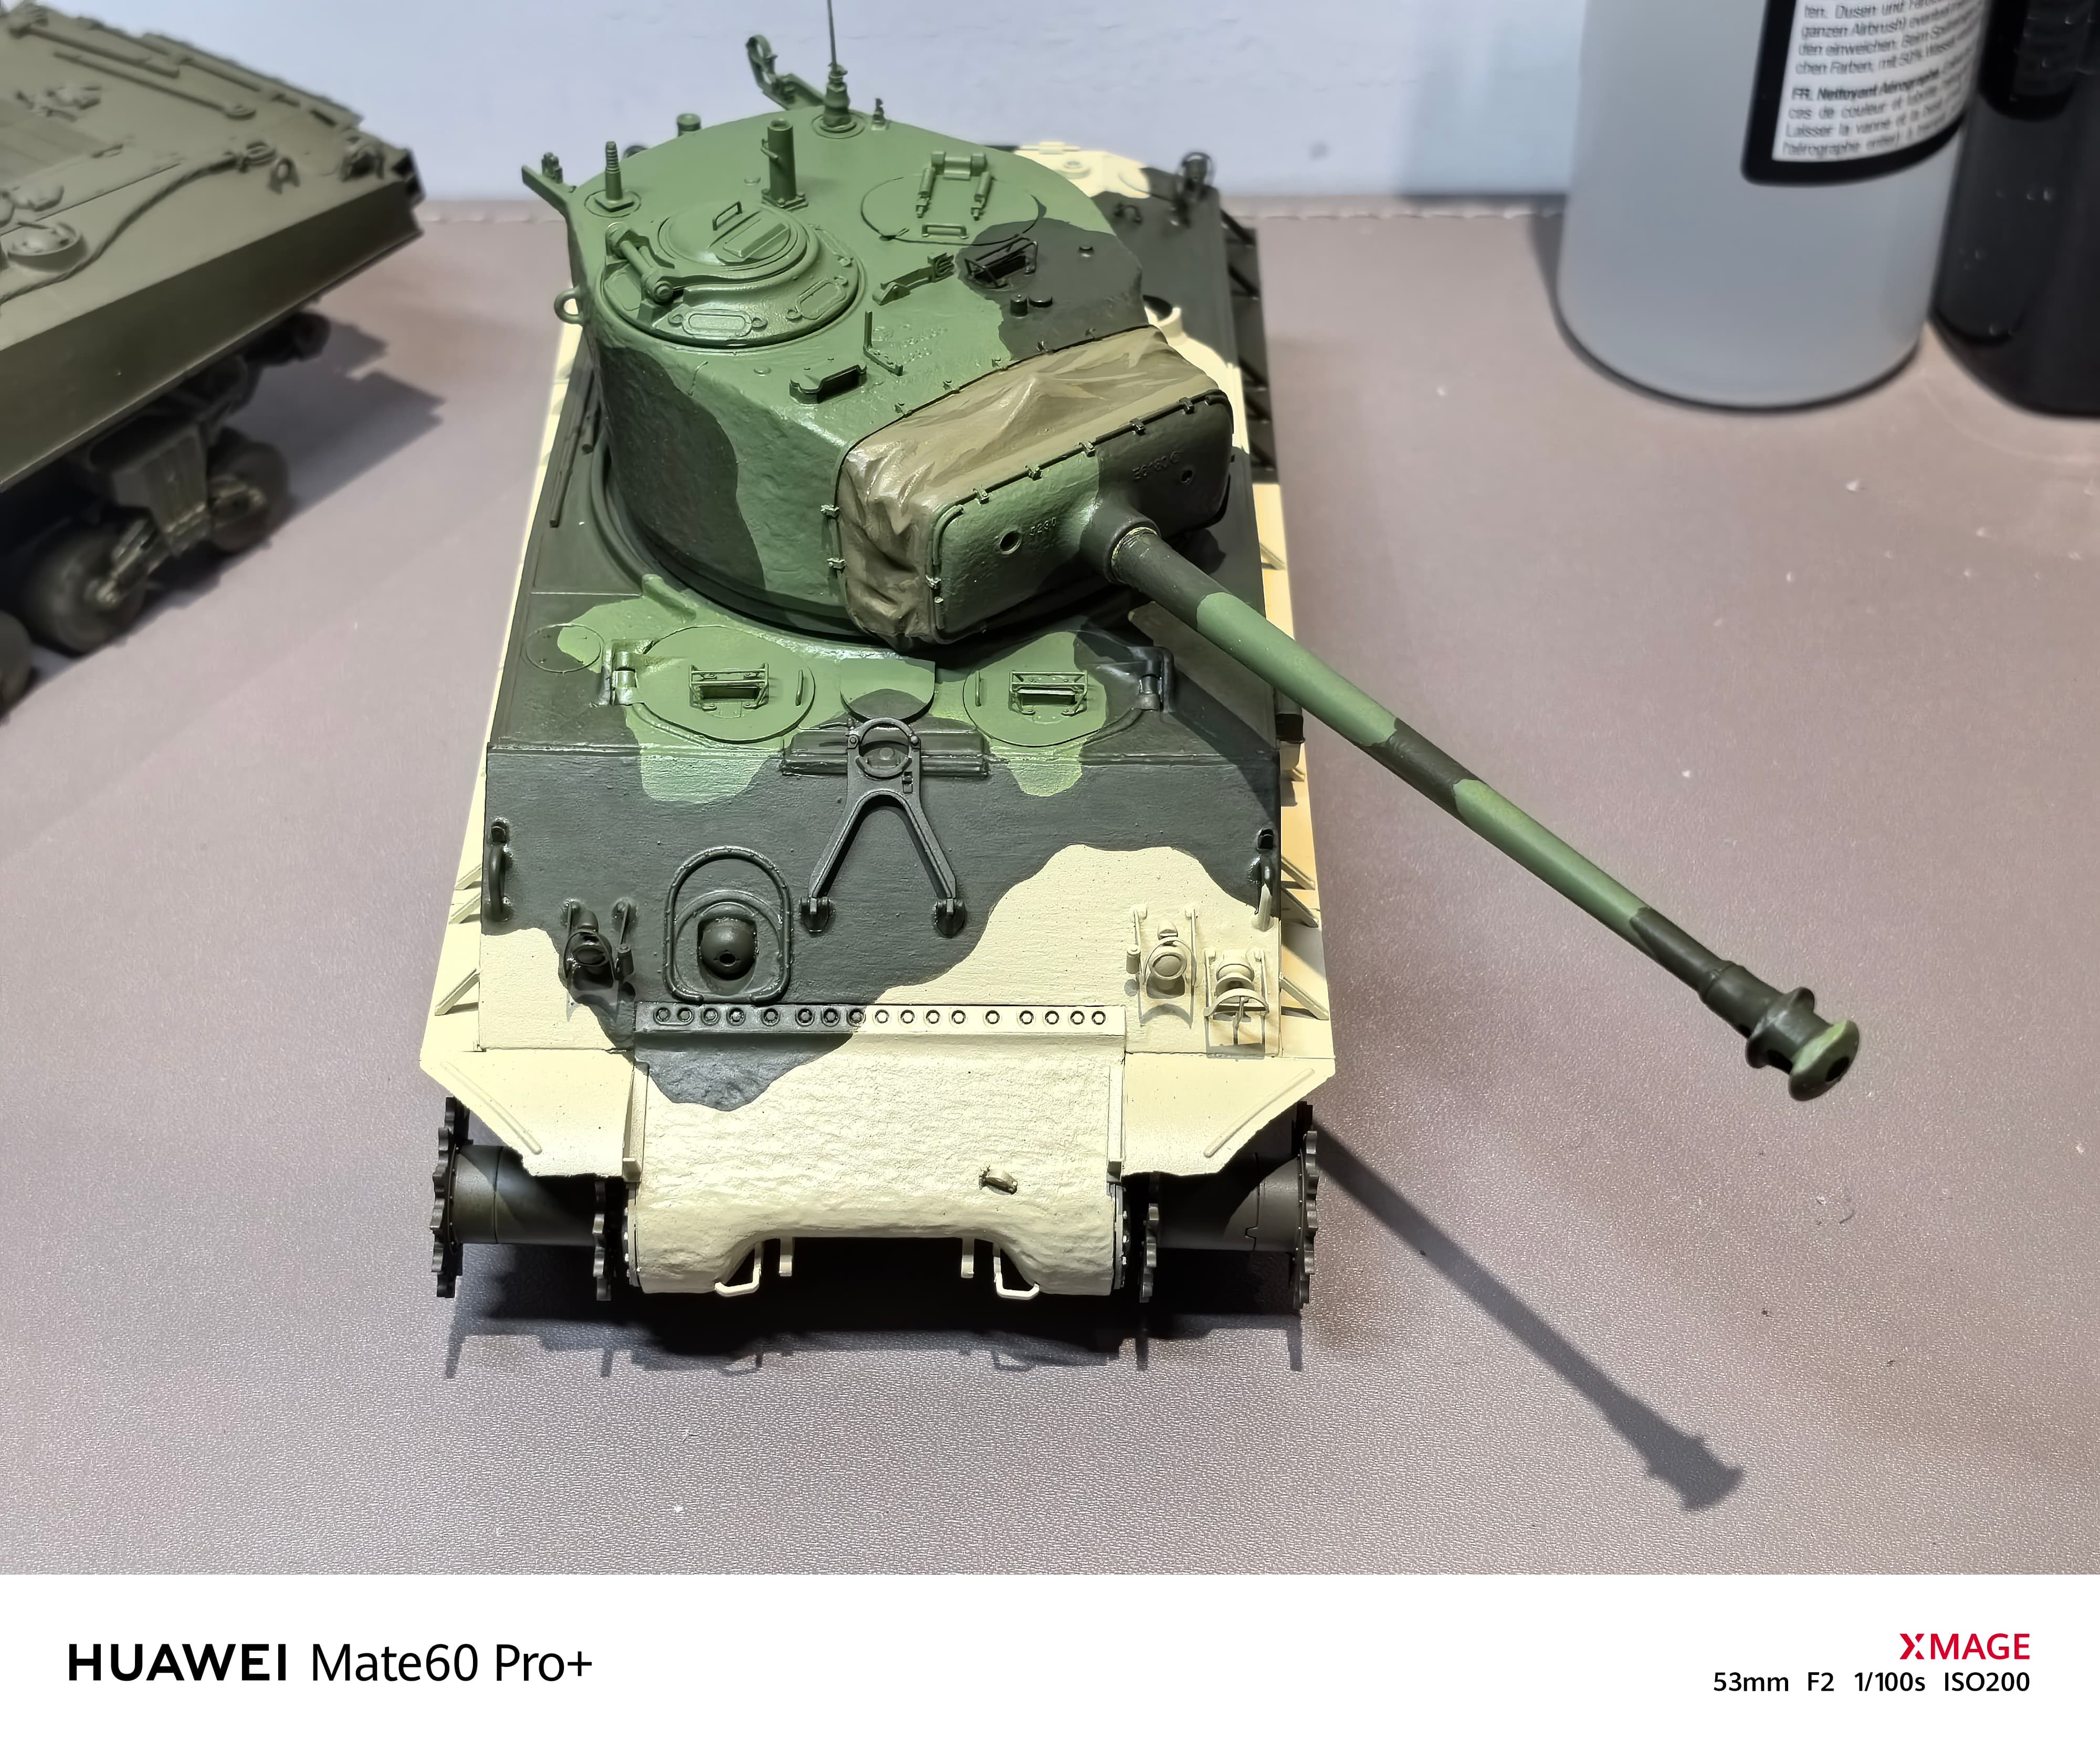
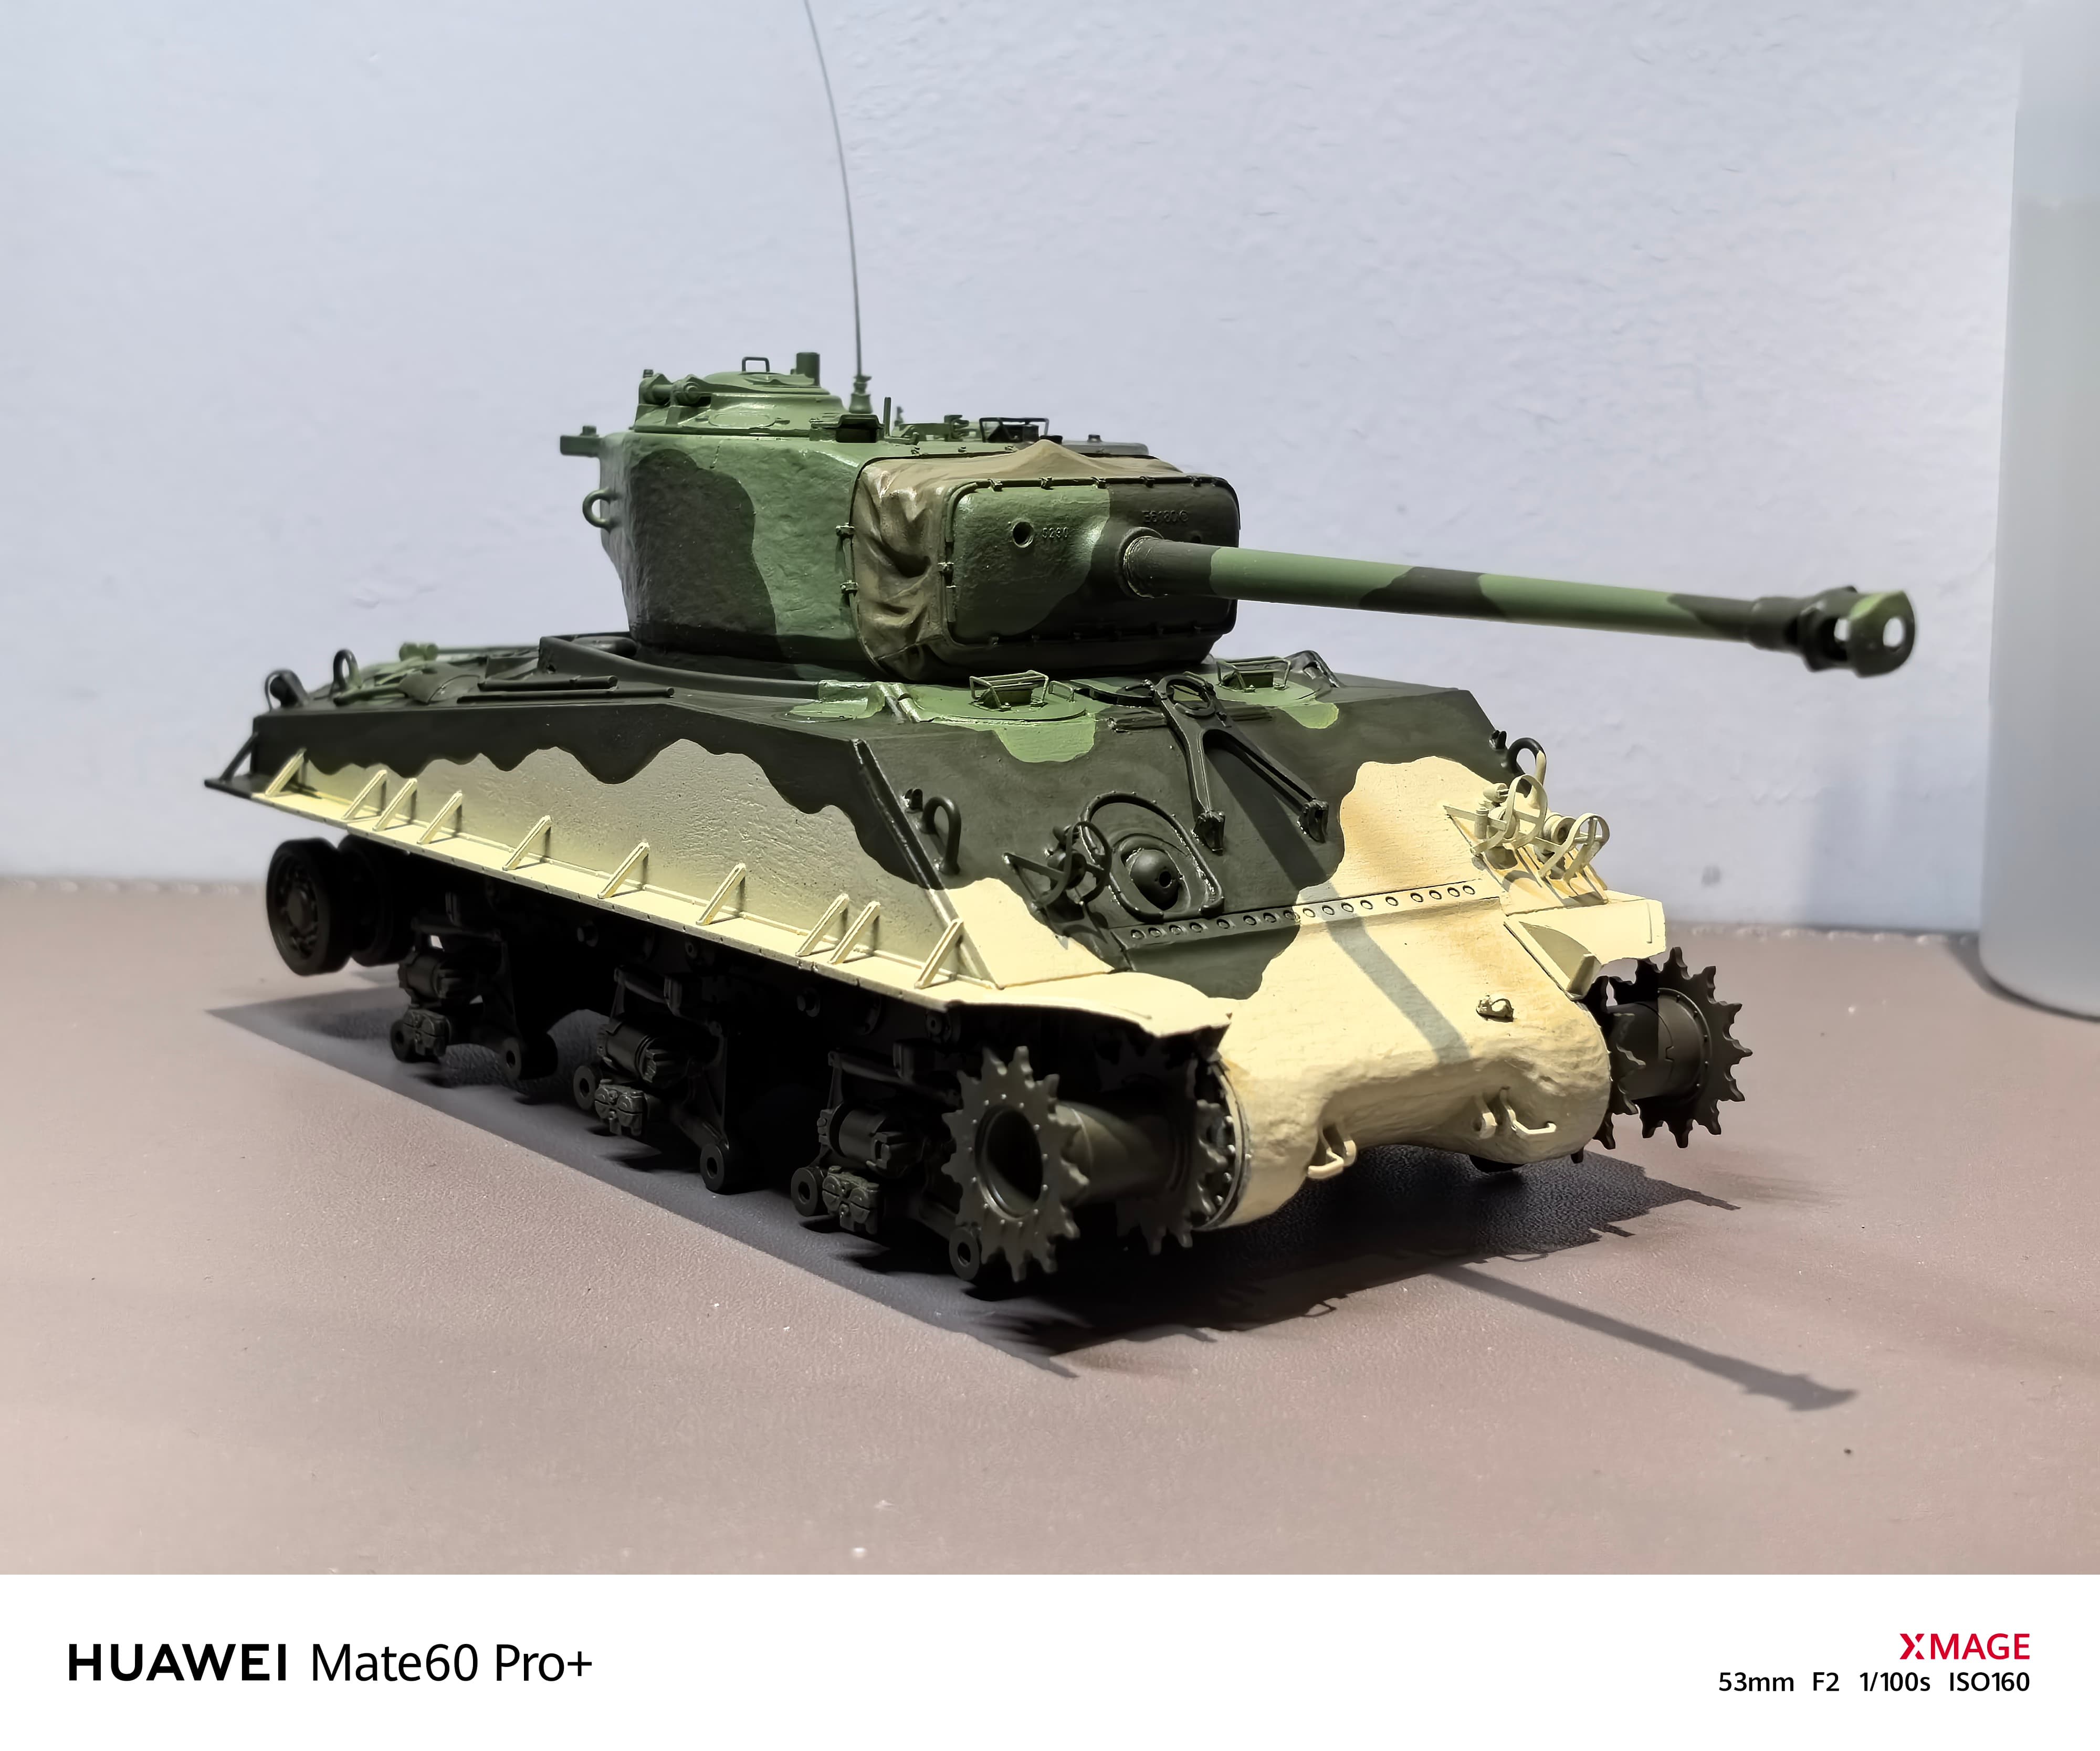
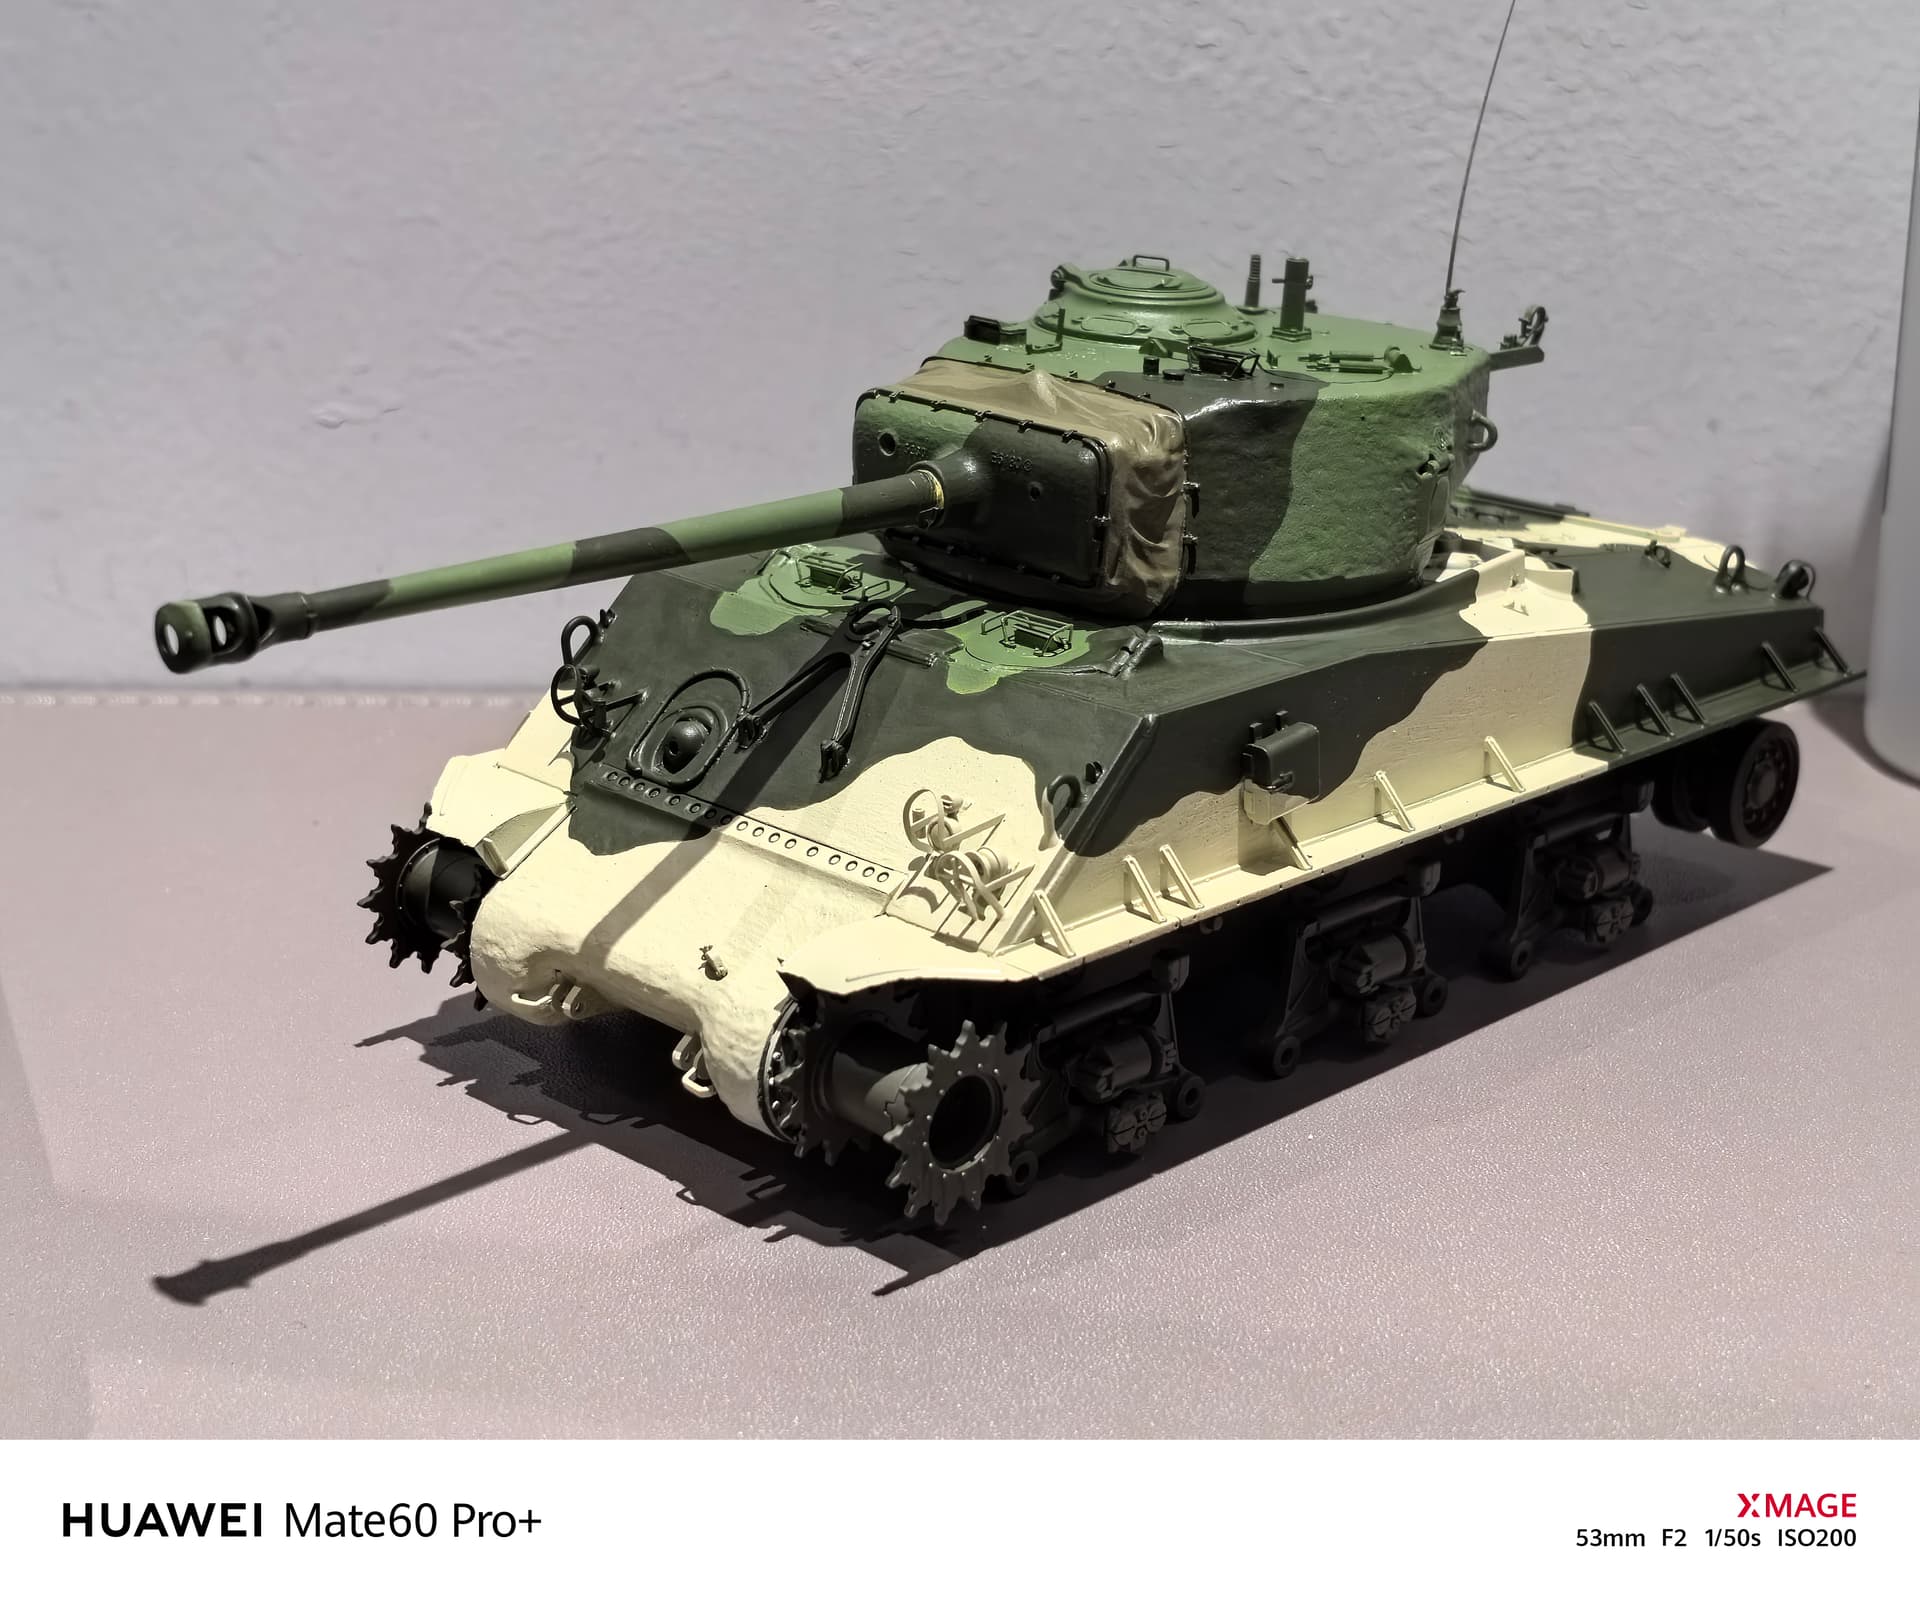
Now the painting phase begins. First I’ll start with a coat of primer. Because the Canadian camouflage is very unique. The chassis is a regular monochrome olive drab, while the upper hull and turret are light sand, olive green, and light green tricolor camouflage. So I sprayed olive drab primer on the chassis, desert tan primer on the upper body and the turret. I using AV’s water-based primer, the color is relatively accurate. Then the next step is to apply the camouflage color.
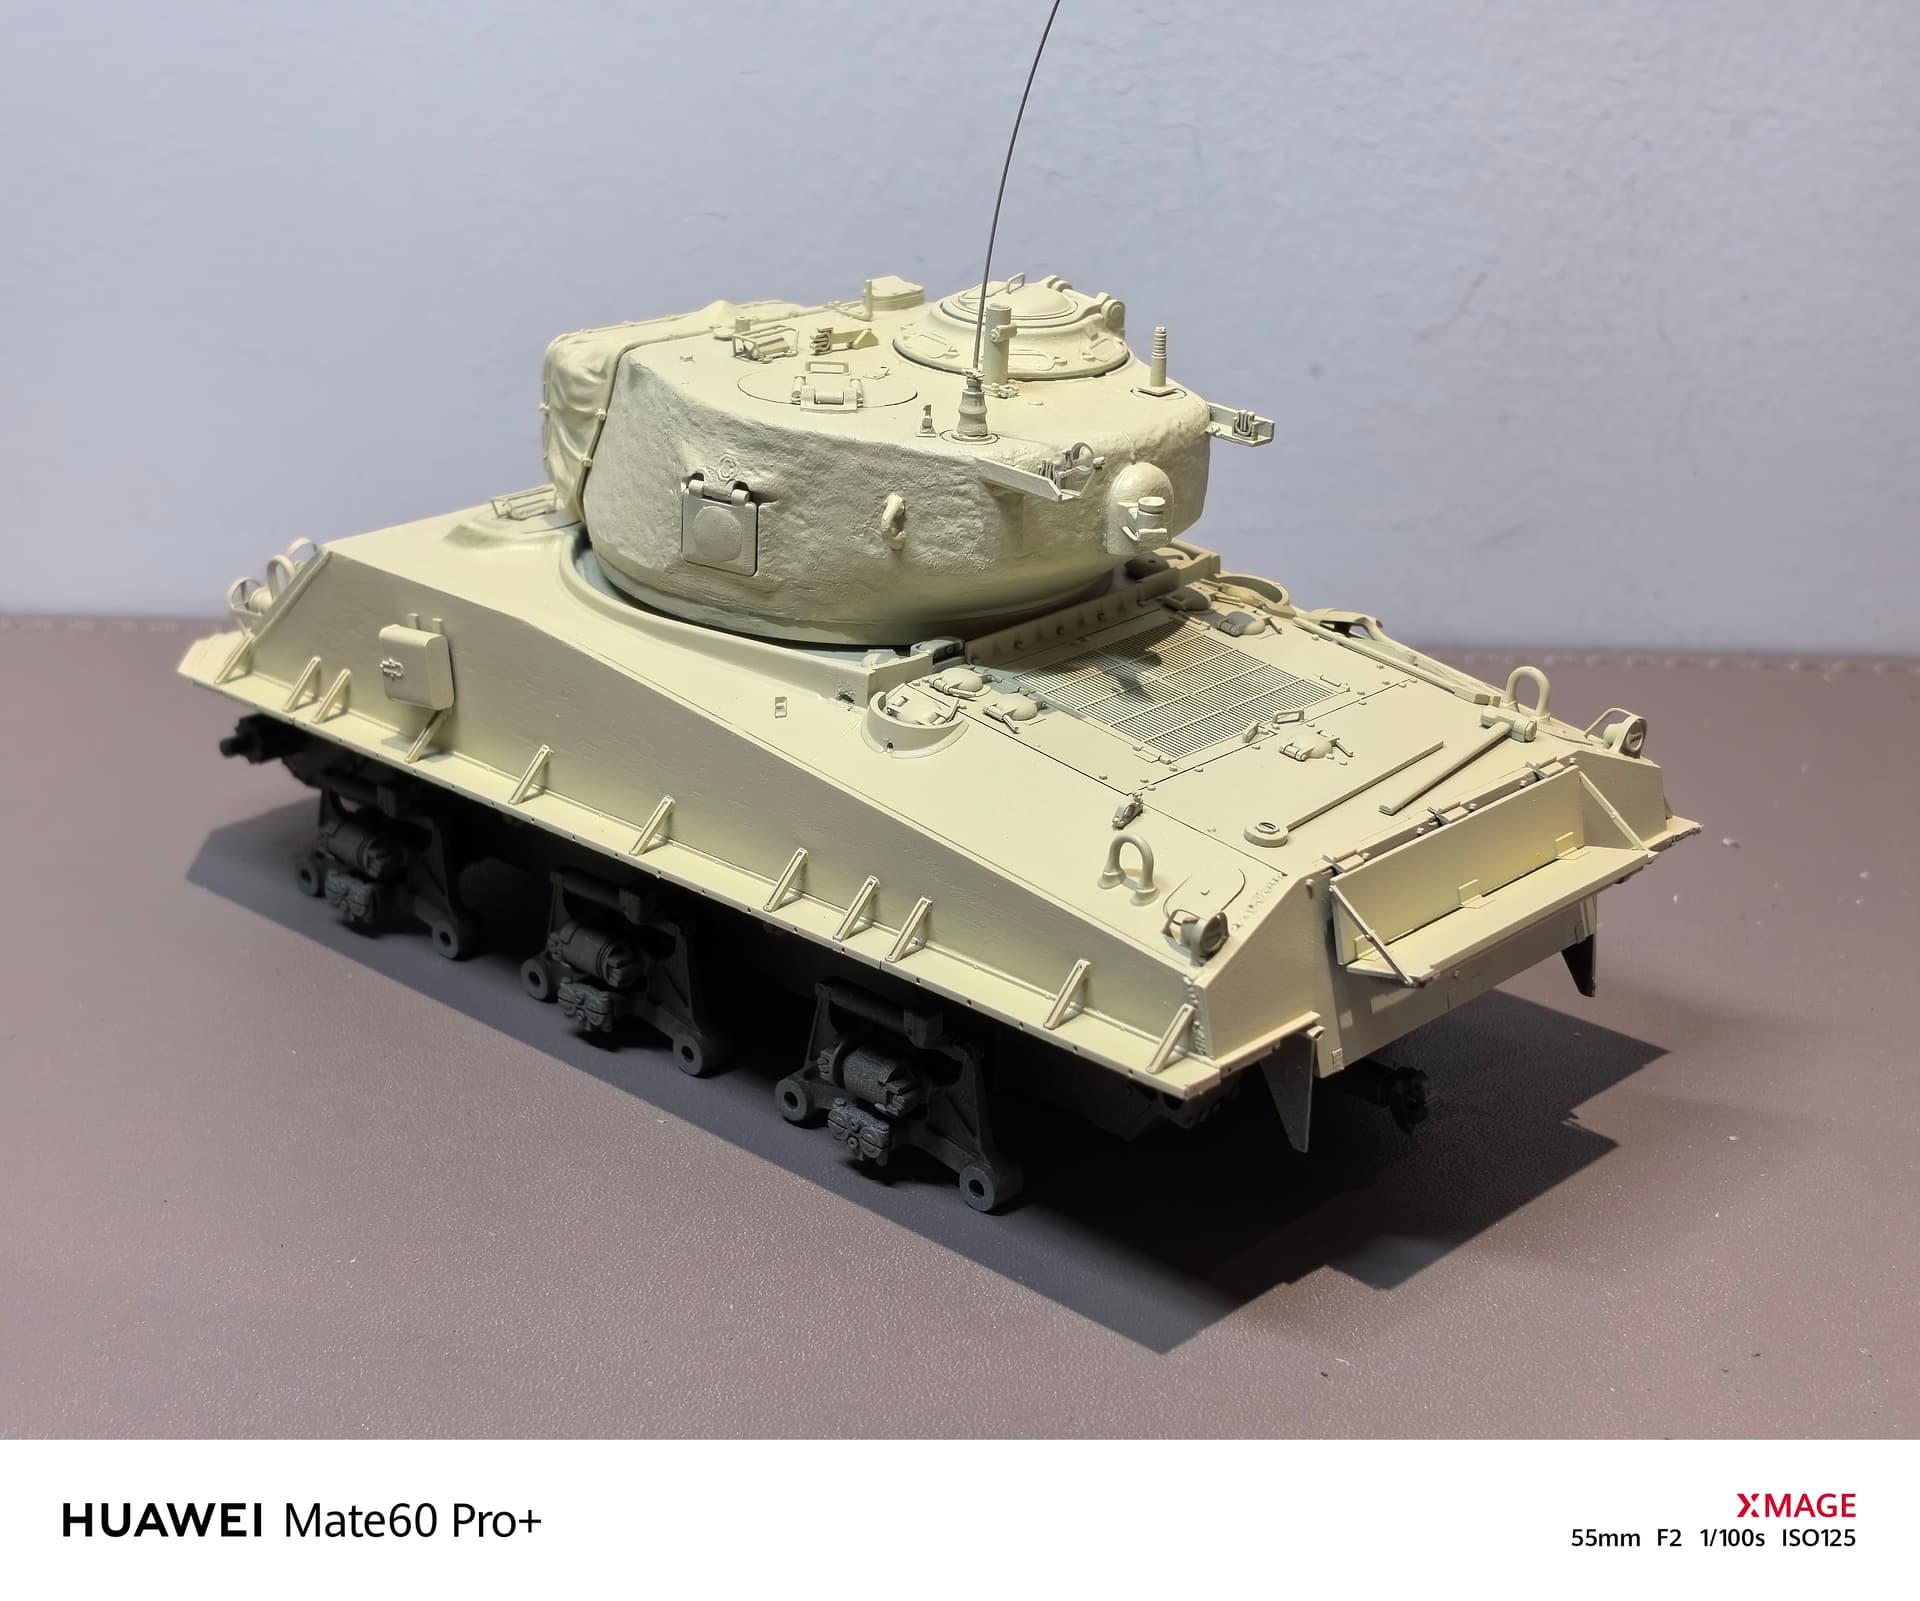
I started painting the first color of camo light green. Because this Canadian Sherman camouflage arrangement layout is more special, first of all, the bottom of the hull is a light sand, and then there is an olive green surrounded by light green such a strange layout in the light sand. So I decided to spray paint light green on top of the light sand of the whole hull (including the turret, because the turret doesn’t have light sand color), and then paint olive green with a brush to separate the light sand from the light green. Because the real photo showing that it’s hard edge of the camouflage, so the brush painting method is more suitable for painting a beautiful hard edge effect. It is easy to spray a simple light green camouflage block by following the photos and painting instructions, and the turret is also fully spray painted in light green.
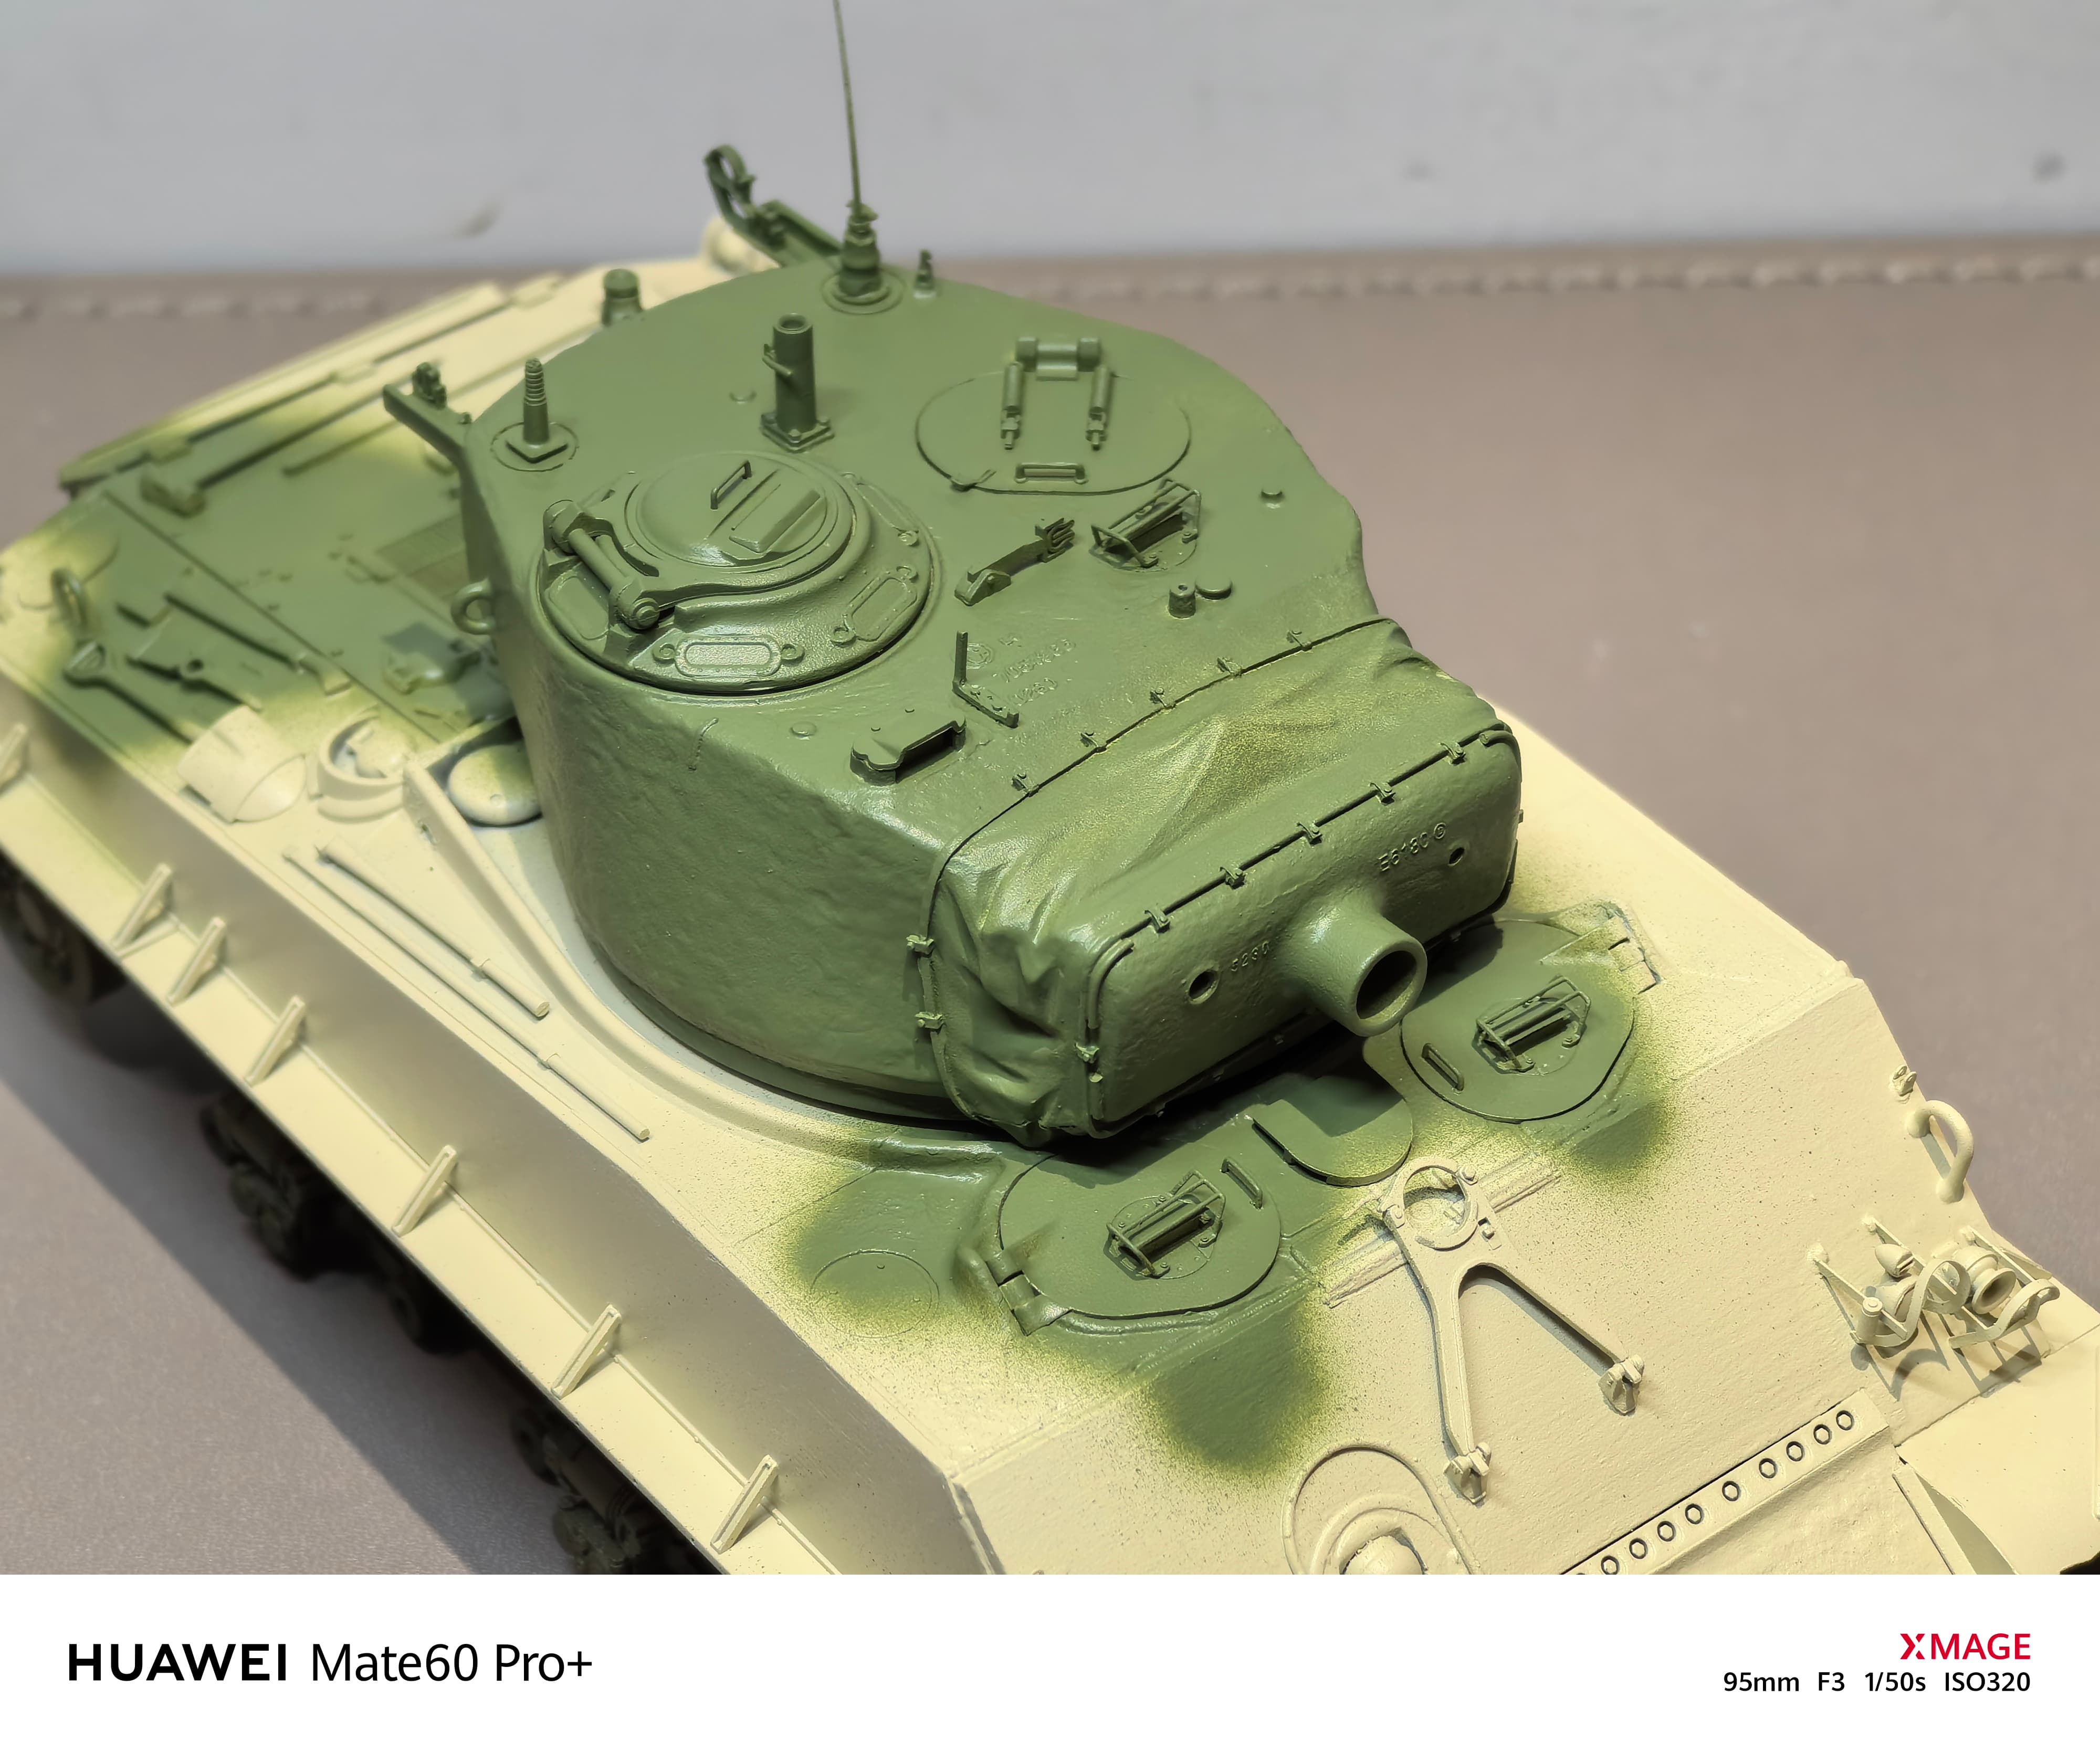
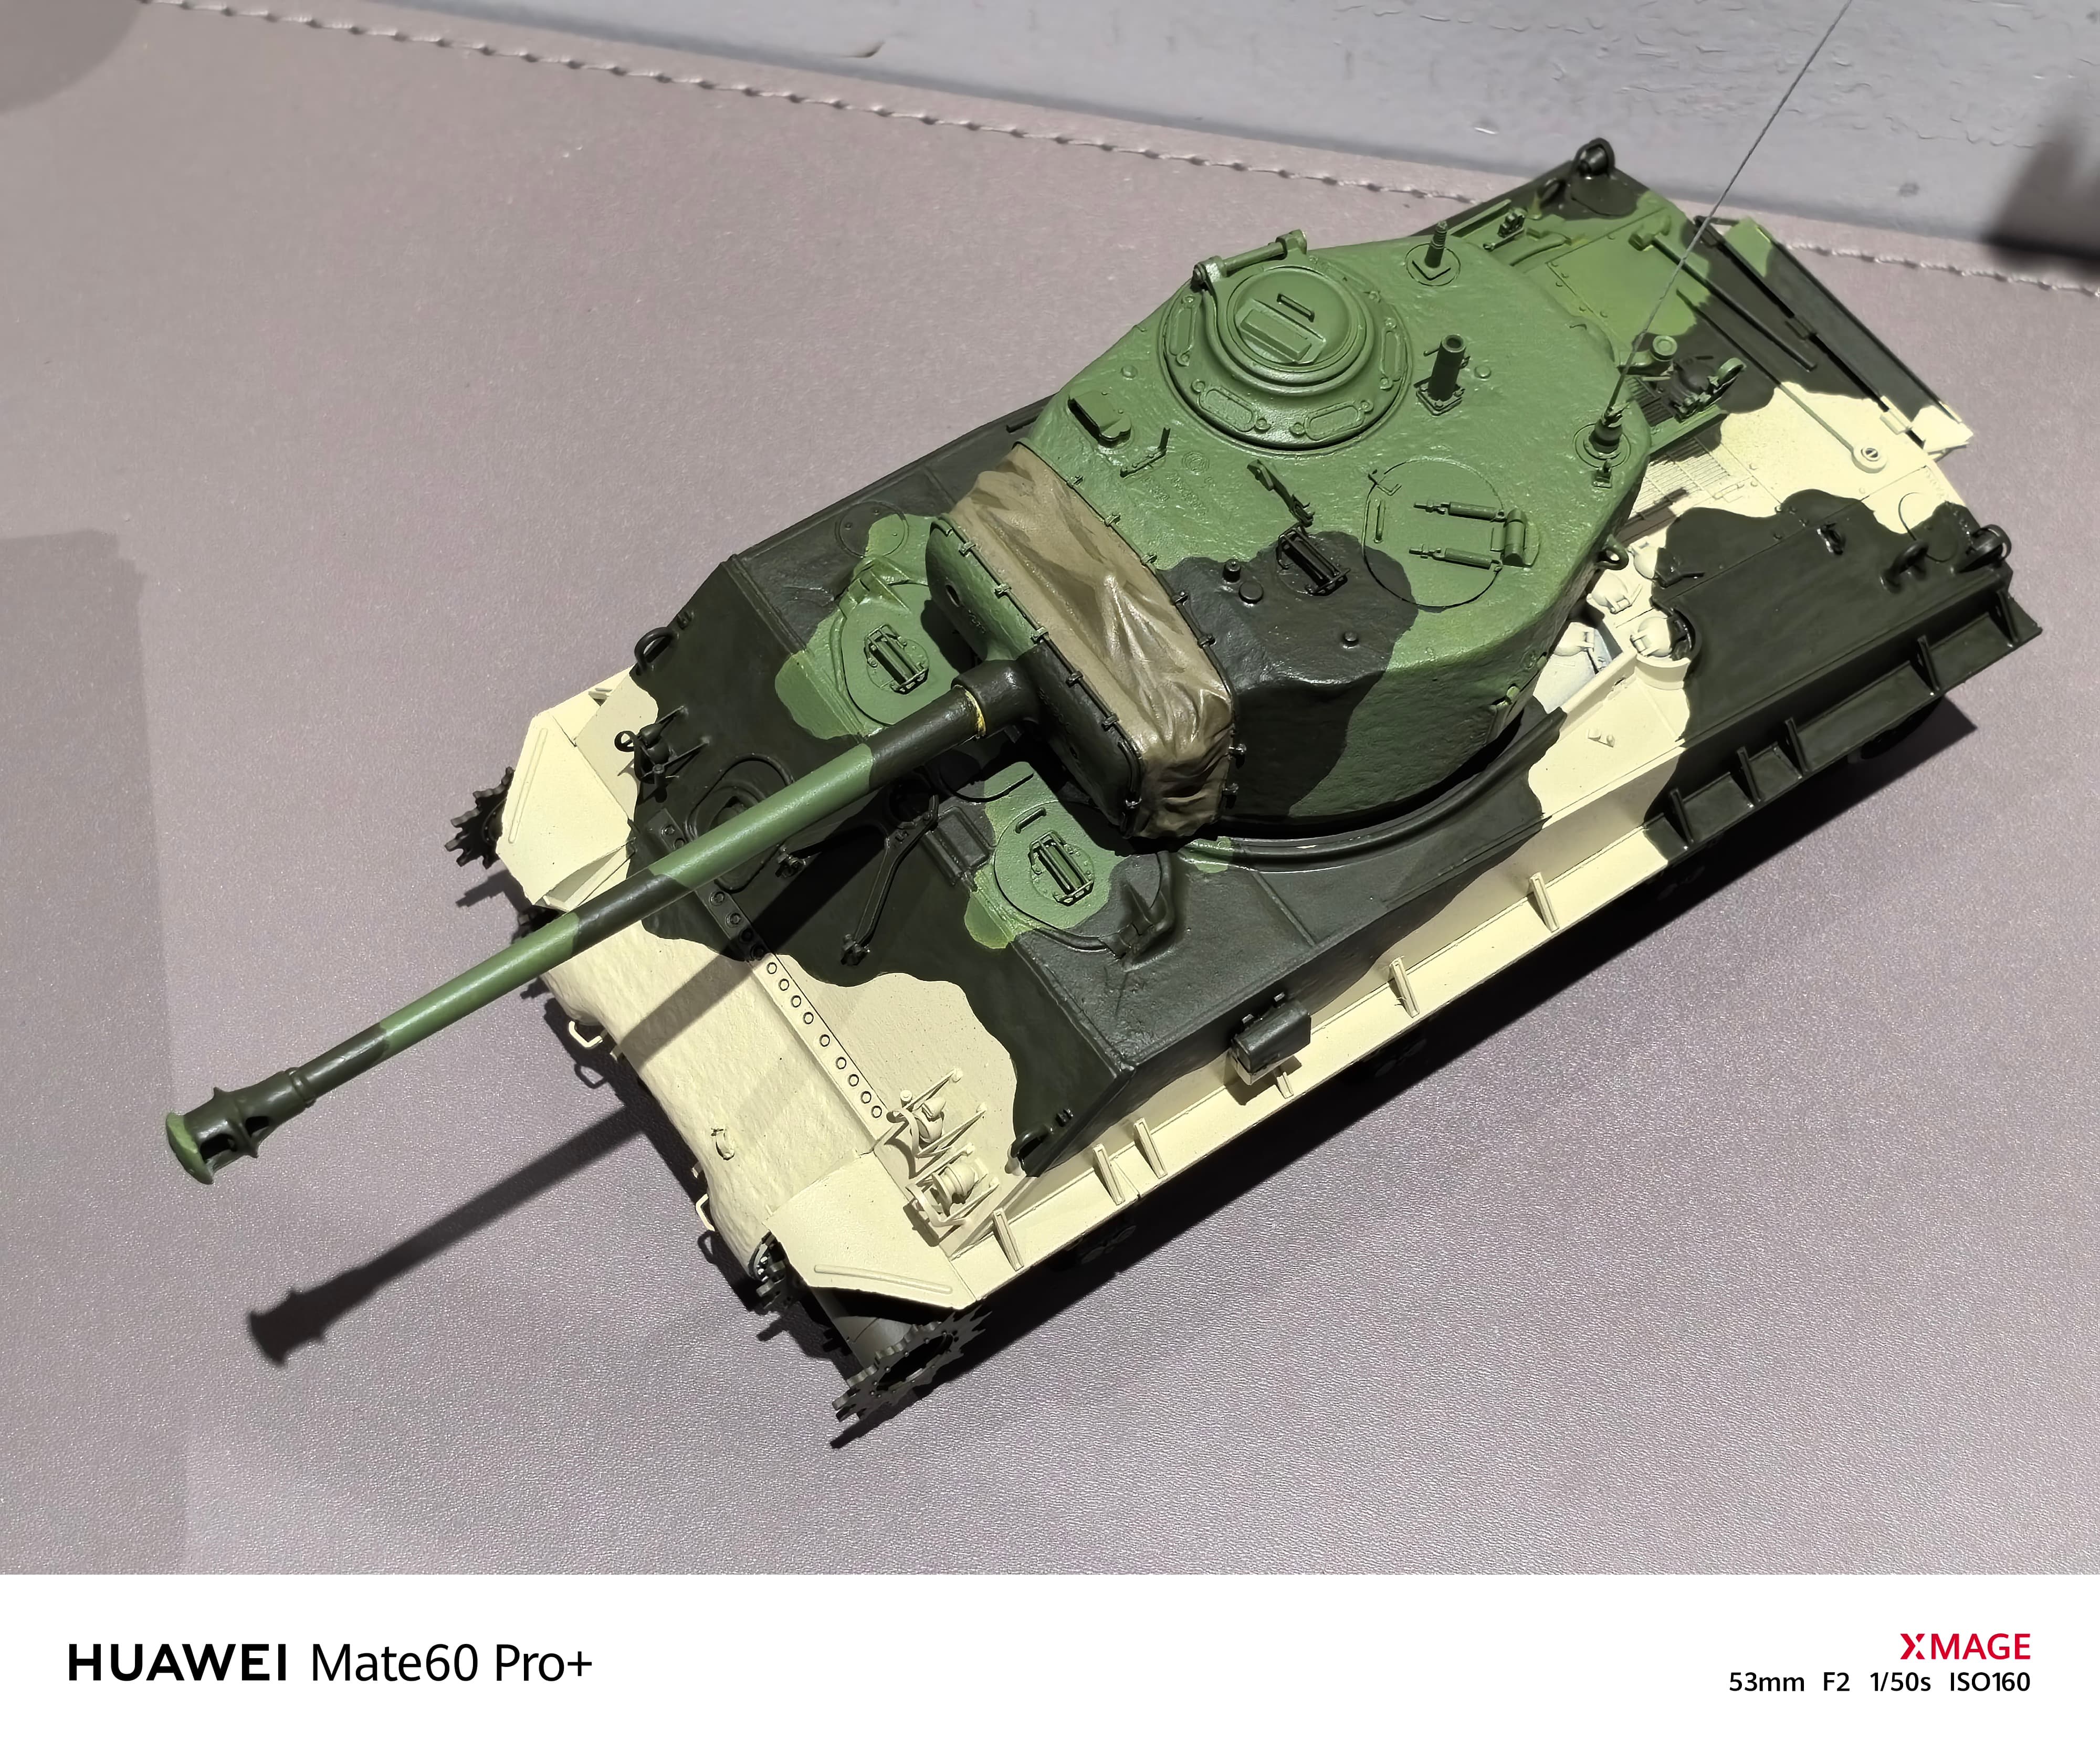
I started with the turret first as a test, because the turret is small and only two colors, olive green and light green, it’s suitable for testing my painting method. The result looks good, the dark olive green can cover the light green very well with nice sharp edges. I can continue to paint the hull of the tank with olive green camouflage tomorrow. BTW, I also brush painted the mantlet waterproof canvas in a khaki color.
Really looking good. The cam scheme is going to look tremendous when finished ![]()
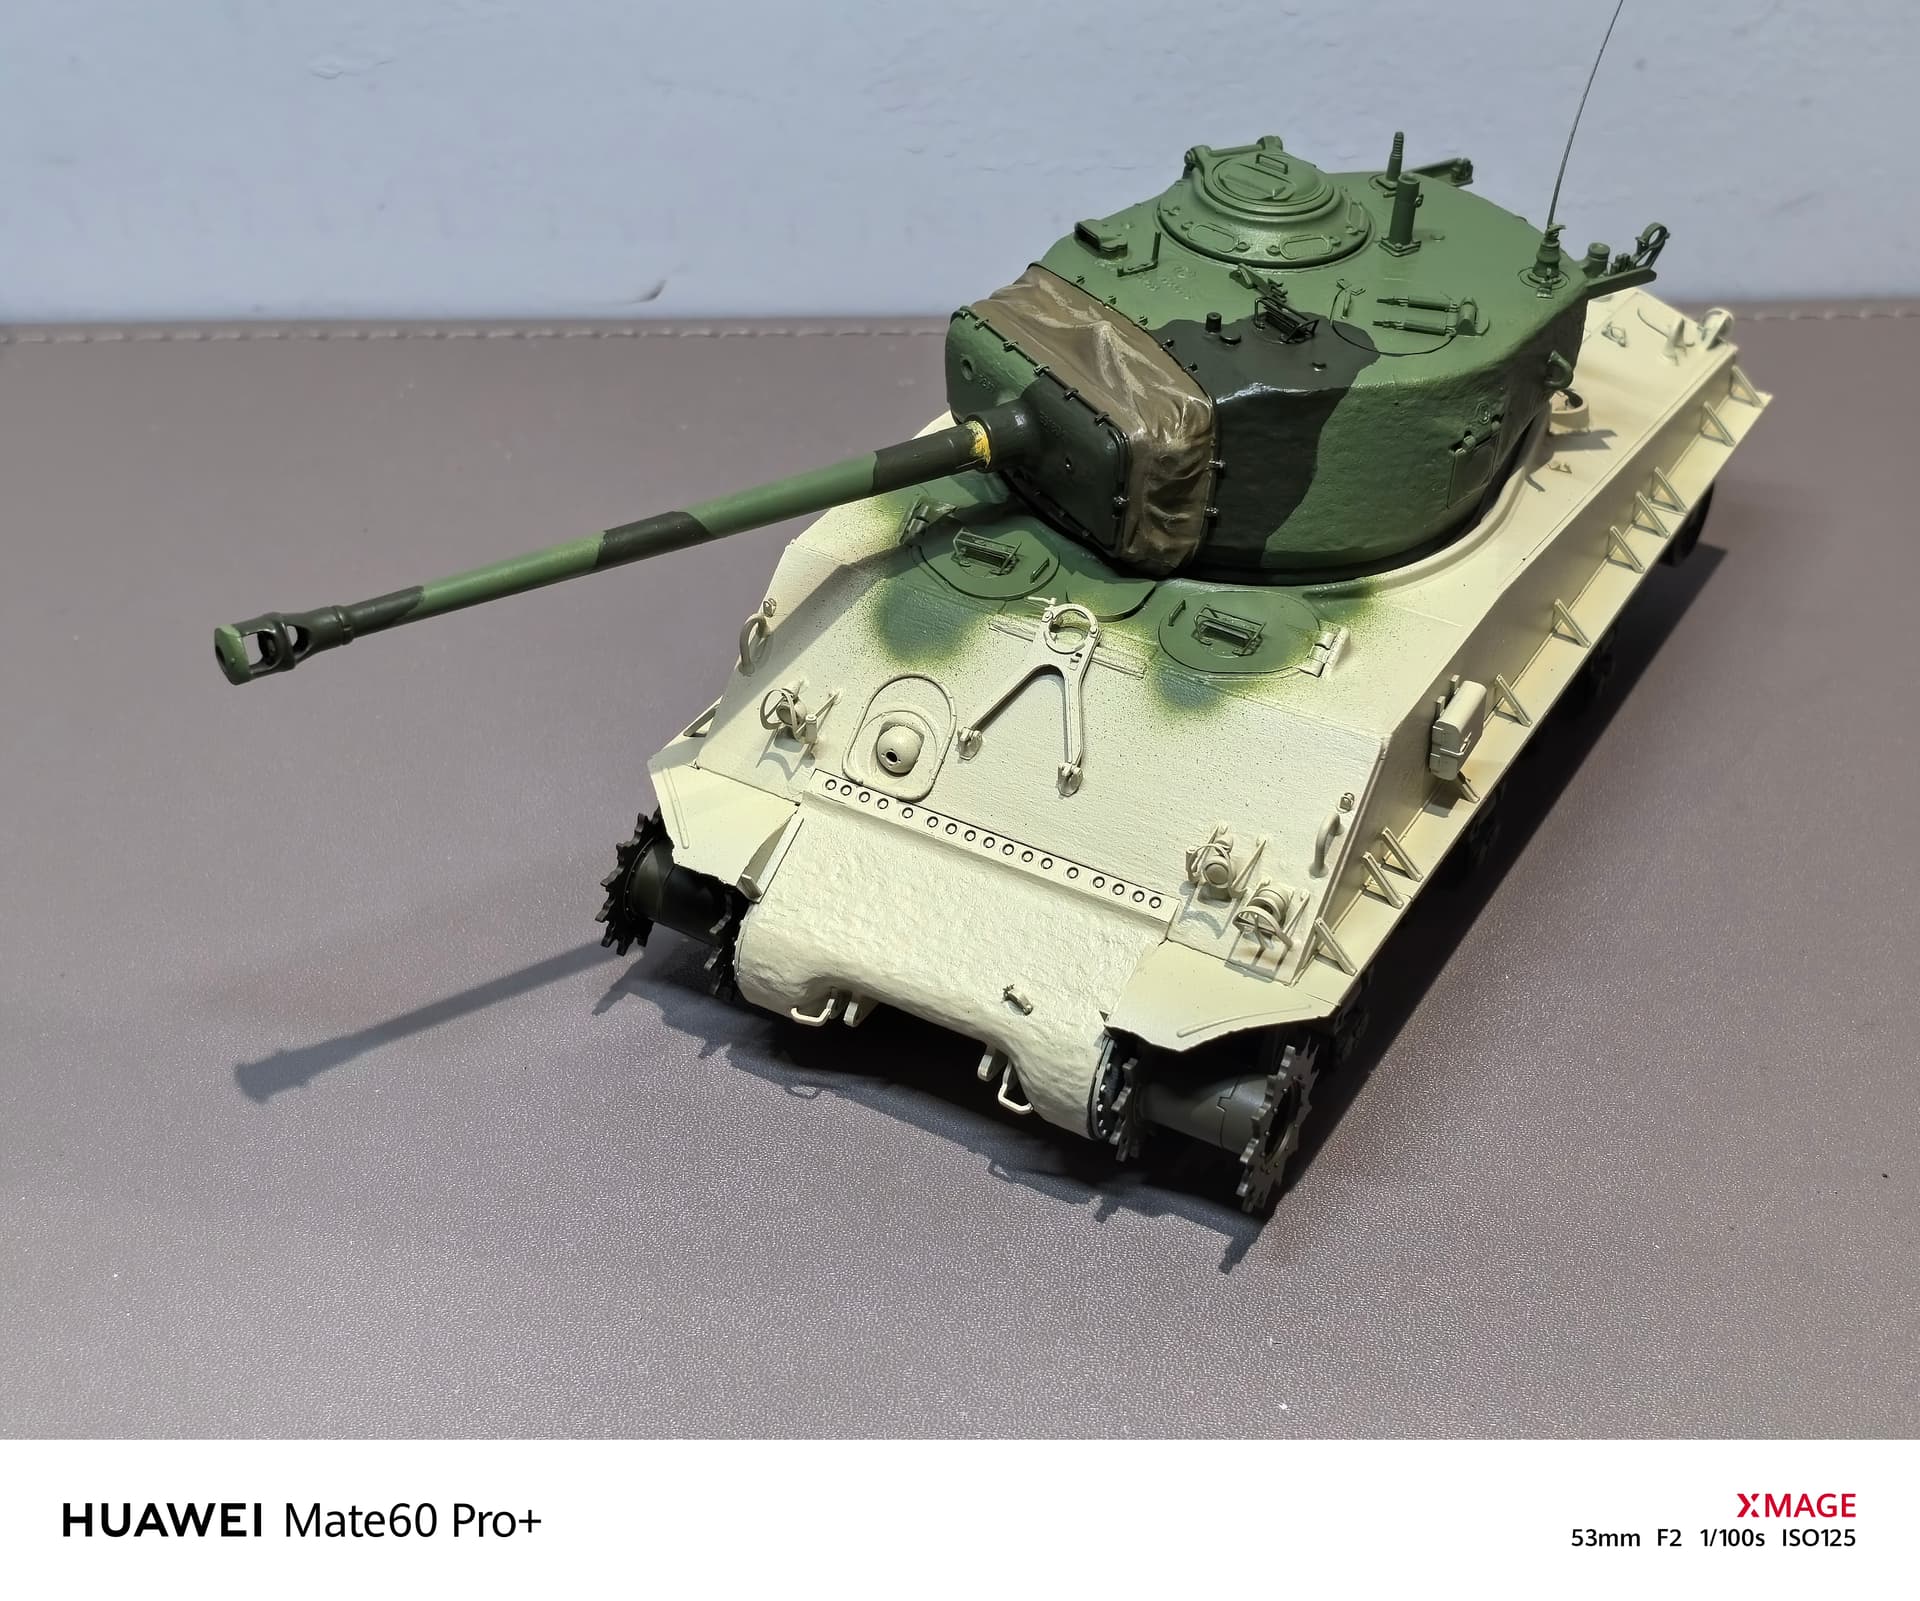
esterday I finally finished painting the third color of the hull, this camouflage looks very good, as good as expected! The whole color is also a little vivid and bright as a reservation space for the next process wheathering. At present, the glossiness of the whole tank surface is not unified, which needs to be unified into a matt effect when it is processed. The current problem is that there is no excited decal I need to make by myself, which is very troublesome.