Is it really for fuel?
Yes. The Merkava 4M is over 70 tons in weight with increased fuel consumption because of the weight and the electronics (especially the active protection system). So this was tested as a solution to increase the fuel capacity of the vehicle. But I have not seen many photos of vehicles with the fuel drum on.
2 Likes
Interesting because in the photos supplied with the update set (which I was only able to access from this morning) - that ‘grill like’ part (A10 in the kit) appears to have been actively removed.


1 Like
Photos are proof, models are inspiration. Maybe the grille part is the back of the rear basket so it should be removed. I can check and ask a couple of people if you want.
1 Like
I think perhaps that is right - if you could ask, i’d be very grateful.
1 Like
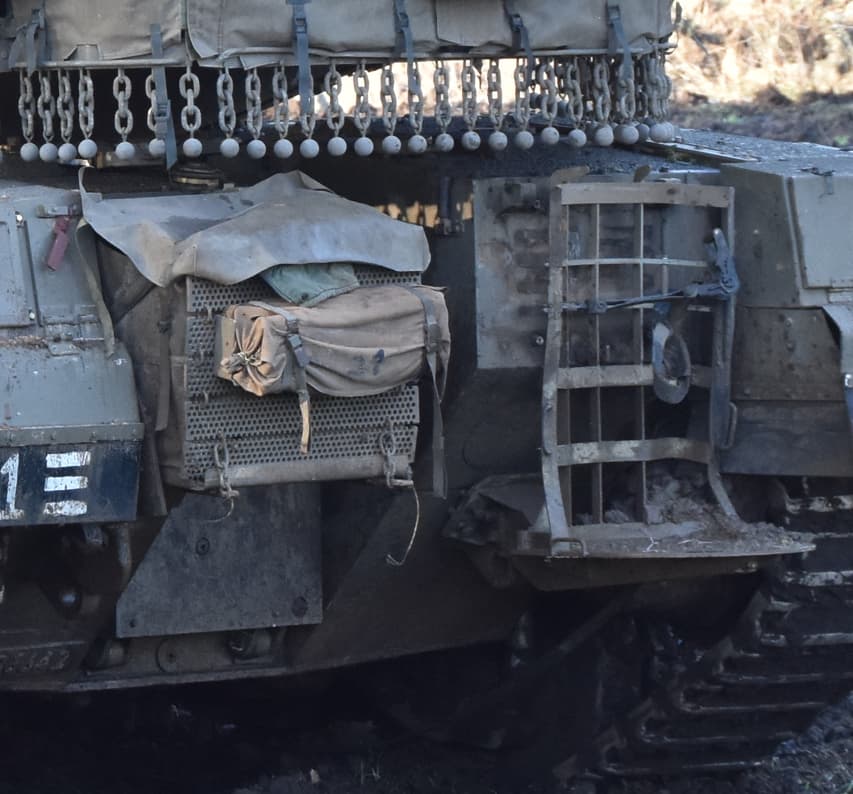
It’s the back of the hull basket.
1 Like
The “grille like” part is the spare track pins stowage, it is mounted by screws to the hull.

3 Likes
Great info ![]()
You can leave it on or remove it. Both are correct. As I wrote previously, the barrel mount is not something commonly used.
Thankyou, I will most likely fit it.
I understand that the extra fuel isn’t normally carried, but I have the DE kit now and because fitting it isn’t really ‘wrong’, i might as well have a go because I feel it adds interest to an already interesting AFV.
2 Likes
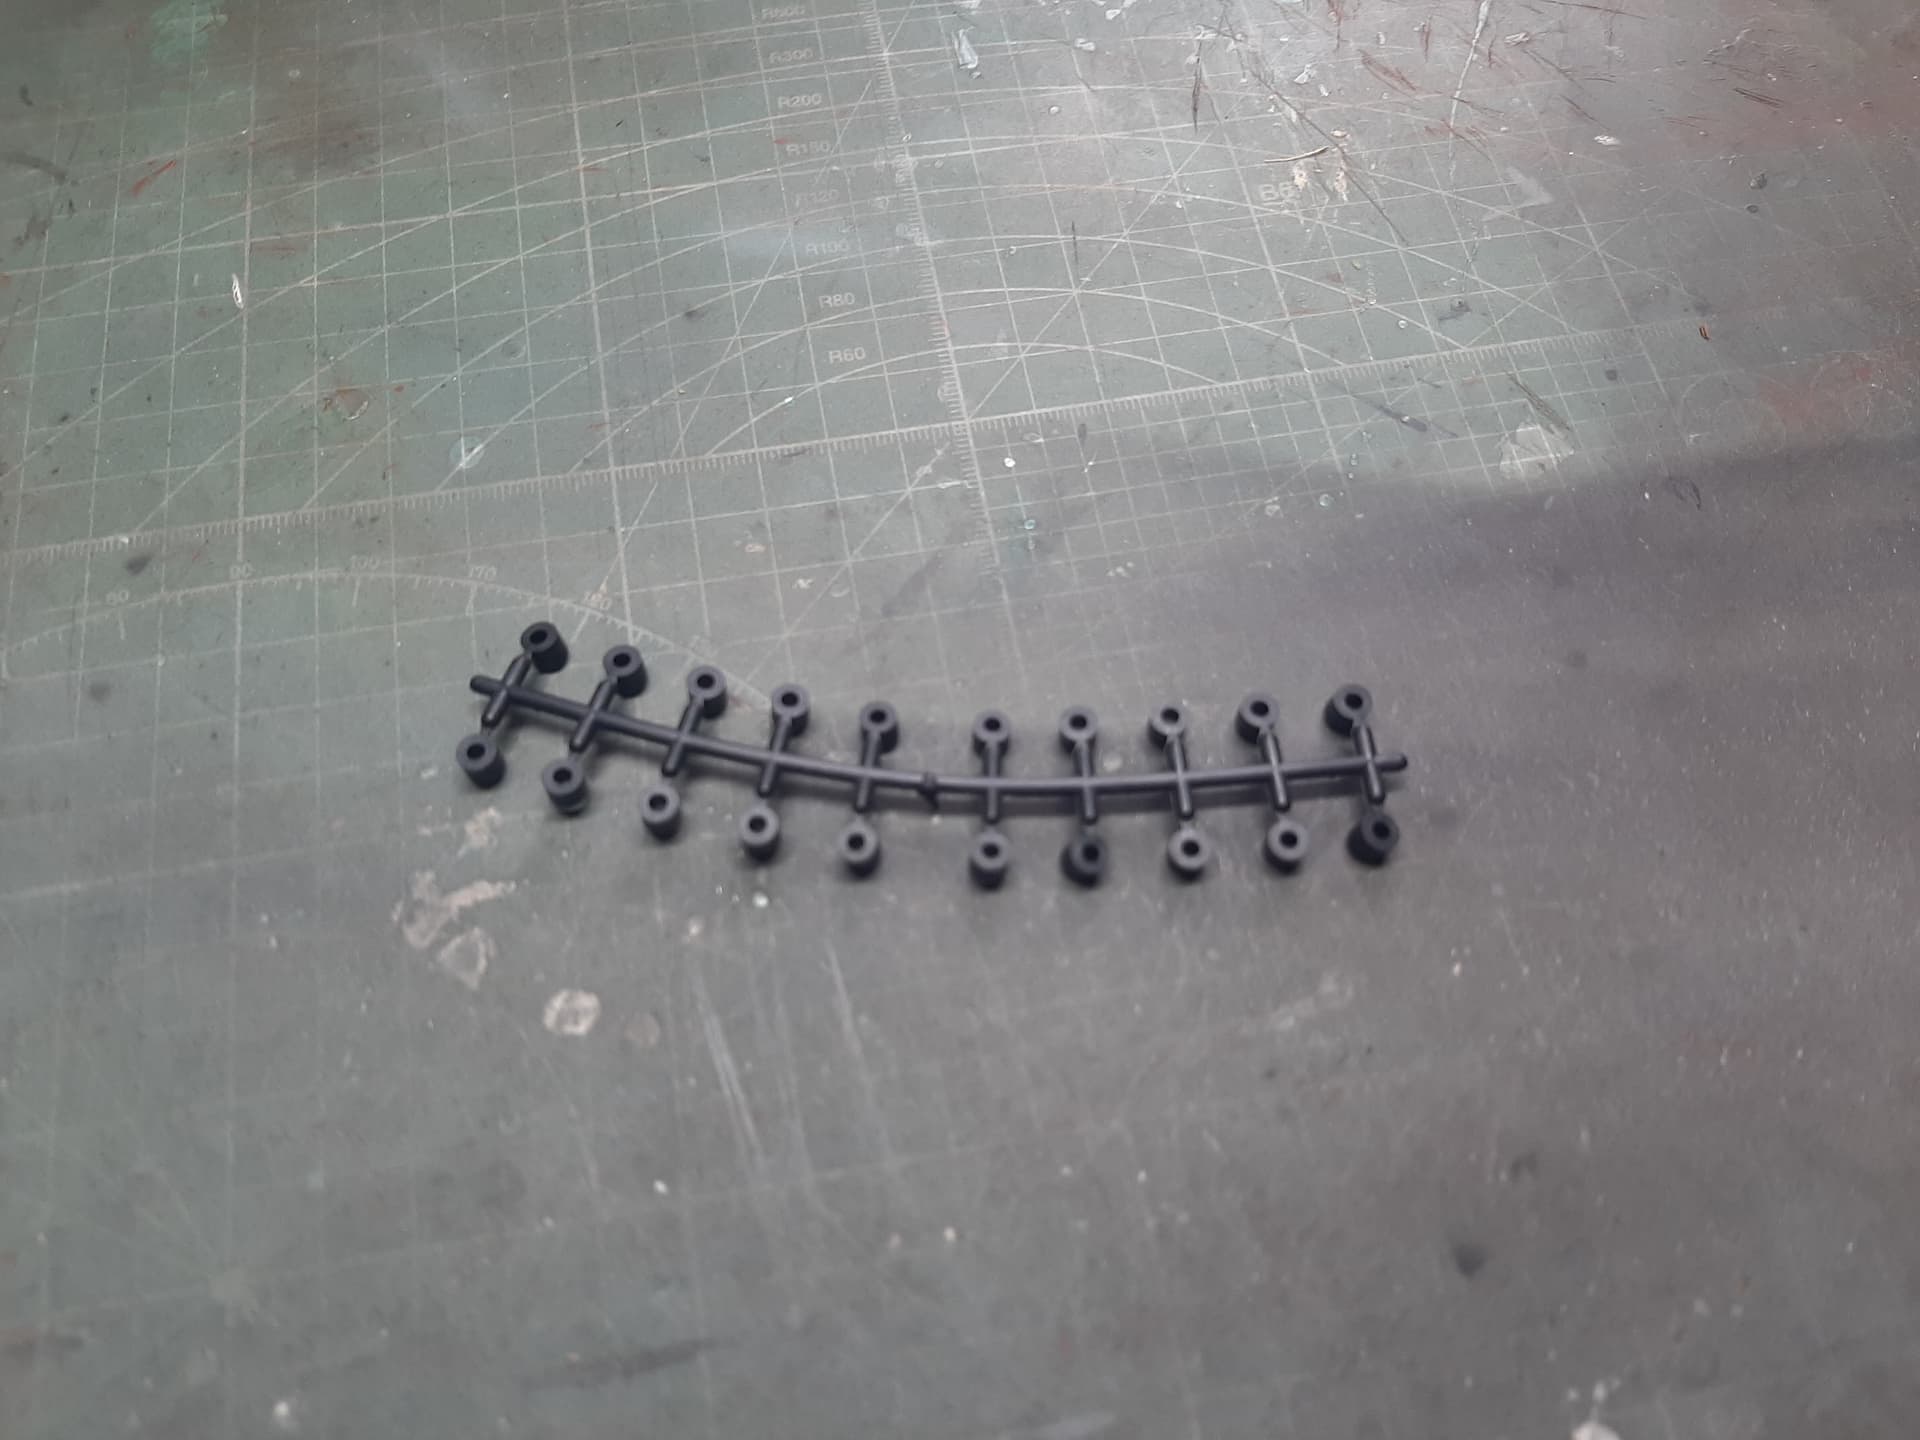
The missing Poly Caps arrived on Friday from Meng. A full two weeks ahead of schedule I might add.
So thumbs down to Meng for not packing them in the first place, but thumbs up to their Customer Service, which appears to be very capable.
1 Like
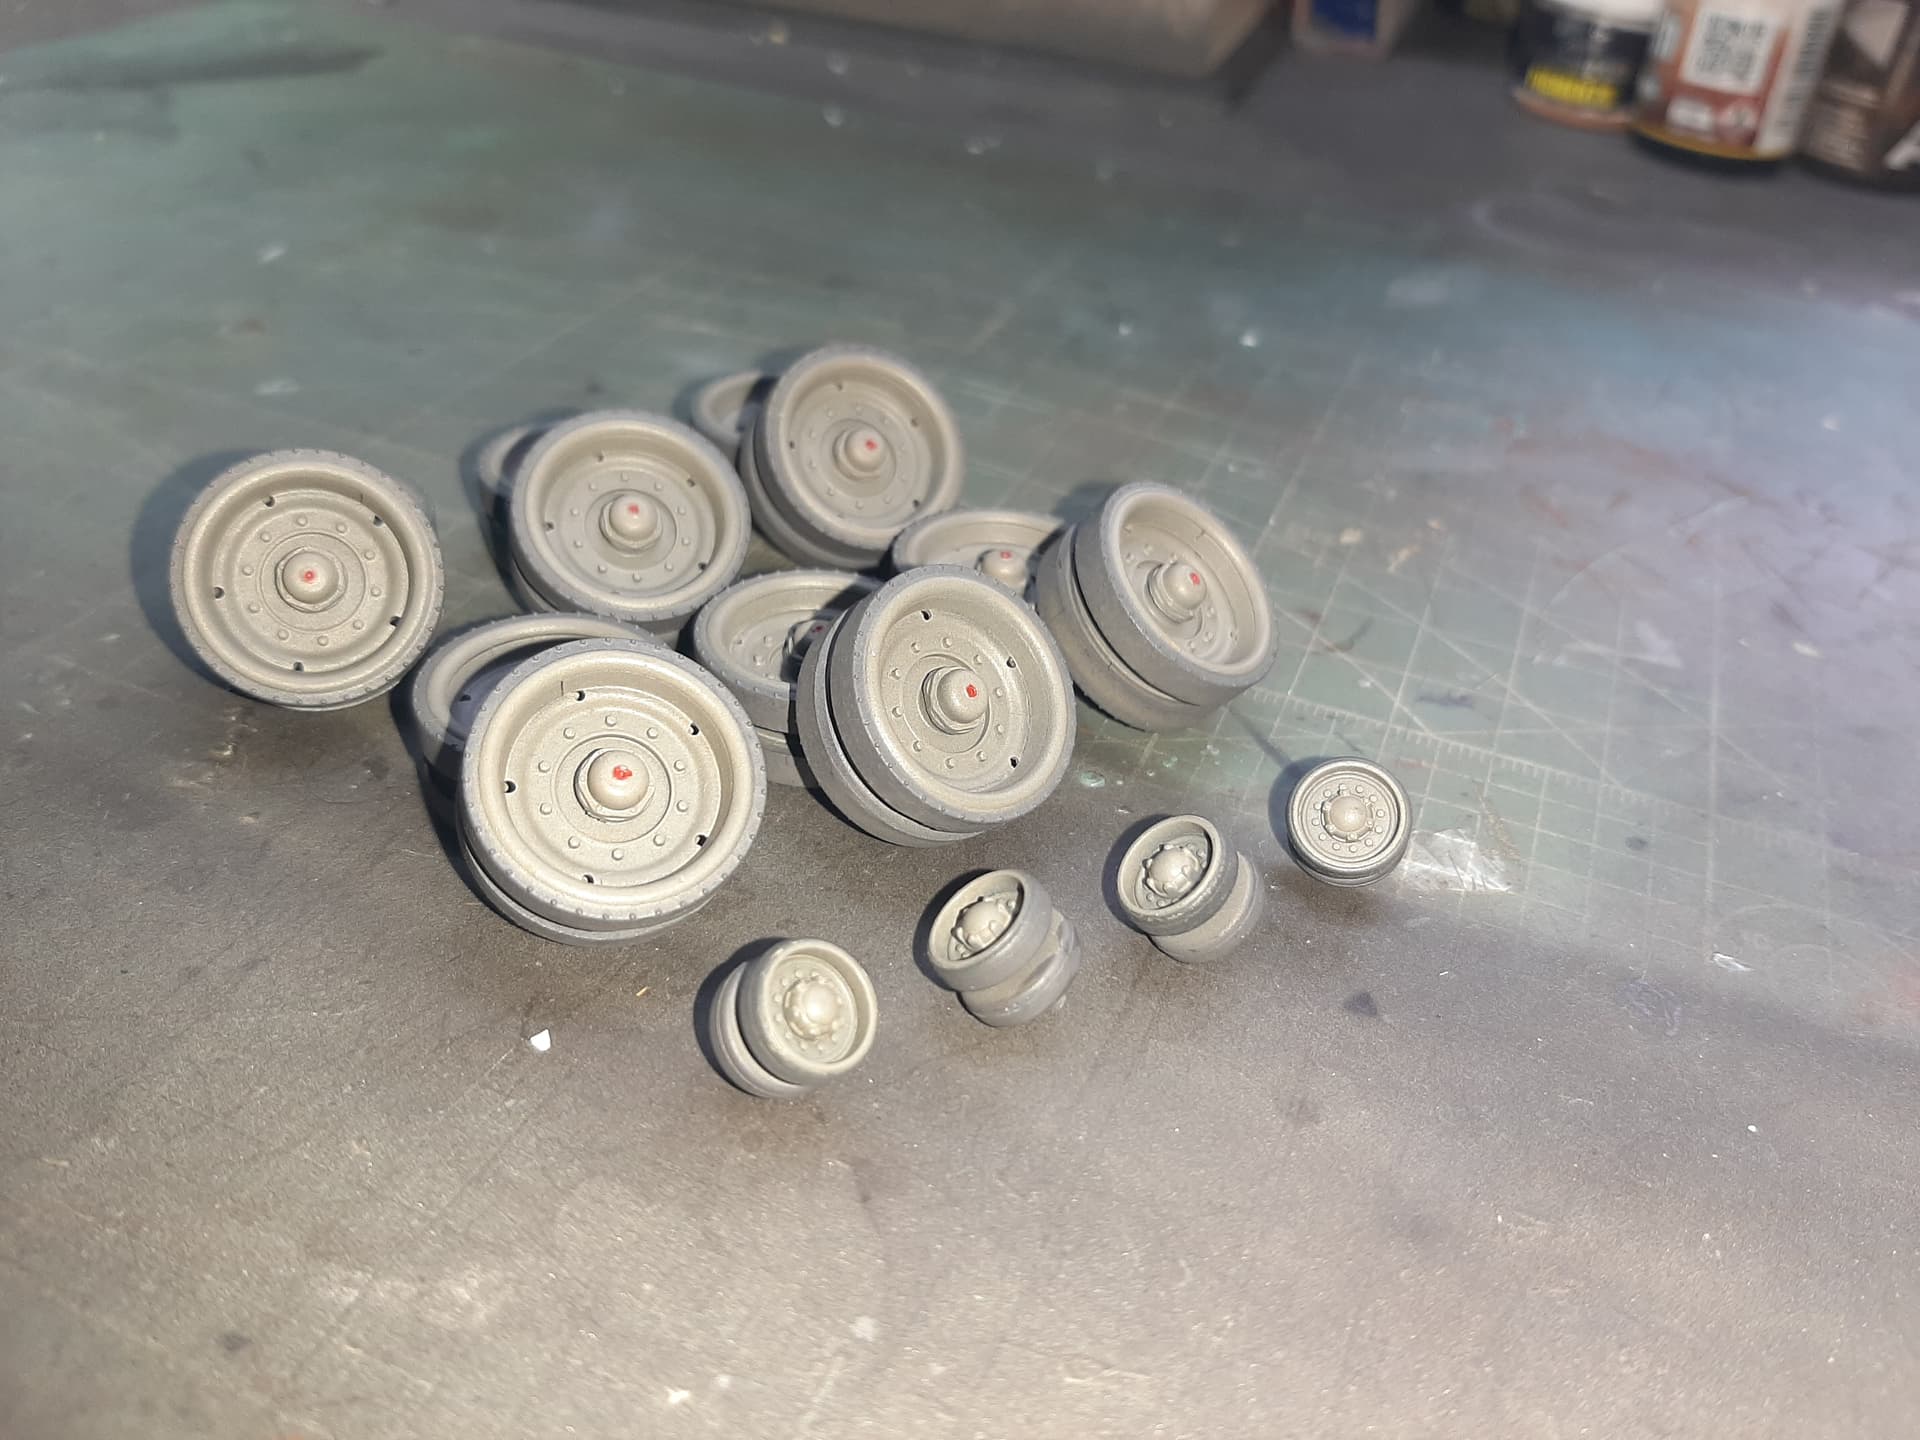
Having taken delivery of the Poly Caps, I was able to progress construction of the running gear. All of the components are Faded Sinai Grey, over Real Sinai Grey over Satin Black (all Mig Acrylics). All the running gear will be weathered in due course.
These are the Friul final drives painted up. I had to cut a single Poly Cap in half because the construction of the Friul parts means that each kit supplied Poly Cap is too deep to allow the two final drive halves to join. So, this was the solution. It also leaves the Poly Cap ‘floating around’ inside the final drive a bit, but if this becomes a problem when it becomes time to fit them, I can simply fall back to the actual kit parts.
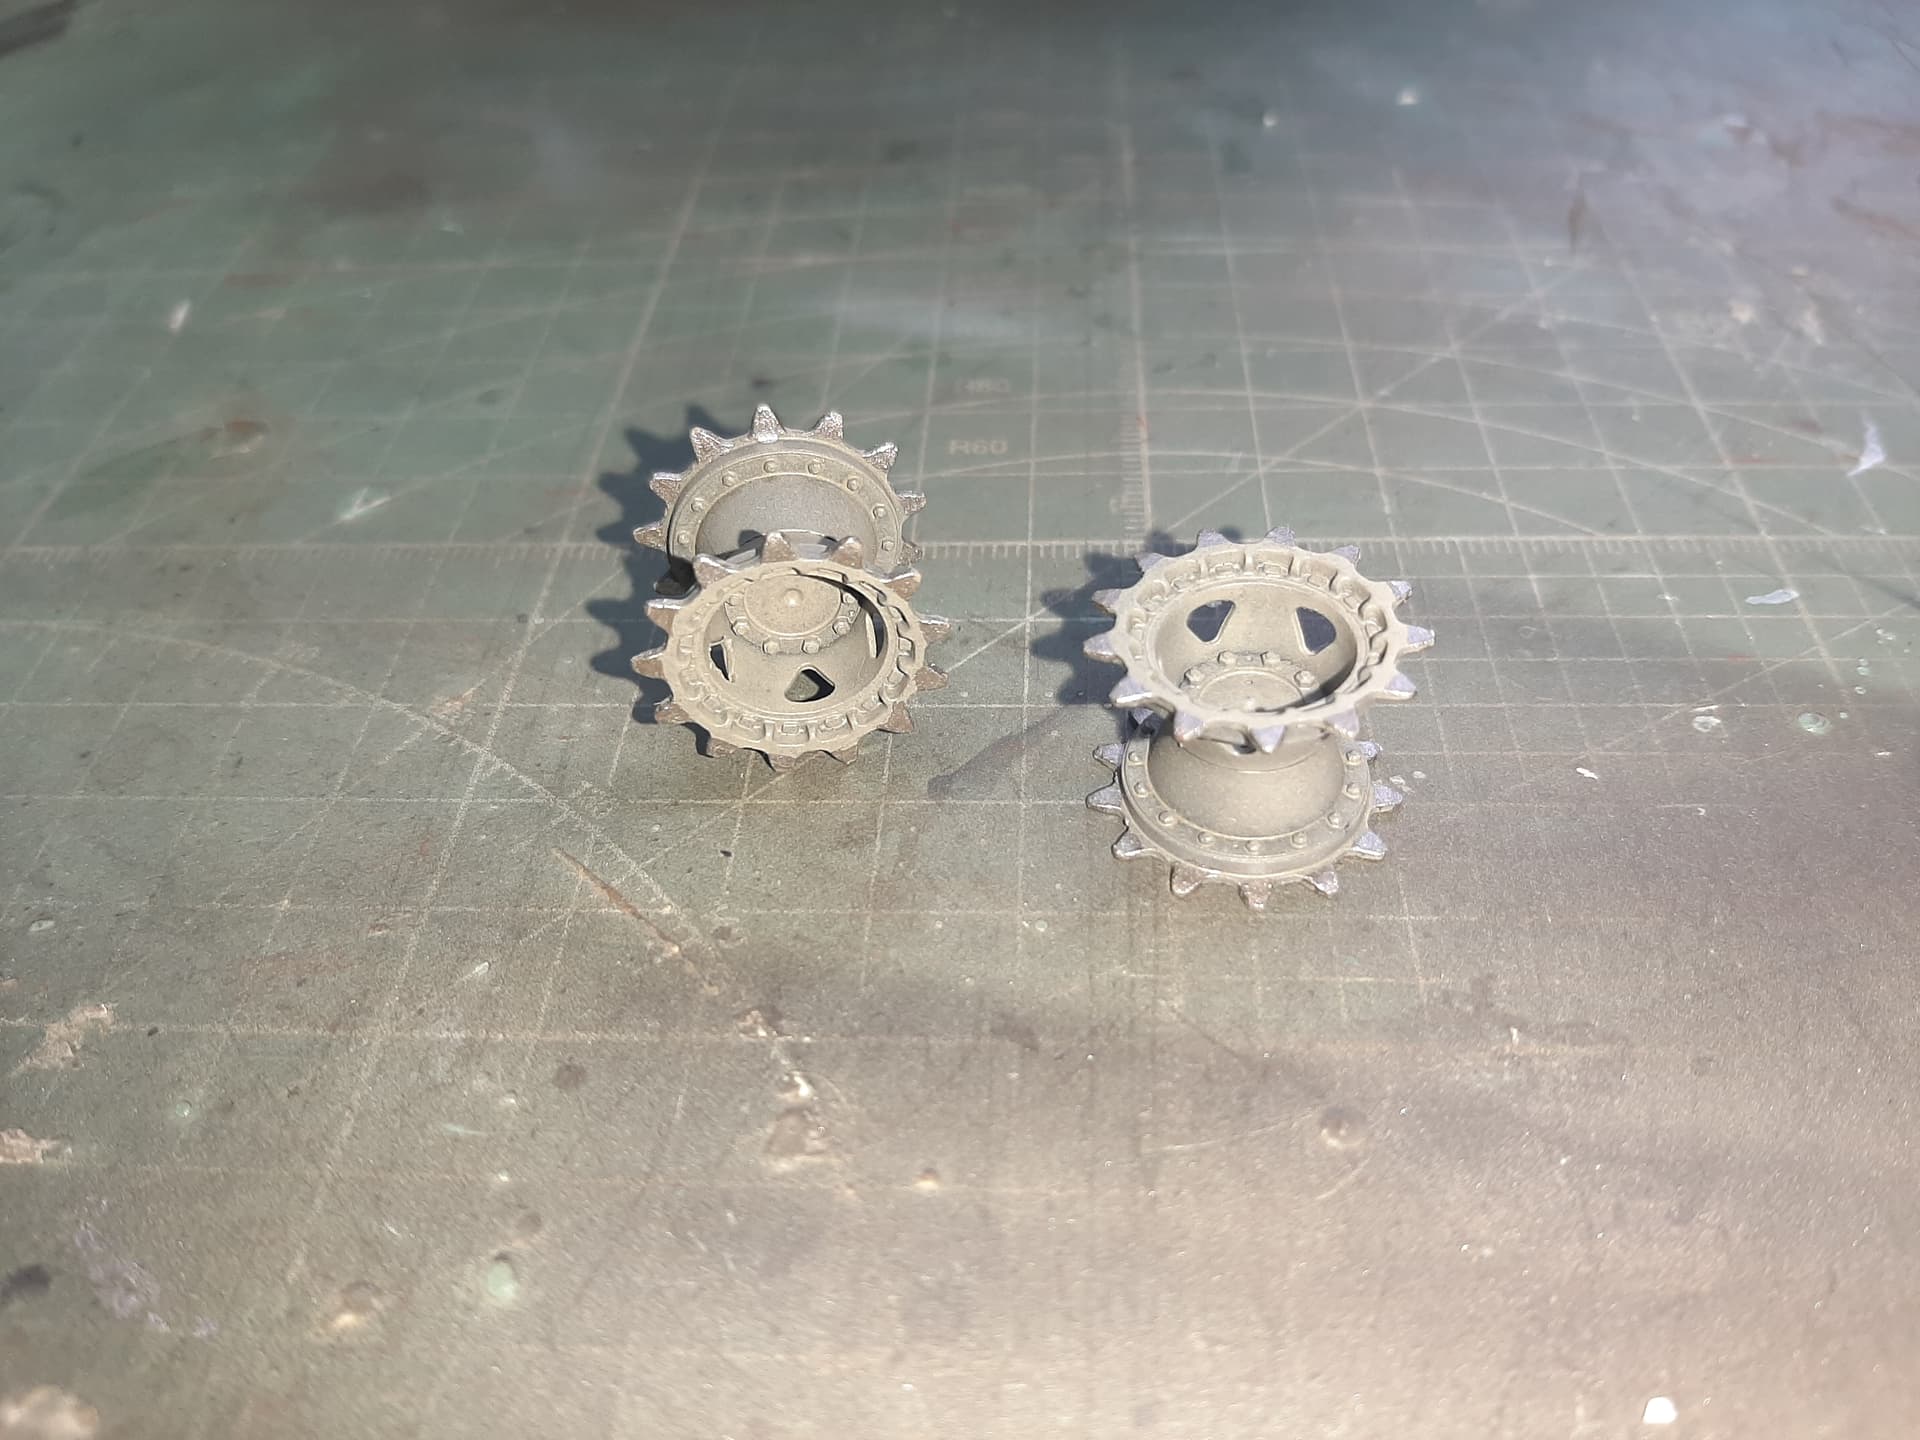
Here are the wonderfully slide molded idler wheels, with the rims painted in Mig Polished Metal.
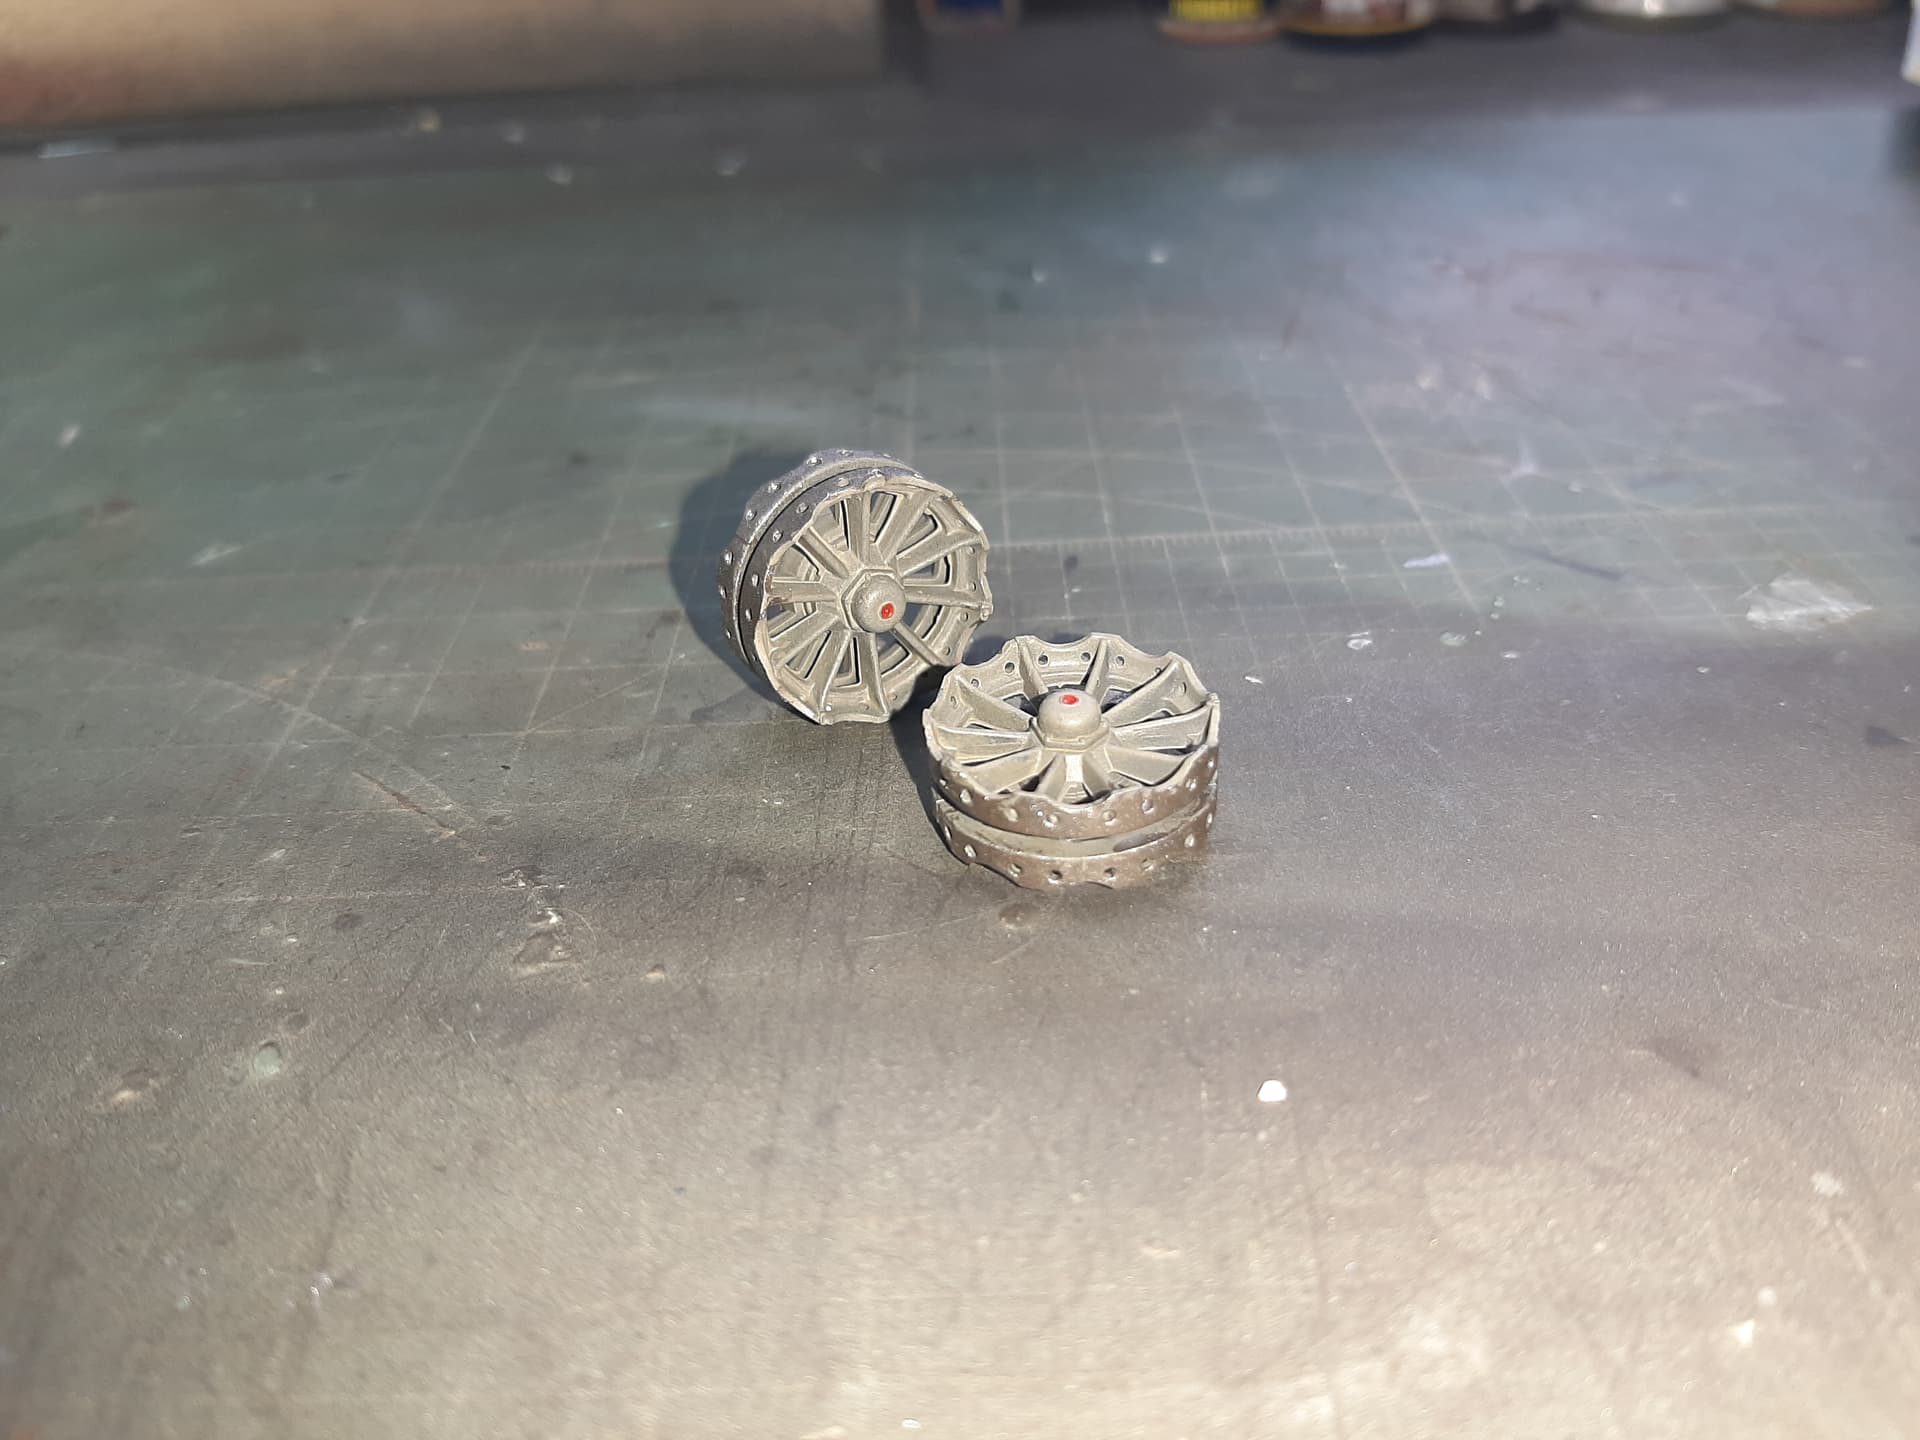
Here are the road wheels.
I know some people consider them expensive for a one-shot construction, but in my opinion, the Quick Wheels masks are great and well worth the investment. I did the whole set in about an hour.
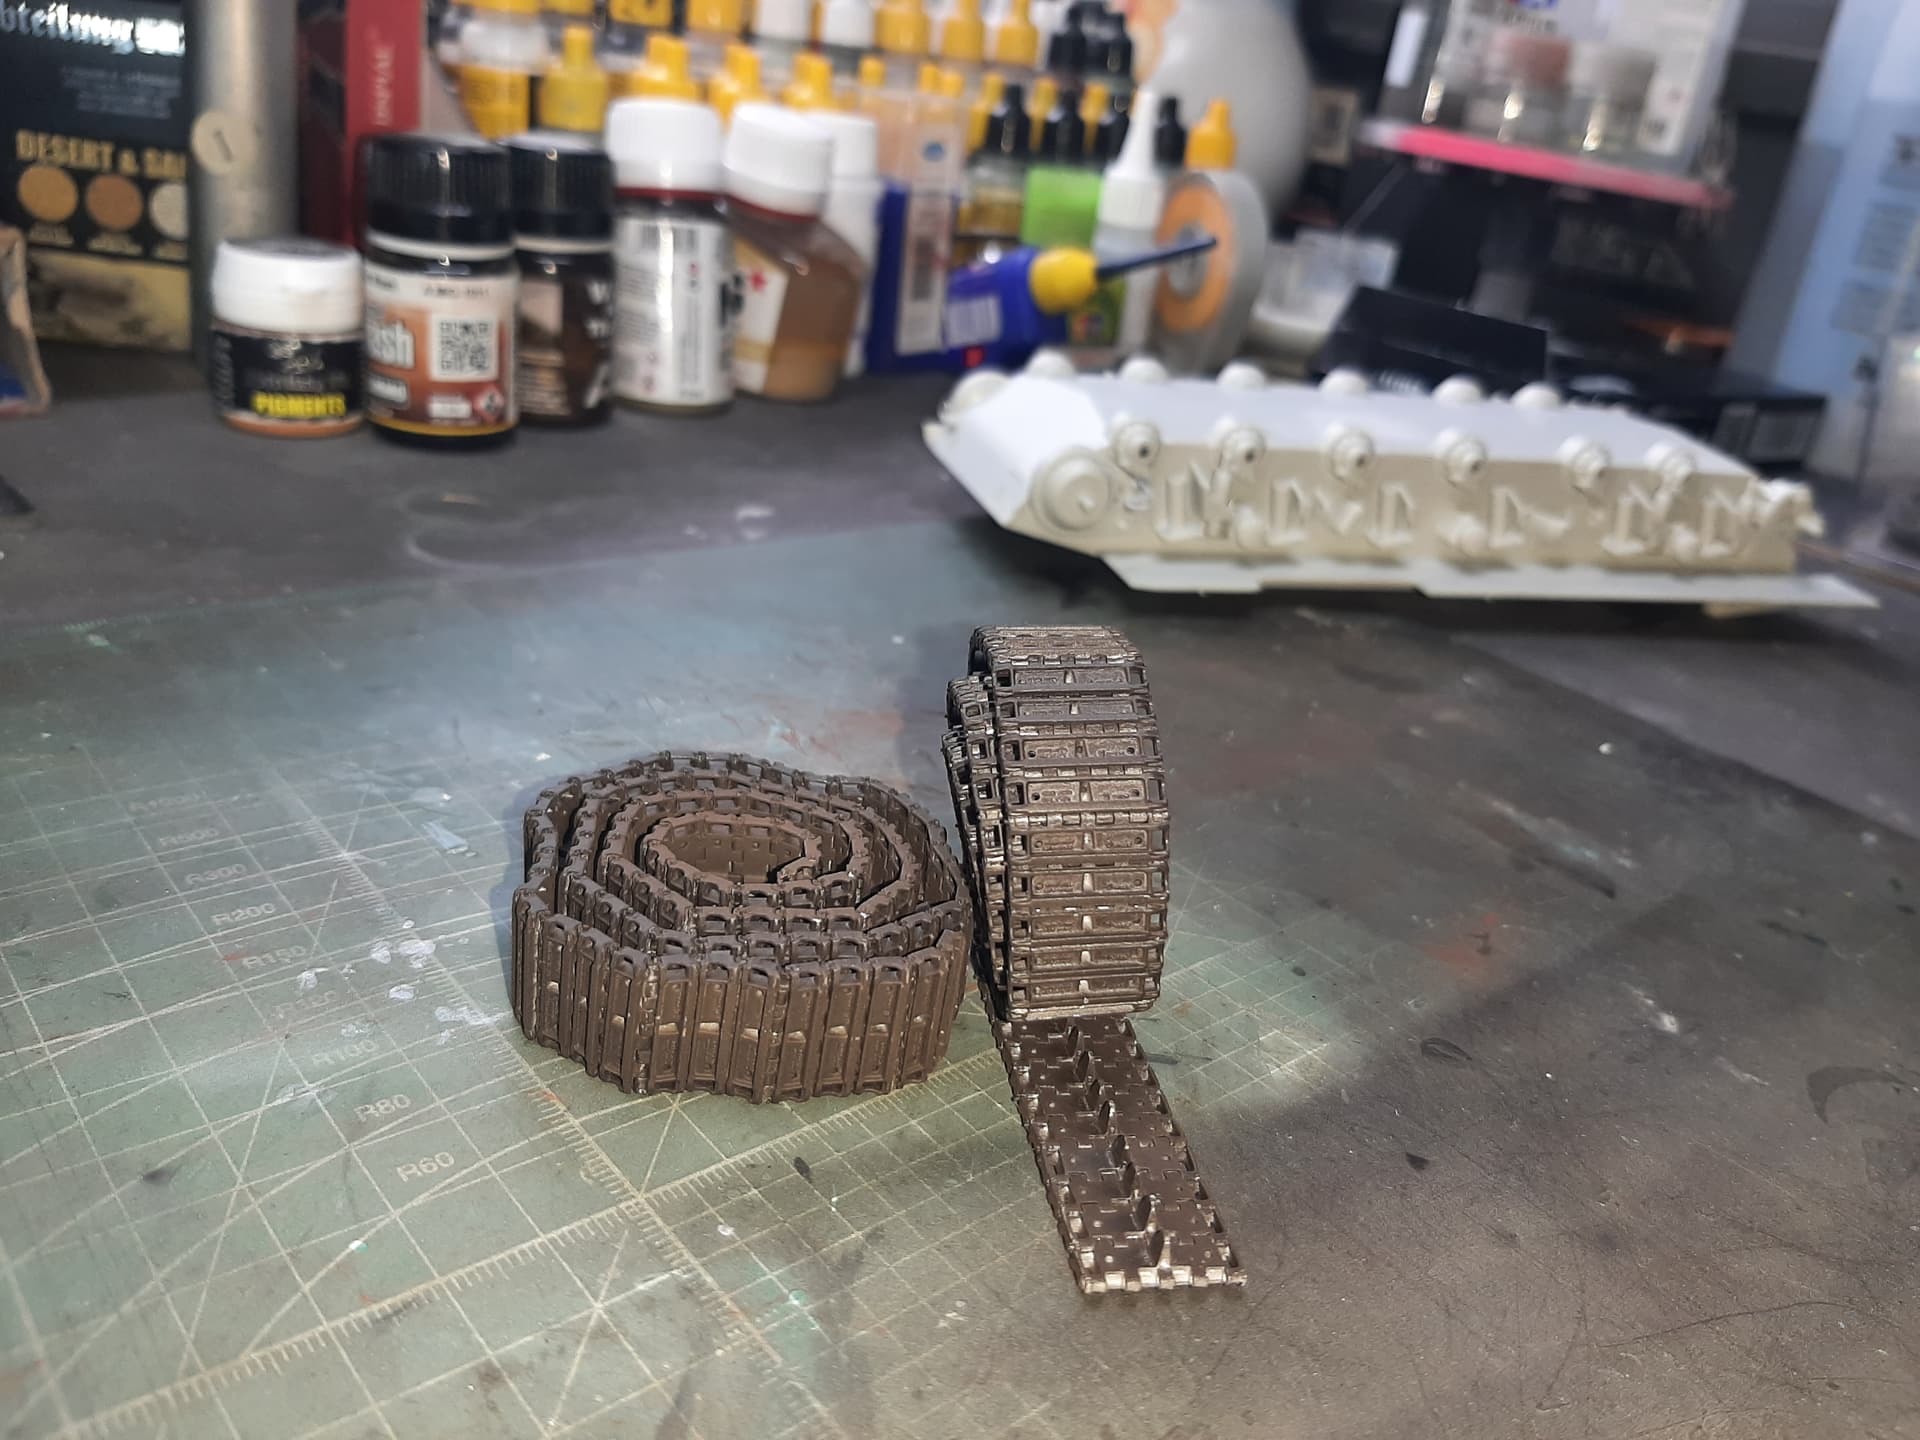
The lovely Friul tracks are painted - Mig Dark Tracks over Satin Black over Tamiya rattle can grey primer.
5 Likes
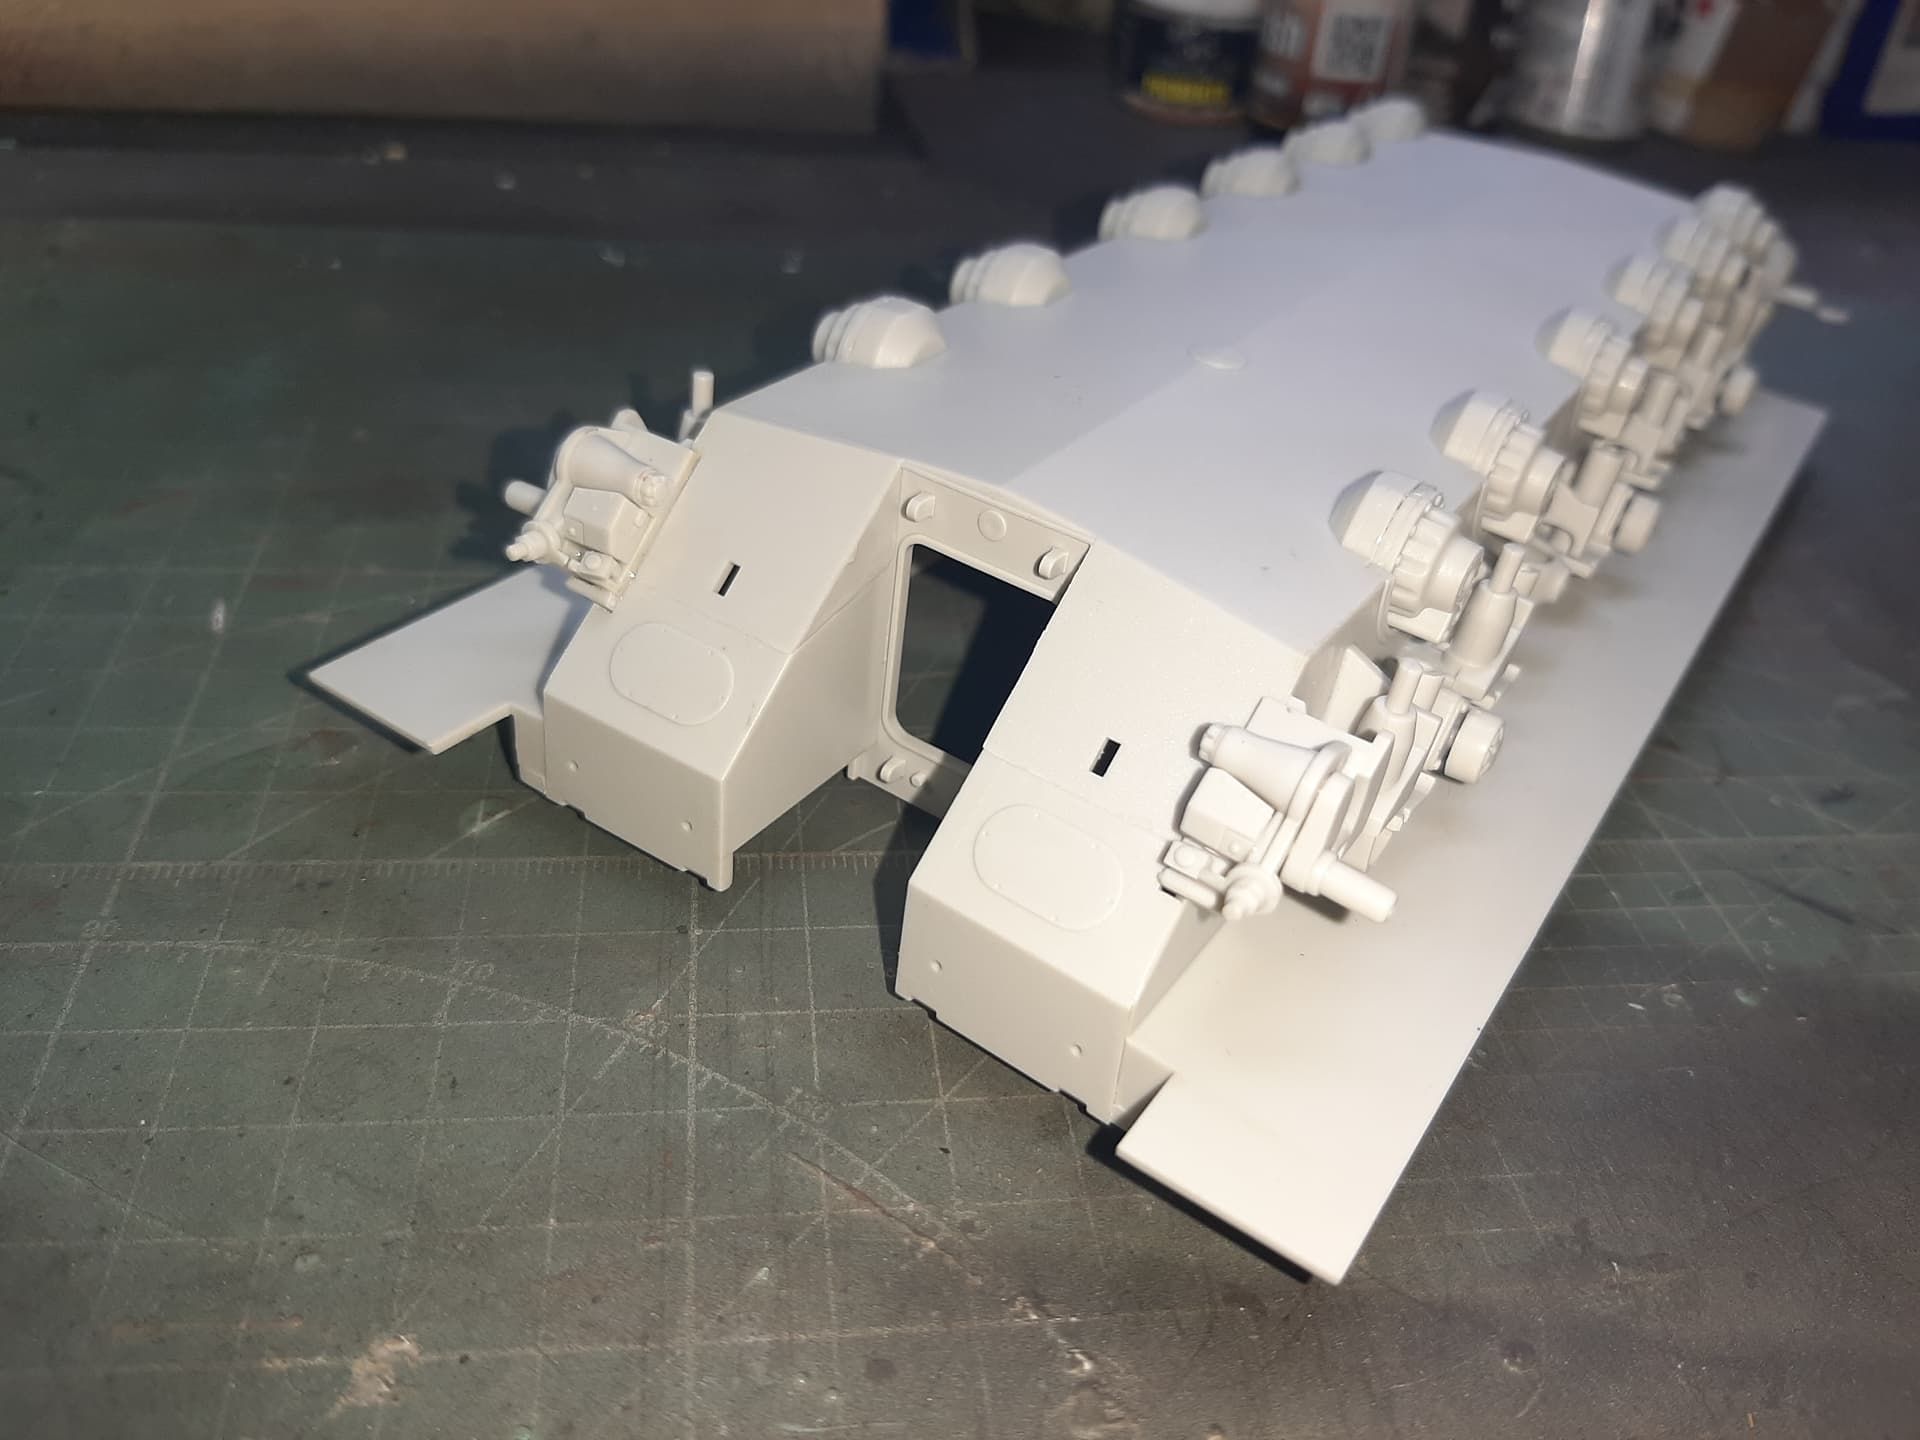
Construction on the hull is also underway.
There’s lots of parts, some quite small, but the whole thing went together without any fitment usses at all. I could get used to this AFV by Meng lark. I suppose I ‘could’ use filler on the tiny gaps that are left over after construction, but you’re just not going to be able to see these on the completed model, so i’m not going to.
Note the mud scrapers for the final drives (mirror assembly), which were not supplied in the kit (strangely, as they’re very visible) but are supplied within the Desert Eagle update set.
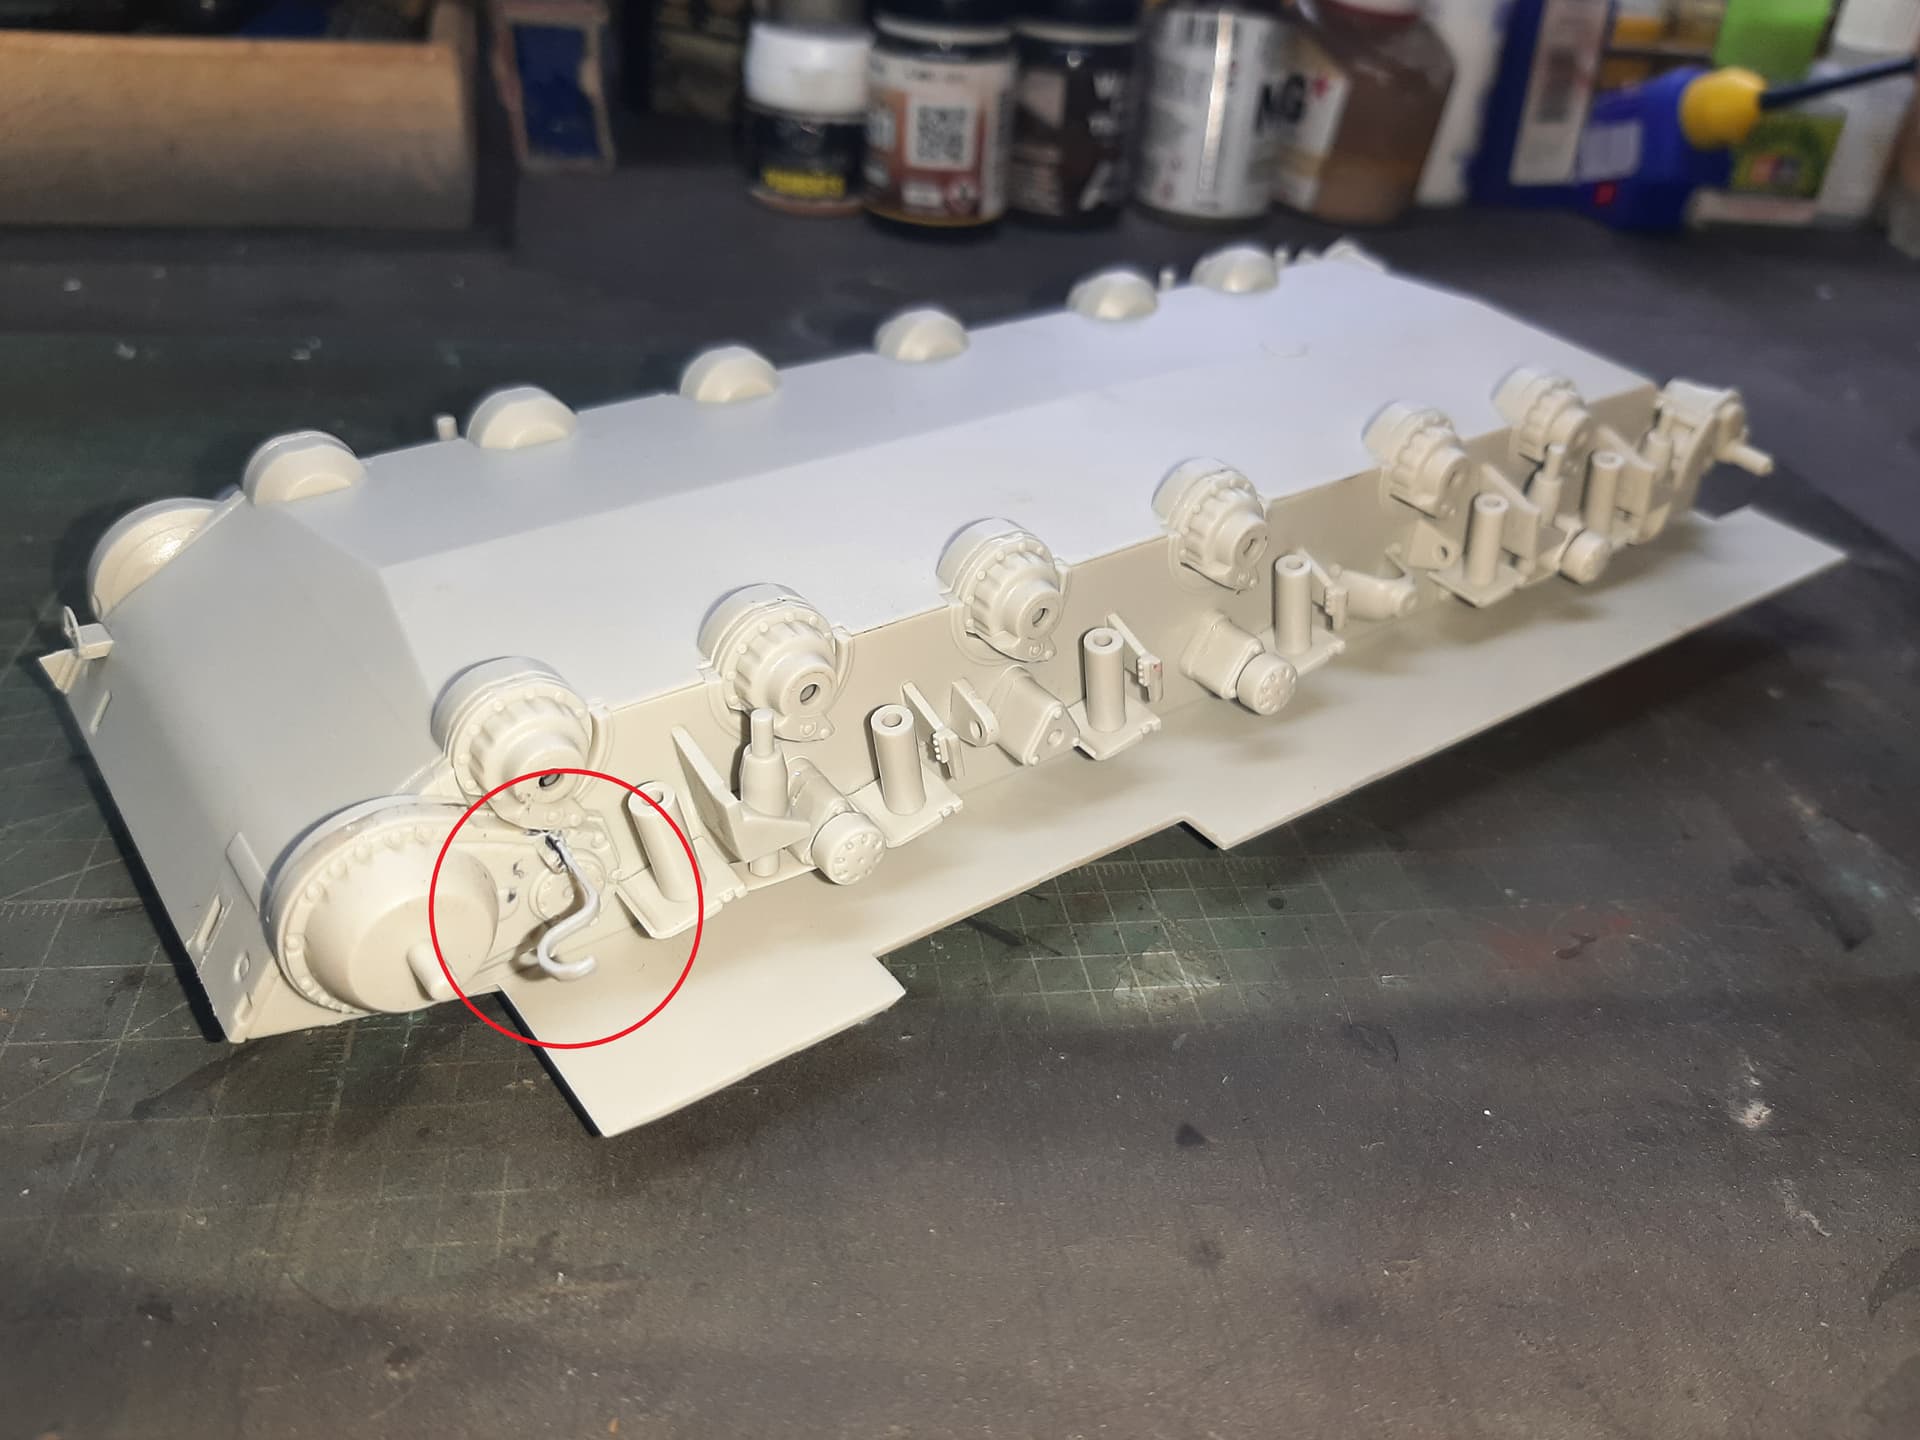
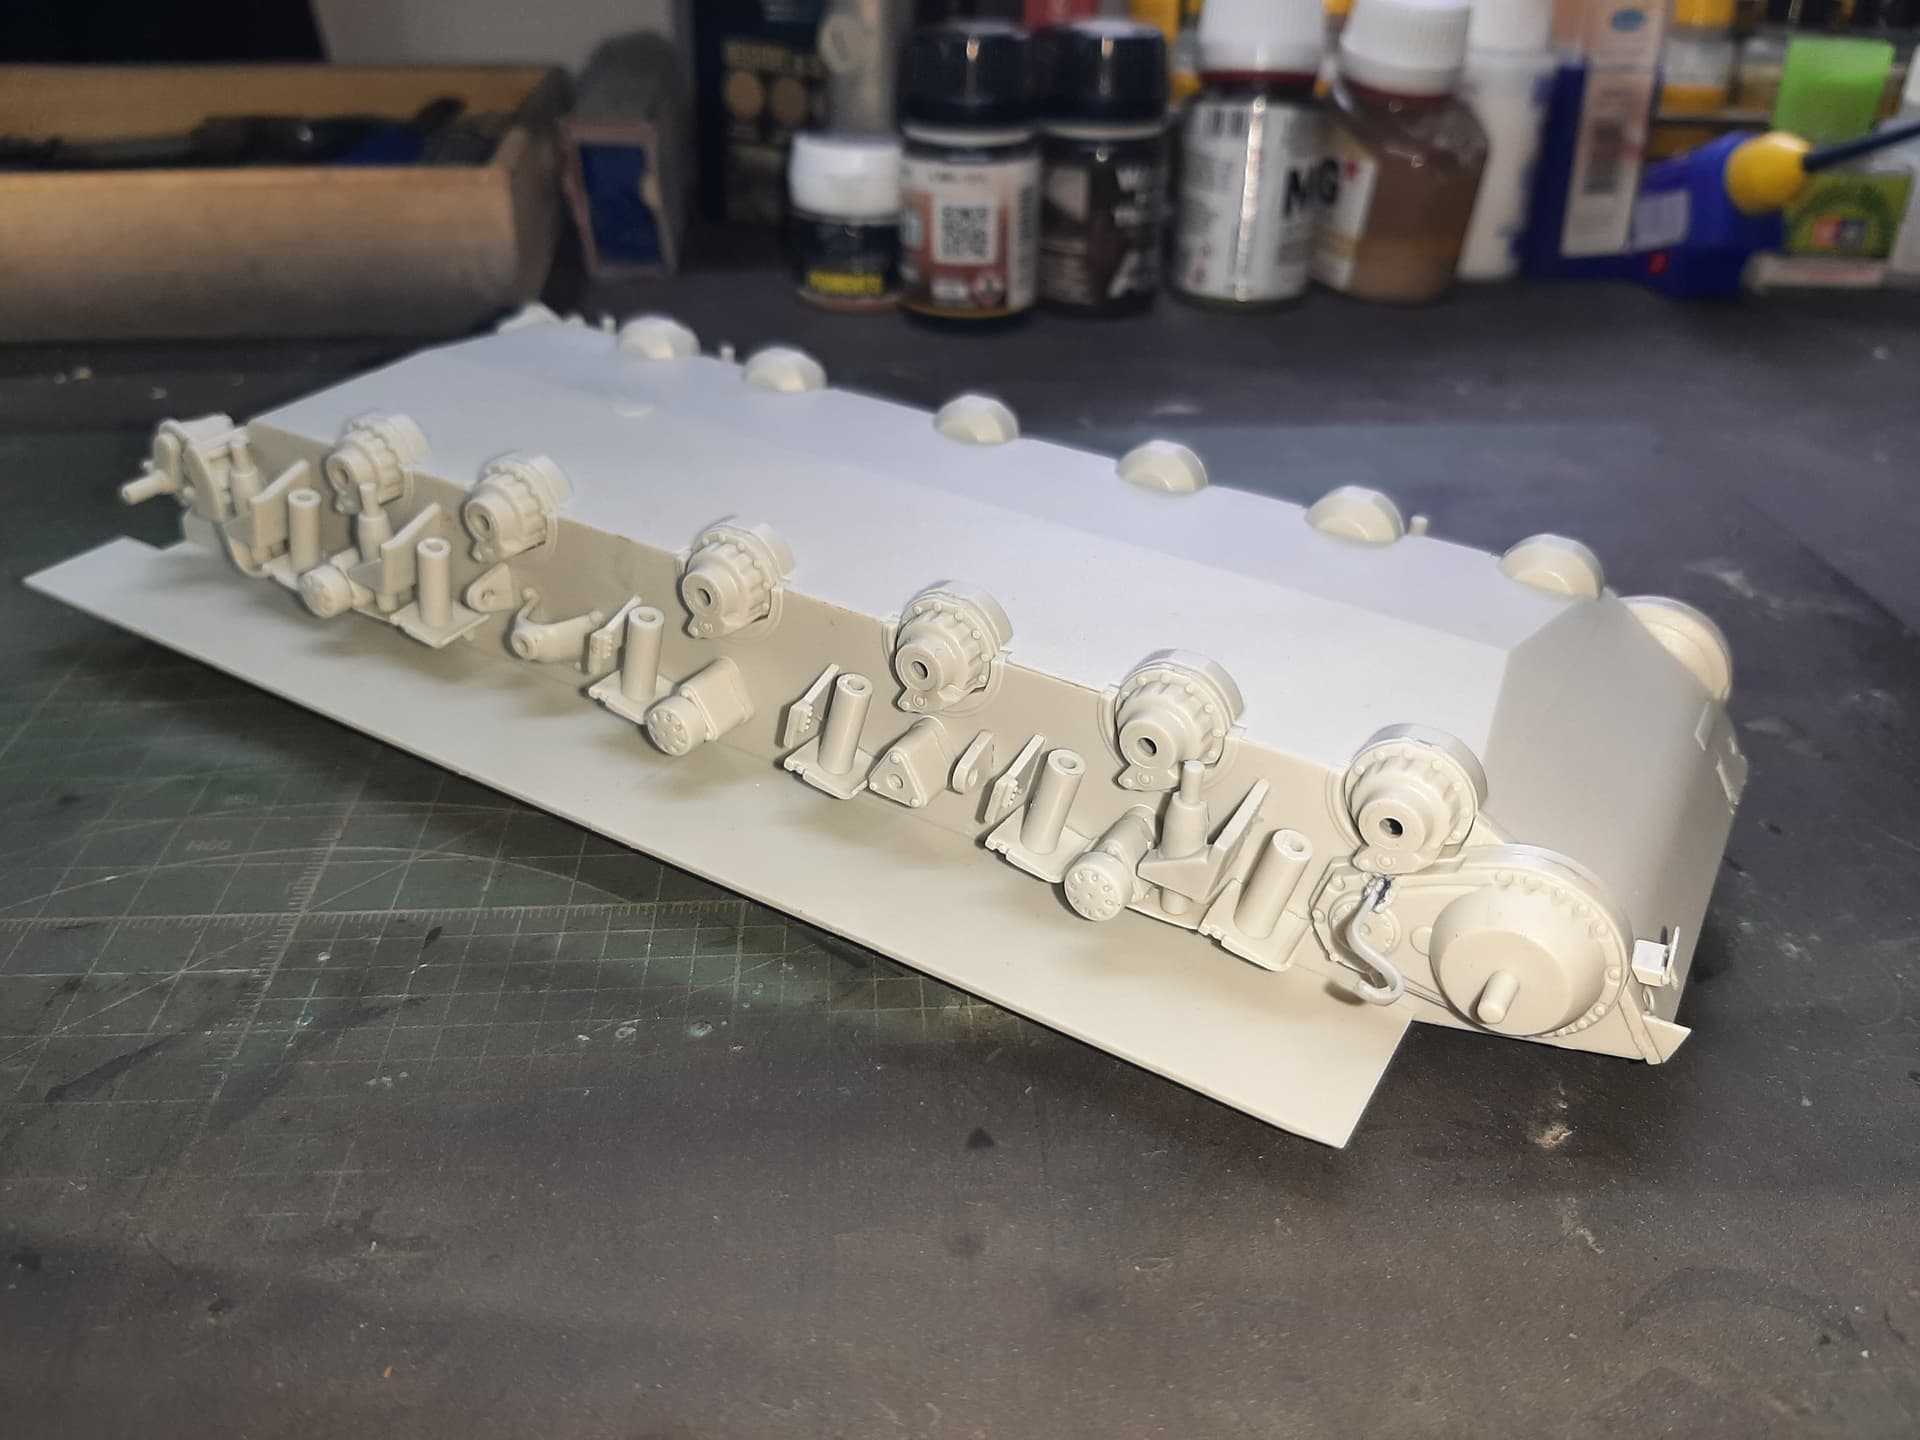
At the point where the ‘working’ suspension components will be added. I can’t decide whether to continue with construction of the other hull parts as far as possible and then paint and weather, or to paint after that stage. You the public can decide ![]()
6 Likes
I would probably get the upper hull on and as much fitted as was safe to ![]()
3 Likes
A quirk of this kit is that its quite difficult to do that because once the upper hull is attached, you can’t really put the tracks on without a lot of faff. See the extract from the instructions. The circled portions of the upper hull almost cover the final drives when the hull and superstructure are joined.

So you almost have to do this in two halves. Which is kind of what i’d normally do anyway.
My question is more to do with trying to paint a complicated set of running gear when its all installed - airbrushing into tight corners normally means you either don’t get full coverage or overspray in some areas - or doing it in stages.
2 Likes
Got ya … in that case, I would paint now to make sure you hit everwhere
2 Likes
Paint as you go.
Ken
I tend to do that more or less anyway, i’m always in awe of people who seem to be able to complete the entire construction and then paint the thing perfectly, particularly running gear.
They may have a secret weapon I don’t know about.
3 Likes
Nice catch on the track fit issue at the front. Merkava 3 kits from Meng also have this issue, the track run does not fit to pass over the sprocket and under the fender.
Looking good thus far ![]()
![]()
1 Like
Best bet is to paint the lower hull and running gear. Then weather and install the tracks. Once they are on it’s easy to mask them off when painting the remainder. Just slide a 3x5 or 5x7 between the skirts and wheels.
3 Likes