My first project involving modern armour, and my first AFV for a while - got a bit bored of aircraft, but will go back to them.
I honestly never thought i’d start a modern AFV, let alone an IDF vehicle. But, there’s just something…aesthetically pleasing about the Merkava that drew me in, and so i’m looking forward to this and will blog it (to a point). I’m a bit of a weekend warrior, so this may take some time.
By the way, there were no poly caps in the box! which is disappointing - I have used Meng’s Sales email form to request replacements, but do not know how good they are at responding to this sort of thing. Fingers crossed.
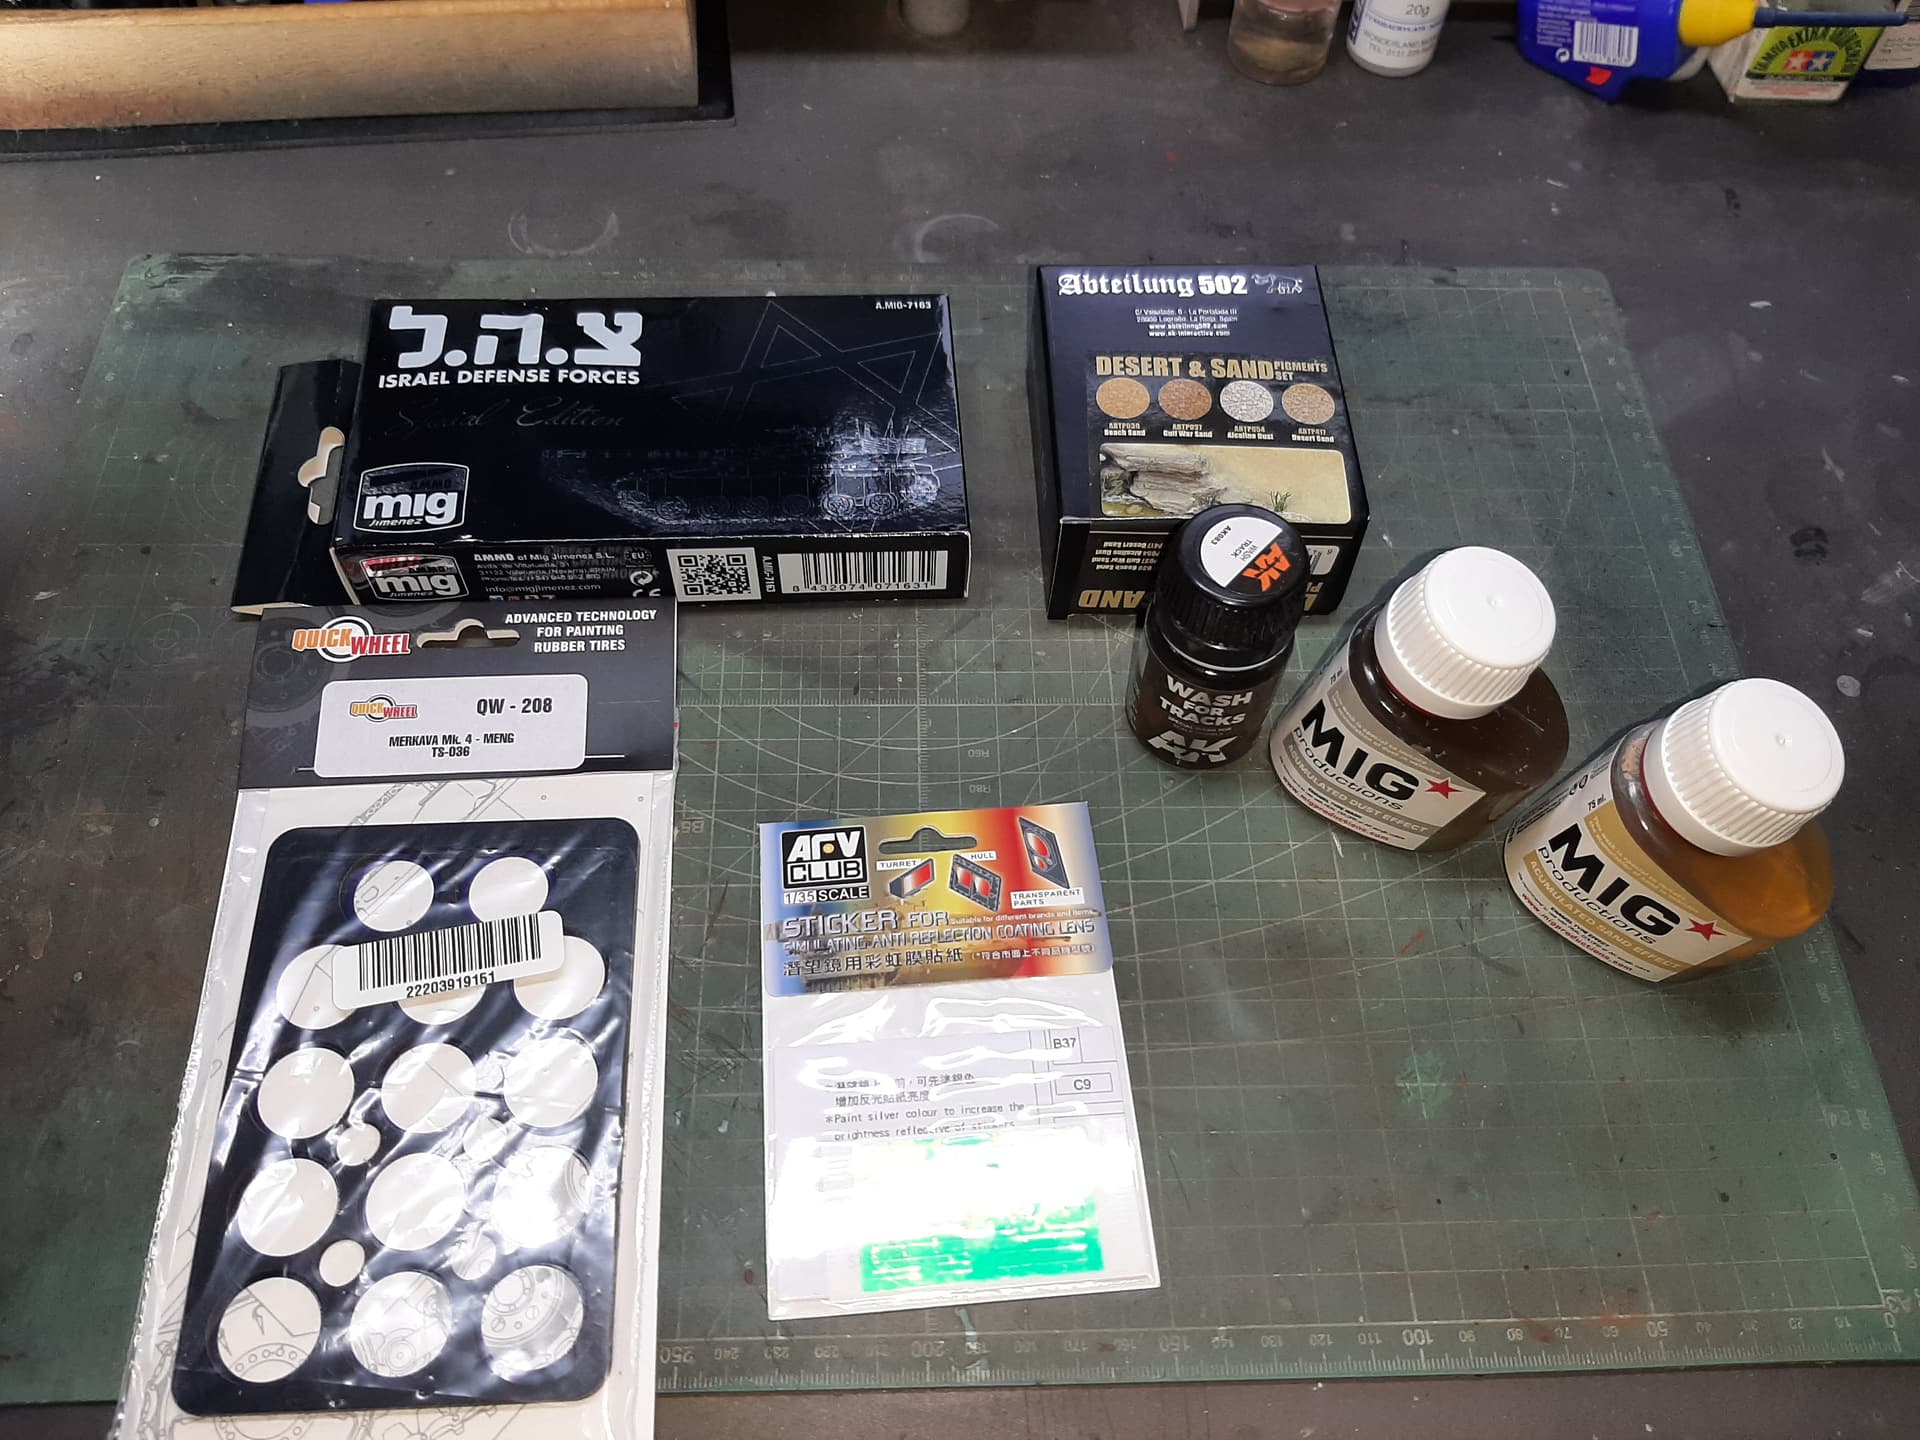
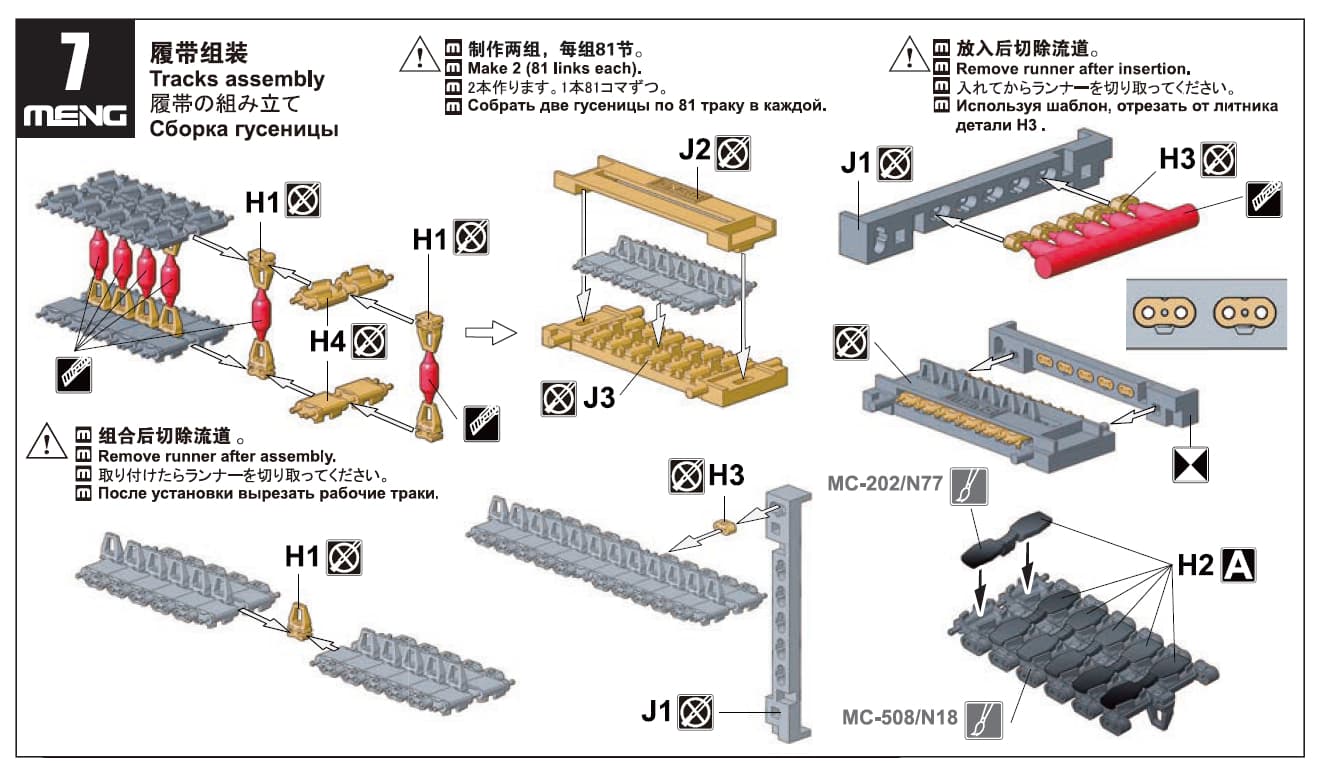
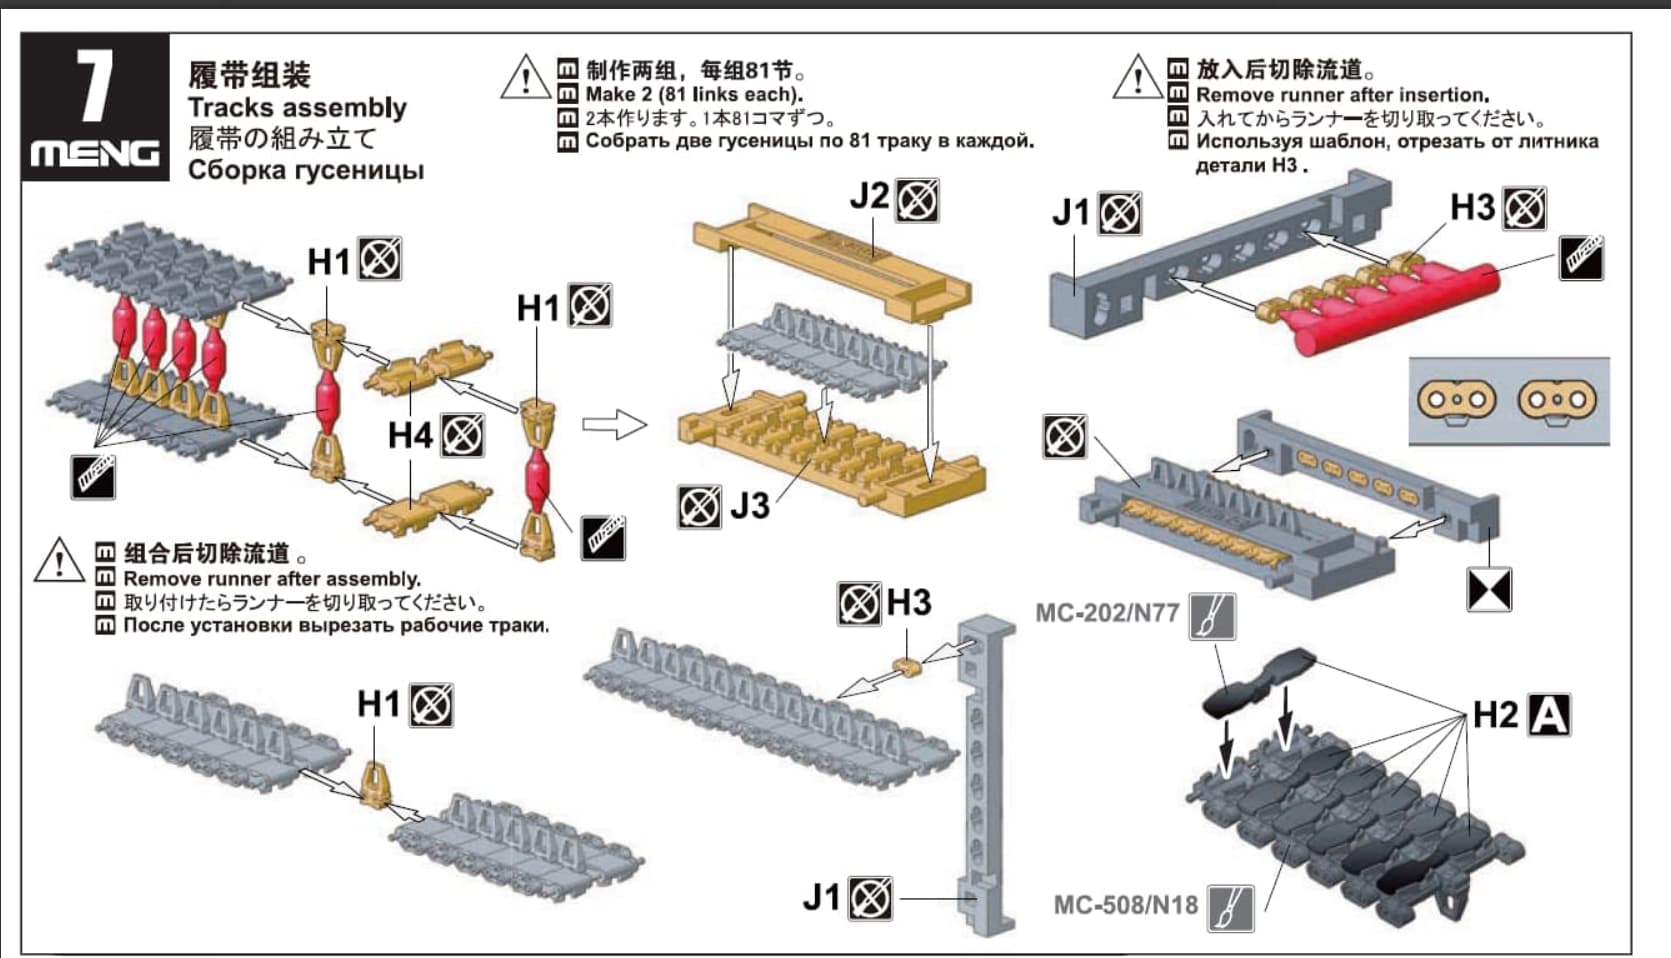
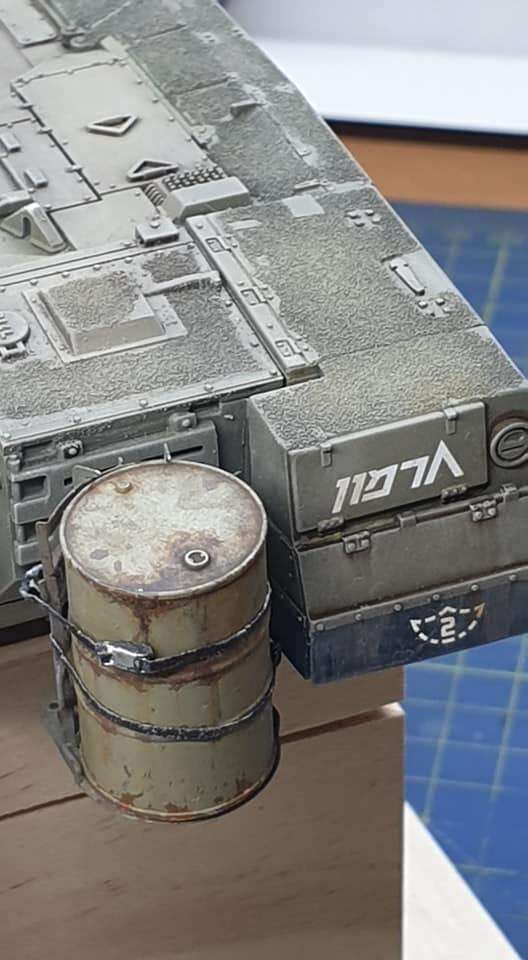
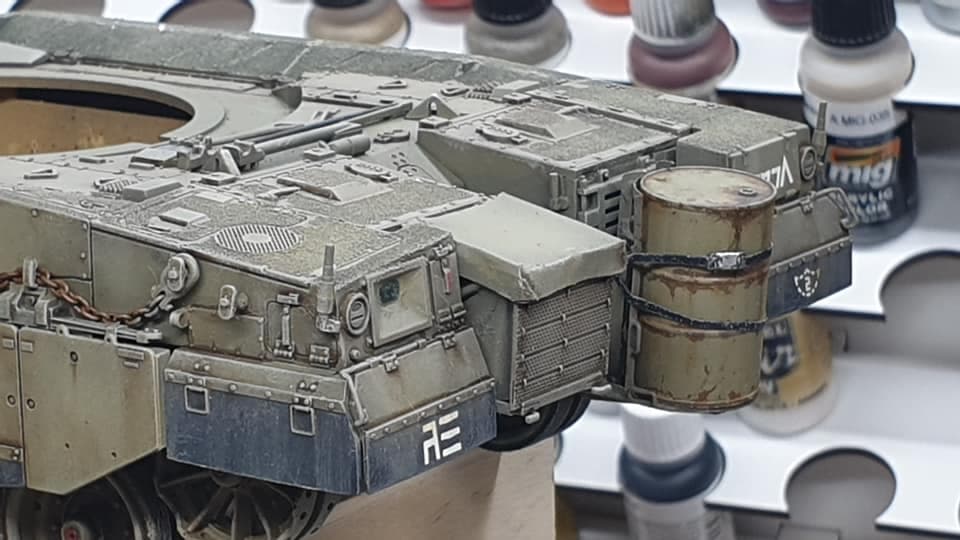
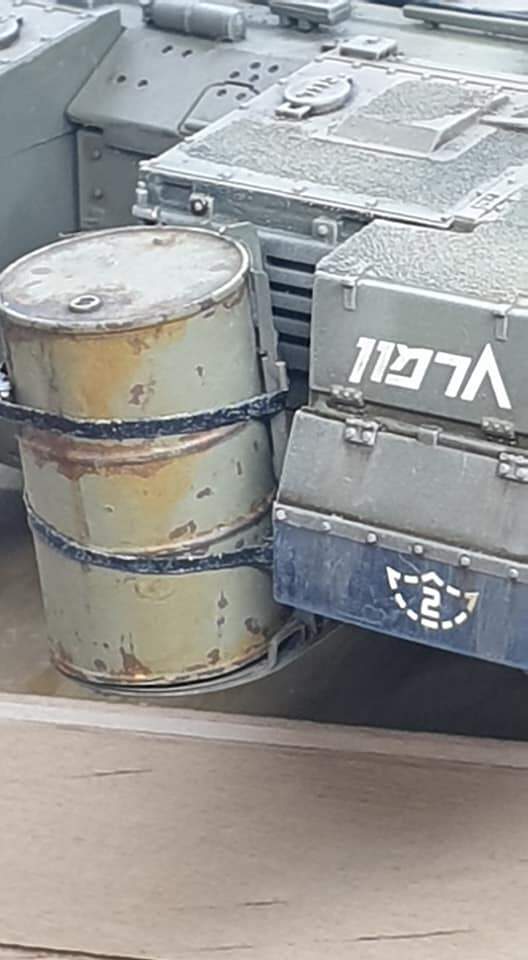
Some extras, Desert Eagle’s excellent detail set which i only really bought for the antennas, but also includes a really nicely detailed fuel drum and mount frame for the rear of the vehicle. That will definately test my ability to work with PE. Also, the kit’s ‘workable’ track links are a widely acknowledged nightmare. Nobody has had a good word to say about them - each link consists of two styrene parts, full of ejection pin marks and requiring the patience of a saint and the gluing precision of a brain surgeon to make work. Not for me, its the obligatory (and in this case) superb quality Friul kit, which also comes with drive sprockets. Take my word for it, if you buy this kit, you also need to budget for AM set of track.
Some sundries also, paints, pigments and washes. Quickwheels (of course) and an interesting AFV Club set of blue reflective stickers for the vision block optics.
The lack of poly caps has sort of forced my hand a bit in that I decided that although i could begin the actual build, it might be better to wait until i get some more poly caps and in the meantime, tackle the tedious process of track construction. Which is maybe a good thing, get the boring jobs out of the way first.
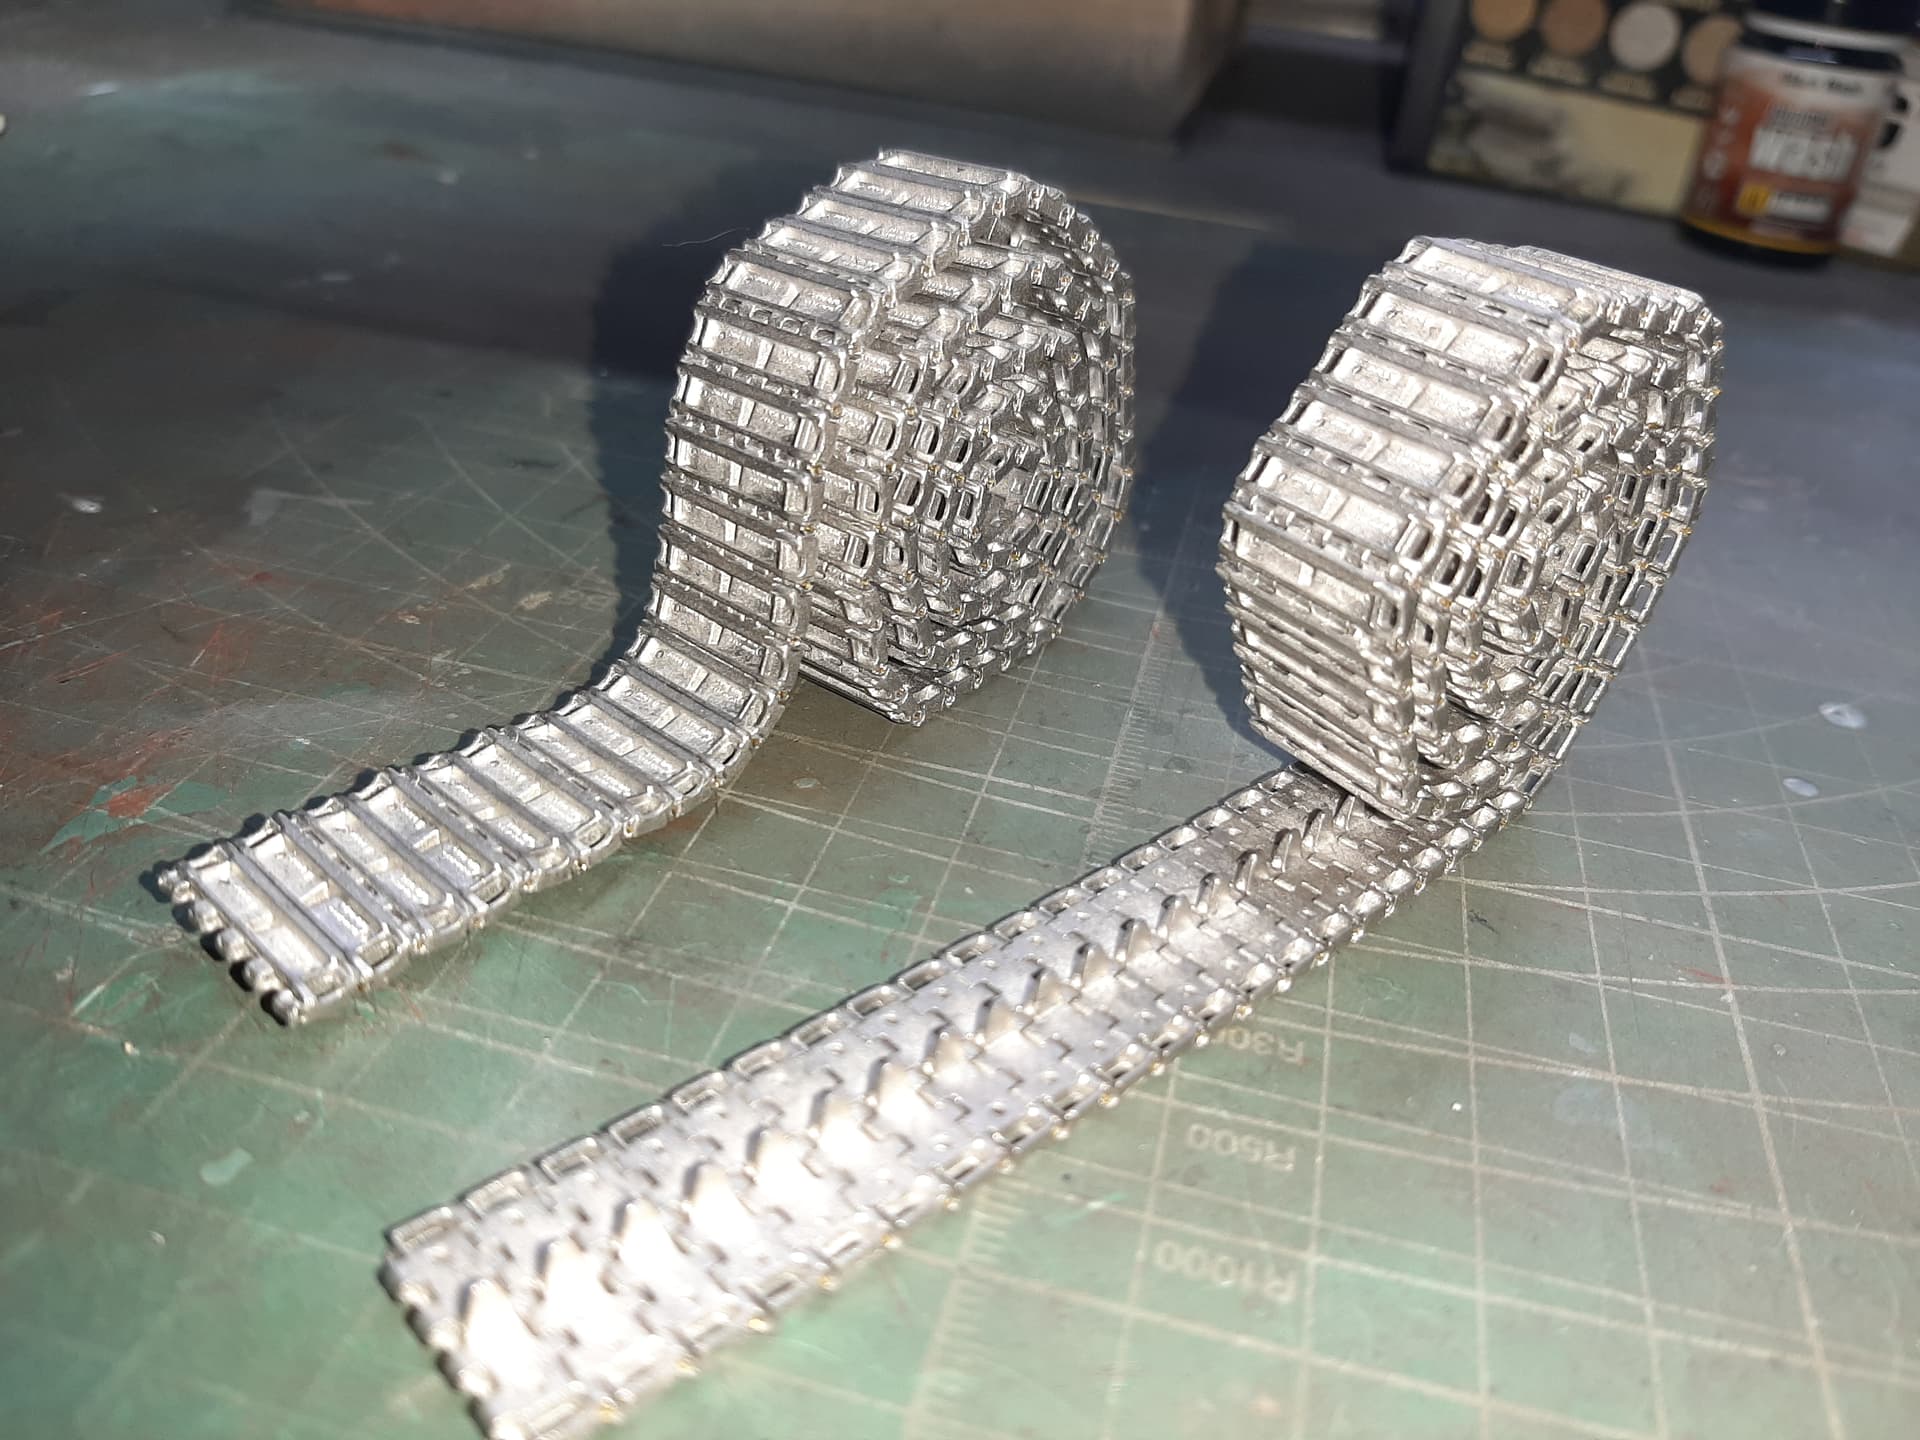
Lets face it, its repetetive and time consuming. However, this set by Friul is great. Recent sets i’ve had from them (Panther G) were of poor quality, requiring extensive clean-up. This was a return to the good old days of Friul, when minimal clean-up was required.
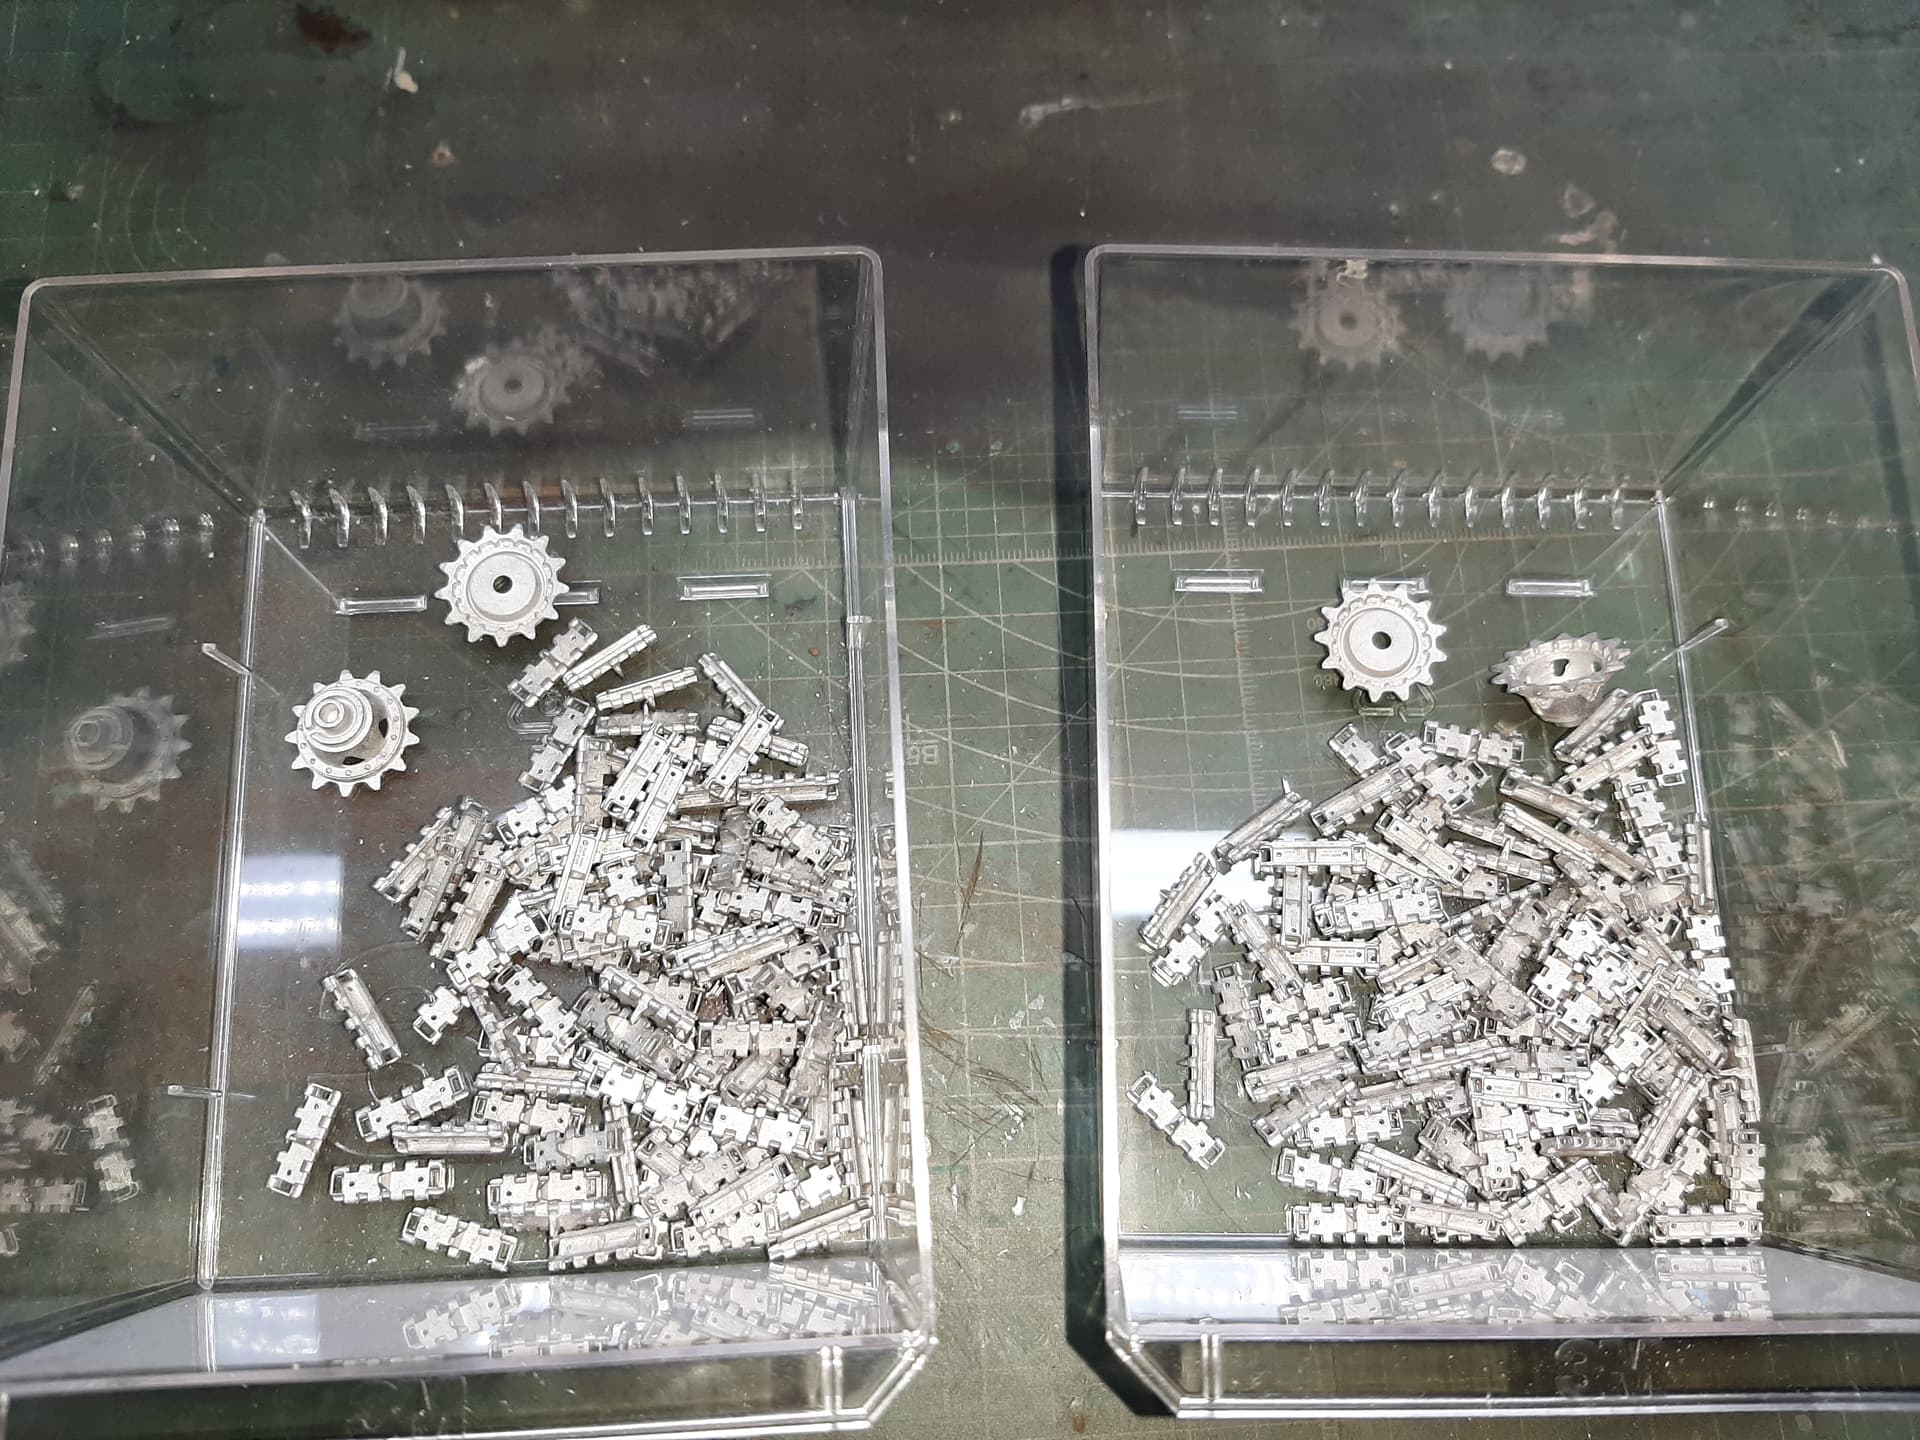
Lovely detail, crisp and hardly any flashing to remove (maybe 5 links from 190 needed a bit of effort other than the obligatory drilling out of the track pin holes with a 0.5mm drill bit).
All cleaned up and ready to join. This took about four hours total, I know of people who spent over 15 hours fighting with the kit offering.
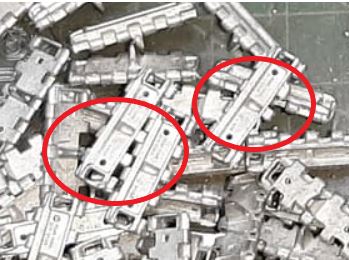
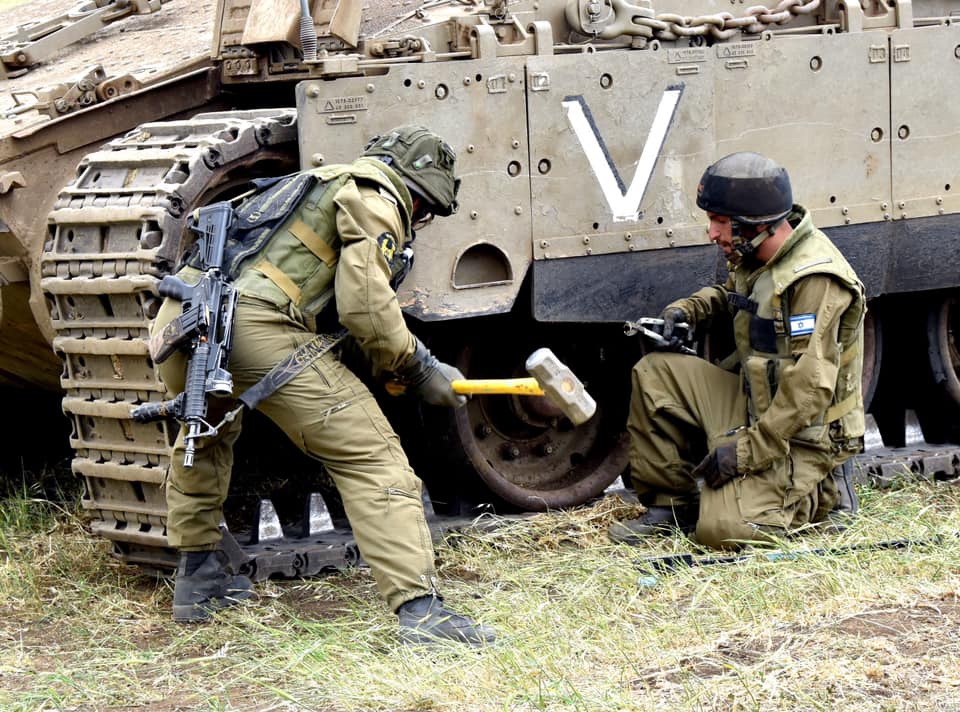
The tracks don’t appear to be sided or directional in the pictures that i’ve seen. But, the Friul track links have the opening in the middle of each link which on the inside is the extruded guide horn. In the picture on the box, this opening is rectangular, but on the actual cast links, there appears to be a slight taper.
Is this taper meant to be there, and does it signify a directional track? All I can think of is that the stamped (assume) serial number on each link should be read normally if stood in front of the vehicle looking at it.
I built this exact kit and i had ZERO problems using the kit tracks. Excellent kit. Also, fruil tracks have a tendency of not lining up with the drive sprockets on kits. Plus, the quality of fruil tracks of late are not that good. Just my opinion.
That may be correct, but this kit comes with its own drive sprockets (as i stated), which fit the track perfectly;
You are right - however, the quality of this Friul set was outstanding (again, as I stated).
You are quite literally the first person I’ve heard of (and I must have read at least 15 reviews/build logs for this kit) that didn’t pull their hair out and go buy a set of Friuls for it - so Qudos to you.
The Friul tracks are assembled and ready for priming. 95 links per side which should be correct according to the kit instructions.
This offering from Fruil is really nice, hardly any clean up needed and very crisp detail. And the best thing about these tracks - no pads - something thats actually put me off modern armour before.
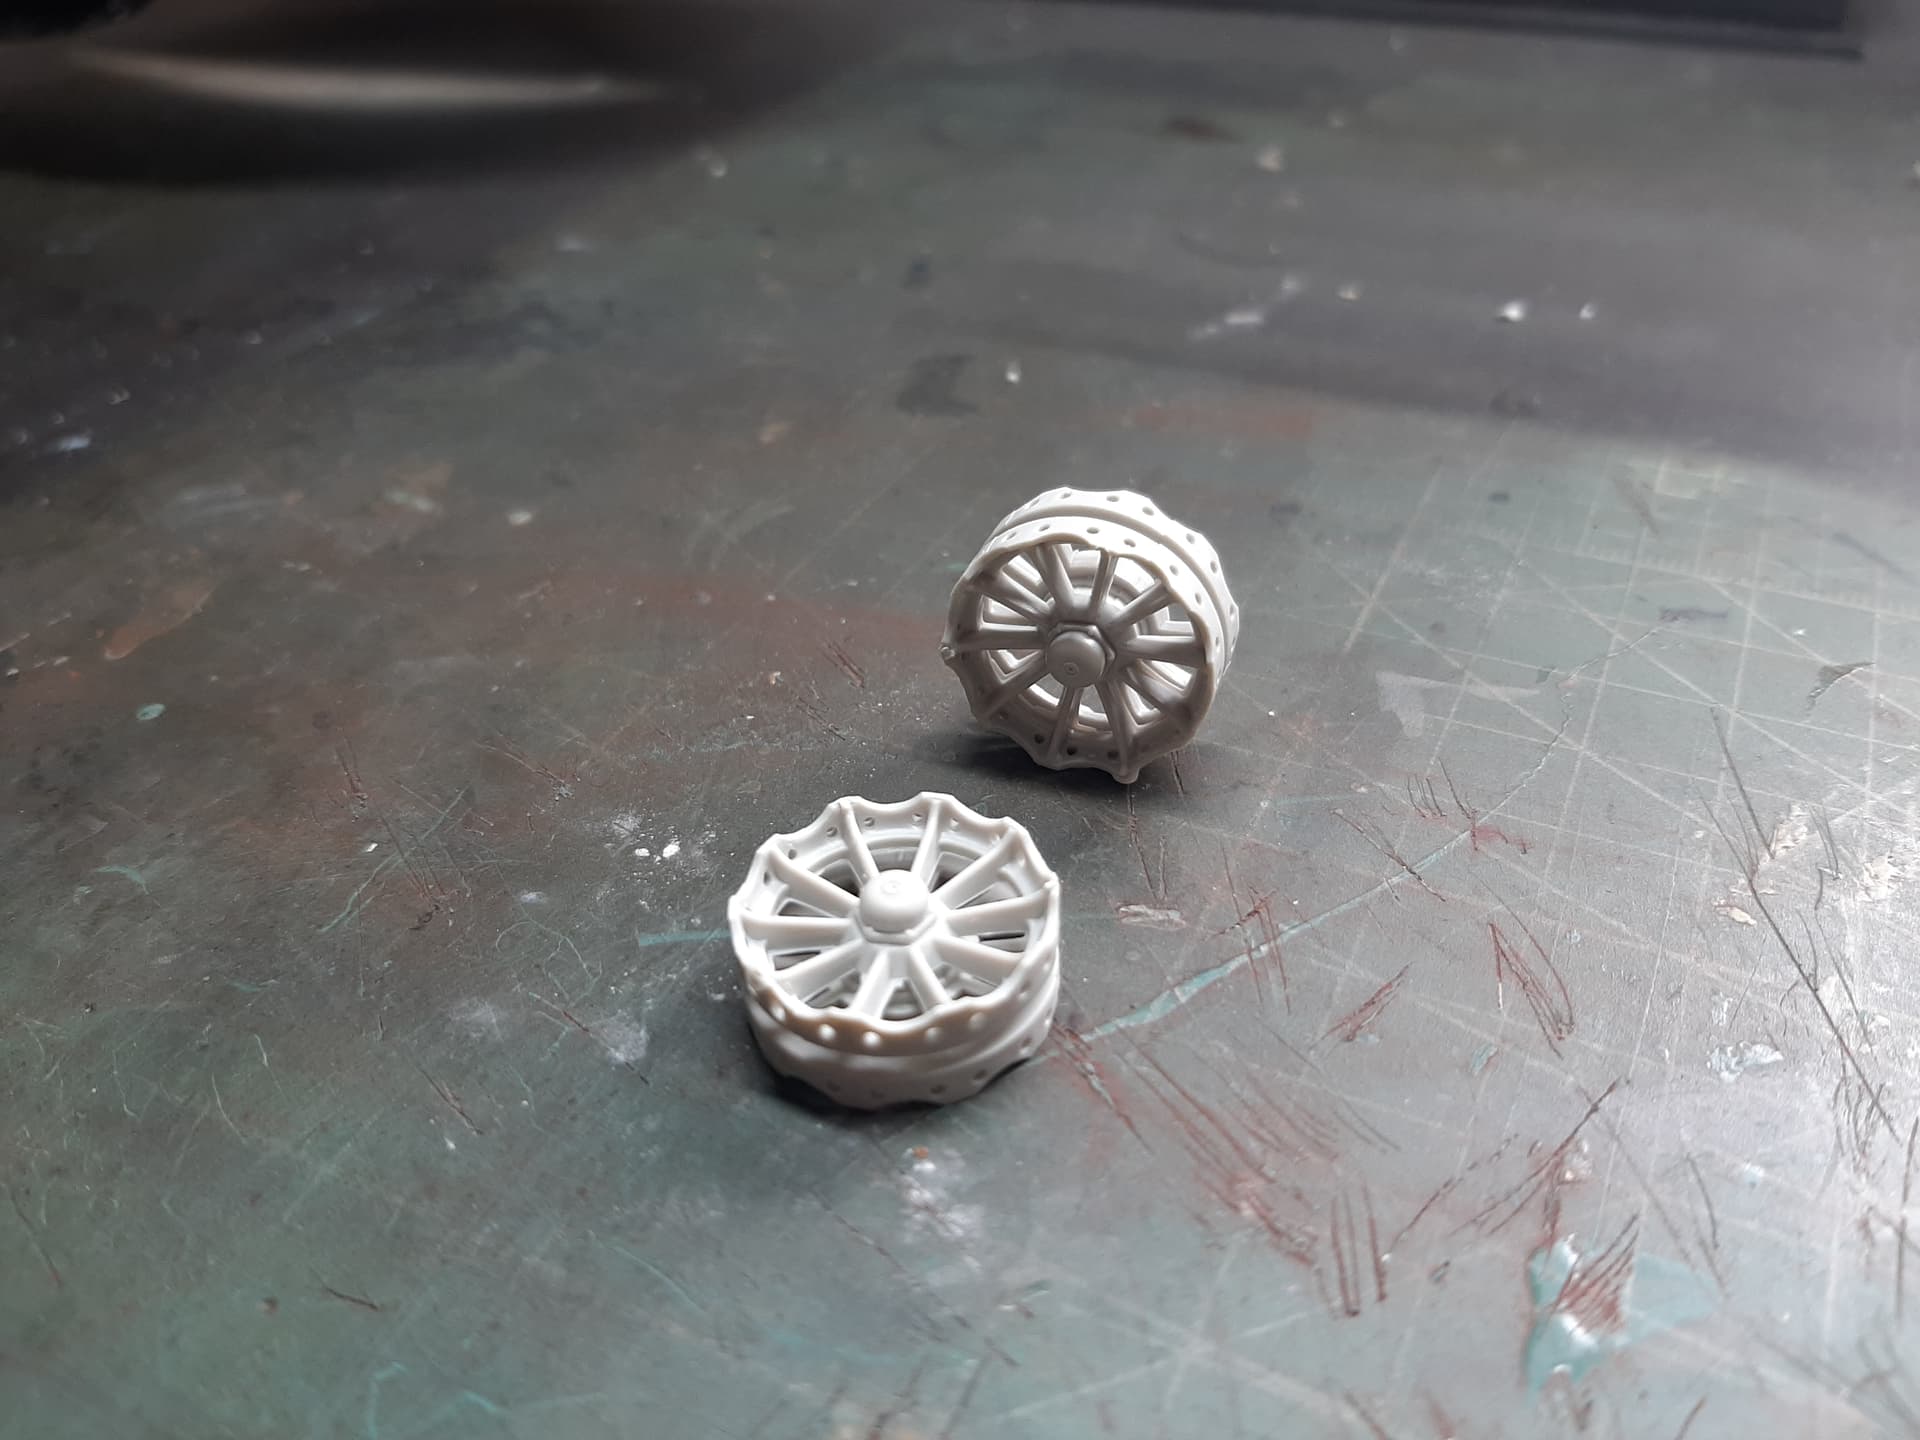
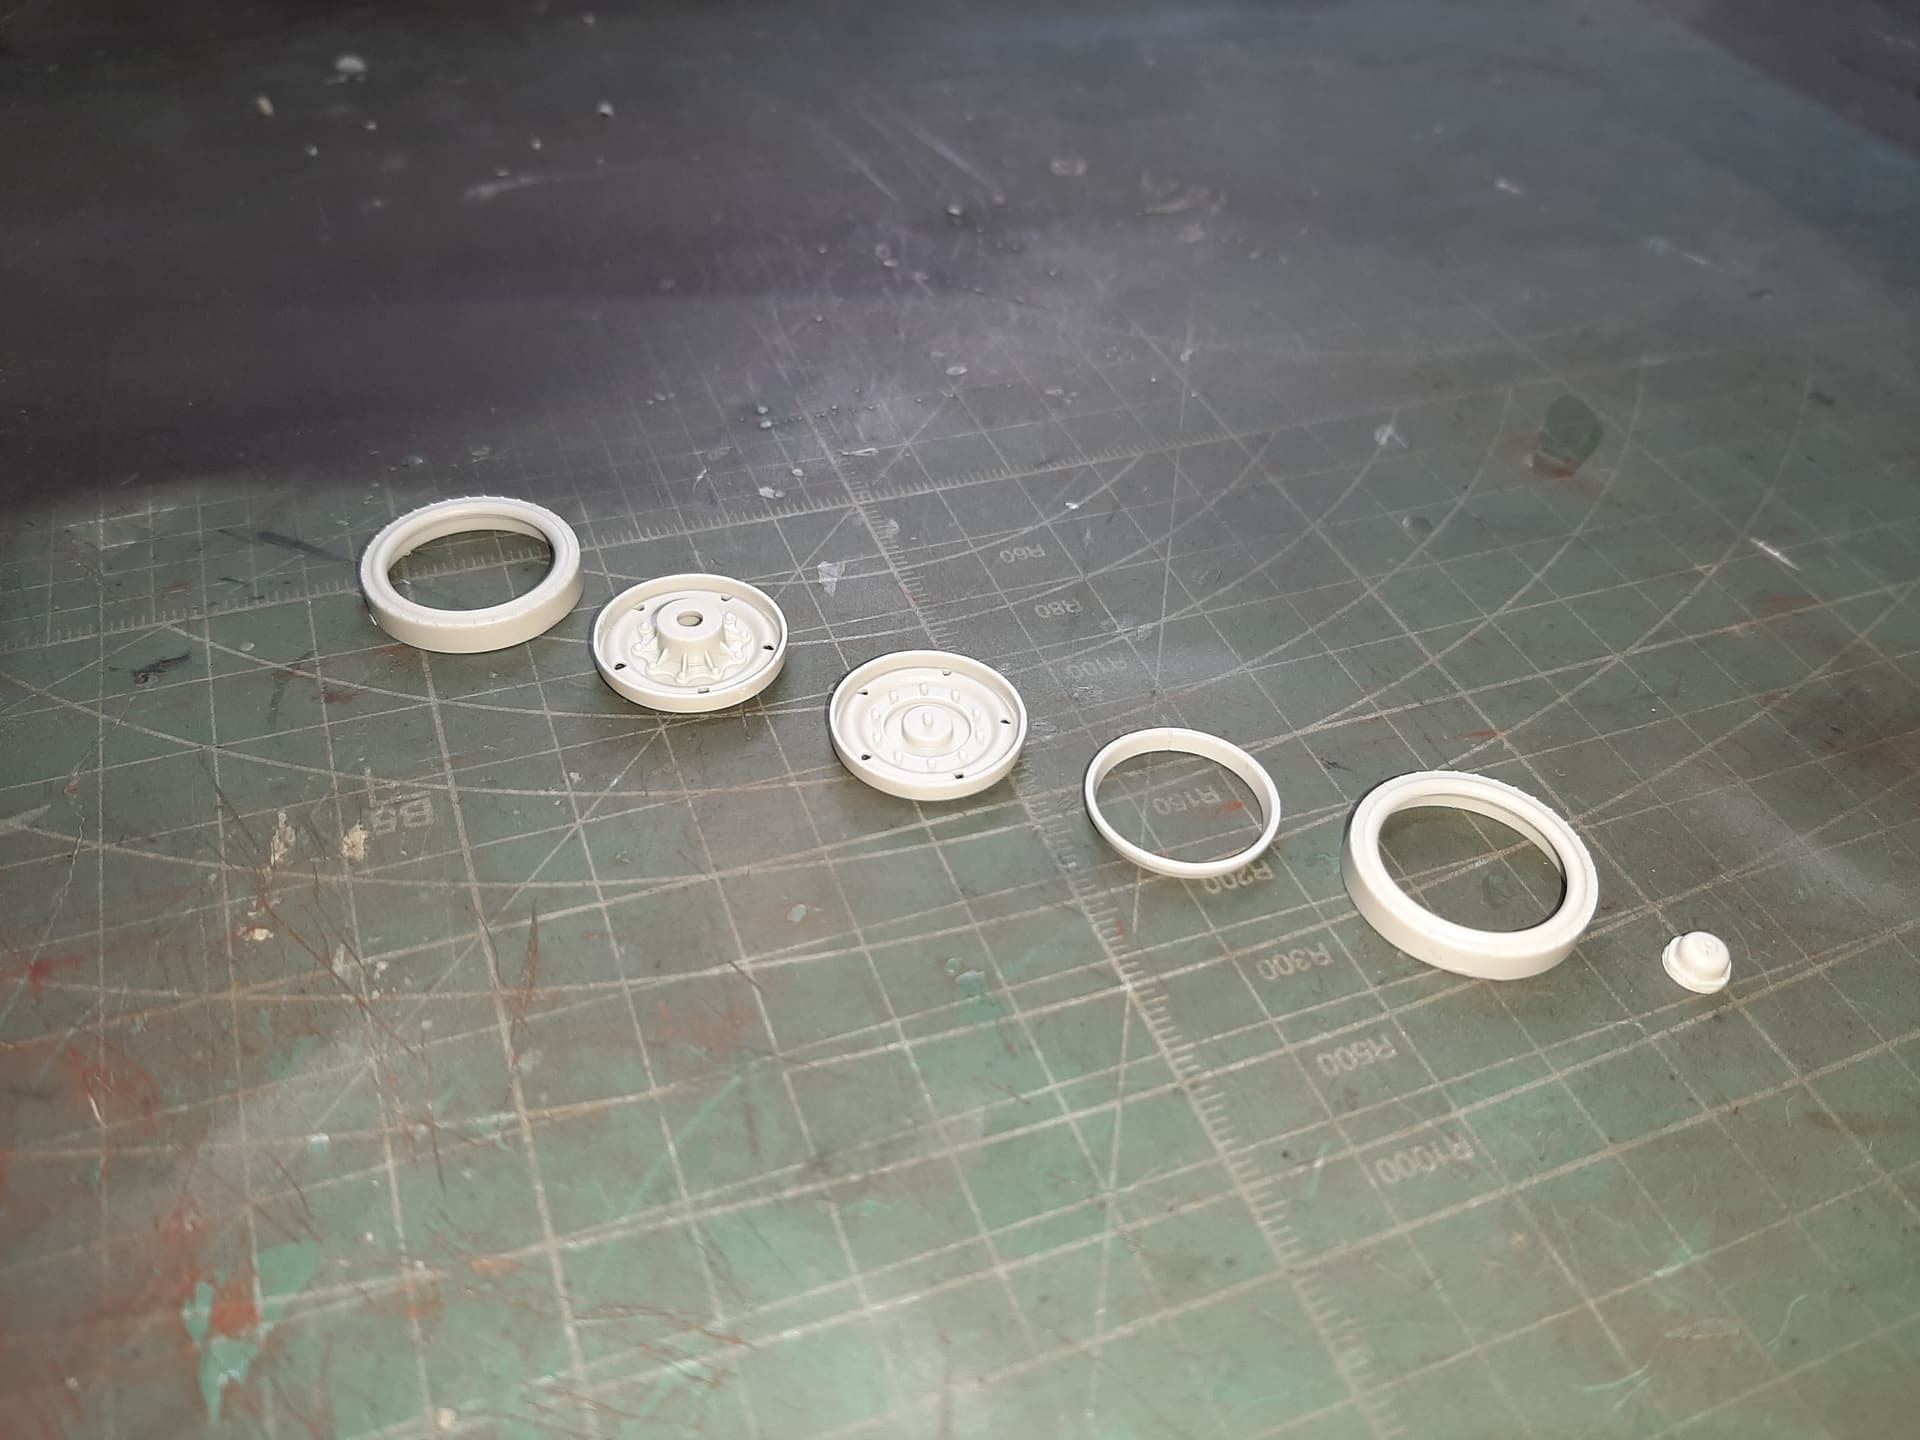
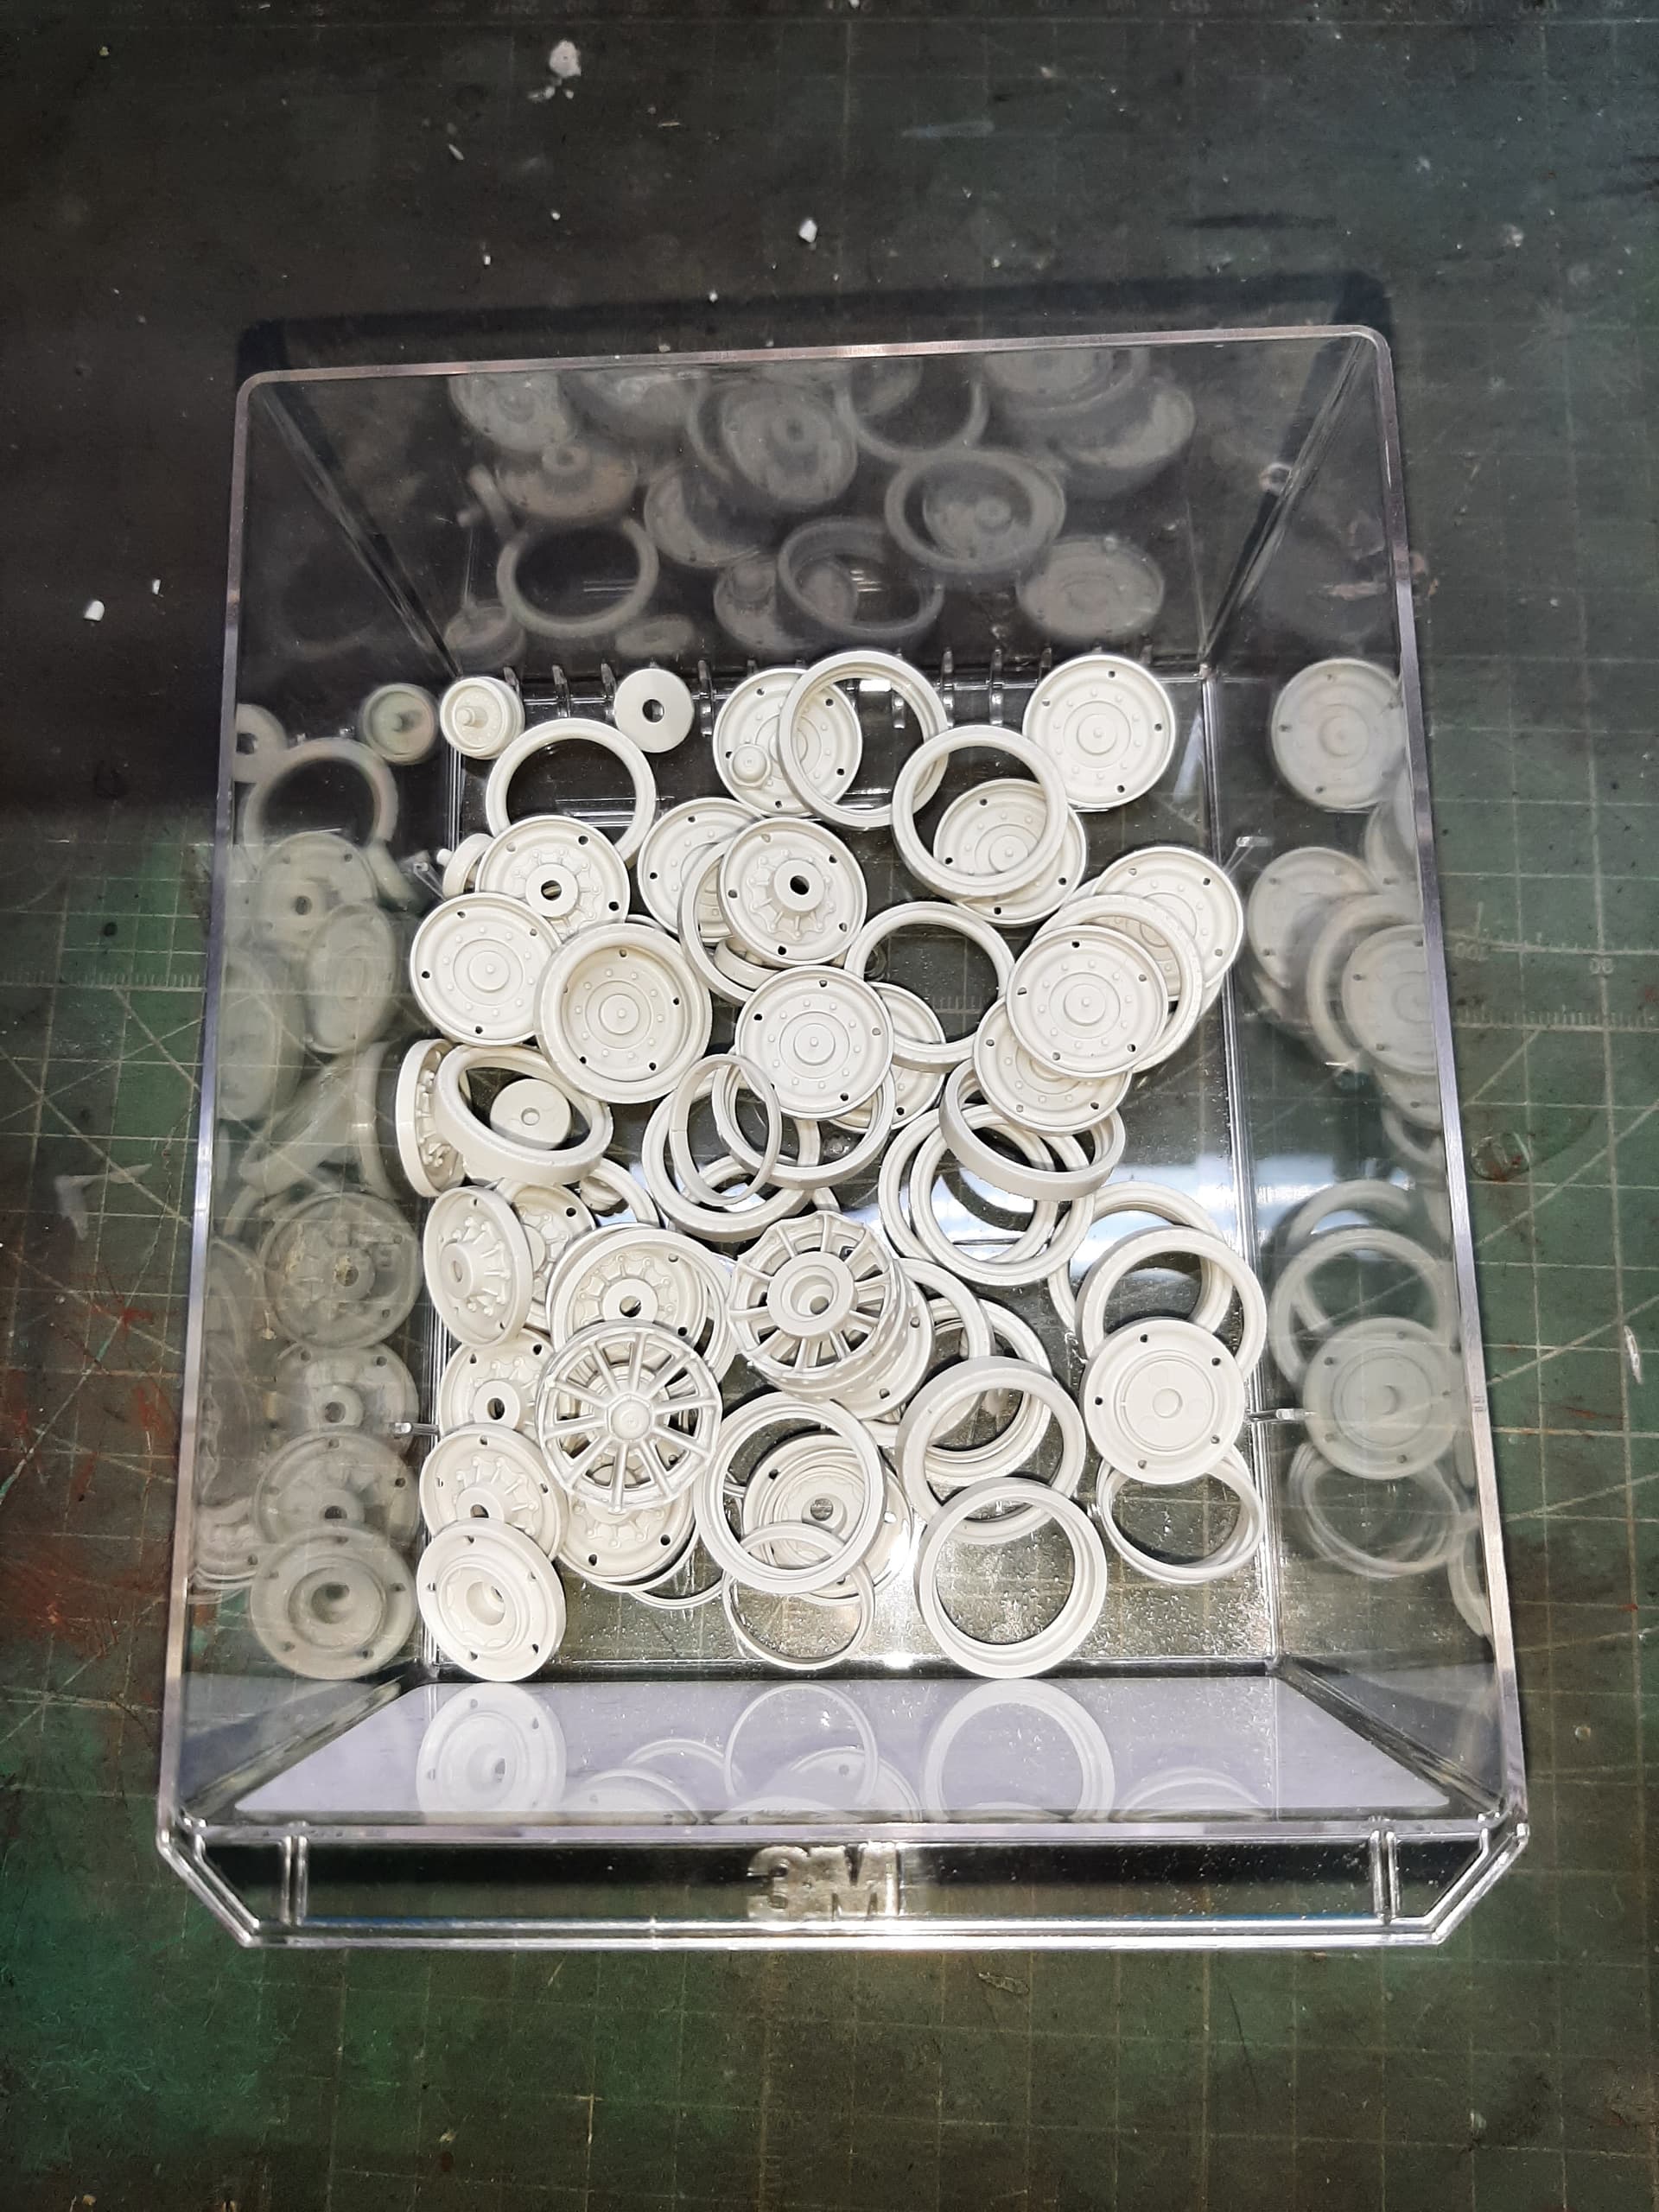
The road wheels consist of six individual pieces (7 if you count the poly cap, which I don’t have yet, but are on the way). Again, lovely detail. This is the first Meng kit i’ve built and the thing that I noticed almost immediately, was how soft the styrene is. This makes clean up much easier but on the other hand, you have to be so careful when removing parts from the sprue or cleaning them up, not to damage them.
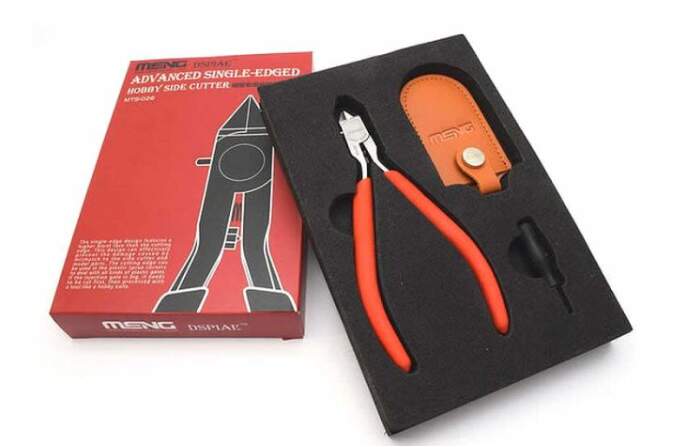
However, I use these bad boys, which although expensive at ~£50, are so good at removing parts from the sprues, in some cases, no clean-up is required at all.
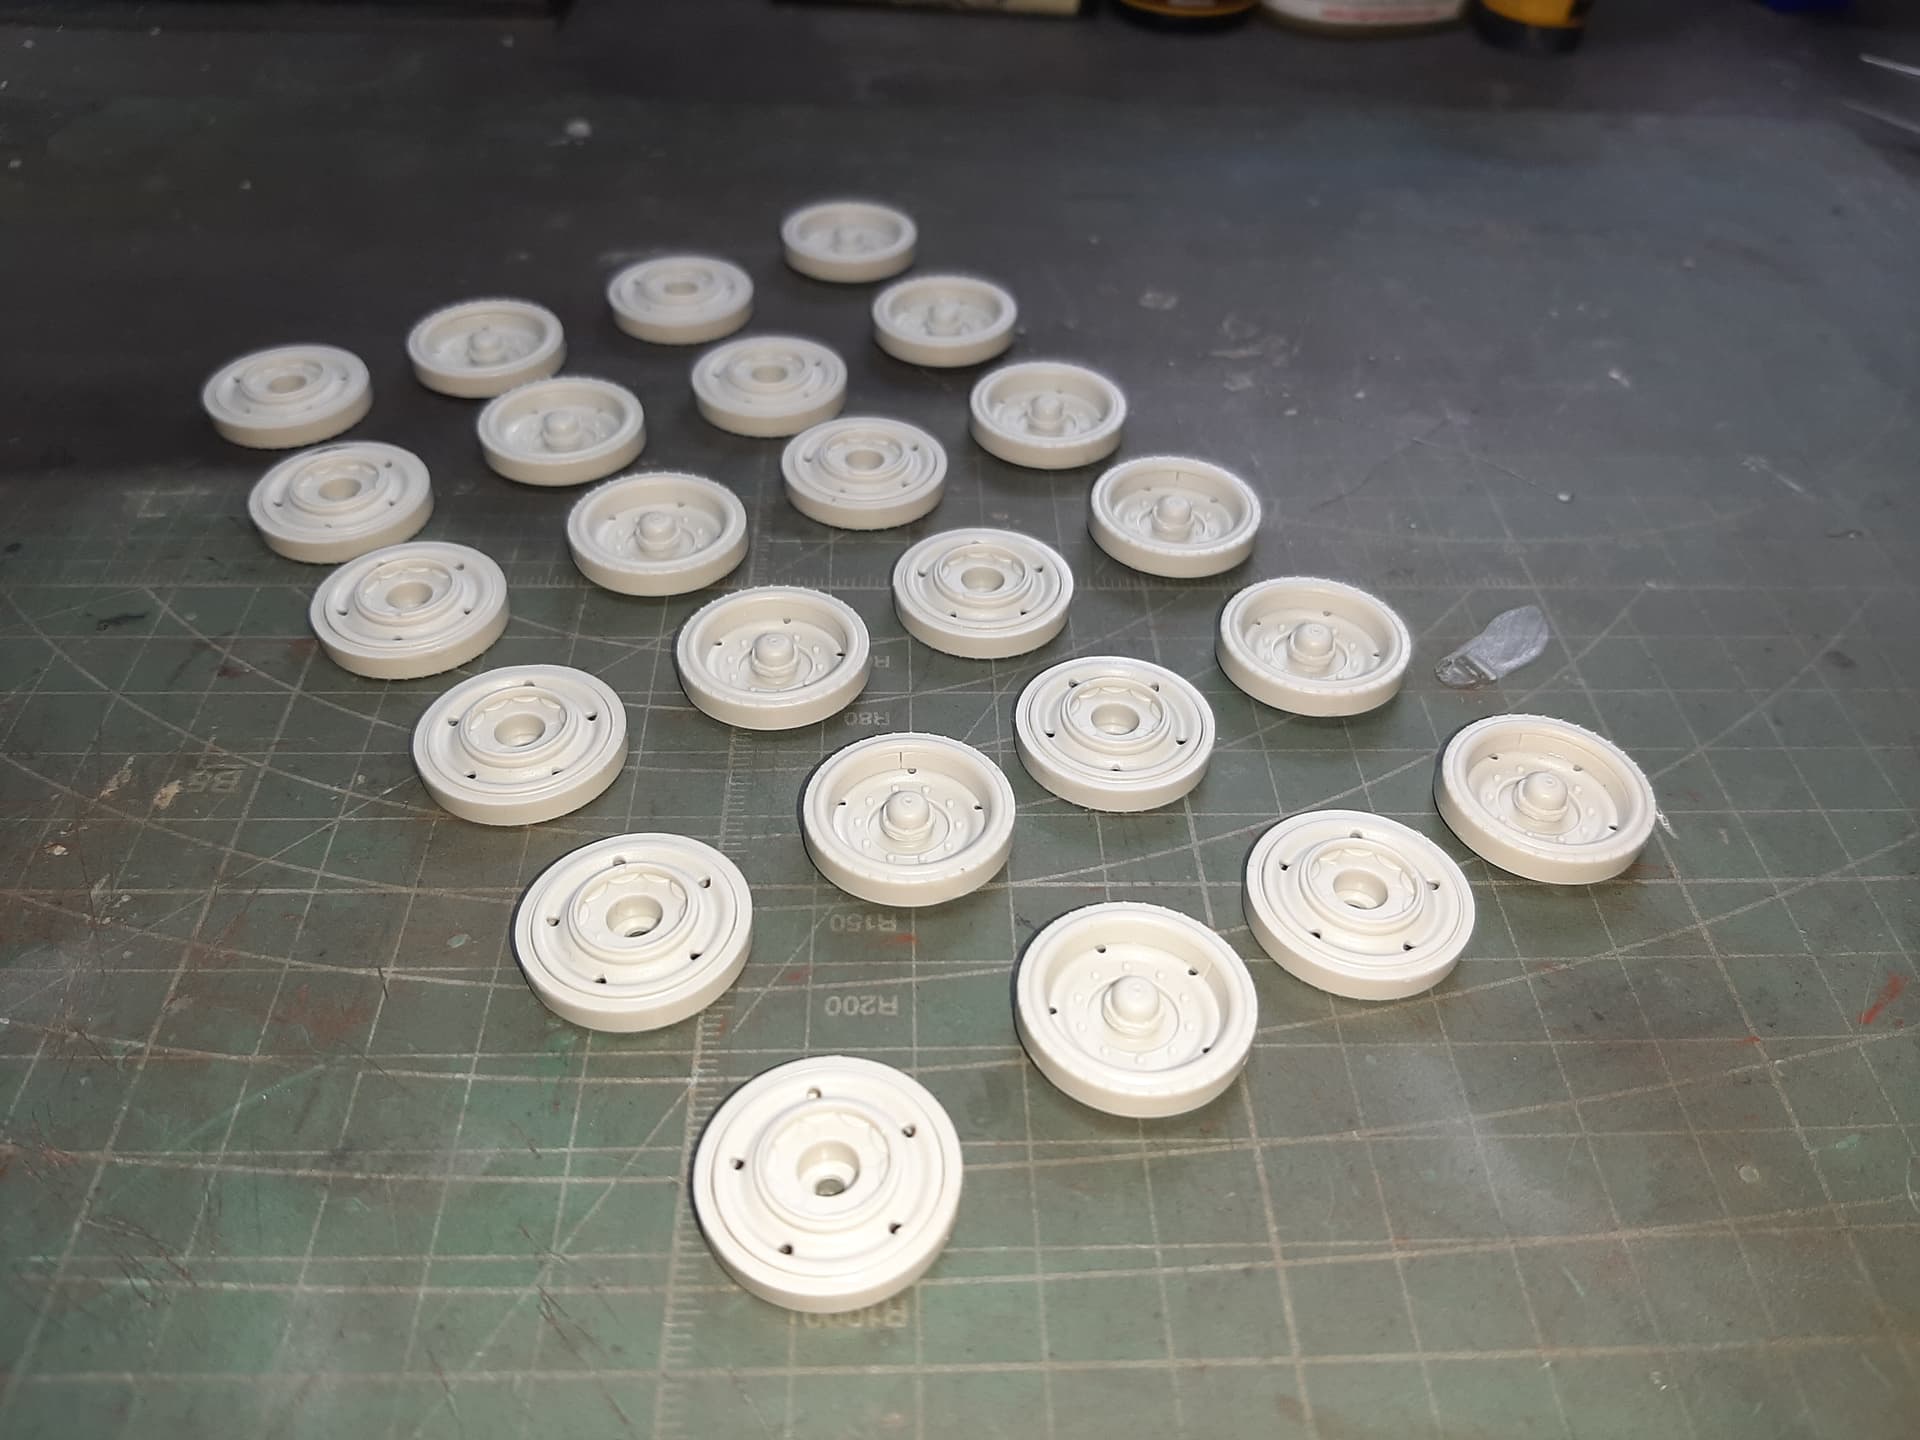
And, this is what the road wheels look like assembled. Due to the lack of poly caps, I wont be joining them up yet - but anyway, my MO is to paint the wheels before joining them together as I use Quick Wheel templates and like to do the inner surfaces of the wheels properly.
Remember that a lot of modern tracks only have rubber pads if they are using the wagons on public roads. So for example the double pin tracks for the T-72/T90 series have removable pads. The Meng T-72B3M gives you a choice of with and without pads.
I agree with you though some tracks like the “bigfoot” ones for the Abrams are a PITA when it comes to painting.
Enjoy your build, mine is on the “i’ll finish it later shelf” because I can not get the anti-slip to look right.
I think the anti-slip looks okay on this kit - I know its not as coarse as it should be for IDF armour, but i’m not going to lose sleep over it this time.