After a six years break from military modelling, I picked up my Panzergrenadier project.
After some priming i decided to practise on one of the heads before starting the figure rightaway.
This was my first time using Vallejo. Quite a change over Tamiya acrylics.
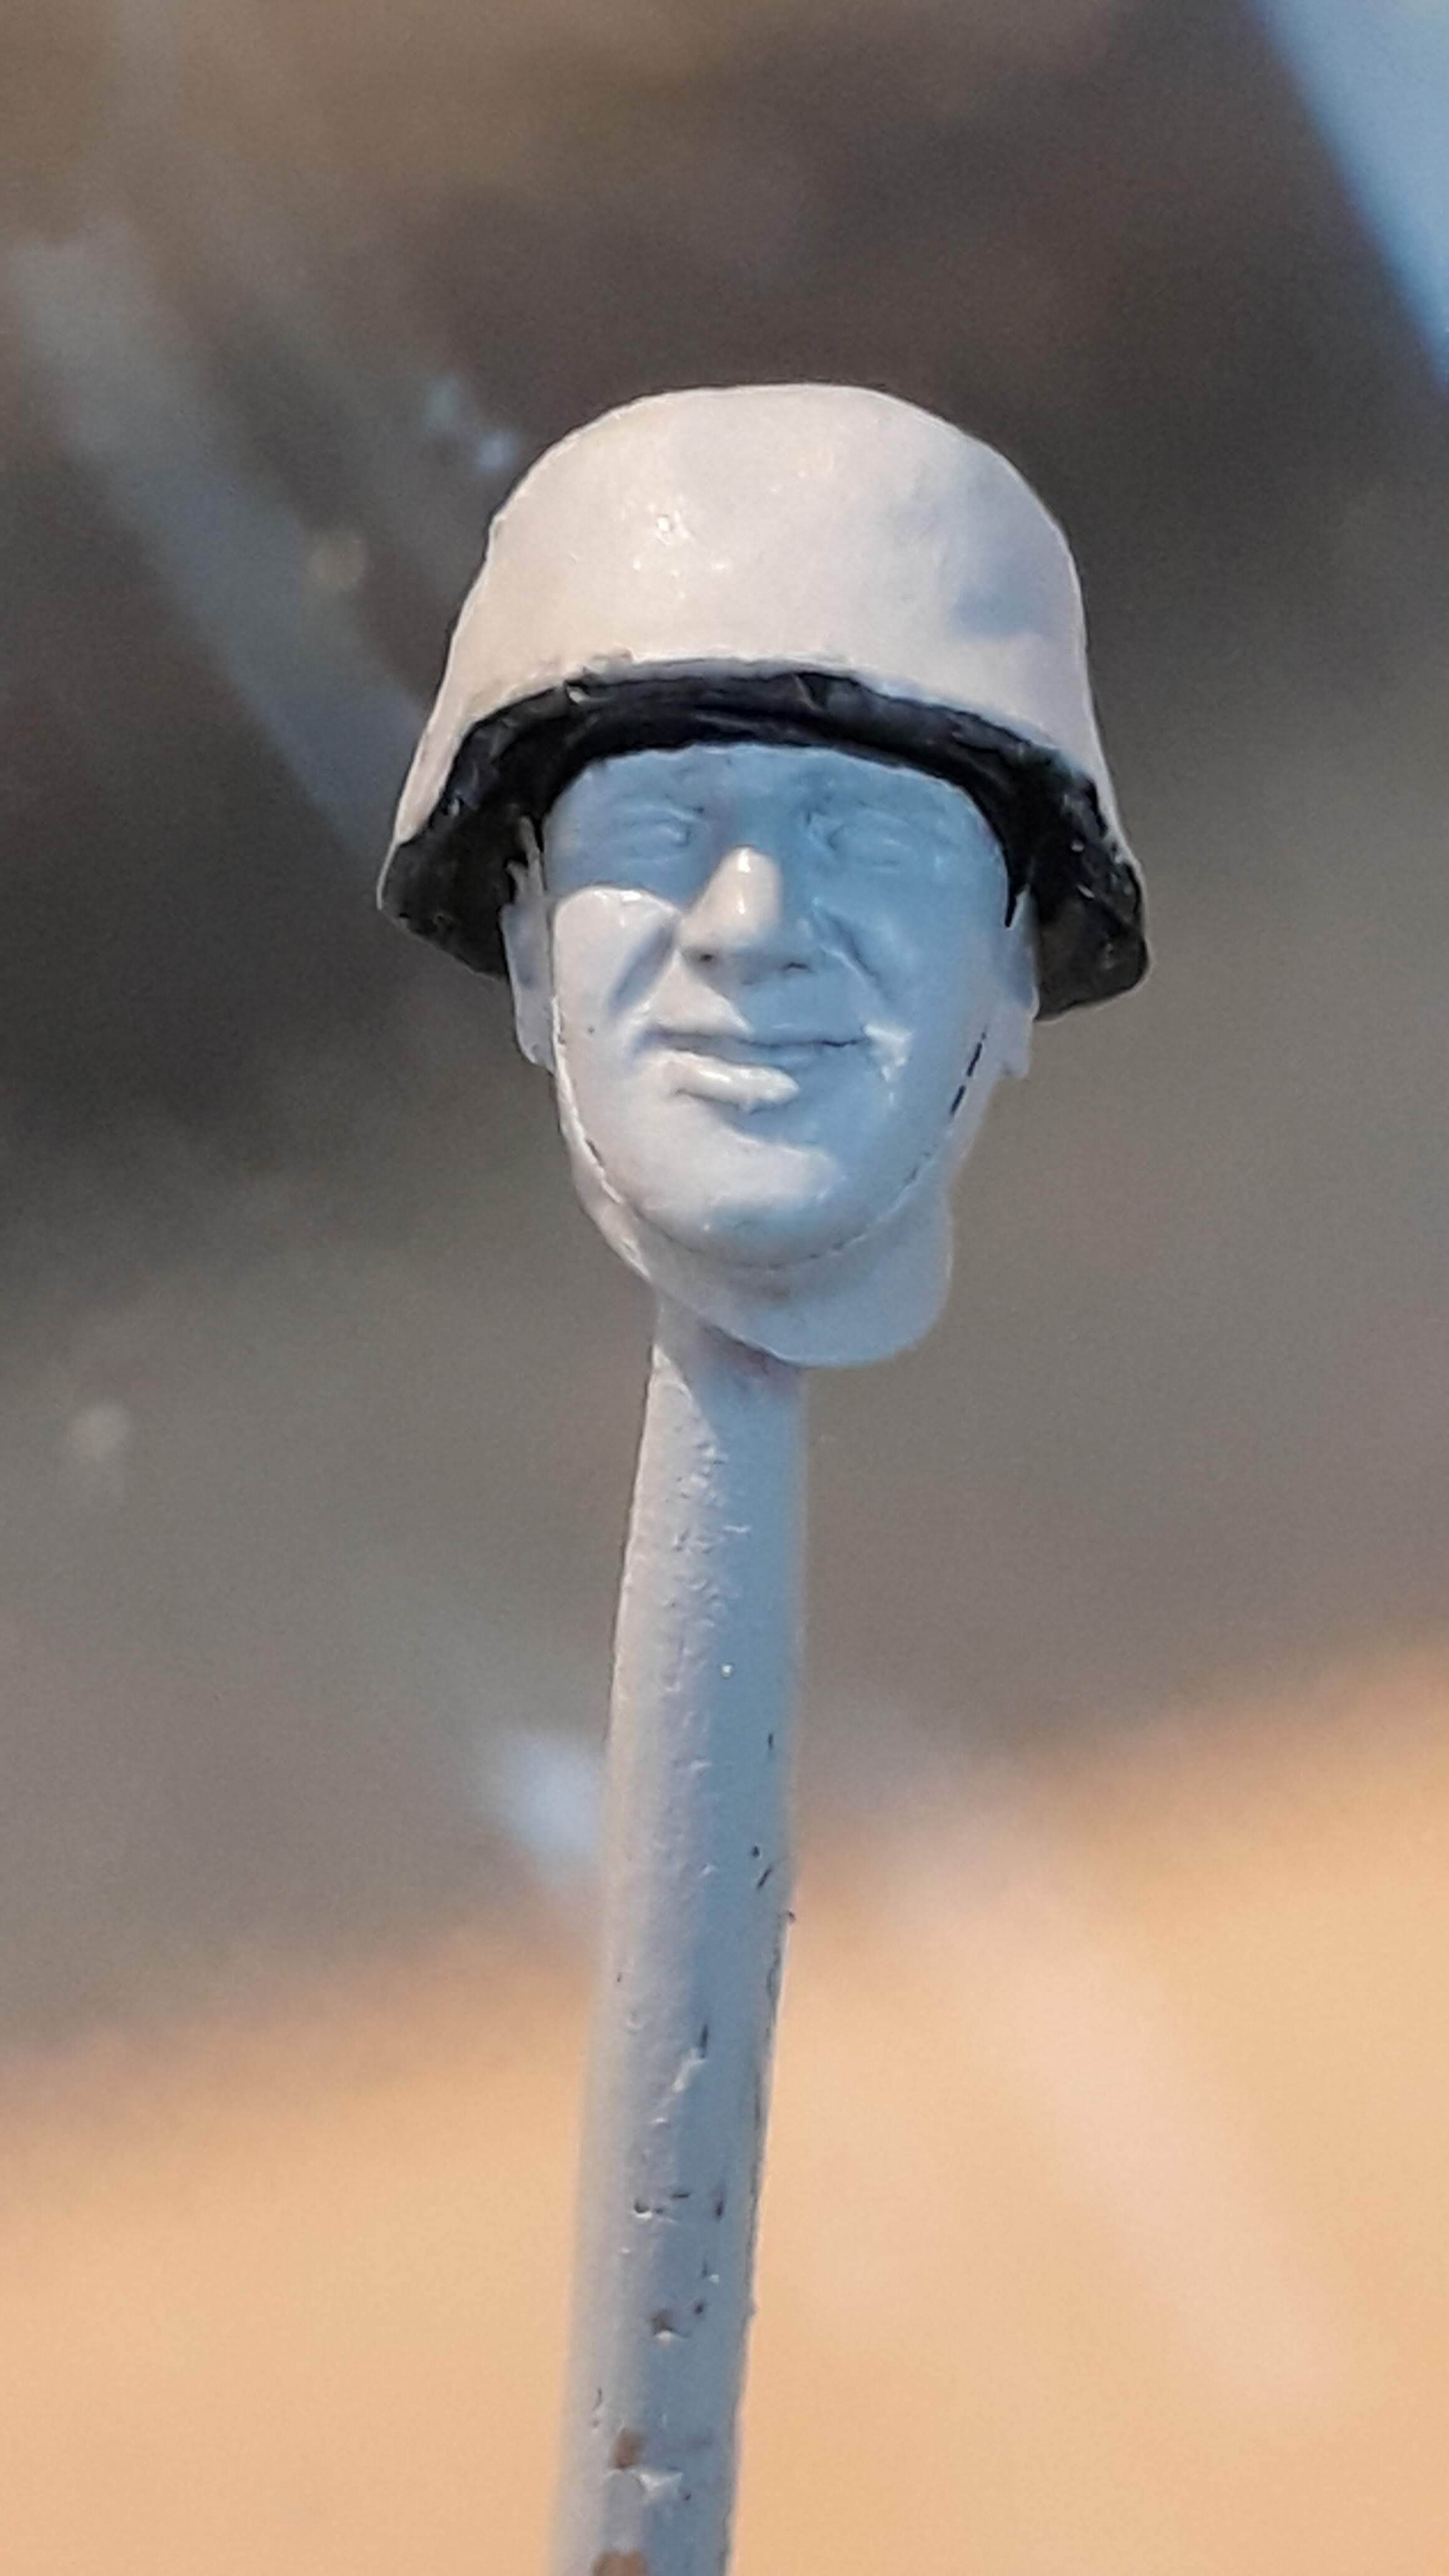
Priming: before and after
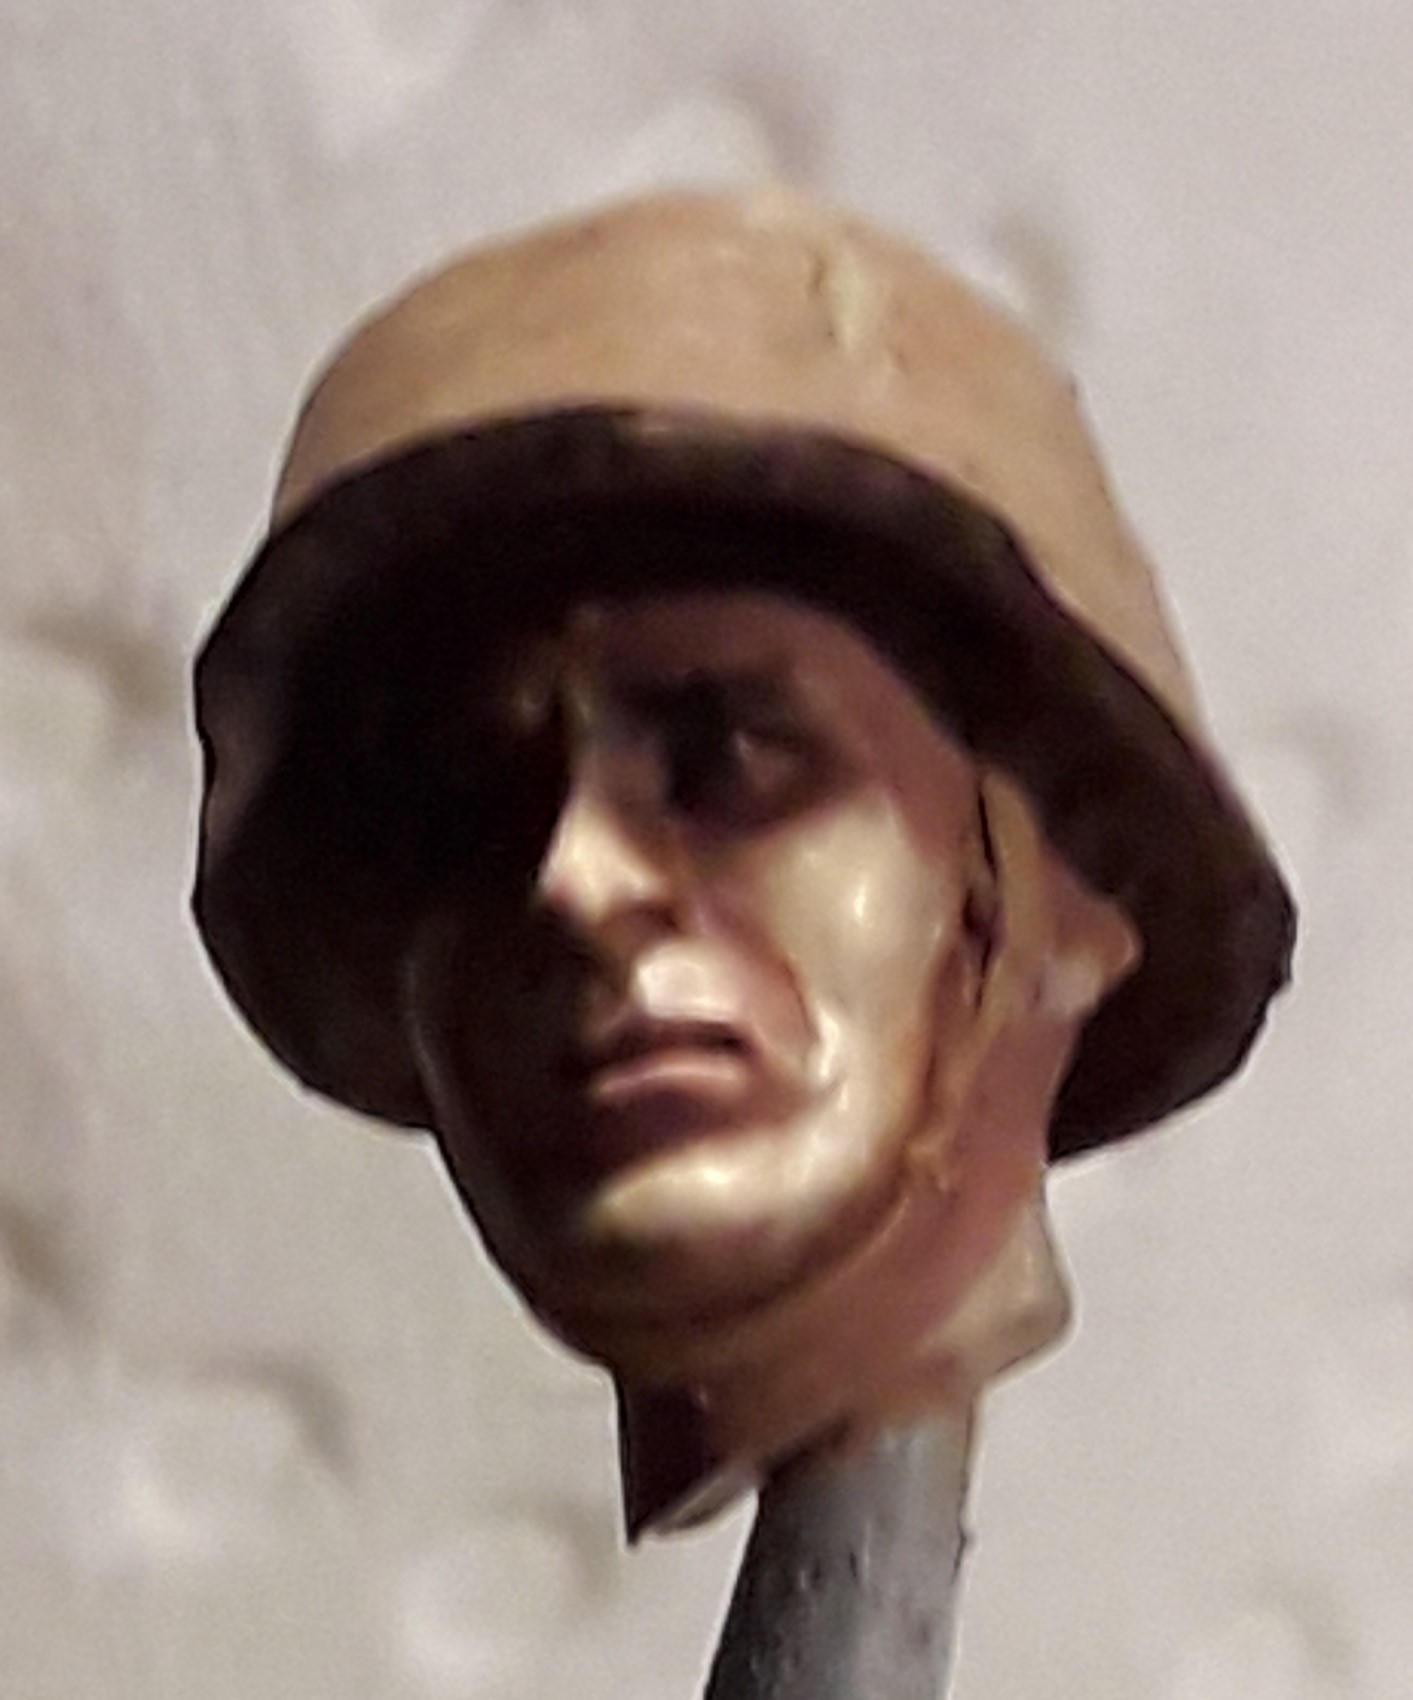
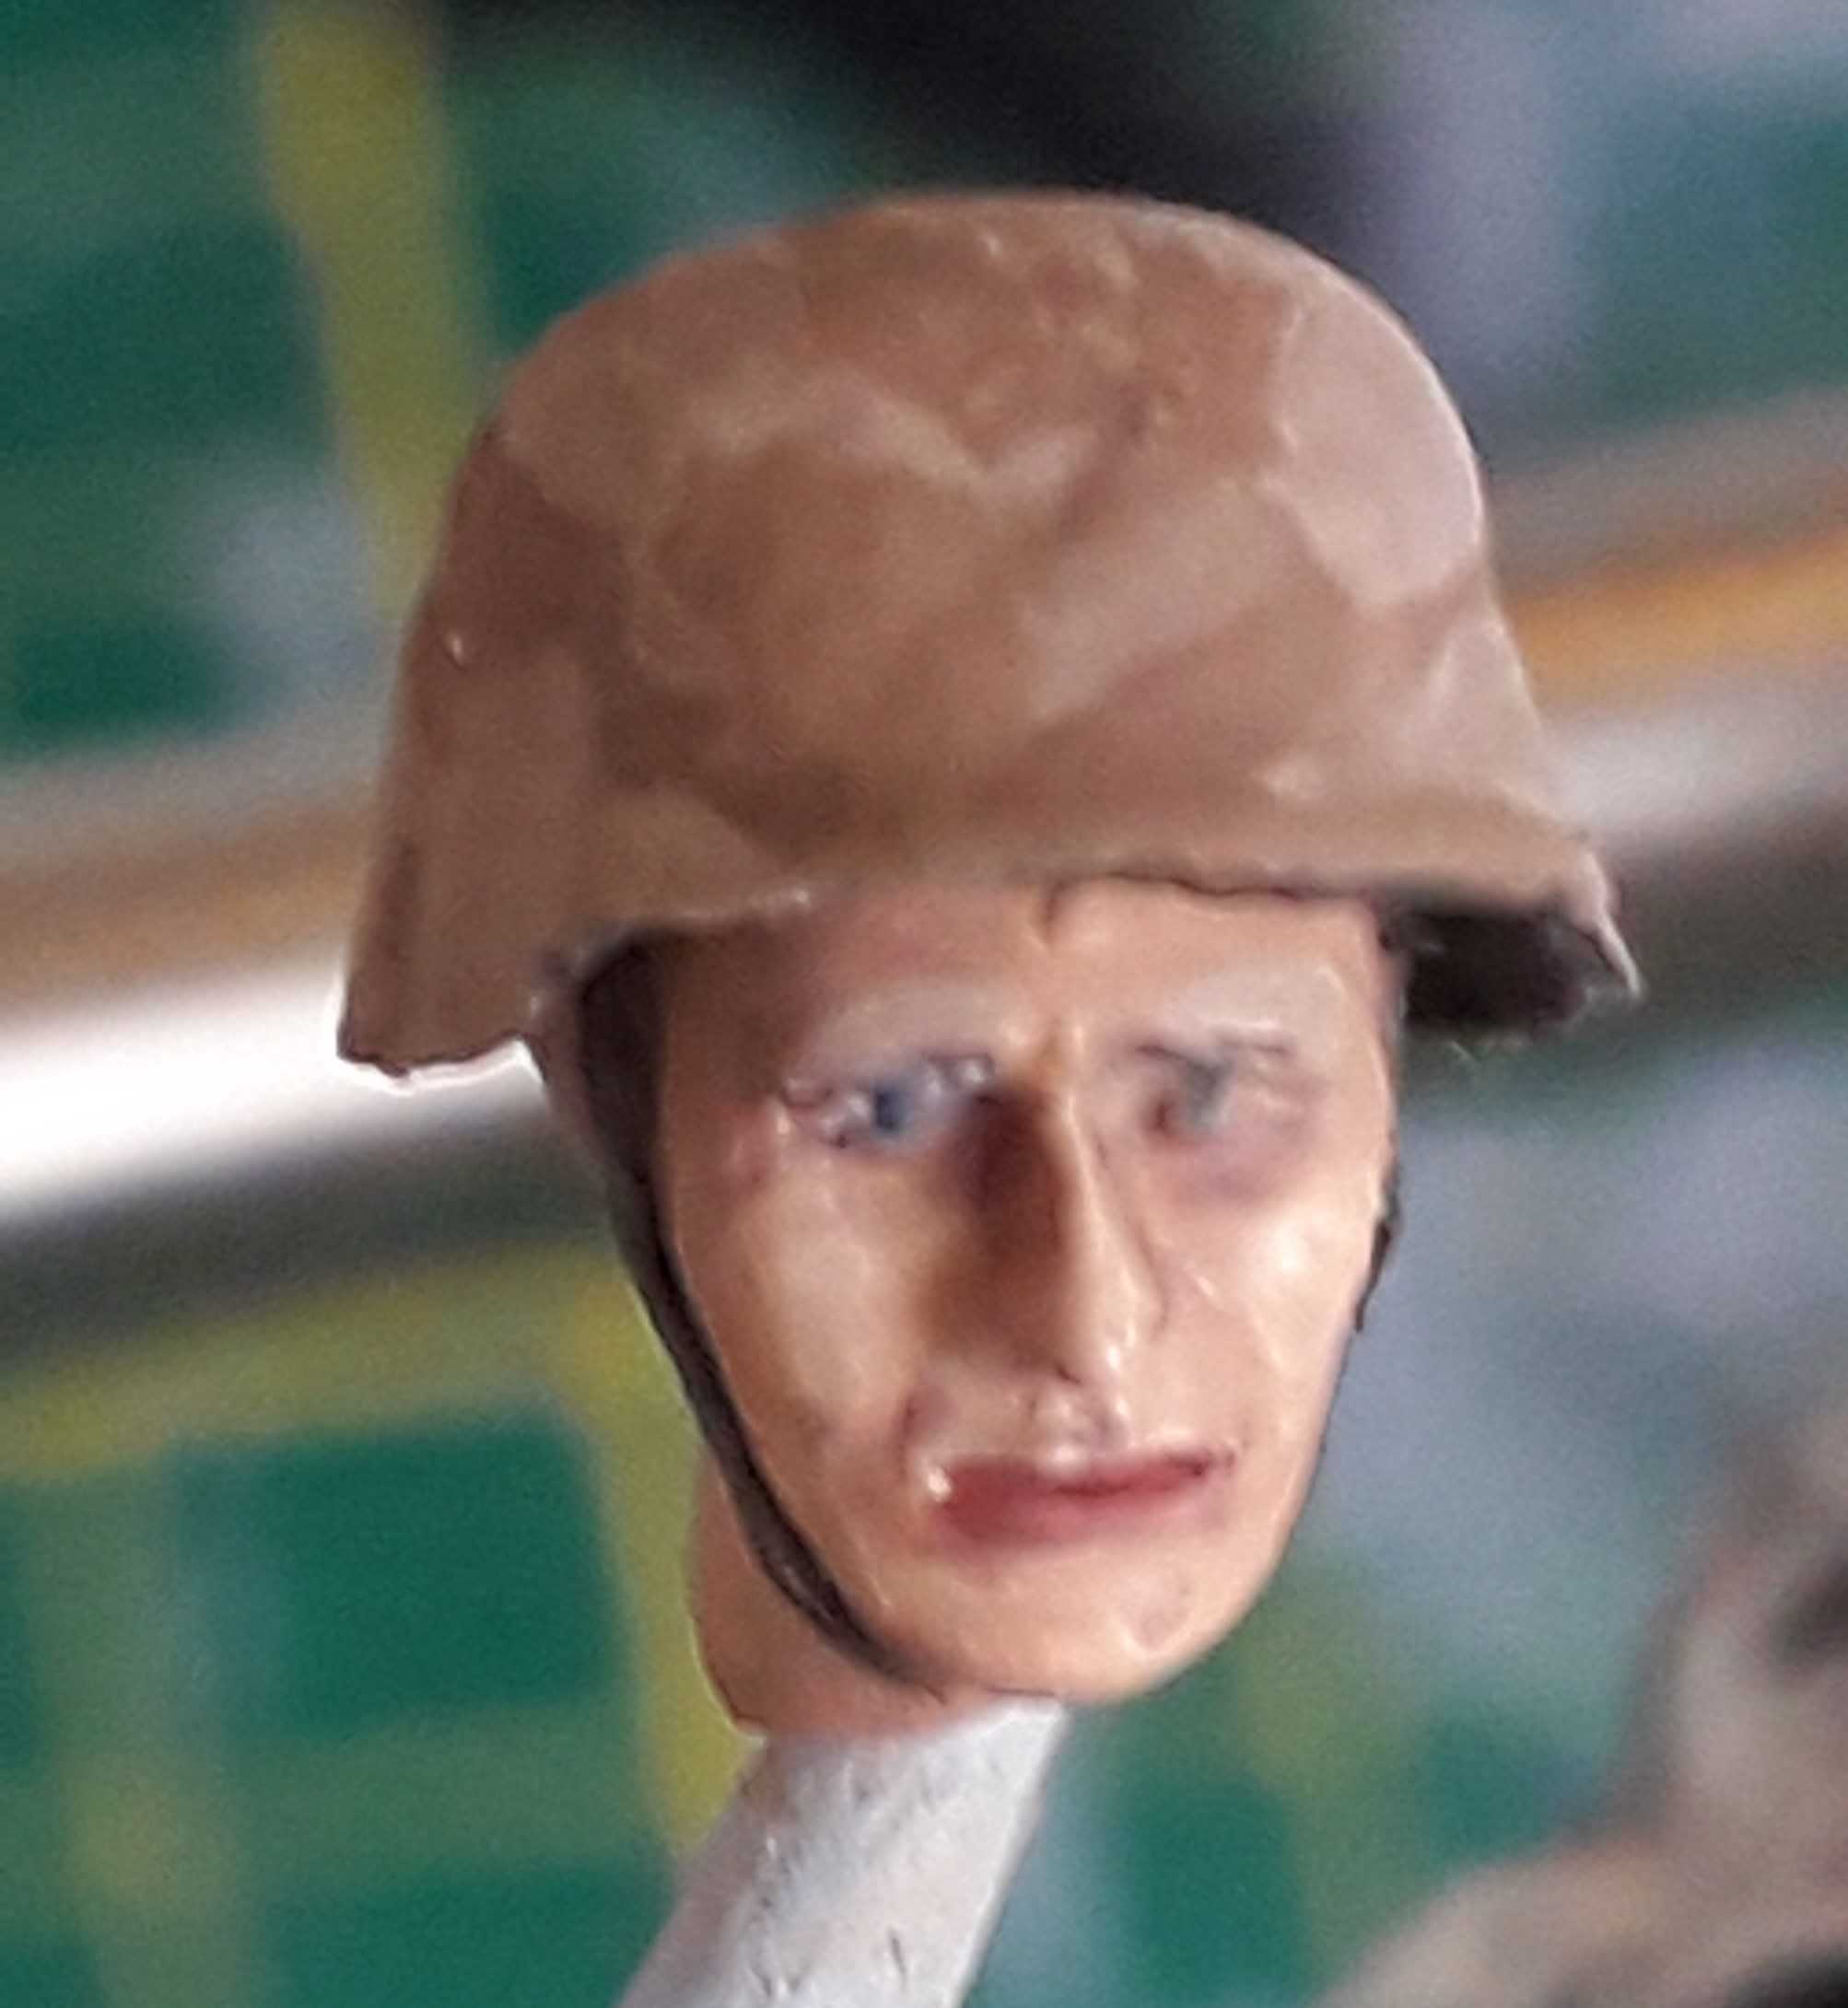
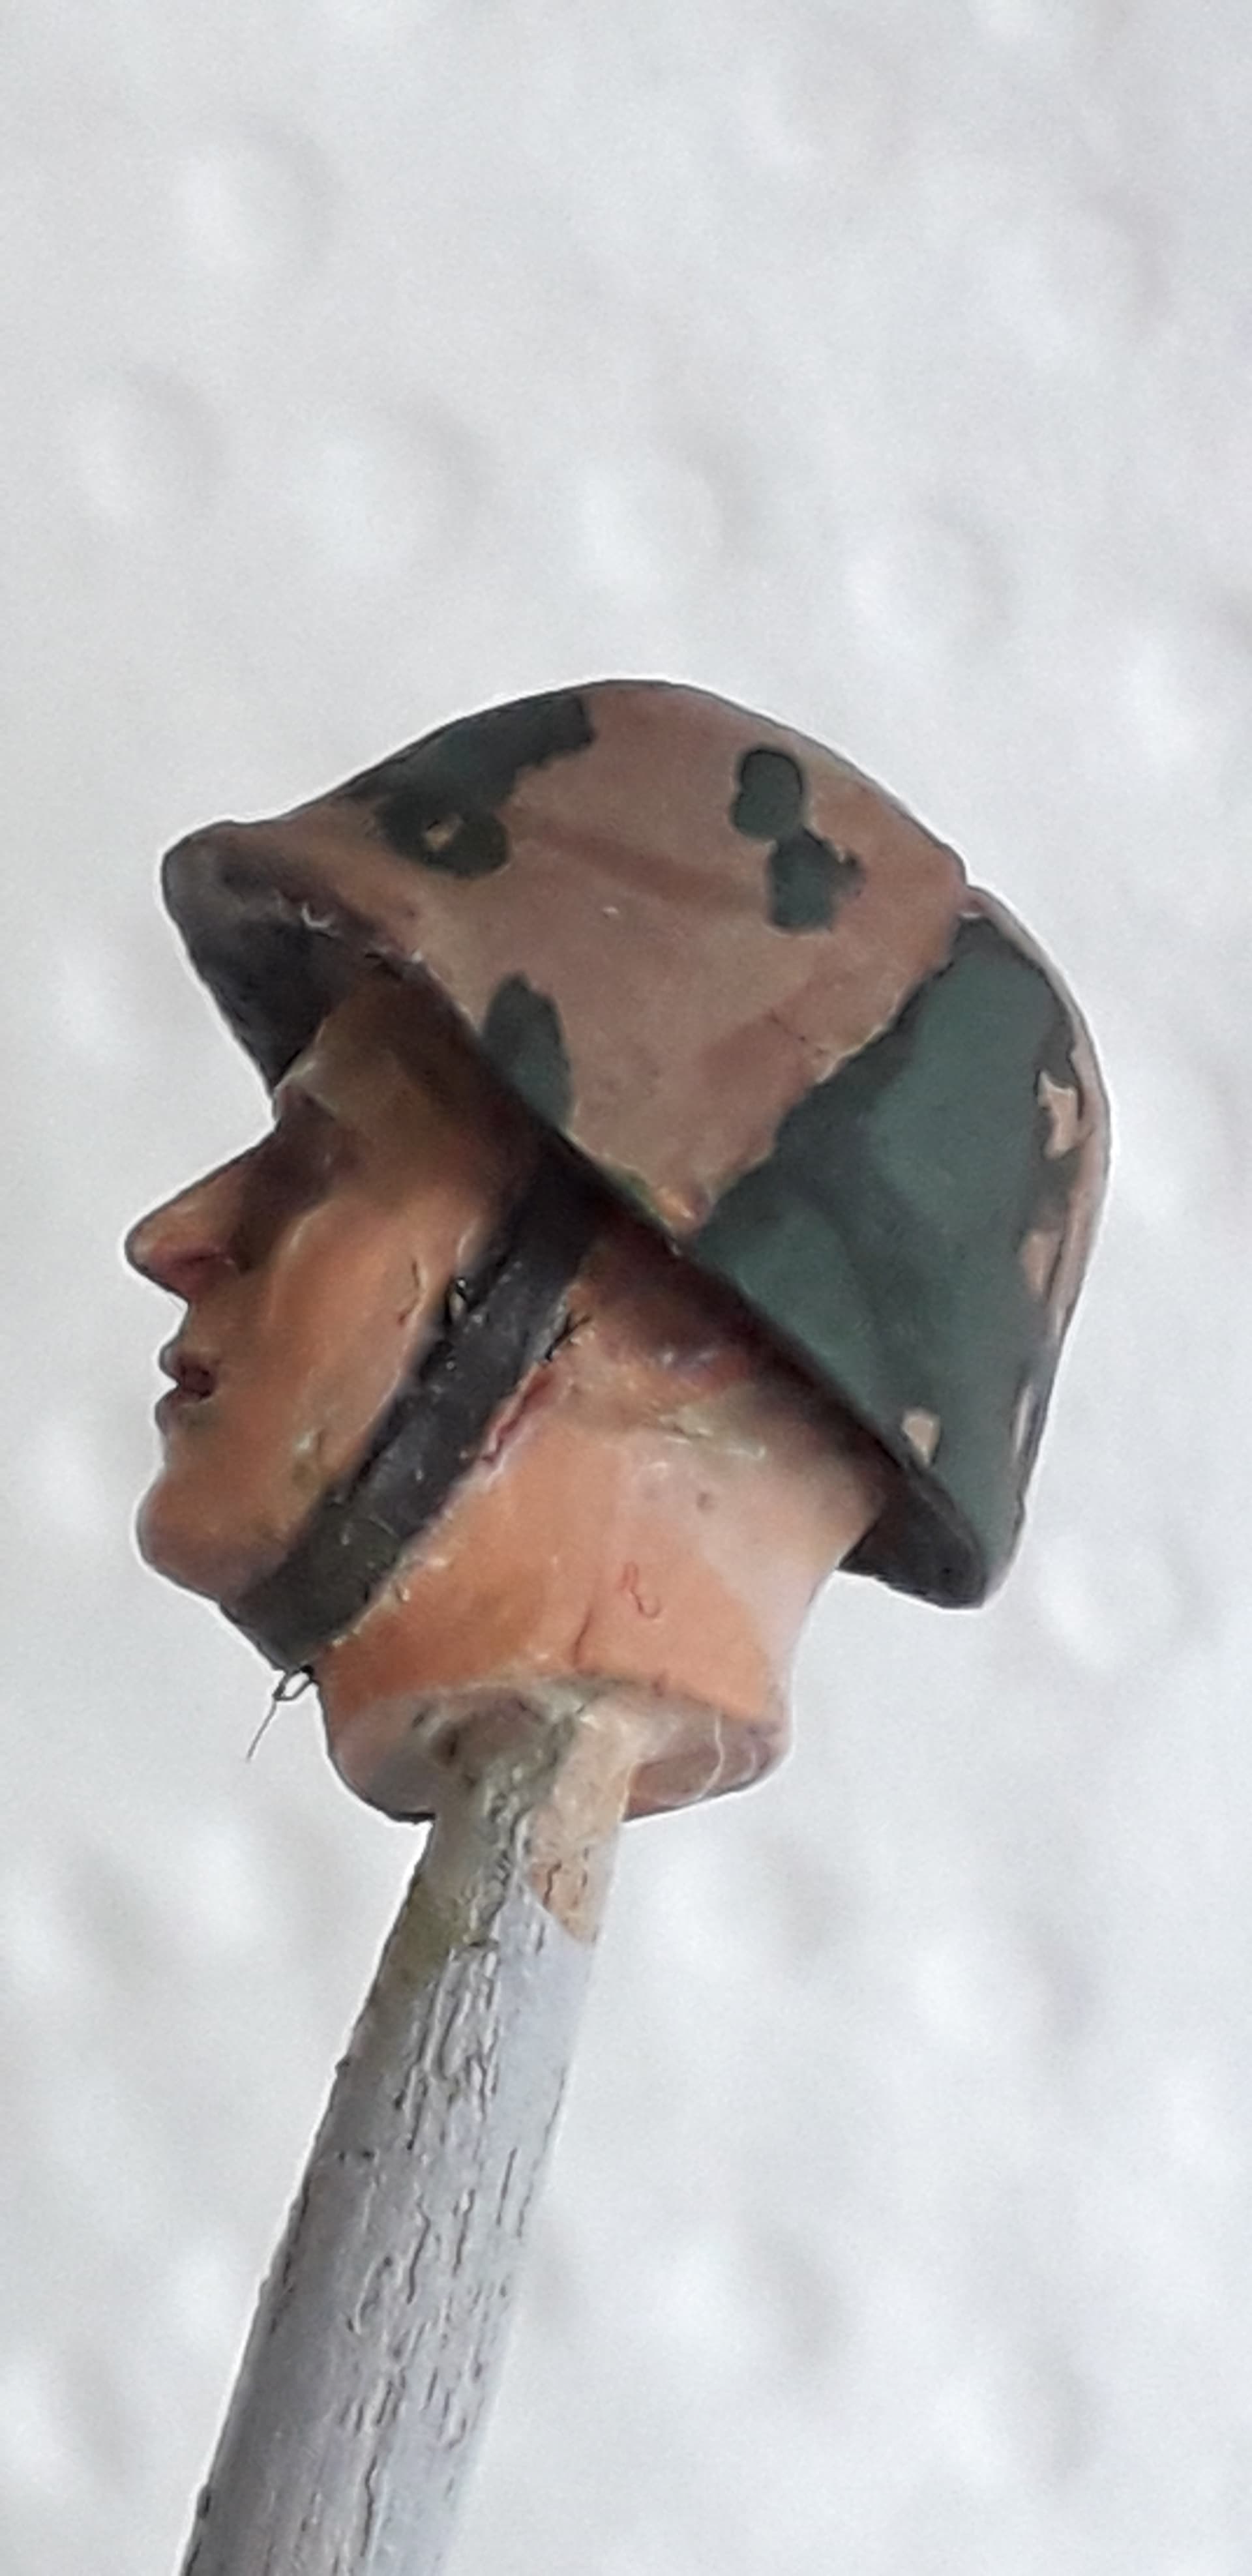
The primed ‘testhead’
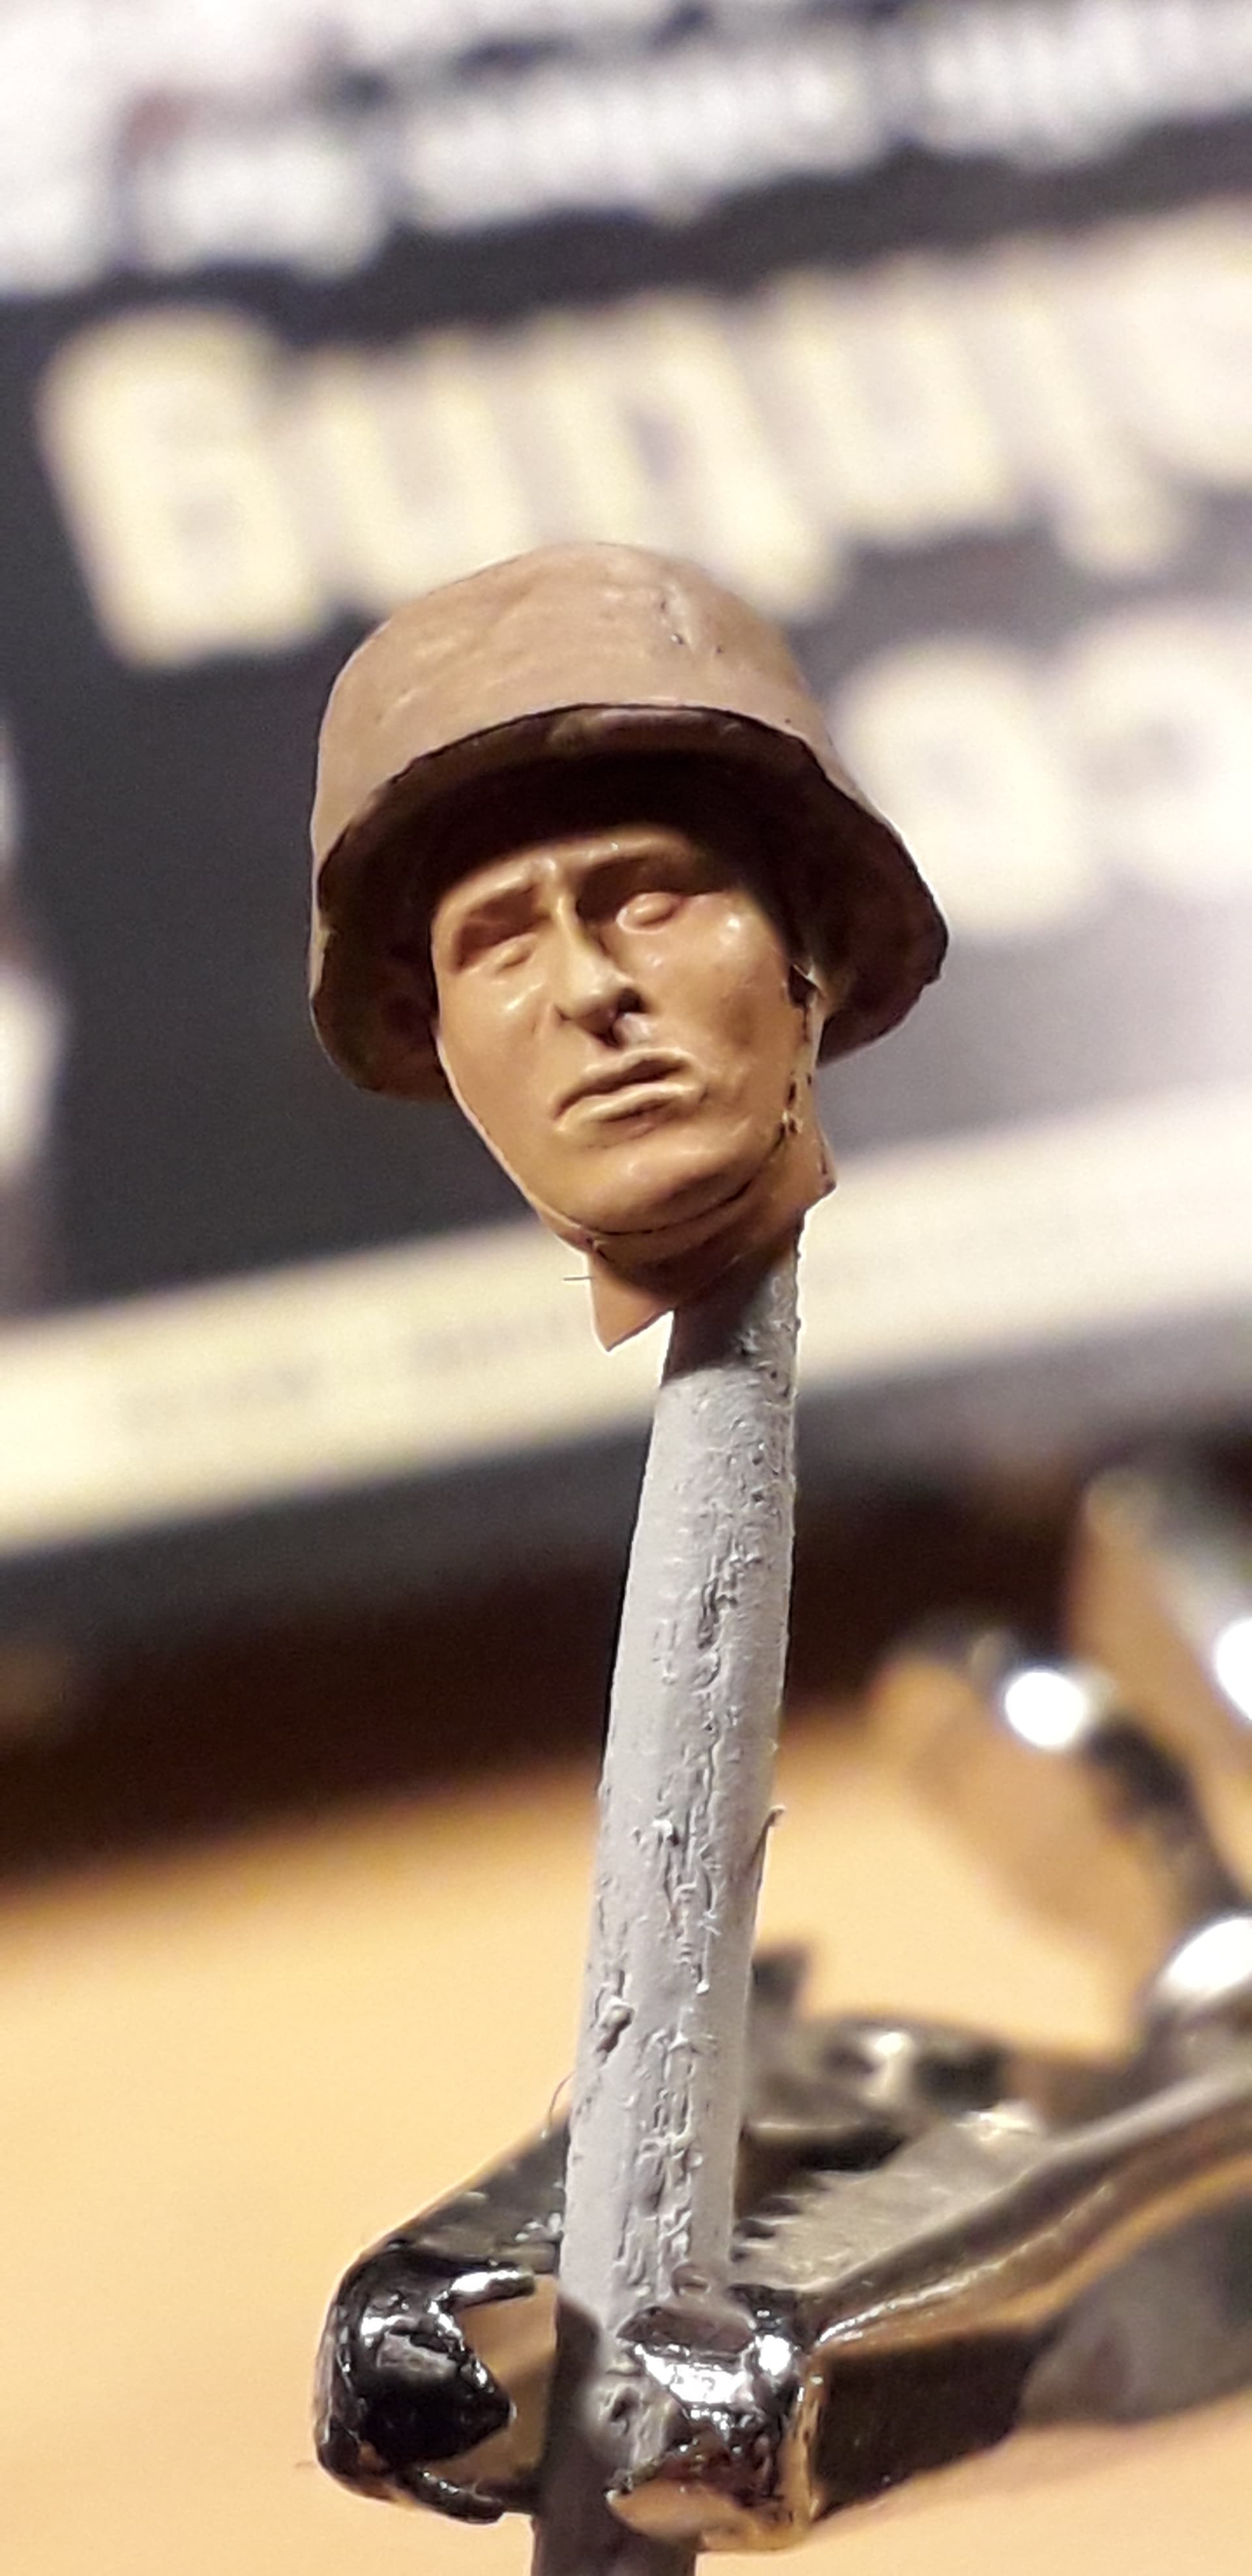
And the painted result
Please feel free to comment. I have the feeling my paint is still to thick.
Thanks for your feedback.
Walter
9 Likes
Welcome back! I admire returning to the prior project and look forward to seeing the build.
1 Like
You’ve got the basics of both camo and face quite well but I think you are correct about the paint being too thick. Thinning them a little more should give you greater control when painting a camo pattern- the paint should flow off your brush better making it easier to paint the shapes needed.
Thanks Karl for the advice.
I’ll try to thin the paint a bit more when I start the figure.
I’ll keep you posted.
1 Like
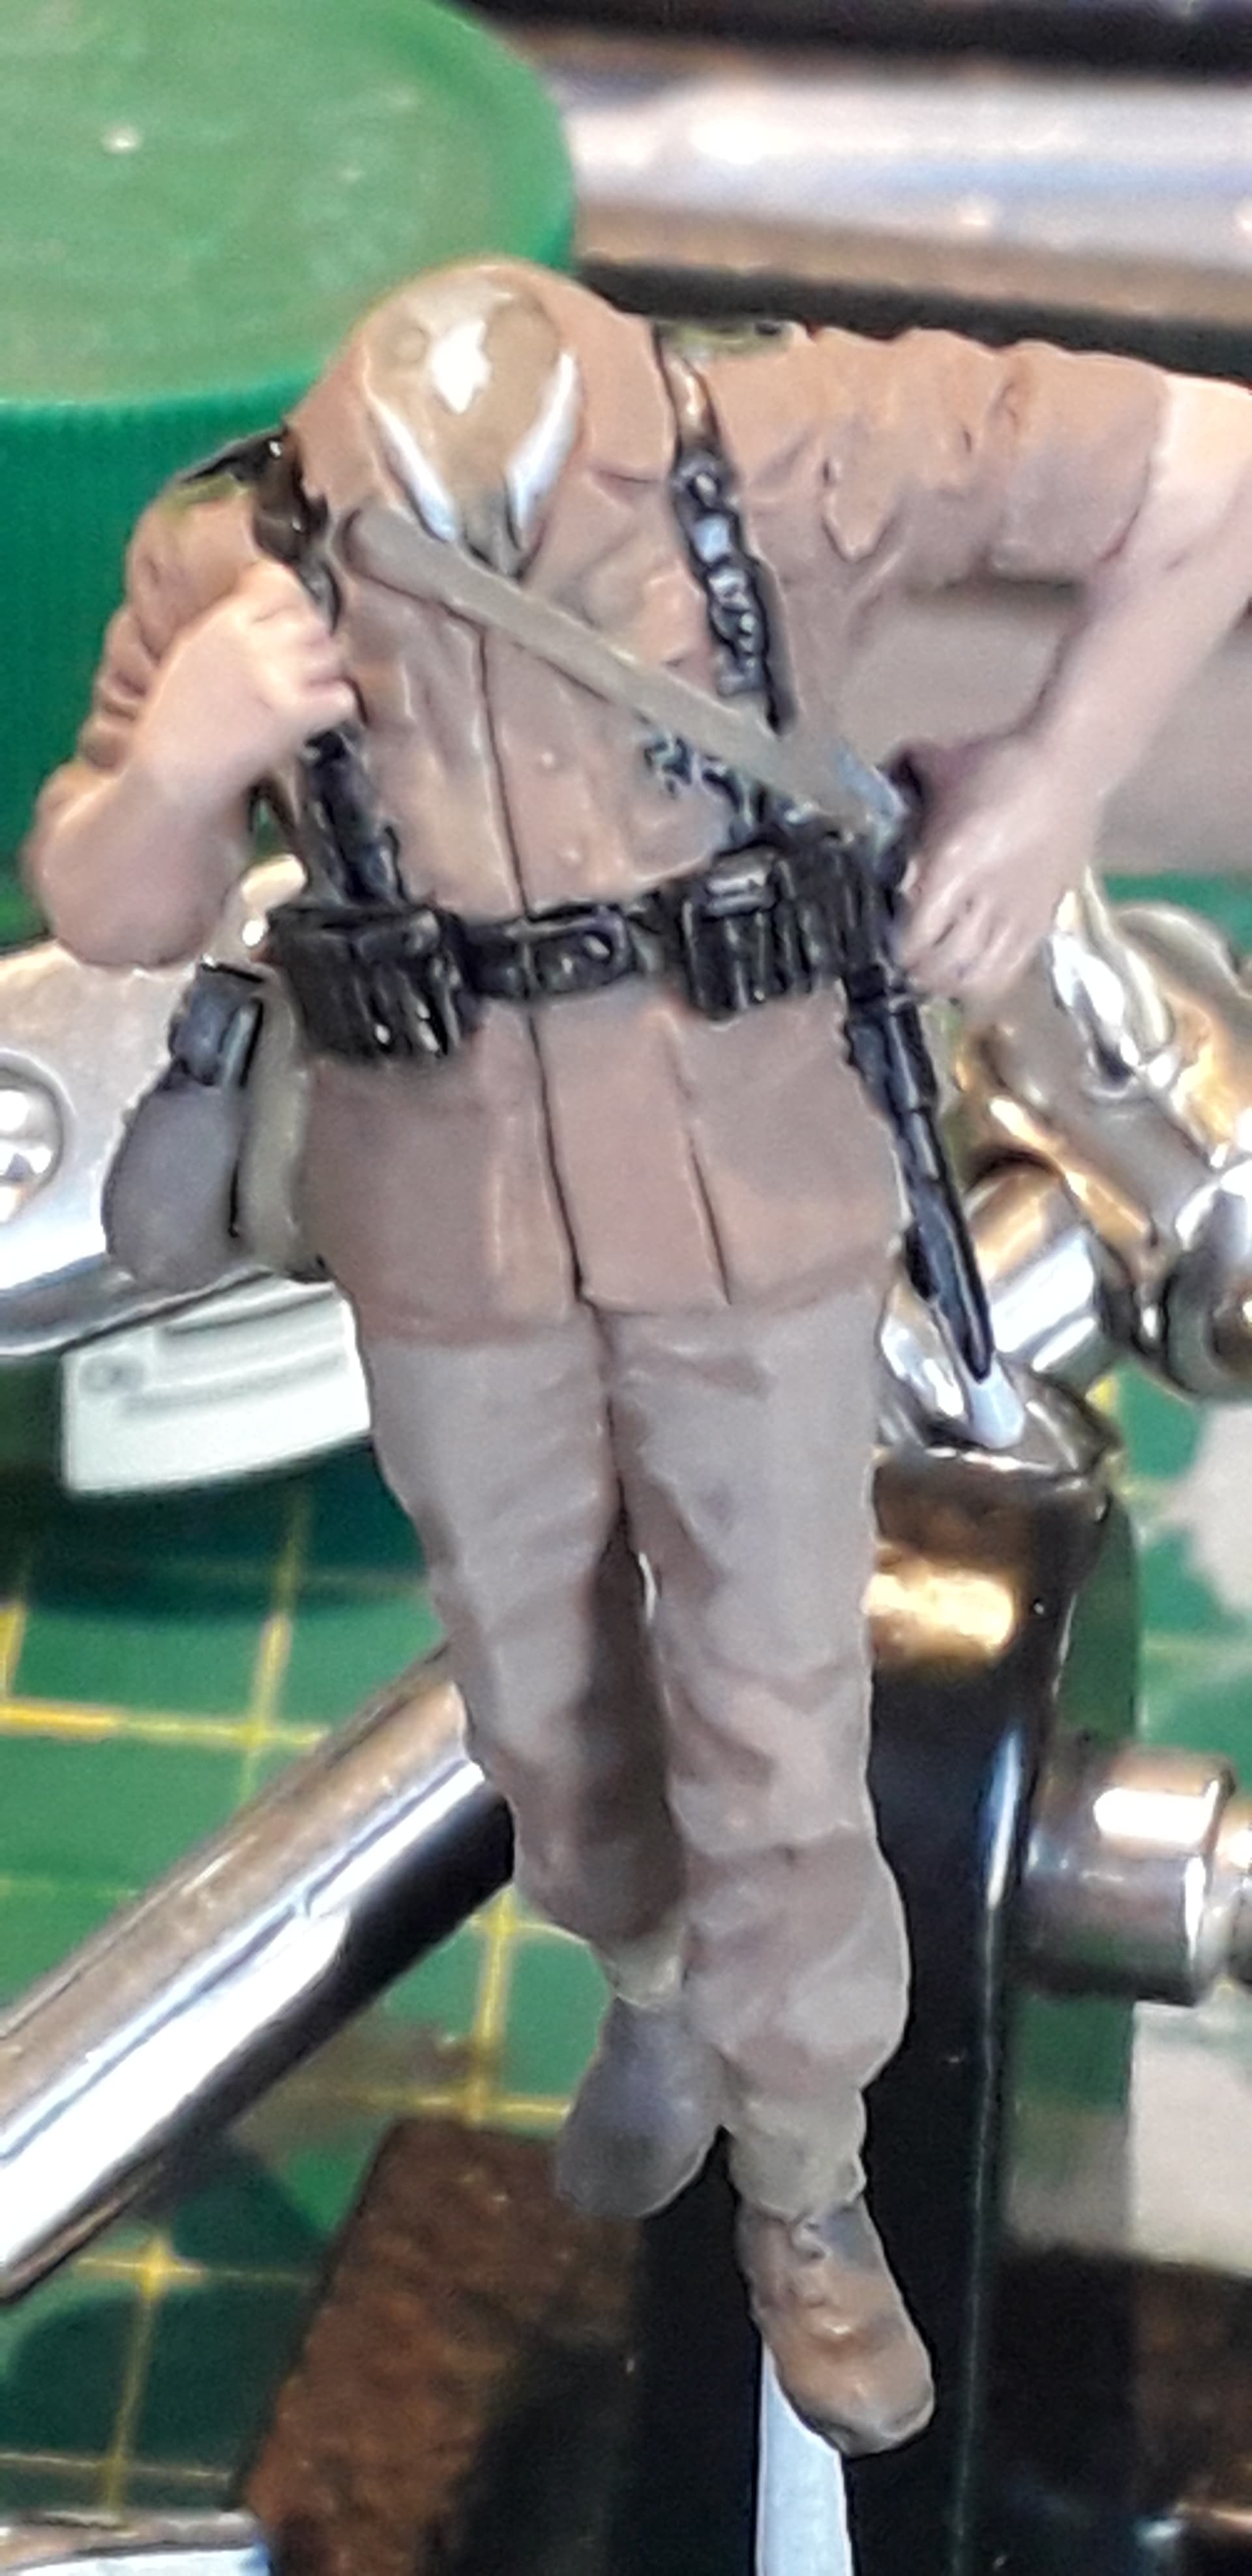
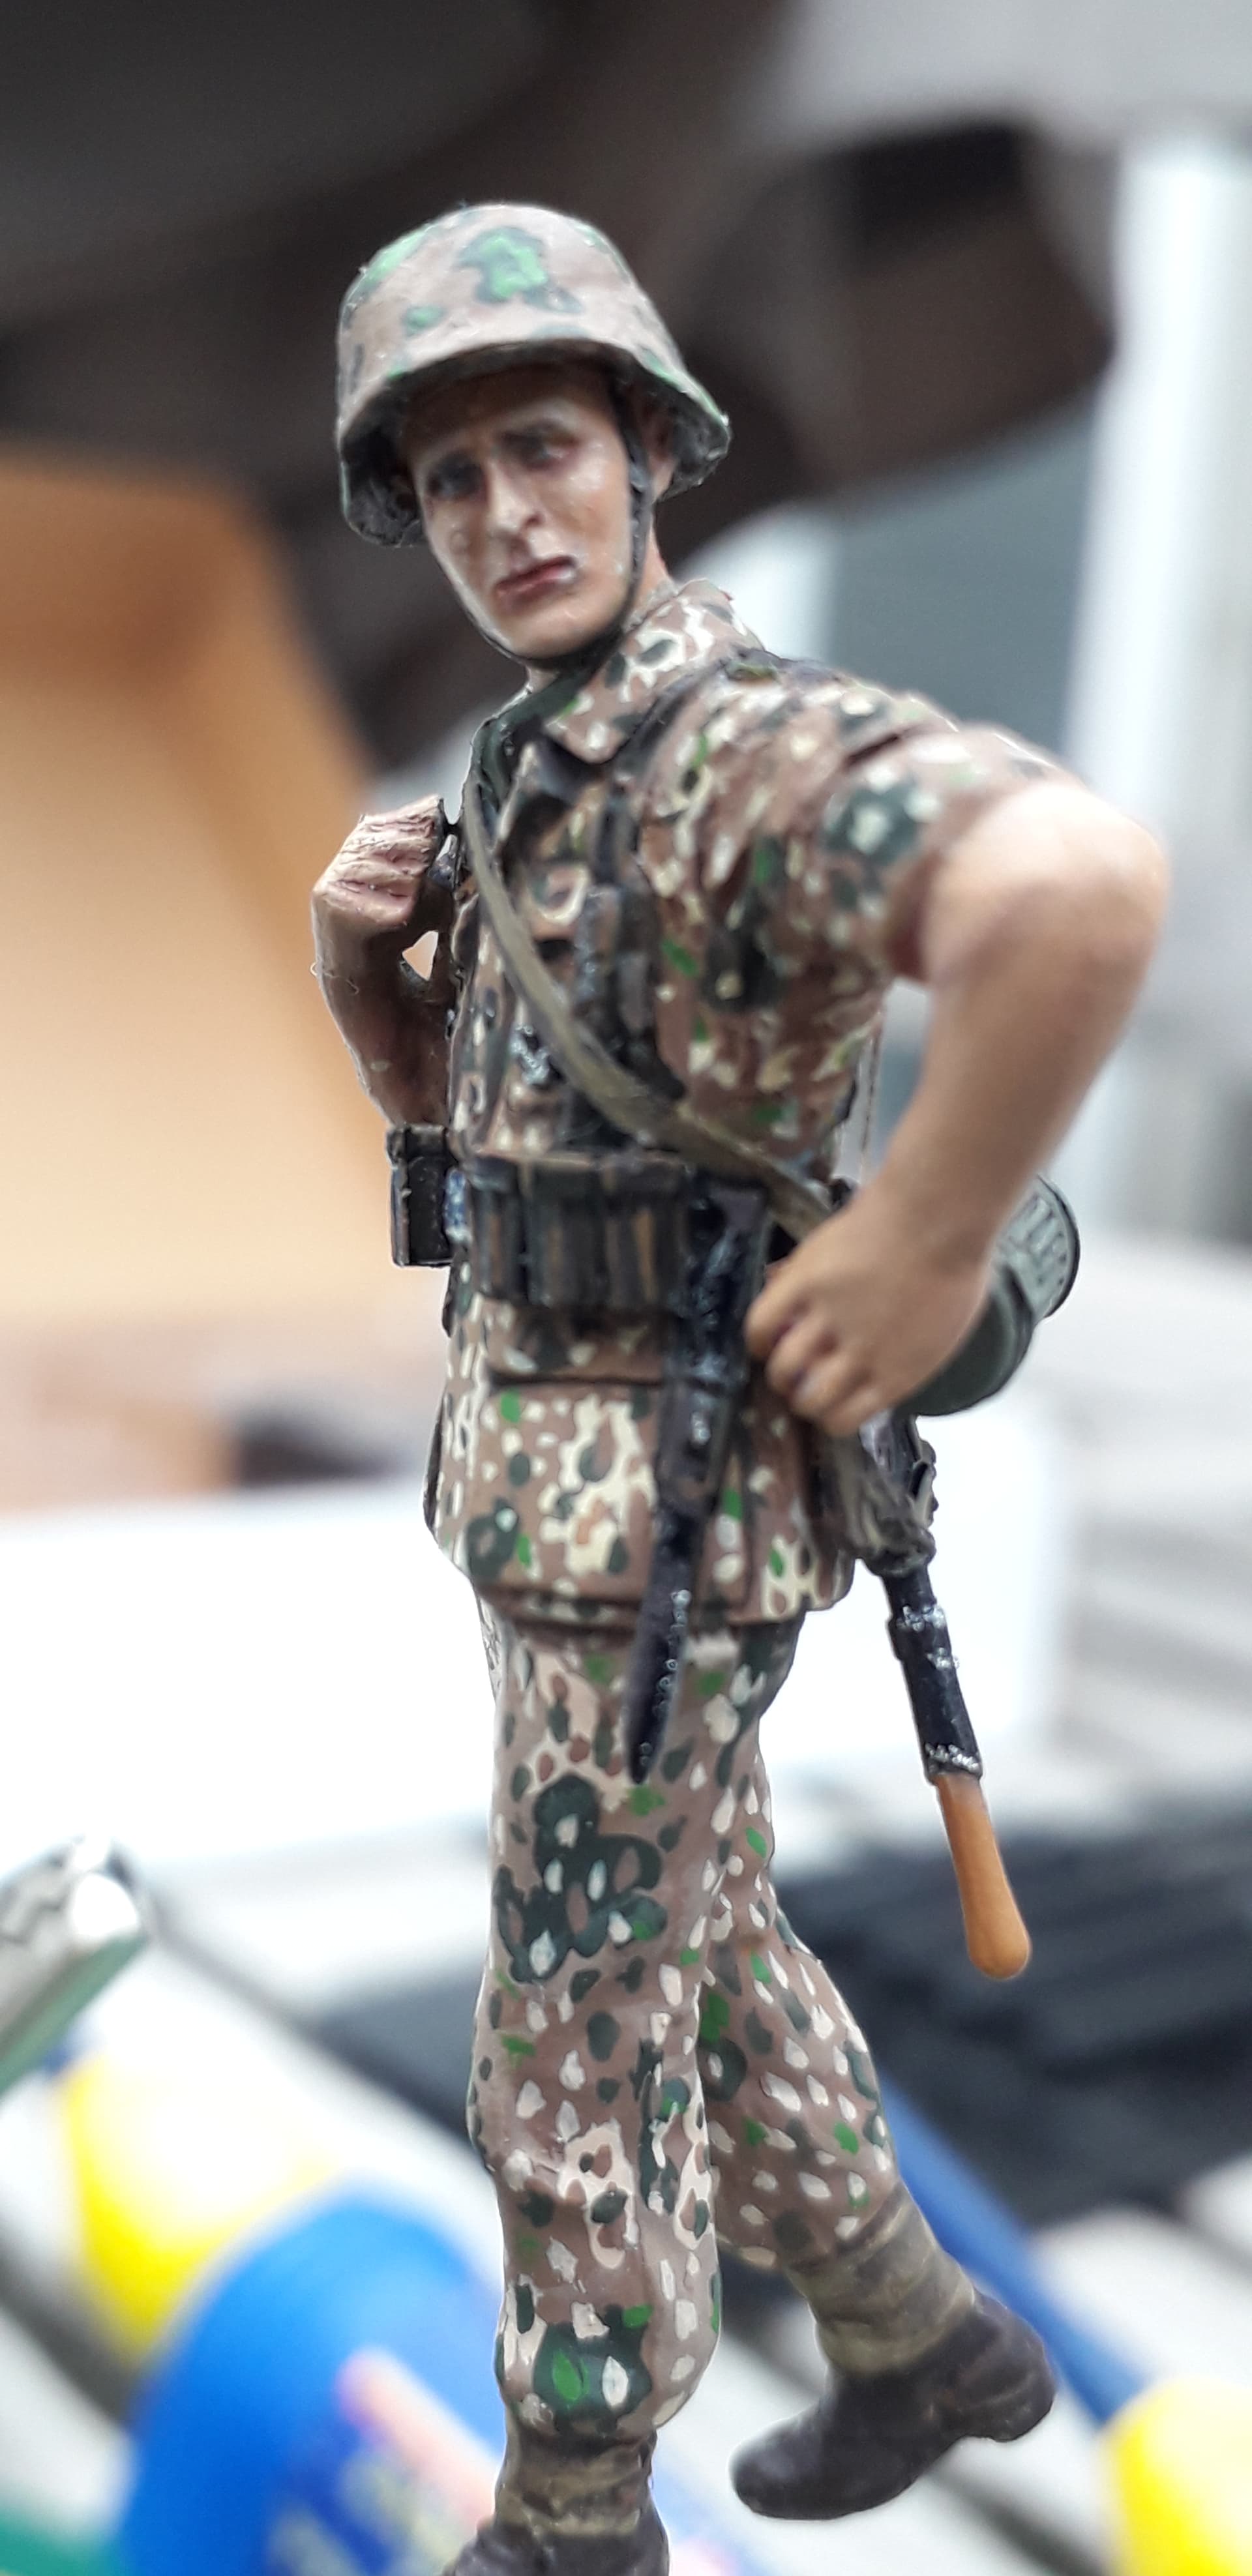
Hi All! Some pictures on the next steps in the painting process.
First I applied the skin base: Vallejo 70.876
Then i tried the base colors for the uniform. As I wanted to give the jacket and the trousers a bit of a different base color I did the trousers in Valllejo 825 Pale Brown (same as the helmet) and the jacket in Vallejo 824 Orange Ochre. The ochre seems a little to yellow to mach with the lightest pea dot color. To mee that one has to be a bit more pinkish, so I overpainted It with a transparent Pale brown.
3 Likes
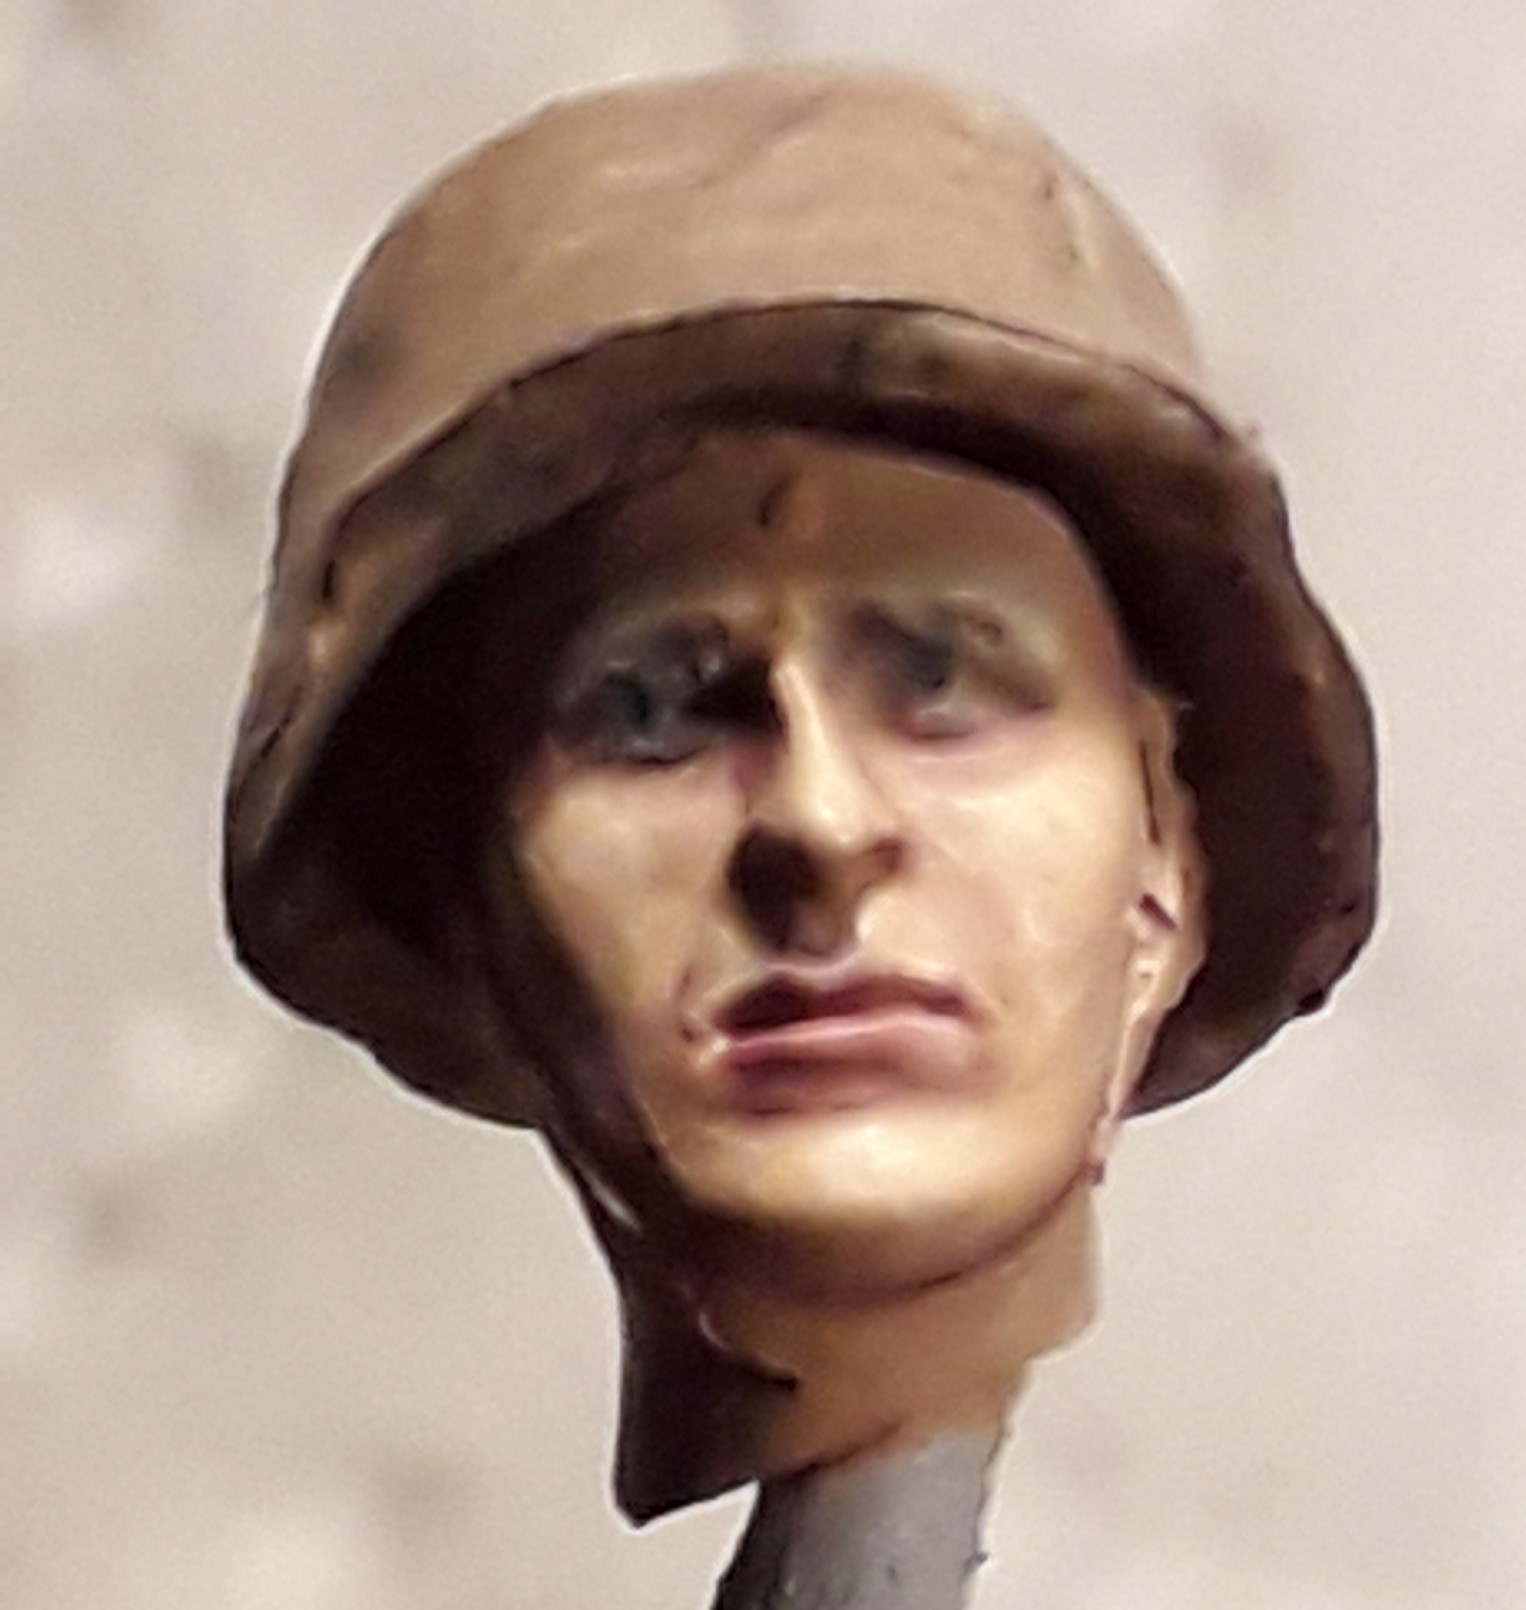
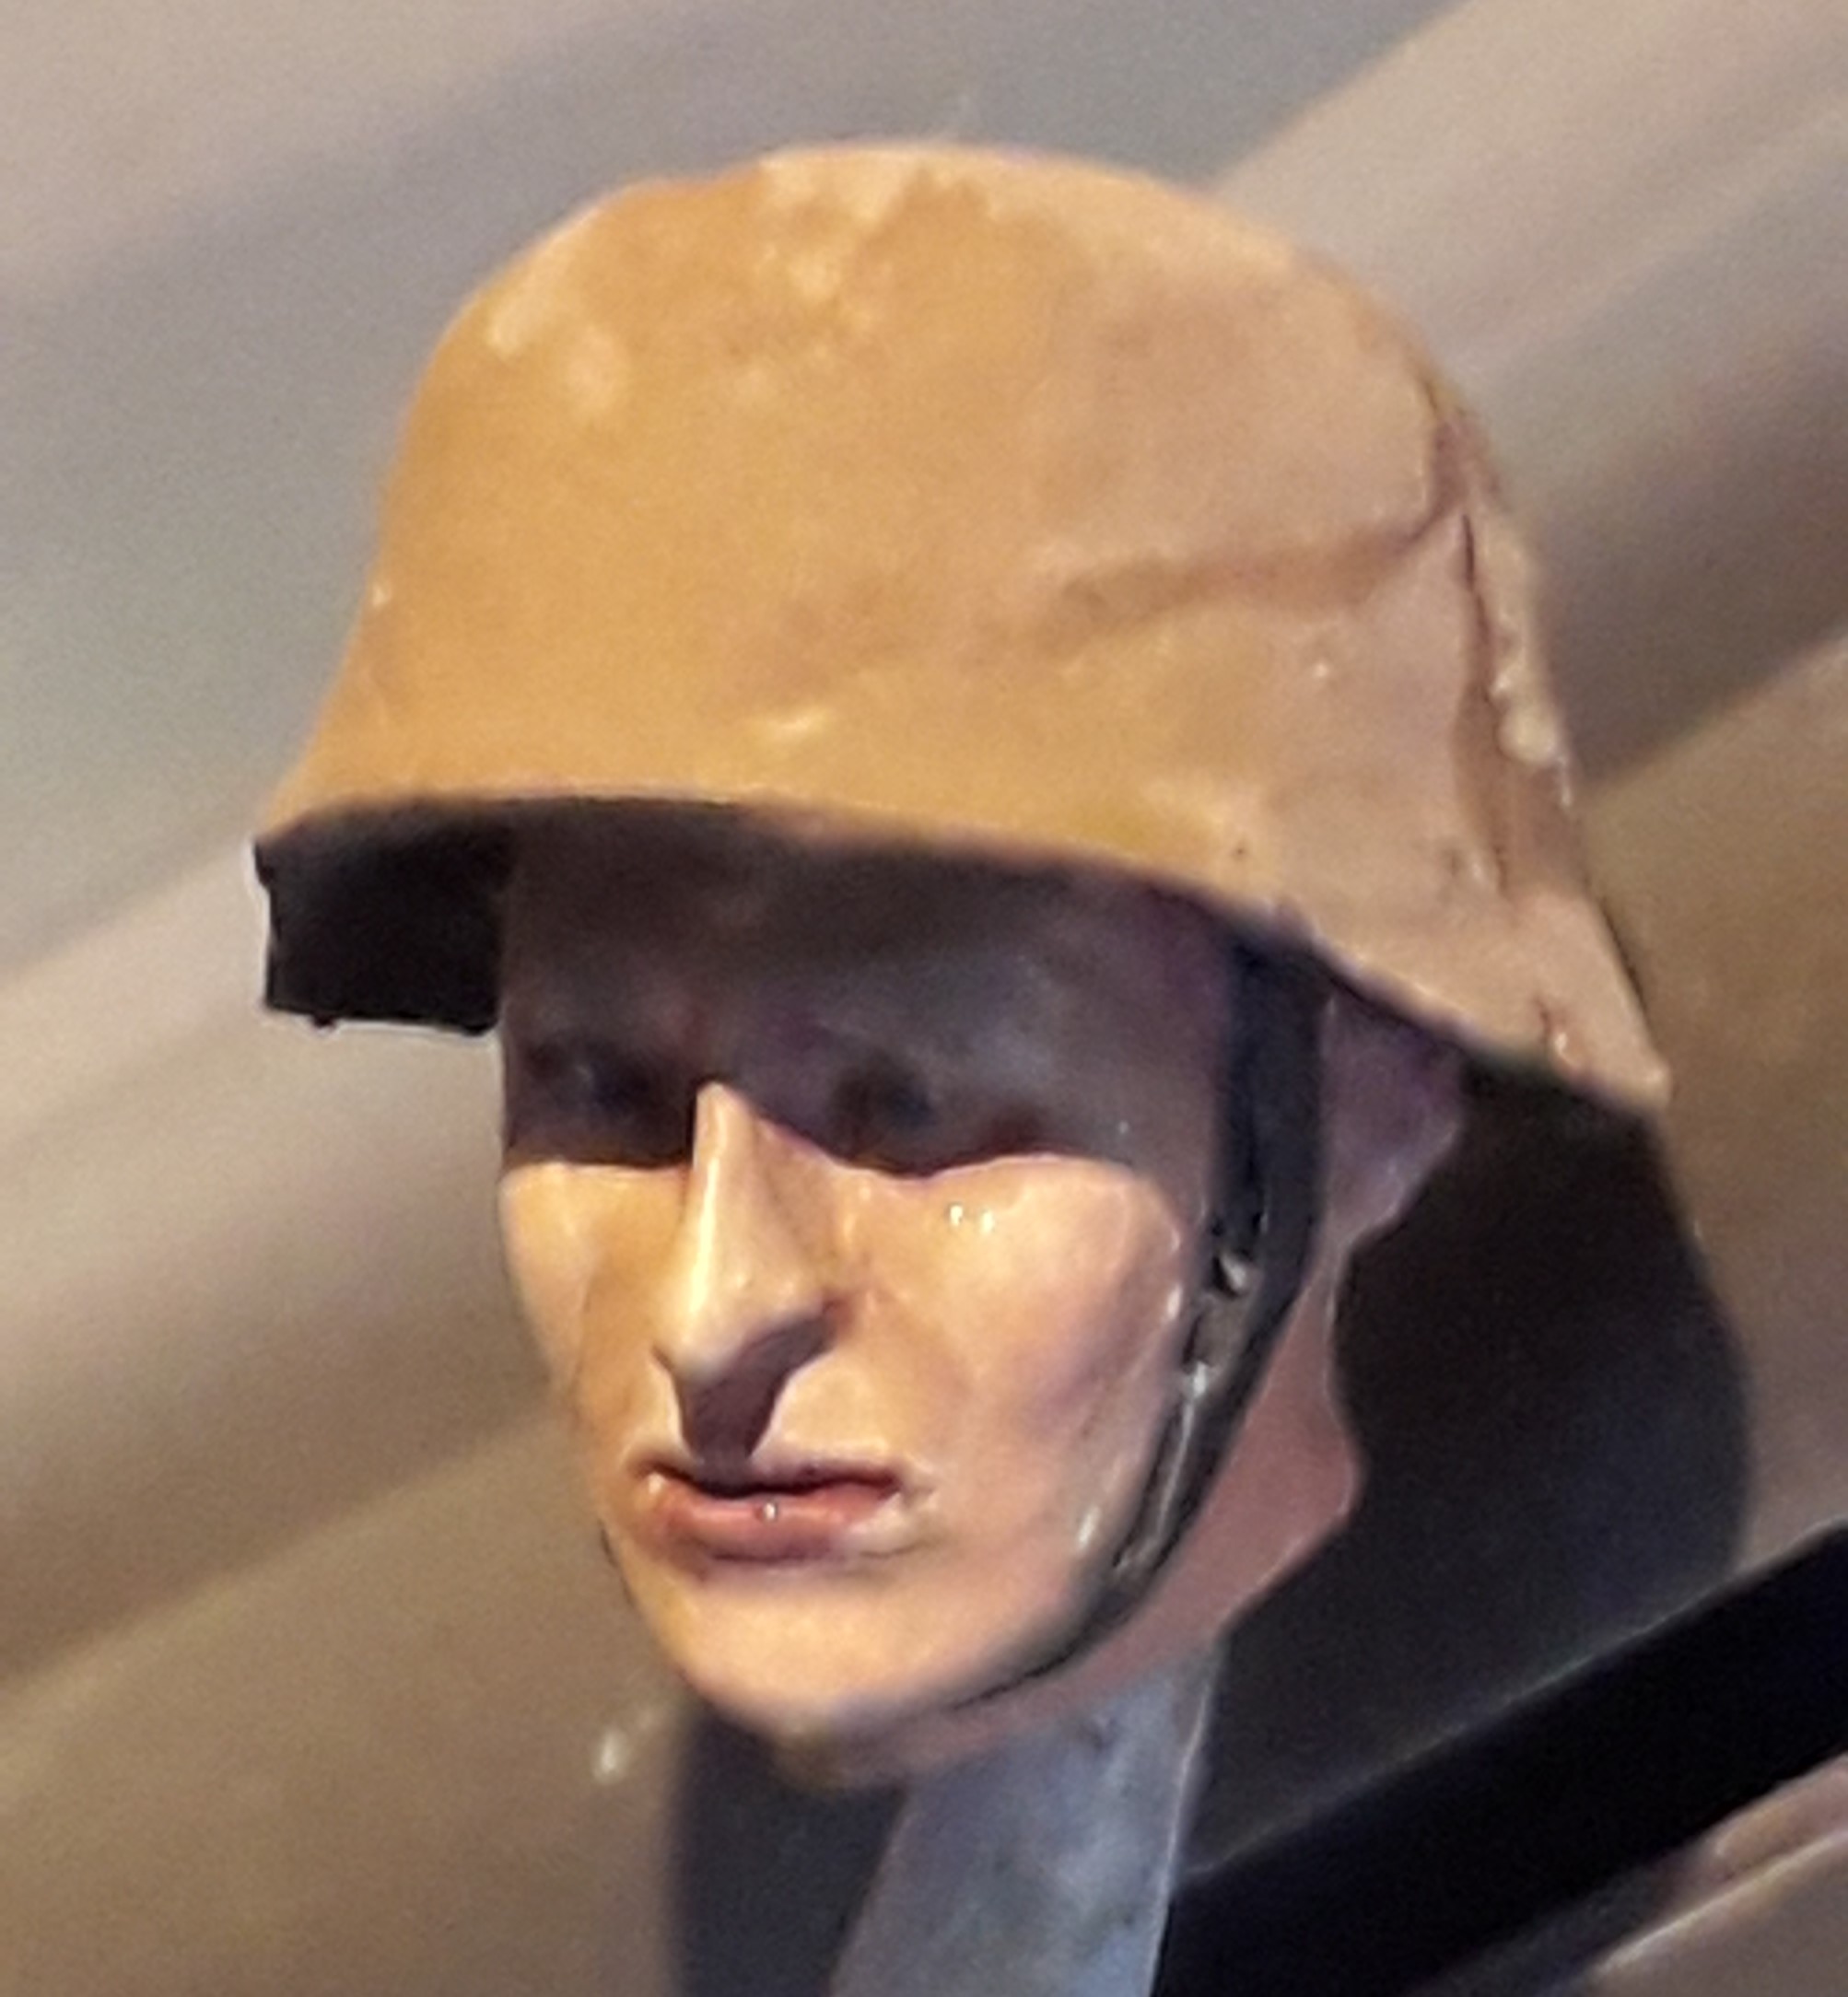
On to the face and flesh then.
I find it hard no to be to subtle on the one hand and not overdoing it on the other.
This is a picture before the paint had dried. the overall color was to wine red to my taste.
I gave it a couple of base flesh washes to alter that.
But I am afraid the contrast is not strong enough to look ok to for the viewer with the ‘normal’ eye without magnifying lenses or digital camera that sees every detail.
5 Likes
I think you’ve done well there Walter. Getting the tones of the face to look realistic in 1/35 is a tricky process and it’s both easy to over-do it as well as not do enough to make the face look normal in scale. To me your face has quite a natural tone and looks realistic.
Hi all!
Sorry, it has been a while since I posted an update.
I spent some evenings trying to put some shadow and highlight on the uniforms base color. The result is a bit clumsy but it 'll probably disappear under the pea dots later.
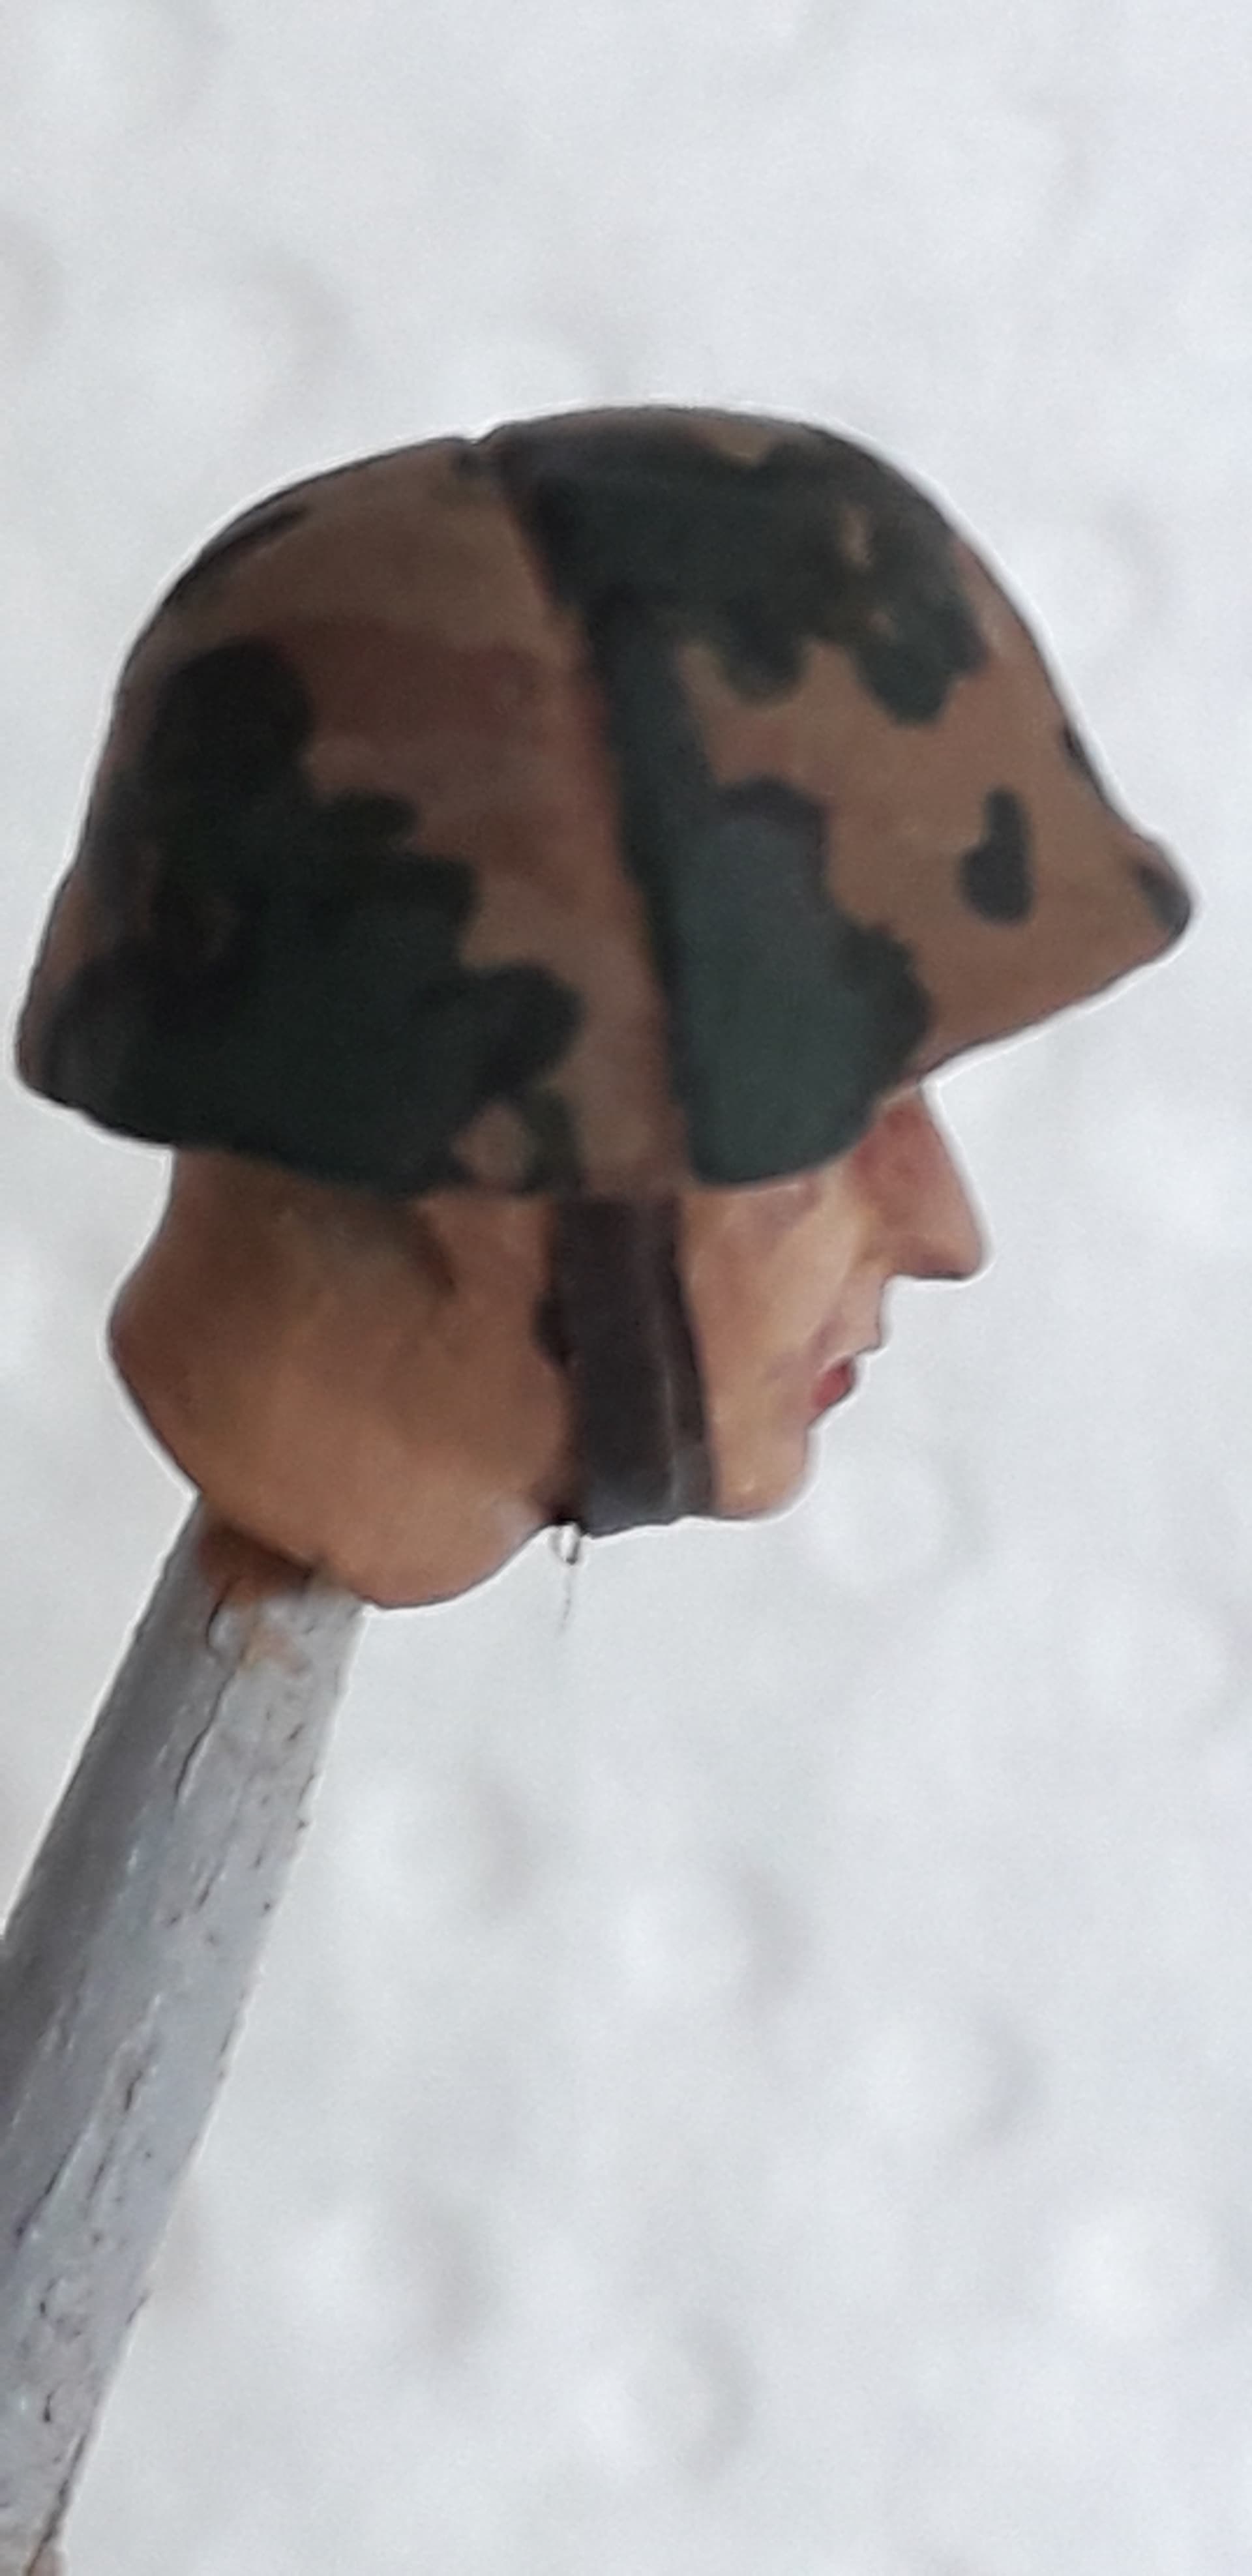
I also tried to add more contrast on the helmet cover, although there are not much seams or folds on this Tamiya helmet to work with.
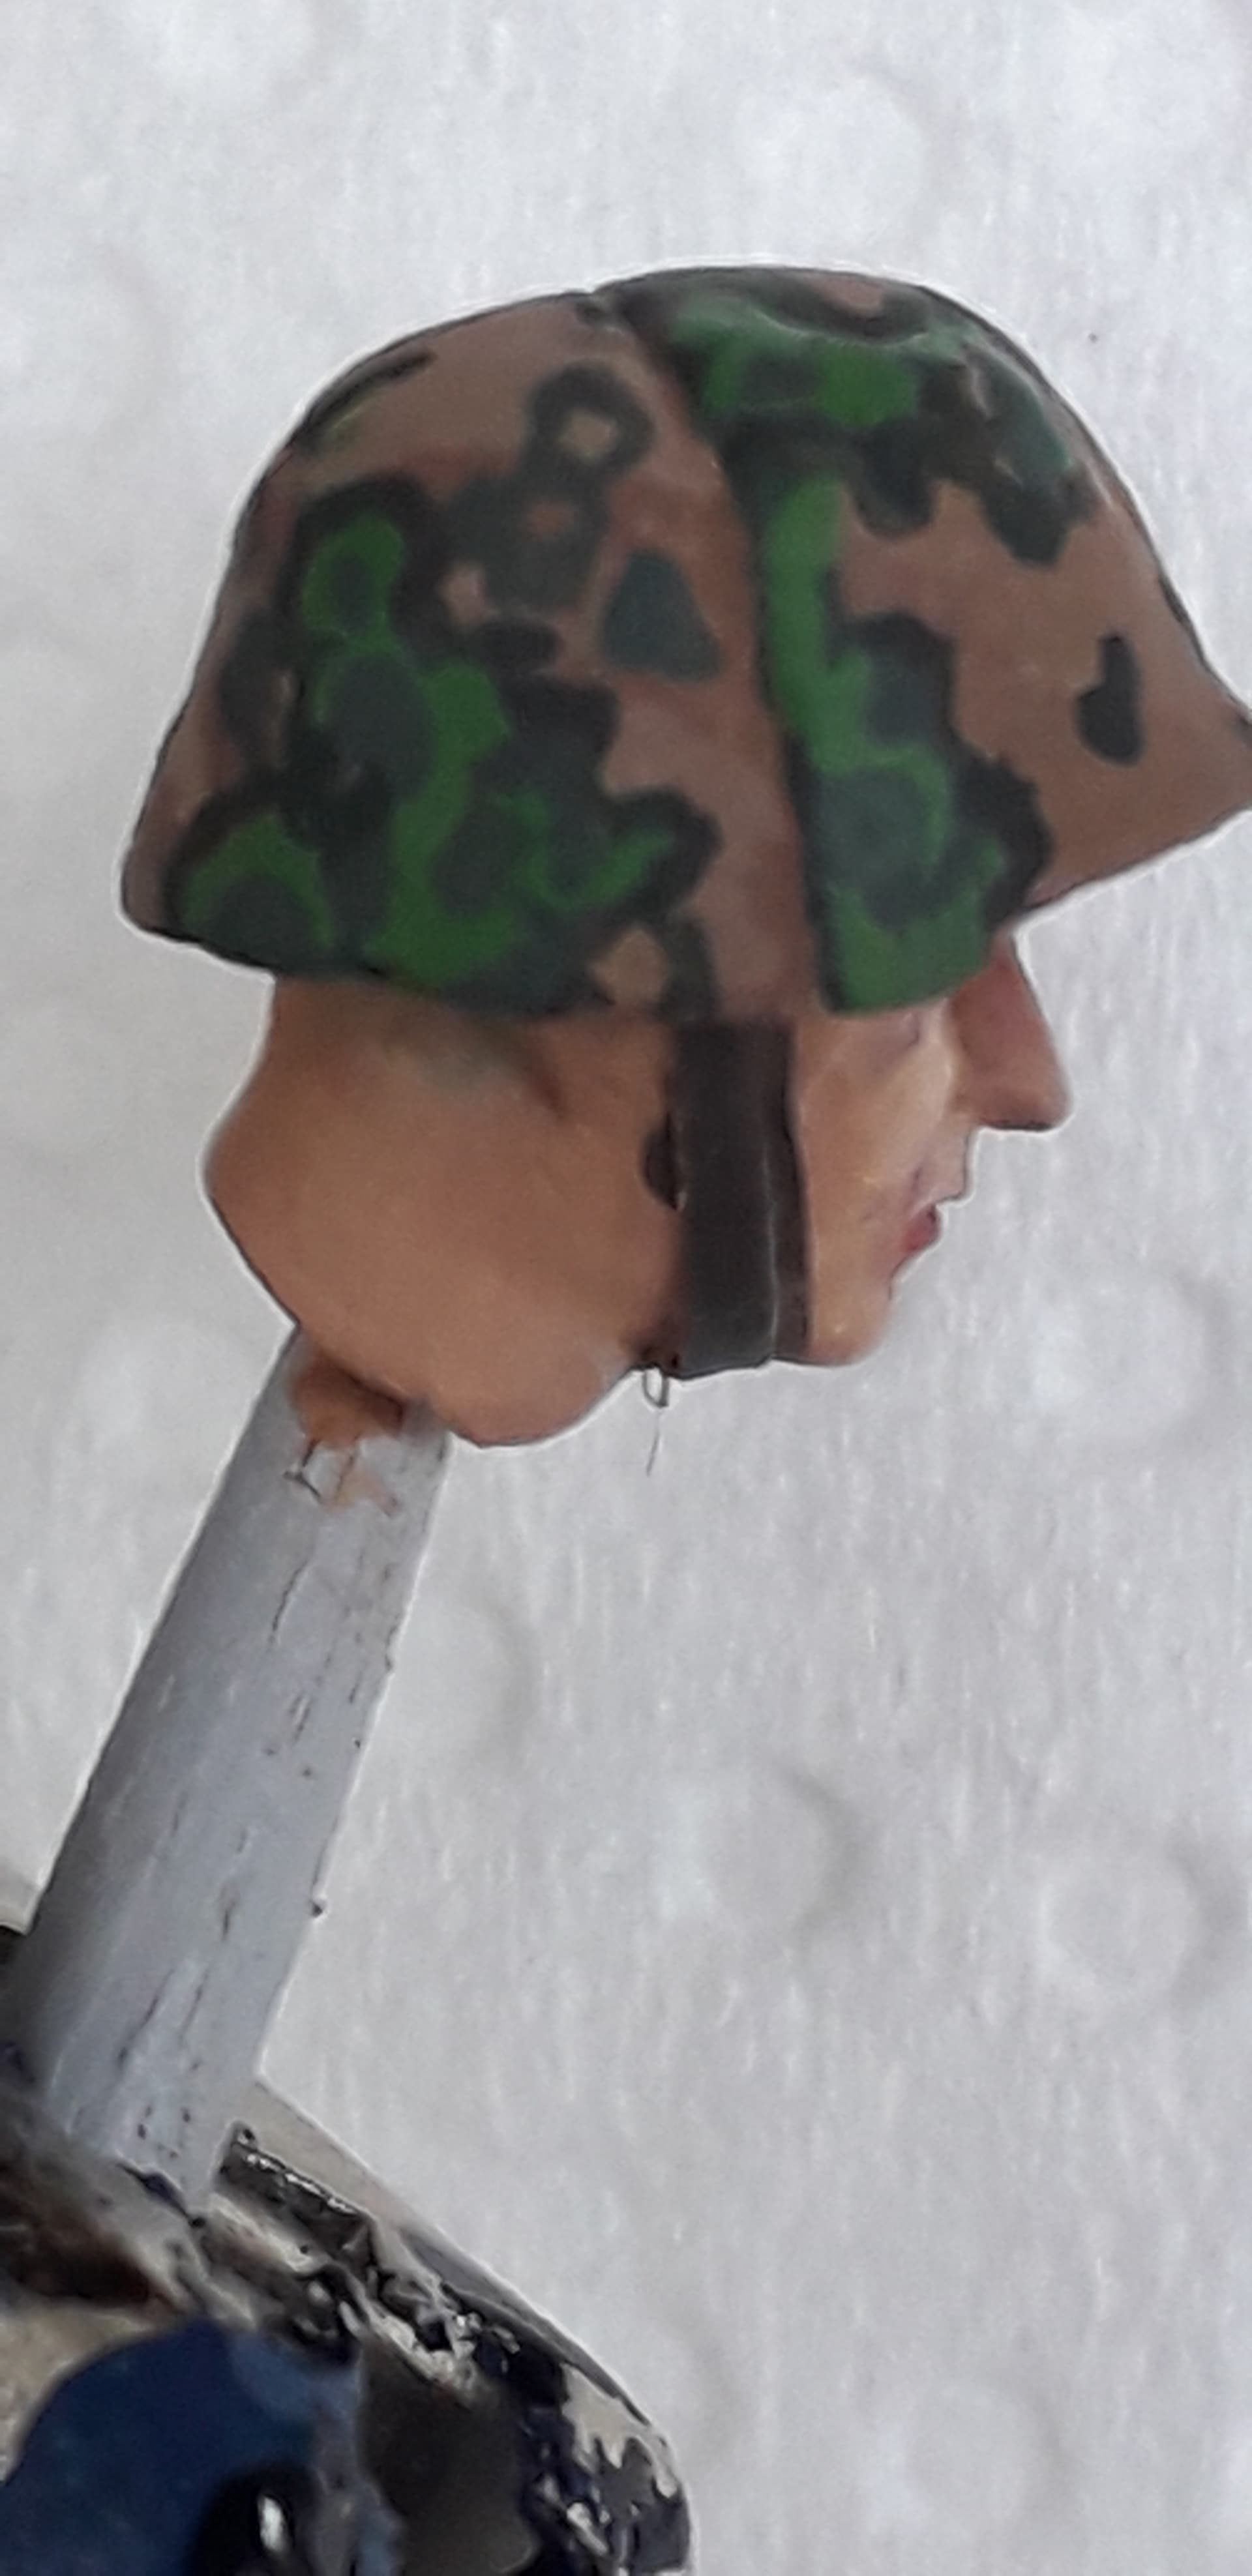
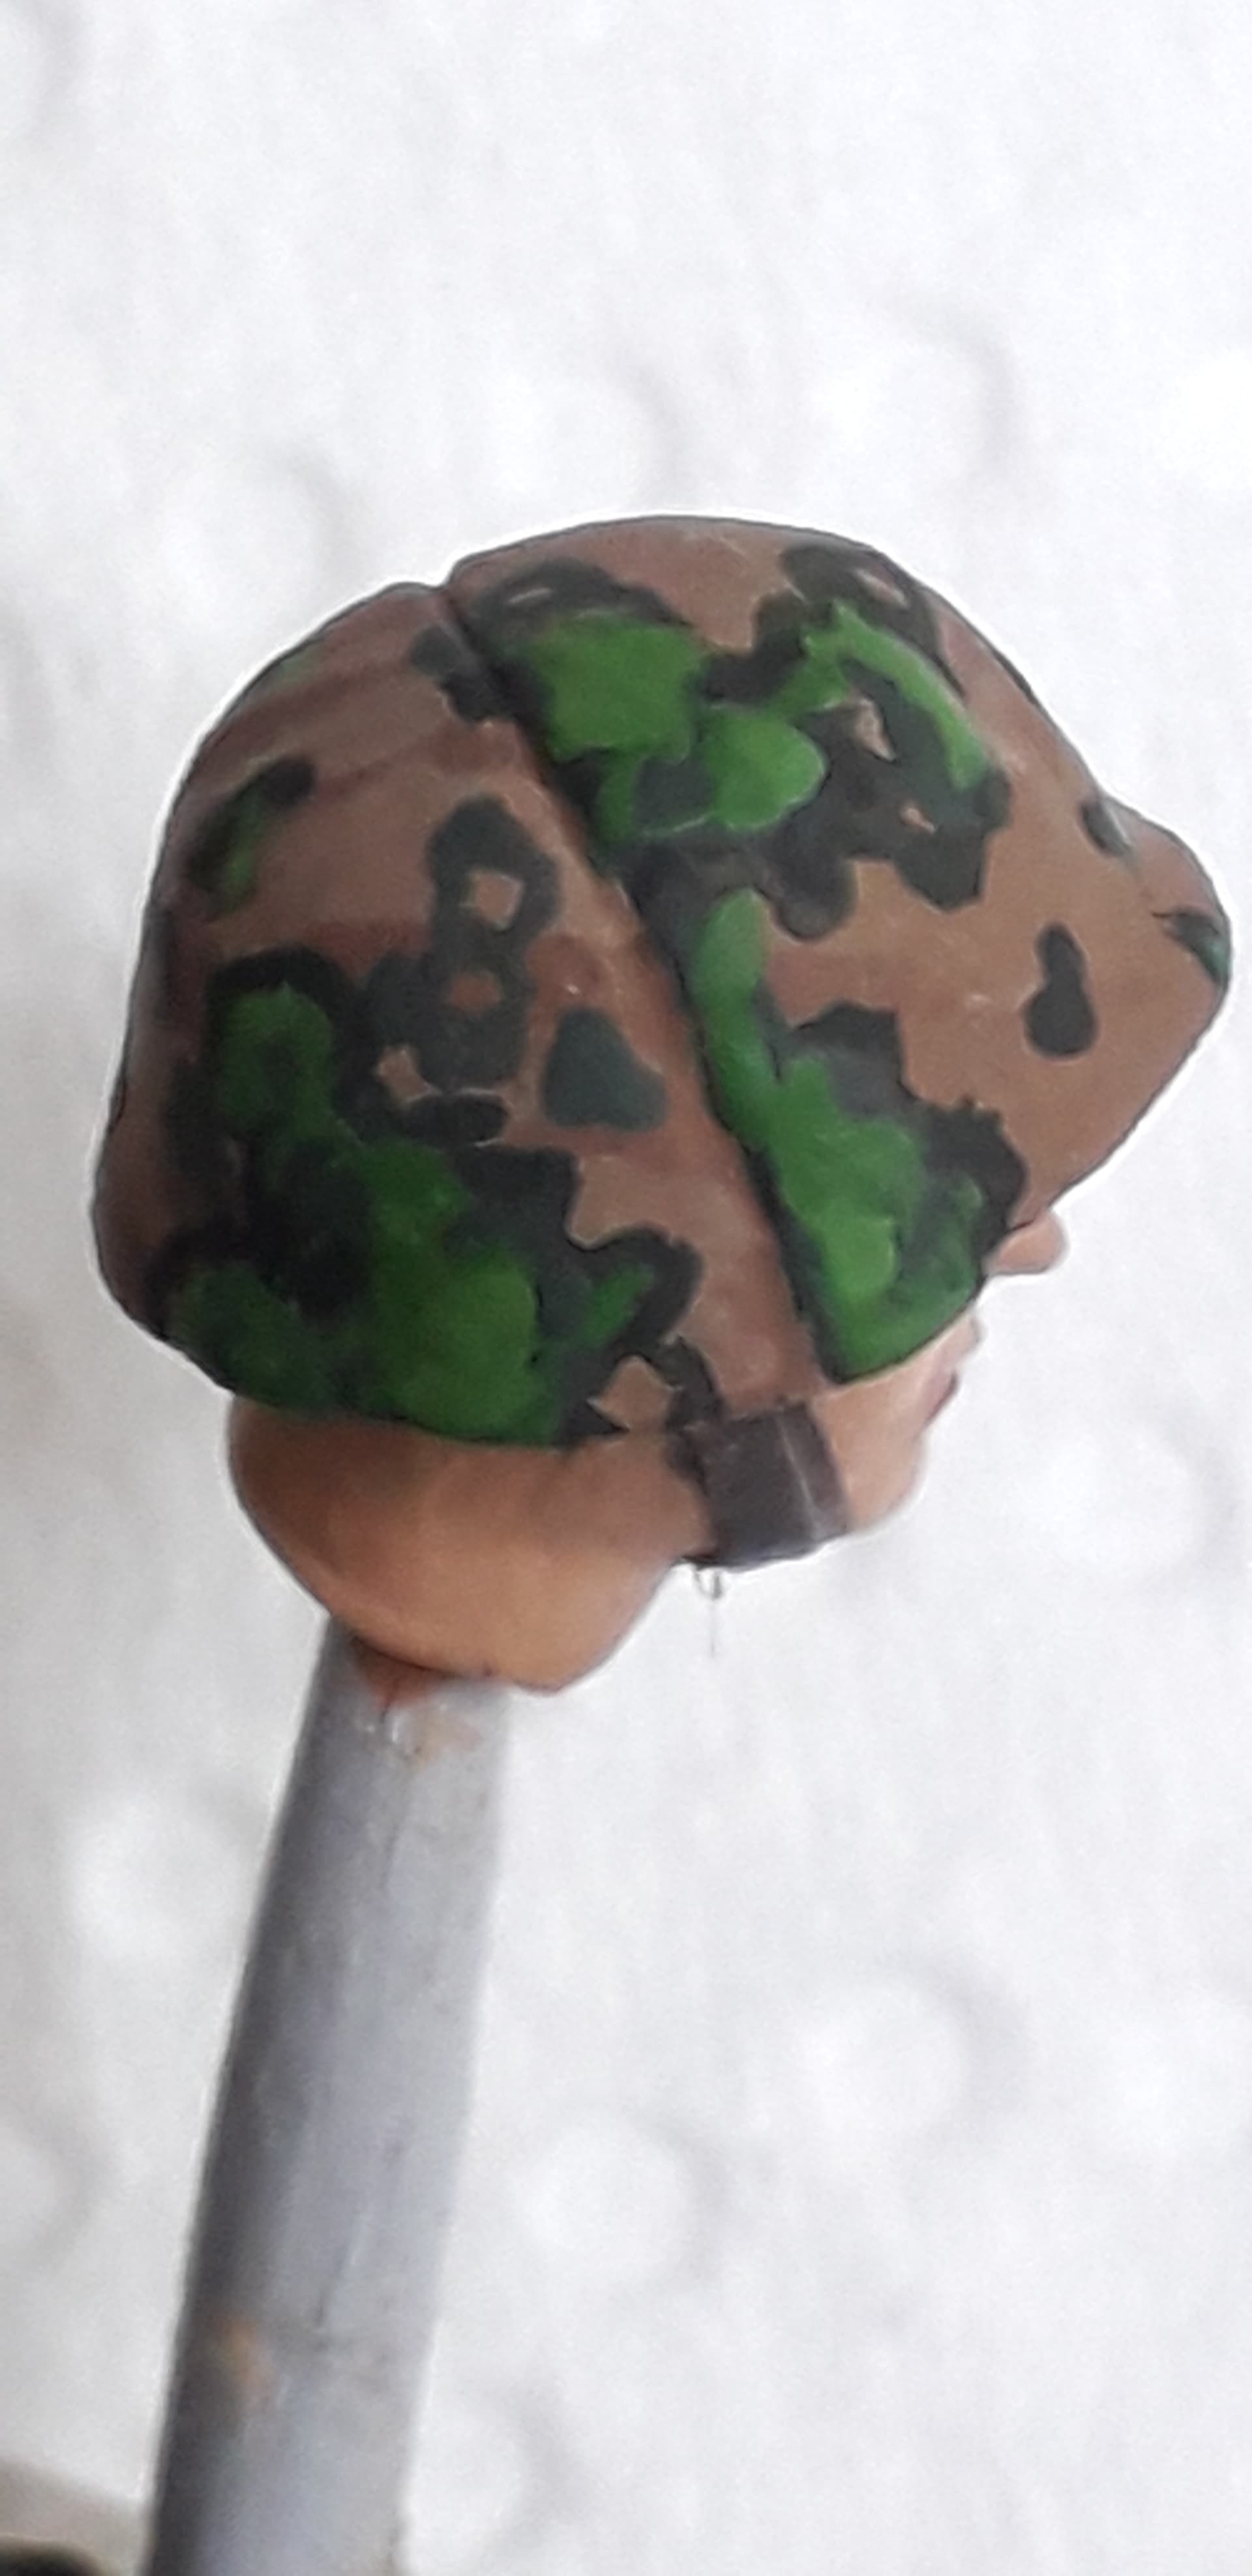
Started to paint the camouflage on the helmet cover:
Darkgreen patches highlighted (Vallejo darkgreen with a spot of Tamiya Deck Tan)
Ten adding patches of Vallejo bright green and highlighted bright green.
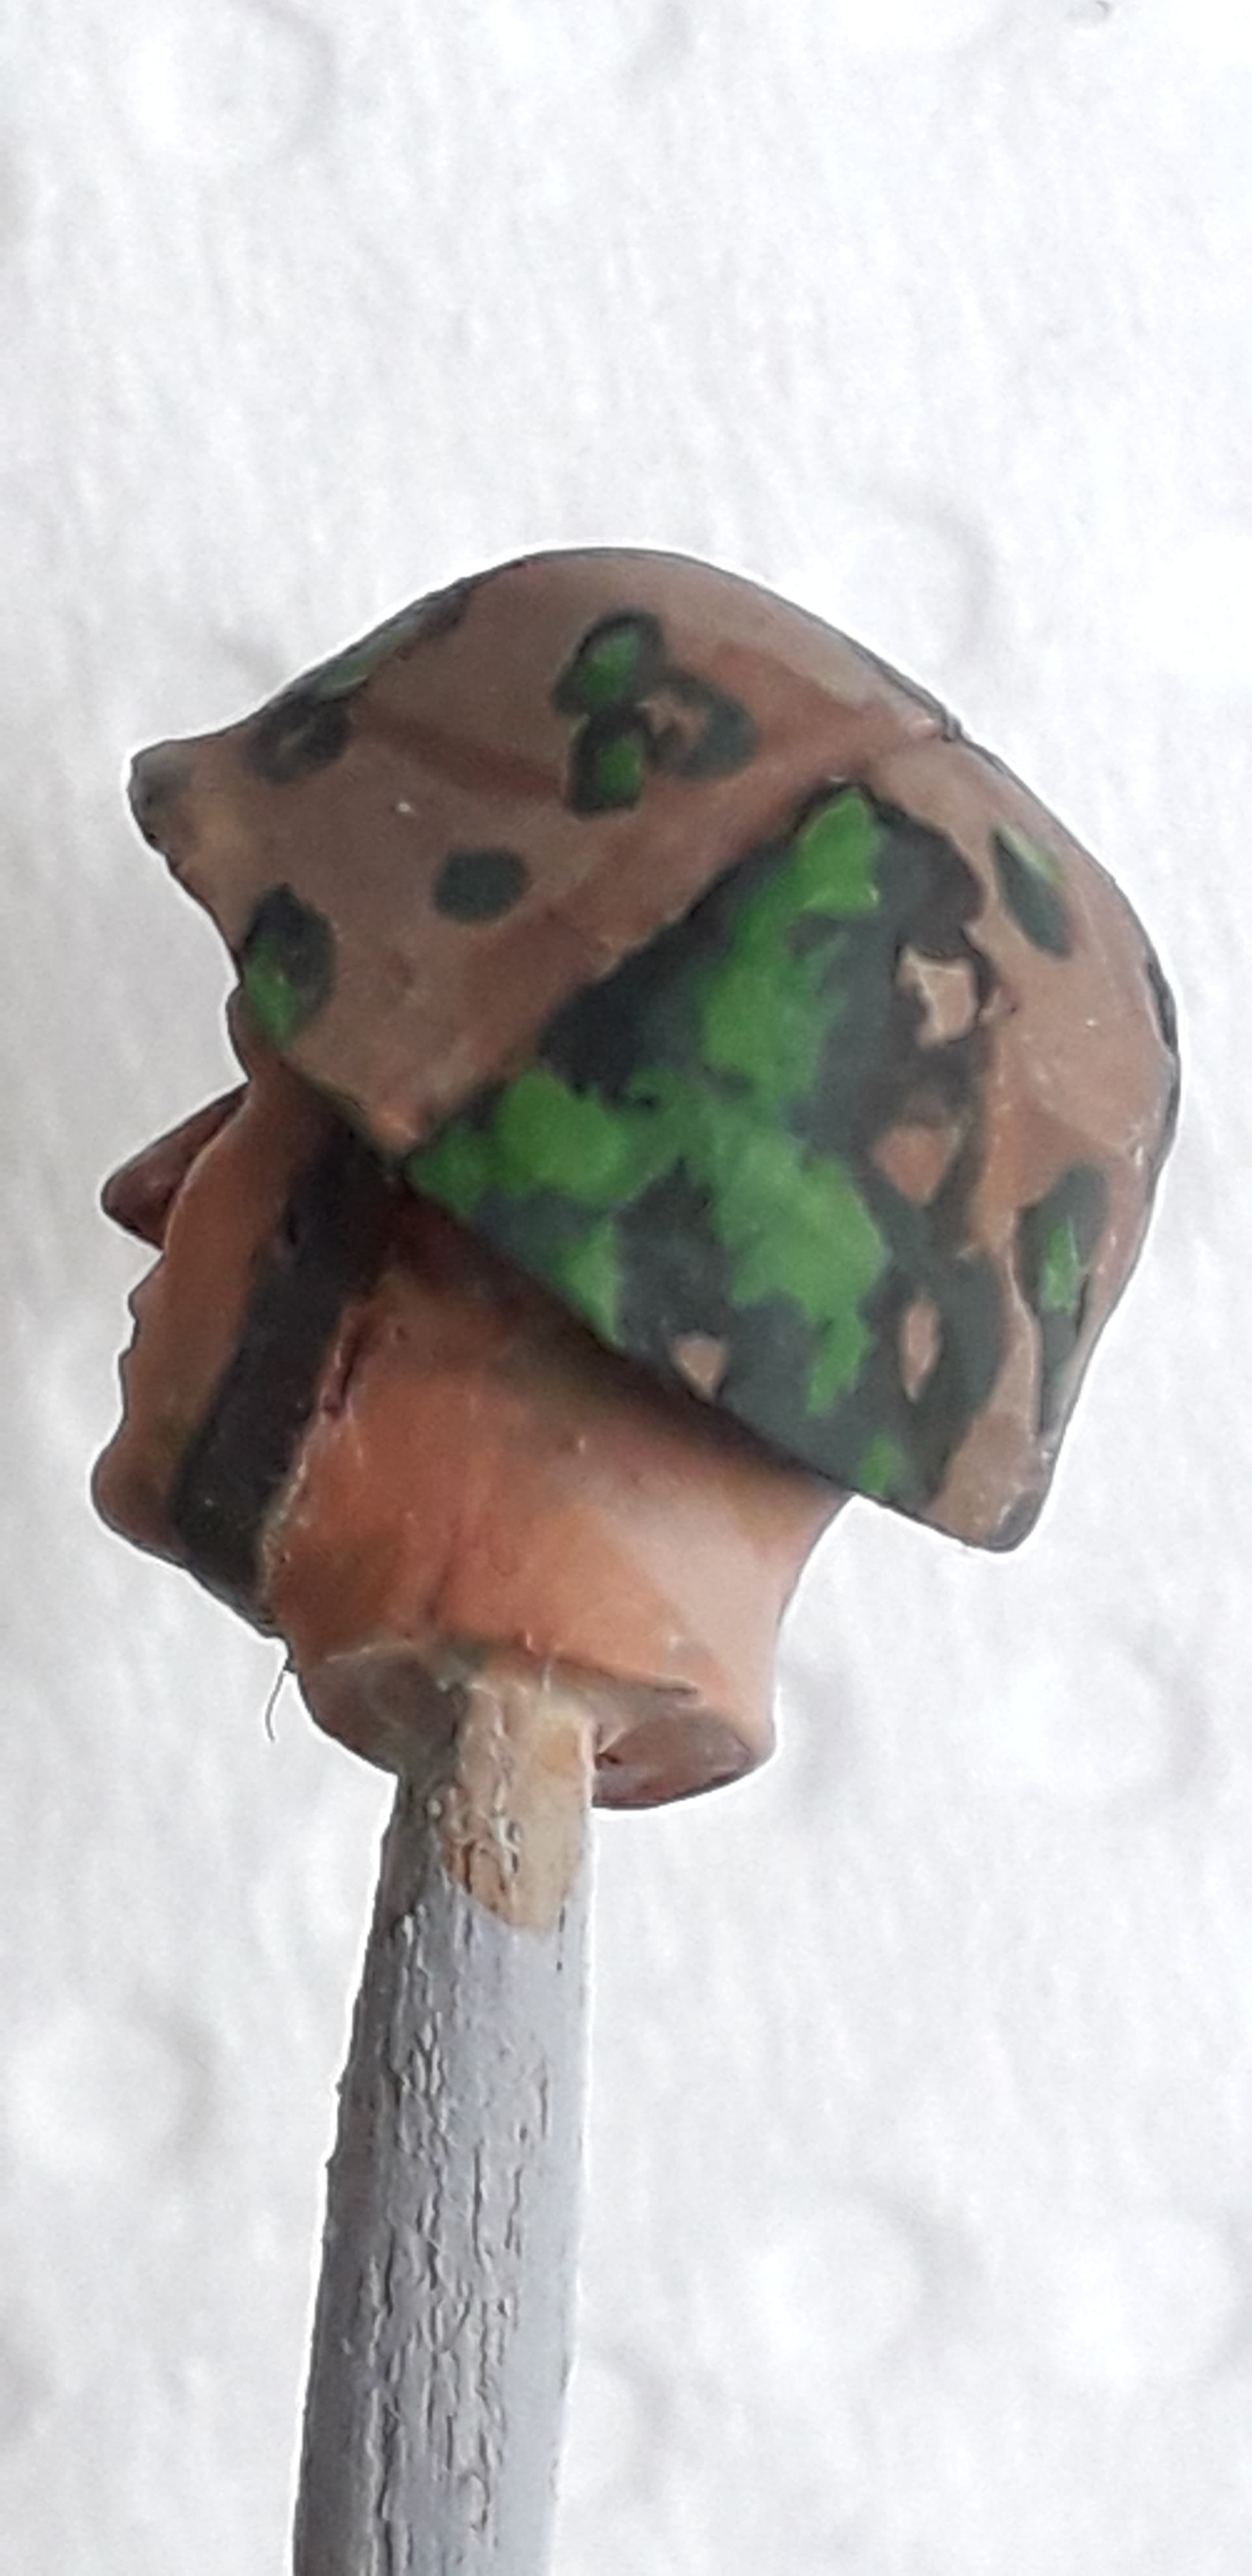
Looking at these pictures, I became aware that i really have to touch up the flesh around the chinstrap!
What would you advise to blend the browns together and to give some depth to the folds and creases?
I was thinking of a wash, but not sure what color to start from.
Thanks in advance for watching and your feedback!
Walt
4 Likes
First off, good start, keep working it, Walter.
If you were using oils I could advise, but you’re using acrylics and some of the other guys would be better to advise in that arena. Check Youtube for figure painting with acrylics. There are quite a few really great acrylic painters with excellent Step-by-step videos to get you up to speed.
Night Shift is always a good fall back for the basics. There are plenty of vids from others as well.
Cheers, Ski.
4 Likes
Thank you all for the encouragement!
It has been a while again but as the weather is rainy I got back to painting.
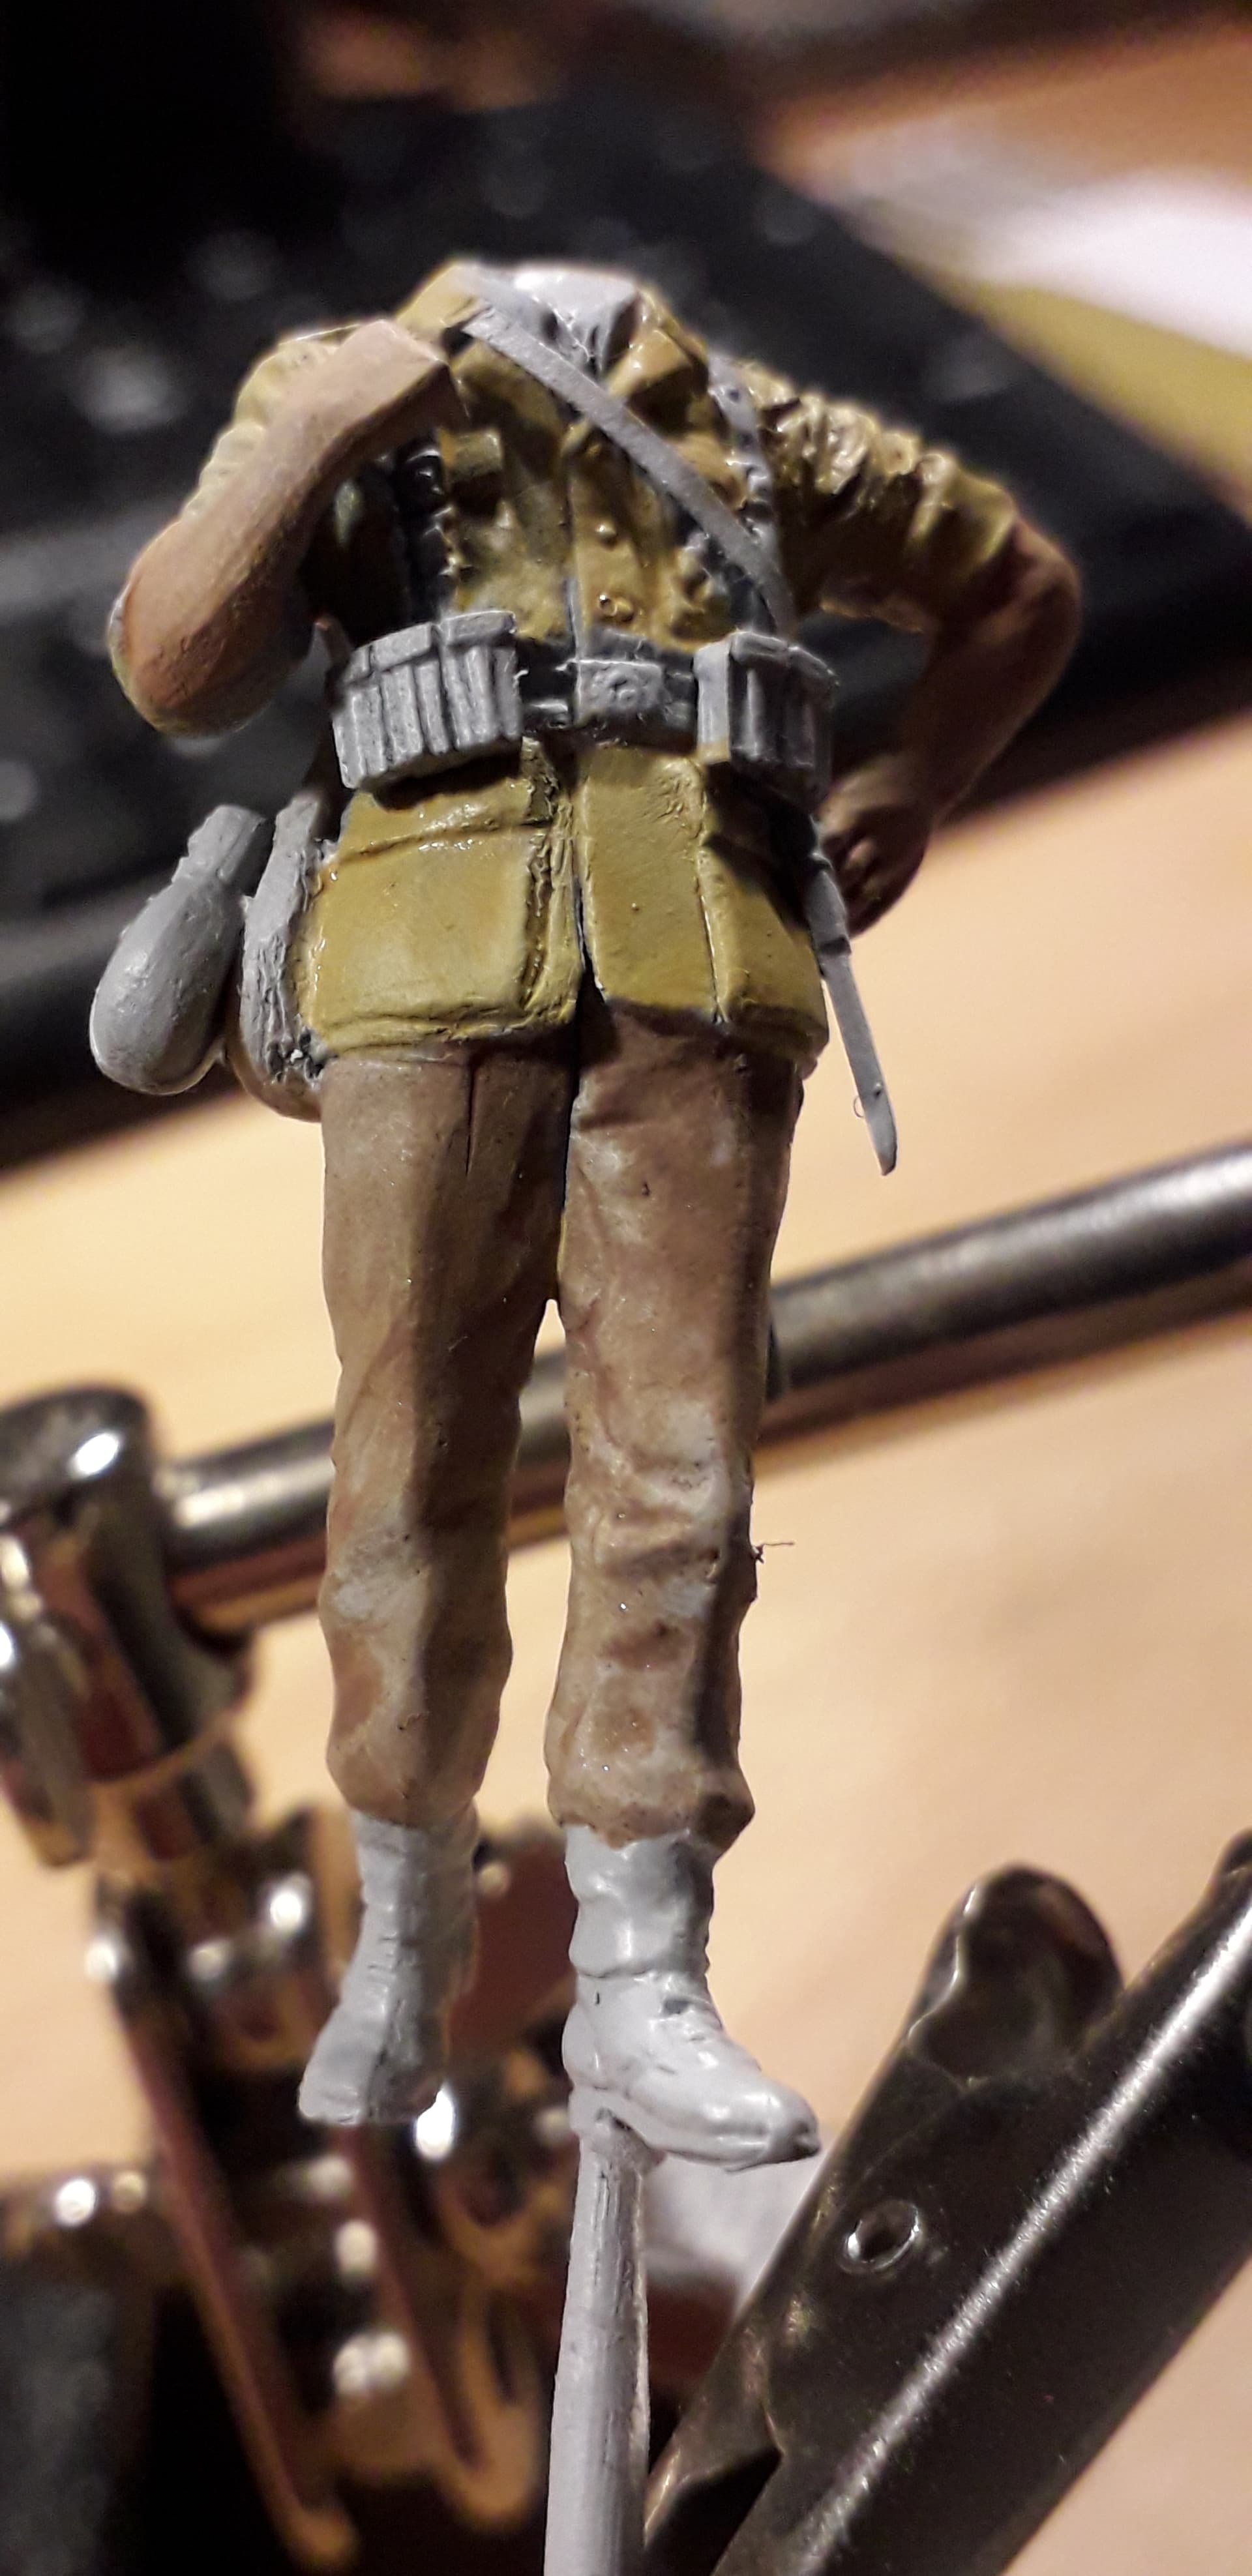
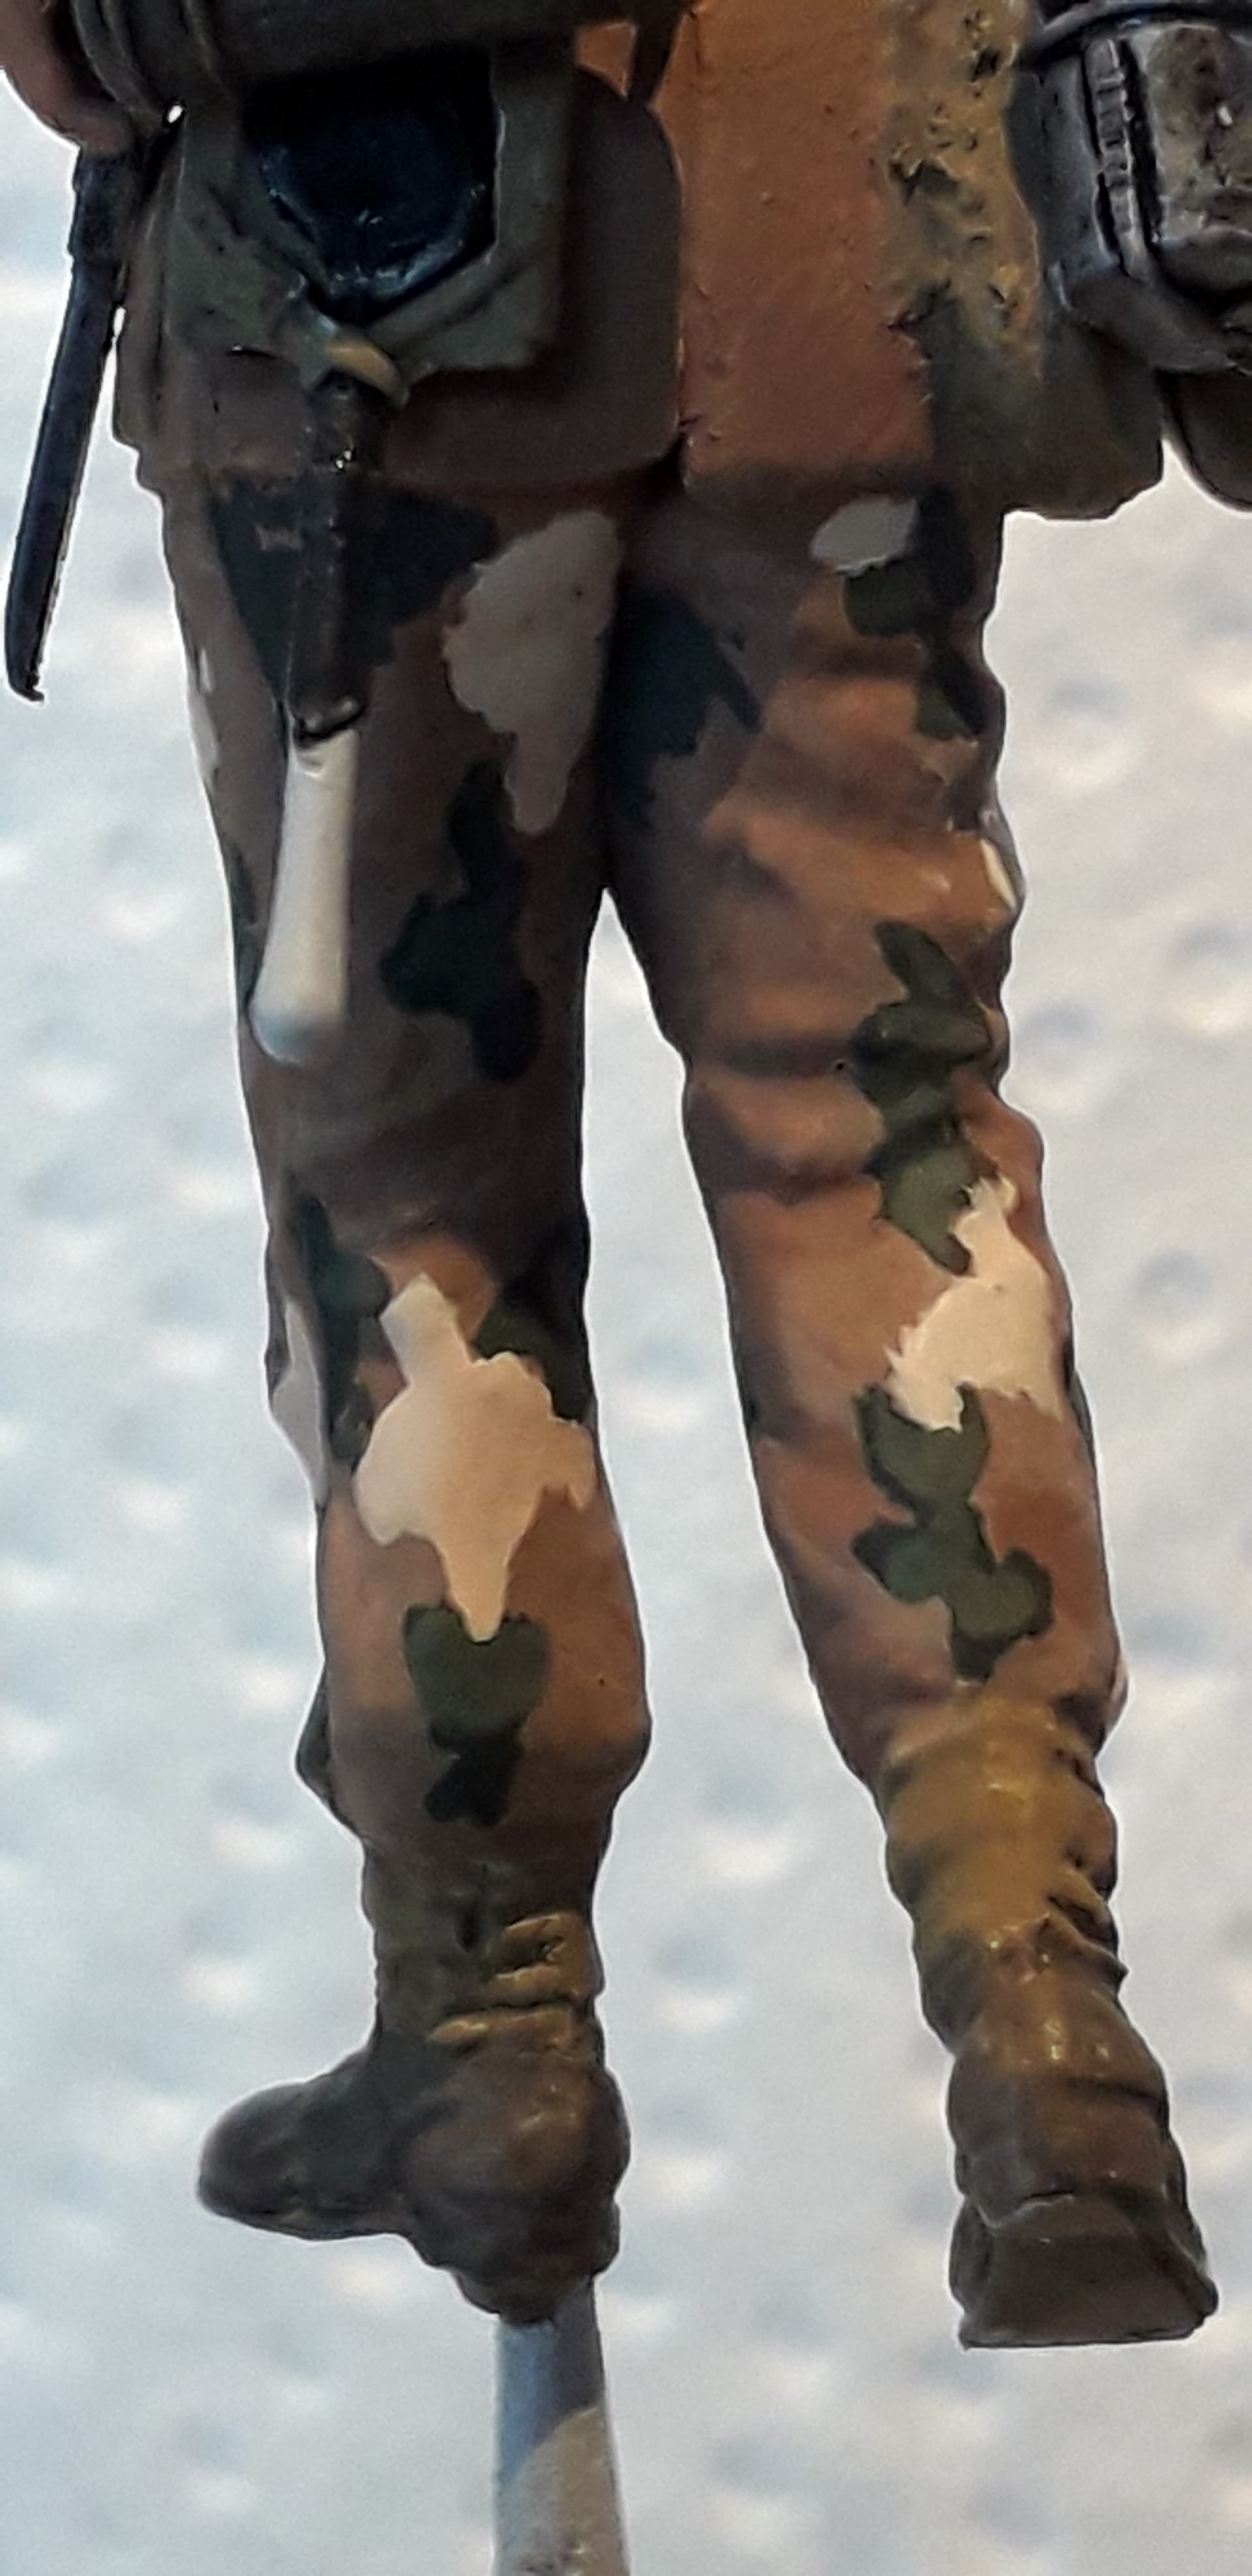
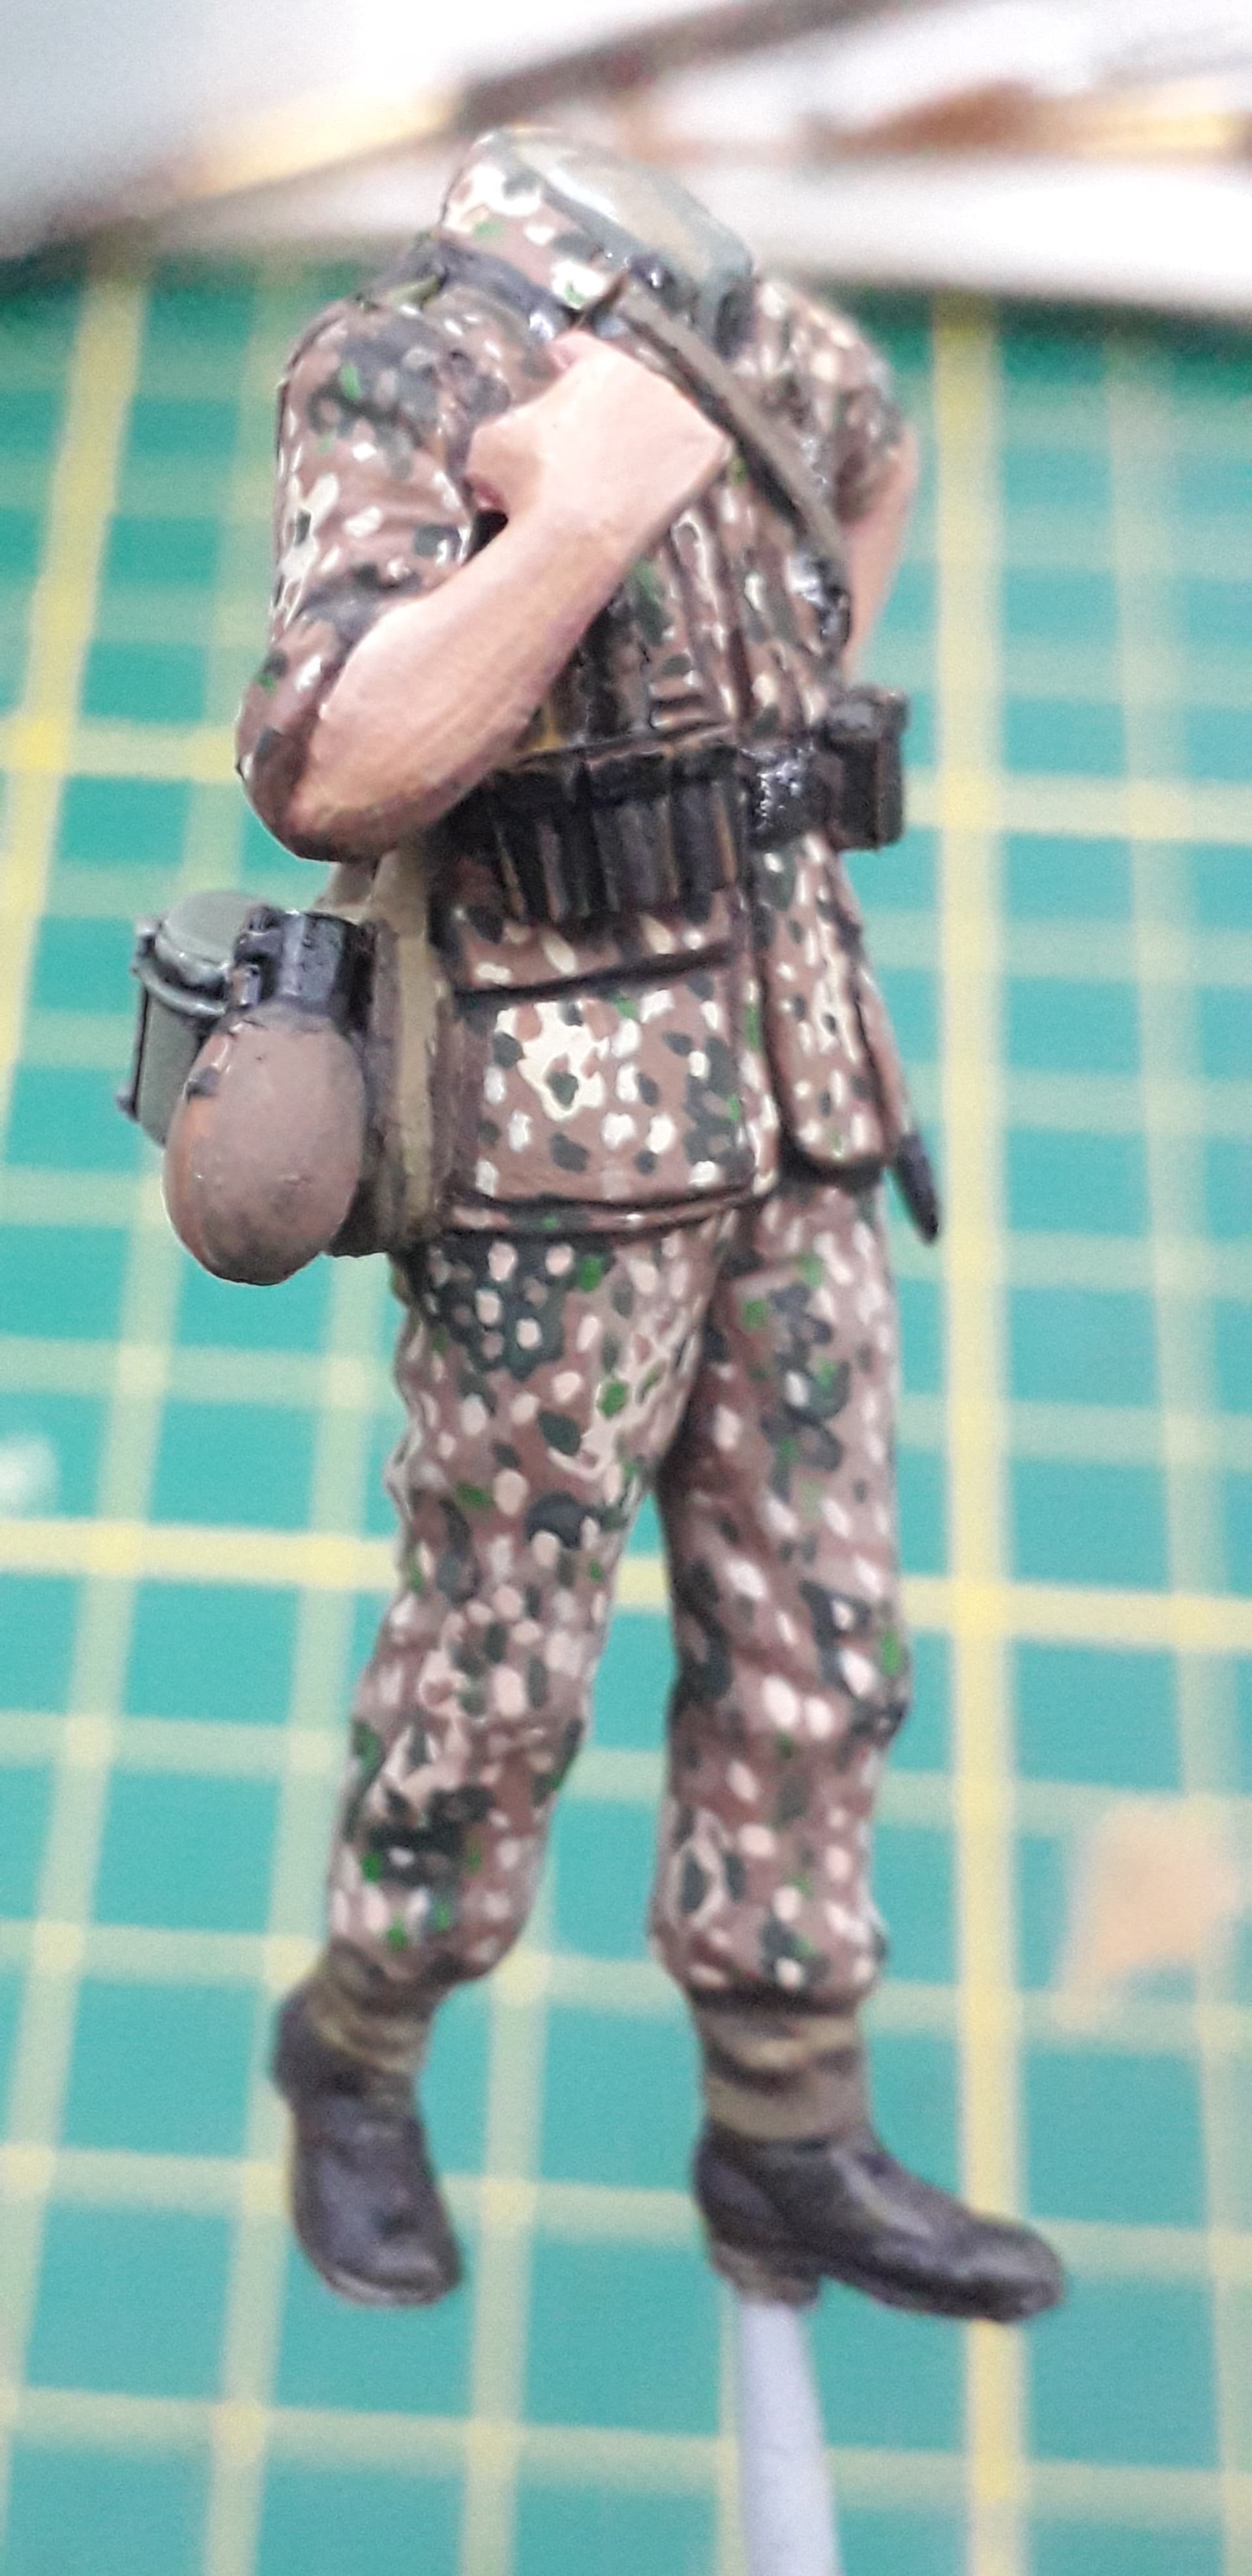
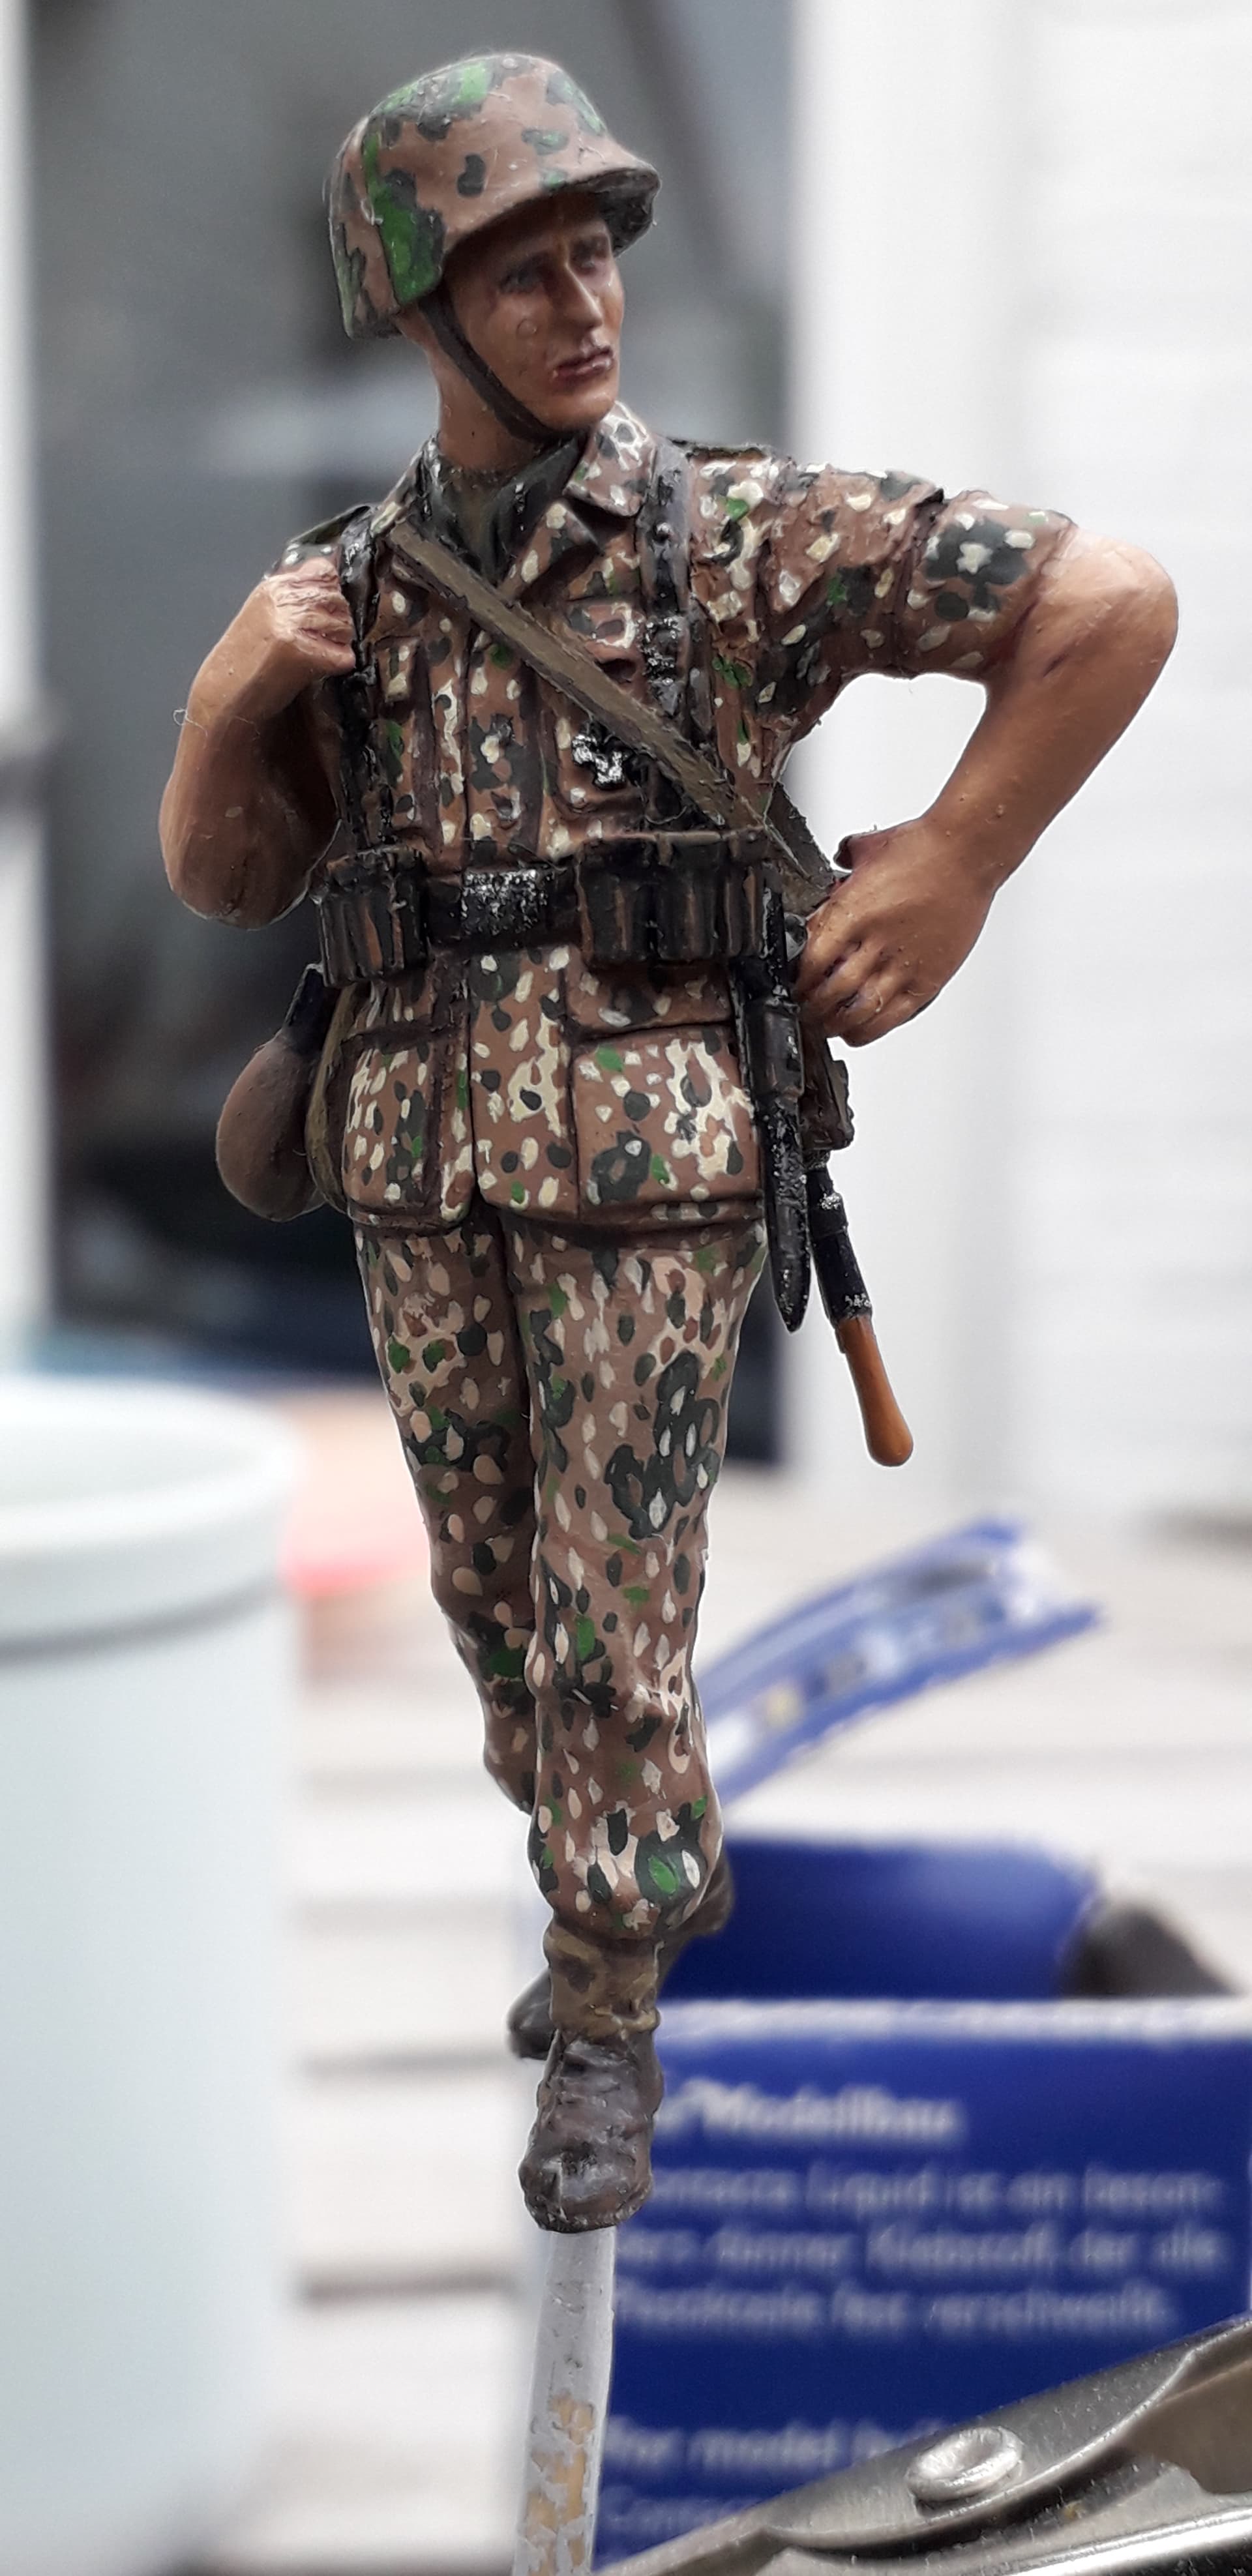
Starting with the trousers:
Dots, dots and dots
In close up it looks worse than with the bare eye :-s
9 Likes
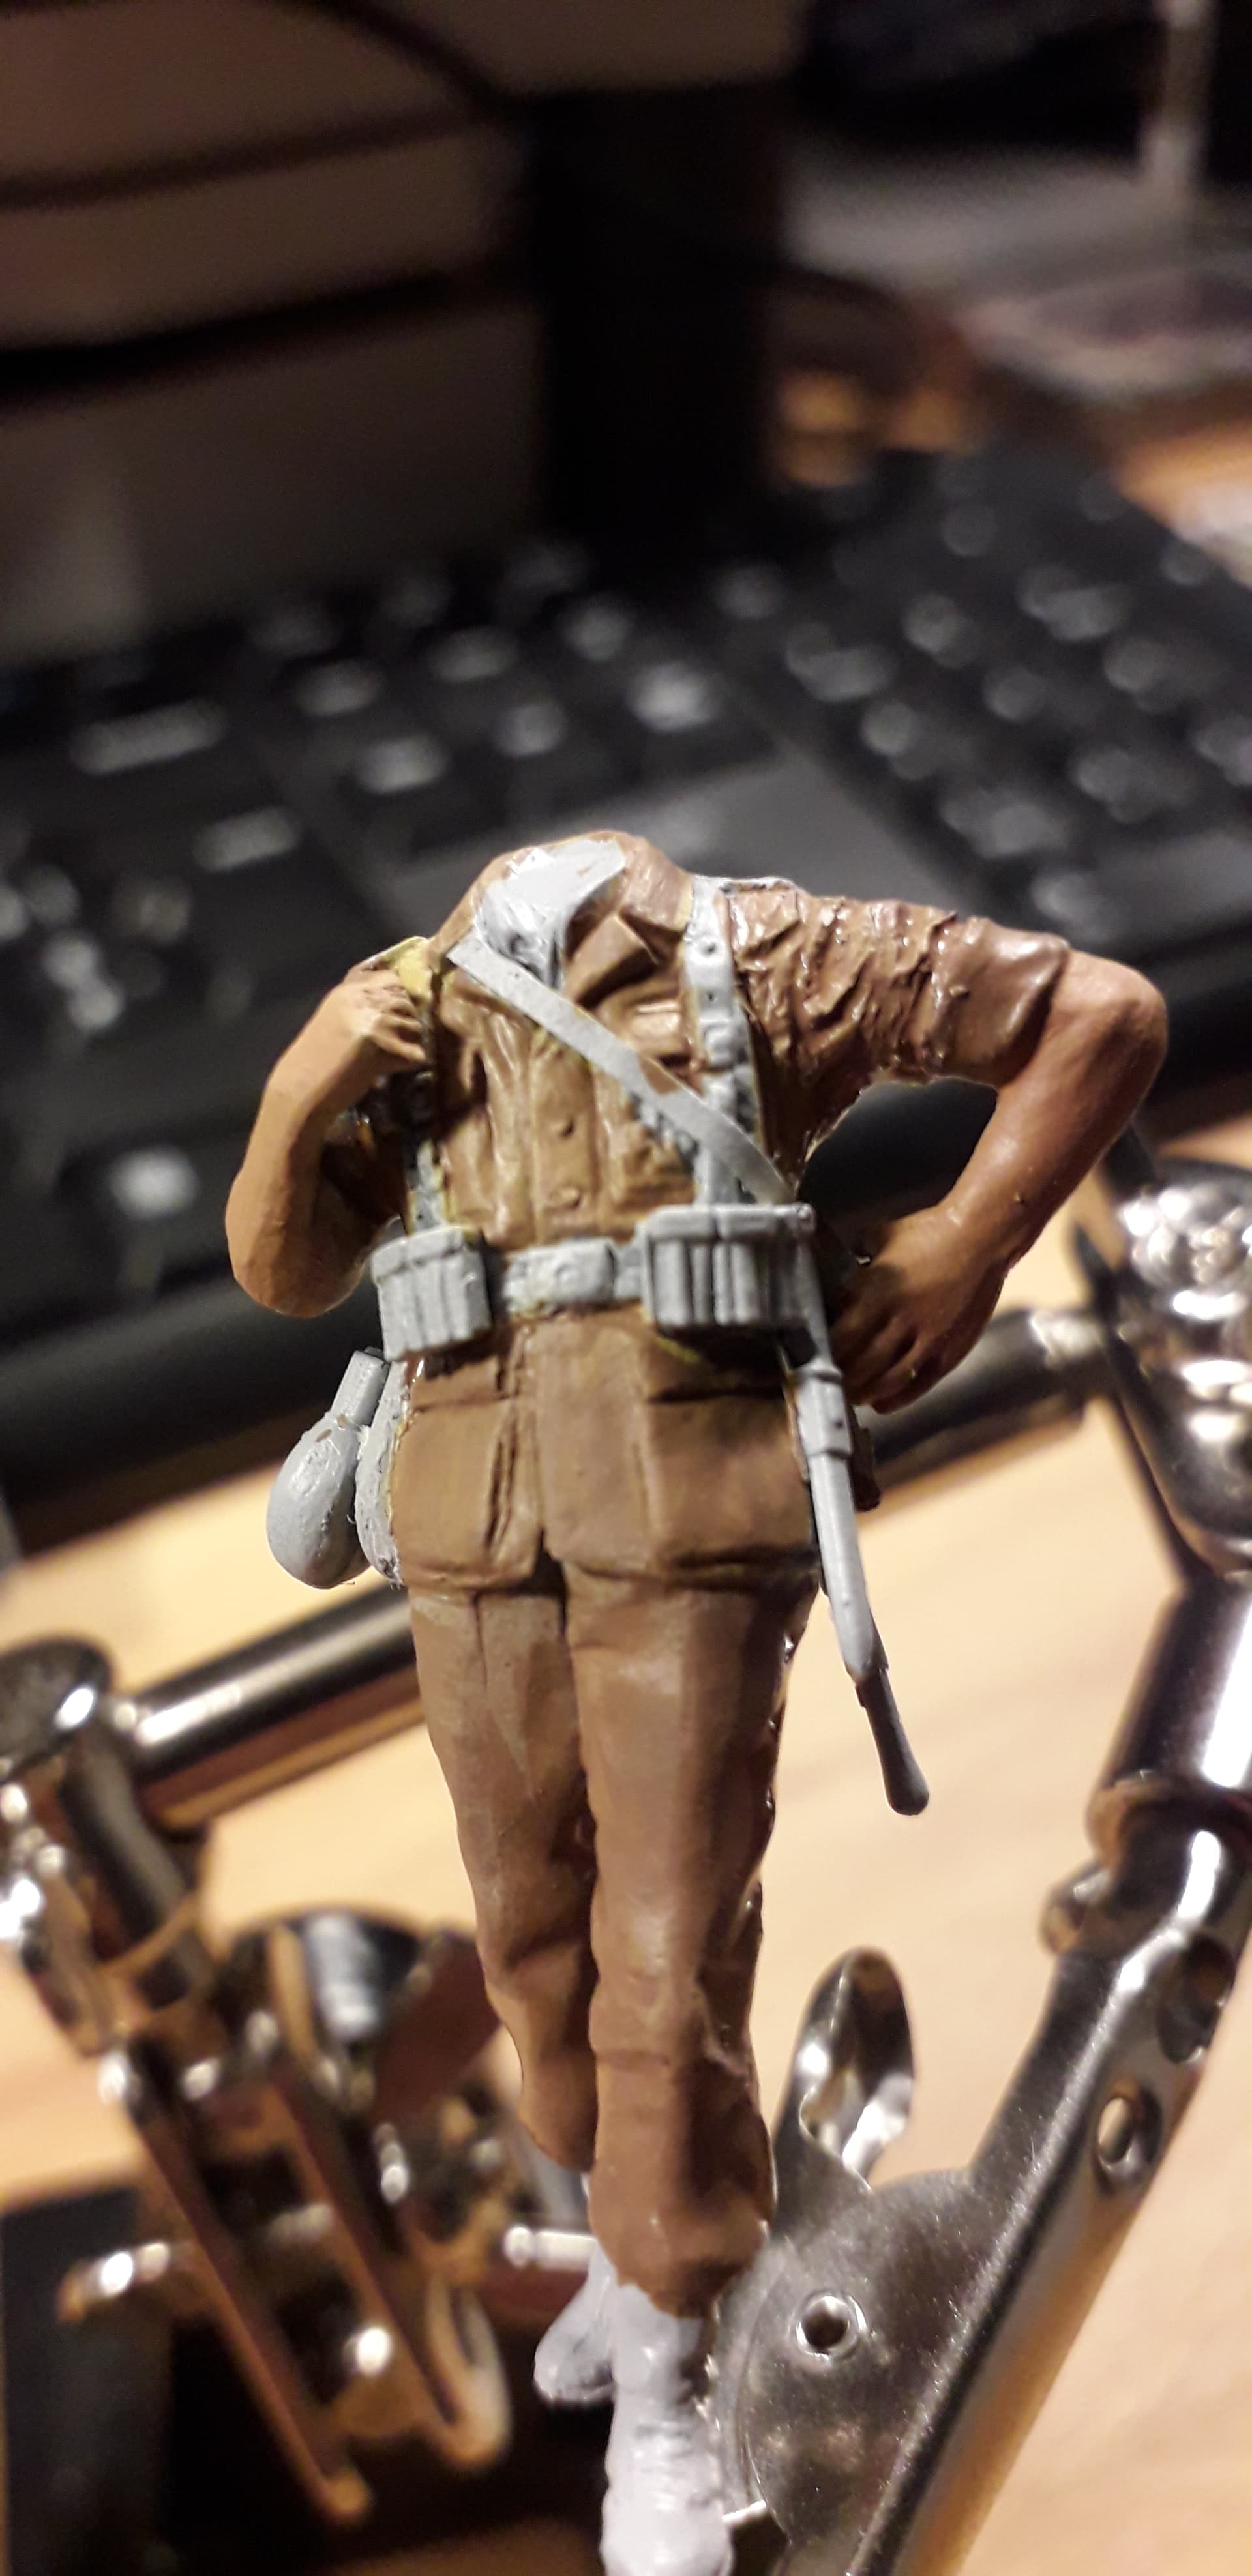
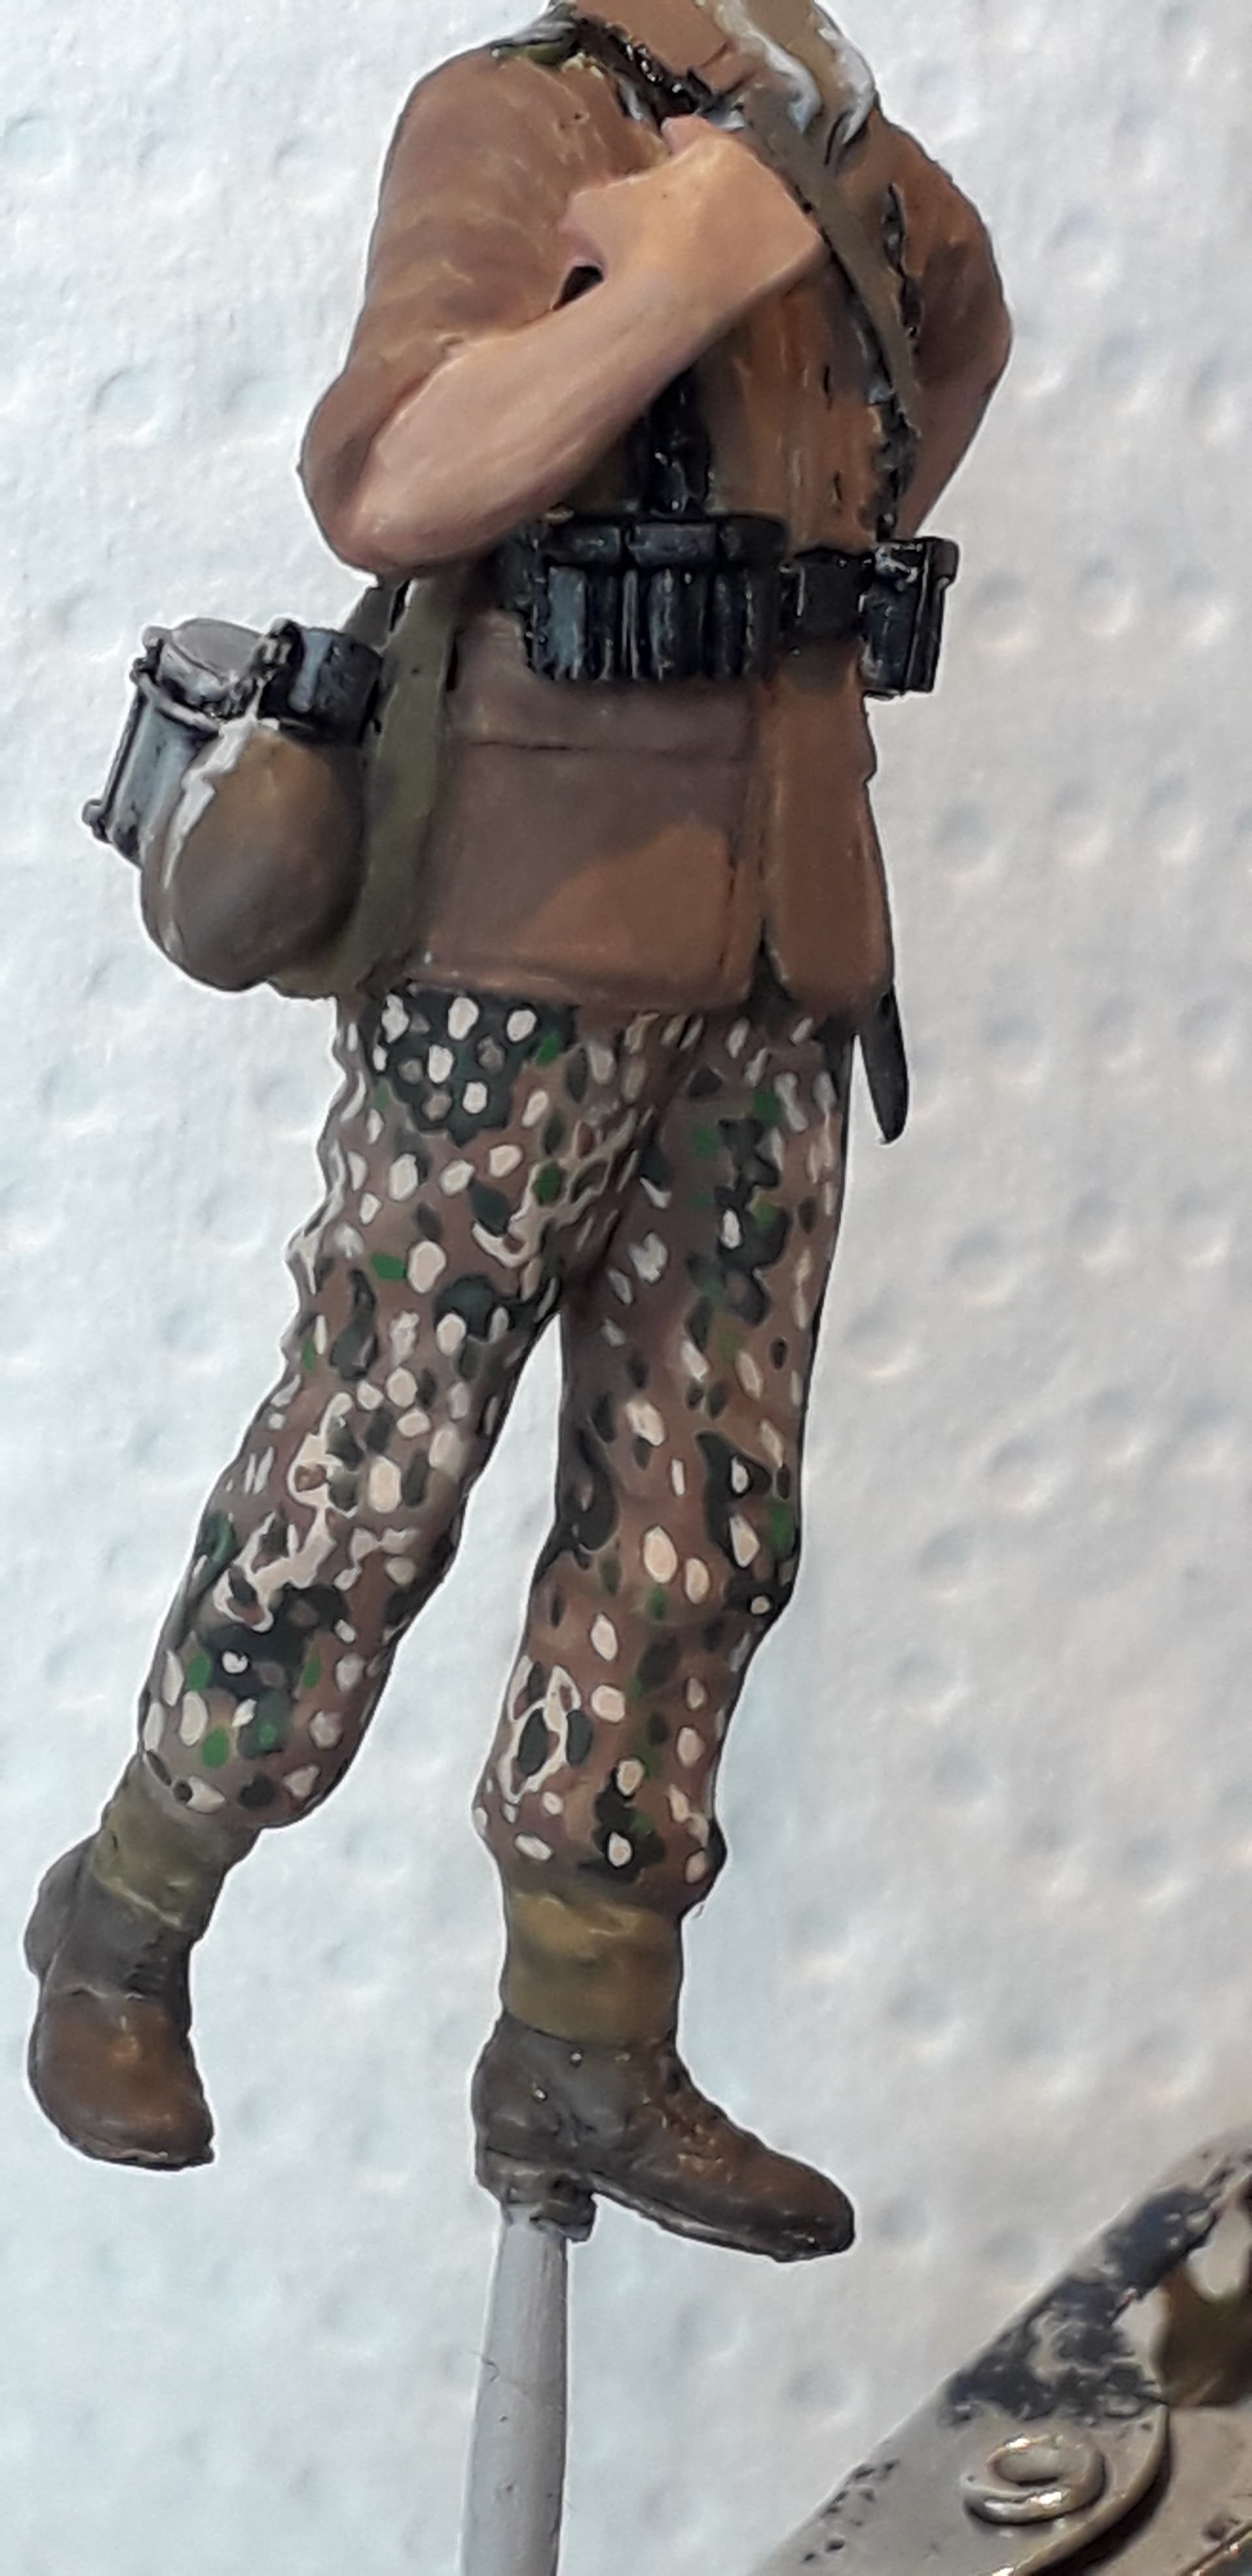
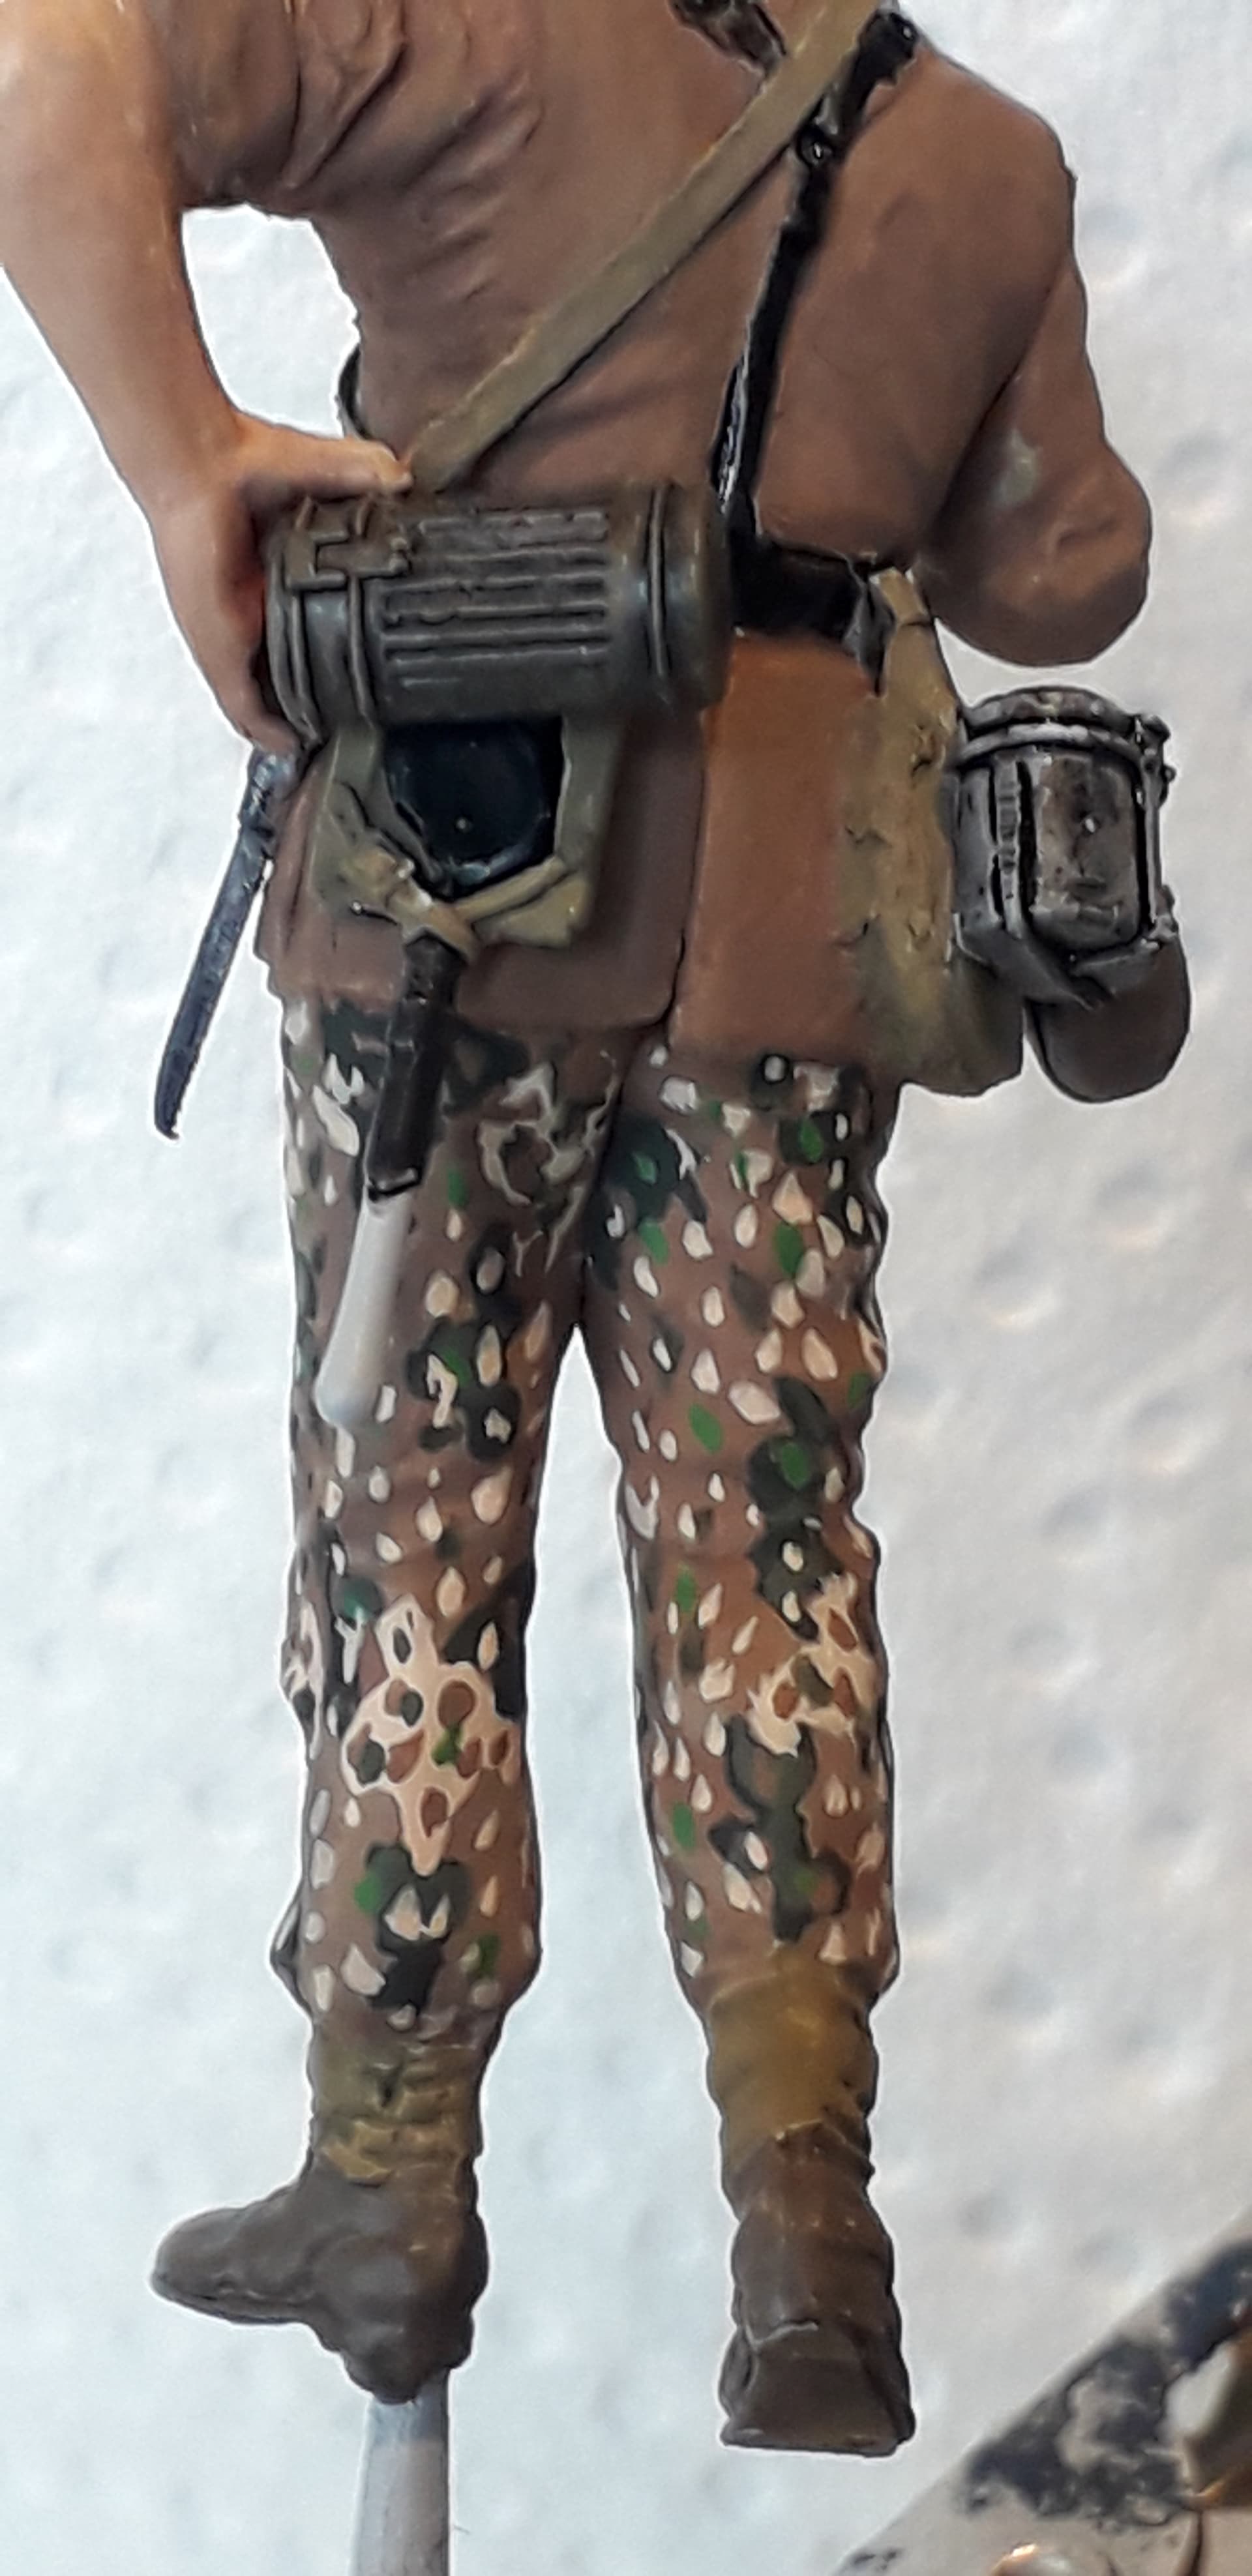
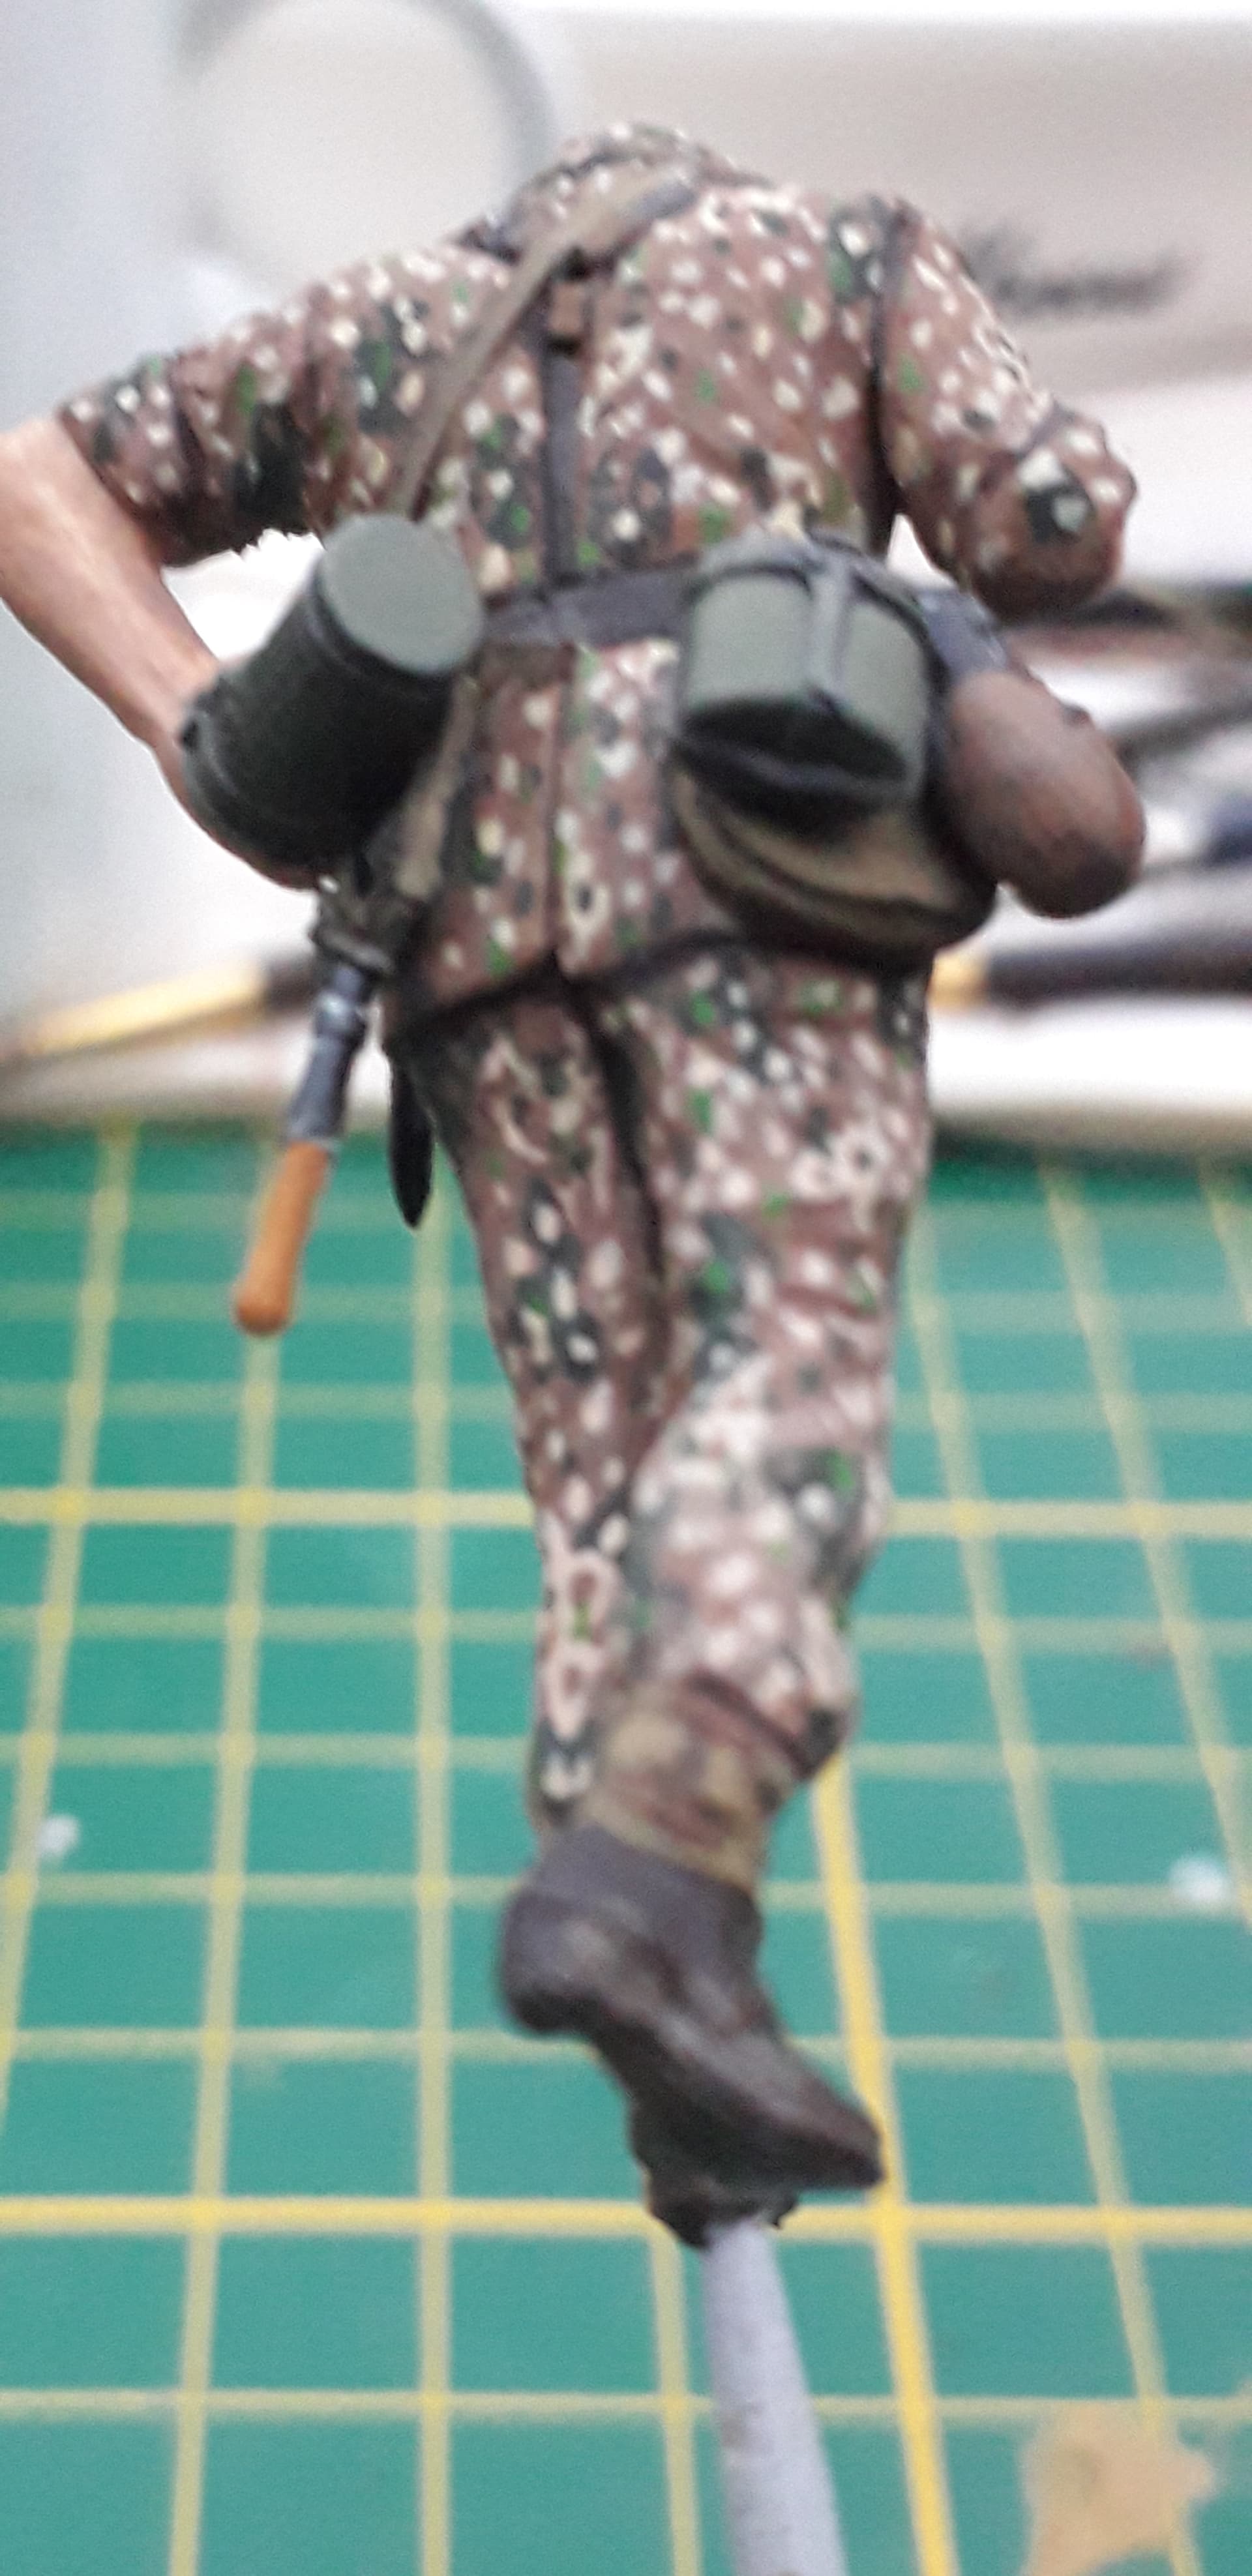
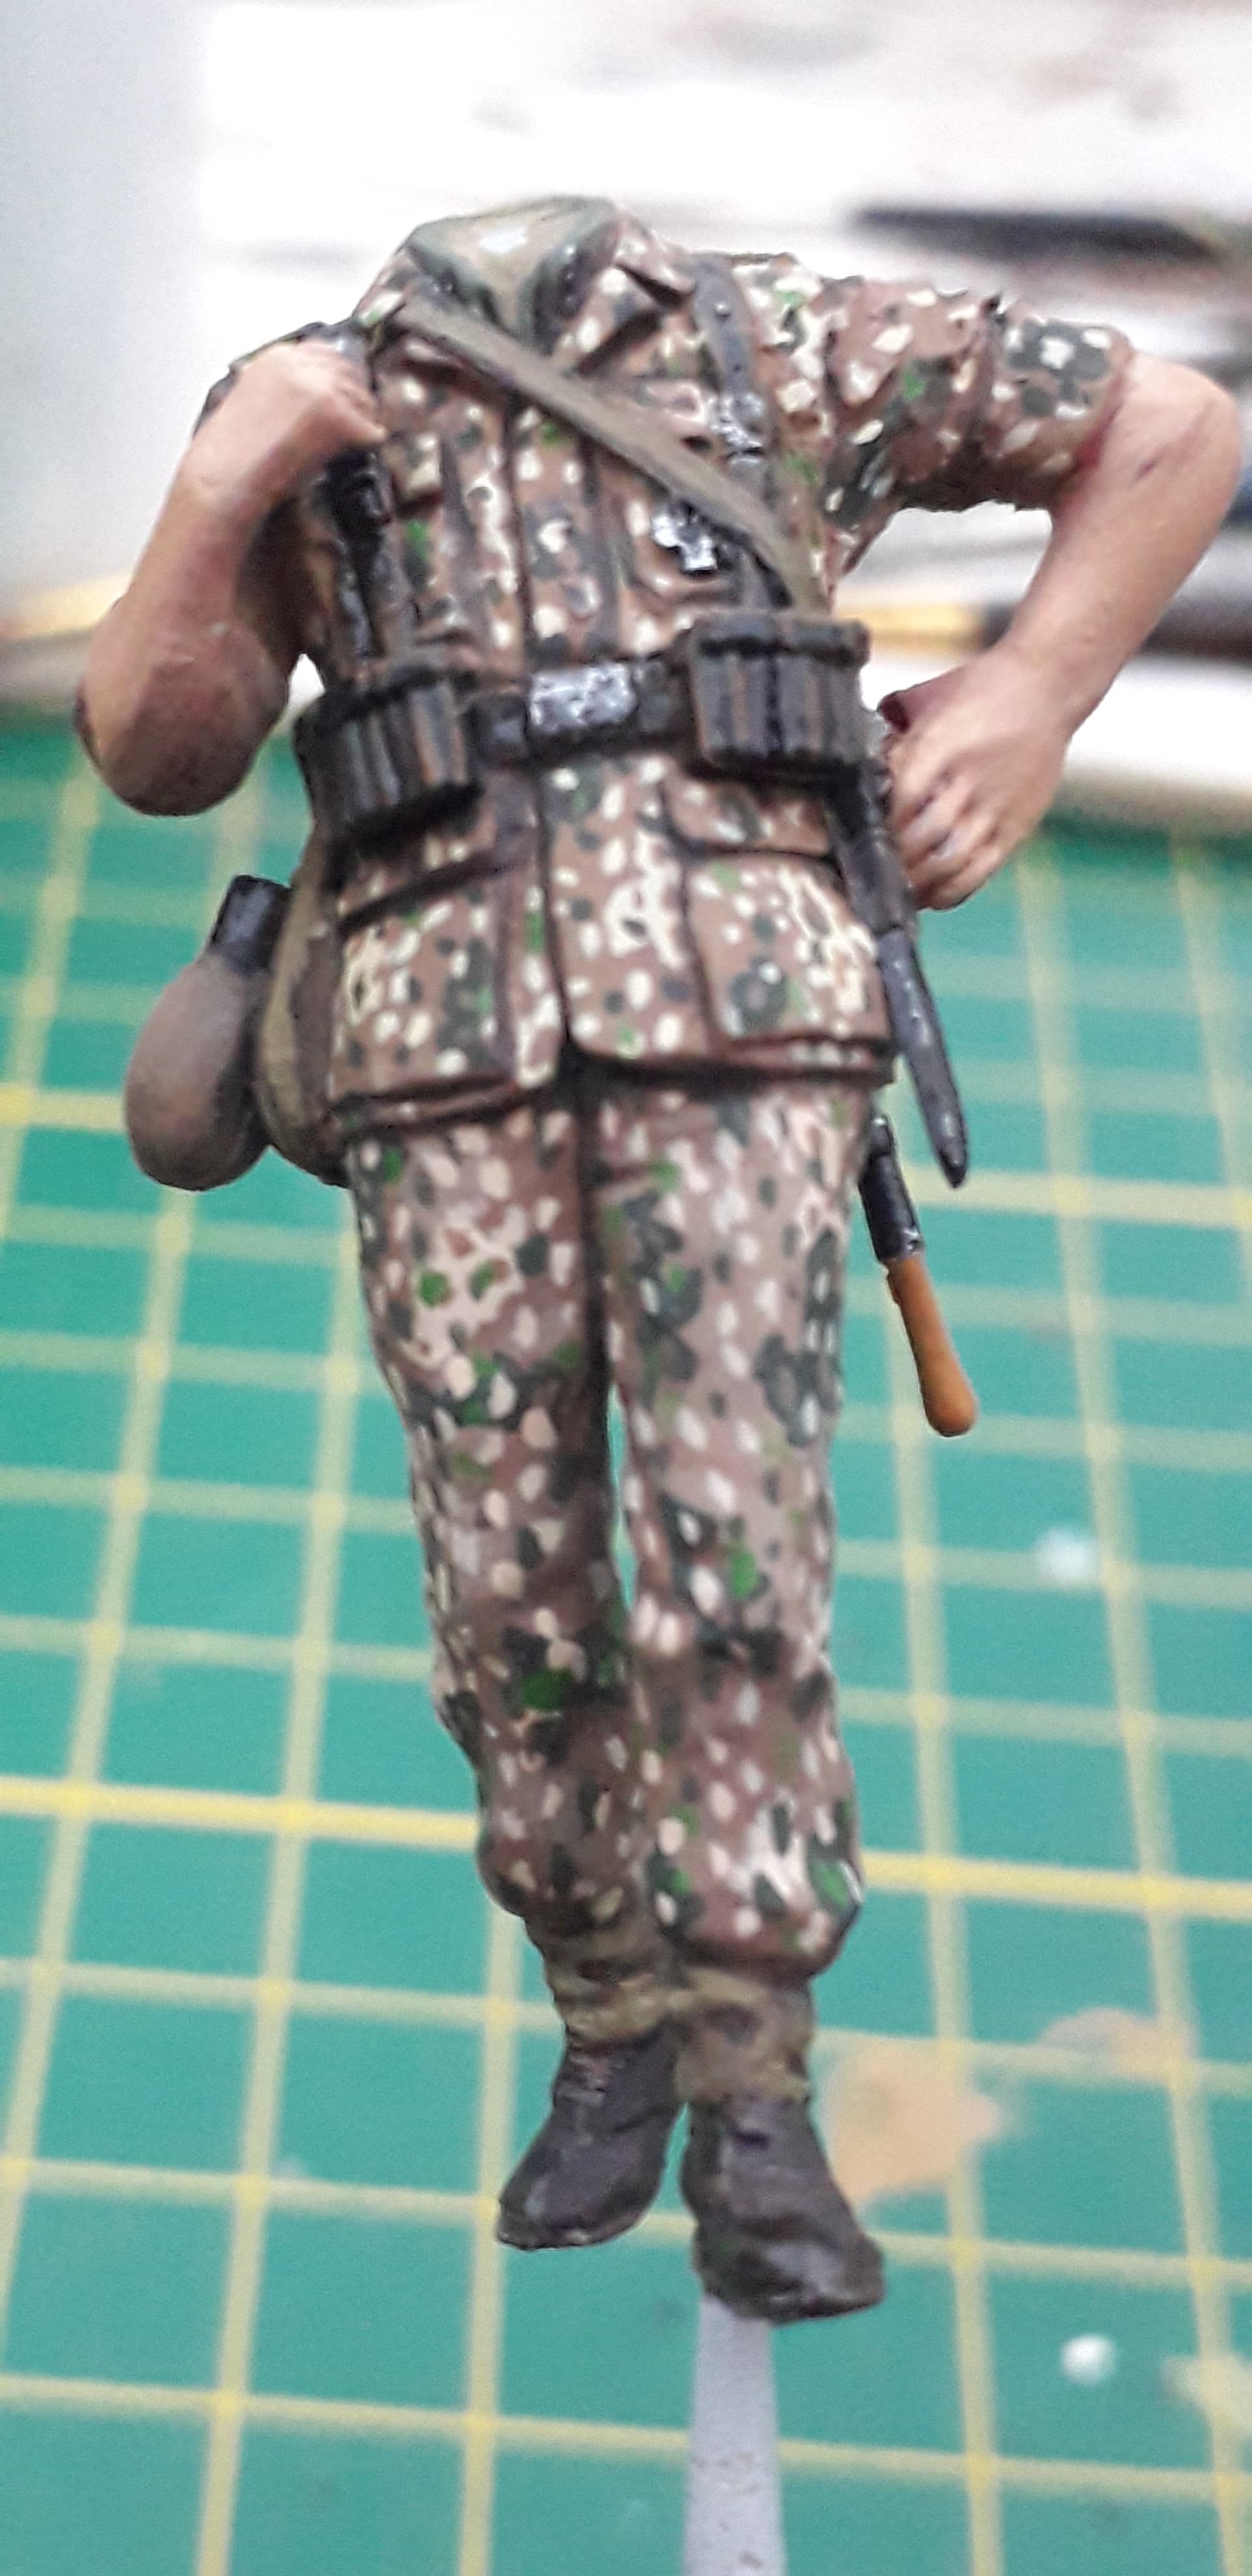
Hi All
Here is the result of of some next steps: Painting the jacket and leather straps.
8 Likes
I would leave a like but I’m out of likes since I haven’t been on in a while and had a lot of catching up to do. Great job!
1 Like
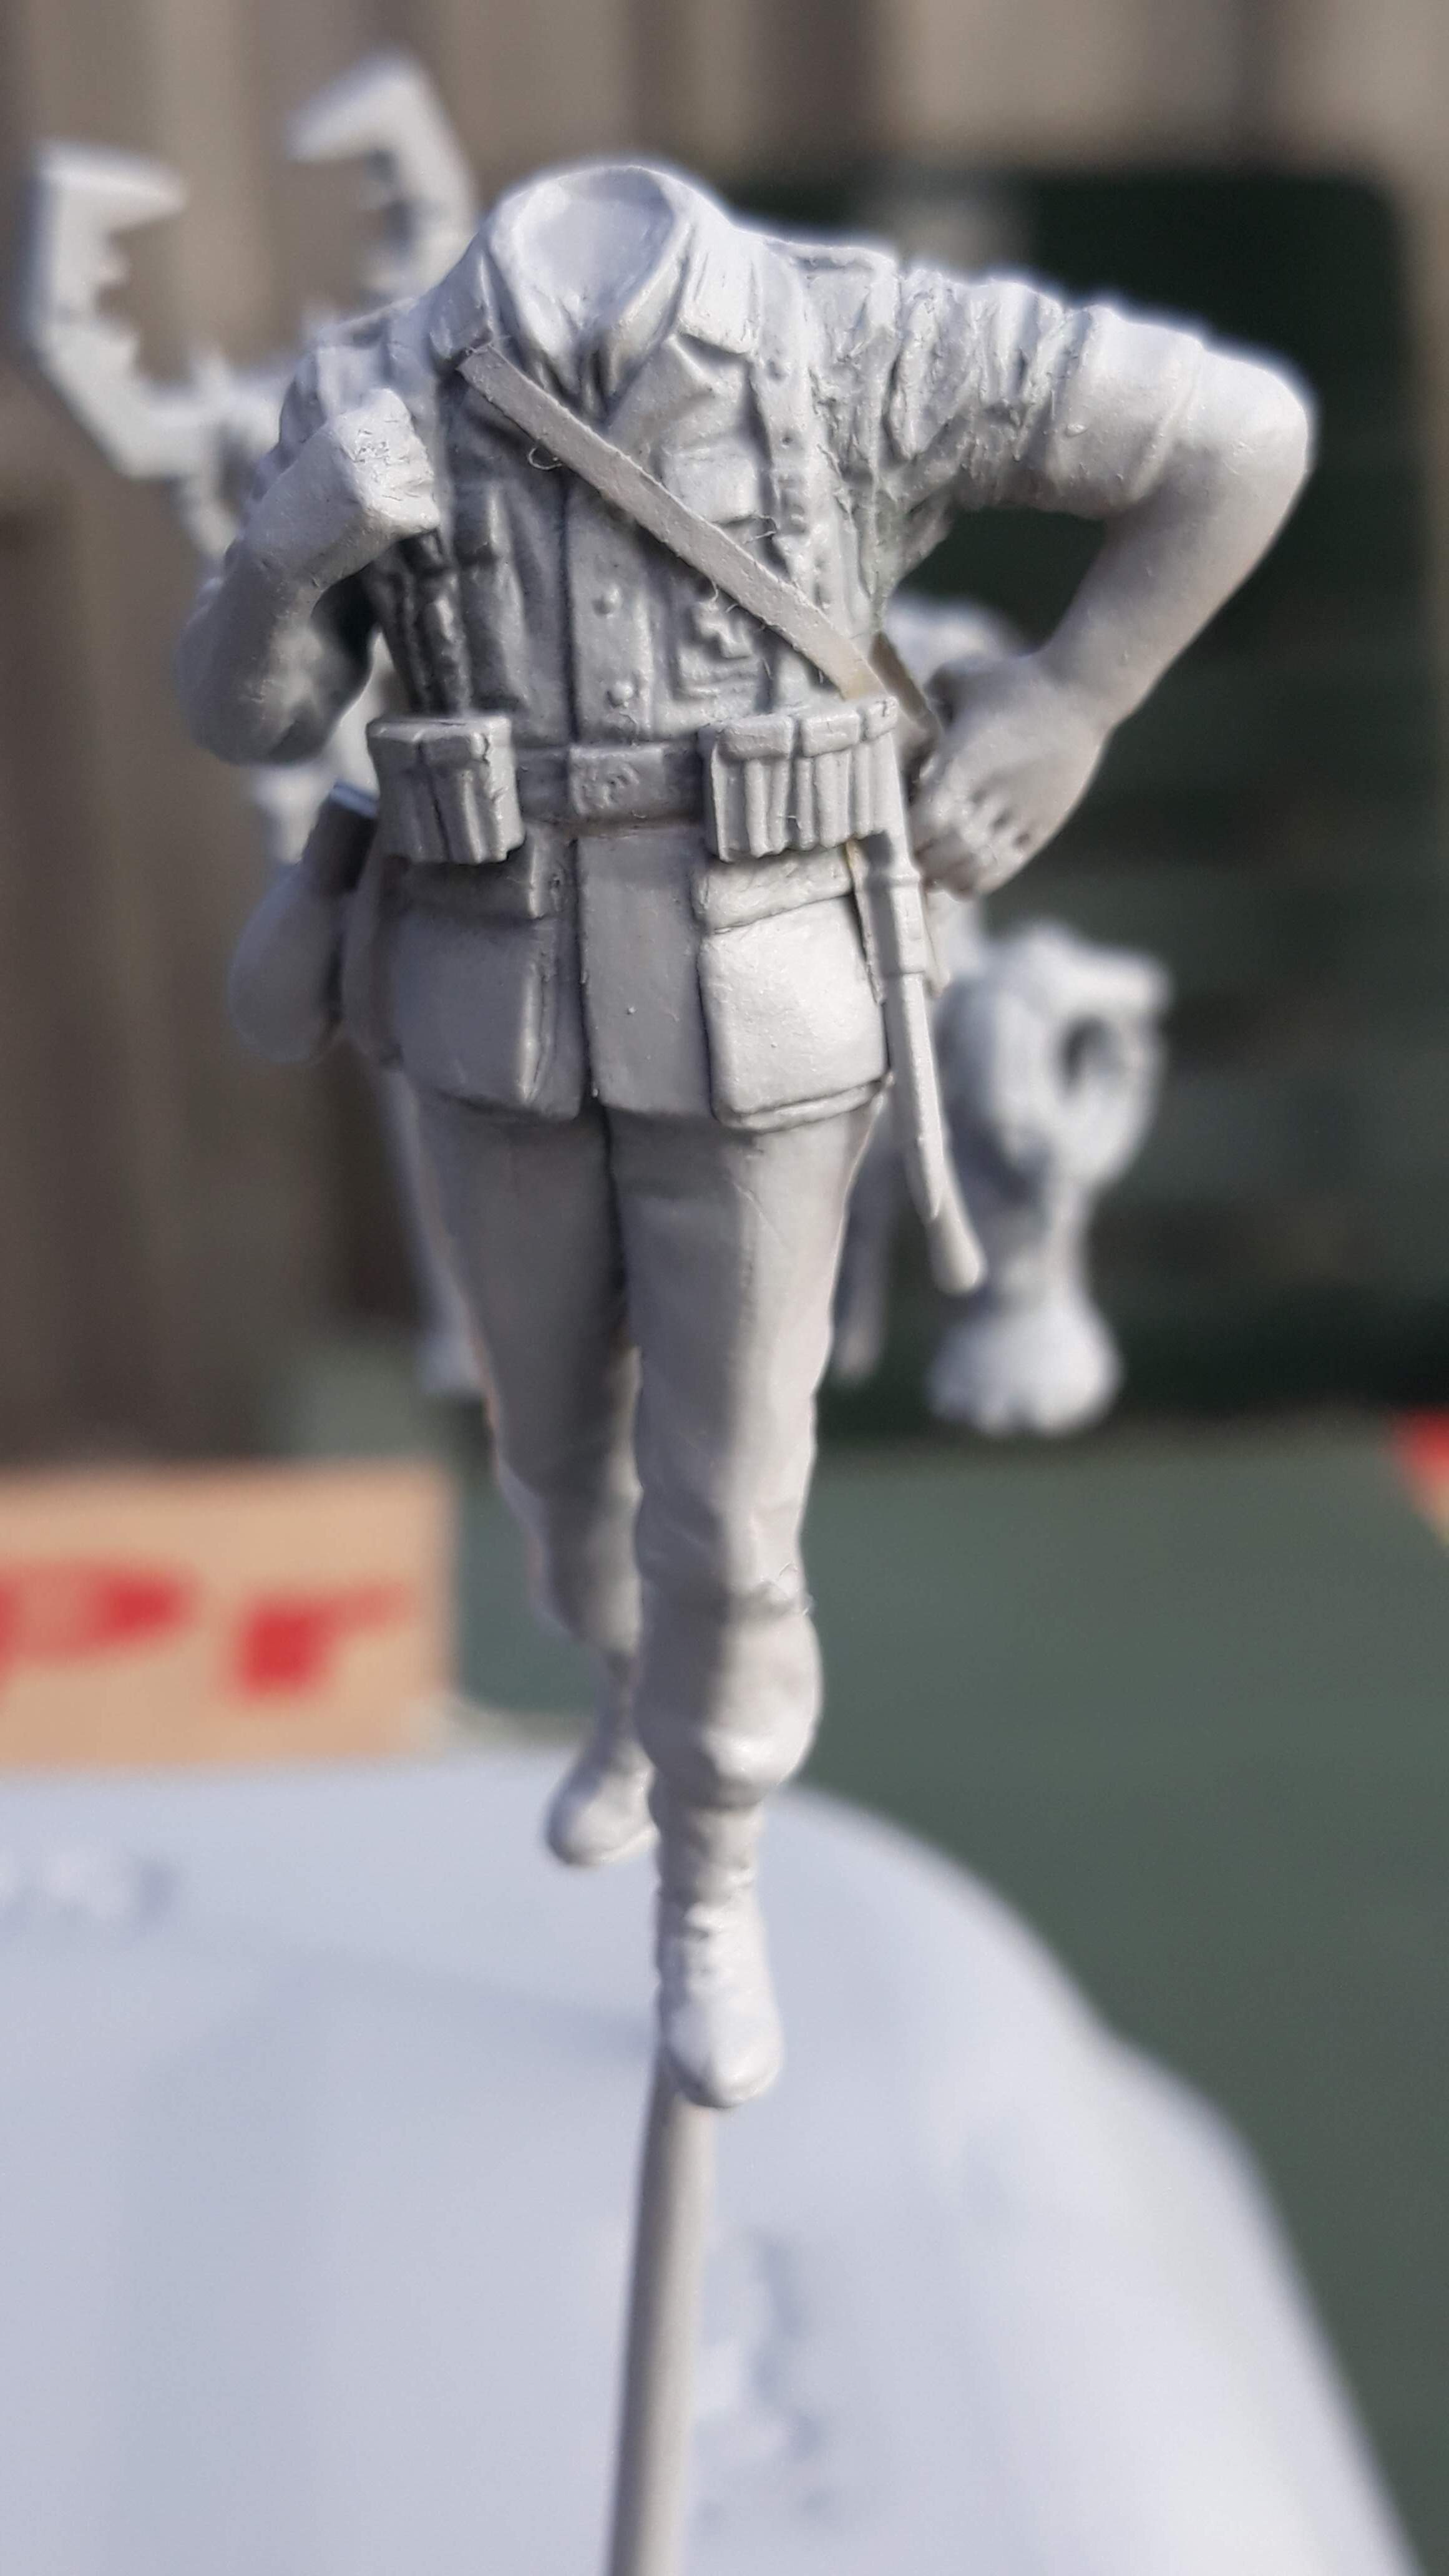
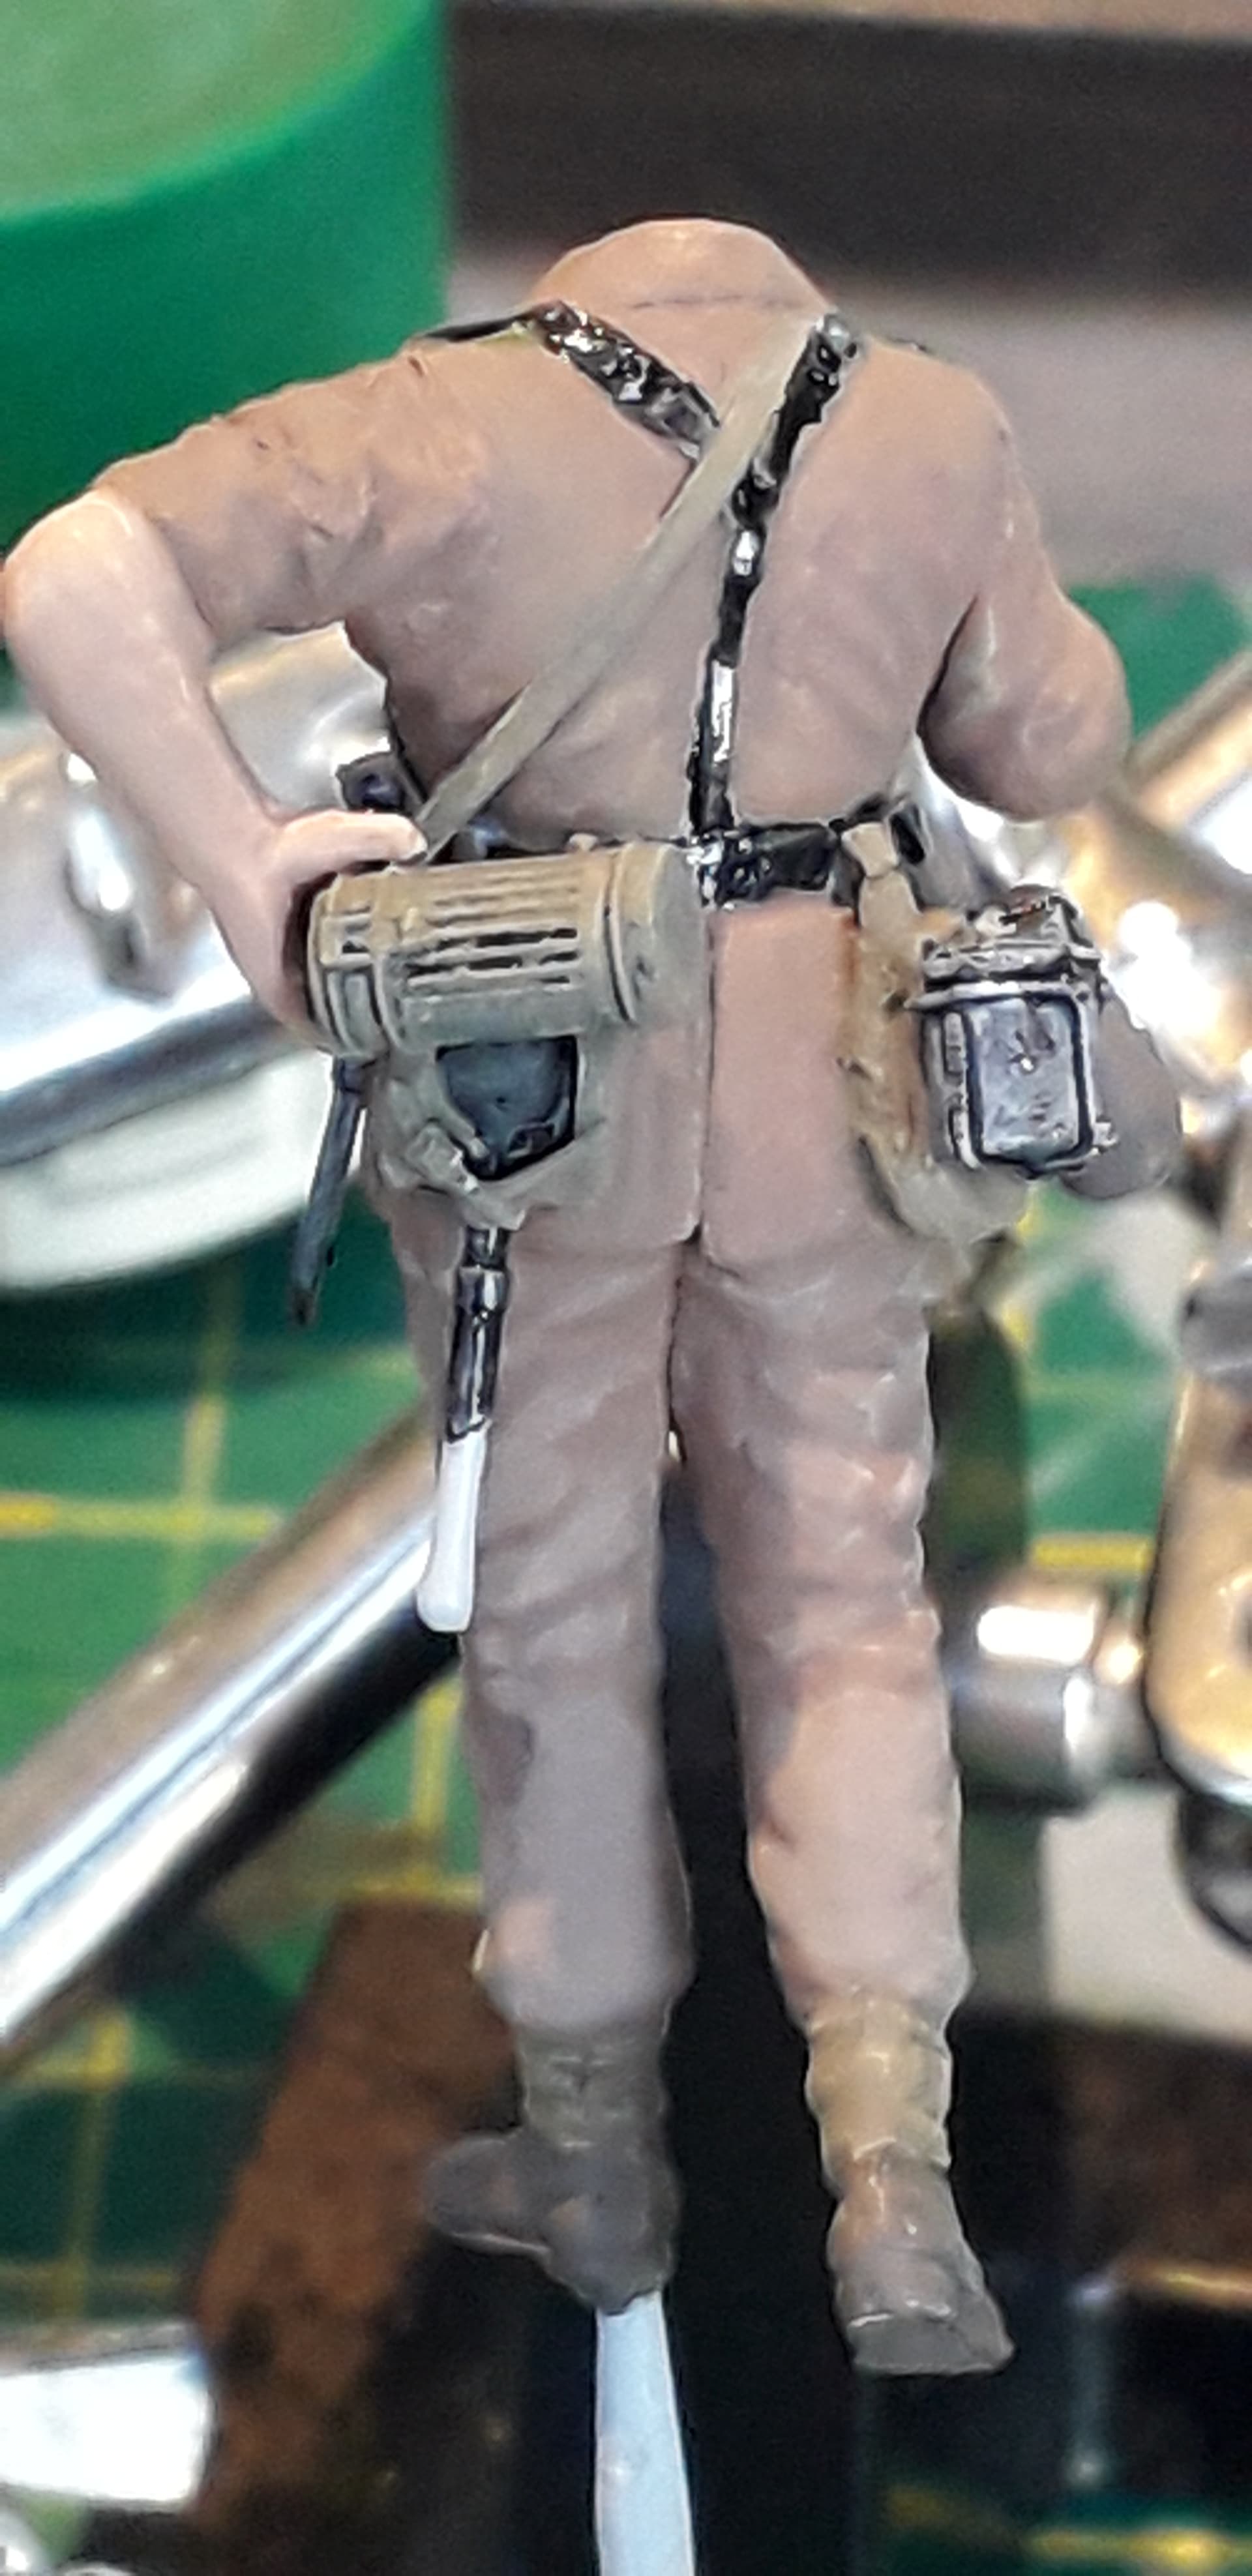
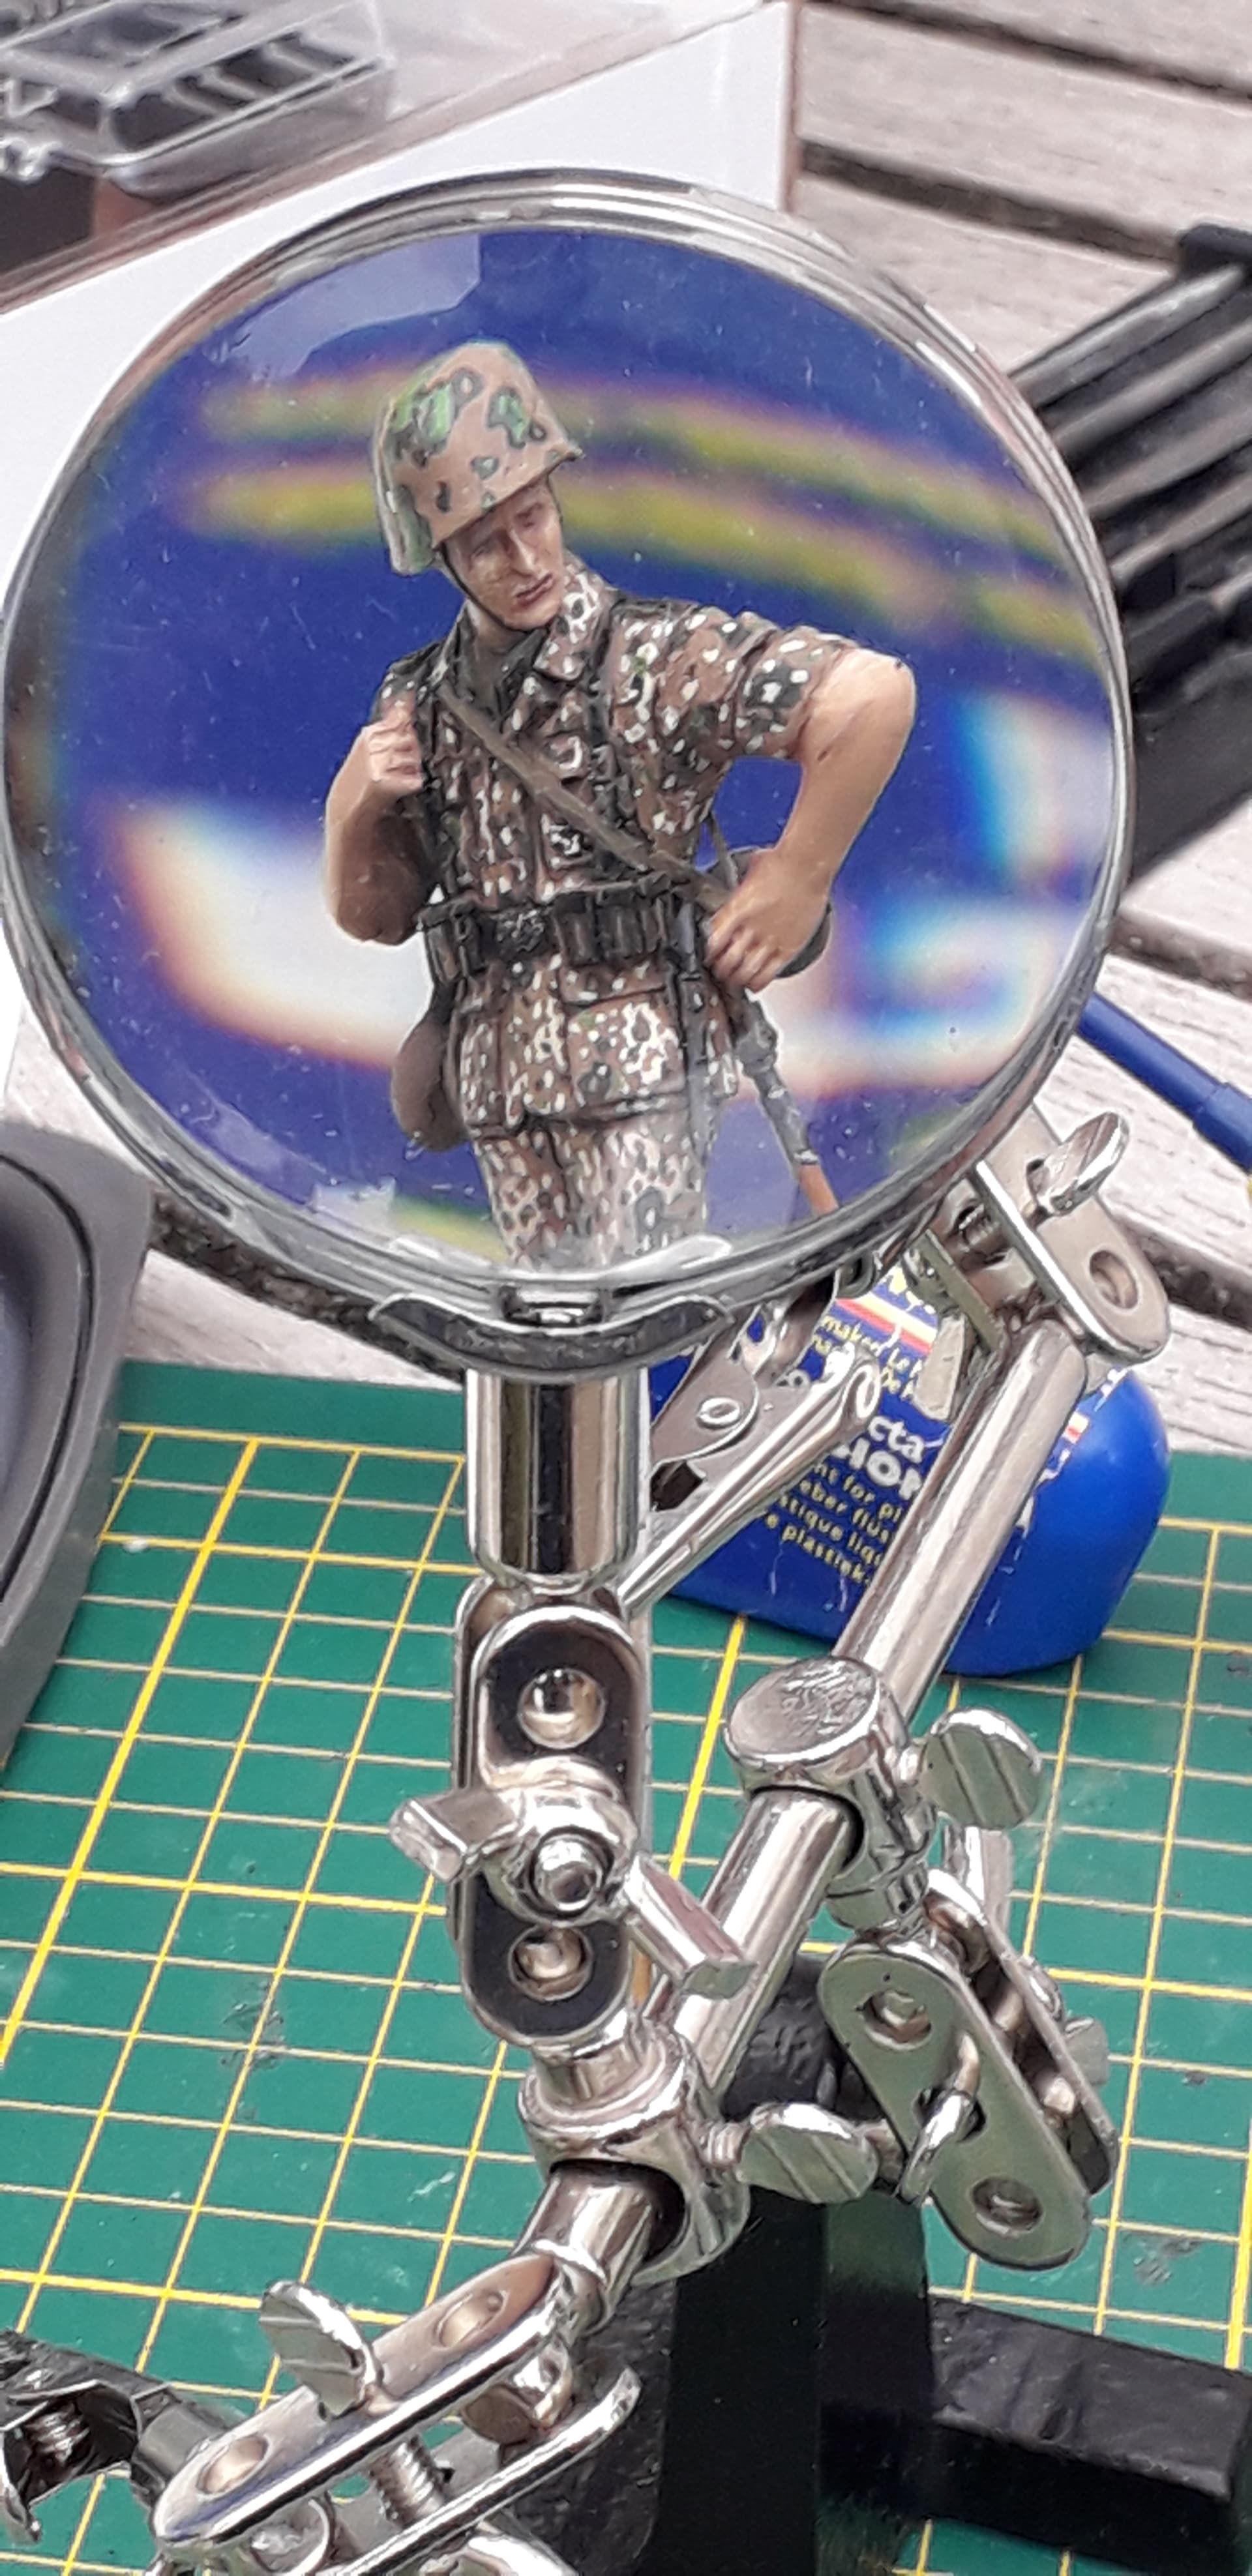
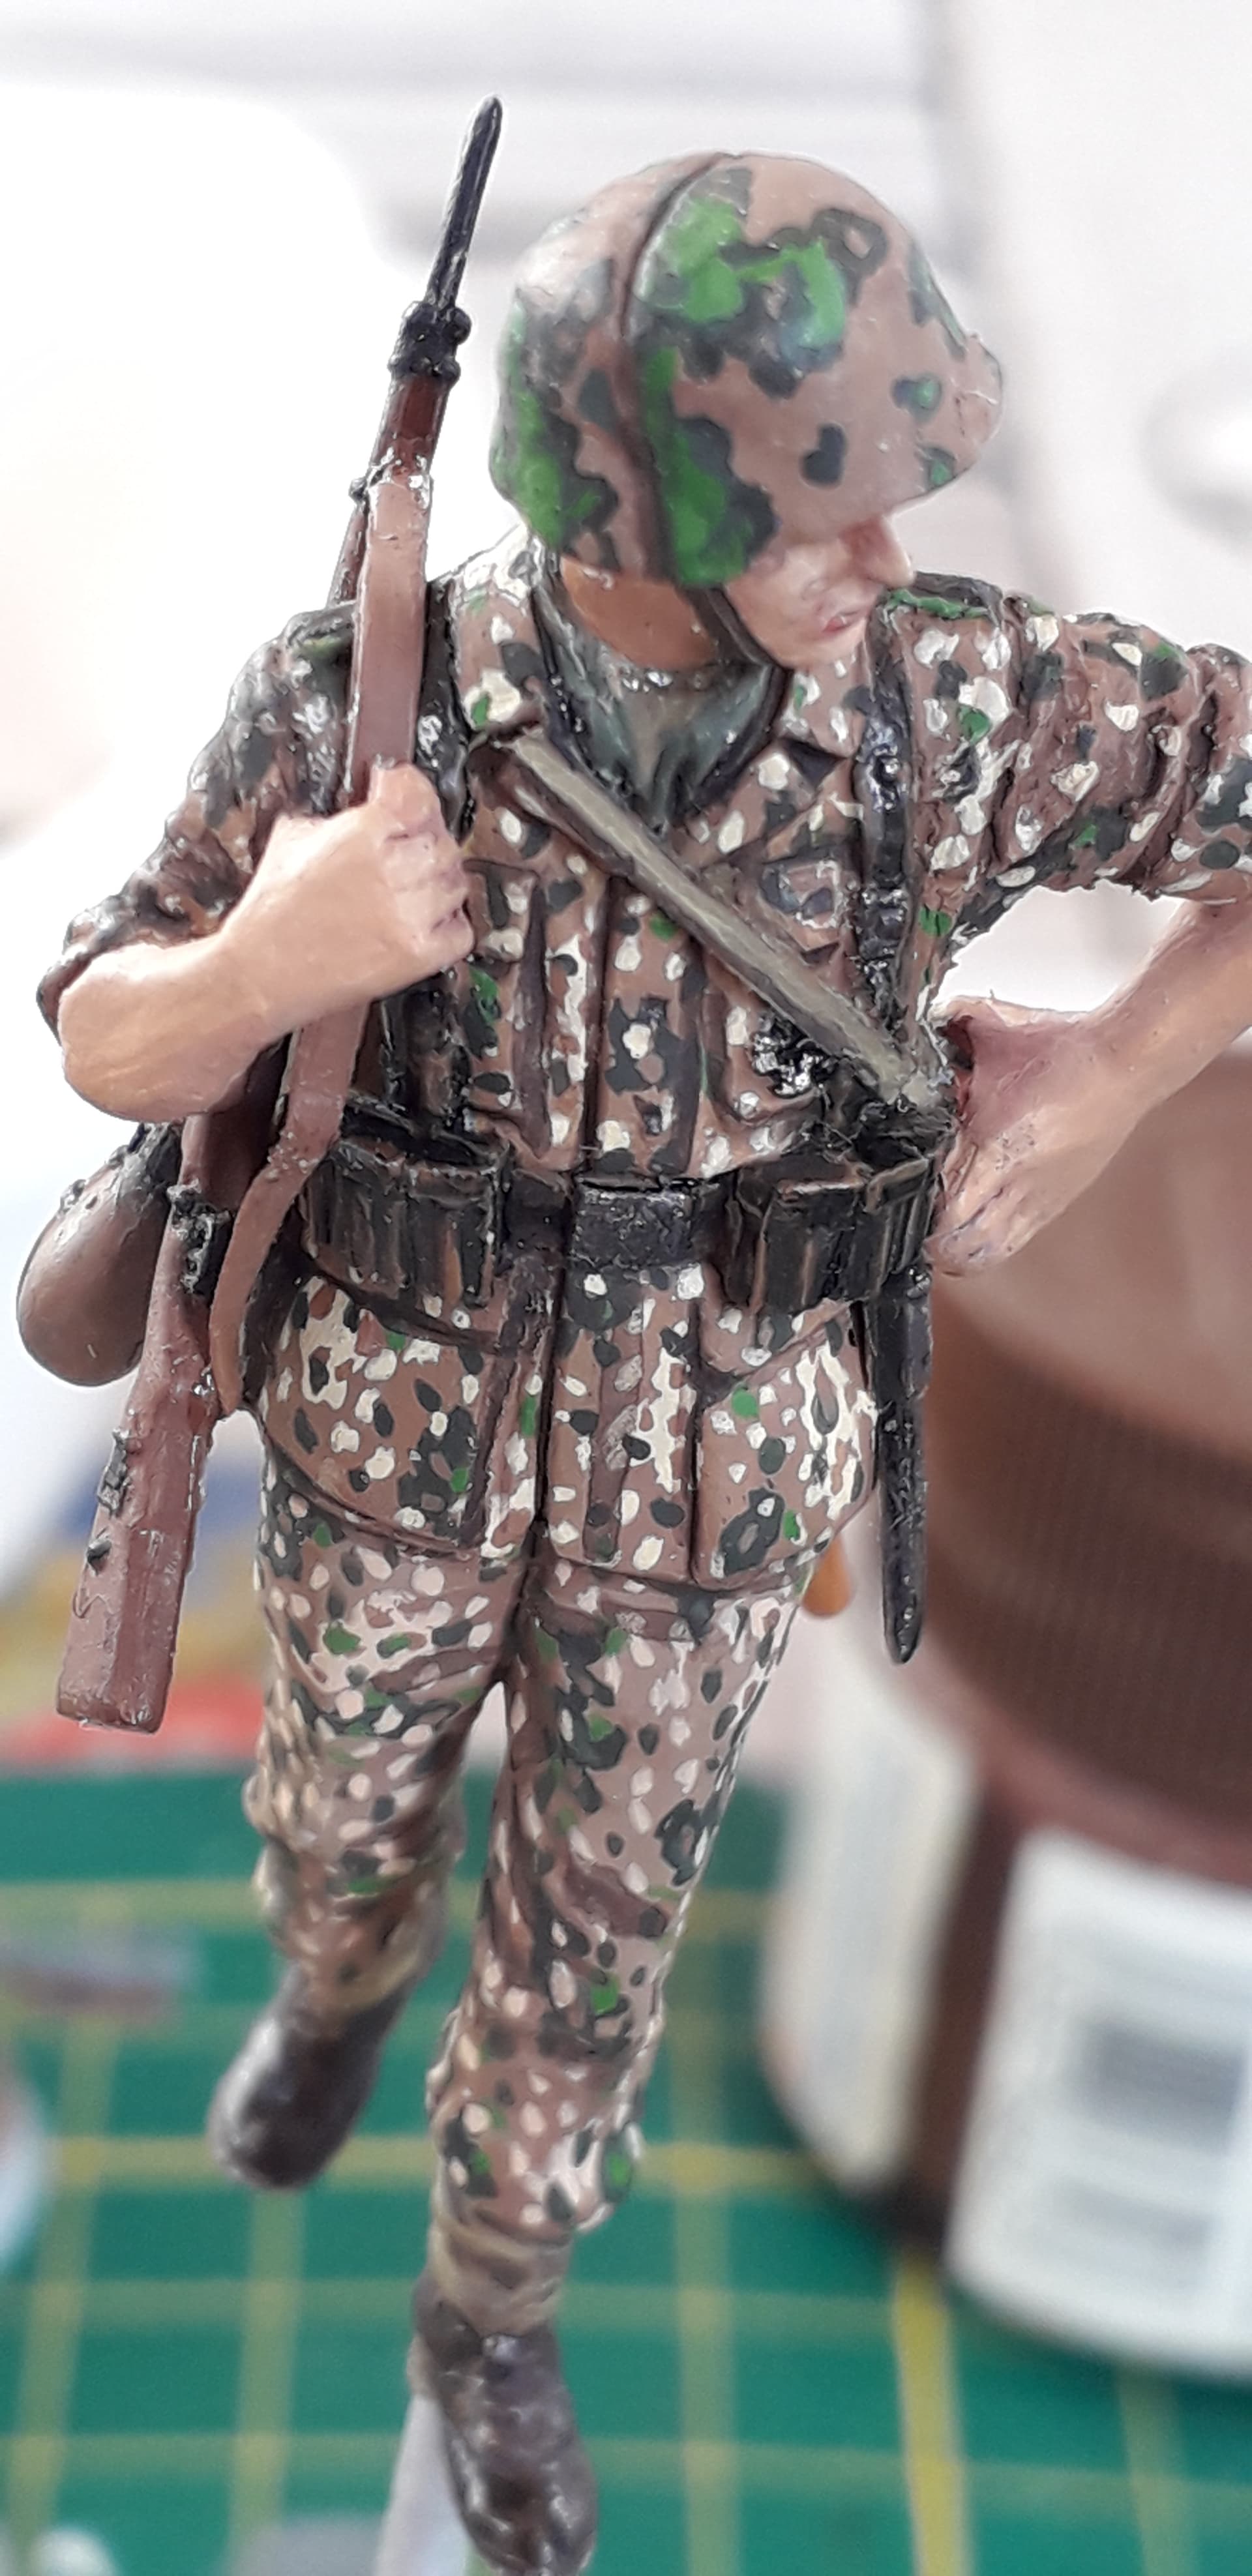
Time to fit the head on the torso.
-
All comments, feedback and suggestions to improve paintjob and building are very welcome.
5 Likes
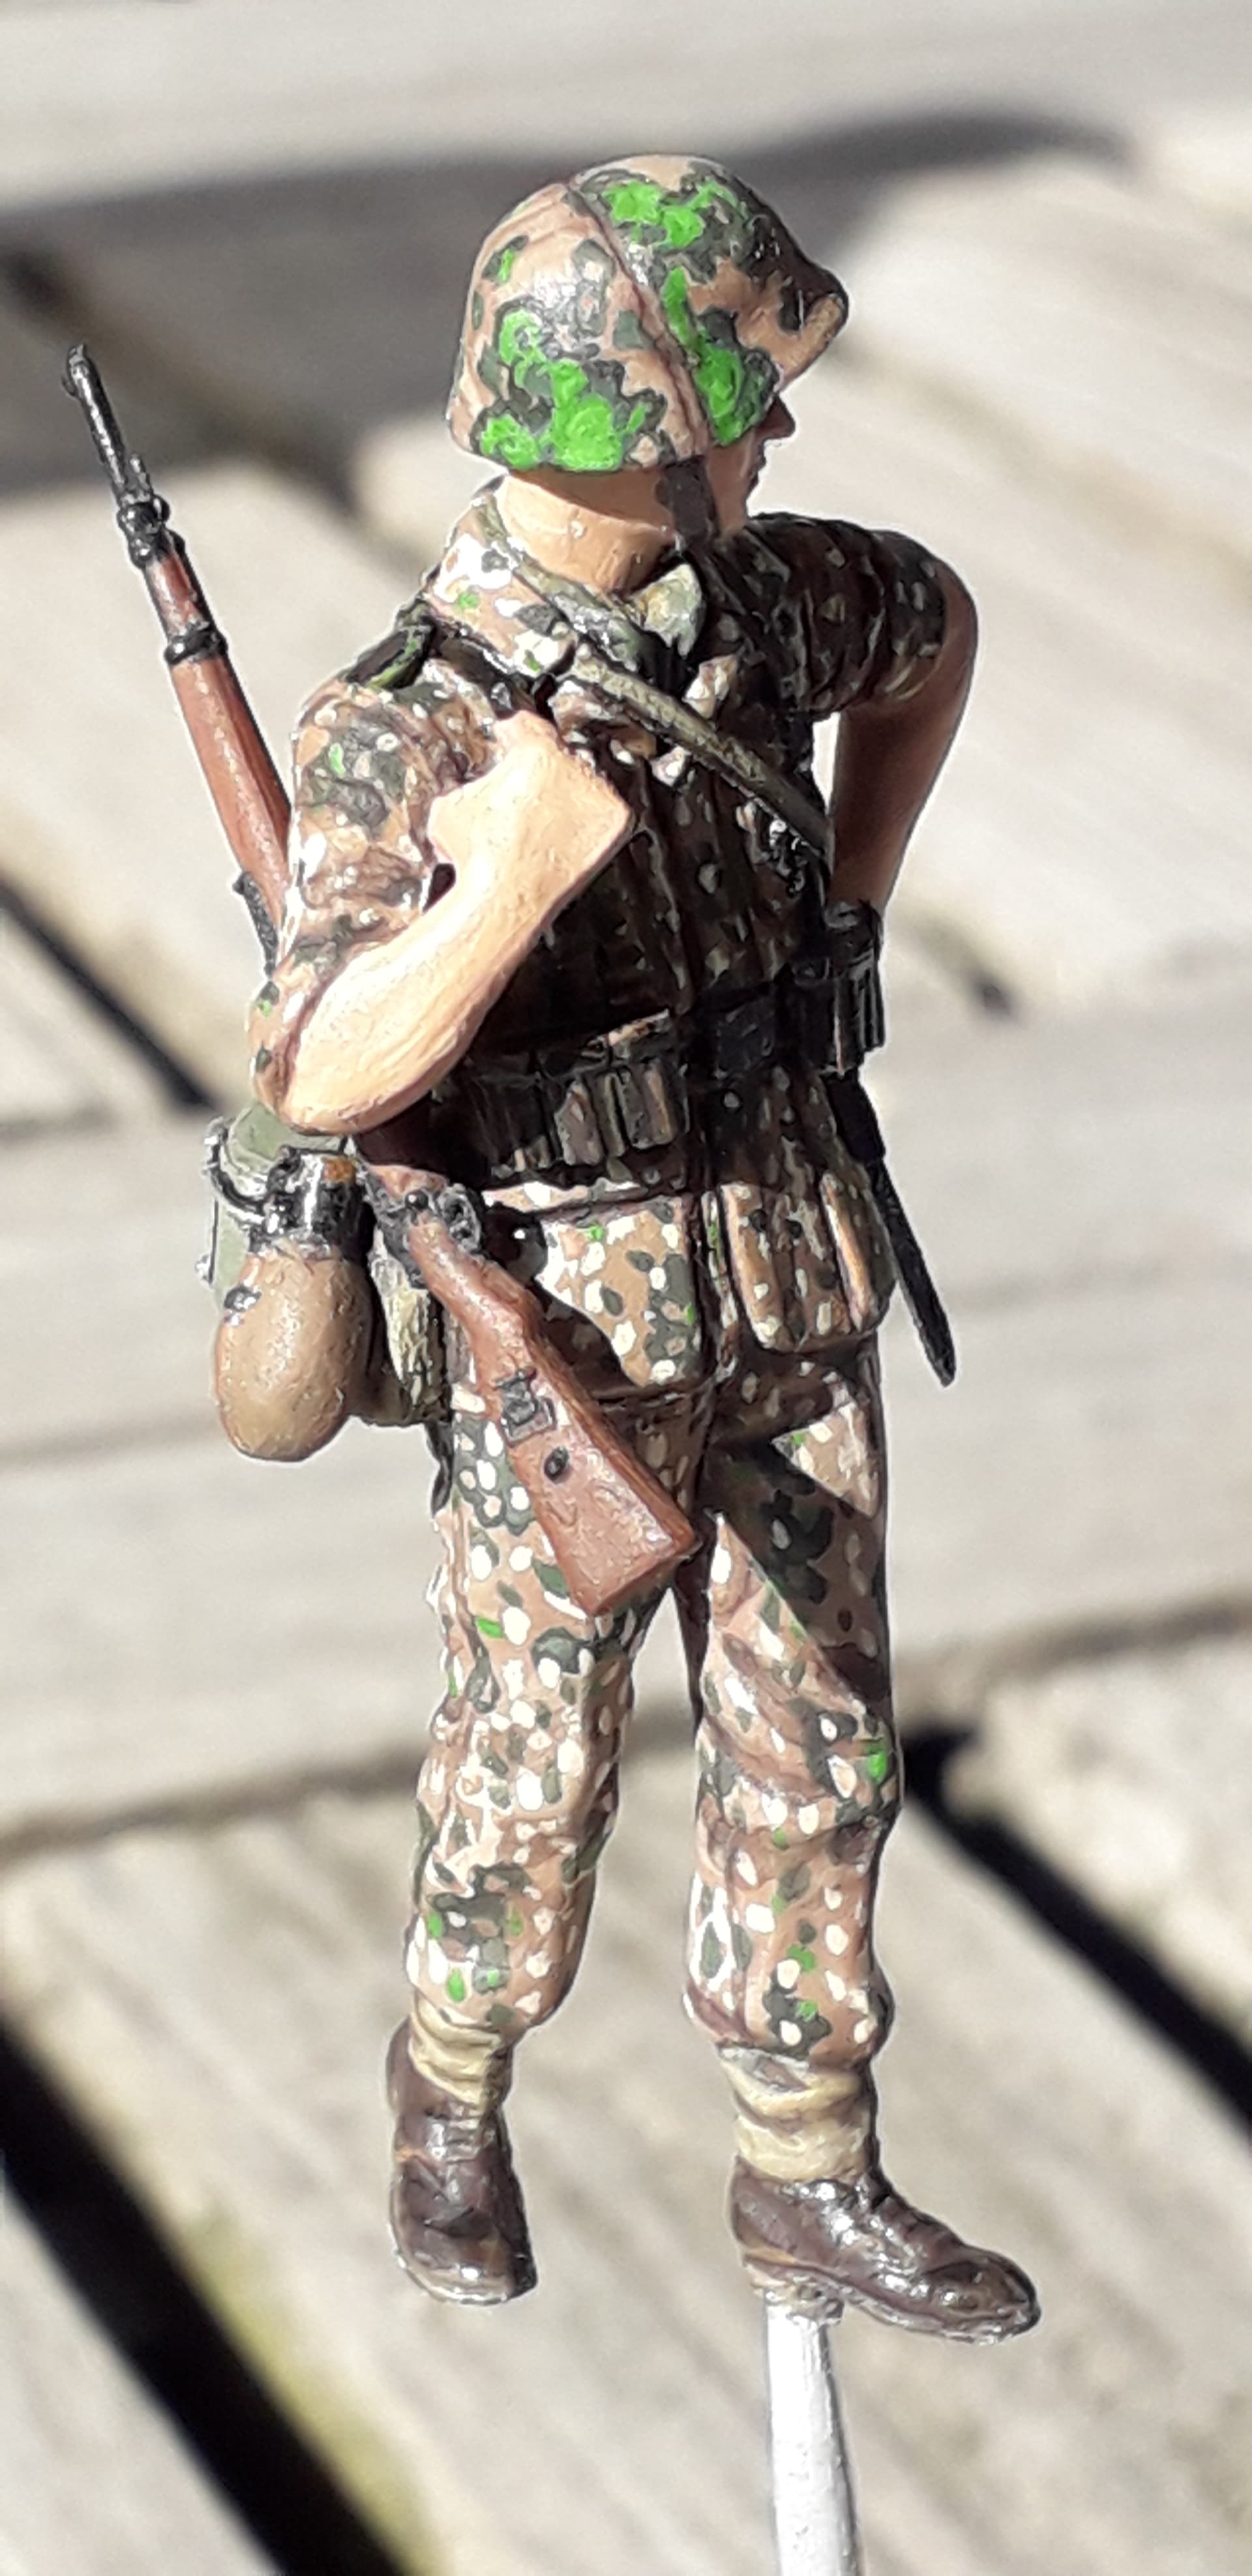
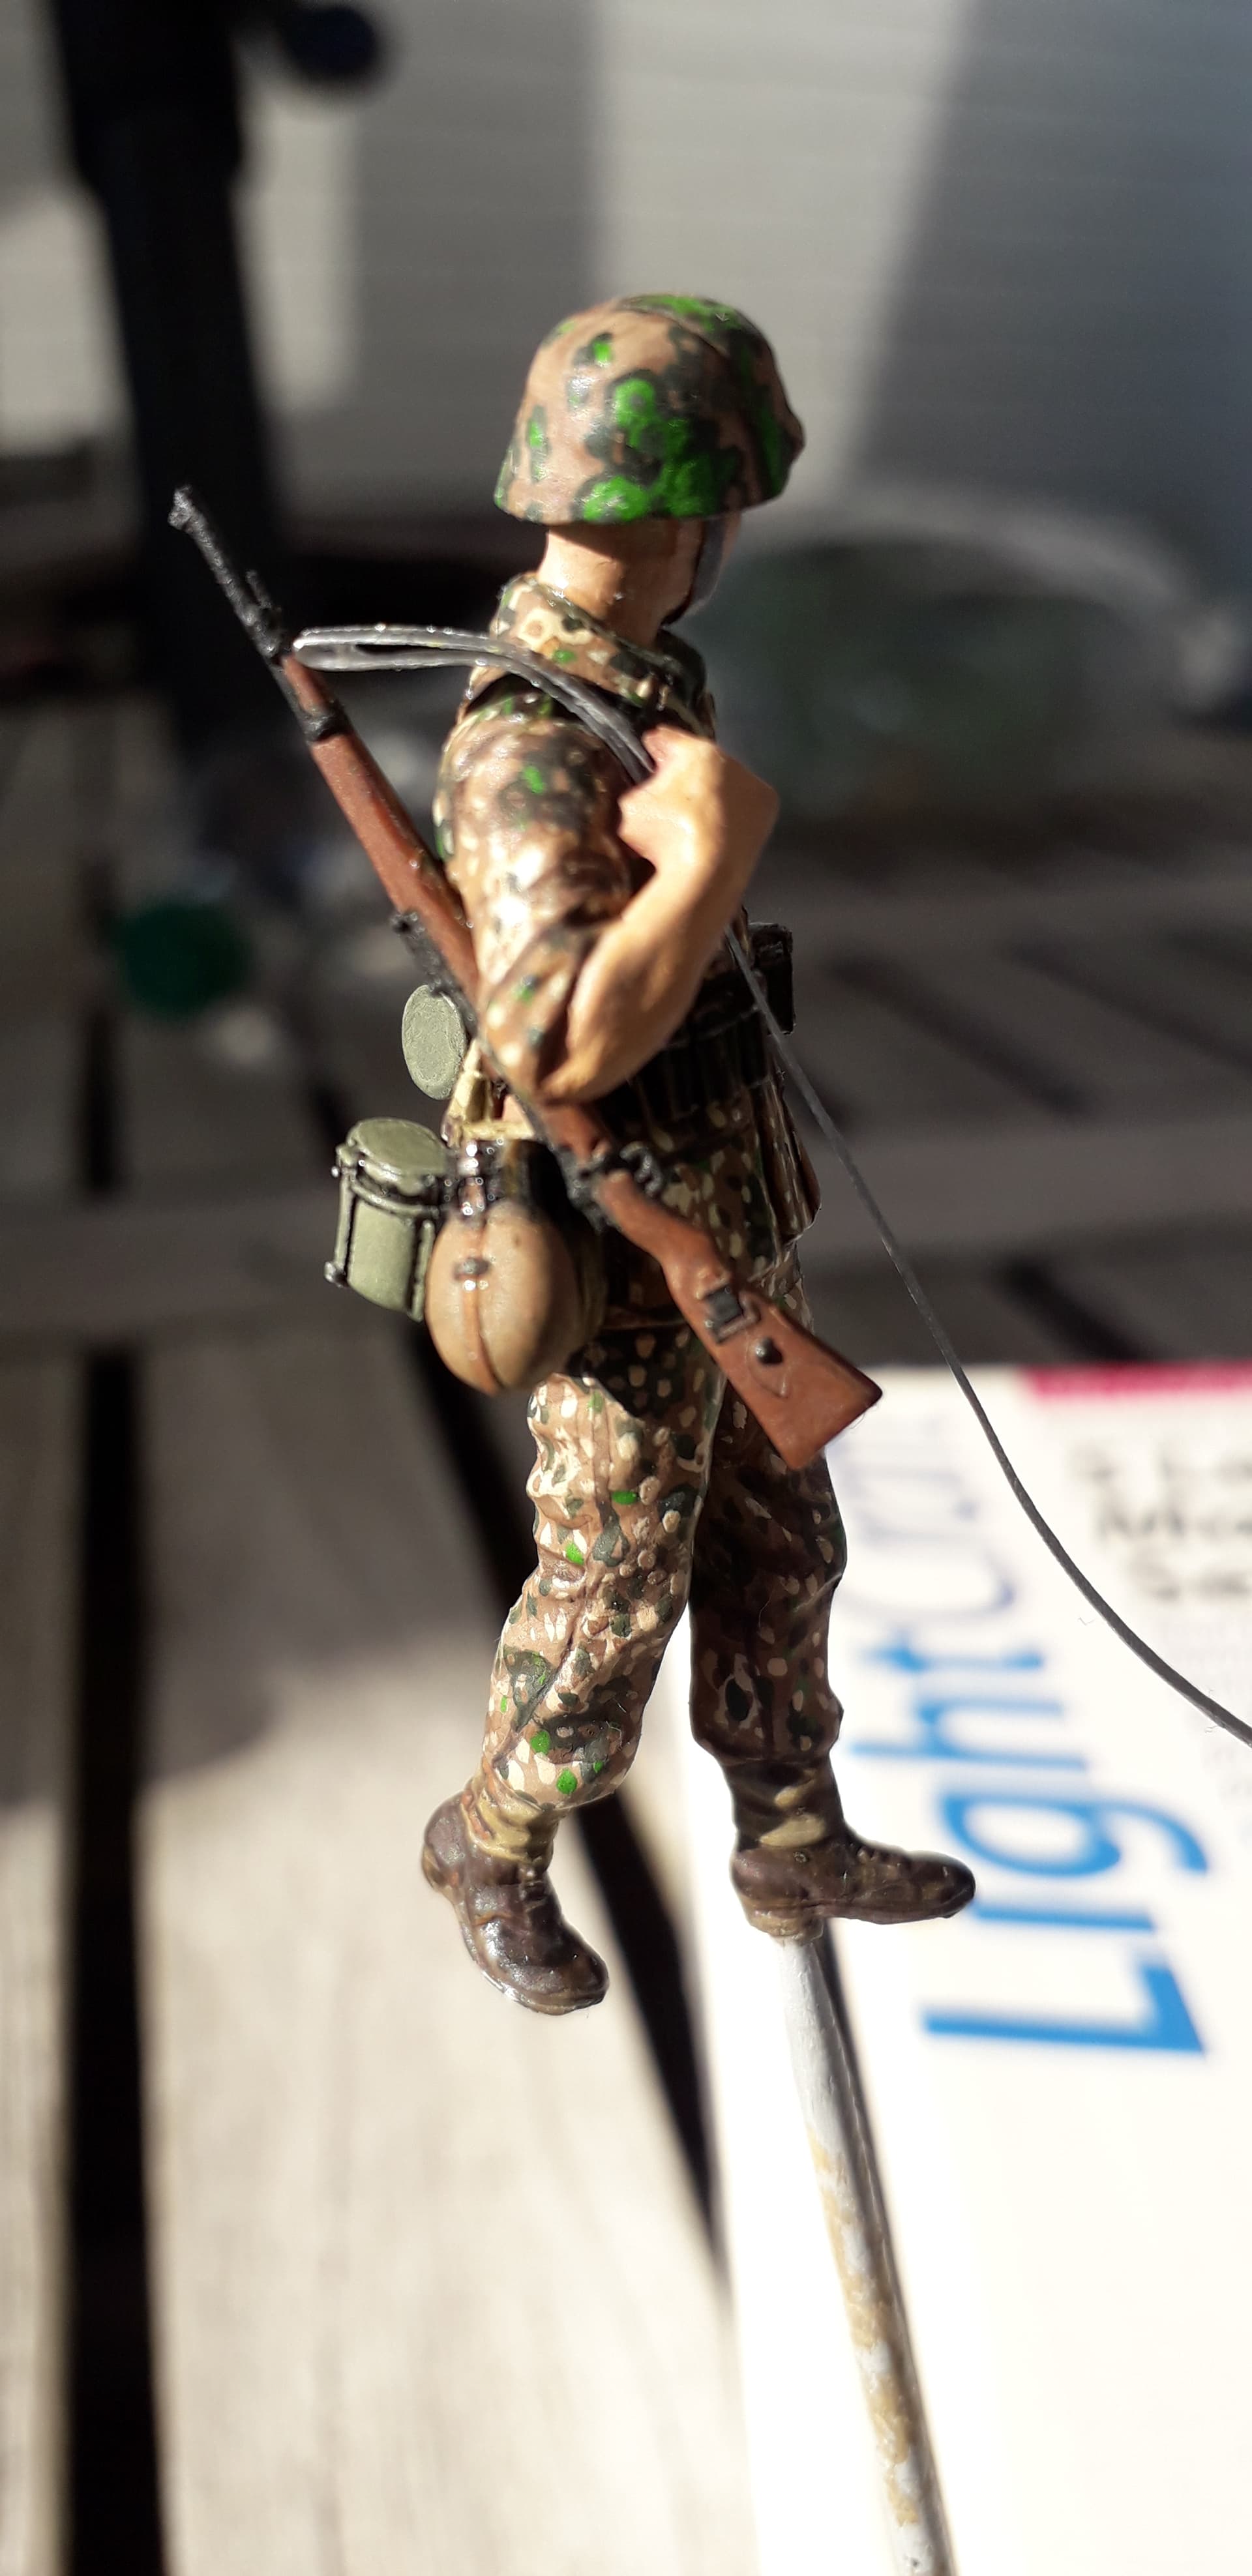
Hi all!
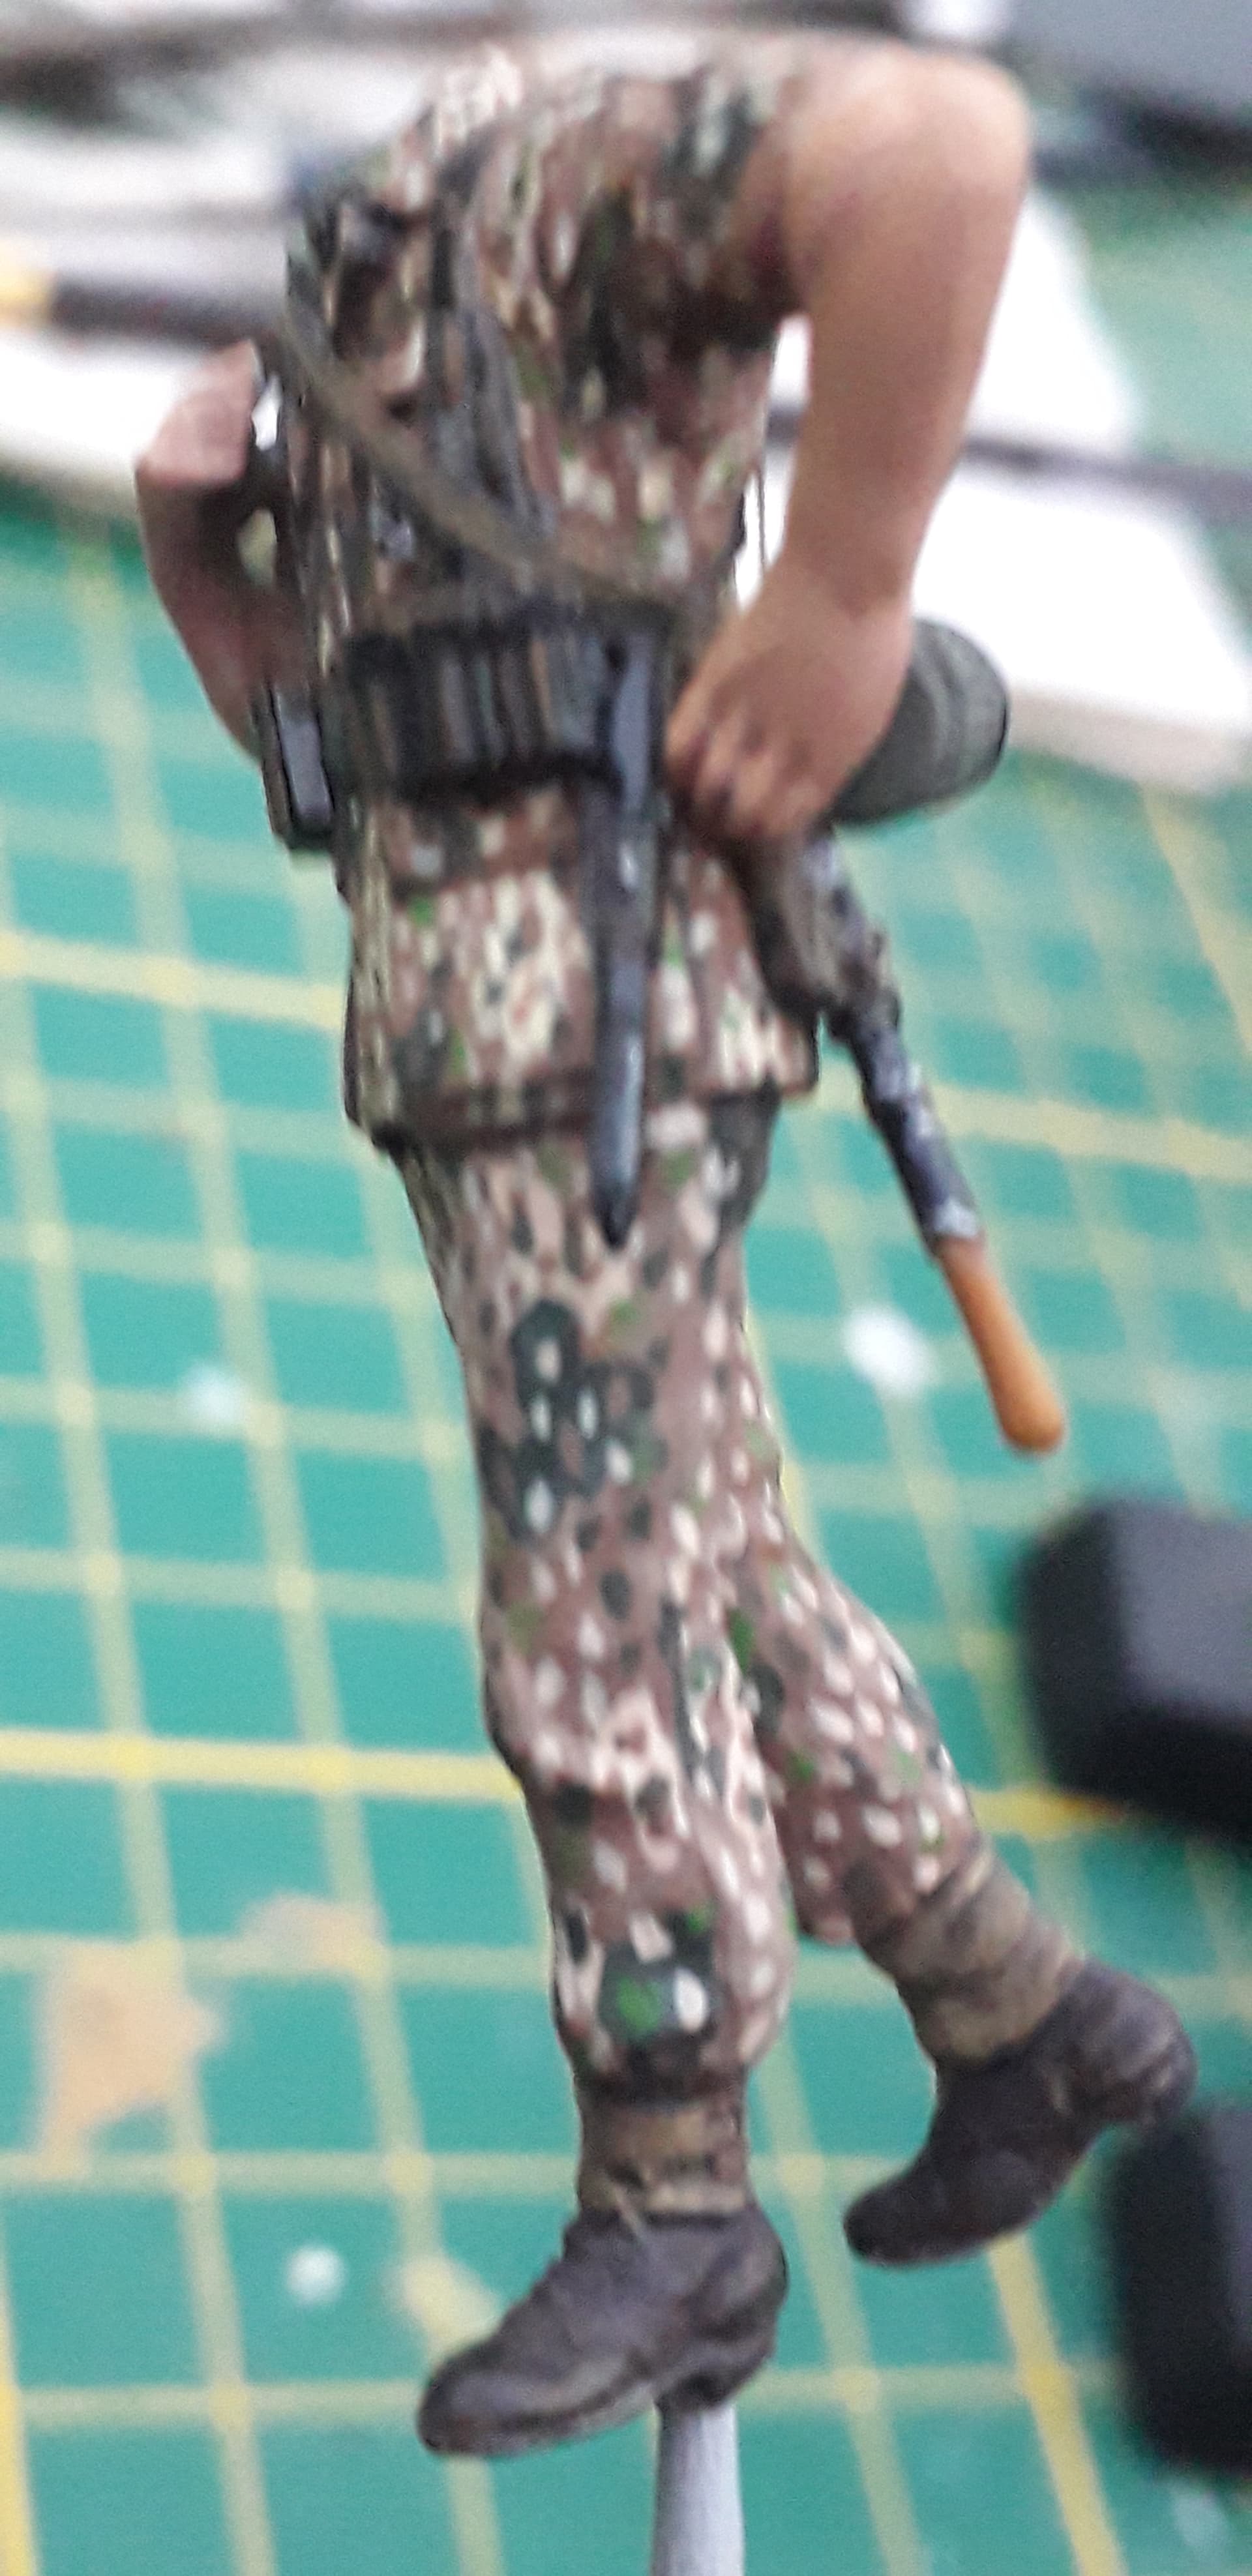
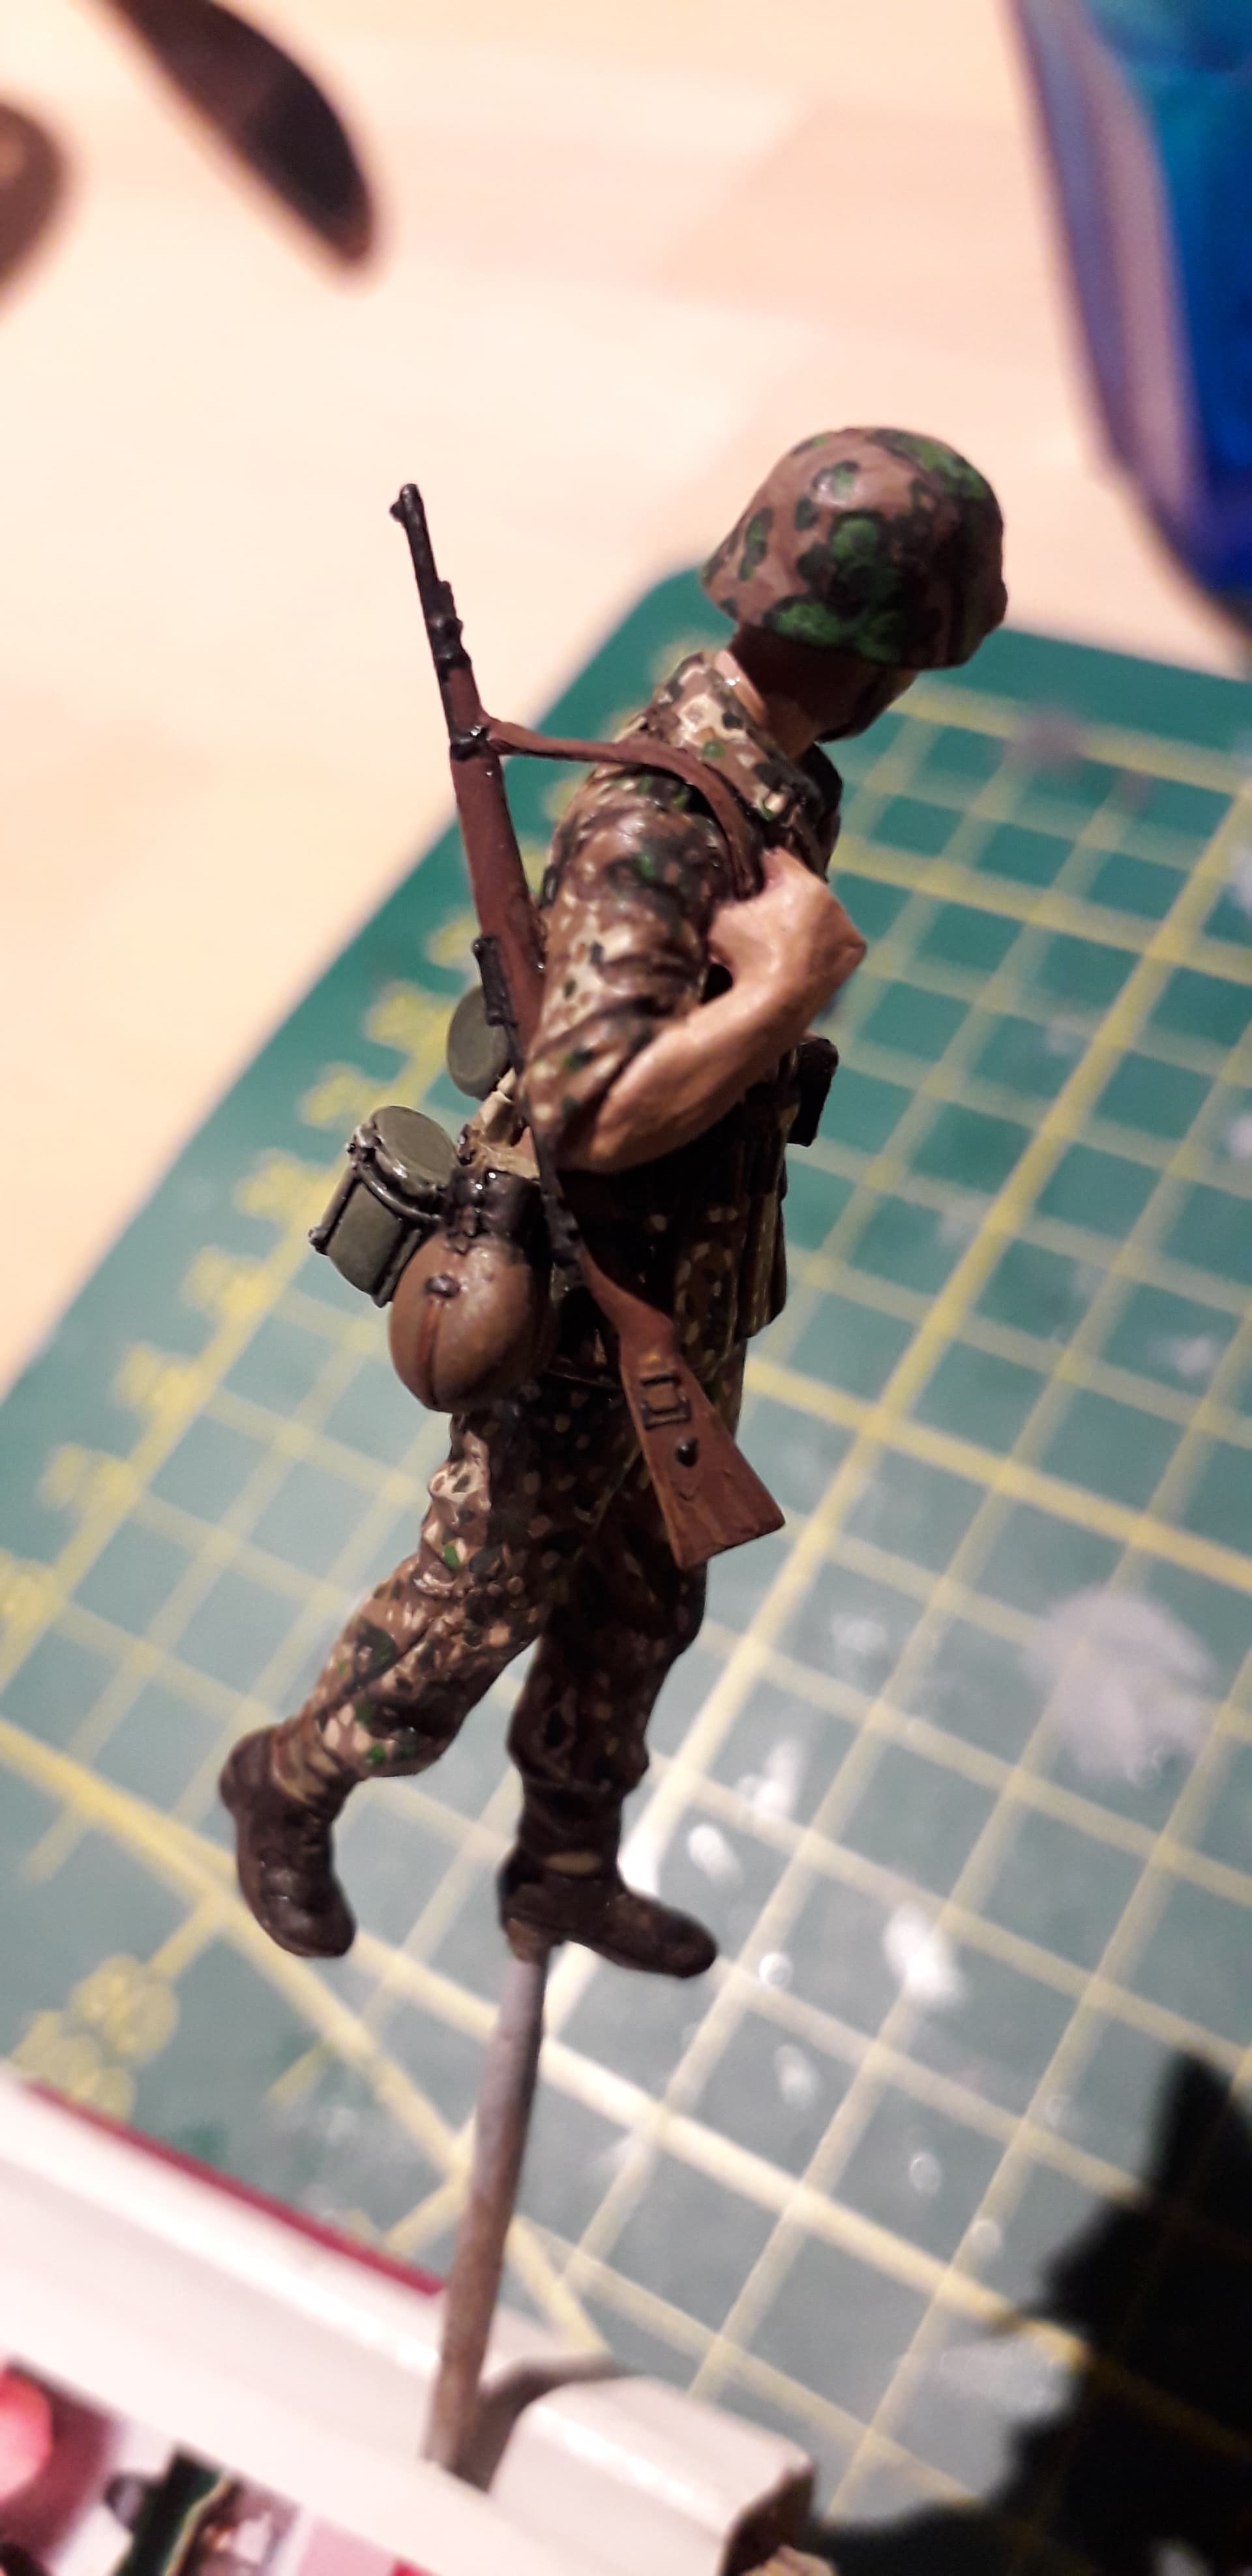
Now the summer vacation is over I took some time to add a rifle sling to the figure.
I started with cutting a 0.8mm aluminium strap and folding it in two. This side is attached to the top of the gun with cyanoacrylate.
Then the strap is cut to size and fixed at the rifle butt and then painted in a reddisch brown to simulate a leather sling.
Next time, I’ll do this before starting the painting proces, because messing with cyanoacyilate glue can really damage the paintwork.
Greetings!
W
4 Likes