Yes the Friuls weigh more than the model.
The dozer blade even though its solid resin is surprisingly light.
Looking very good so far. Any problems or issues with overall construction?
No. Pretty straight forward build.
The biggest problem will be self-inflicted namely the epic masking job for my chosen scheme.
Looking good!! Will you be building this Chally 2 as Streetfighter II?
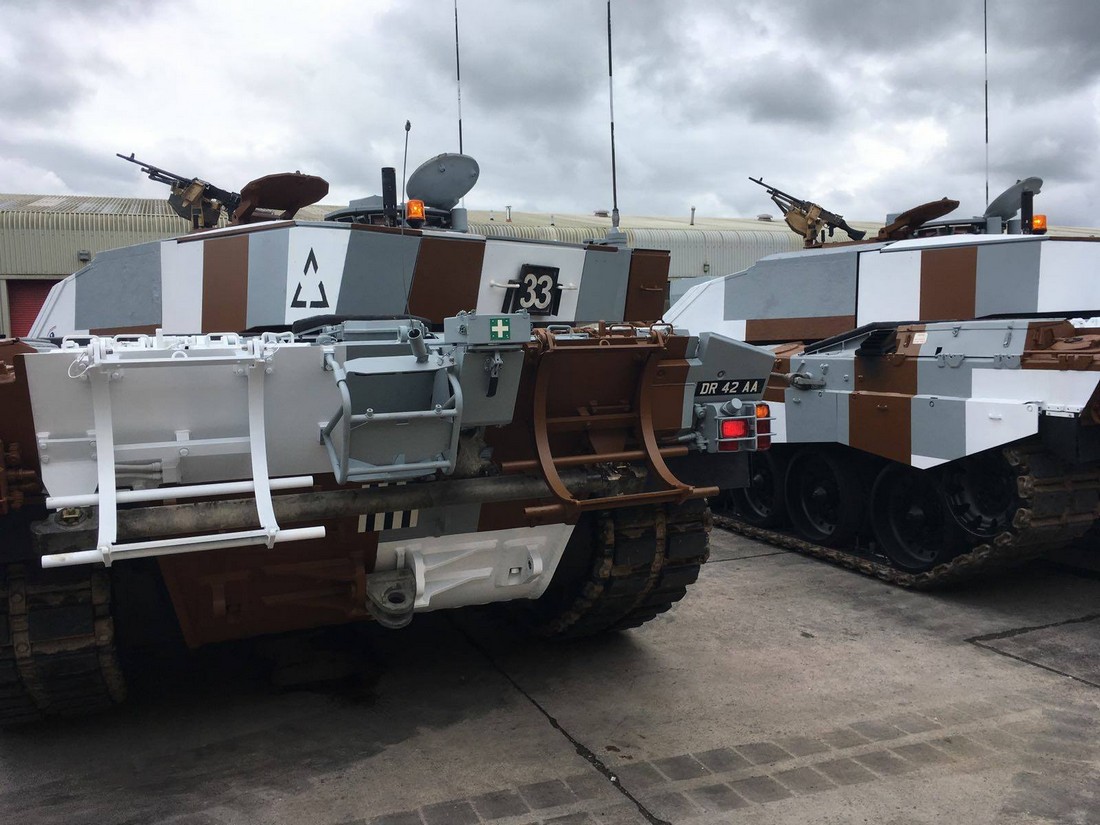
Yes as close as I can get to this:

No rocket launcher or any other “add ons” just like the image at the top of the post but with a dozer blade.
3 Likes
Oooh ok, I was gonna say with the added 50cal and missile launcher it would be a cool display piece!
NOOOOOO to the hideous missile launcher mock up… It look terrible. It actually hurts my eyes looking it 
1 Like
I agree it looks horrible… but its unique! 
Great progress.
I like the look of that Accurate Armour dozer blade, how was it to clean up and how well does it fit?
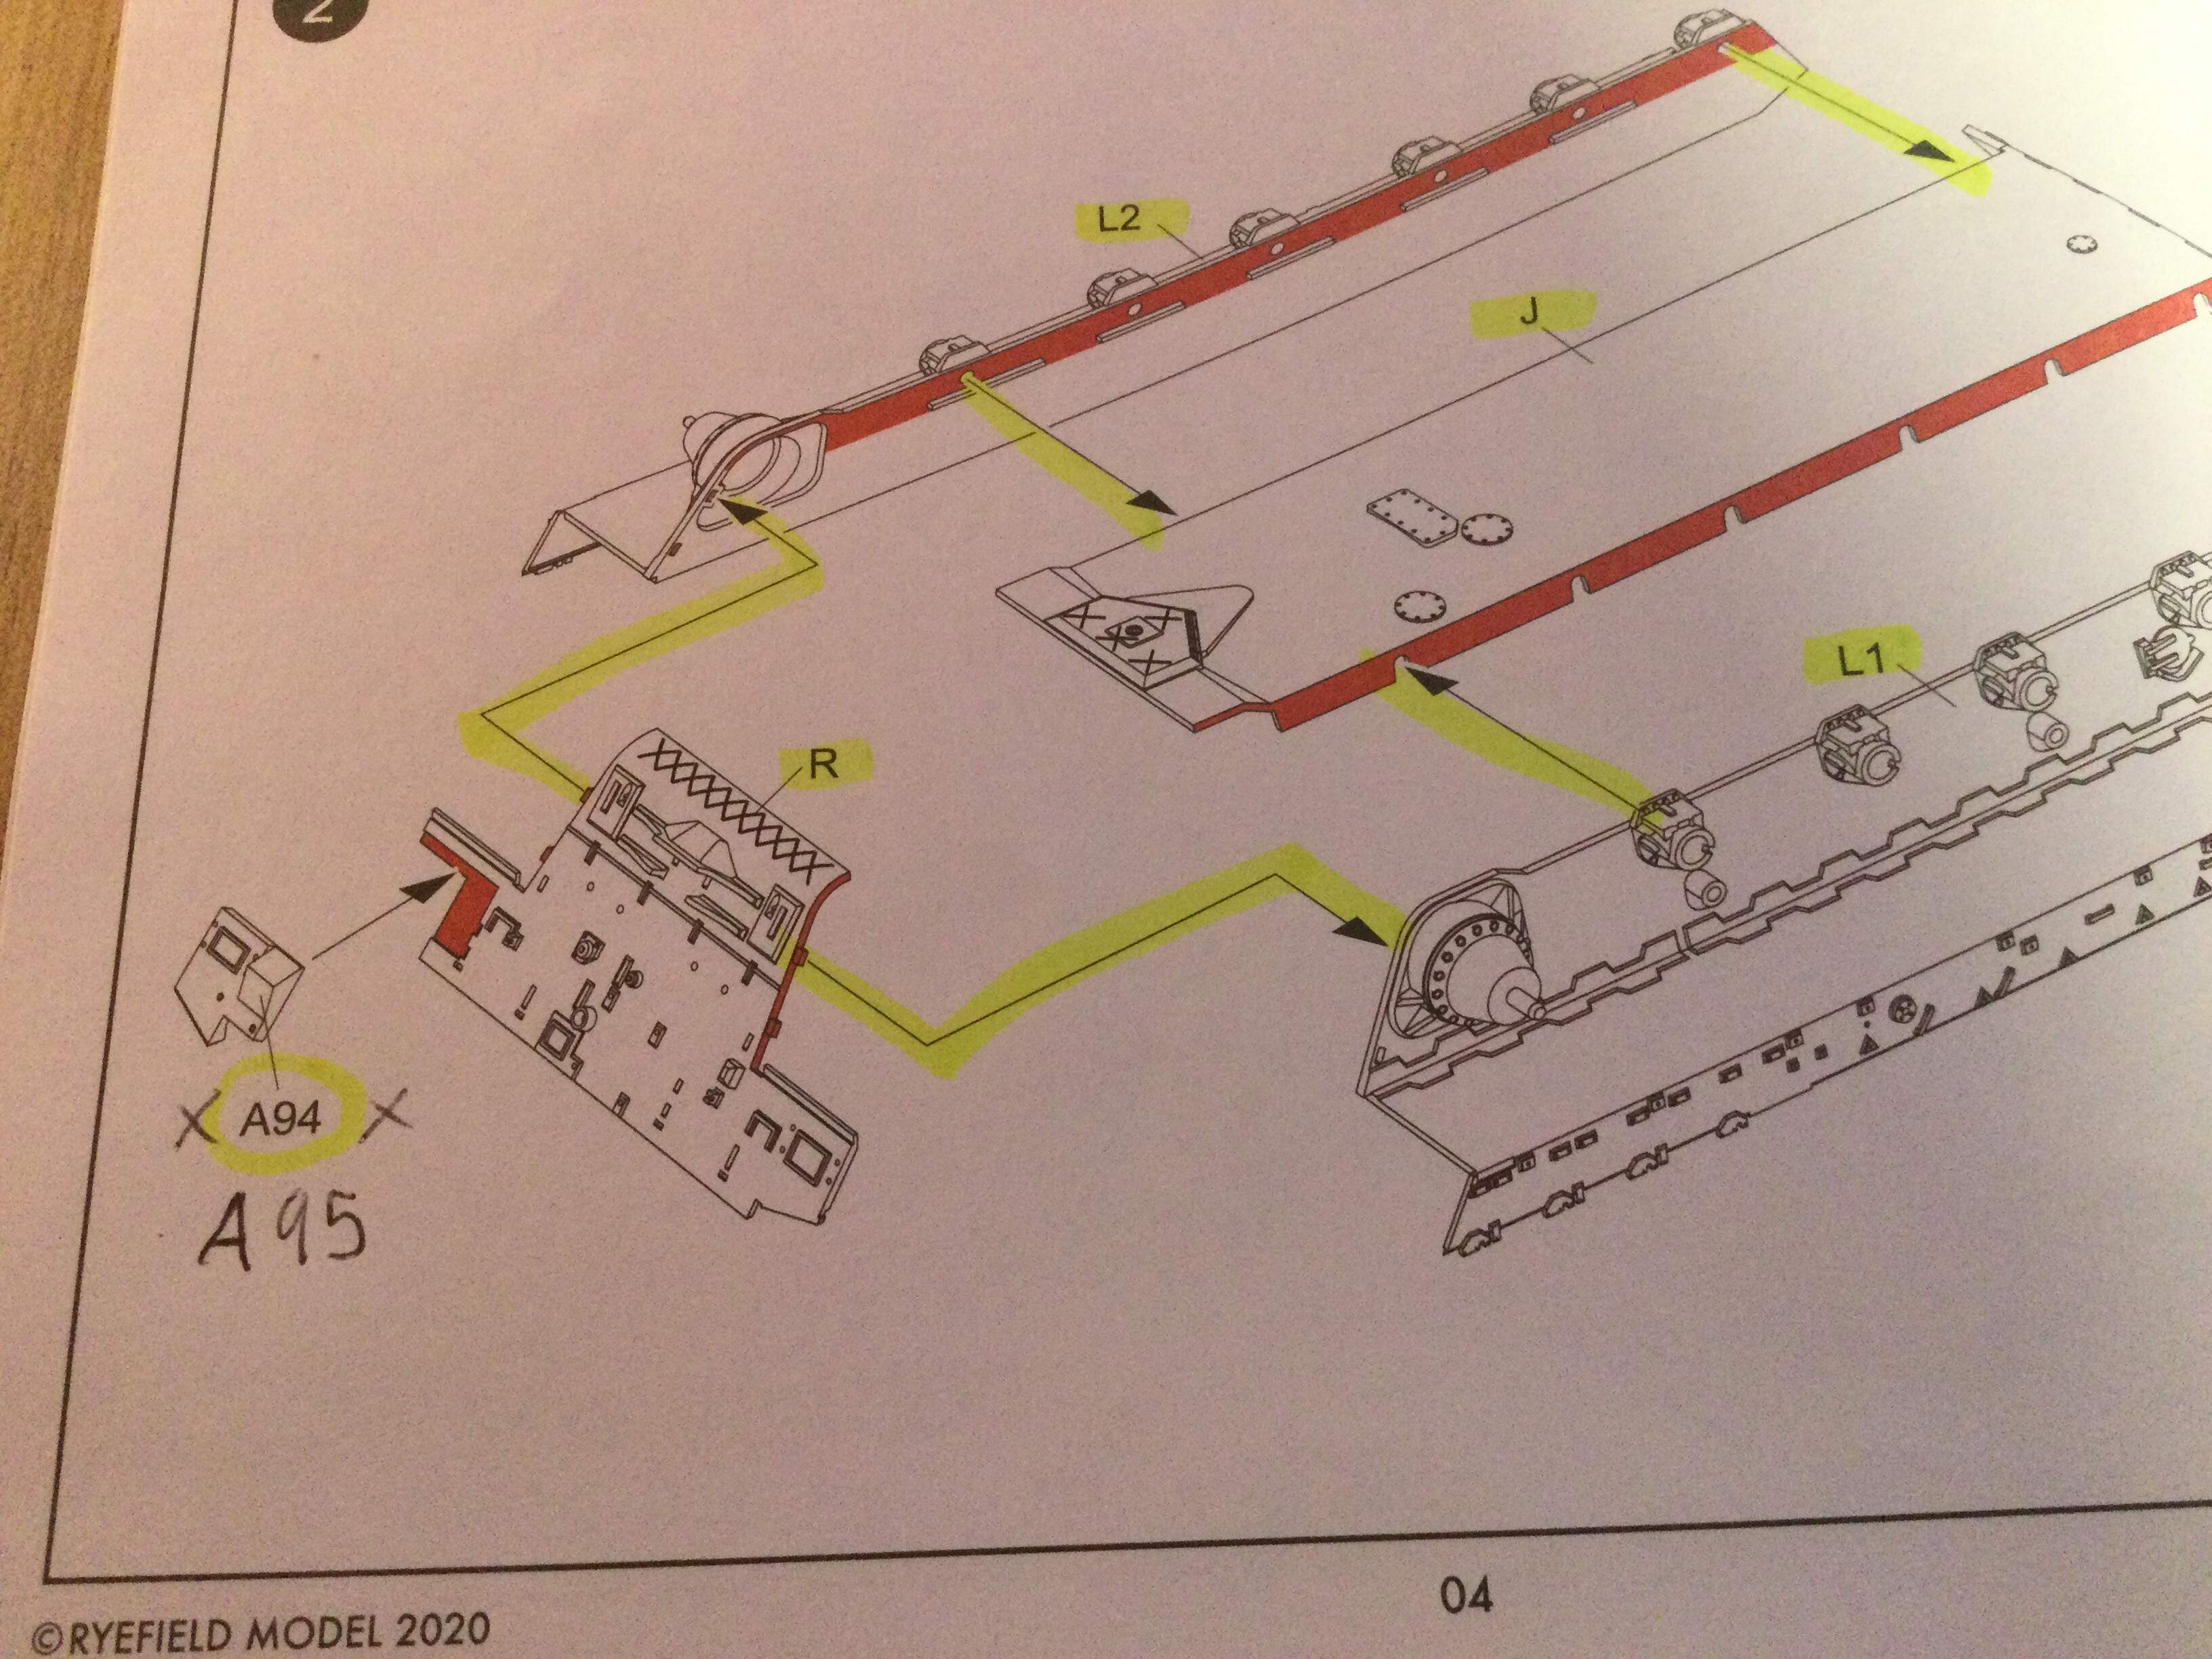
Also, I hate to mention it, but part A94 is incorrect in the instructions, it should be A95. The rear right hand side part the lights mount onto. I also found parts F18 on the rear should actually be F54.
Added a pic of the rear that shows the scheme nicely and the right light cluster part.
Looking forward to seeing more! Cheers, J.
5 Likes
The AA dozer blade was easy to clean up.
Mine has a broken web on the back of the mud guard so I am waiting for AA to replace it.
The fit for resin between the parts of the dozer assembly is not bad.
However it was designed to fit the Tamiya CR1 & CR2 and the fit leaves a bit to be desired.
The slots in the back of part of it are supposed to go over the towing brackets without the towing hooks.
Tamiya or RFM made a mistake with the locations somewhere as the centres of the towing brackets on the kit and the centres of the slots is something like 4mm out in total on my example.
The only way I am going to get the part to sit correctly is cut the towing brackets off.
There is also a gap between the sides of the mounting arms on the upper hull and the brackets.
If you look at the video above closely you will see that the dozer blade bracket on the upper hull mount/pivot points have prominent red coloured lifting loops which are missing from the AA resin.
I can only assume that was a later addition after the resin one was mastered?
Finally I missed the lights error so now will have to live with it but thank you for pointing it out.
2 Likes
Thanks for the info on the blade. I nearly bought a trumpeter Chally with dozer blade but I remembered you saying how bad the blade on it was. I bet RFM come out with a Chally 2 with dozer blade next! Ha!
I only noticed the light plate was wrong as I had glued the light attachment piece on upside down and had to remove that and try to clean up both parts, so was rather pleased to realise I only had one part to sort out! Luckily for me this was before I had attached it to the hull. I have found I have to be careful with glue as the plastic is quite “melty”.
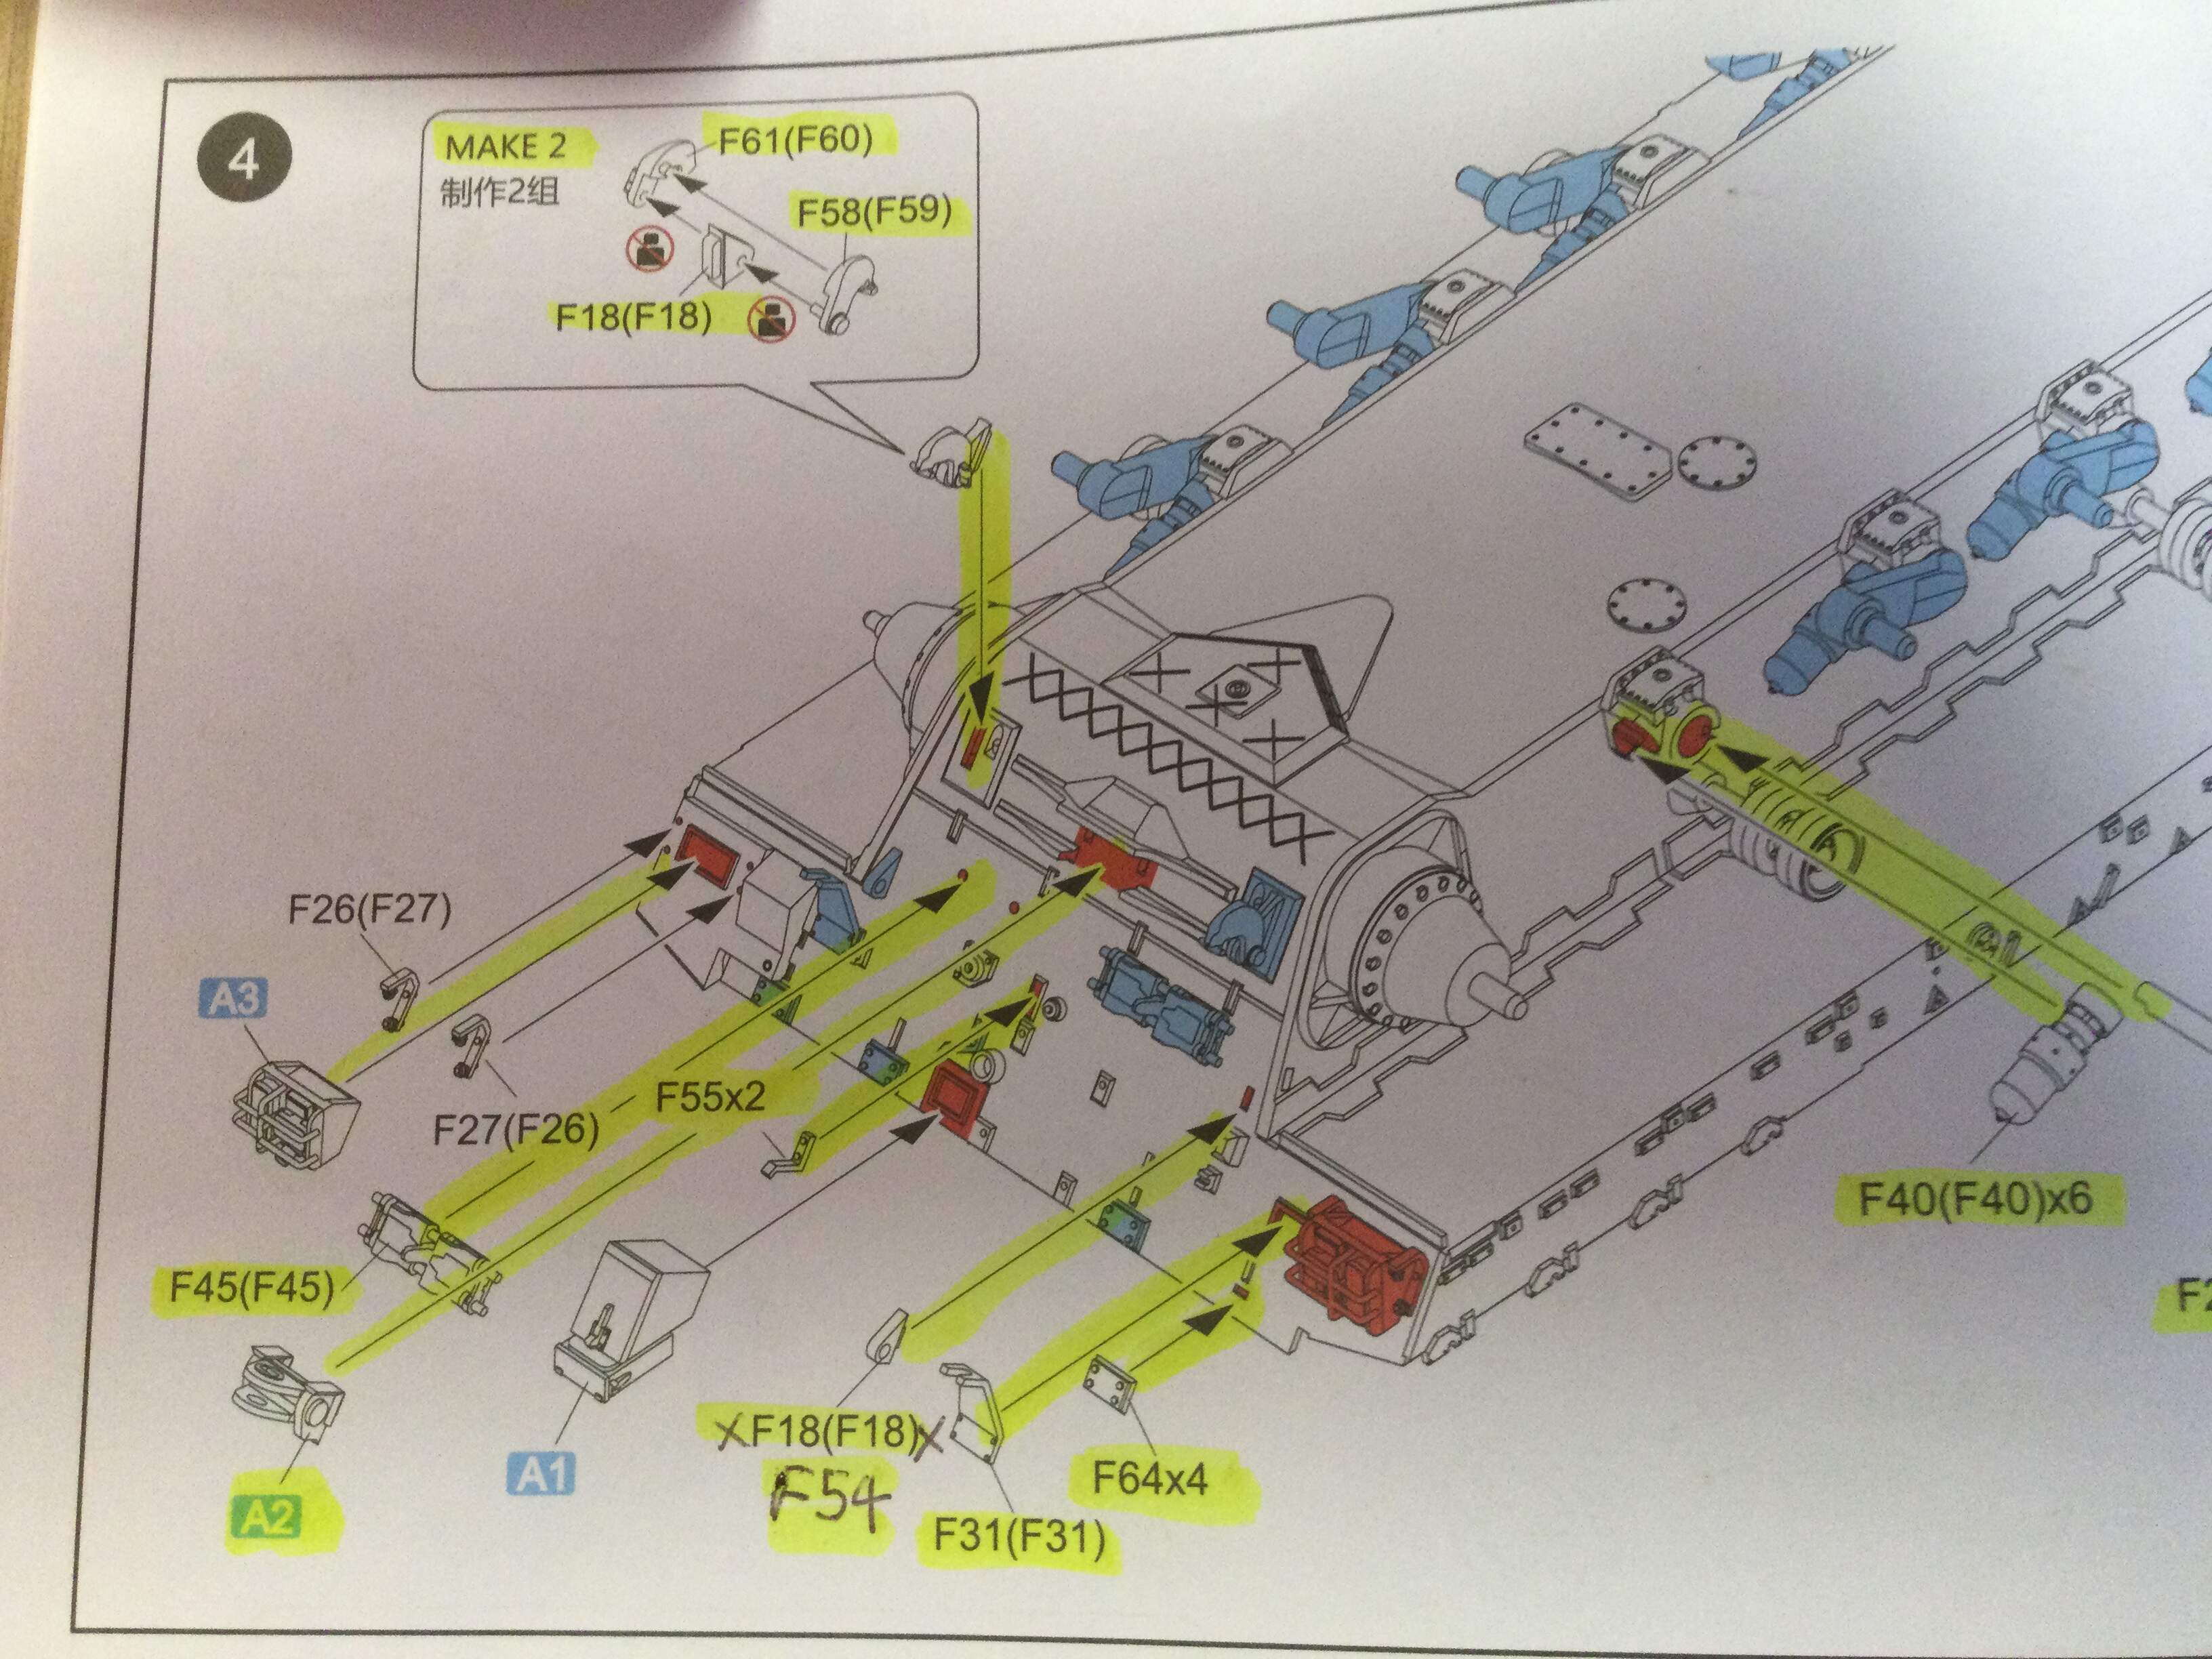
Working on the engine deck hinges just now, tedious but nice detail.
Cheers, Jim.
1 Like
Isn’t Tamiya alcohol-based acrylic?
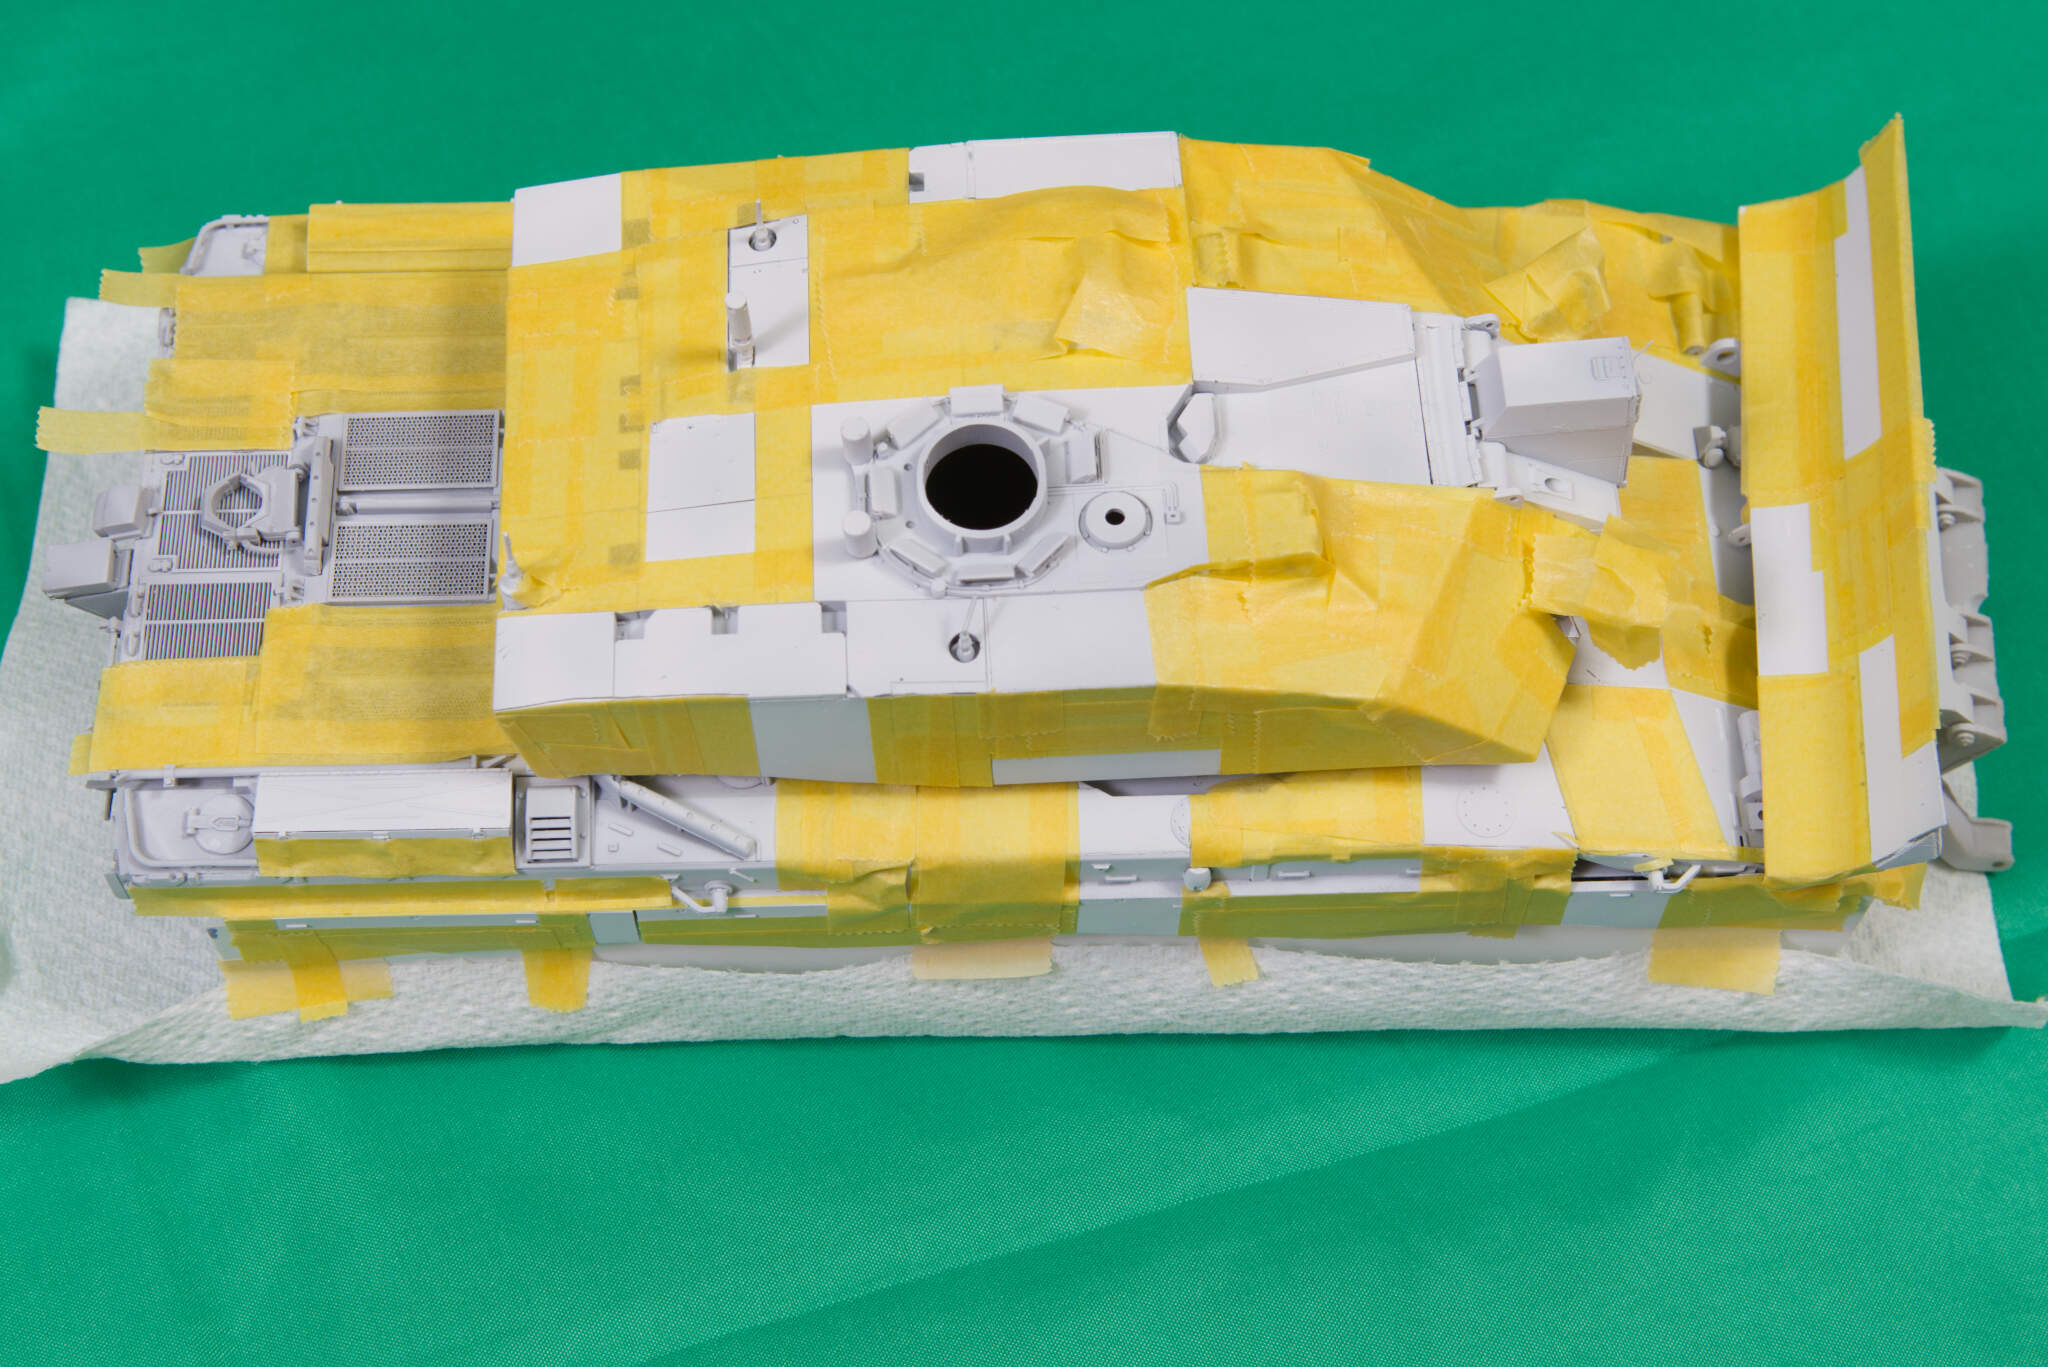
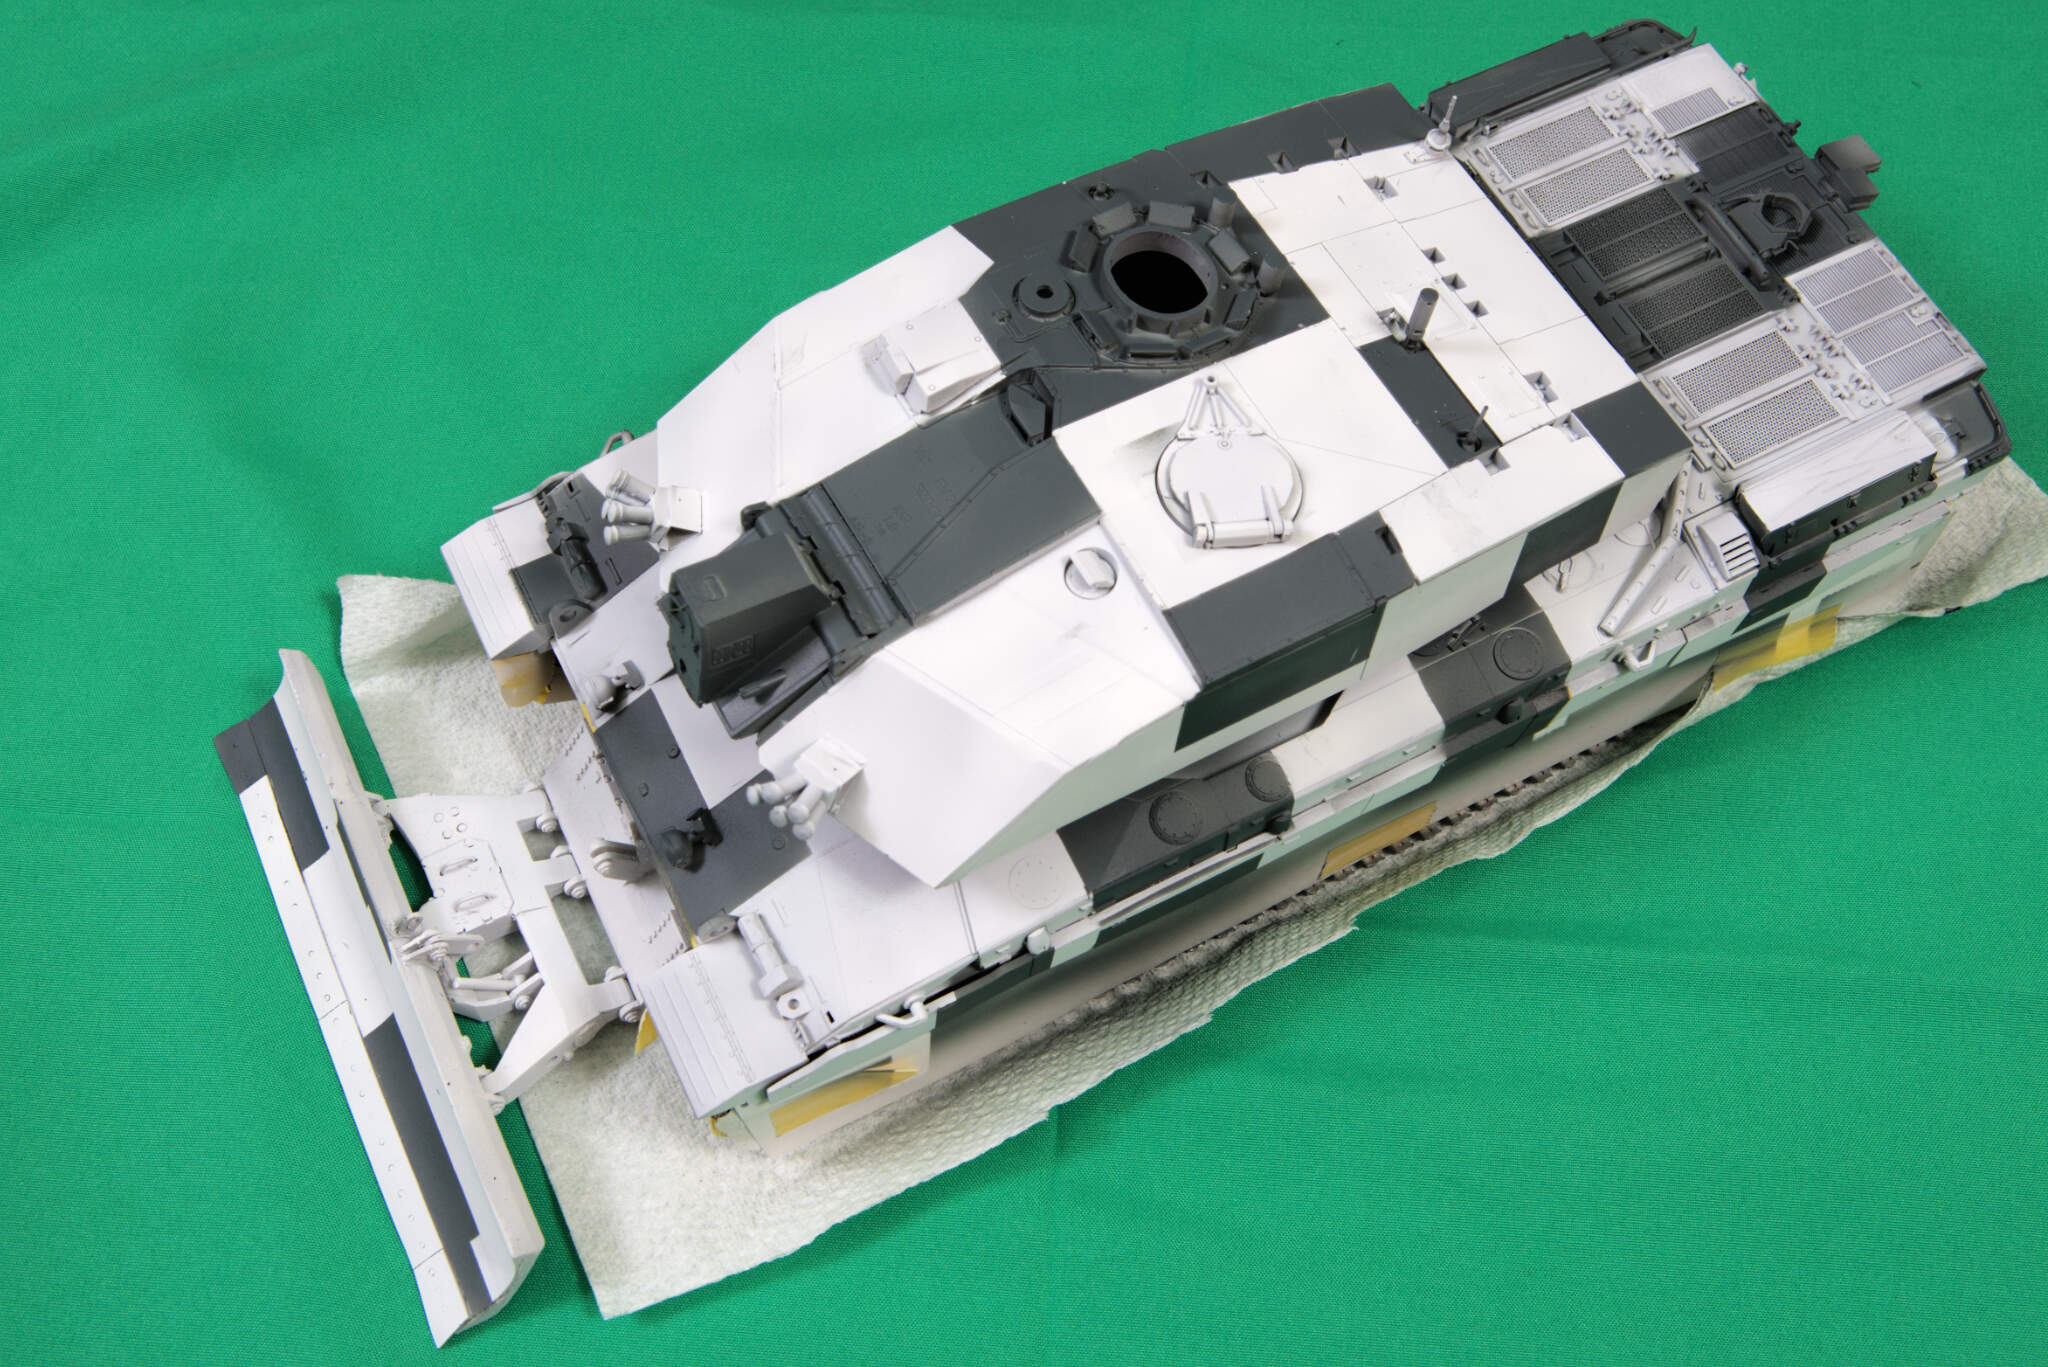
Lovely neat job with the masking. I take it the second picture has done something funny with the contrast as the blue grey looks black on my screen?
Cheers, J.
2 Likes
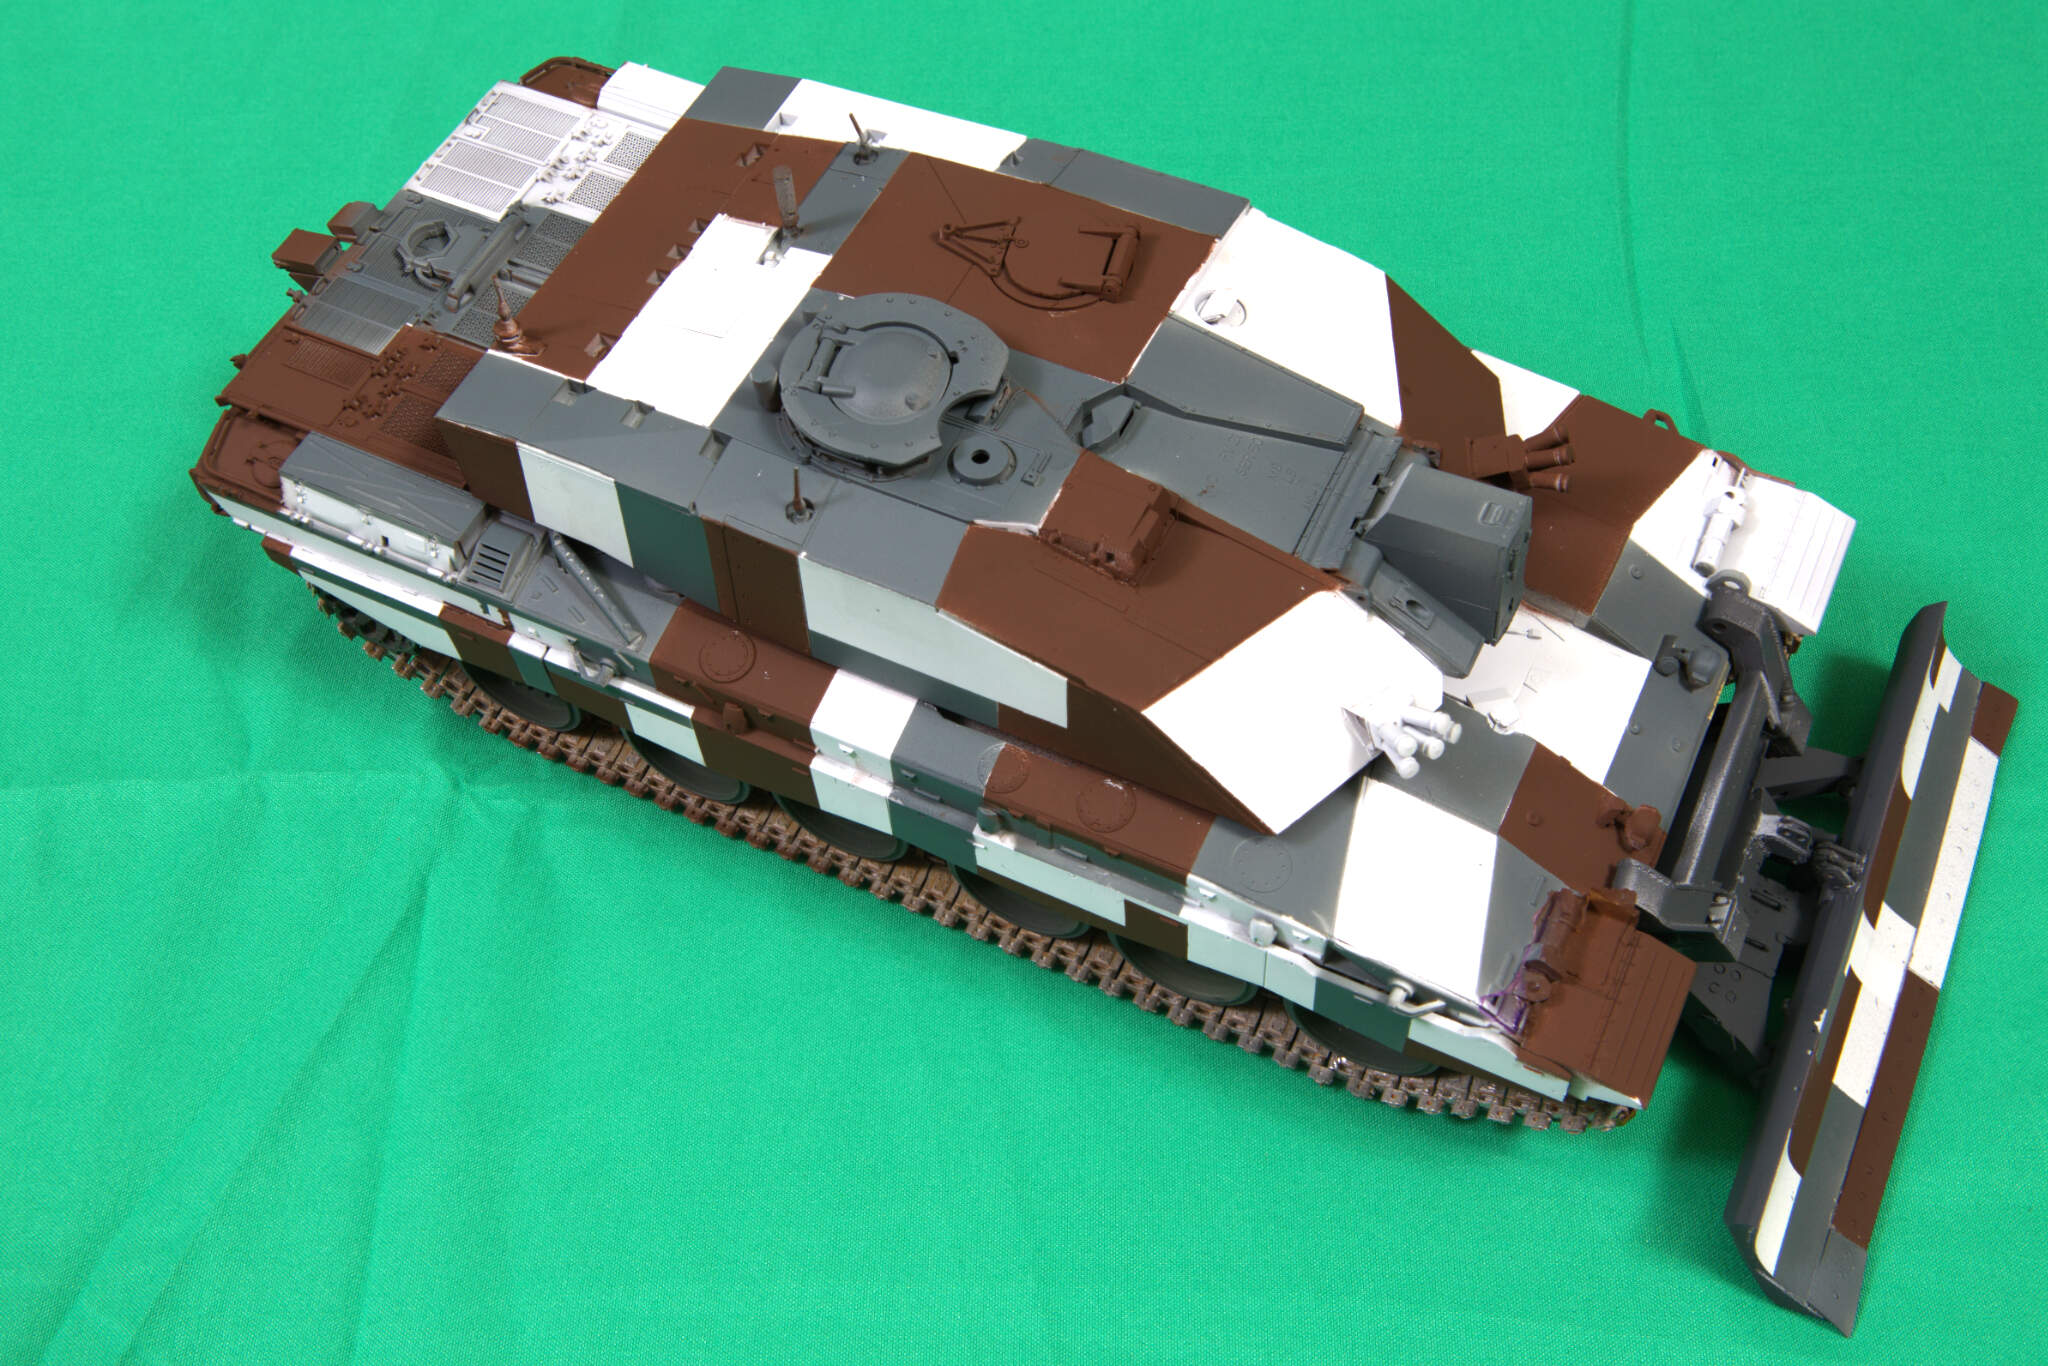
Very nice Cats, the lines do look very neat… I think it’s a bonus they used some common sense when painting the real ones… And followed the panel lines as much as possible.
I’m getting the same colour blackish instead of the blue grey so must be the light hopefully.  . … Enjoy the masking
I agree the blue gray looks to dark in the picture.
It was difficult to get a better picture with the studio flash because of the contrast.
IRL it is still dark though. I will see what it looks like overall when the brown is on.
I doubt i’ll have the will to re-mask it.
1 Like
You should have left all the masking tape on and then masked off the blue grey areas and then shot the brown. This would have made your life a lot easier. It looks wonderful so far. Really sharp!
1 Like
No, Tamiya is an Acrylic hybrid. it is best thinned with X20a OR their Lacquer thinner. you ‘can’ use Iso Propyl Alcohol to thin it, but it is granier finish, & tends to tip-dry in the airbrush.
PS Tamiya have also more recently released Enamel & Lacquer in a similar range as the original.
There is also the TS rattlecan range for the RC range LEXAN bodies
That is a very striking theme Cats … the blue grey looks fine now so I take it that it was the contrast on the original pic ? with the few areas that have bled, was that just down to the masking ? and was that Tamiya masking tape you used ? I would hope they will be easy to touch up by hand ? really like the look of it so far … well done … is the running gear in black ?