Thanks John.
The studio flash makes high contrast subjects difficult even with a camera that costs over £8K.
The photo software can help but one of the reasons I changed to a green background is to give the camera and software a lower contrast to deal with. Yesterday’s picture was a f**K up.
I am/have been using Tamiya masking tape and Frog low tack painters tape cut on one of these:
My man in the RTR says all the wheels are NATO Green as is everything on the lower hull downwards.
As for the paint touch-ups I may have to do the obvious ones with an AB as hand brushing them makes it look worse IMHO.
2 Likes
The NATO green was maybe something they did later or before ? The 2 pics I put here and the one Jim did of the the 2 from the rear, those wheels are definitely black and a fair few online shots as well … my eyes cant be that bad lol … Perhaps they were the original promotional pictures and they never painted new wheels black and just kept them in the factory green ?
I would go with the green though if that is the up to date colour… its going to look striking … cant wait to see it finished.
Are you doing it as a generic Chally2 or will you put the RTR eyes on it ?
1 Like
Ah, the blue grey looks great now. And the nato brown looks to be a good match too.
I have just received my first ever order from premium hobbies, some mr colour levelling thinner, primer and some glue, and a wee packet of haribo! I have been tempted with those cutting mats, and a whole host of other things they sell!
I’m interested to see what you do with the rear fuel drums. I’m tempted to leave them off, like in the picture above, or maybe do them in green for some contrast. I also like the pic in the first post here, with one road wheel green and the outer part of the drive sprocket green too.
Thanks for sharing as always, J.
To quote my source;
“The first set of wheels where sprayed black when the tank came back from the paint shop but, since then, every new wheel that has gone in has been stock green.”
As for any markings I can not find the decals since my youngest grandaughter was here last…
So it may have to just out the paint shop sans markings.
1 Like
That makes perfect sense, as the images Jim and did I , you can see they are fresh out the paint shop. They may just of been mirroring the last Berlin Chieftain paint jobs.
And there is one thing a squaddie hates doing … is making pointless work to do for himself lol … I should know… NATO green it is then. 
2 Likes
Thanks.
What is coloured what depends on the vehicle. It took me some time to realise that the videos online and pictures I have seen are not the same vehicle or it has been repainted.
This video has some differences in the basic paint job:
And so does this:
So I am going for something that looks the “part” regardless of whether it is absolutely correct.
Premium Hobbies are a good company to deal with and if you put “NMB10” in the discount code box you get 10% off!
2 Likes
Thats the best way … you built it … you enjoy it 
2 Likes
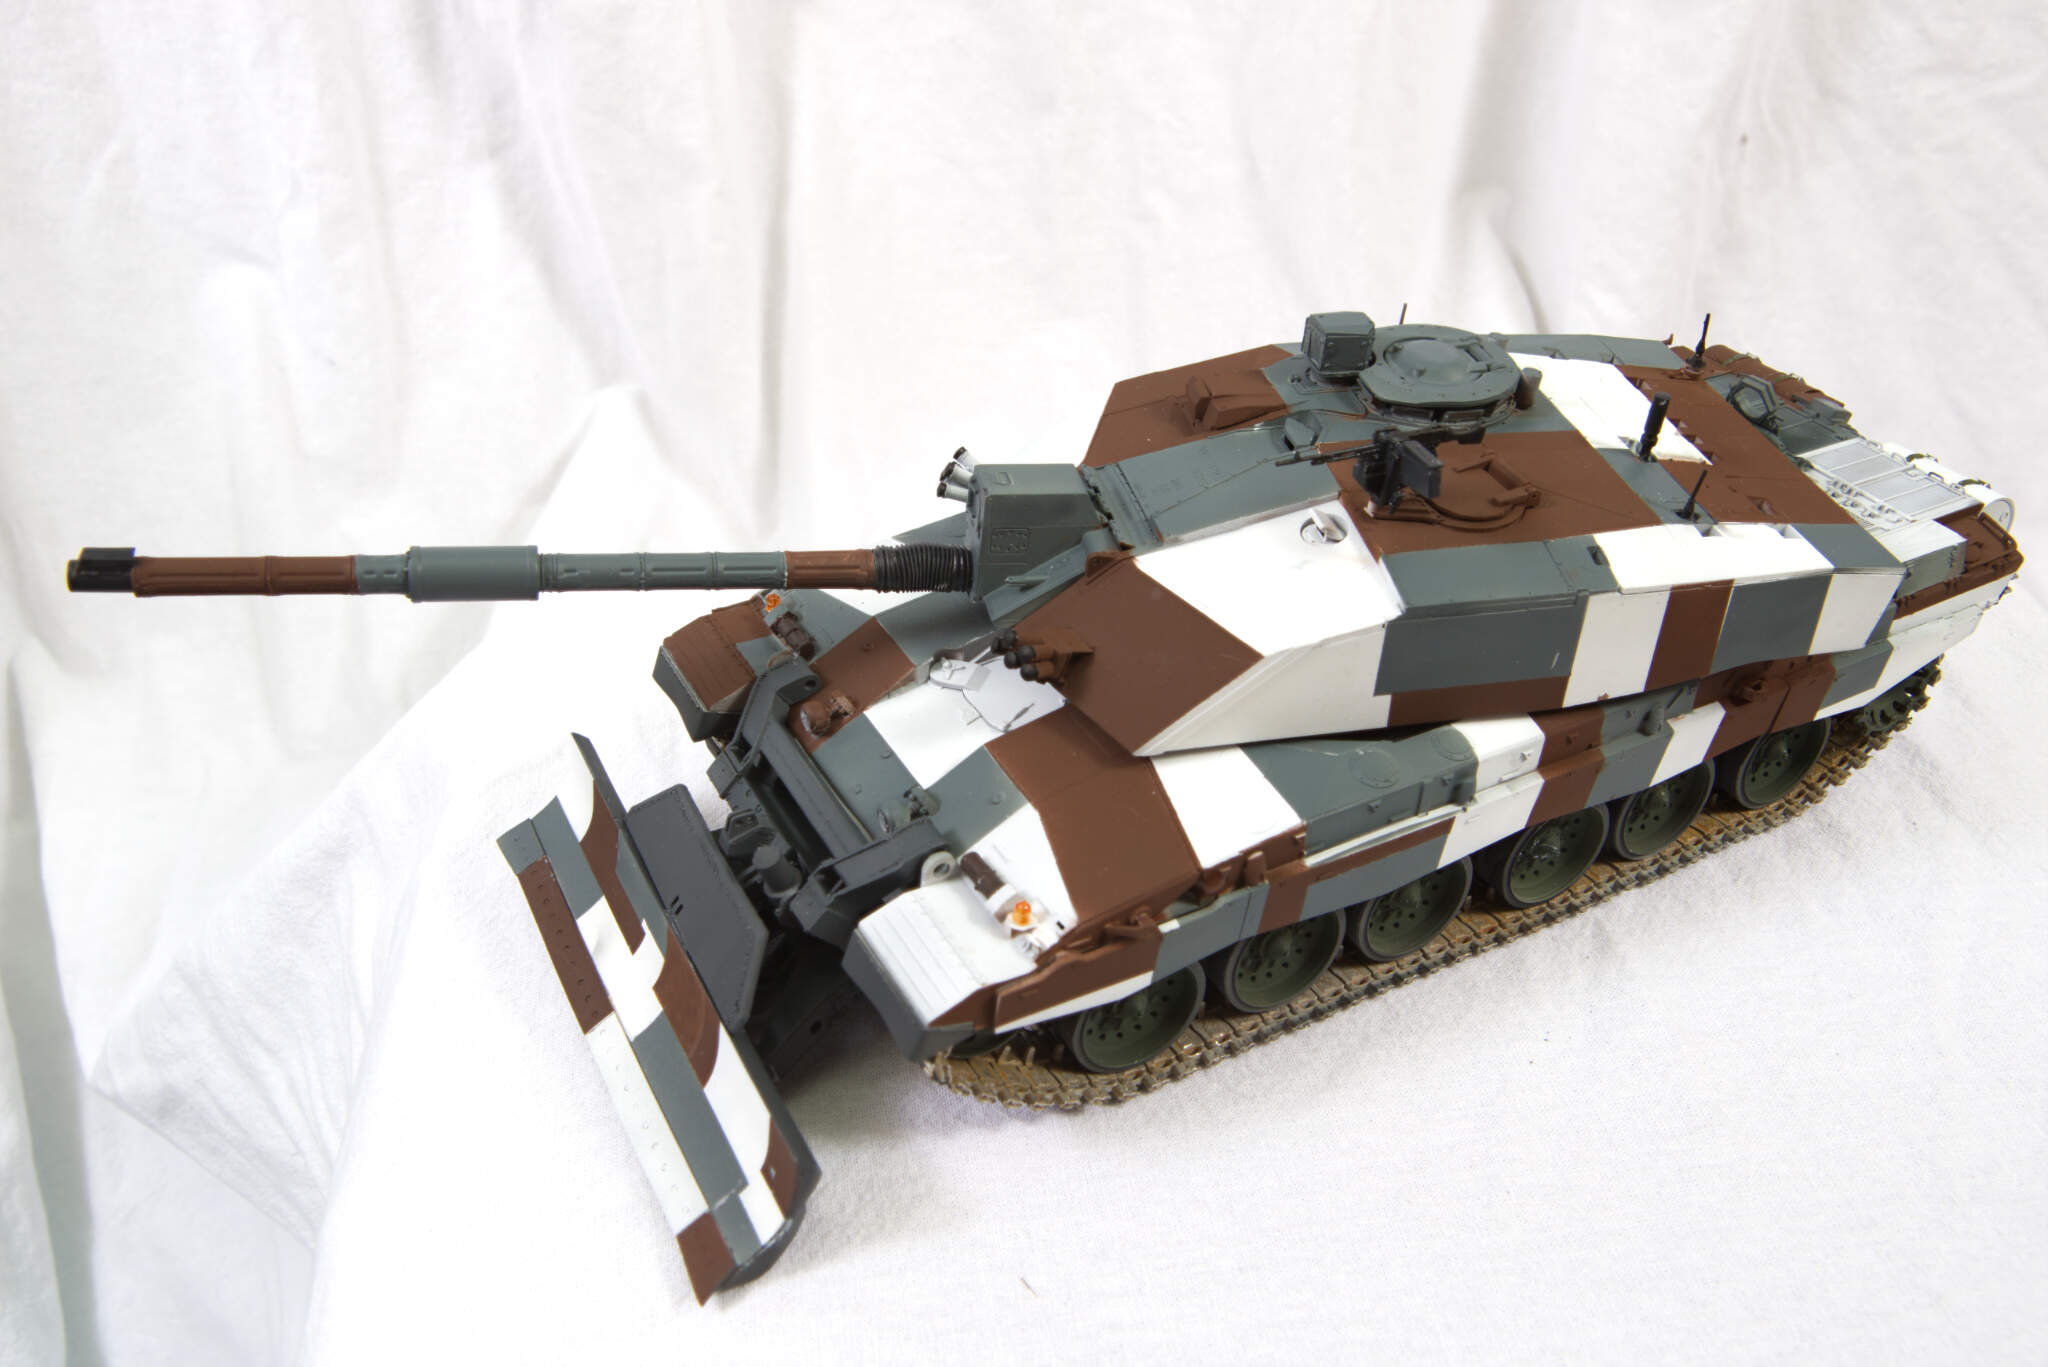
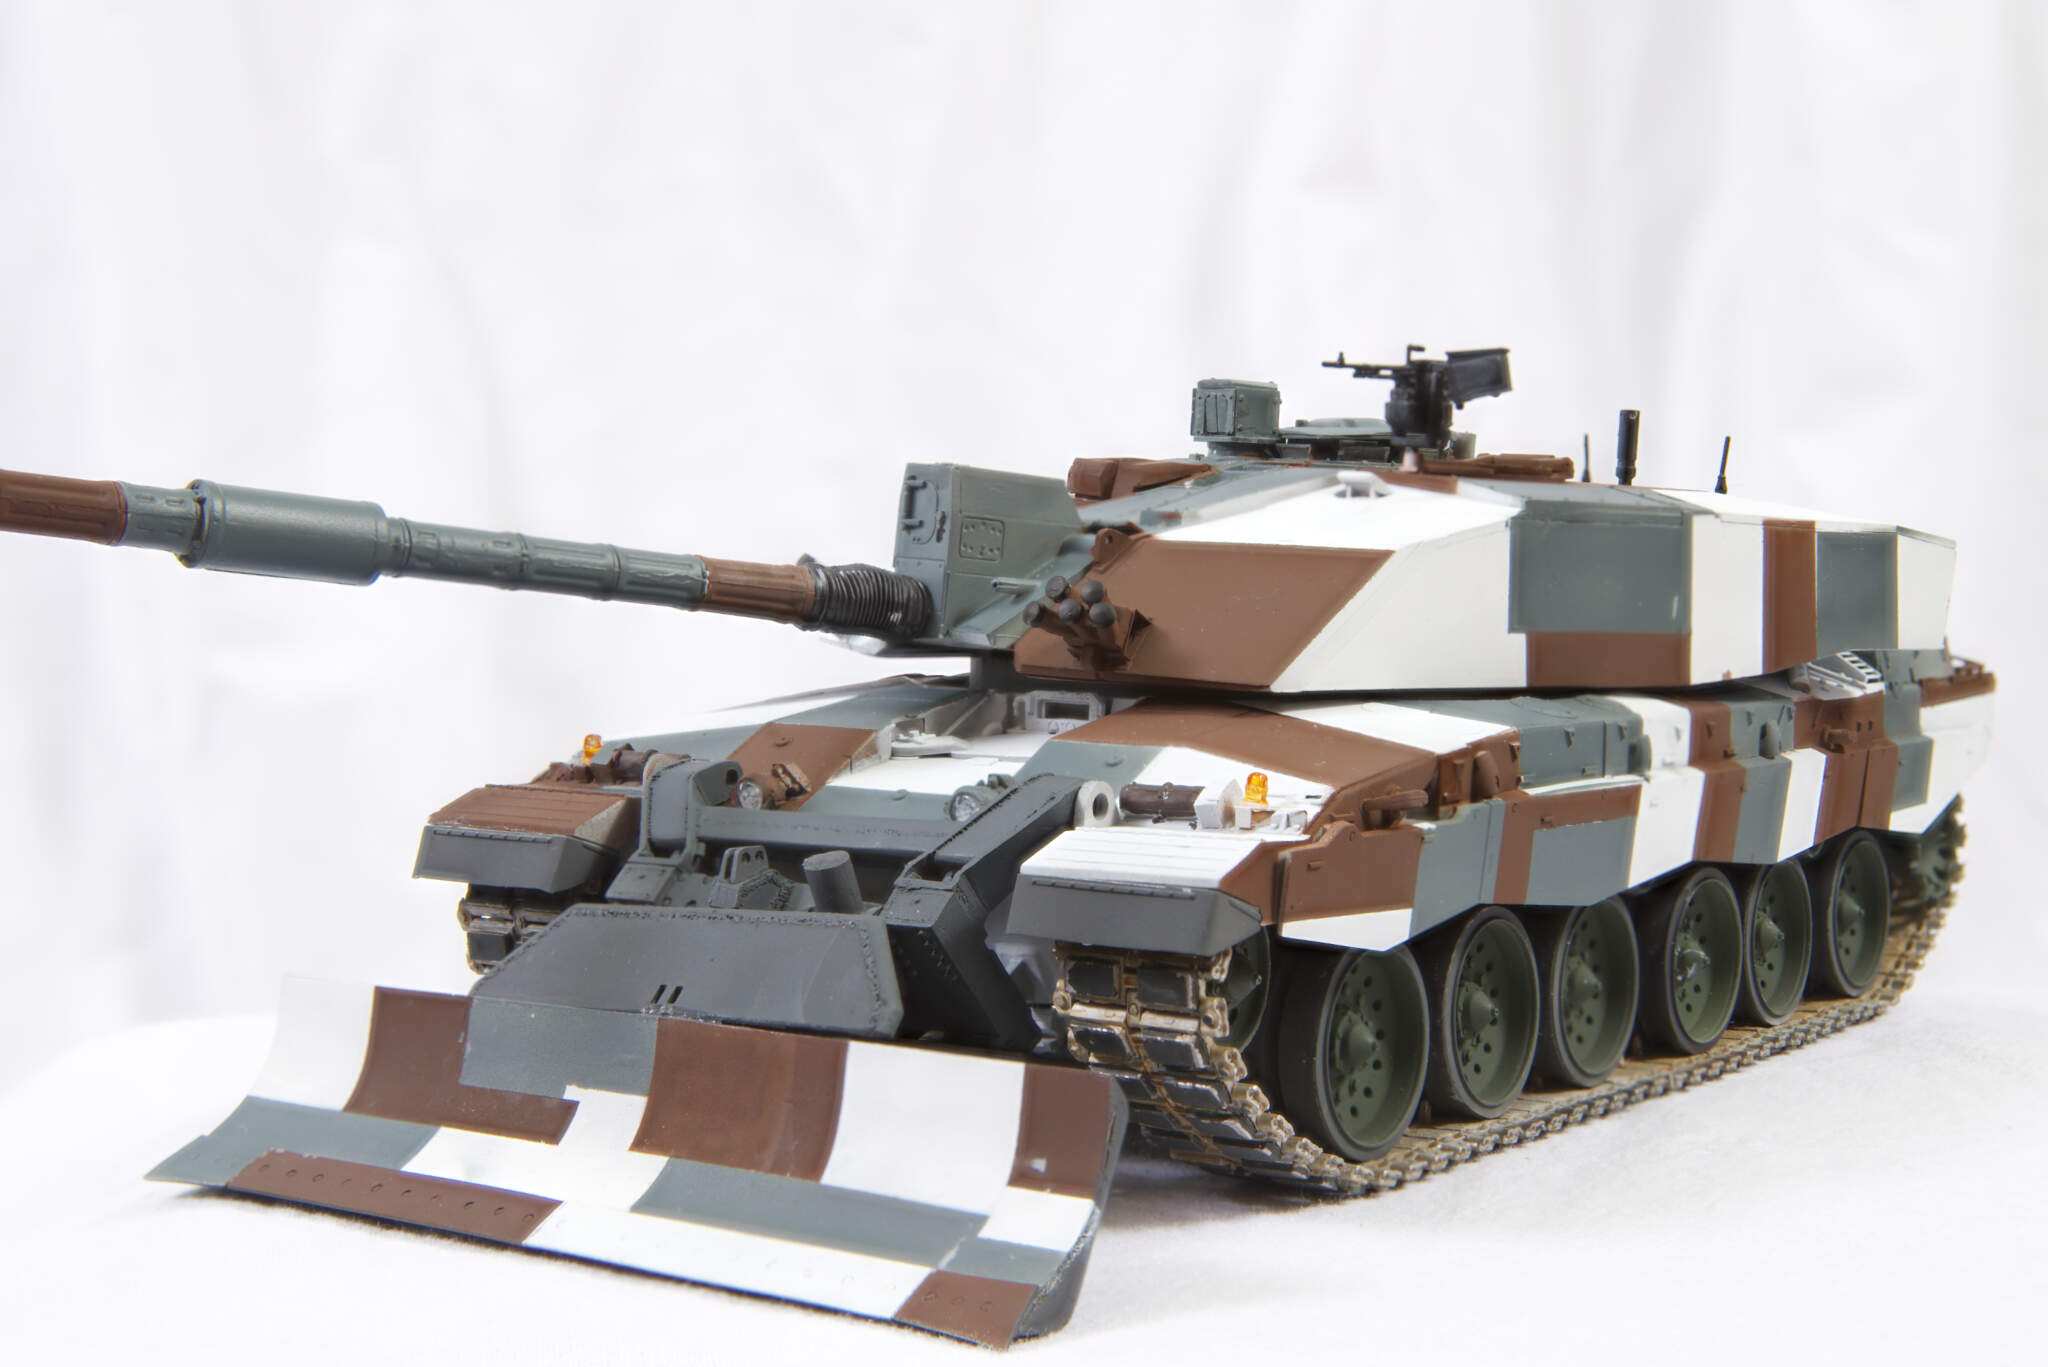
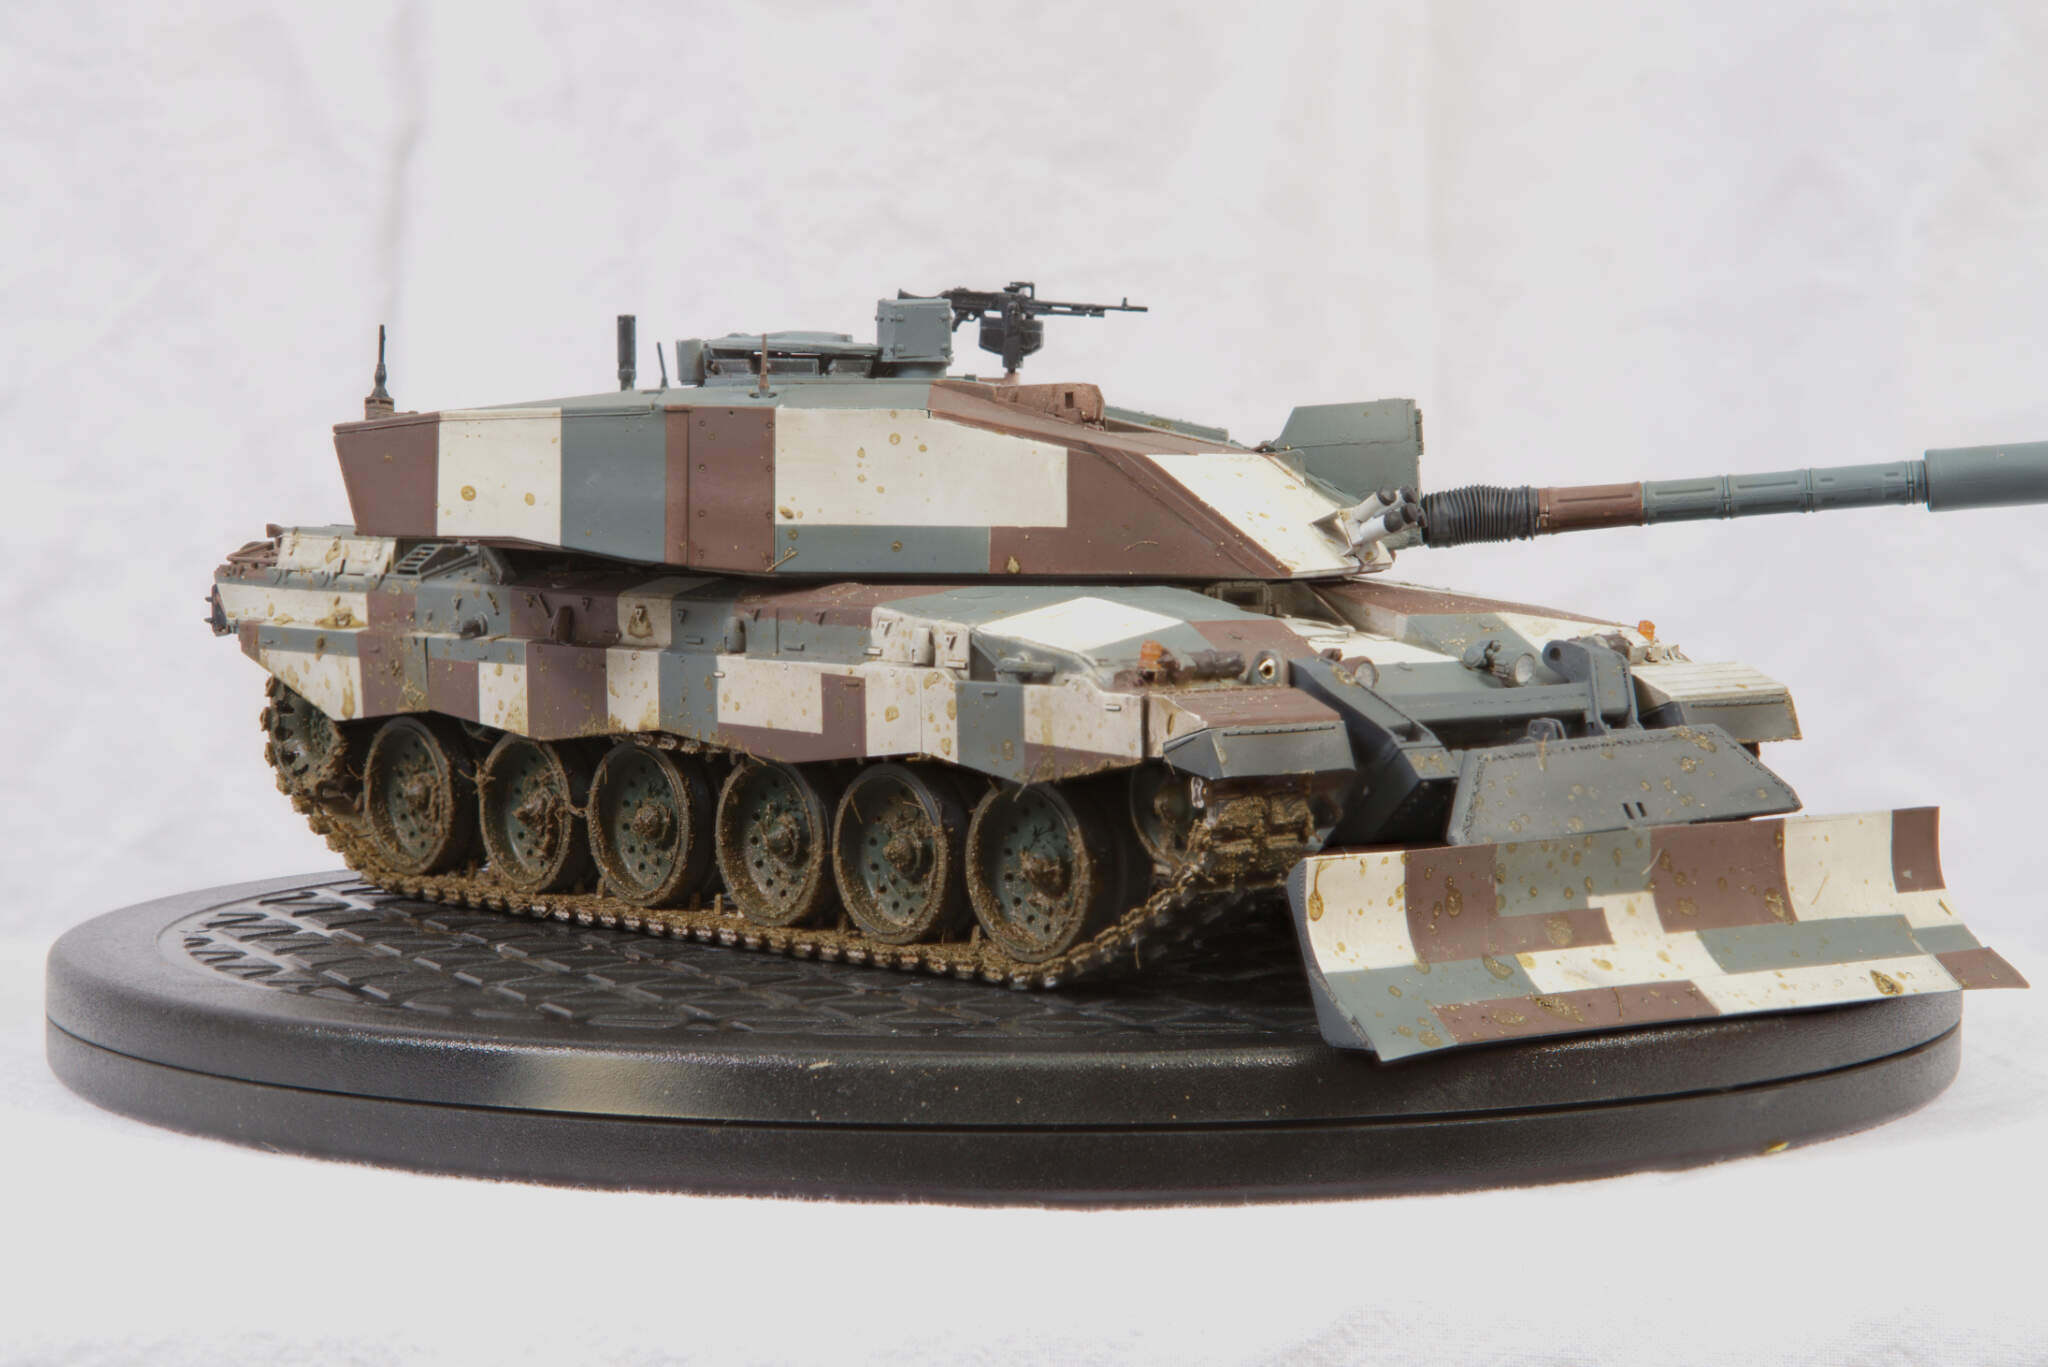
Todays update.
Weathering tomorrow.
8 Likes
Very nicely done. Tracks have a nice used look to them. Dozer blade looks nice as well. Really adds to it … Top job thus far
1 Like
Coming along nicely. Still can’t believe the speed you build and paint! Looking forward to seeing the weathering.
Cheers, J.
1 Like
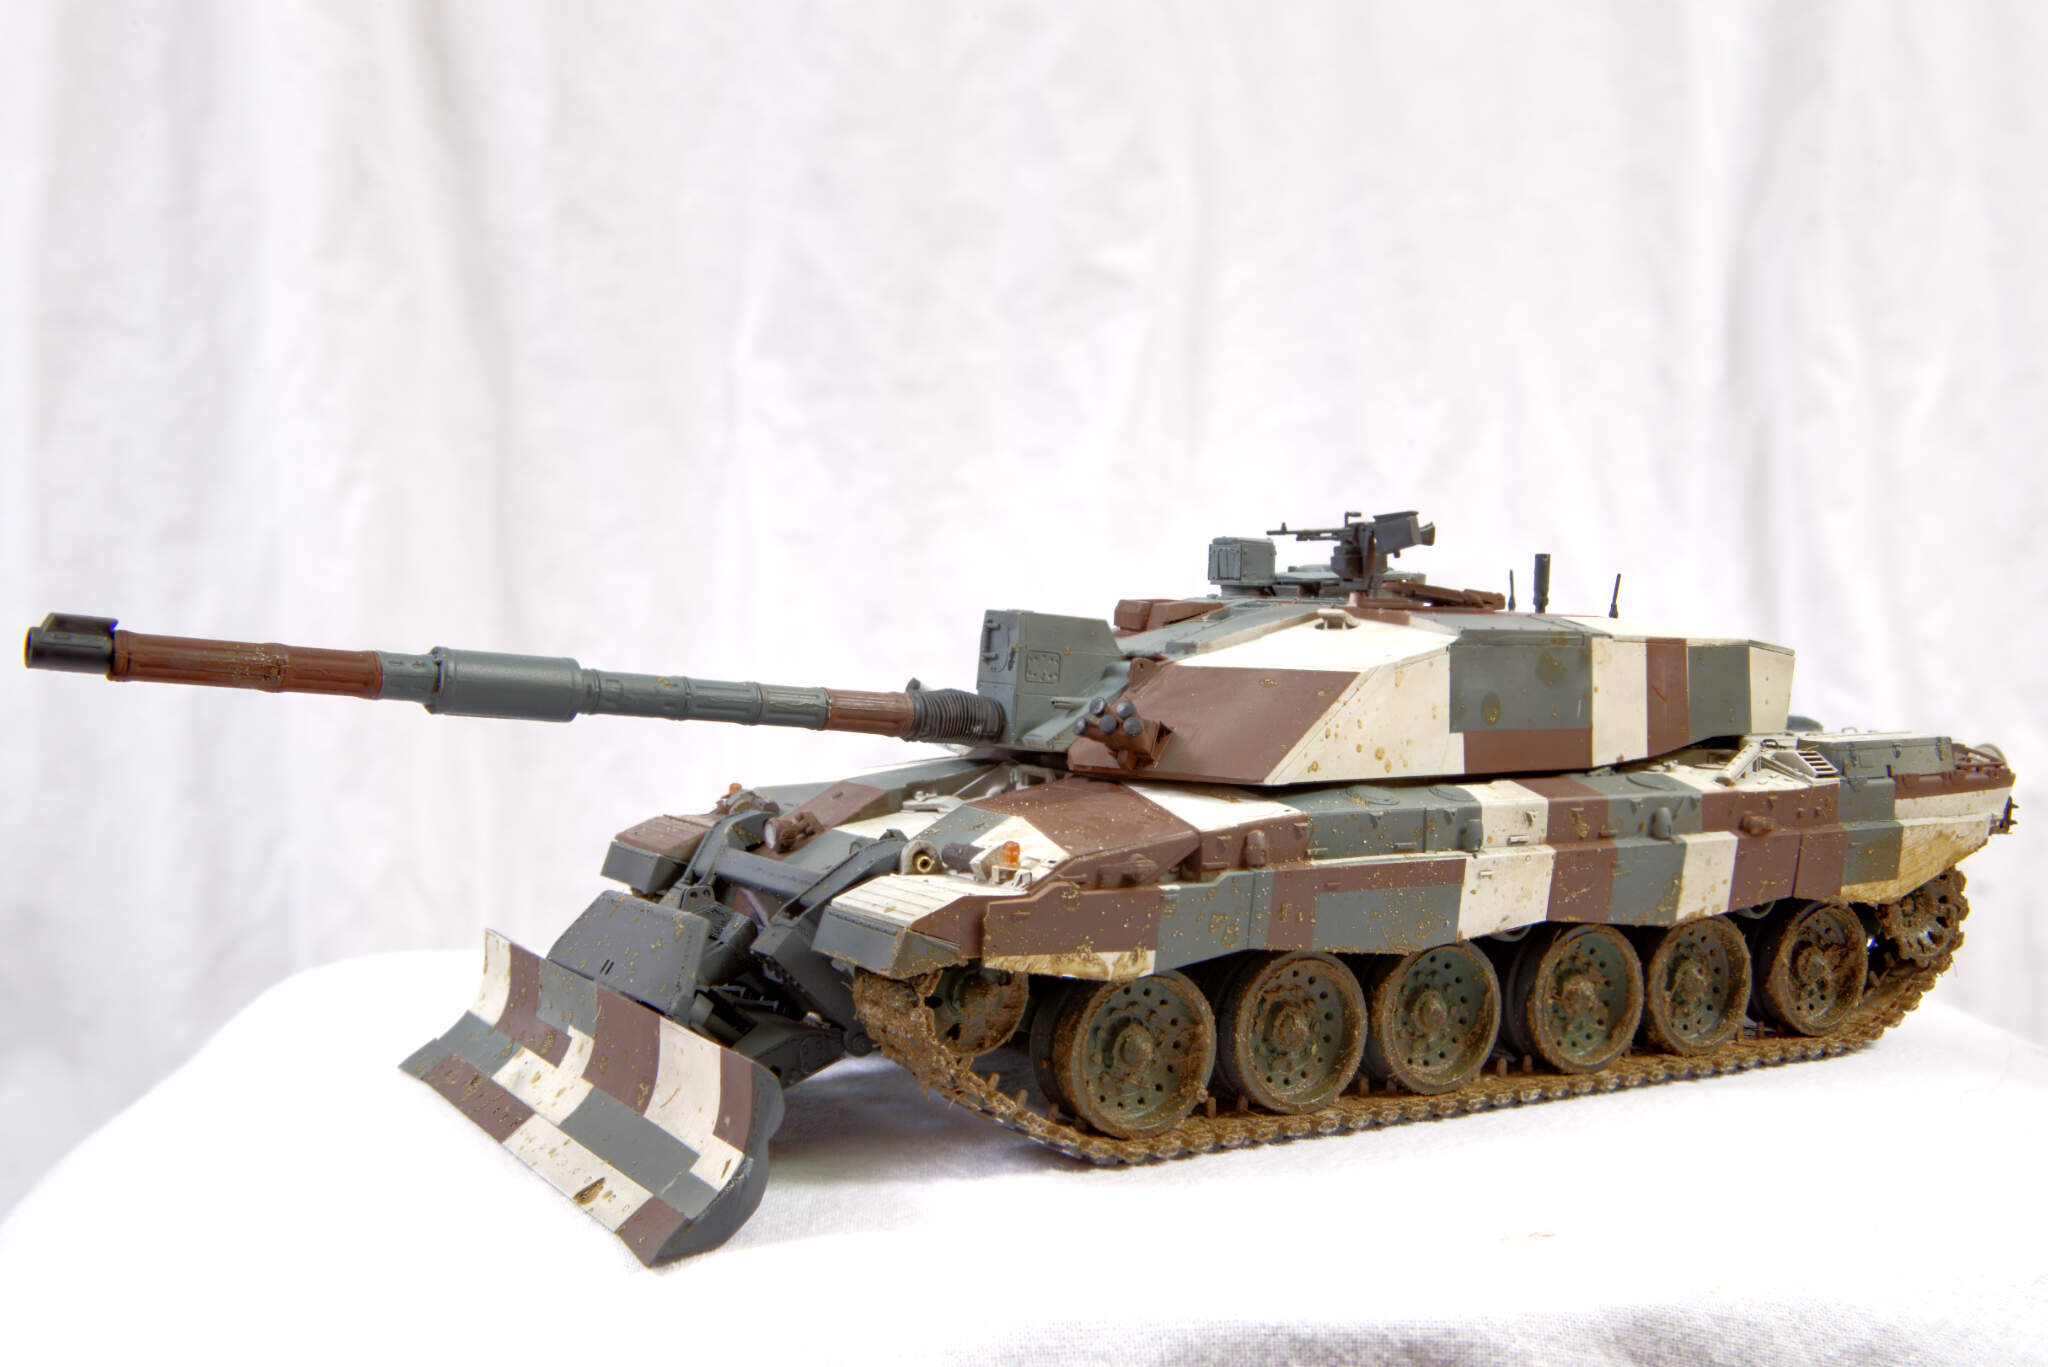
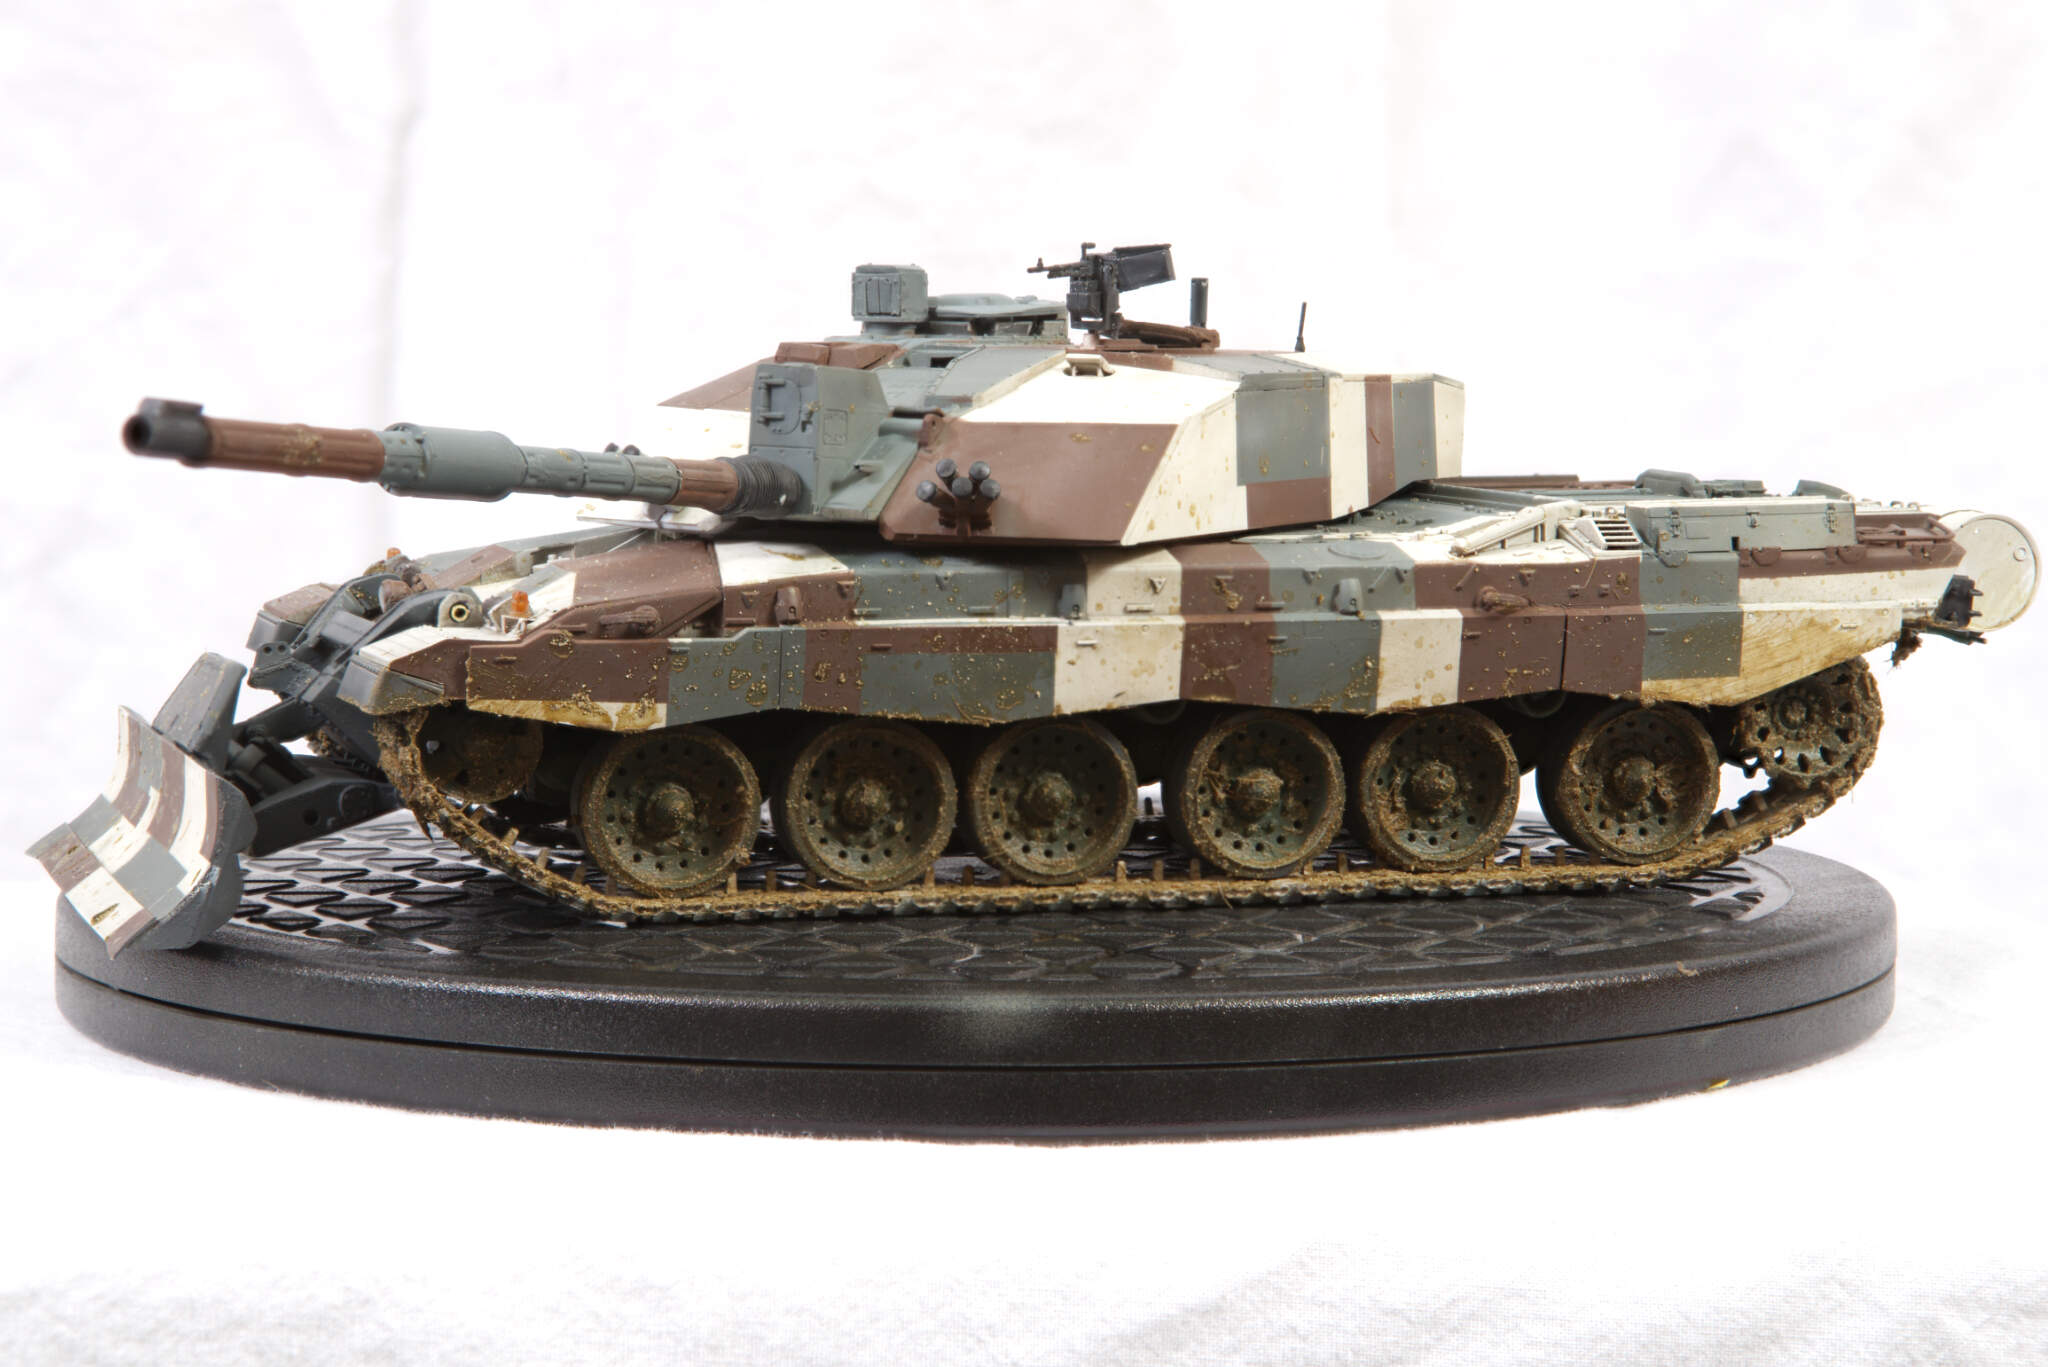
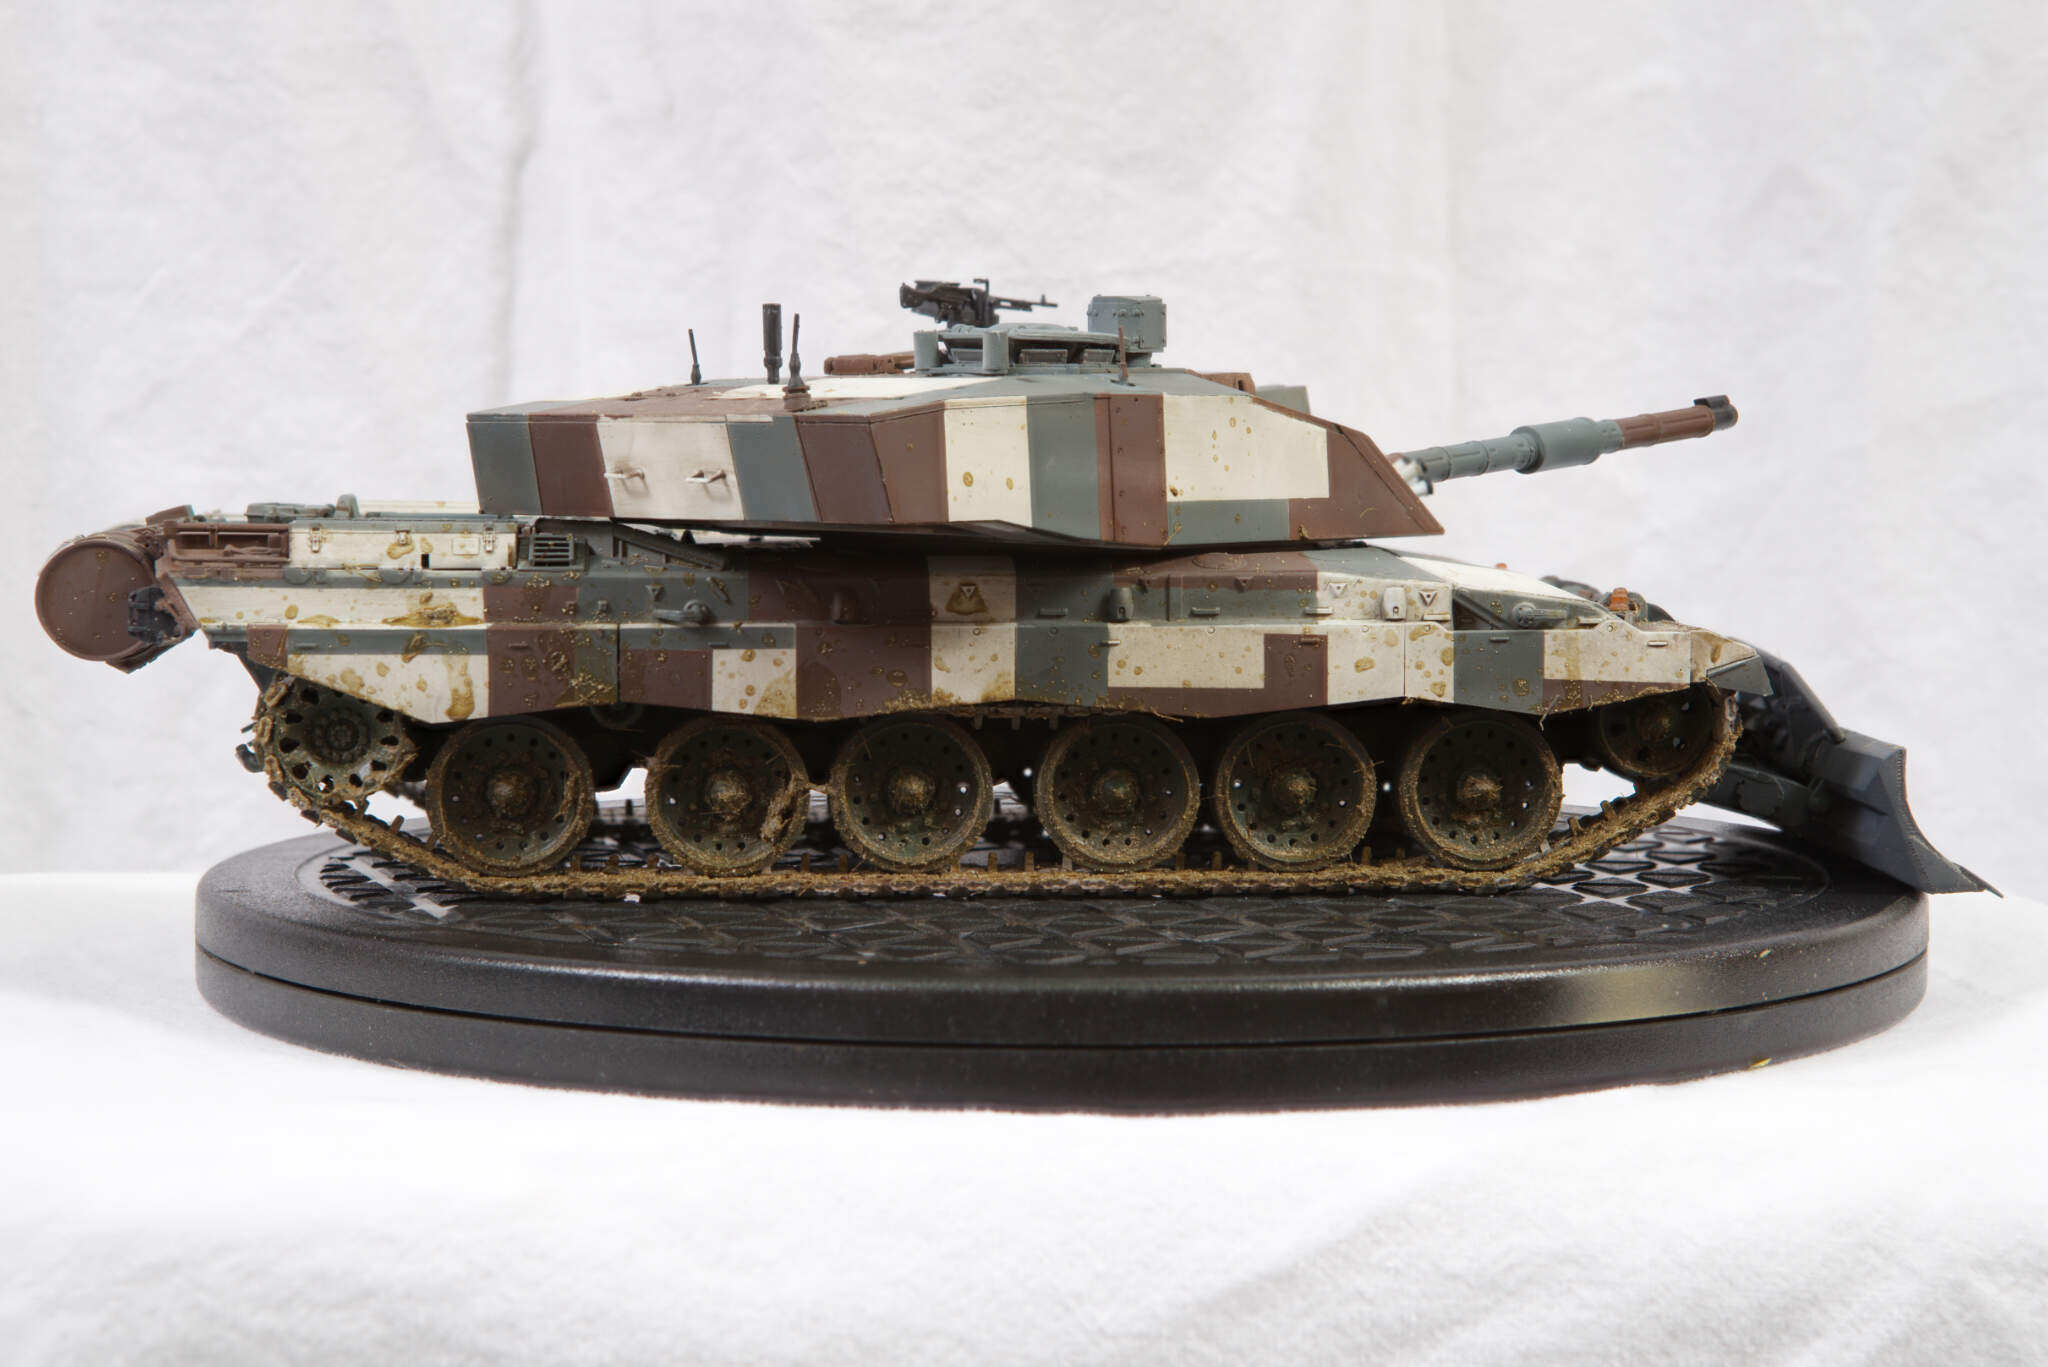
Calling this one finished. Not my best effort for tank no 7.
I need to summon the will to hide the dozer hinges sometime and I am cross that I can not put the tow cables on because I did not RTFM properly😉
9 Likes
It has just been pointed out on FB that the model is missing the Chinese eye.
I did know but I have not seen the decal sheet since my youngest grandaughter was here last…
Good job Cats, she looks nice in that livery. Does the blade have to stay in the up or down or is it fully movable ?
What was the issue with the recovery cables ? Was it just a case of going out of sequence ? I wouldnt worry about the missing eye … it will only wind up ex RTR tankies lol and it looks great as it is
Thanks John.
The Blade can go up to horizontal but there is no way to fix it in that position.
The loops at the end of the cables has to go on the “hooks” on the model before the “hooks” are attached.
The missing eye has already wound my RTR source up. It was is only other comment other than he liked the model!
1 Like
Lol … that missing eye will be eating away at him  I can send you an old unused Gds Armd Div Gladeye badge … that will send him right over the edge lol
The toned down look of the Berlin scheme gives it a nice used look, and not to factory fresh.
1 Like
I do not have the willpower to tackle another Belin Brigade scheme ATM but if I see this at a reasonable price:
http://www.amusinghobby.com/goods_81.html
I will buy it and put it in my stash, if you look down the page they even have ALL the views needed to do it.
It will look good next to the Chieftain and the CR2 all in the same scheme.
1 Like
Looks great I love that camo scheme
Very nice!! I´ll watch your pics while I build my Chally 2 “Berlin” 
1 Like