I procrastinated a lot about this one. Not for buying it - I did that a long time ago - just after I’d bought RFM’s Panther G c/w full interior - but more about whether to start it or not.
The Panther was a nightmare build, nothing fit properly and it became a chore to complete (although I did finish it).
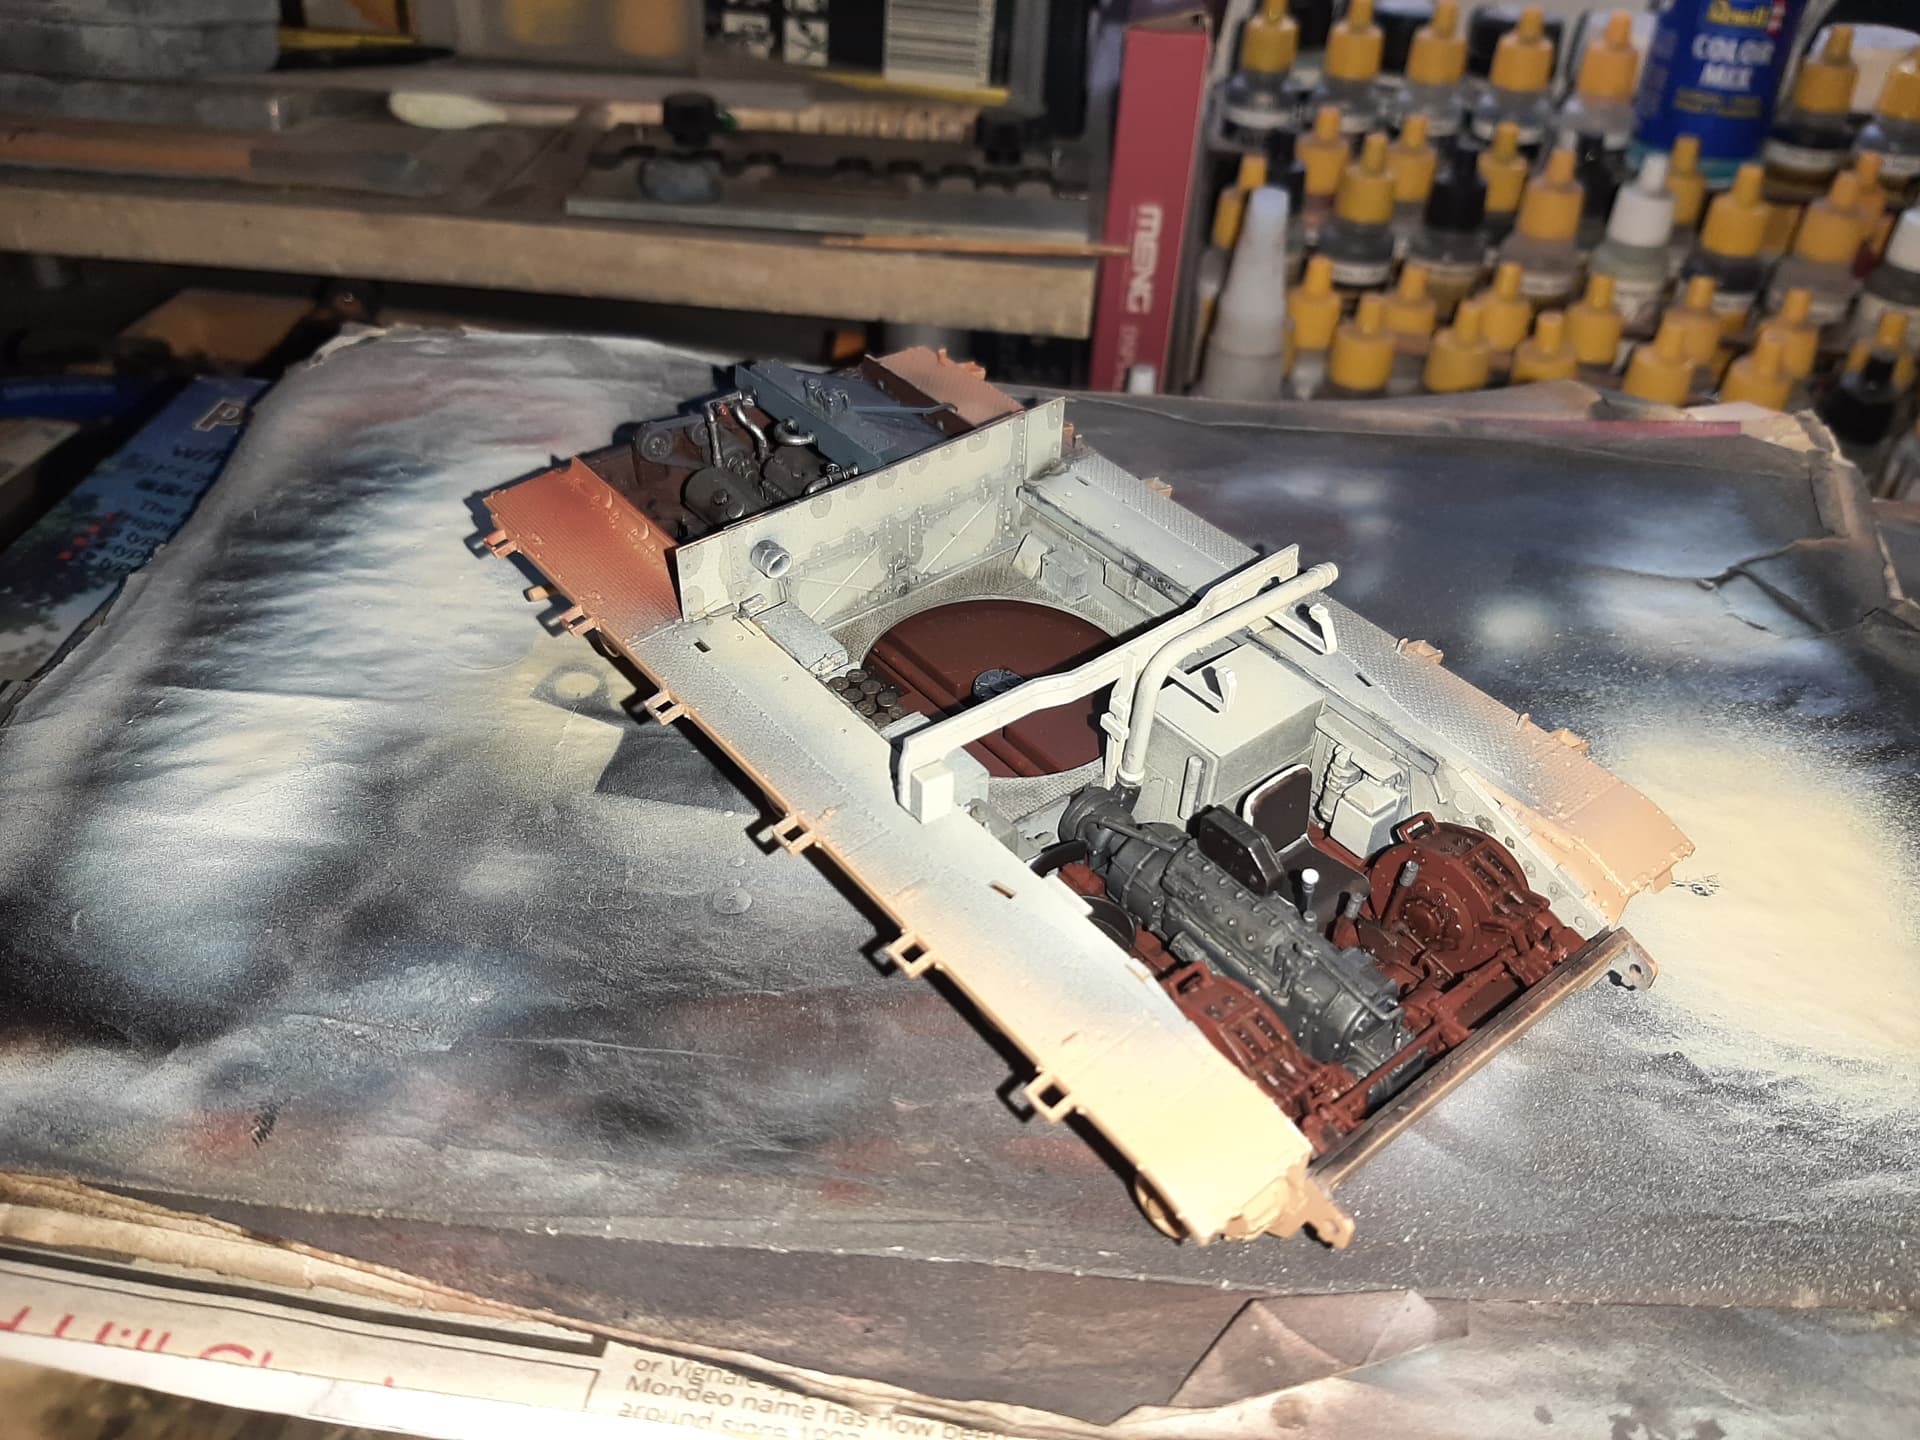
Anyway, I started this before Christmas, and as I had a month off, decided to begin this, It does go together a lot better than the Panther did. Although some parts fit is VERY tight, but so far, so good. Its nicely detailed but so fiddly in places, that it has tested my patience on several occasions.
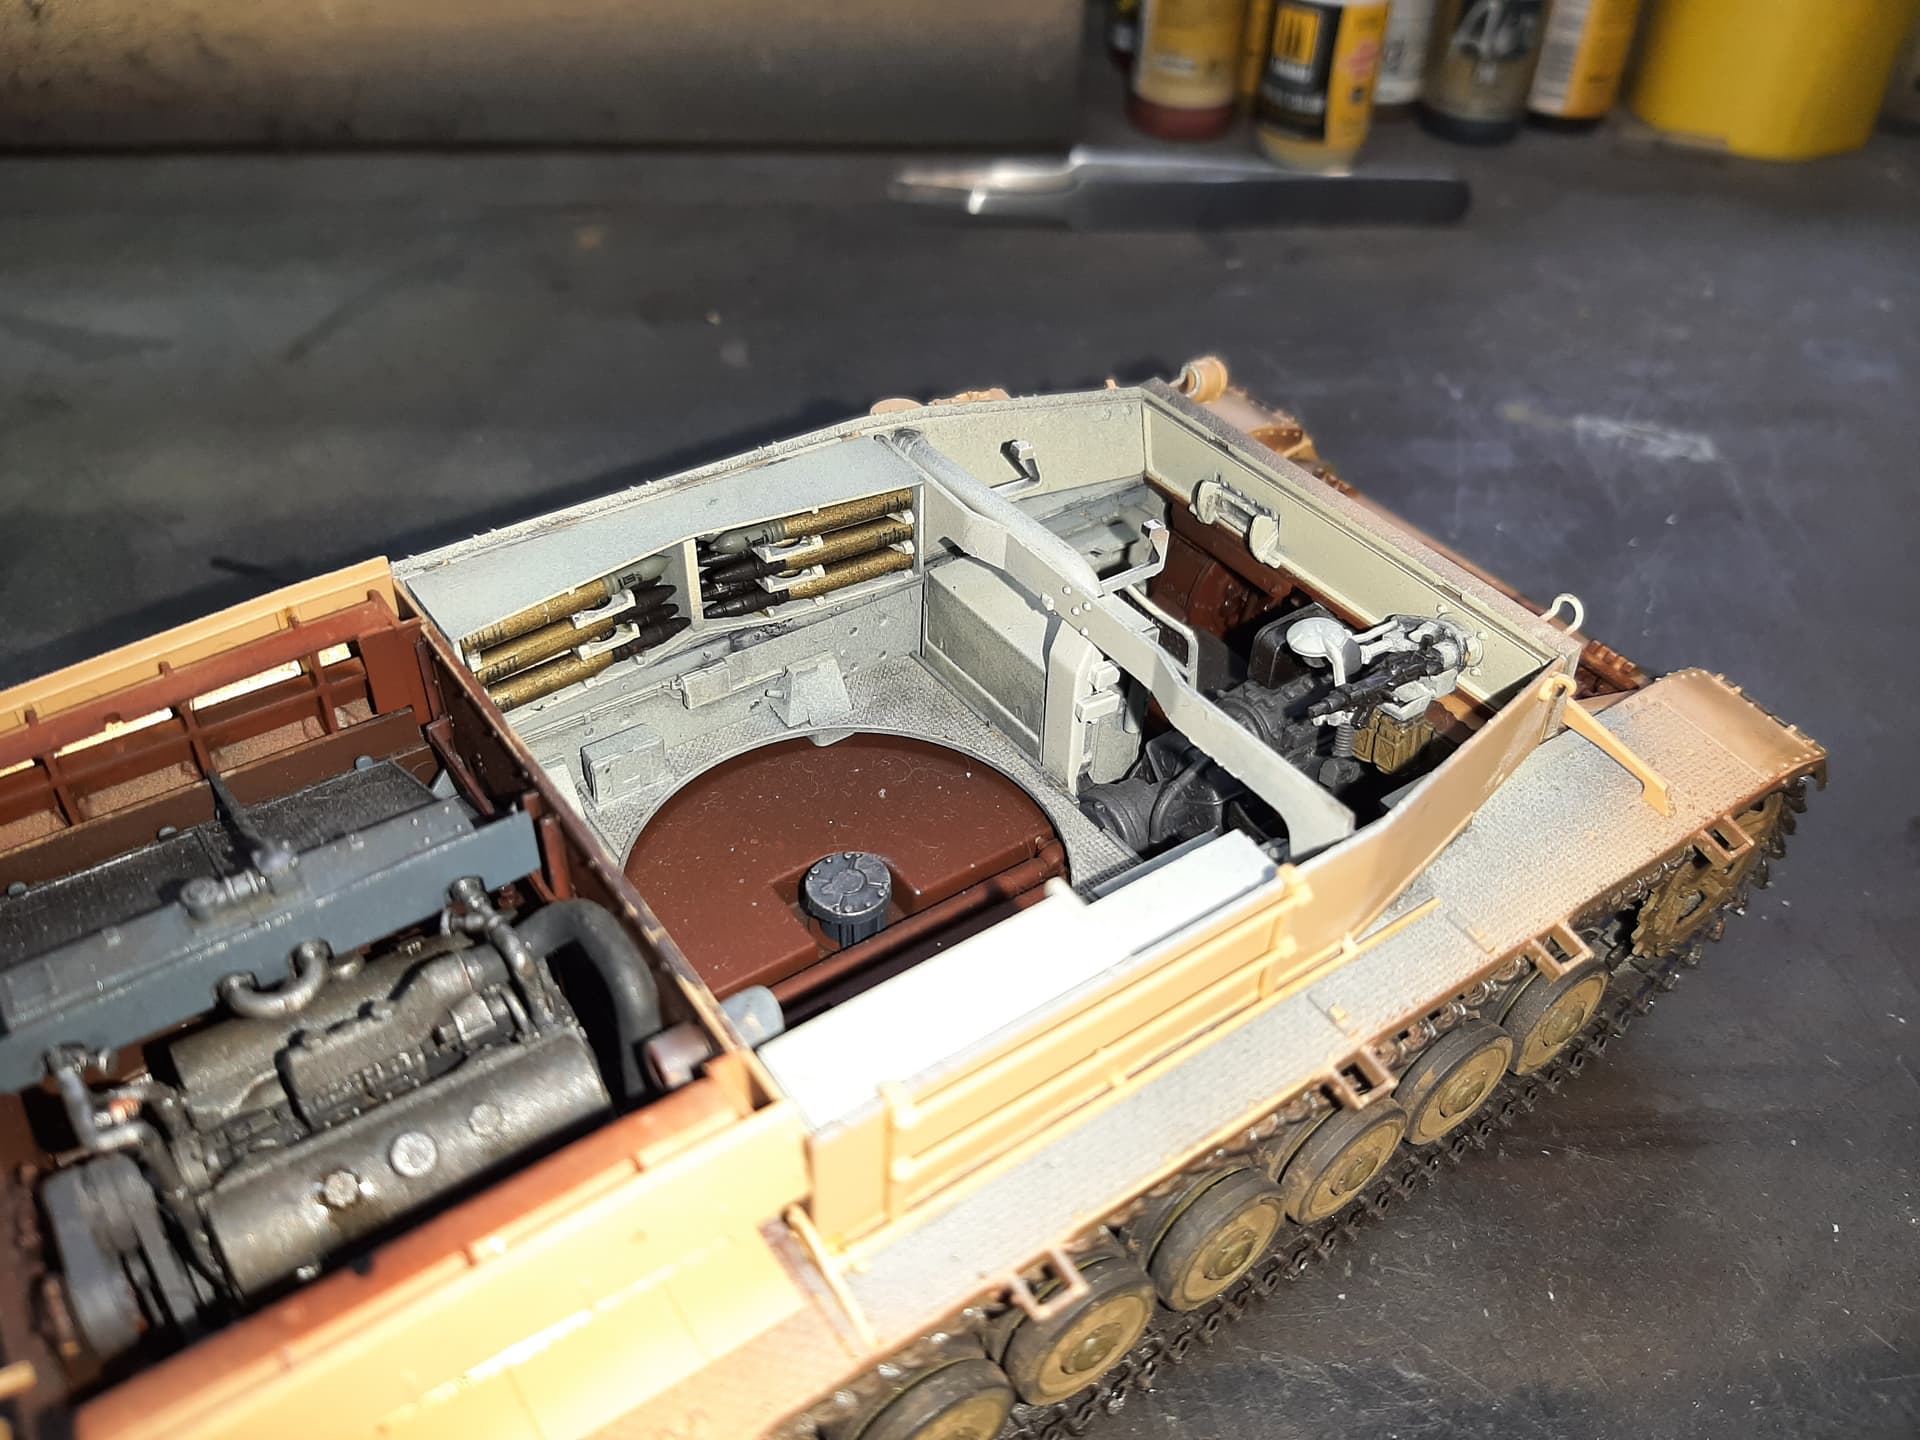
Also, you might ask why bother if you’re not going to see the interior detail? Well, the kit does come with clear parts for the superstructure and turret if you want to use them, but i’ve elected not to.
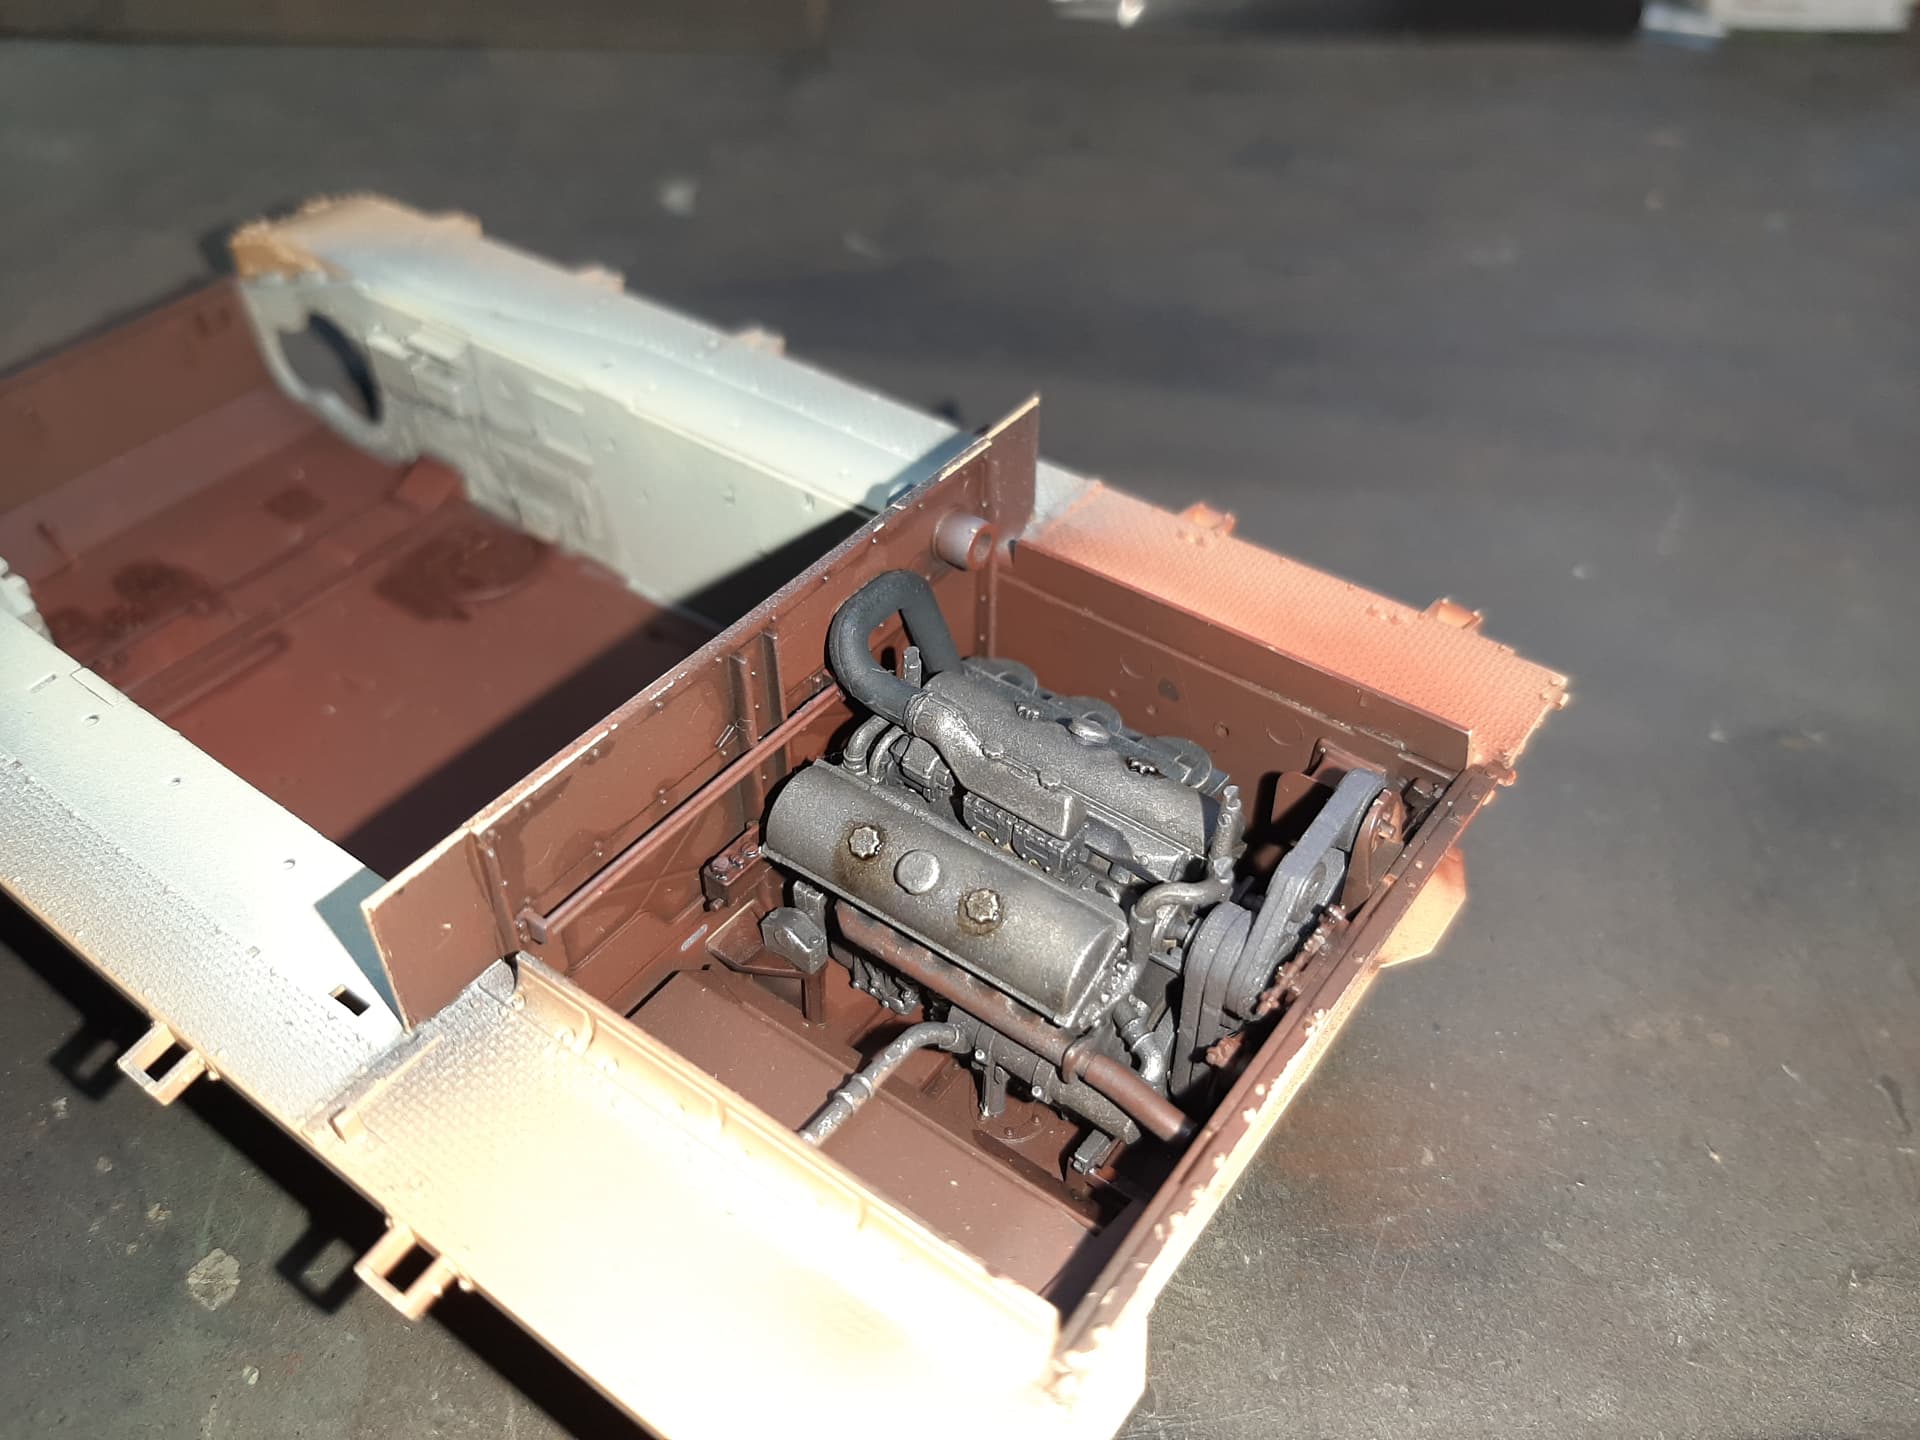
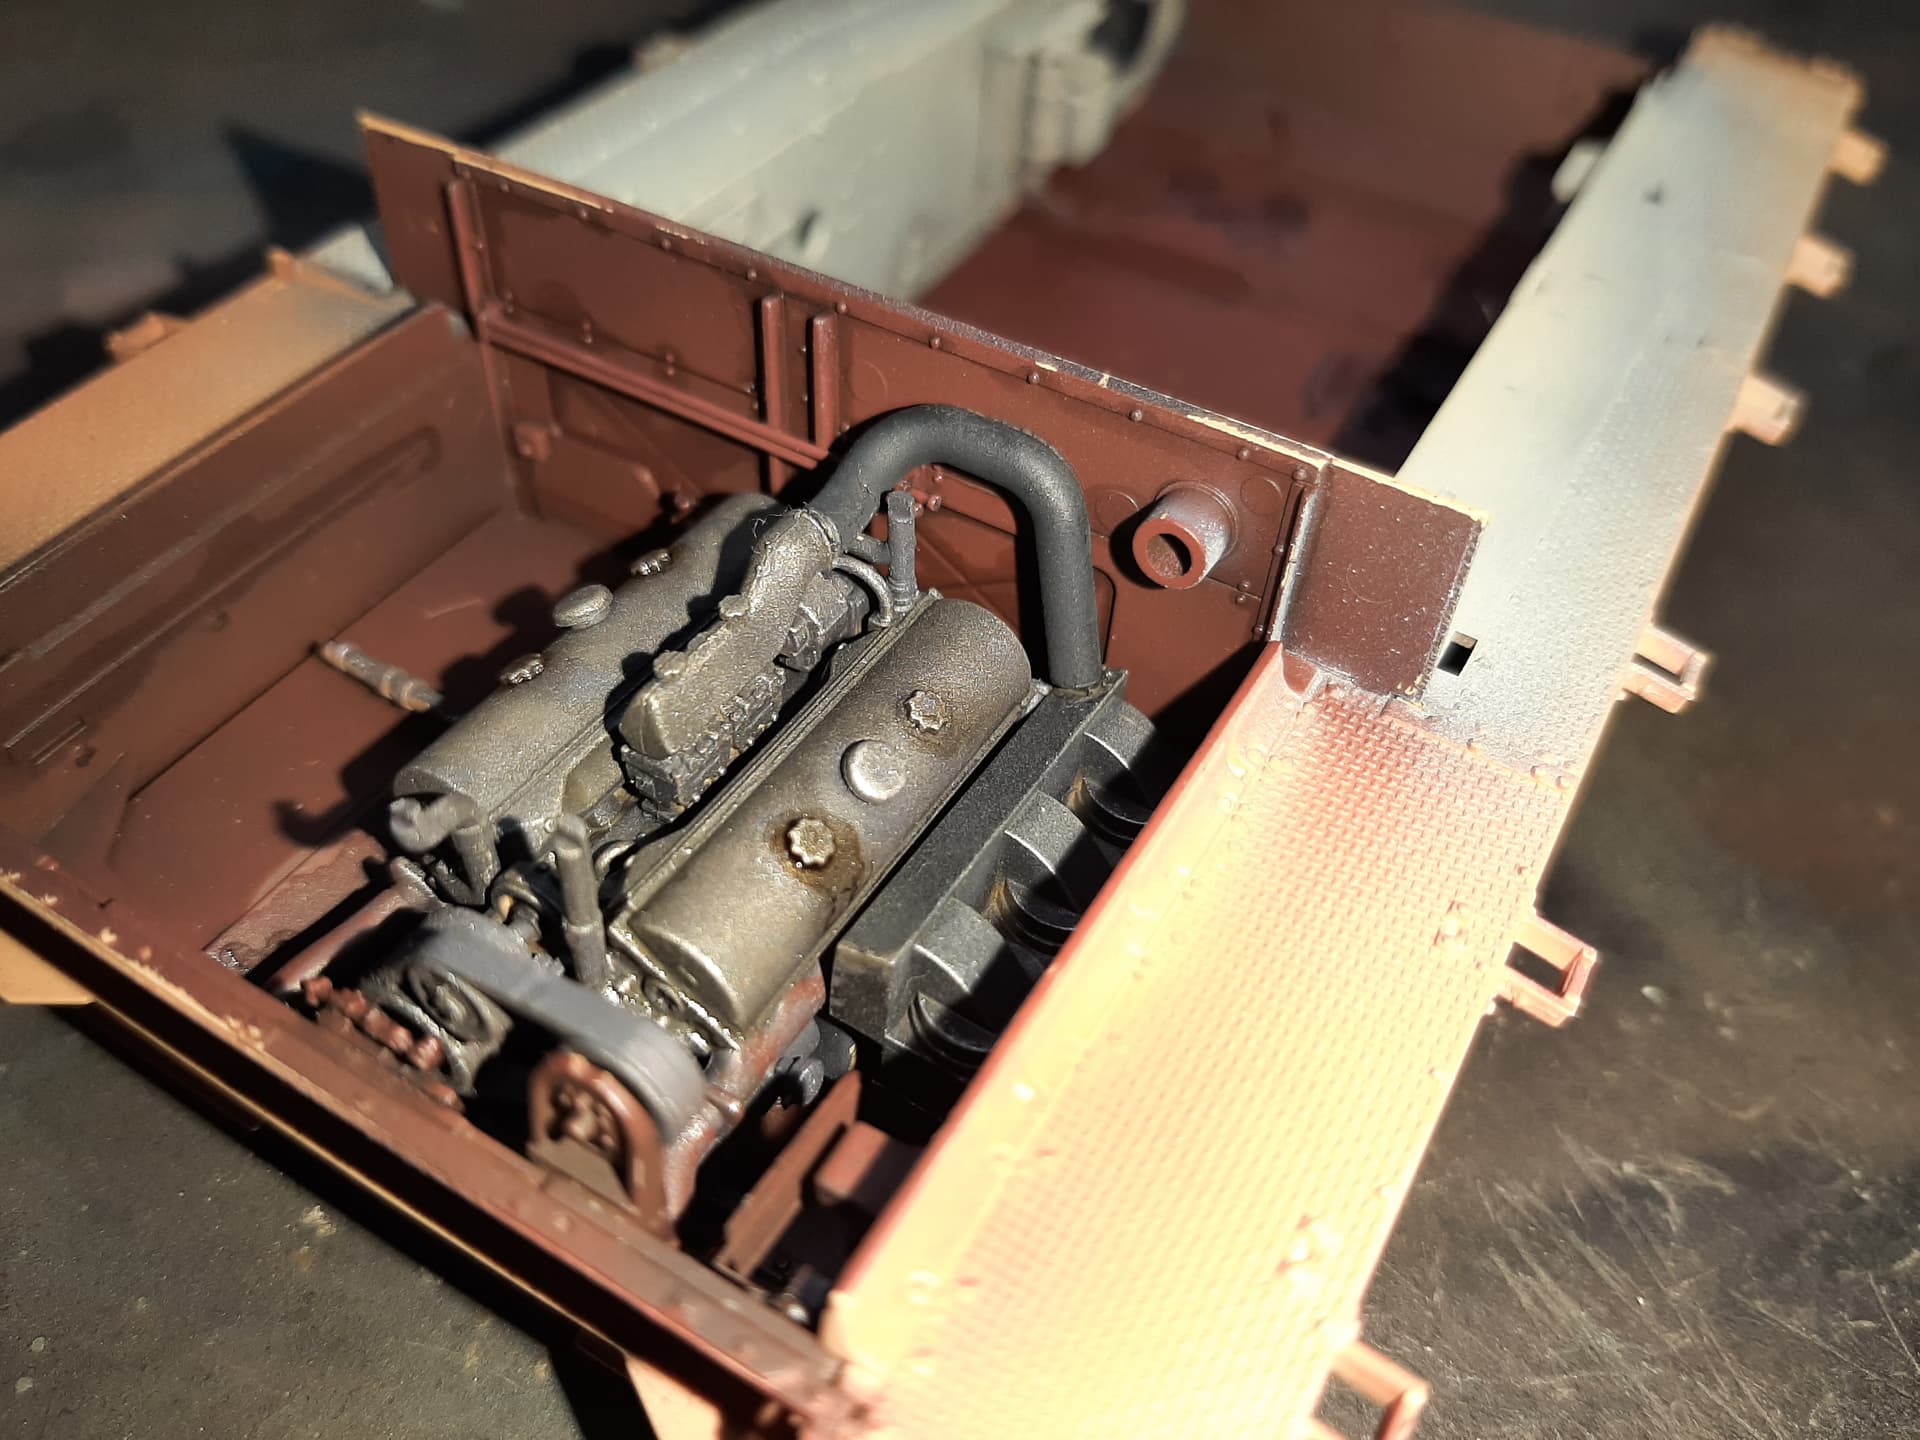
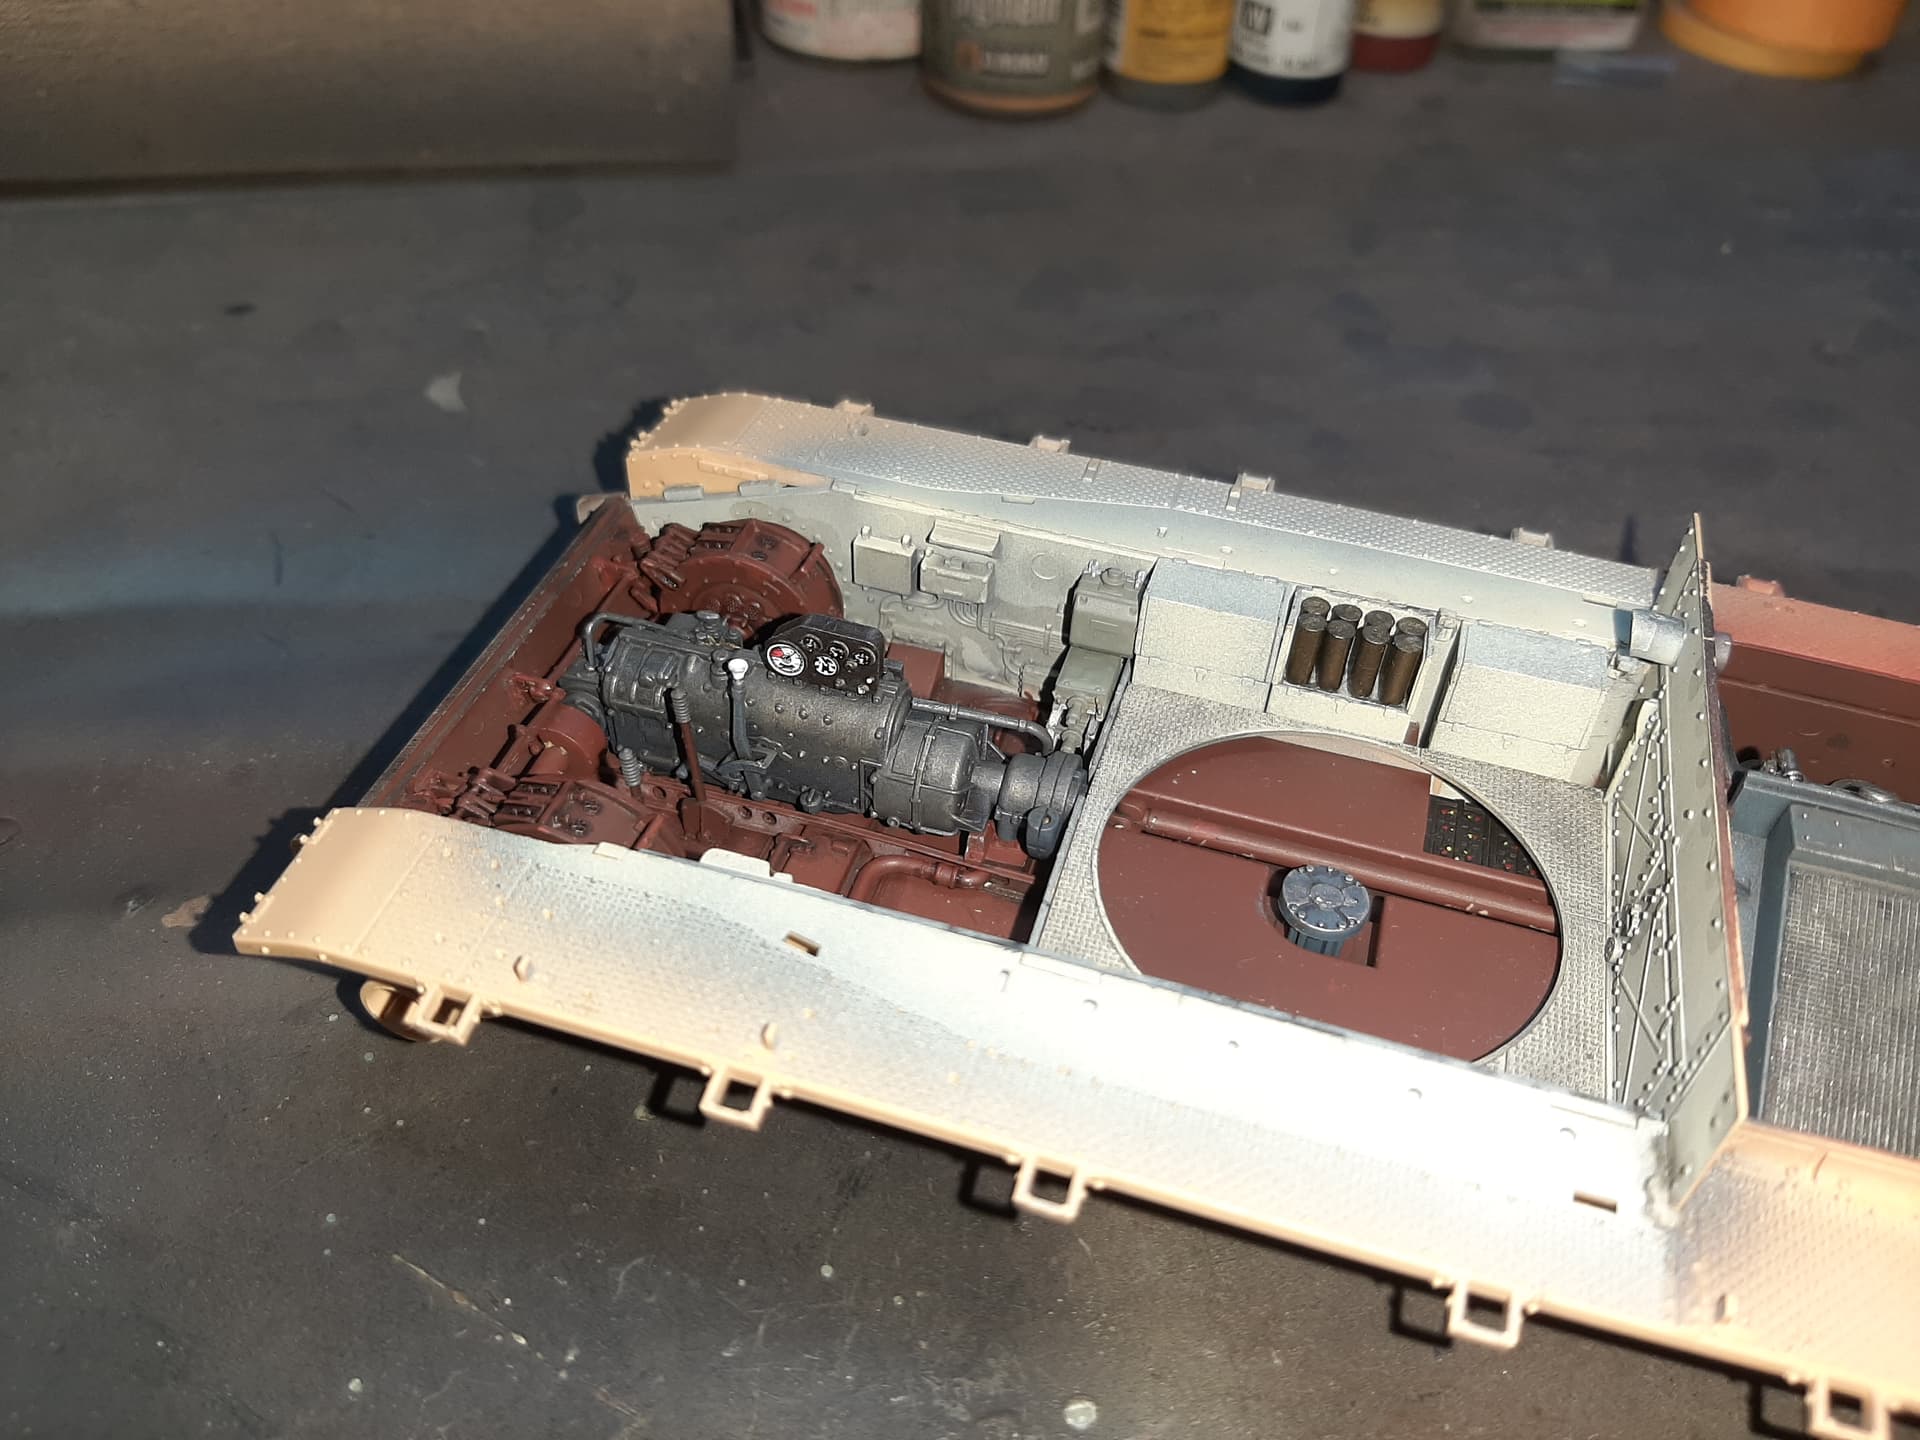
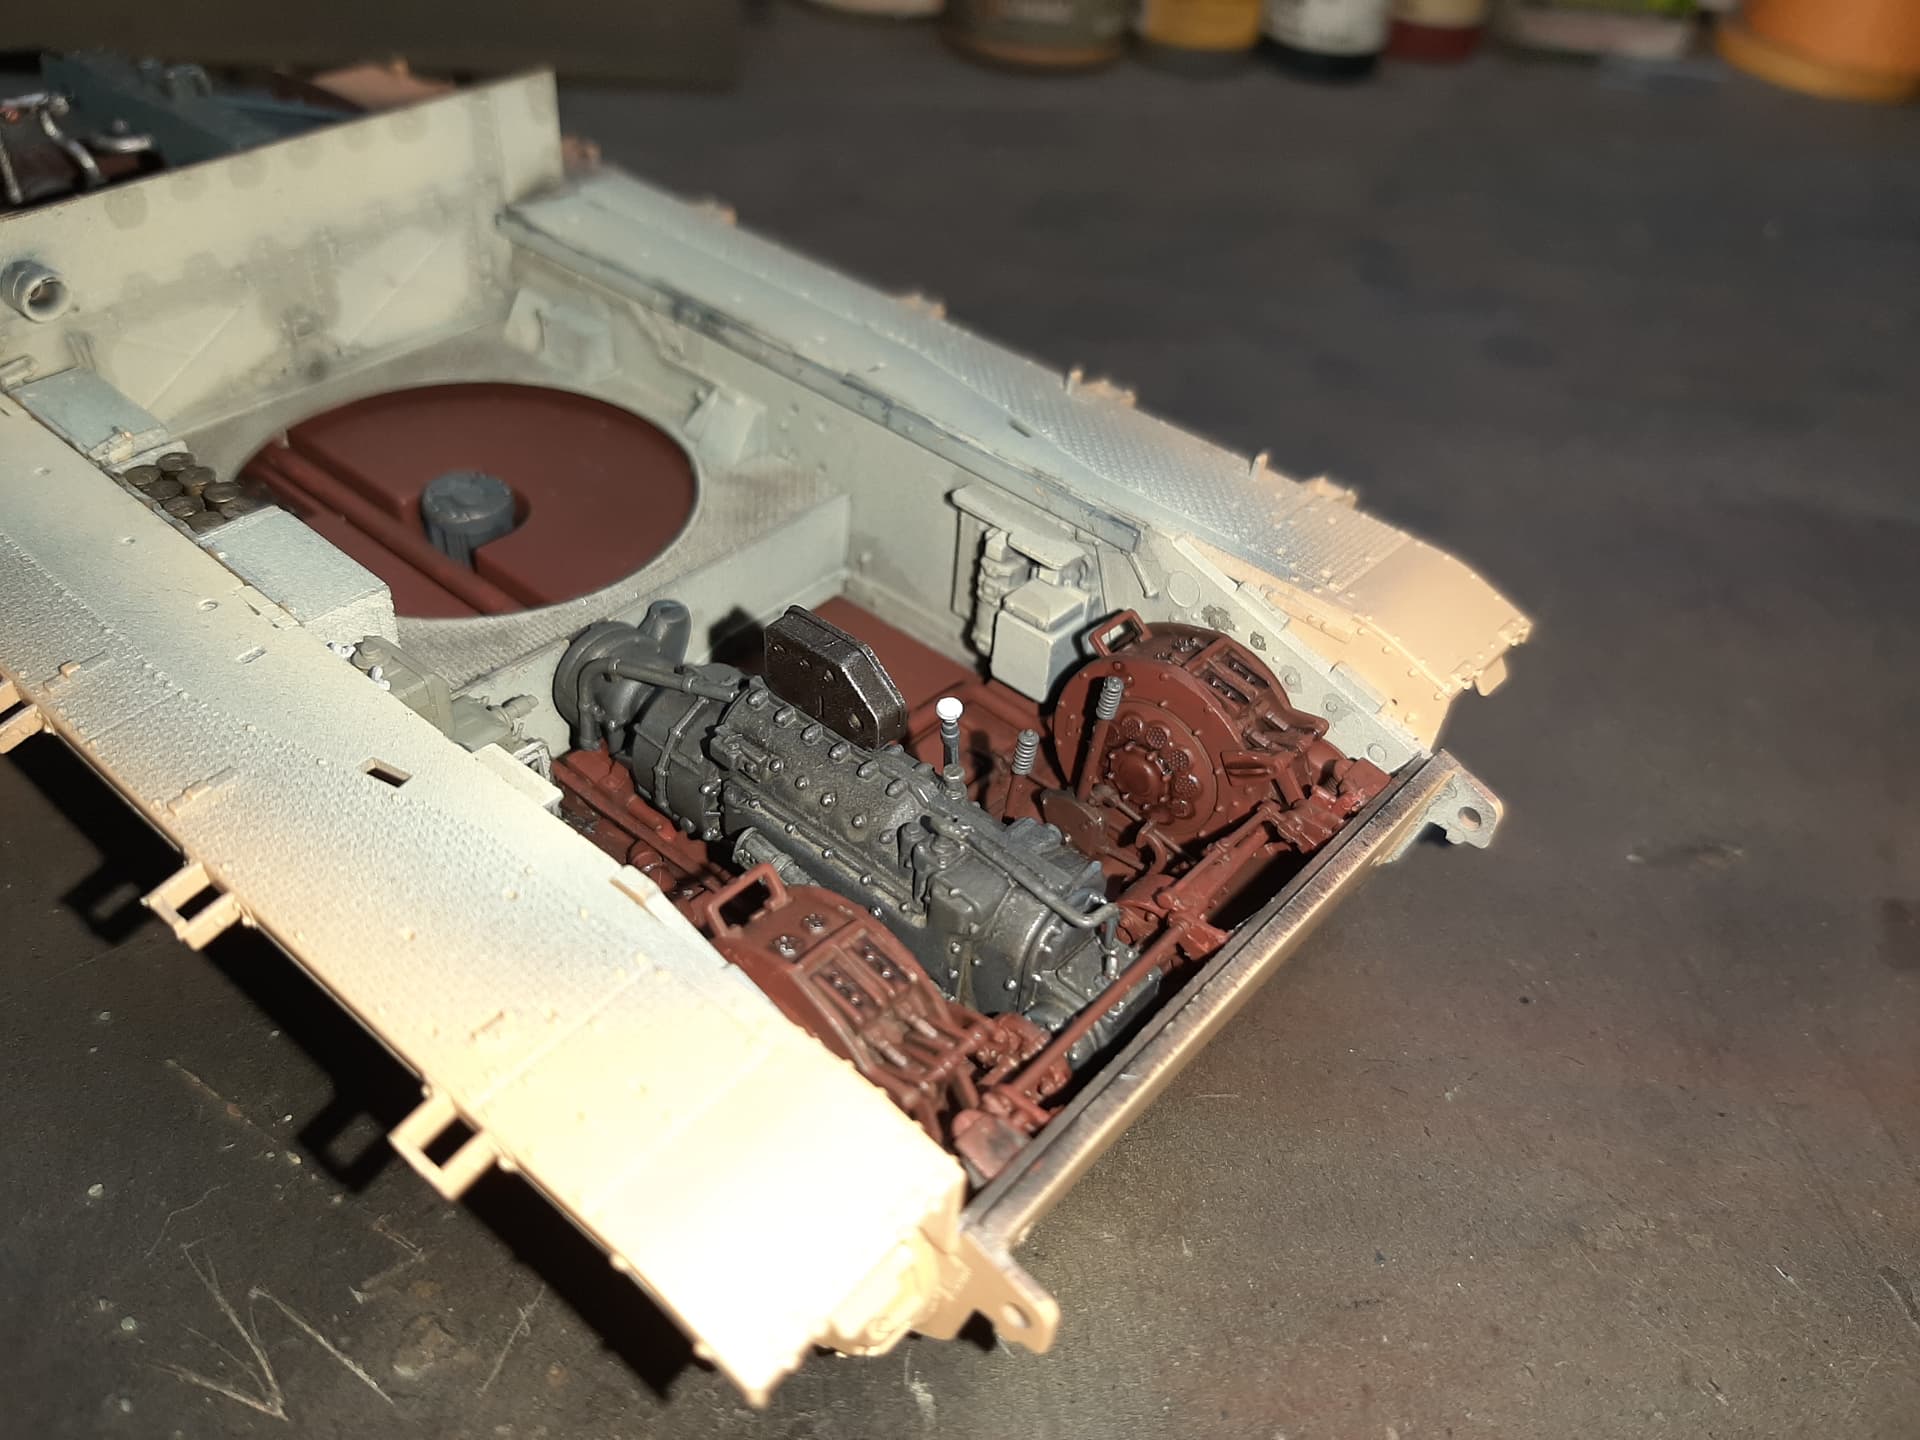
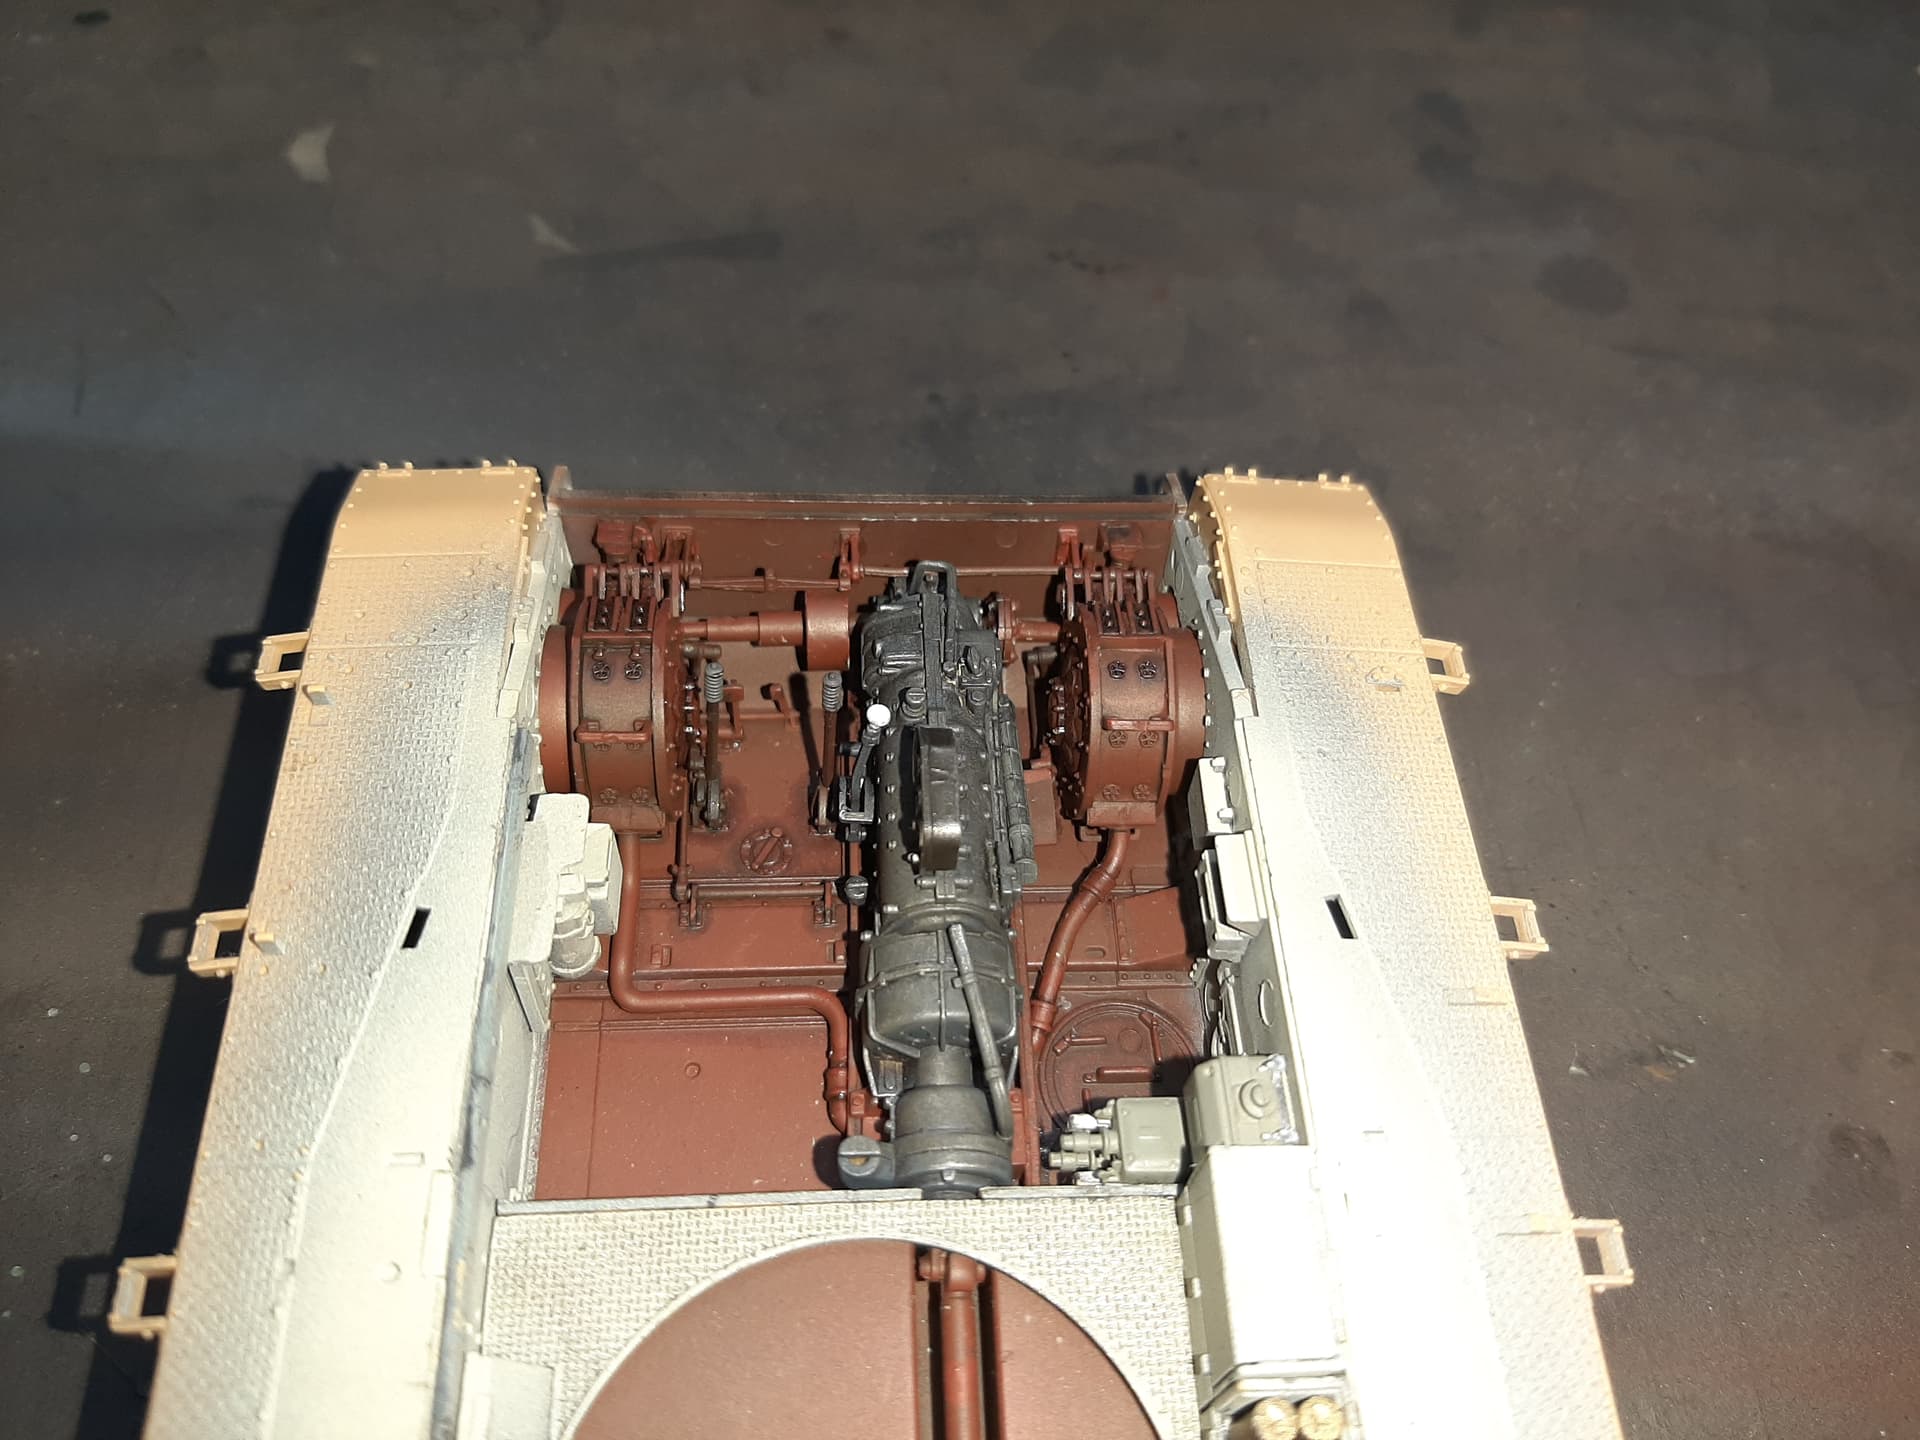
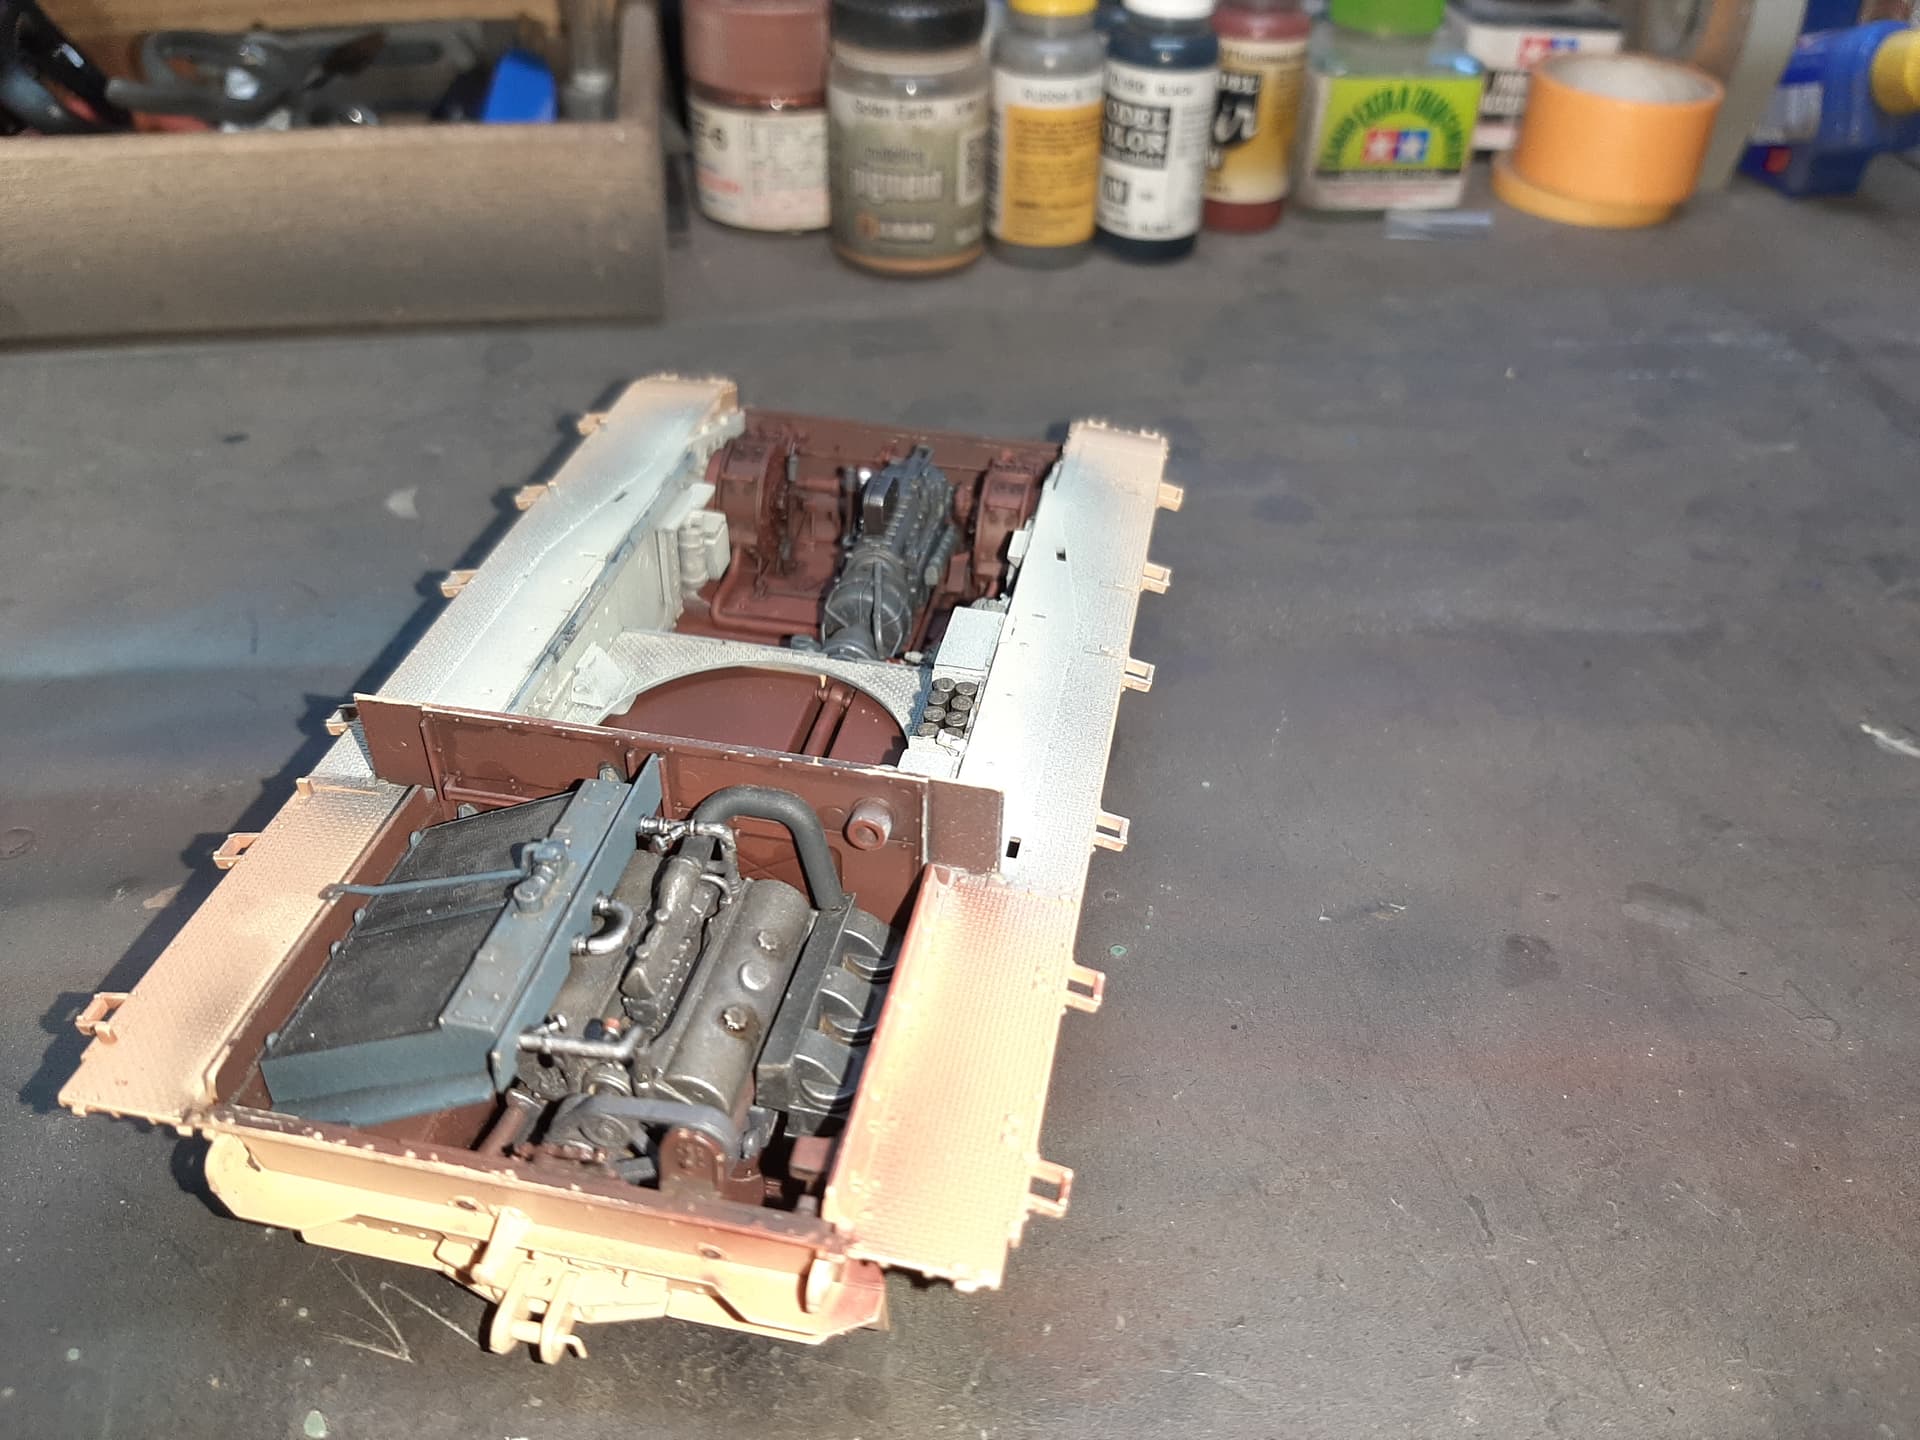
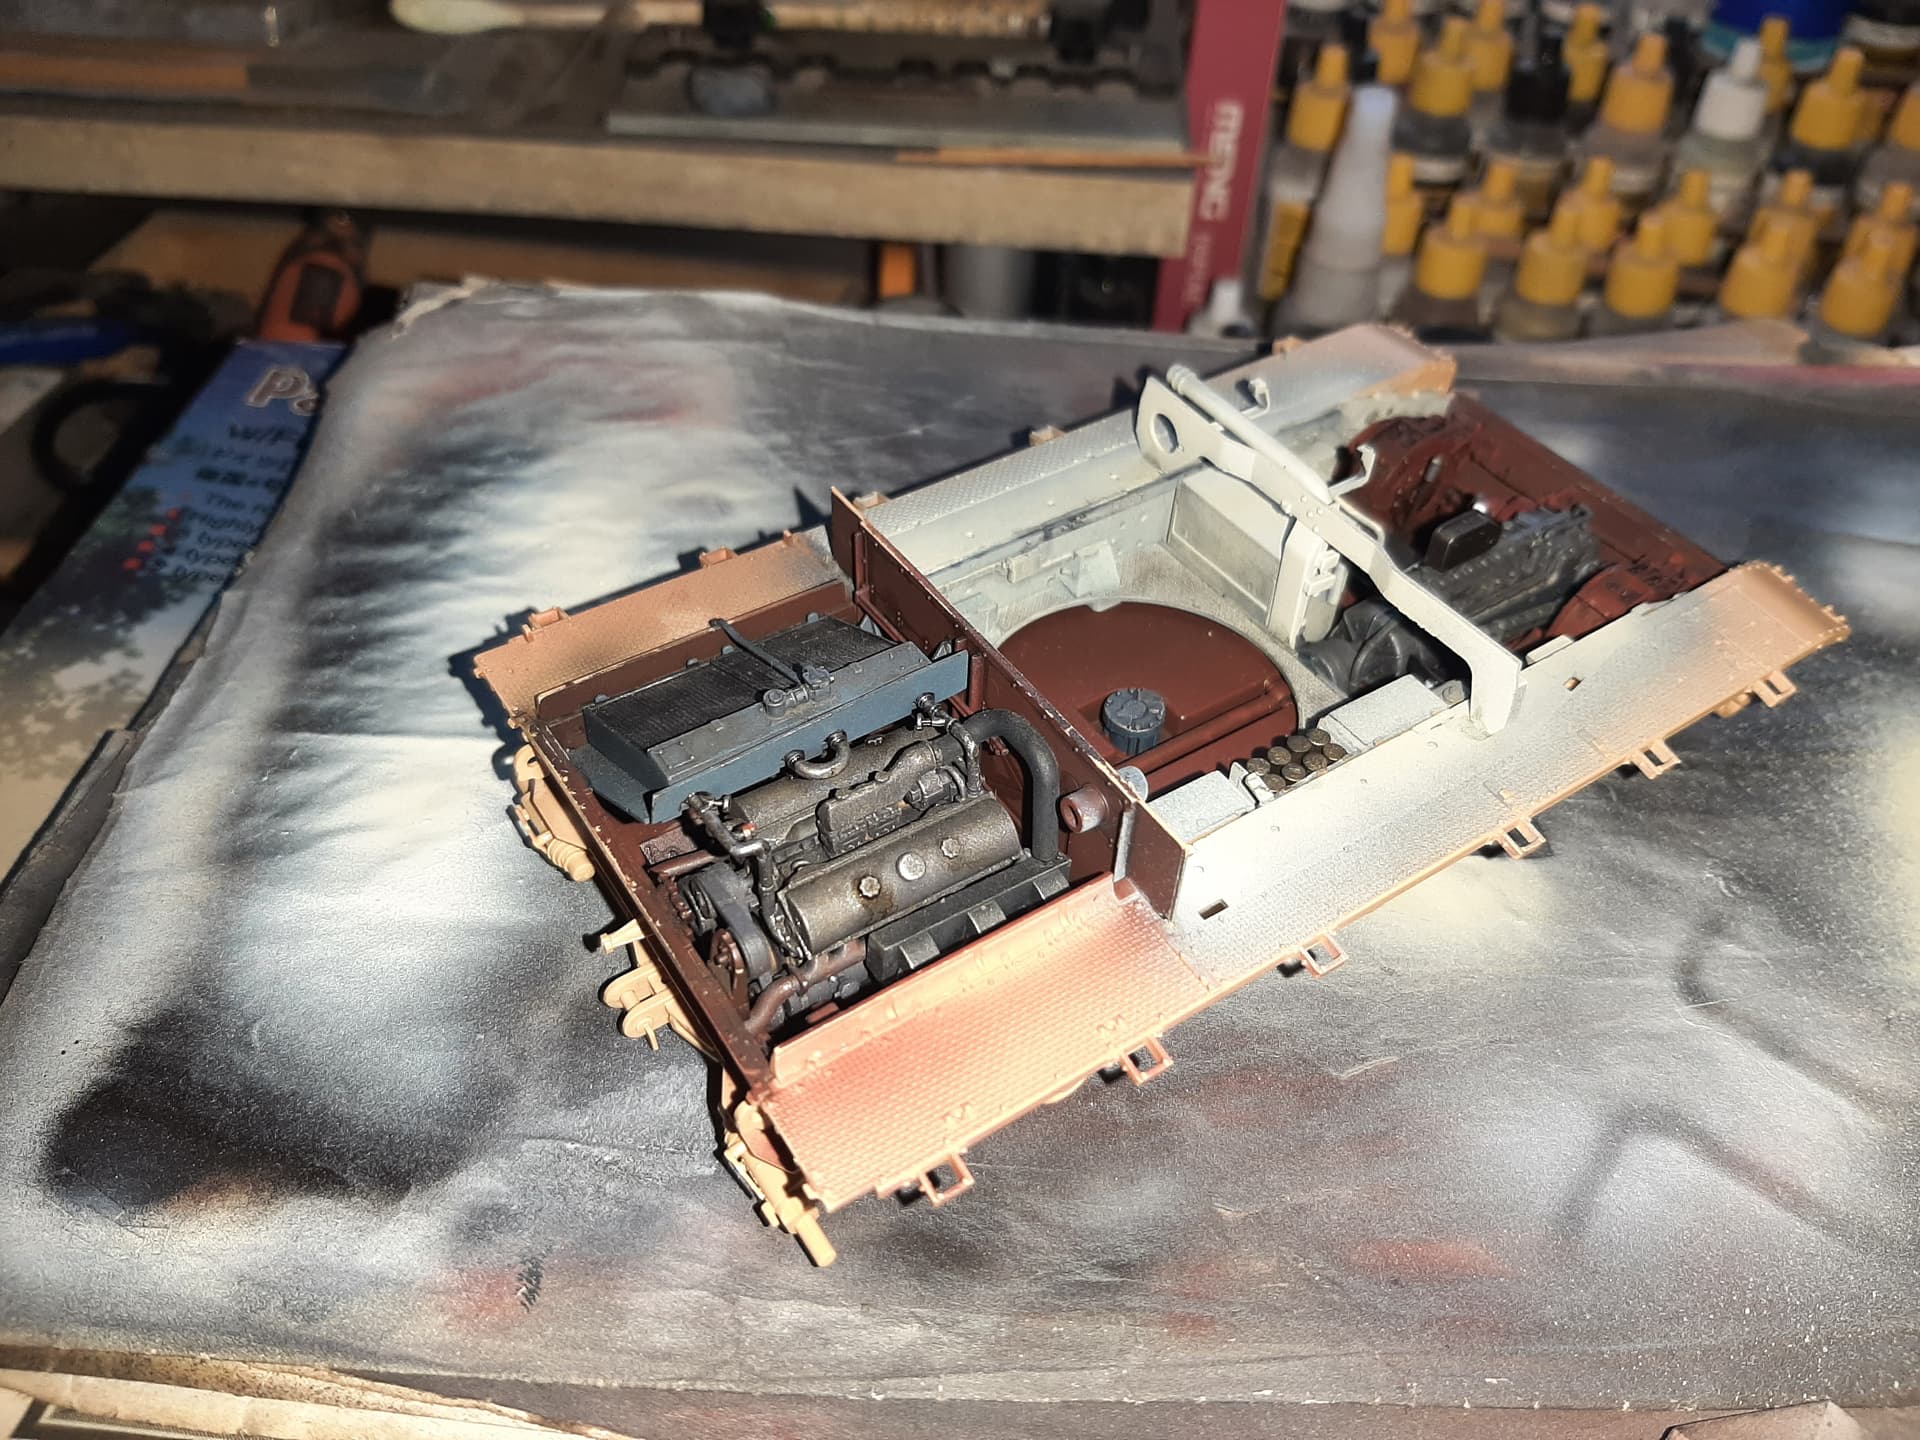
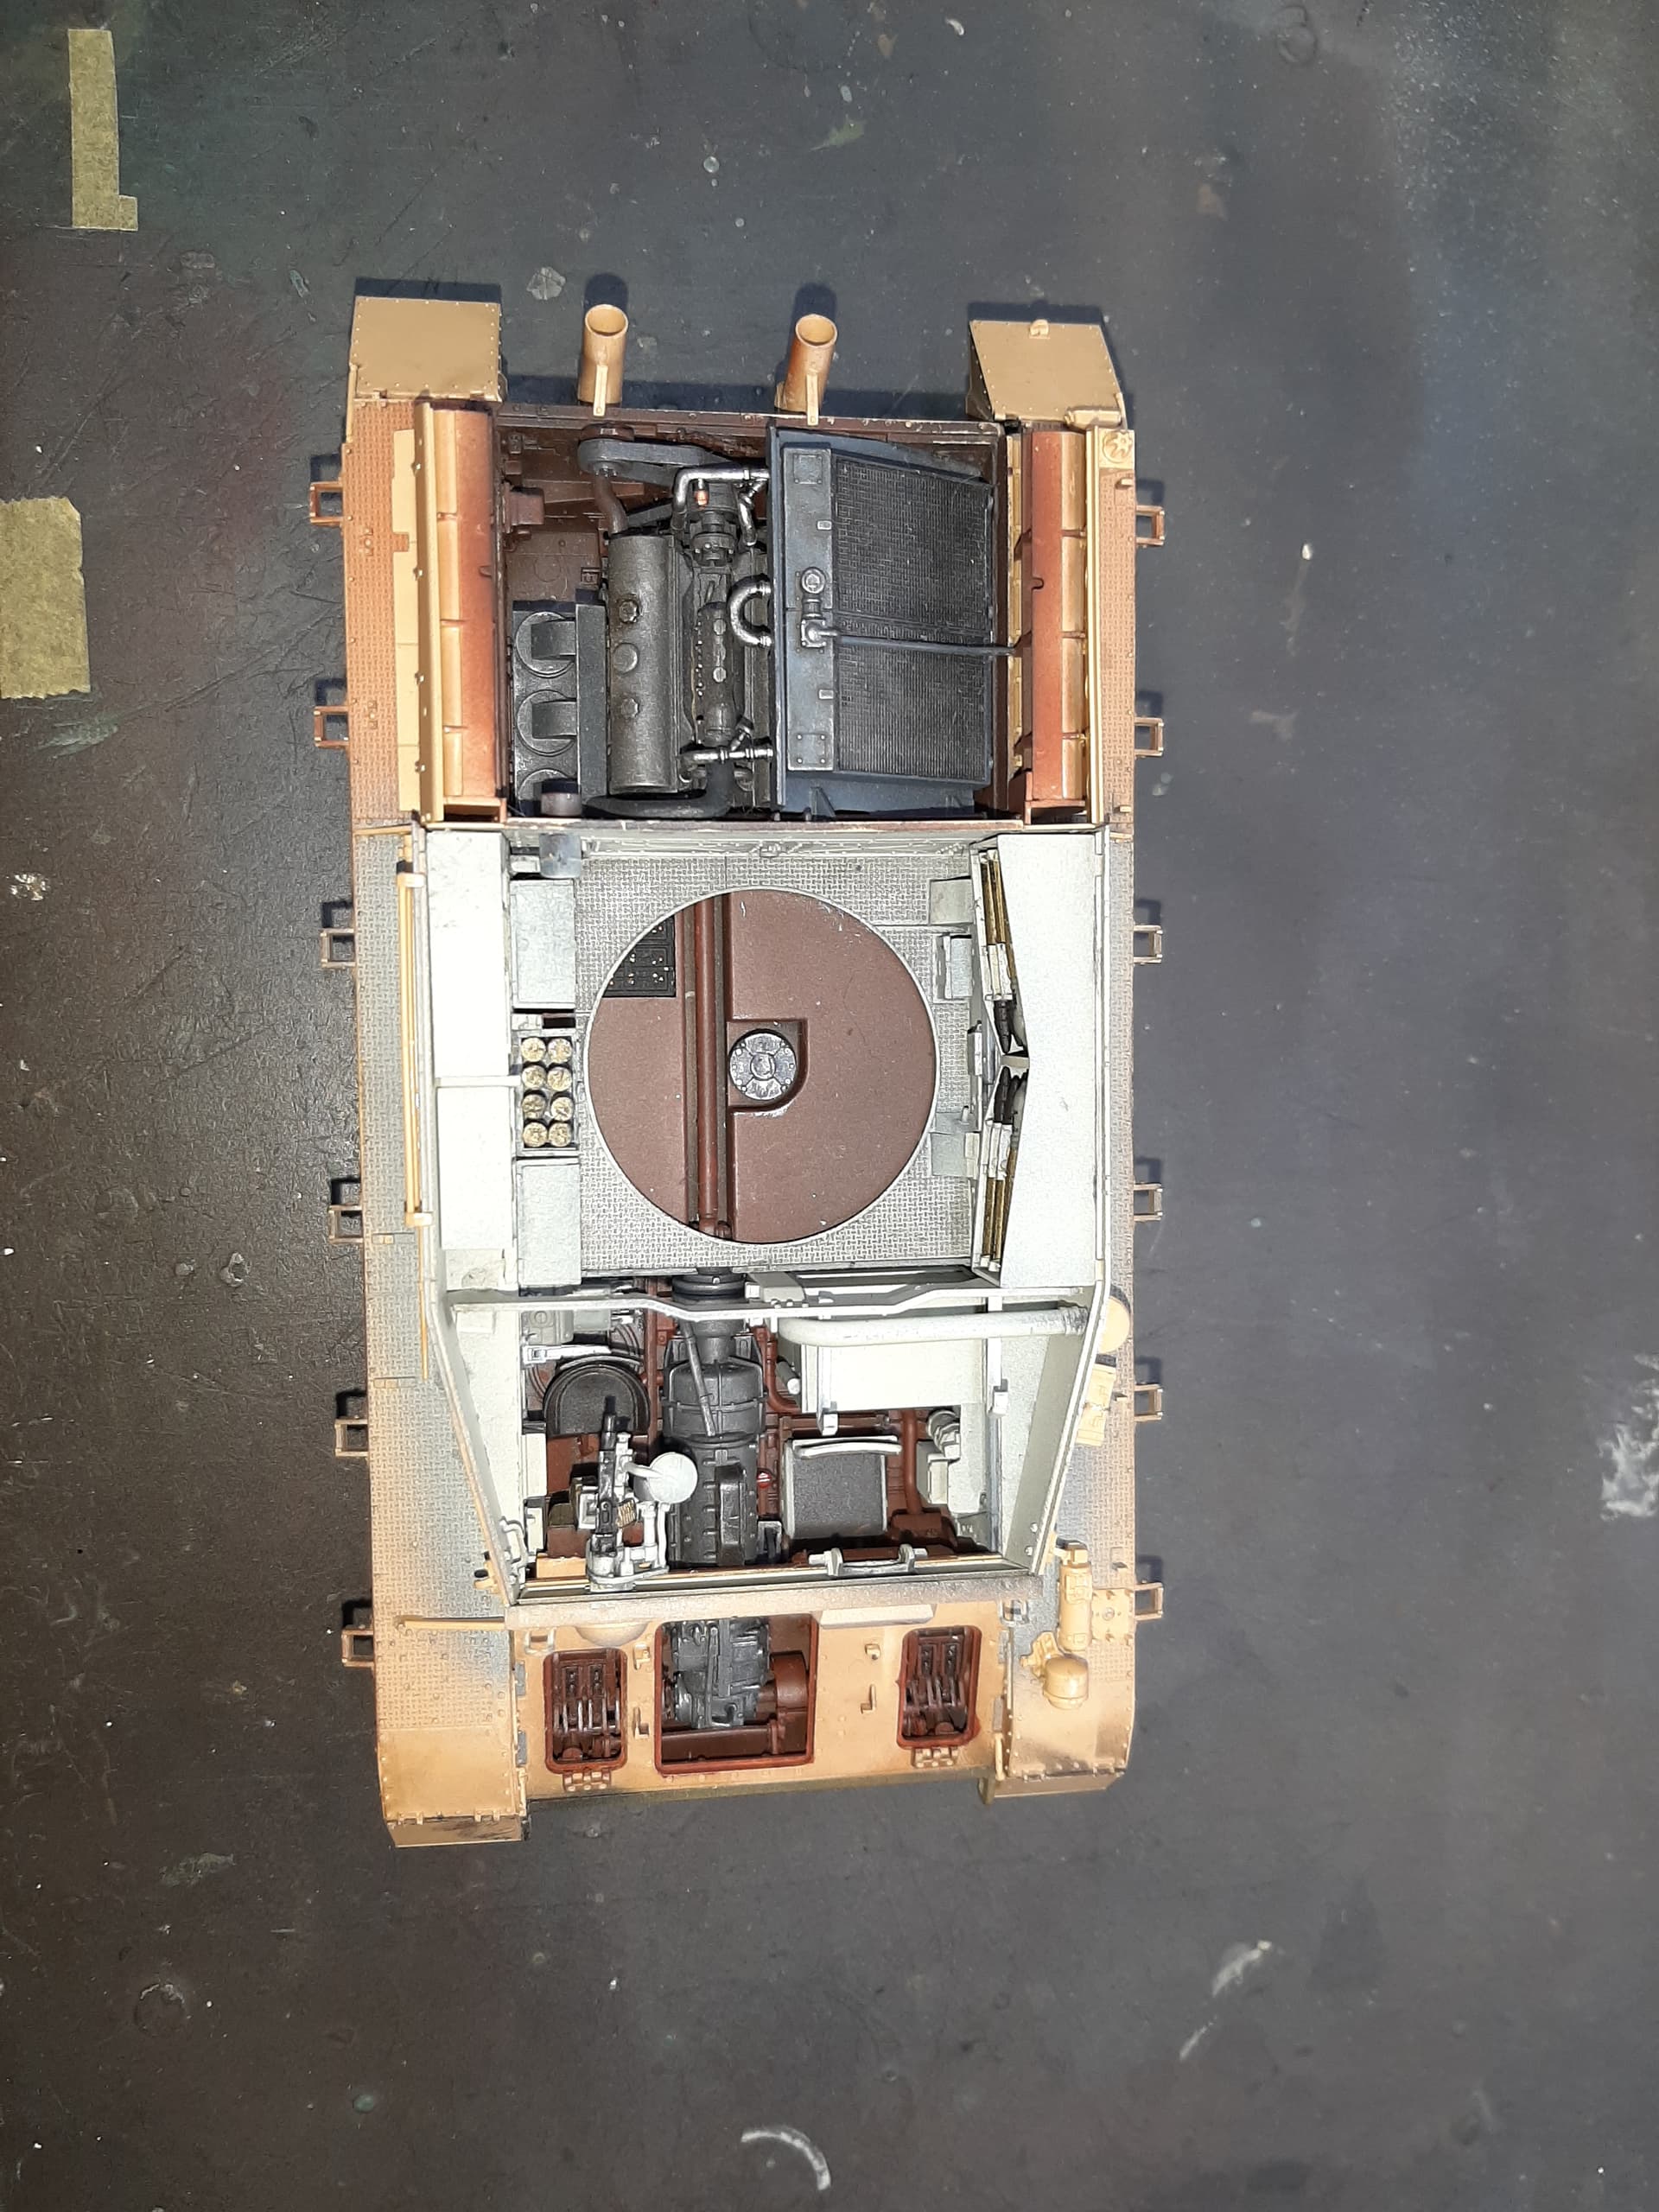
The answer is, I know its there. Plus, the Panzer IV offers multiple opportunities for open hatches and deck plates that a significant proportion of the interior will still be visible after constrruction.
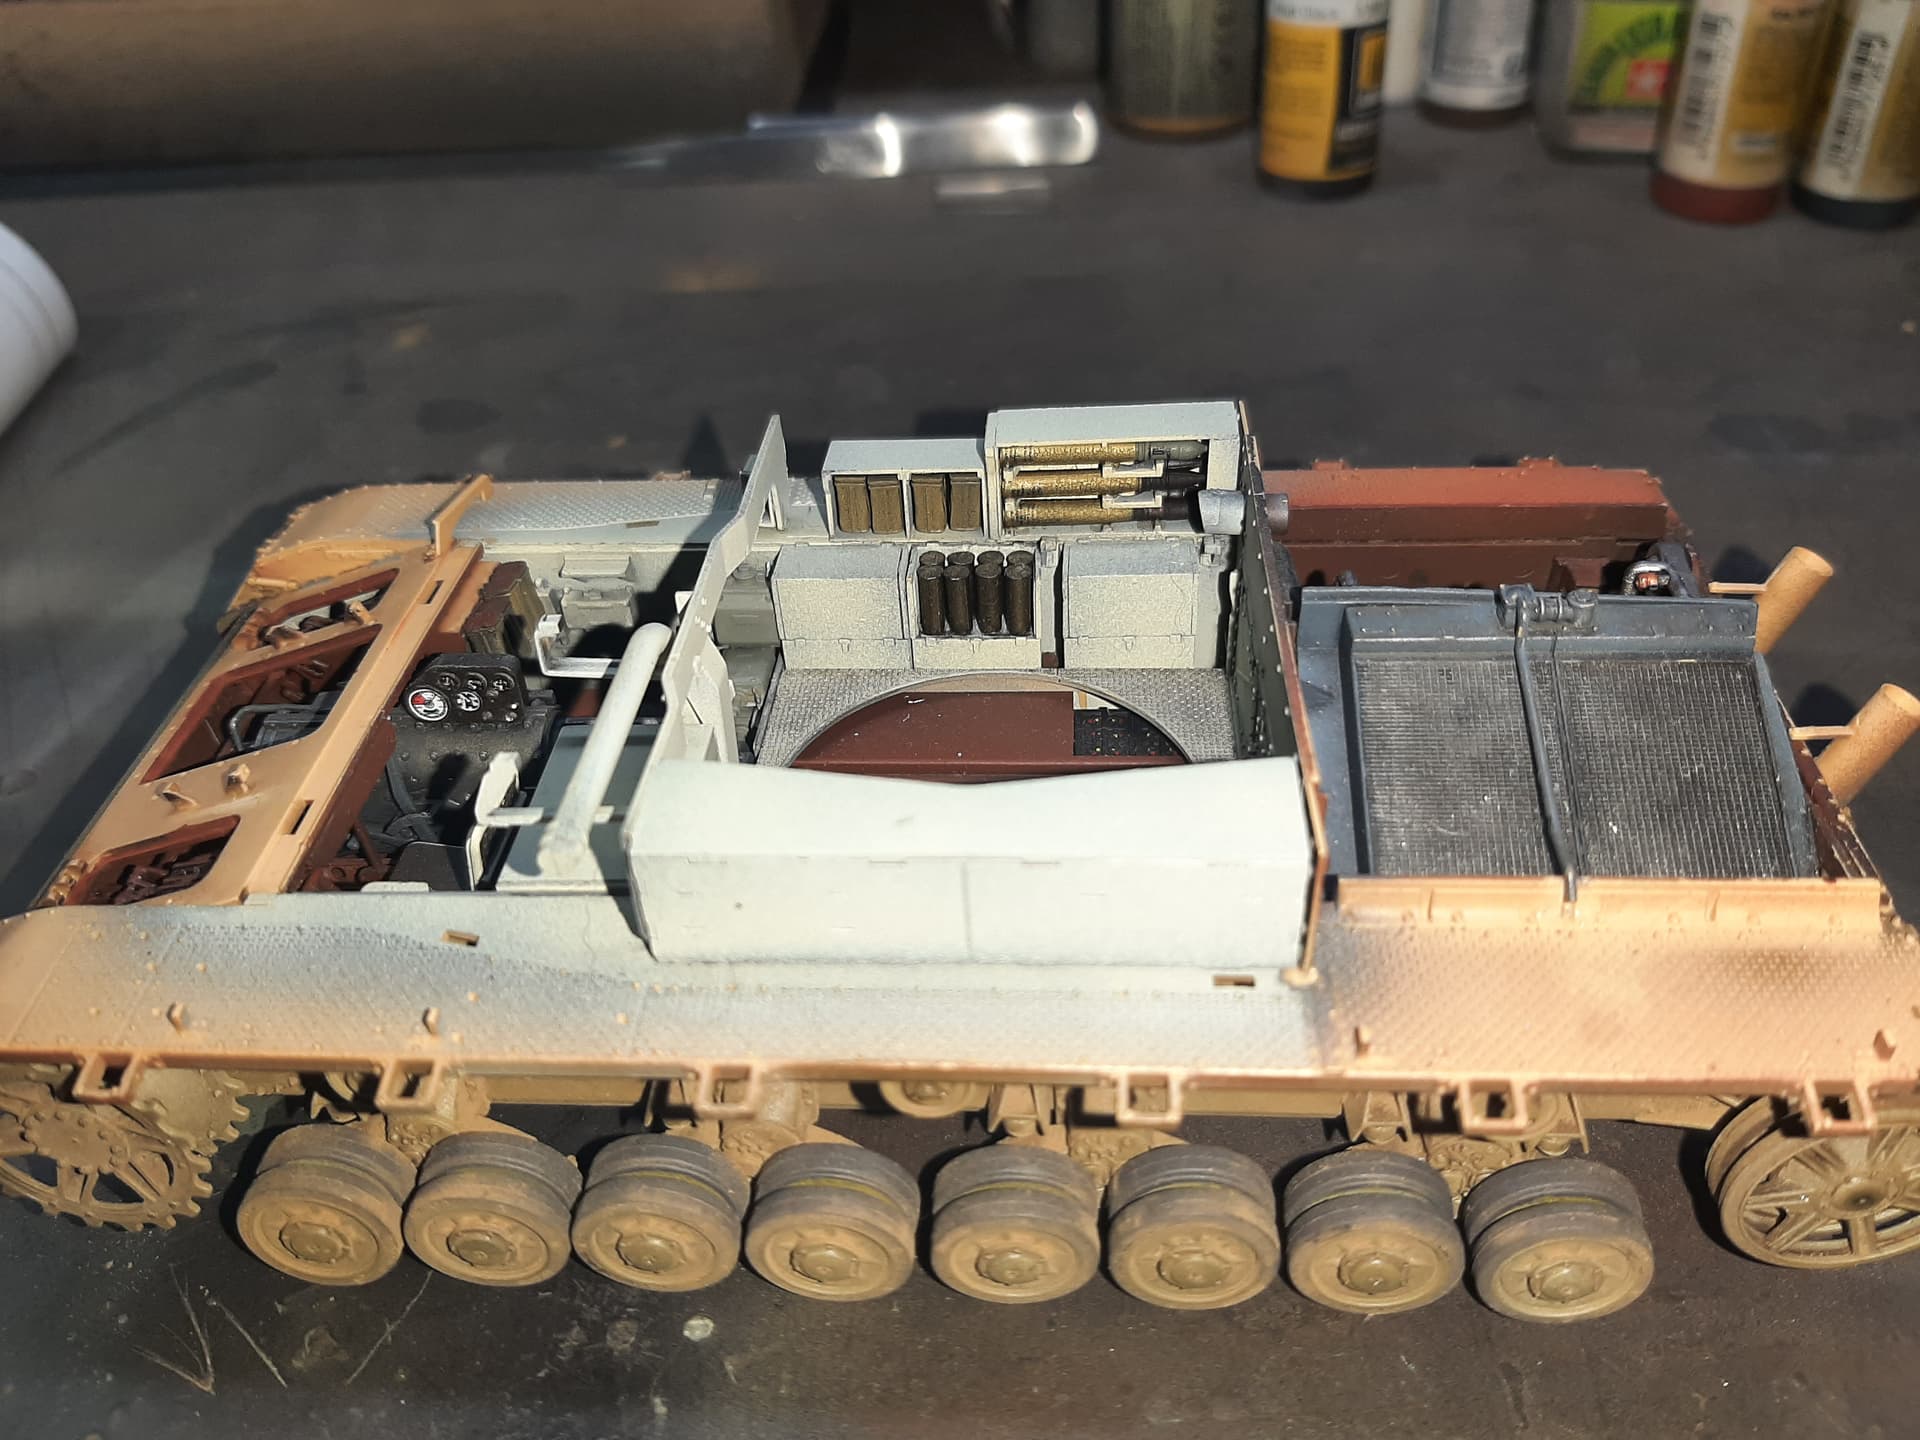
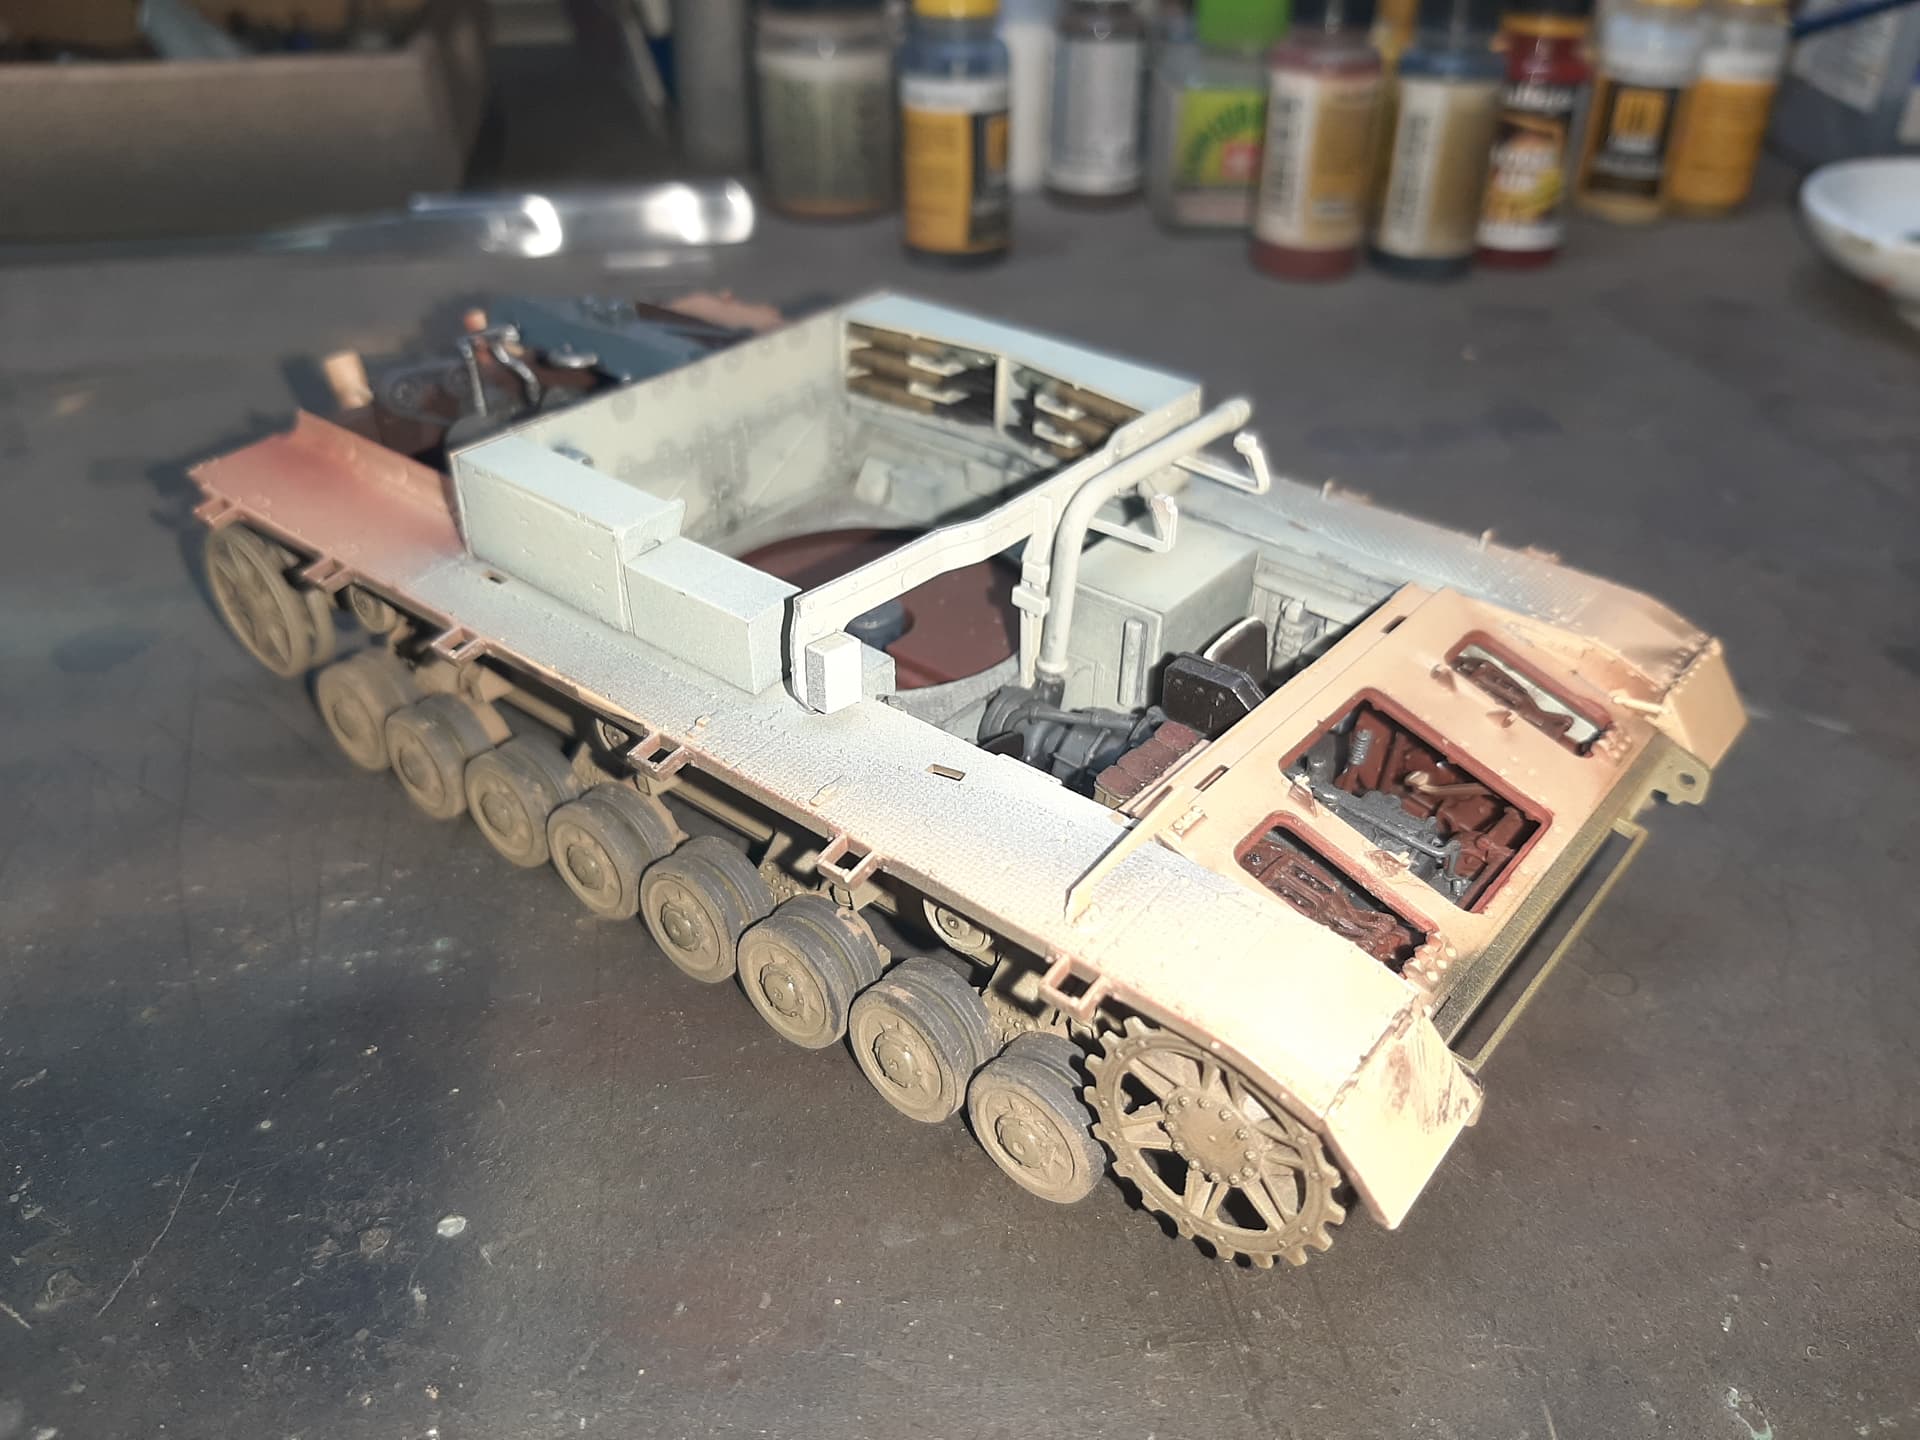
Made some progress, mainly the rather tedious task of completing the running gear. Thank goodness for Quickwheels, who make this task so much more bearable.
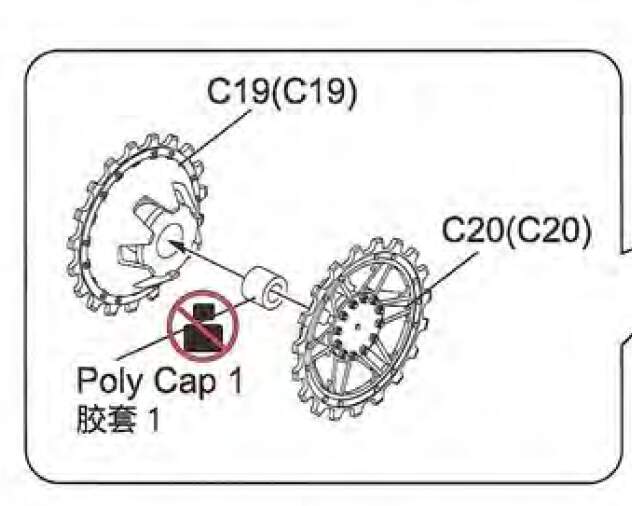
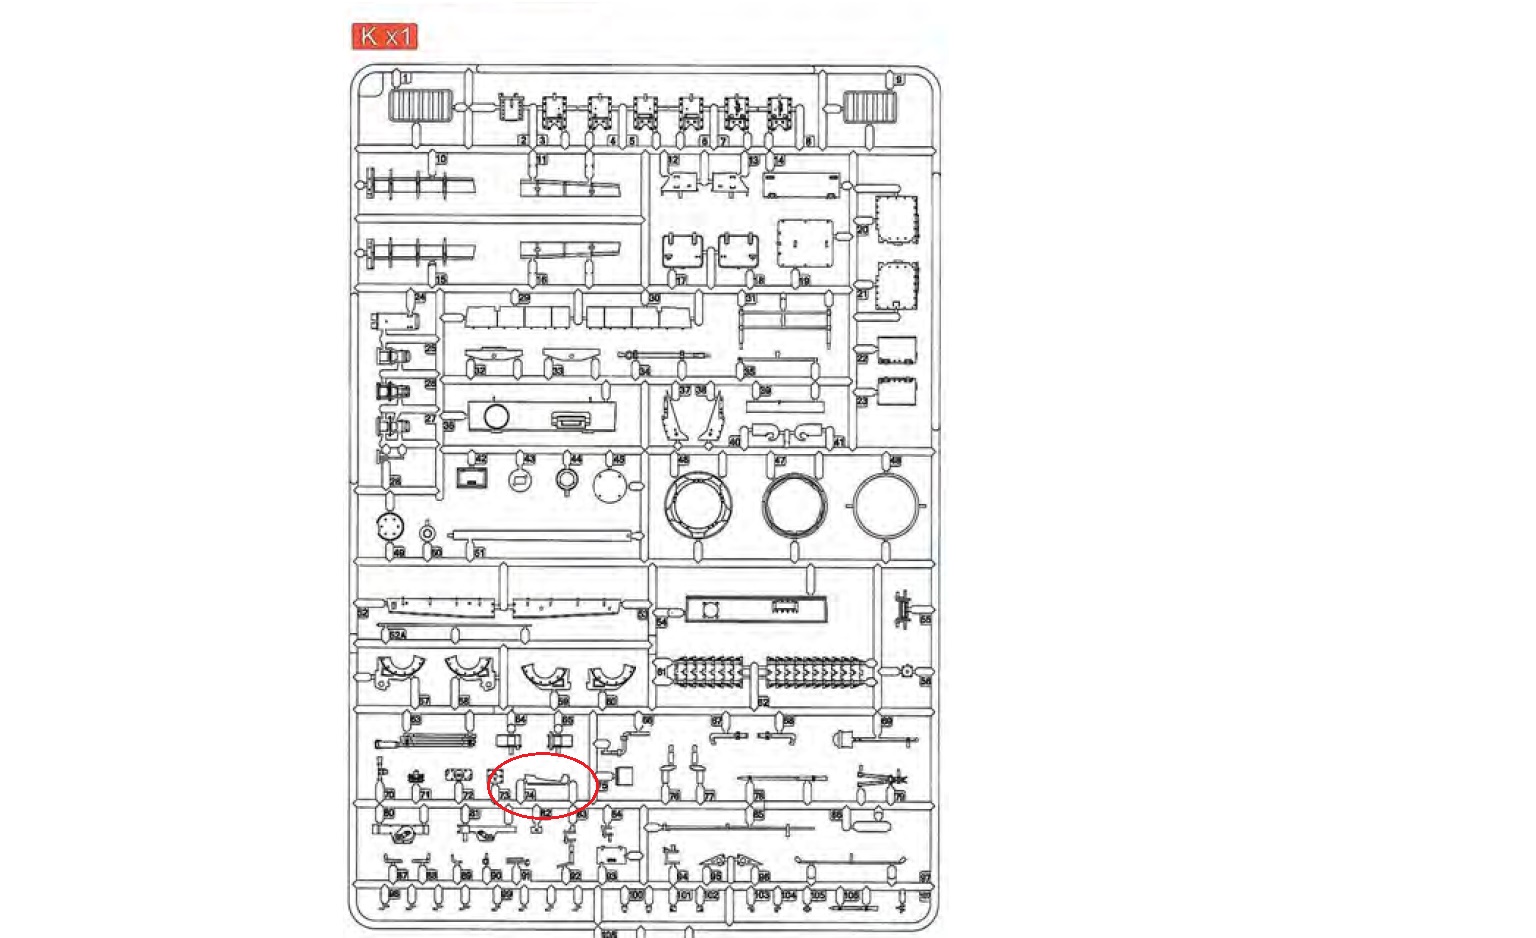
You’ve got to be really carefull with the drive sprockets. Seriously.
Although there are several ways each two halves of each sprocket will fit together, only one way, seemingly, will allow the sprocket teeth to align with each other on each side. There’s no ‘key’ tab or anything like that, so you CAN get it horribly wrong.
I had to go back and forth on some things. One thing I did find are the hangers in (G4/3) are quite resilient taking the top and bottom half on and off, of course carefully.
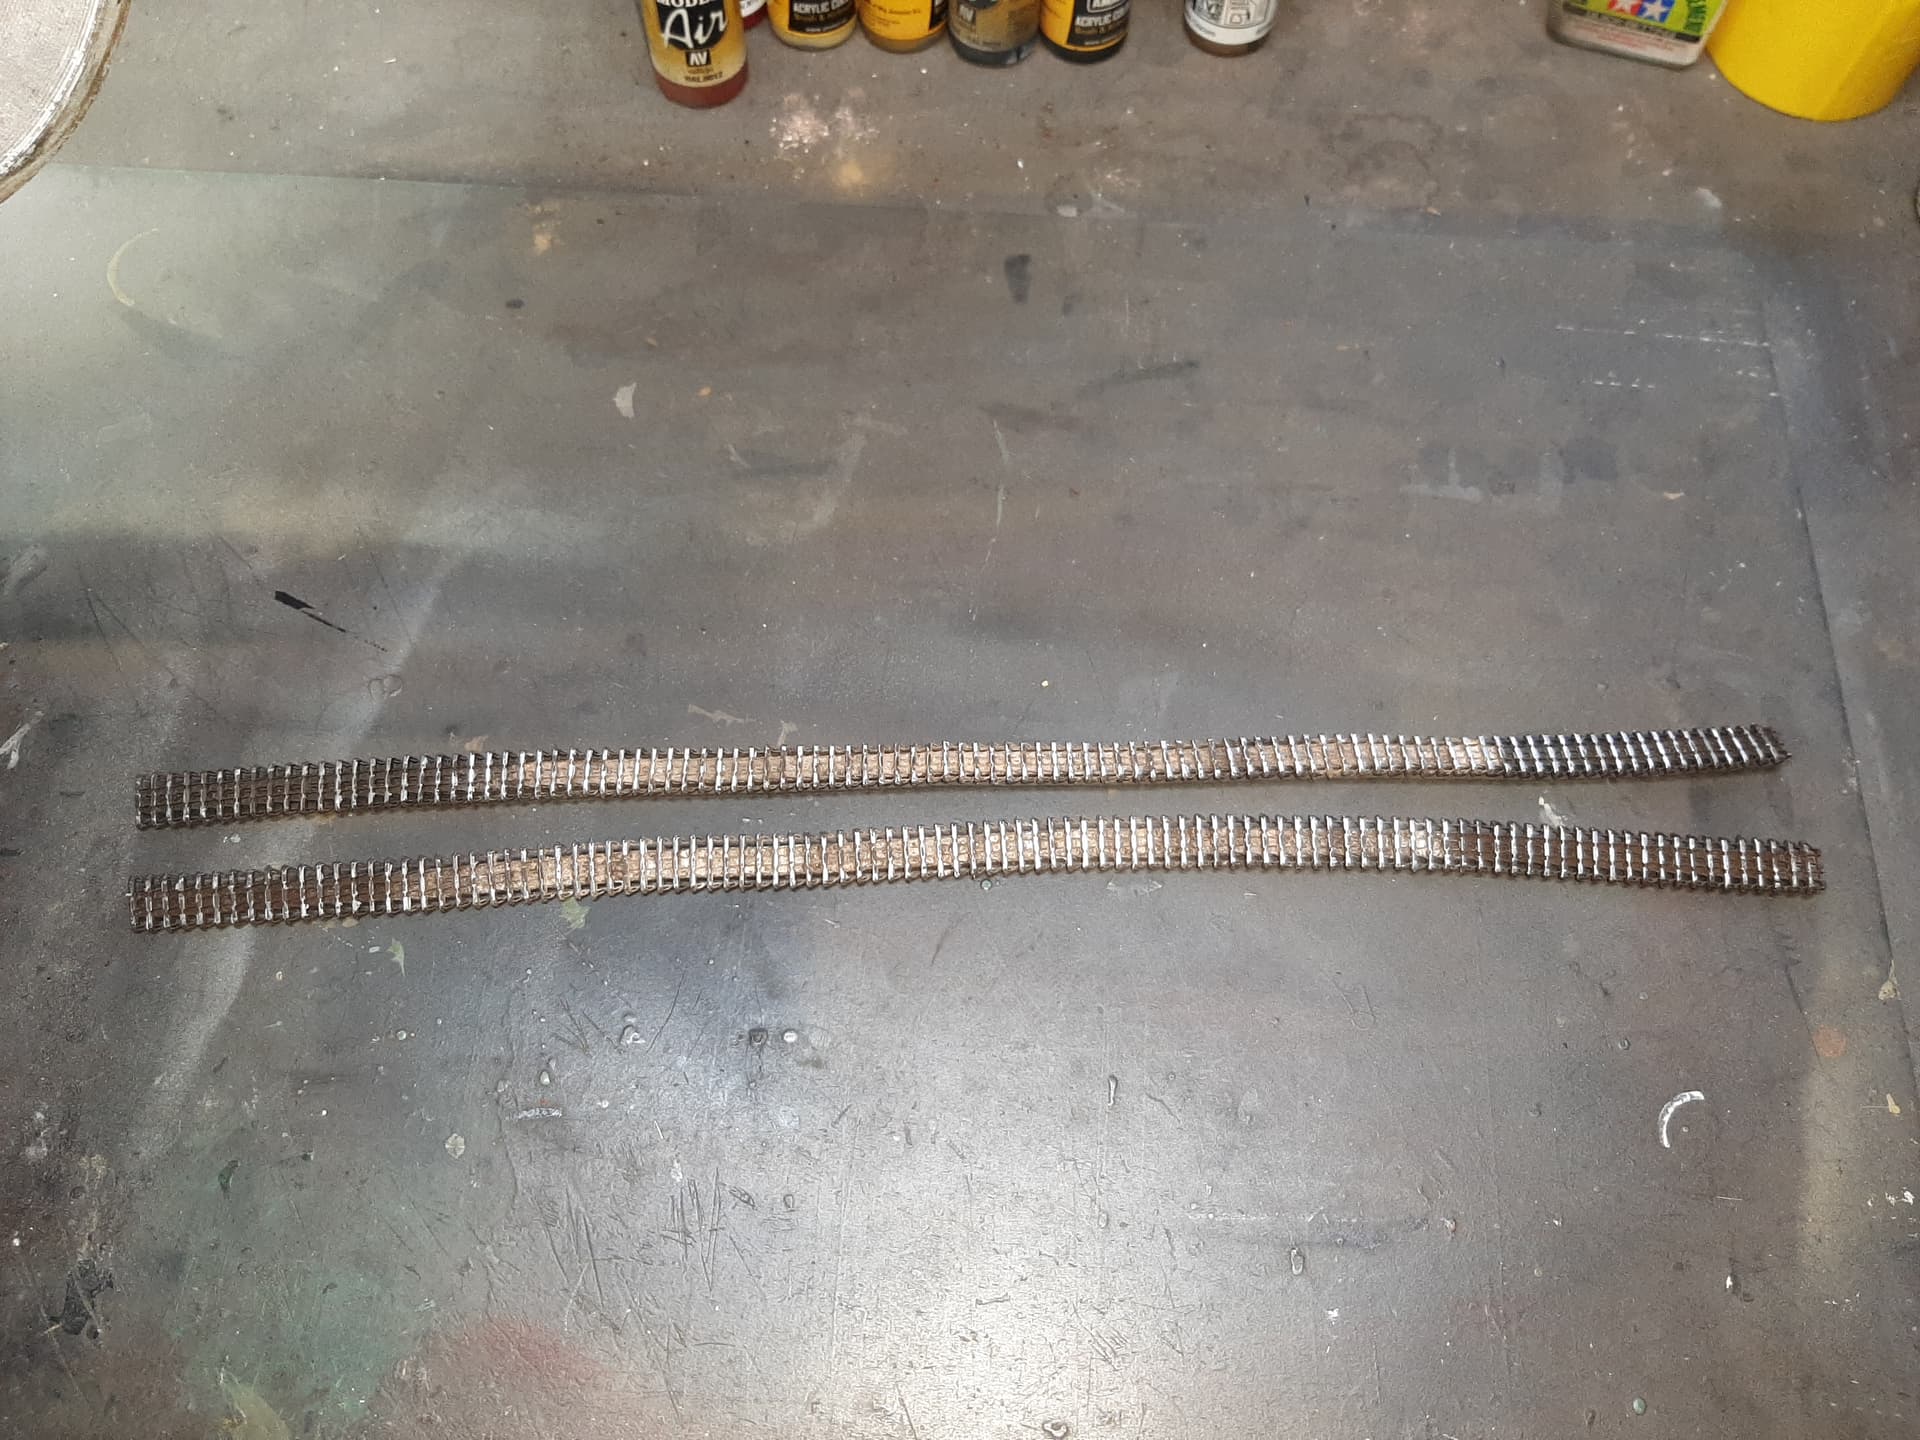
The kit instructions state that 98 links are required on each side. I compared a single Friul link to a kit link and visually, they look to be the exact same size.
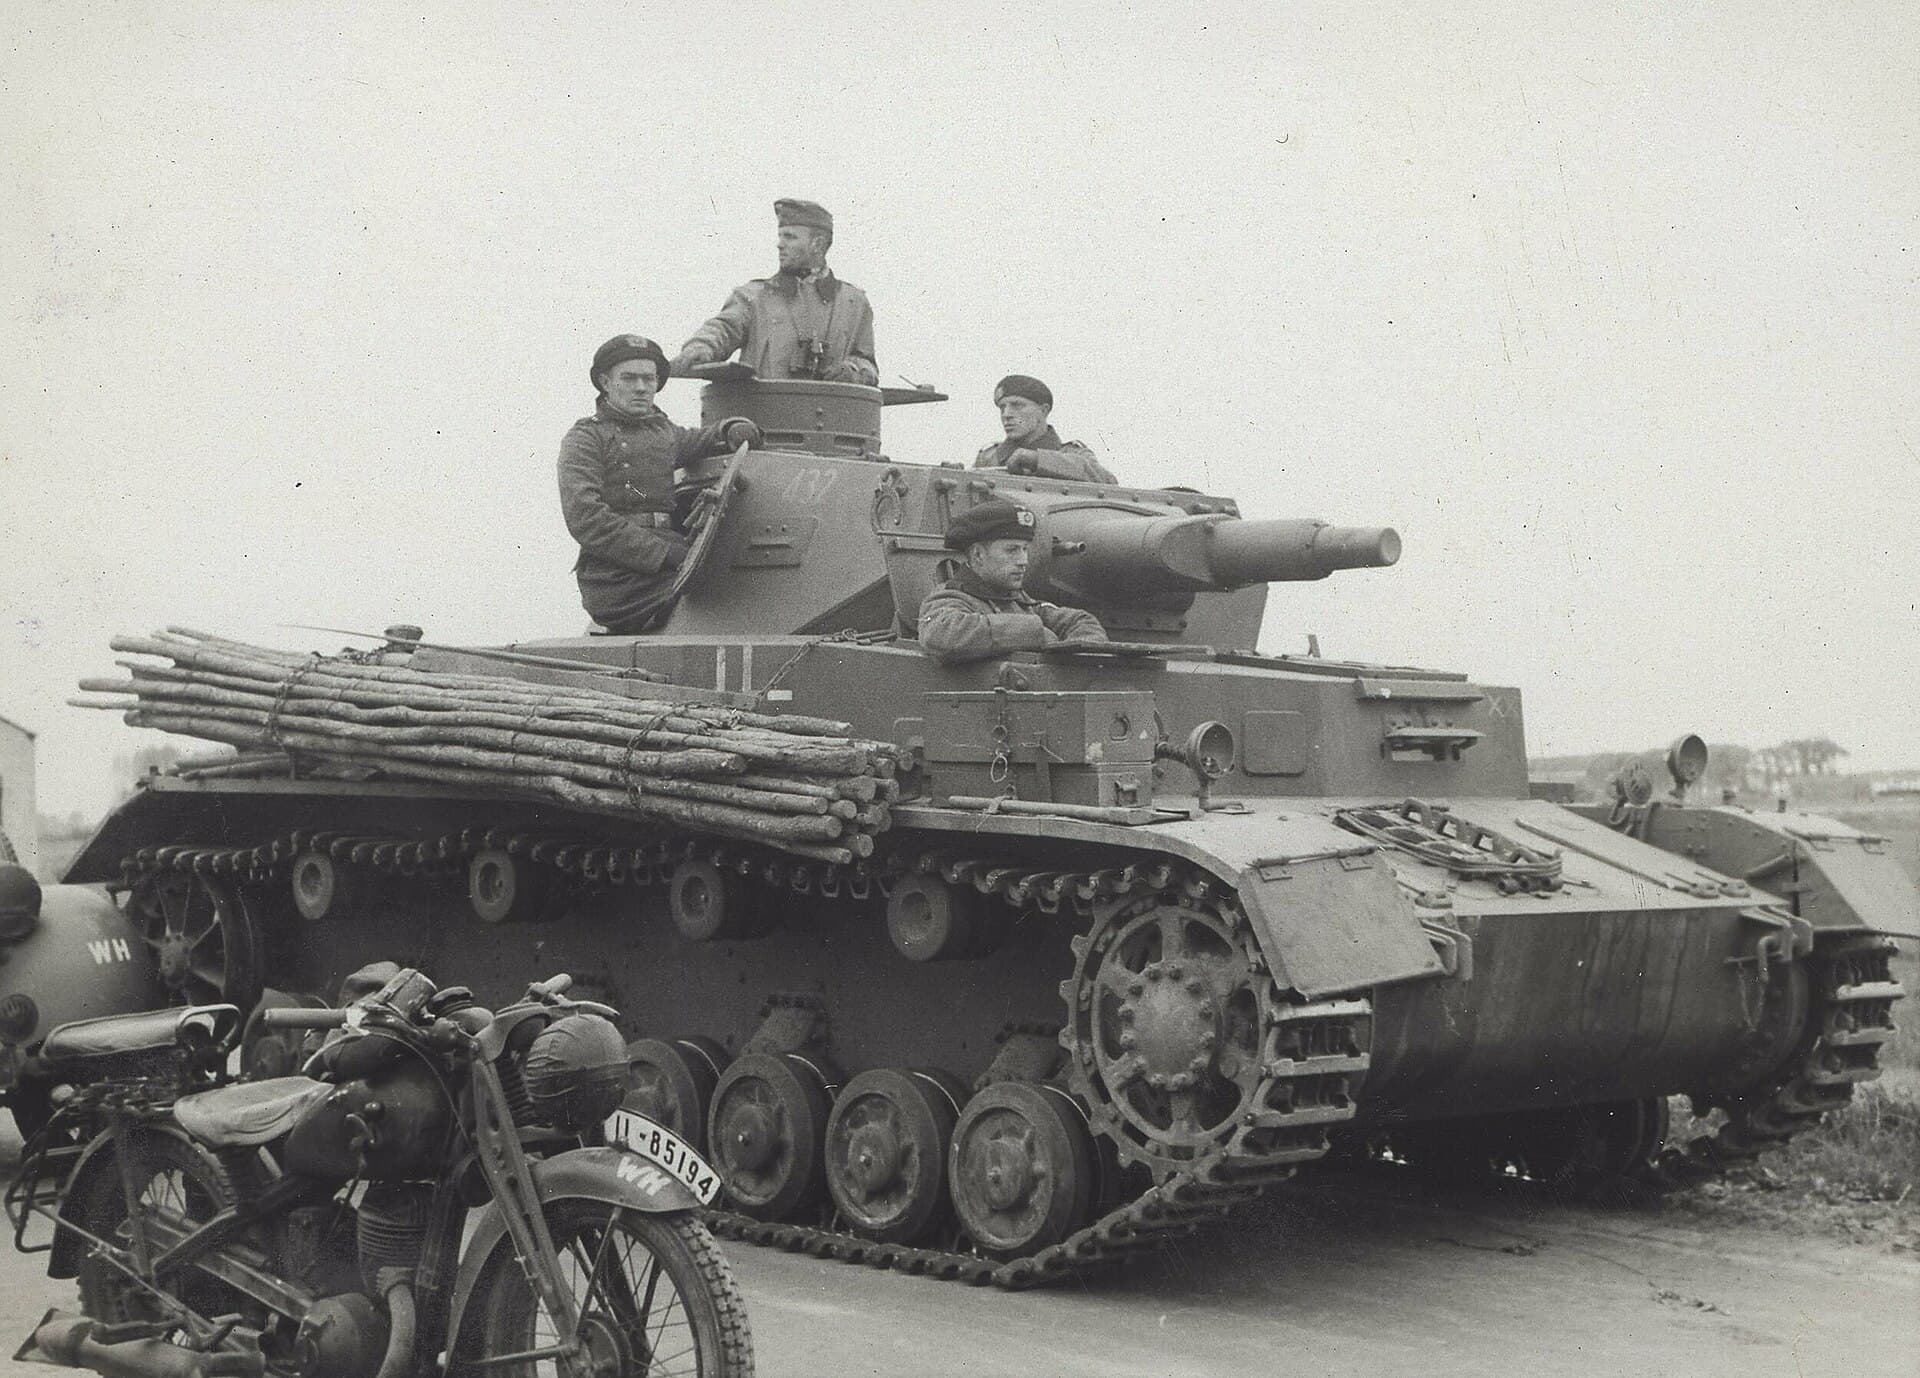
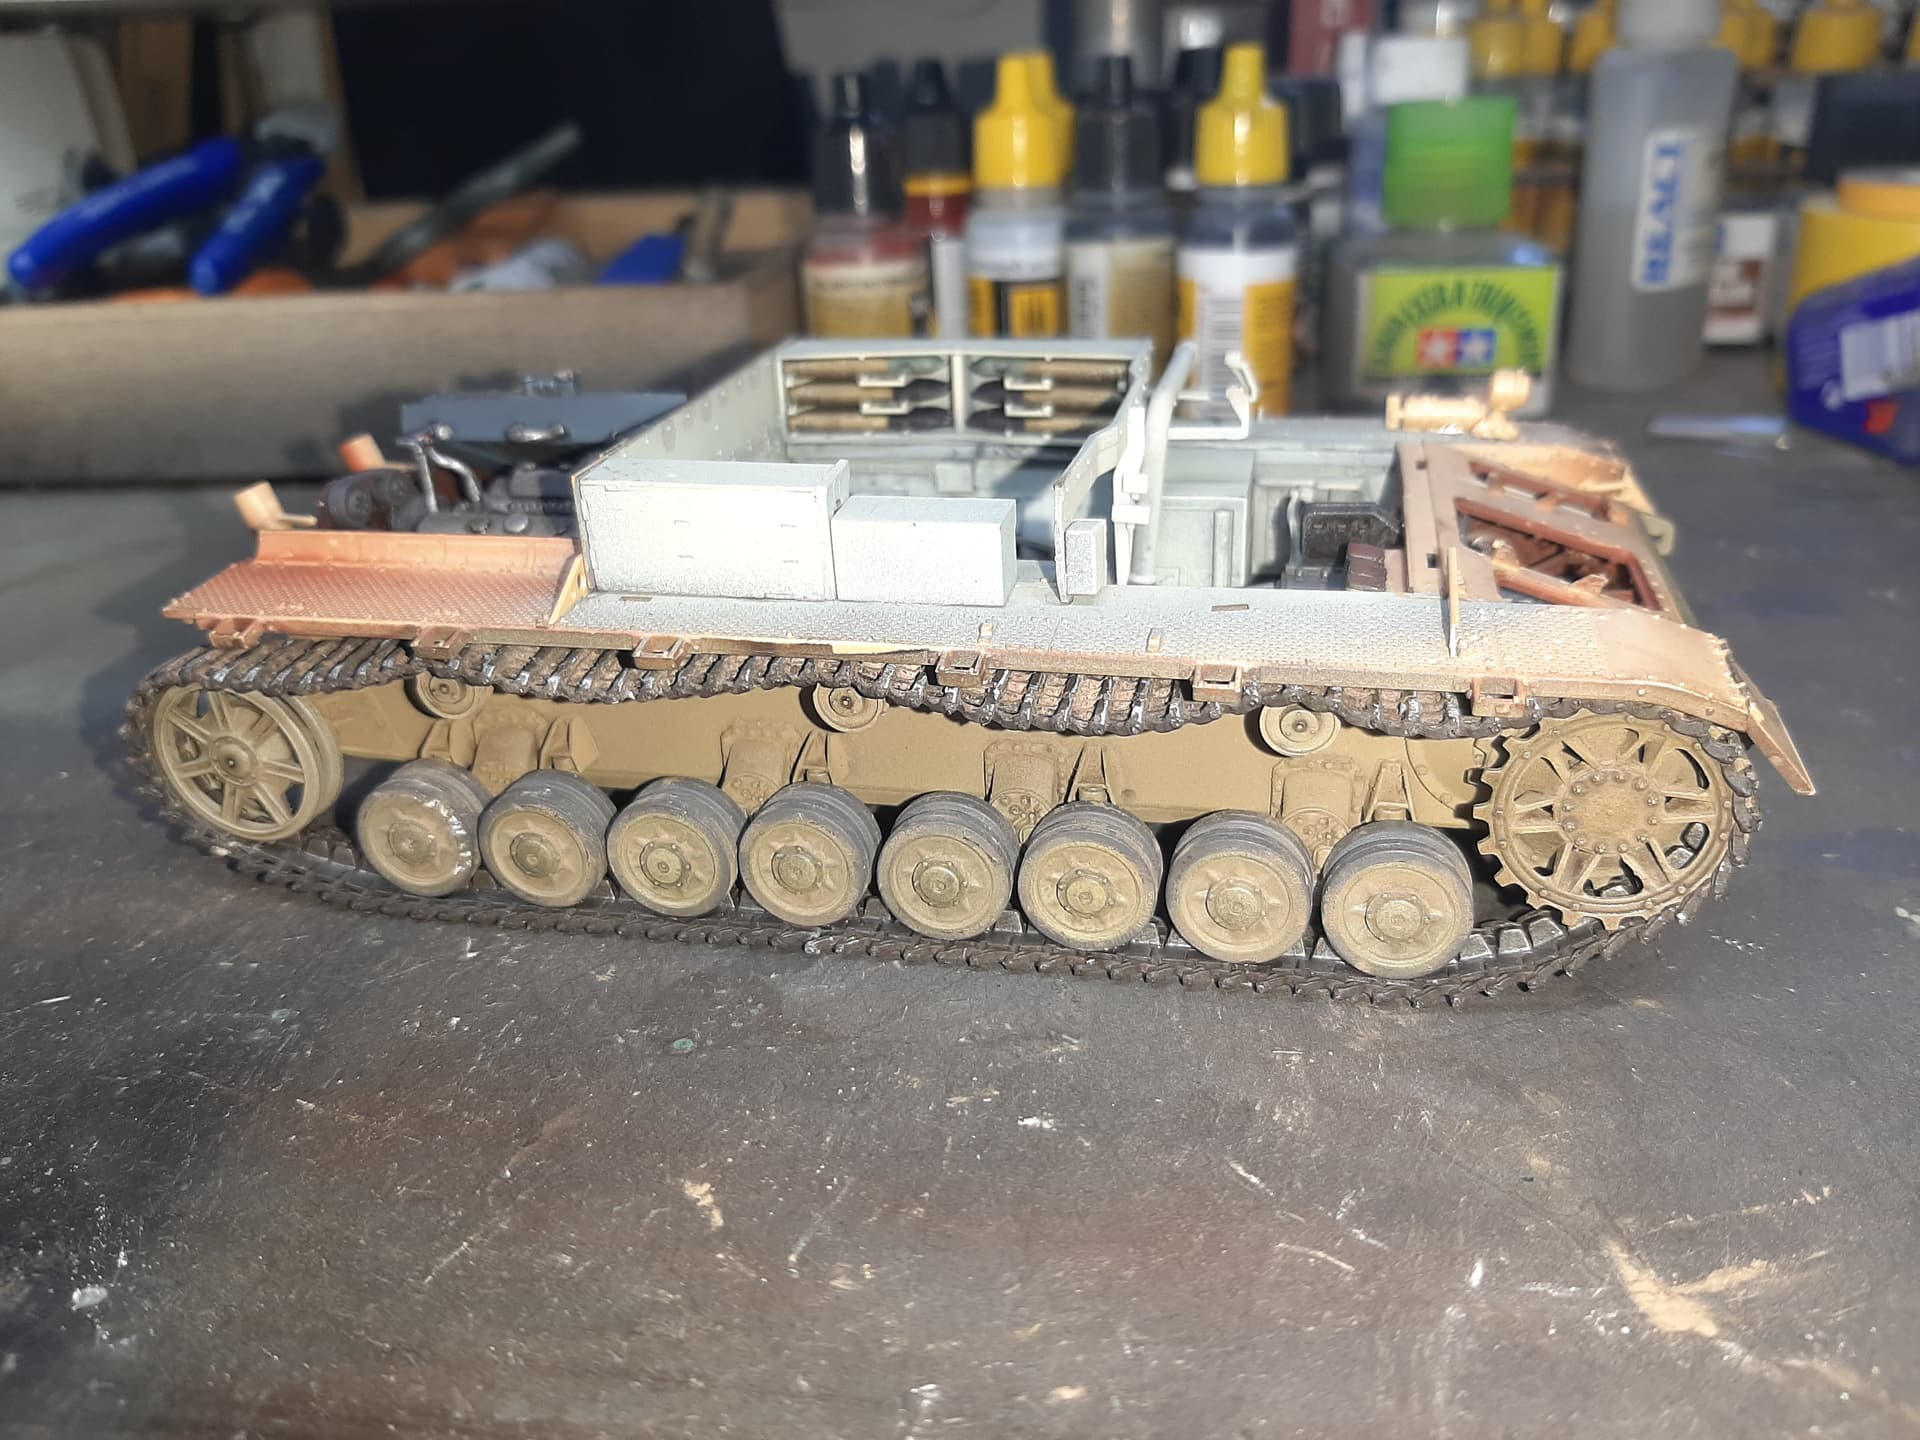
When I attempted to put a 98 link run onto the kit, it was apparent that 98 links isn’t enough. I couldn’t get the runs to join. If you use 99 or 100 each side, that would work, but the track would still be pretty tight. The thing I like about Mk IVs is the opportunity to depict a track with some good ‘sag’ on the top run. I found a picture of an early Mk IV and it shows significant sag.
I found that to recreate this amount of sag, 102 links were needed each side (Friul give you plenty of spare links). You’d probably get away with 101 and with hindsight, thats what I would do next time.
It might not be normal to see this amount of sag on a Mk IV but I do like the effect anyway. Actually, the photographs make the sag look more pronounced than it really is.
Per reference picture, tweak the sag slightly. From idler to return roller it’s tight but loose return to return.
Move a litte slack from one other side to the idler side to balance it, keeping with the reference picture. Fix in place after getting it where desired etc.
After studying hundreds of photos of Panzer IV tracks, I’ve concluded that the rule is that the track should sag down even with the centerline of the return roller.
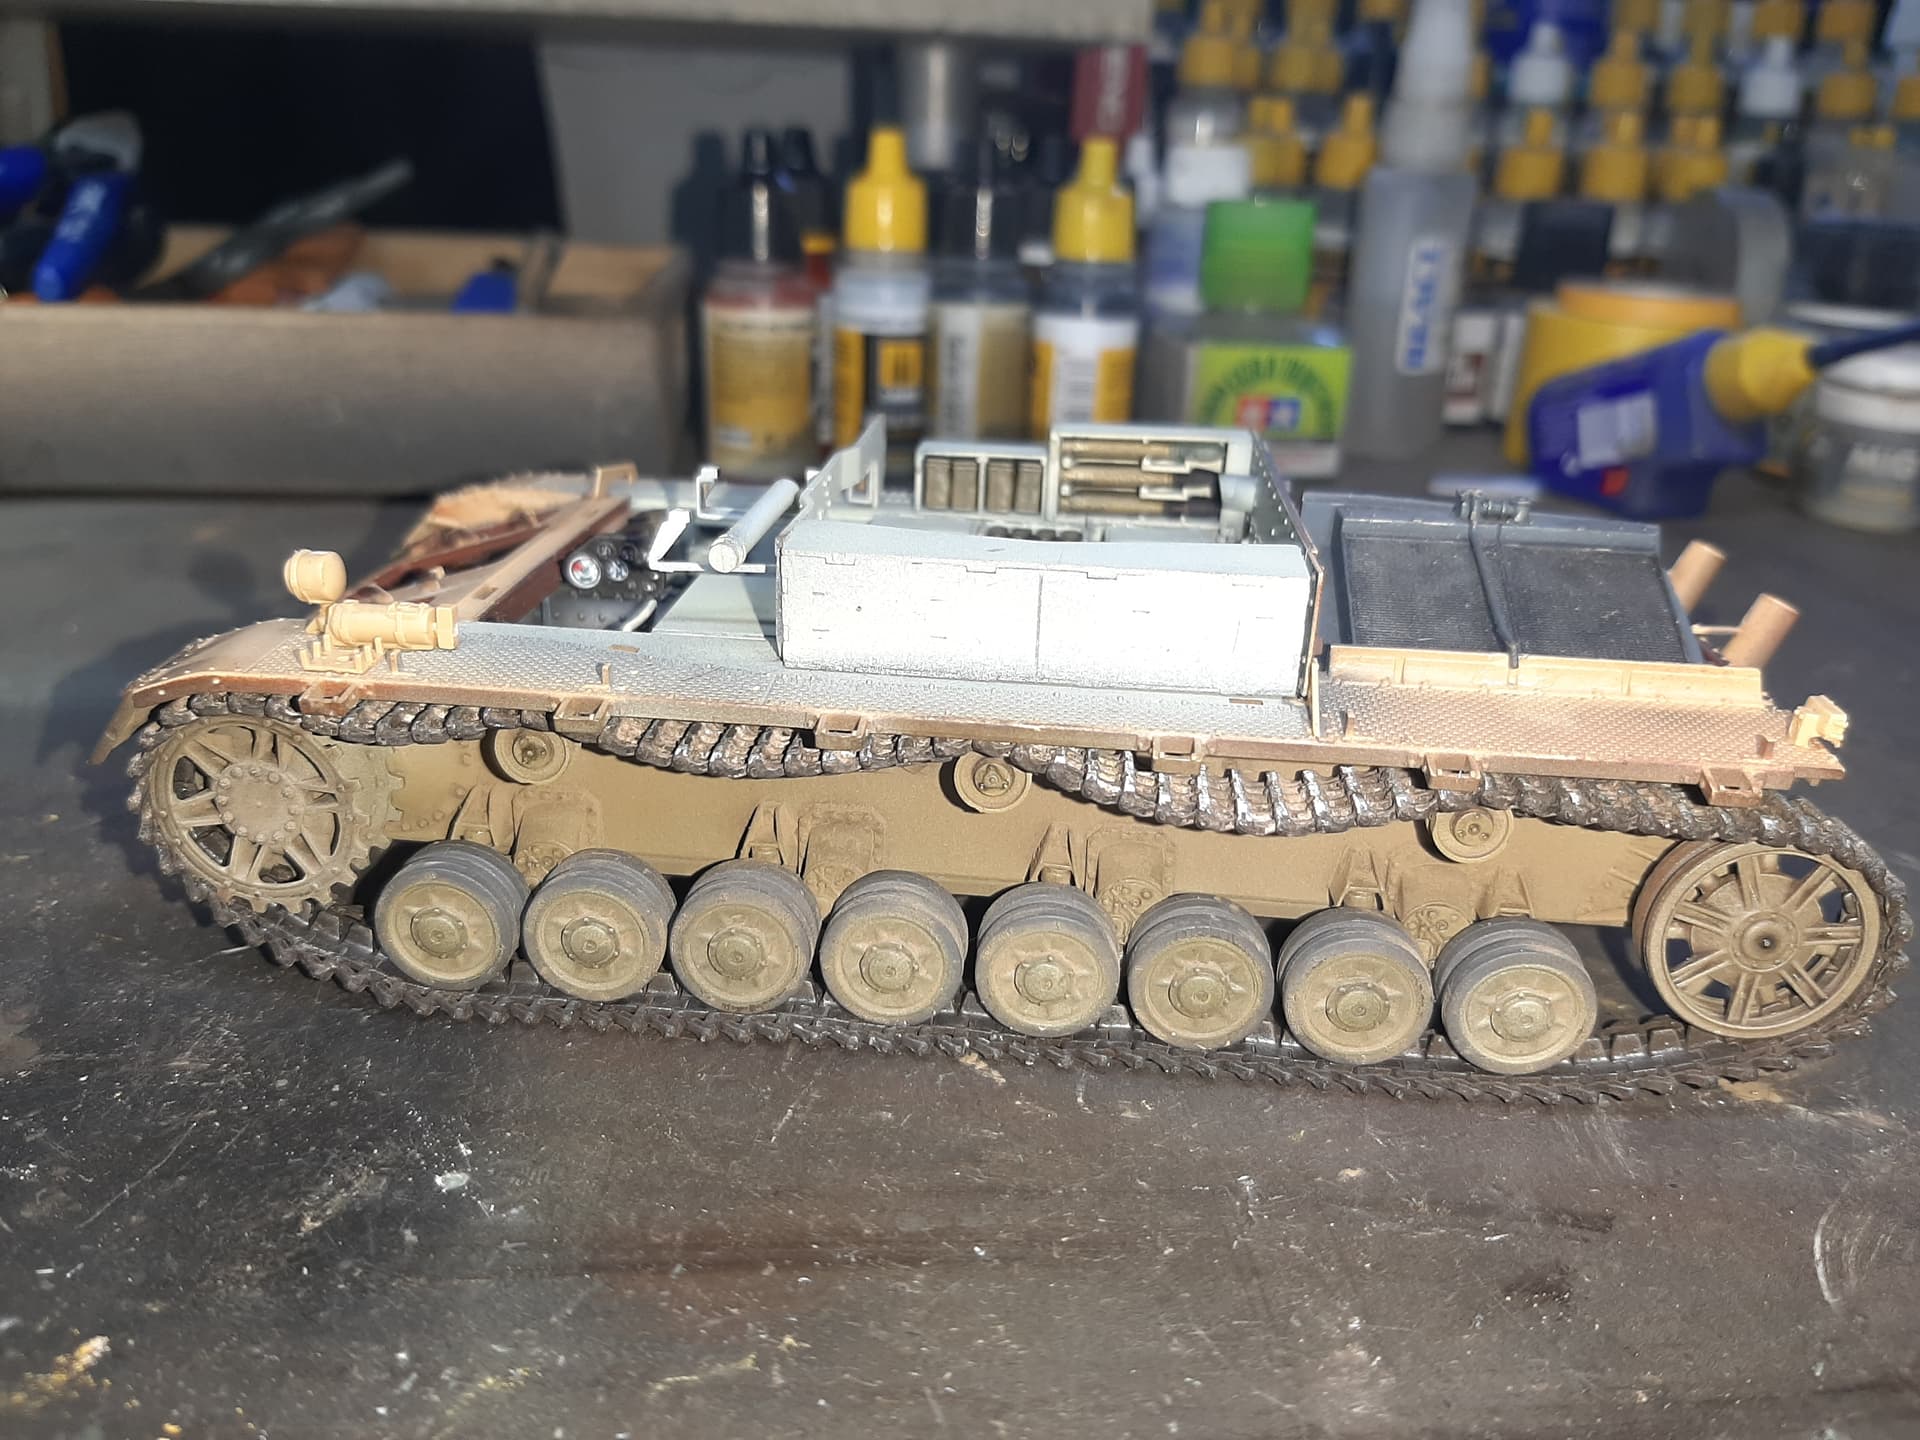
The track between the first two rollers is correct.
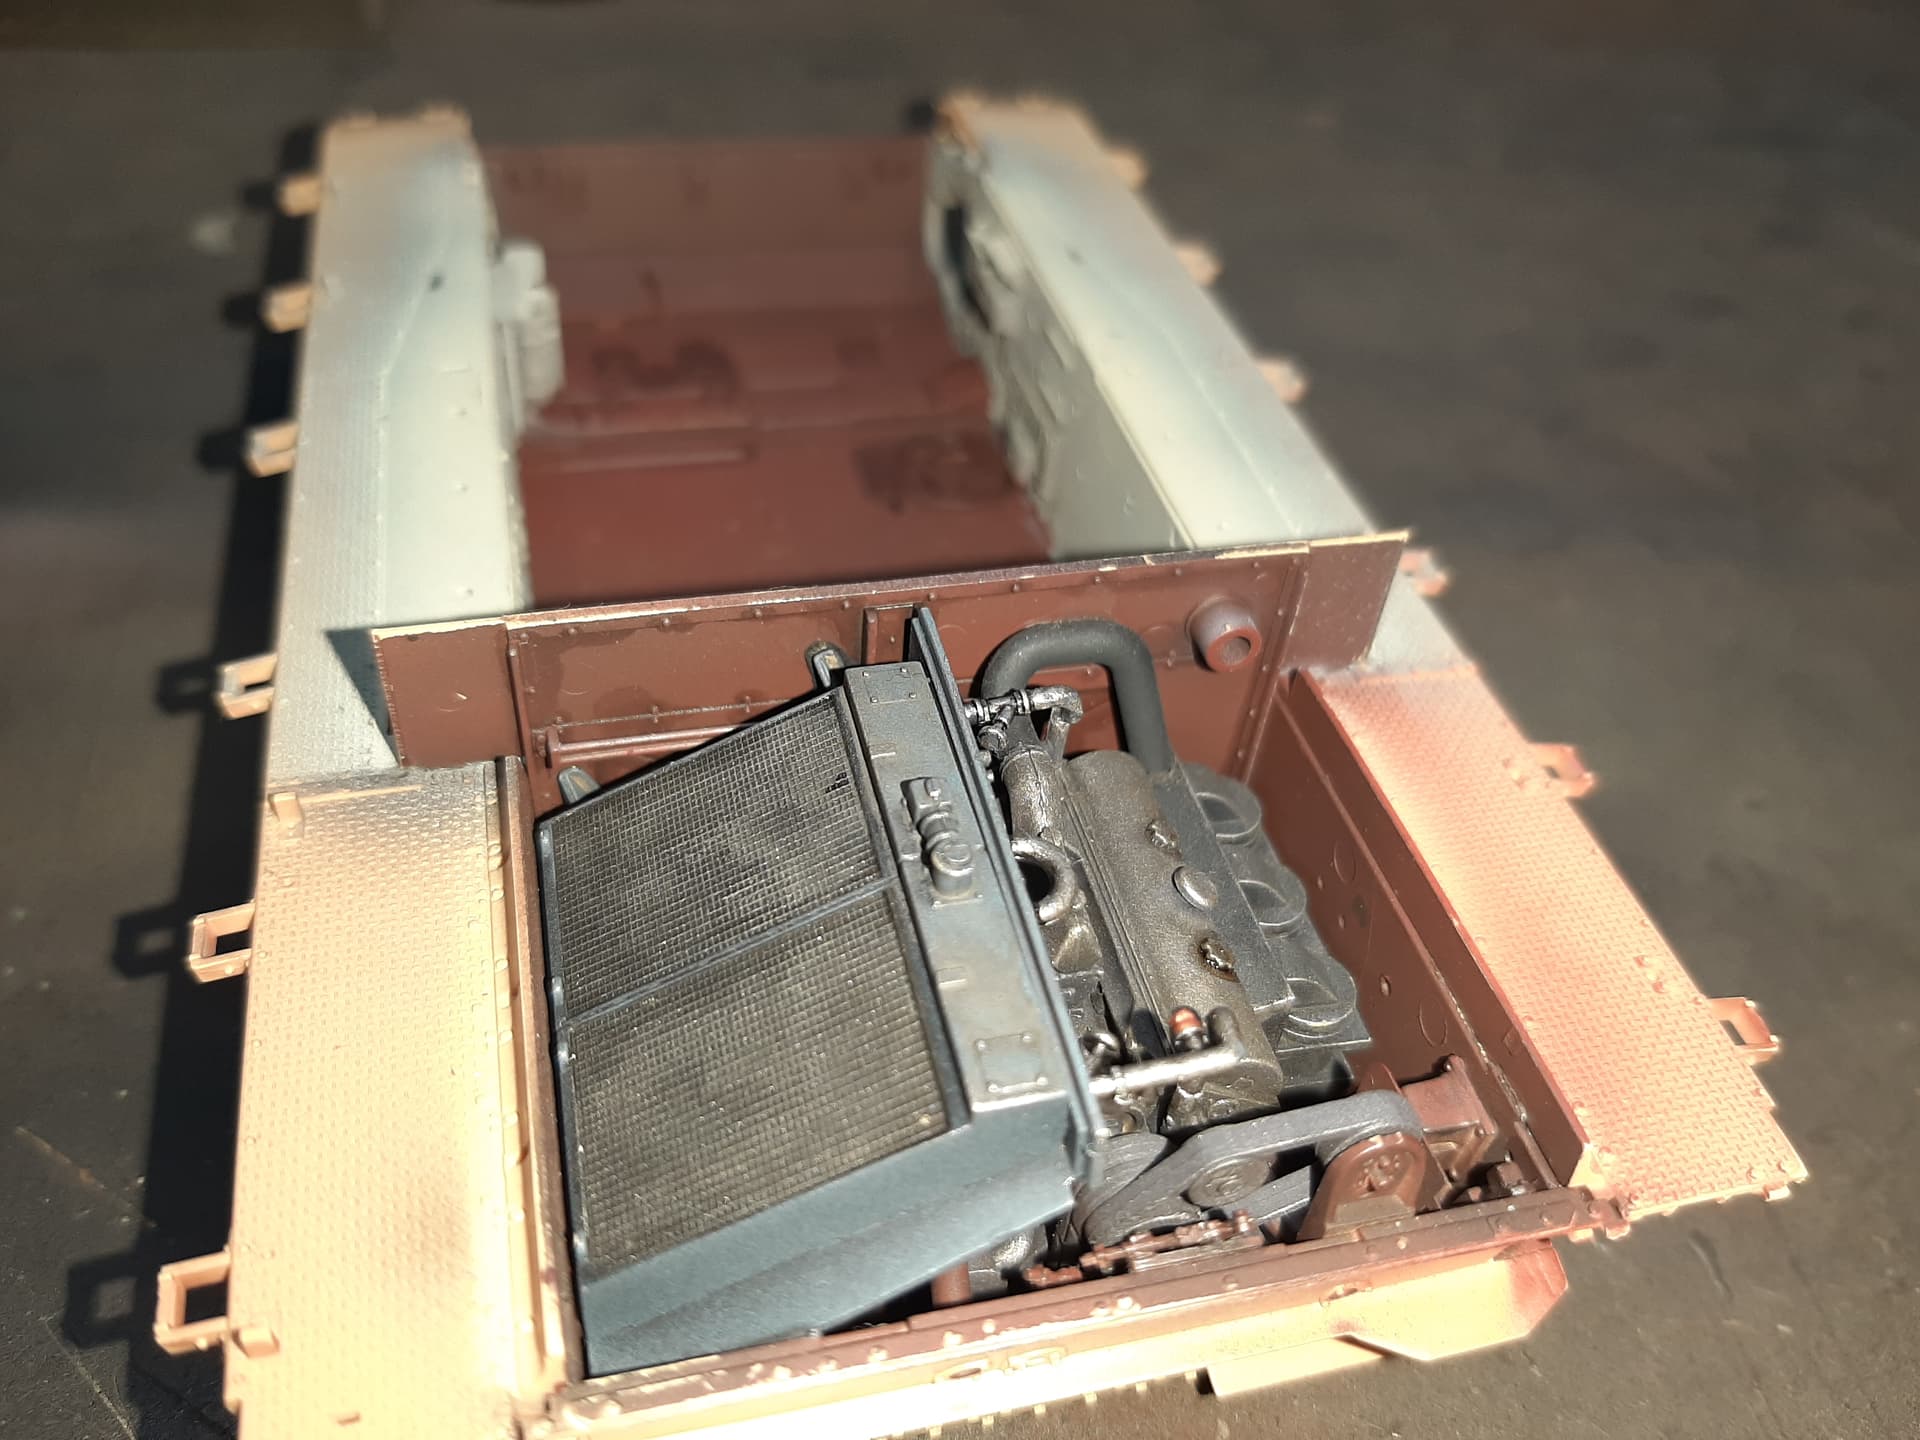
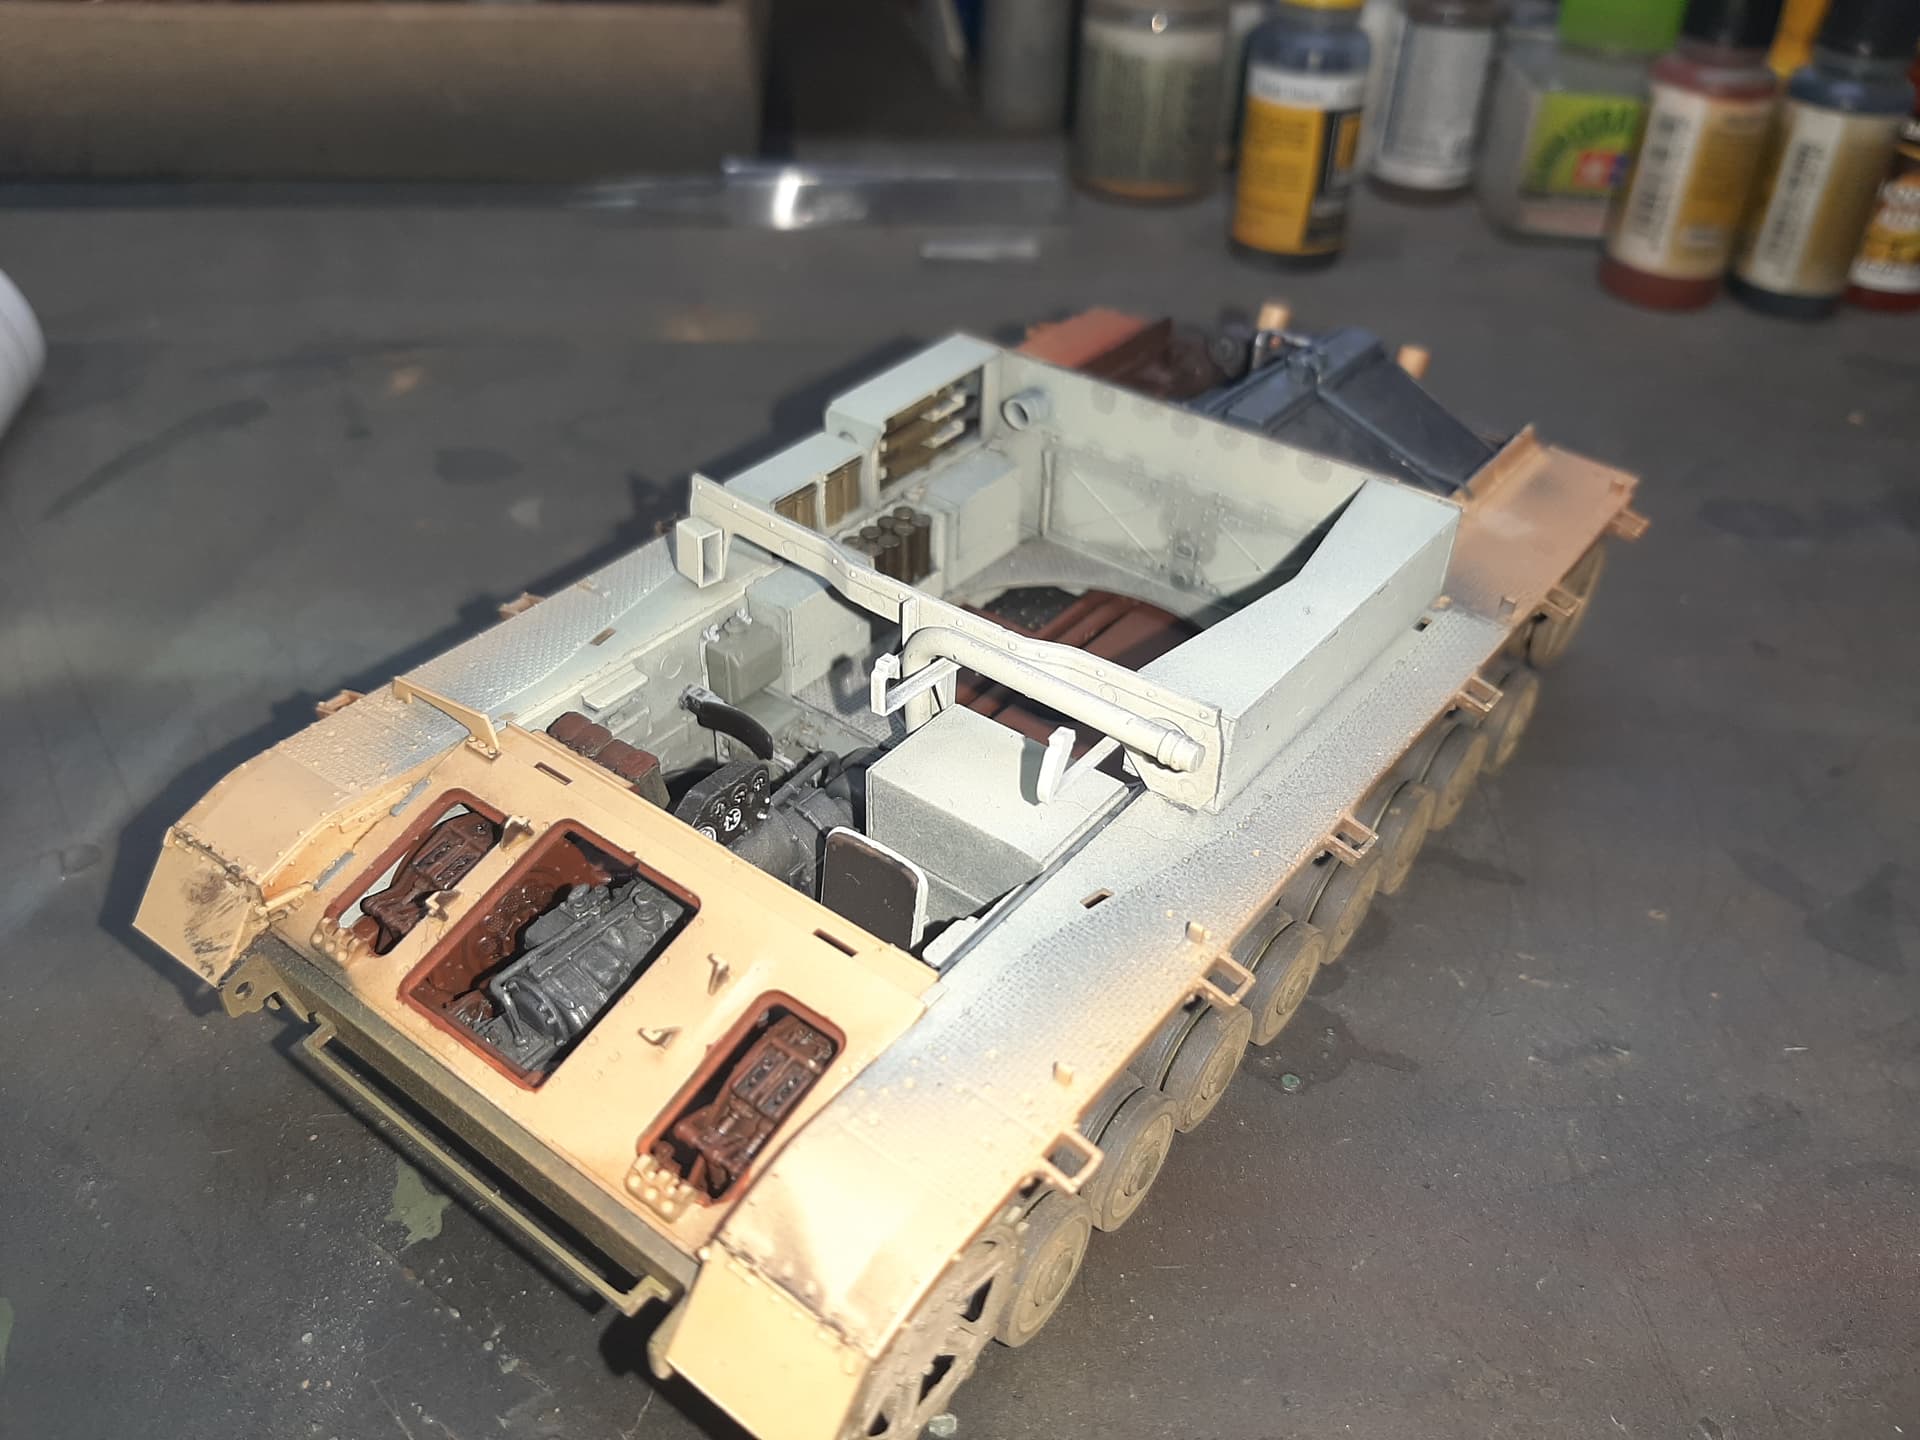
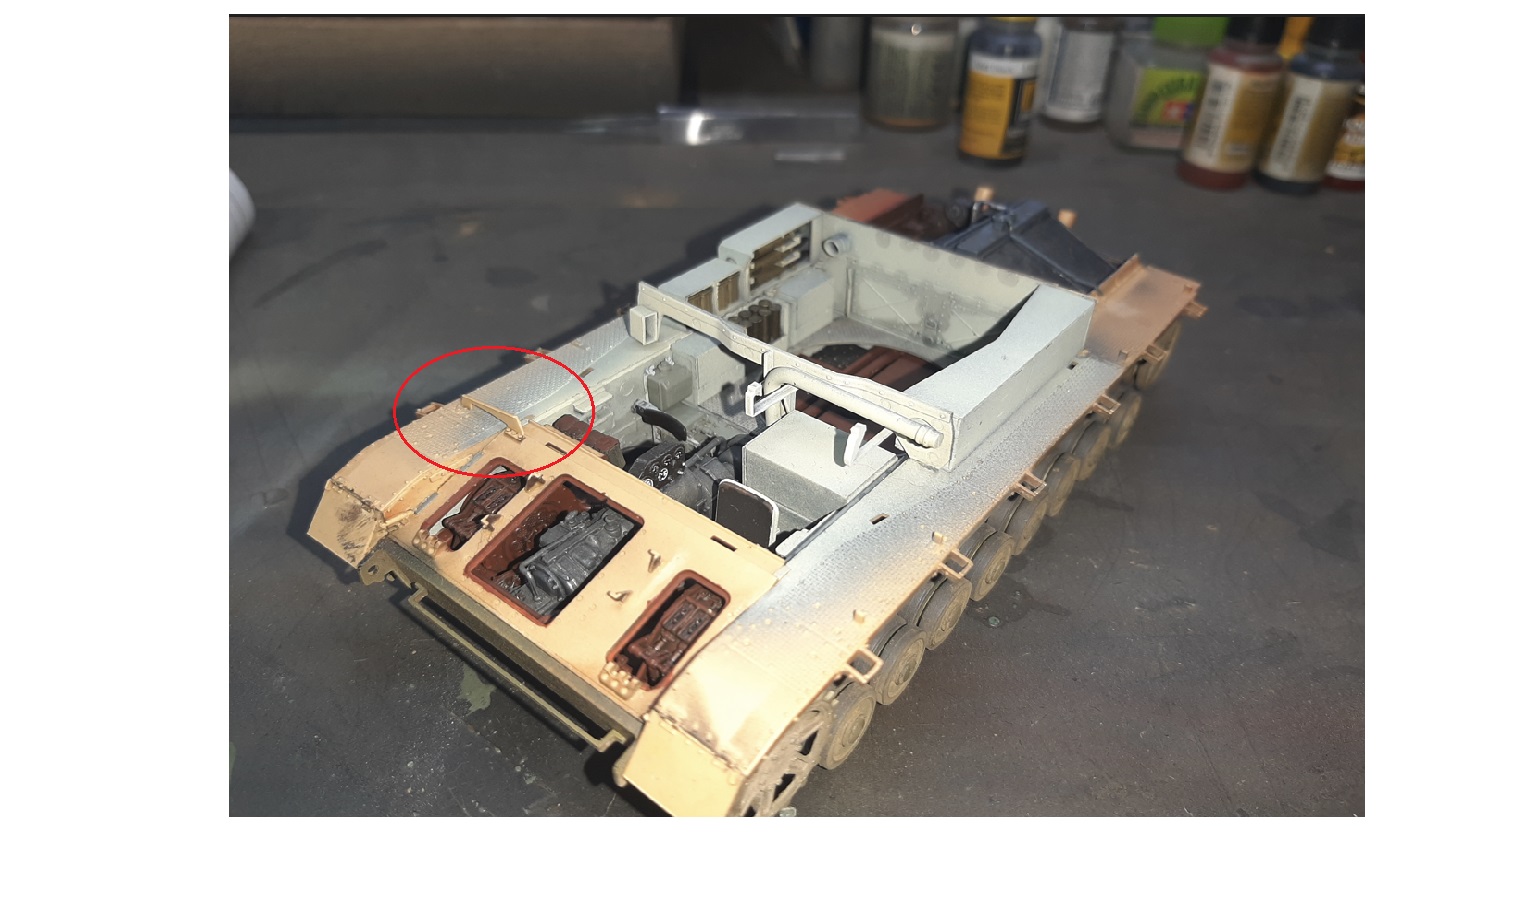
I attached the top armour. It is an okay fit. But, it needed some persuasion and superglue in places as it doesn’t quite line up, especially towards the rear of the side panels forward of the engine compartment.