Not a good day yesterday. Health kept me from the work bench for most of the day.
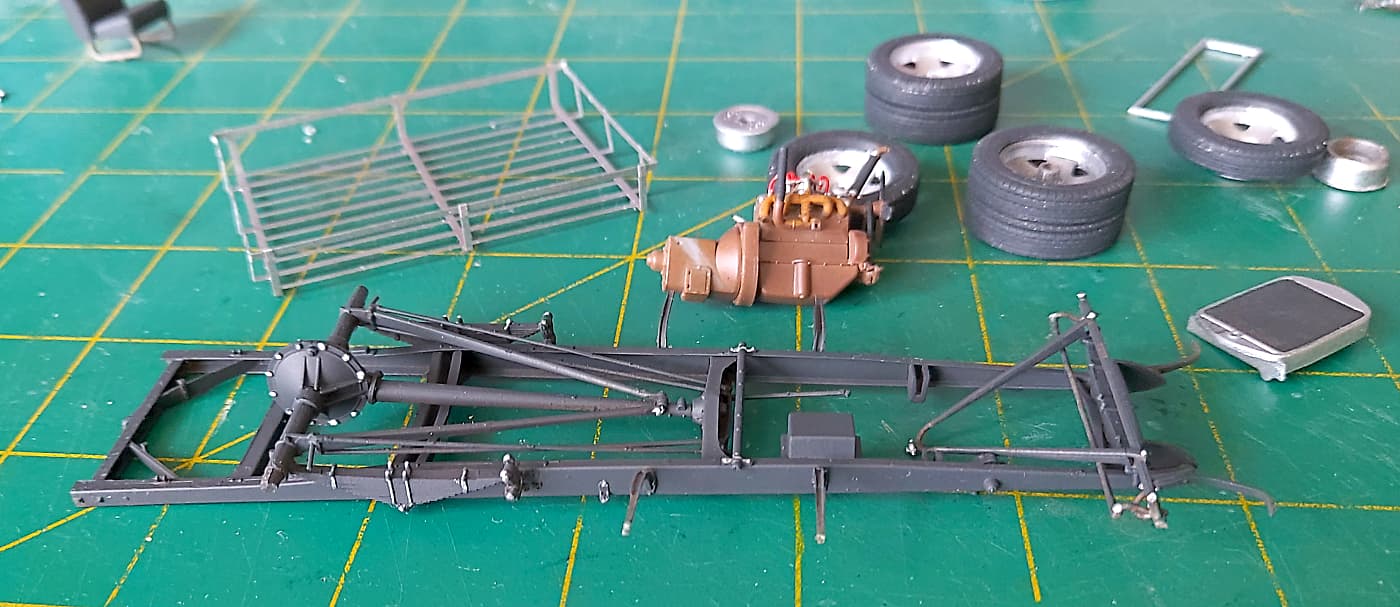
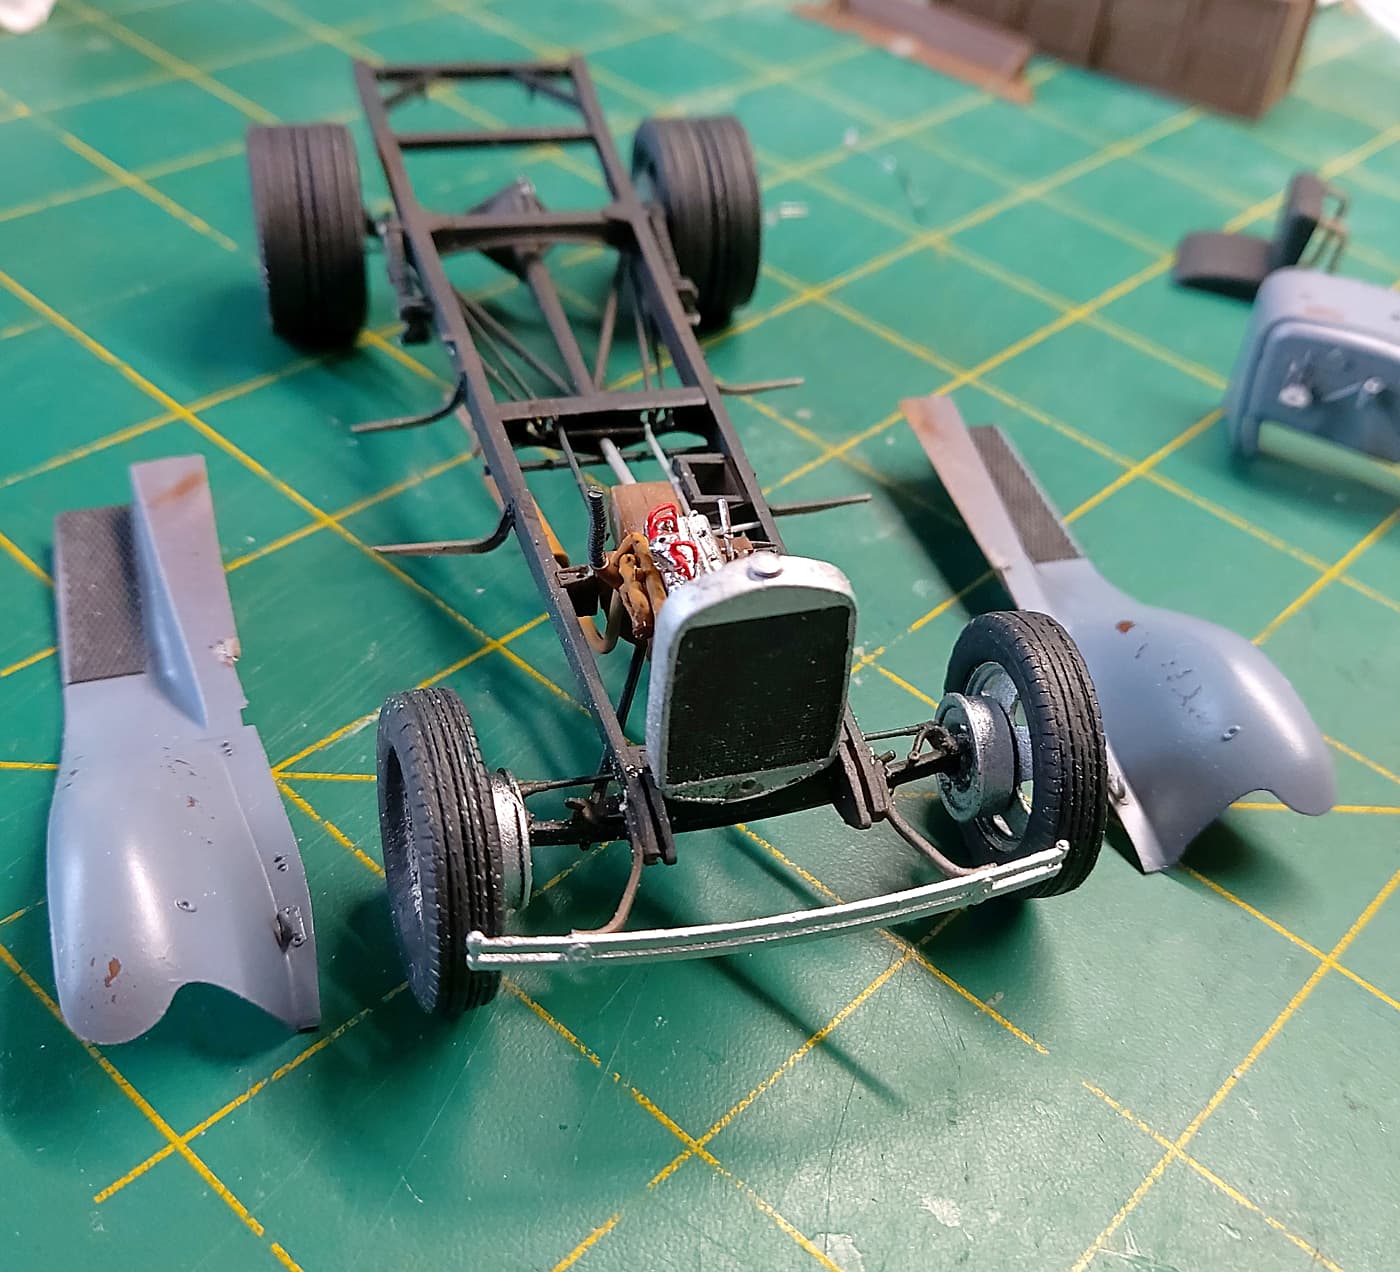
Still plenty of detail to add to the chassis. Brake detail. Hubs etc etc. Yes it’s upside down.
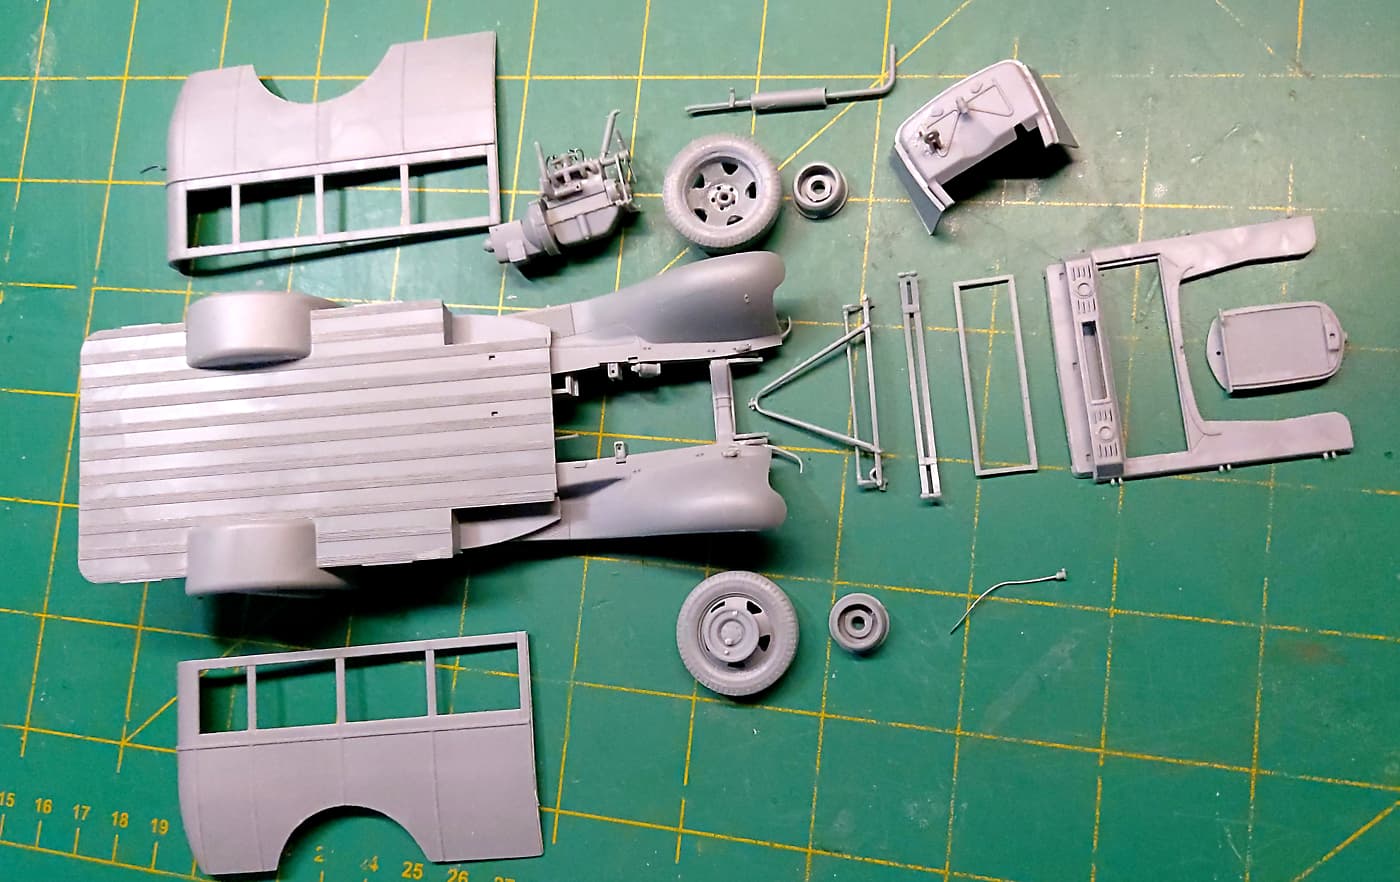
Note I’ve joined the dual rears to get one wide tyre/rim combination. The front wheels have been turned around so the inside is the outside. Also widened a bit.
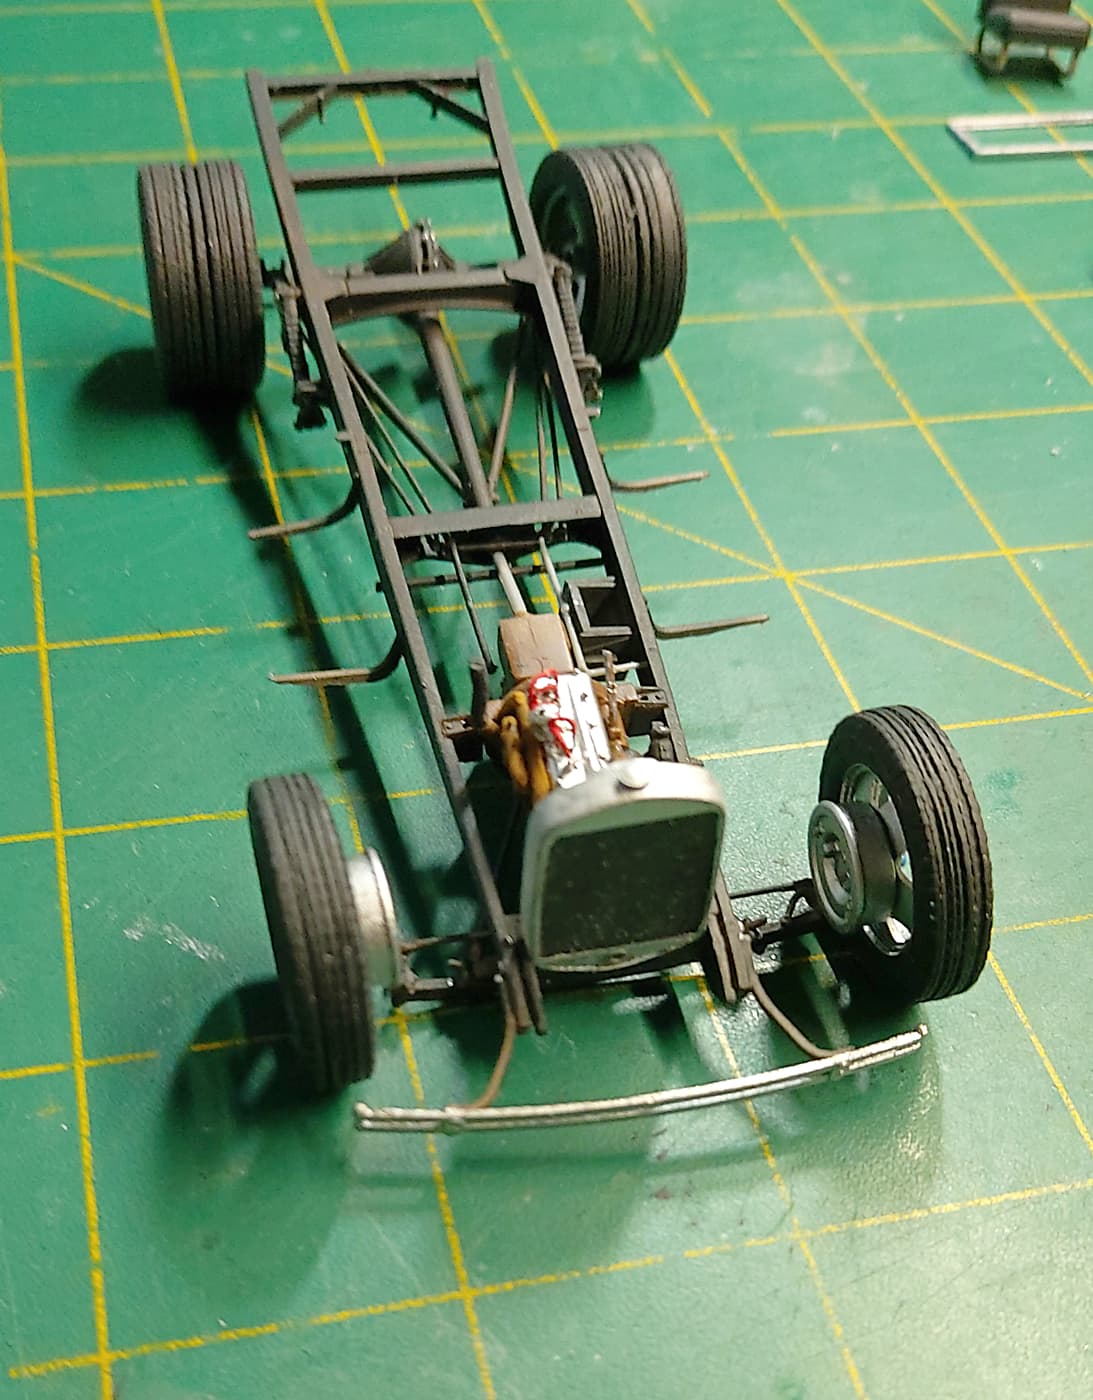
The front steering is a painfully fiddly job. Superglue is your friend!!
I’ve ‘lowered’ the suspension as much as I can without a major rebuild. In the front I took 2 leafs out of the springs. ie I sanded it down. The rear all I could do was to cut away plastic where the axle housing joined the spring hangers. Not much but I’m guessing about 4 scale inches.
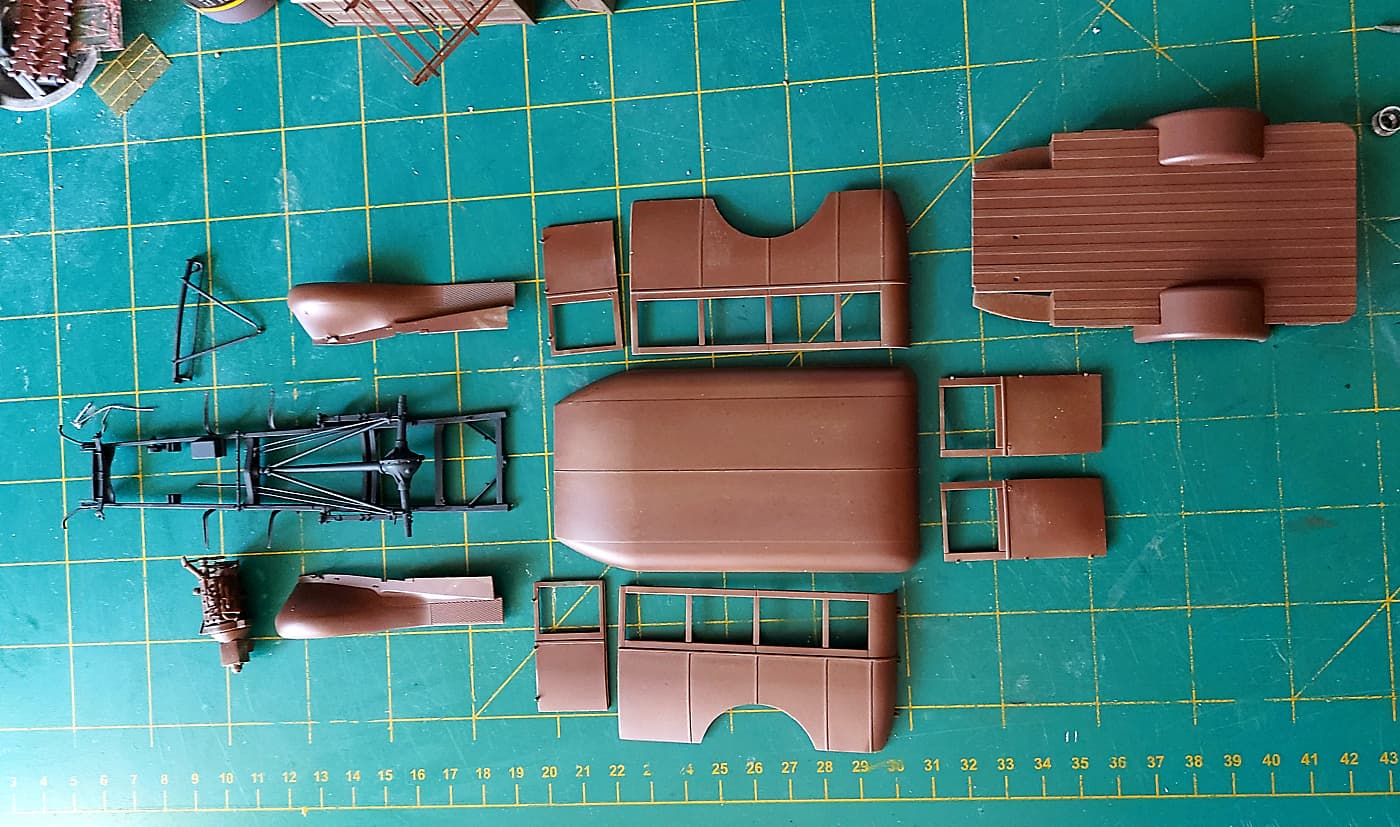
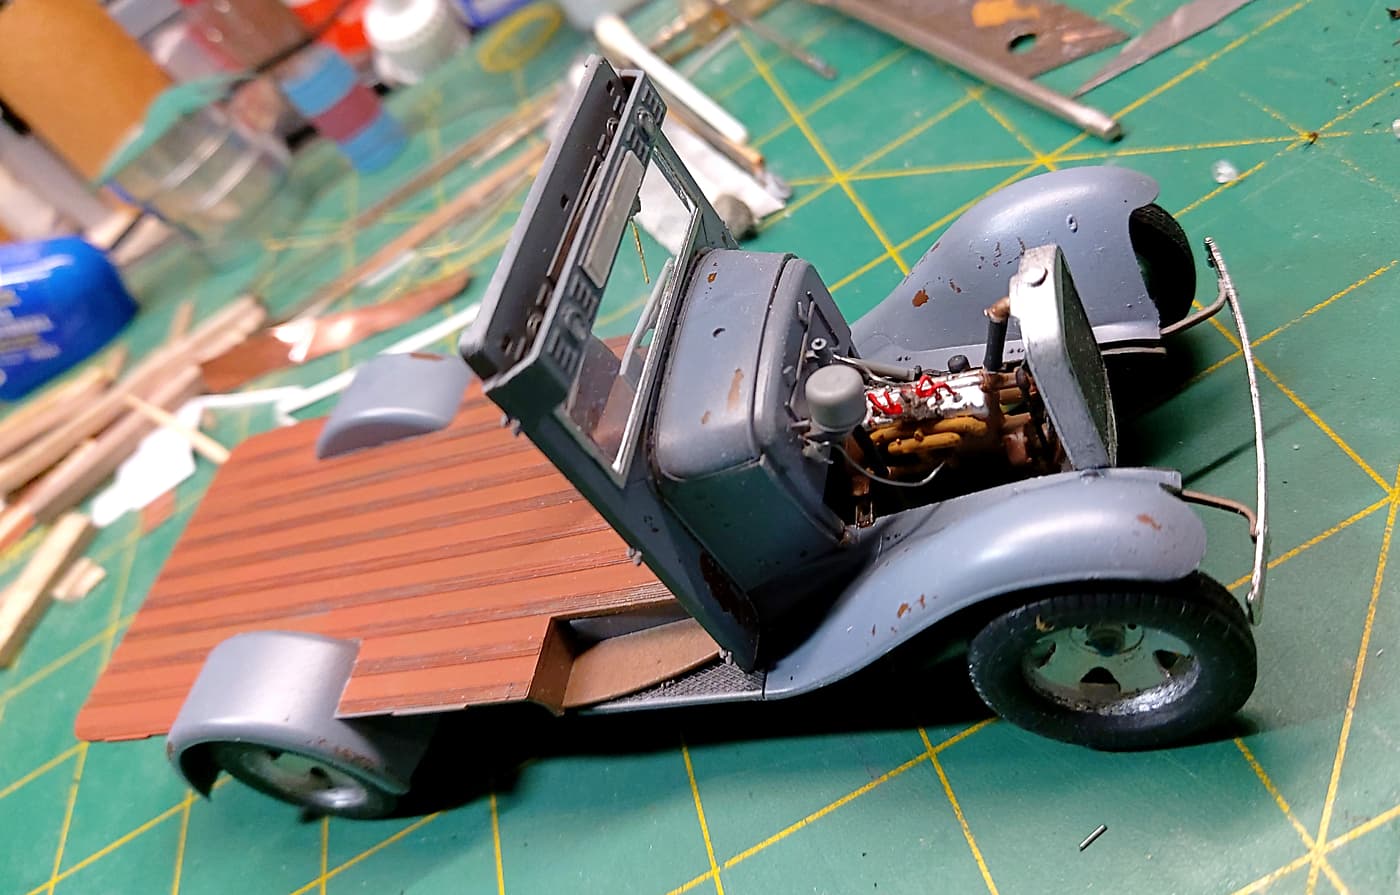
OK so I got off my butt. Some primer. Brown primer and then a coat of black on the chassis. I intend chipping the body so a coat of hairspray next. Then I intend painting the body blue. Maybe!! So the brown primer will show through the blue. ‘Rat Rod’ surfy wagon?
I had intended to ‘chop’ the top and rake it a wee bit. But I decided to take the ‘easy’ option and leave it stock.
I picked out a few nuts, bolts and shackles.
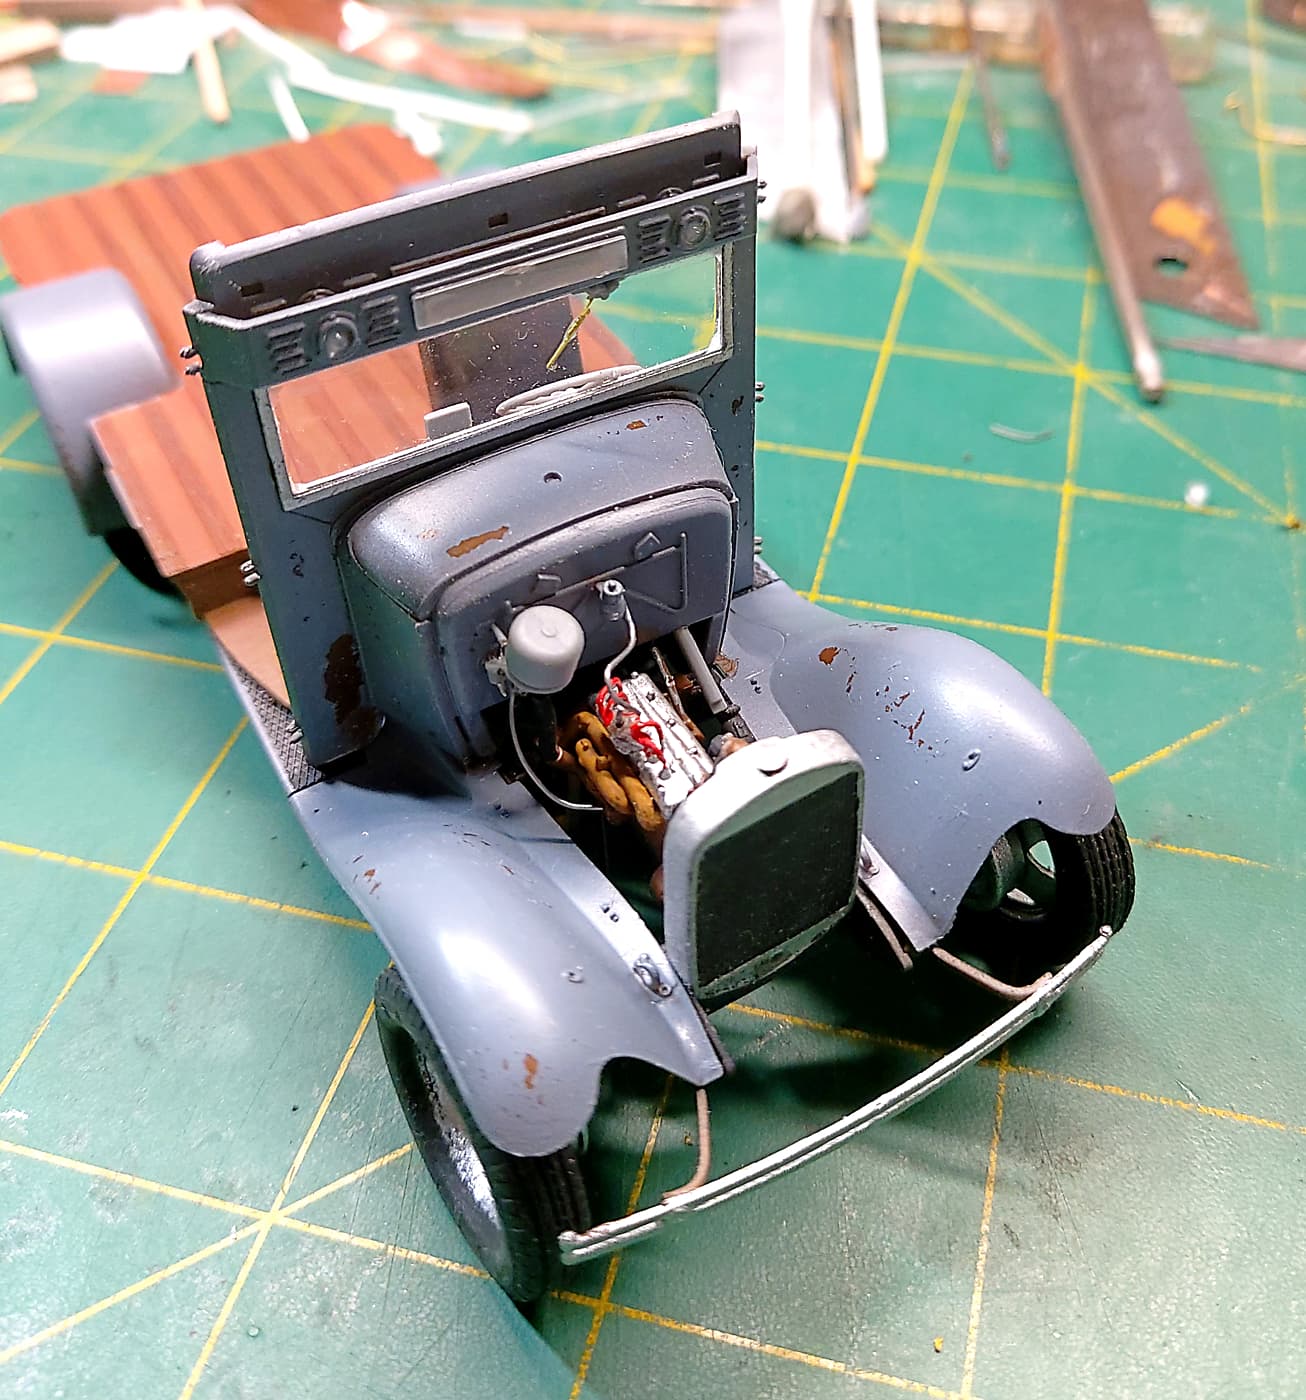
Engine, transmission and radiator in. But wheels just dry fitted.
A bit of colour on the engine. I’ll do the rest once the hood etc is on.
I was going to fill in the tyre treads a bit but then thought they made a nice tread pattern so I left it as is.
I’m not happy with the silver paint. I wish I had some chrome paint.
I may run some wires from the battery box to front and rear lights.
The roof rack is in the first image. (Top left). This is a single pe part from the kit that needs a few simple bends and some super glue/solder.
A few hours later.
Note - If you are considering this kit, or any of MiniArt’s Gaz kits, check, double check and triple check you are square and parts fit as they should. It’s not a bad kit. It’s just so fine that one hiccup and the problem get worse. My radiator is about 0.5mm too far forward. Doesn’t sound much but it makes it hard to put the hood on. Tip is to leave the top radiator hose off until the hood is ready to fit.
And yes my wiring needs a bit of a tidy up. But I hope to add more so ‘later’!
And I had a brain fart by gluing the wiper on before I painted it. Dumb
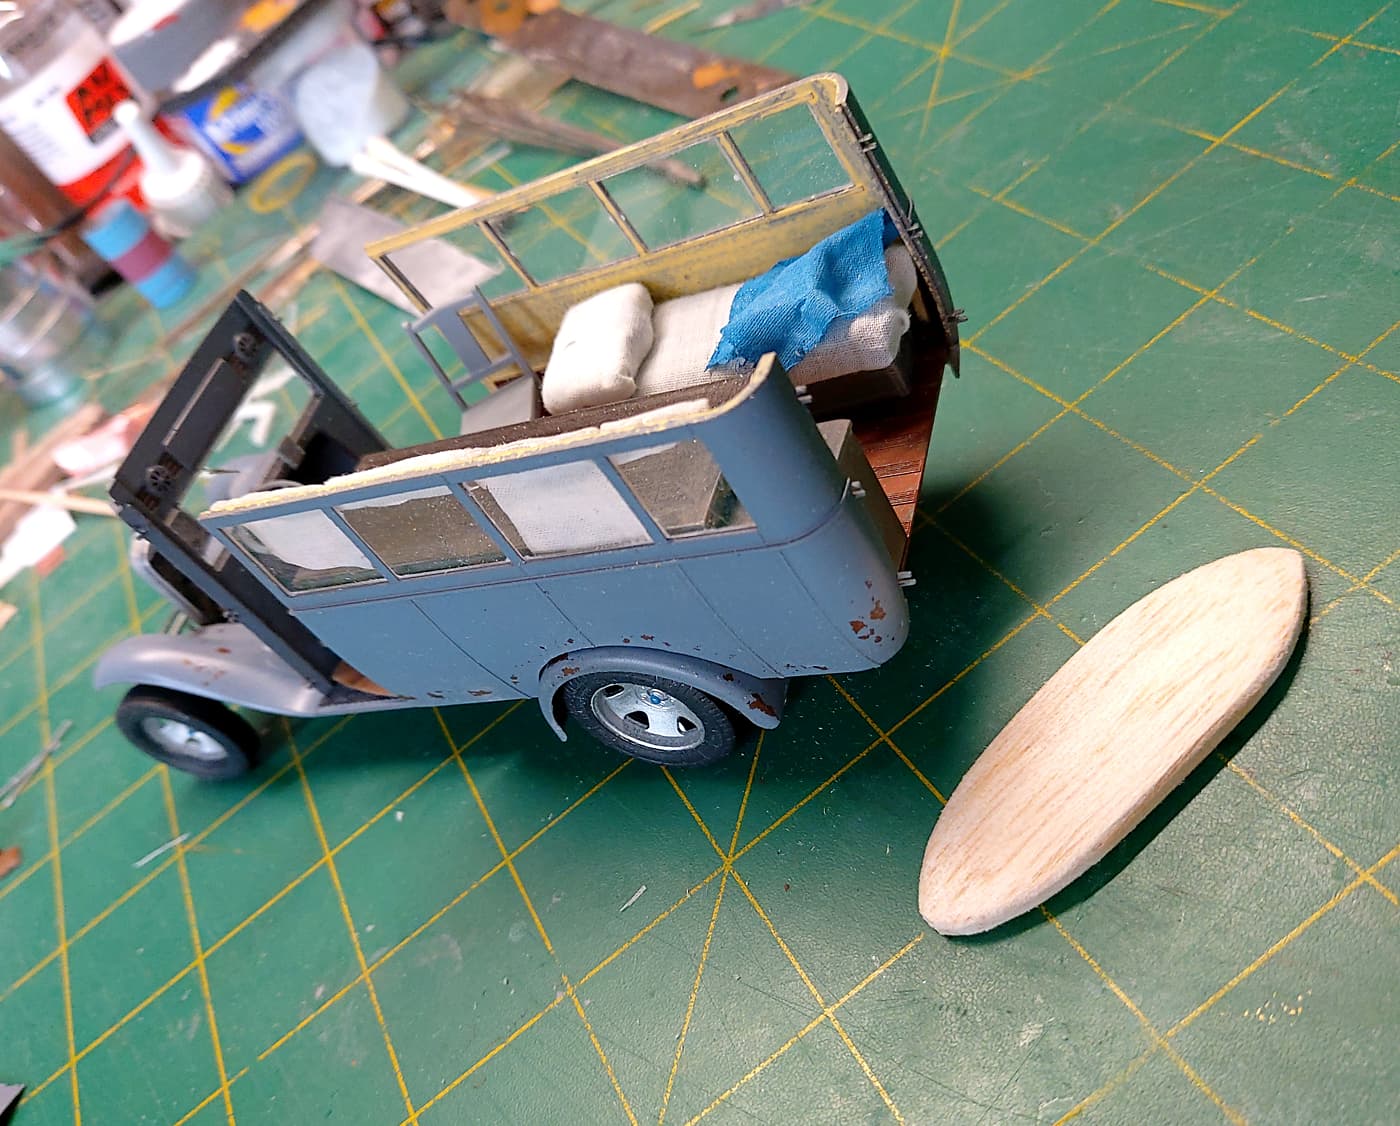
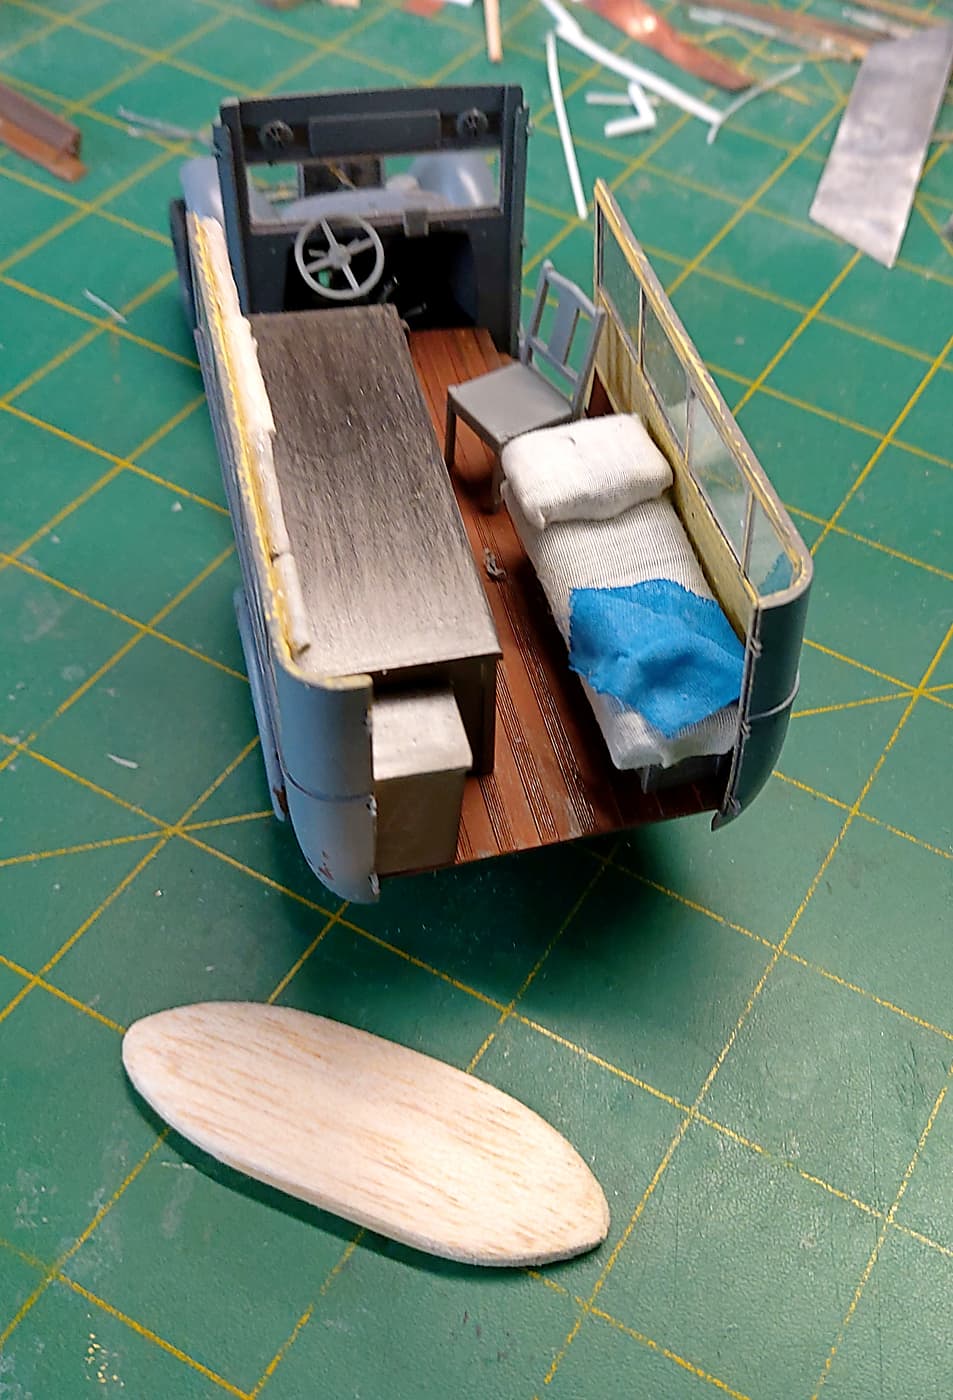
A bit more work done. Starting to put in the interior. Some of the items are from the kit. Some scratch built. The surf board is my first attempt. Too short and a modern shape. So back to the carving board!!
All dry fitted. Curtains are yet to be done on the right side.
Heh heh heh. This is the sort of vehicle that fathers dreaded their daughters ever seeing the inside of.
Note to those building this kit. Only tac in the radiator, firewall and windscreen parts. They need to all align with the side walls/doors. I mentioned above my radiator was a 0.5mm to far forward. I cut the radiator hose which gave me just enough play to lean it back a bit.
Thanks guys.
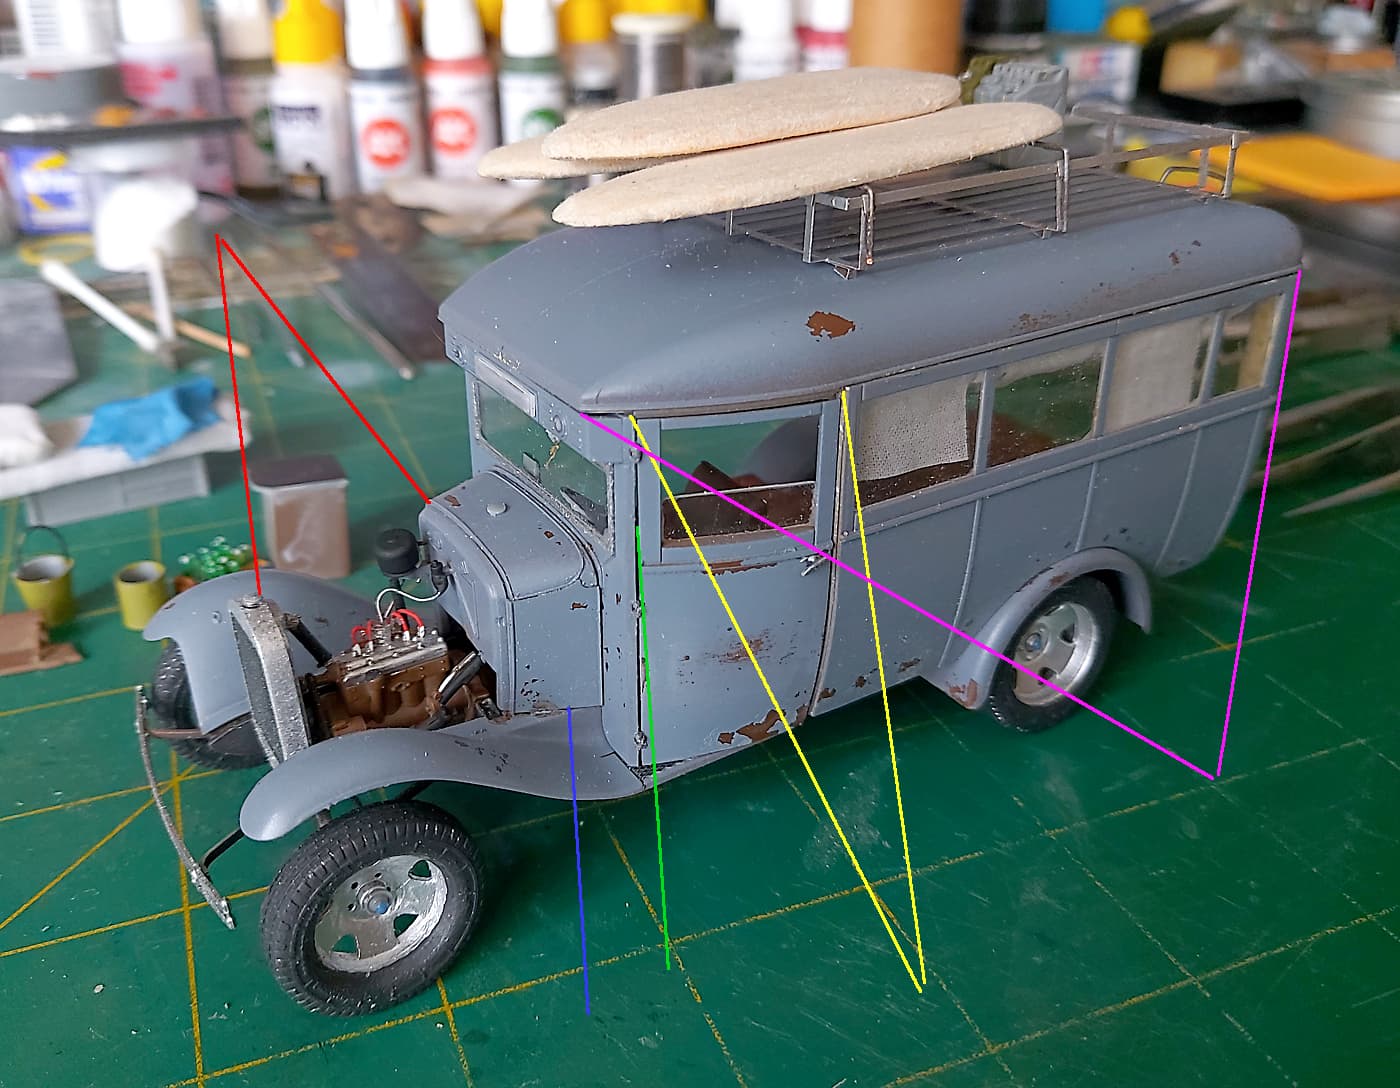
A couple of tips to help those contemplating this kit/build.
Keep an eye on the distance between the two red points otherwise the hood wont fit.
Keep an eye on the two yellow points or the door wont fit.
I found the key was to make sure that the blue point/edge was a flush fit. Getting the blue point/edge flush and the green edge vertical are the keys.
If you don’t get the darn thing lined up then the pink points wont let the roof sit down where it should be.
So I tacked the blue point and checked the green edge for vertical. Then placed the hood to check that the radiator was in the right place. (Mine was leaning forward so I had to cut the top radiator hose and pull the radiator top back a wee bit. It’s still not glued in place in the image). The rear side can only go on one way. So by putting it on and fitting the door to the windscreen you can get it all to fit. Check the roof sits down. It may take some fiddling and some cursing but it’s worth it.
It’s not hard. Just awkward.
I use craft tacky glue to hold bits in place. Then when happy hit it with the ‘real’ glue.
Sounds like it’s not fun. But I find this freelancing far more enjoyable than getting the details right on a Panzer iv J if you know what I mean!
Bruce,
The surf wagon is really looking quite good. Here on LI surfing never really took off so the only surf boards and surf wagons I ever saw were in the Movies. Times have changed and there’s beaches that do allow surfing but nothing like the West coast.
Sorry guys. Health issues and a computer that decided to die slowed me down.
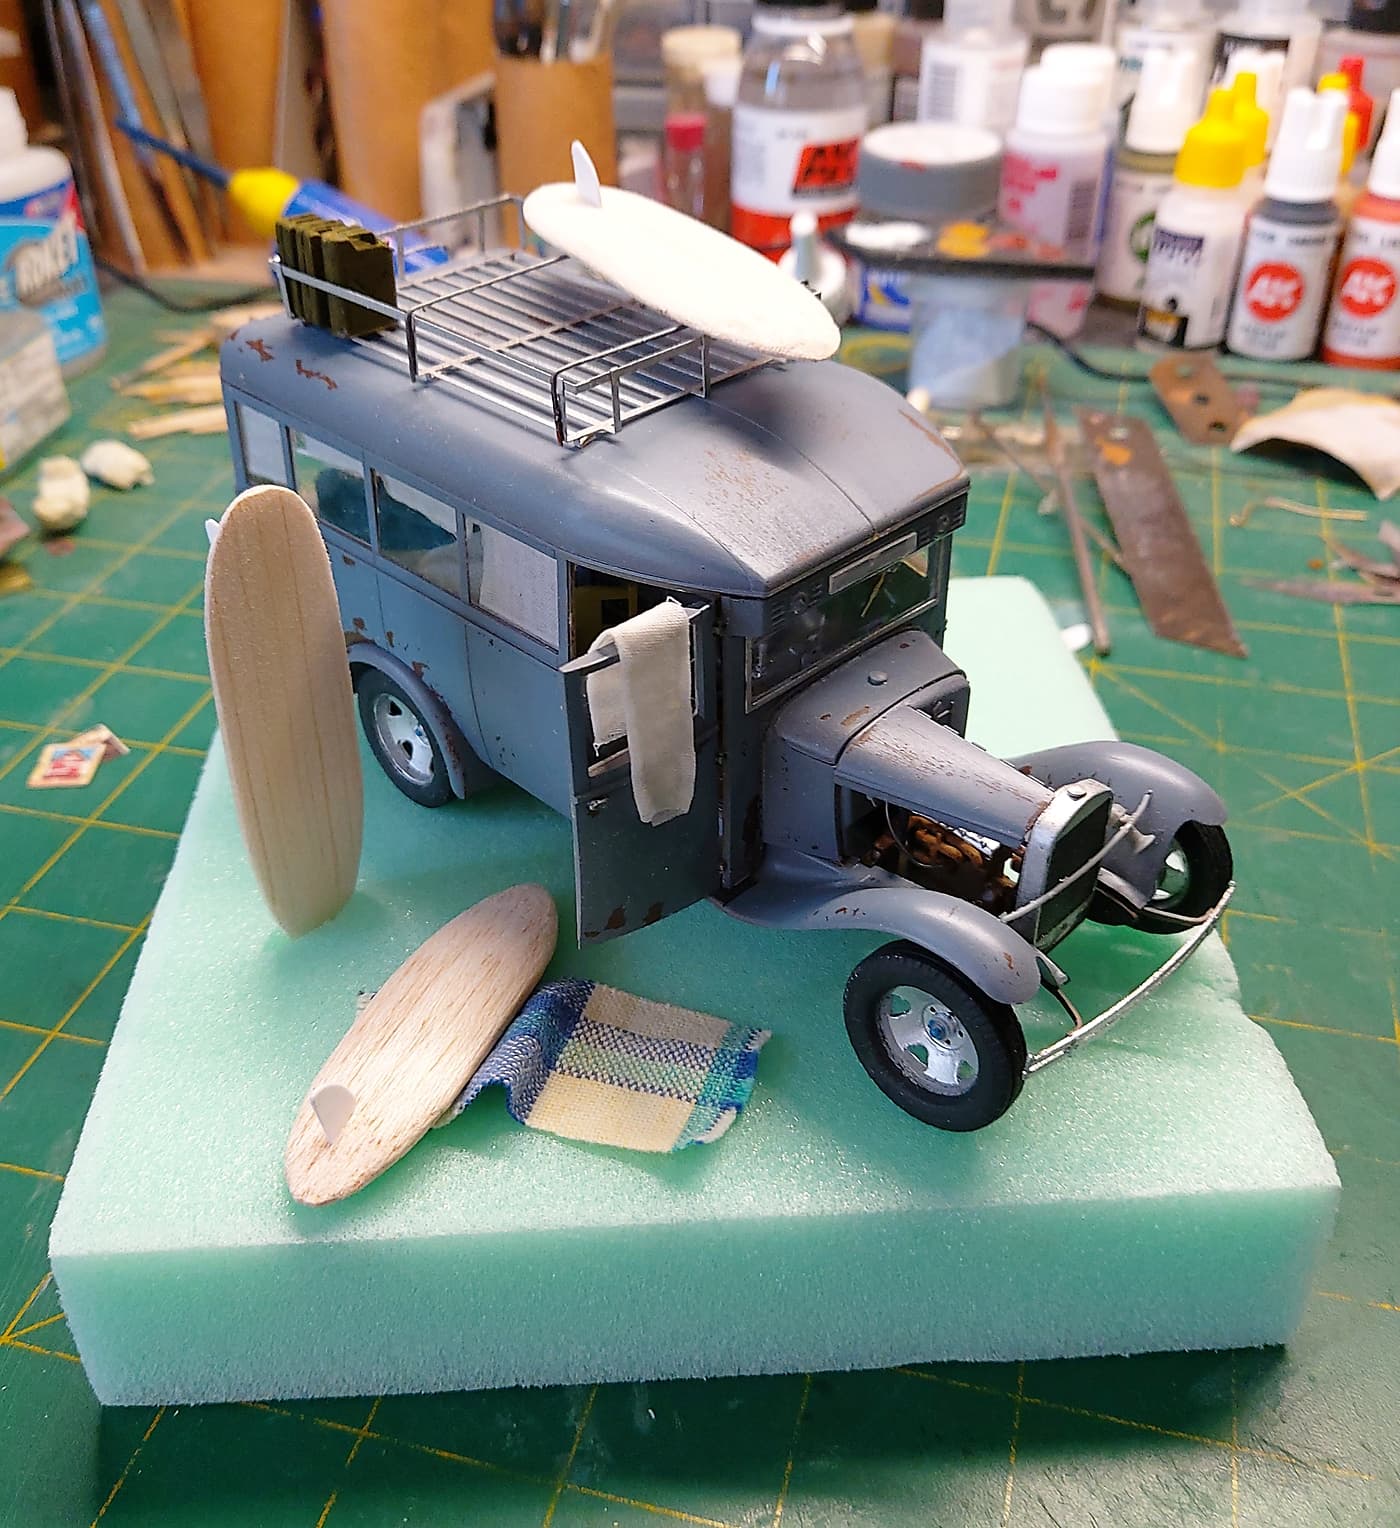
Here’s a rough image mocking up the diorama.
More details and the interior to finish. I’ll try and keep the roof removable. Headlights etc to install. Surf boards to paint etc etc etc.
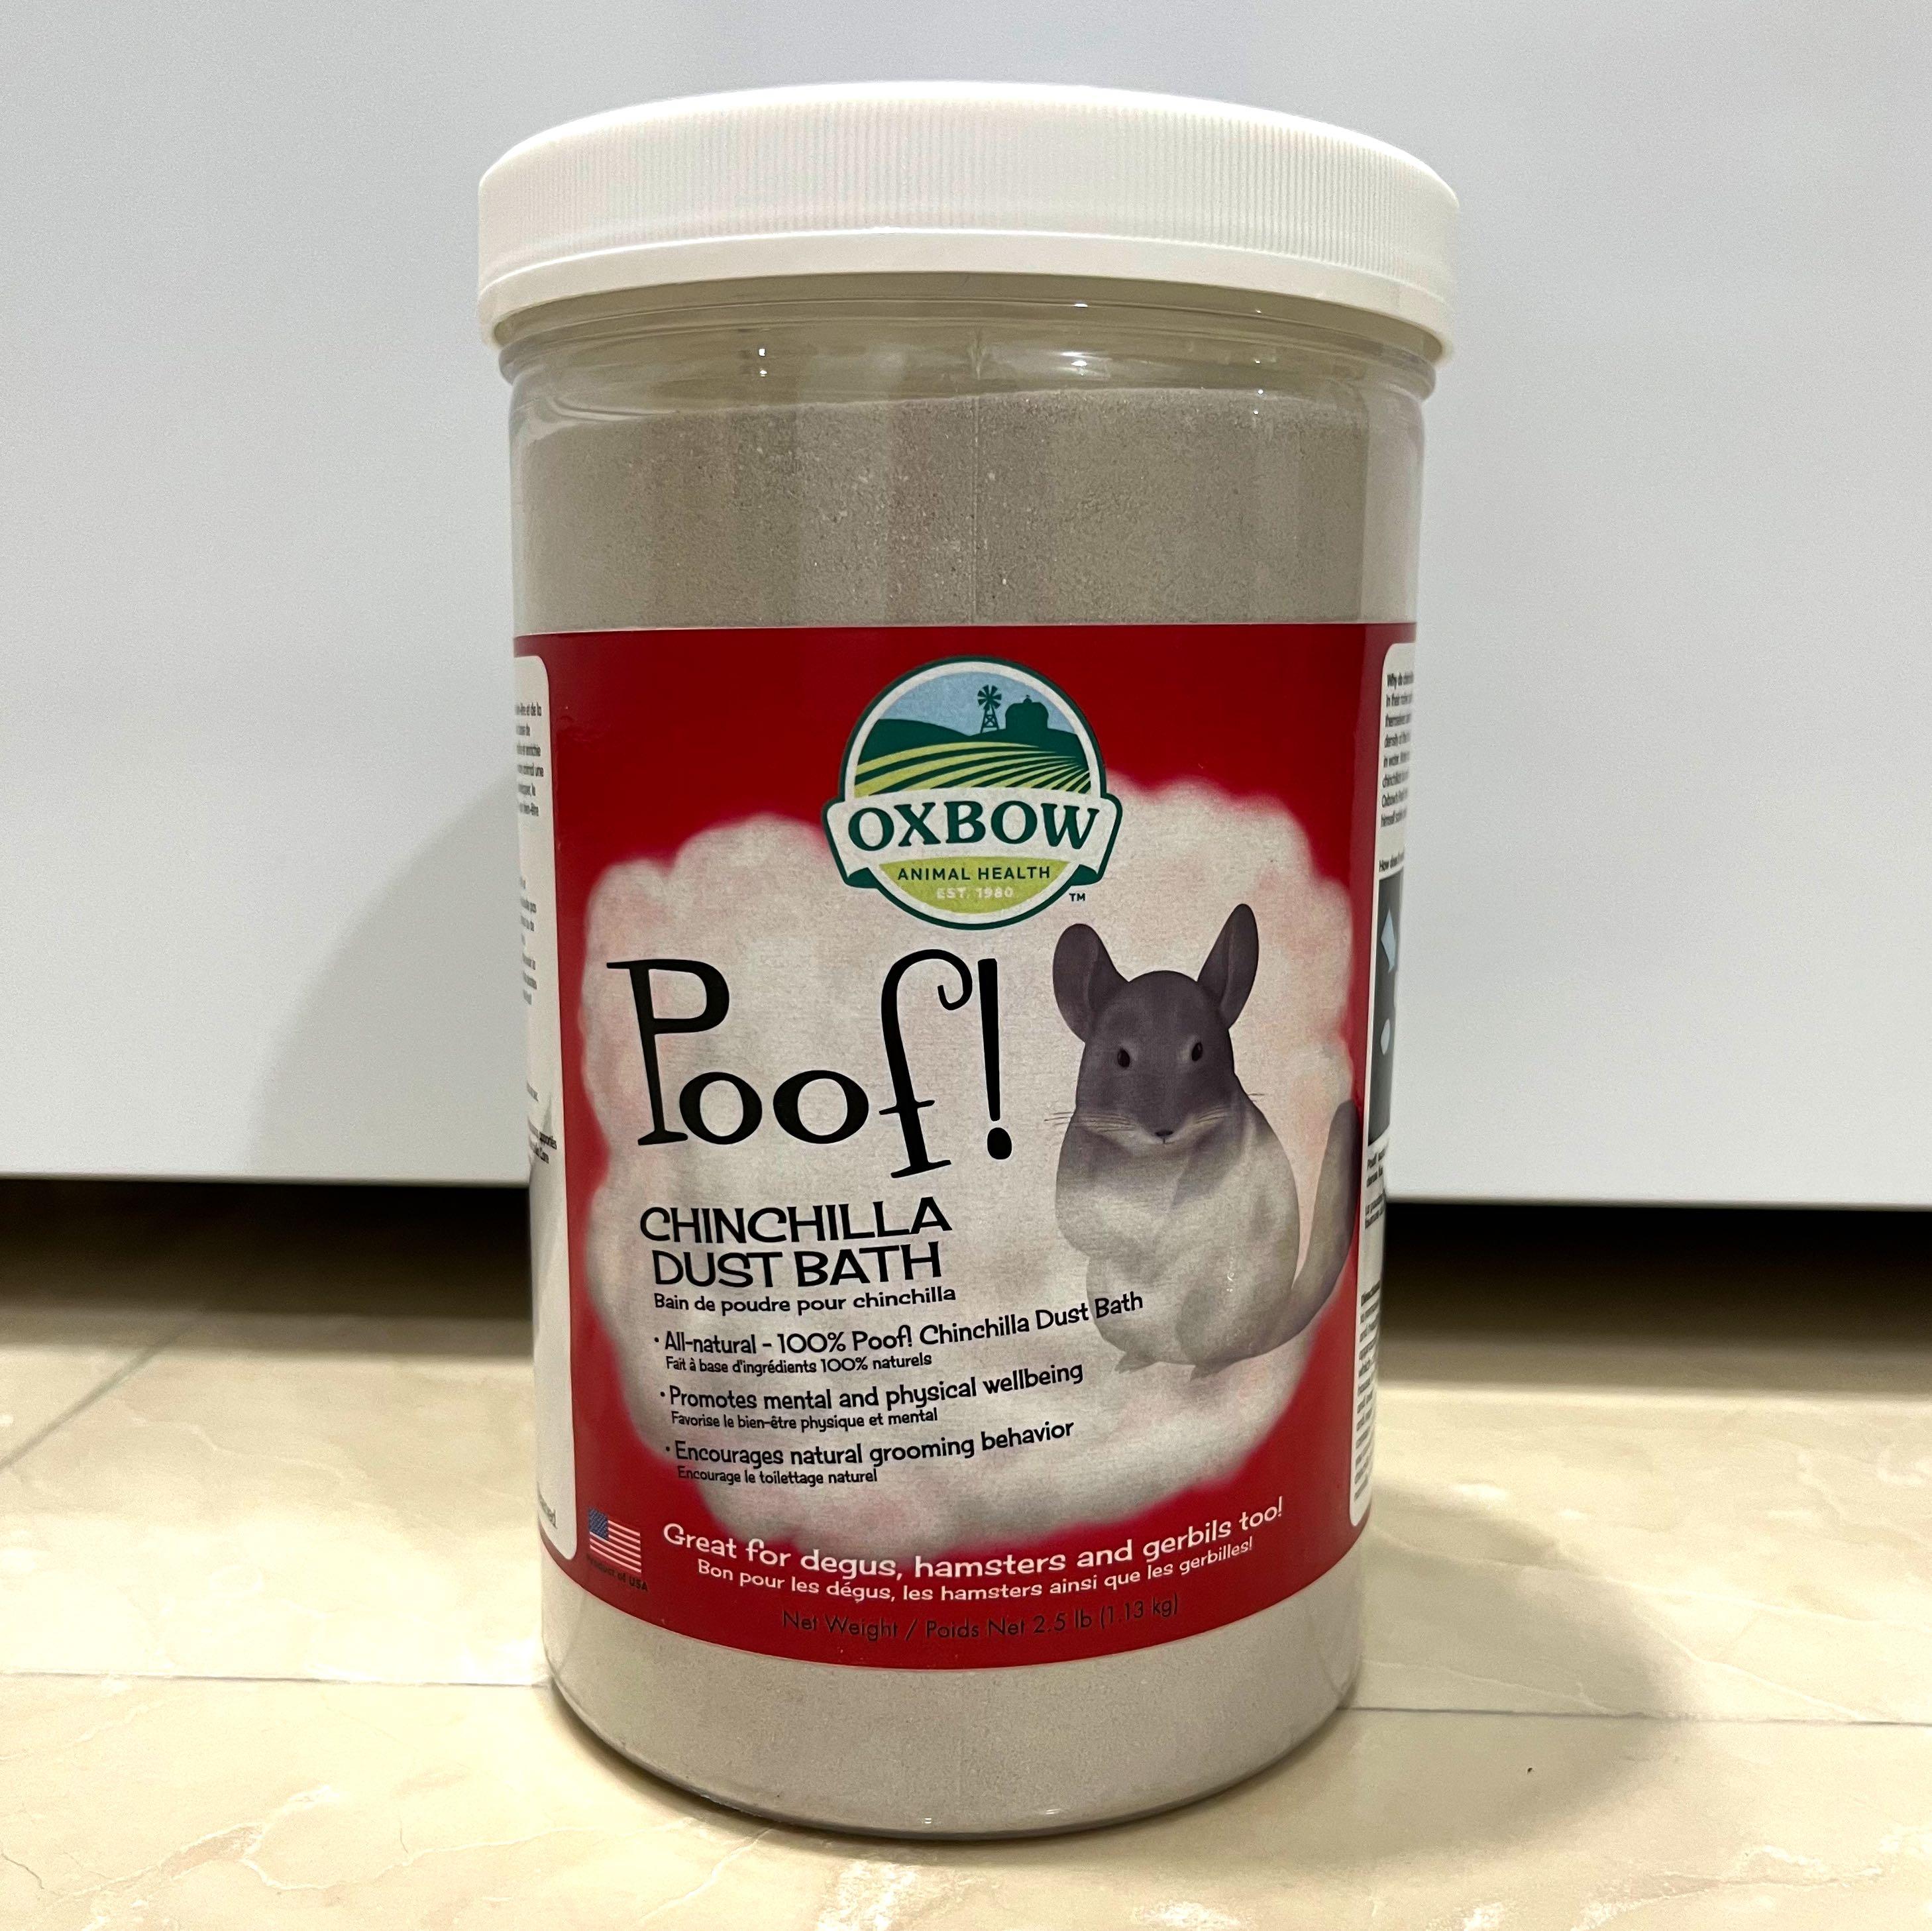
I’m trying to figure out how to replicate the sand. Real sand is too coarse.