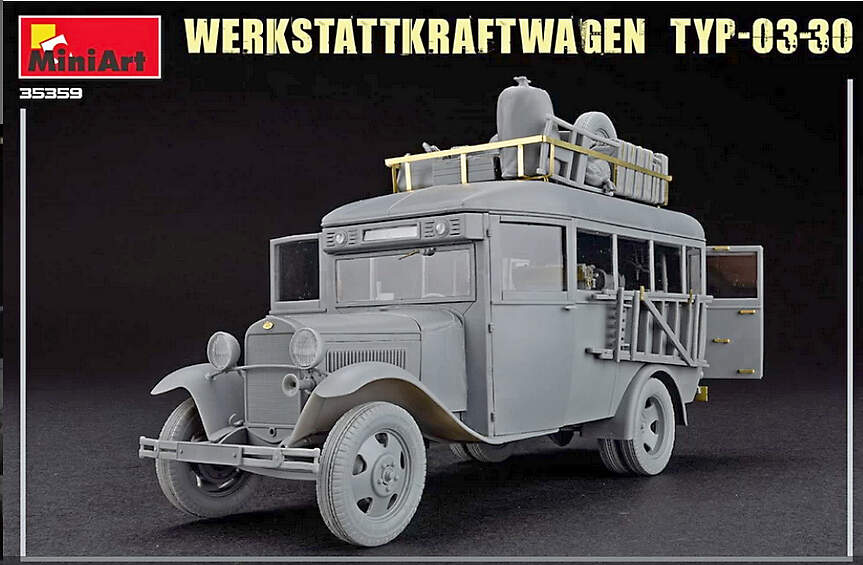
Hi Guys. Something new for me so I hope you will follow along. For a zillion years I’ve been a model railroader. 1/48 scale. A year or so ago I crossed into the dark side and started to ‘play’ with 1/35 armor. Now wanting a new project I’ve come up with a crazy idea of converting one of MiniArts 1/35 kits into a surfy wagon.
Great to see you here in the Auto section Bruce! Very cool concept, definitely a lot of fun in taking that sort of direction with a great looking old bus.
It looks a bit like there’s a theme developing here, I’ve been rolling this kit around for the last week or so and a plan is developing for a civilian repurposed version like a mobile roast potato van or coffee cart, or maybe just an old-school cool camper with a side annex.
Is that the Greyhound bus in 1:35th? Psychedelic paintjobs go on anything that was around in the '60s…
I know I shouldn’t, but with “off-the-wall” projects I’m often tempted to mix 1:35th and 1:32nd scale components as long as long as I don’t have a specific item (e.g. a rifle) depicted in both scales.
Bruce,
Sounds like a great idea. Looking forward to following your progress on this build.
And Damain, the Roast Potato van is a new concept for me, as here we have lunch wagons and Hot Dog trucks literally everywhere up here on Long Island. Should also be great build to follow.
Oh, nice! I have some wide slicks on mag wheels in the spares box that would look at home on that, as would flame effect paint job or a metallic/prismatic finish…
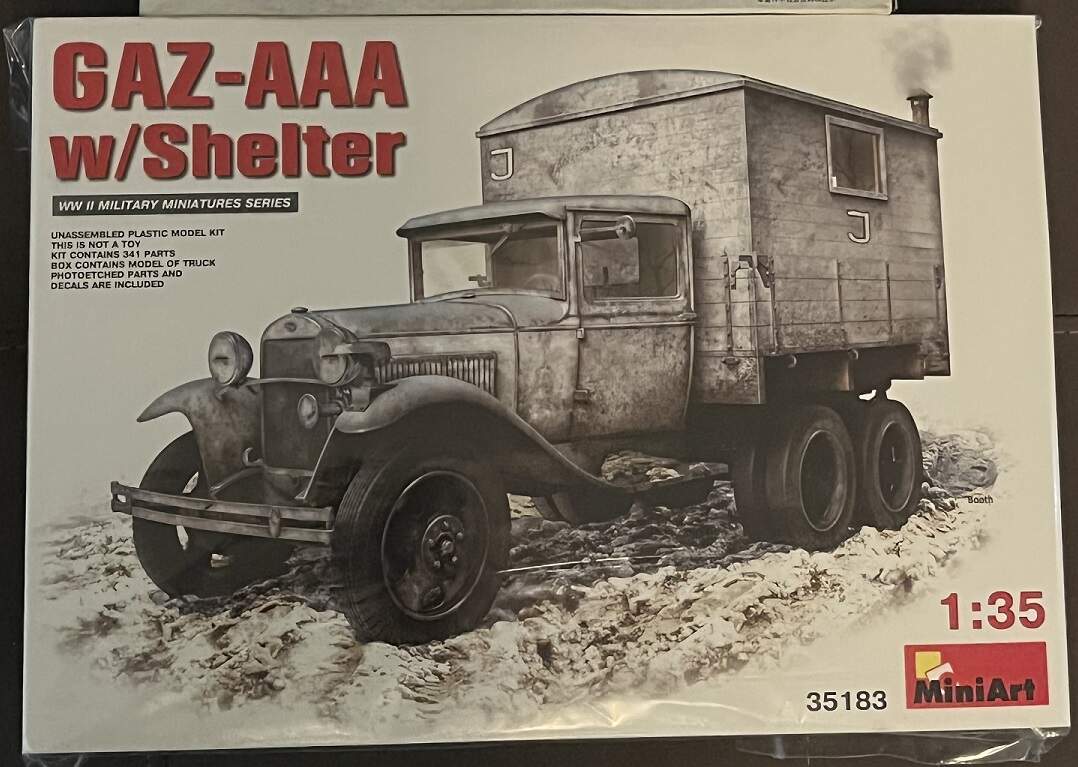
Thanks folks. I already have the MiniArt kit. No going back now!!
I would love to find a ‘very’ small 1/24-1/25 scale V8 that I could shoehorn in. But that’s not critical. I would also like some ideas on wheels. I have a theory about widening the kit wheels but I’m yet to test that theory.
Start is made.
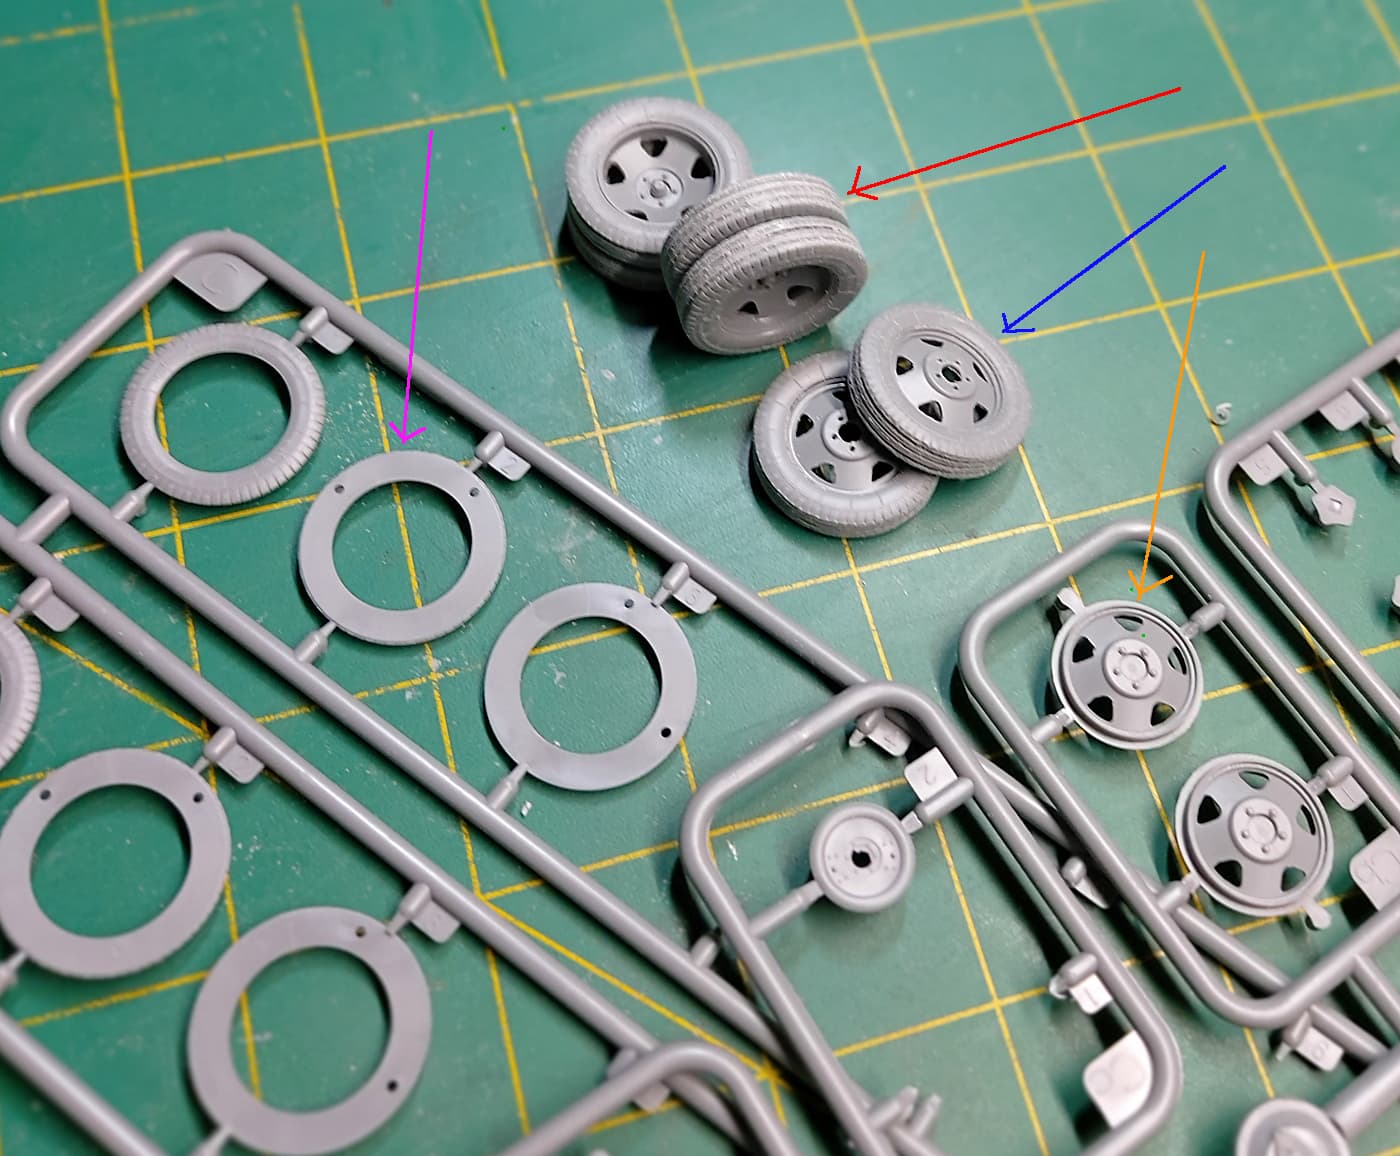
I procrastinated on which wheels to use. I decided to use the kit wheels and tyres. I researched buying wheels or parts for 1/25 scale but found they cost more than I was prepared to pay.
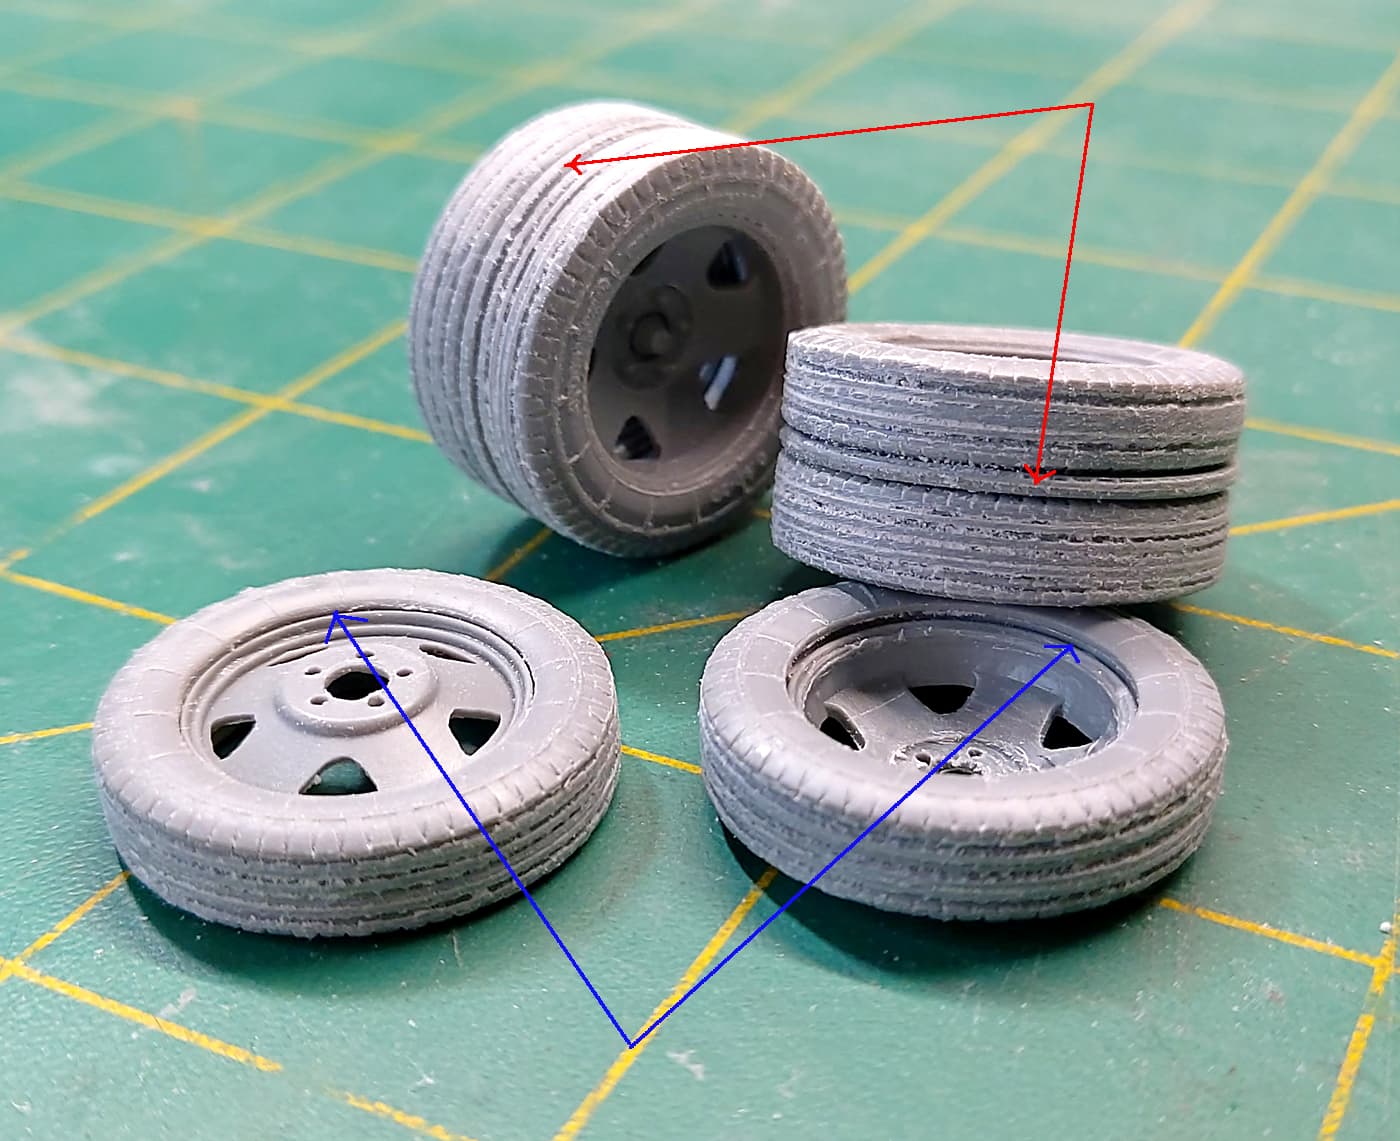
For those not familiar with MiniArts, wheels they are made up of a number of sections which, when done, give a very realist tread pattern. The kit comes with a number of extra sections so I included 2 extra sections on each wheel. (Red arrow for rear dual wheels. Blue arrow for front steer wheels). The 2 extra sections fit on the rims and make the tyres wide enough to look a bit more appropriate for a surfy wagon. (The pink arrow is 1 tyre section. The orange arrow is 1 wheel).
Because I had to glue the wheels/tyres together I’ll paint them later. I hope to be able to ‘chrome’ the wheels.
I hope to modify the suspension enough to lower the whole vehicle. We shall see!
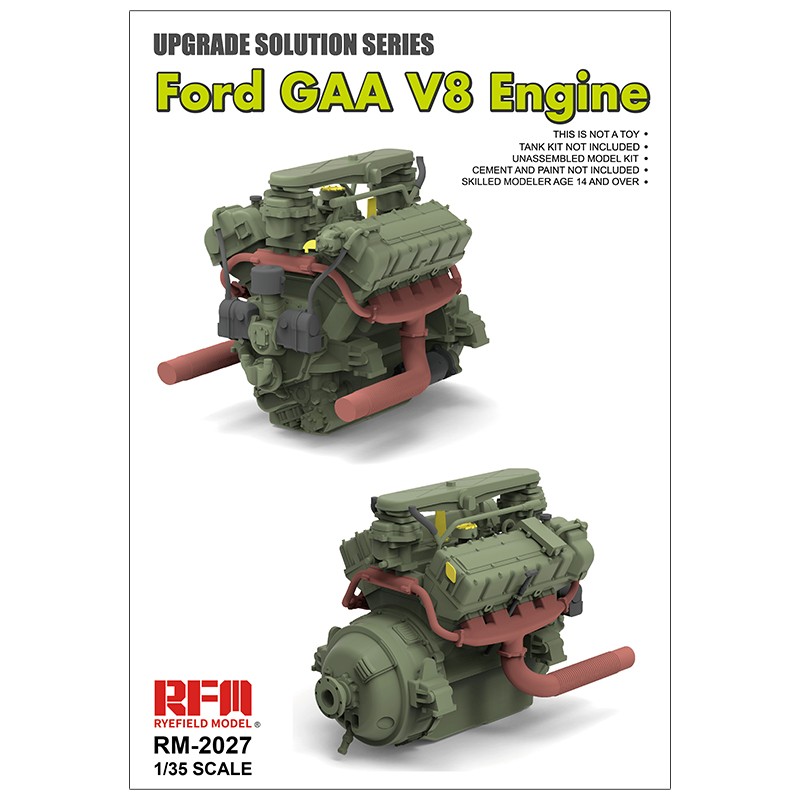
I’ll start the engine next. I’m going to use the stock engine but give it some ‘bling’.
Unfortunately, the Ford GAA engine isn’t ‘very’ small at 1100 cubic inches (18L). The average car V8 is only around 300 cubic inches (about 5L), or less.
Wonderful to see the work commence Bruce. I really like the way MiniArt have done the wheels this way, with the separate “slices” providing the tread grooves as you assemble them.
You guys have really got me thinking now, and digging through my stash. I’ve got a couple of red hot Rat Rod prospects in 1/24 . . . . . . .
I wasn’t happy with the dual wheels on the back. So using some extra tyer discs from the kit I inserted 2 between the 2 real wheels. Now I have some wide wheels and tyres for the rear.
2 areas to clean up yet. The red arrows show the discs inserted in between the 2 wheels. That needs a bit of filler or something floating in there just to tone the extra discs down a bit. The blue arrows show the result of inserting the extra discs into the front tyres. I’ll have to fix the exposed bead with some filler.
The left front wheel is showing the outside of the wheel. I may reverse the wheels to give a wider look and stance. As shown on the right front wheel.
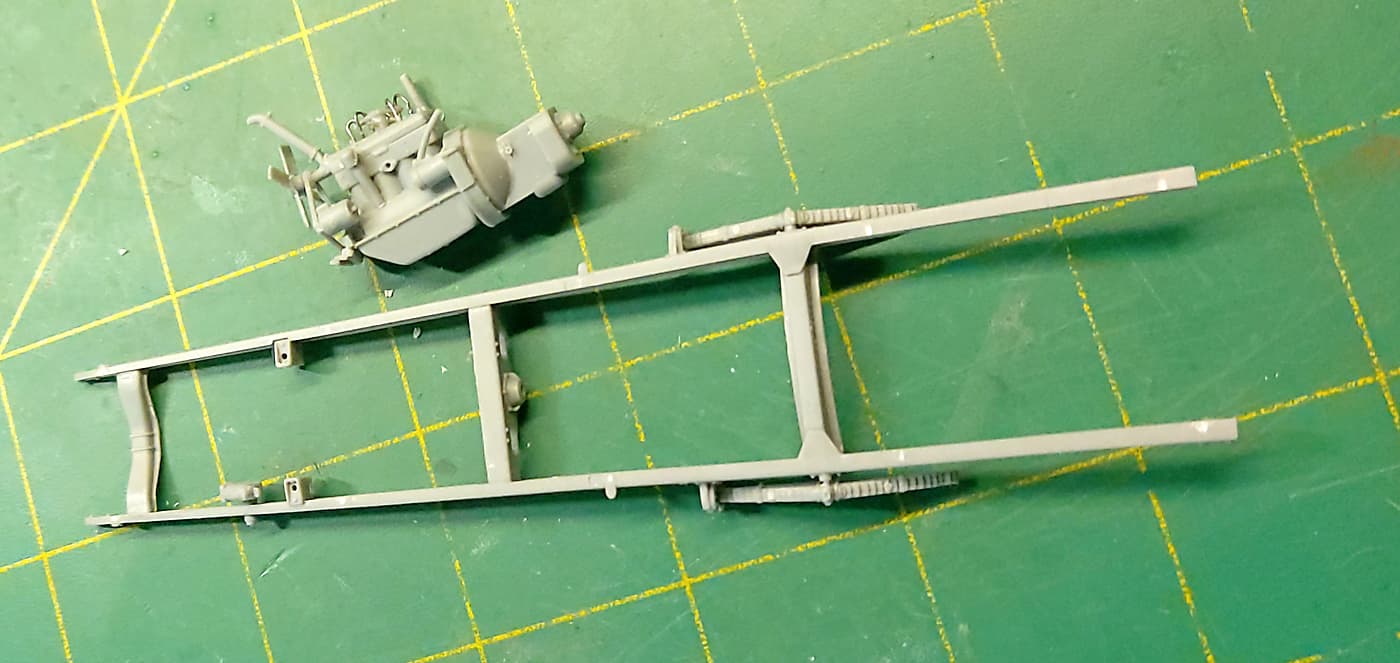
Basic engine done. I’ve put the plug wires in. The rest of the wiring will come after painting and installation.
Note for those contemplating building a MiniArt Gaz AA/A. This is my third MiniArt Gaz. I’ve found the key to a good build is getting the chassis straight and square. Put some effort into this and all ‘should’ be well with the build. Maybe!