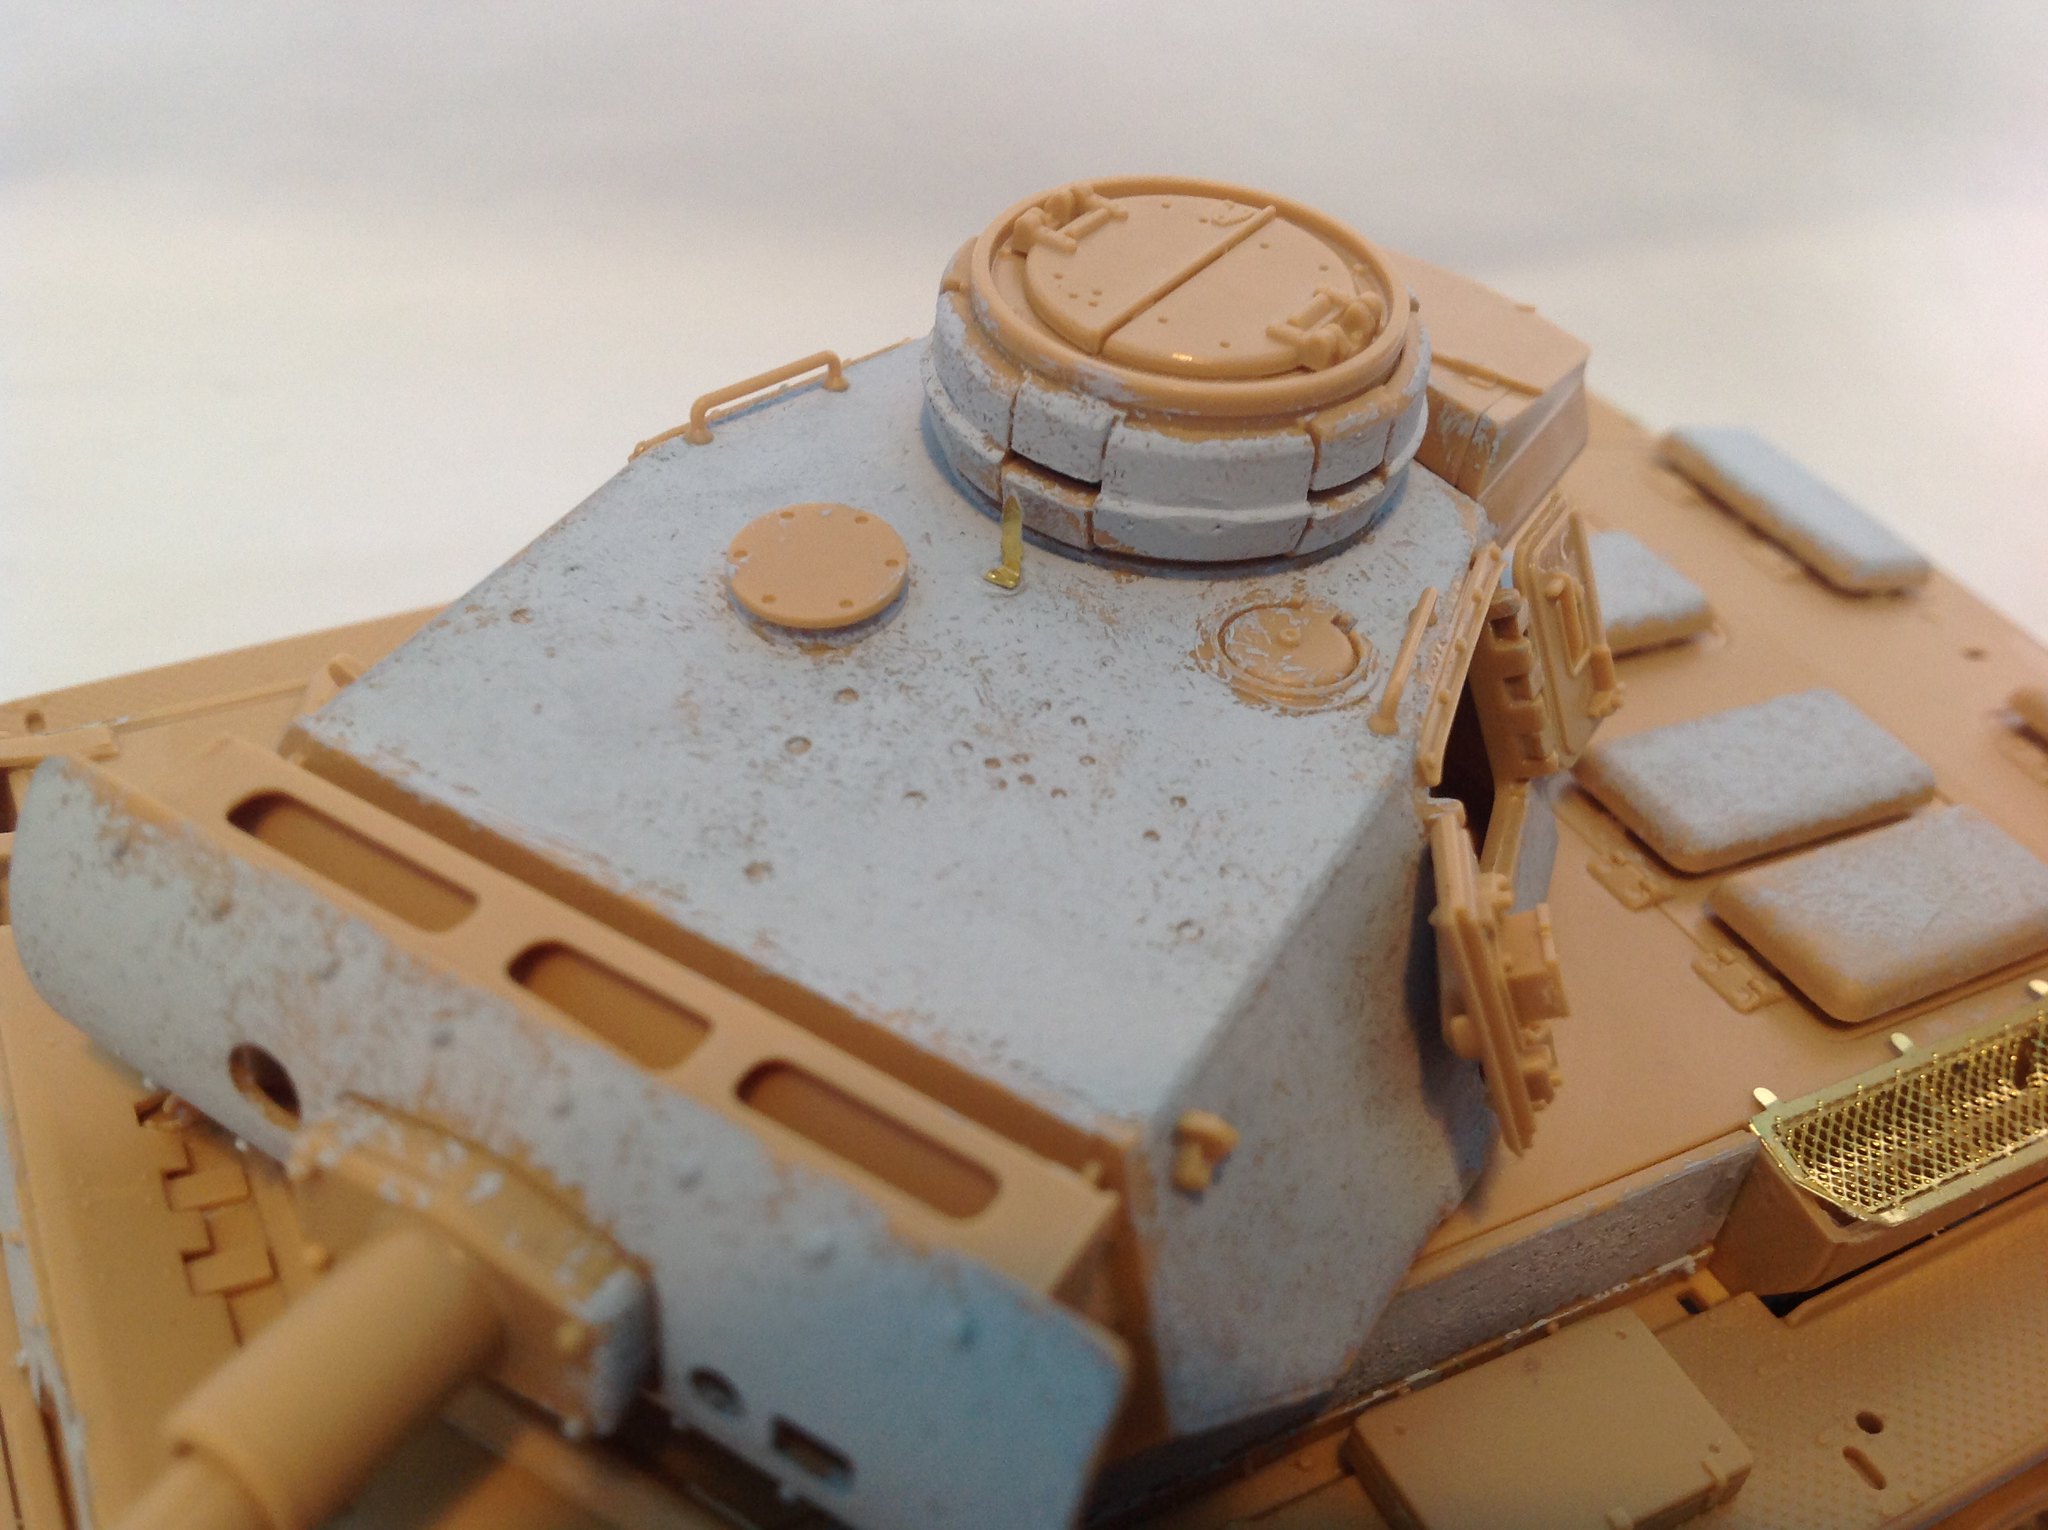
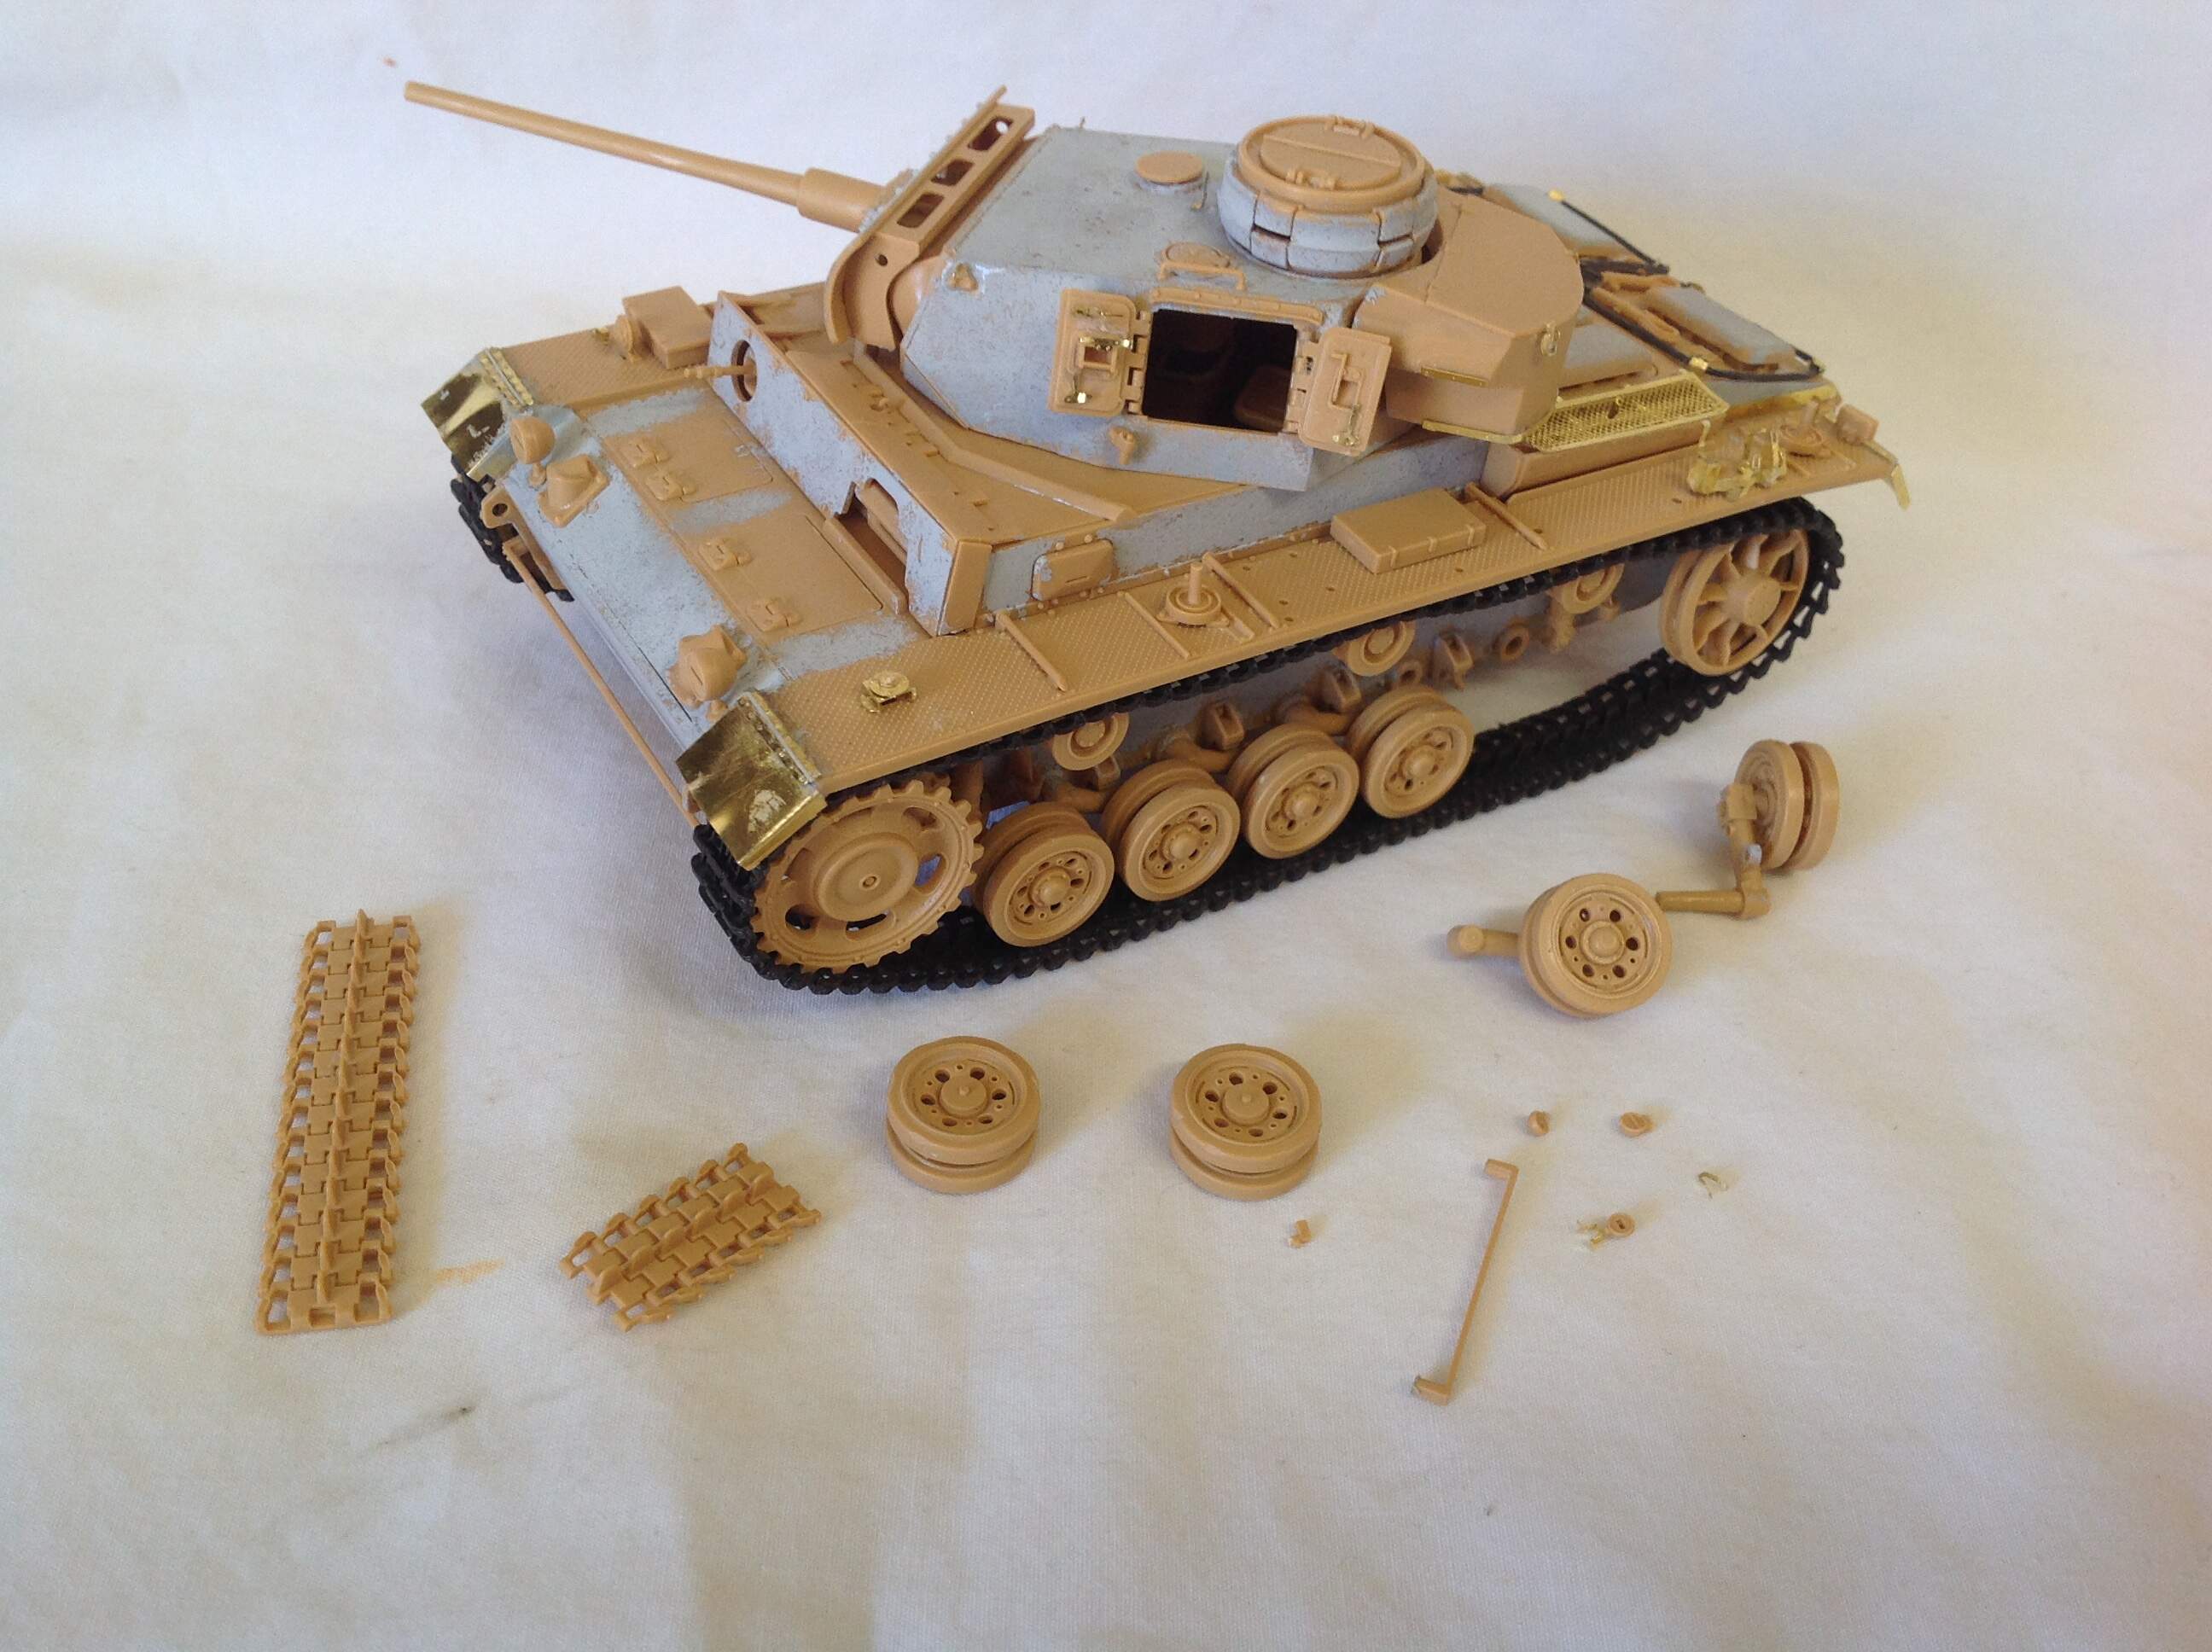
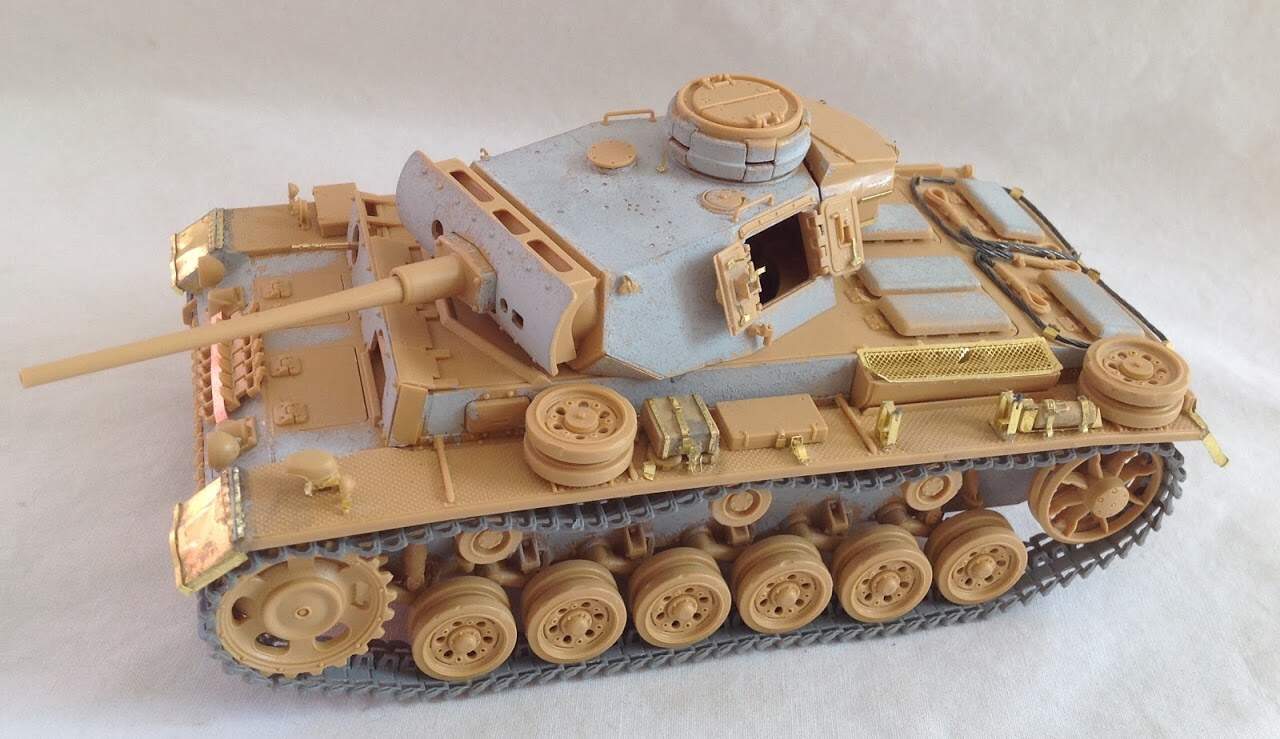
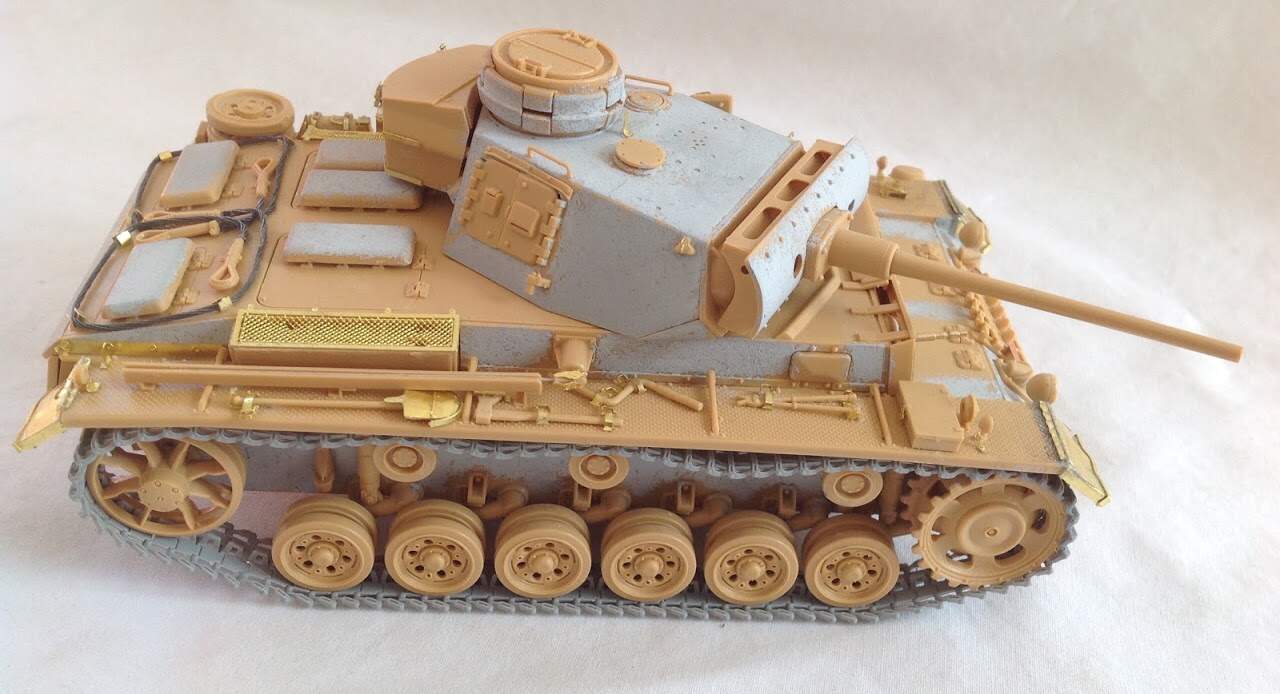
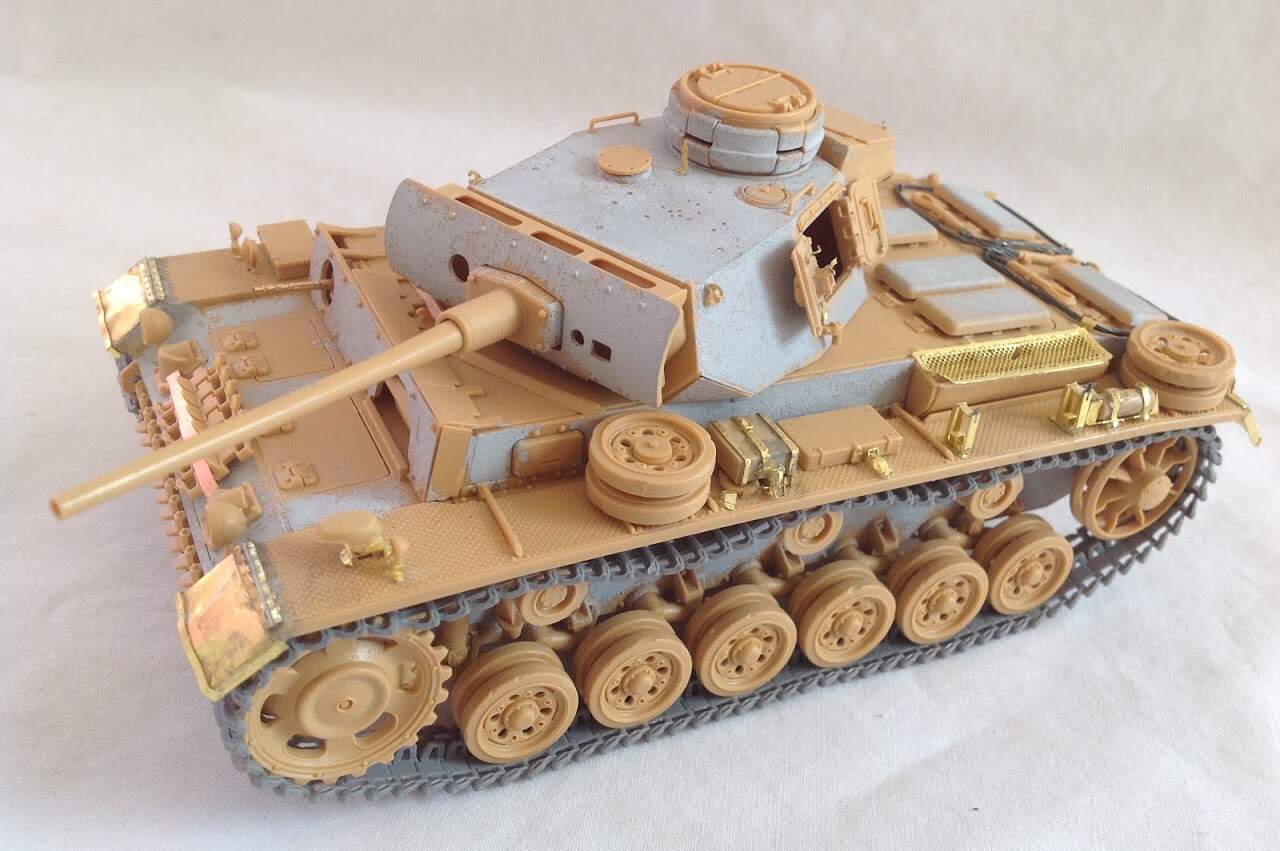
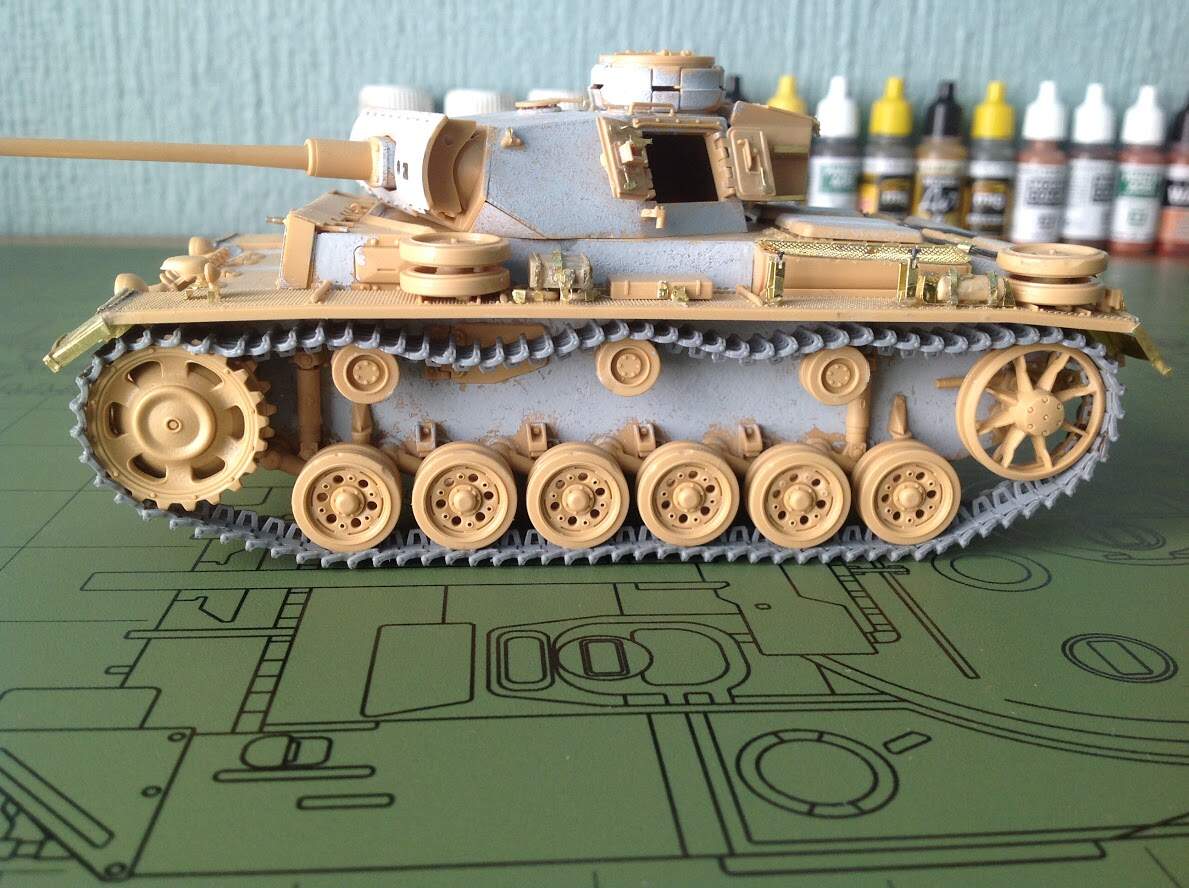
Heres my build log of my 1/35 Tamiya Pz. iii, I was going to build it OOB with only a couple added details until I opened up the box and found a Aber photo etch set for it! (Thanks Wade!) I started the build by adding a sight armor texture to the tank then adding everything on to it.
I as per my method, added some sag to the rubber band tracks. (I may add some more)
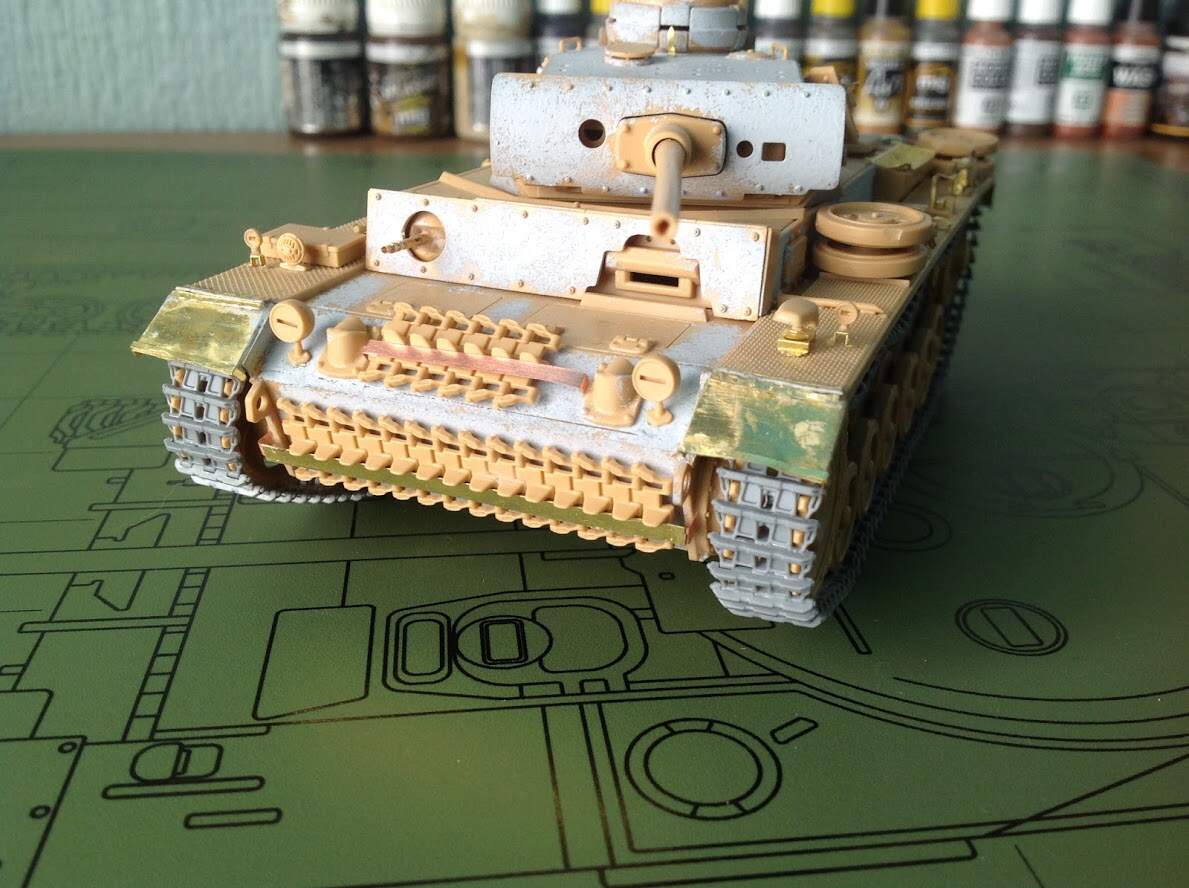
The first PE parts to go on were the Fenders which didnt fit very well as the set is made for the Revell kit, then I added the vane sight on the turret roof and added the grills which I beat up a little.
I still need to add the PE hinges to the fenders so any ideas on how to do that would be appreciated.
Ezra that’s an astonishing pace for quality building! Looks fantastic!
The fenders look good, despite the fiddle factor that goes with them. Likewise the texture is a nice plus.
If that bow MG barrel doesn’t suit let me know, have a spare Aber barrel that should work nicely.
On hinges few thoughts.
List item
annealing to break temper will help if there’s brass parts that needs to be formed around a small drill bit for a pin.
Slightly sanding the edges of the hinges helps get them straight. I also like to slightly sand at an angle to knock that sharp edge off the hinge. Just learned that trick from @FirstCircle
For positioning hinges, I like to use white glue to I can move the part around and line it up. Later a tiny amount of thin CA to fix in place.
That’s looking like some excellent work! The armour texture was really well done, you managed to get the detail there without making it look out of scale. Would you reccomend the photoetch set?
Thanks guys!
Dennis, the photo etch set while high quality has really crap instructions, they are really hard to follow. I would recomend it though if you want a highly detailed PE set for this kit.
Hey guys, I know its been awhile since my last update.
About 5 min ago I was super happy with my progress… until I was walking to take the pictures then the tracks hit a chair and the whole Pz.iii took a large fall to the ground…
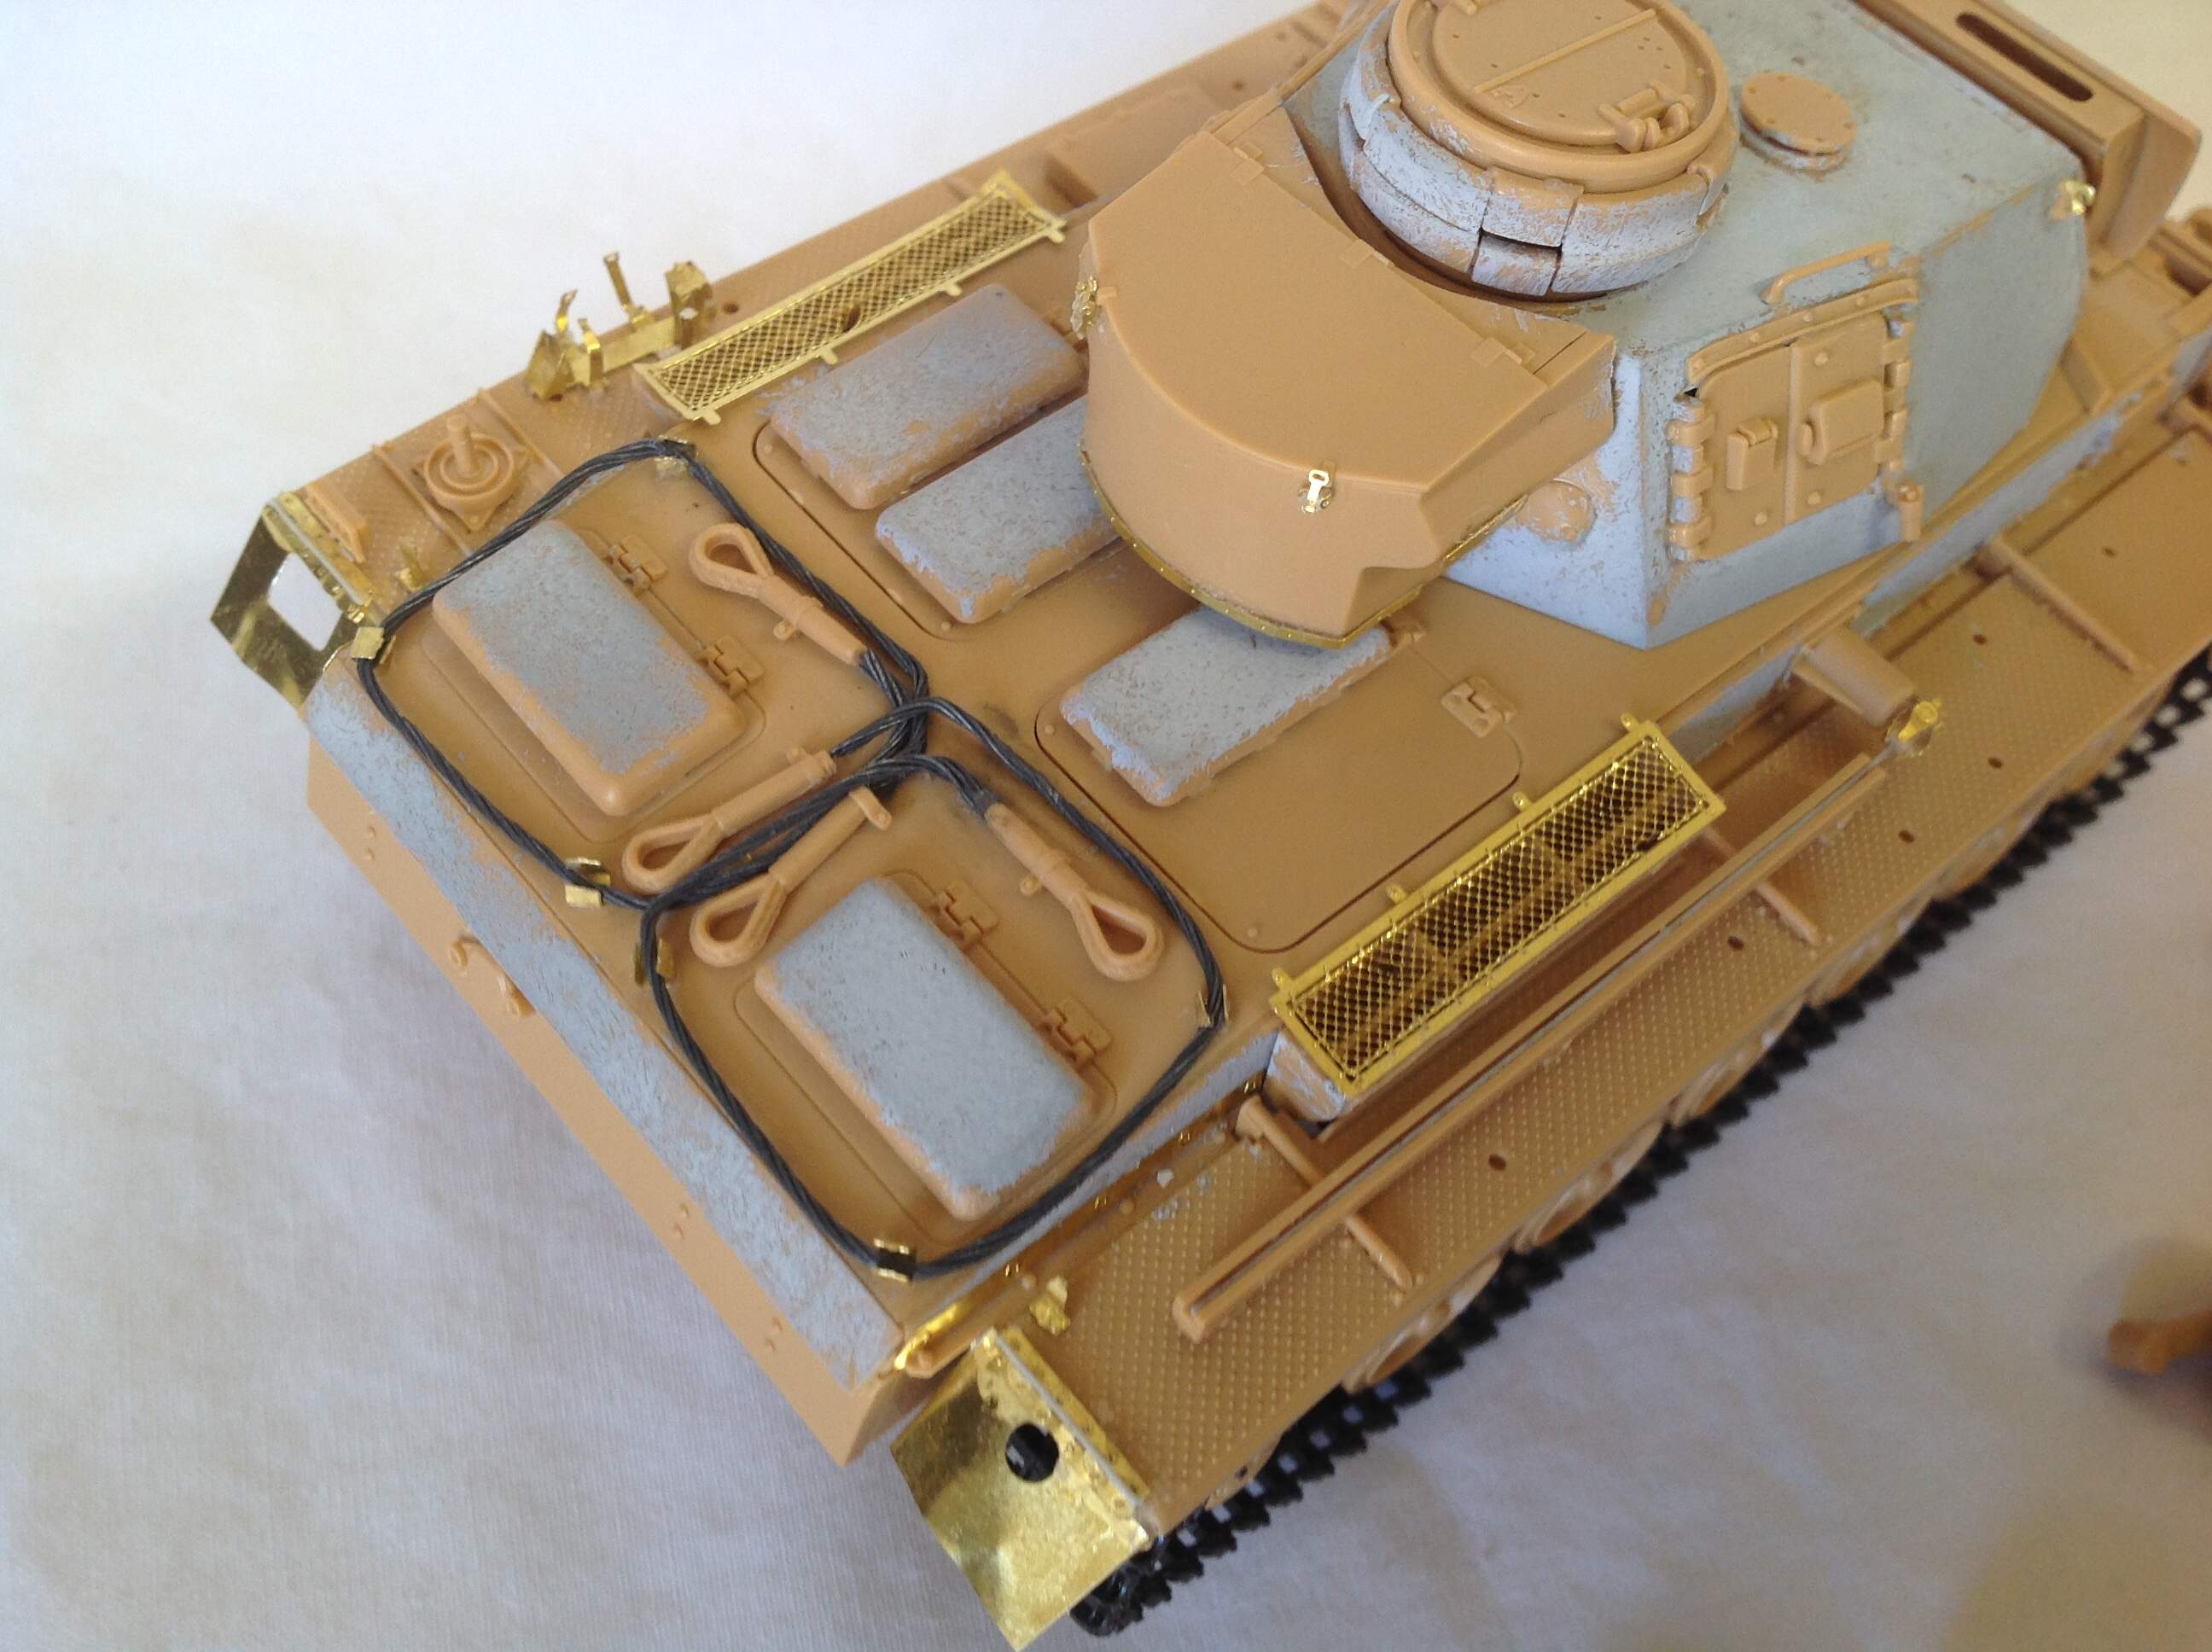
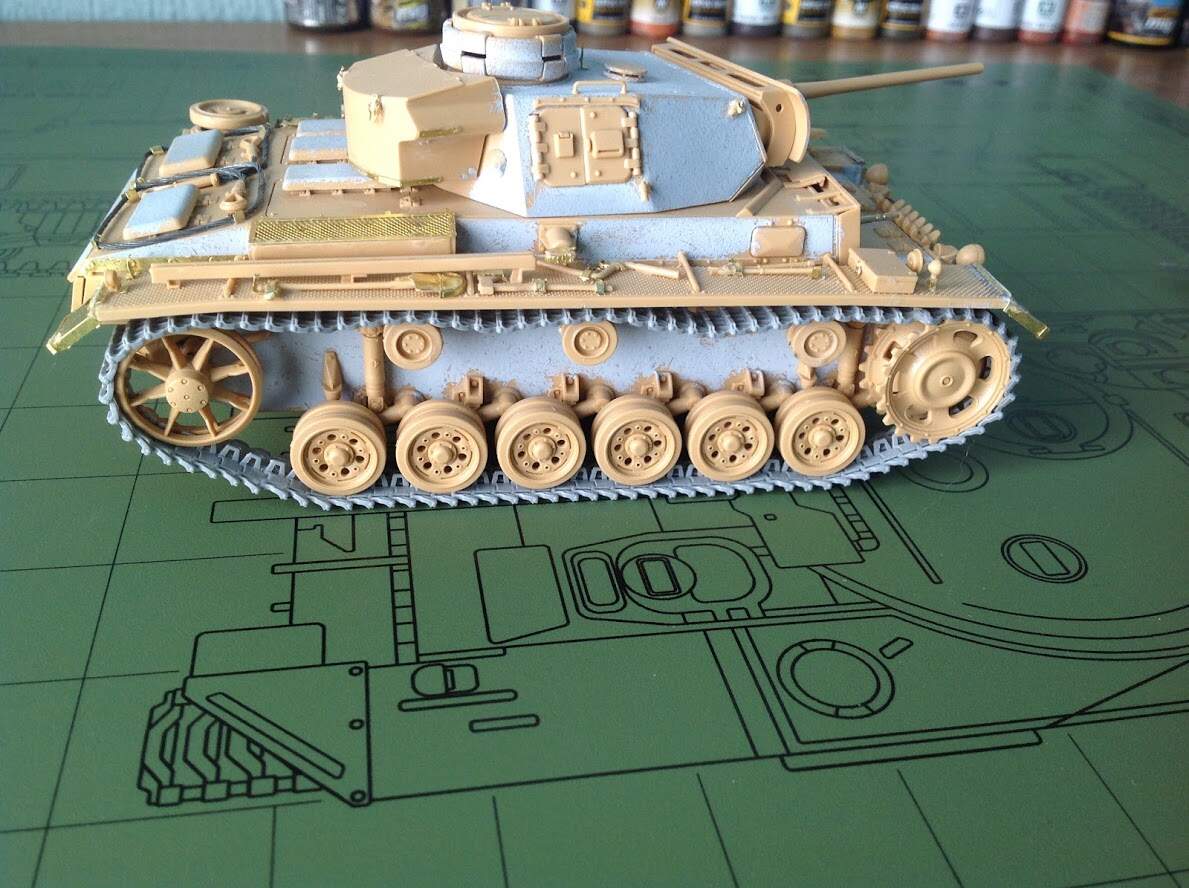
Apart from that Im really happy with my progress finishing the clamps and other PE on the turret (They all came through unharmed except for half of a clamp which I found)
I also replaced all the tow cables with wire and used Aber parts. Later I will add some wing nuts.
All I need to fix now is the clamp on the turret bustle, 2 suspension arms, rear light, headlights and the Notek light
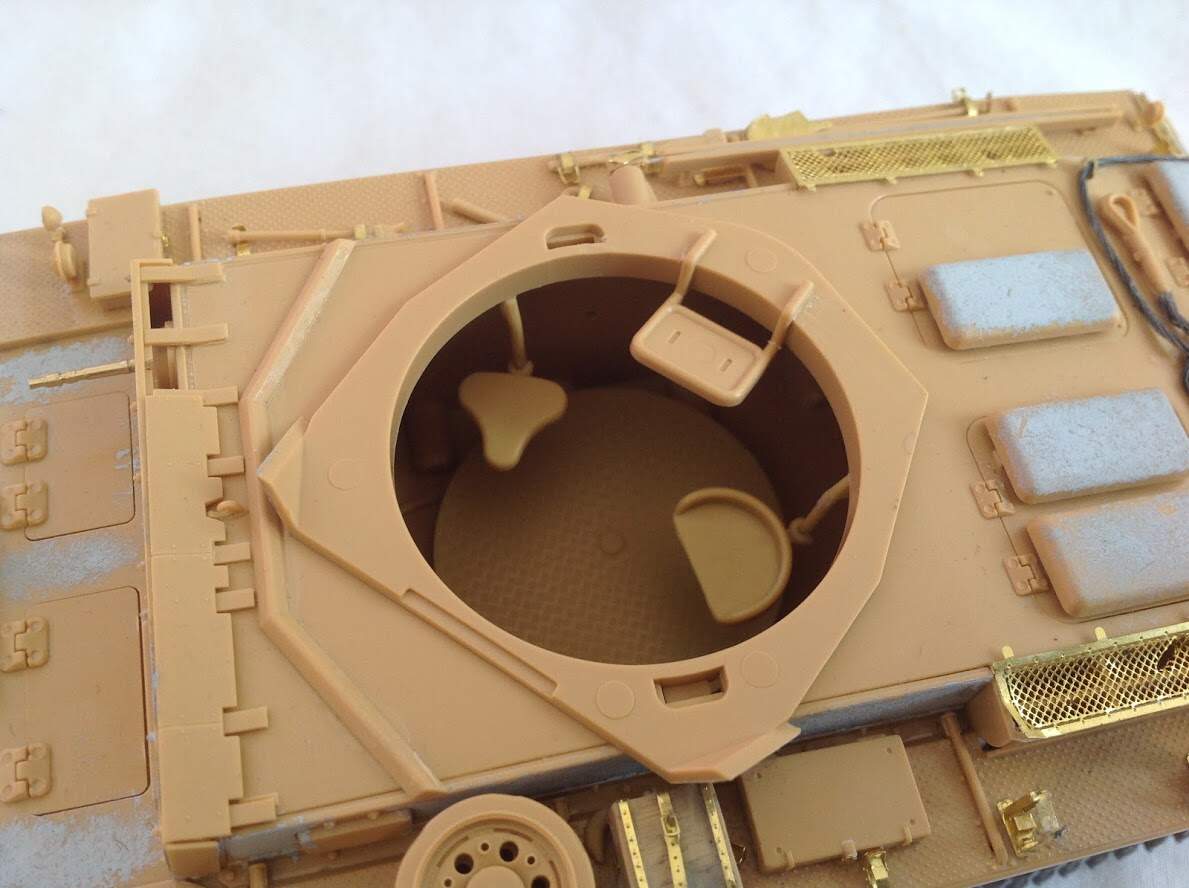
I also raided some interior parts from my Tristar Pz. IV that I wont be using. While not 100% accurate it gives the feeling of a interior from someone peering through the hatch.