That’s interesting, would the straps have been colored like leather, then?
It’s kinda crazy for a leather substitute to be made from paper pulp. Is it still used?
Generally it was a red brown/medium brown colour or dark grey/black
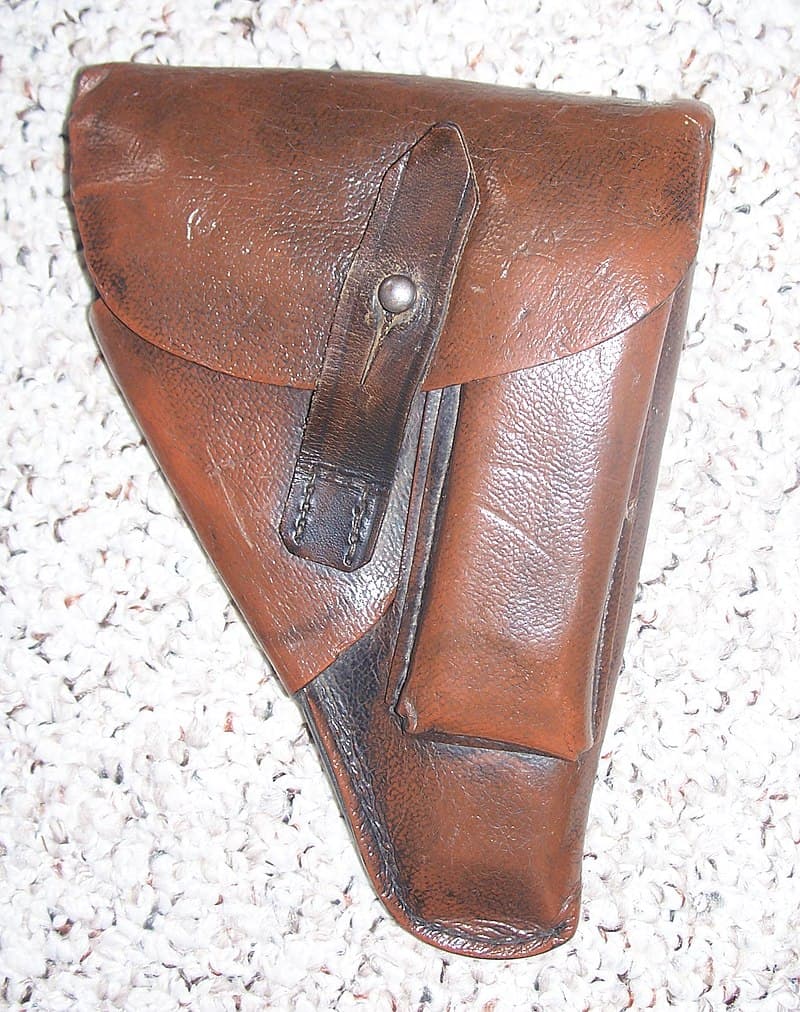
No. Modern leather substitute materials are cheaper and more durable so the practice is long disused.
2 Likes
Would they have used the same stuff on seats, because that is the approximate color I chose for the seats on this model.
It would not matter whether they were leather or Preßstoff. The whole idea was that it imitated leather in colour, feel and use.
1 Like
I’m currently working on the tarps and the other stowage, and man, am I happy with acrylics for such purposes! When I accidentally get some paint on another part, I can get some water on a brush and sweep up the stray paint.
IDK what this site is for, but I found a restored Kettenkrad with good walkaround photos:
3 Likes
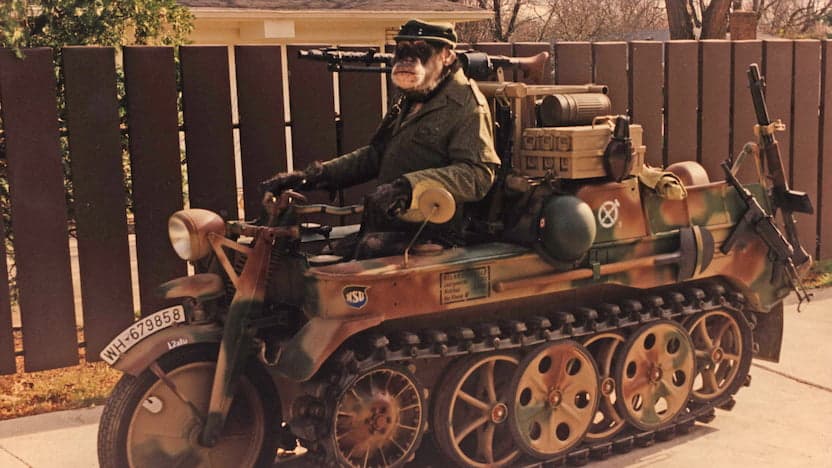
At first, when I saw this slide on that site, I thought the driver was wearing a weird mask, but upon closer inspection, he seems to be a chimp or monkey of some kind.
2 Likes
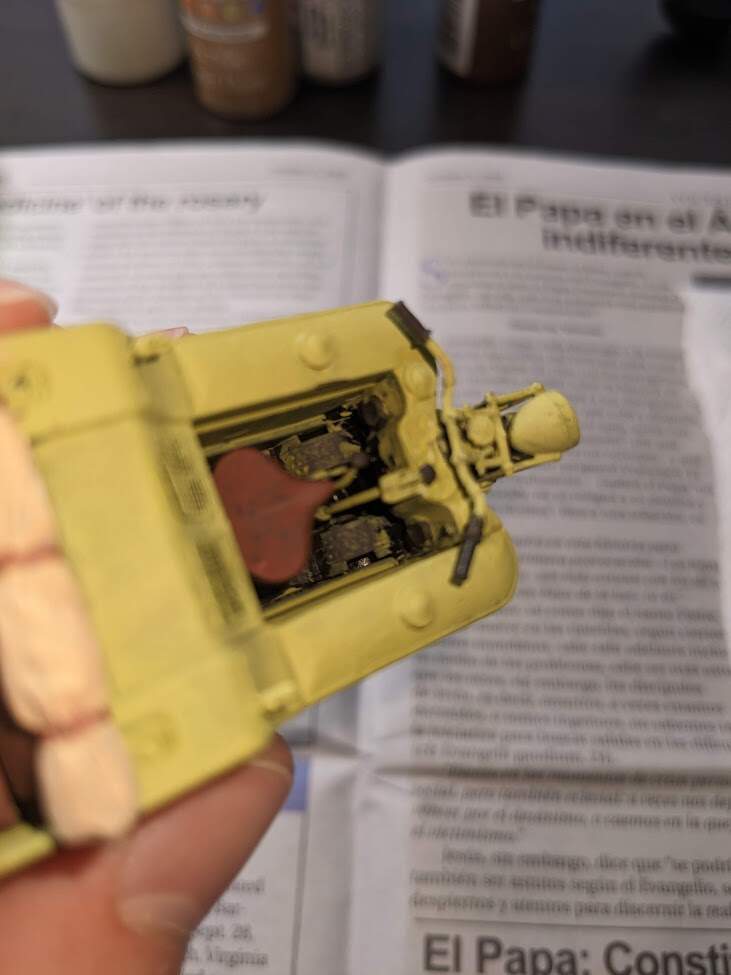


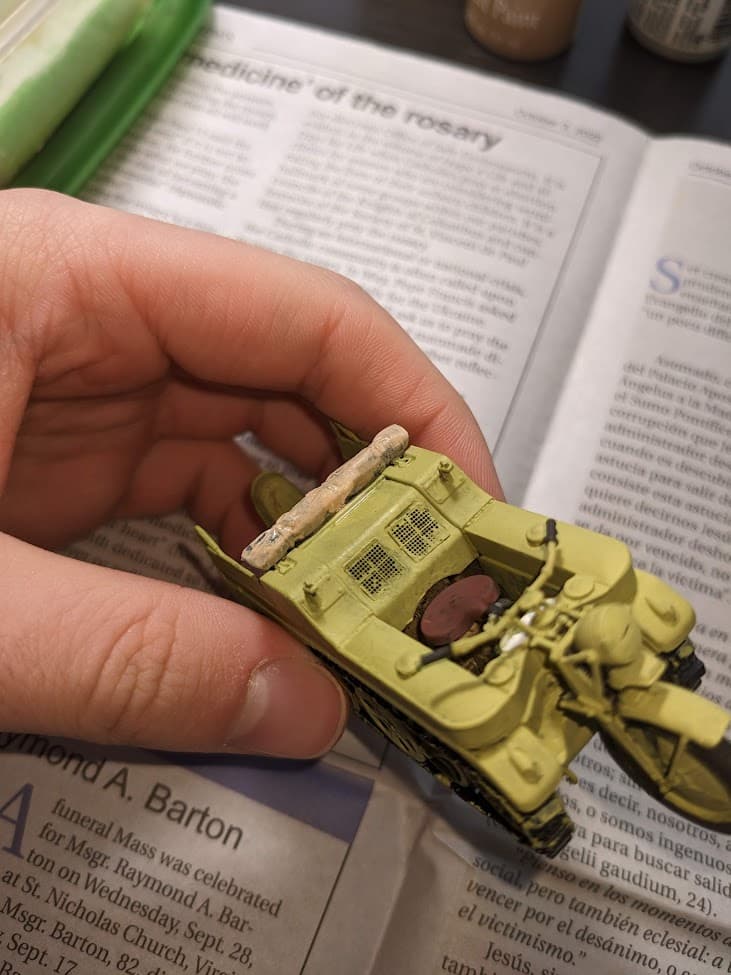
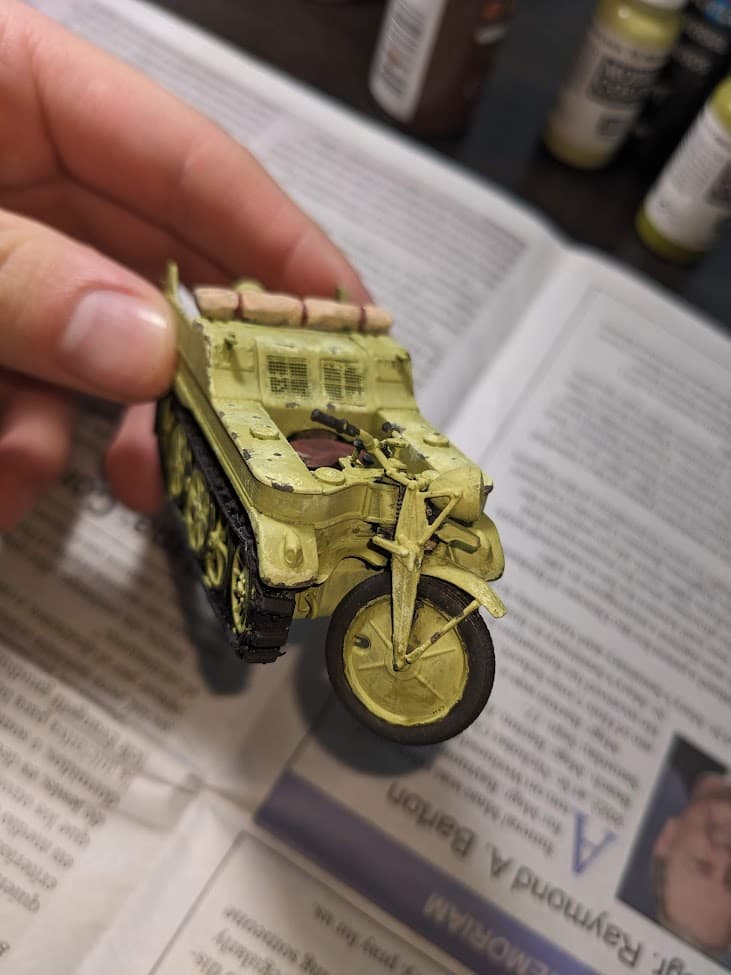
Today’s work, mostly the canvas roll, straps, and details. I was able to find a good photo for the driver’s area, and was able to paint some knobs, and stuff. Then there were some details in the back that were indicated in the instructions.
5 Likes
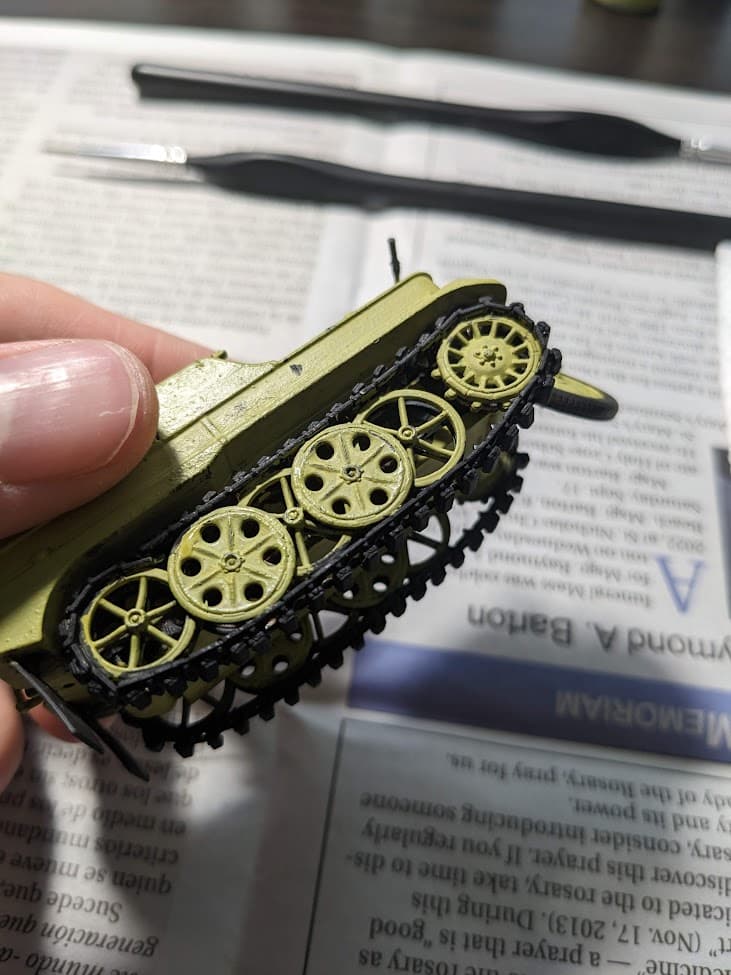
Work begins on the tracks. After these, the road wheels, and cleanup, the model will be ready for varnish, and decals+weathering. (There is only one decal, so I’m combining the steps)
2 Likes
Finished the tracks and road wheels the best I could. I also used the rubber color to paint the soles of the boots on the three figures.
5 Likes
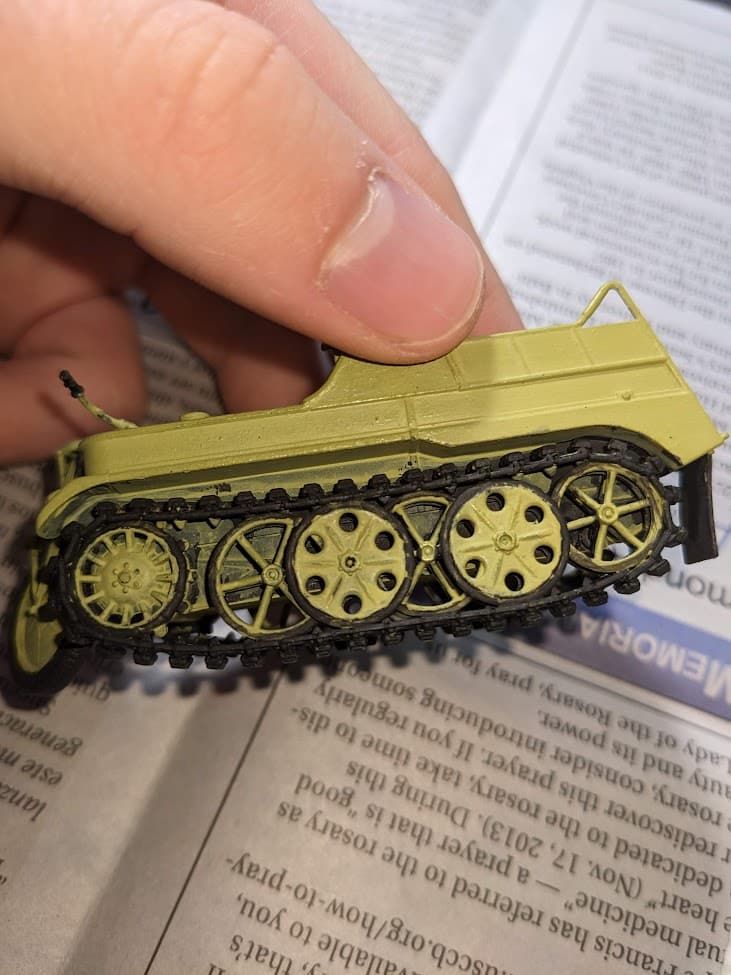
I’ve finished the chipping. It might be a little much, but it exemplifies the end-of-the-war, last-ditch-effort idea of the build, with the Sdkfz. 2 towing an outdated Pak 36 somewhere.
3 Likes
I think the chipping is fine. In reality, the paintwork on these vehicles didn’t really chip that much, it was more worn, scratched and faded.
But chipping does seem to add a depth to the overall appearance and i’m just as guilty of over doing it as most.
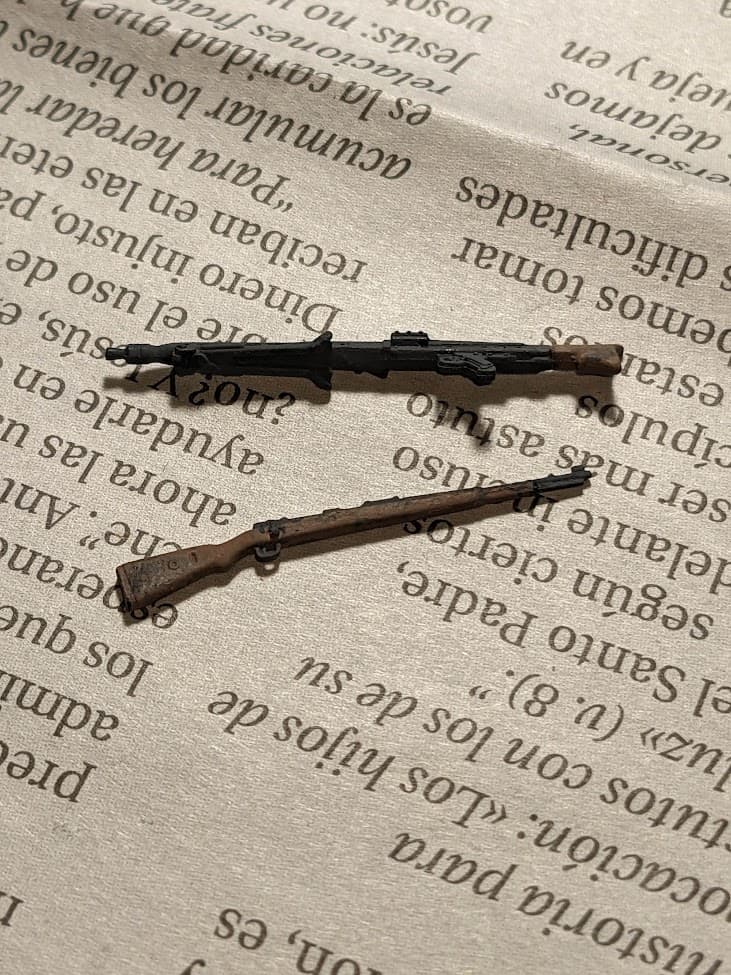
By the way, in your previous picture, only one of those weapons is a ‘gun’. ![]()
1 Like
The other is a “boom stick!”
 Movie CLIP (1992) HD")
Ken
5 Likes
I don’t think the Germans particularly liked Boom Sticks, due to their experience in WWI. The Kar 98k, though, quite reliable. I think that I’ll add some highlighting with graphite onto the metal parts after the matte clear coat, to give the weapons some character.
1 Like
Before you do that, consider using a very light drybrush with a medium grey. Metallic finishes on 1/35th often look unrealistic. The shine is overpowering. Even in real life 1:1 they do not shine like that.
2 Likes
Makes sense, thanks!
Ì cleaned up the weapons some more, mostly touching up the wooden sections. I tried a foil-lined traditional paint palette again this time (no need for a full wet palette for two paint mixes for a small thing), and it didn’t rip this time.

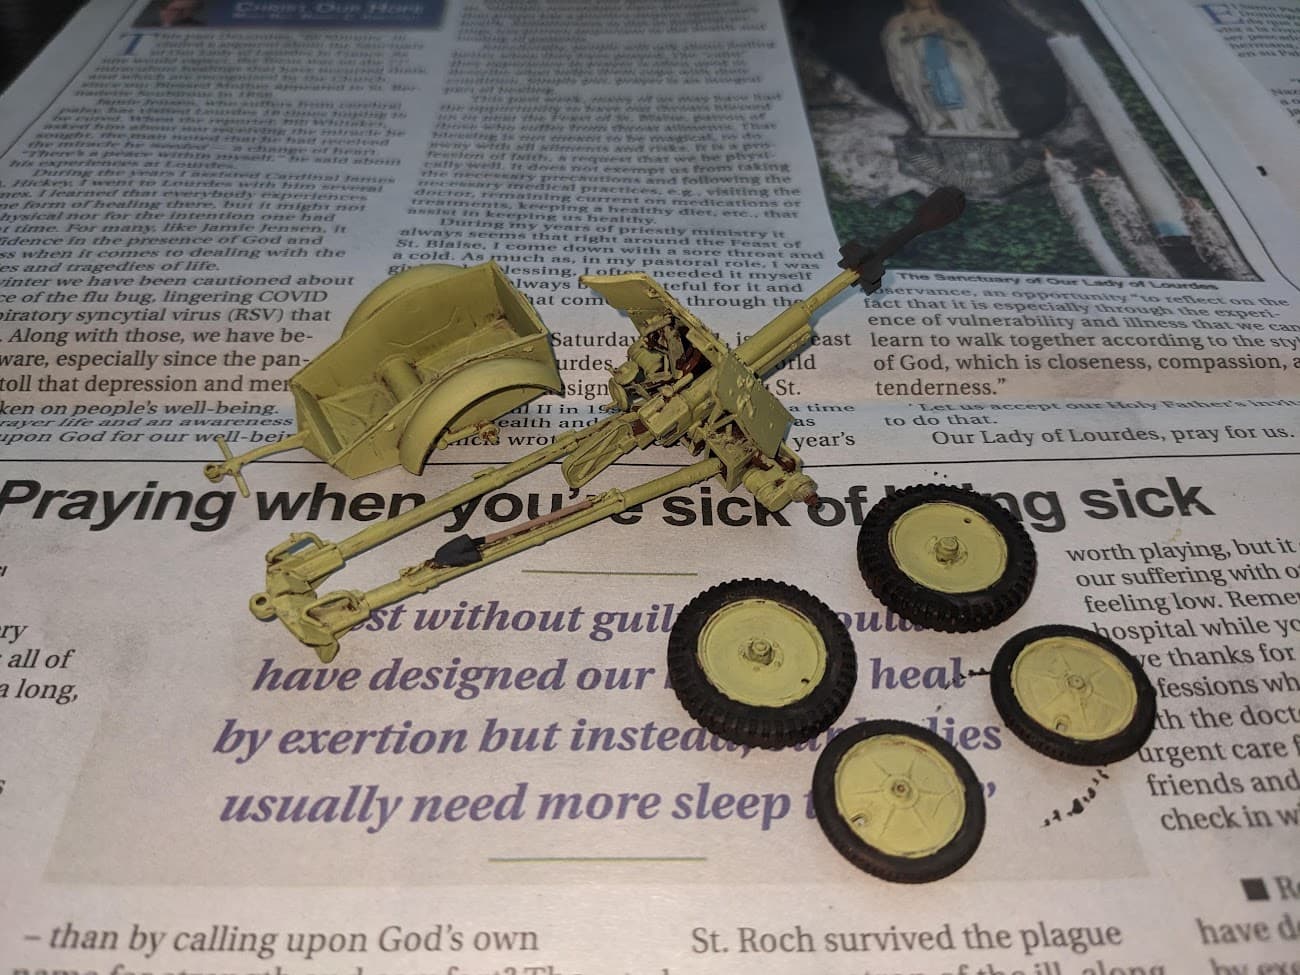
I began painting the Pak 35/36 today, and boy is it tough to brush paint! The little guy has so many rivets and details that it is difficult to paint around them. I will soldier on, however. I can’t pass it off as being inside a cabin, because it’s an open AT gun. Oh well…
4 Likes
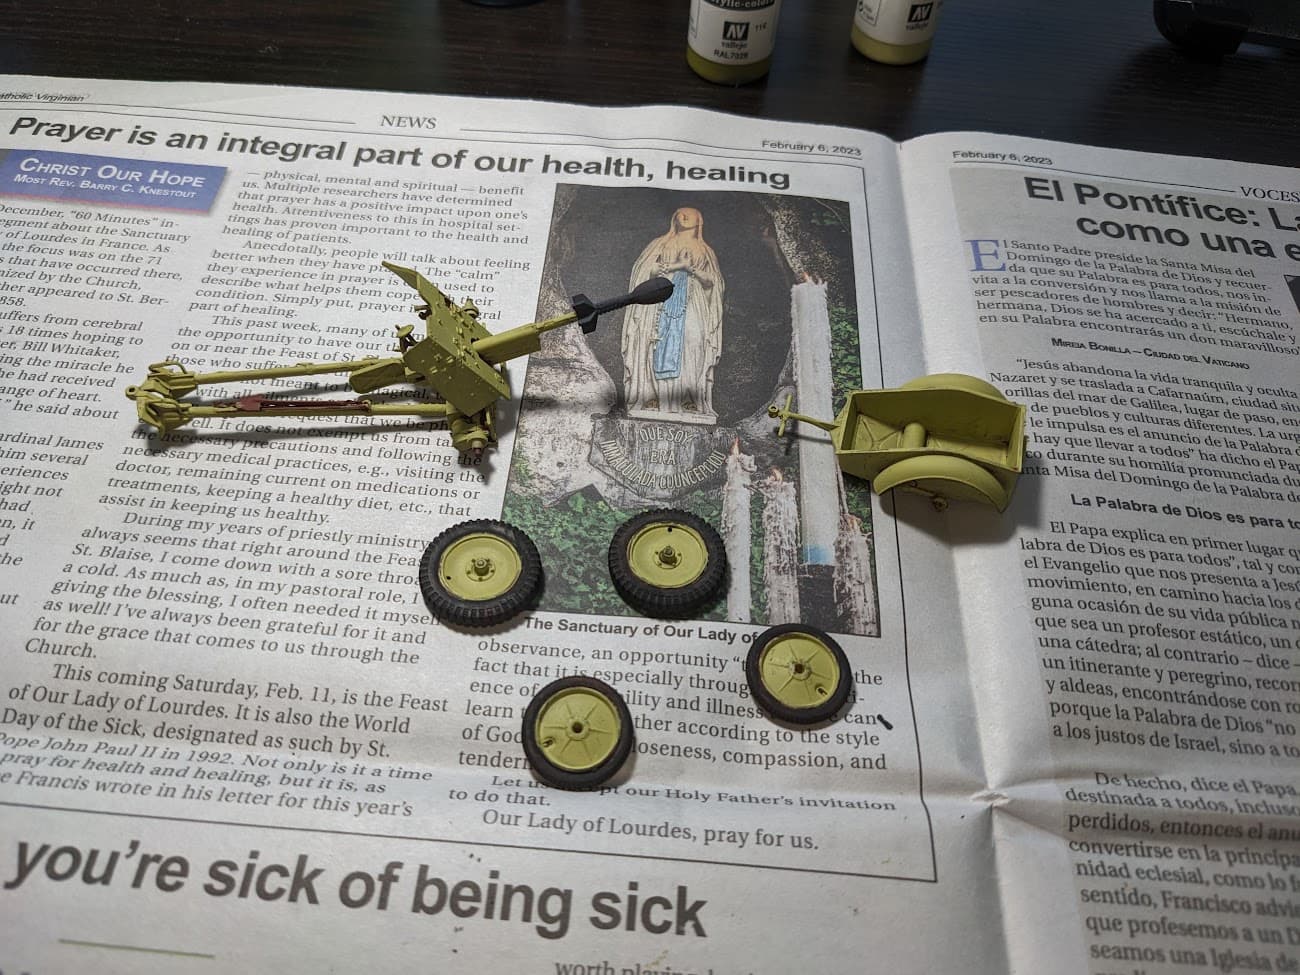
I finished the base coat on the gun, painted up the trailer and all 4 wheels. I also painted the rocket in Dunkelgrau, but it seems somewhat dull at this point. Is there a way to make it look a little less so?
Also, thankfully, AusArmor released a video not long ago about shaped charges in WW2, in which they feature this bad boy as well:
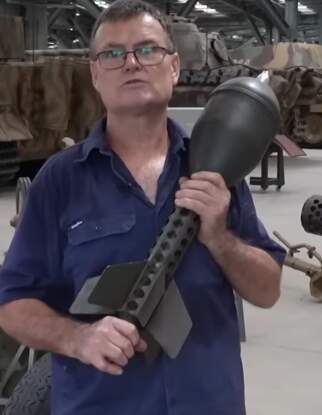
1 Like