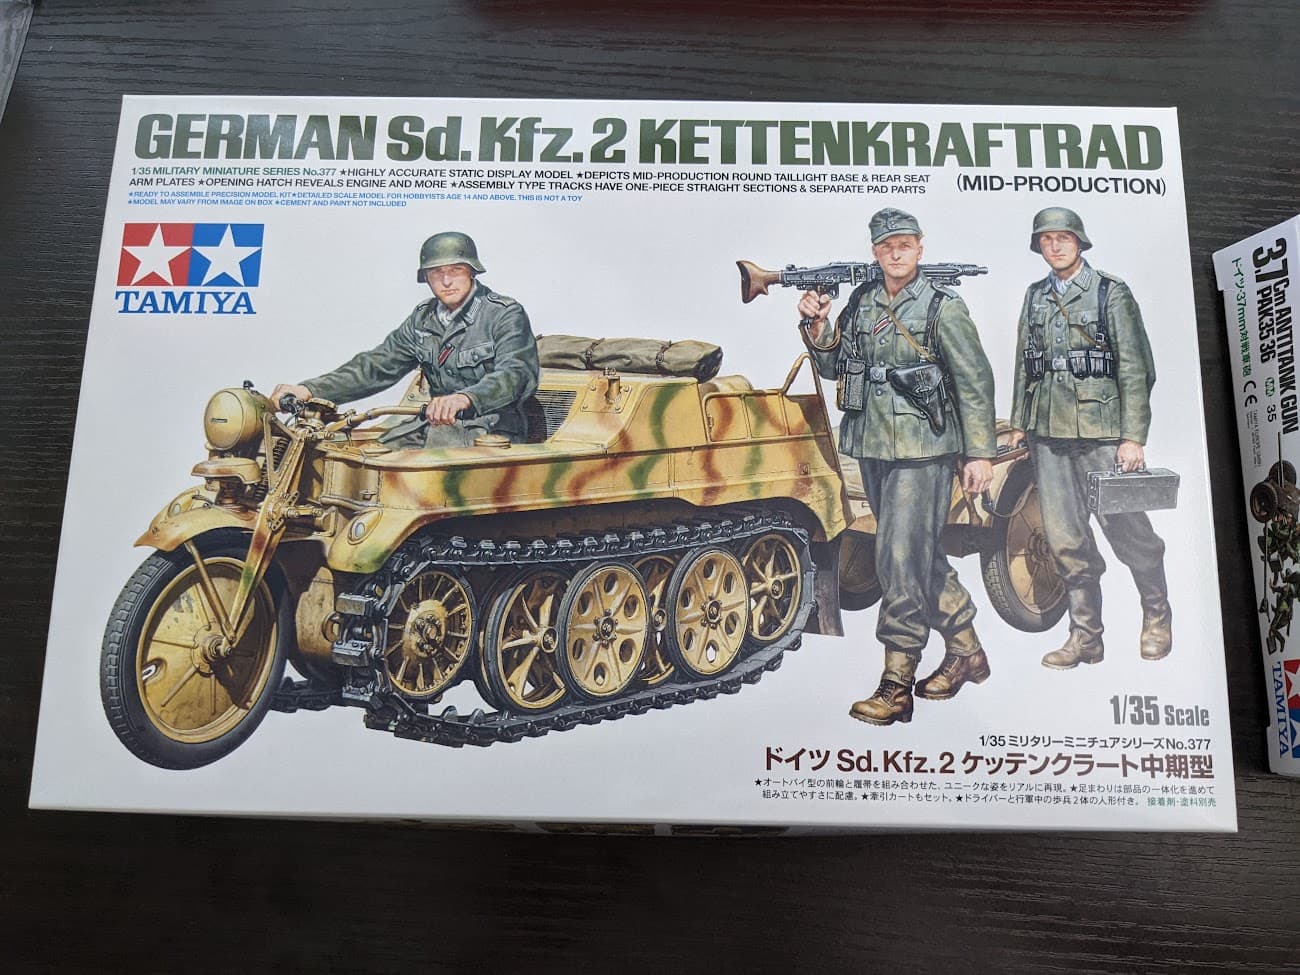

Now that I’ve finally finished the Sdkfz. 251/8, I will begin work on the Kettenkrad. I saw multiple photos of the Kettenkrad towing a Pak 35/36, and the towing capacity is capable of it. I’m not sure if I want to do the regular barrel or with the anti-tank charge, but that can be decided later. Nevertheless, I will use this thread to catalog the build process as well as painting and weathering. I’m open to suggestions and comments, and hope you guys will help me and give useful advice as you did on the previous one.
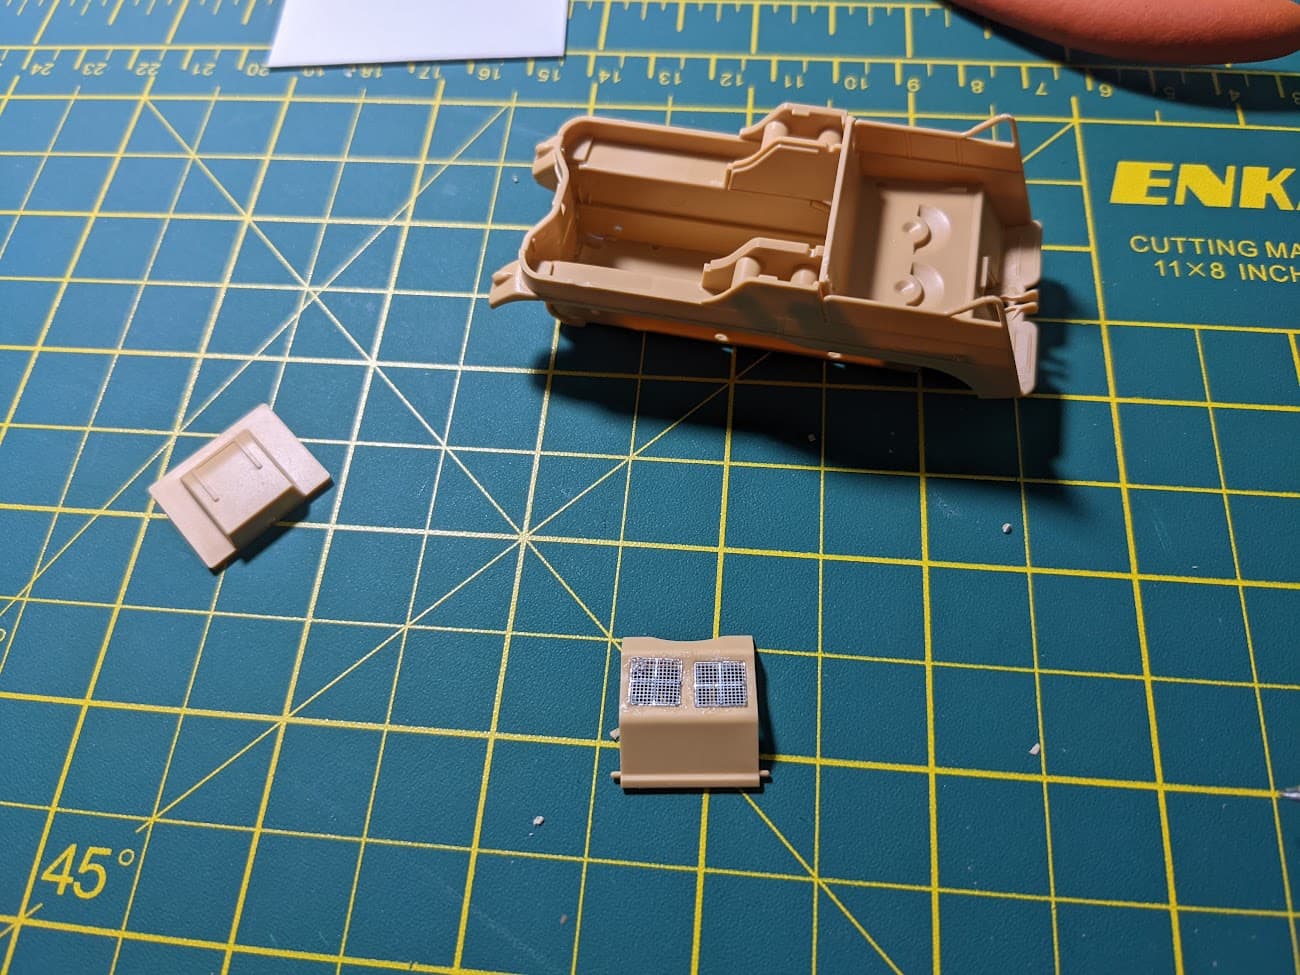
Assembly has been pretty easy so far, and I had my first experience with photoetch. It was interesting, and a little hard to position correctly.
1 Like
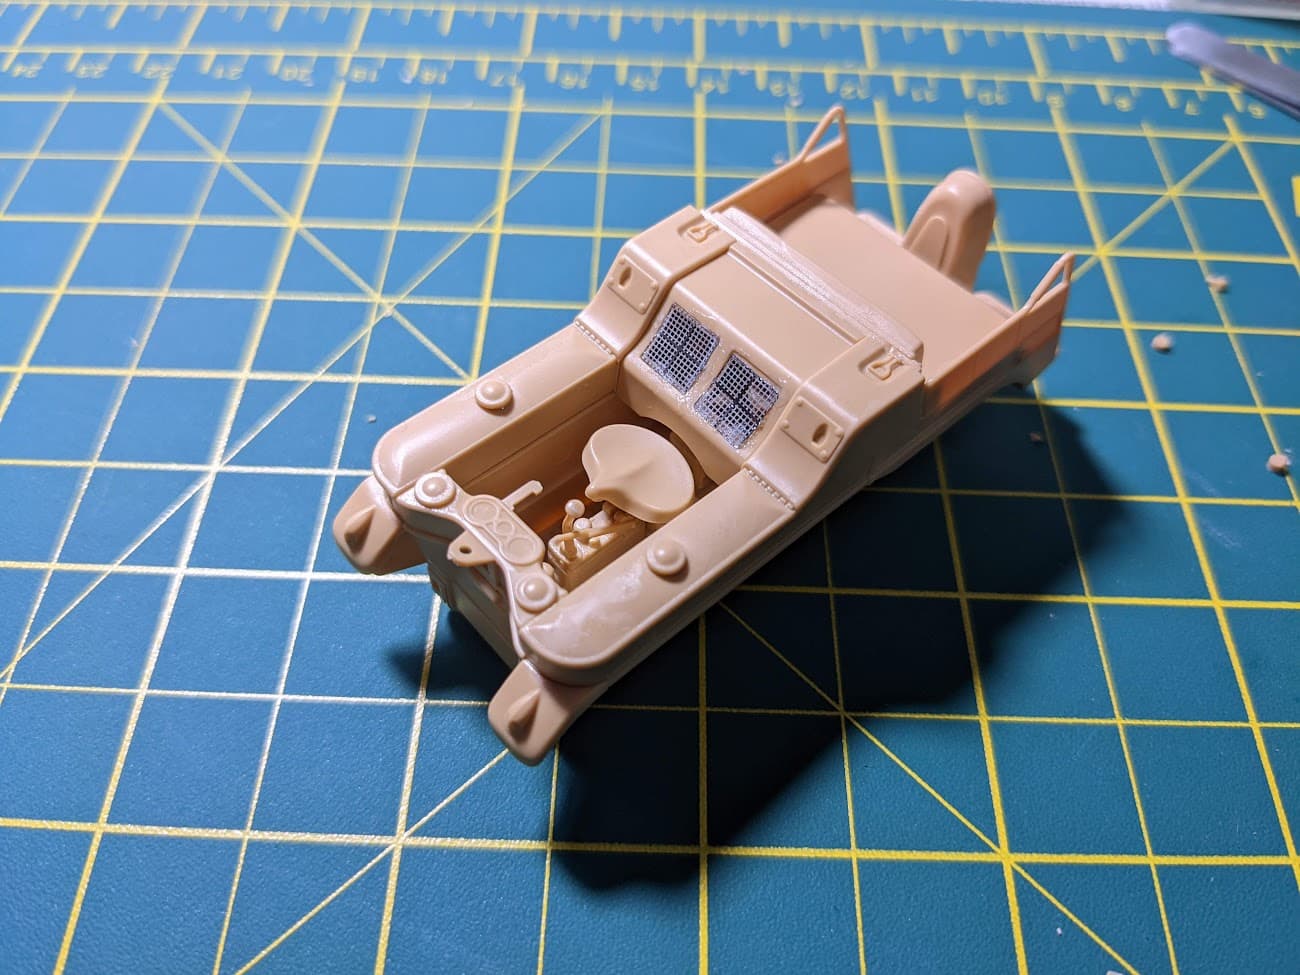
Due to how the engine/seat module has to be placed in there to continue the build, I will have to paint it in there. I have developed a solution, however – I usually use an oxide-red-ish primer, but I will give the inside of the vehicles (engine/seat compartment) a coat of black paint/primer (I have a can of rustoleum paint/primer, which I assume will work alright). This is to get a fake shadow effect for areas that I don’t reach with my brush.
1 Like
Final build update for today – I have almost finished the vehicle bar the things that make it move. I’ll attach the front wheel, fender, and steering column tomorrow and figure out a way to assemble the tracks without attaching them to the road wheels.

5 Likes
Personally, i would always paint the interior first and then paint things like seats etc. seperately before attaching them.
Your approach is called ‘counter-shading’ and it actually works very well.
Why? Is it because you were using superglue and only got one shot at it?
I use PVA type glues when attaching PE these days, it sets over a period of time and allows for adjustment when the part is in place.
1 Like
If you are ever unhappy with a photo etch application, you can usually carefully pop it off with a number 11 blade without too much issue
You can then dip the PE in acetone and the superglue will melt off.
The easiest way to put on PE is as @Khouli suggests with PVA glue. I’m instances where PVA isn’t gonna cut it, ie you need a strong or immediate bond there is a technique I like for super glue. Put a dab of super glue on a piece of glass or other non porous smooth material (I have a piece of broken glass specifically for this purpose). Then take a sewing needle and cut the eye in half, the half eye on the end of the sewing needle with wick yo a small amount of super glue. Place the PE in place with one hand using tweezers and with the other hand touch the needle to the seam. Capillary action will draw the tiny bead of glue into the seam and give a strong and immediate hold.
4 Likes
The issue is that I would have to mask that area, and I’m not very good at masking.
Thank you for this sugegstion!
I love this forum. Been lurking watching the build as it’s a kit I want to acquire myself but also pick up some great knowledge about using PE, which I usually avoid for fear of superglued fingers!!
1 Like
Practice makes perfect…
1 Like
I have this kit in my stash. Looks like it is constructed in a totally different way to their previous mould. Tamiya’s first attempt had a metal engine for some reason and they arranged it so the hood opened so you could see it after completion. Later the metal engine was replaced by a plastic one. The new one is almost certainly more accurate and in scale, but sounds a bit more fiddly to build. The interior will have to be painted first I guess. I normally prime my vehicles with black which acts in the same way RougePilot suggests.
1 Like
Super glue, can also be released back with “debonder”.
Below two examples
1 Like
I should get some of the VMS stuff, I heard it is really good.
I hate link and length tracks more than rubber band tracks. These ones are a pain to assemble. ![]()
1 Like
Link and length are possibly the hardest to install at least for me. I prefer Indy links from the perspective of flexibility. Especially for vehicles with sag it can be tough to properly position link and length so they look right
What is giving you trouble? If you ask here people can likely help
Just putting on the links is giving me trouble. I’m gonna have to paint the tracks while on the vehicle because I mistakenly glued the part that holds the wheels together on the left side onto the chassis. I’ll make it work.
Are you trying to build the tracks on the vehicle? Ideally you build them off with a slow setting cement like restore and then as it starts to cure you form them around the idler and drive sprocket then secure with tape, once cured you can remove them from the suspension, paint and then reattach
I accidentally glued a critical piece onto the chassis before I was supposed to. I will leave the other part off to see how it differentiates.
Man, these tracks are frustrating. the track pads are also difficult.
I just found out that I have messed up the right-side tracks. Oh well, I’ll just not show those tracks in photos.

The main vehicle is finally done! I will partially assemble the trailer in case I want to use it in a future project. I’ll keep the wheels removable because it could be used as a broken/abandoned trailer.
3 Likes
I now have a question, when the Pak 35/36 was being transported by trailing behind a vehicle on a hitch, what did it look like? The bottom plate seems to fold, but I don’t know if it is folded up when travelling.