Good start for the painting. I don’t think you’ll need masking as JGSDF camo scheme is not that hard to duplicate. You just have to have your airbursh close to the surface and keep the pression low.
Olivier
Good start for the painting. I don’t think you’ll need masking as JGSDF camo scheme is not that hard to duplicate. You just have to have your airbursh close to the surface and keep the pression low.
Olivier
Thanks for the tip Olivier! I’ll be sure to do that, I may even practice on some scrap styrene.
Just remember with lower pressure you will need to thin the paint more. Experimenting and practicing is a good idea as you indicate.
Dennis- I’ve done a few JGSDF kits over the years and this one is on my list to do at some point. I just wanted to say to take a good look at the camo schemes on the Japanese vehicles- the paint is near perfect and extremely neat. They really seem to take pride in the near flawless way they apply the camo- even zoomed in to a large picture there appears to be no visible overspray between the colors. I’ve seen this on many of their vehicles. Basically I think they actually mask off the real thing before they paint it to get those clean lines- so I’ve always masked my vehicles too. If you think you can do it freehand then don’t let me stop you but even a top class job freehand will likely not look as neat as it is on the real thing- hence I would humbly suggest you should consider masking the scheme to really do justice to this excellent build.
Check out this link to a very large picture so see what I mean.
Thanks for the link Karl! Ironically, this was posted after I’ve already painted the base camo, but I think I might have an idea to get that hard edge you’re talking about 
Morning all!
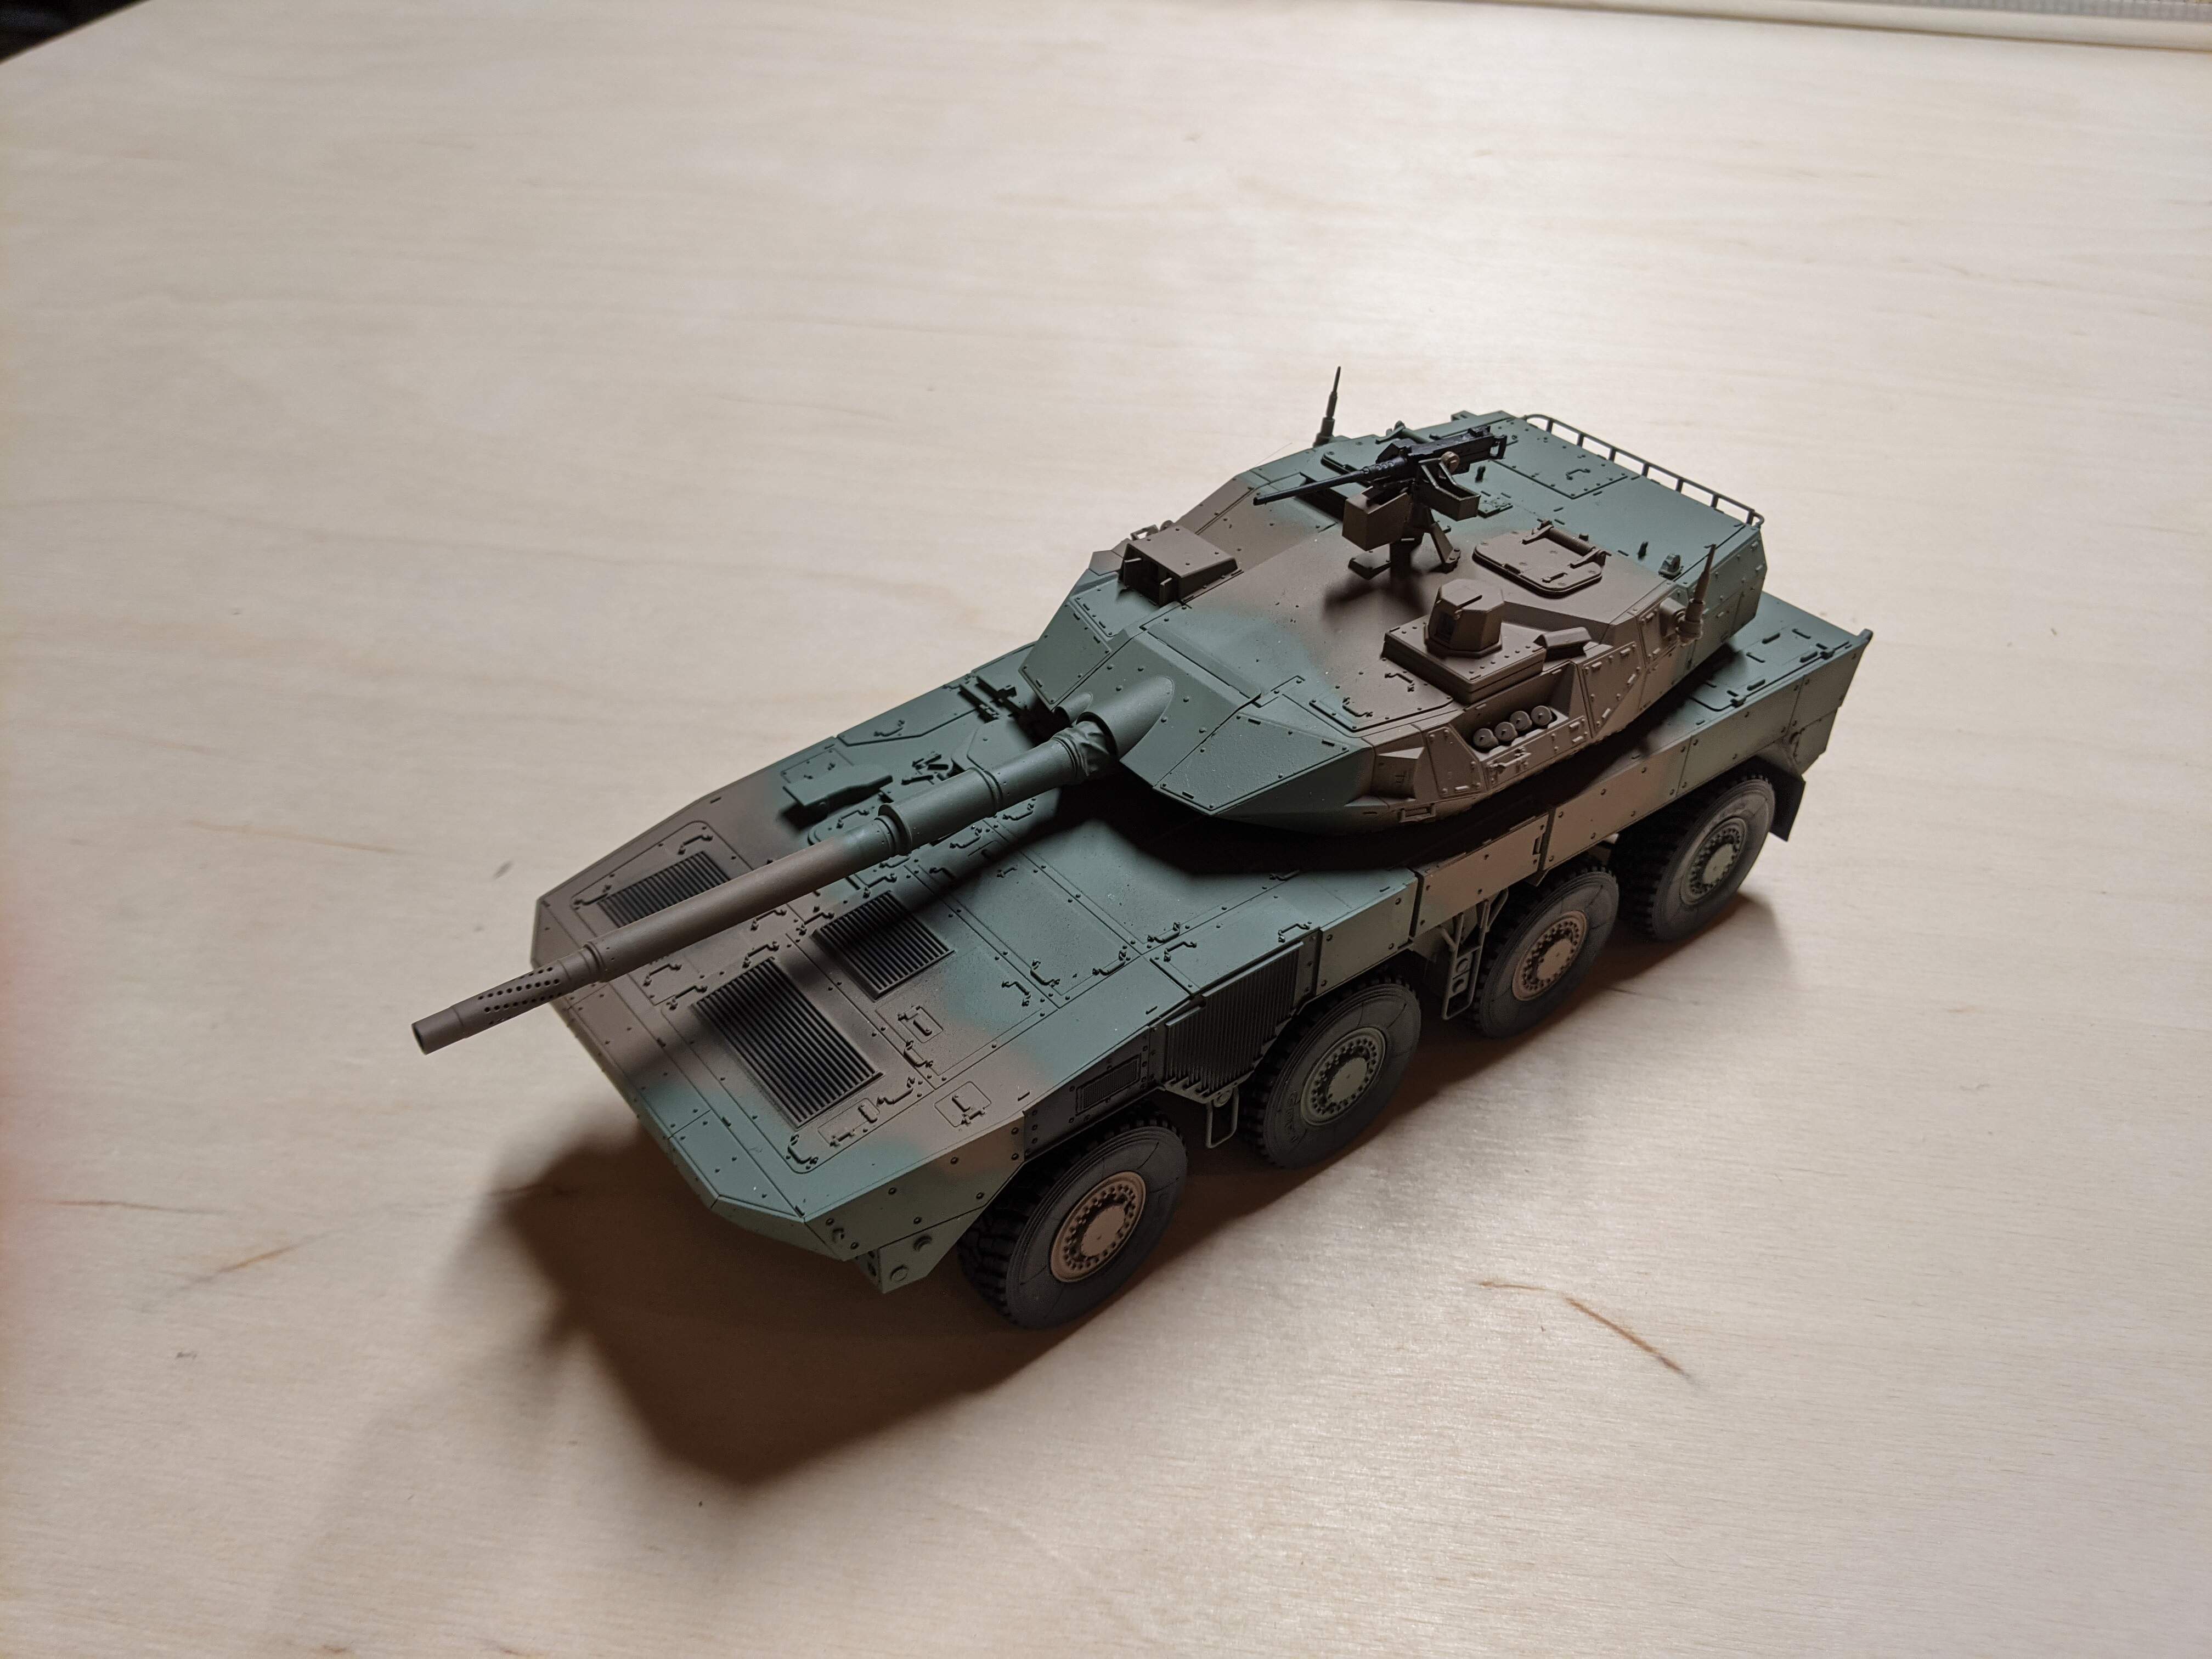
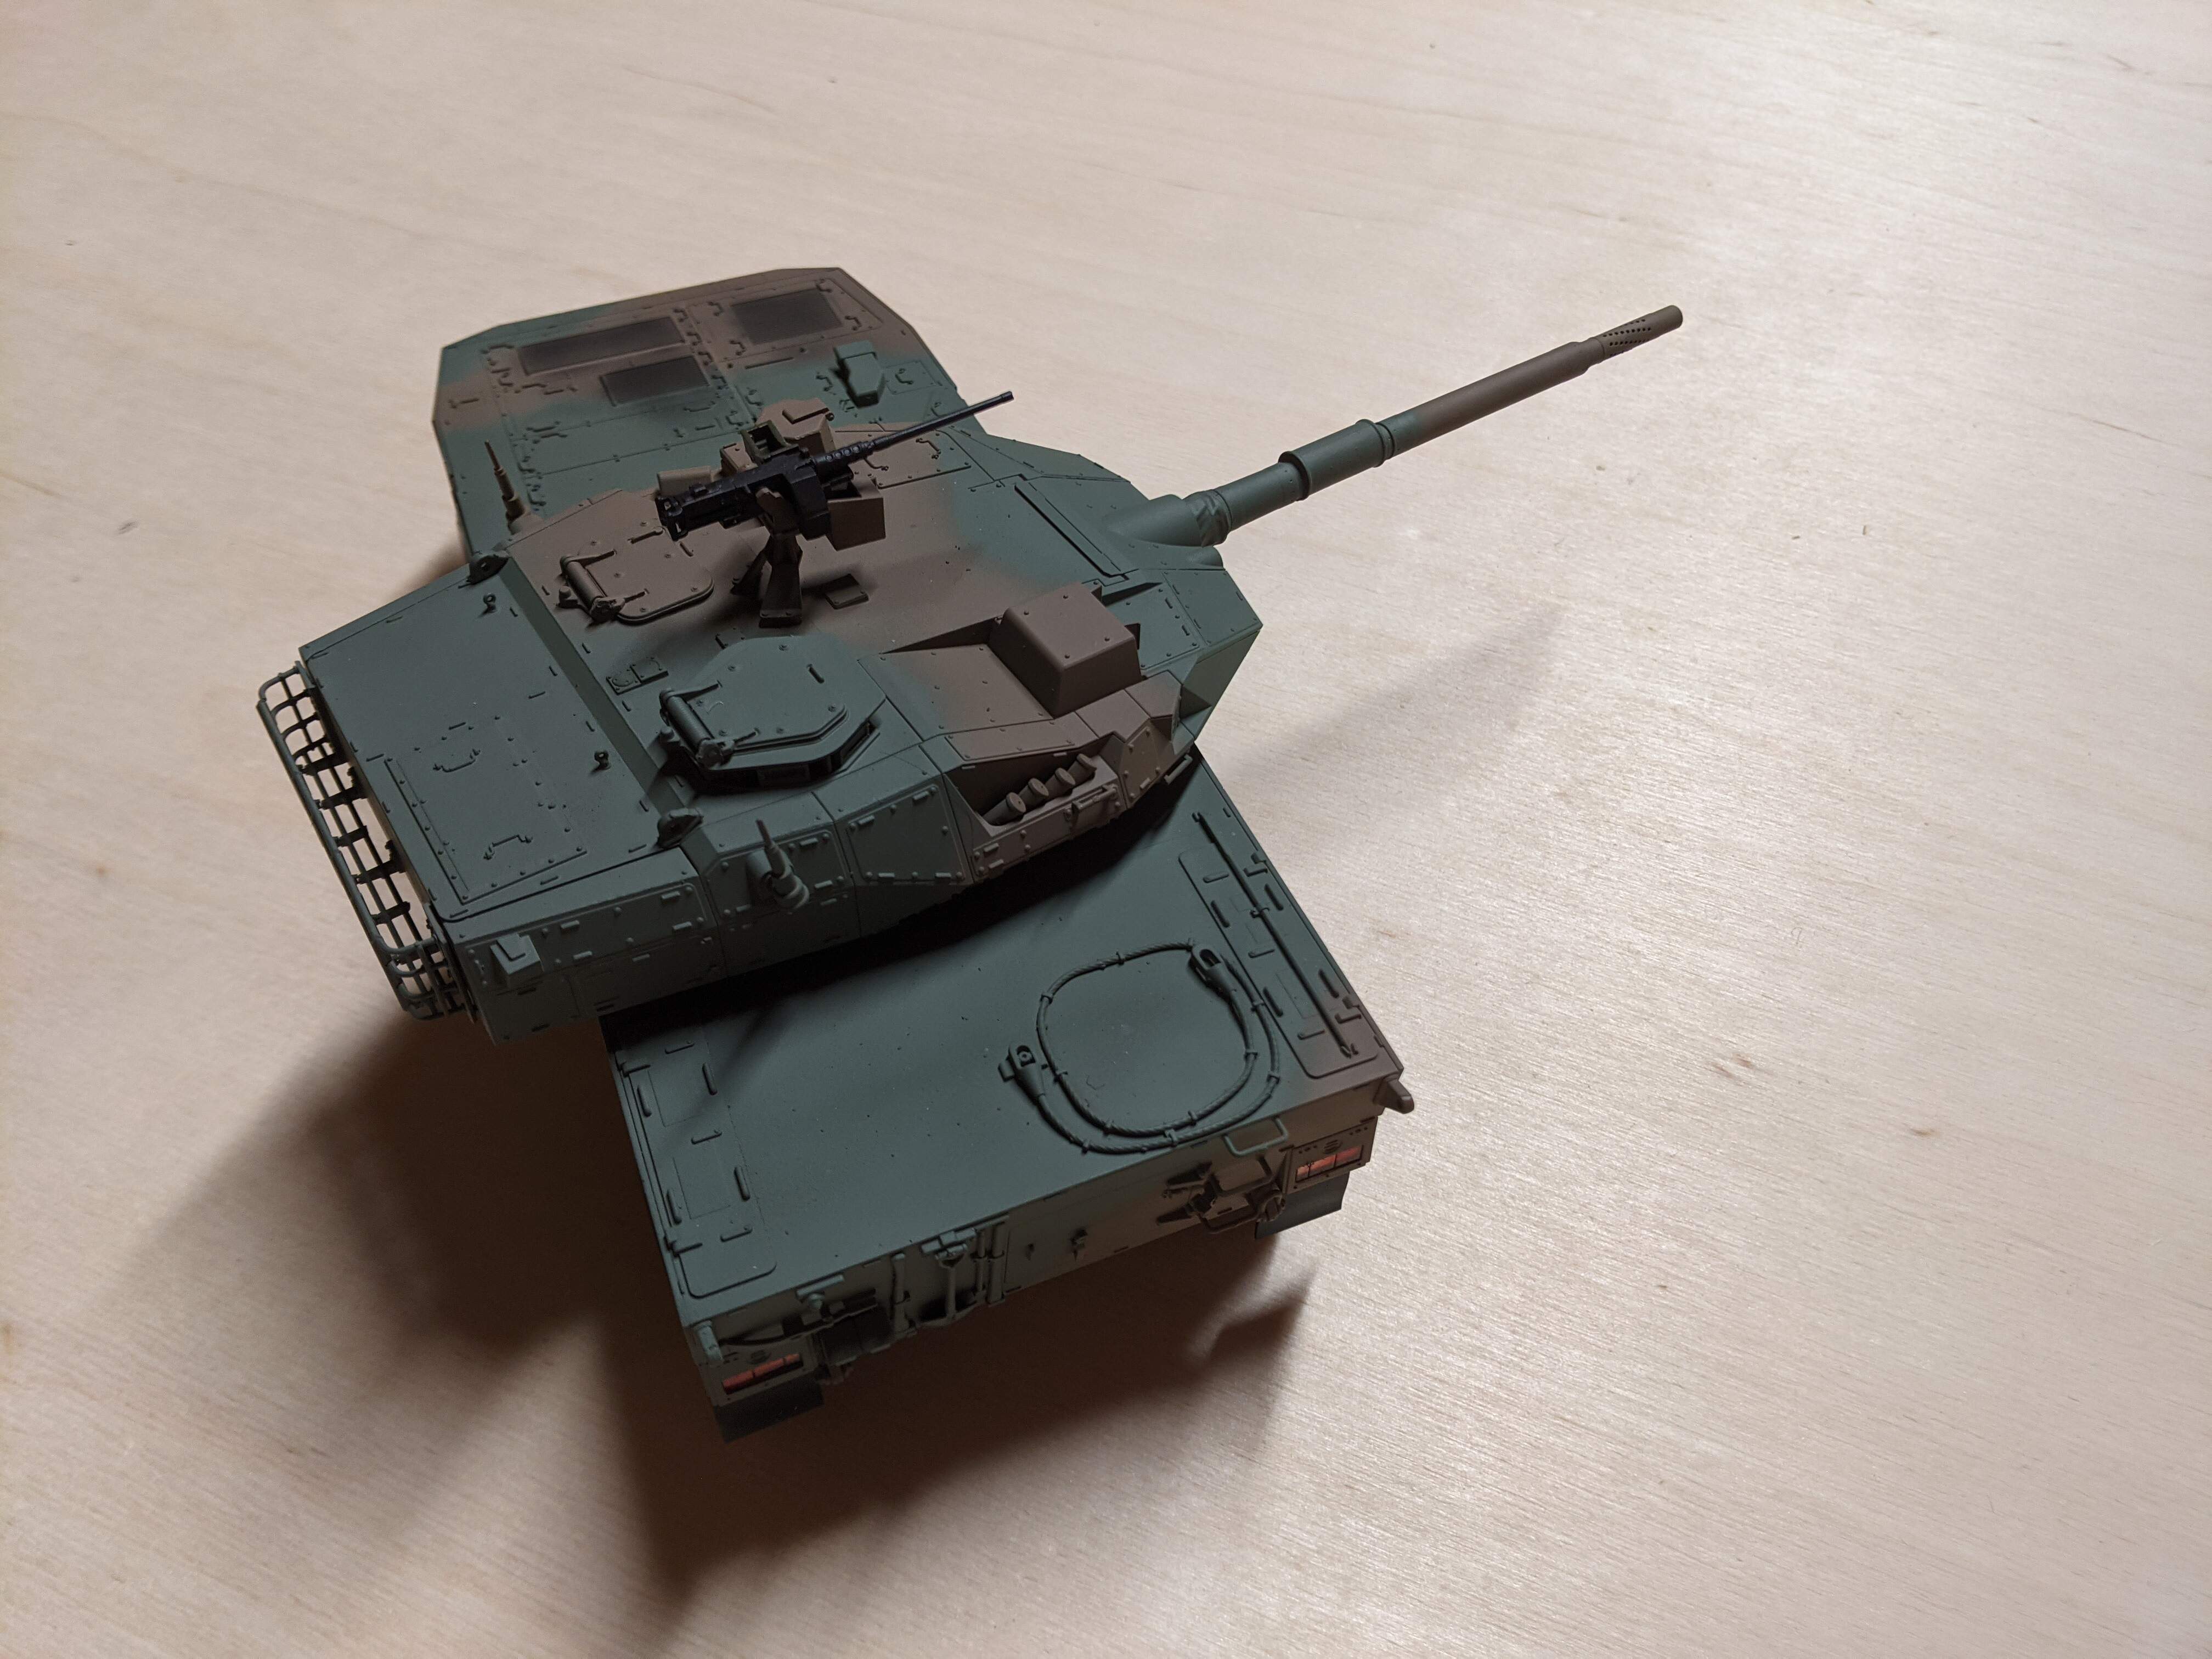
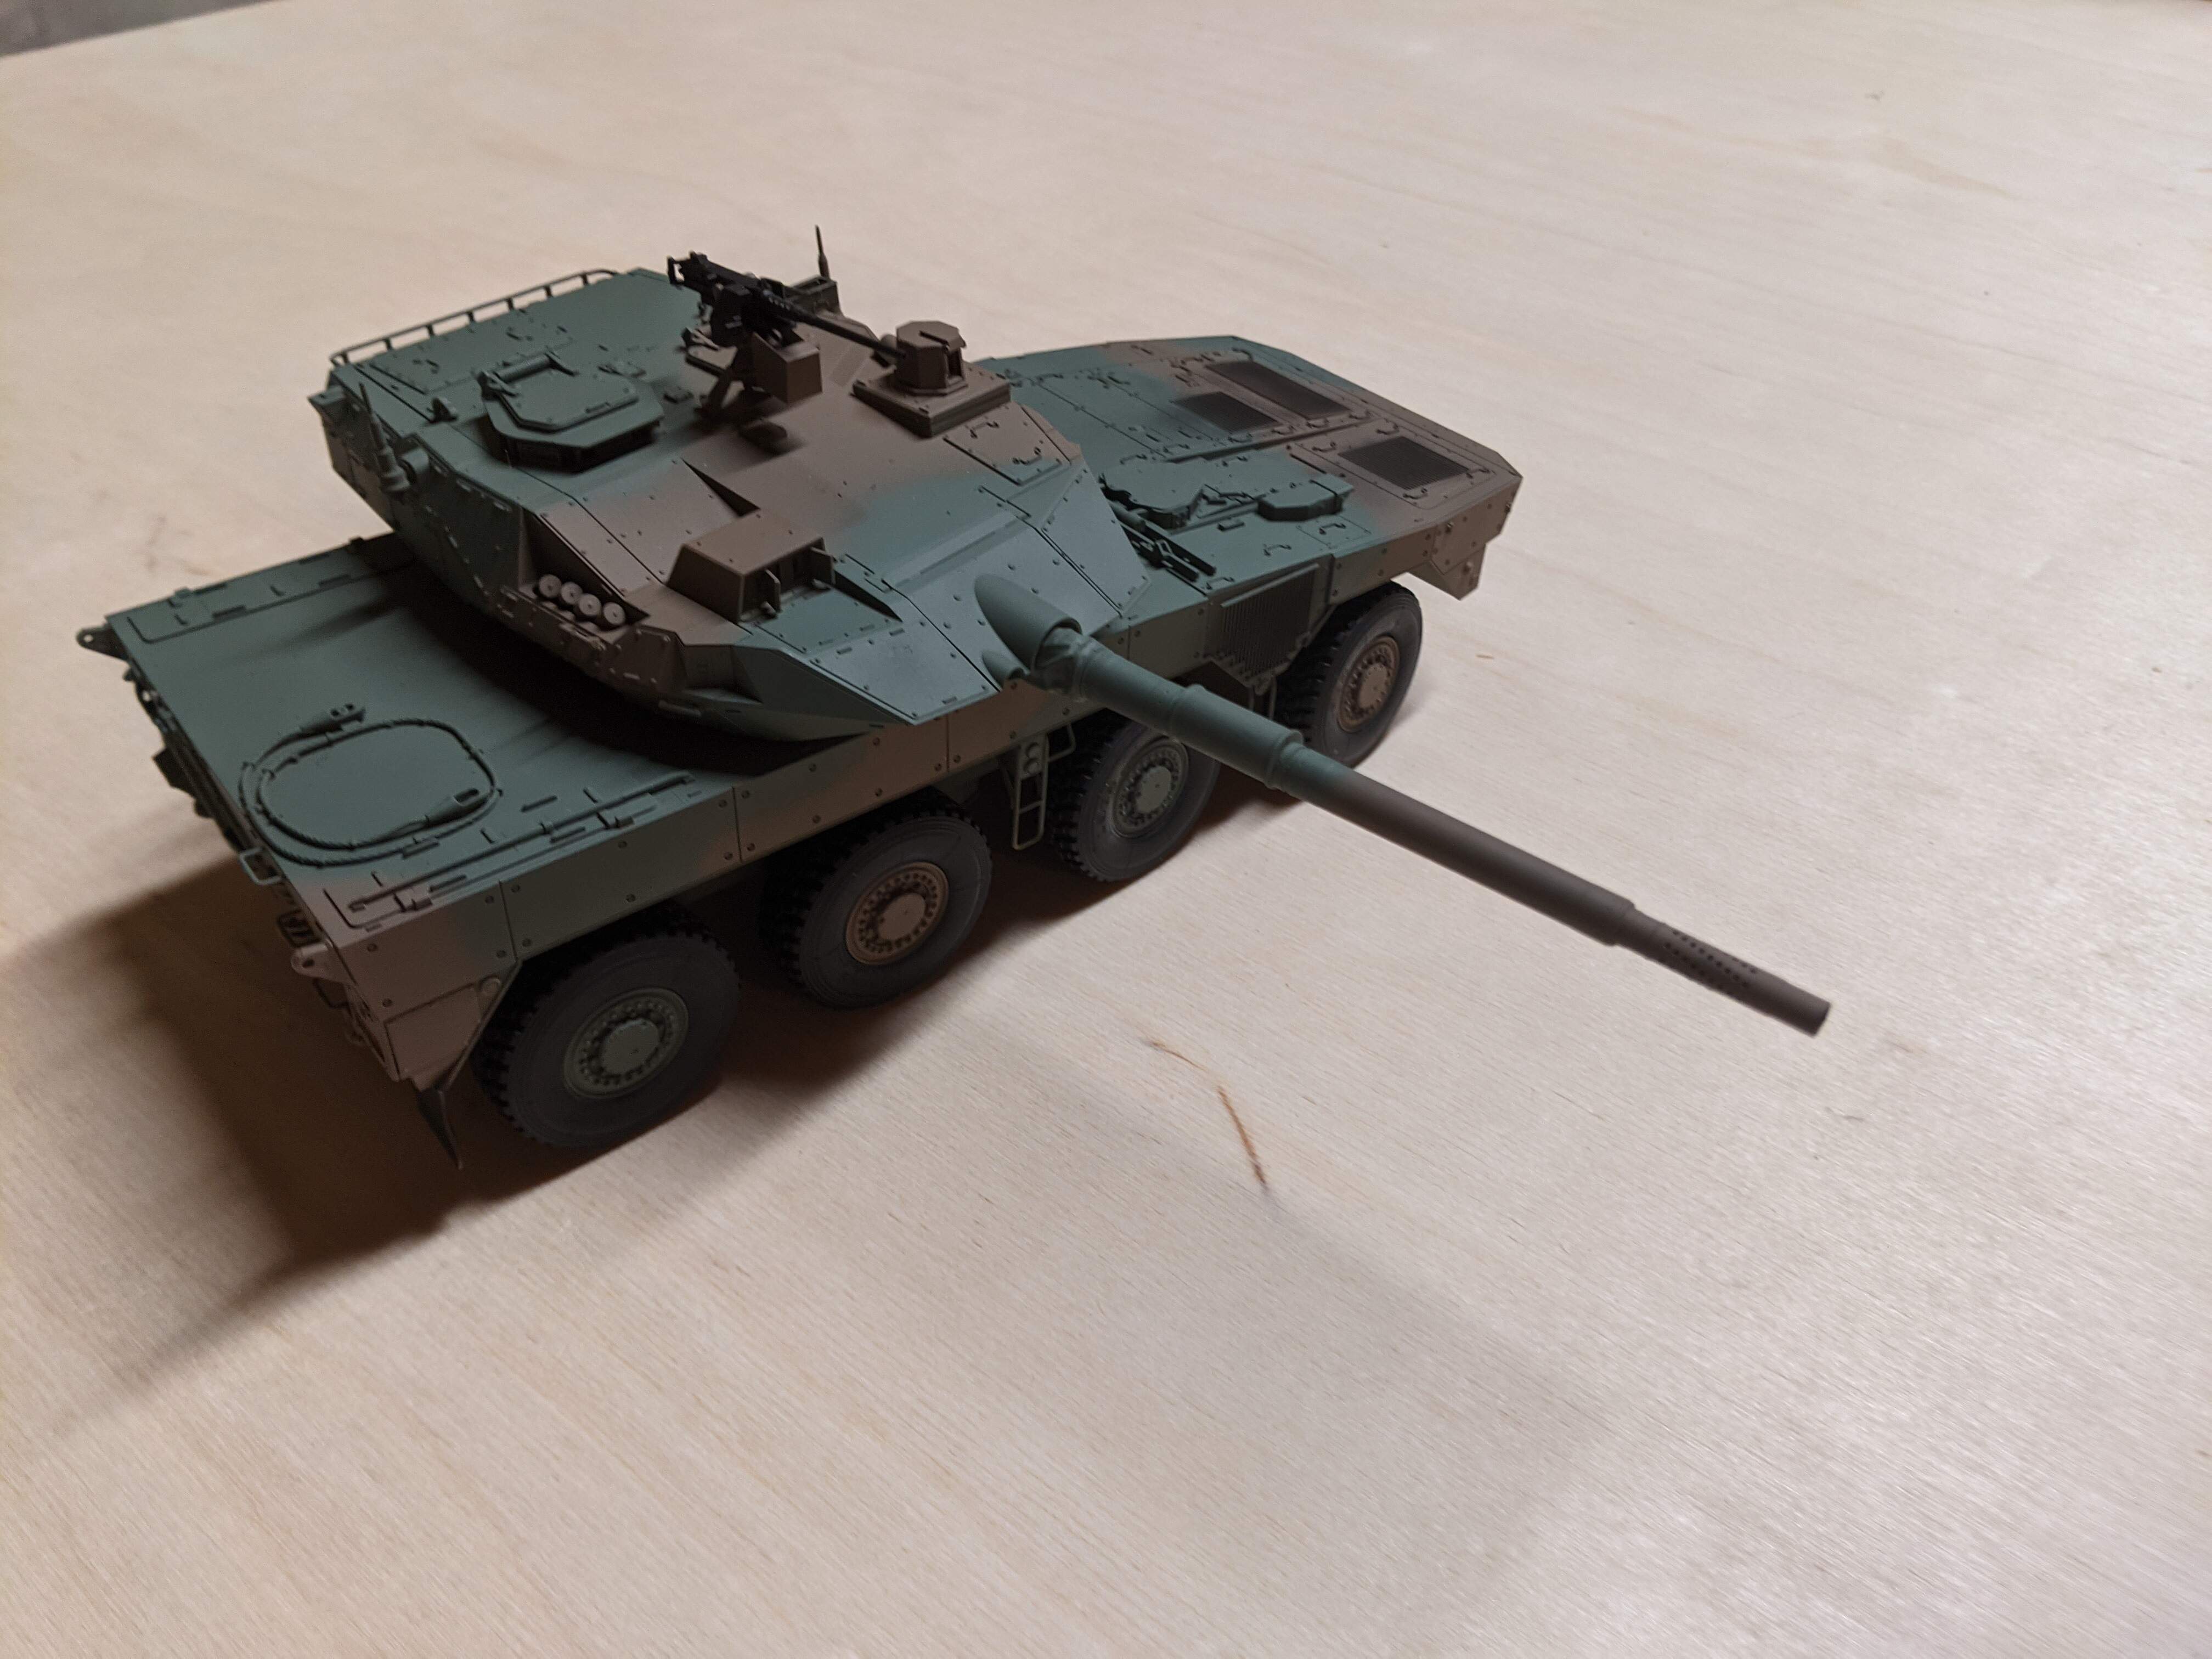
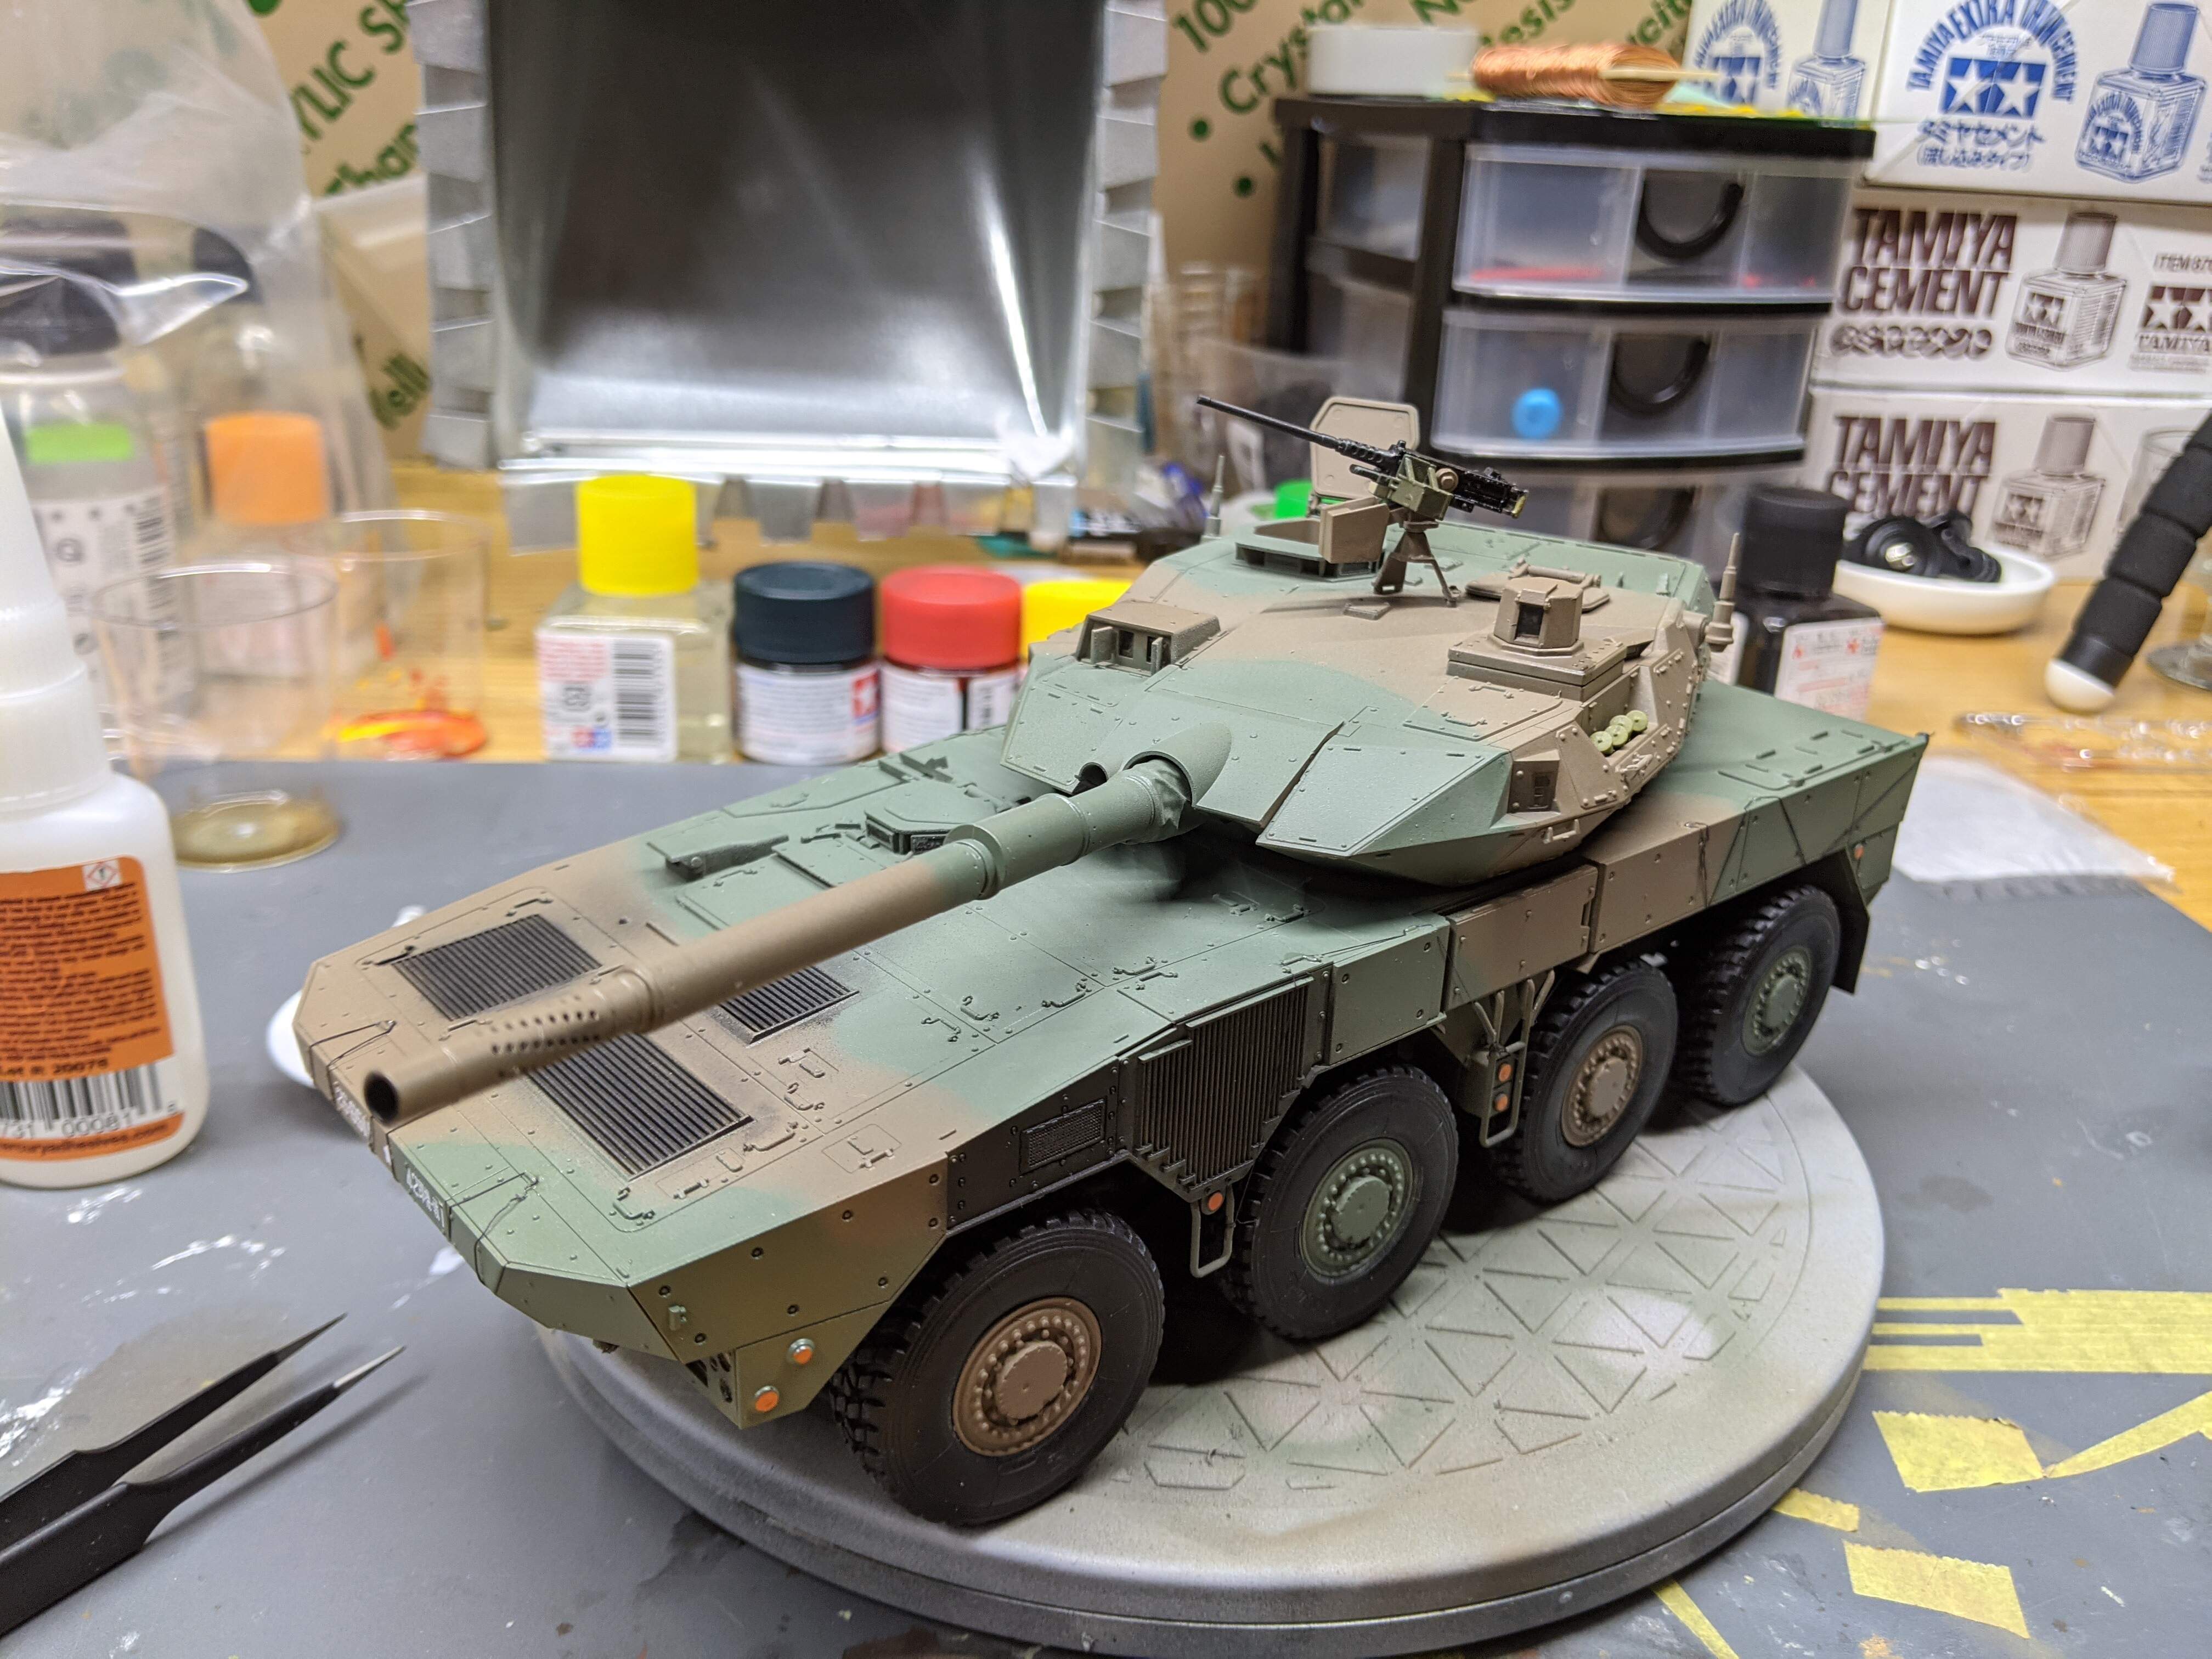
So last night I painted the second part of the camouflage, that being the green portion. I used Tamiya’s LP-25 (surprise surprise, more lacquers!) to do this part, and I think, at least for now, it’s a good start. I painted the outside lines of the camouflage freehand, using the lowest pressure setting on my Neo Ninja compressor from Iwata. I then filled in the lines, just like in 5th grade. Here’s the result:
Overall, I’m pretty happy with this. It’s a good start, all things considered. My plan to recreate the hard edges is to brush some lacquers on the edges where some overspray exists. Thanks again to Karl187 for the advice and the great reference photo!
Stay safe and take care,
-Dennis
Looks awesome!
Looking good Dennis! That would be a nicely done camo if you were going for a soft-edge look- you certainly don’t have much overspray to tidy up.
G’day all;
Yesterday was the day of scut-work. Overall, the model didn’t undergo any huge changes, but it’s now getting very close to completion!
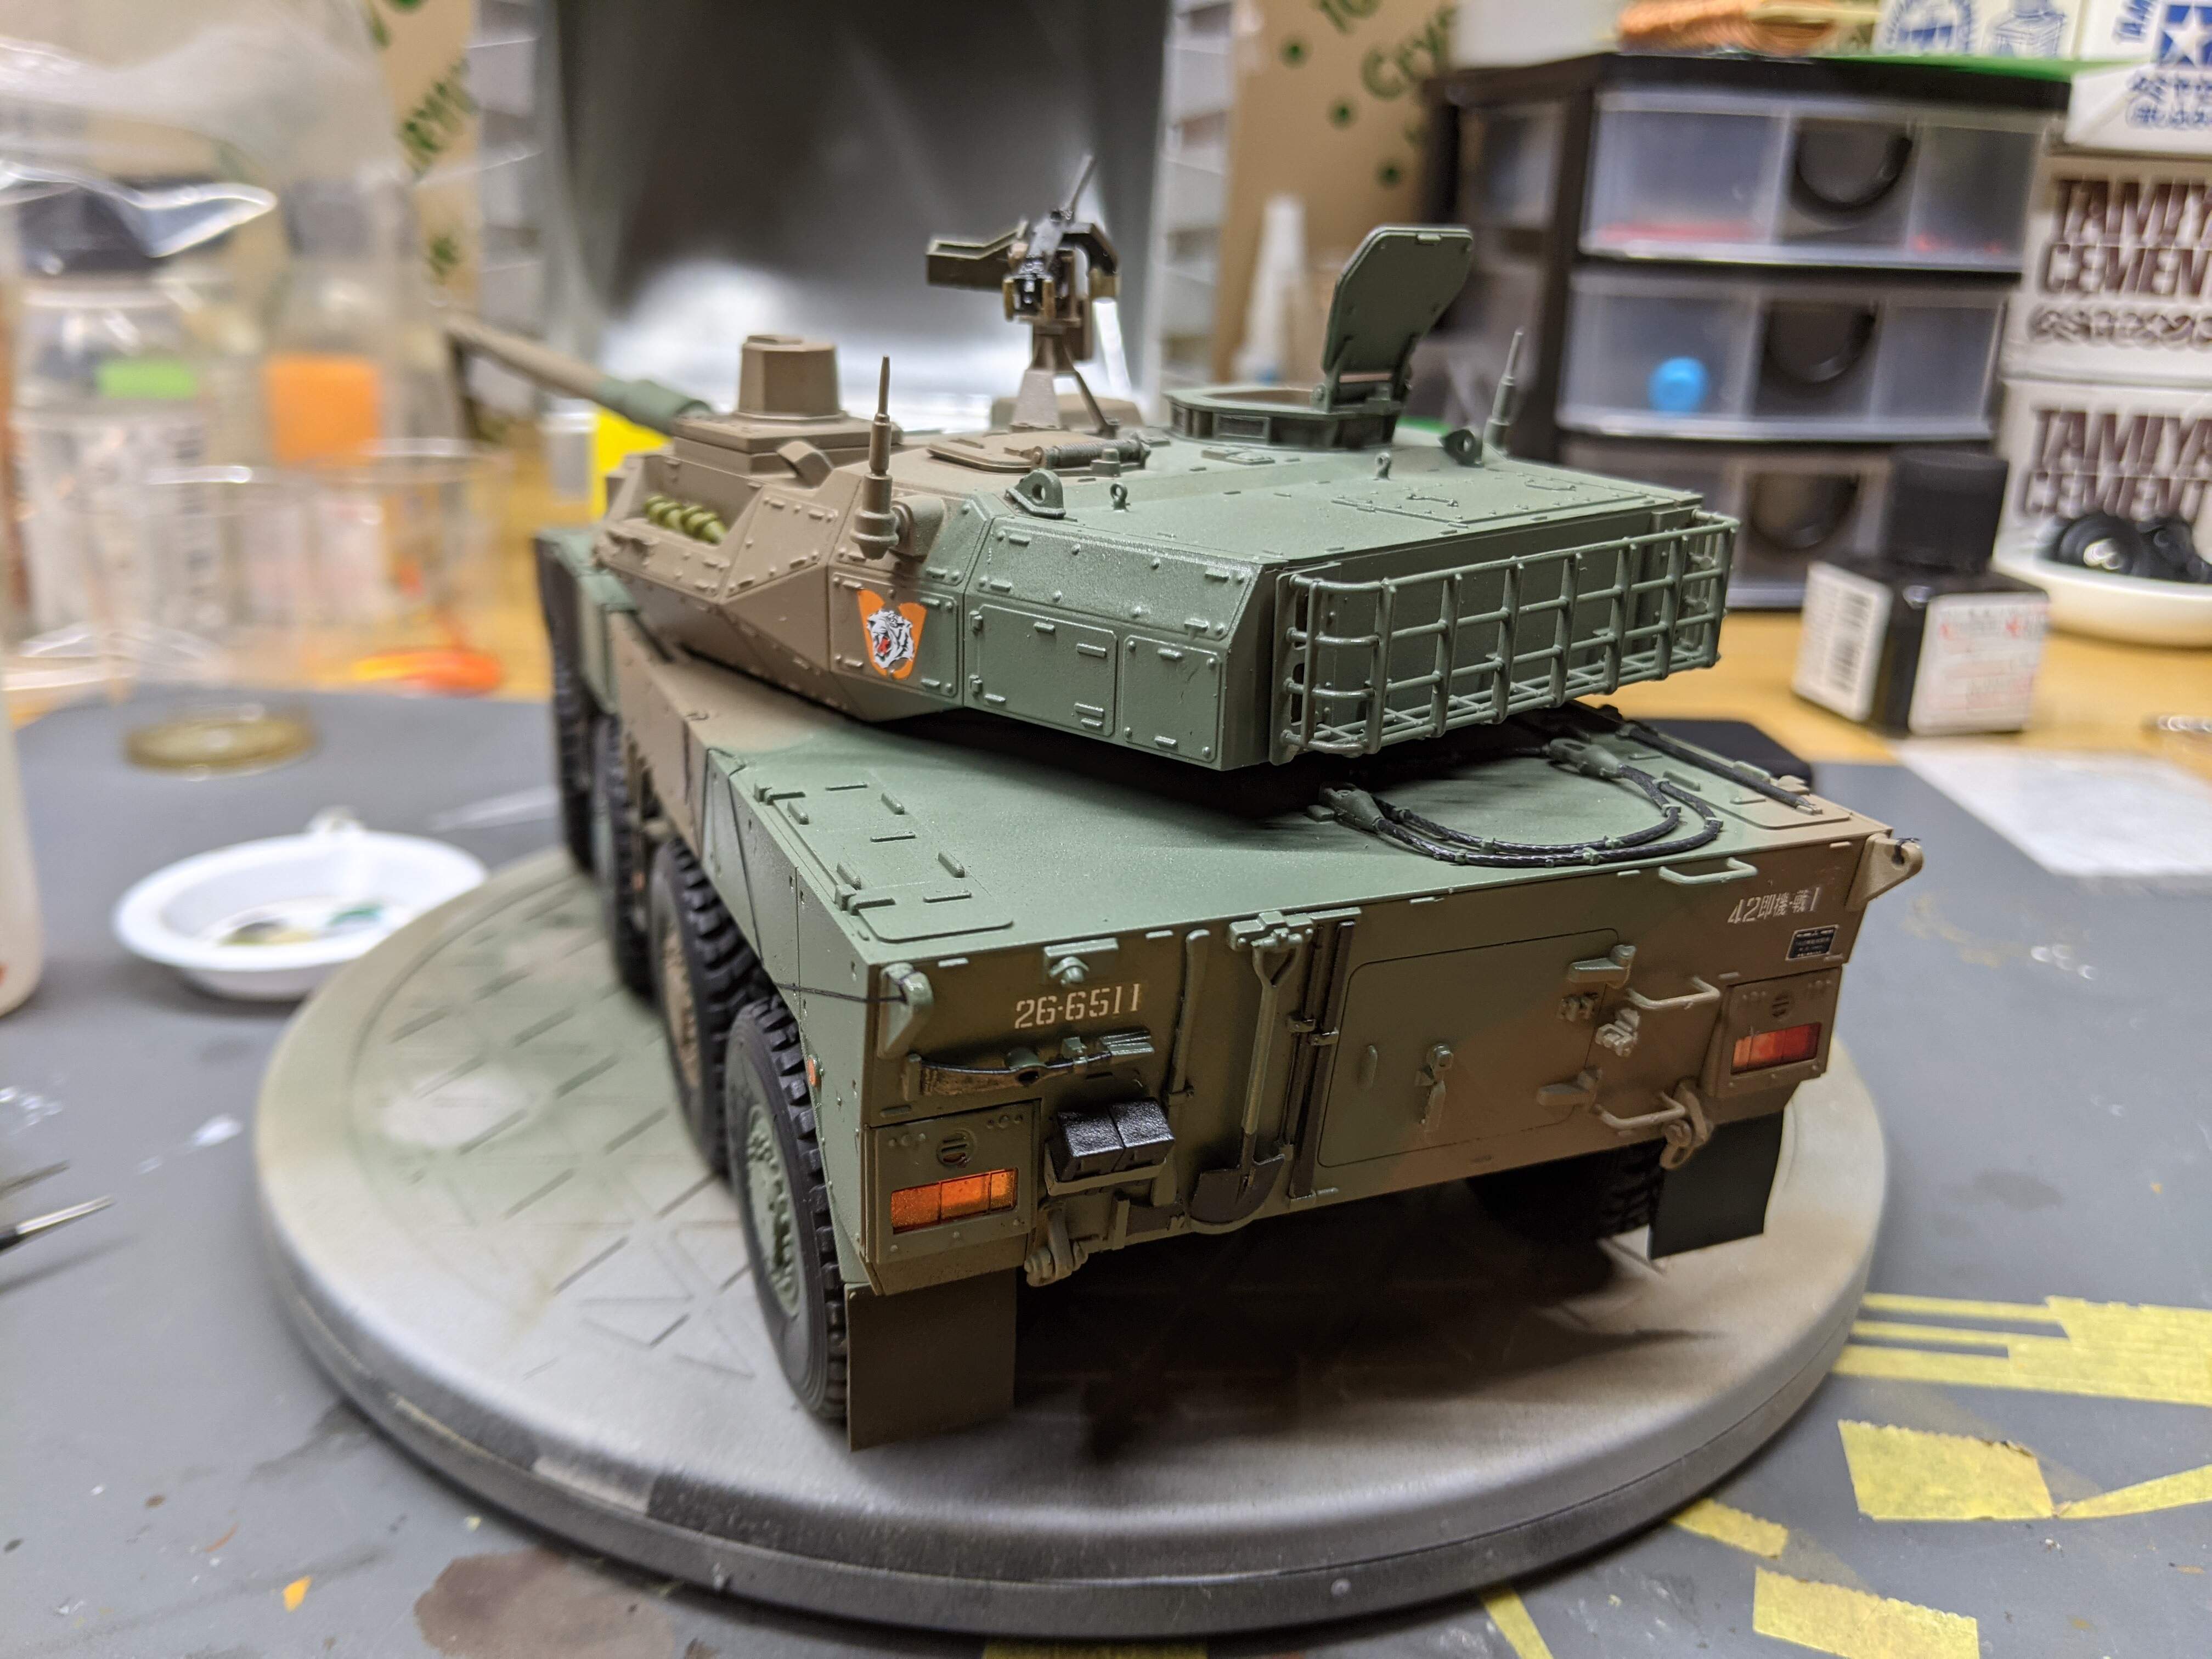
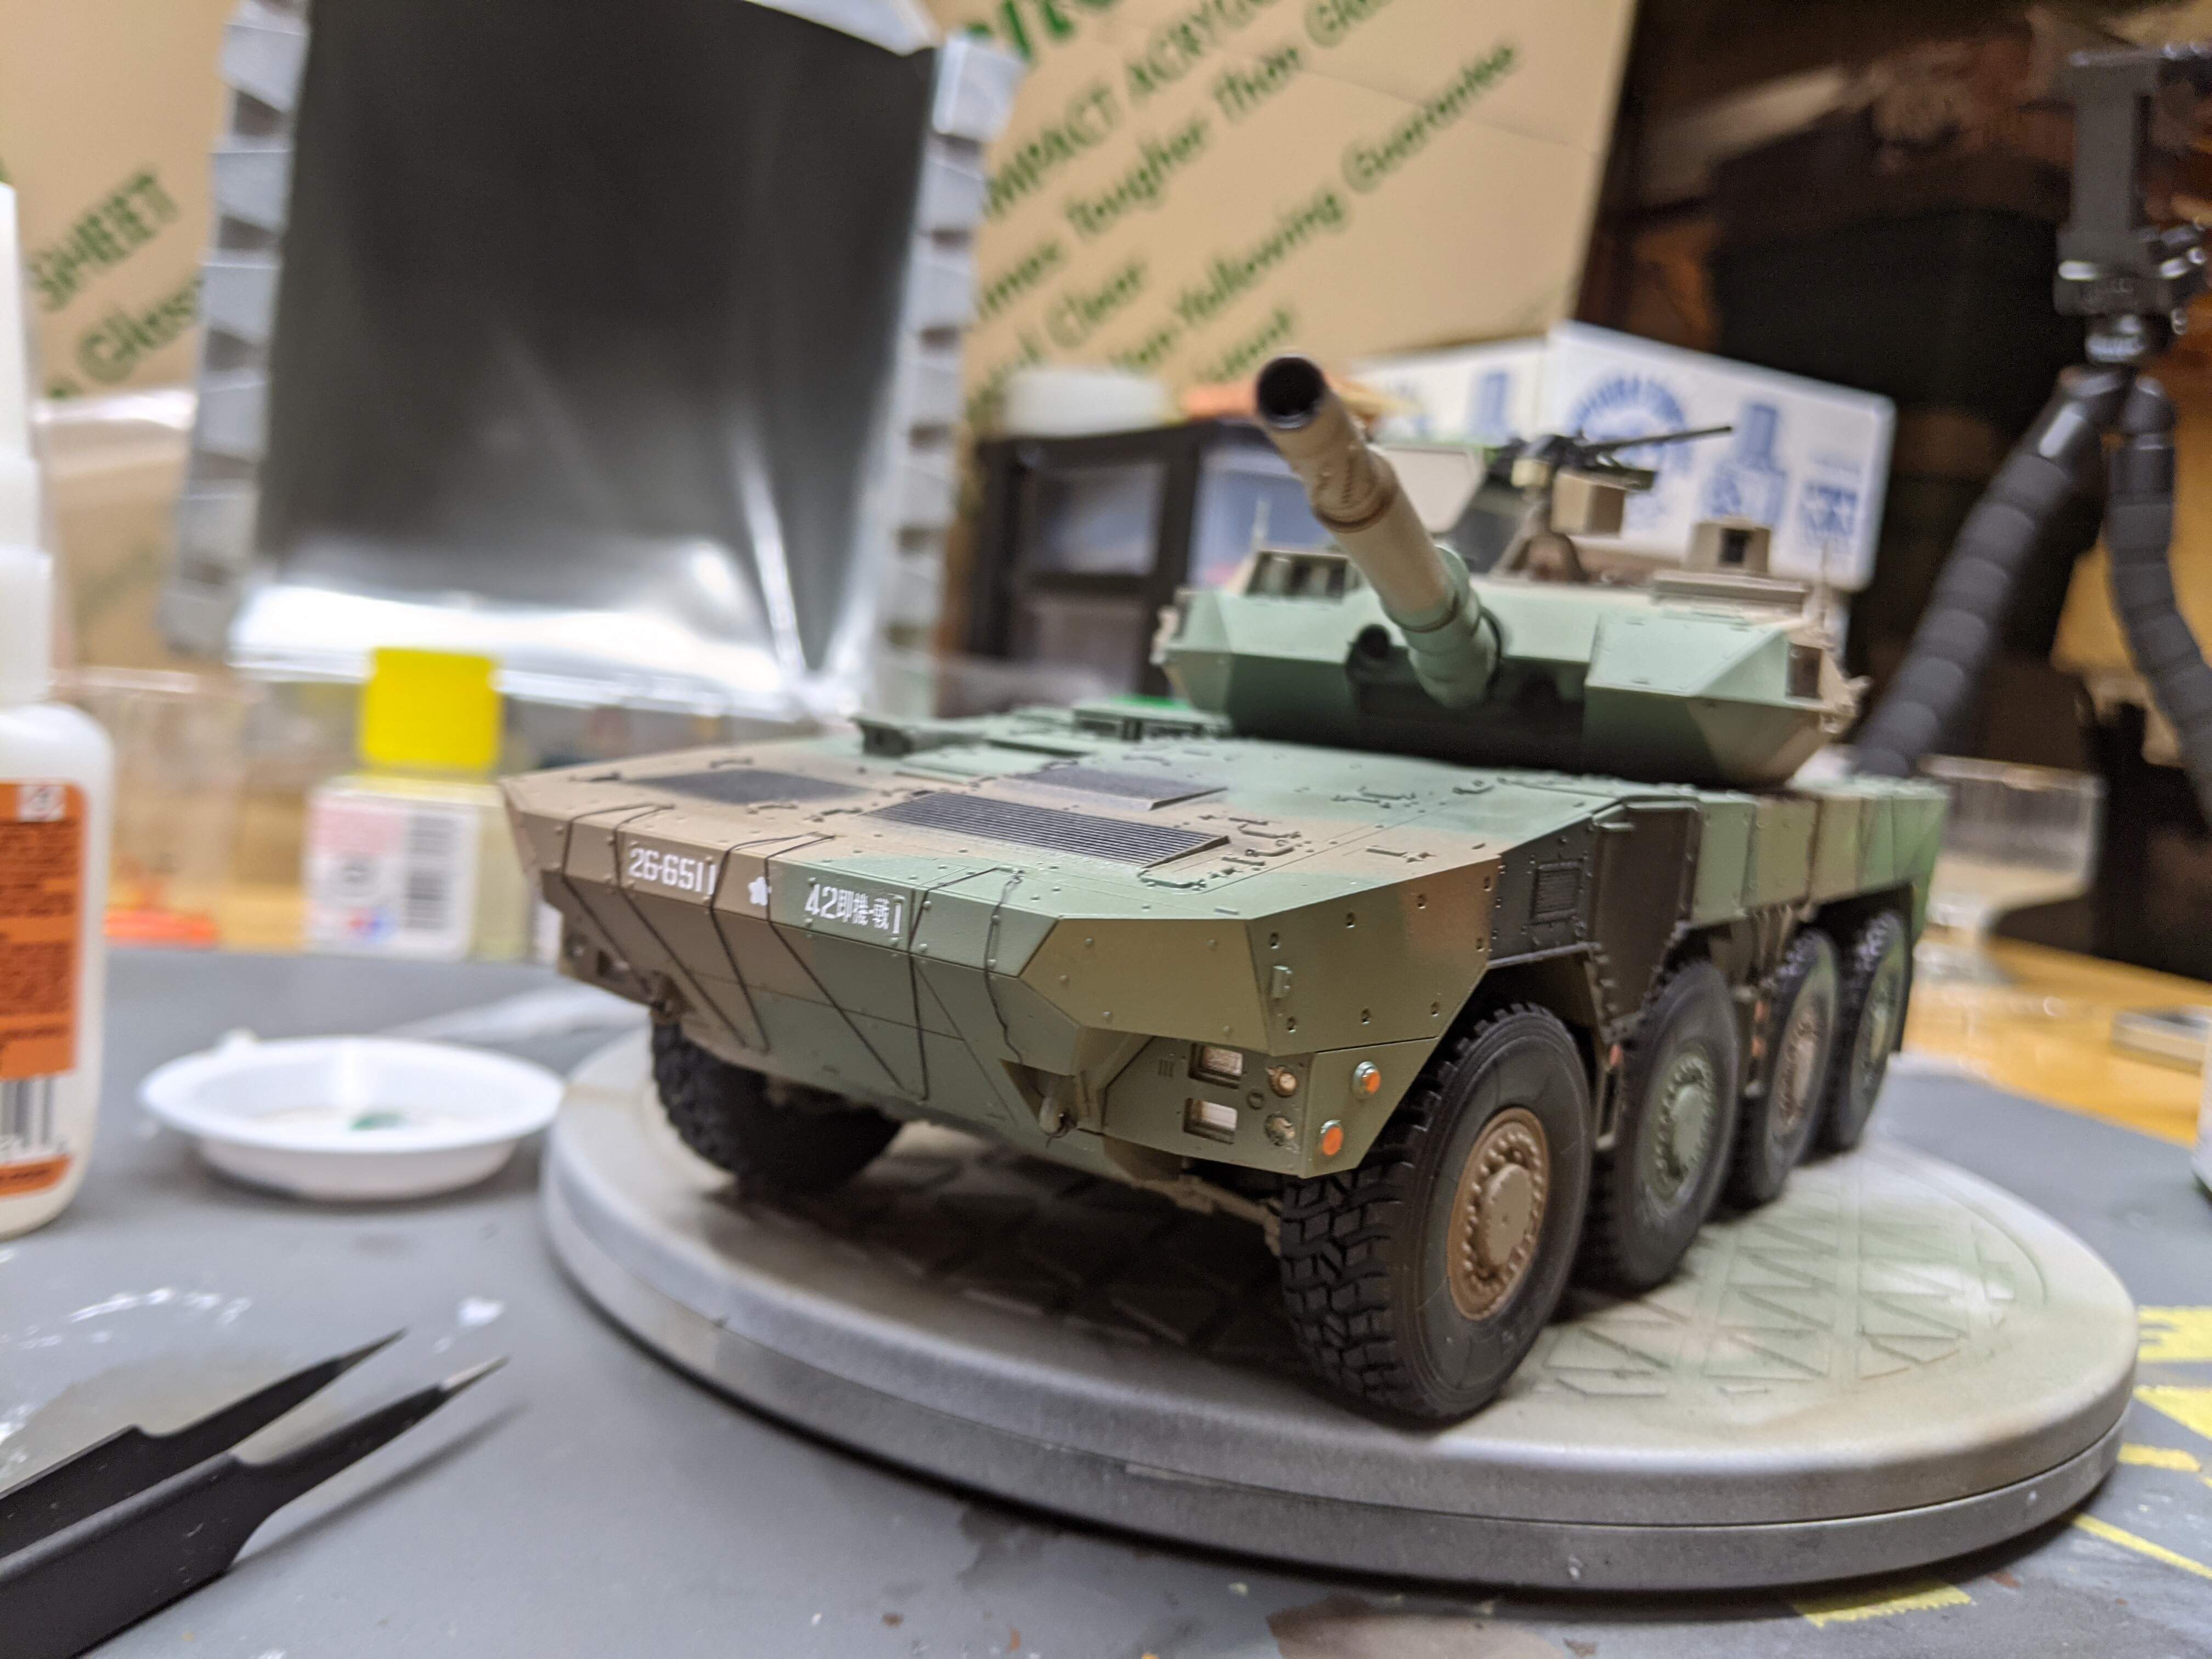
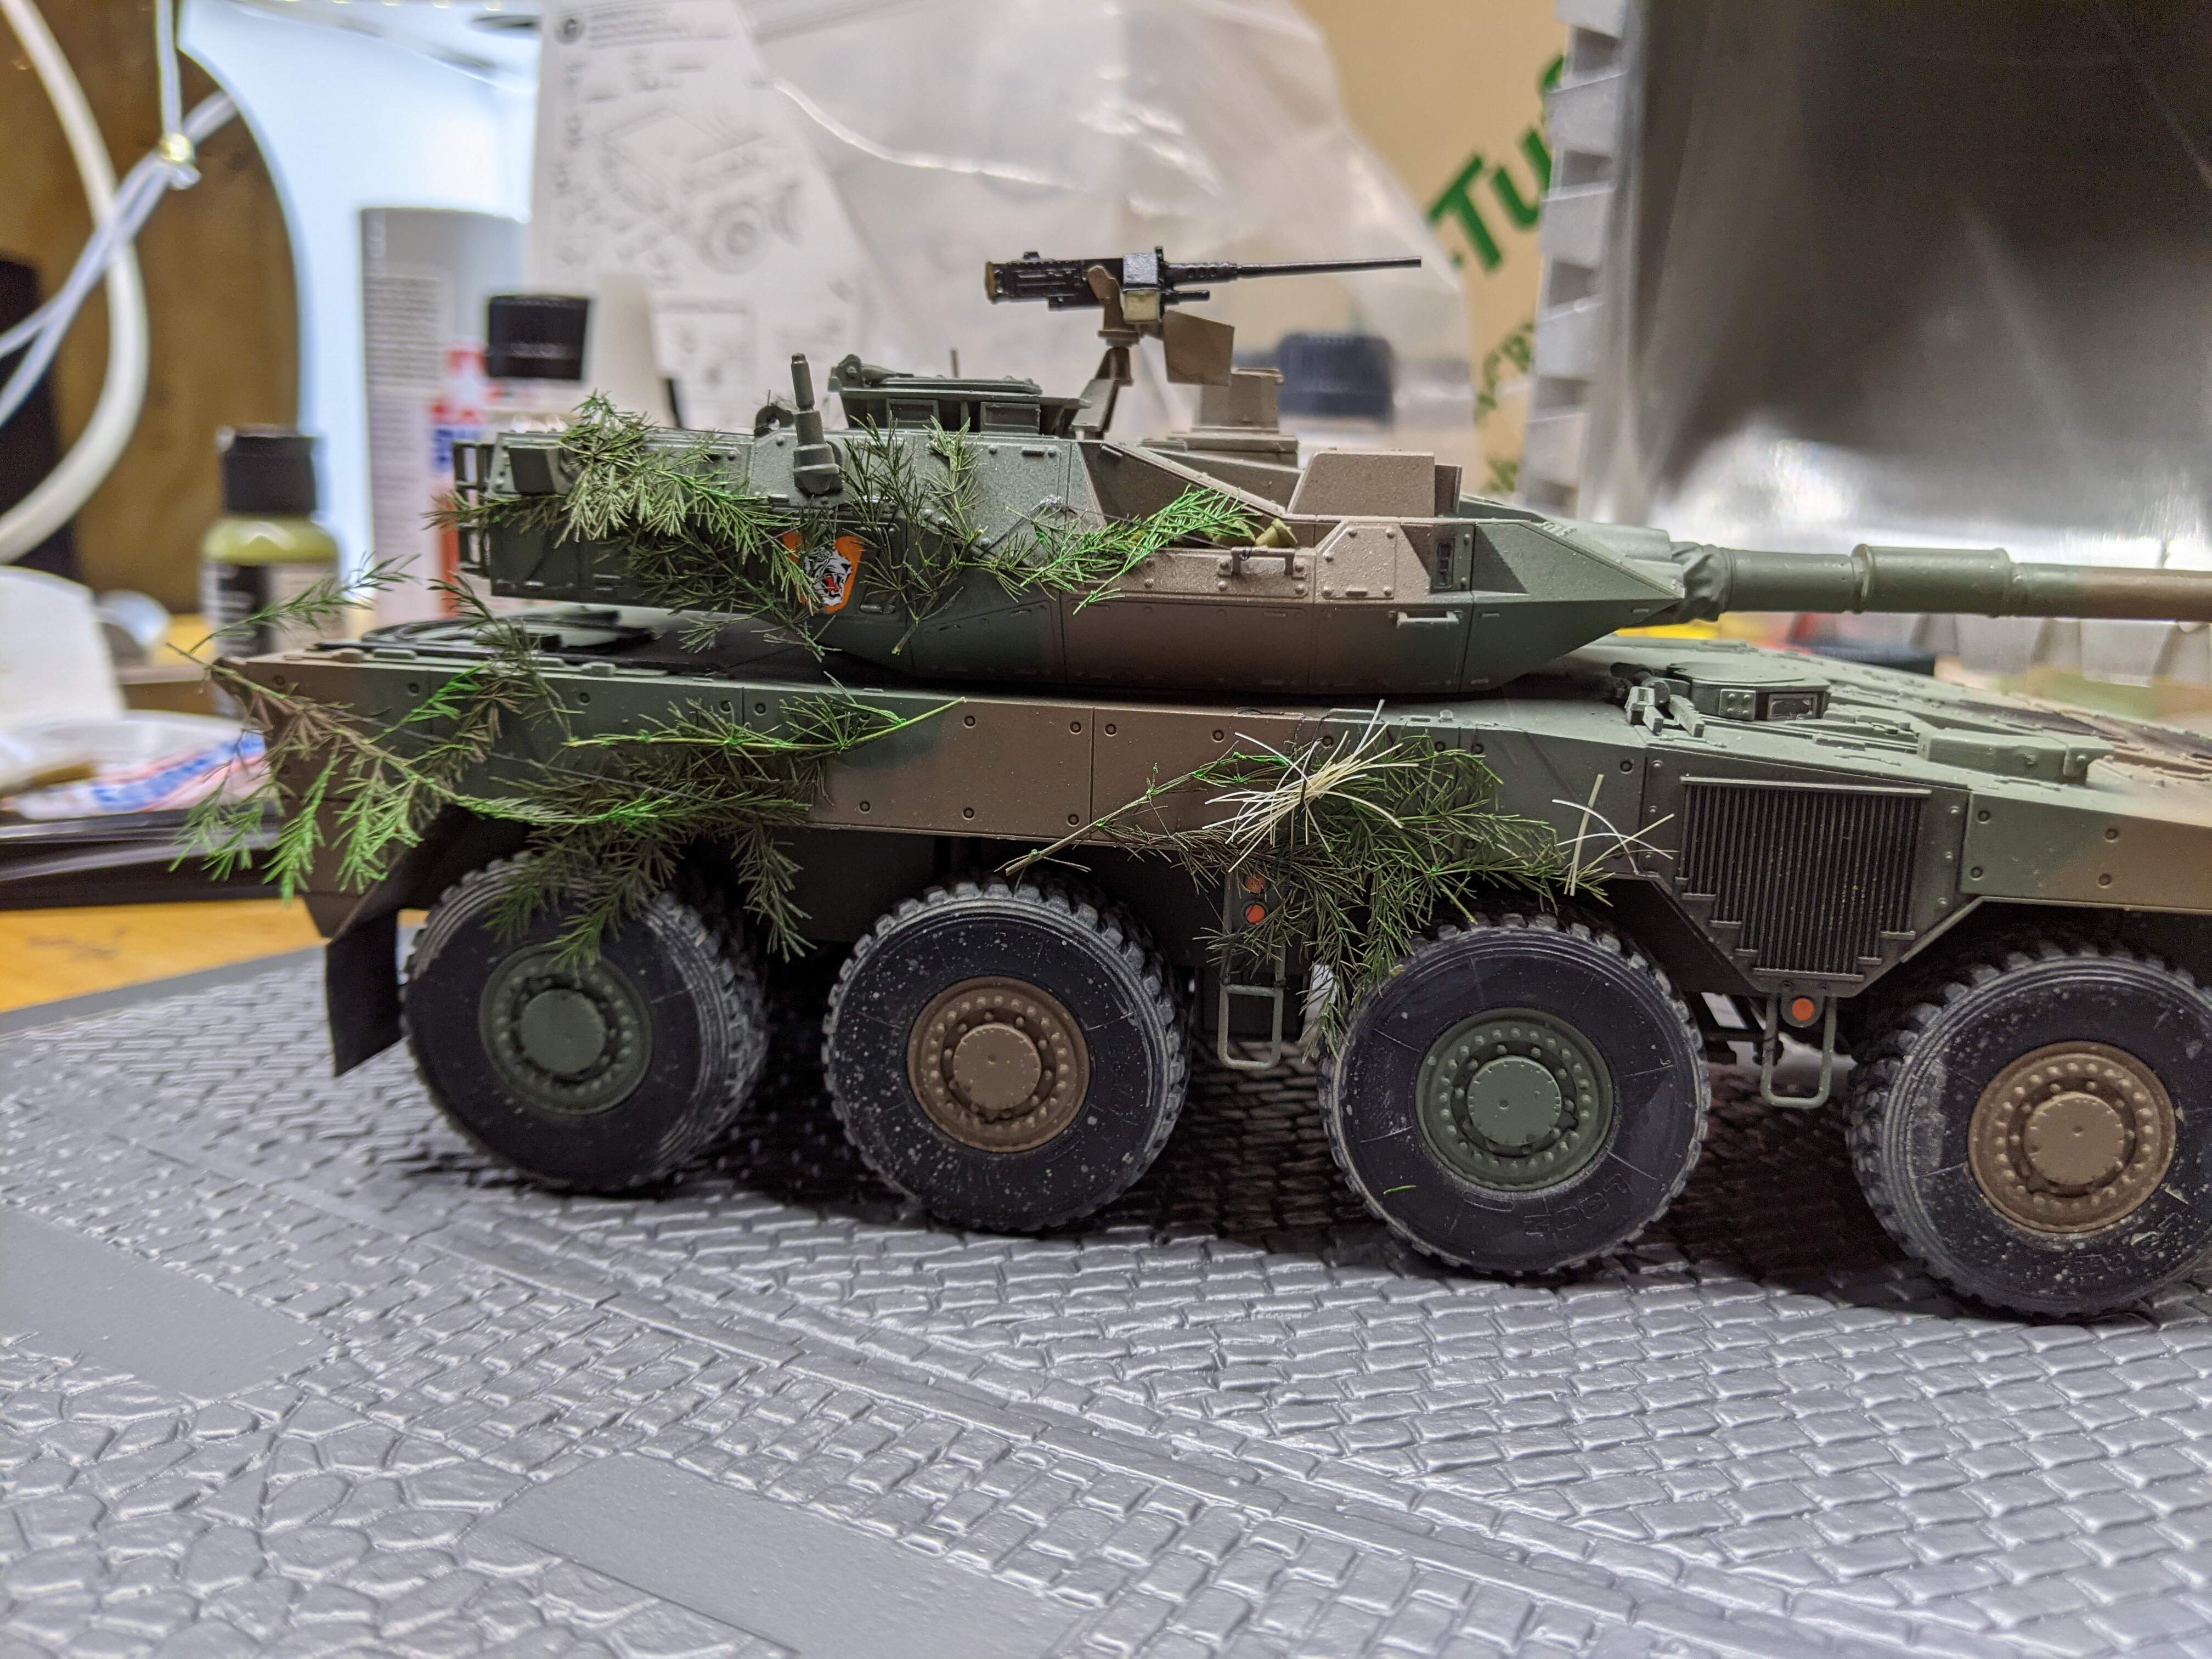
Work began yesterday on correcting the overspray on the camouflage. I used a fine brush to brush paint around the edges of the pattern so as to give a hard edge, and then covered the entire model in flat clear lacquer from the airbrush. After letting it dry, black panel-liner was applied to the radiators and exhausts. Any excess was dabbed away with turpentine. Decals were then applied, and they went on quite well. I think these may be Cartograf, but I can’t be quite sure. I did this vehicle in the markings of the 1st Company, 42nd Rapid Deployment Regiment (the Bengal Tiger looked cool  ). I then began working on the webbing. Many of the Type 16s have special webbing applied on the sides of the hull and turret to hold down foliage used for additional camouflage. I think this is a measure intended to allow crews to quickly use local foliage when preparing for an ambush. Conveniently, Tamiya has moulded to tie-down lugs onto the kit! I use fine thread from Berkshire Junction, which manufactures material for making electrical lines intended for model railways. It works perfectly for this task, as the material looks very “in-scale”, and is incredibly elastic. That way I won’t have to glue any foliage on! I tied knots around the tow points and crew ladders, then stretched the fibres around the tie lugs. Here’s how the model looked at the end of my work:
Well, that’s all for this morning! Take care 
Dennis
Looking better each update!
Very nice paint job.
Olivier
Looking sharp Dennis! That’s also a great tip for the tie downs.
Evening everyone!
I just wanted to give a quick update on the project.
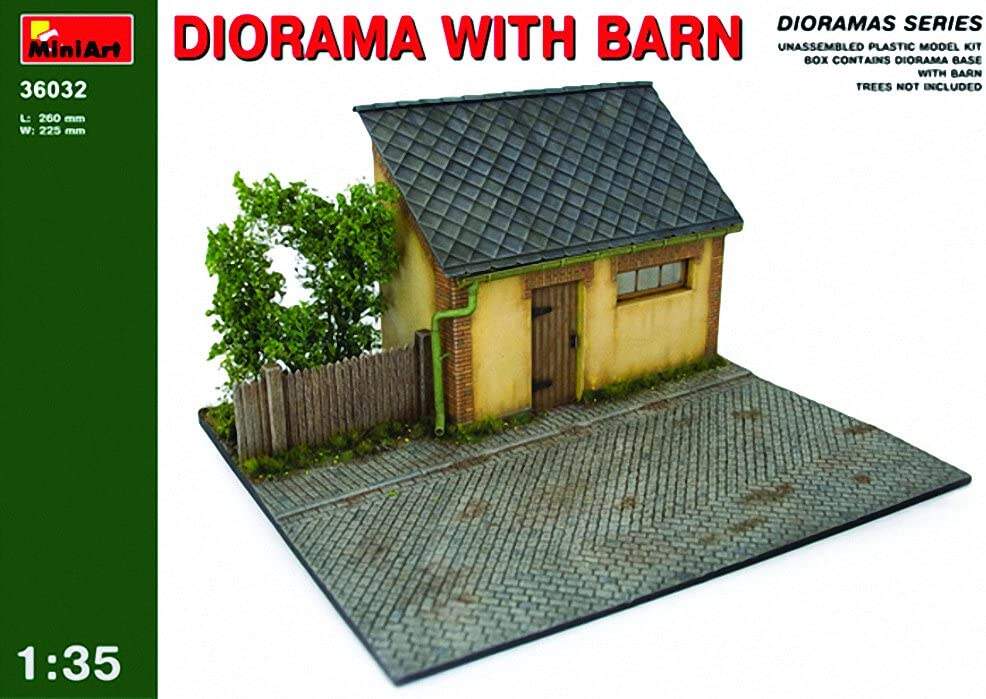
The update is that nothing of note has happened, because all my free time on the weekends is spent working at the hobby store. That said, I’m in the process of preparing the base for this kit! I don’t glue my kits down, so this base may show up in future projects! I got Miniart’s lovely little barn:
I like it very much First vacuform kit ever, and I find the detail to be quite acceptable, not insane or anything but that way the focus stays on the kit. I figure that, despite the clear European overtones, a little shack like this might be seen in some of the northern areas of Japan. I’m very excited to paint it!
Well, back to calculus. I picked up some AK City Dust pigment today, so who knows, I may even finish all the weathering tonight!
Until then,
Dennis
You can enter the Miniart campaign with the barn.
Good morning all;
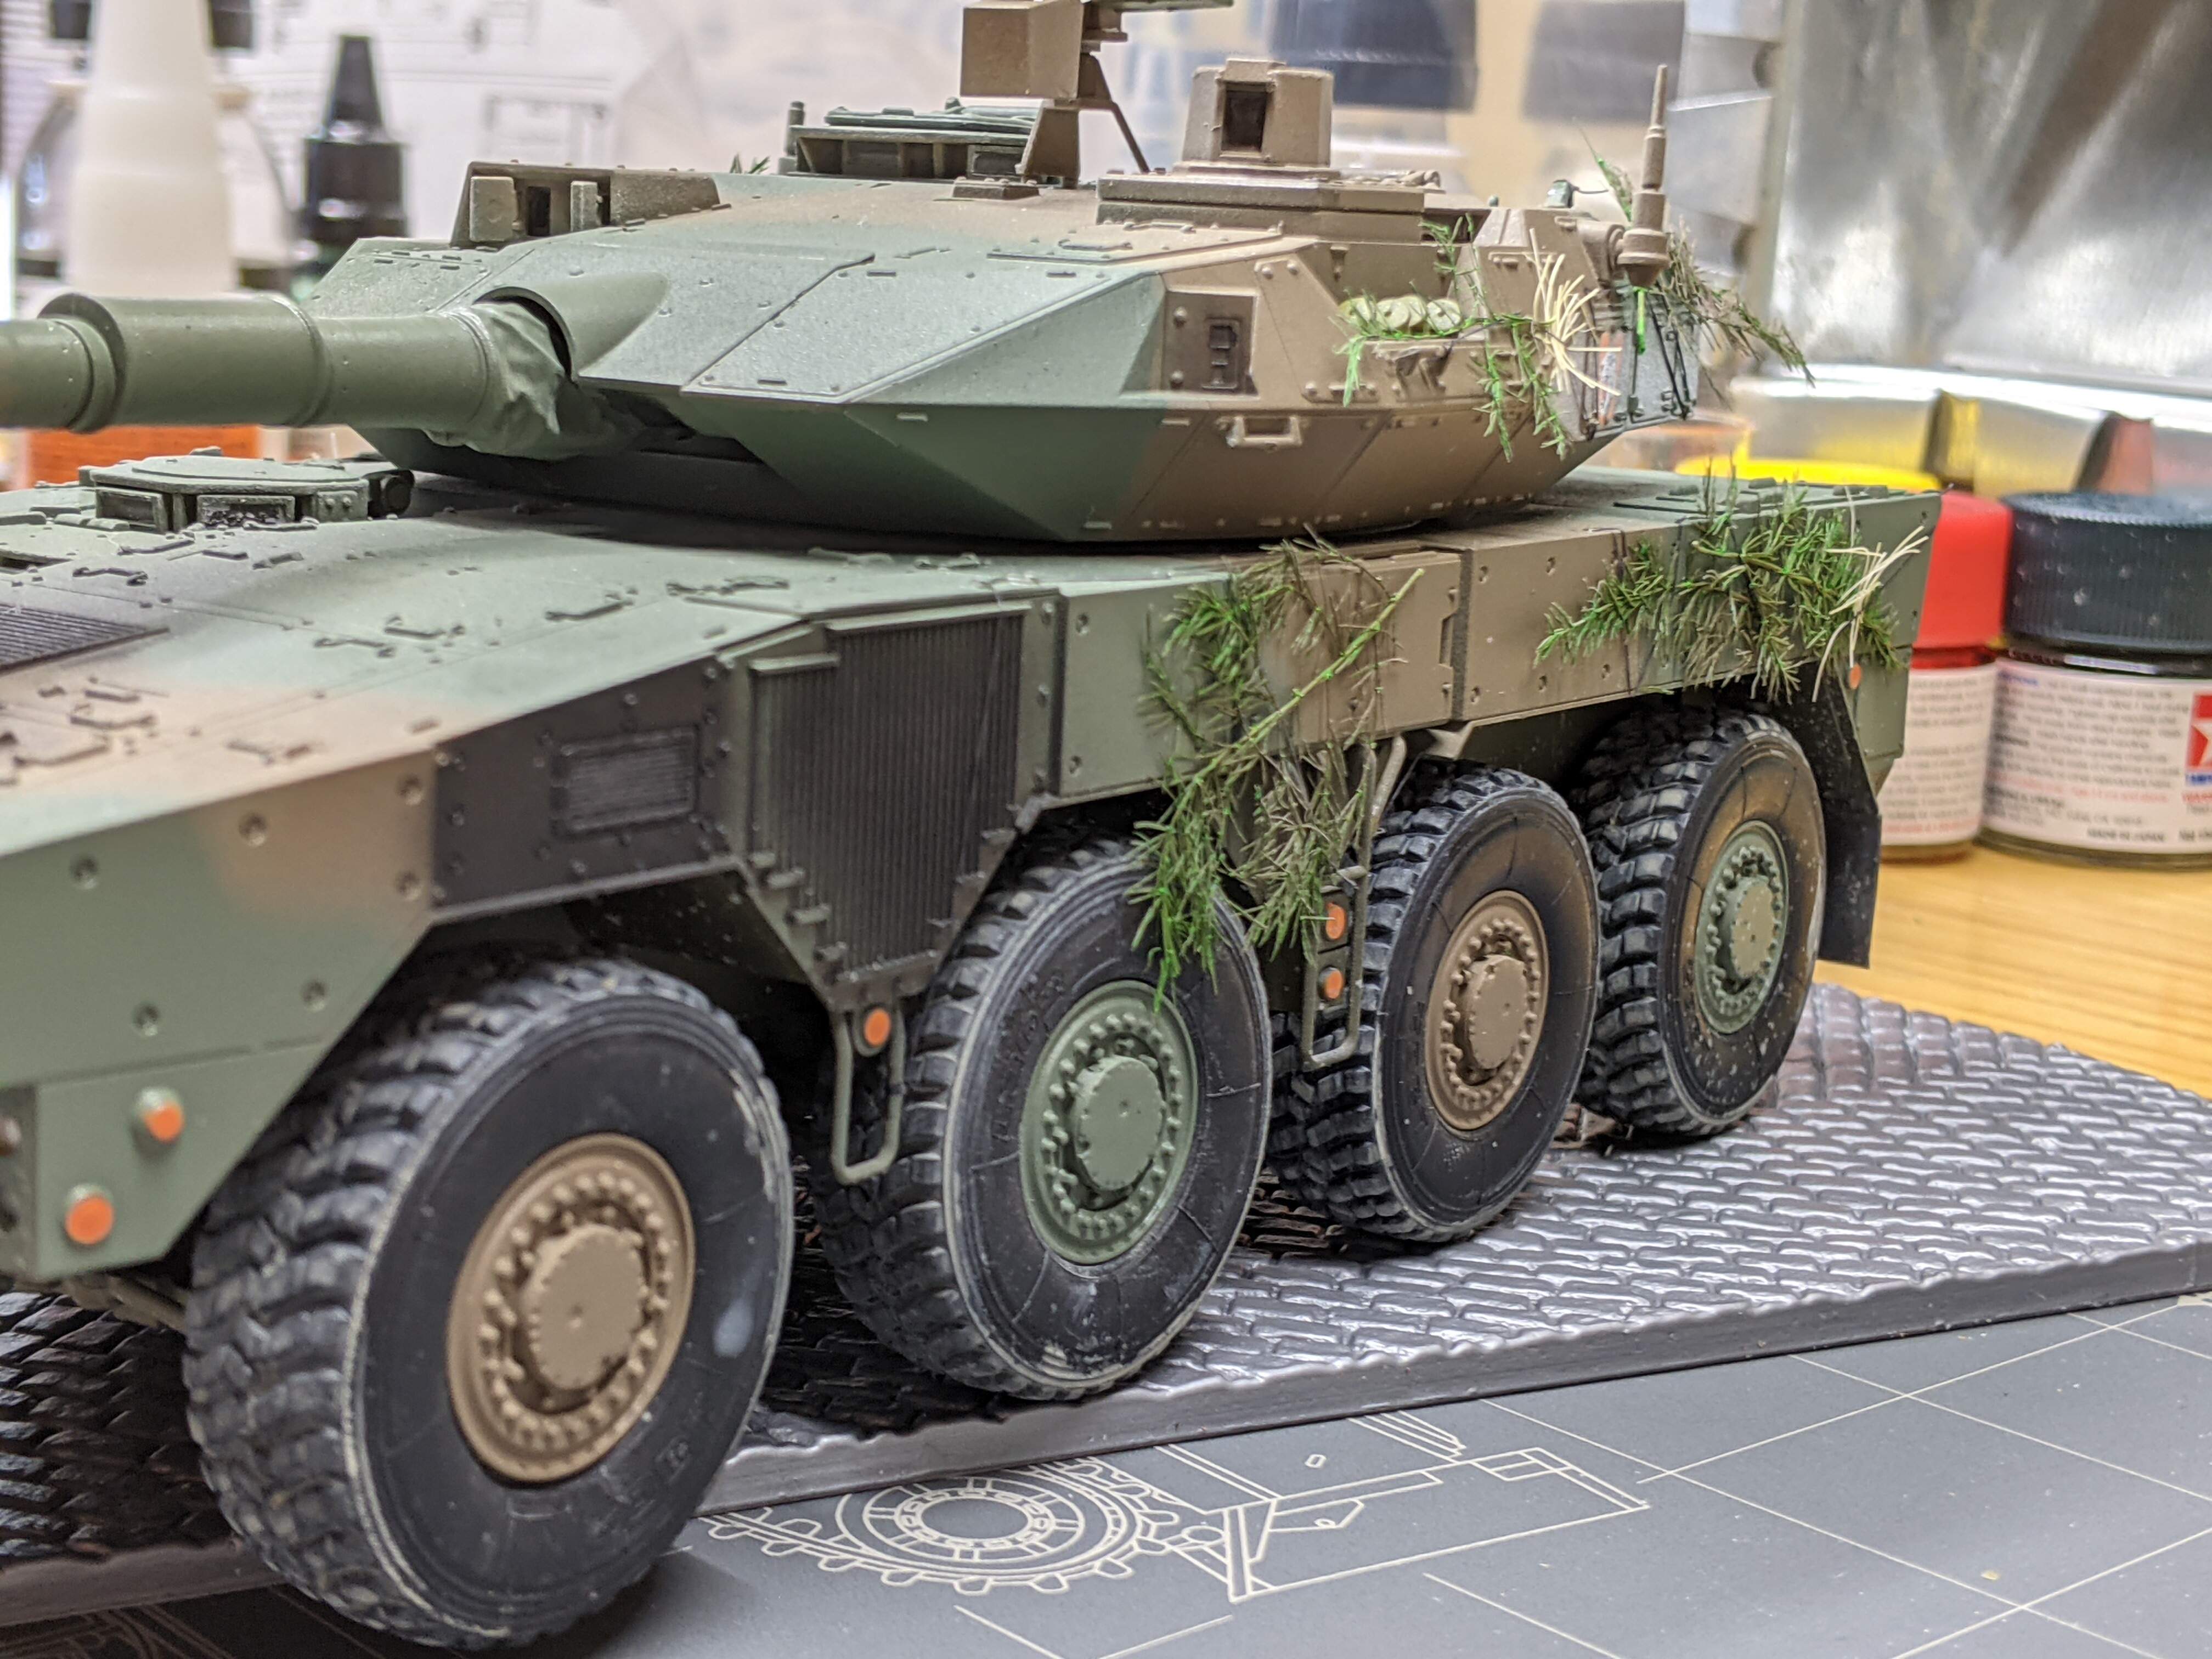
Another productive night. I’m happy to say that the Type 16 itself is now done! Thankfully, weathering on this kit has been quite modest, owing to the exacting cleanliness standards of the JGSDF. Gotta keep the MCVs squeaky-clean. I did mix some city dust with turpentine to powder the tires, but I chose to leave it at that. I then put the webbing to good use by adding some Asparagus Plumosus plants. I got em off of Etsy, they look very-in scale and are fairly reasonable price-wise.
Here’s how the finished kit looks:
I’ve already primed the figures, so they will come soon!
-Dennis
Nicely done. I only have 1 JSDF piece the Tamiya Type74. Looking to get the others in Tamiya’s line and this one is on is now #1 on the list. 
That looks awesome finished!
The foliage looks great as well.
Thanks! JSDF subjects are definitely very unique, both this kit and Tamiya’s Type 10 were very well done. Definitely state of the art as far as their kits go.
Morning everyone;
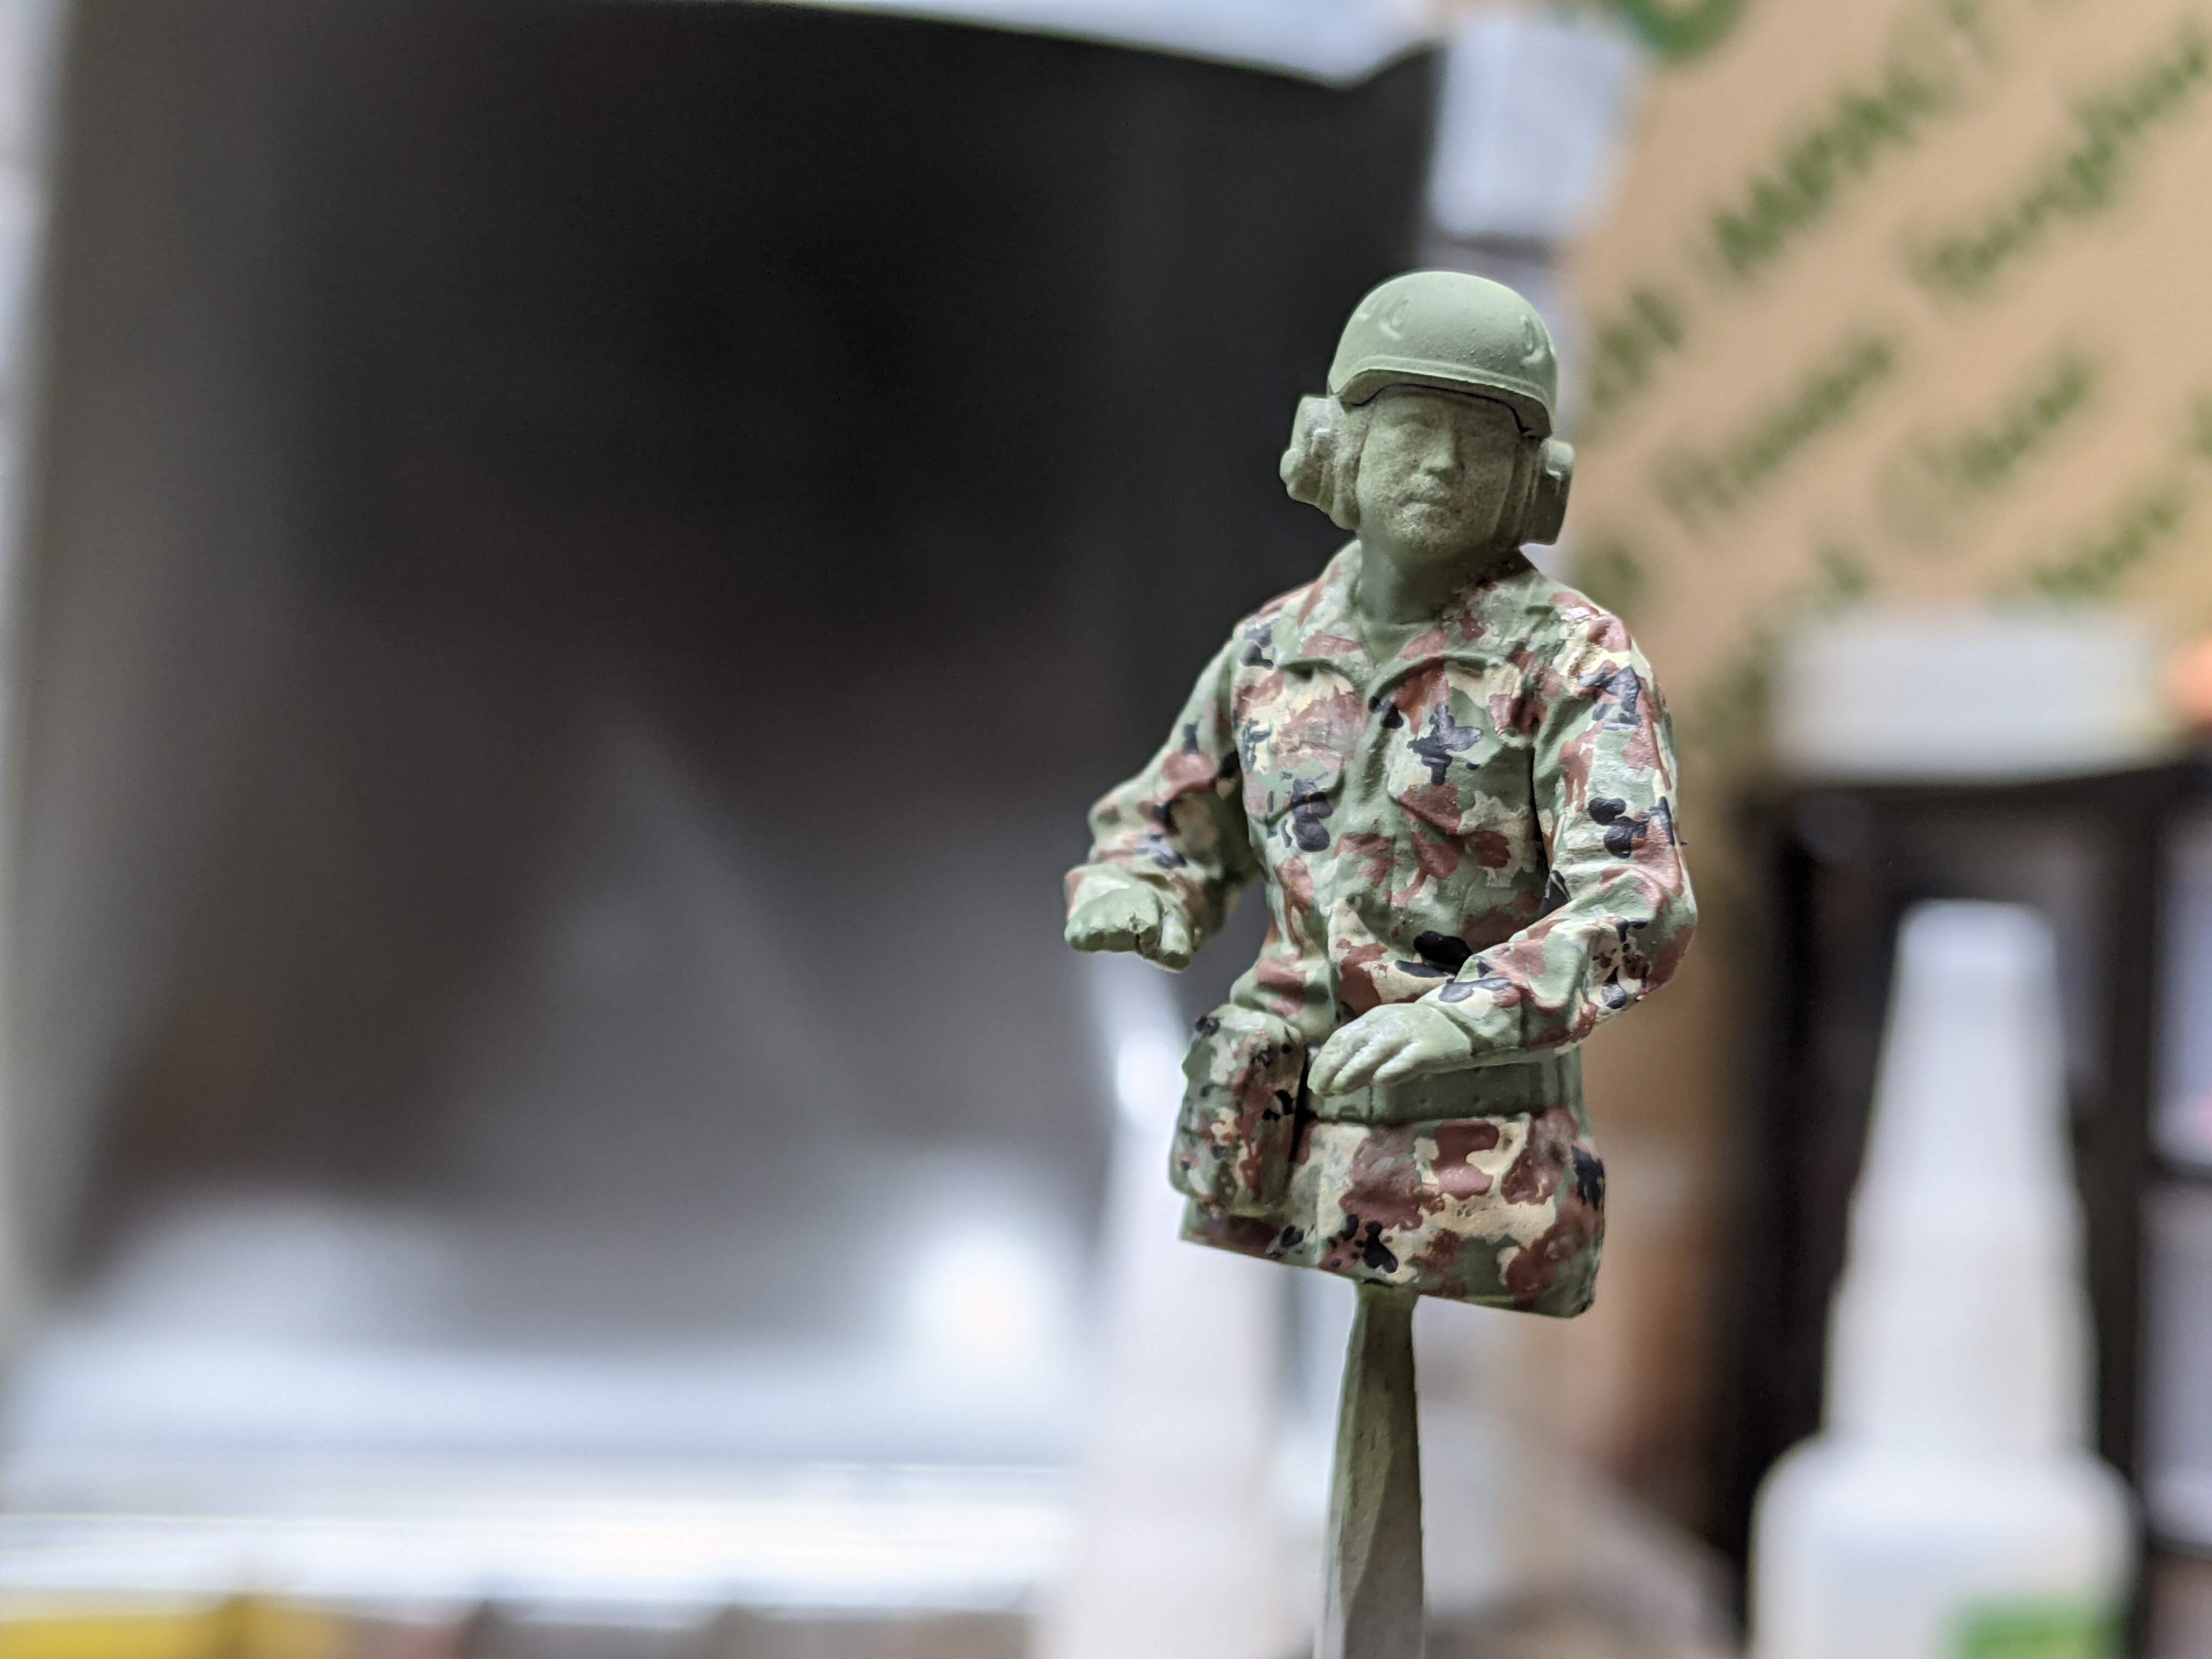
So now that the Type 16 itself is done, it’s time to add the finishing touches. These will be themselves a pretty big component of the project, as I want to do a good job. Last night, I started work on the figures. After having assembled and primed them, I was ready to paint the Jietai camouflage pattern. Note that this is widely considered to be a variant of Germany’s Flecktarn scheme. Being a pointilistic pattern, I got all my microbrushes out 
To start the painting, I first mixed Mission Models Russian Dark Green and Dunkelgelb in a 1:1 ratio to get the base green tones. I don’t like how the helmets turned out, so I’ll overpaint them with XF-62.
So after painting this base shade, I resolved to begin work on the dot-pattern. I first painted Dunkelgelb in splotches all over the tunics with a 0 brush. After this, I painted XF-79 Deck Brown splotches overtop the two previous layers of paint, this time with a Master-Tool disposable microbrush. To finish the pattern, I used an Exel point to add the tiny black points, using MMP Black as the colour. Here’s how the figures looked after a night of painting:
Until tomorrow!
-Dennis
Looking good Dennis !


