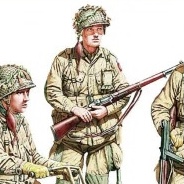
I started this figure a while ago so figure I’d add the in progress shots I’ve taken. Especially as D-Day US Paras remain popular!
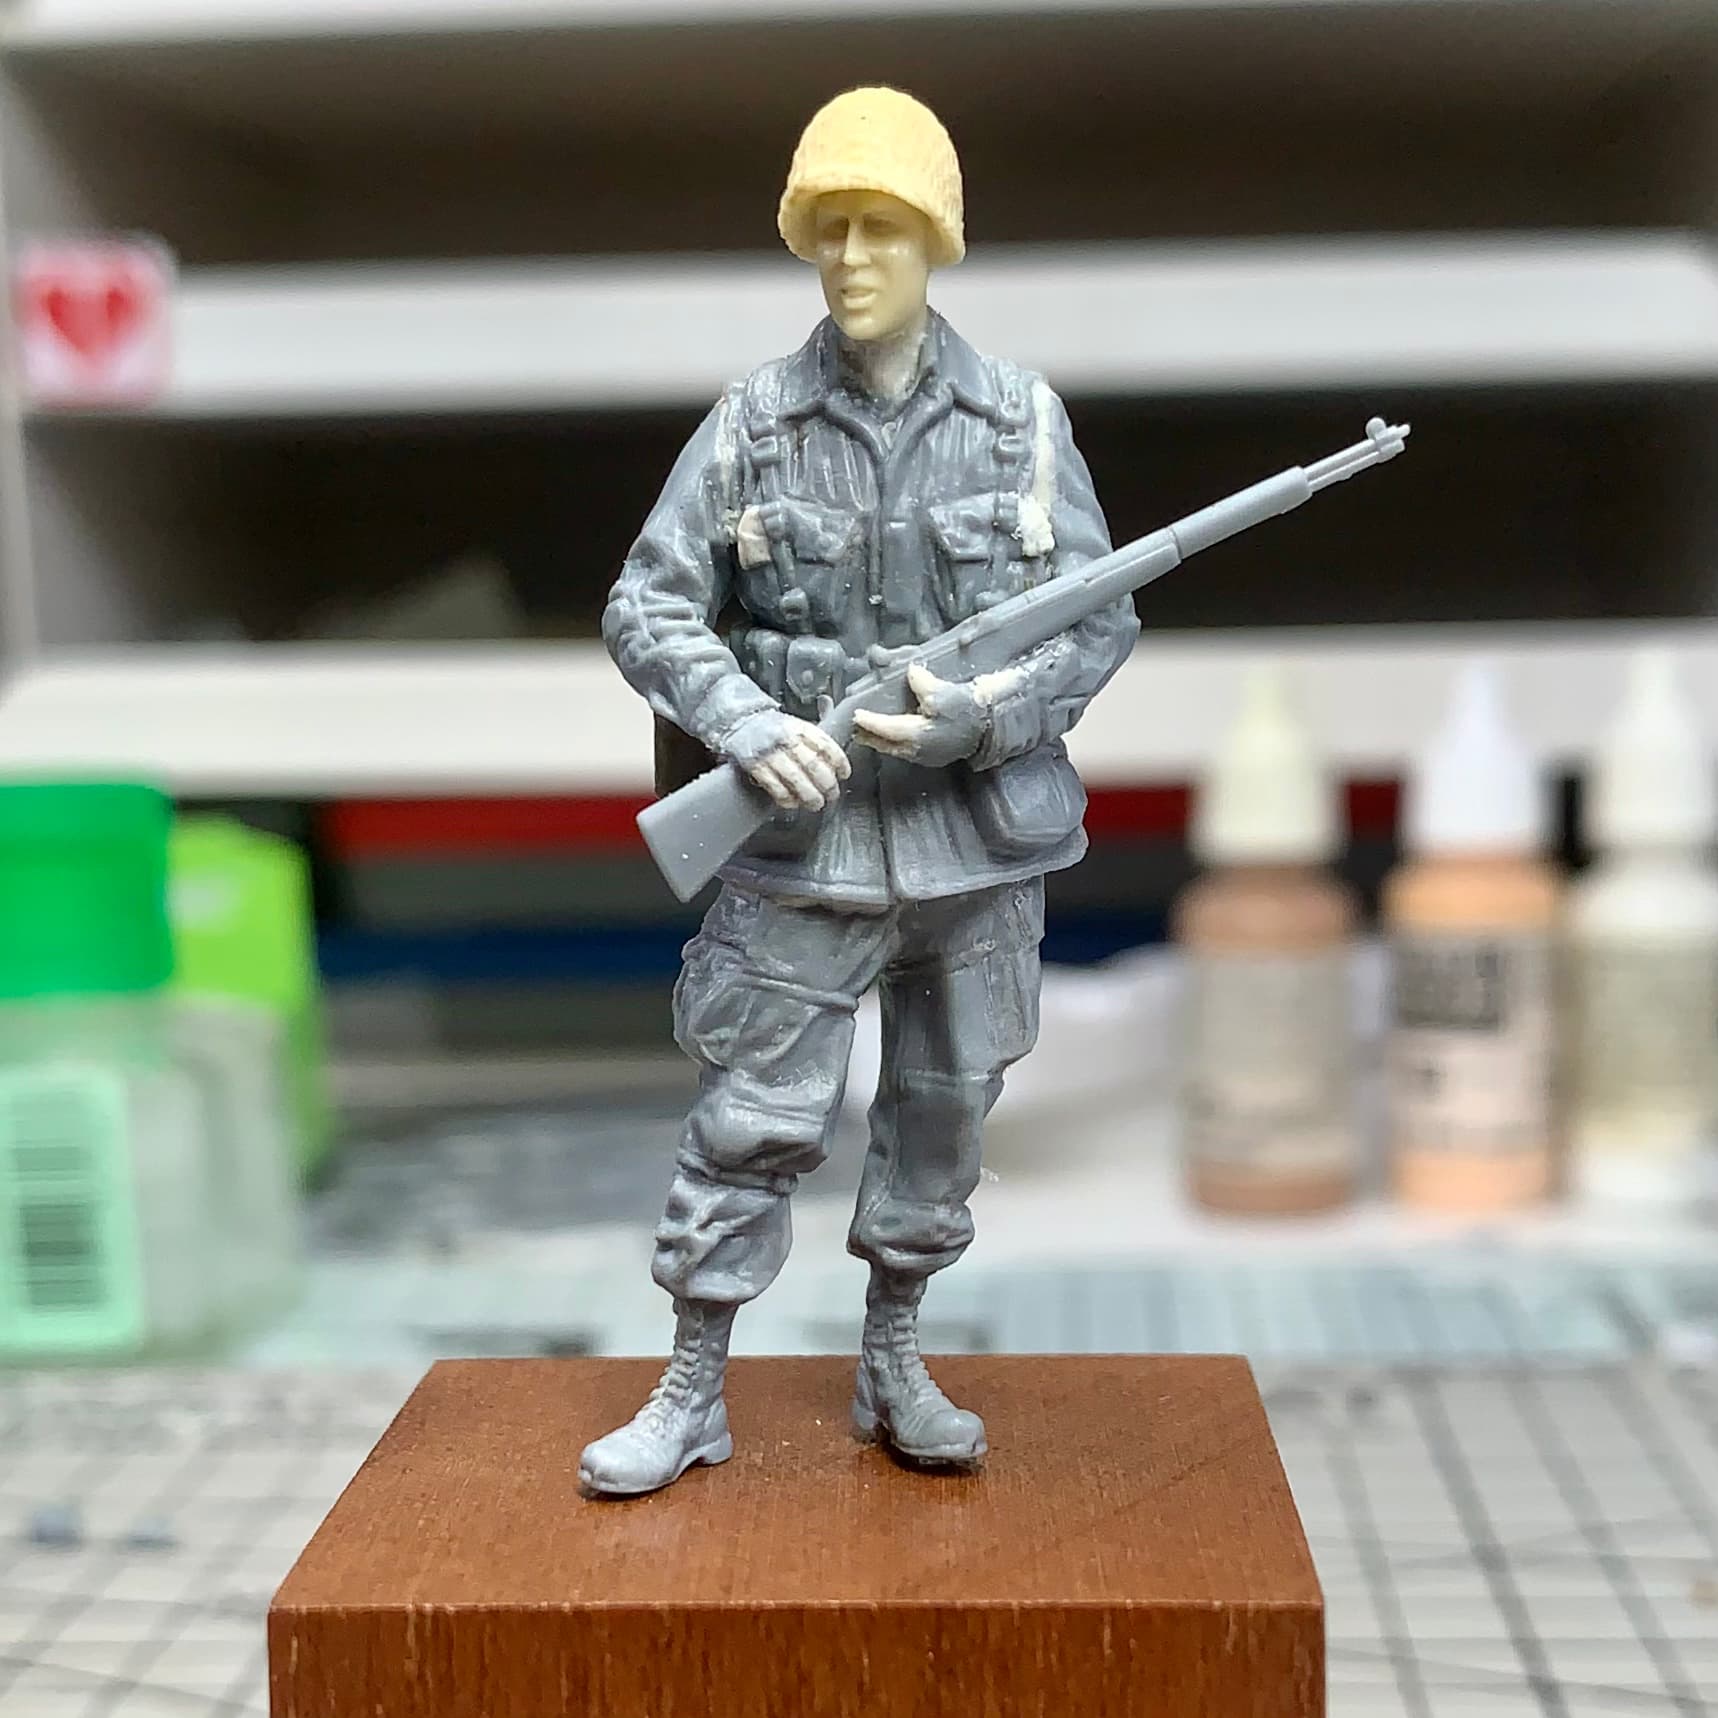
This is a Gecko figure from one of their Cushman motorcycle sets.
The detail is soft, because the plastic is soft, but the pose is really natural and well executed.
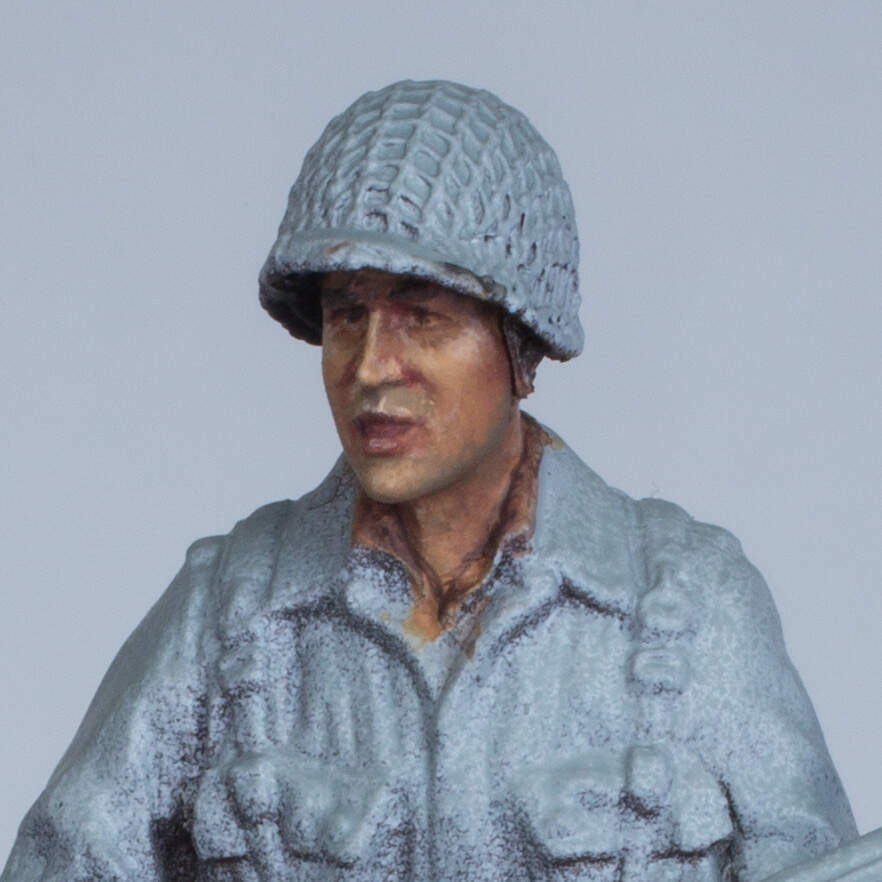
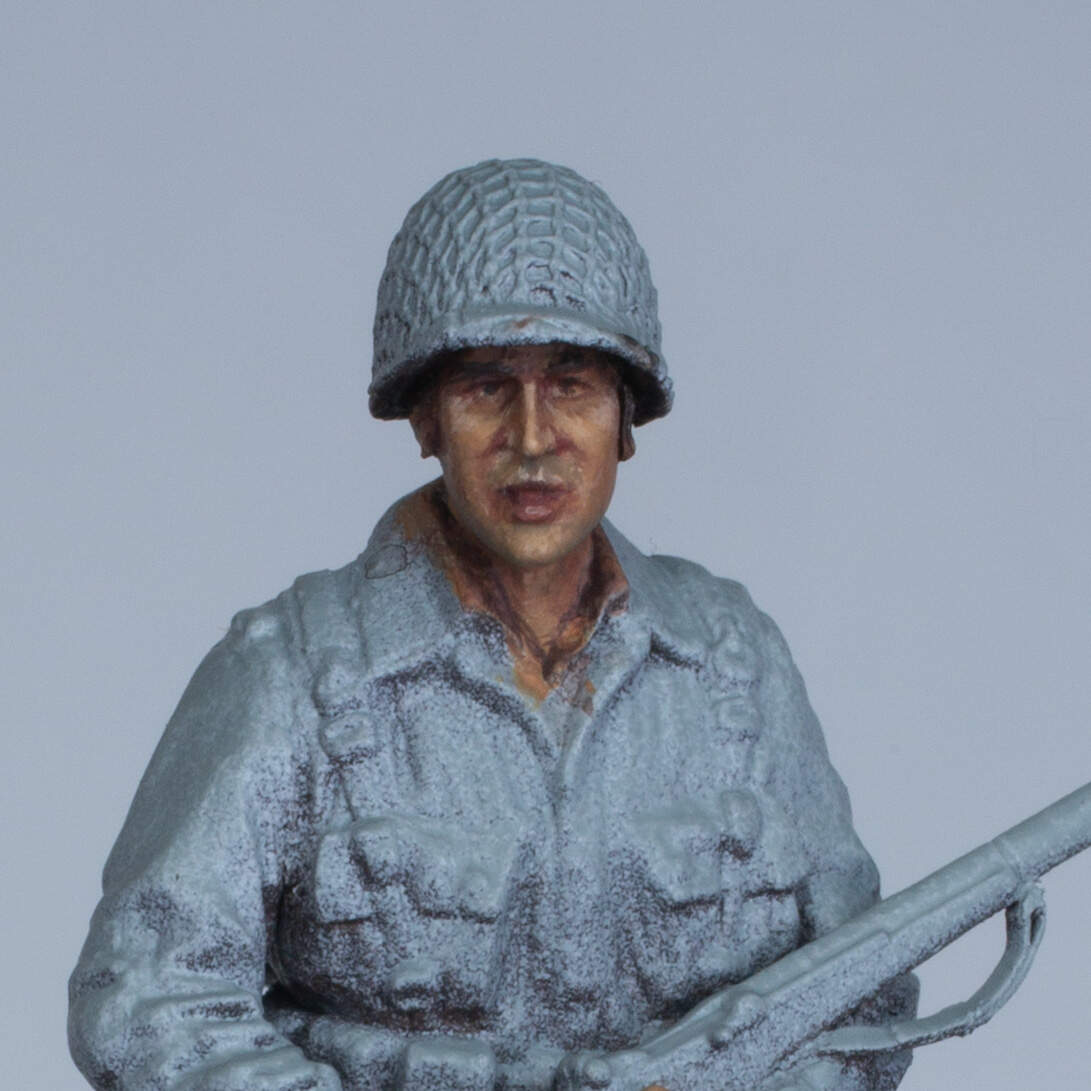
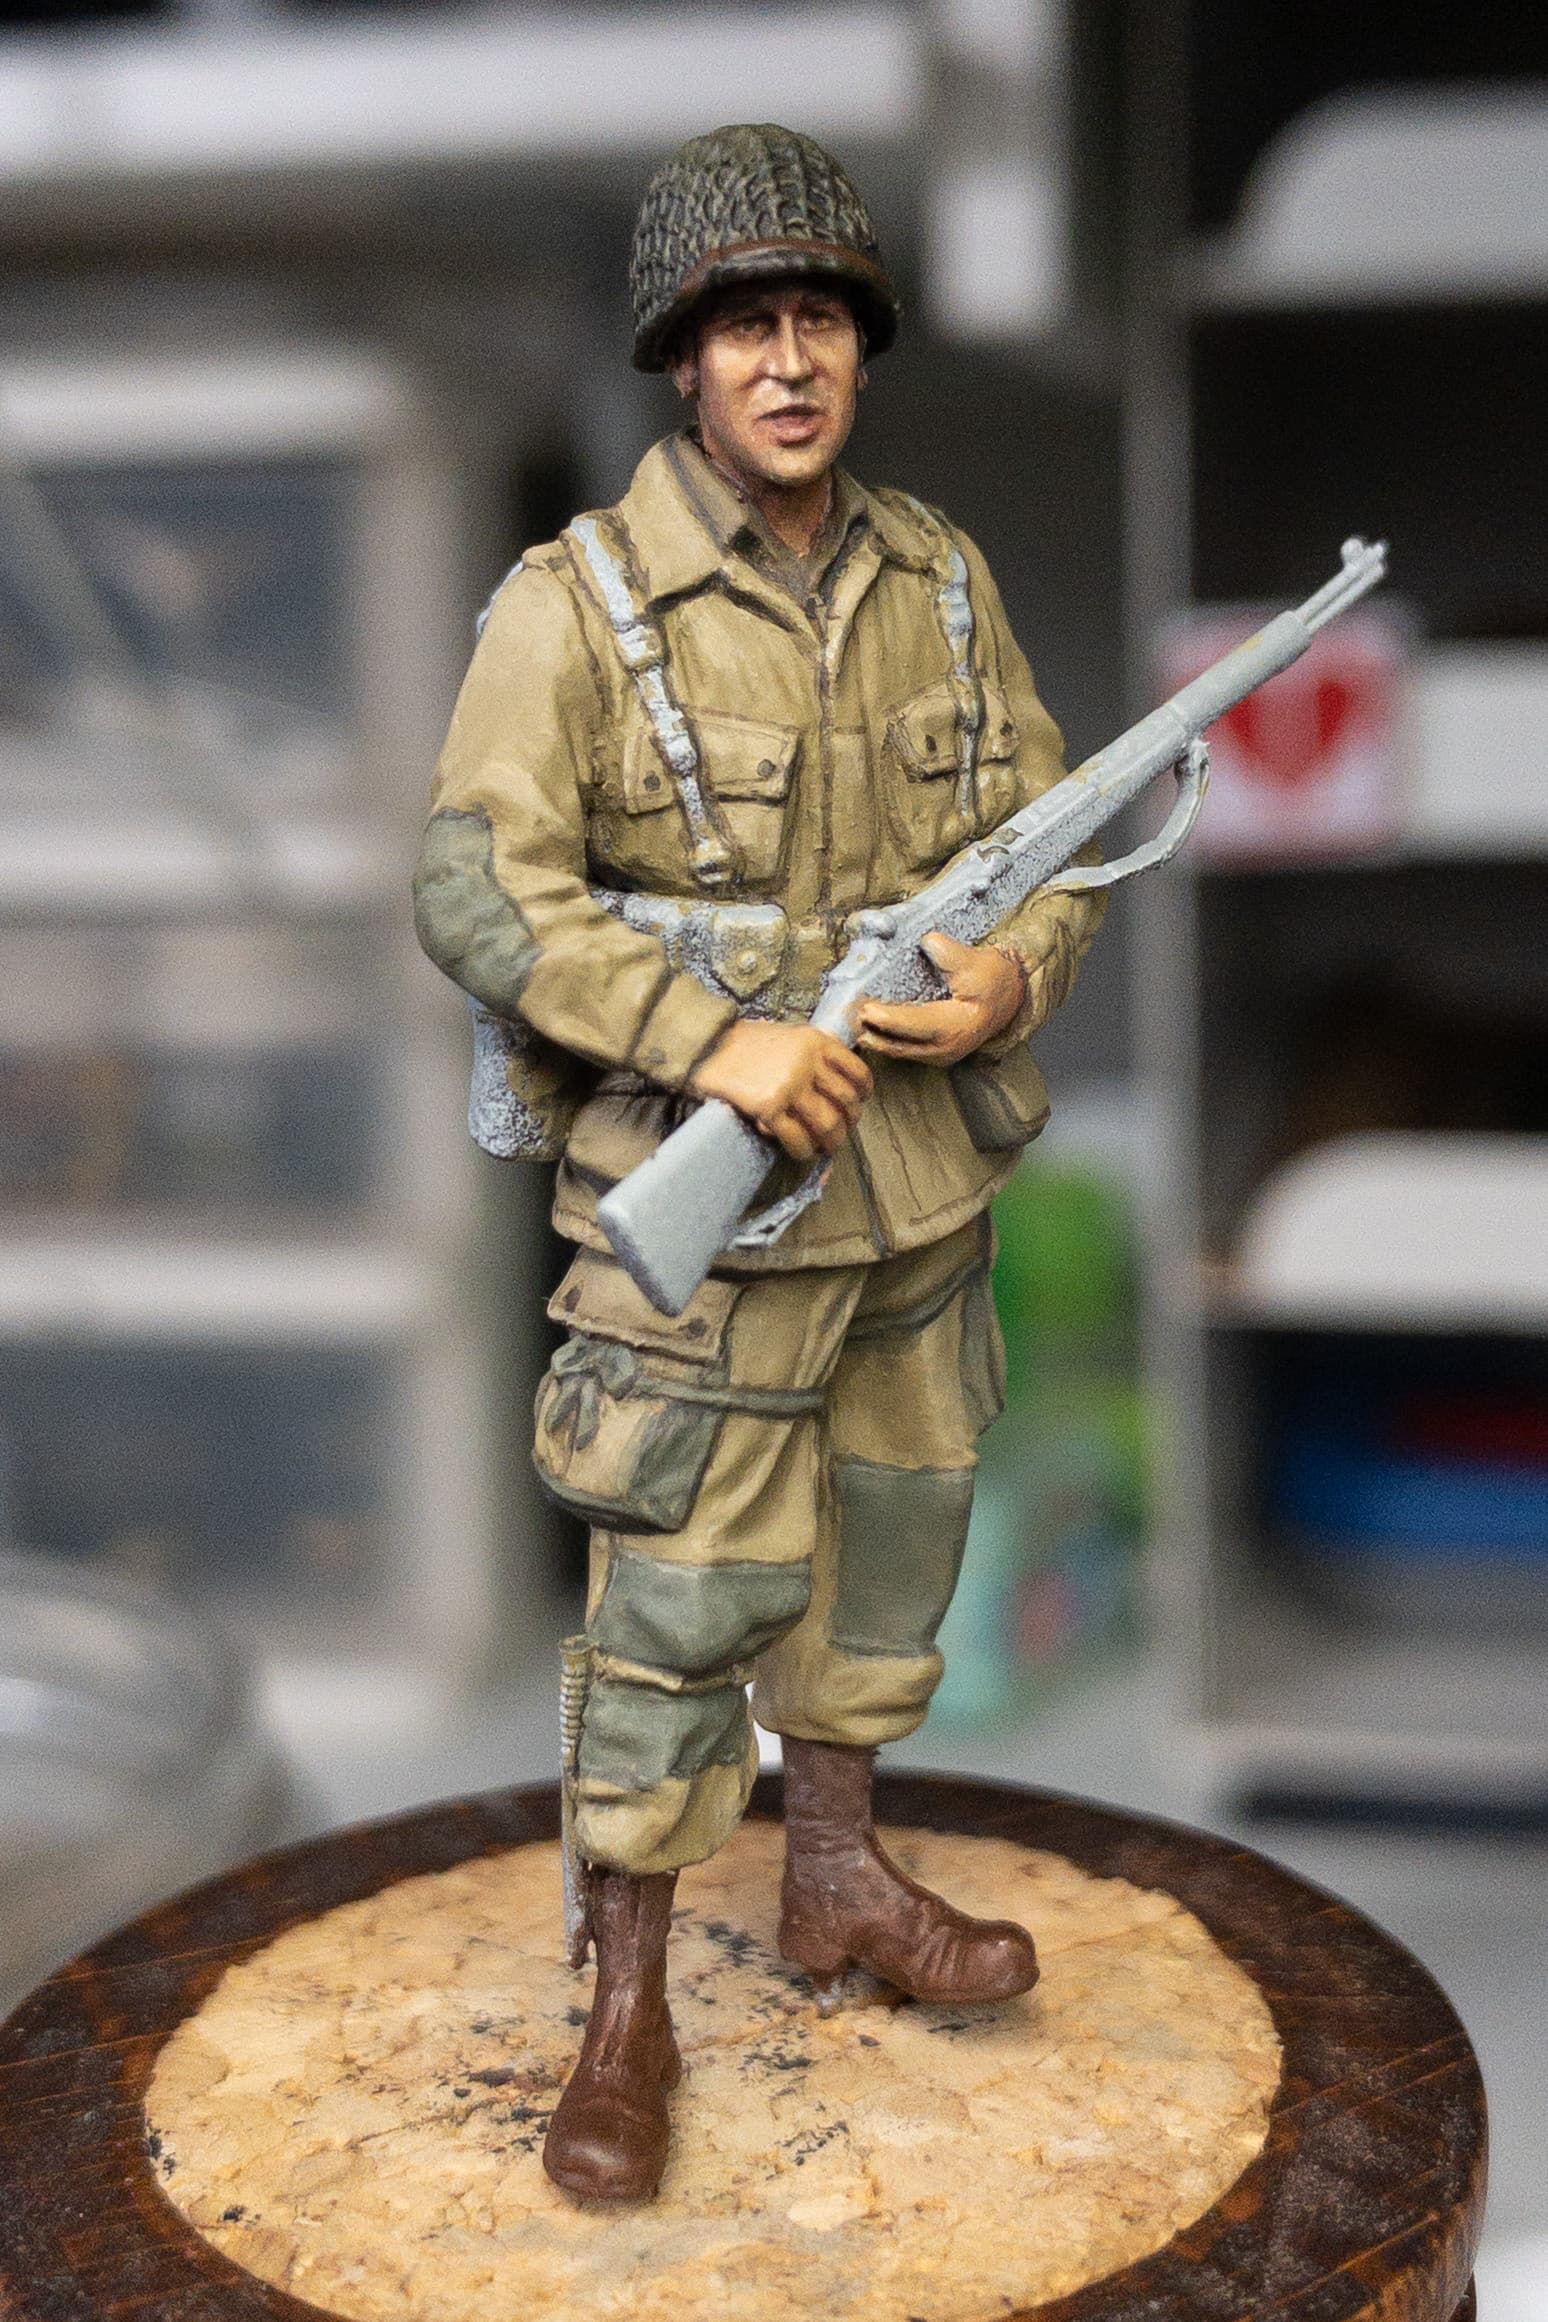
I replaced the head with a Hornet resin head, and tried to sharpen up some details with a knife blade but this was tricky as the plastic is so horrible!
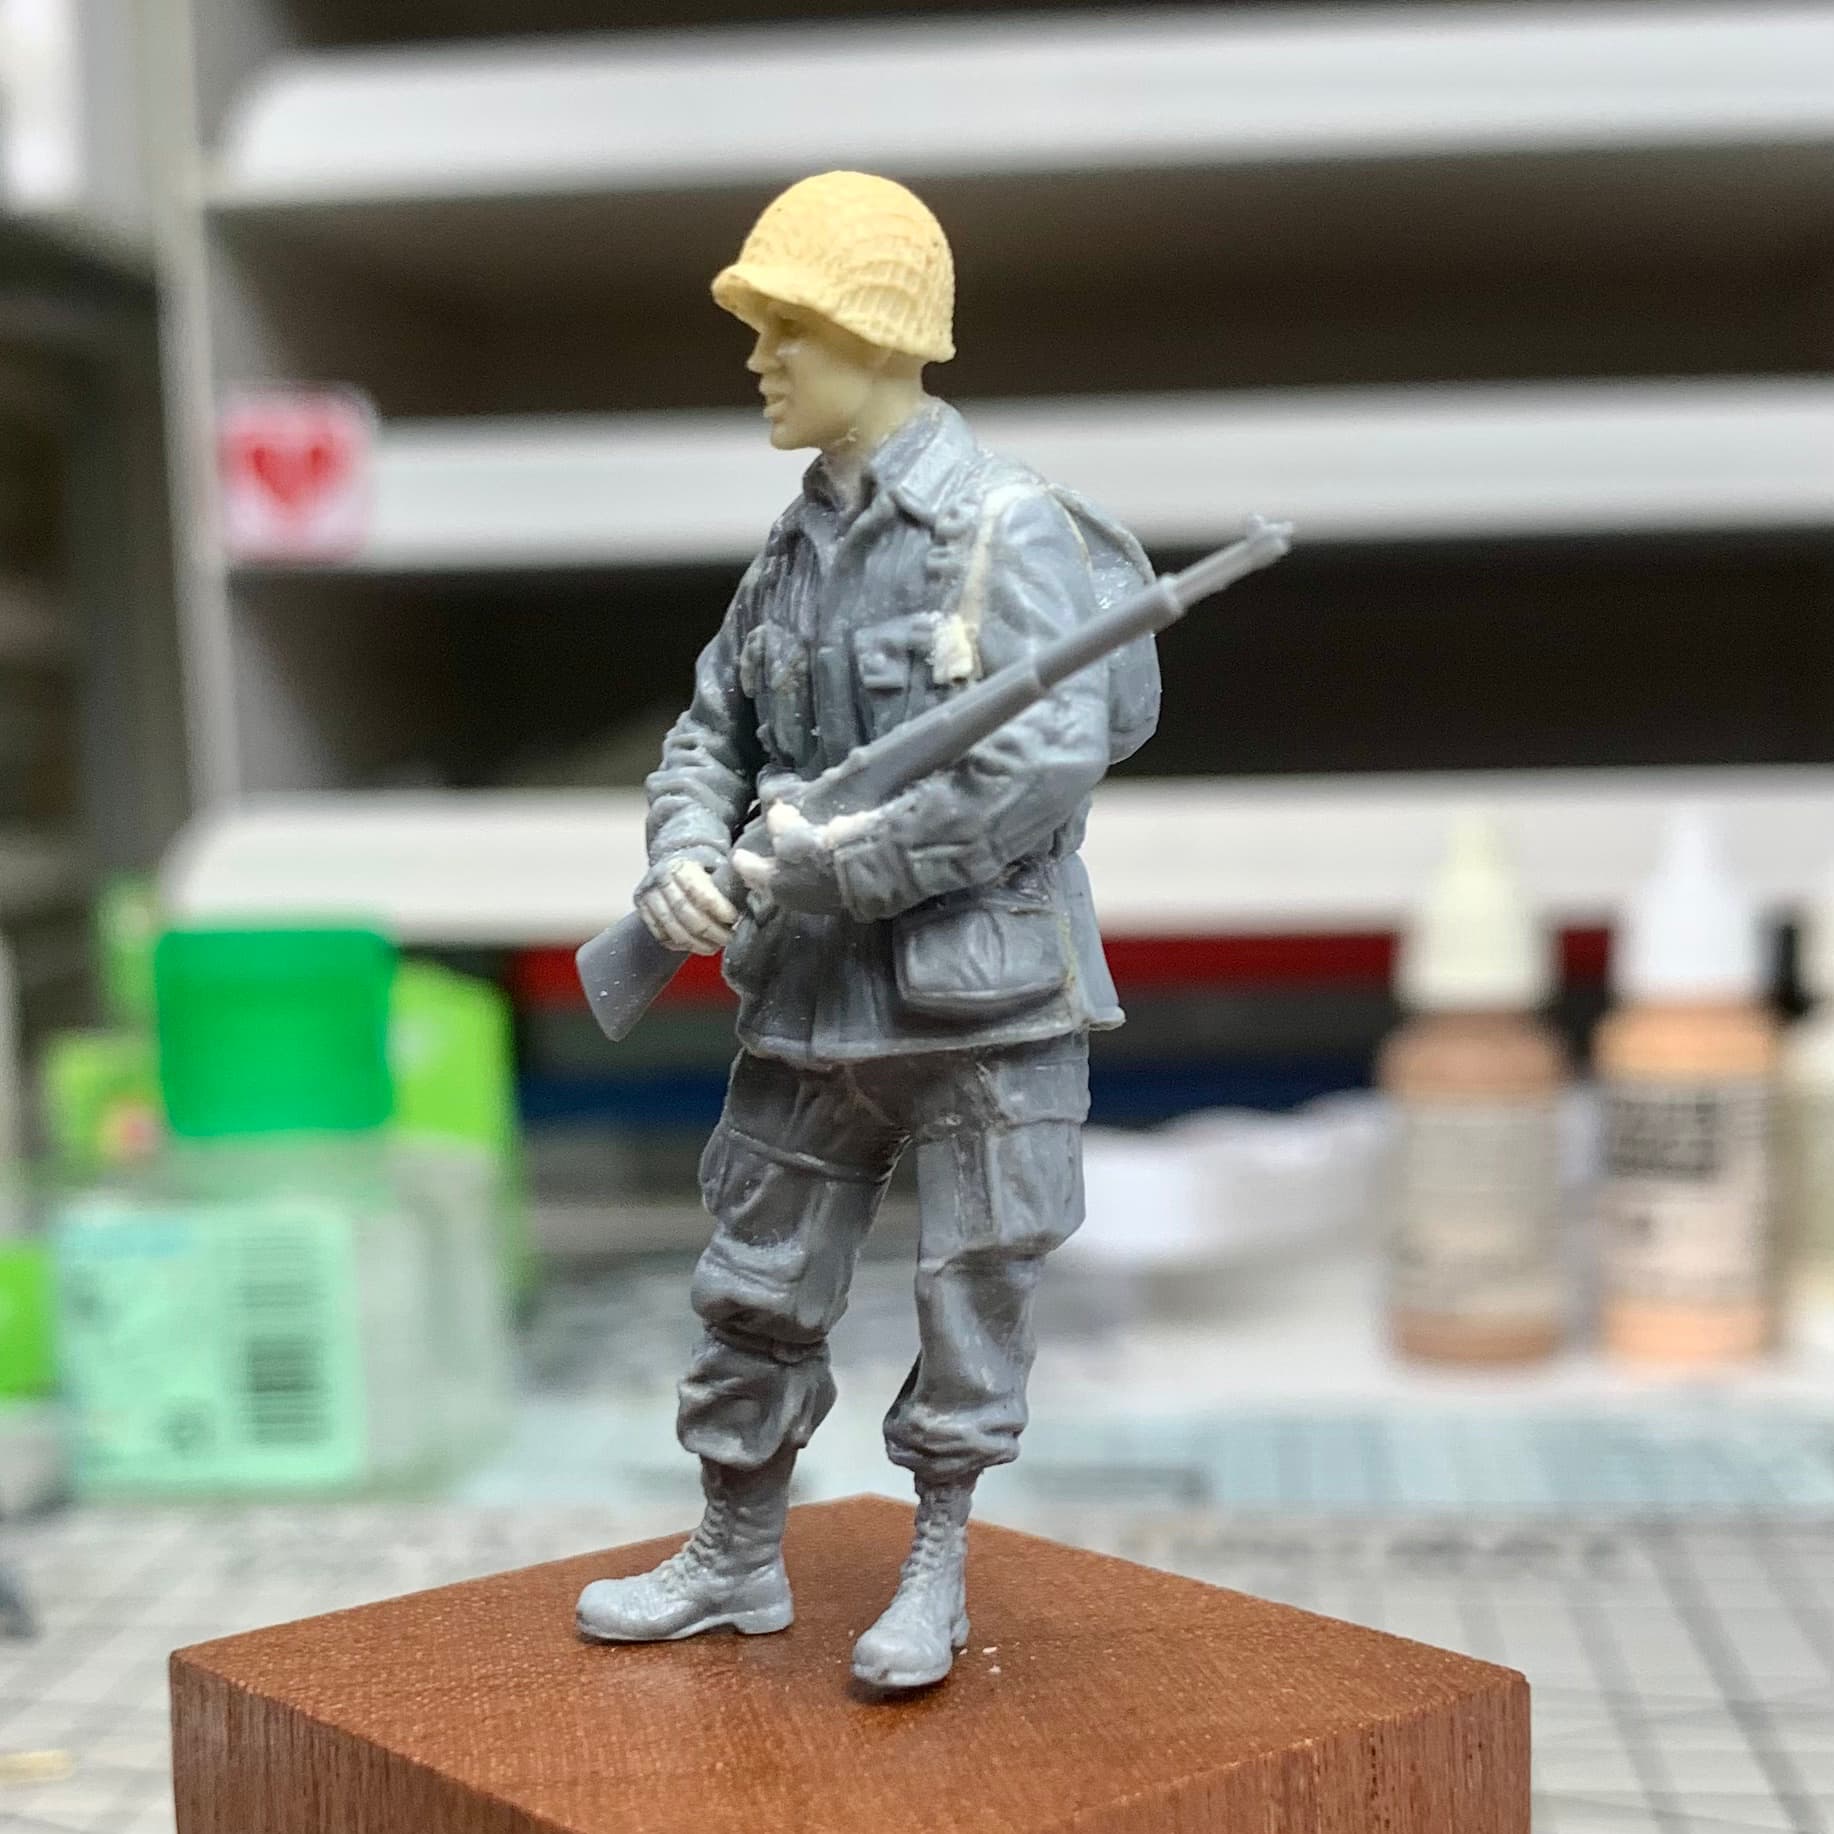
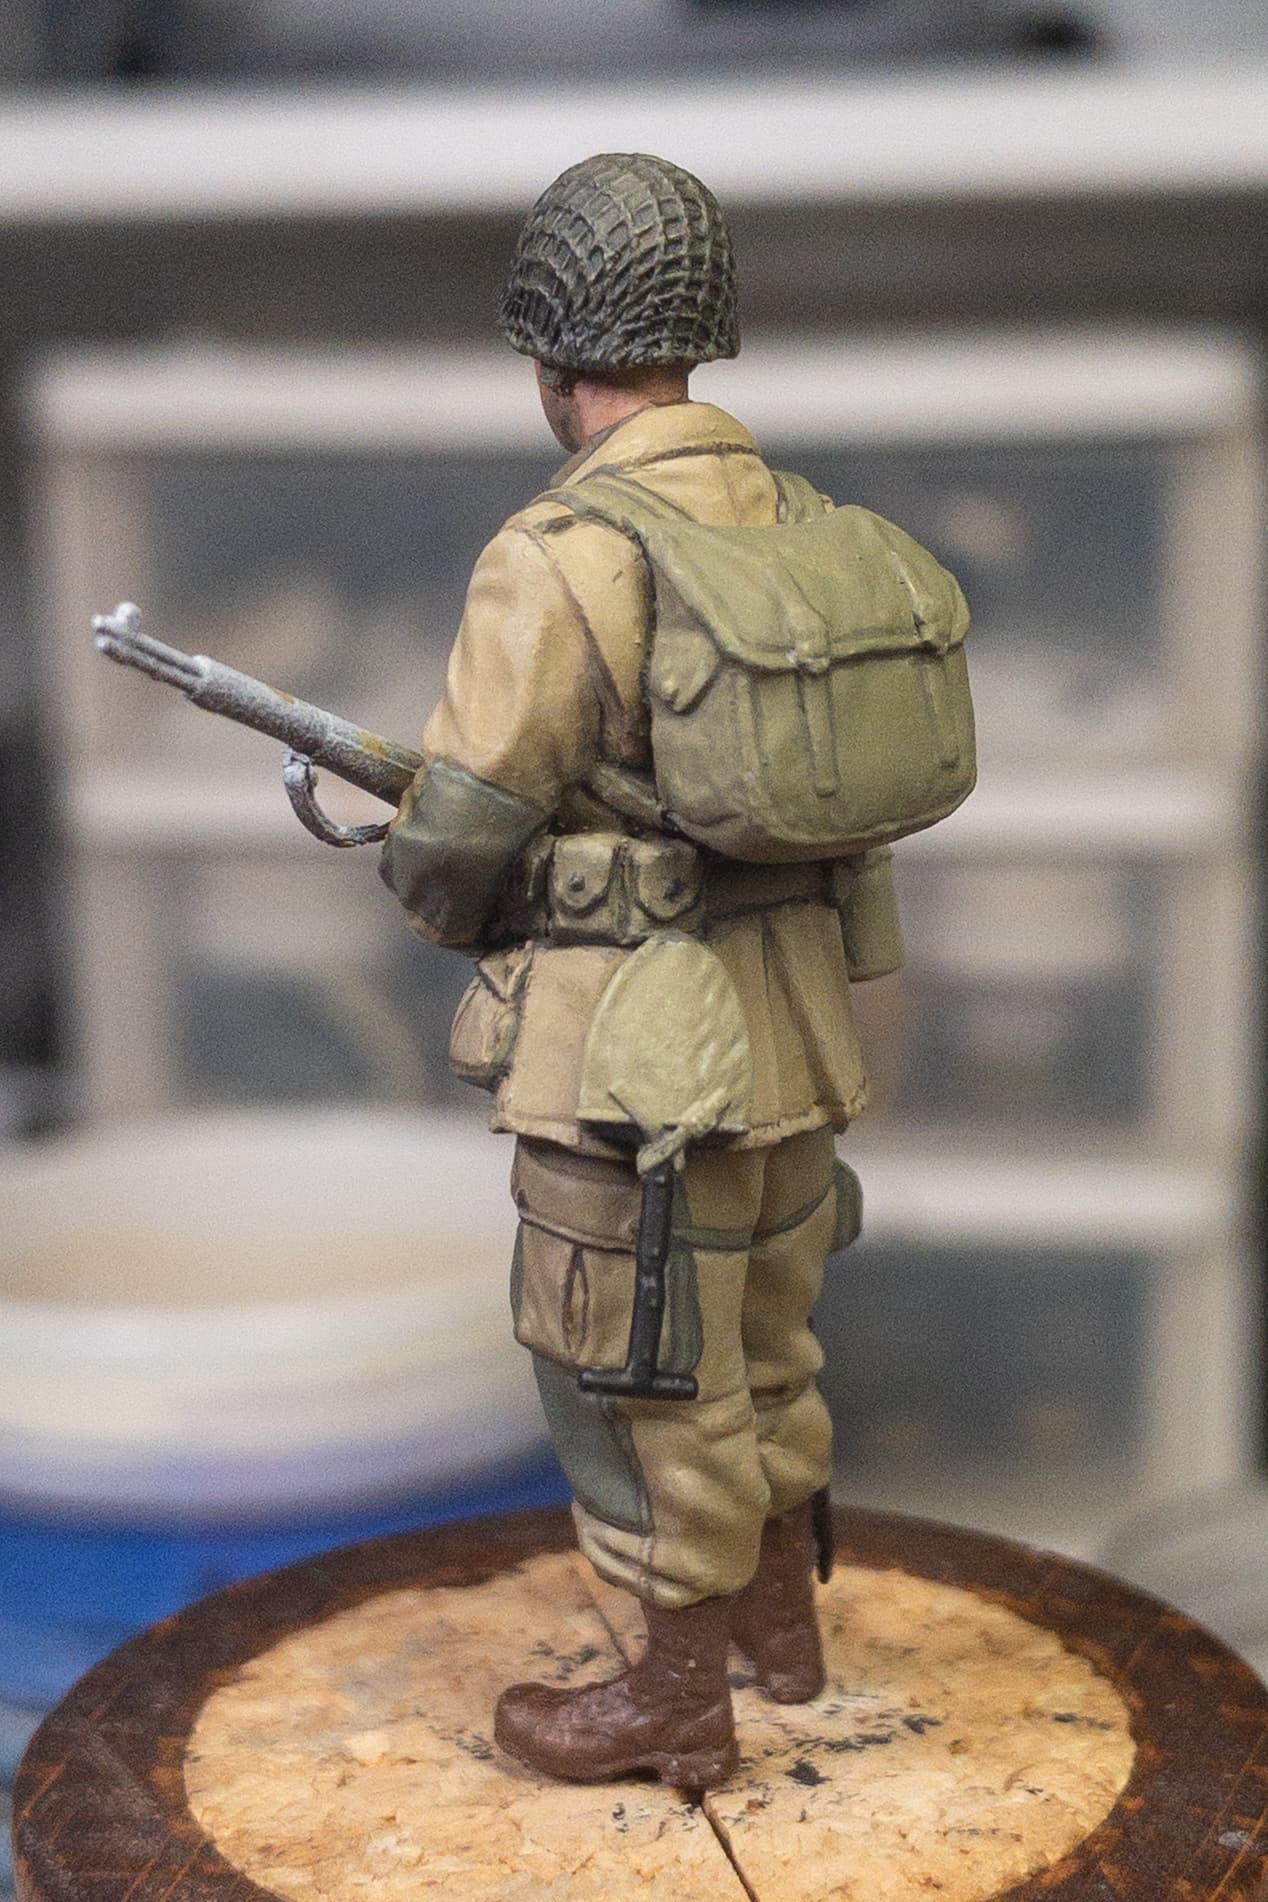
I resculpted the hands as I wasn’t happy with how the looked, and added some pocket detail in epoxy. I also added a rifle sling in milliput as well.
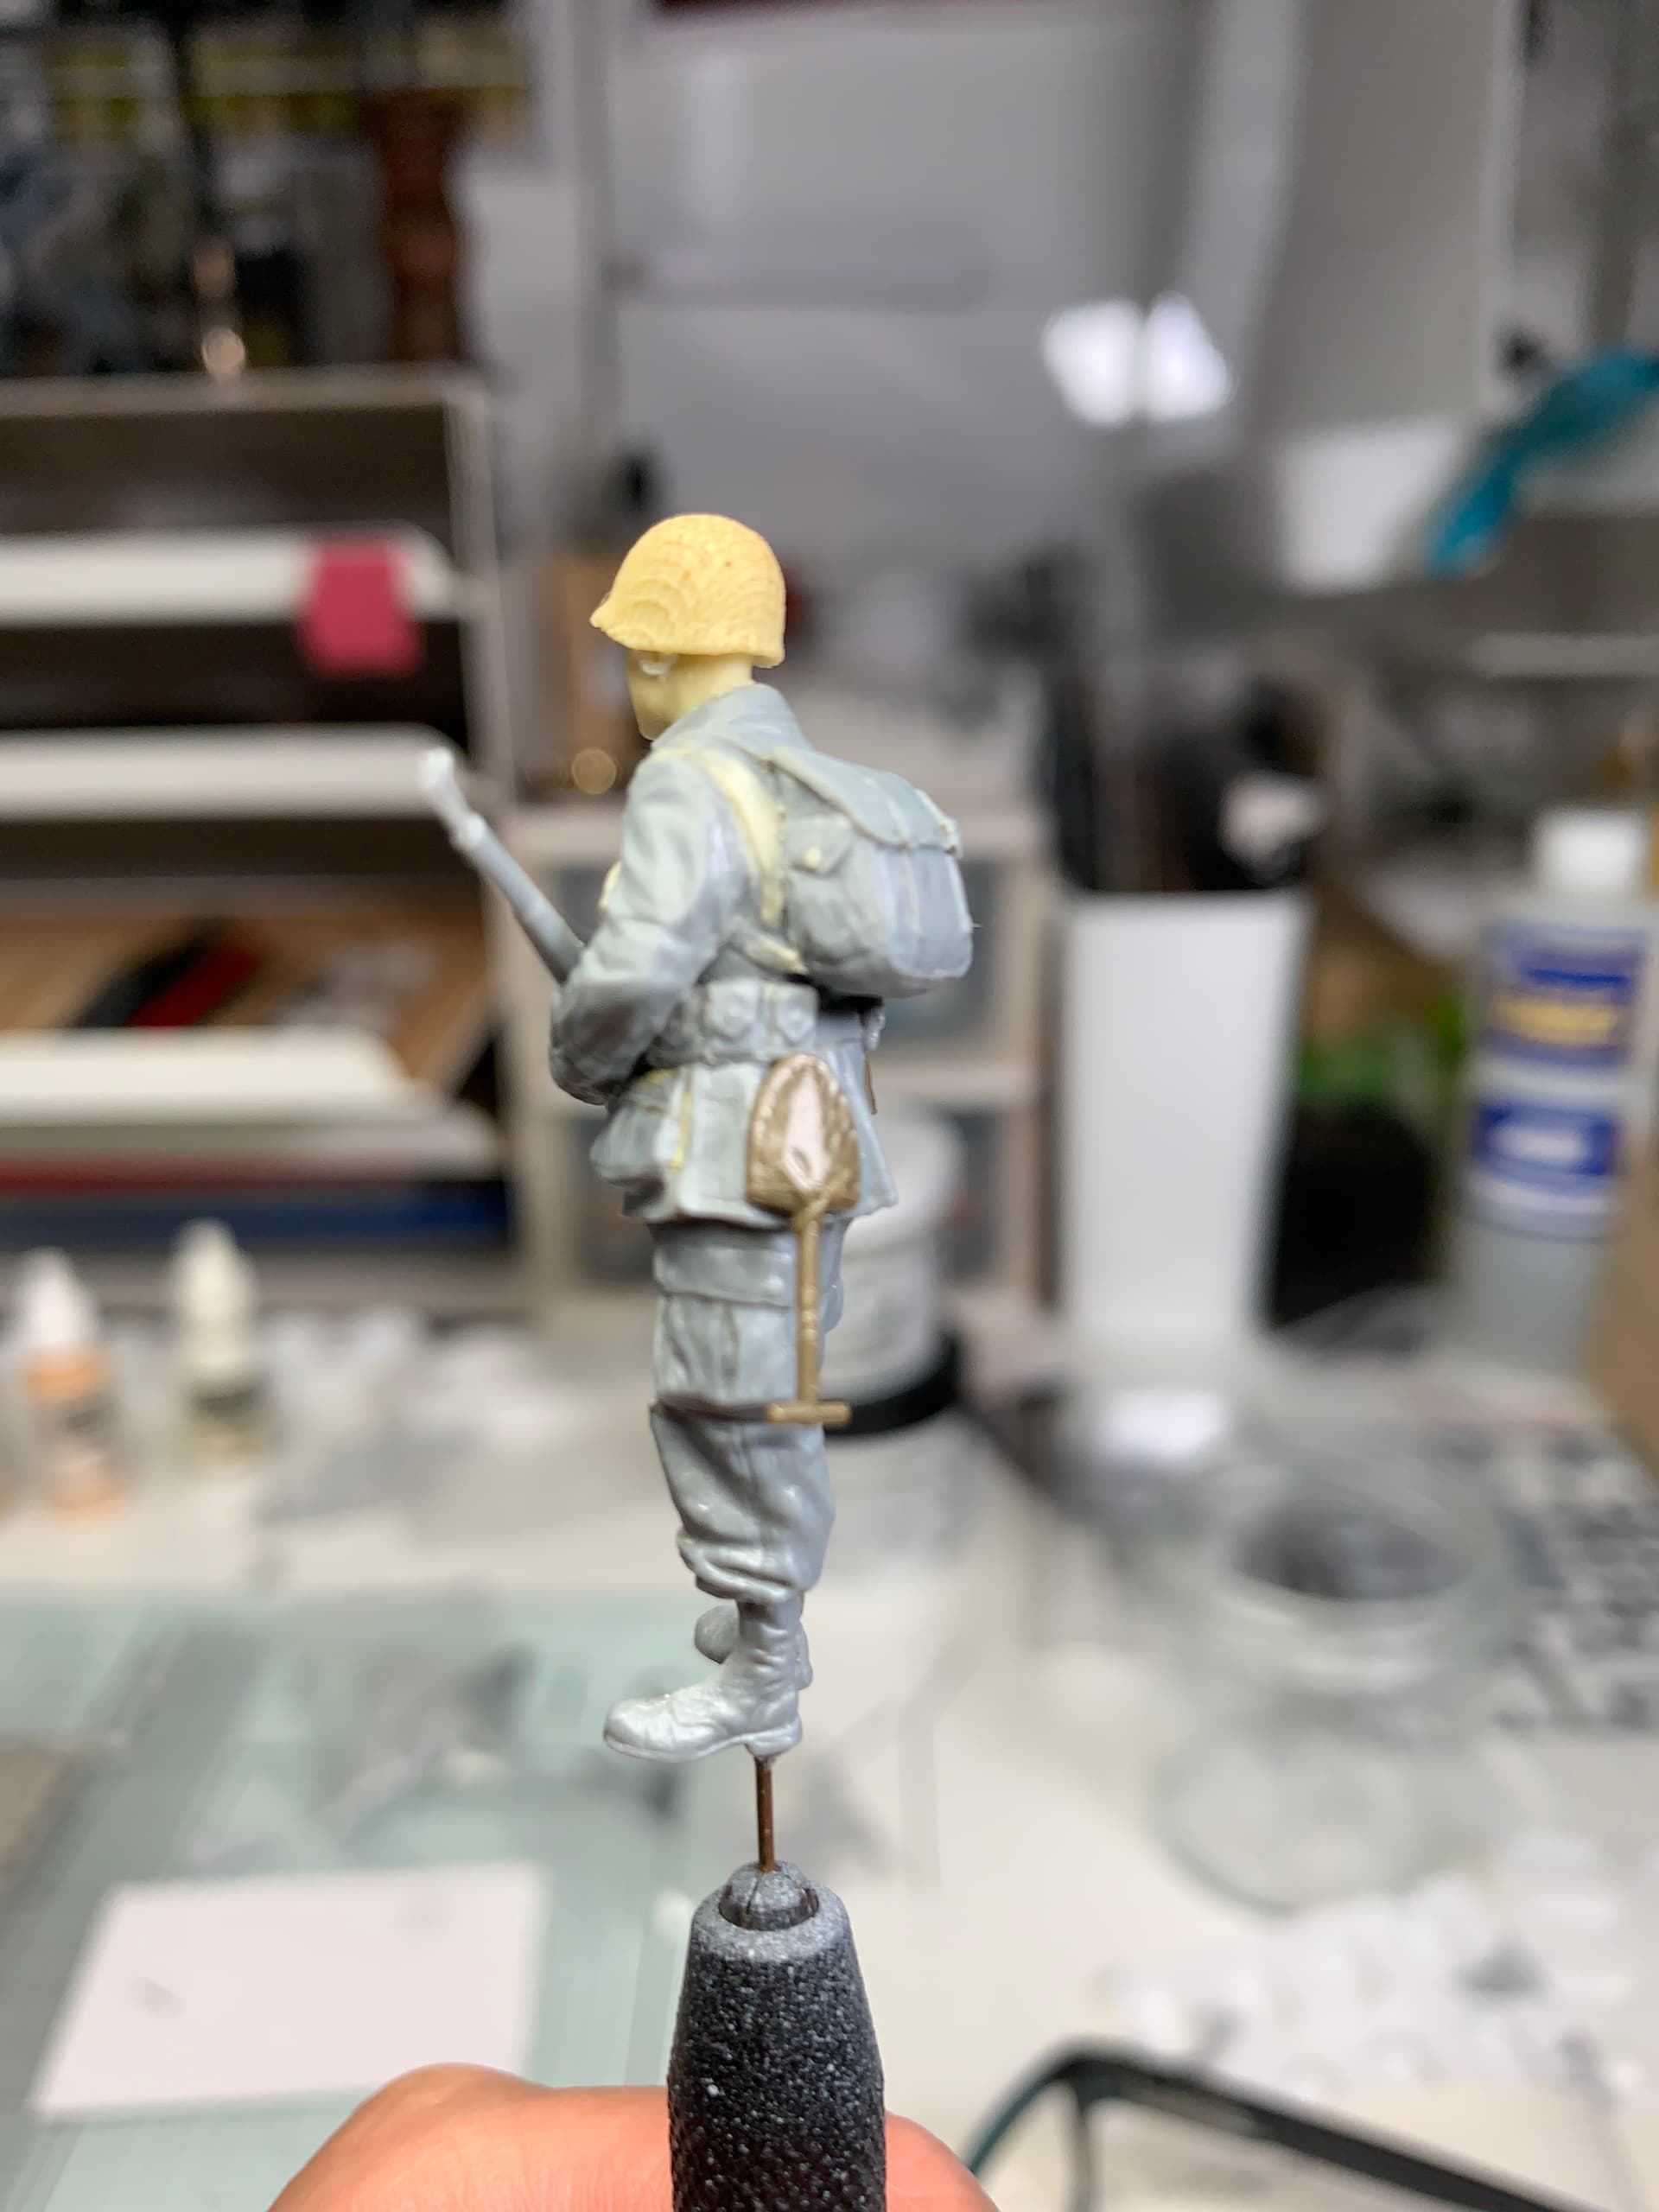
I replace the kit canteen with a Tamiya one, and also made a cut down entrenching tool that some paratroopers used, again from ‘Tamiya
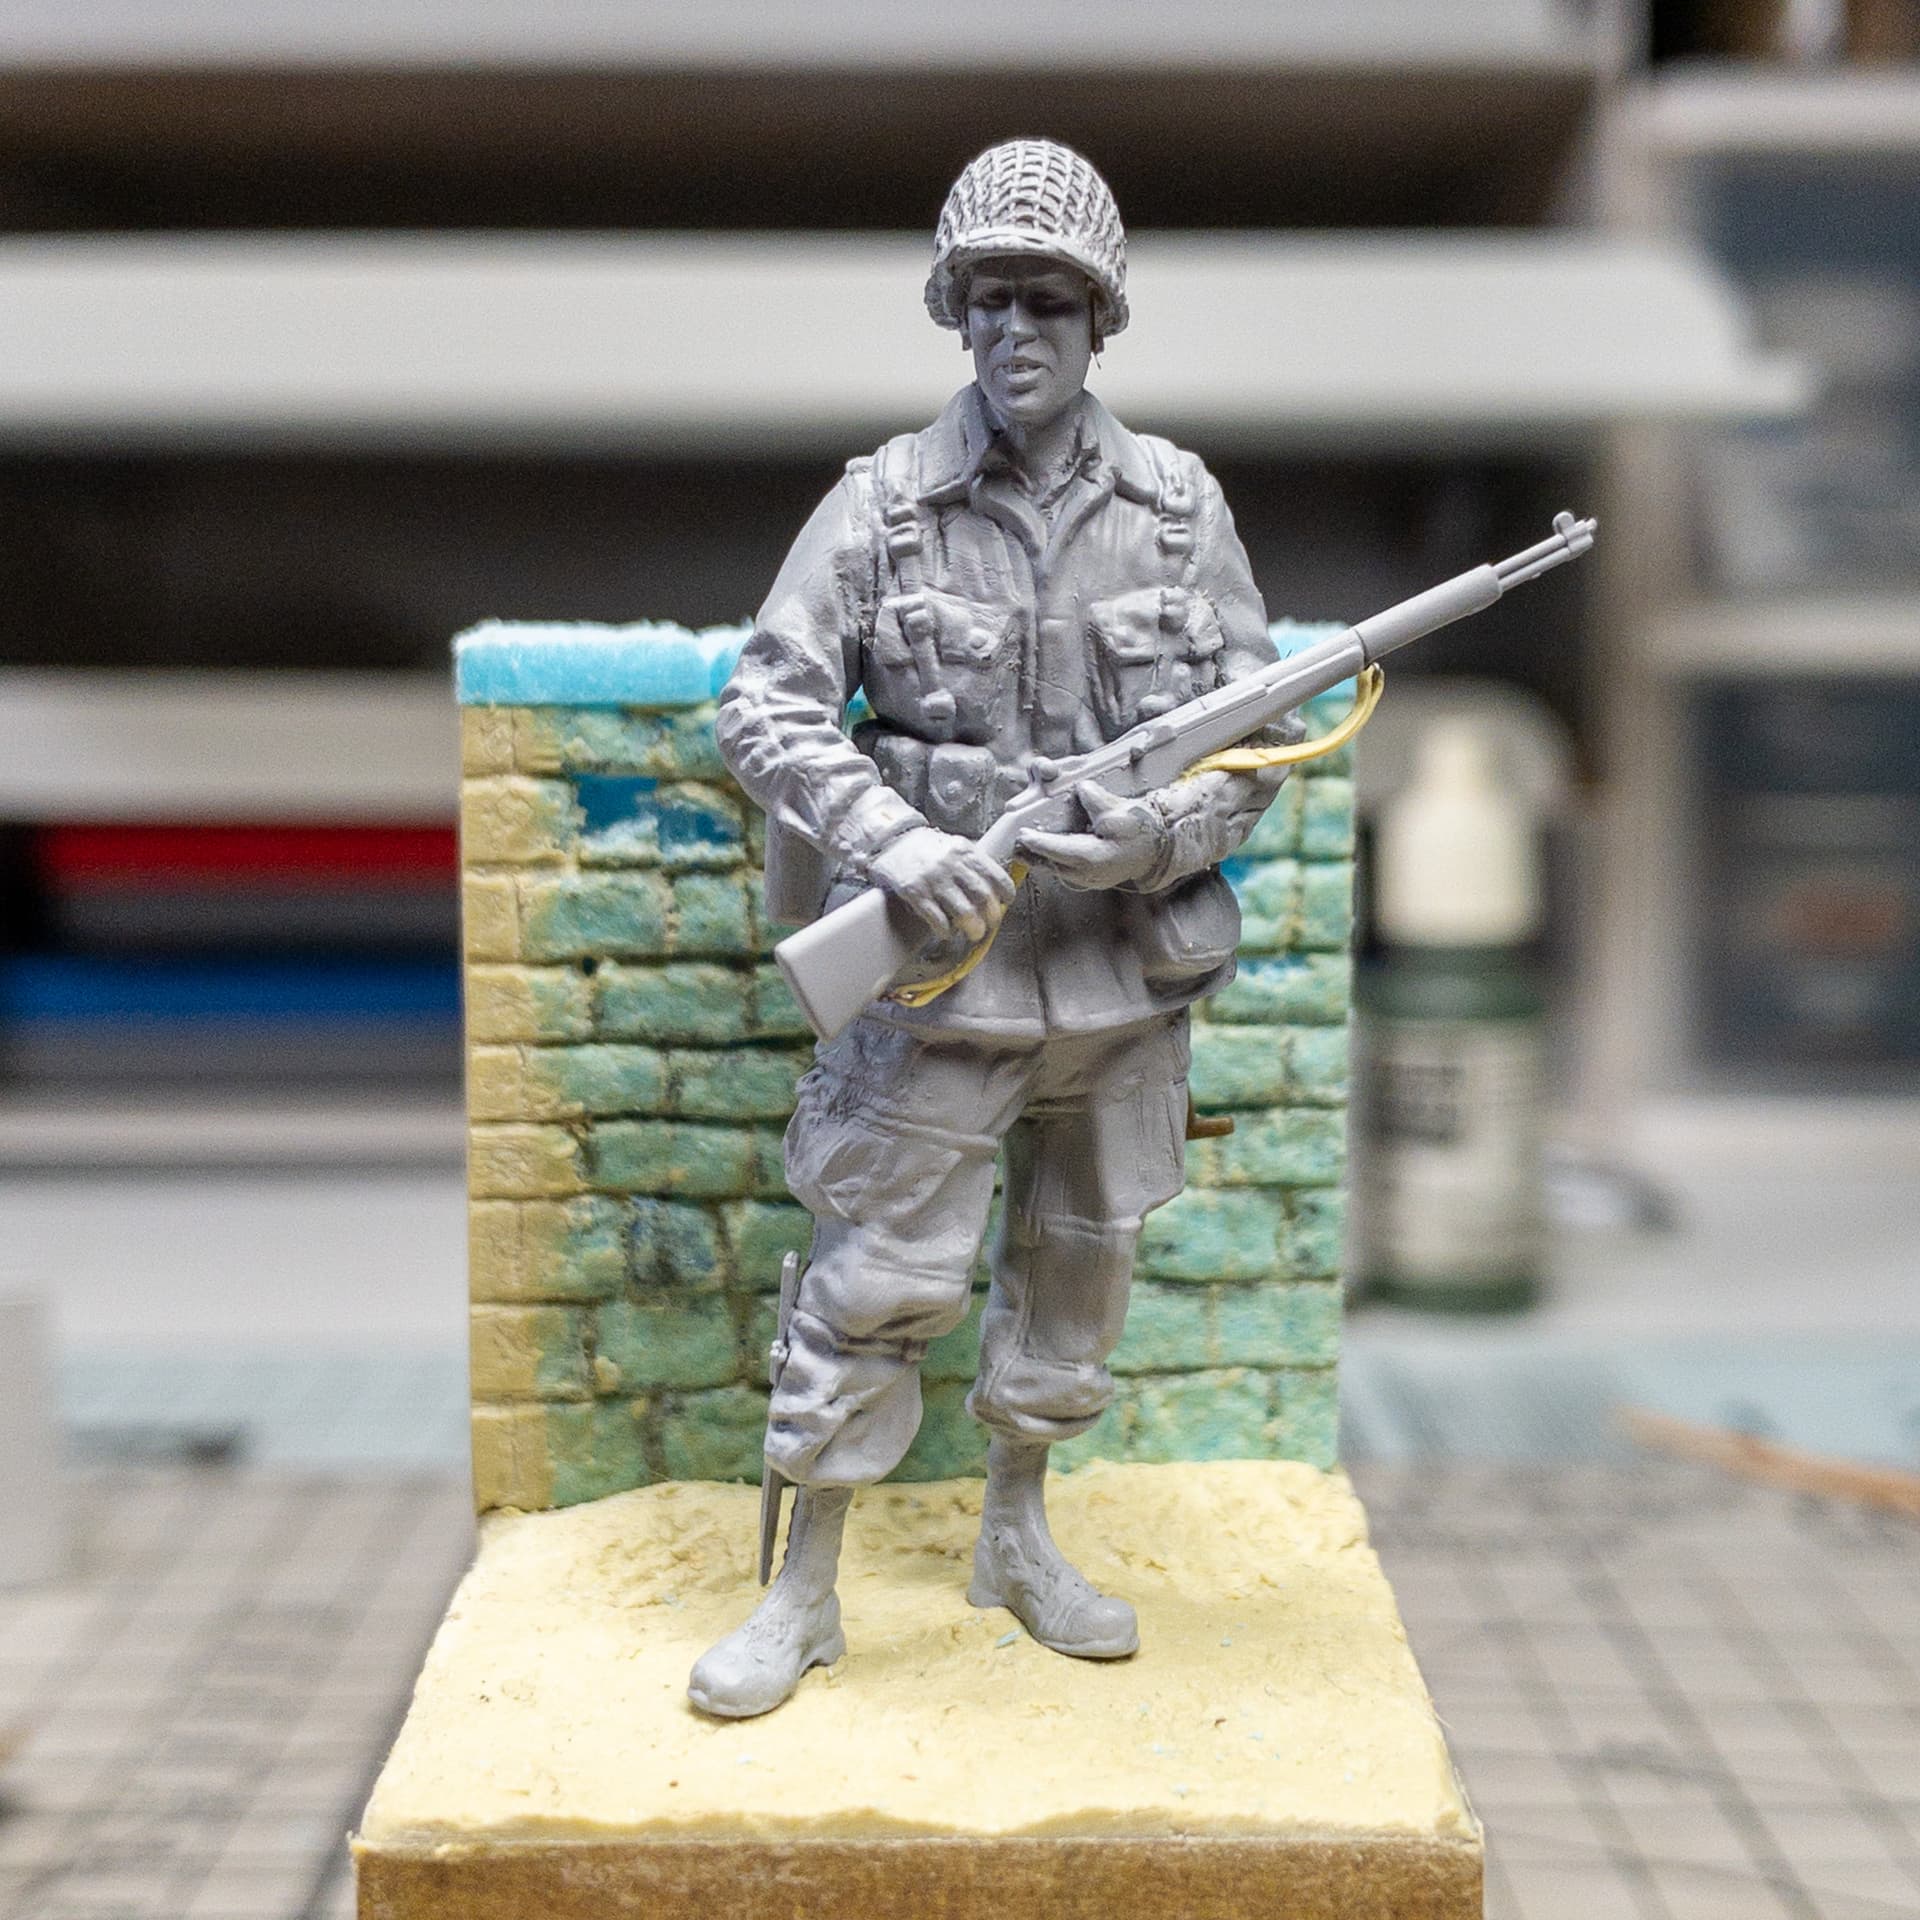
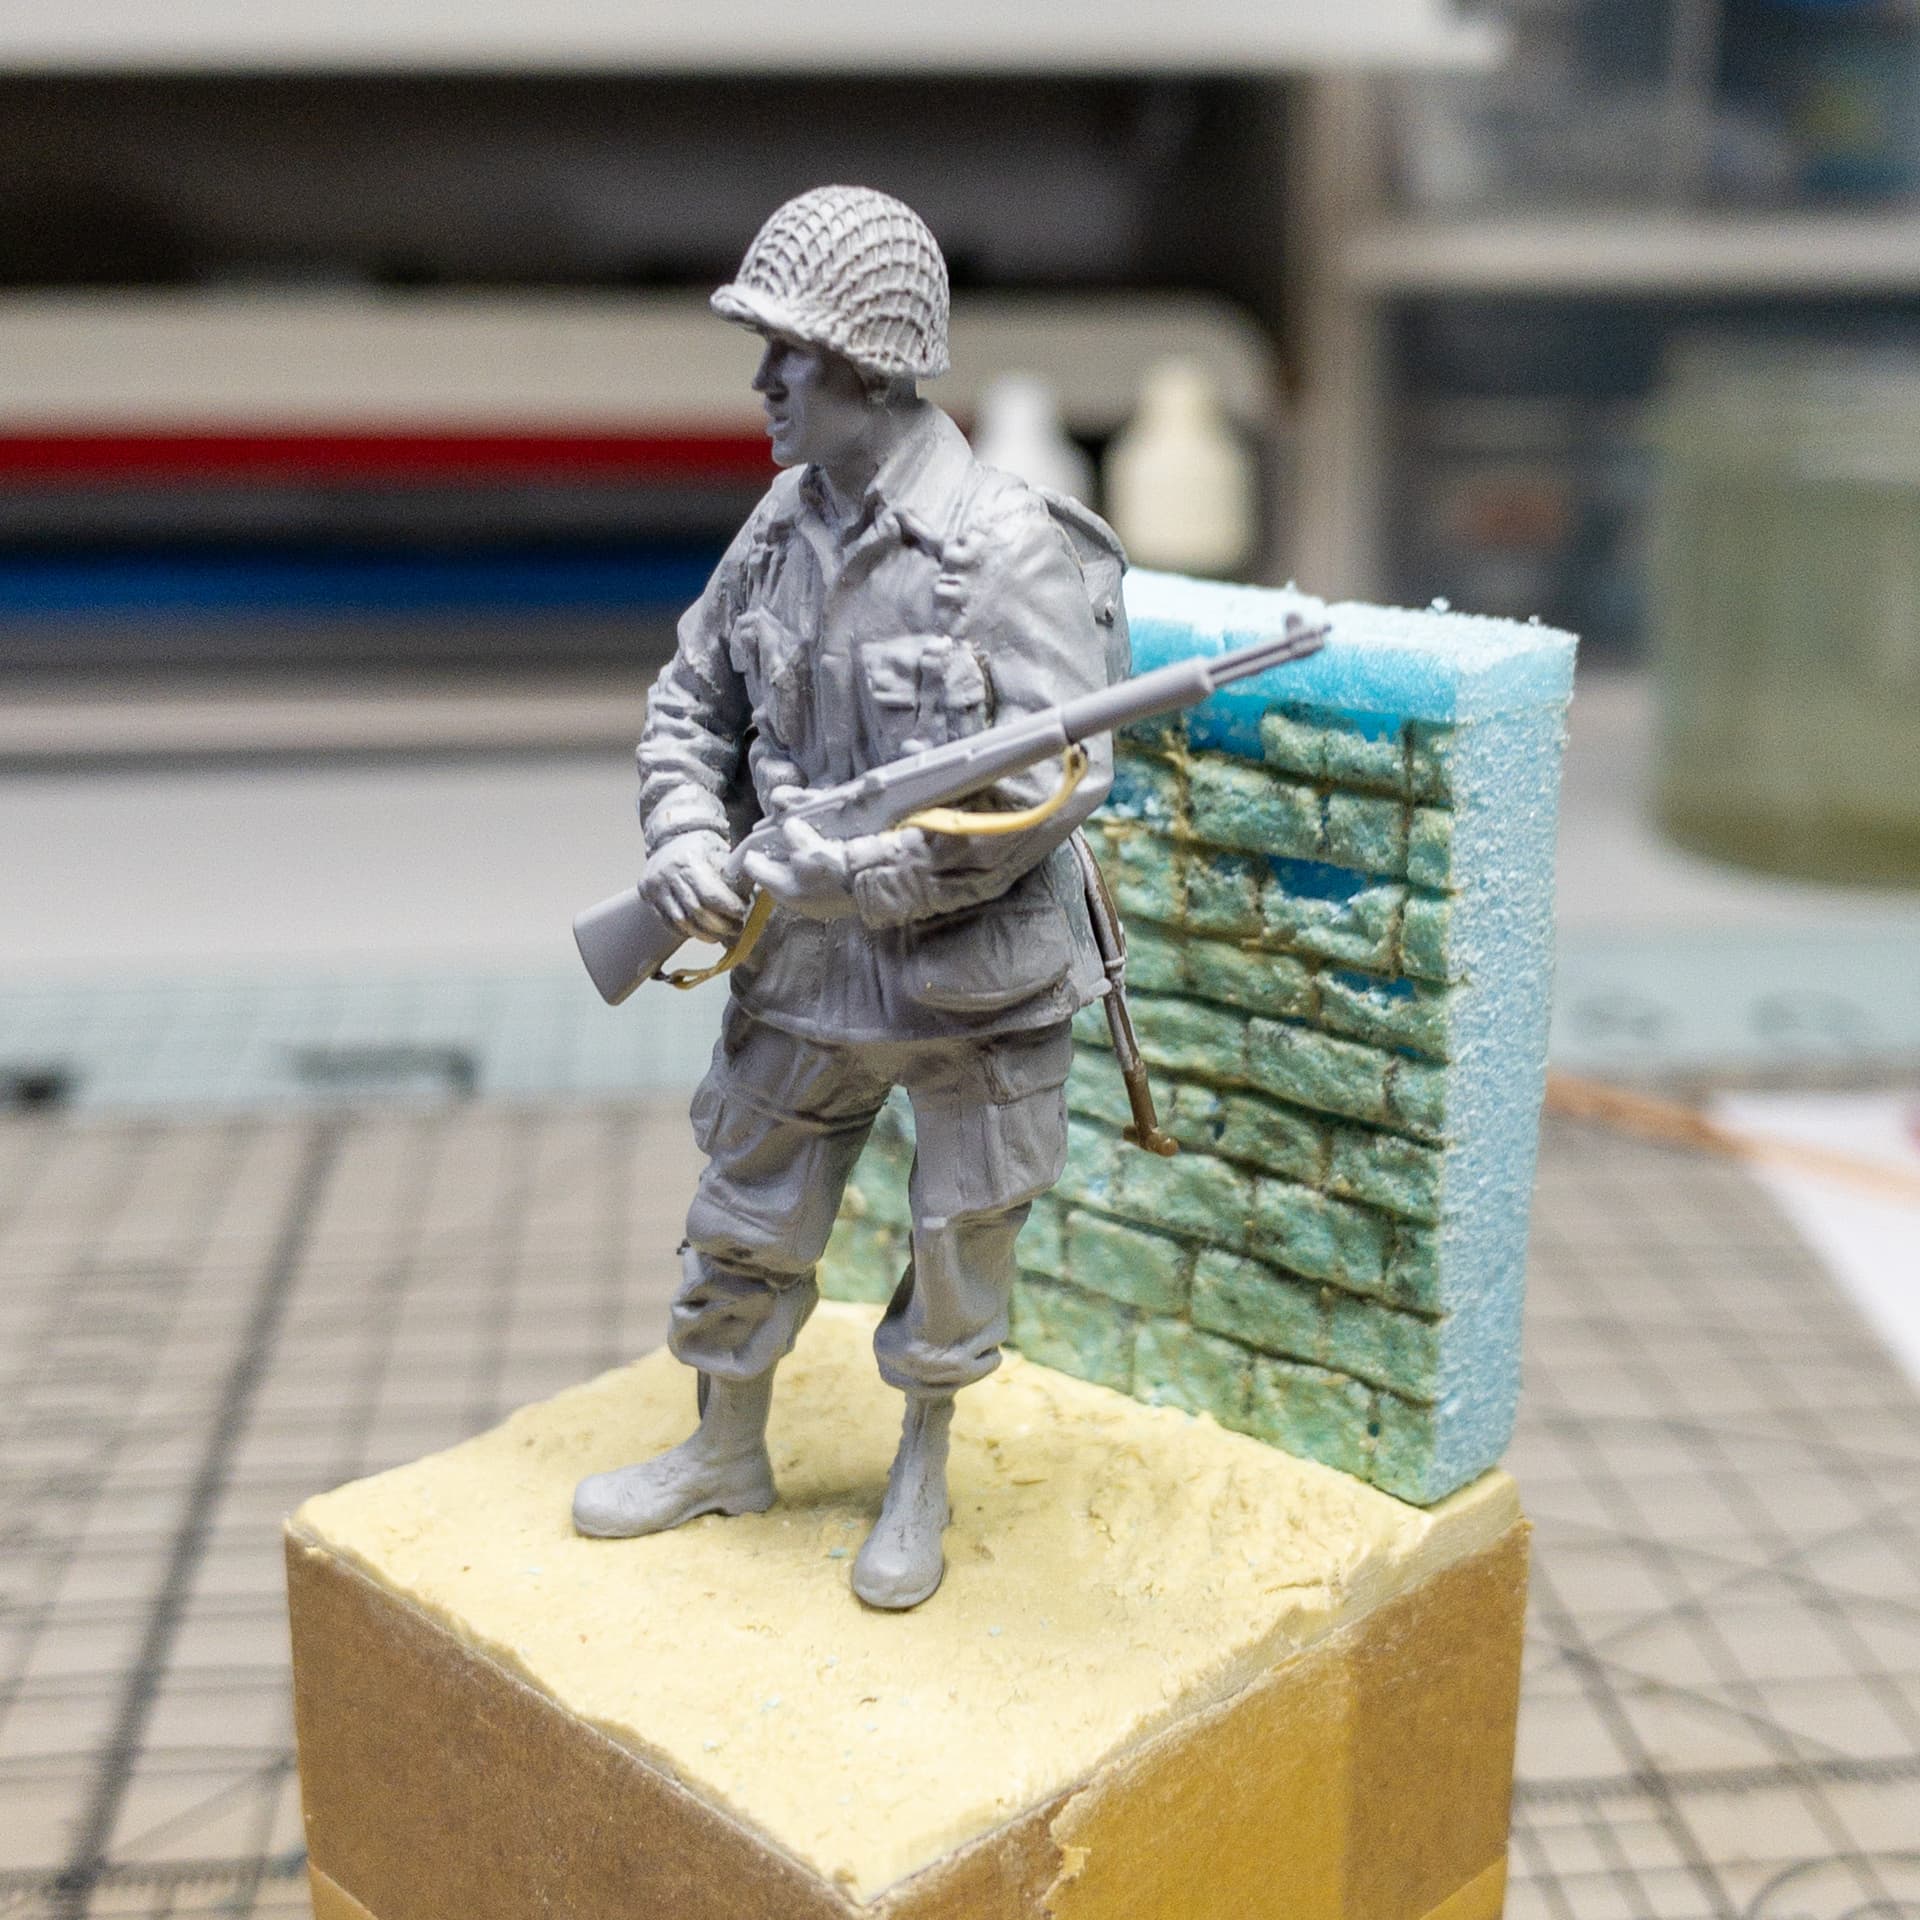
I am going to place him by a wall, initially one by the Church in St Mere English, but I also found some footage of the 82nd in a nearby village. But the stone will be the same.
I used a blue styrofoam to make the wall, coated with a milliput slurry.
A good base coat, then thin layers building up shadows and highlights.
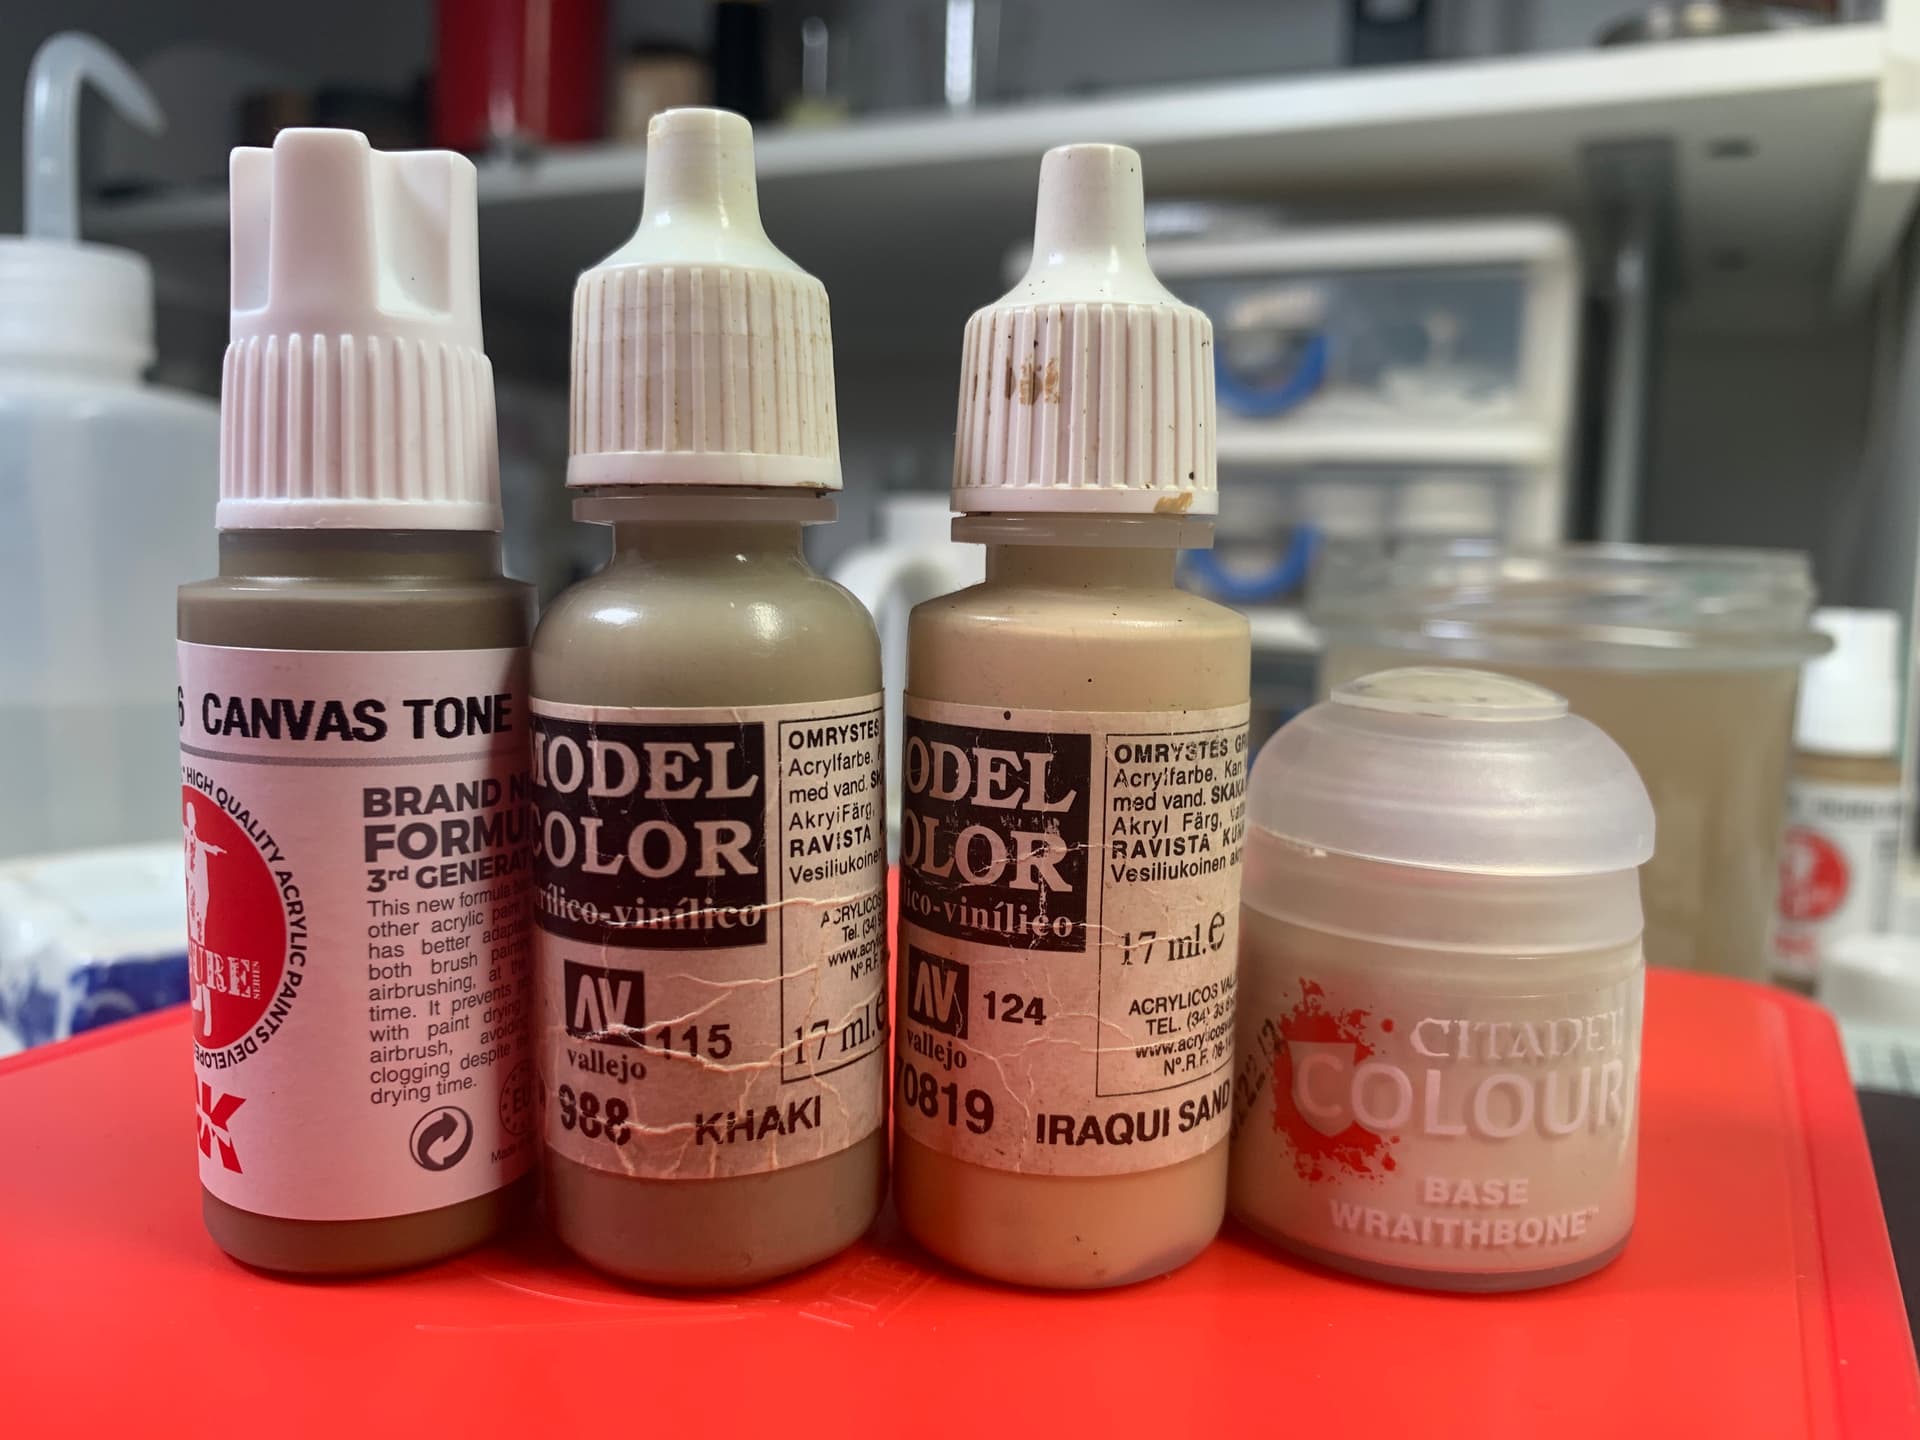
The colours I use are the same as Jaume Ortiz uses….he has videos on YouTube under Vallejo. Sure you’ll know his work.
I don’t work exactly as he does, but he colours are the same
Excellent job on tweaking that figure. I do have many sets of plastic figures, mostly Dragon but some I find rather soft. I have been painting mostly resin figures as of late and have gotten very spoiled by their quality. Excellent job on the face ! Can’t wait to see it fully painted .
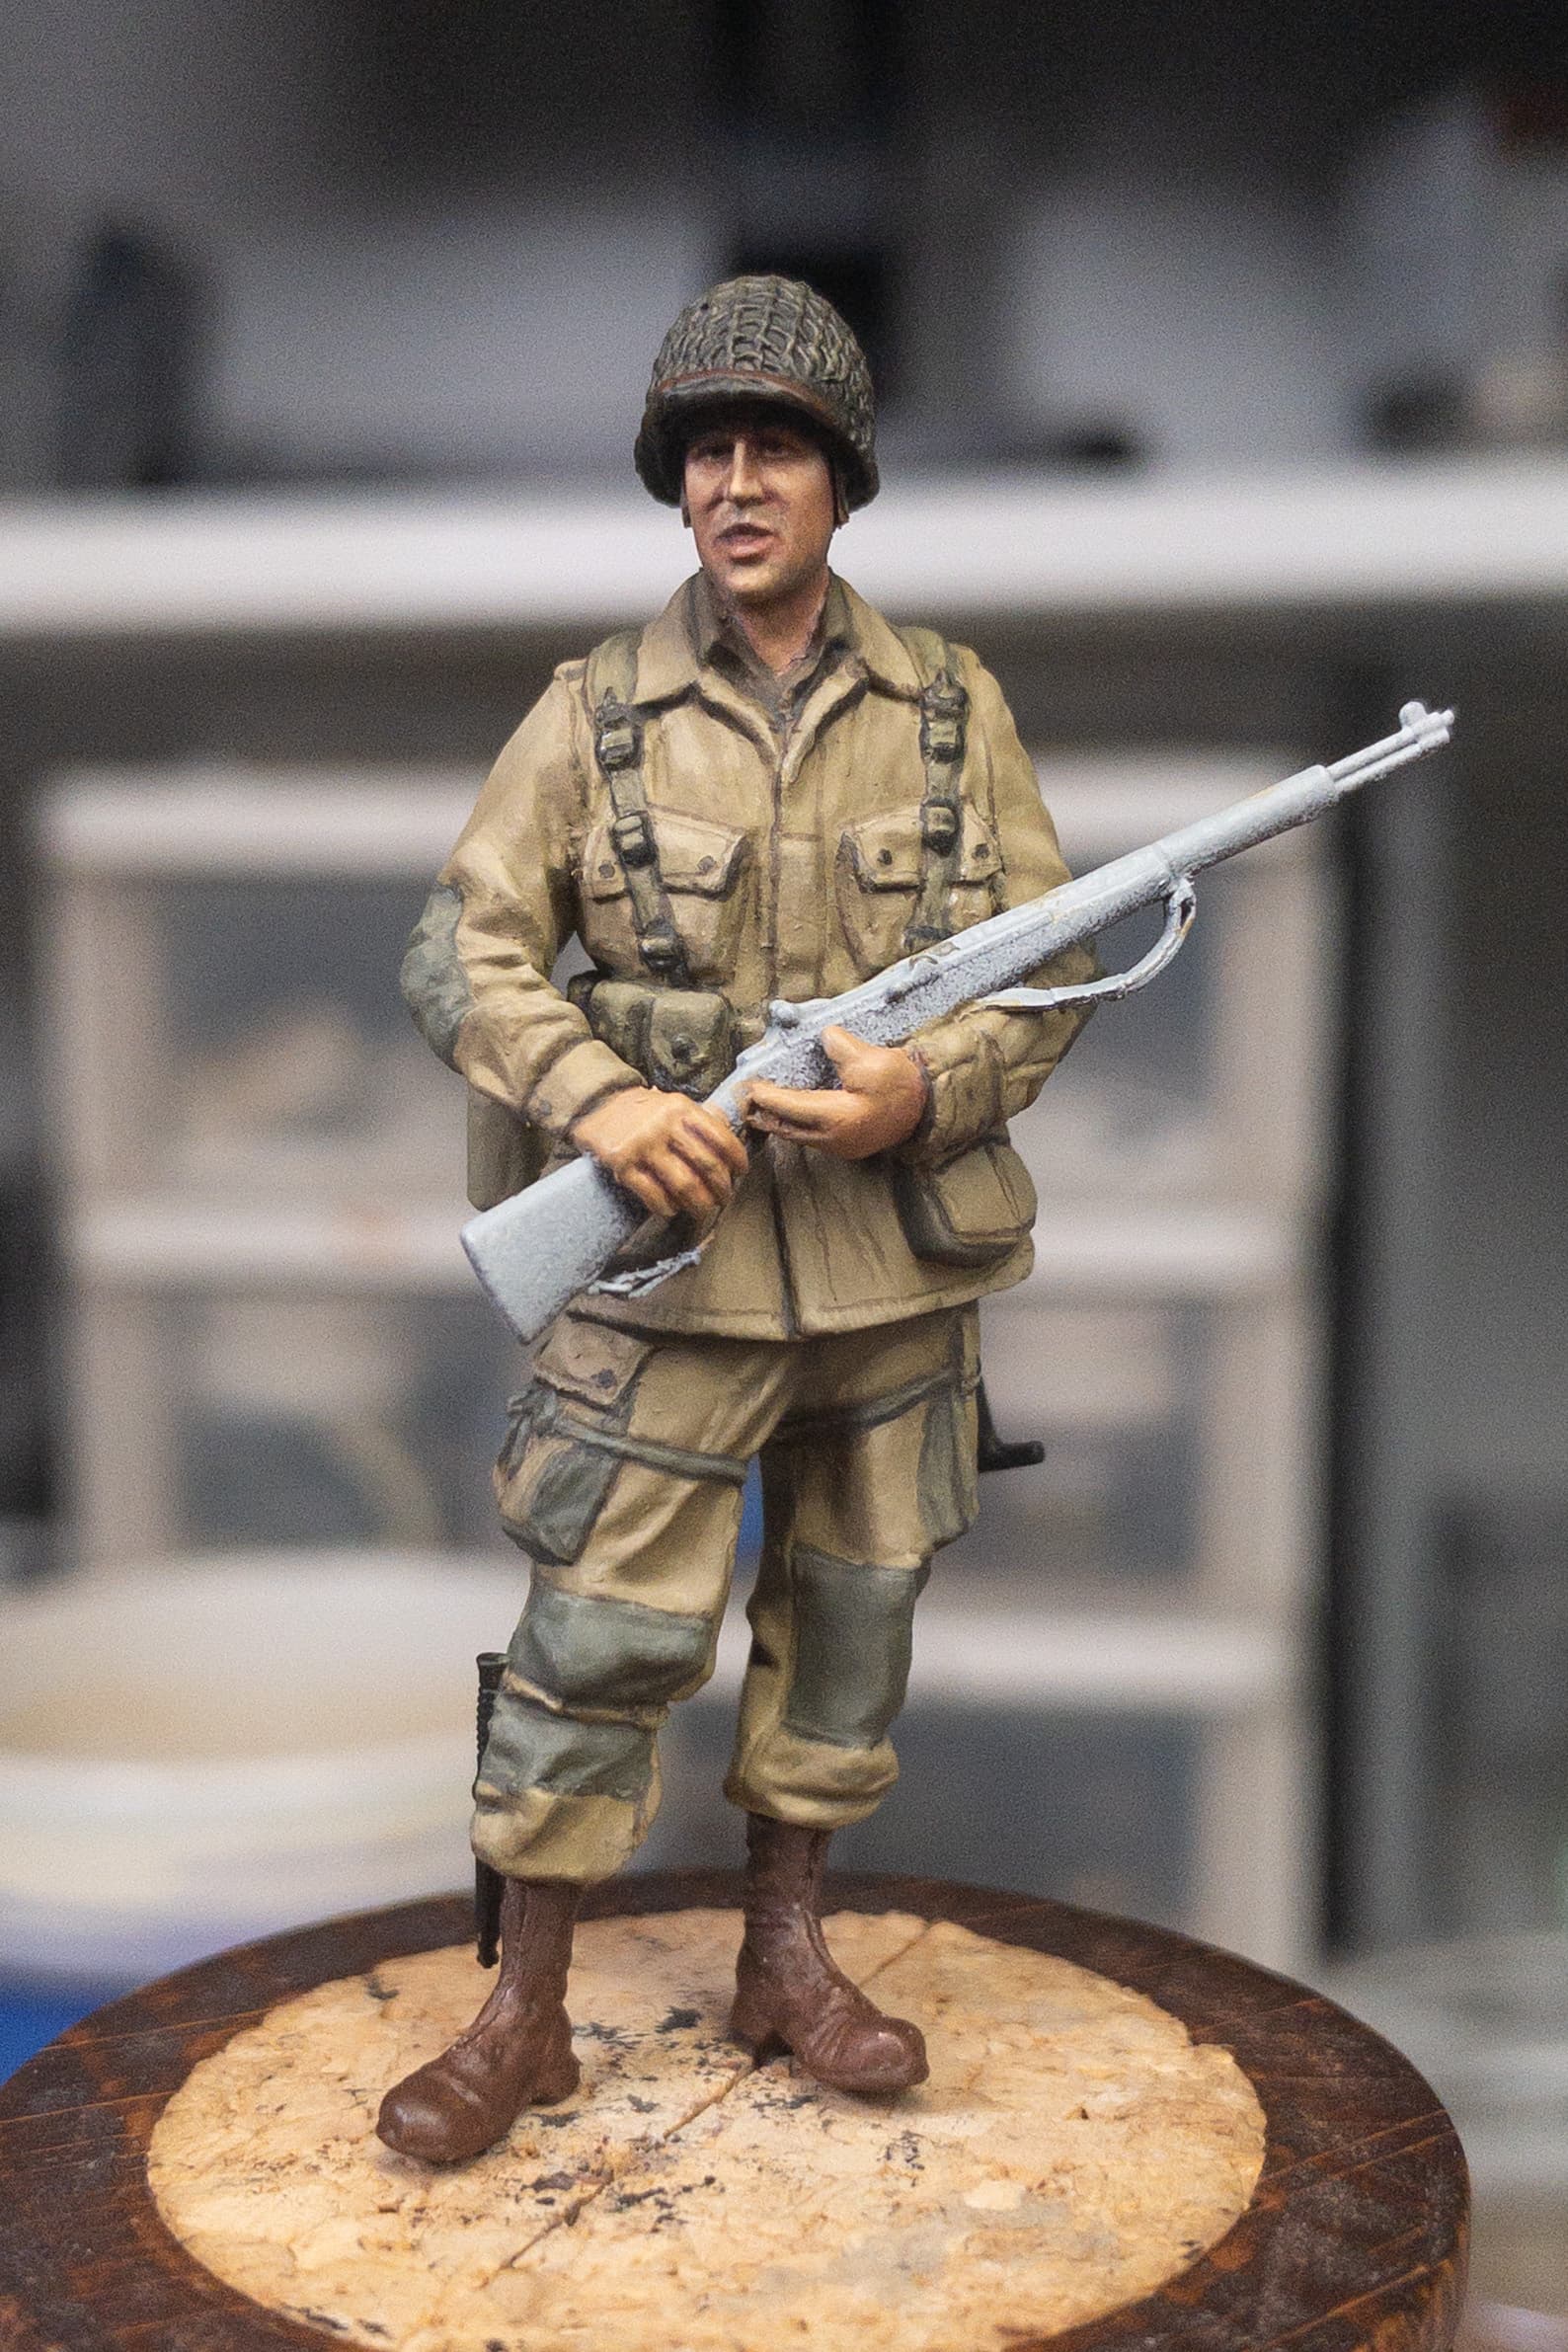
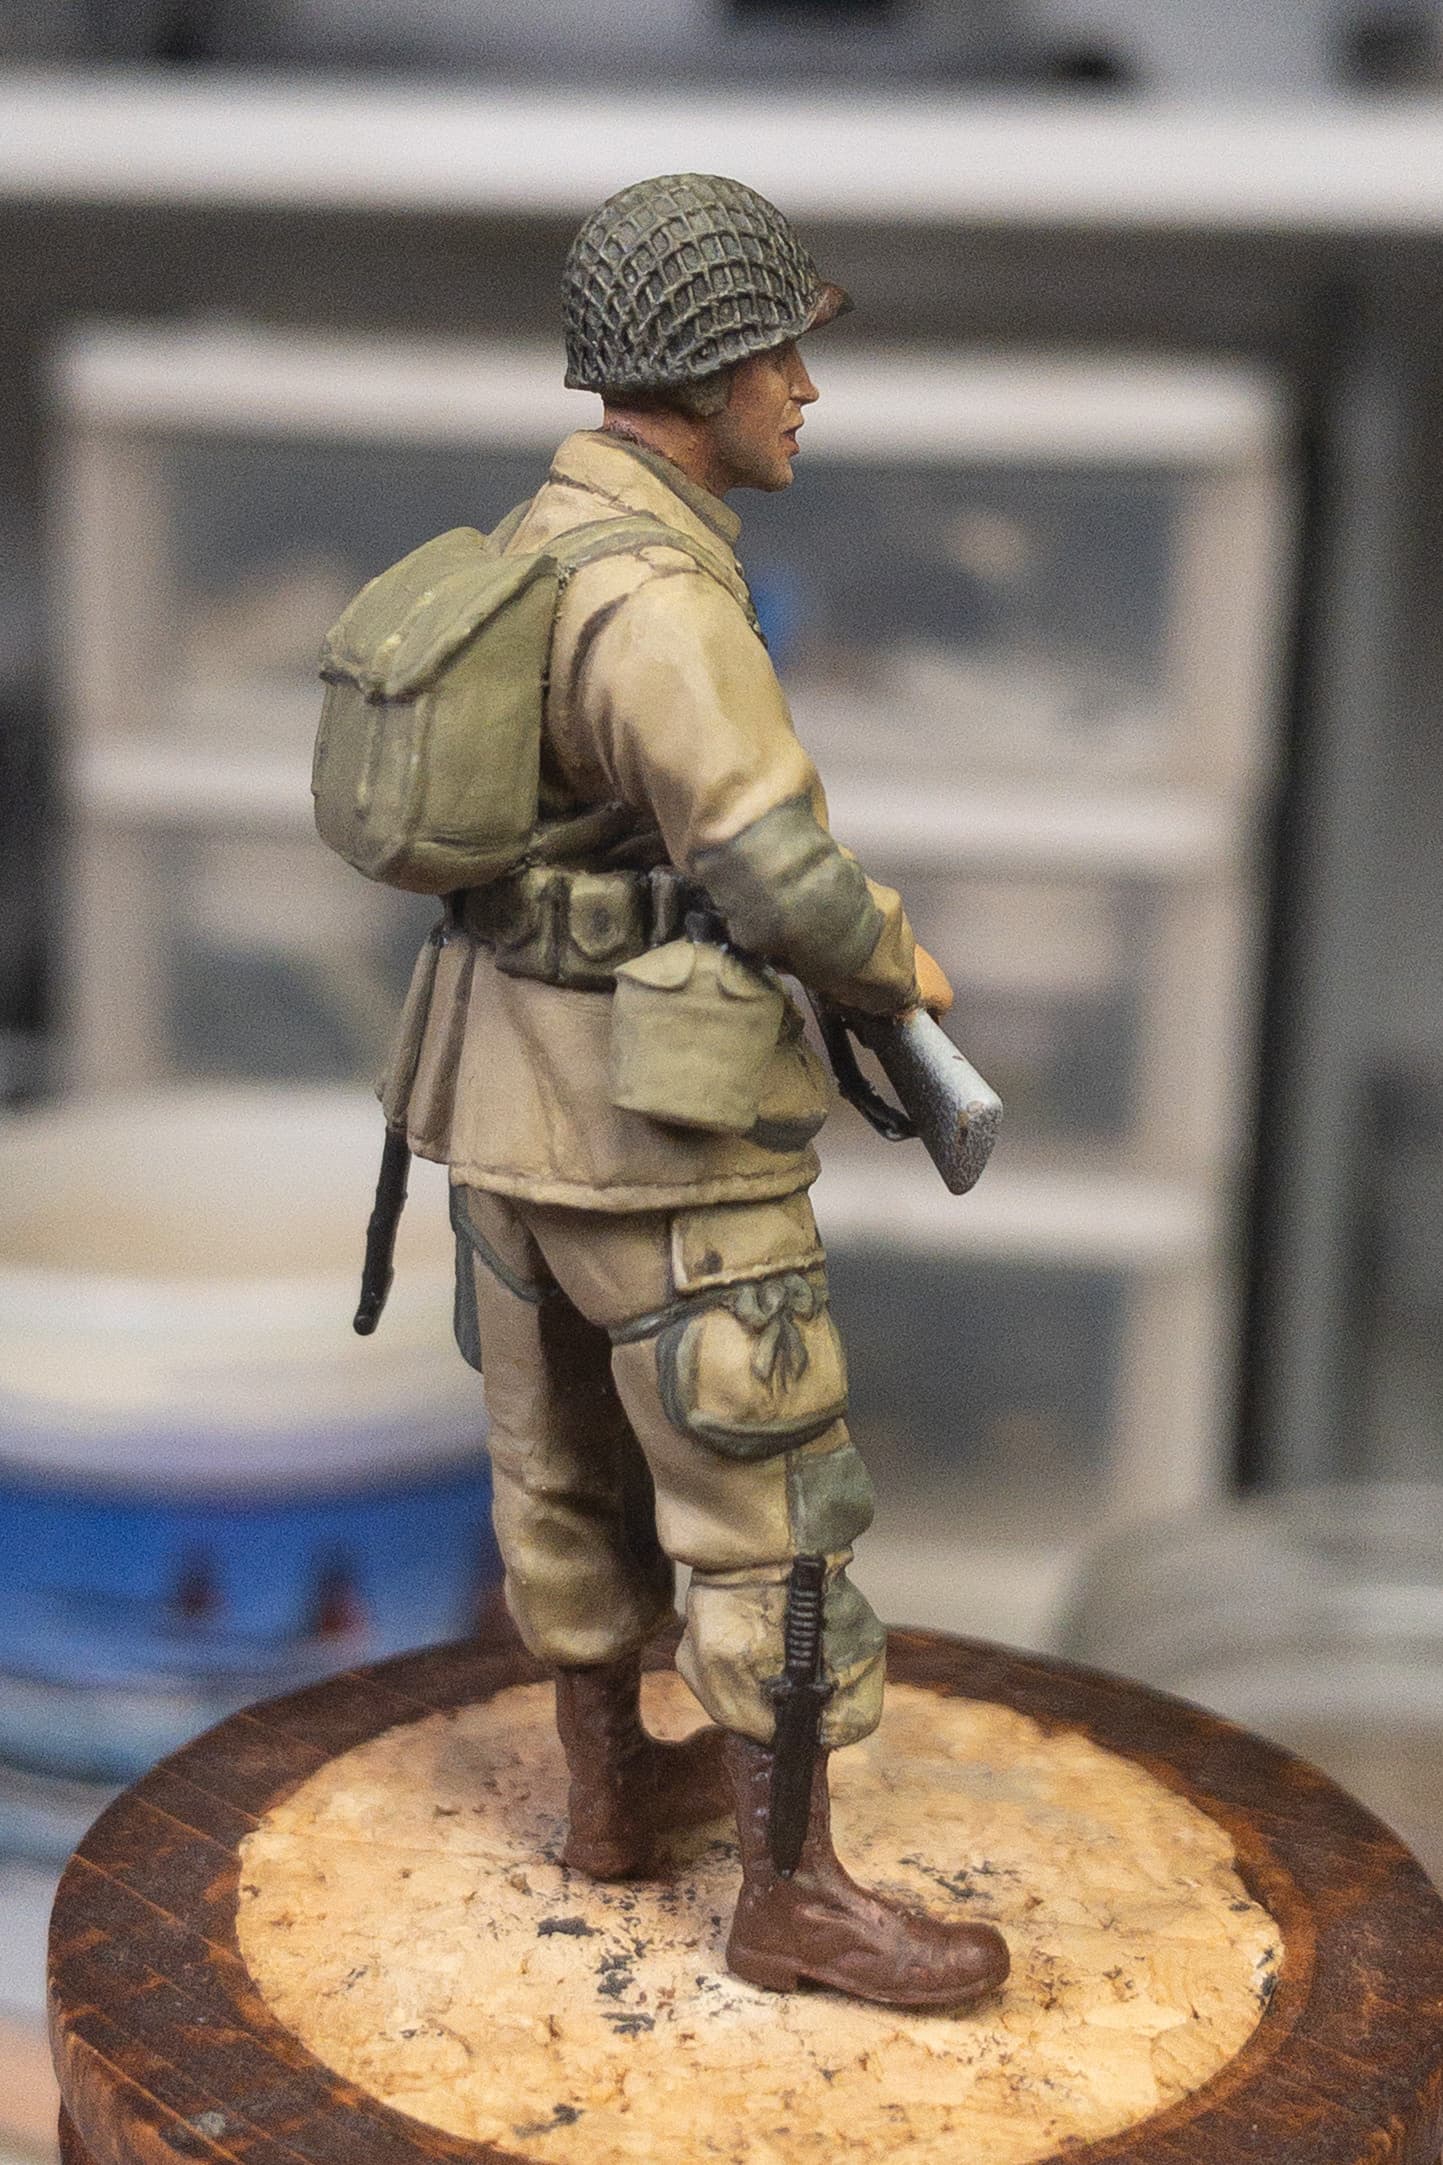
The M42 jump uniform is tricky to get right, although I guess there’s quite a bit of variety. Using photos of original pieces and re-enactors I came up with this.
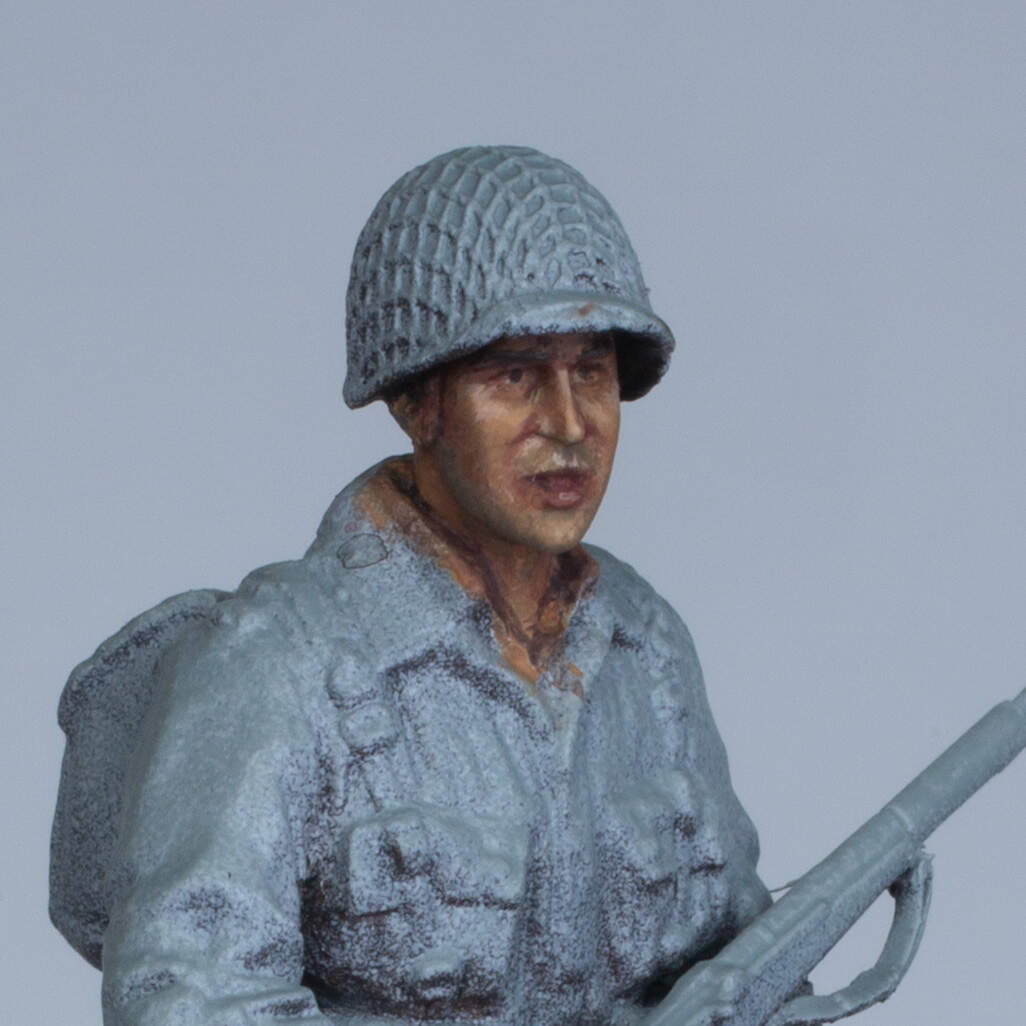
I further refined the uniform, and also began painting his webbing. The details are very poor compared to a resin Alpine figure, but you can work out that each bit is with constant reference to photos.
As I said before you’re making this figure look aces Rob.
As far as the color of those uniforms goes, you have a variety of colors you can use to get close to it.
Thanks @metalhead85
I’m a big believer in if it looks right……
Someone pointed out that his boots and ankles looked odd….indeed they are very skinny! So it began niggling me so I thought I’d solve it.
As I’d already base coated the boots, I though I would test an idea….I mixed some epoxy putty and mixed it with the same paint. I then carefully sculpted wider ankles….hopefully you can see the subtle but important differences in these two photos…
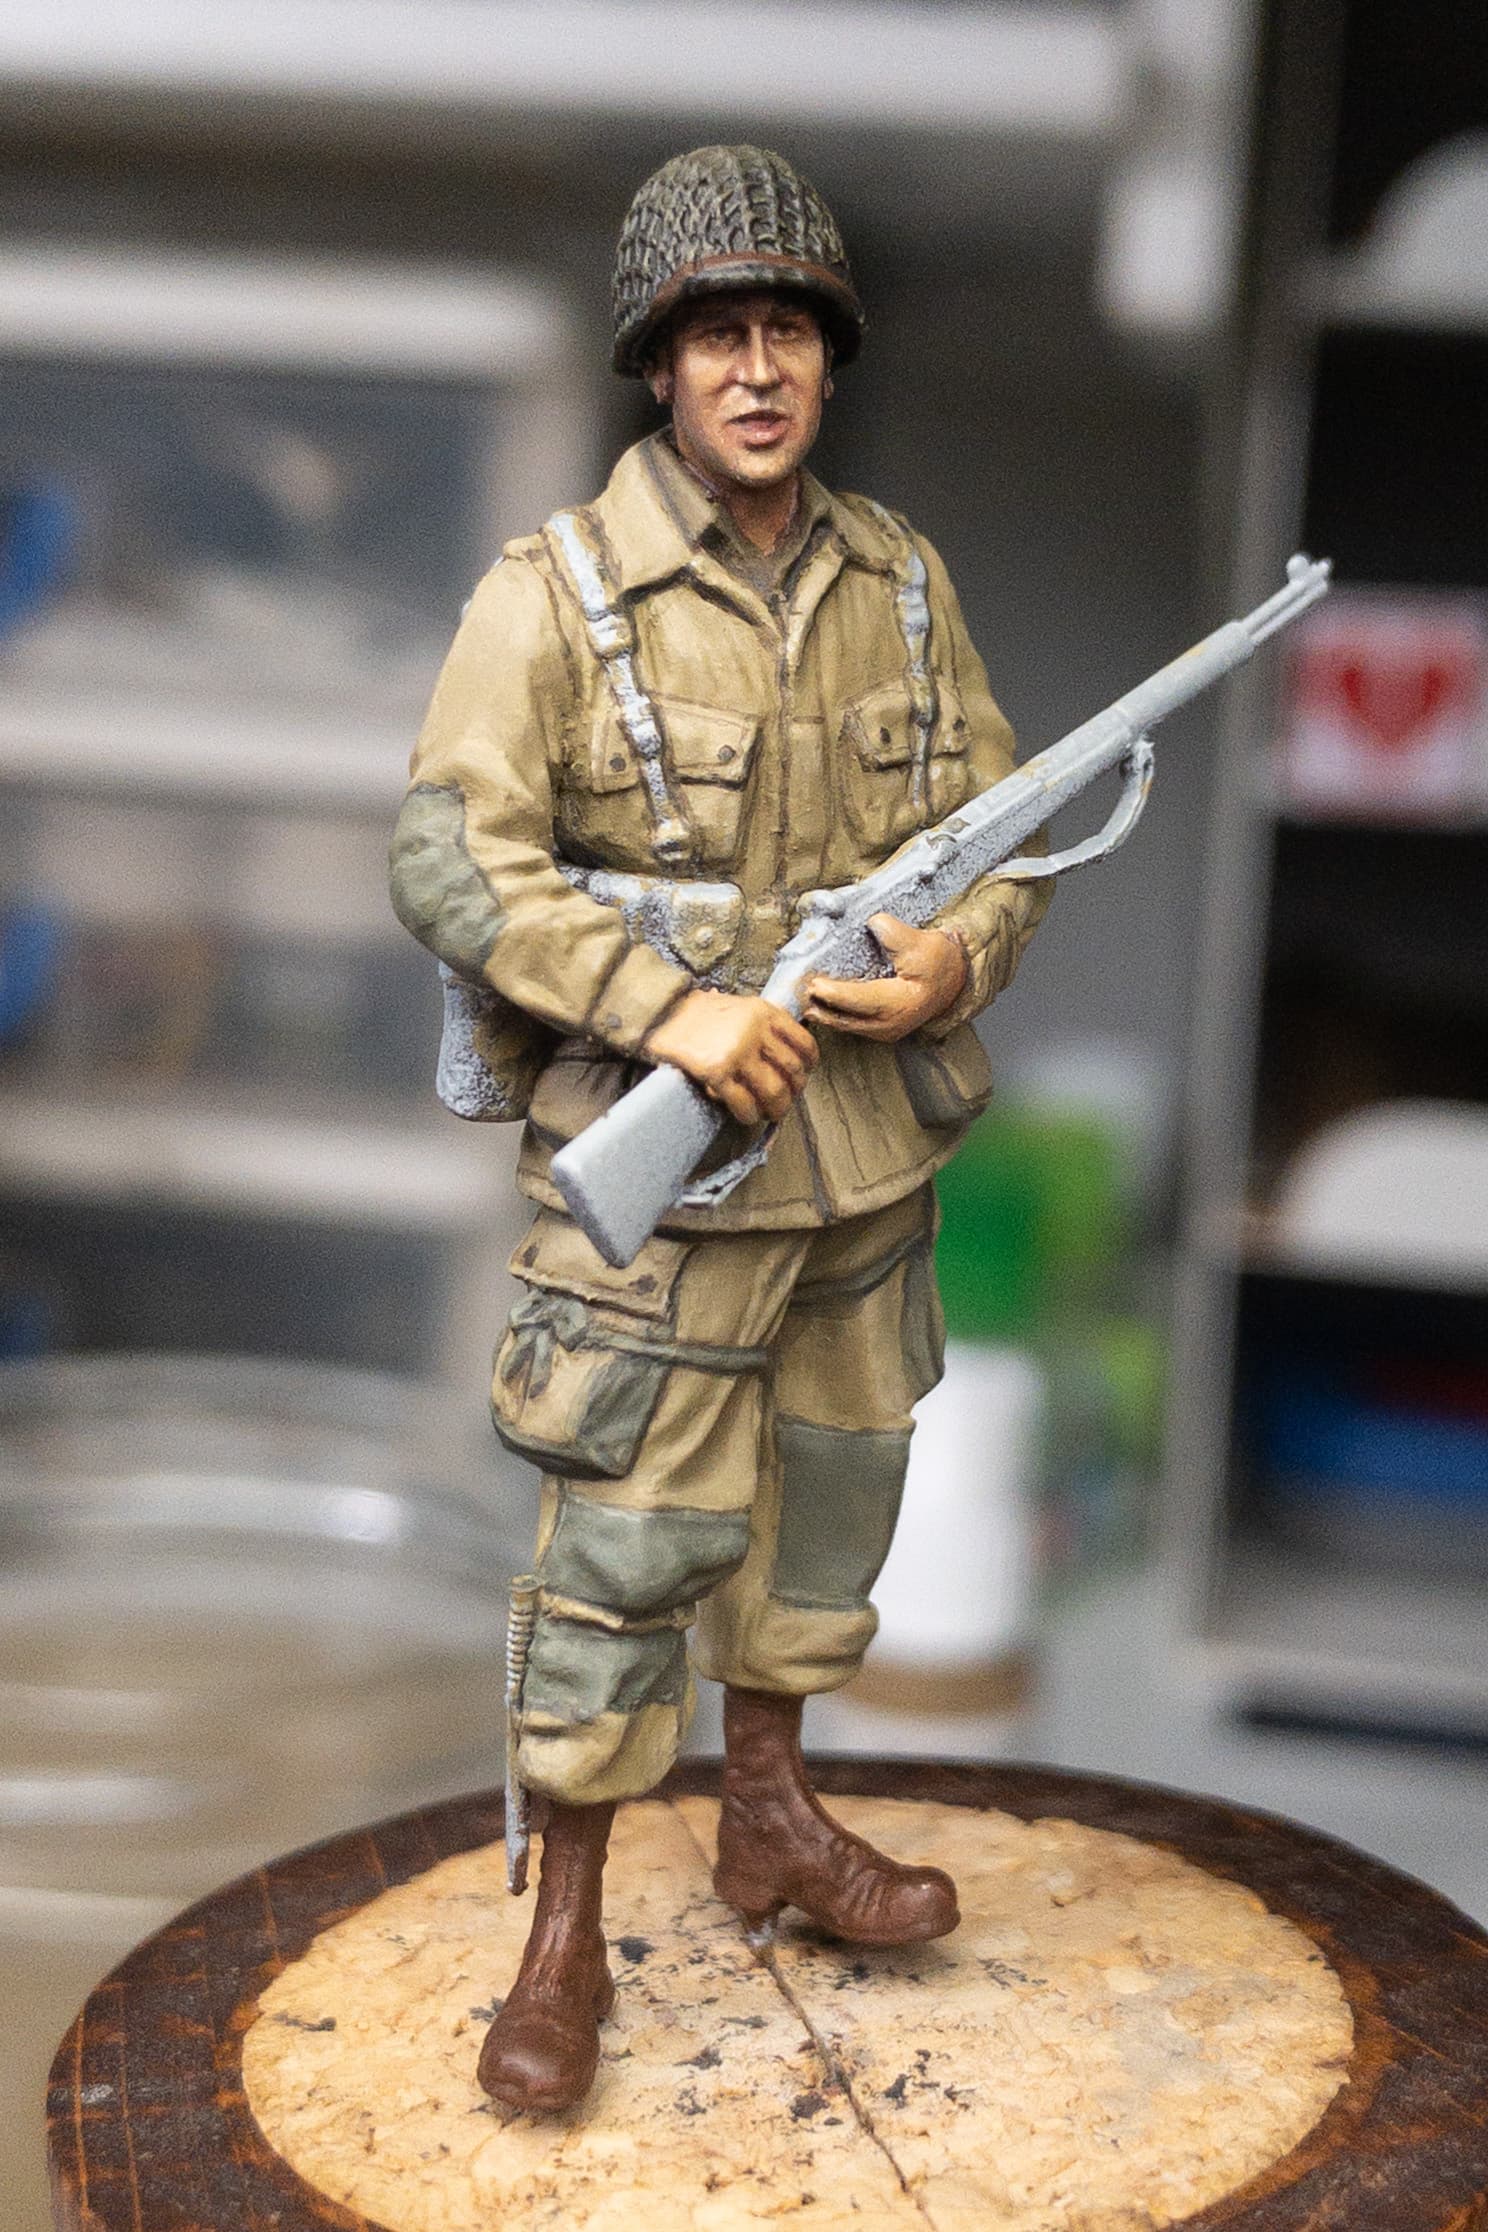
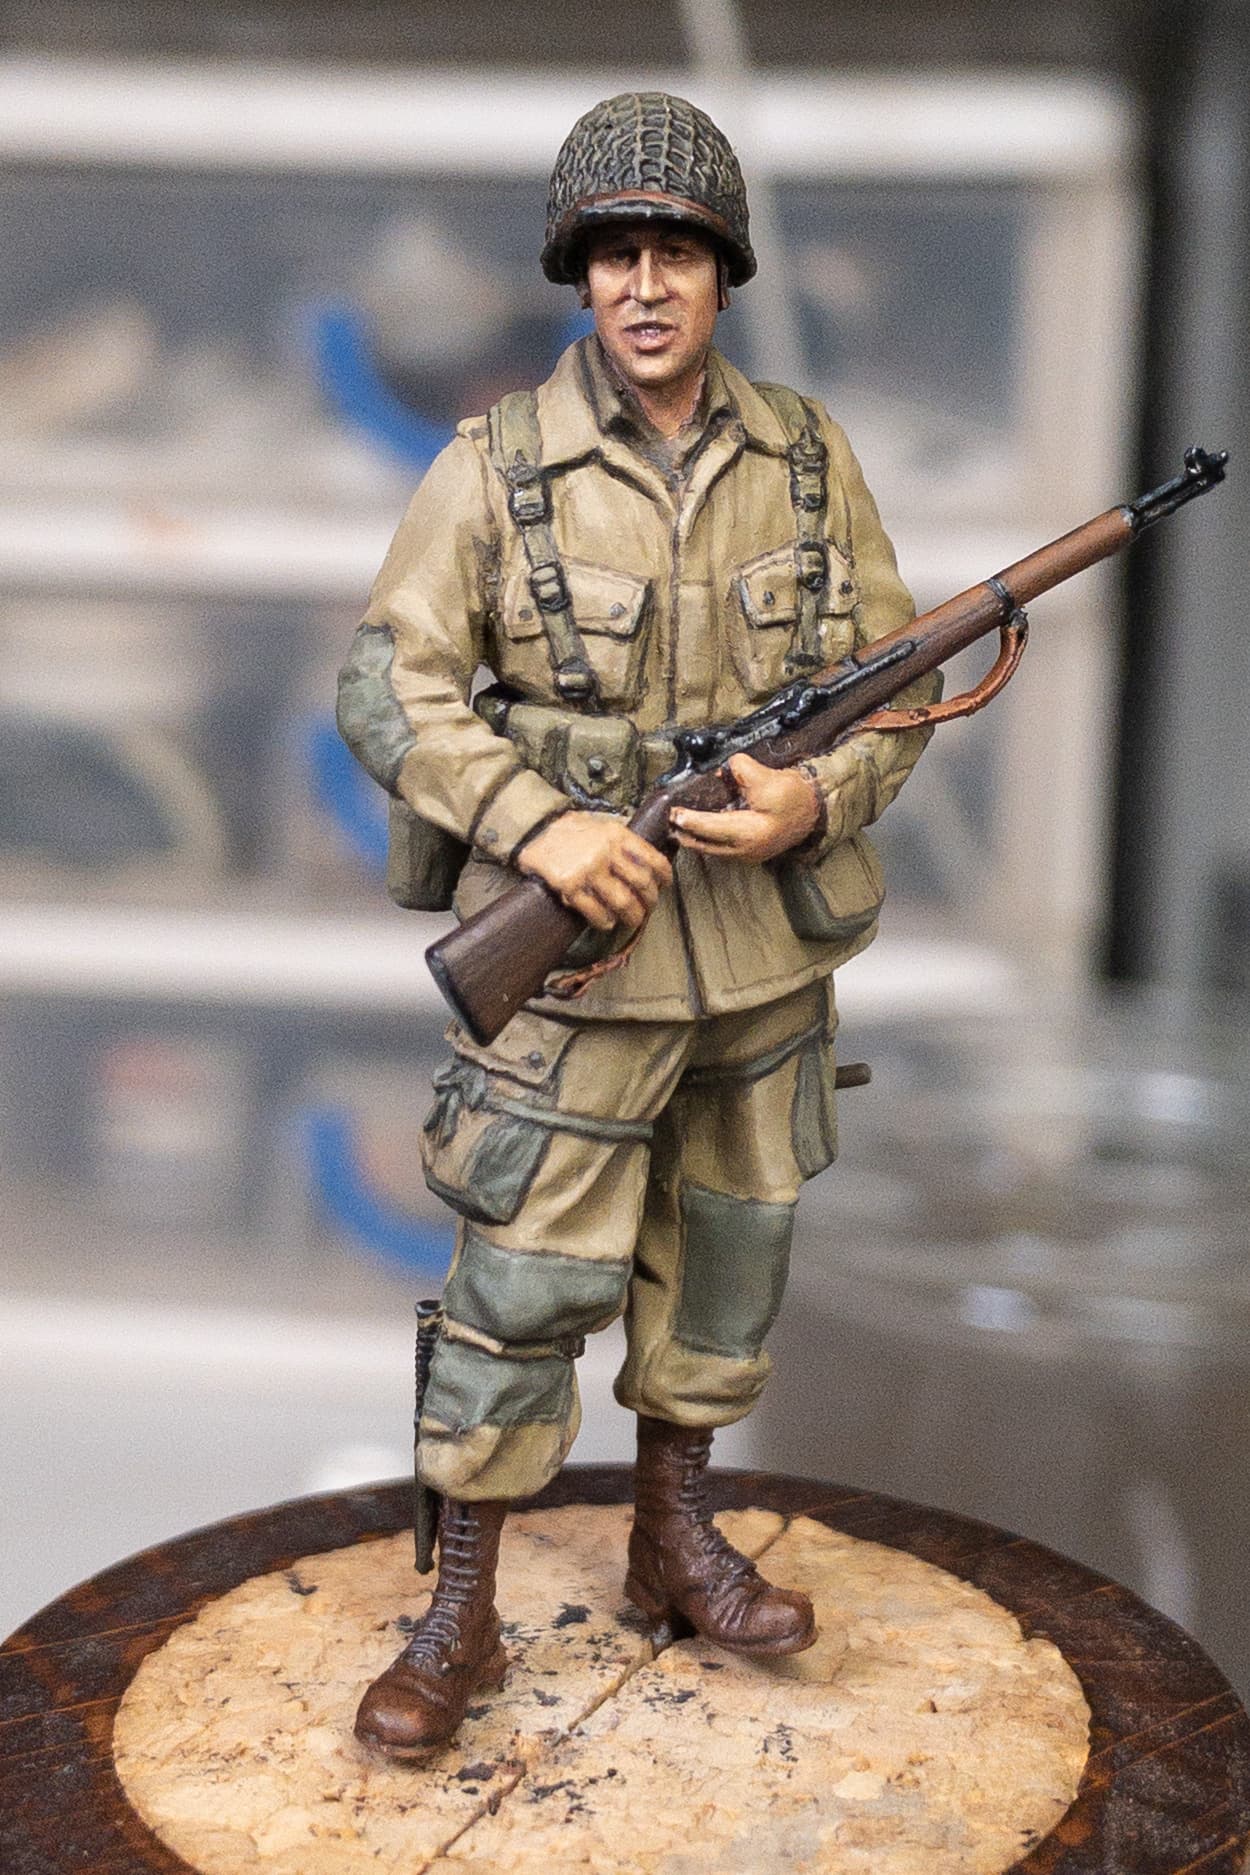
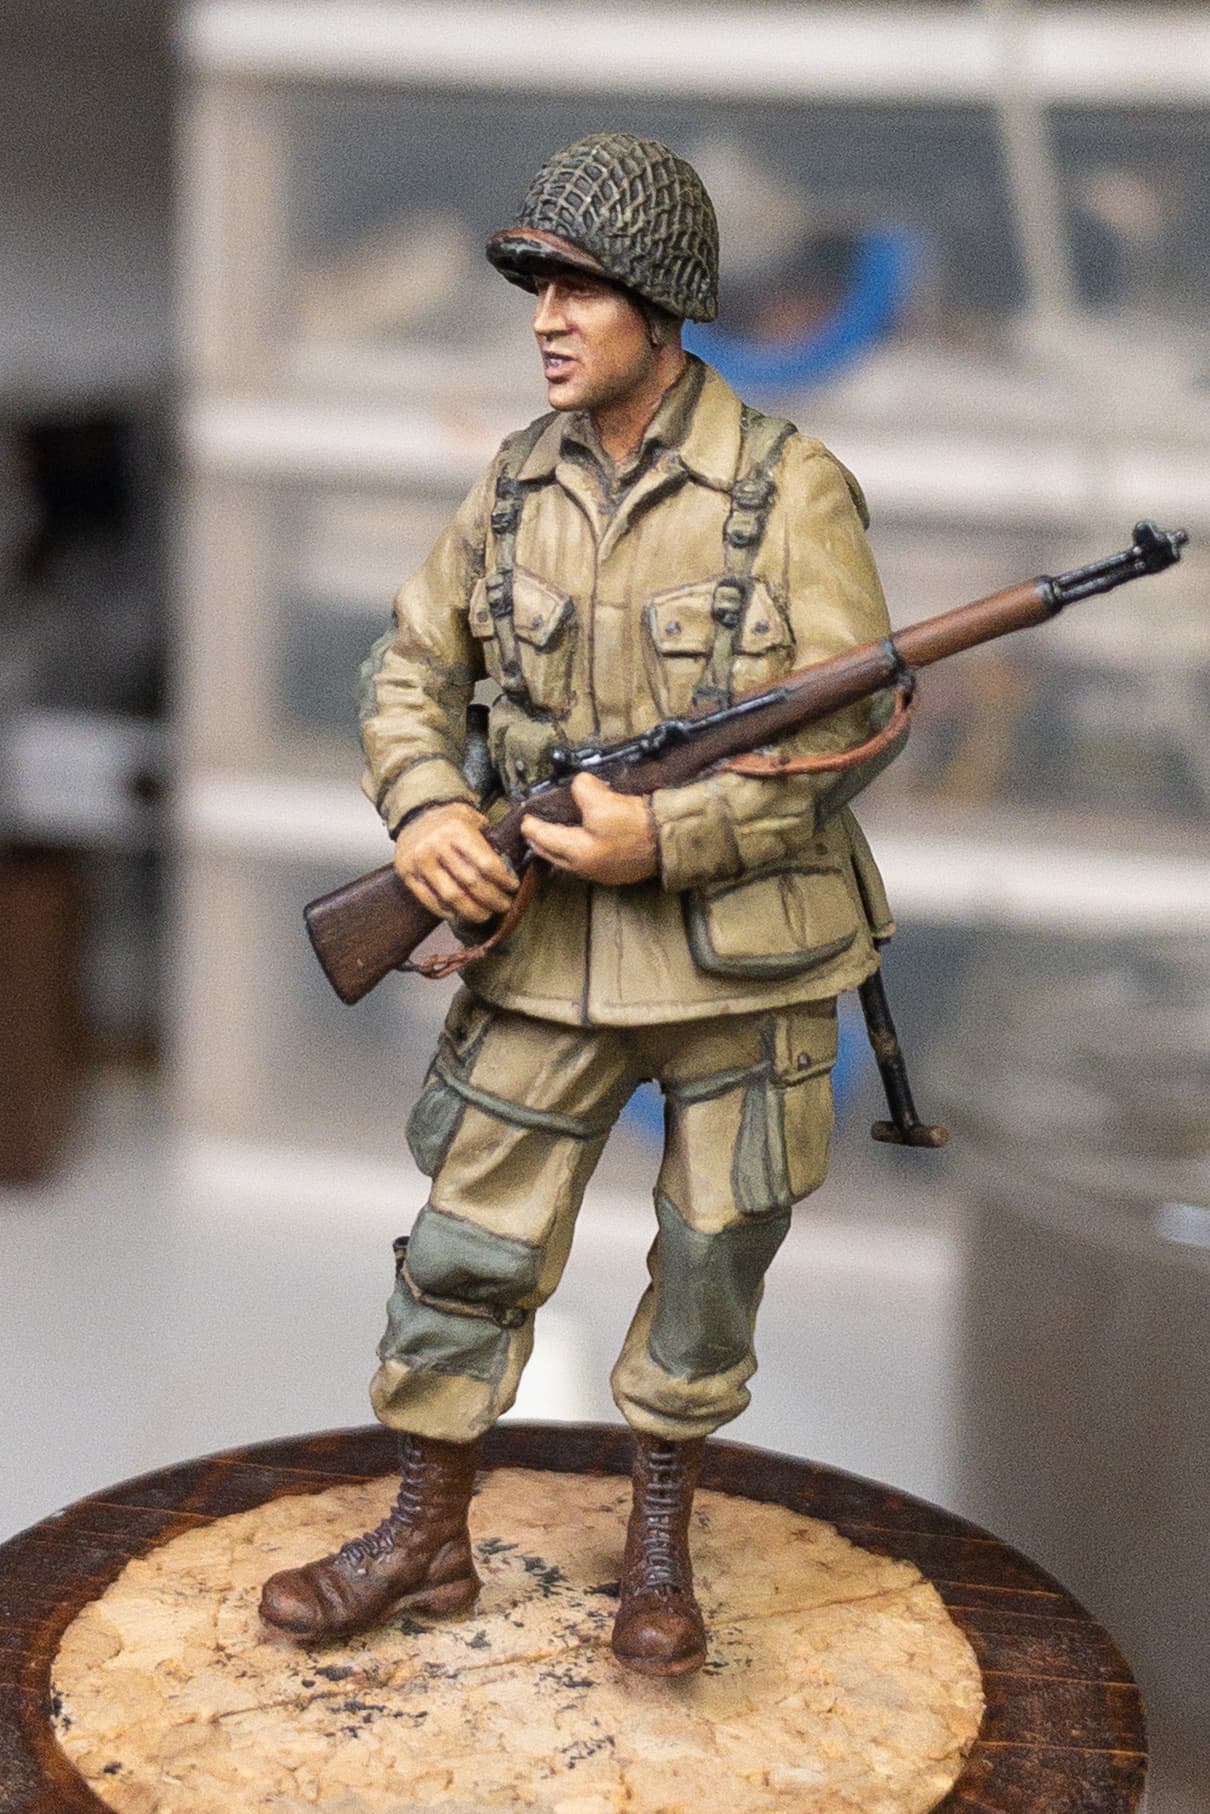
More refining, more equipment painting, Garand done.
And made my brain explode by sculpting his boot laces. 12 loops per boot. I used epoxy and added paint to it, then rolled out a very very thing string. I used PVA to help the small lengths to stick, then curved them to the boot and cut to length!! Phew!
You’ve really worked magic with this Rob! The bootlaces were totally worth the effort. You have a great paint job there too- every fold and crease is picked out and really shows off the details.