![]() Swap out work with kids, and I’m right there with ya!
Swap out work with kids, and I’m right there with ya! ![]()
3 Likes
Hi folks!
Just a quick memo to let you all know this build hasn’t stalled, it’s just taking a while to mask the grey, ready for the next colour (black) so, unfortunately there’s not a whole lot to show ATM…
But, I’m getting close to firing up the windy stick again, soon 
Thanks for all your patience 

4 Likes
Just a quick memo to let you all know this build hasn’t stalled, it’s just taking a while to mask the grey, ready for the next colour (black) …
I know what you mean, Russ… an hour of masking for thirty seconds of painting! No worries, though, take your time. This isn’t work, it is all for pleasure, so whatever time you need is just fine. I’m still looking forward to your next update, though!
![]()
1 Like
You know it, Tim 
Hours of masking for minutes of air brushing! But I wouldn’t have it any other way… After all us salty types have a reputation to uphold-although I reckon it’s One of being rather nutty 
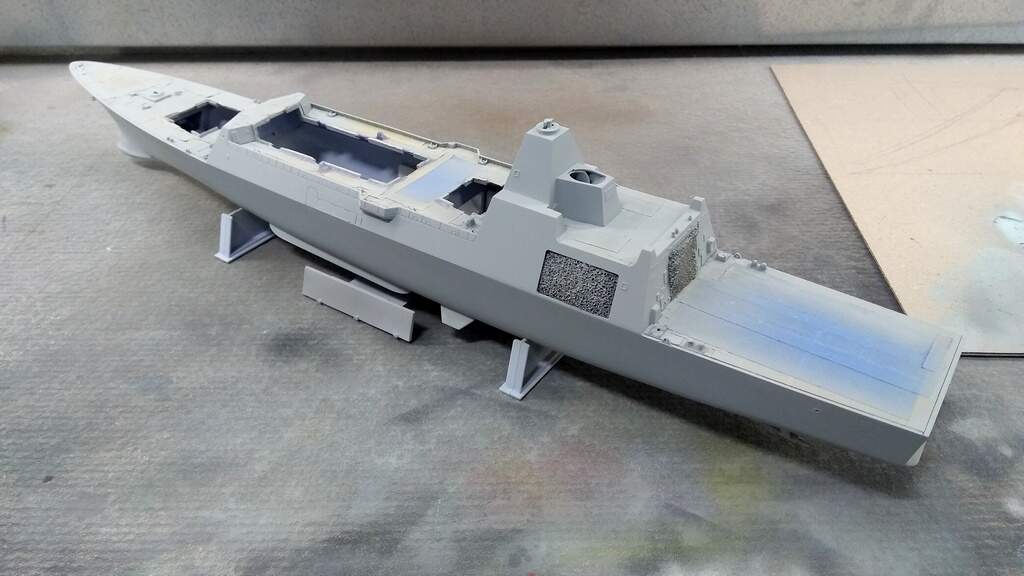
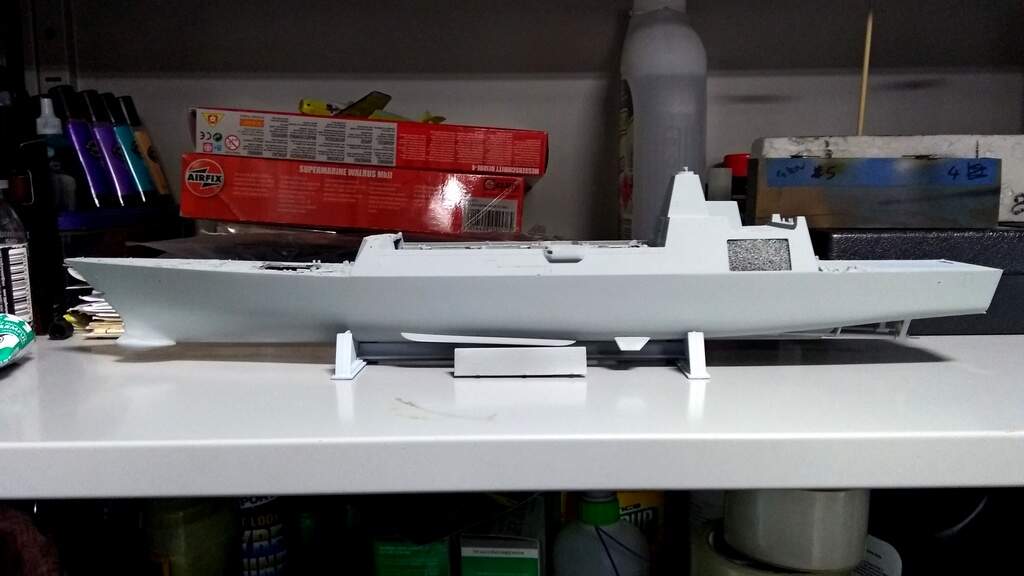
Well, I thought maybe it’s time to show a bit a of progress given that I finished masking up for the next colour on the way to painting the hull…
Firstly, after a cacophony of disasters involving knocking over the thinned pot of paint that was ready to be attached to the airbrush, then followed by another disaster whereby the second lot of mixed paint went down horribly and I had to sand back the whole ship and respray it, thereby using 3 times more paint than originally required… Long story short I had to order more paint!!! 
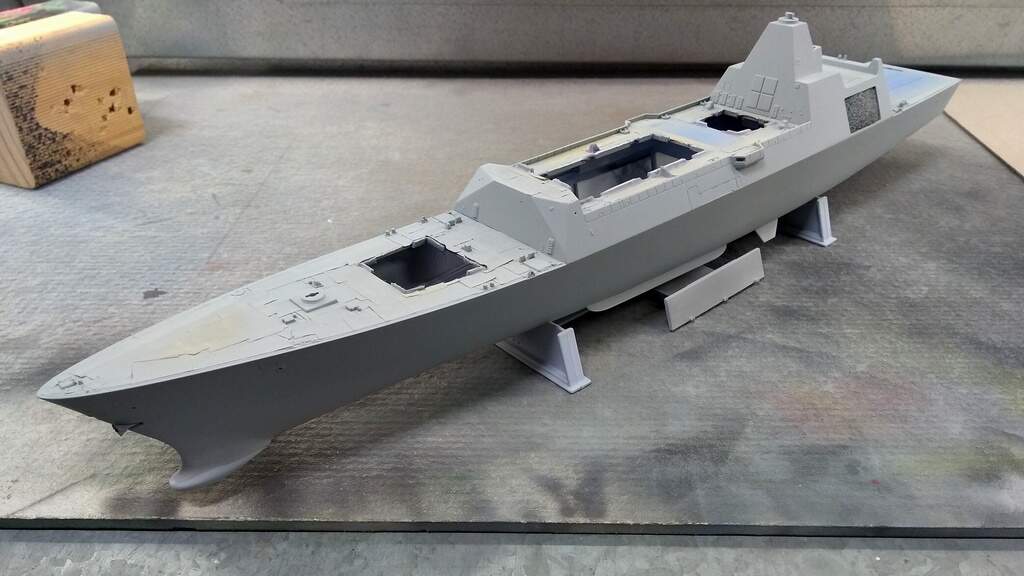
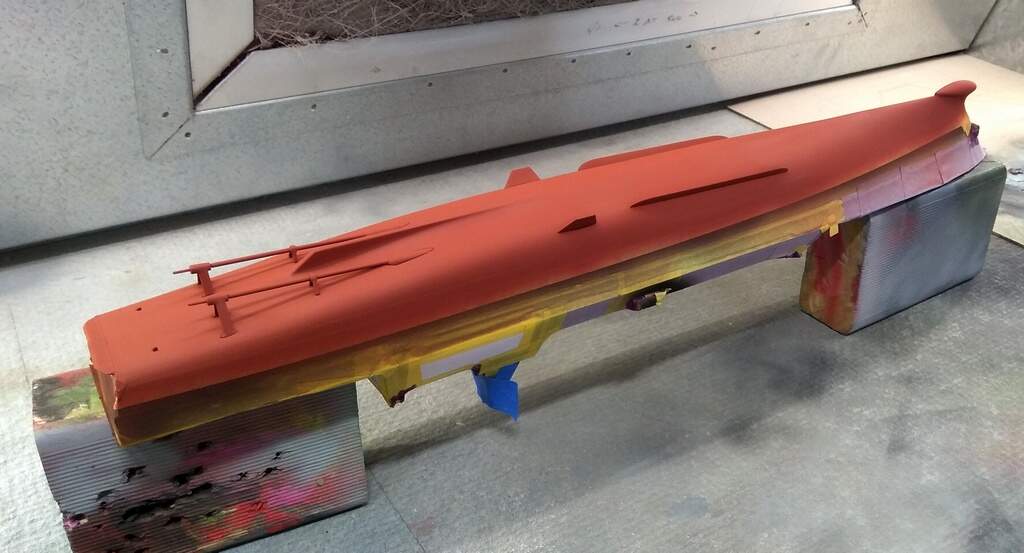
Anyways, here we go with the pics… first colour on
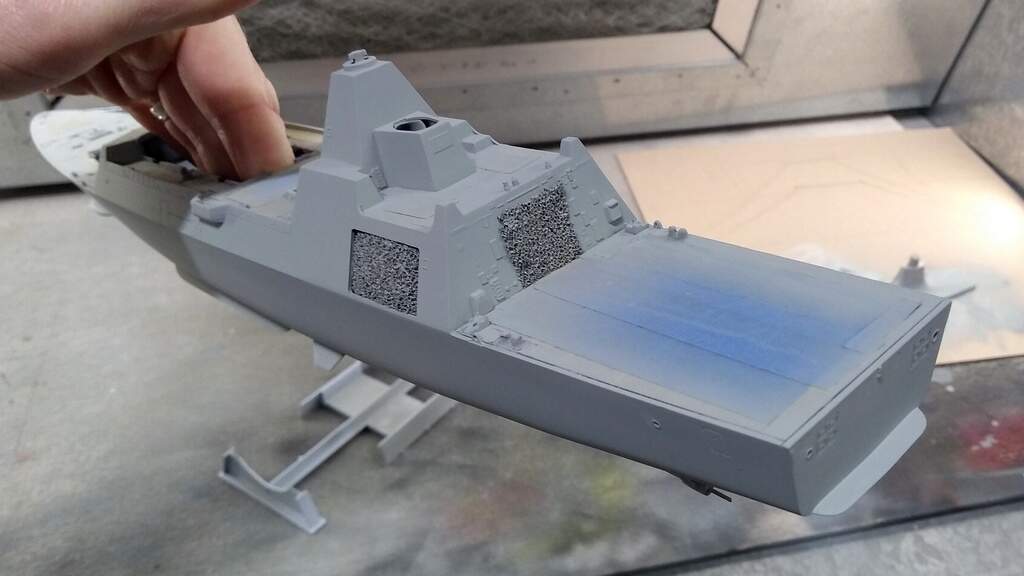
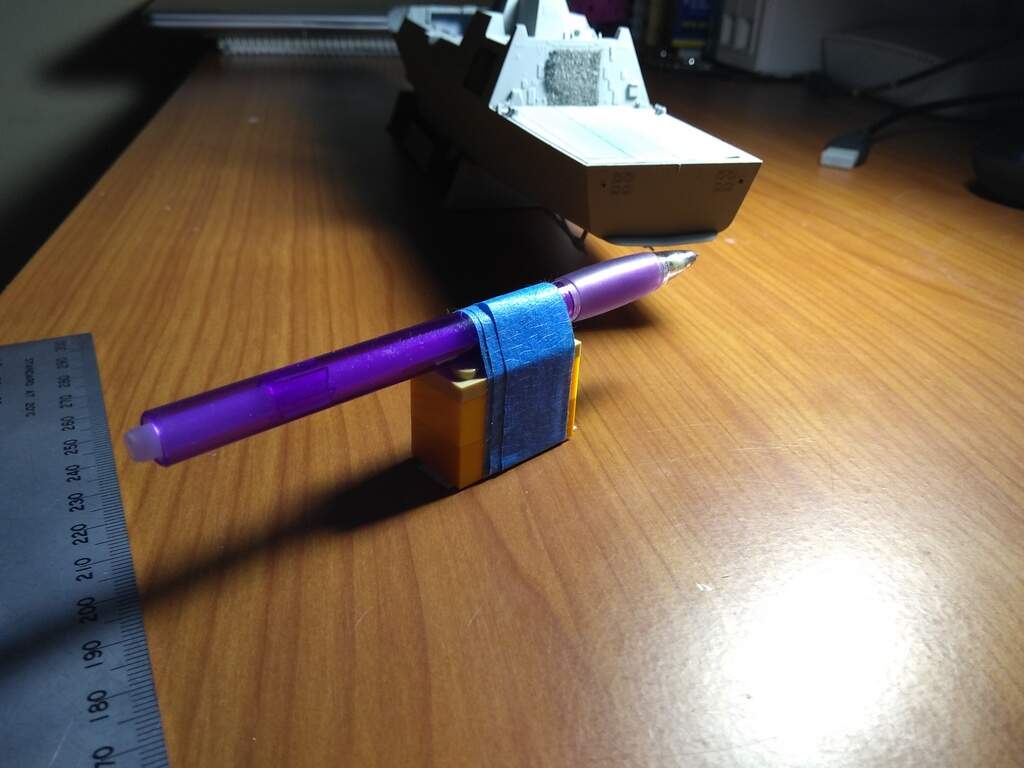
To correctly mask up the boot topping, I used this very high tech invention of kids lego, technical pencil and masking tape 
and all dressed up for the ball… ahem, next colour! Which is black, of course!

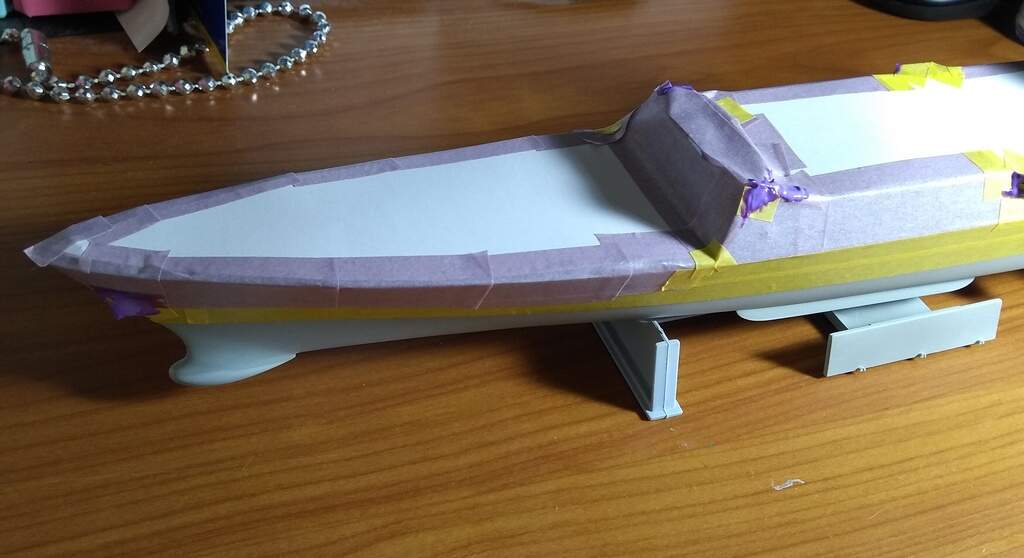
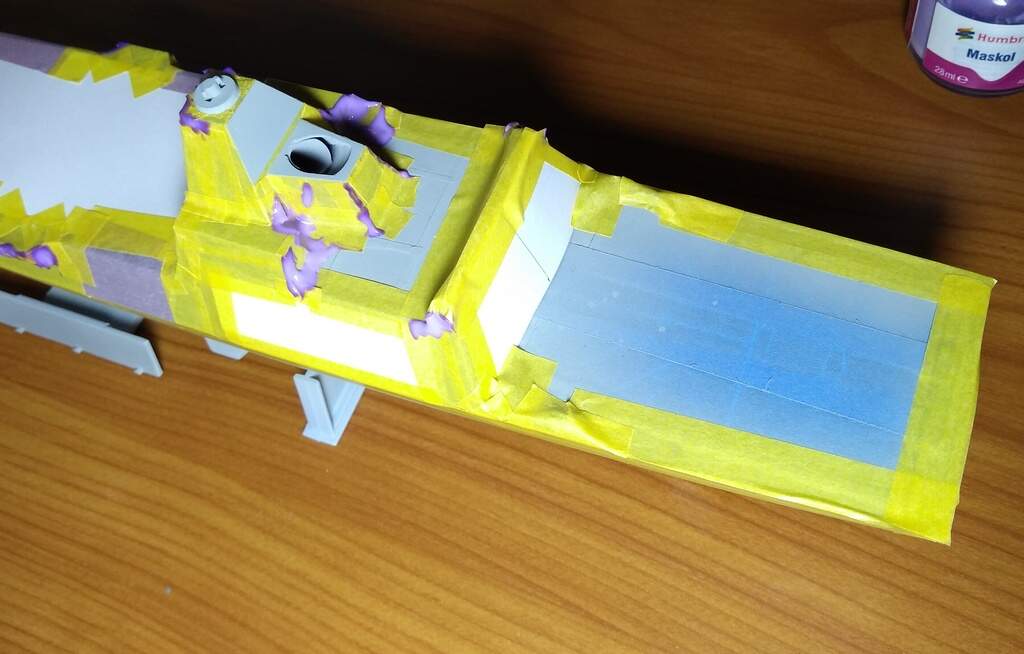
of course, the masking took hours (weeks actually), no doubt the spraying will be over in minutes! 
4 Likes
Russ, even though that gray base coat was a trial, the result is smooth and consistent, even boring - just the way we modelers like it!

One thing I do like about the painting stage is that this is when things really start to come together. On to the boot stripe!
2 Likes


Russelle,
As I told you, it’s high time that I stopped by and see how your build is going. I’m amazed at just how much work and effort has gone into getting to this point.
I’ll be back to check up on your progress from time to time.
joel
1 Like
@Joel_W Hi Joel
Thank you for your kind words on my efforts so far. 
Ships are a lot of work for sure, but there’s something about them that makes me come back for more and keep building them, even though they take (me, anyway) a very long time.
I had hoped that this would be a relatively straight forward build, allowing a relatively quick finish compared to my previous salty efforts, so that I could go back to attacking the stash of a/c’s, but alas, it wasn’t to be so 
Russelle,
Your work so far just amazed me.
joel
1 Like
You are cracking on it seems. I have gotten to the point of putting the hull on mine. Its an odd way of doing it and I am not a fan. There is a lot of putty and sandpaper in my future just to get the hull right.
1 Like
@McRunty thanks Rory🙂
Take your time and make sure all the prep work is done via dry fitting, before applying any glue.
Glue in stages and clamp where possible, leaving each stage to fully cure before moving to the next 
The kit is very much in the style of old school model making and not one of the newer style shake n bake kits. But, with a bit of elbow grease it does provide a rewarding result that you can be proud of
Sweet progress Russell, looking really sleek! 
Whats the next step after the base coat colors are applied? I’m trying to better understand folk’s ship build phasing: when to add various details, bits of brass, railings etc. Coming from mostly airbrushing armor its hard to imagine painting at such an early stage of adding details, but I understand this is quite common with model ships.
Marty
1 Like
Hi Marty. Thank you for your kind words ![]()
One thing I’ve learnt about ships is, that they’re one of the most complex objects we humans undertake to build. Both in the real world and (somewhat less so) in the model world. I can see why they take years to build…
Anyways, now the colours have all been blocked out, it will be time to remove the masking tape (except the flight deck on this build) and assess if any touch ups are required.
Then it needs to be noted that once she’s upright and having the details added, it’s nigh on impossible to turn them upside down for any further treatment to the bottom of the hull. Therefore, after giving the all clear to the colour coats, I’ll keep her upside down and apply a coat of gloss clear. This allows me to apply the decals. Once the decals are on and she’s still upside down, I’ll apply a coat of matt clear.
I know this sounds like something you’d do at the end of the build, but it needs to be done at this stage as there just won’t be another chance to do so. The only thing I won’t normally add are the propellers as they tend to have a habit of getting knocked off. ( I don’t know who would do such a thing though ![]() )
)
Then, she’ll be sat the correct way up, and the details added. Those details will all have their colours applied prior to being shipped aboard. Once all the details have been added, I’ll give the topside a clear gloss coat and then apply the rest of the decals before a final coat of matt clear. If any rigging is required it will be after the clear coats!
Yes, there’s some overlap between the underside clear coats and the topside clear coats, but unfortunately this is a necessary evil to accommodate all the various bits n bobs that need to go on…
I hope this helps in your journey to the salty side, Marty ![]()

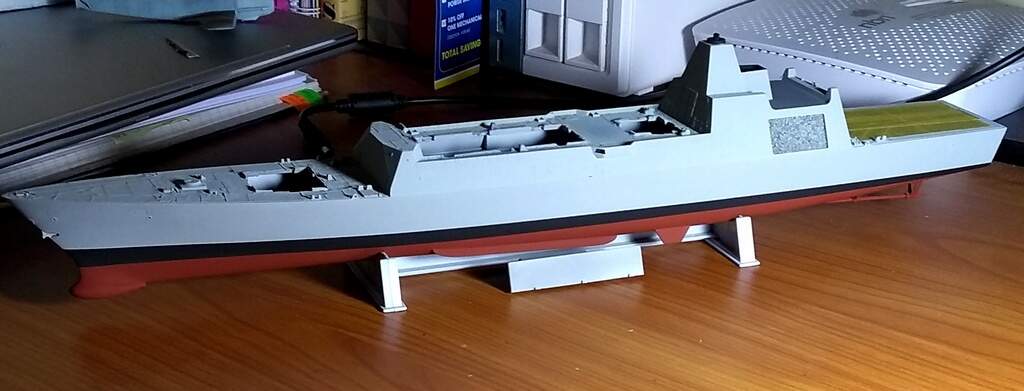
Very happy with the way the anti fouling red went on. She’s now up to my favorite part of the build: removing the masking to reveal the finish!
6 Likes
Russ, I love that part too, but I also find it just a bit scary until I see how good my masking job was…
![]()
1 Like
@TimReynaga Ah the anticipation: almost as good as Christmas
Thanks Russell, that was most illuminating!
1 Like
@MINUX sorry if I waffled on a bit
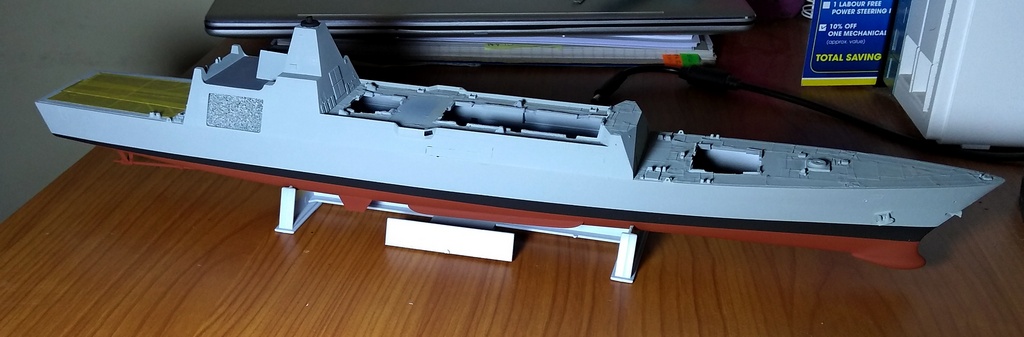
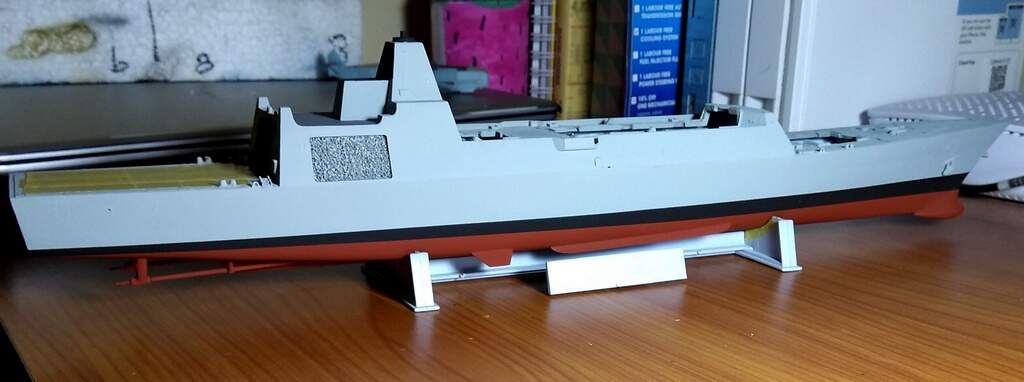
et voila!
and the rubbish!

I haven’t removed the deck masking yet. I’ll do that after the clear coats… 
8 Likes
Still dropping in to catch up Russ, those lines are looking nice and crisp on the hull. very clean job … I hope that waste masking tape goes in the recycling lol
1 Like