I will be working on Airfix’s 1/350 Type 45 Destroyer. I will be doing her in the guise of HMS Dragon because she has a bloody great big Welsh Dragon on her side. Will make a great pop of colour against the expanse of grey.
@Russelle is working on the same kit and it will be interesting to see how our builds differ. One thing I know for sure is that our build styles are very different so that will make a nice contrast.
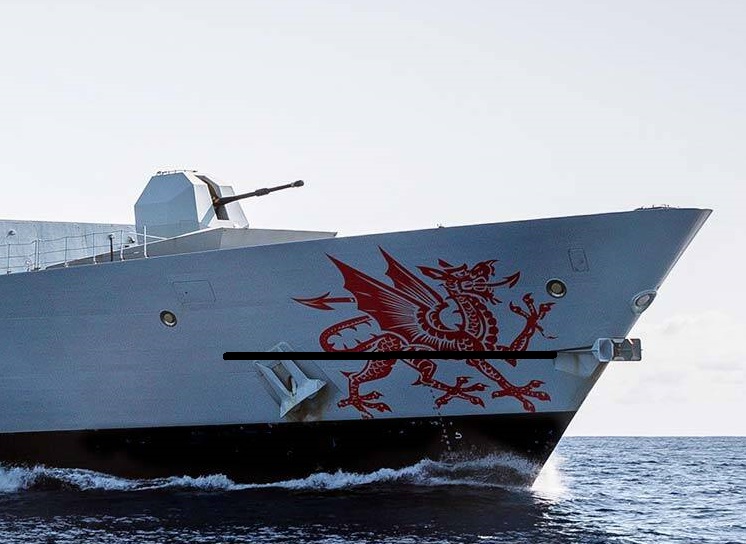
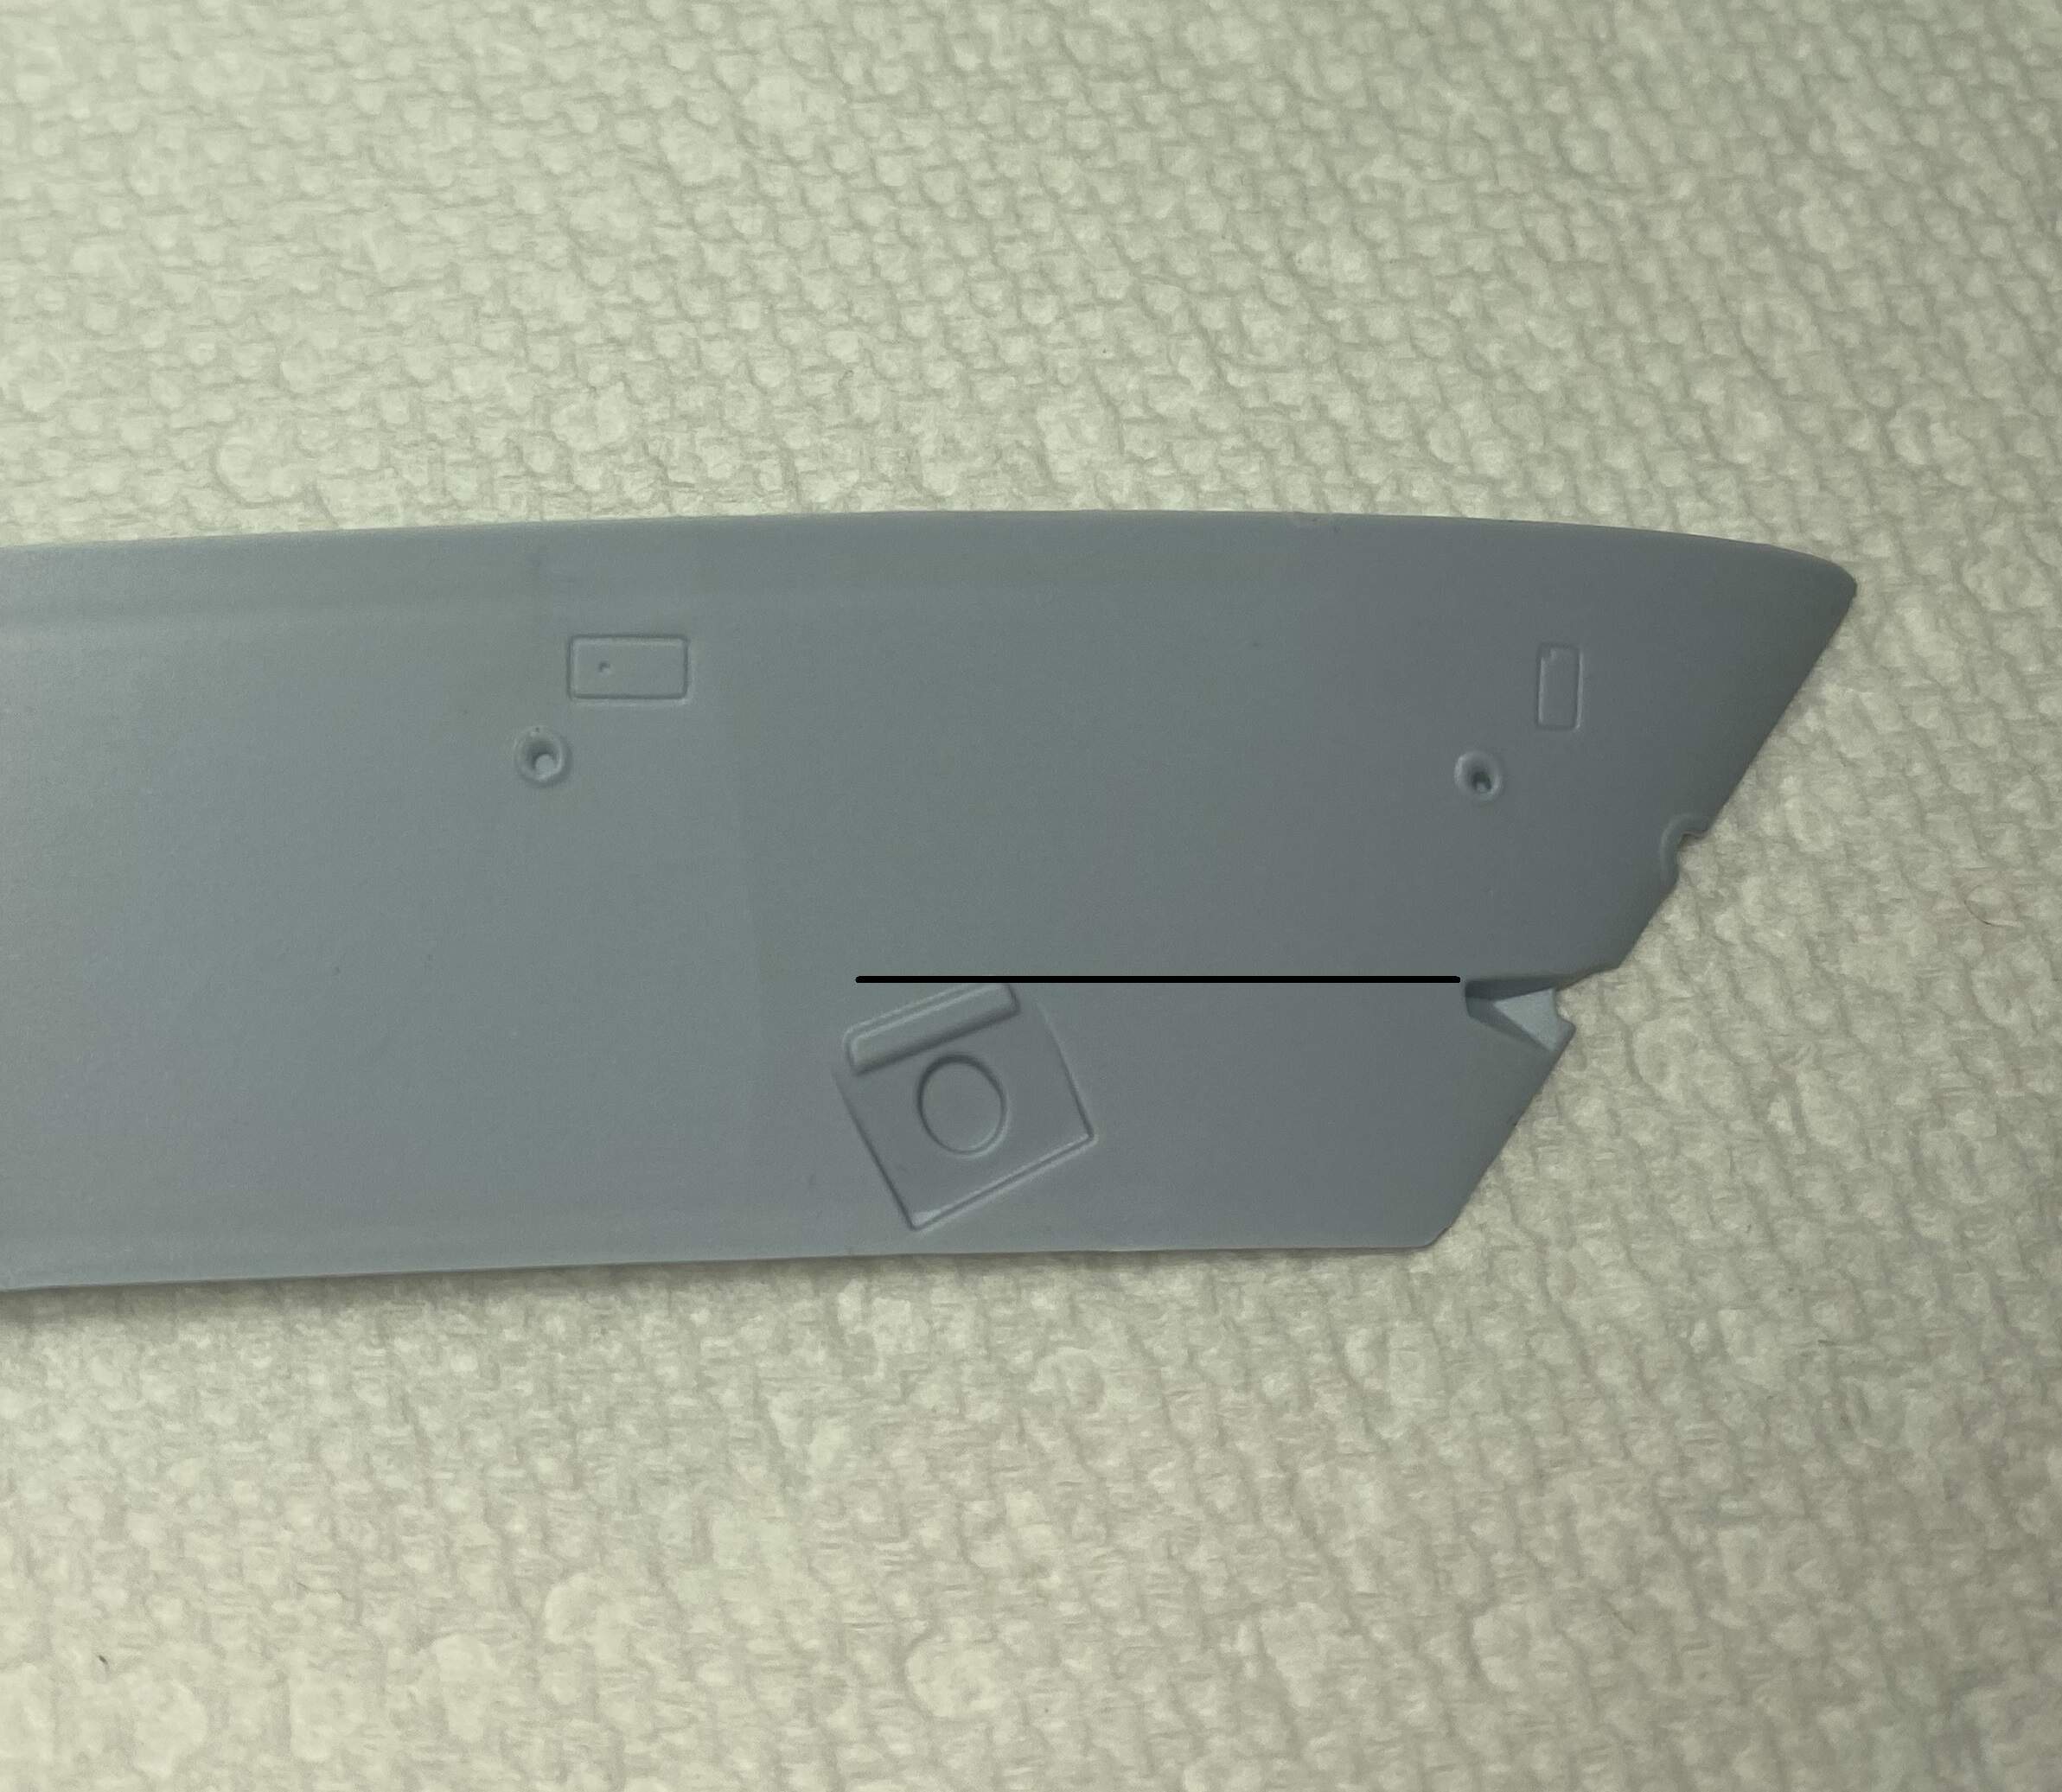
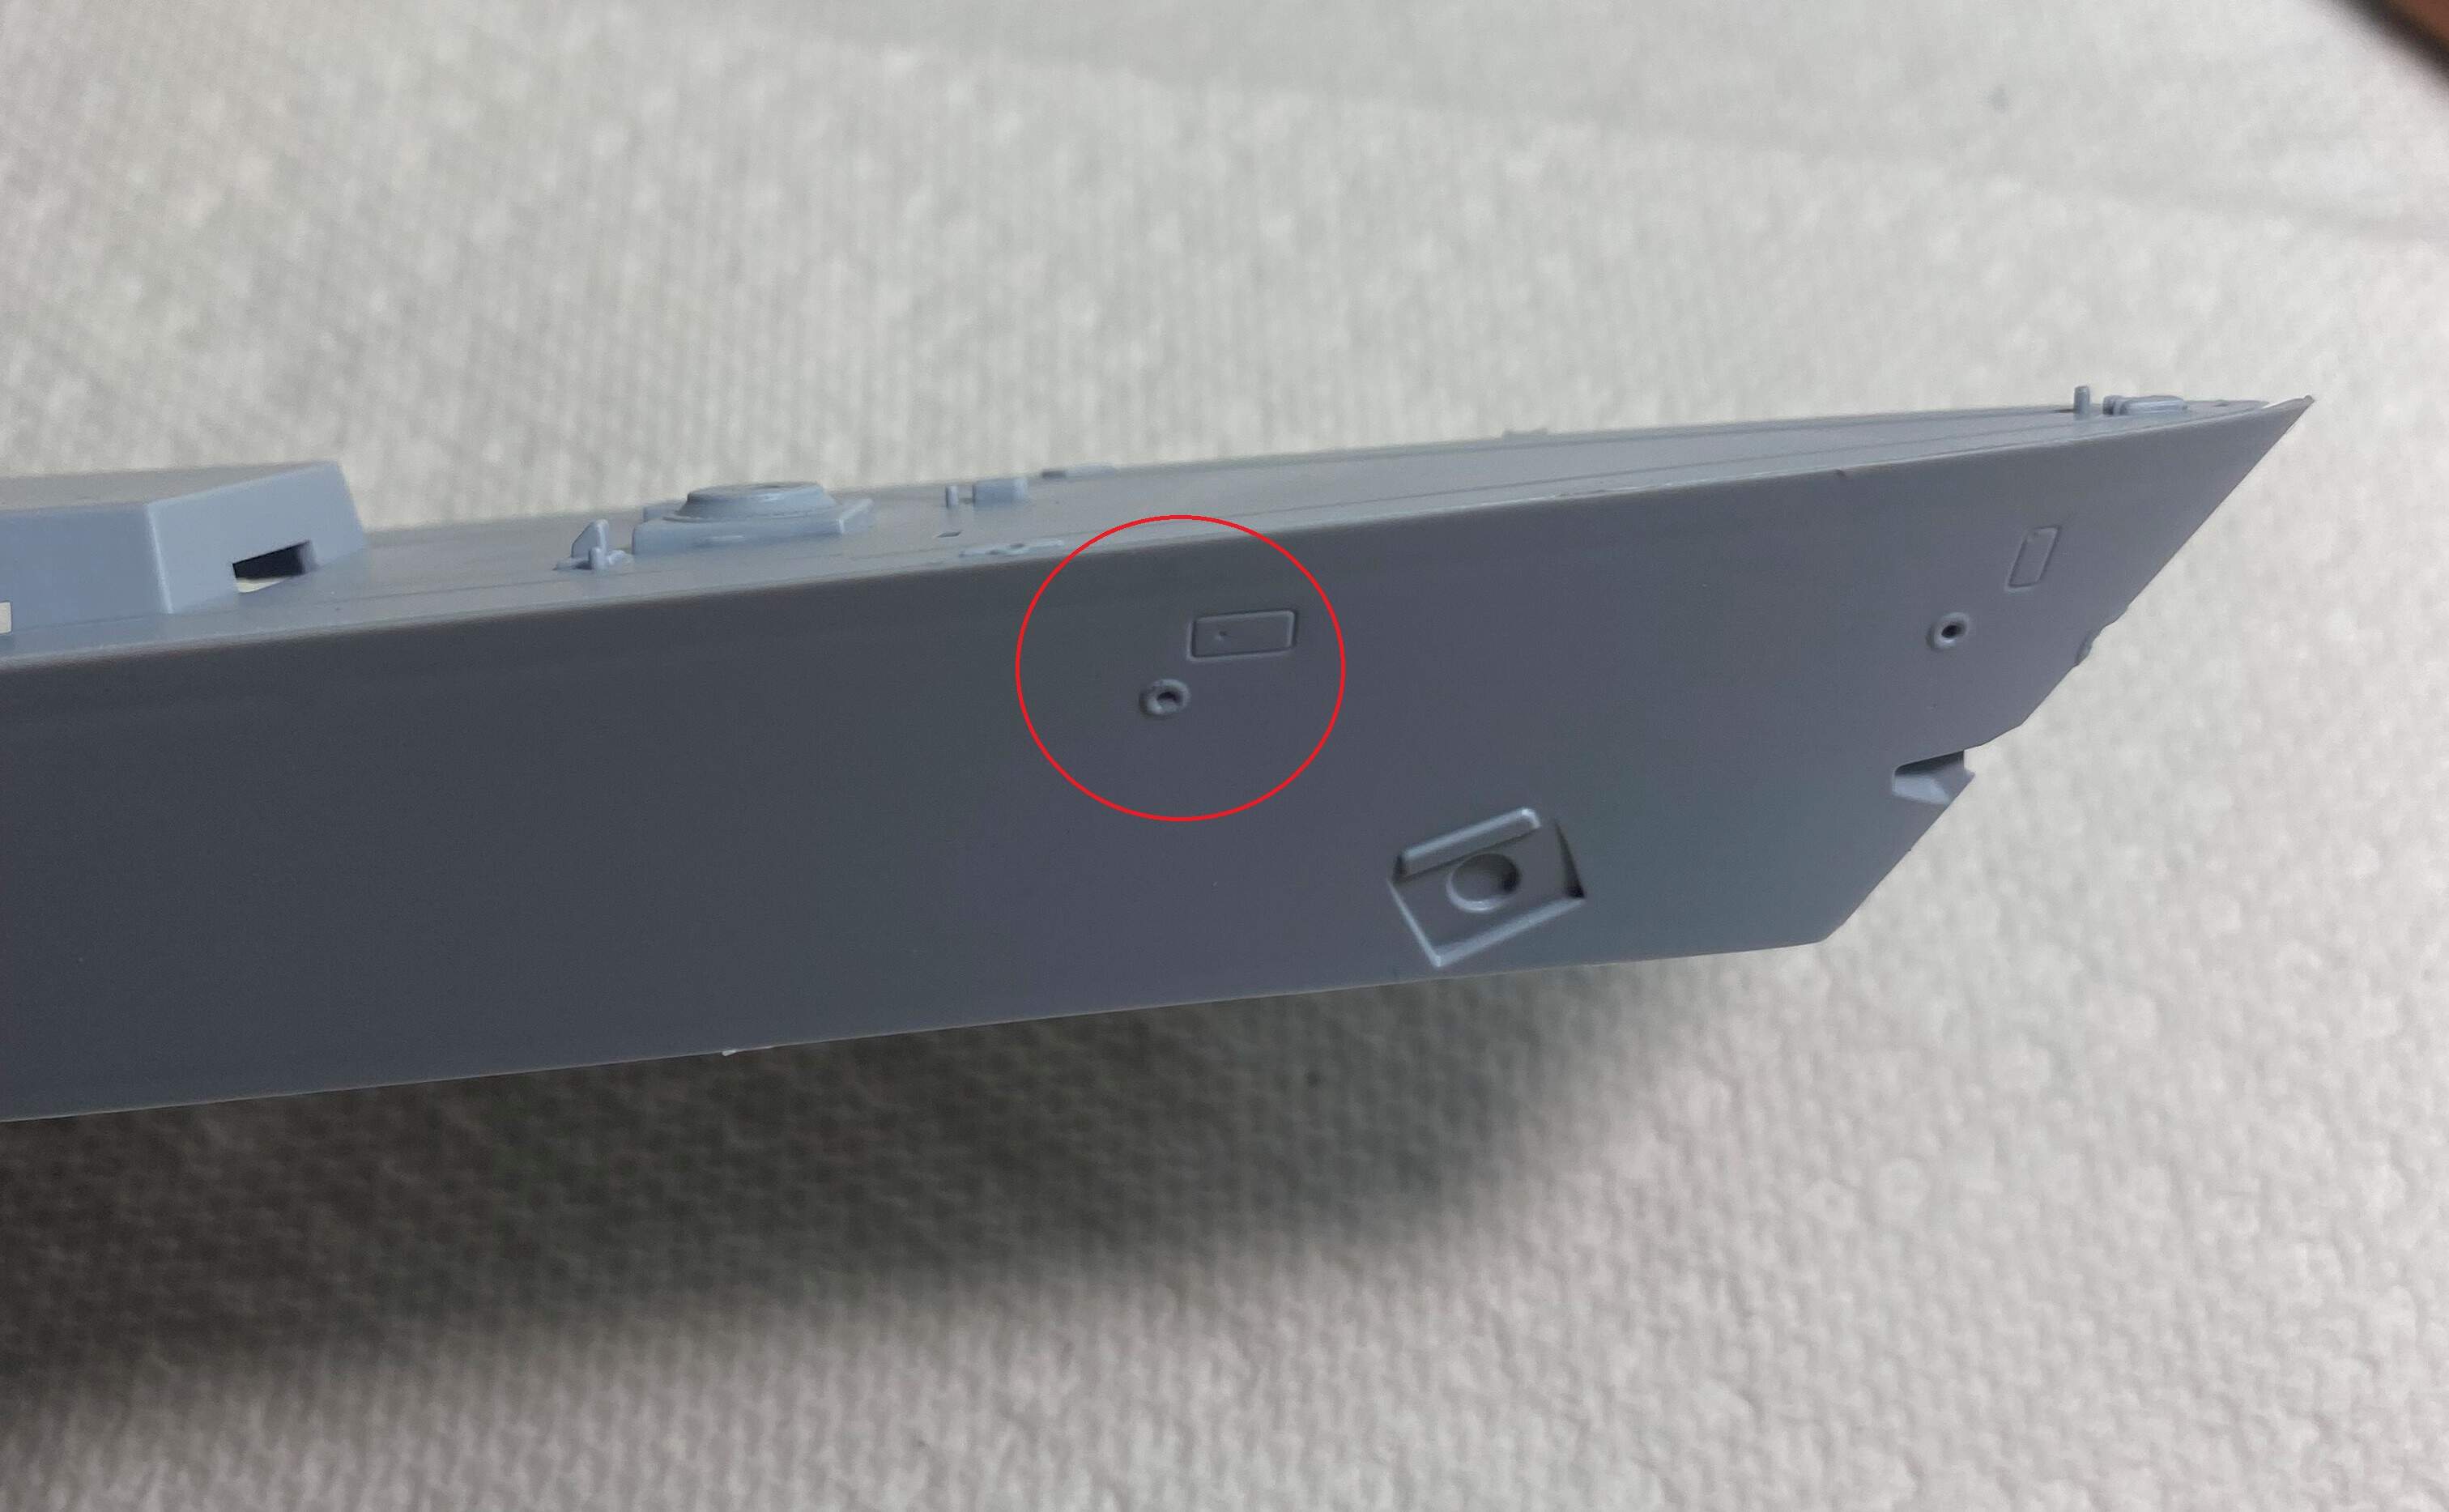
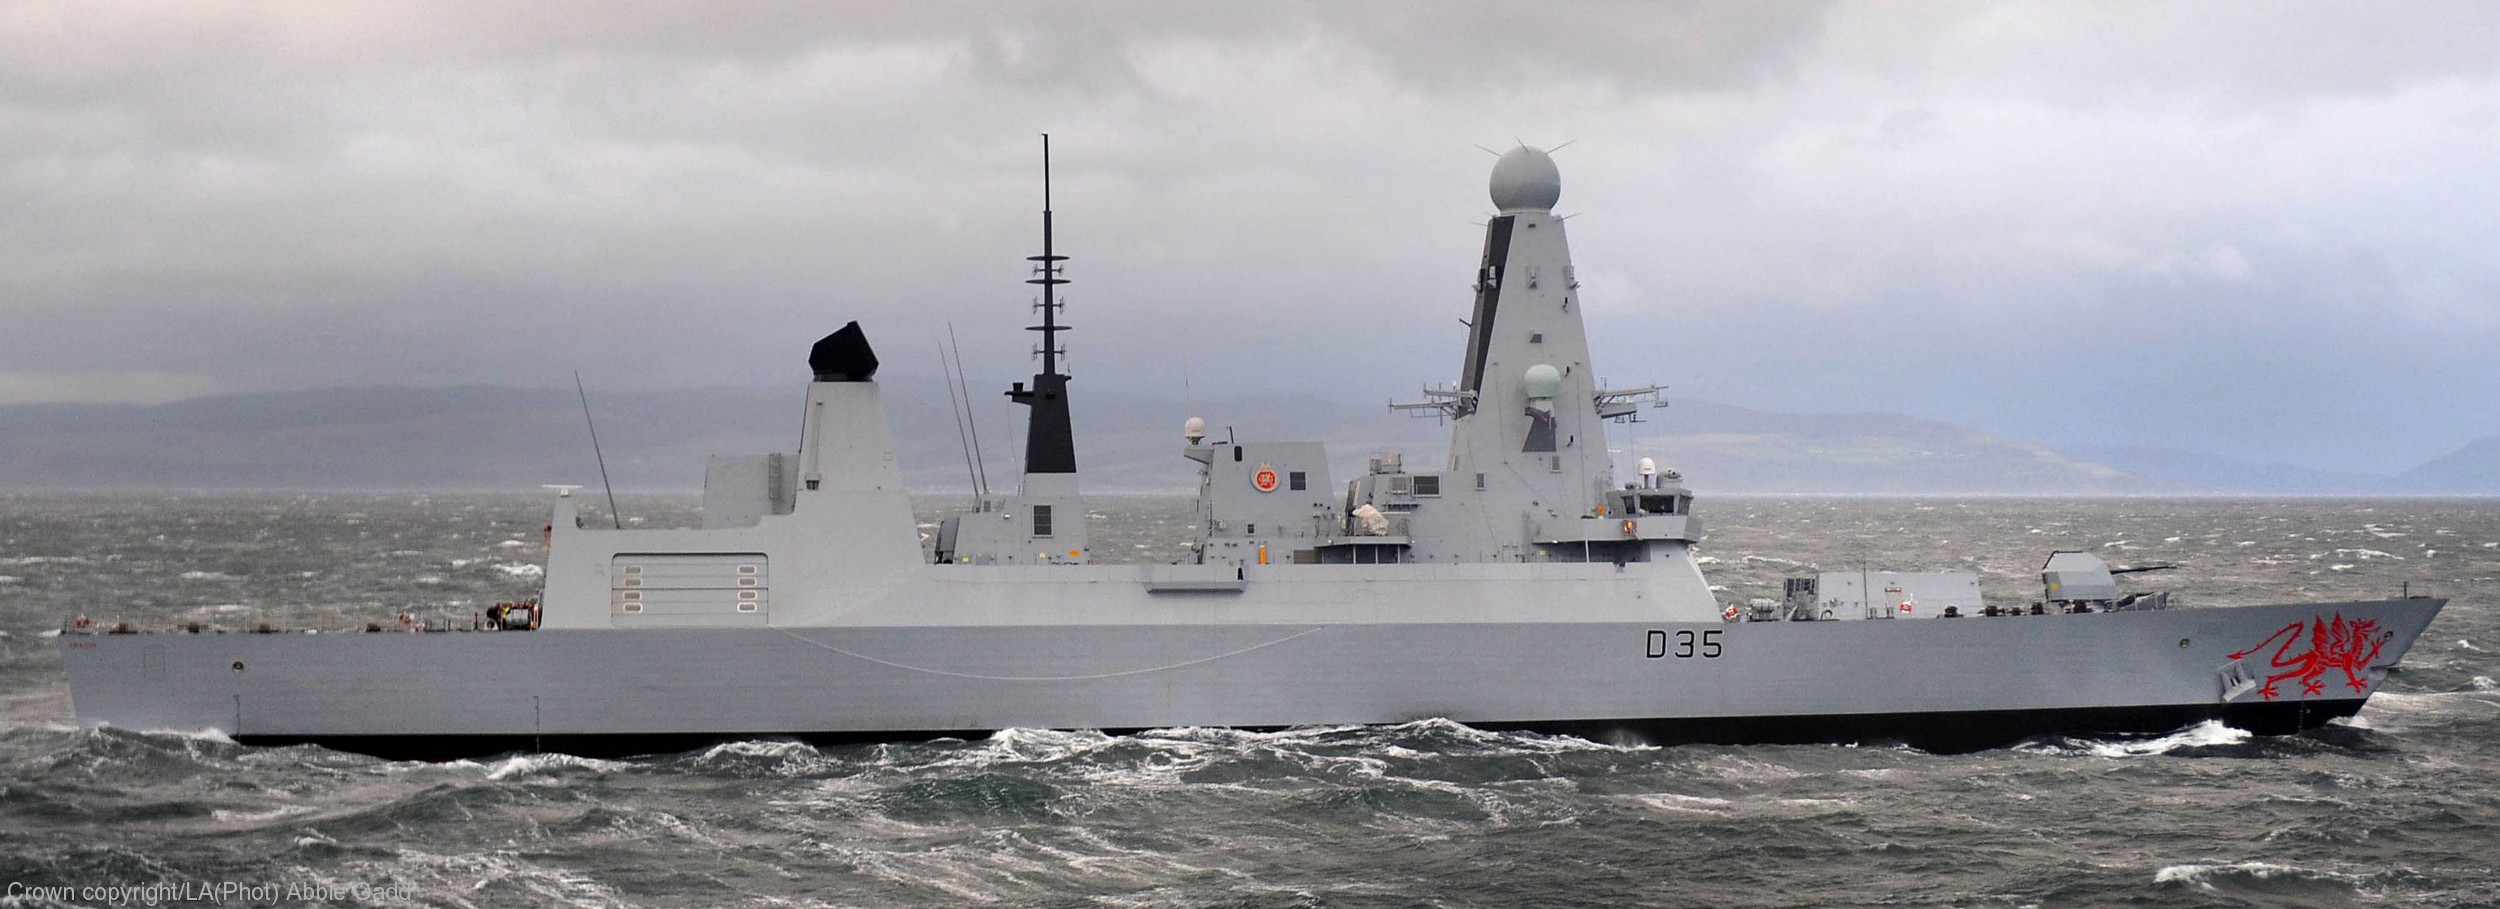
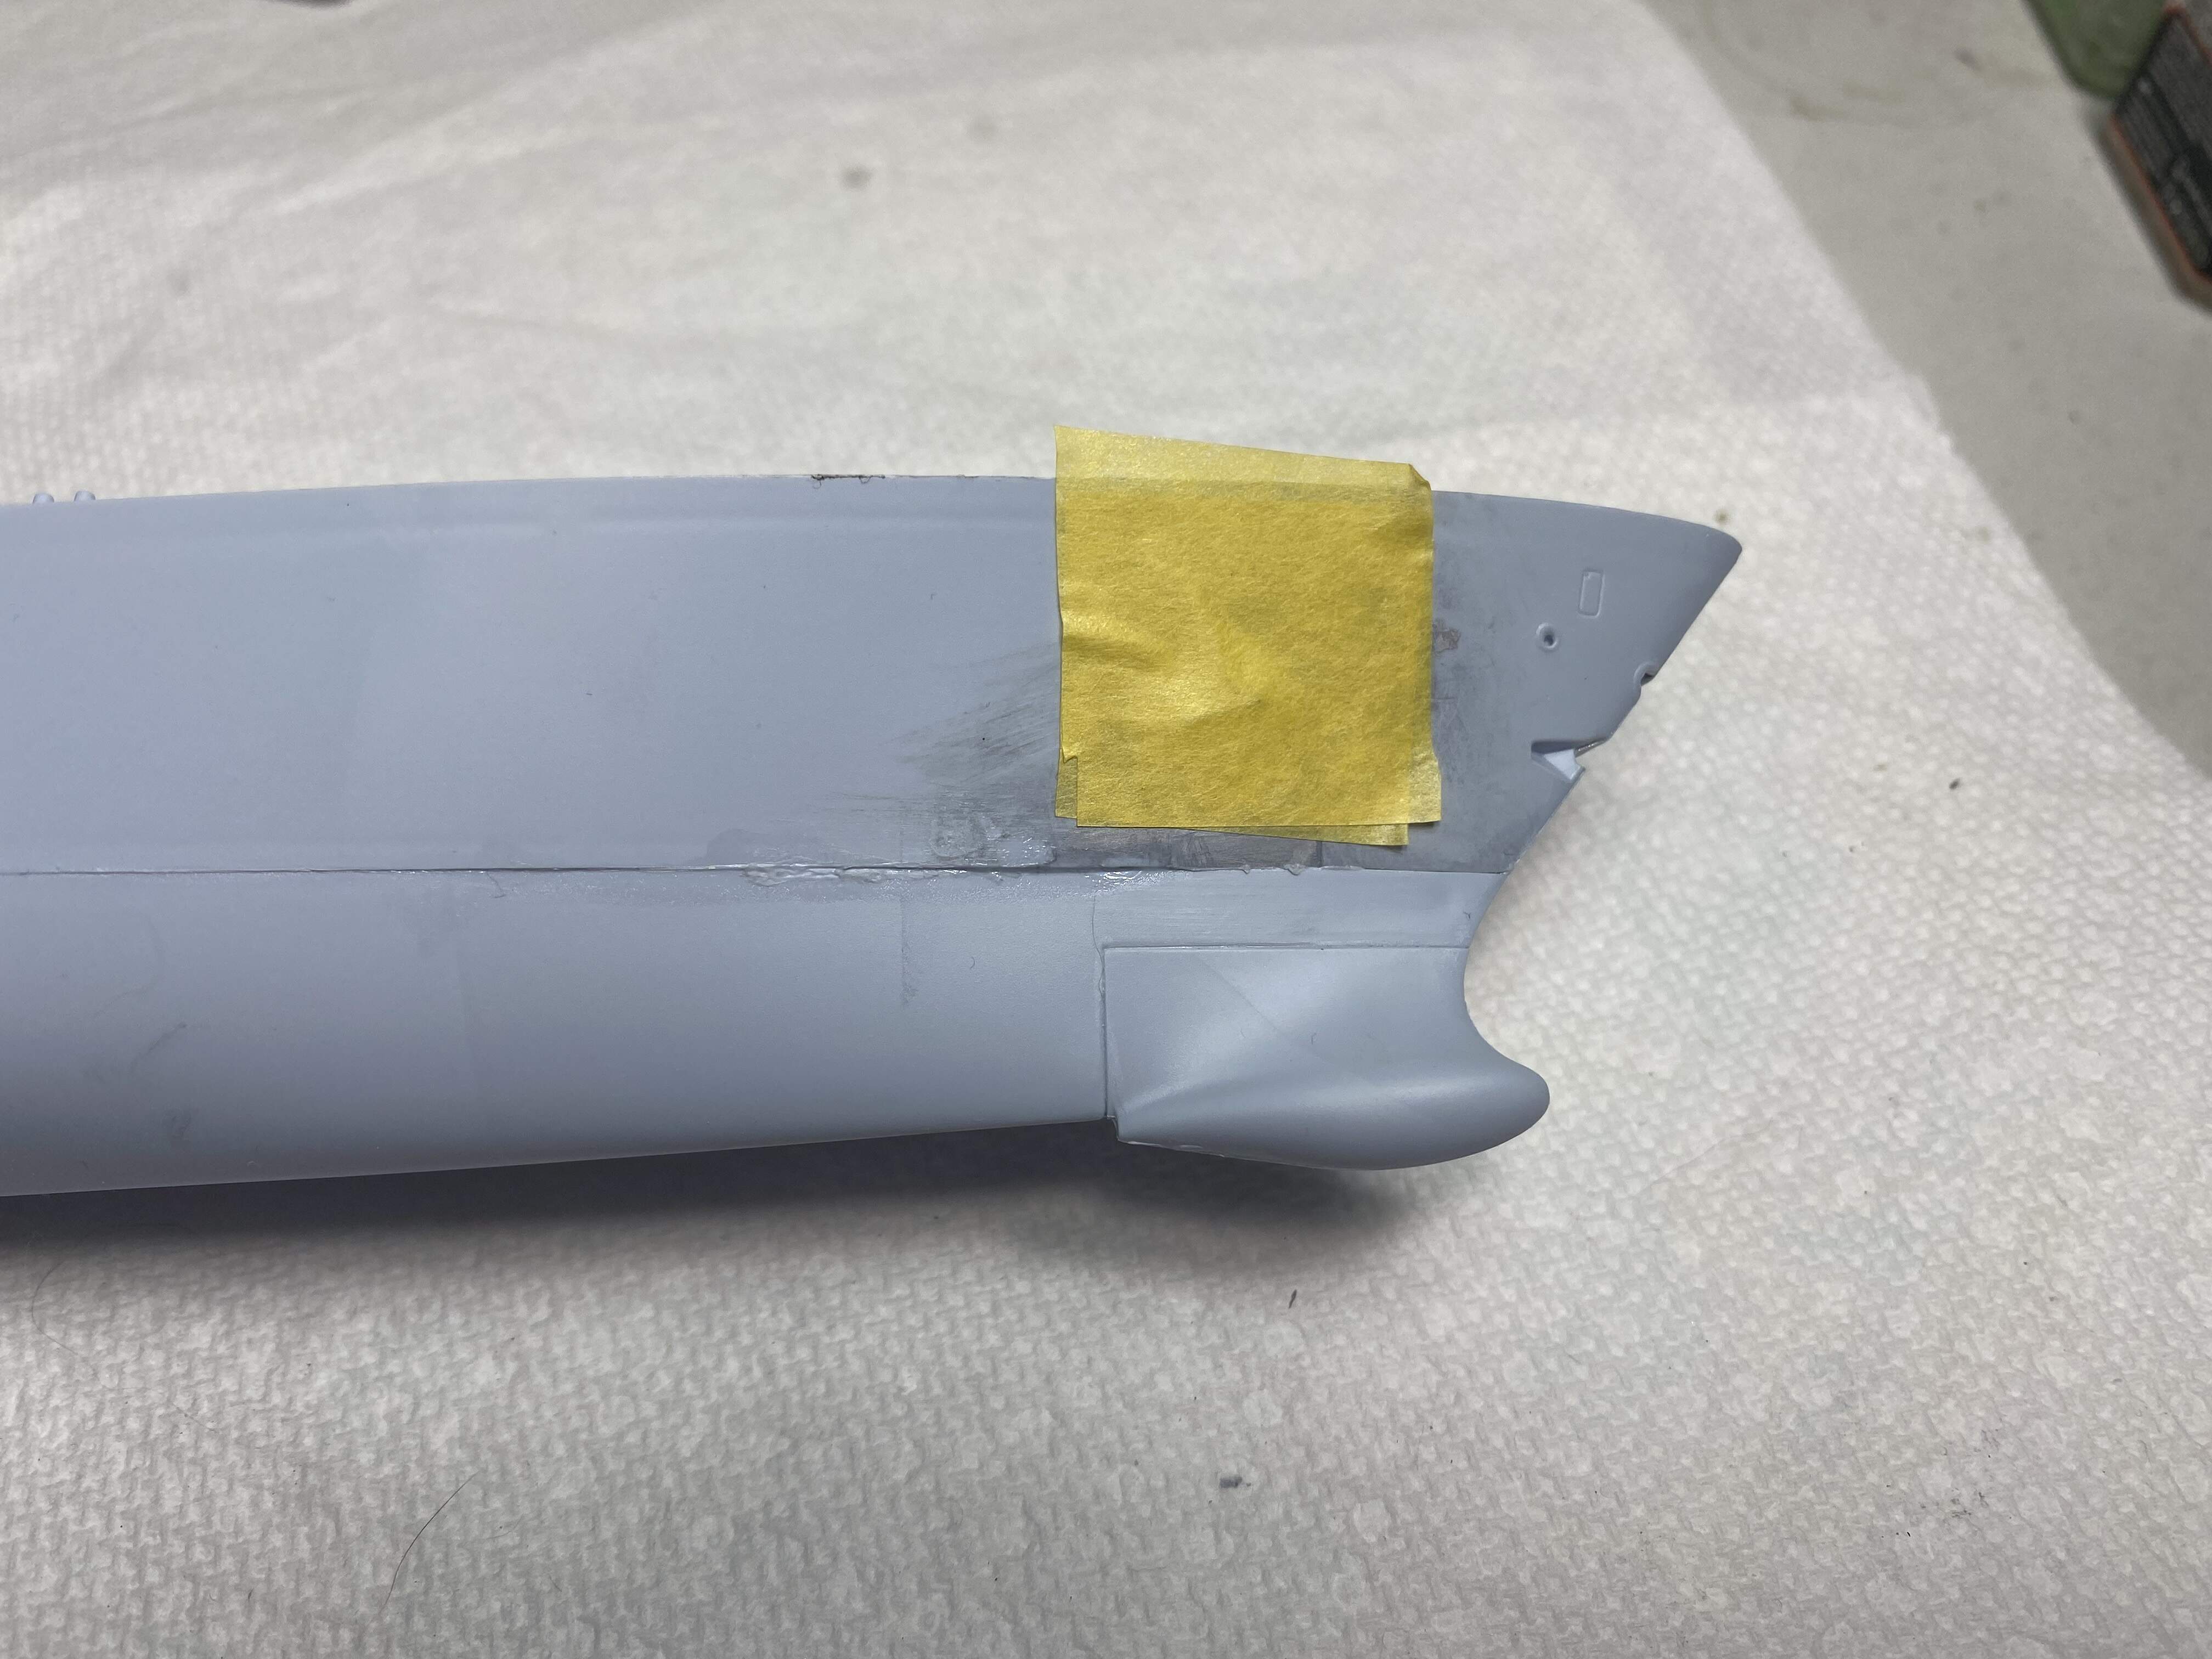
This kit has a number of issues. One of the most glaring issues is the anchor. Airfix has molded it too far forward and too low on the hull.
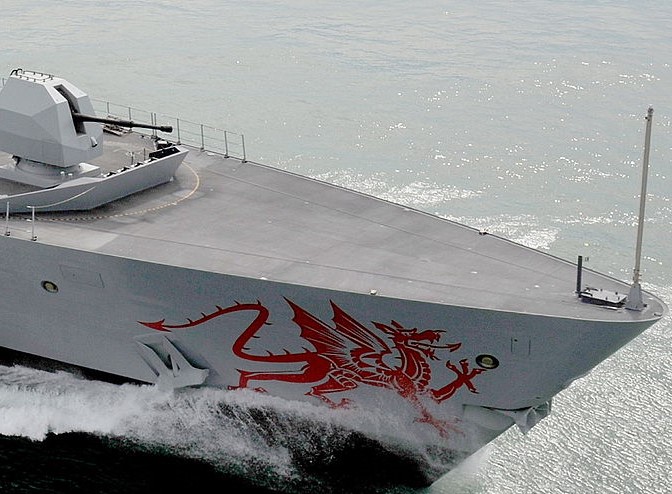
On the real ship you can see how it lines up with the bow anchor hole. It actually seems to sit slightly above it.
I suspect the aft hawser pipe is also too far forward. Its hard to tell but comparing the two pics , it looks like it definitely should be farther back, closer to the gun
Nice start! Seems you love to cut plastic too! I start to see kits slowly as kind of raw material which must be forced into shape
Go on with the good work!
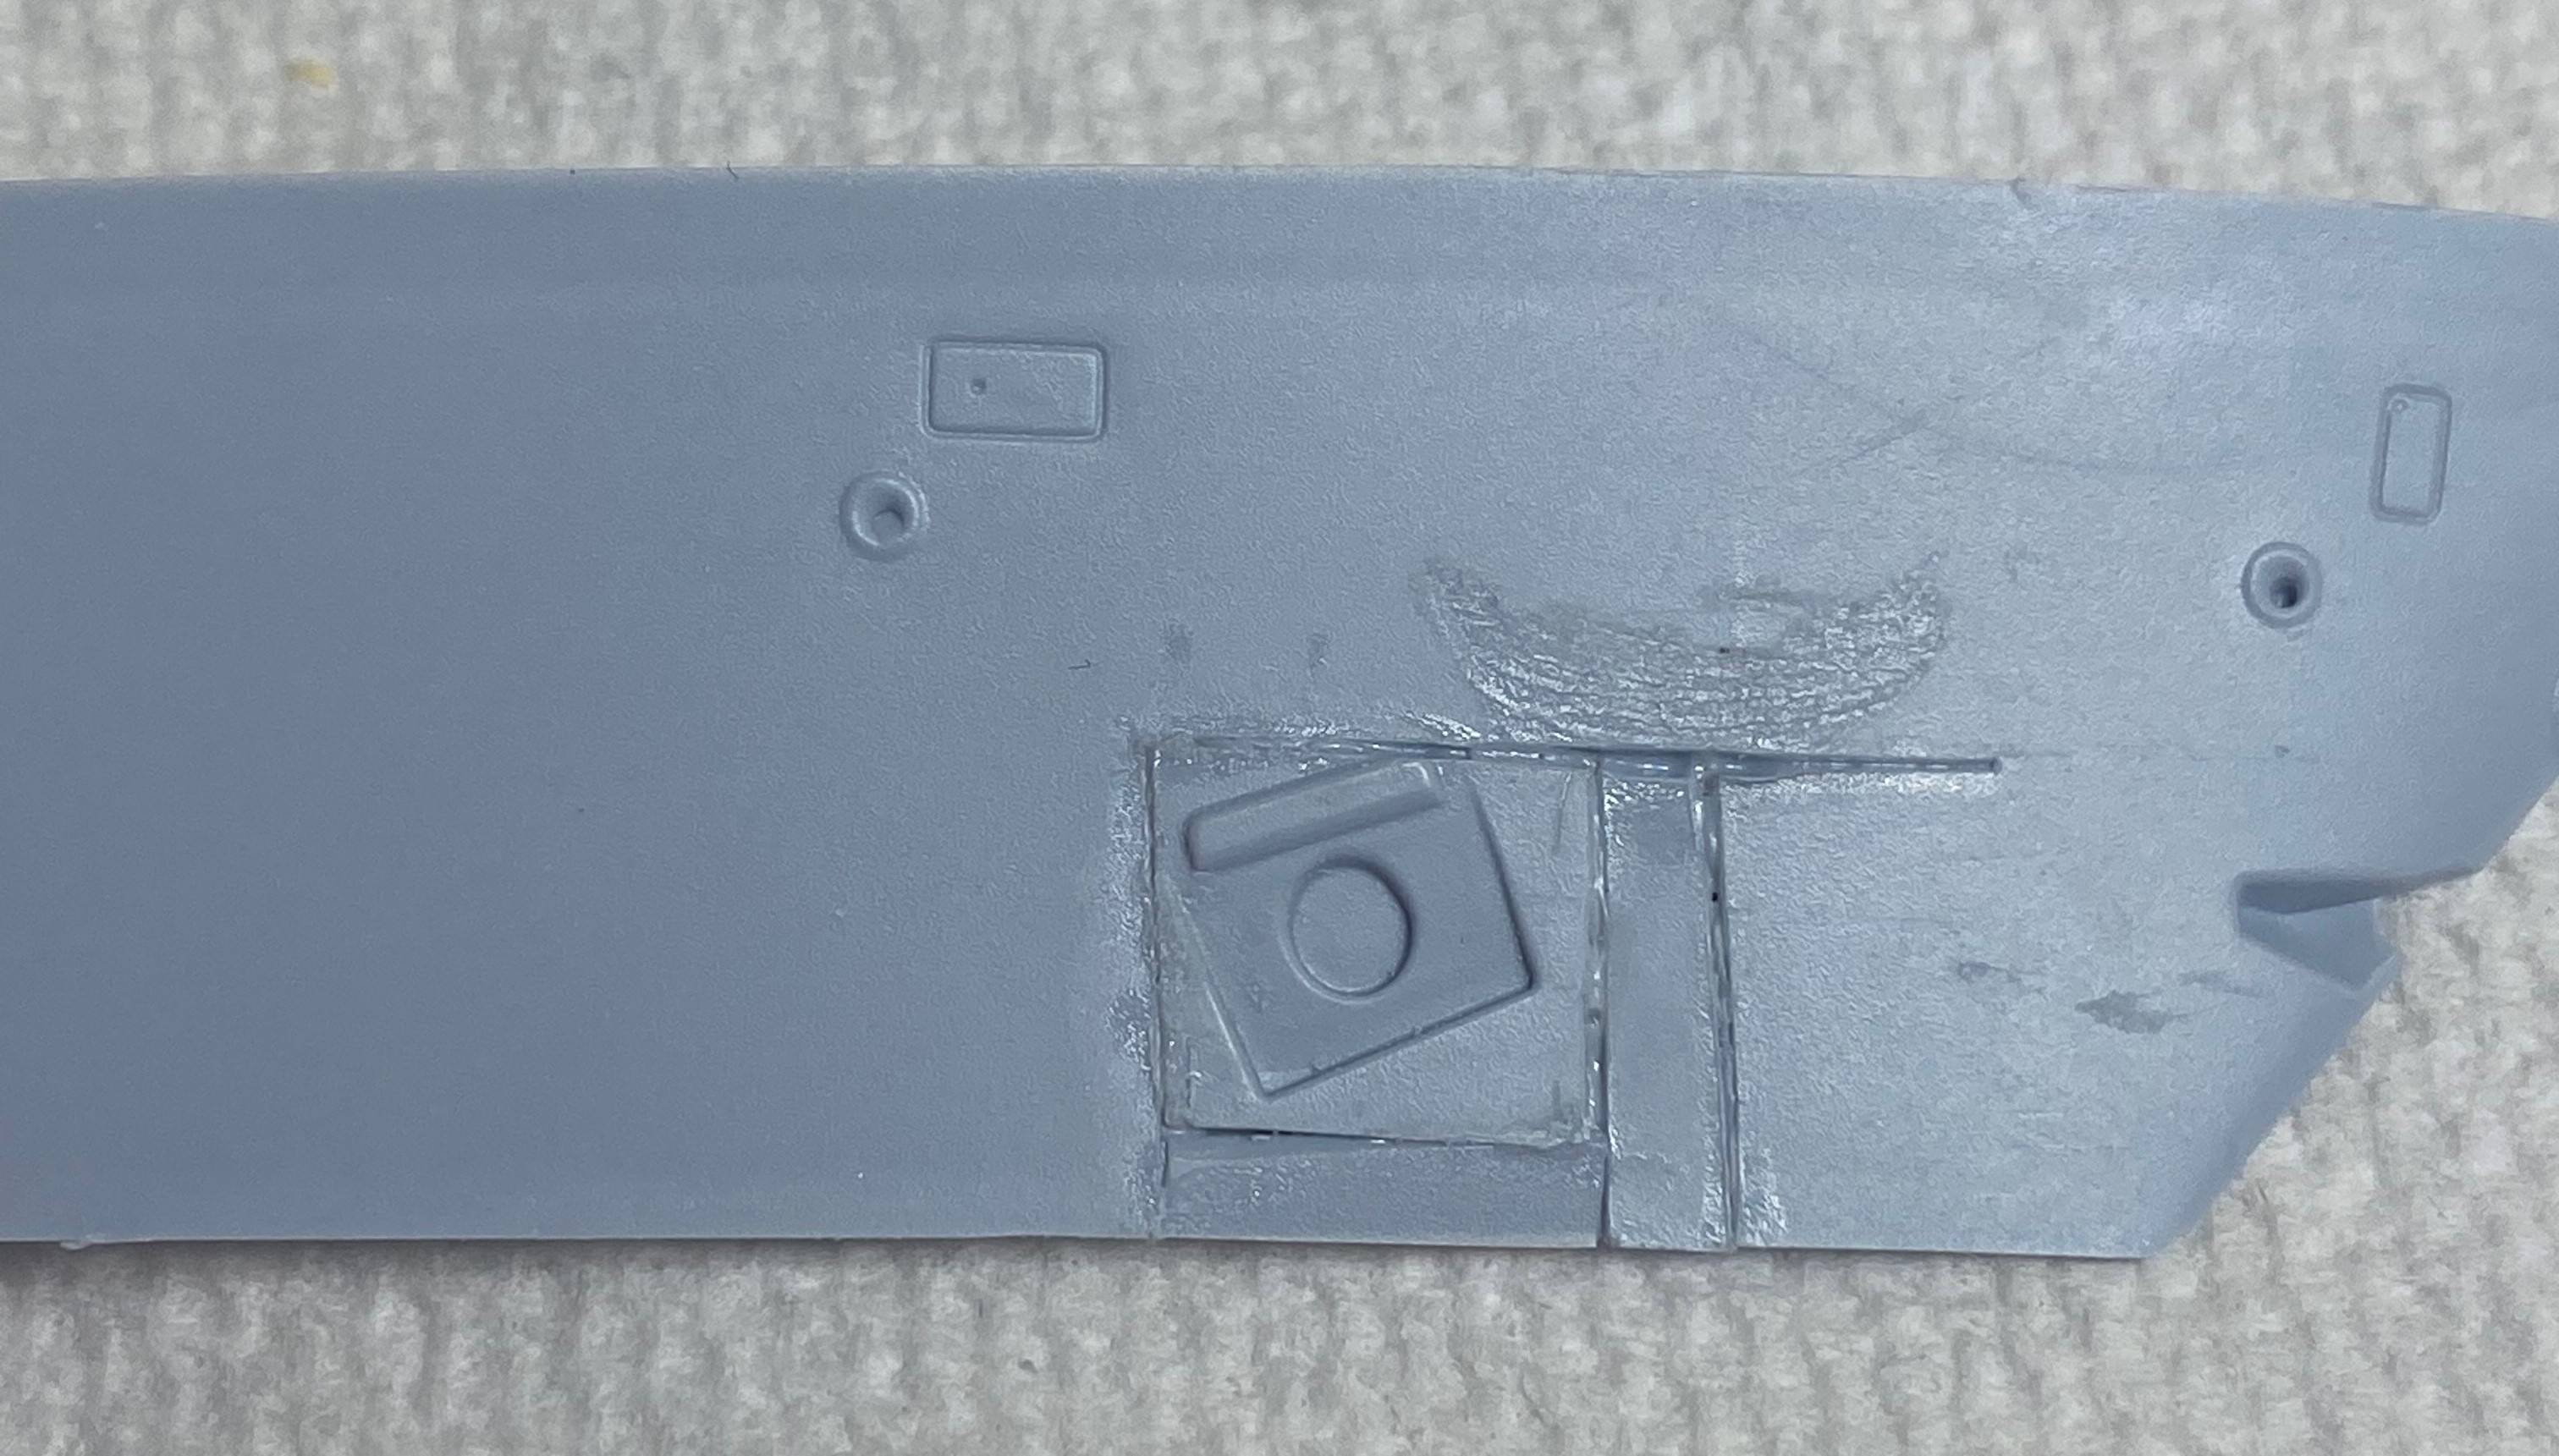
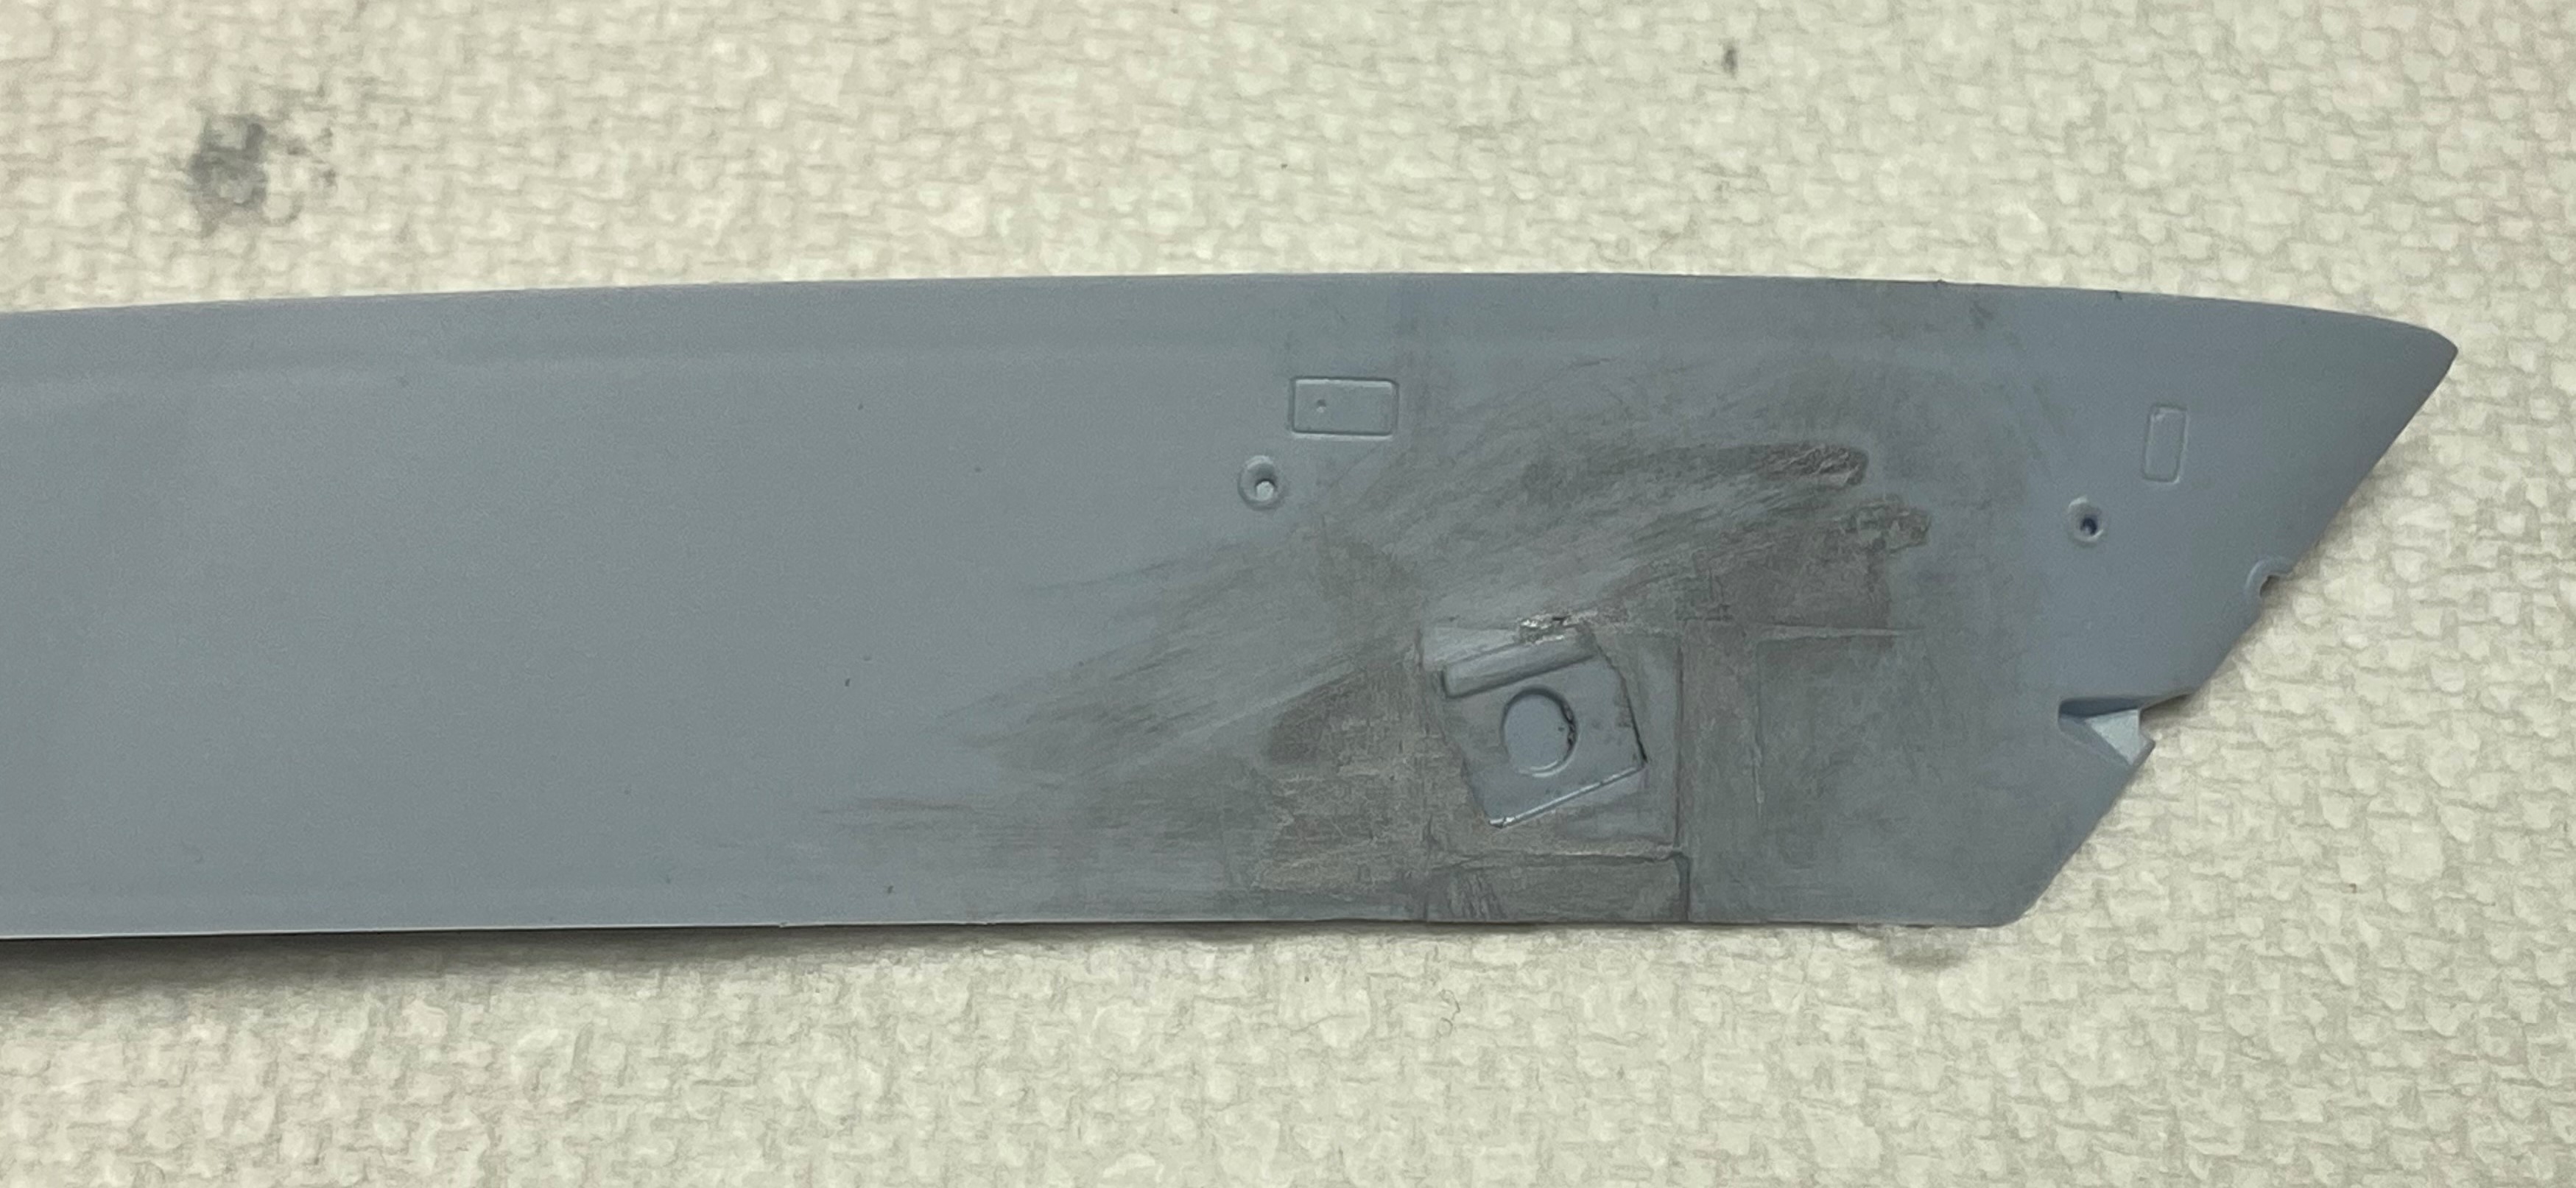
Oh nooooo. I hate it, especially when its on something I cant easy replace. So nerve wracking. In all honesty, if I wasn’t doing HMS Dragon specifically I would likely have left it alone but its right where the dragon will be so had to be moved.
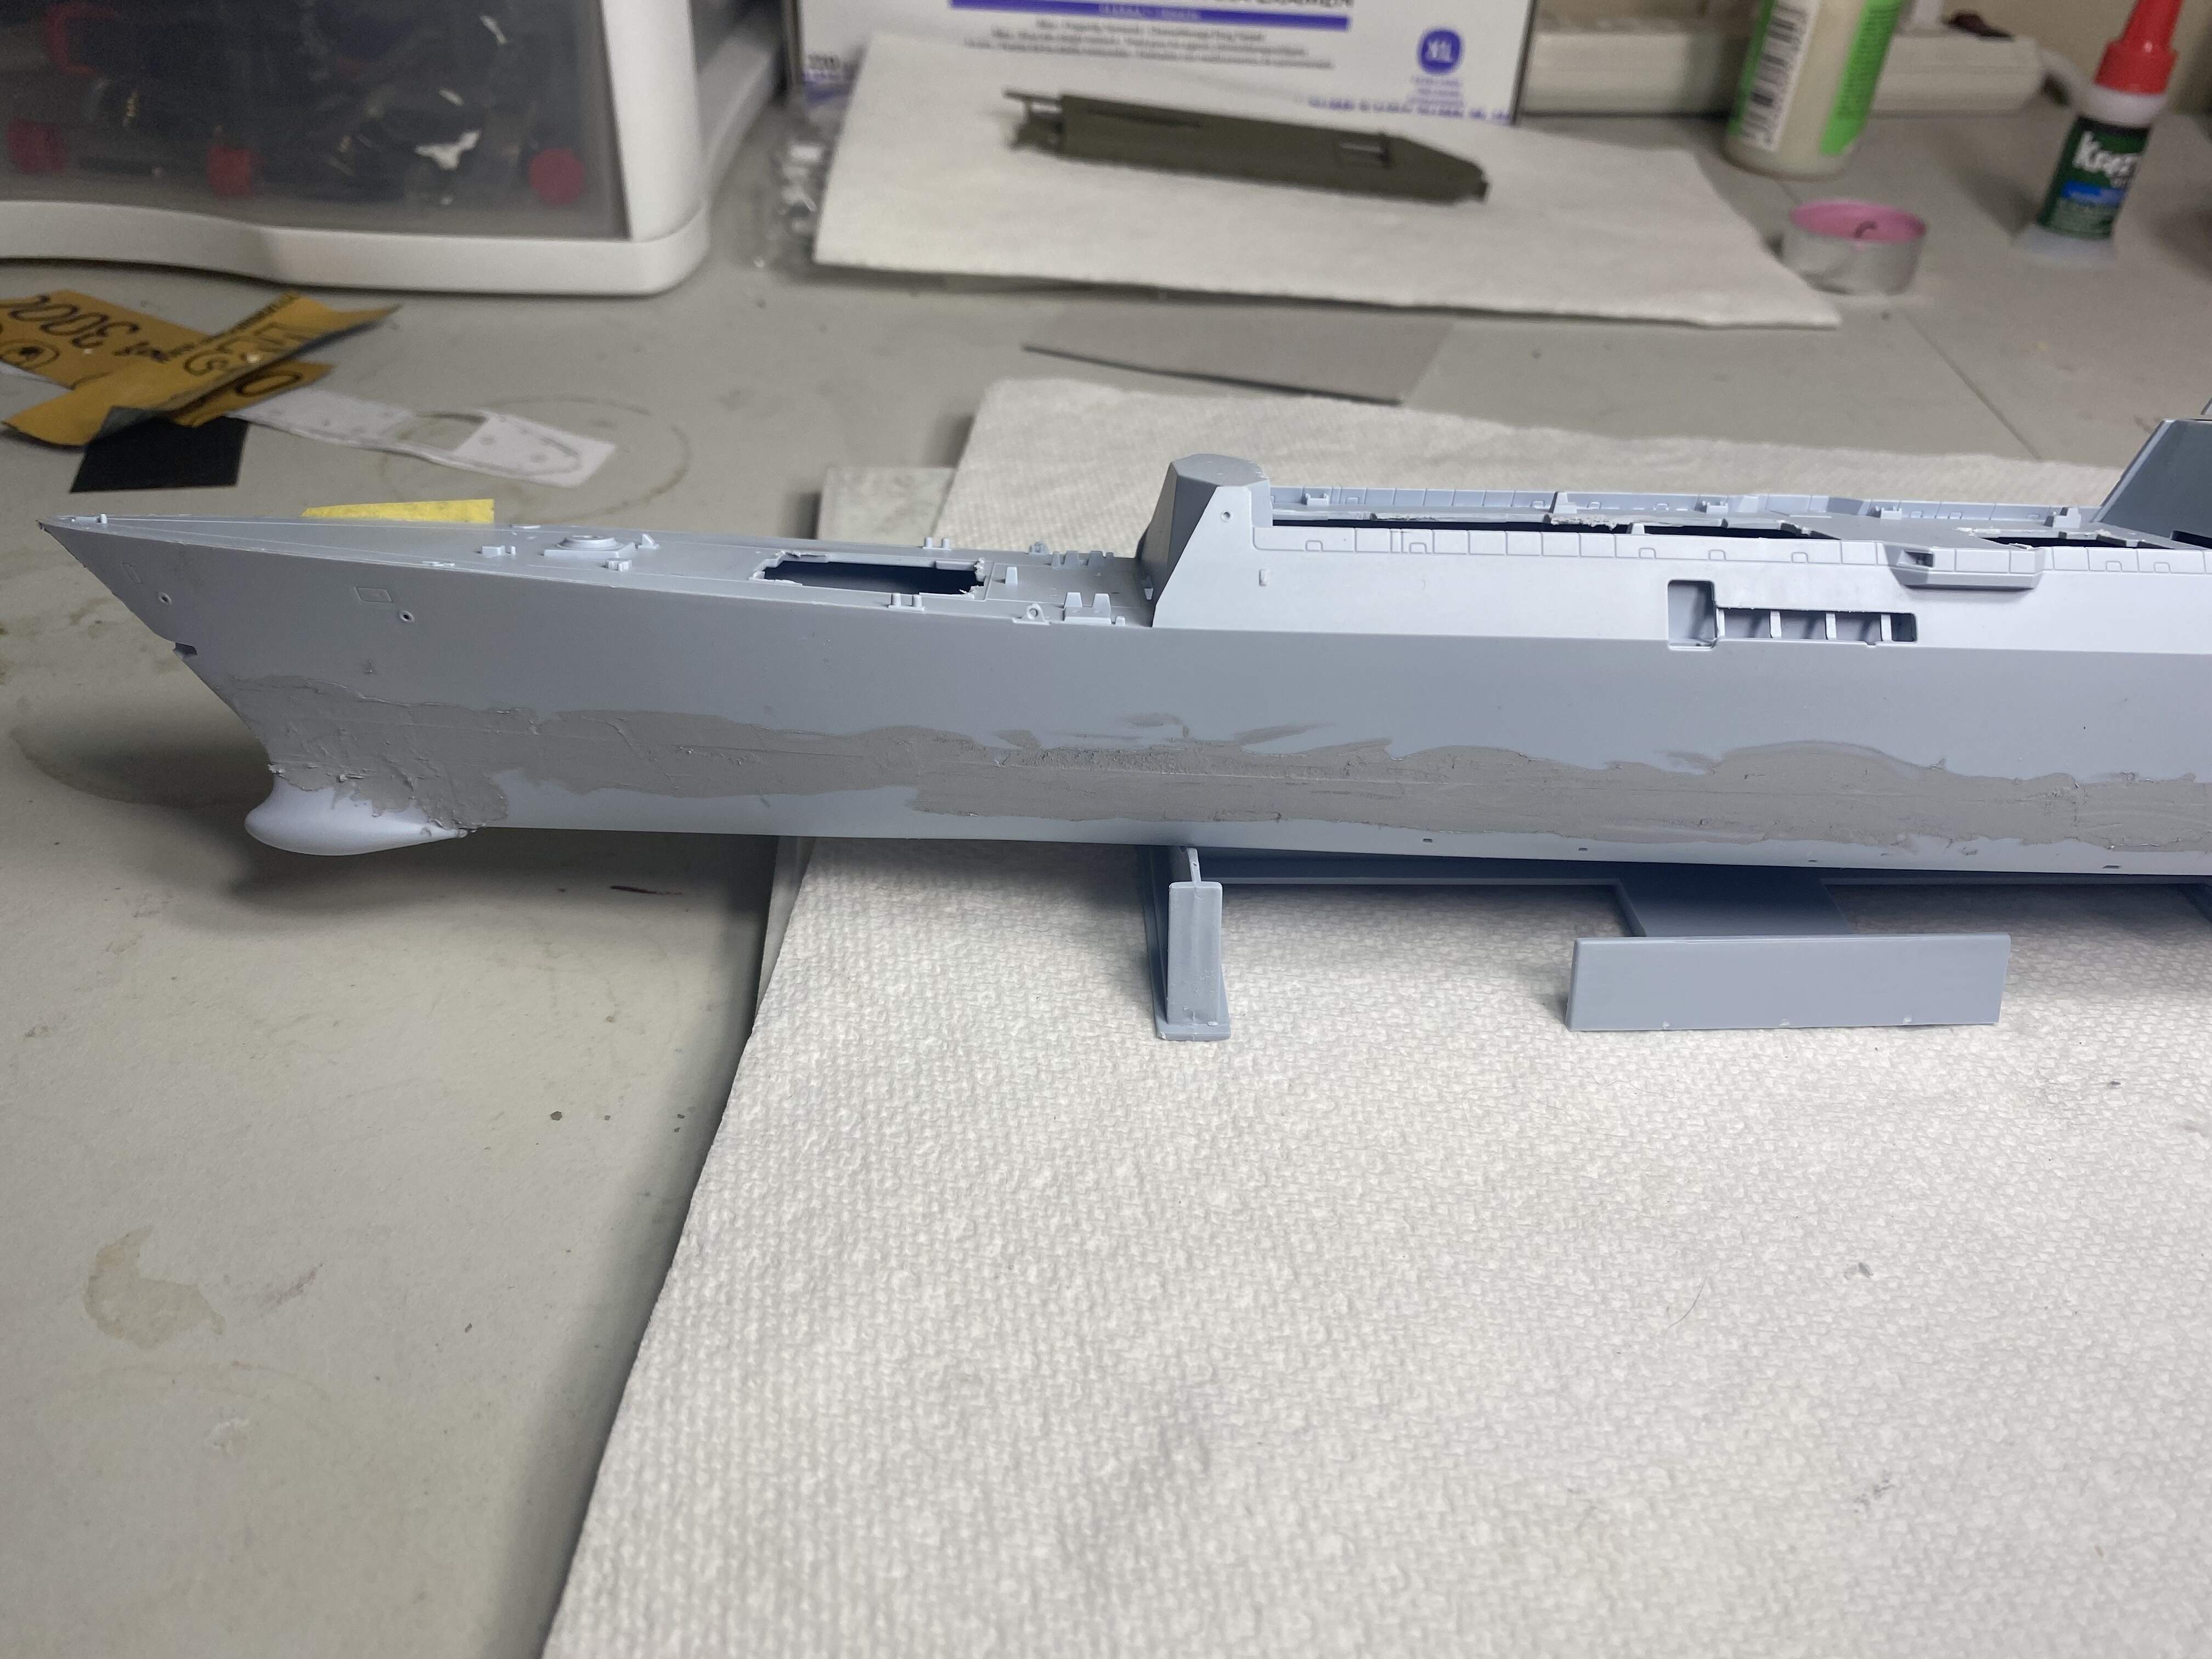
Anchor has been puttied and sanded down. Still some work to do but I will do the final sanding etc when I have the full hull together so it blends together.
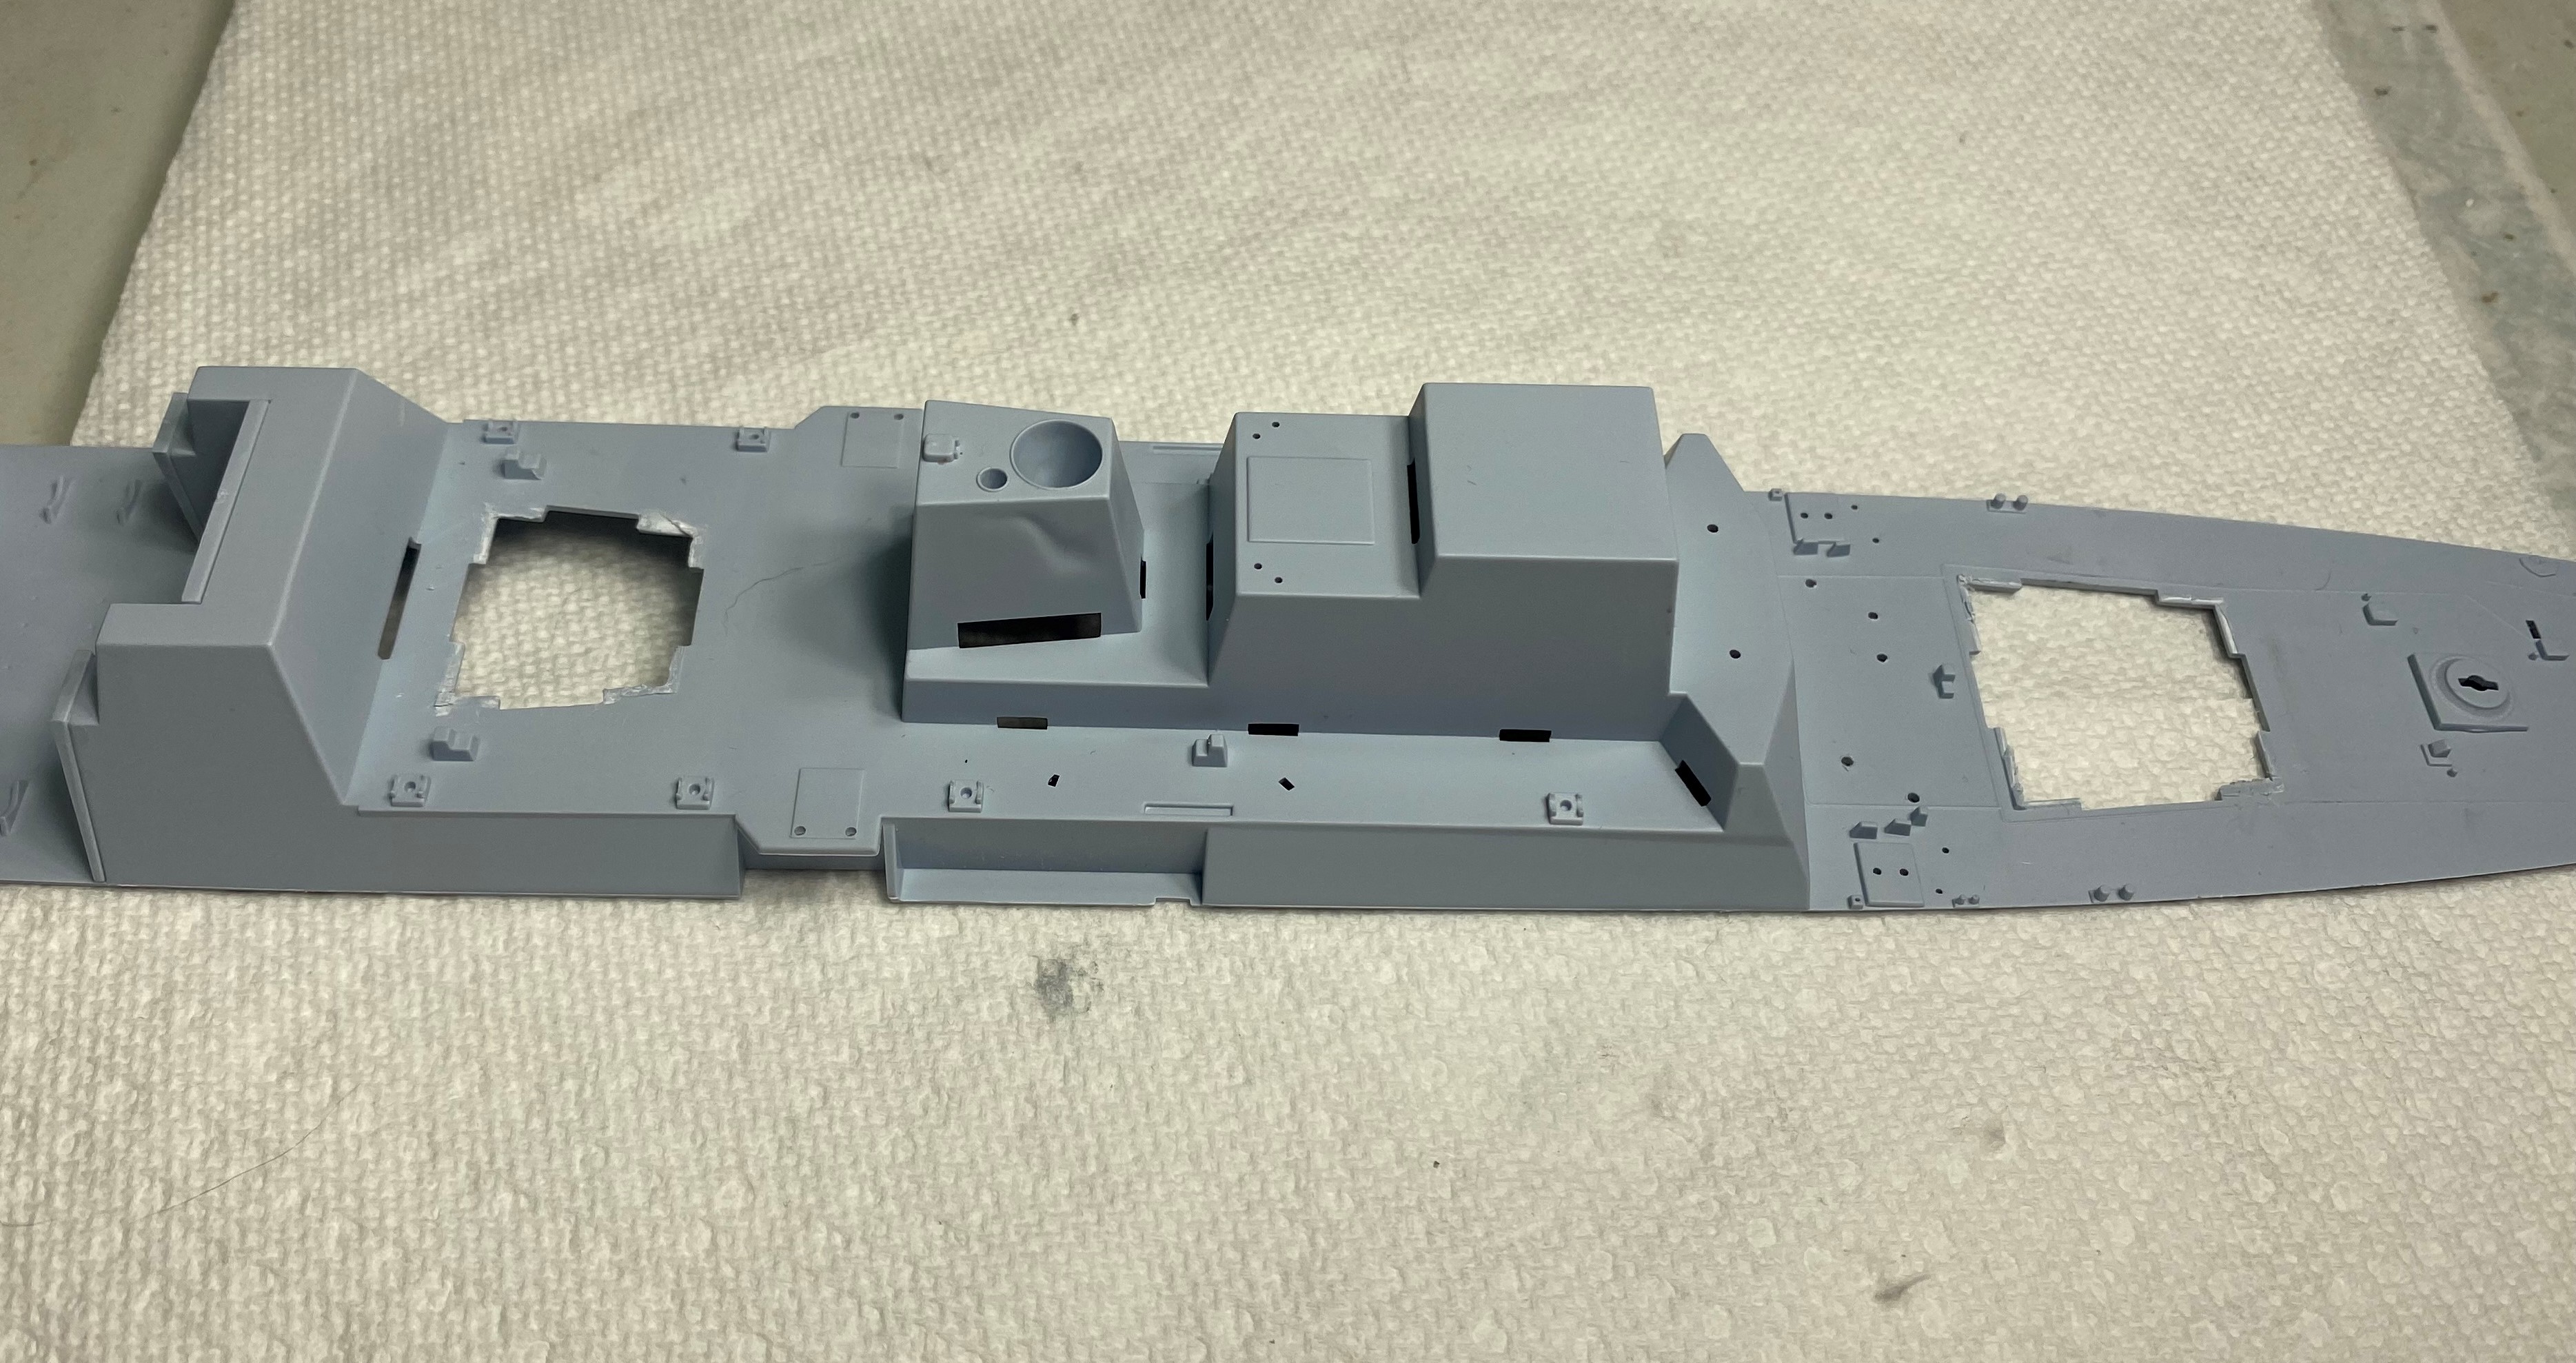
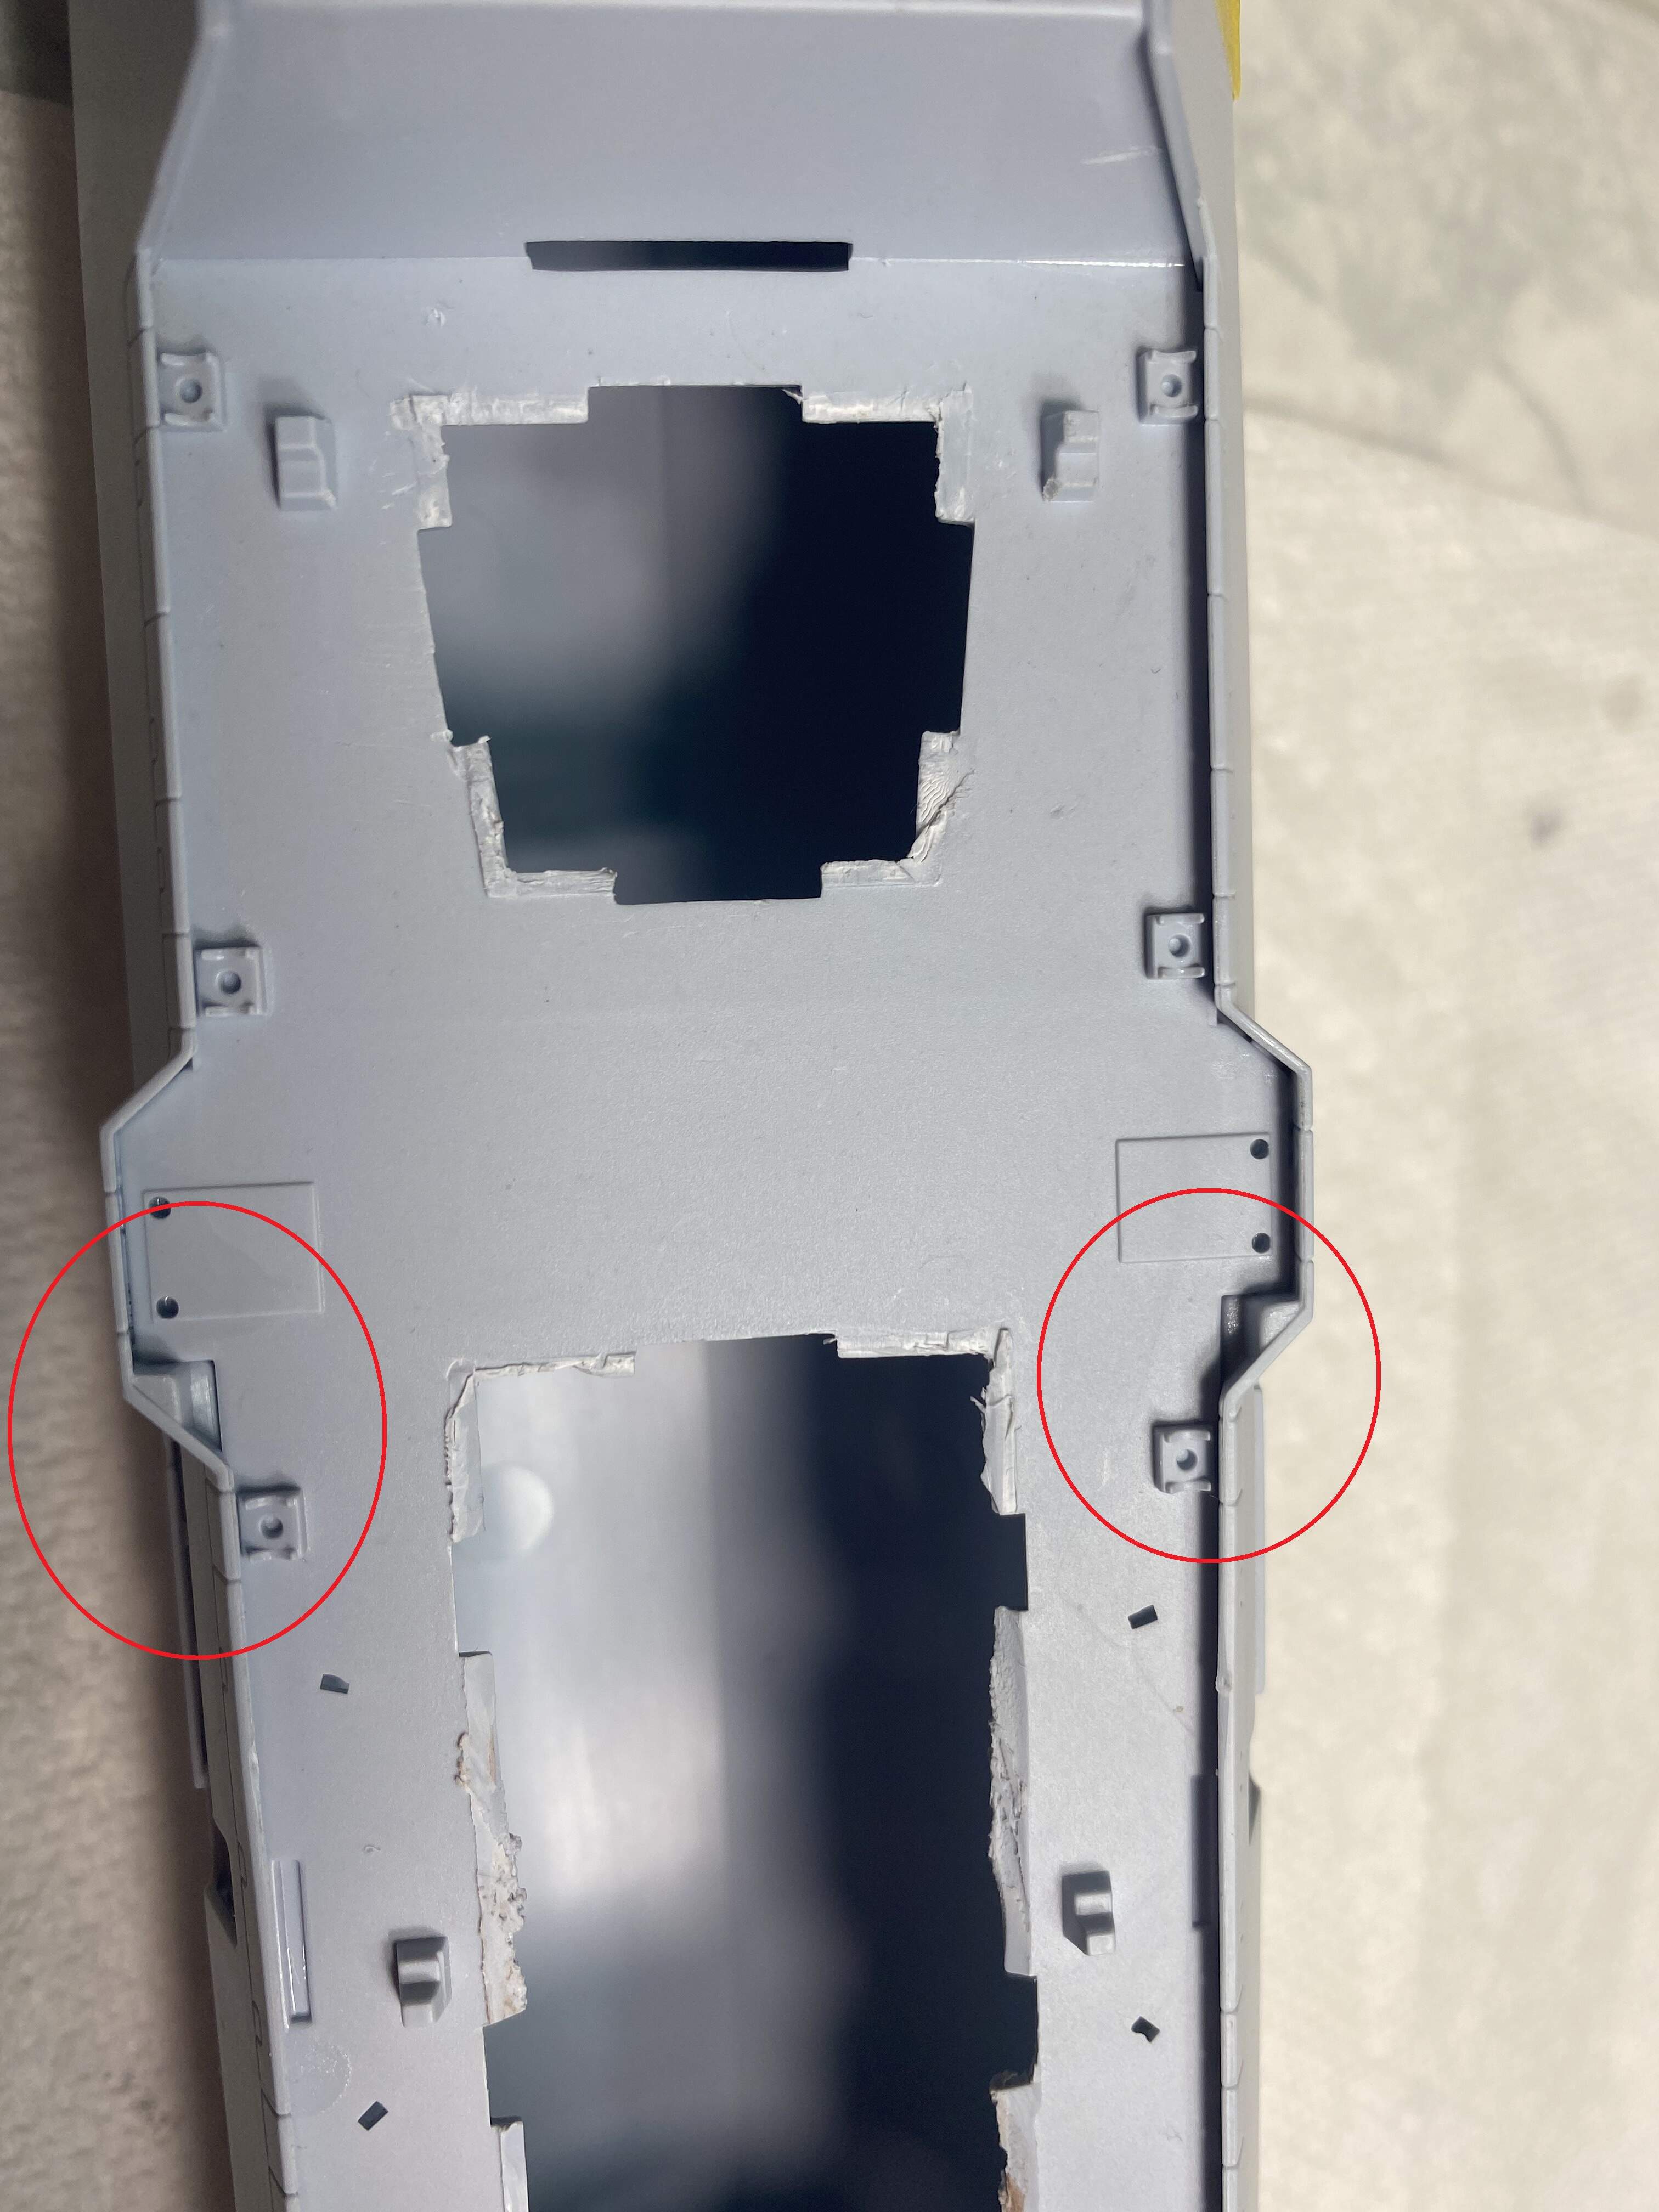
After looking at the instructions and how the superstructure goes together I opted to employ the Russelle method and cut the superstructure mounting points off the deck entirely. The fit was fine and the tabs werent an issue however getting in to paint and sand would have been a real issue with it all attached to the deck and hull.
So far I have built the basic VLS mount and the rear tower. As Russelle observed, so much filling of seams ahead sigh I am definitely starting to thing I should have gone with the Trumpeter kit.
I will investigate how to best remove the forward superstructure area tomorrow. I don’t want to get too far ahead of myself. I have a PE set on the way and don’t know where it will all be going. Need to look at those instructions and work out my full game plan.
Watch out when cutting around the exhaust stack, so as not to cut into the inner diameter like I did 🤦
The seams aren’t so bad in reality as the clean lines make it easier than say a WW2 battle wagon… I suspect even the Trumpy kit would require sanding too-haven’t seen any of those around the net being built as yet
I’ve just bought the Trumpy kit, should be interesting to watch this. I’ve got the HMS Andromeda from Atlantic models and looking to get the trumpy type 23 as well.
Watching how this build goes
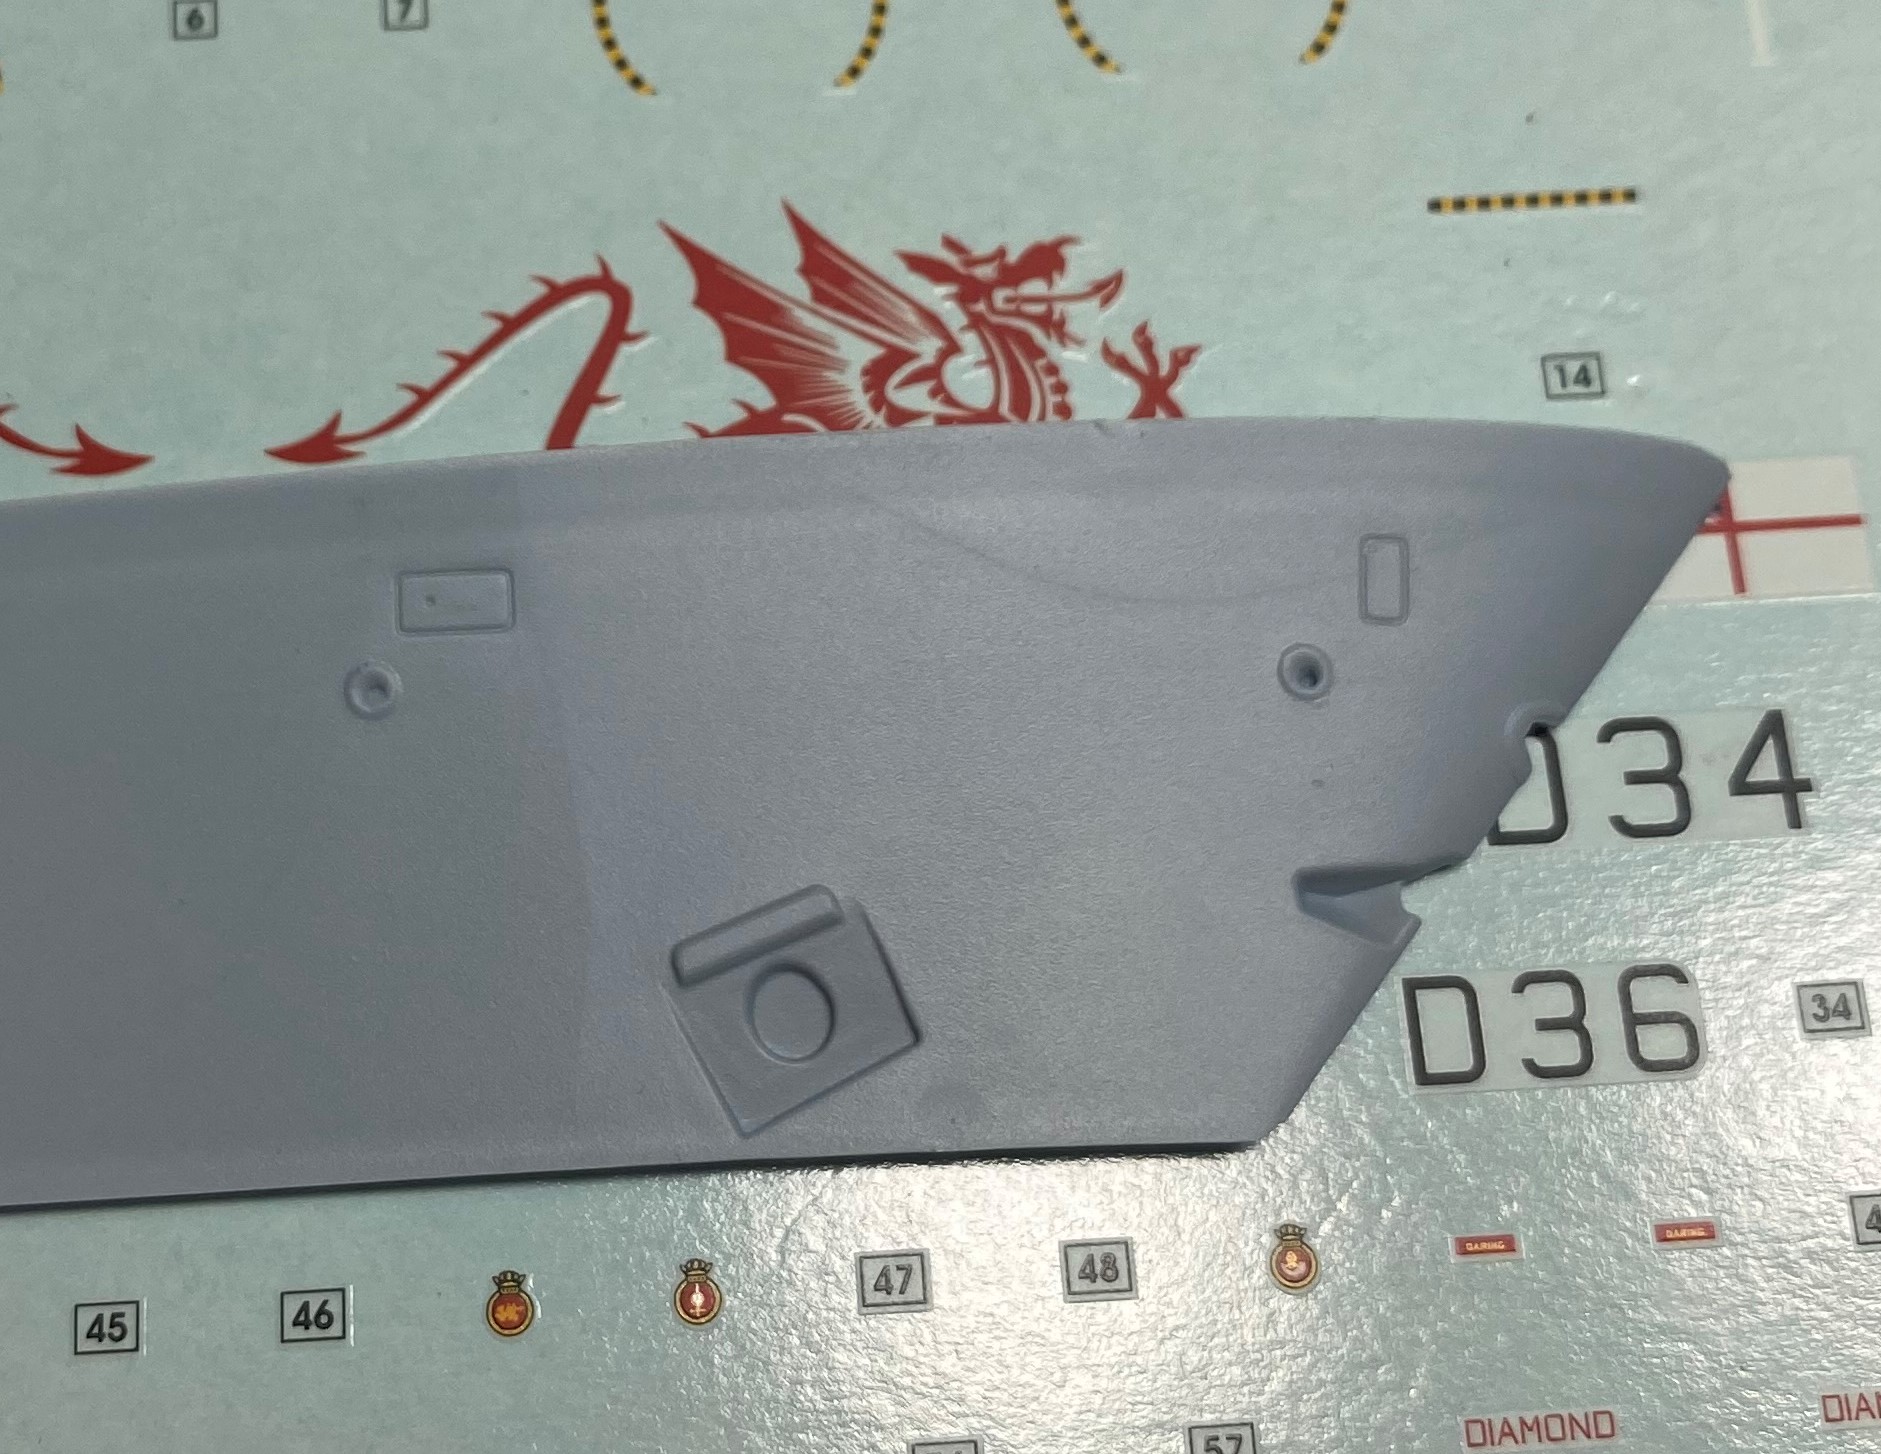
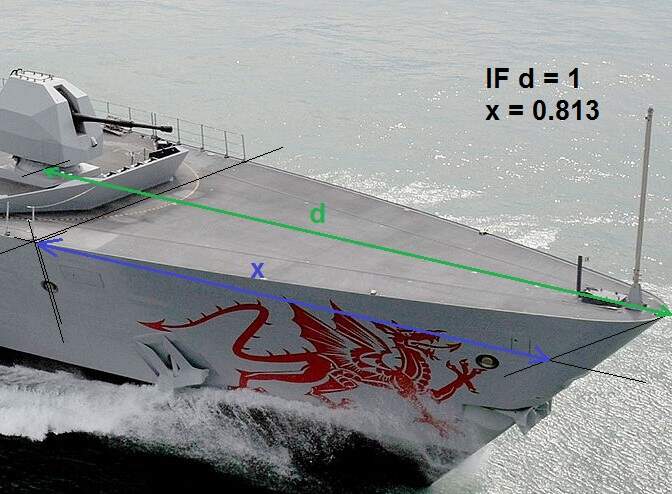
I’m a bit late to the show, but I think you are right about the “hawser pipe”. It does look too far forward of the gun, same with the hatch/panel next to it. In case you are interested in moving the position of these features, I happened to spend a few minutes in paint and came up with this:
Perspective will mess with the proportions a bit but this should be pretty close. If you measure the distance from the center line of the gun mount to the tip of the bow and multiply by .813 or just eyeball it based on the railing position, either way, the decal would then fit.
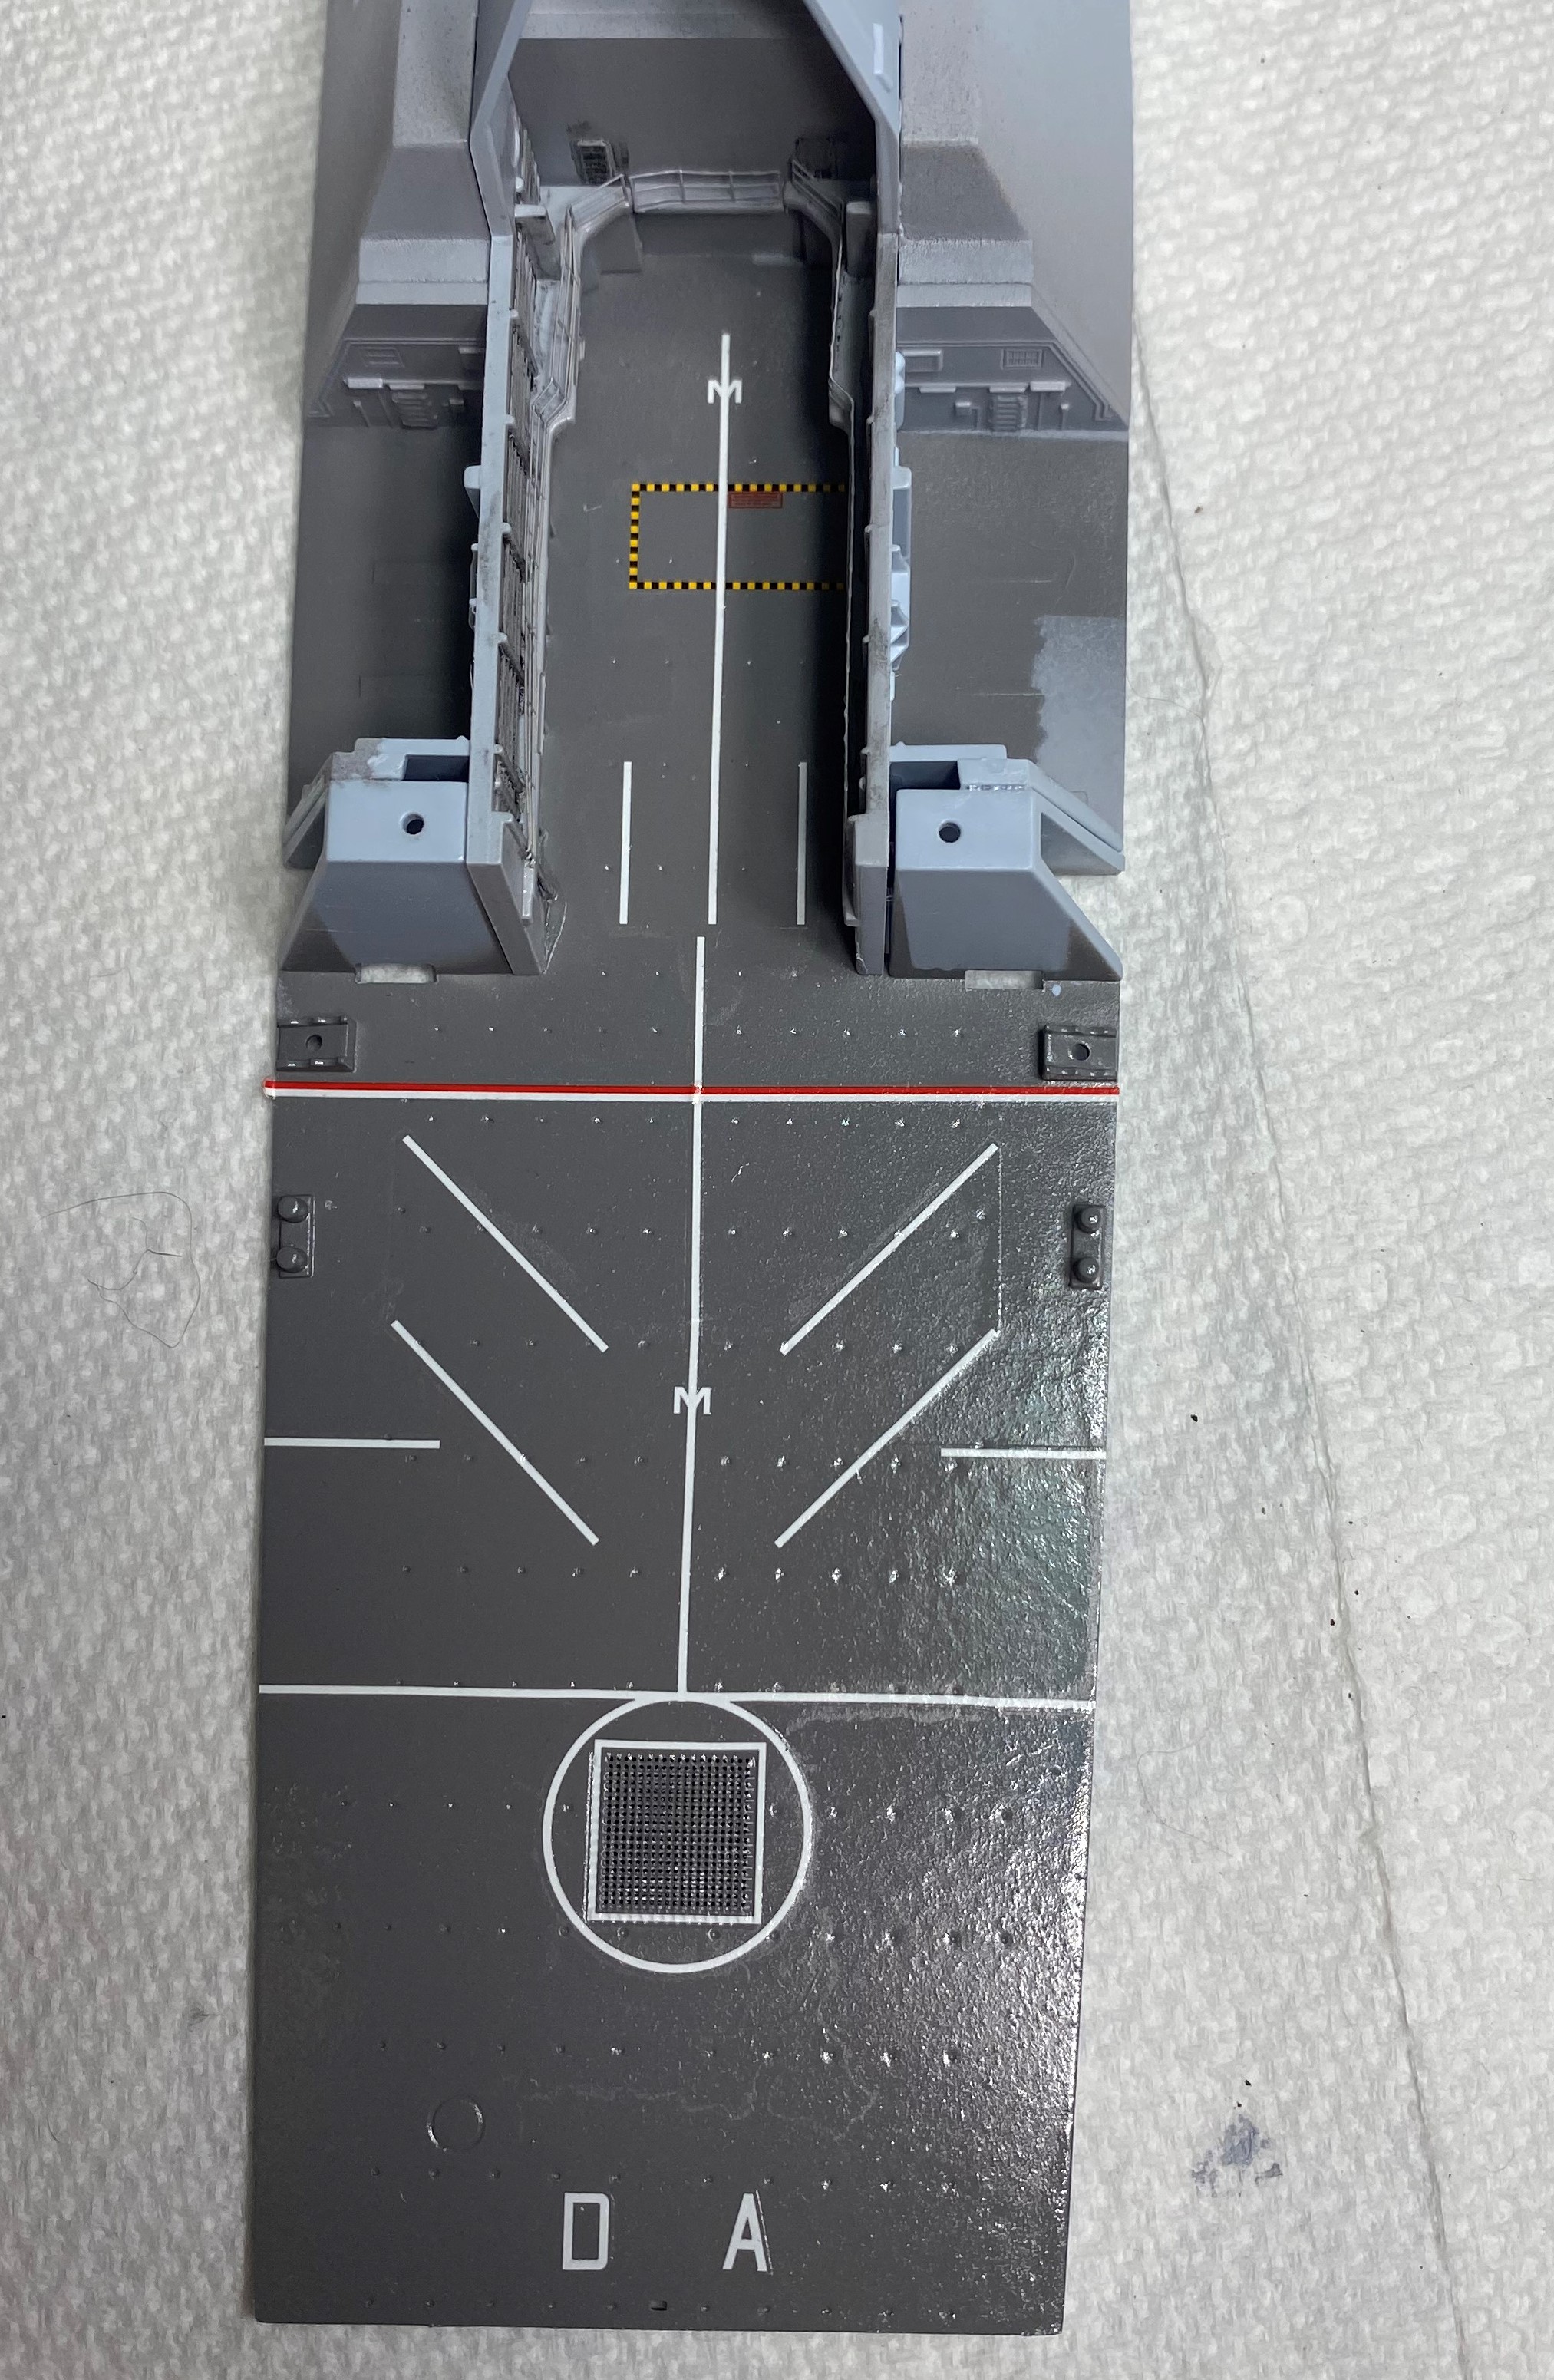
In an effort to reignite the modelling mojo I worked on my HMS Dragon some more this weekend. I managed to get the flight deck and hanger decals down however I did not plan it very well. I did the hanger decals on one day and the deck decals the next and they don’t line up. Oh well, once everything is buttoned up and a helicopter is on the deck it shouldn’t be overly visible.
I was terrified of this decal because of what happened to you but it didn’t give me any issues. I did cut the vertical line above the M and put it in place as a separate bit but that’s it.
Next thing to do is the port boat bay. I am going to have the starboard side closed up. Saves me a bit of time plus I tend to display my ships sailing to the left so you wouldn’t see it anyway.
Can I ask, Rory, what you used to soak the decal in? I used my standard goto decal set solution from Humbrol, but it seems this may have been the problem and I should have just used water?
I used water to soak and to get off the backing paper and then a very liberal application of MicroSol once it was on the deck.
Super job with those challenging decals, Rory - they look painted on! I use a similar method; soak in water, apply to model, then apply setting solution only after the decal is where I want it.
Applying decal set any time before that has invariably resulted in disaster!
I reckon using the decal solution to soak the decals was my downfall-although it’s my standard approach when making aircraft, although those decals are from cartograf, whereas these are not…
Just wanted to say what a great build you have going on here. What should have been a fairly straight forward build has turned into a challenge. Great job1