Hey Rory!
Great progress so far!
The gaps/joint might not be as bad as they seam (see what I did there?  )
)
If I may suggest, finish the assembly of the block around the main mast (above the hangar) before you start filling.
Then, instead of putty, use a medium CA applied with a toothpick or other sharp tool and use silver paint to check it’s coverage after curing for the seams on the superstructure.
This way you get a much more accurate “fill” and the resulting material is not as soft as putty and will sand to a nice crisp corner much more easily. Re-apply silver paint after sanding to check the shape and to determine if you need to add any more CA.
For any seam line on the hull, though, stick with putty as you need the coverage and of course its softness to sand in the organic shape 
Hope this helps 
2 Likes
Hi Rory,
Yeah, you’ve got some fun seam filling ahead!
I agree with Russ about the super glue solution. I was a committed putty-er for many years and was very resistant to the absurd idea of using super glue to fill seams. I eventually gave in and tested it… it was different and uncomfortable at first… but boy am I a convert now! My favorite aspect of the stuff is that it doesn’t shrink - which is a common problem with almost if not all putties with ghost seams reappearing weeks or even months later. Also, as Russ pointed out, it is much easier to make sharp, crisp corners using cyano. Less smell, lower toxicity than putty… the list goes on! I’ve reached the point now where I use putty only for special applications where the shrinkage is advantageous (as on figures), or for weld lines. I would add to Russ’ procedures the use of cyano accelerator, which speeds drying times up considerably.
Anyway, if cyano-as-filler isn’t yet in your bag of tricks, I encourage you to try it out!
1 Like
I am always down to try new techniques. Do you gents use just straight CA or add in something extra? I have seen people online mention various powders etc to give it body.
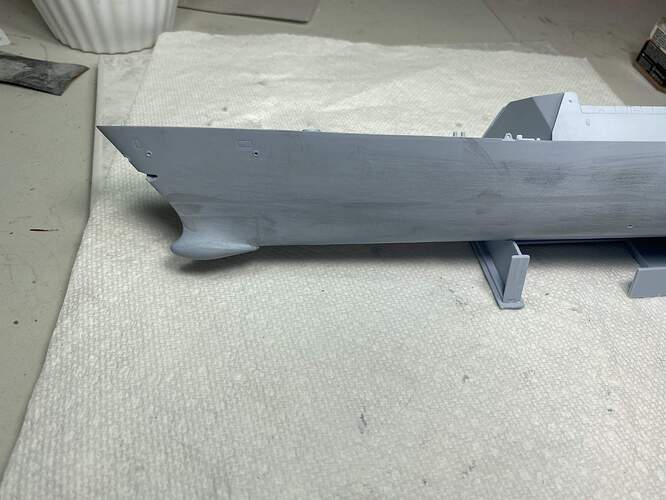
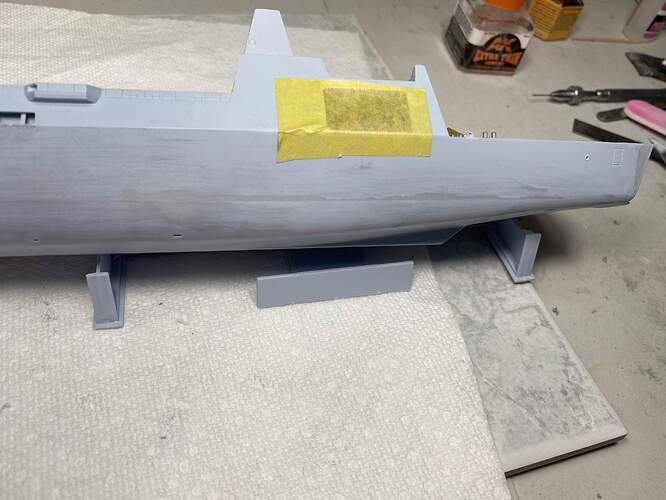
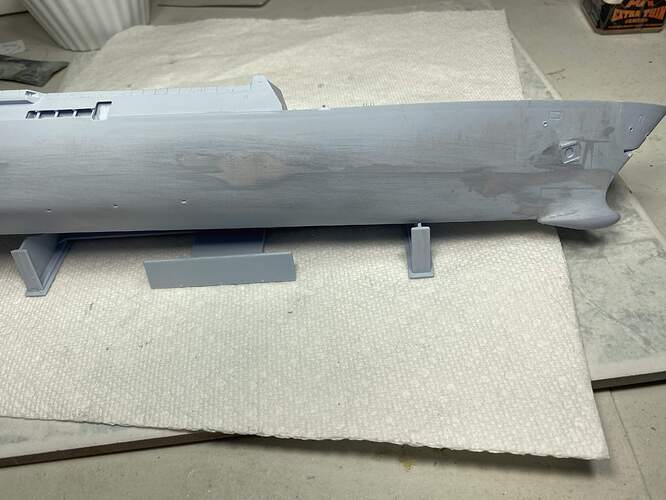
I have been working on the hull. I have it pretty much sanded down to where I need it with just a few small spots to do.
It looks rough but its actually very smooth. Started at 180 grit and worked through the grits up to 1000 grit.
3 Likes
Just straight up CA, Rory, but medium gel. This gives a good working time/flow rate, but cures within a reasonable time. Adding powders can help with softening it for sanding, but I’ve never bothered.
FWIW I also use CA to fill the seams on all my AC, using silver paint to check.
Well, 180 sounds a lot more realistic than my 80  I reckon your hull was in better shape than mine when it came out the mould? 1000 grit? Lucky ship! Mine only got to 600 then got paint splashed on!
Looking good mate! 
I like my hulls like I like my whiskey. Smoooooooth.
In all honesty I think I went a bit overboard but it did help to let me feel some raised spots before I will apply paint.
2 Likes
I just use the cyano straight up, both the thin and medium consistency types for different applications. You can use baking soda to make it dry faster, but that gives it a pebbly texture (good for armor, not so much for ships). I use liquid accelerator. Another property of cyano I like is that when it initially dries it is firm but rather soft so you can shave it with a sharp knife. As it cures fully it becomes hard and more brittle, but it doesn’t shrink. Wonderful stuff!

Rory,
well, following yours and Russ’ build, that seems to be a very ‘interesting’ kit… You’re doing great work, she’s looking very smart so far.
And I am learning - CA instead of putty - I’ll give that a try for sure. Sound very reasonably!
Keep up your great work!
Cheers
Jan
Talc is also a good medium to add to cyano for use as a filler…
Holy moly Rory! Safe travels! Hope all is well! 
Wow, Rory, truly a sacrifice! I hope all goes well in your travels… and remember, plastic is patient and your HMS Dragon will be there upon your return!
I can safely say this is the worst fitting, most frustrating and overall unlikable kit I have had the displeasure to build. Why Airfix opted for the construction method they did is beyond understanding.
I am angry at this kit which is not something I have ever been. I am working through it through but I will freely admit that I am not going to put the effort needed to make this a great looking kit. I am ready to settle for ‘fine’
I should have some photo updates this weekend.
1 Like
Hi Rory.
Sorry to hear this kit has been such a troublesome child. It sure zaps the mojo when there’s so much extra work to do to bring it up to a certain standard. Especially when modelling time is so limited and valuable and we could be working on much nicer kits.
I too debated early on, if I should put 100% into this kit and whether or not to throw any more coin at aftermarket goodies to spruce it up a bit.
IIRC this kit was designed and the tooling done by Trumpeter, who’ve clearly taken a different approach with their own kit… hmmm … 
1 Like
LOL! Serves Airfix right!

1 Like
I almost got the Trumpeter kit but when I looked at it the decal selection was lacking. It was missing hazard lines, decals for other ships in the class etc. But now I am kicking myself. If I could find the kit for cheap I would turn the Airfix one into a bath toy and build the trumpy kit with airfix decals.
2 Likes
I’ve got the Trumpy kit and yes it does lack a fair bit detail wise (had to order harpoon for the upgrades etc)
looking at how to do the hazard lines with printing on blank white decal sheet. Hopefully can sort it
Between the two brands of kits, we might just end up with a decent model 
 )
)


