Between the two brands of kits, we might just end up with a decent model 
Sad but true sometimes. I don’t mind working a less than perfect model into something better - in fact, that is most of the fun of modeling! What drives me nuts are kits that fight you every step of the way because of inept kit design that has created needless problems.
Kudos to Rory and Russ for persevering with this one!

1 Like
Weeeeeelllll its been almost 3 years since I last worked on HMS Dragon. I will be honest that its kinda been an ‘outta sight, outta mind’ kind of deal. That and it really is a dog of a kit. I have also had no motivation to work on models since March when I stopped work on HMS Prince of Wales
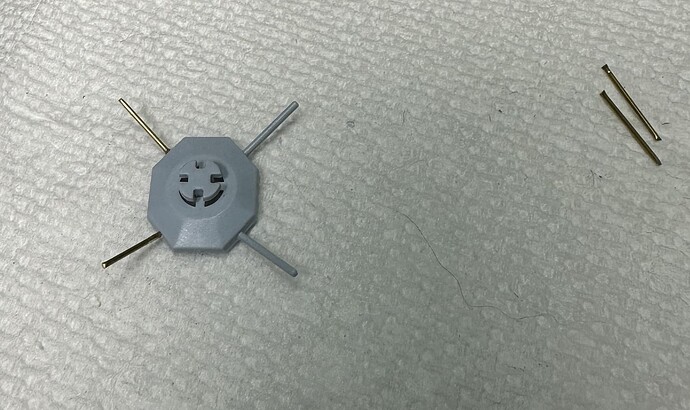
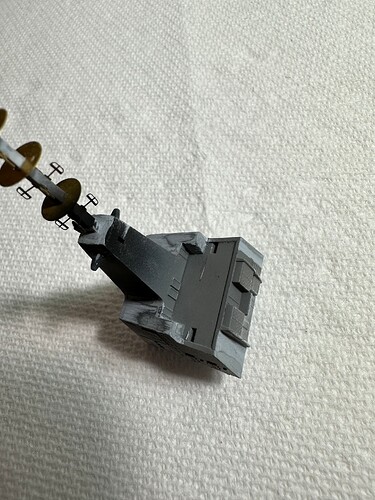
All that being said I have decided to return to her. Started working on some superstructure components. One of these is (what I assume) is an antenna array of some sort. I opted to clip off the thick plastic rods and replace with brass.
Here you can see 2 of the rods replaced.
And the whole thing.
A slow start but I also have some putty drying. Once that’s dried I will be able to forge ahead on several components.
1 Like
Sometimes you have to step away for a while. You come back to these things when the time is right.
Great to see that you’re back on her. Yep, sometimes it just takes some time, on and off, I know that too well!
It’s always hard to get a new start, but you managed! All the best with that kit and I’ll be following!
Cheers
Jan
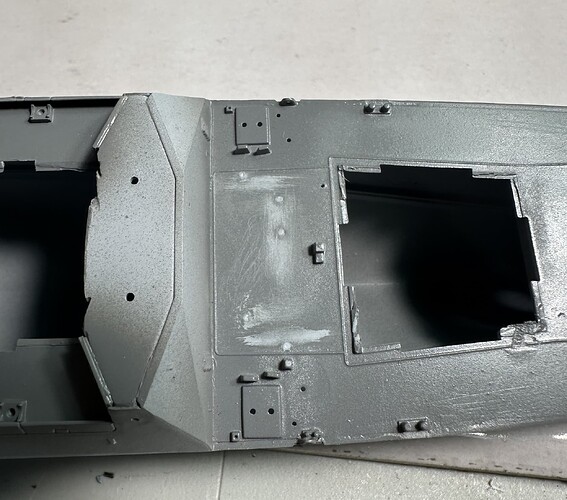
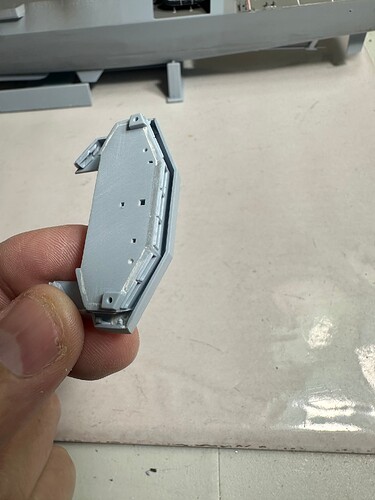
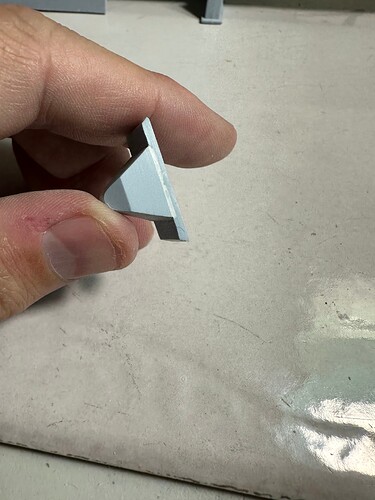
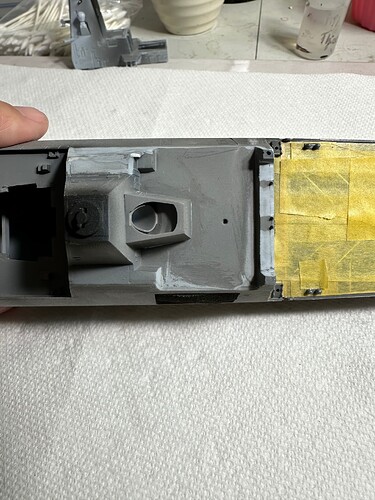
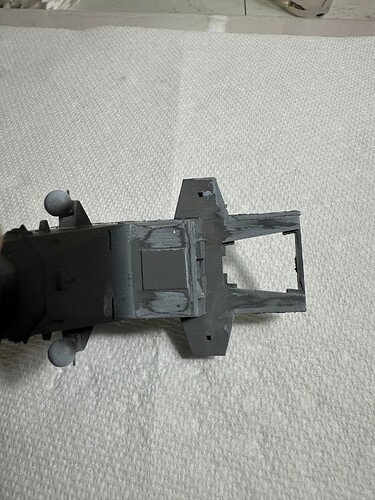
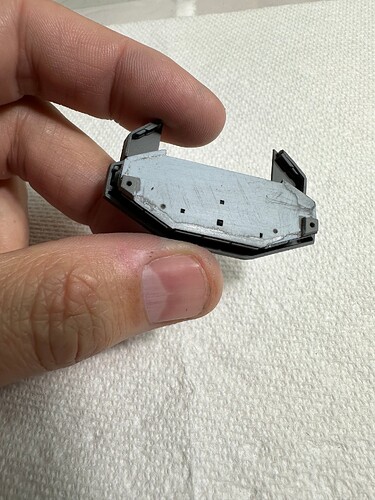
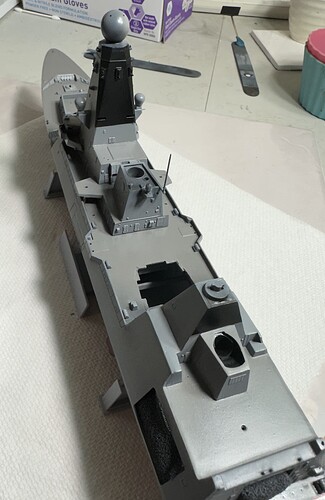
Progress this weekend. I had forgotten just how poor the fit of these parts are so a lot of filling and sanding.
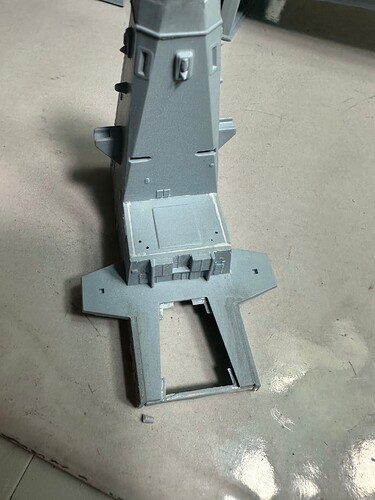
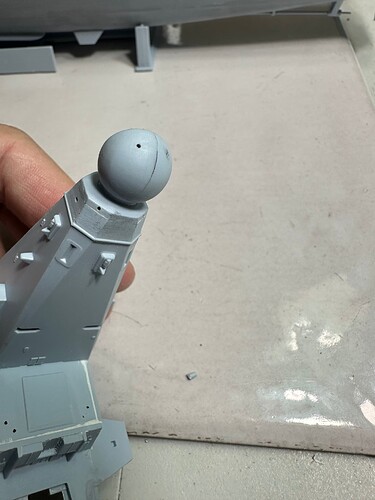
Attached the radar dome mount on the main superstructure. Realized I needed to do a lot of filling etc to pulled out the antenna I had so carefully placed in my previous post.
Also marked and drilled holes for antenna not shown on the instructions.
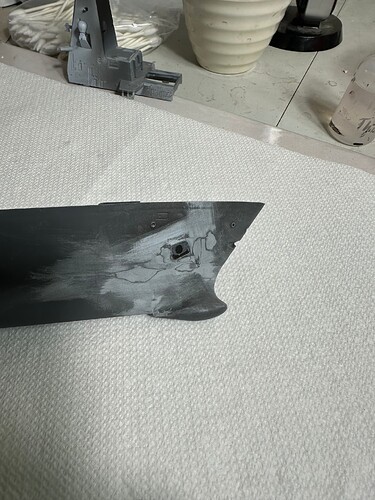
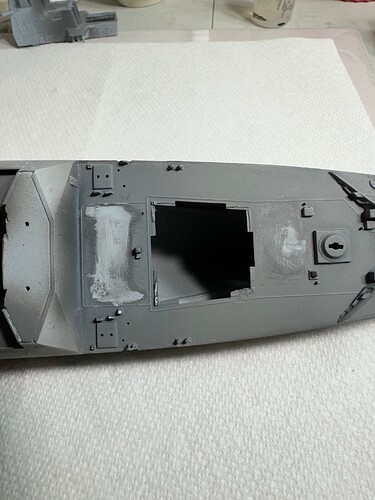
I had previously drilled holes for the Harpoon launchers on her fore deck but after looking at reference photos I have opted not to install them so had to fill in the holes.
Built up the bridge. I am going to use Micro Crystal Klear on the windows so I am not bothering with painting the inside of the bridge. Lots of filling and sanding again.
Even the rear radar needed filling.
Still, all in all I feel like it was a productive weekend.
3 Likes
Finally got some primer down to see where I needed to fix gaps and seams and boy there were a lot. All of this was after I spent ages puttying and sanding.
Build up the mast and sadly, like @Russelle on his build, one of my little antenne was eaten by the carpet monster 
After 2 days of hunting I am not confident I am going to find it.
2 Likes
Not to be a wise-ass, I am relieved to see it happen to others as this is a frequent occurrence with me and I wonder if I am that clumsy and uncoordinated. This comment is not a shot at you as I admire your hard work and perserverance in building this difficult kit.
Looking good Rory… You made it through Arizona, you can make it past the Dragon 
PS… Gearing up for my next salty adventure, and from what I’m seeing the kit will be interesting to say the least…
Happens all the time. In this instance it was already glued on but I knocked it off. I watched it fall between my legs and then poof
I loose most of mine in the tweezer phase, just pings off into the ether. I usually find it about 8 months later, long after the build is done 
Ohhhh, I am looking forward to that. Any hints?
With me tweezer launch is a problem, but typically the part is glued on and somehow it falls off, gets knocked off and gets lost to the ages because I have no idea where it happened. Madness! Again, keep up the good effort. I always enjoy following your projects.
1 Like
Think of it as providing security of employment for a future archaeologist…

Cheers,
M
Great reply! Wish I would have thought of that one. And to think I patted myself on the back for the lost to the ages comment.
1 Like
Something “Tribal” methinks 
Sounds dangerous 
Going with a Trumpeter version or did Simons build entice you to try the Atlantic models kit?
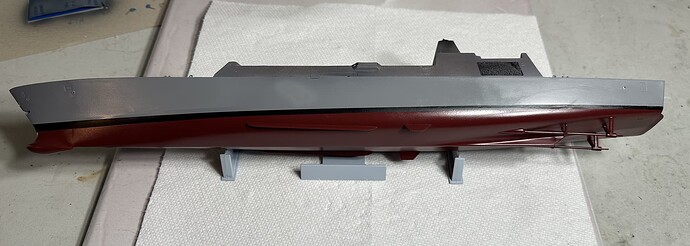
Painted the hull. Went on with not many issued though I did have to go back and sand several areas and respray.
Rudders have been painted separately and will be attached later.
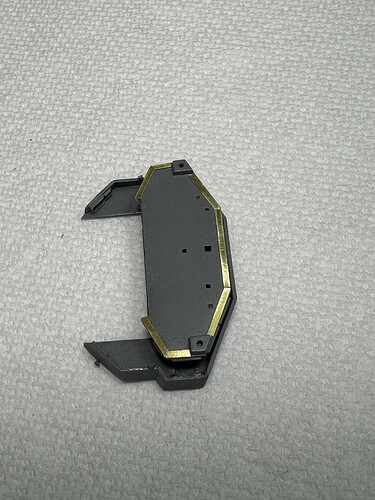
Went back and worked on the bridge roof. Added a lip around the edge with some scrap PE to help with painting and to hide some seams and damage I caused when trying to sand away the seam lines.
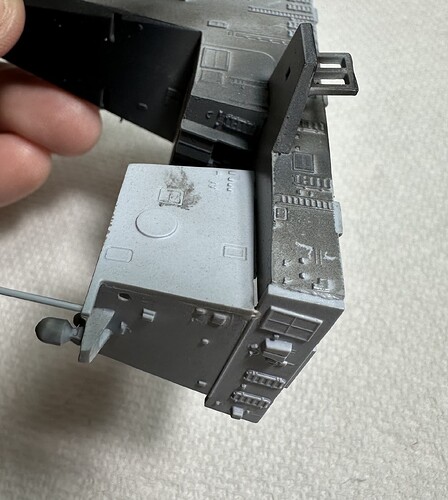
Also attached the smoke stack to the superstructure. Found it left a massive gap. Its hard to see with the dark paint but its there. That white spot if light coming through from the underside 
Filler is currently drying.
3 Likes
You know it, brother 
Unfortunately it’s the Trumpeter version which I bought back in 2013 on it’s release… Having now examined the hull in comparison with Admiralty drawings hind sight says I should have gone down the Atlantic route… 
Still, here we are 11 years later and I’ve got a ton of aftermarket gear for it already, so must make do with what I’ve got and perhaps a few choice additions from Micro Model in NZ to help along…
Meanwhile Dragon is starting to shape up nicely… Don’t be afraid to hack away at the internals of the super structure in order to get them to seat down nicely 
1 Like
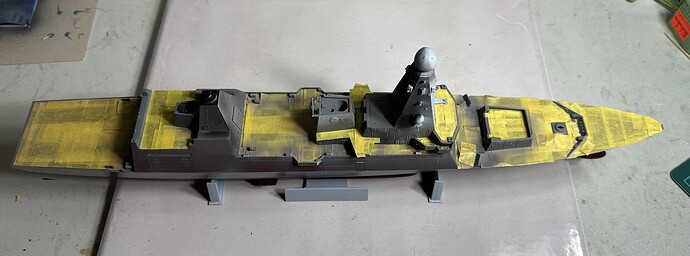
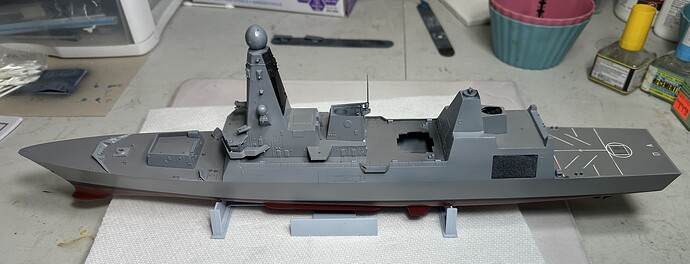
This kit is one where I feel I spend hours working on it for very little visible results. However I now have almost all the base colours down and pretty much am done with 90% of the masking (I hope)
Tons of masking to cover the deck around various details.
And after paint.
Lots of little touch ups to do but will use the hairy stick for that.
She is actually looking like a ship now 
3 Likes
Coming along very nicely Rory 
Hi Rory,
A bit late to the party on this one, but looking excellent, I remember my trials and tribulations I had with this kit. I will definitely be alng for the rest of the ride.
Cheers, Si
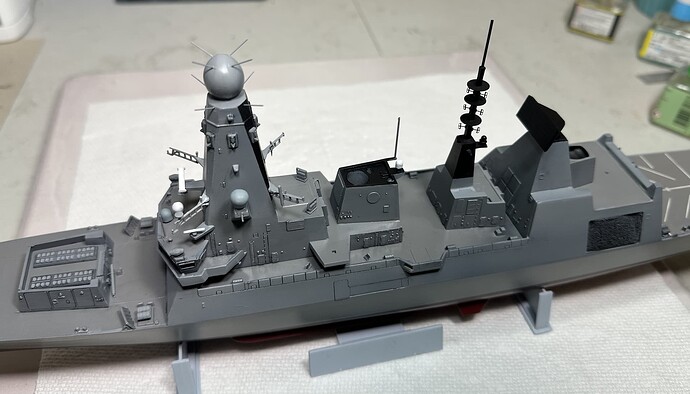
Principle construction and painting is complete. Only a few more things to add to the ship like railings, some PE ladders and Antenna (Will do the PE after decals etc since its so small and fragile I don’t want to loose or damage it).
I opted to use the kit yardarms since the PE was so flimsy. Doesn’t look to bad and slotted in nicely.
I am waiting on aftermarket weapons which I will build up and add once they arrive.
I will add the windows to the bridge after all varnishes as I don’t want to frost them.
Overall she is coming on quickly and I look forward to decaling and adding the helicopters.
2 Likes
![]()
