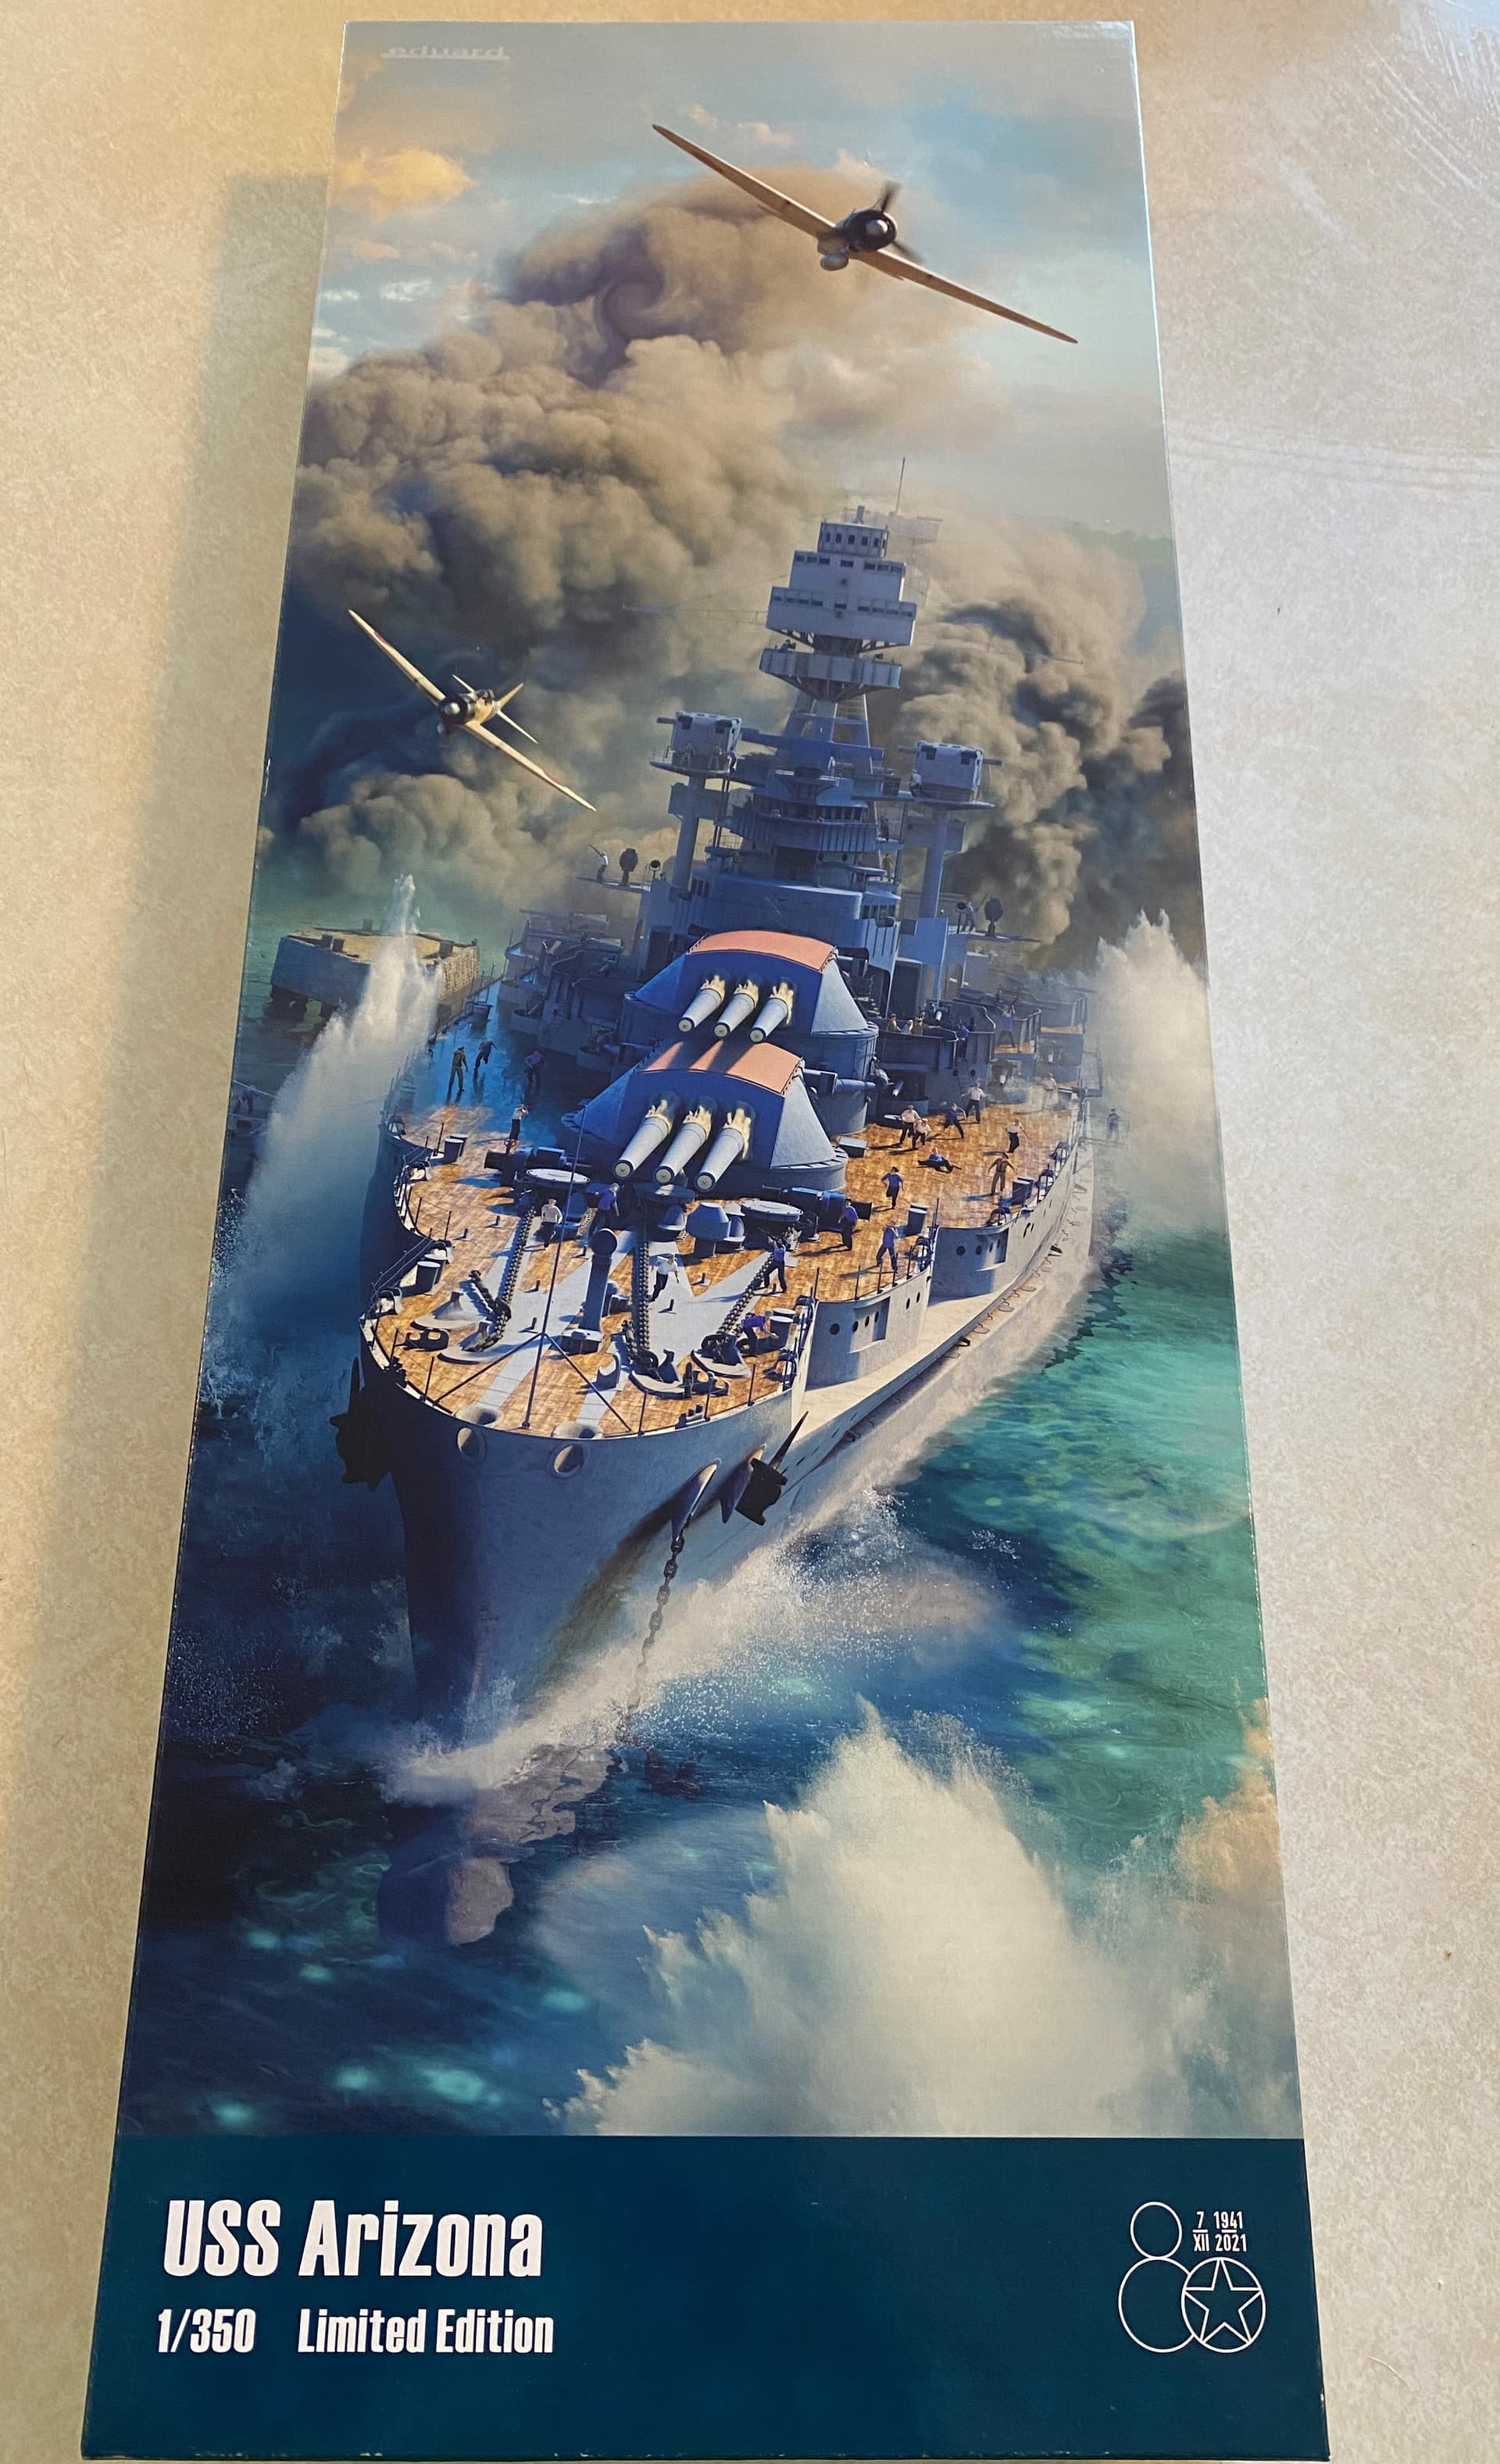
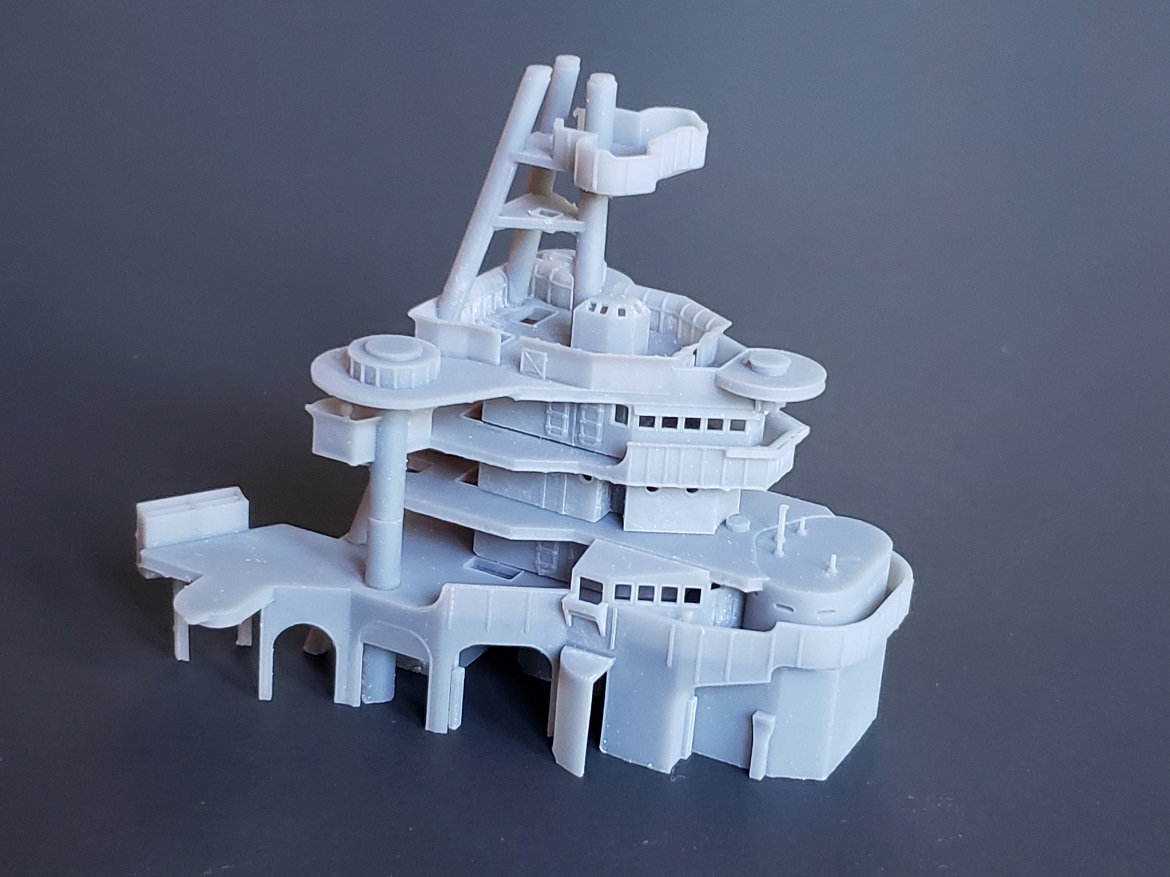
For my next project I will be building the USS Arizona in 1/350 scale. I will be using this offering from Eduard. I just want to say how rare it is for me to start a kit so soon after getting it (I got this in the mail yesterday). They usually languish in the stash for a minimum of 2 years but just researching this kit and if I wanted to attempt the build got me fired up. I also saw someone on reddit being super happy about getting theirs and their joy and enthusiasm also worked to get me fired up.
I will not be using much, if any of the kit superstructure. I had hoped, that with the Eduard PE, I would be able to make it look good but putting lipstick on a pig doesn’t make it into a lady and while the Eduard parts look good, the underlying plastic just doesn’t cut it. I have also reached the point in my life where I do this for fun and fighting for hours with PE and substandard plastic just isn’t fun anymore.
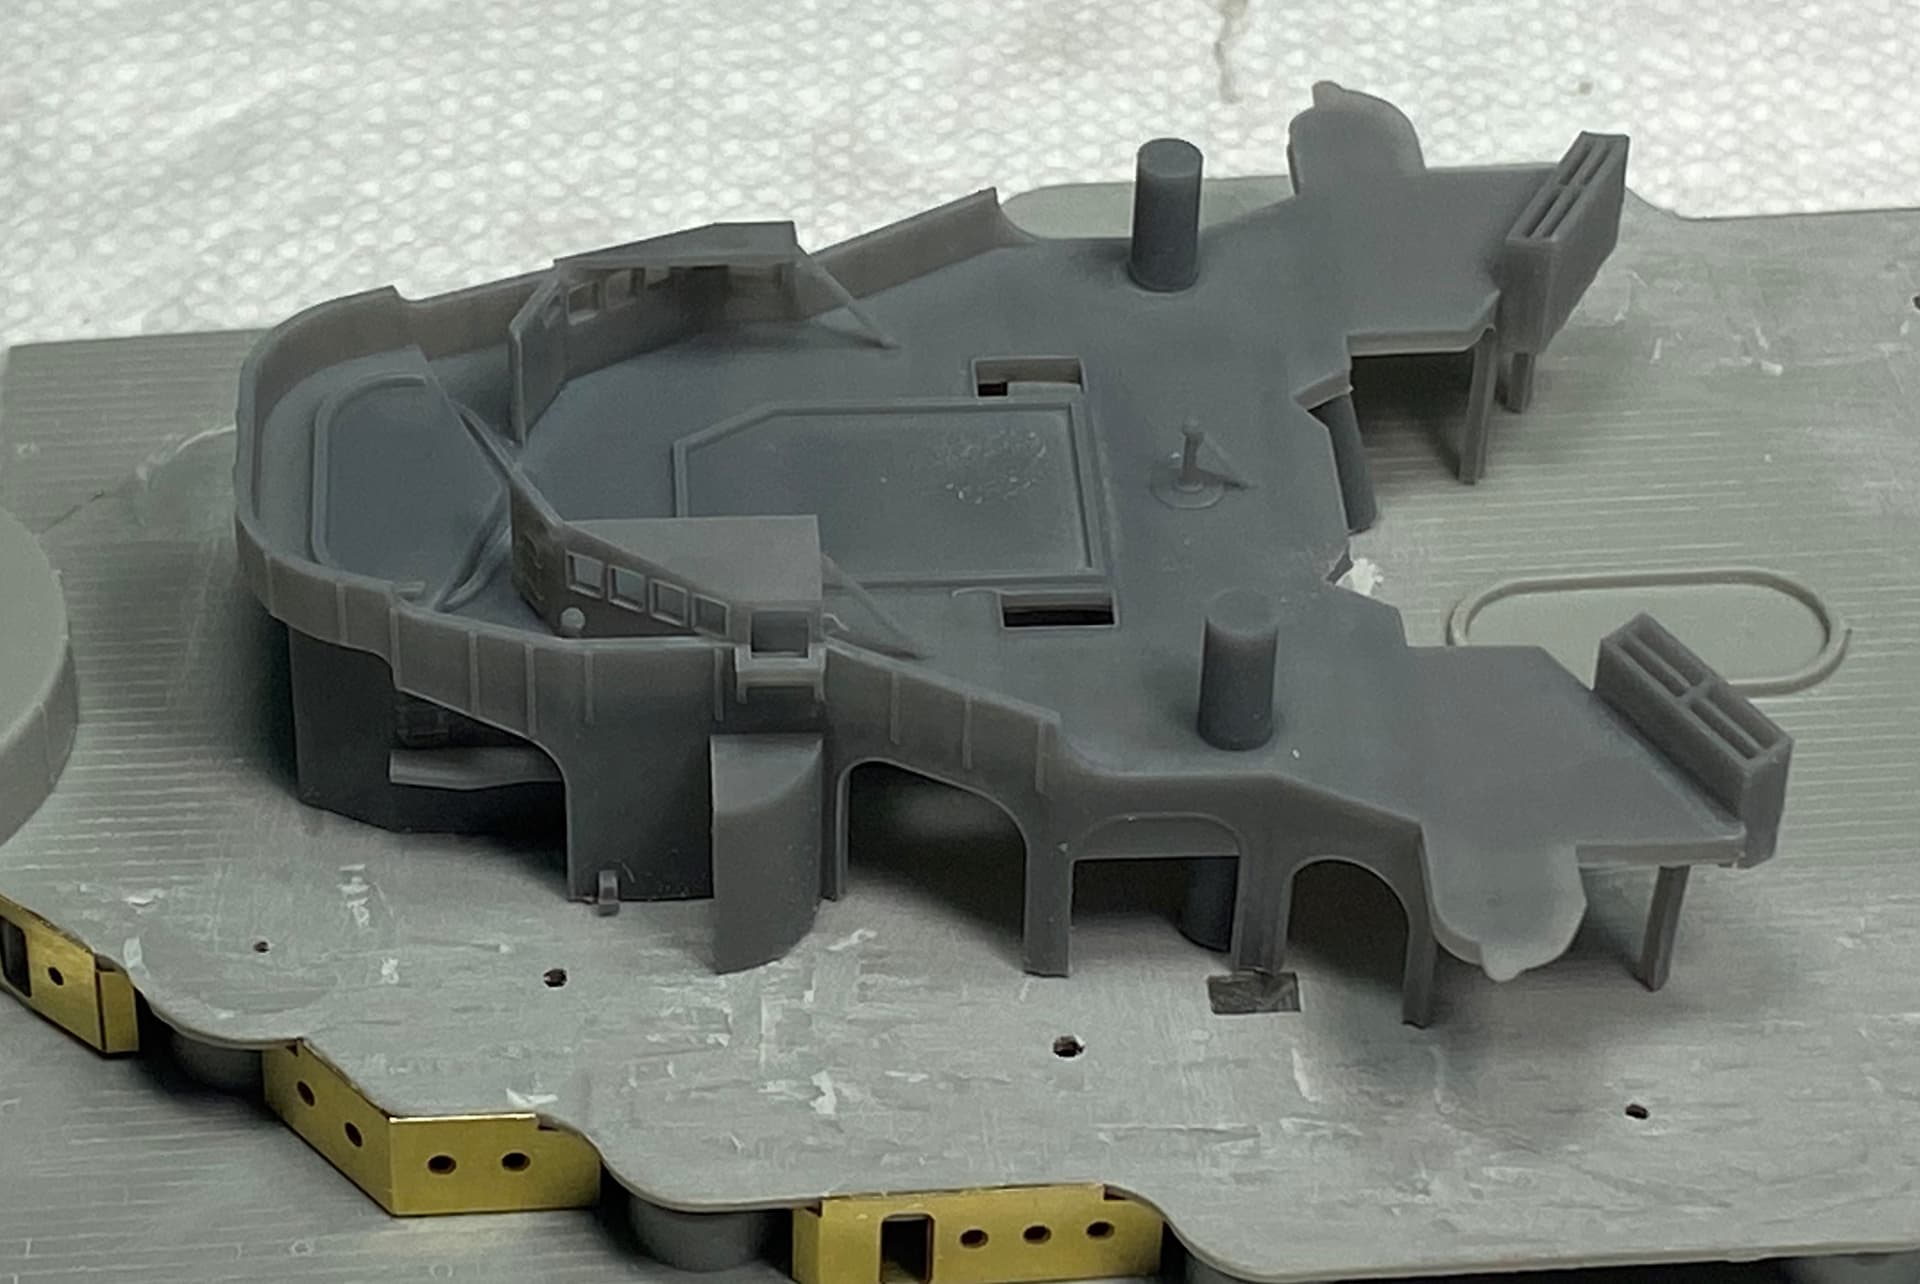
Just look at how much you would have to cut away and then rebuild for the forward superstructure. Just couldn’t be arsed.
I have ordered this, the funnel, both fighting tops, aft gun tubs and some additional platforms. I think I can make the kit turrets work so haven’t pulled the trigger on them yet. I also have a wooden deck coming via slow boat from China.
With the added Details you are acquiring should make a spectacular improvement over the older Kit Parts. Look forward to seeing your work on this one…Cheers mark
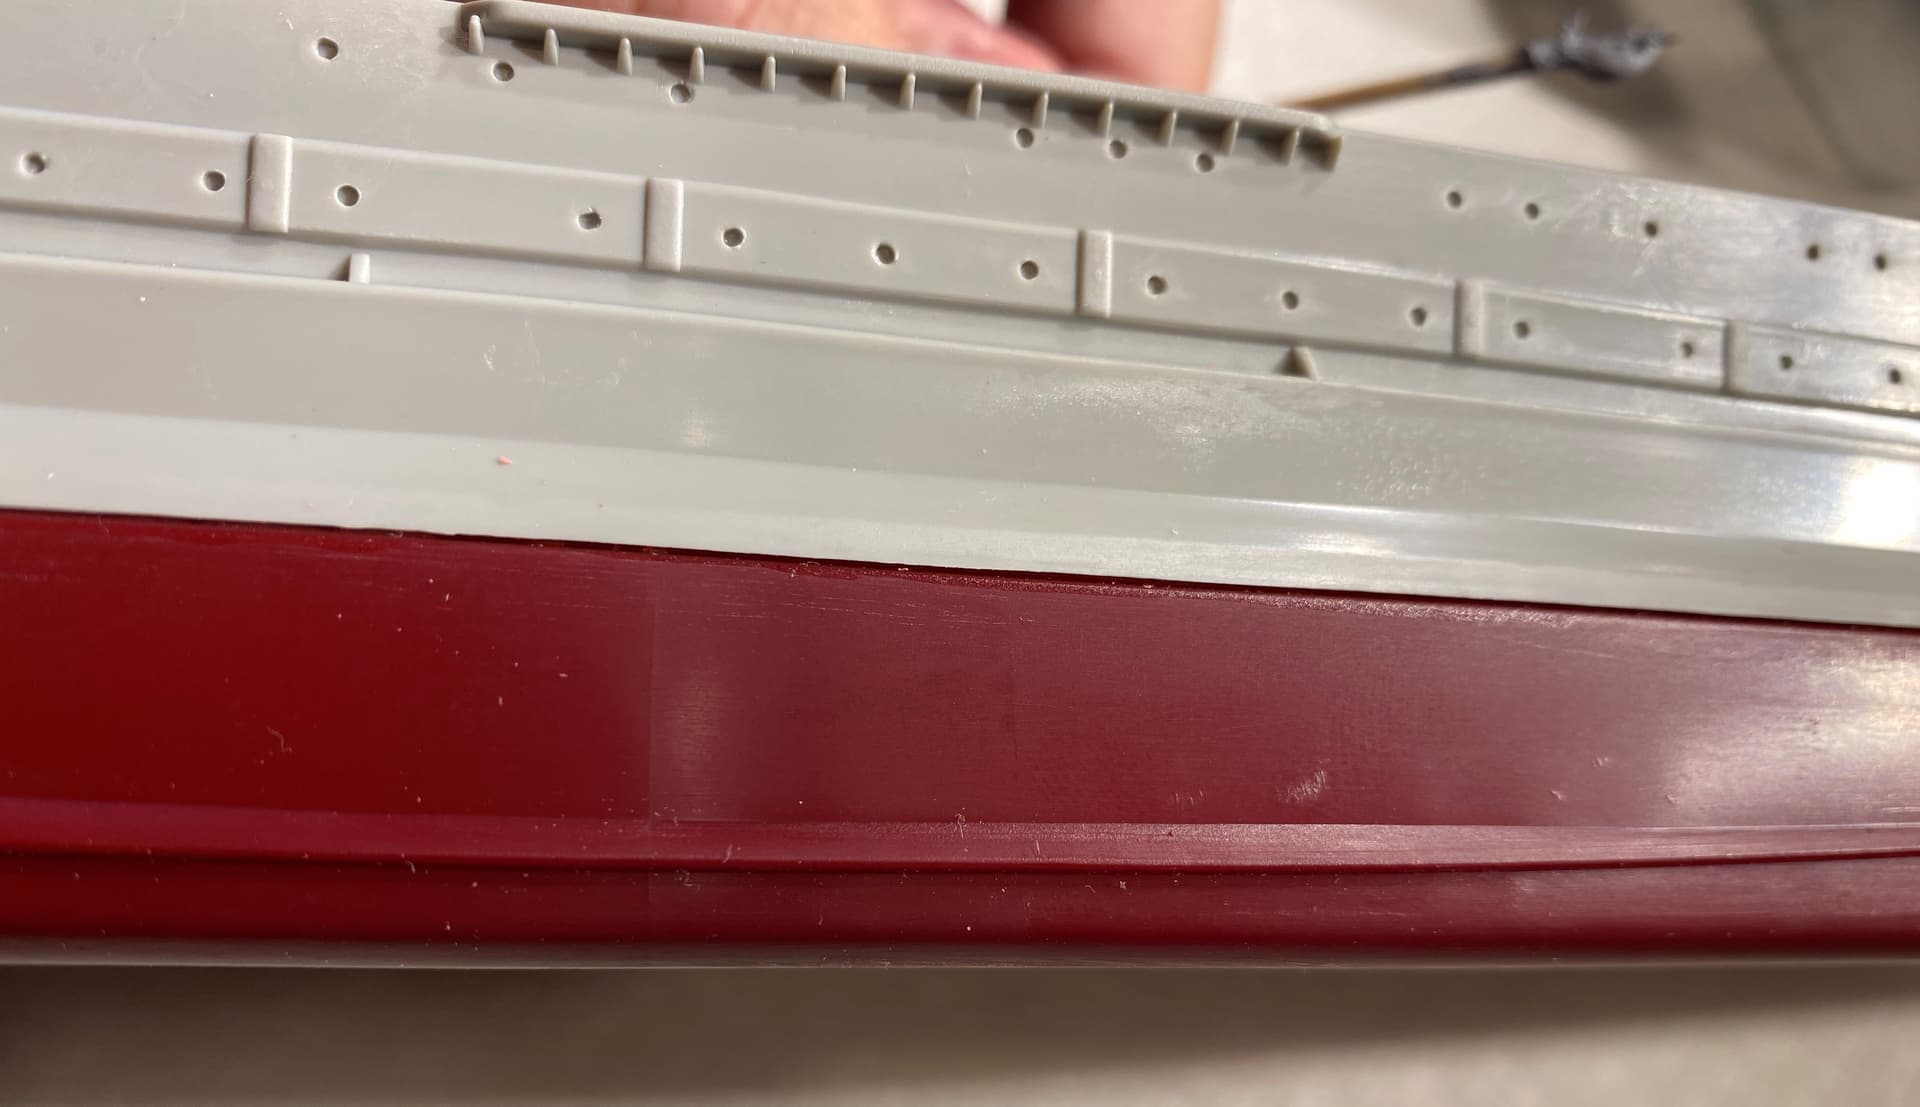
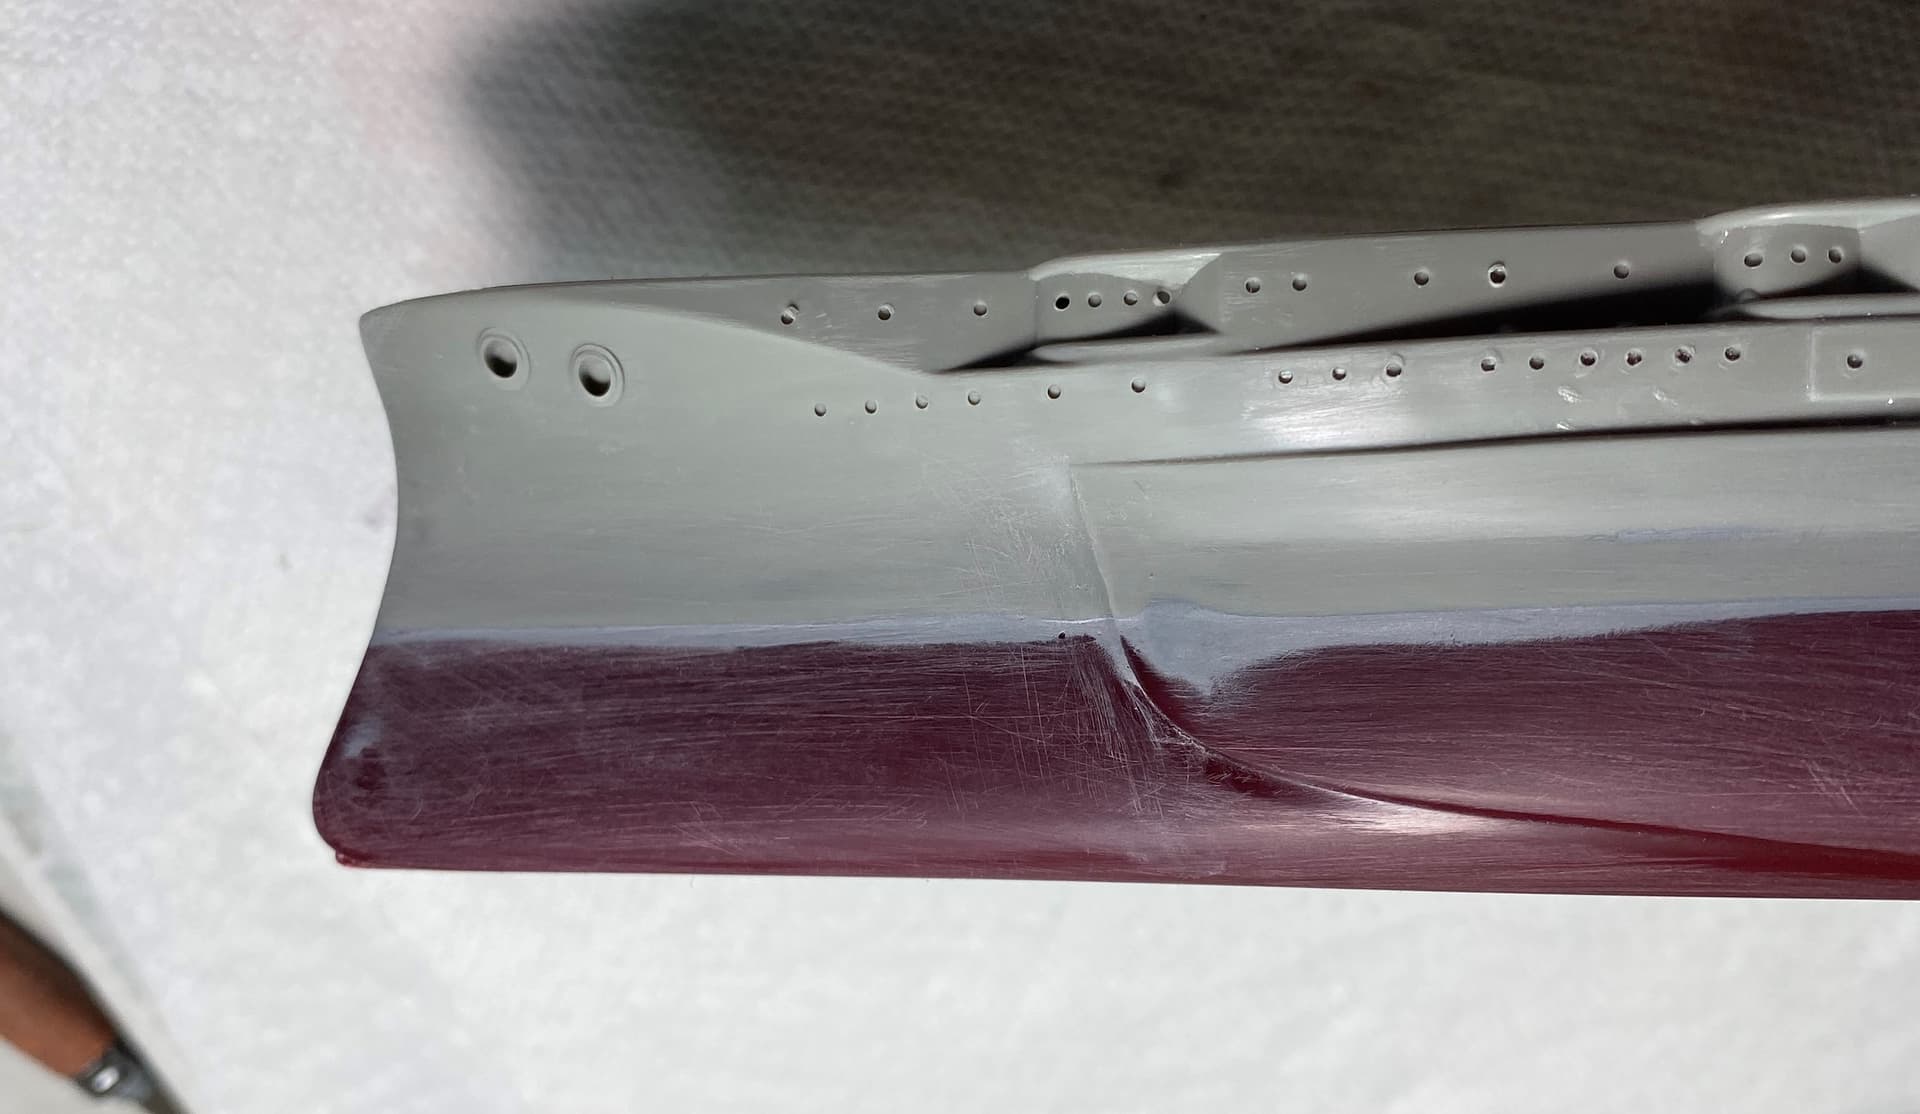
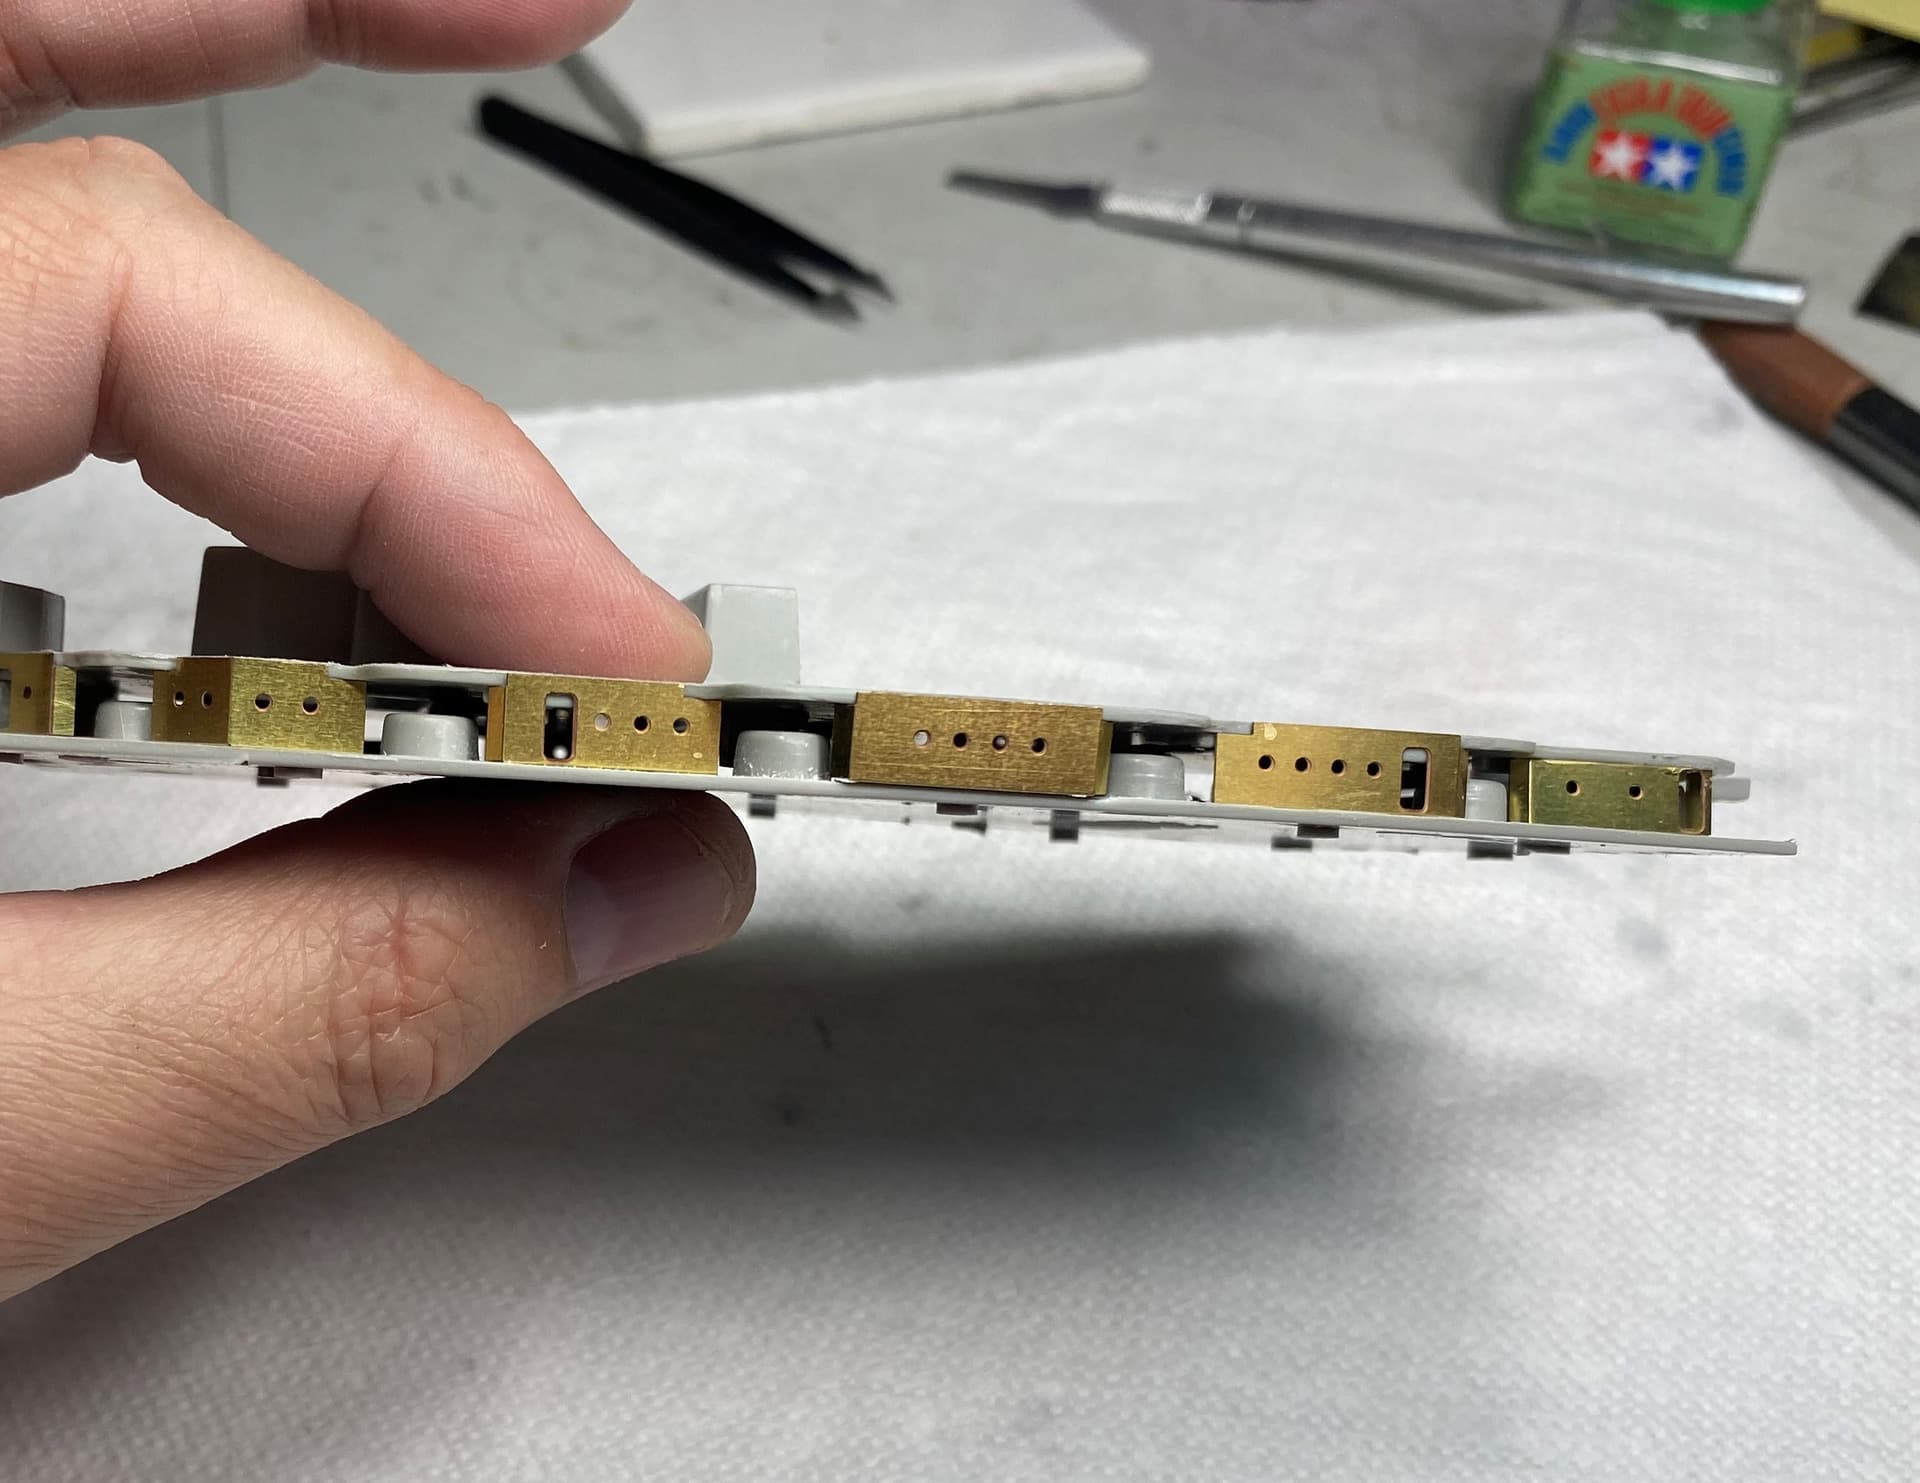
Lastly, I don’t normally drill portholes but the alleged portholes on the kit are so nasty I felt I had to. You can see the some aren’t even round. It is taking me time because the hull walls are approximately 4.5 miles thick. I am getting blisters from my pin vice.
I hear that, mate… It’s got to the point now that I won’t even buy kits to add to the stash until I’m ready to build them, and only after copious amounts of research into whether said kit is any good
What an excellent subject you have chosen. I visited the wreck/memorial as a boy and it made a huge impression, I’ll be following with interest. That MM replacement bridge sure is pretty! It is an exciting time to be in the hobby with all these great upgrades to choose from.
I have one but I find portholes so small that I have damaged them the model with the electric. So hand turning it is. All 226 portholes (and I haven’t even looked to see what’s on the superstructure)
Nice and clean. All I can say its that its liberating not to have to worry about the deck when removing plastic since I will be covering with a wooden deck.
One side nice and clean. I am keeping the one side on for now so I can have some support and alignment when placing the PE. Will remove and replace when this sides PE is in place.
I am using Harry Houdini’s Youtube series as a guide which has been invaluable. Unfortunately he never finished the ship but he did get as far as building up the hull.
Totally changed the look by a 100% … May be a daft question, what goes in the gaps between the casements ? On the round bits … Guns or something else ?
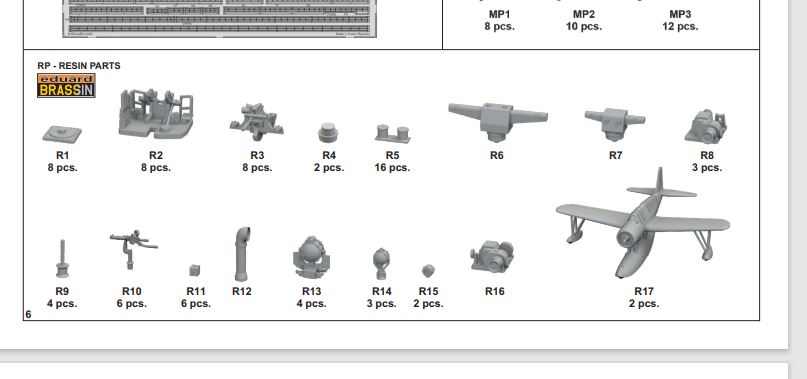
I am vexed. Not sure why I was checking this but I looked at the Bollards today and discovered that Eduard did not include the correct number. I actually think this may be systemic to the whole production run of kits.
Instructions list 16 x R5 (the bollards in question which you need as the kit has 16 locations for them)
I’m in here and watching, too - great start, as Si says! The kit’s parts really look horrible, I’m really looking forward to see you adding all the fine PE and resin printed parts, she’s going to be a fine model I am sure!
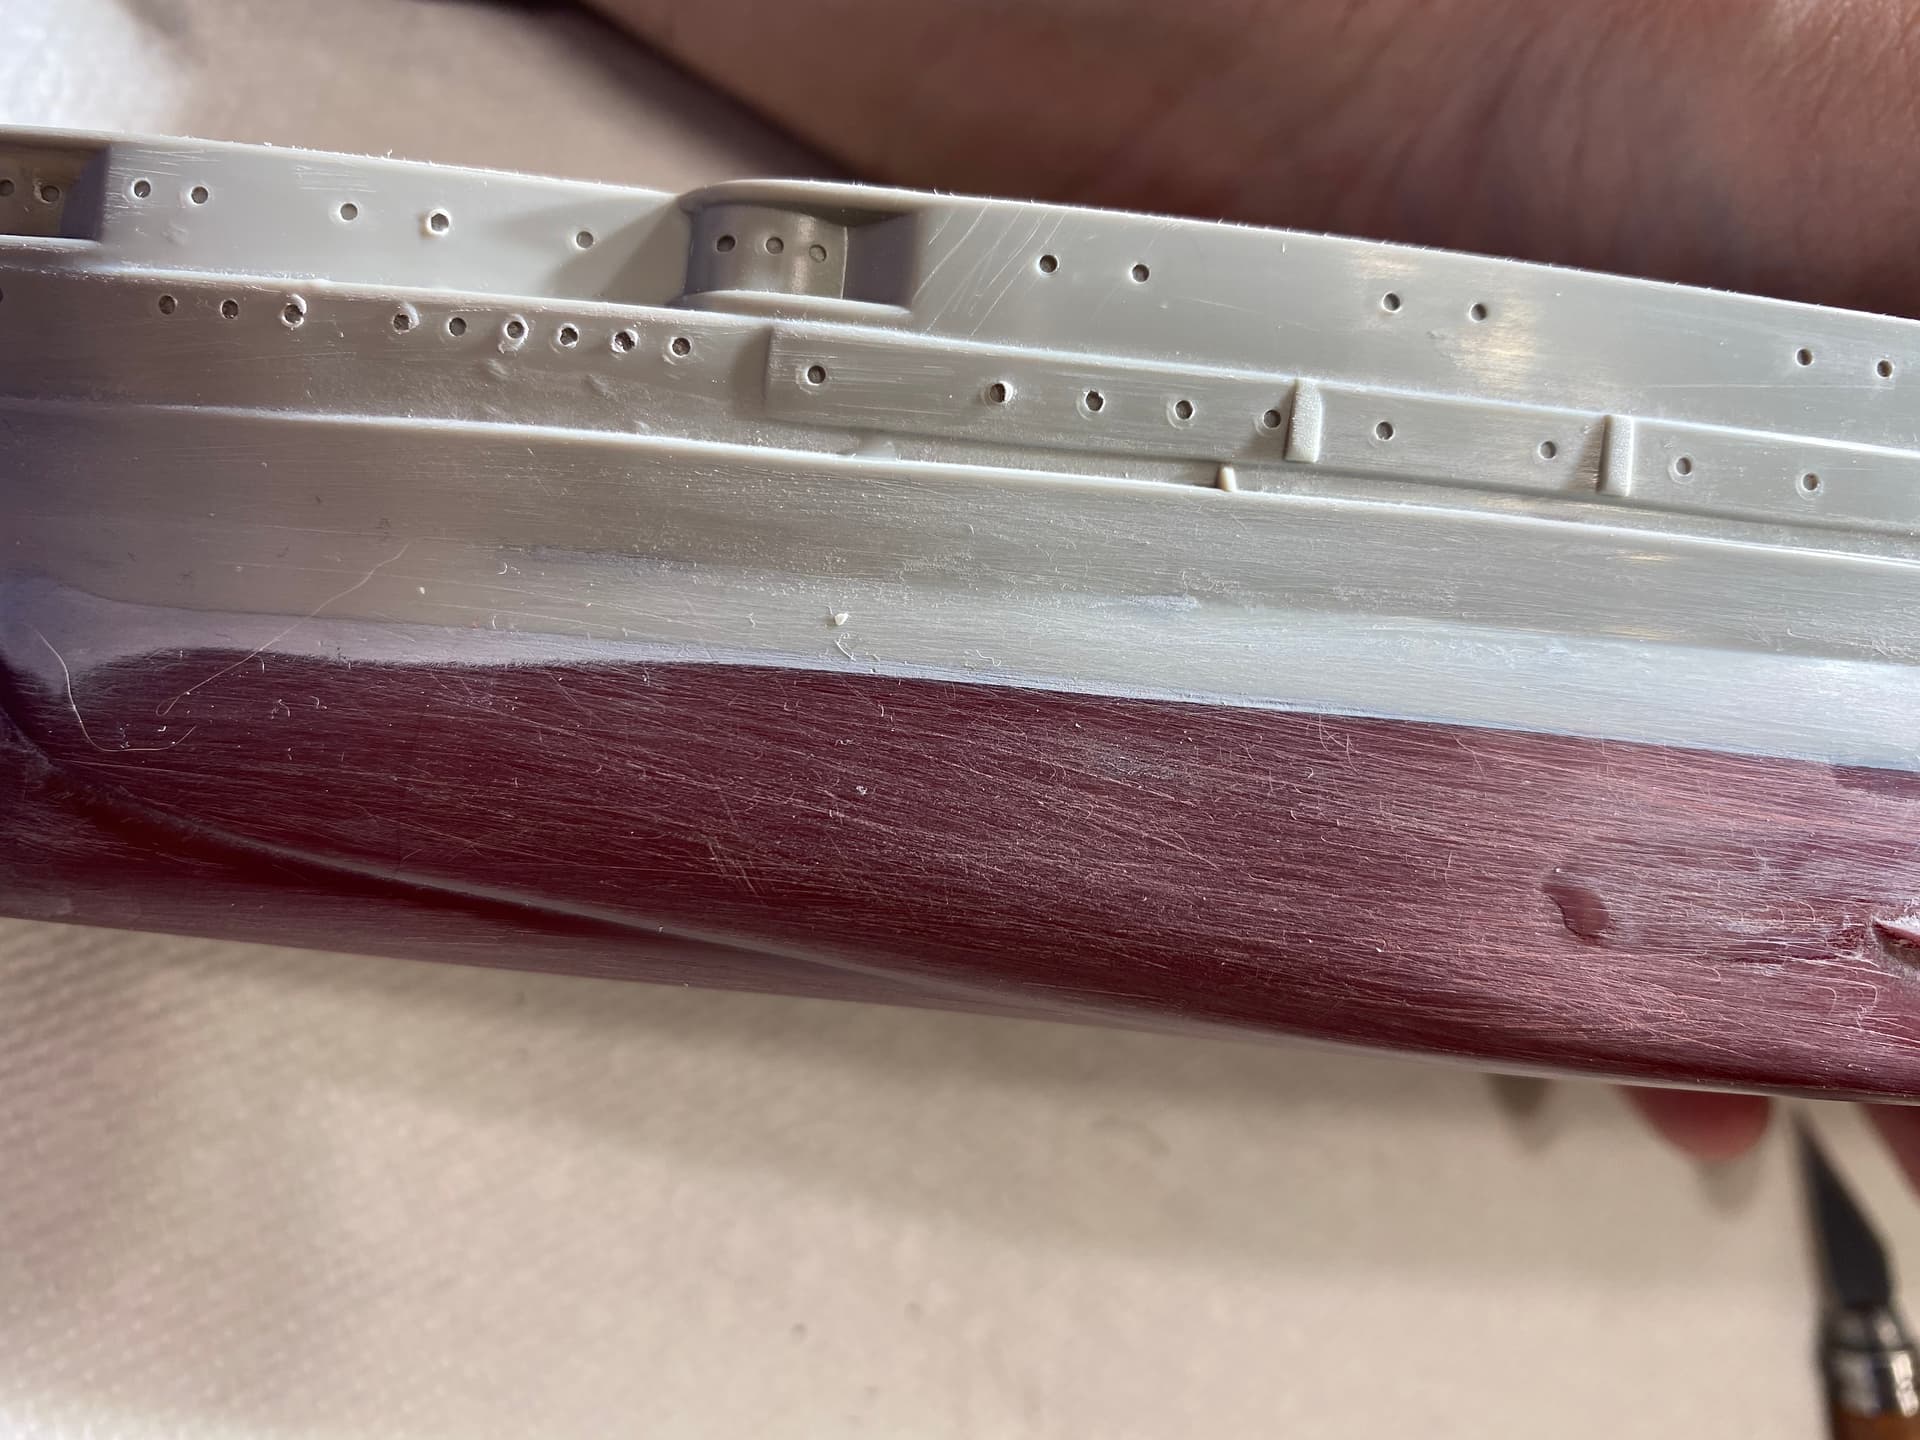
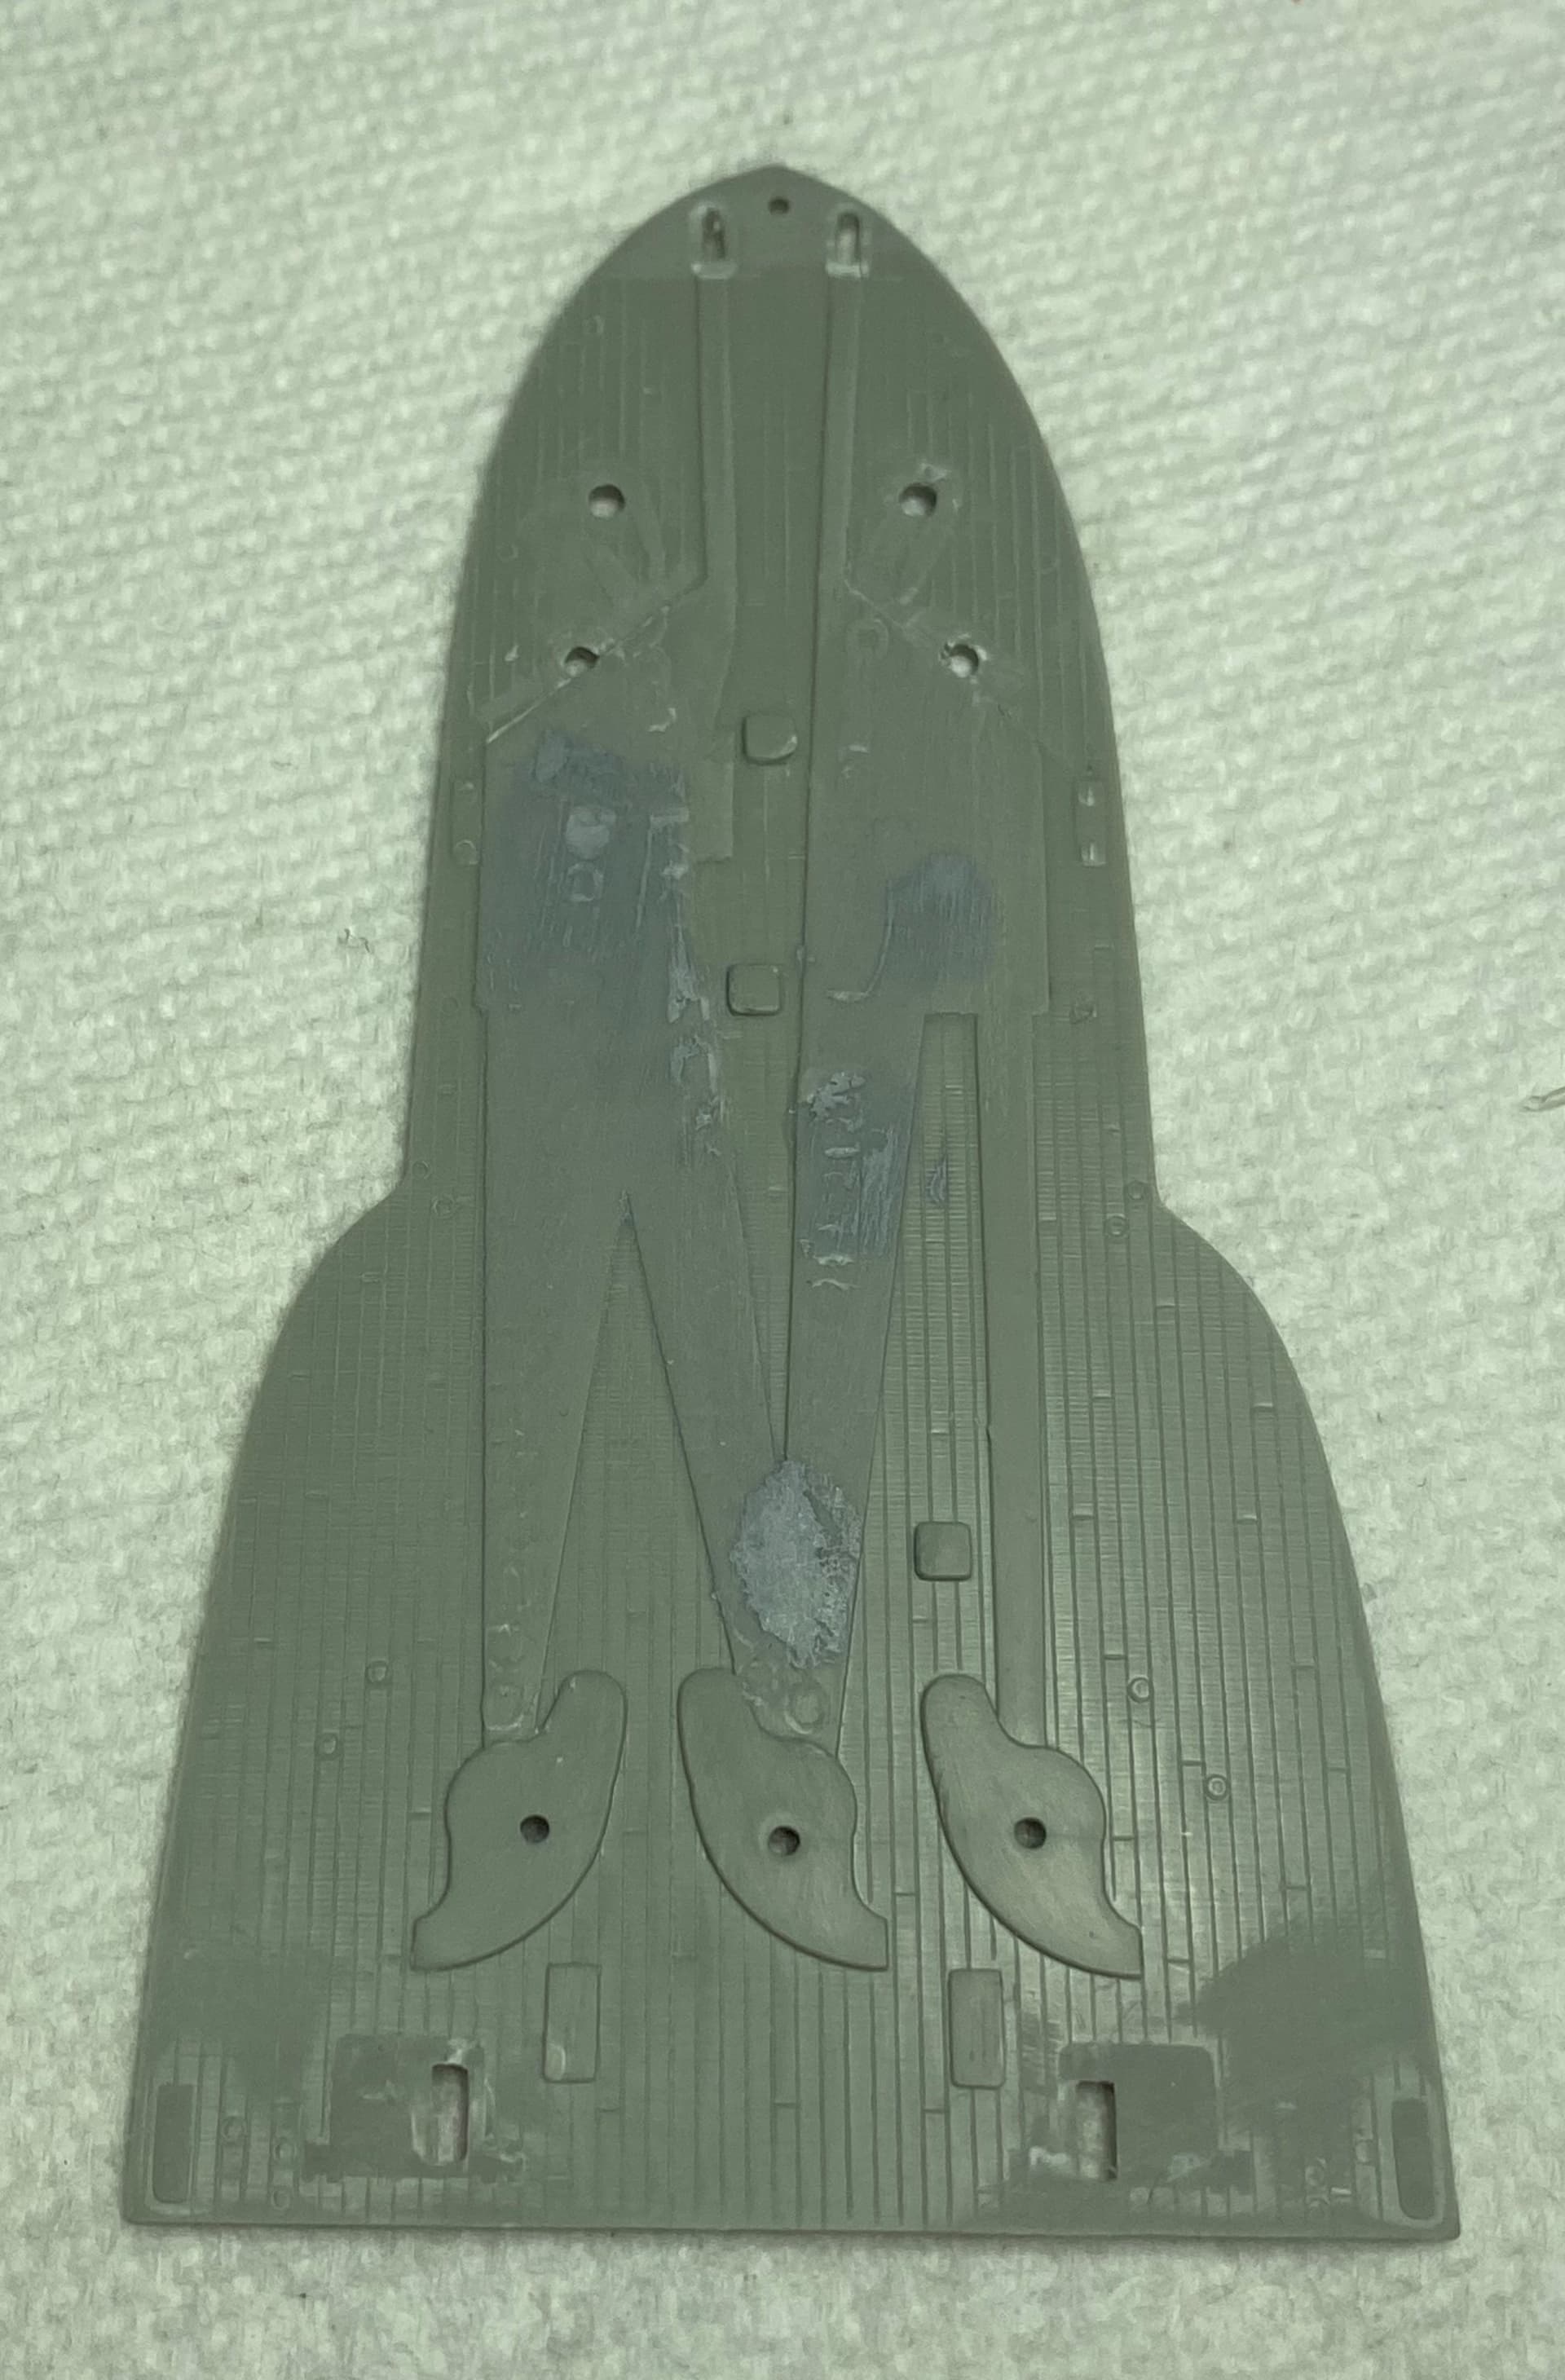
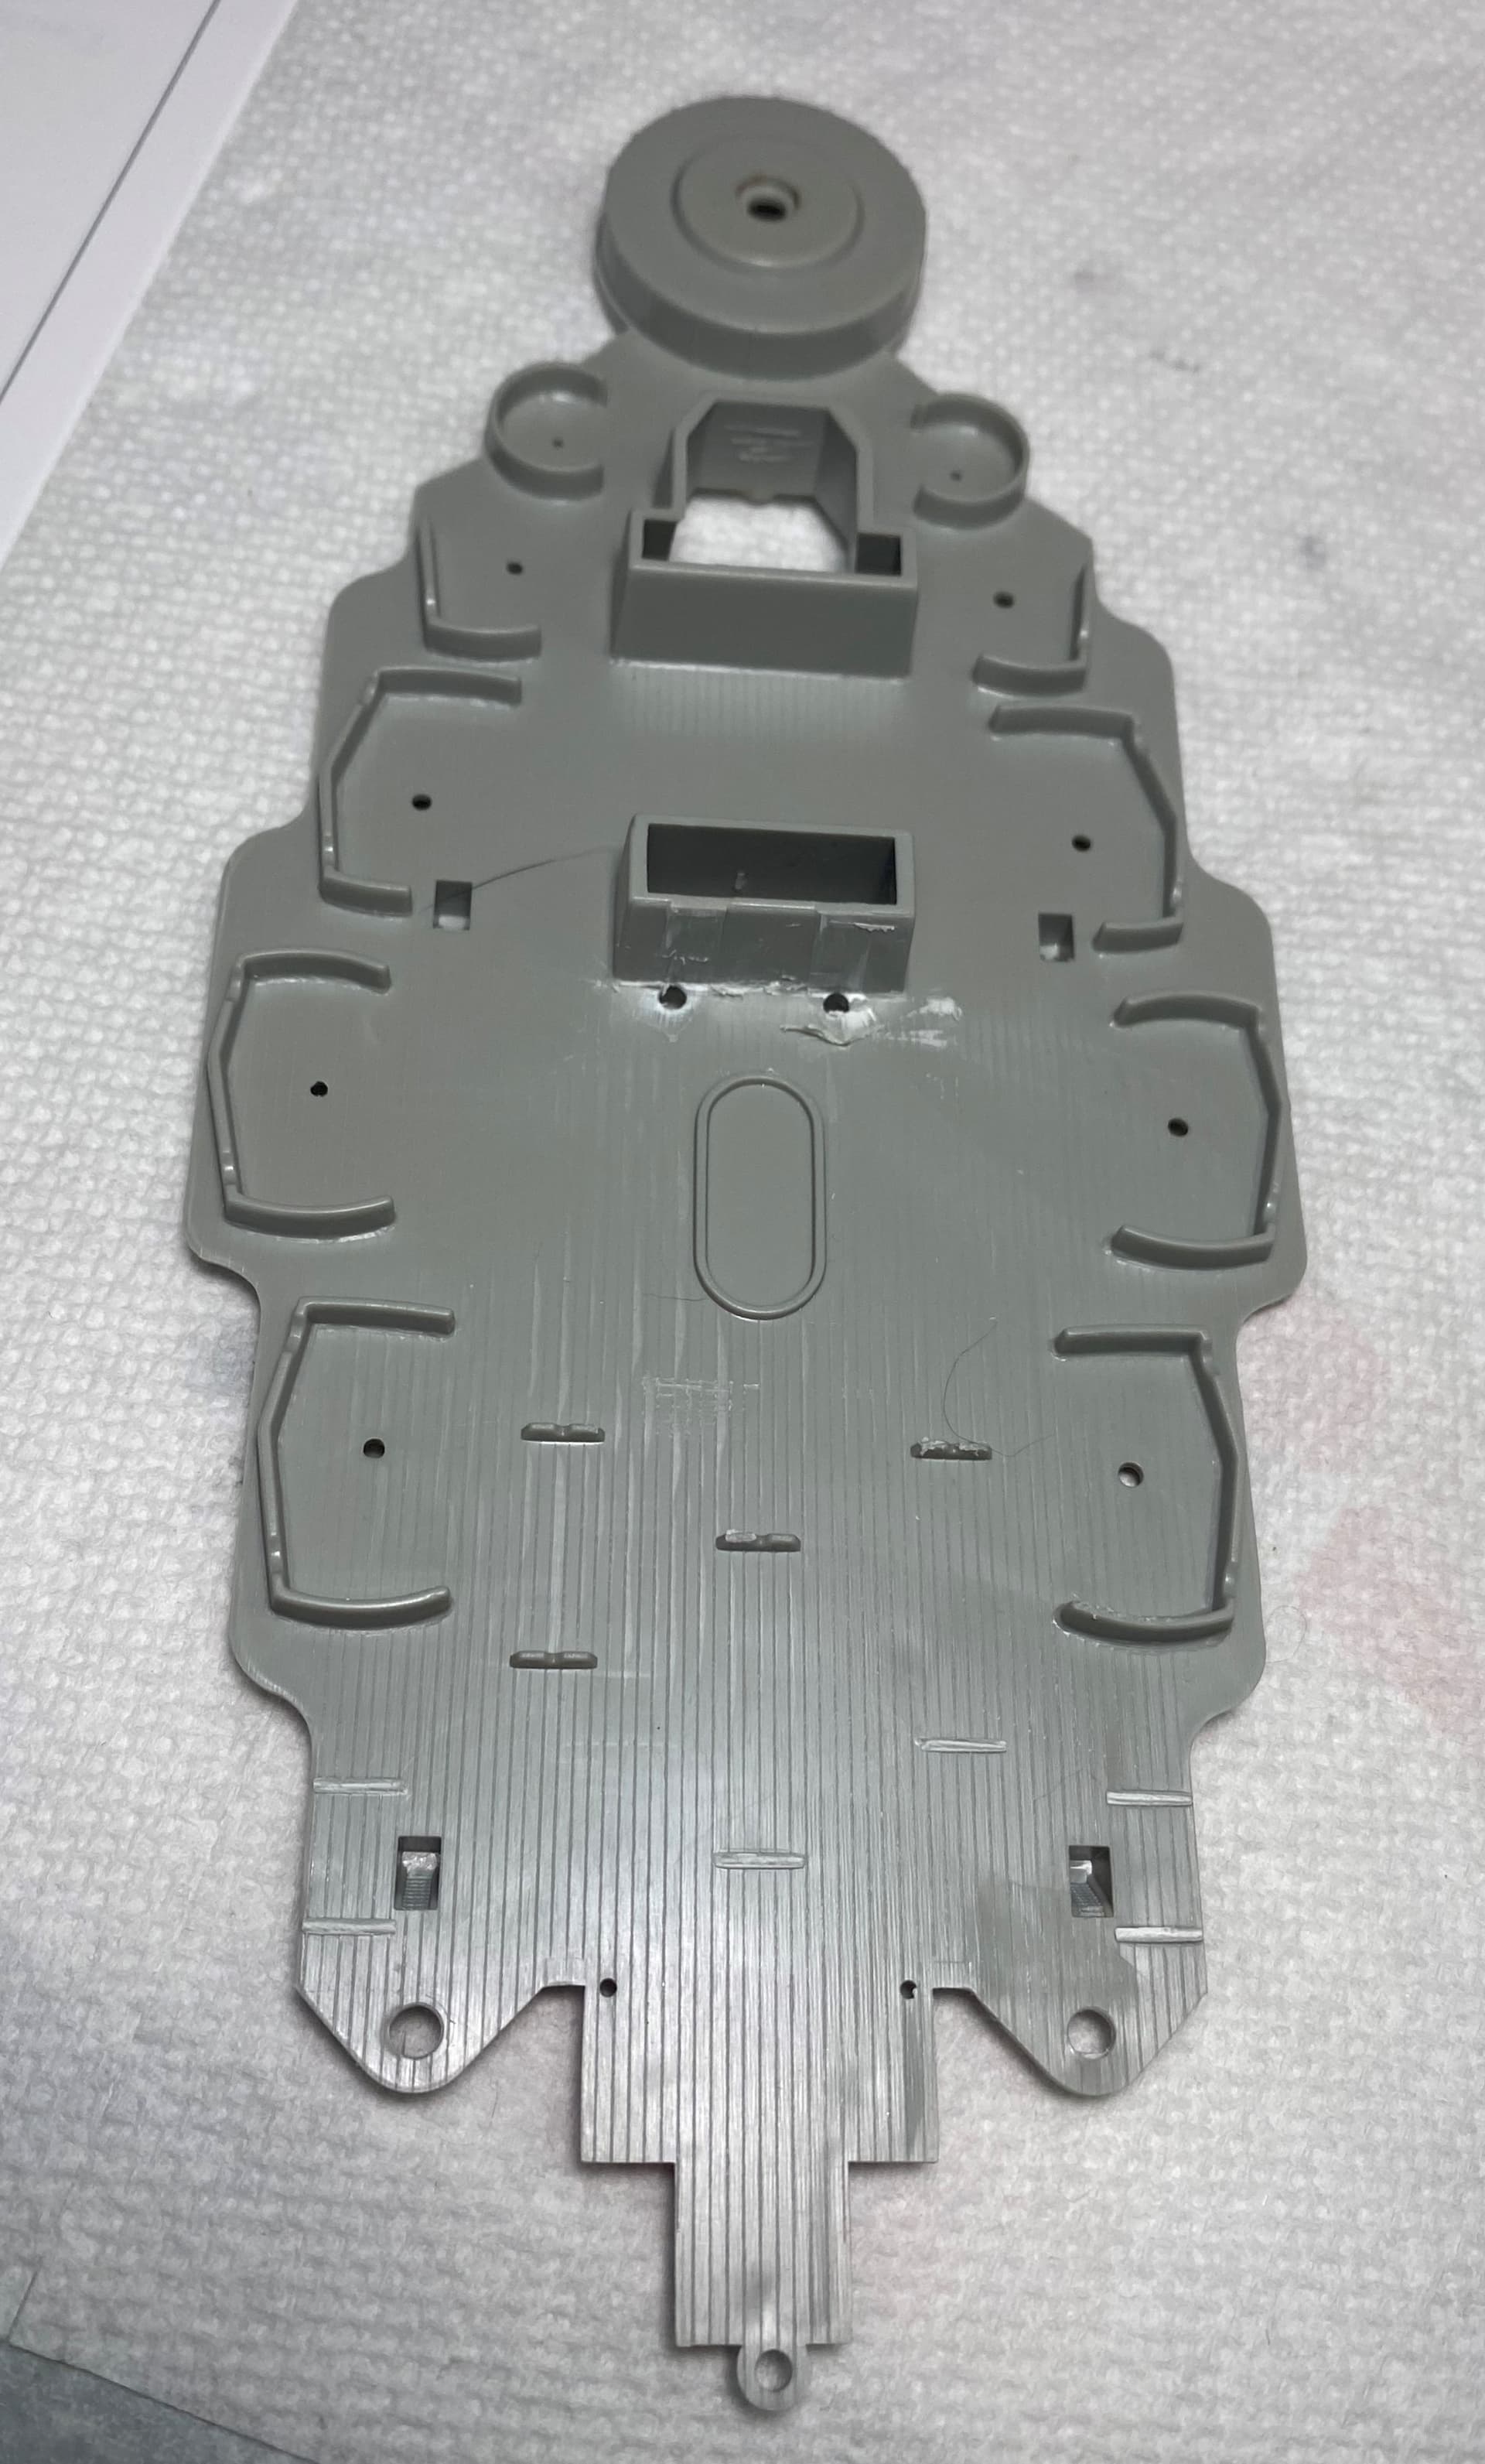
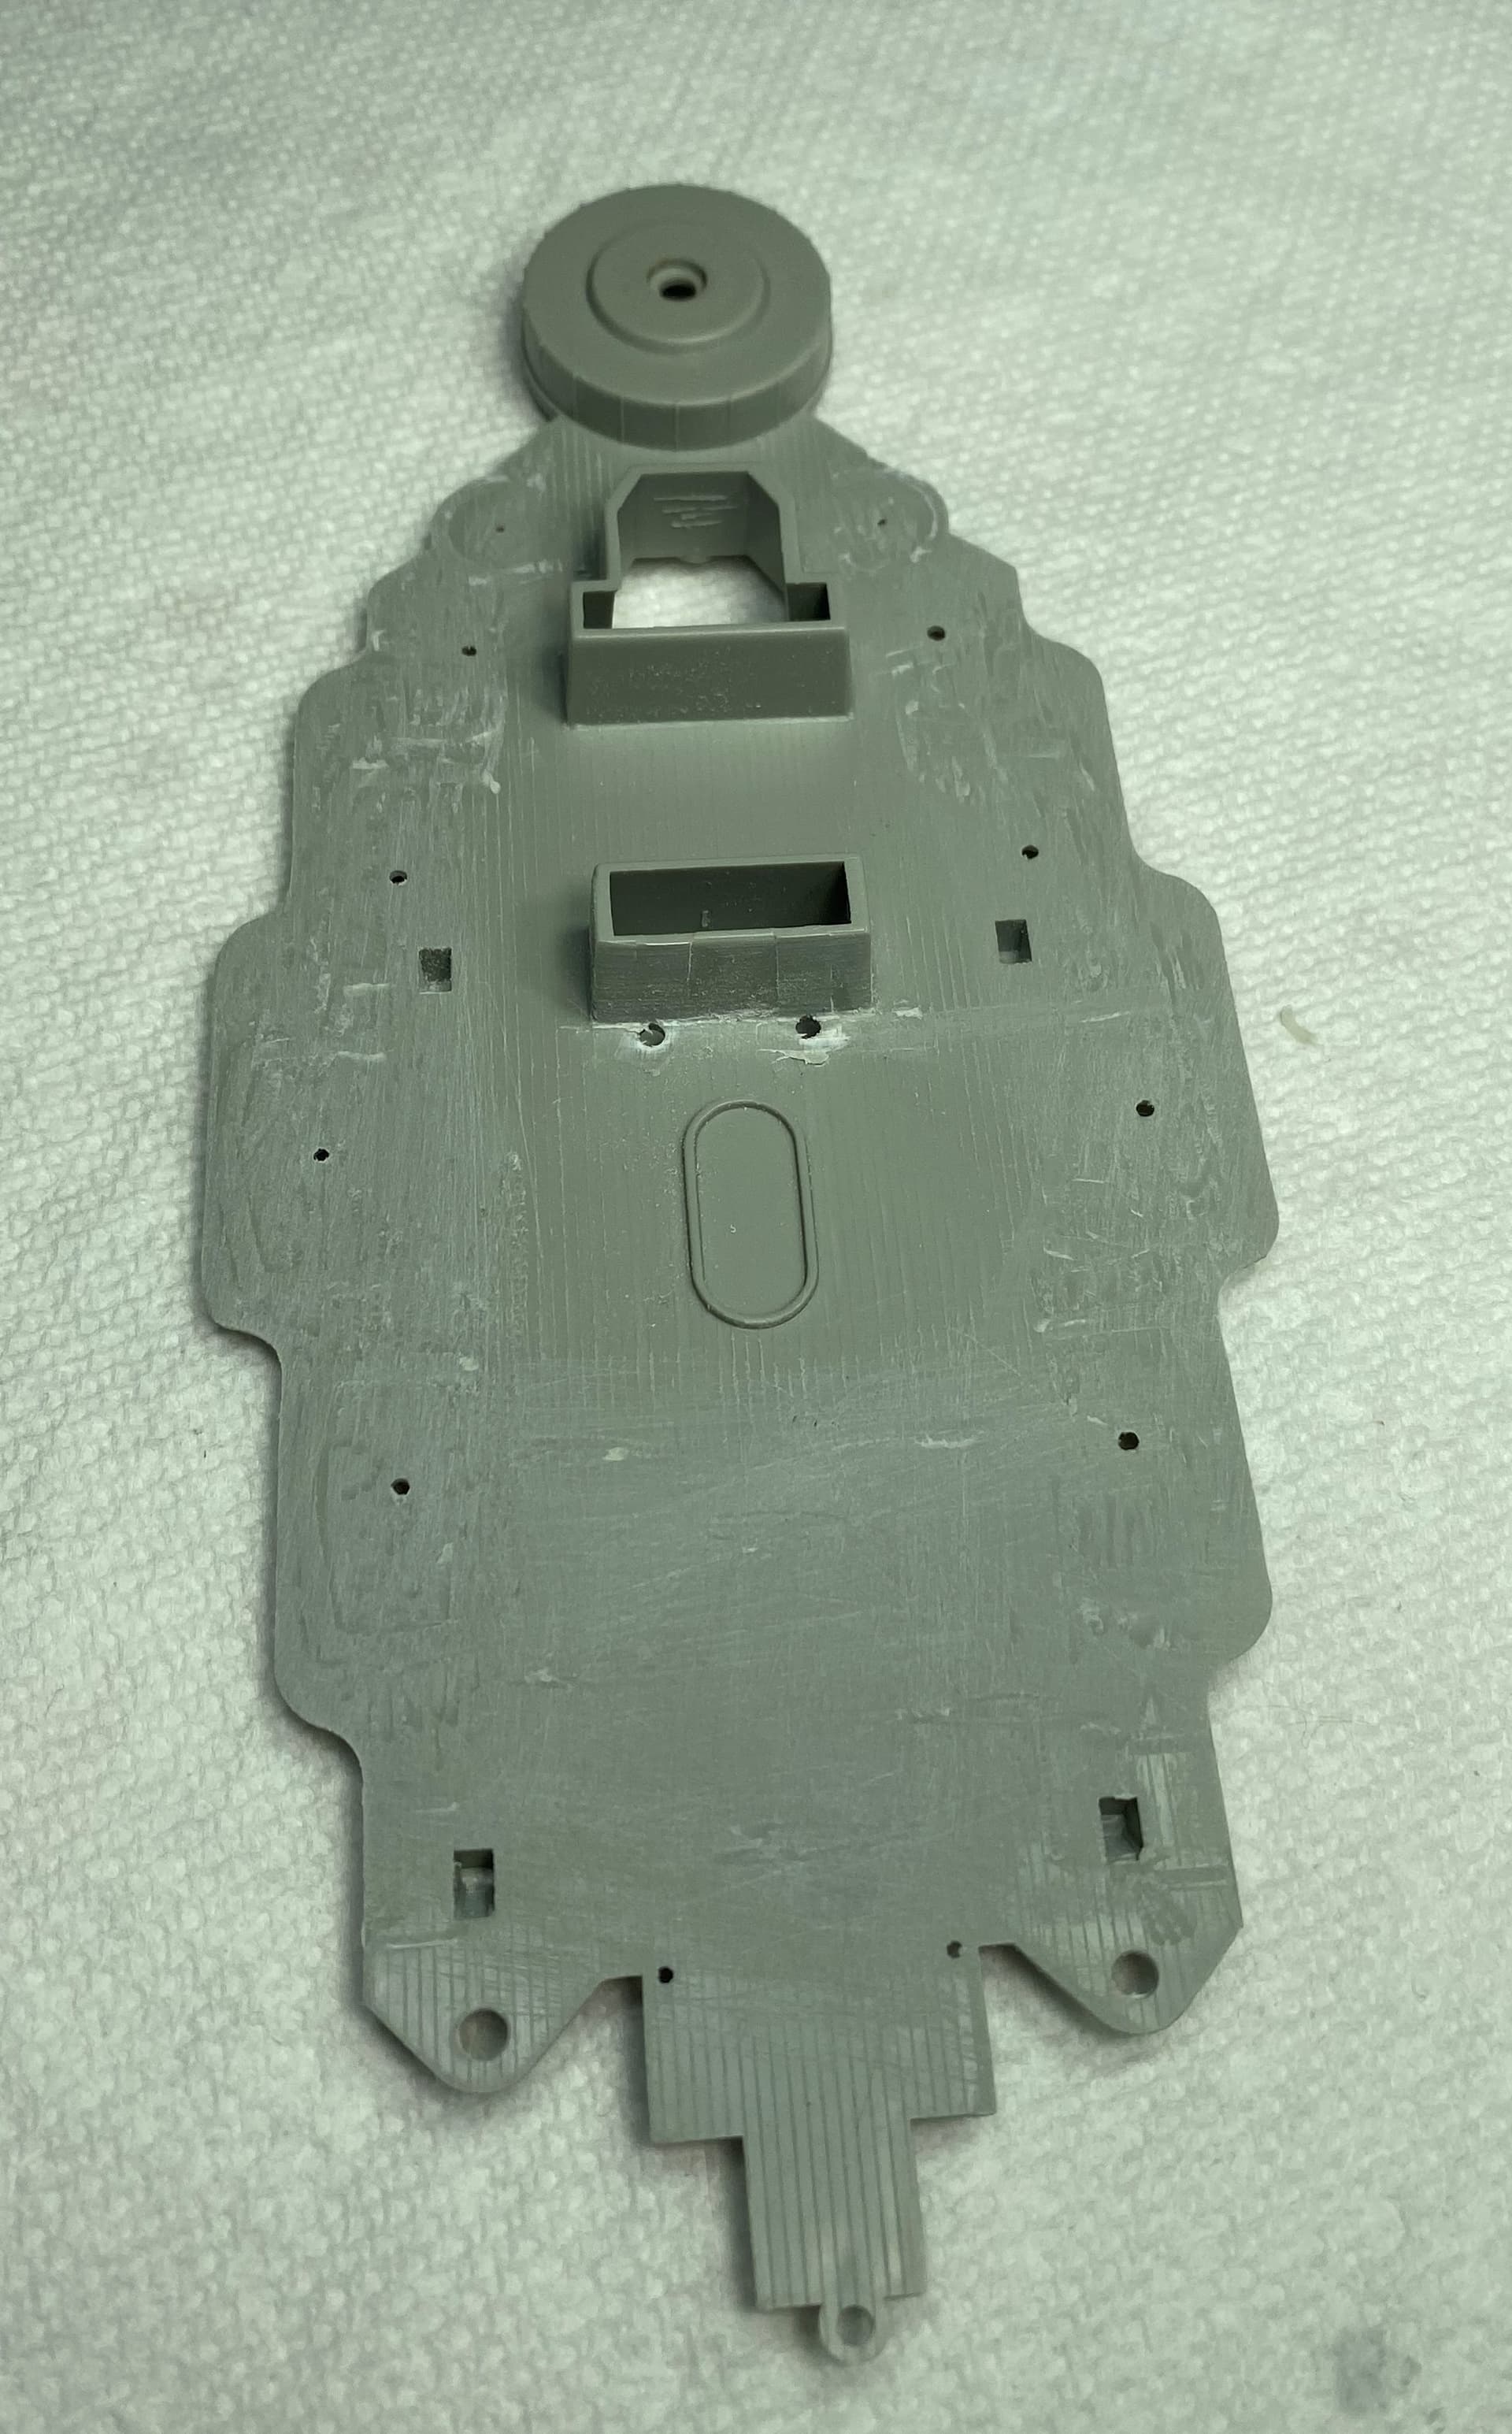
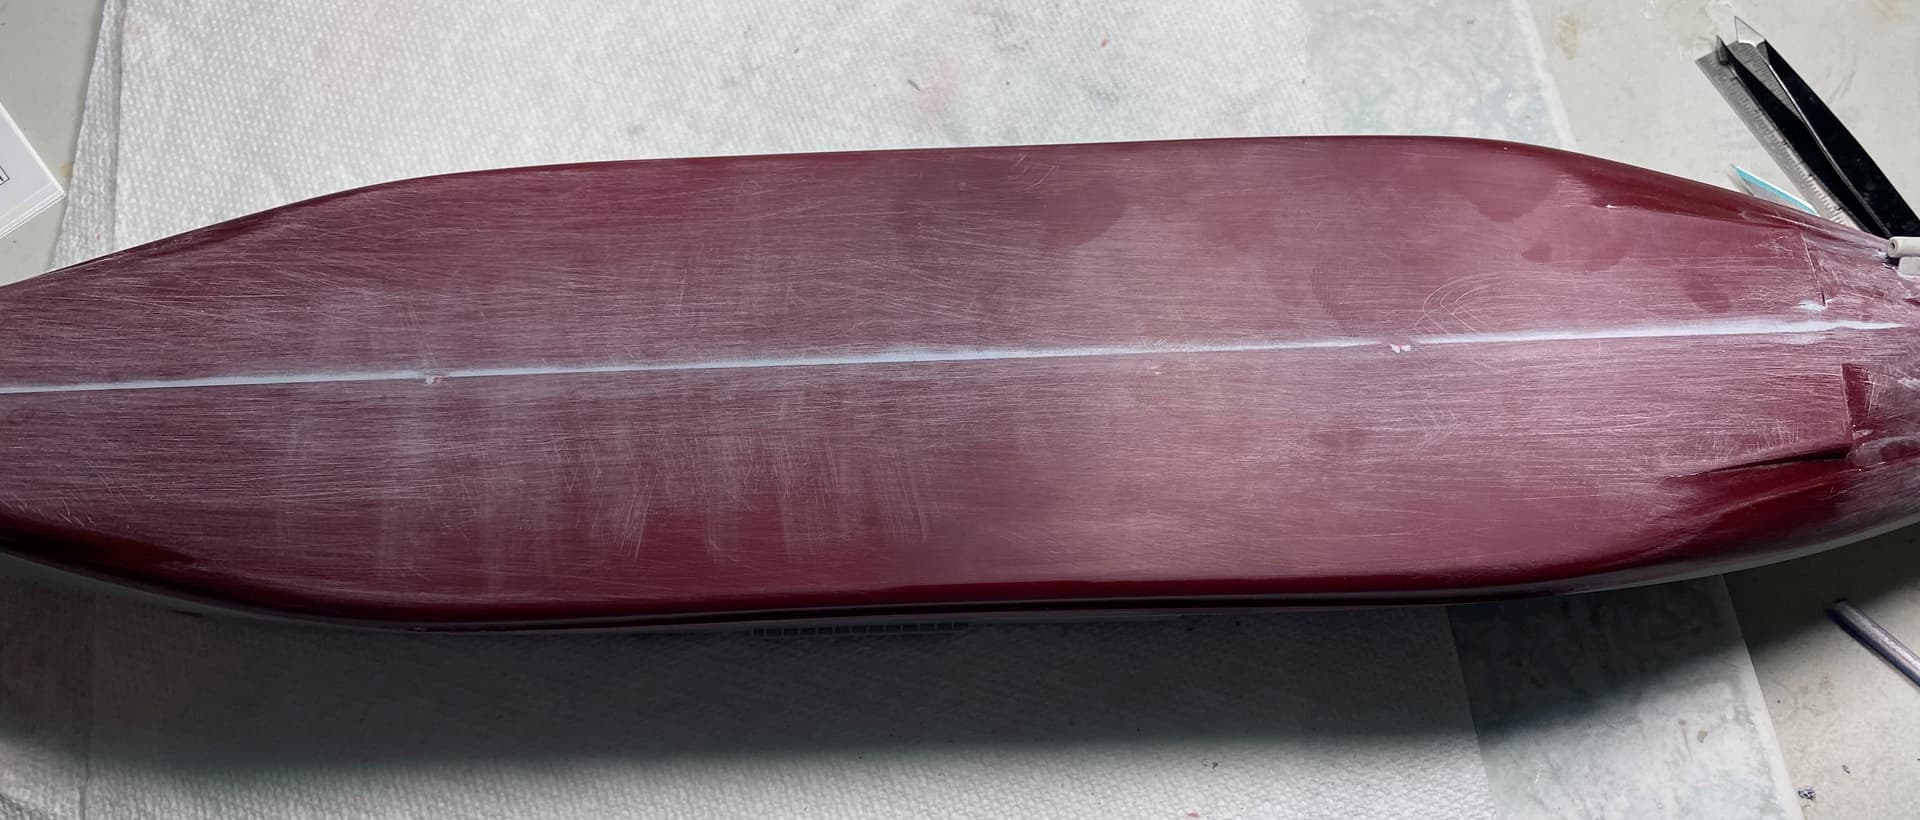
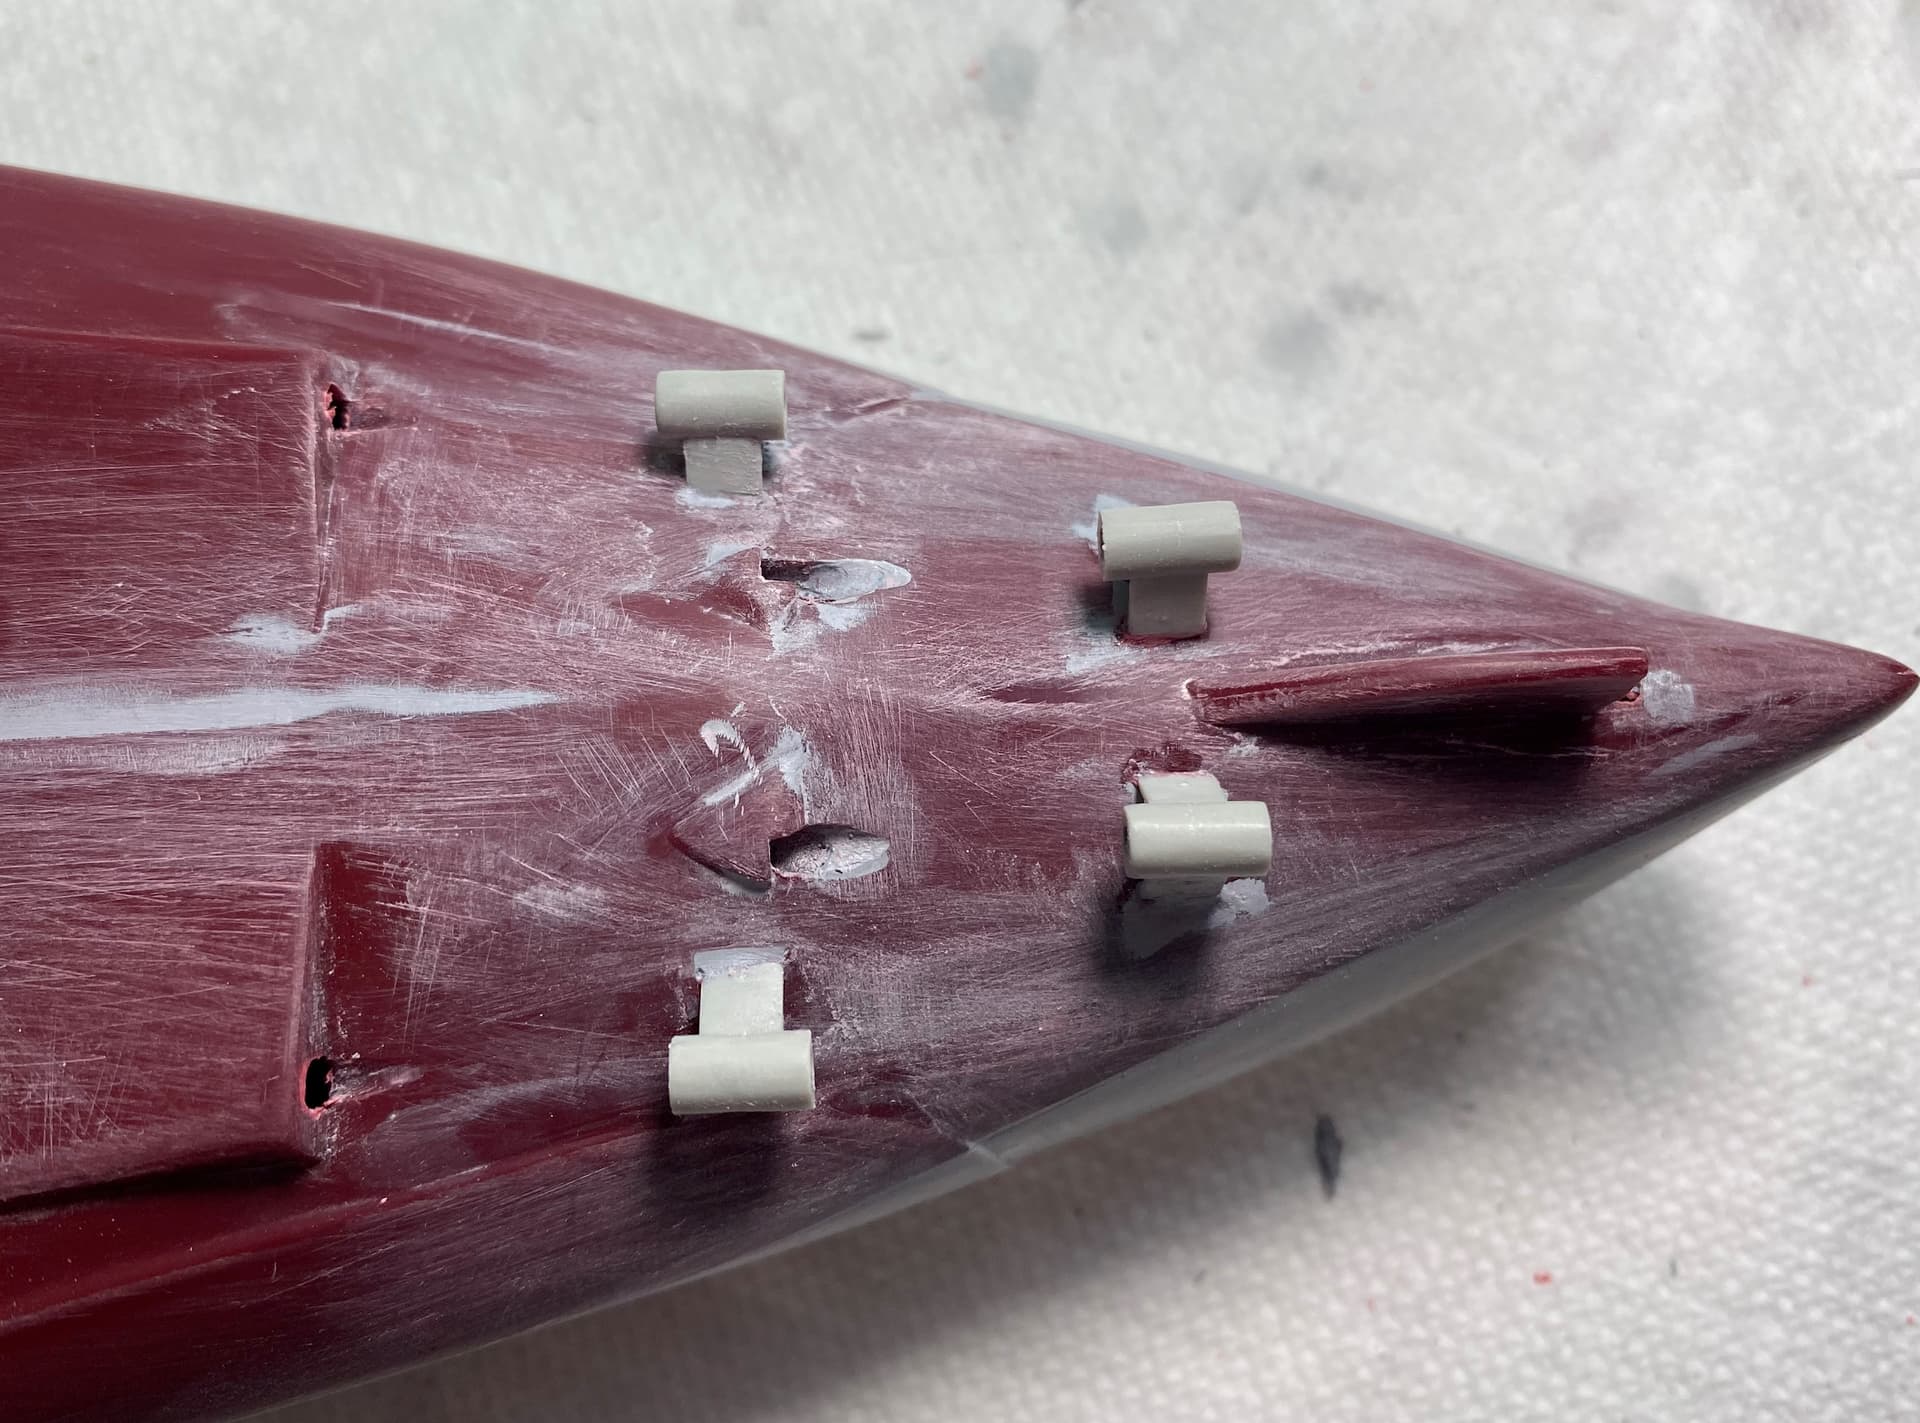
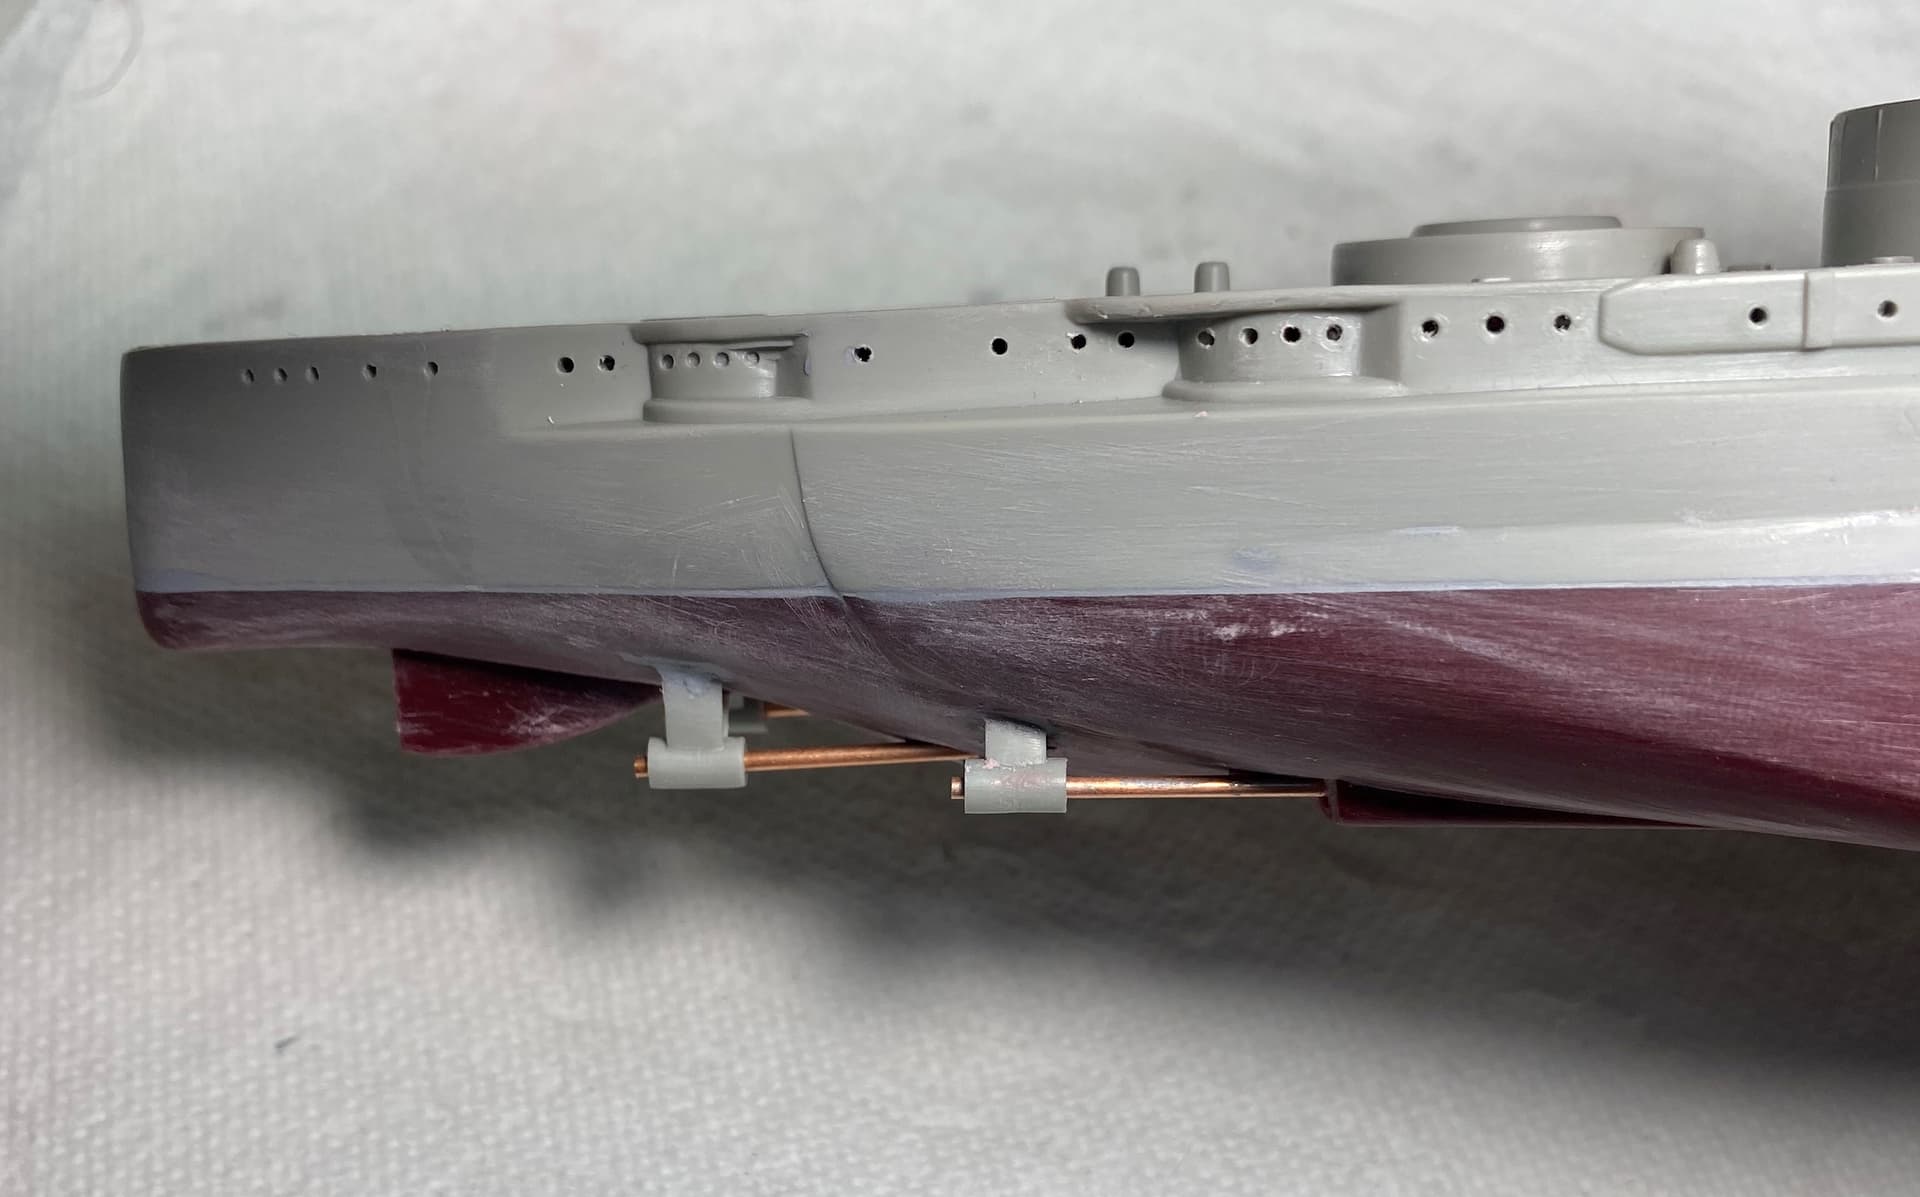
Last few days have been spent on the underside and the prop shaft area and it was not pretty. Nothing lined up properly so I had to drill out and reposition a few things. Also decided to replace the plastic shafts with brass.
Underside of the hull had a nice seam running the whole length.
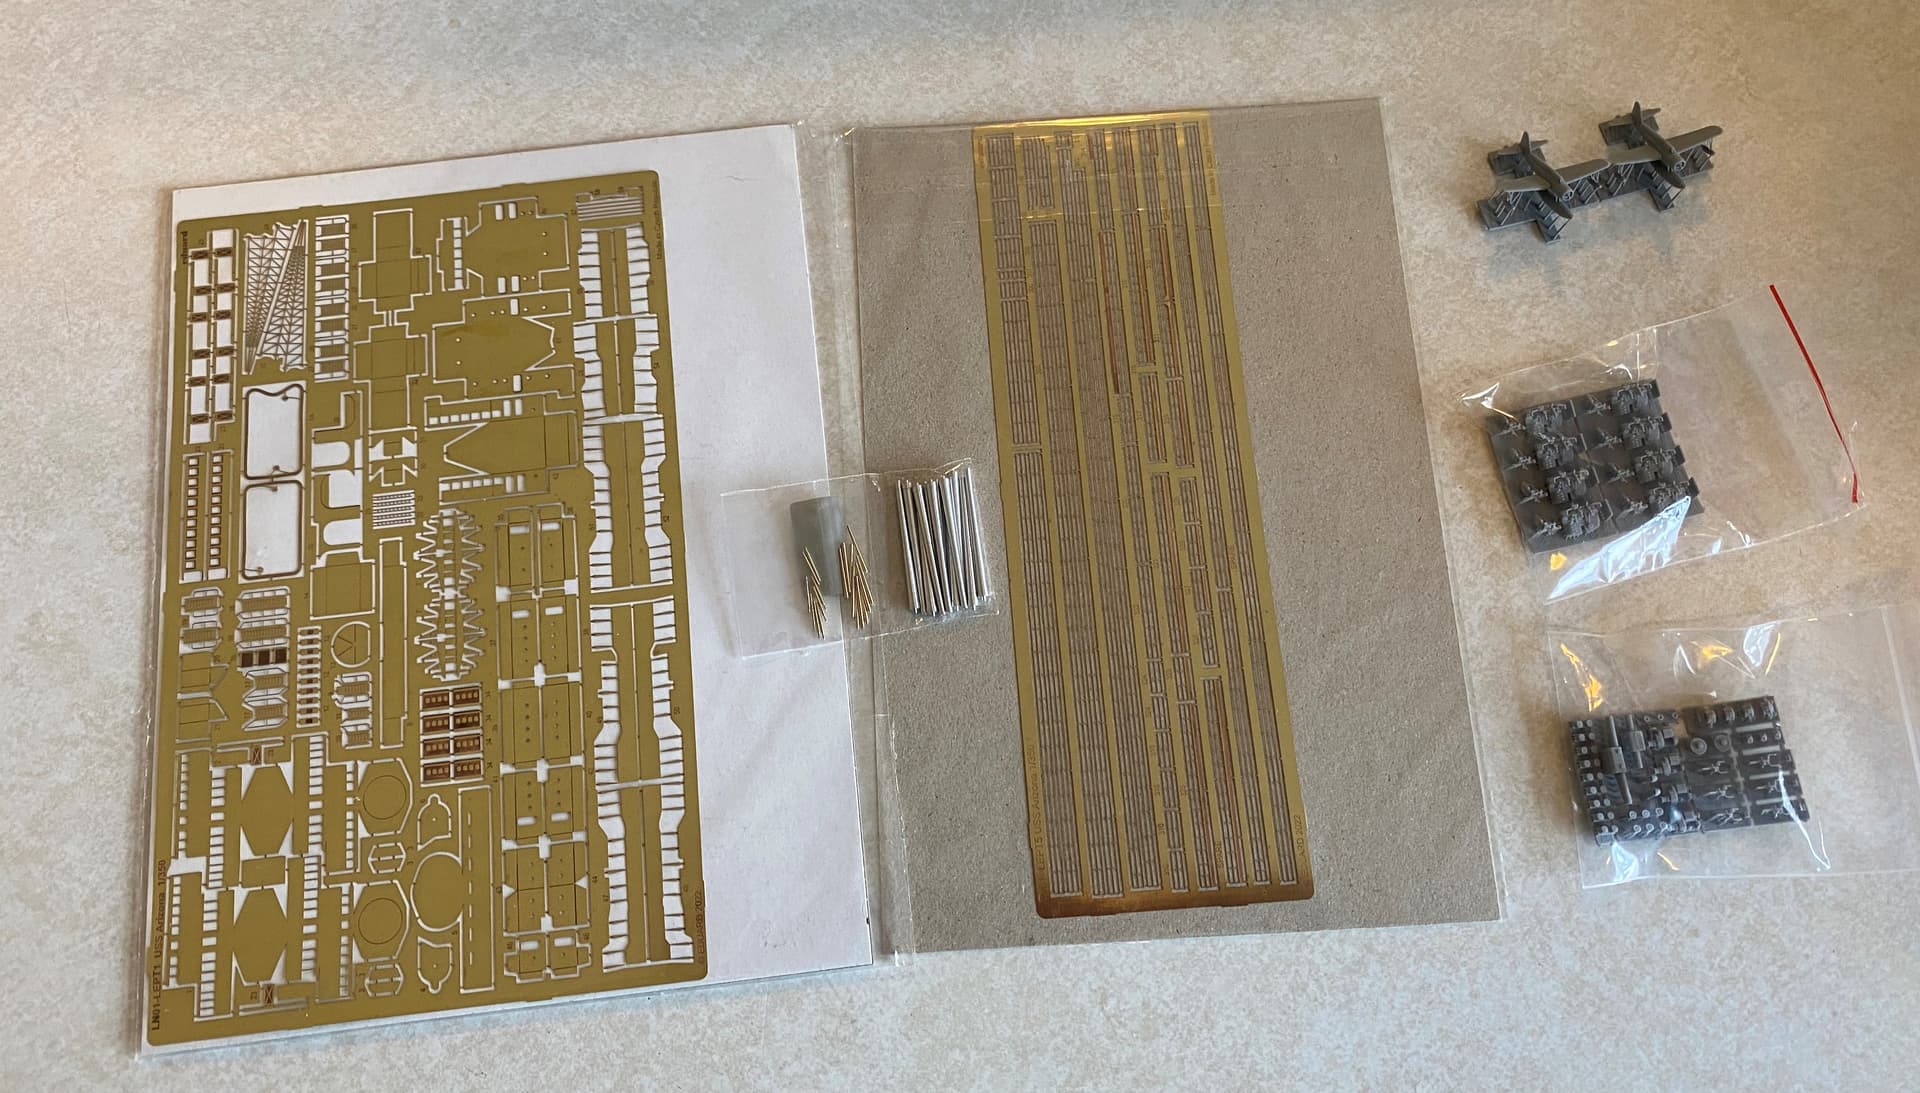
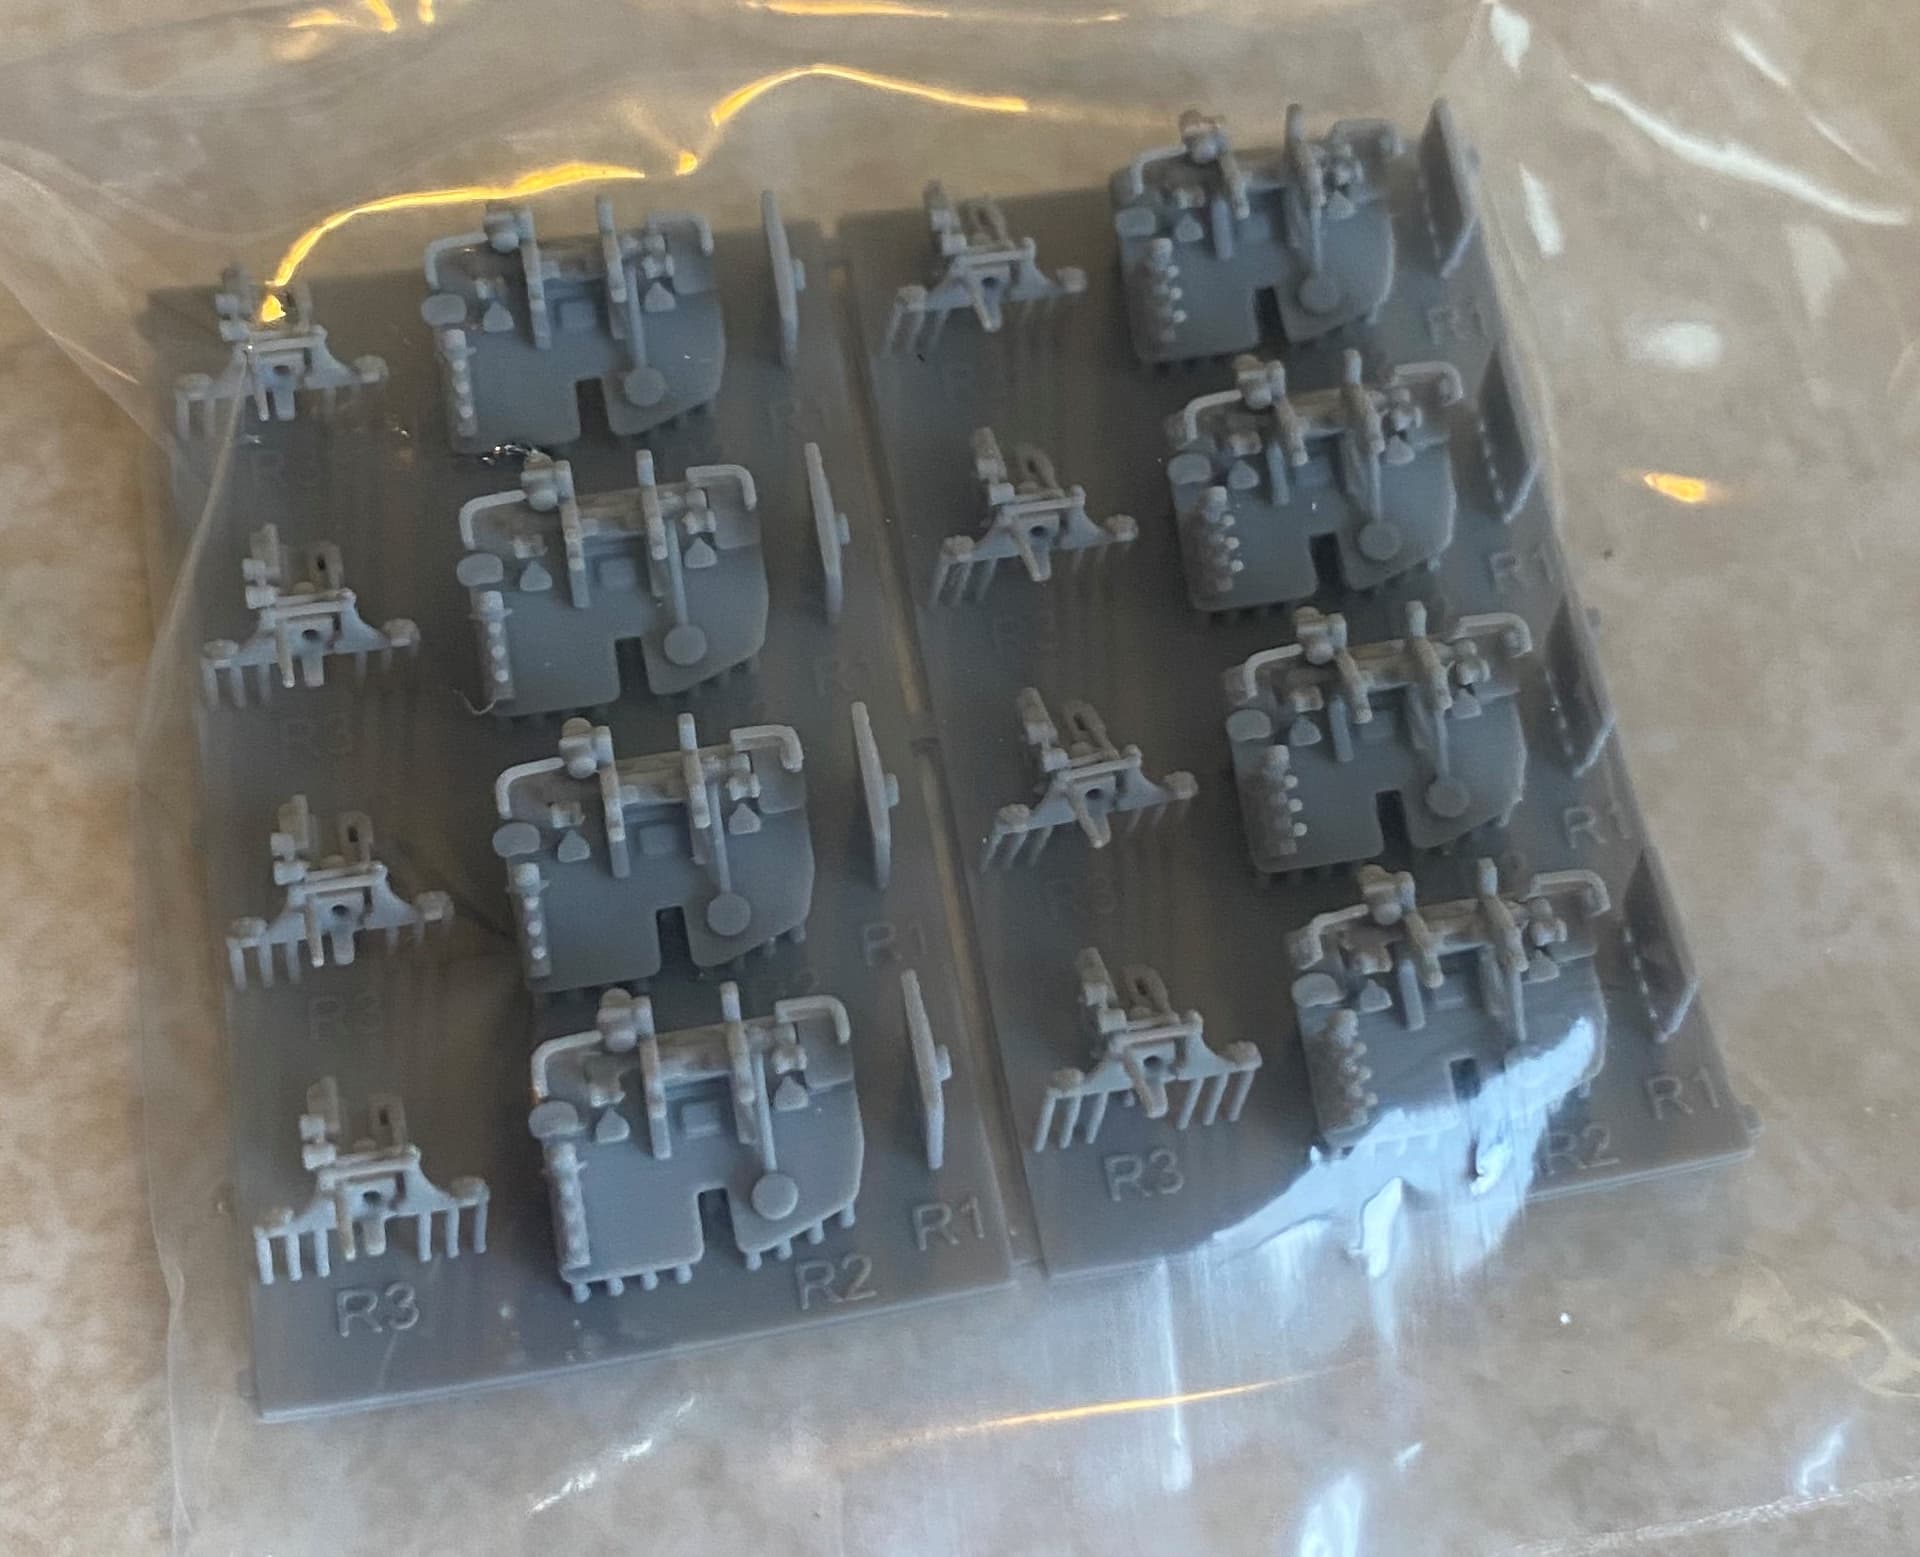
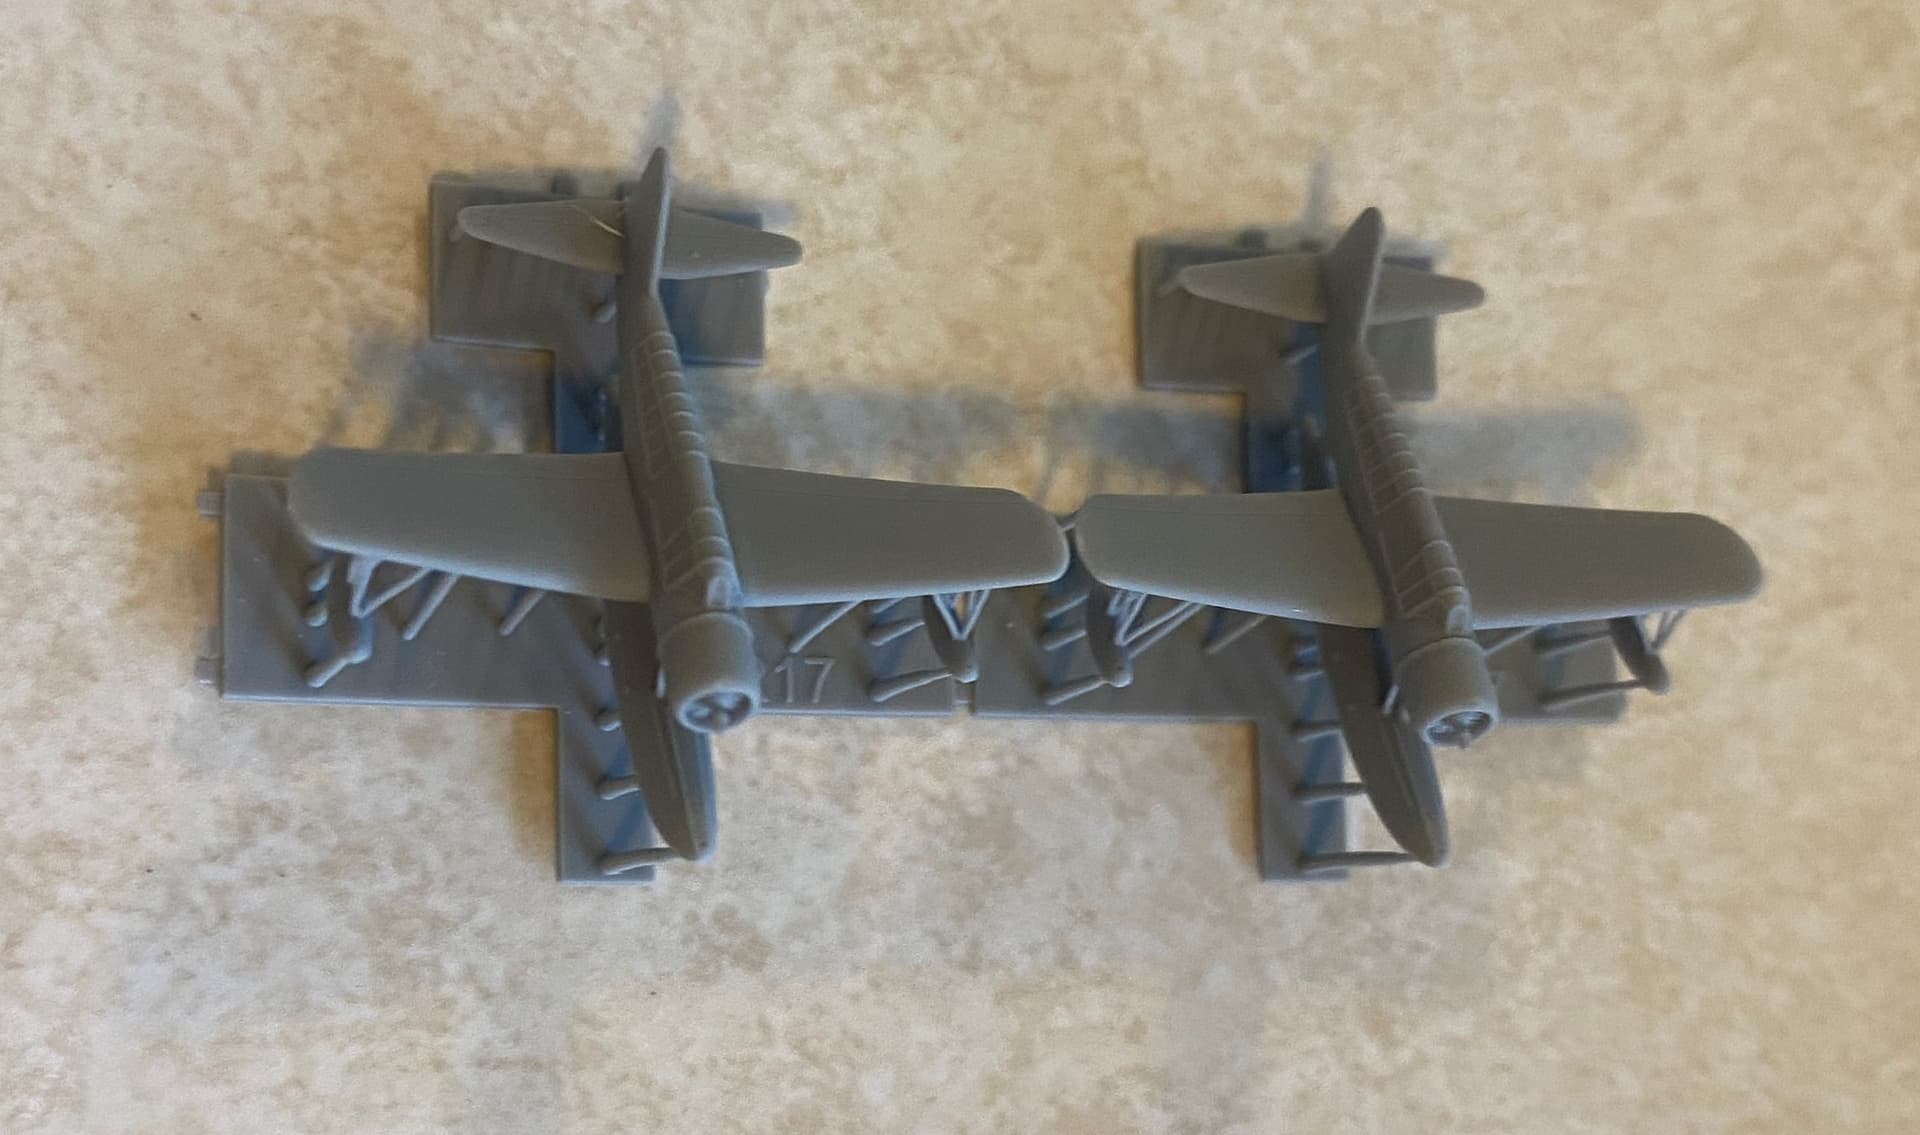
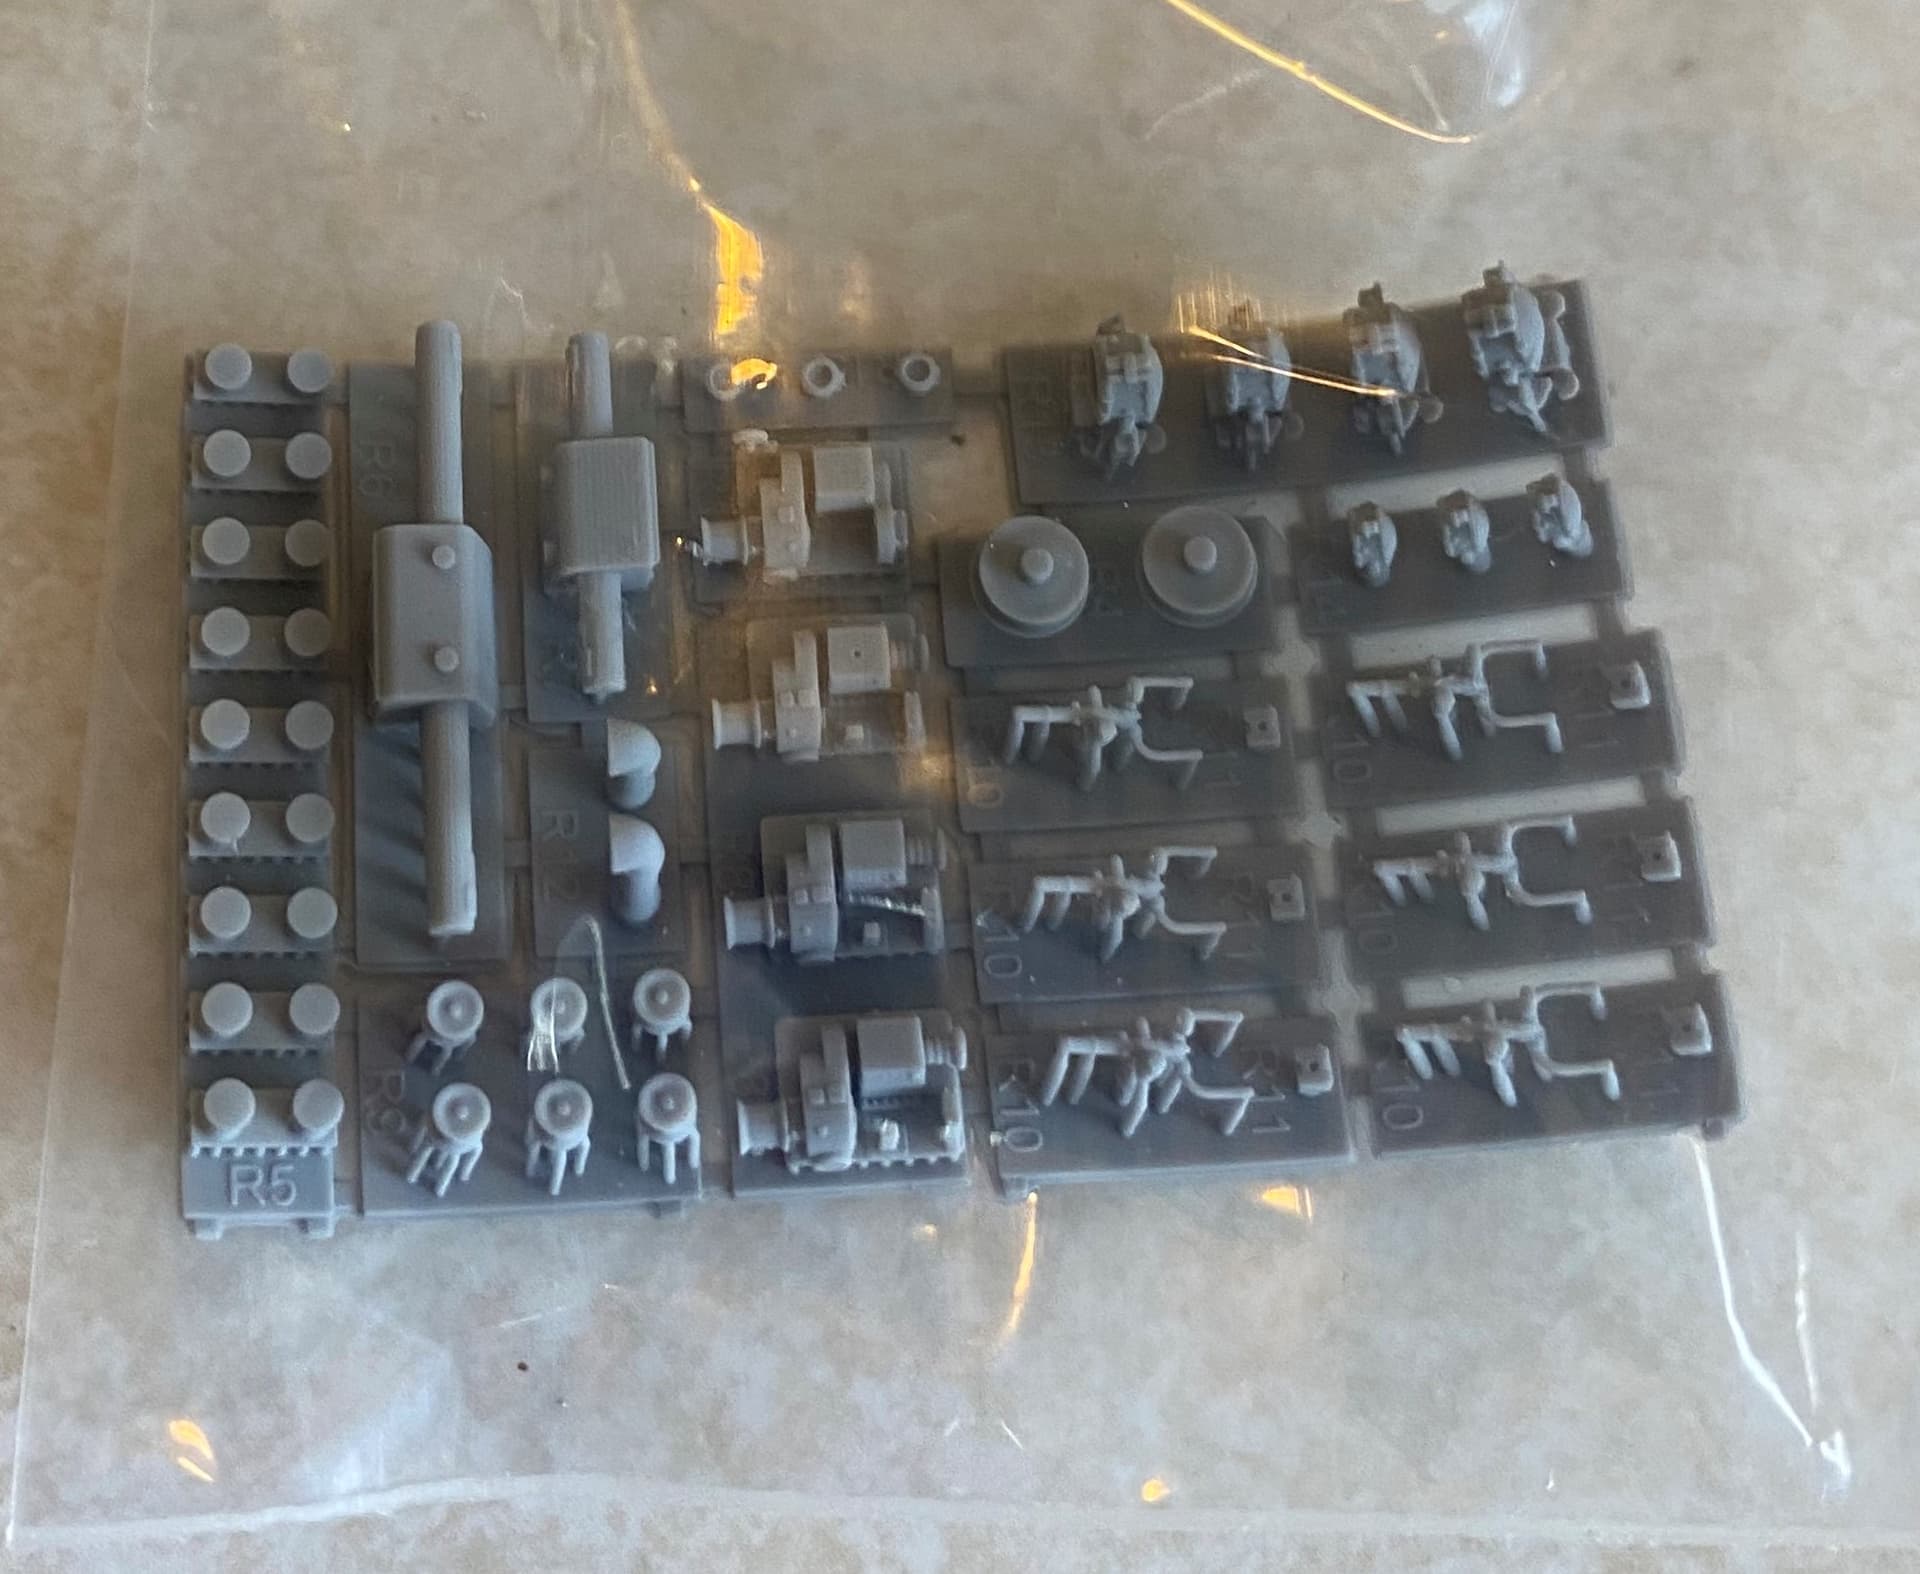
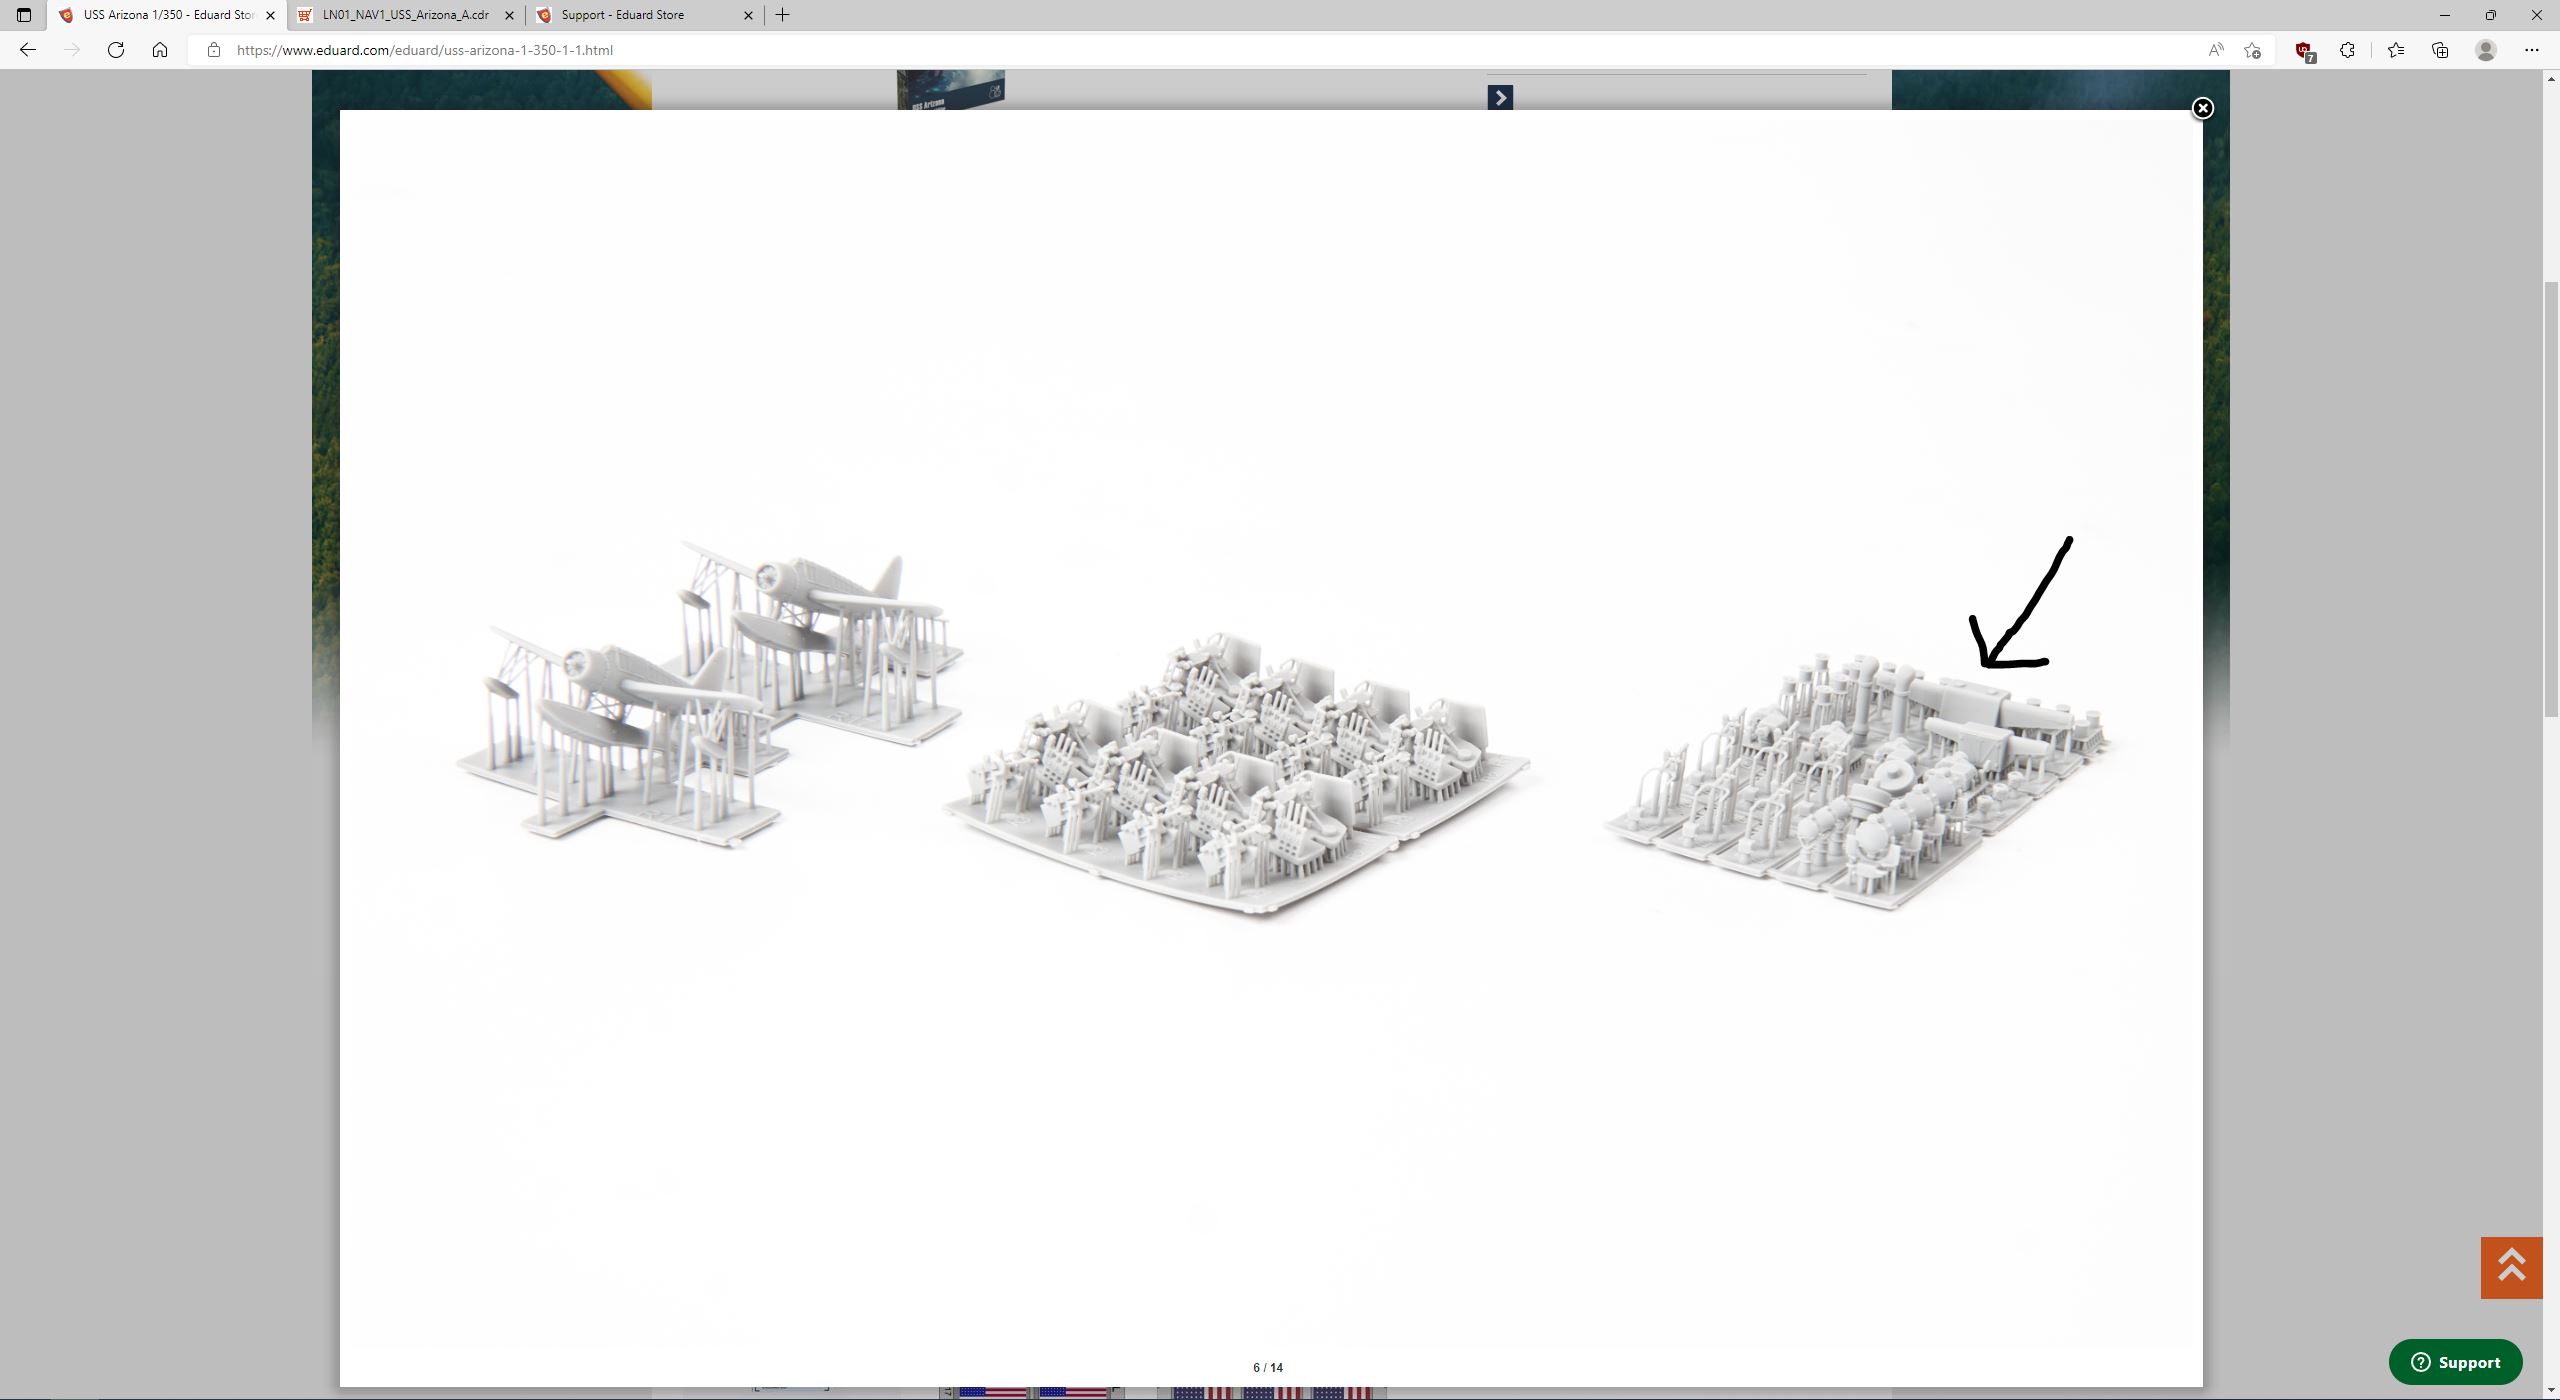
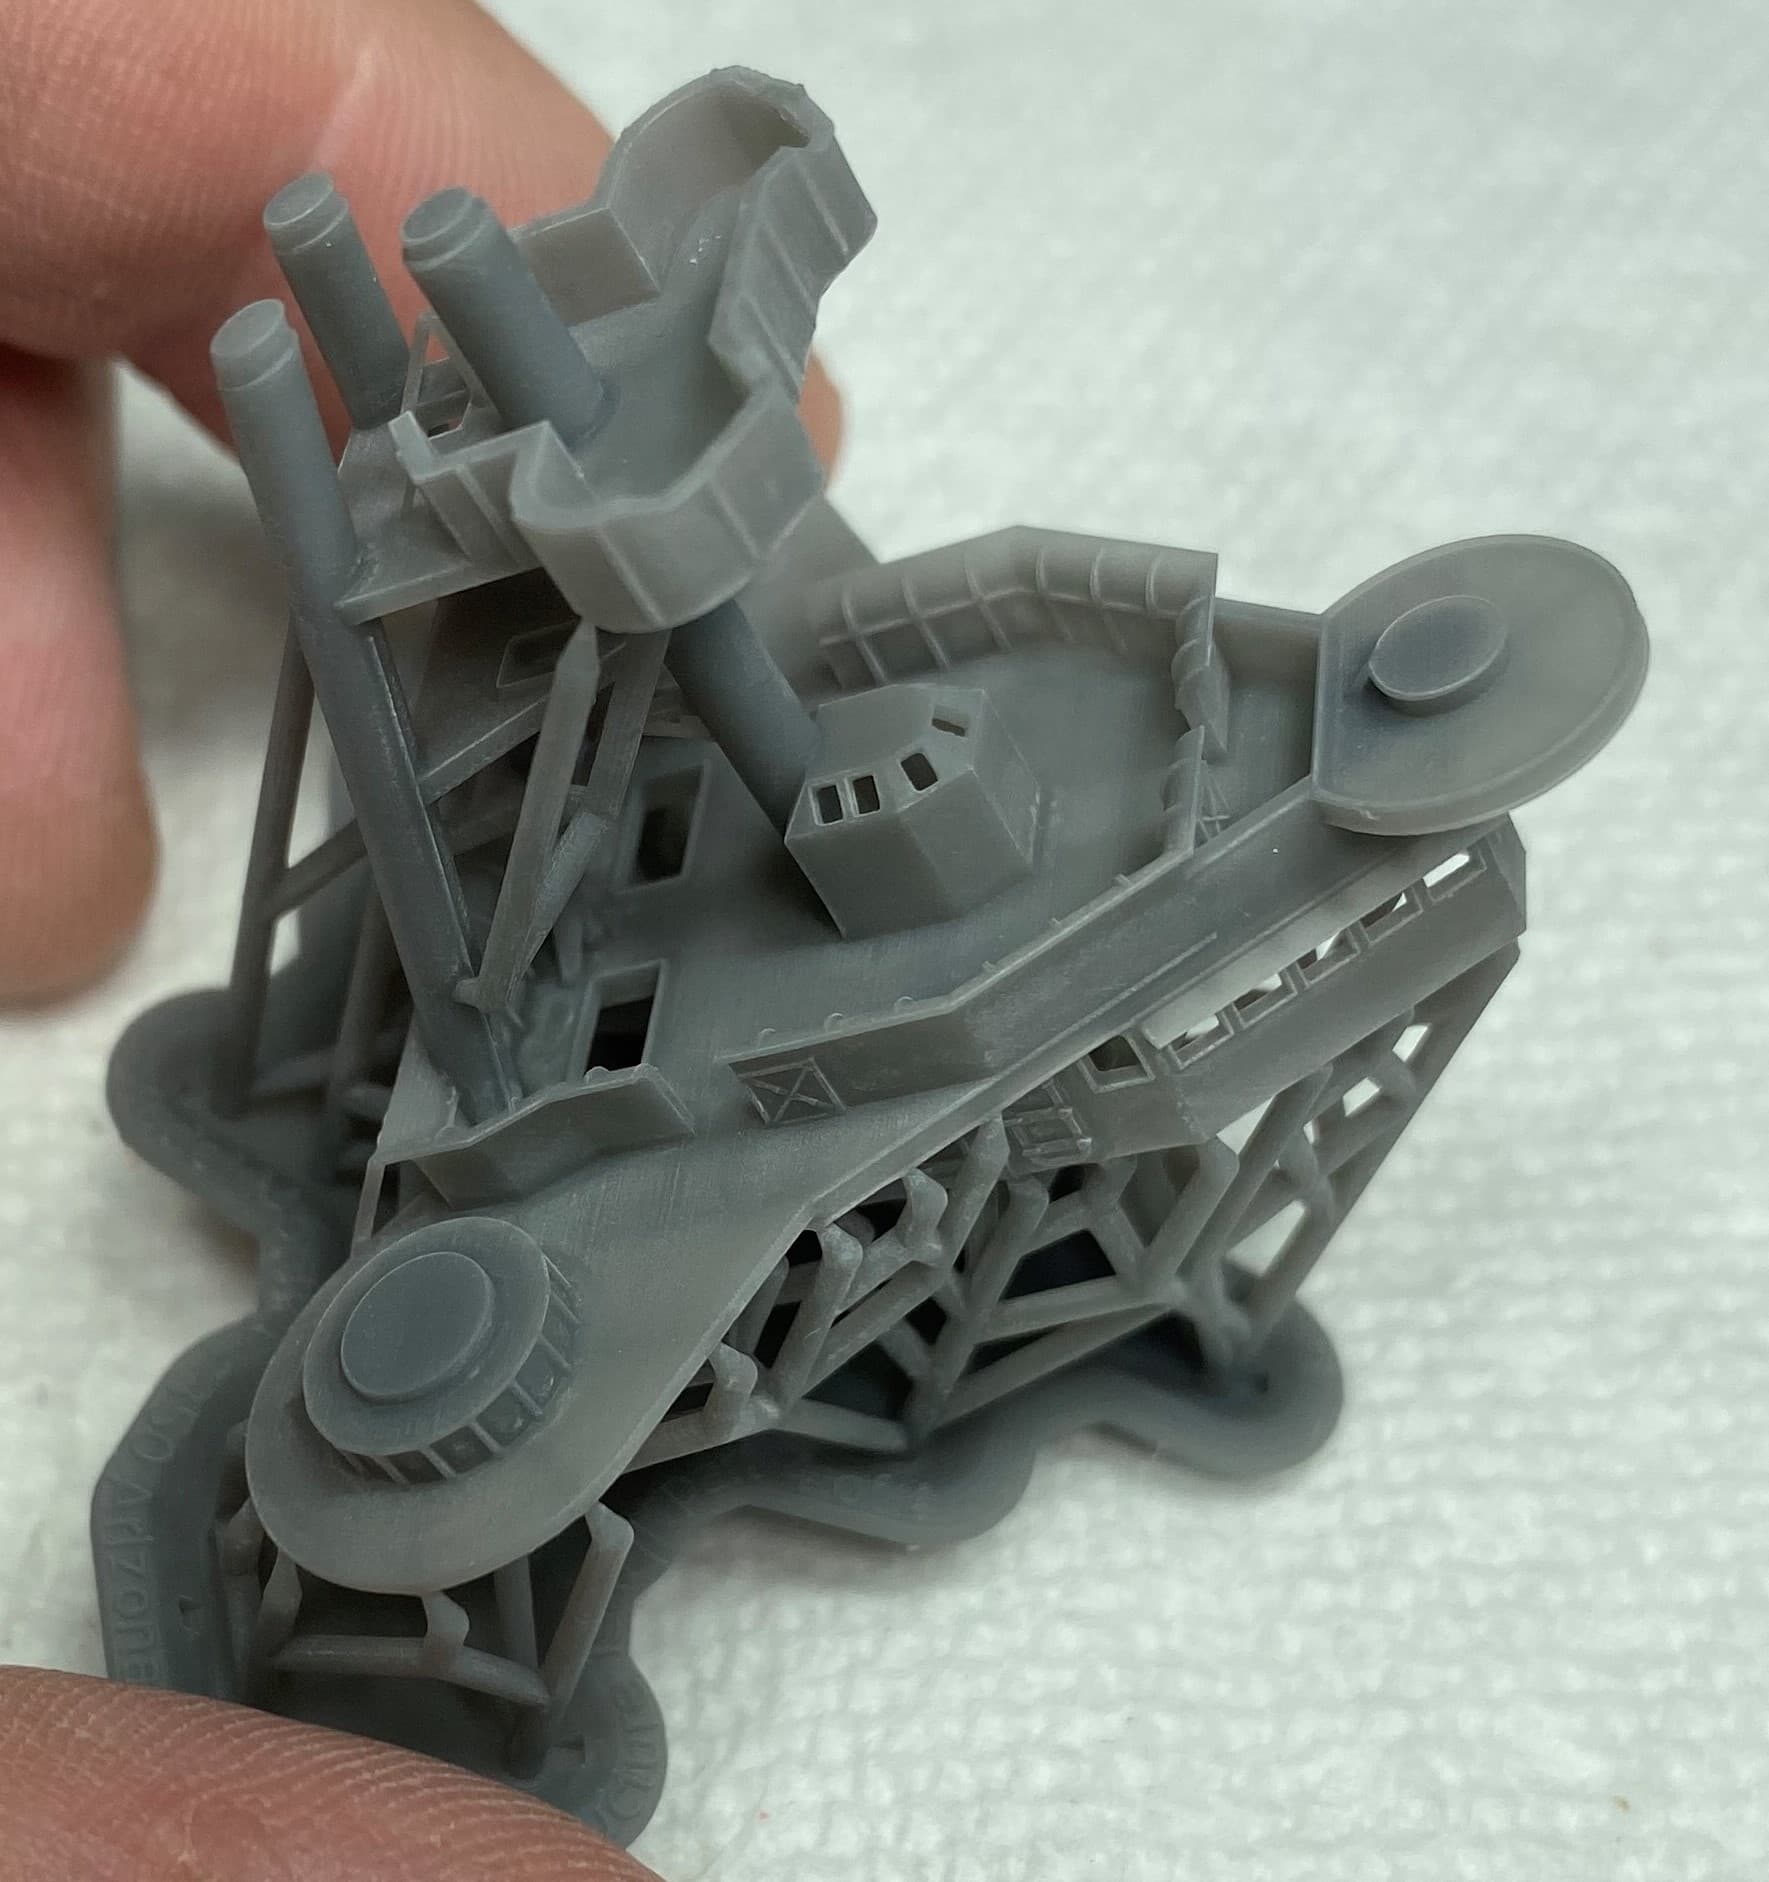
My box of goodies from Model Monkey came in and I feel like a kid at Christmas who also happens to be in a candy store. The parts have wildly exceeded expectation
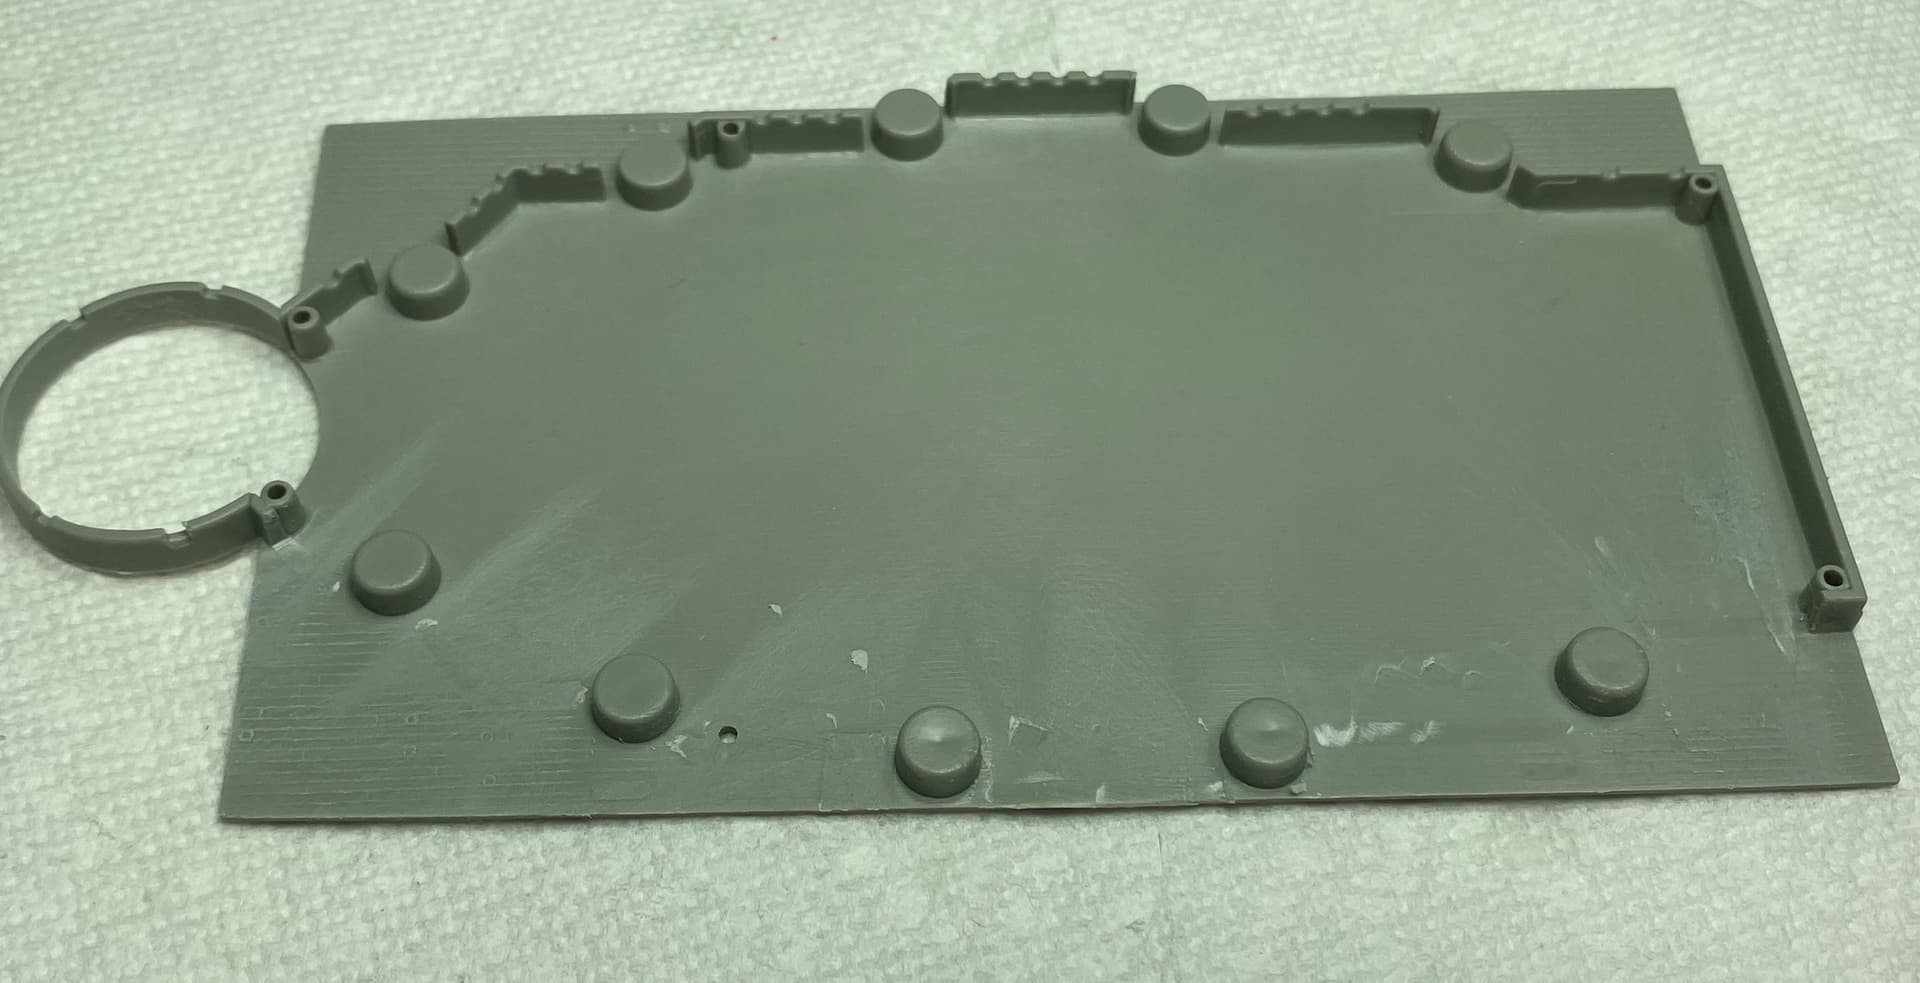
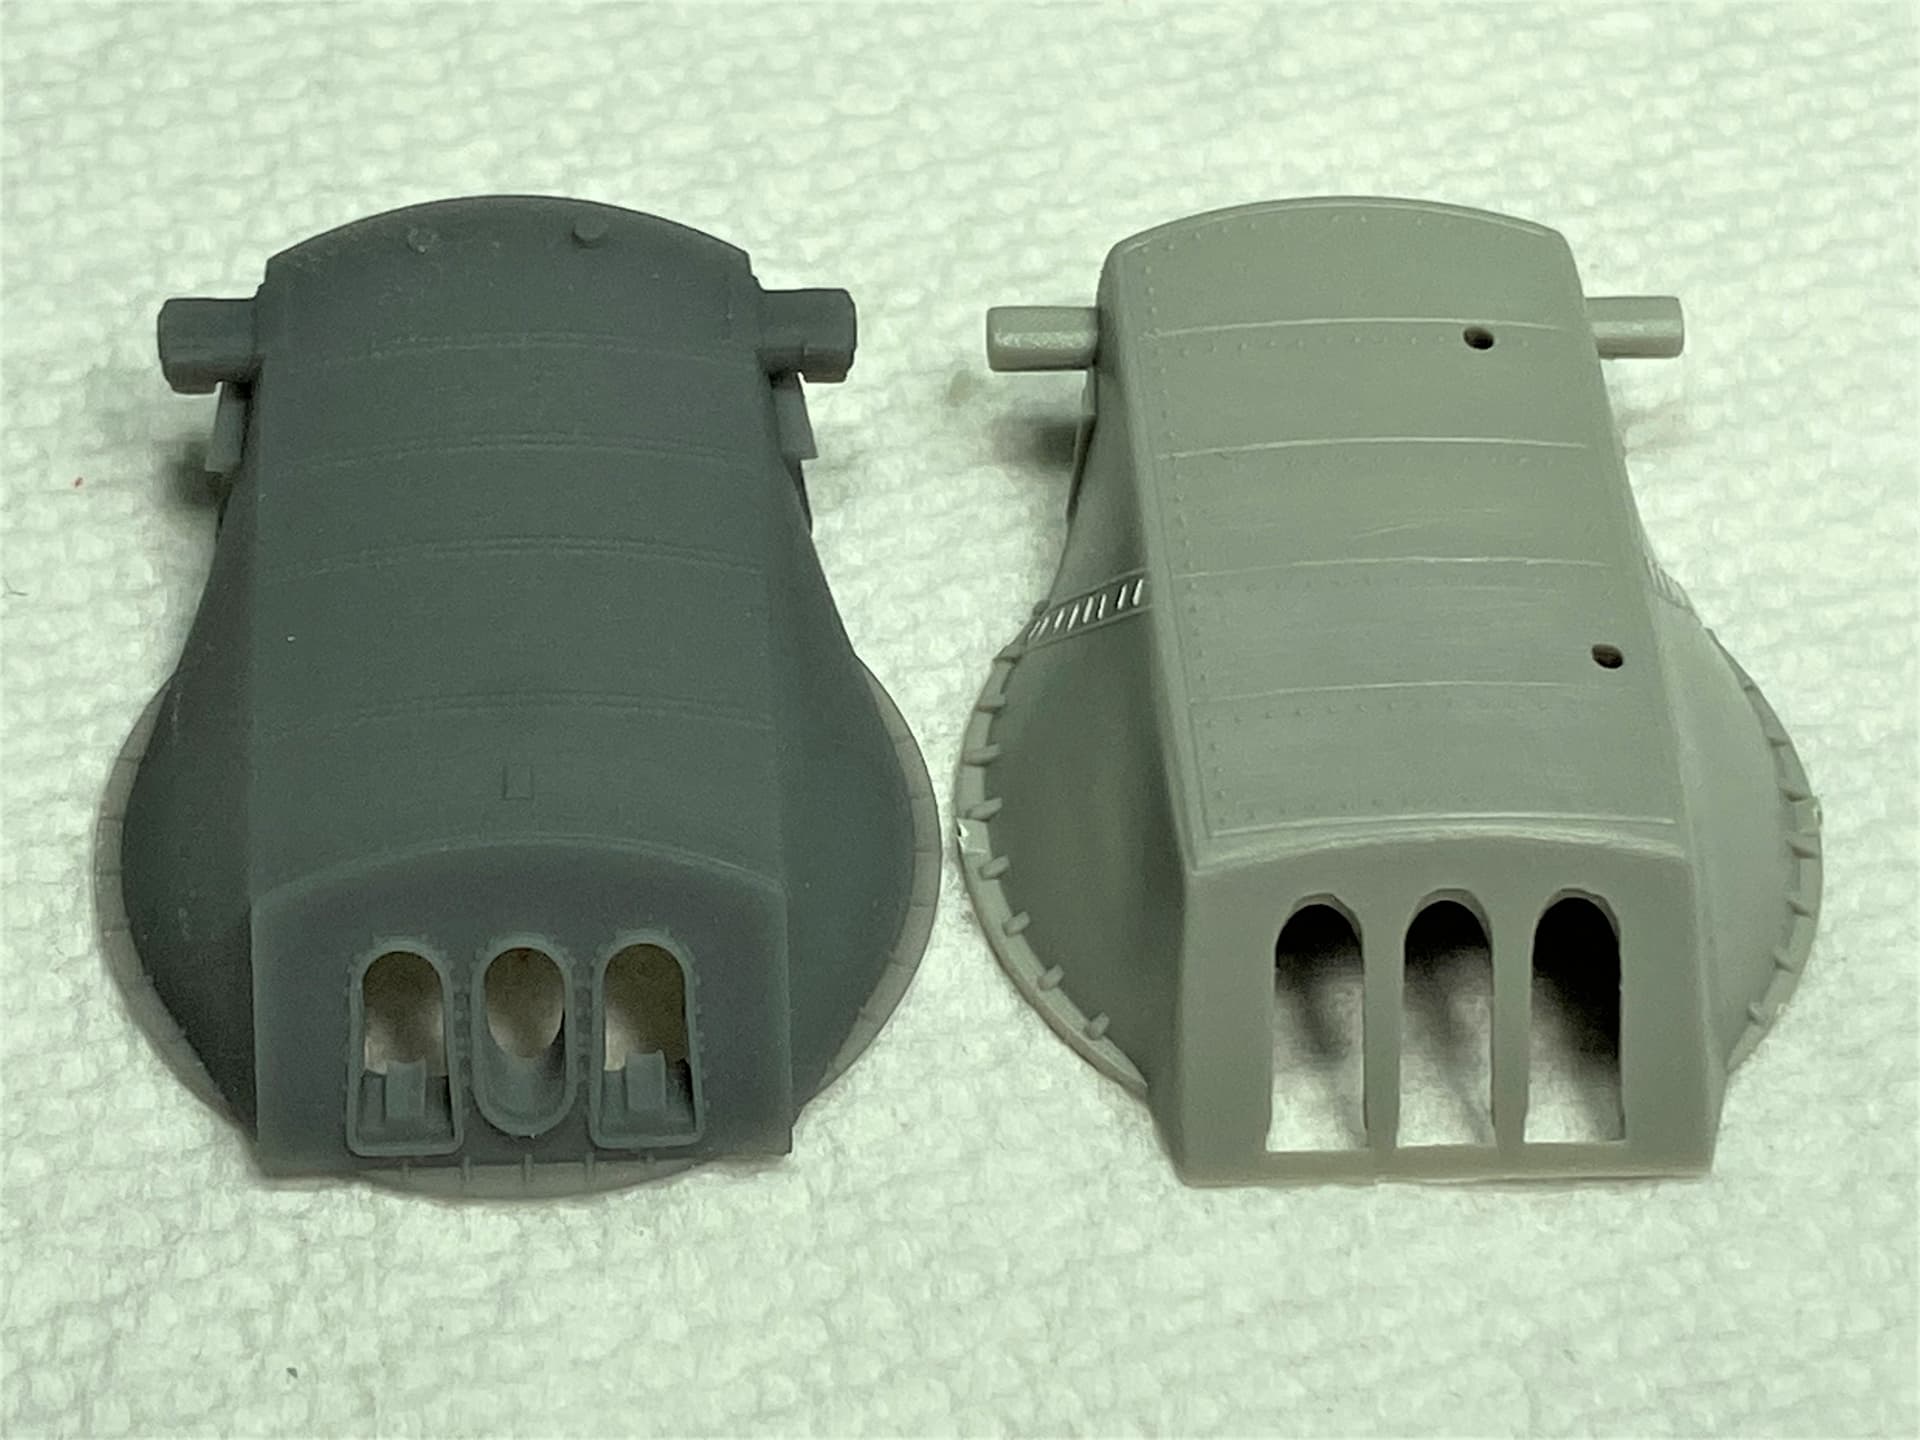
Not going to show them all but here is a small selections of comparisons between the kit parts and the 3D printed.
WOW, those parts are like night and day, so well detailed. they will make a huge difference to the finished look. its amazing how much missing detail they have added compared to the kit parts.
The Model Monkey parts are SUPERB. I have a number of them for my 96th scale ARIZONA, and they’re spectacular. Steve does a great job in researching, and producing them.
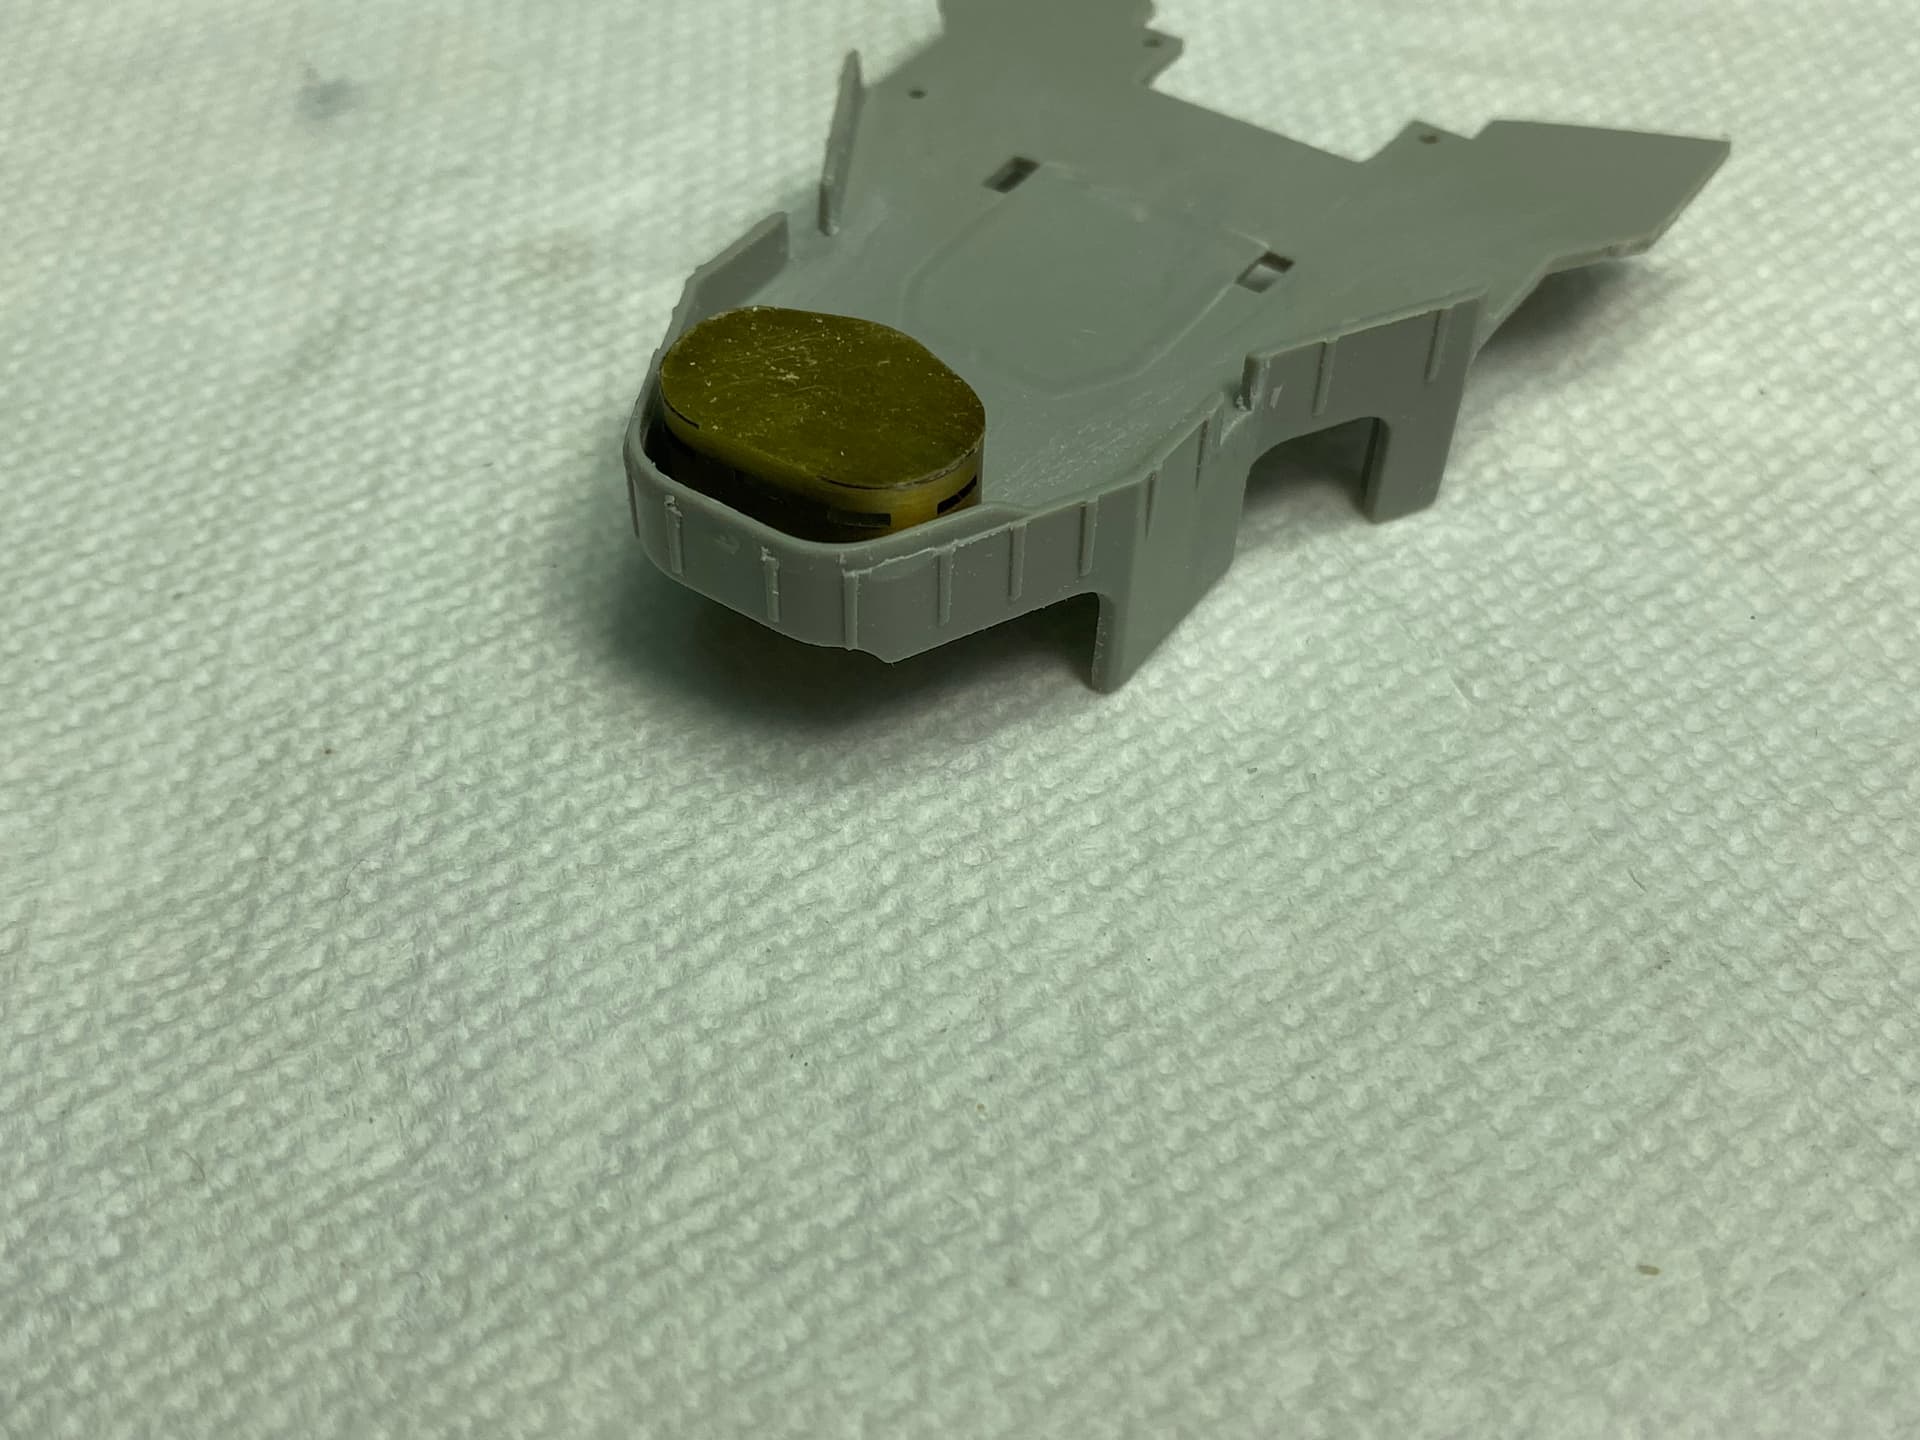
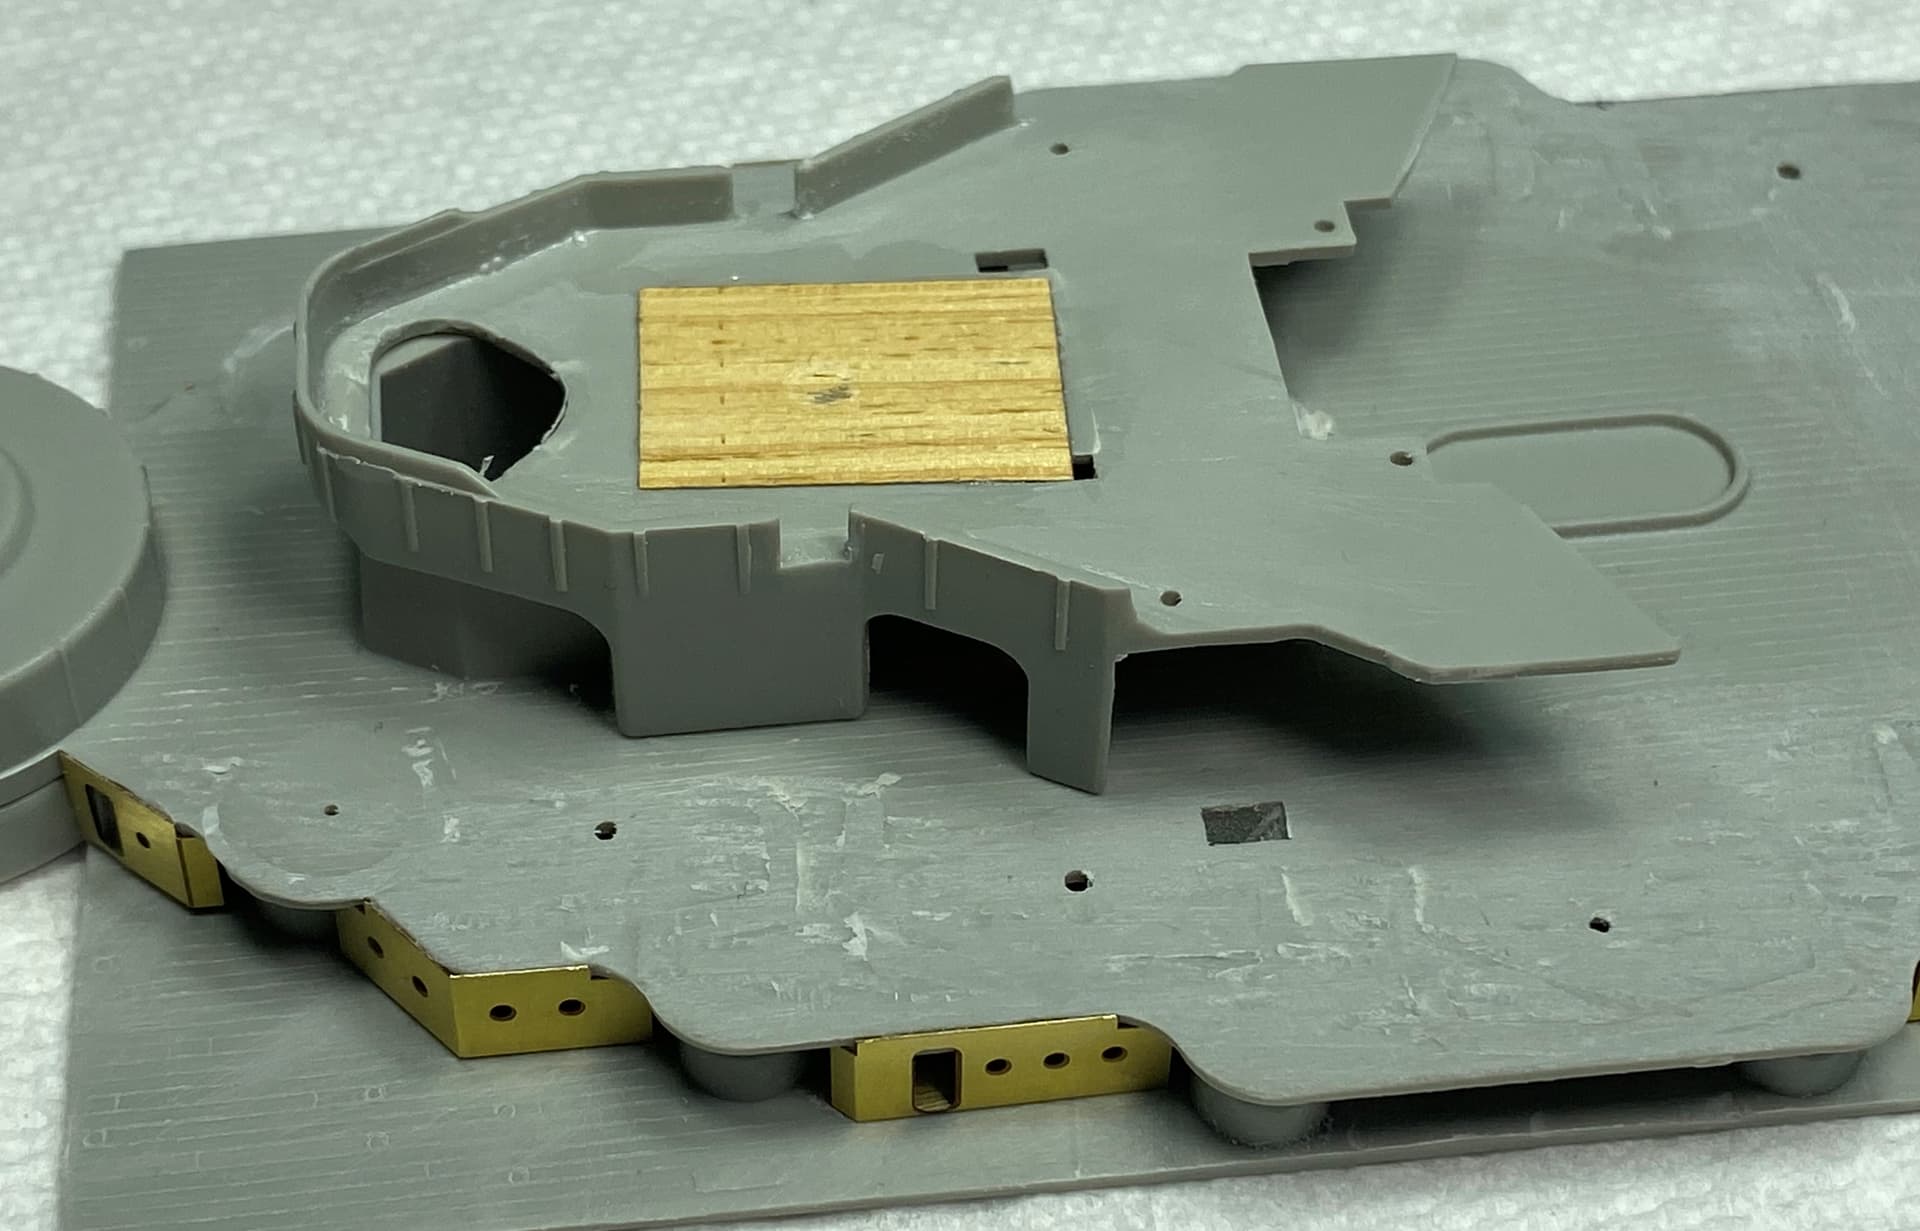
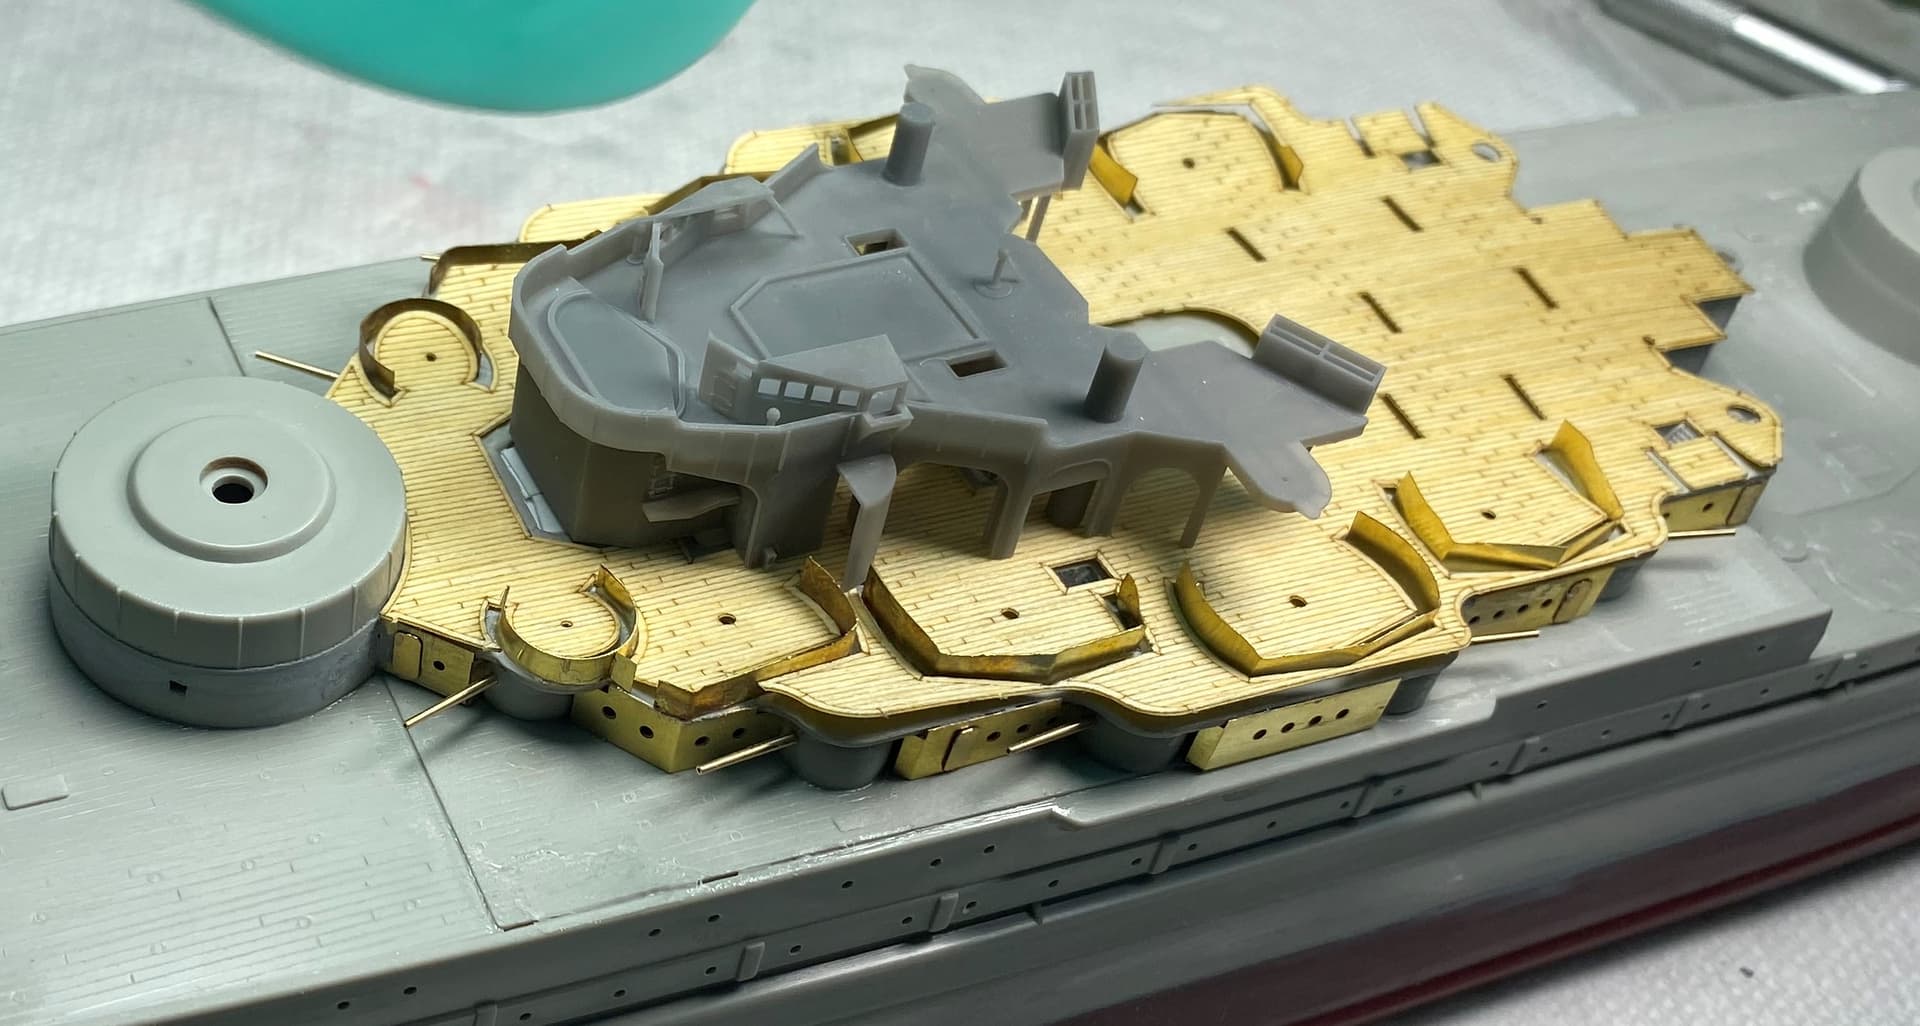
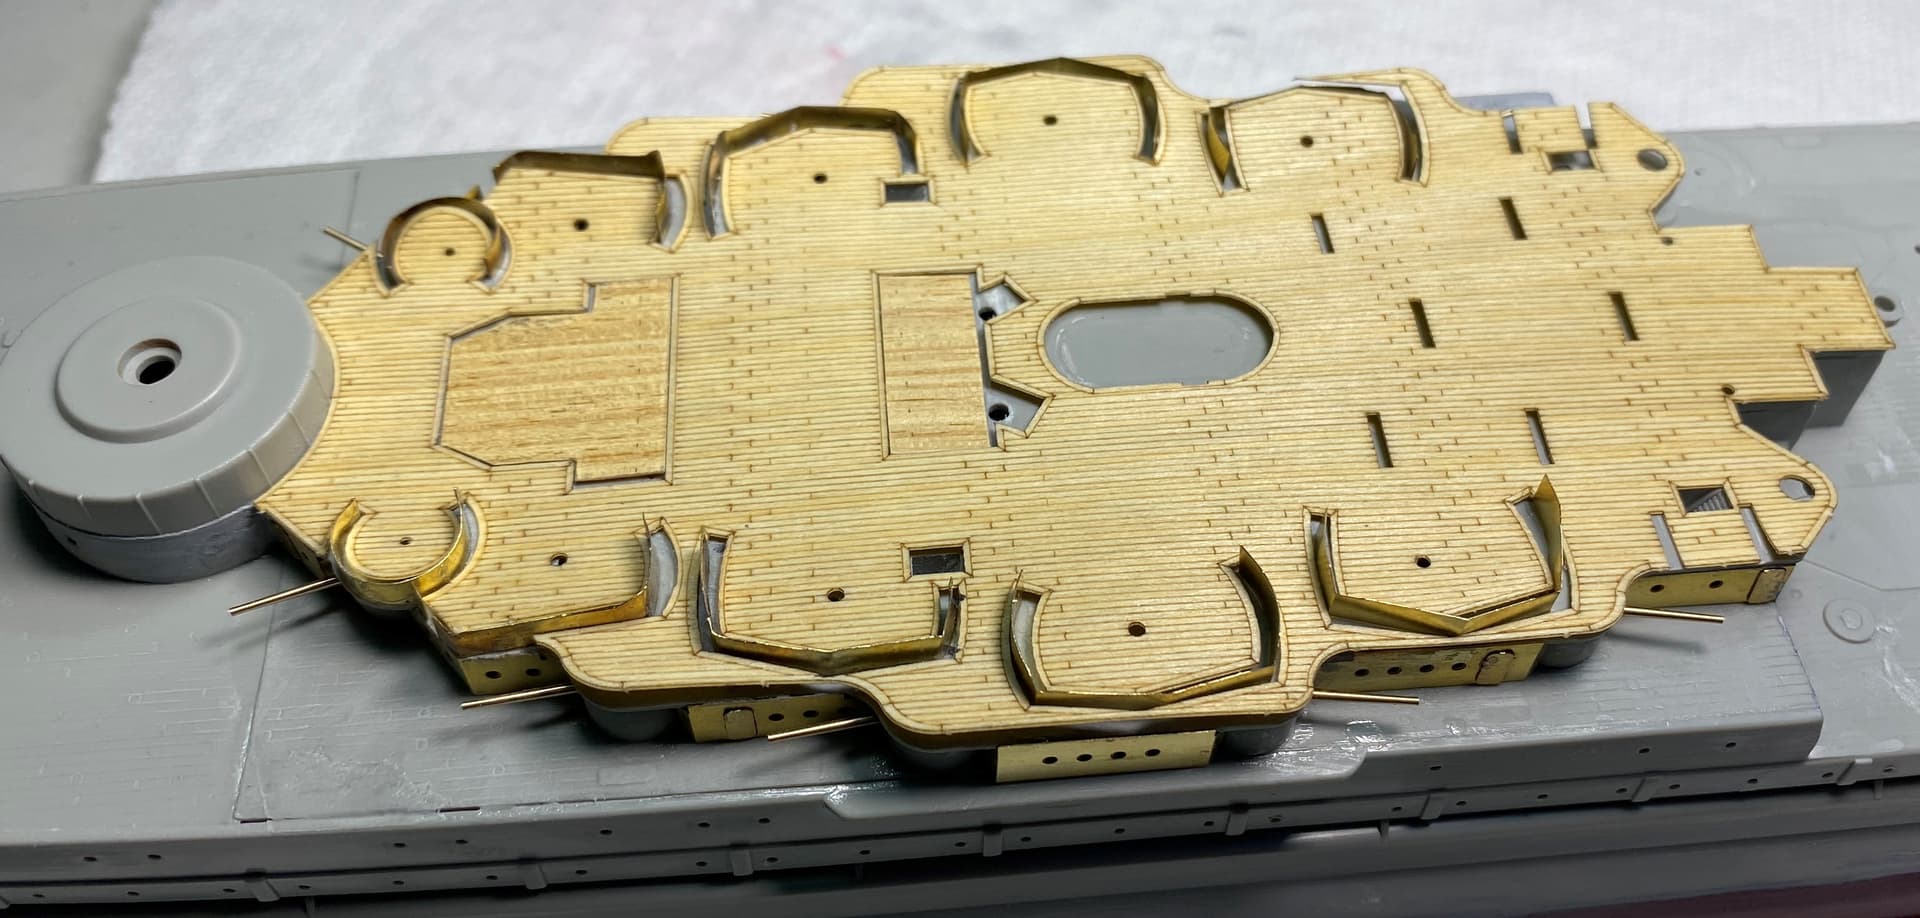
The biggest problem I have had is the aftermarket deck. It is a lovely deck but unfortunately it came with all the slots pre-removed and it was designed to perfectly fit the kit. I have removed all the kit parts and replaced with PE and the PE is not the same size in many areas. So I had to do some adjustments and fit the PE into the slots as best I could.
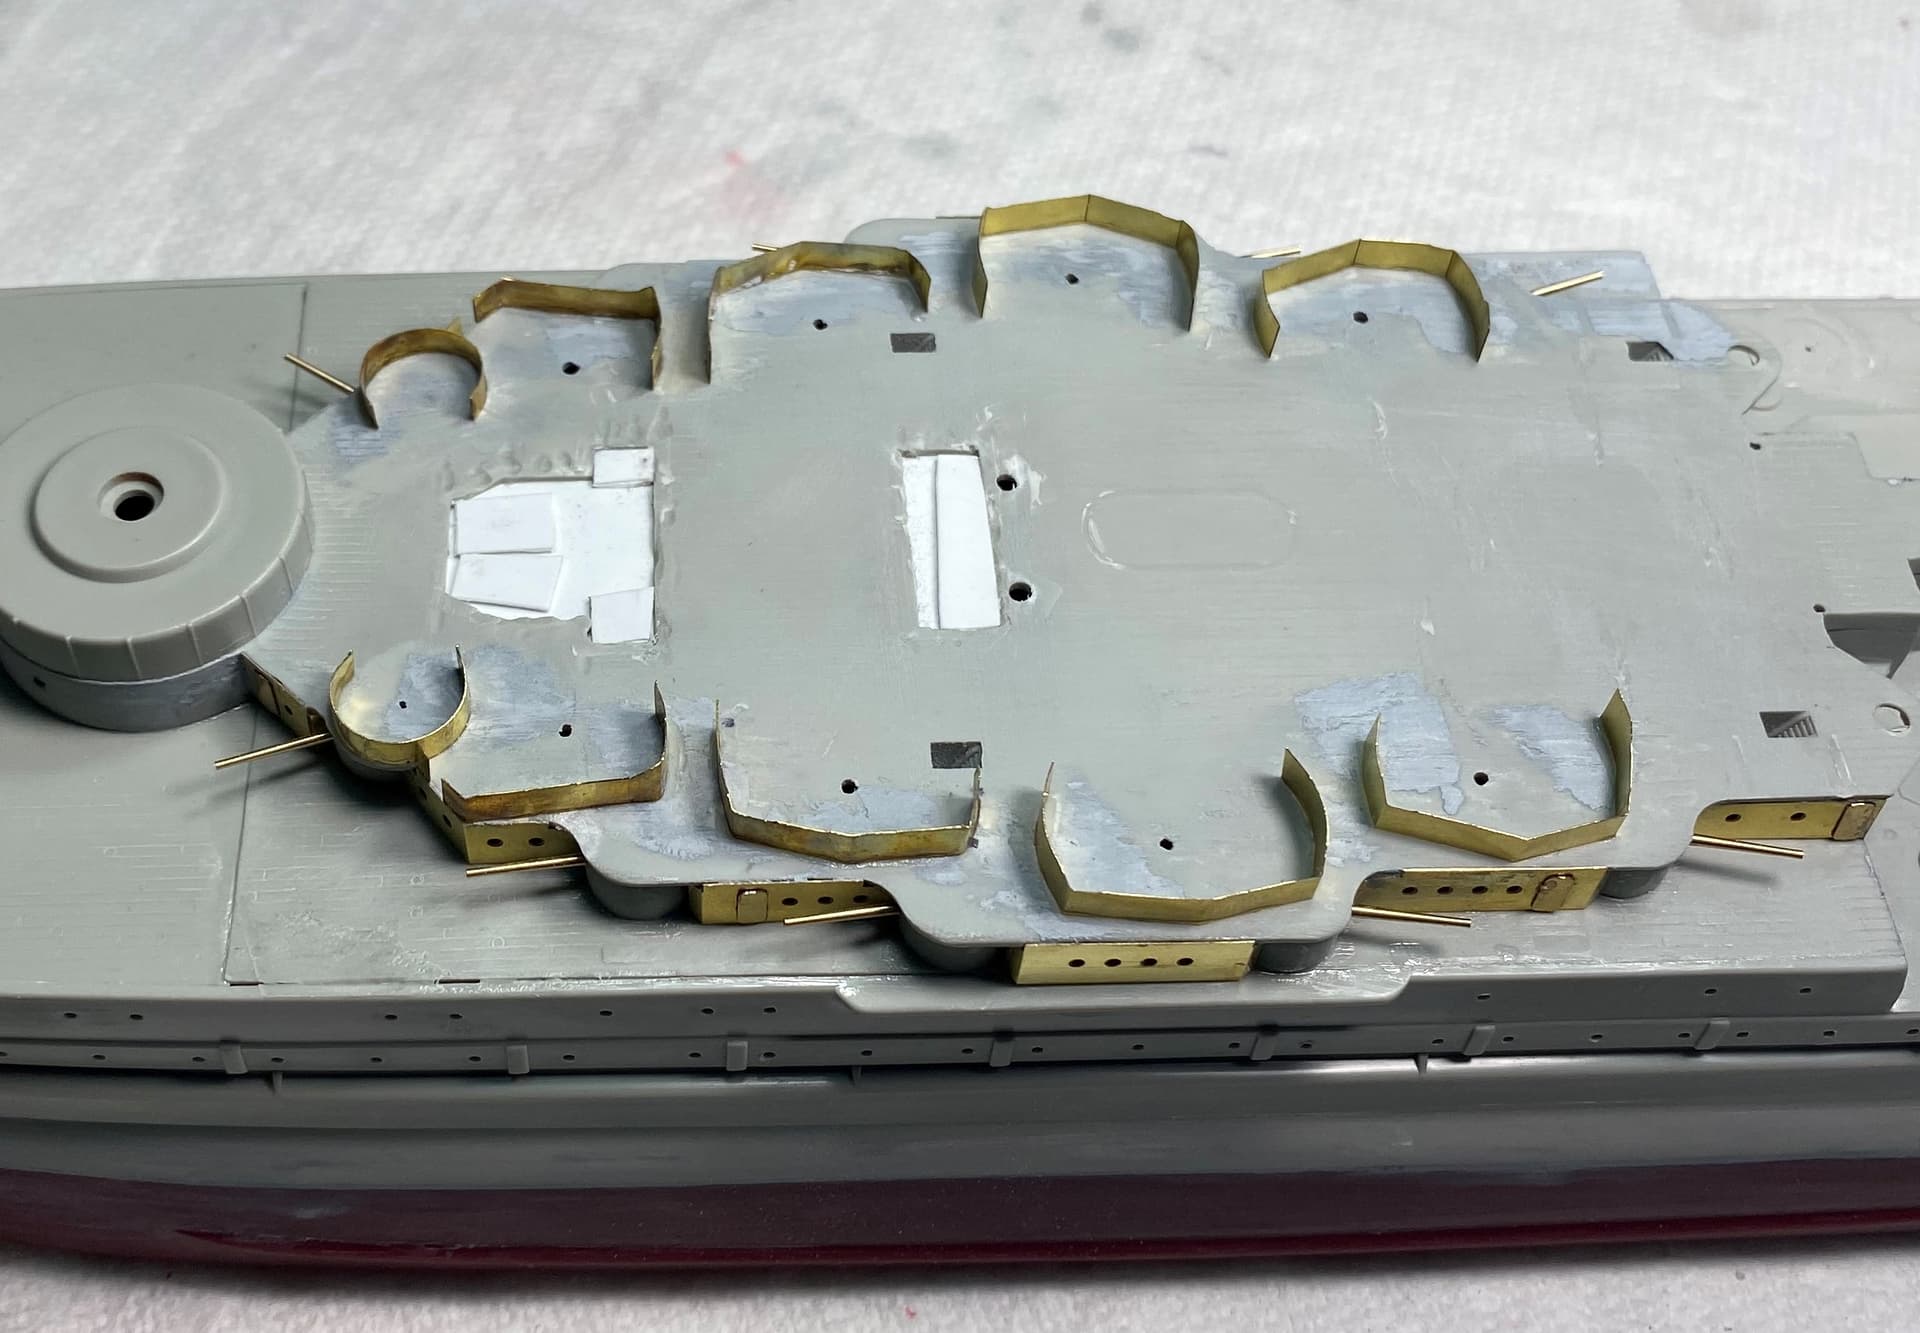
Still looks way better than the previous picture even dry fitted.
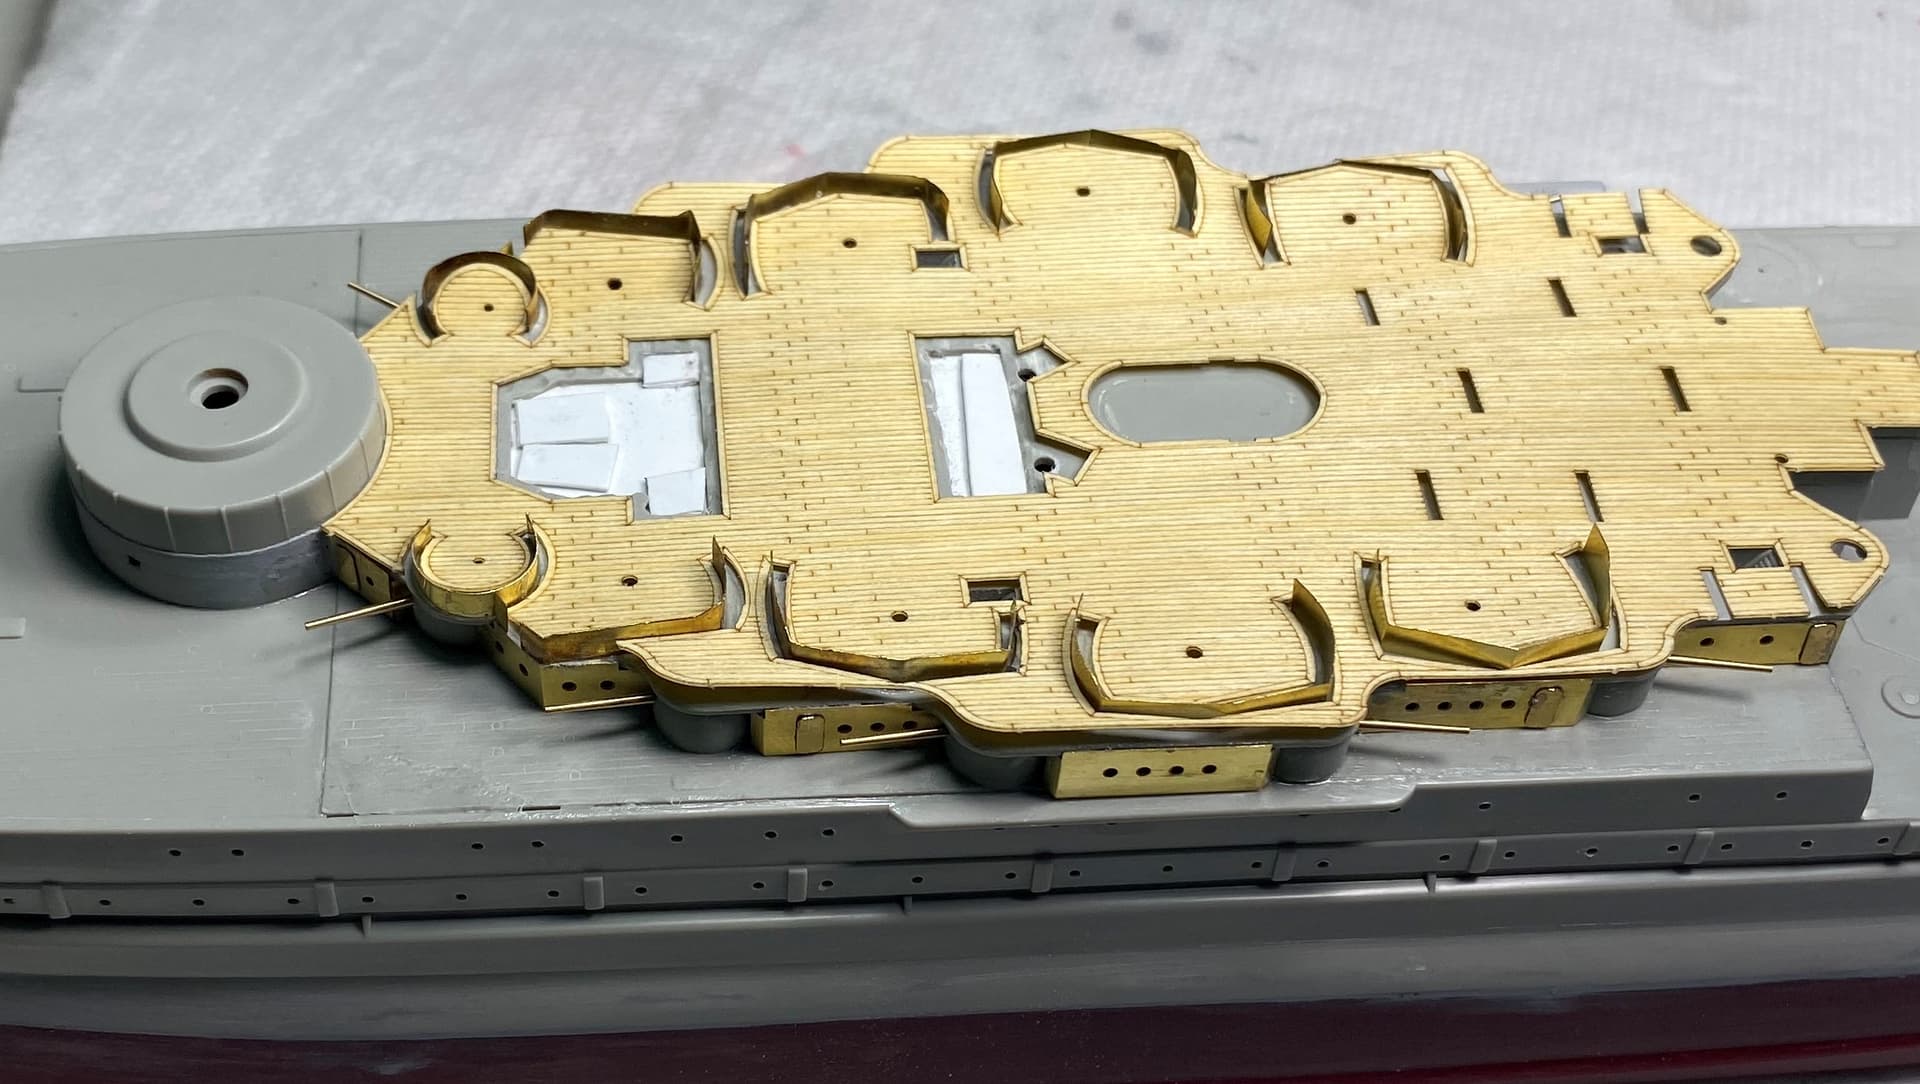
I have cut some pieces of decking from an old offcut and fit into place. The grain doesnt exactly match but it will be barely visible once the turret and other deck gubbins are in place.