That’s too bad about the deck not fitting the aftermarket items, Rory.
Almost seems like the effort to make your own blank deck from a “planked” sheet stock and then fit the items over the top might be worth the effort…?
That’s too bad about the deck not fitting the aftermarket items, Rory.
Almost seems like the effort to make your own blank deck from a “planked” sheet stock and then fit the items over the top might be worth the effort…?
At this point I don’t have it in me. Every step of this build so far has been a fight and I am swiftly loosing my enthusiasm. I just want to get the hull painted and the deck down so I can move onto the fun and well rendered parts from model monkey.
My hope is that once I have everything painted and the 5 inch AA installed that it won’t look so jarring.
I hear ya, mate… Life’s too short to battle kits that just don’t seem to want to be built, fighting you every step of the way… FWIW, I’ve won the battle with Dauntless… It was brief, violent and ugly, but I think I’ll have something to show, soon enough ![]()
Huzzah! I really need to get back to Dragon. Hopefully this year.
Unfortunately I did not win my battle with my brain. Was laying in bed and couldn’t get that horrible PE fit out my head. So at almost 11pm I got up, went to the bench, ripped all the PE off, straightened it, annealed it (again) and, ignoring the premade bend points, started to redo them.
And its looking much, much better. Majority of the visible gaps are eliminated. I will redon the starboard side tomorrow.
…battle with my brain. Was laying in bed and couldn’t get that horrible… fit out my head. So … I got up, went to the bench…
![]()
I feel ya Rory! Done that myself… more than once my wife has thought I was nuts when I bound up out of bed to attack some modeling problem that I’d wrestled with that evening but didn’t quite master…
Anyway, kudos for your valiant fight with that deck! I’m with Russ, though - you might be better off trimming a generic deck to shape than trying to get that ill-fitting dog to work. Good luck with it!
A trail will be blazed for you, mate ![]()
Looking much better, now. Let’s hear it for those sleepless nights! ![]()
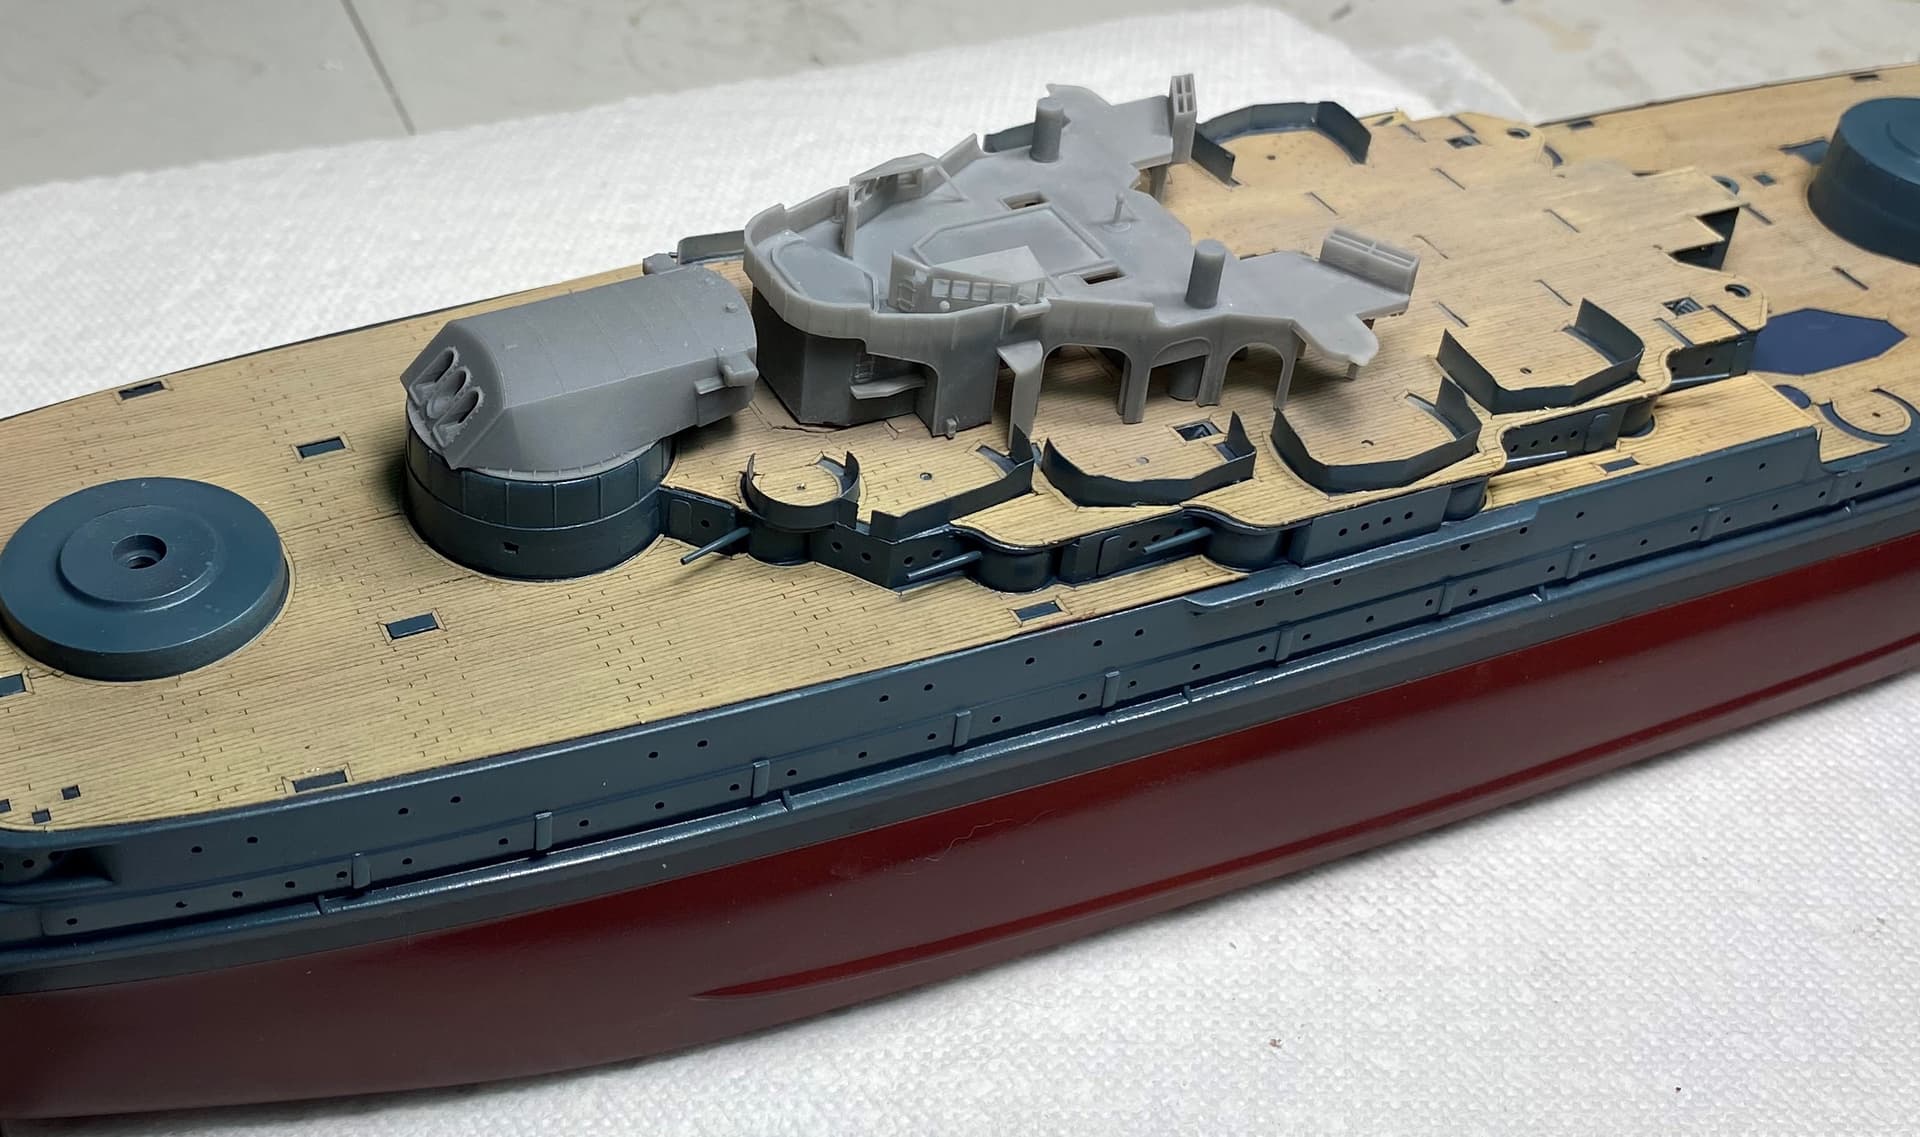
And we have paint! And deckage.
I am really happy with how it came out, especially the midsection. The deck and paint hide so many sins. I also sprayed the deck to give it some different tones.
You can see I have drilled in and anchored some posts. These will help center and lock the superstructure once its ready to go on.
Mockup.
You can see how between the paint, the superstructure and the turret, the added piece of deck is fairly well hidden. I may even throw on some random boxes or something to hide it further.
I will say the deck is really nice but it was an absolute nightmare to get on. The backing was super sticky and I spent a large amount of time unsticking myself and other parts of deck from it. I eventually managed to detack it and then used acrylic paste to glue the deck down. This gave me lots of time to position it as I needed.
Looks like your work is starting to pay off. Looking very nice now. The 3D Parts certainly make a big difference…Cheers Mark
I agree with Mark - great work! Your efforts to integrate that gun deck have paid off nicely. It will look even better once the guns are installed!
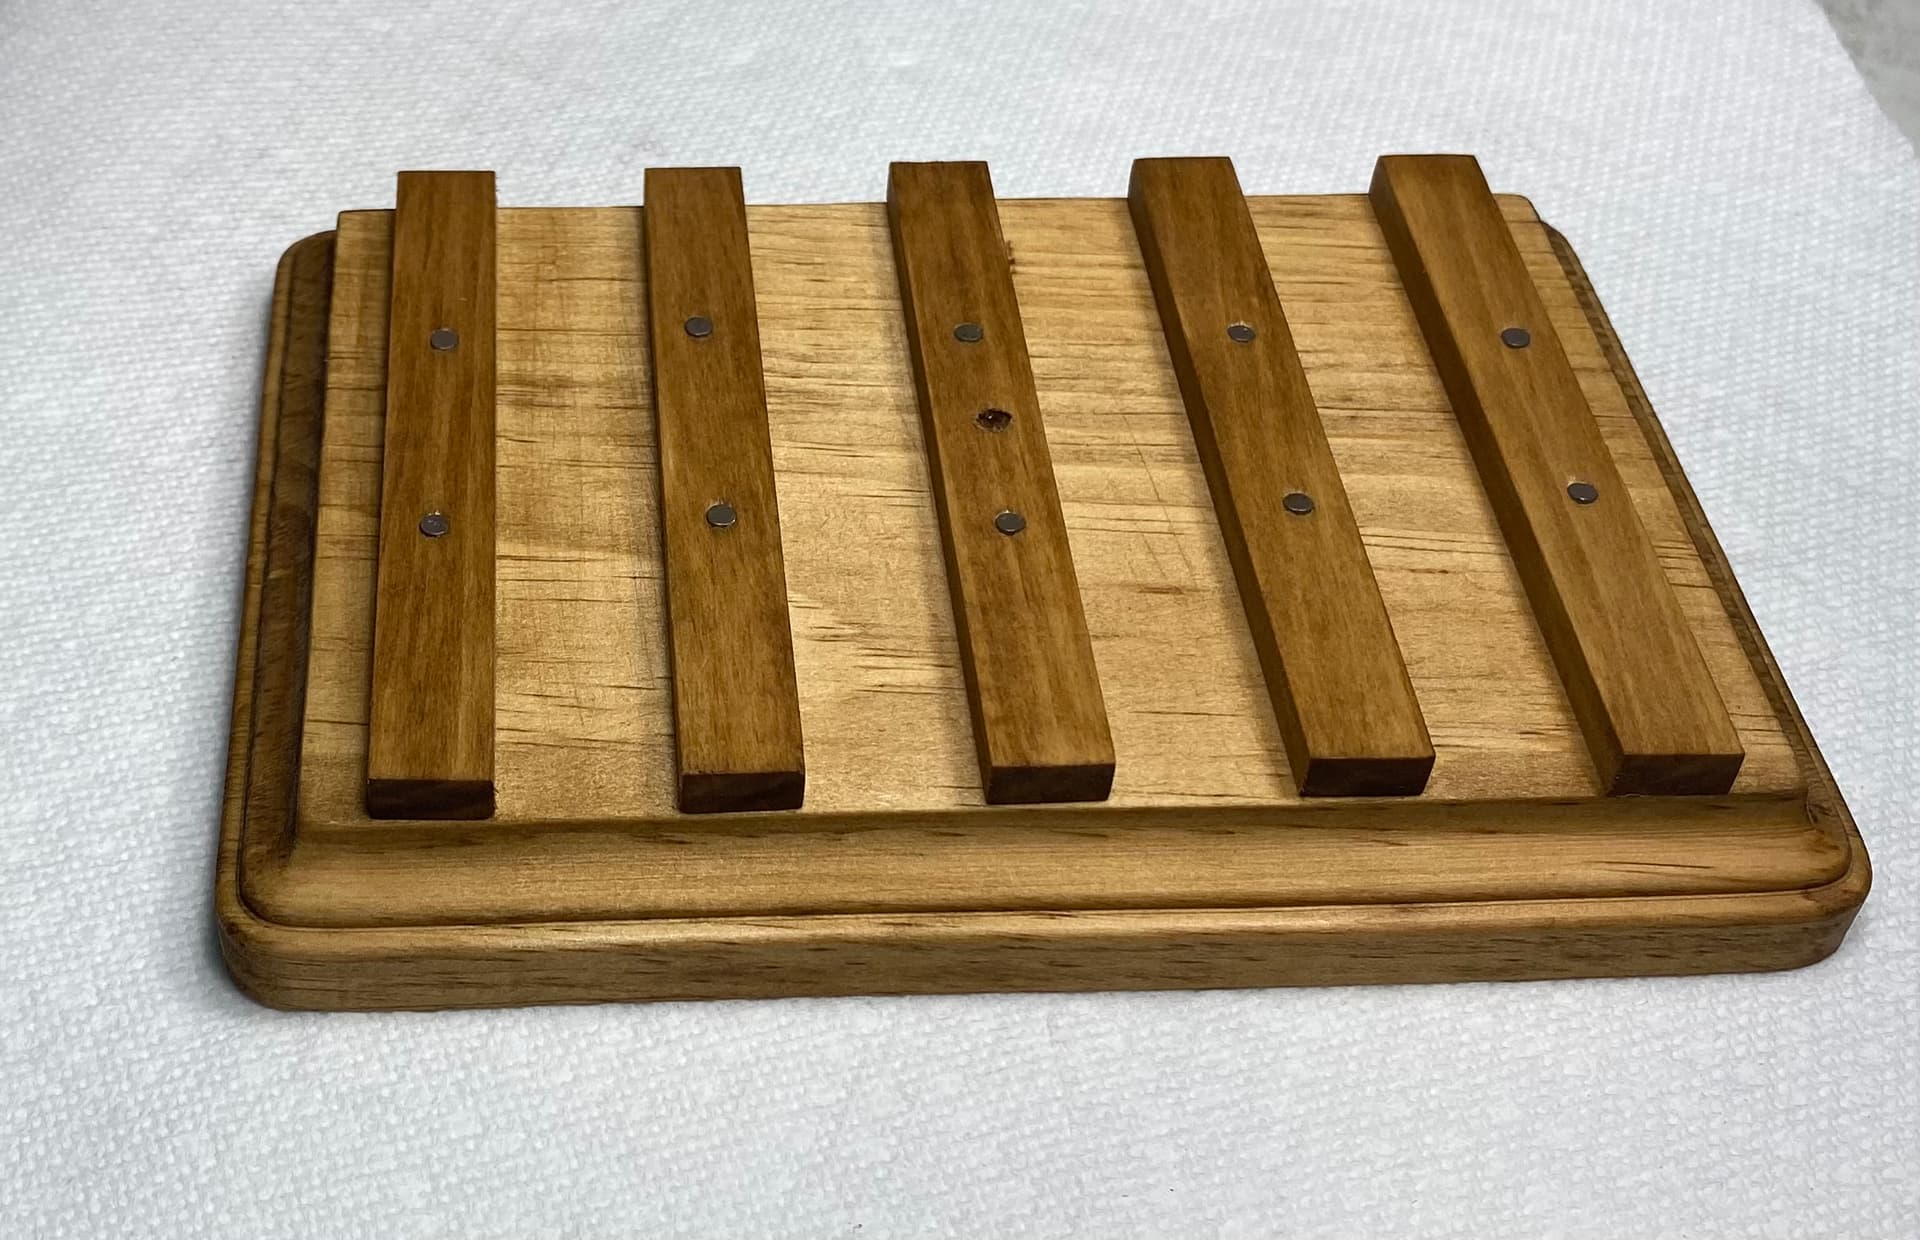
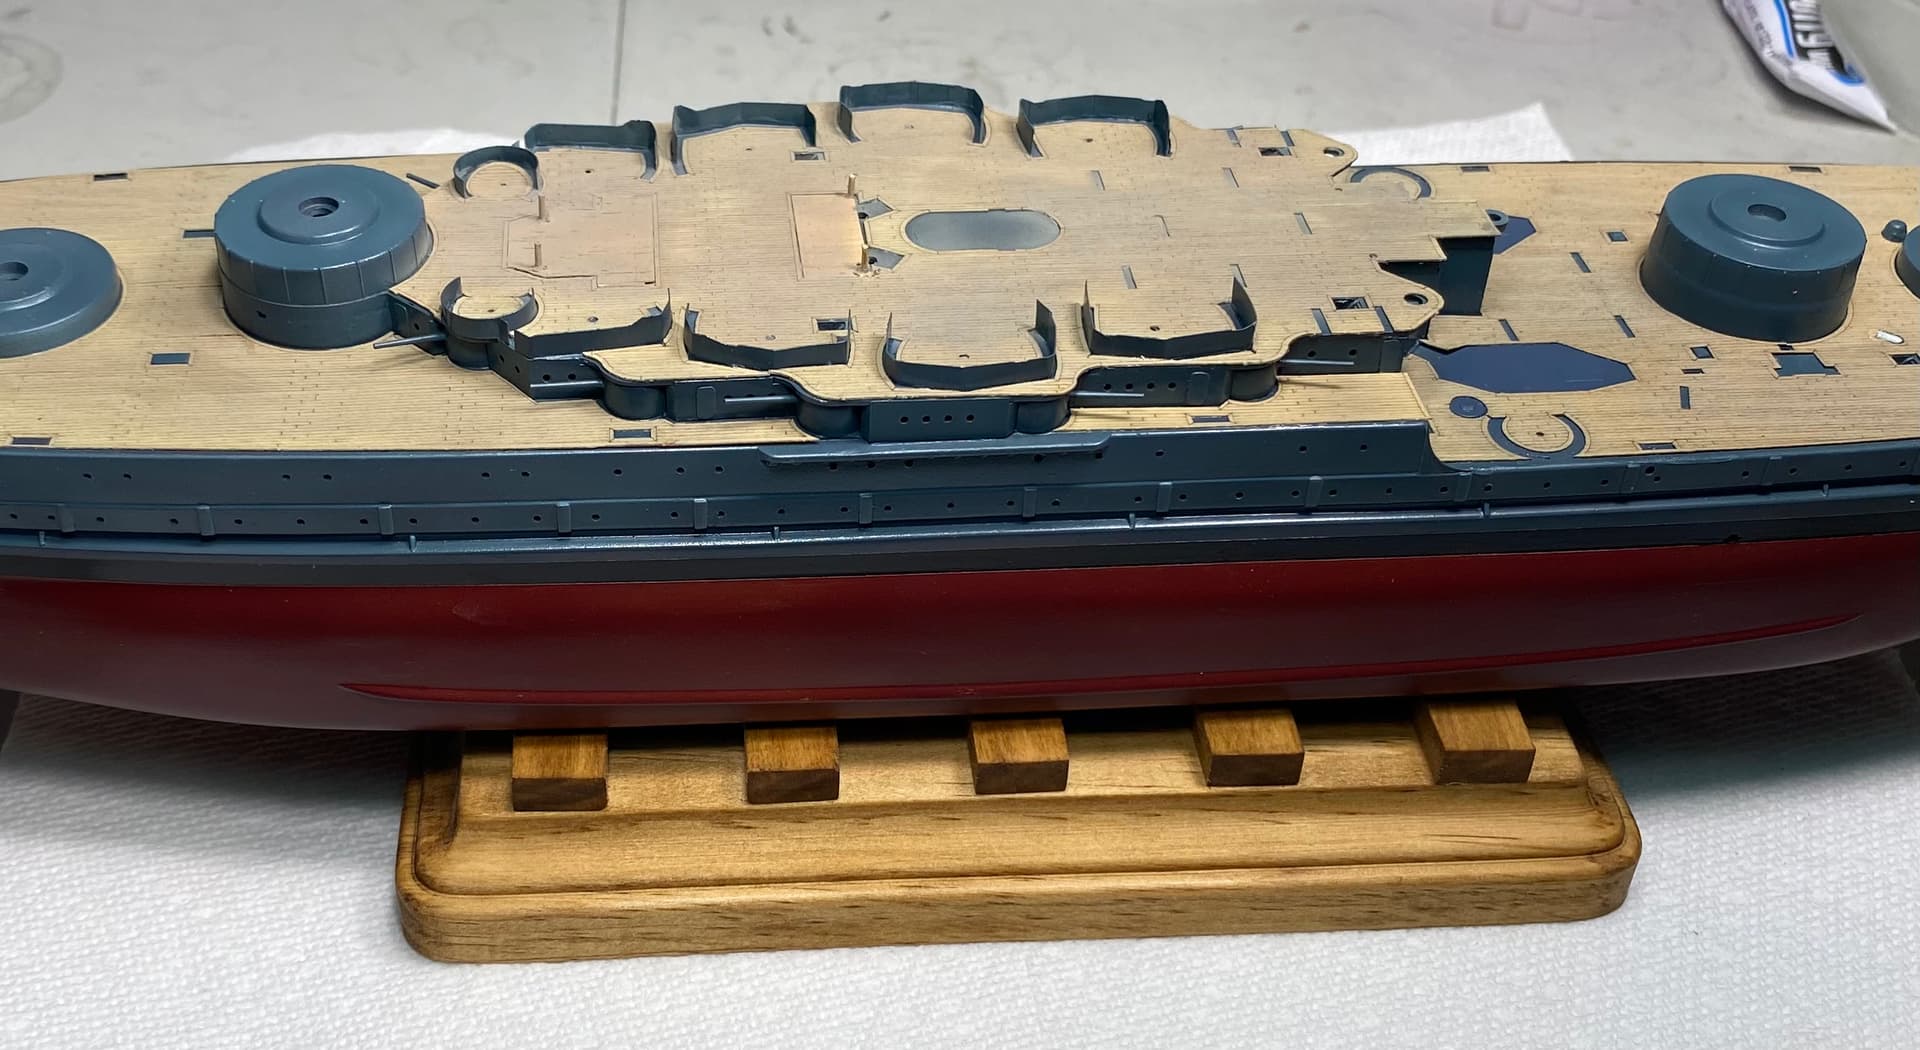
Now that the majority of the hull is complete I decided it was time to make a base.
I have settled on my preferred method for doing this. I’ve used this on my Missouri and my Konig. It looks good, it’s stable, it’s quick to make and most of all it’s cheap! Cost me like $5 to make.
Arizona has a post in the base of her hull which will slot into the center hole. Just allows me to center the ship.
Rory, I love the base - and cheap too! I like to do this as well; my little Mammoth stands on a base made from a wall switch plate

Anyway, your simple but effective display base for the Arizona proves that we don’t have to spend a mint to come up with cool displays. Well done!
Hi Rory,
Recovery on the deck looks good, it is always “fun” using a deck designed to fit the unmodified kit when you are using upgrades, using deck lockers I reckon will work well.
Agree with Tim, the base is very nice indeed.
Cheers, Si
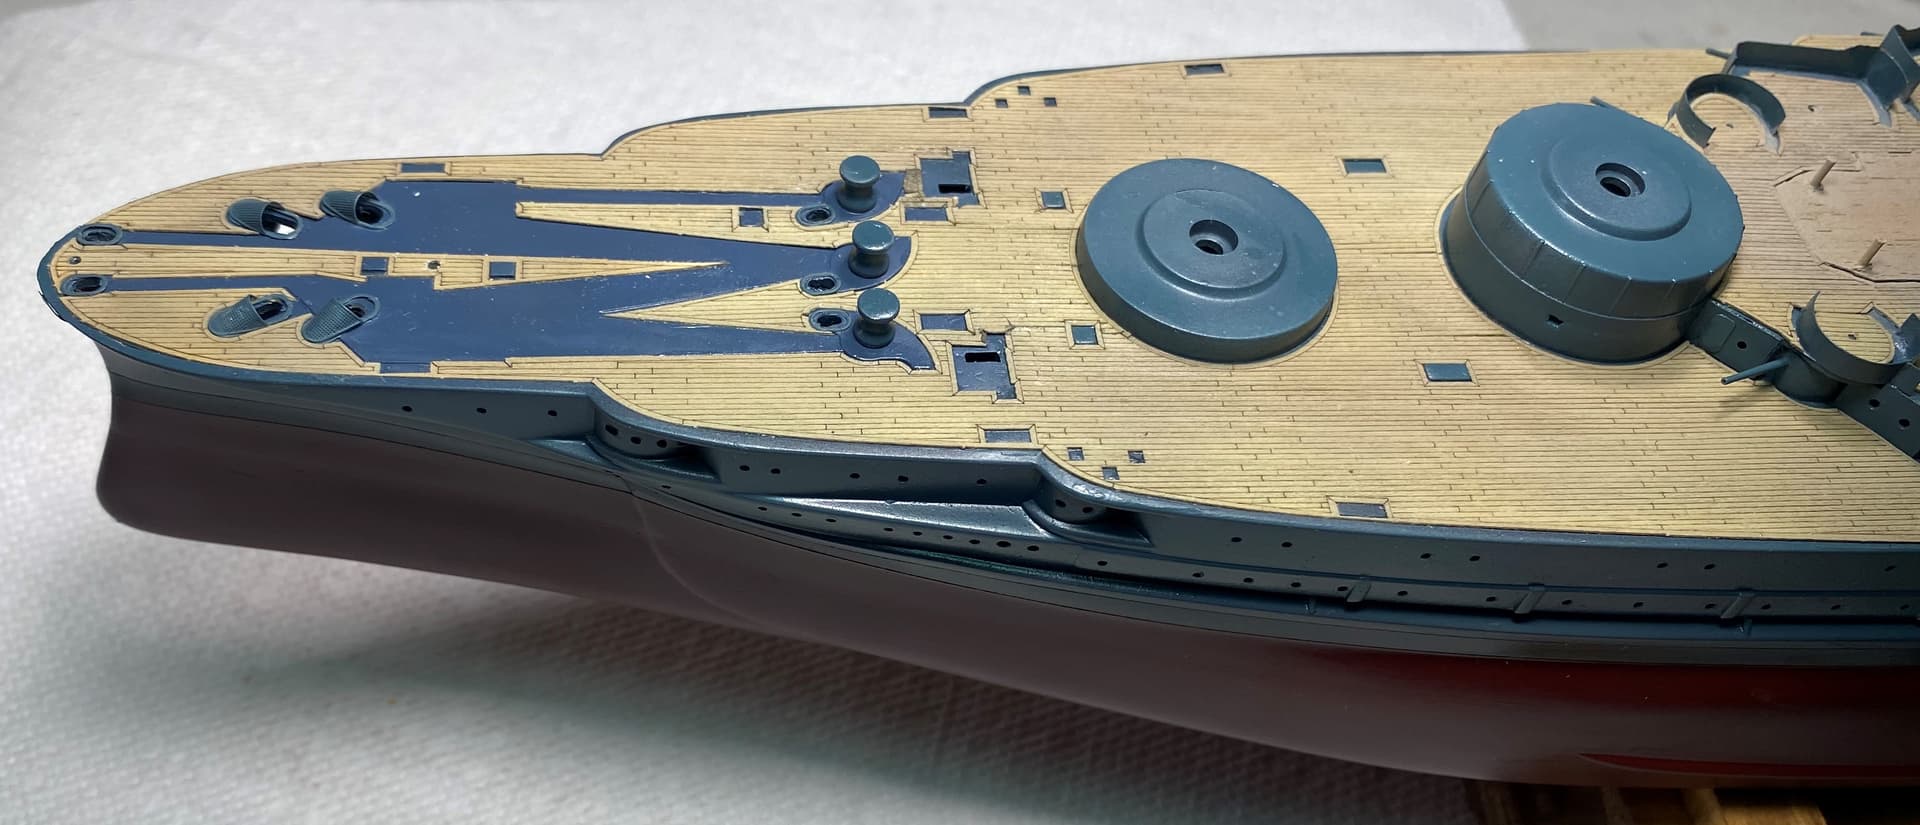
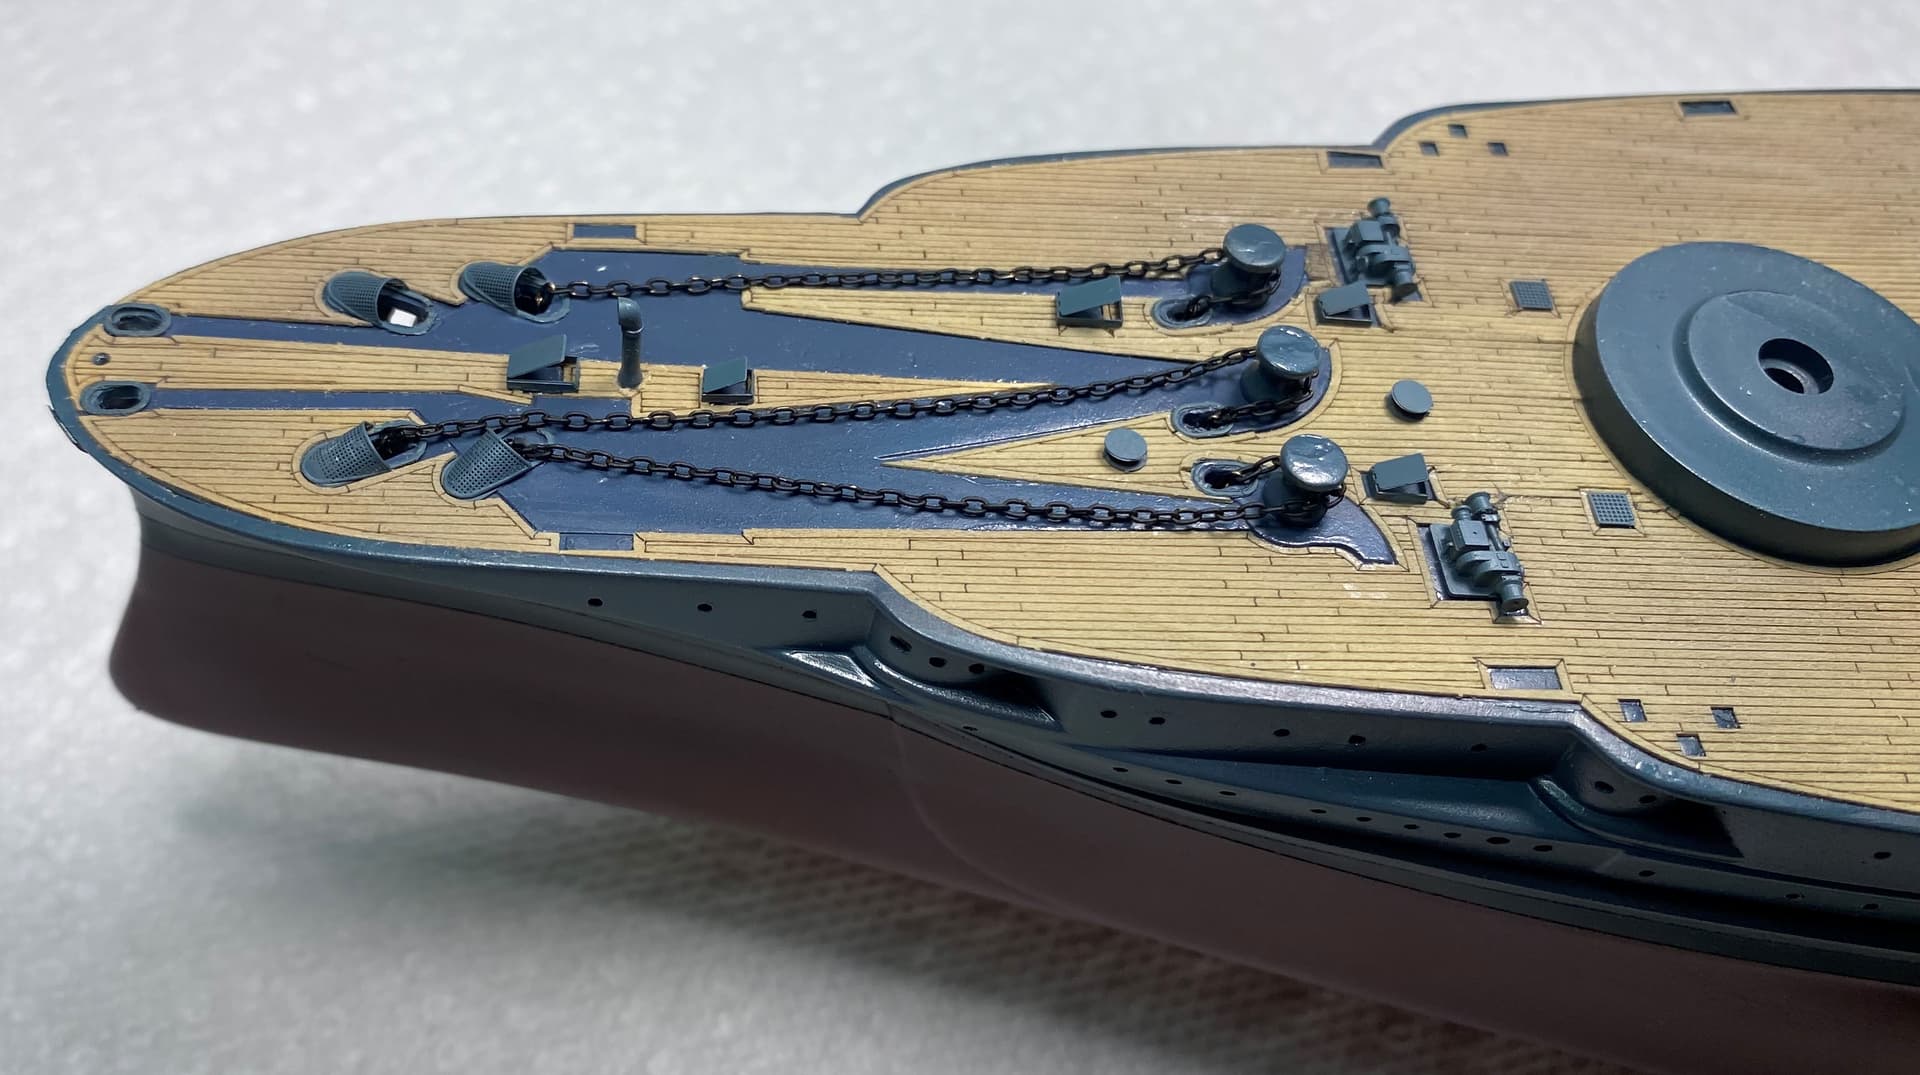
Spent the day doing some more work on Arizona. Primarily deck gubbins and removing the Model Monkey parts from their supports.
Deck Gubbins:
Fore deck before -
Fore Deck after - Not 100% complete. Anchor chains aren’t glued down (starboard one is in the wrong hole). The resin winches are gorgeous and look 100000% better than the plastic blobs they are replacing
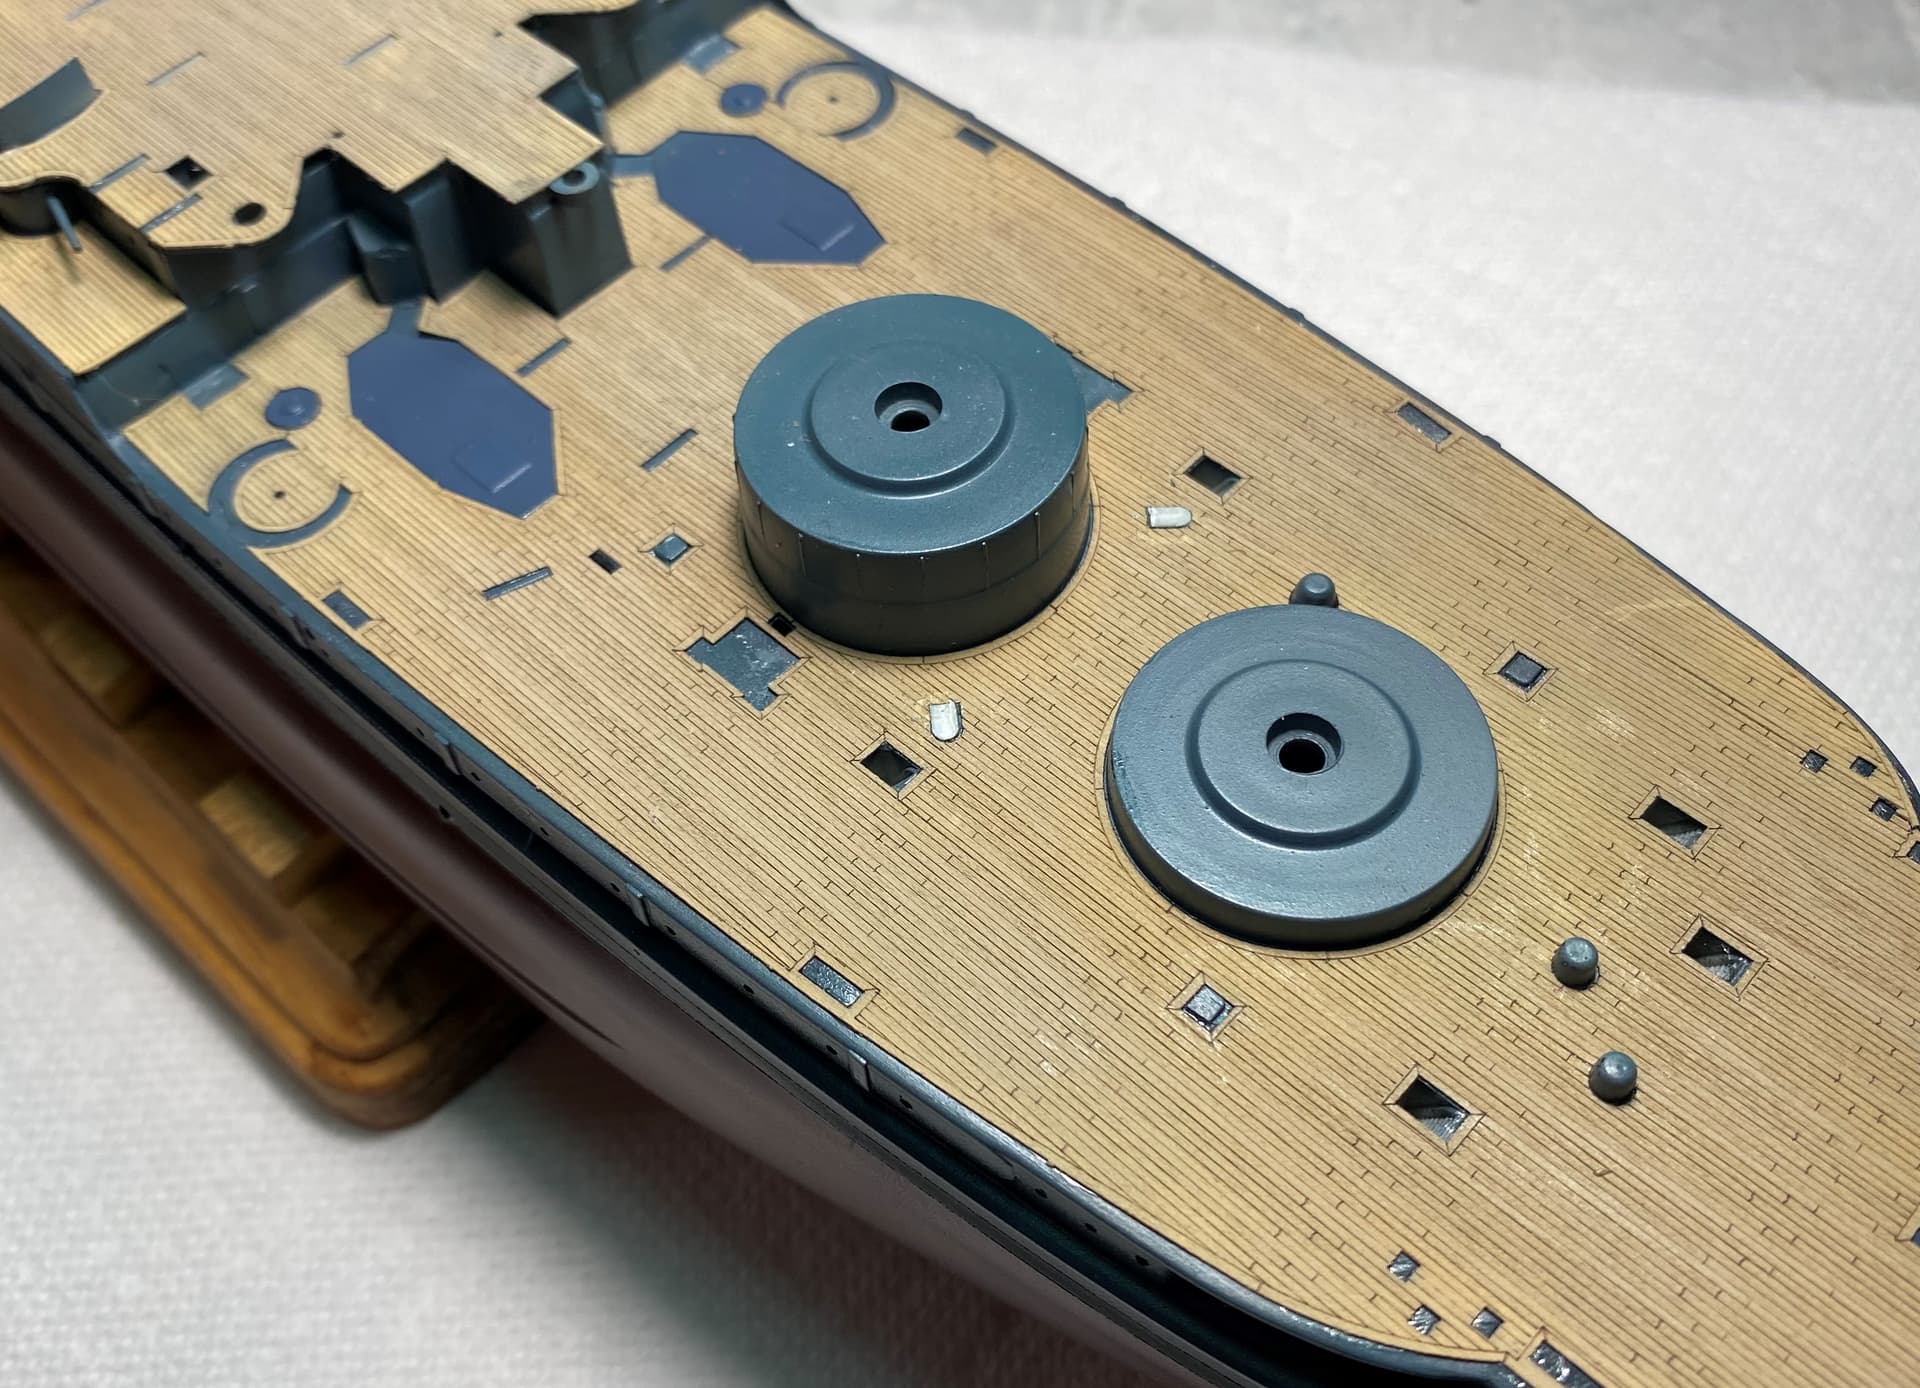
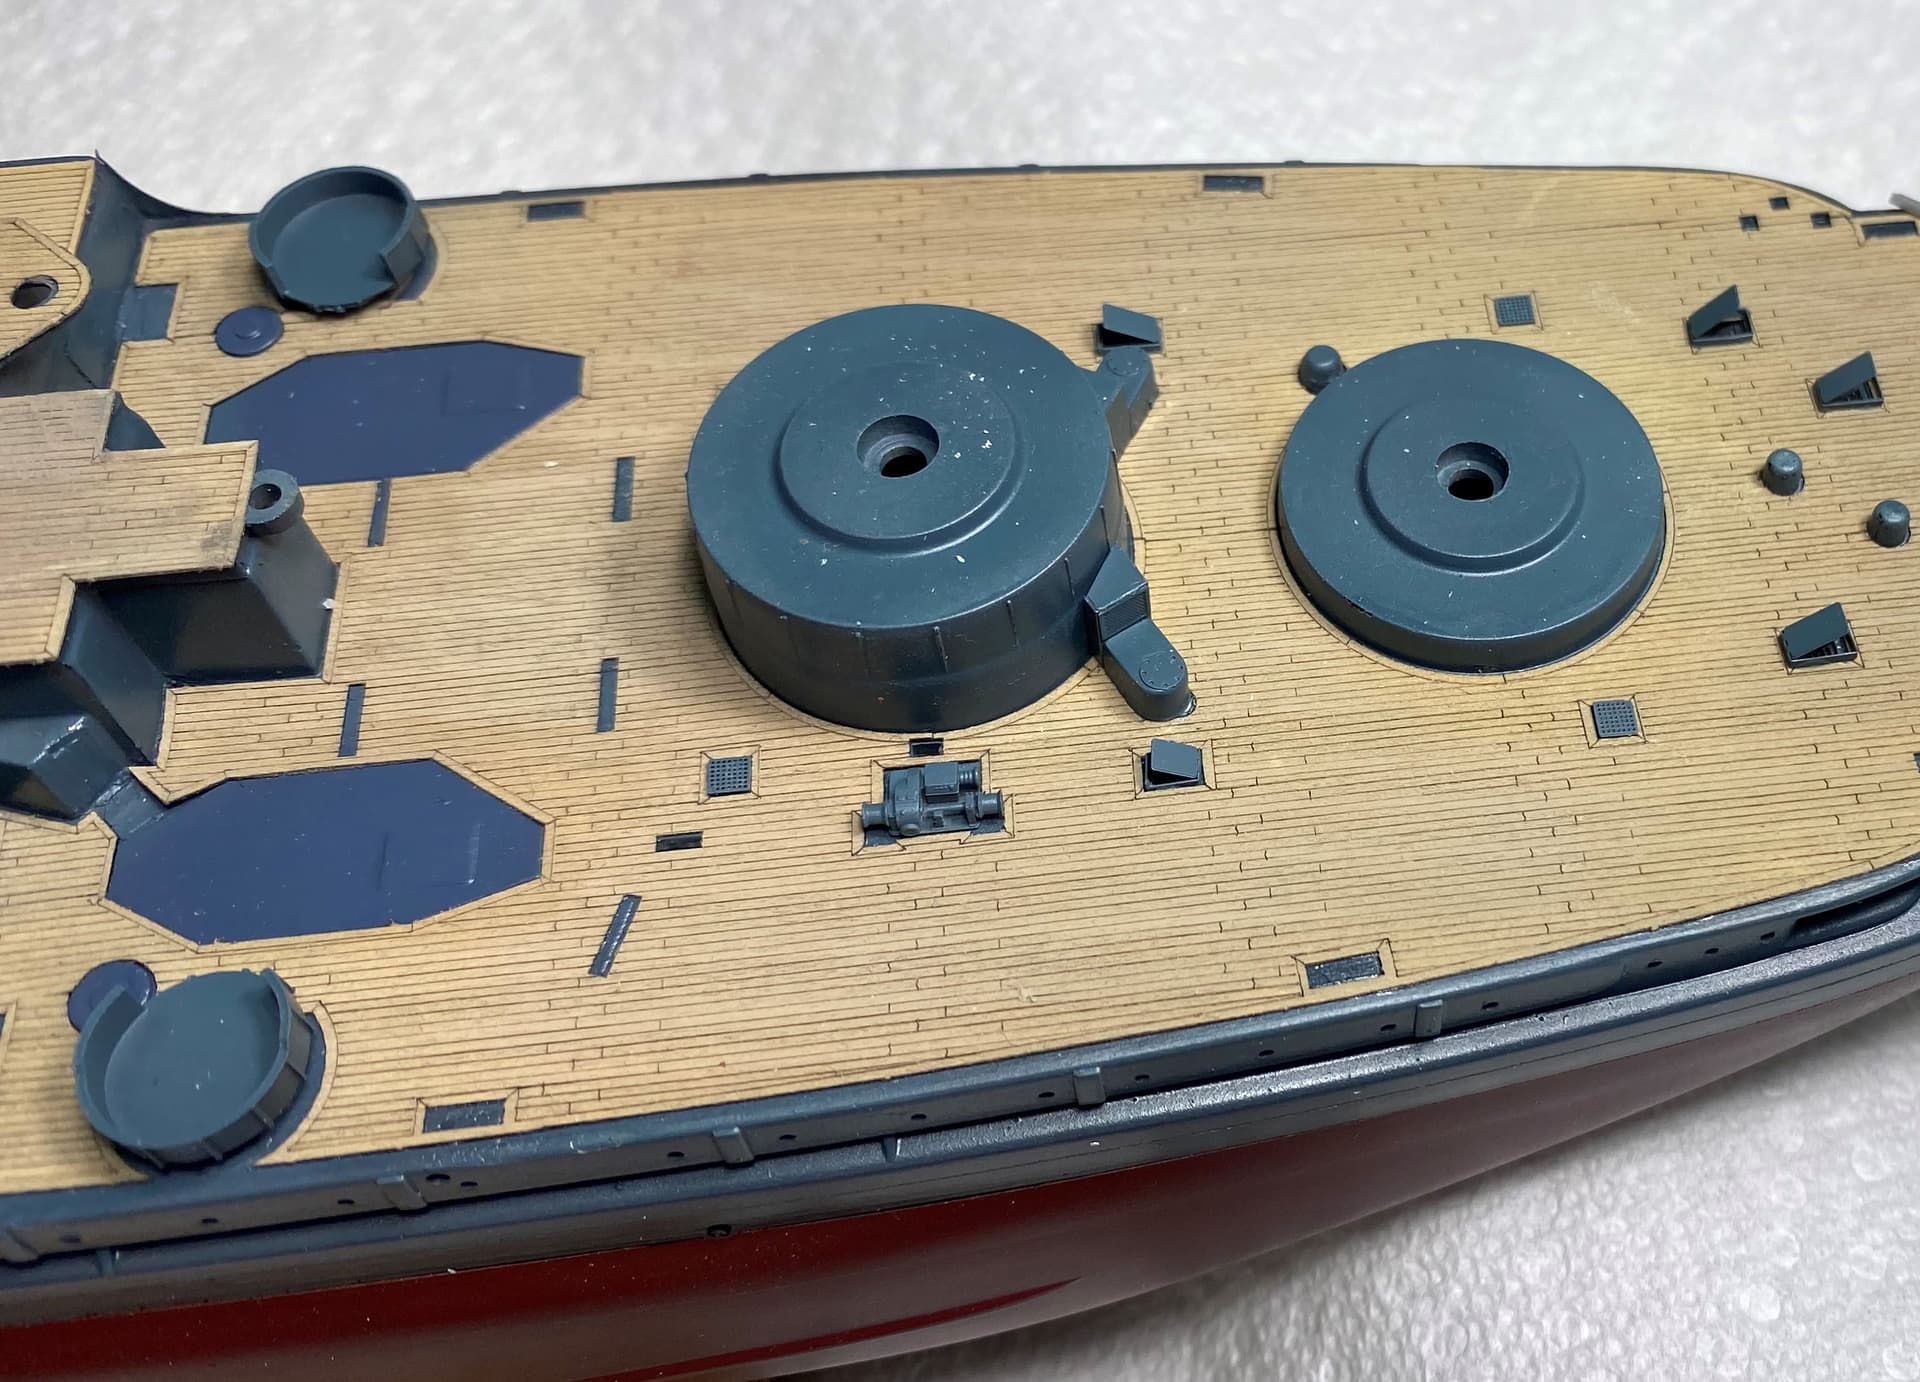
Aft Deck before -
Aft deck after - Still more stuff to go on here but will do it when I have the ships boats ready since they go between the boats. Need to get my spacing correct.
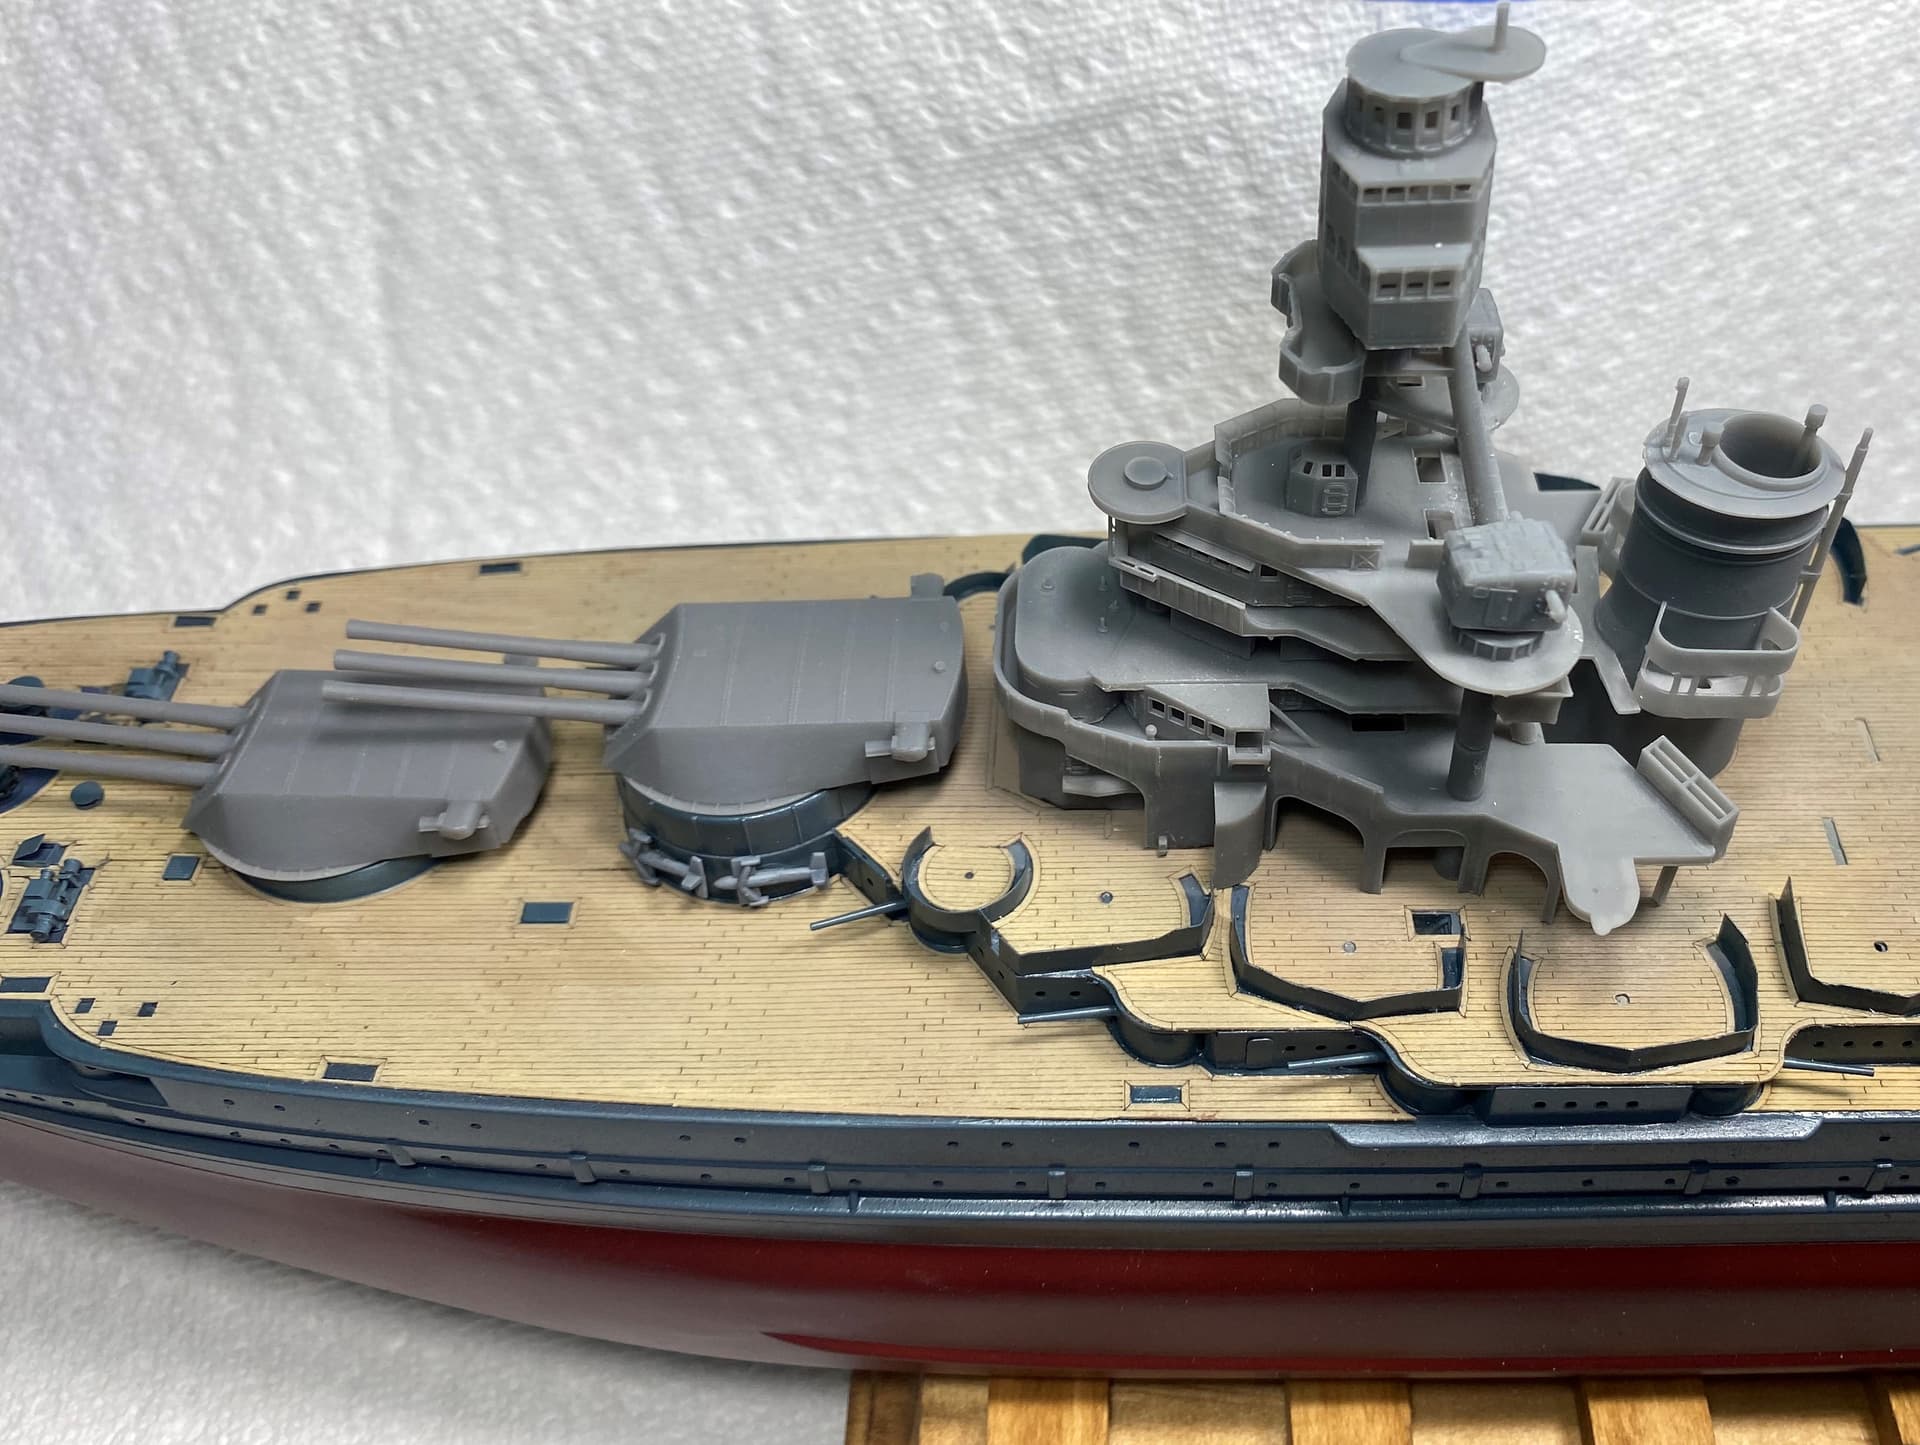
Spent about an hour removing all the MM parts which felt like a long time until you realize how much time and effort it saved me since I didn’t have to cut away at parts and faff with PE. They also look incredible. Nothing is glued yet, all just dry fitted.
Absolutely could not be happier with how she is looking!
Looks great - glad you are pleased with it after all your hard work .
In looking at various aftermarket decks I have an issue with the butt joints - my father and grandfather were both master wooden boat builders - while they were largely involved with small ( up to 60 ‘ ) craft , both worked at Philadelphia Naval Shipyard in WW II .
I may certainly be mistaken as perhaps large warship practice was different but I was raised with the mantra
“ three planks / three bays “ - in other words the butt joints were spaced in such a way that no joint would land on the same frame or carling unless it was separated by three planks . In the same vain , any butt joints on adjacent planks must be separated by three frames / carlings.
Perhaps those more knowledgeable on large warship construction can illuminate this .
I hope this isn’t taken as being too pedantic or a criticism of your build - quite the opposite, I admire it .
Cheers - Richard
She is taking shape very nicely indeed. The 3D Superstructure is Light Years ahead of the Kit supplied effort…Cheers Mark
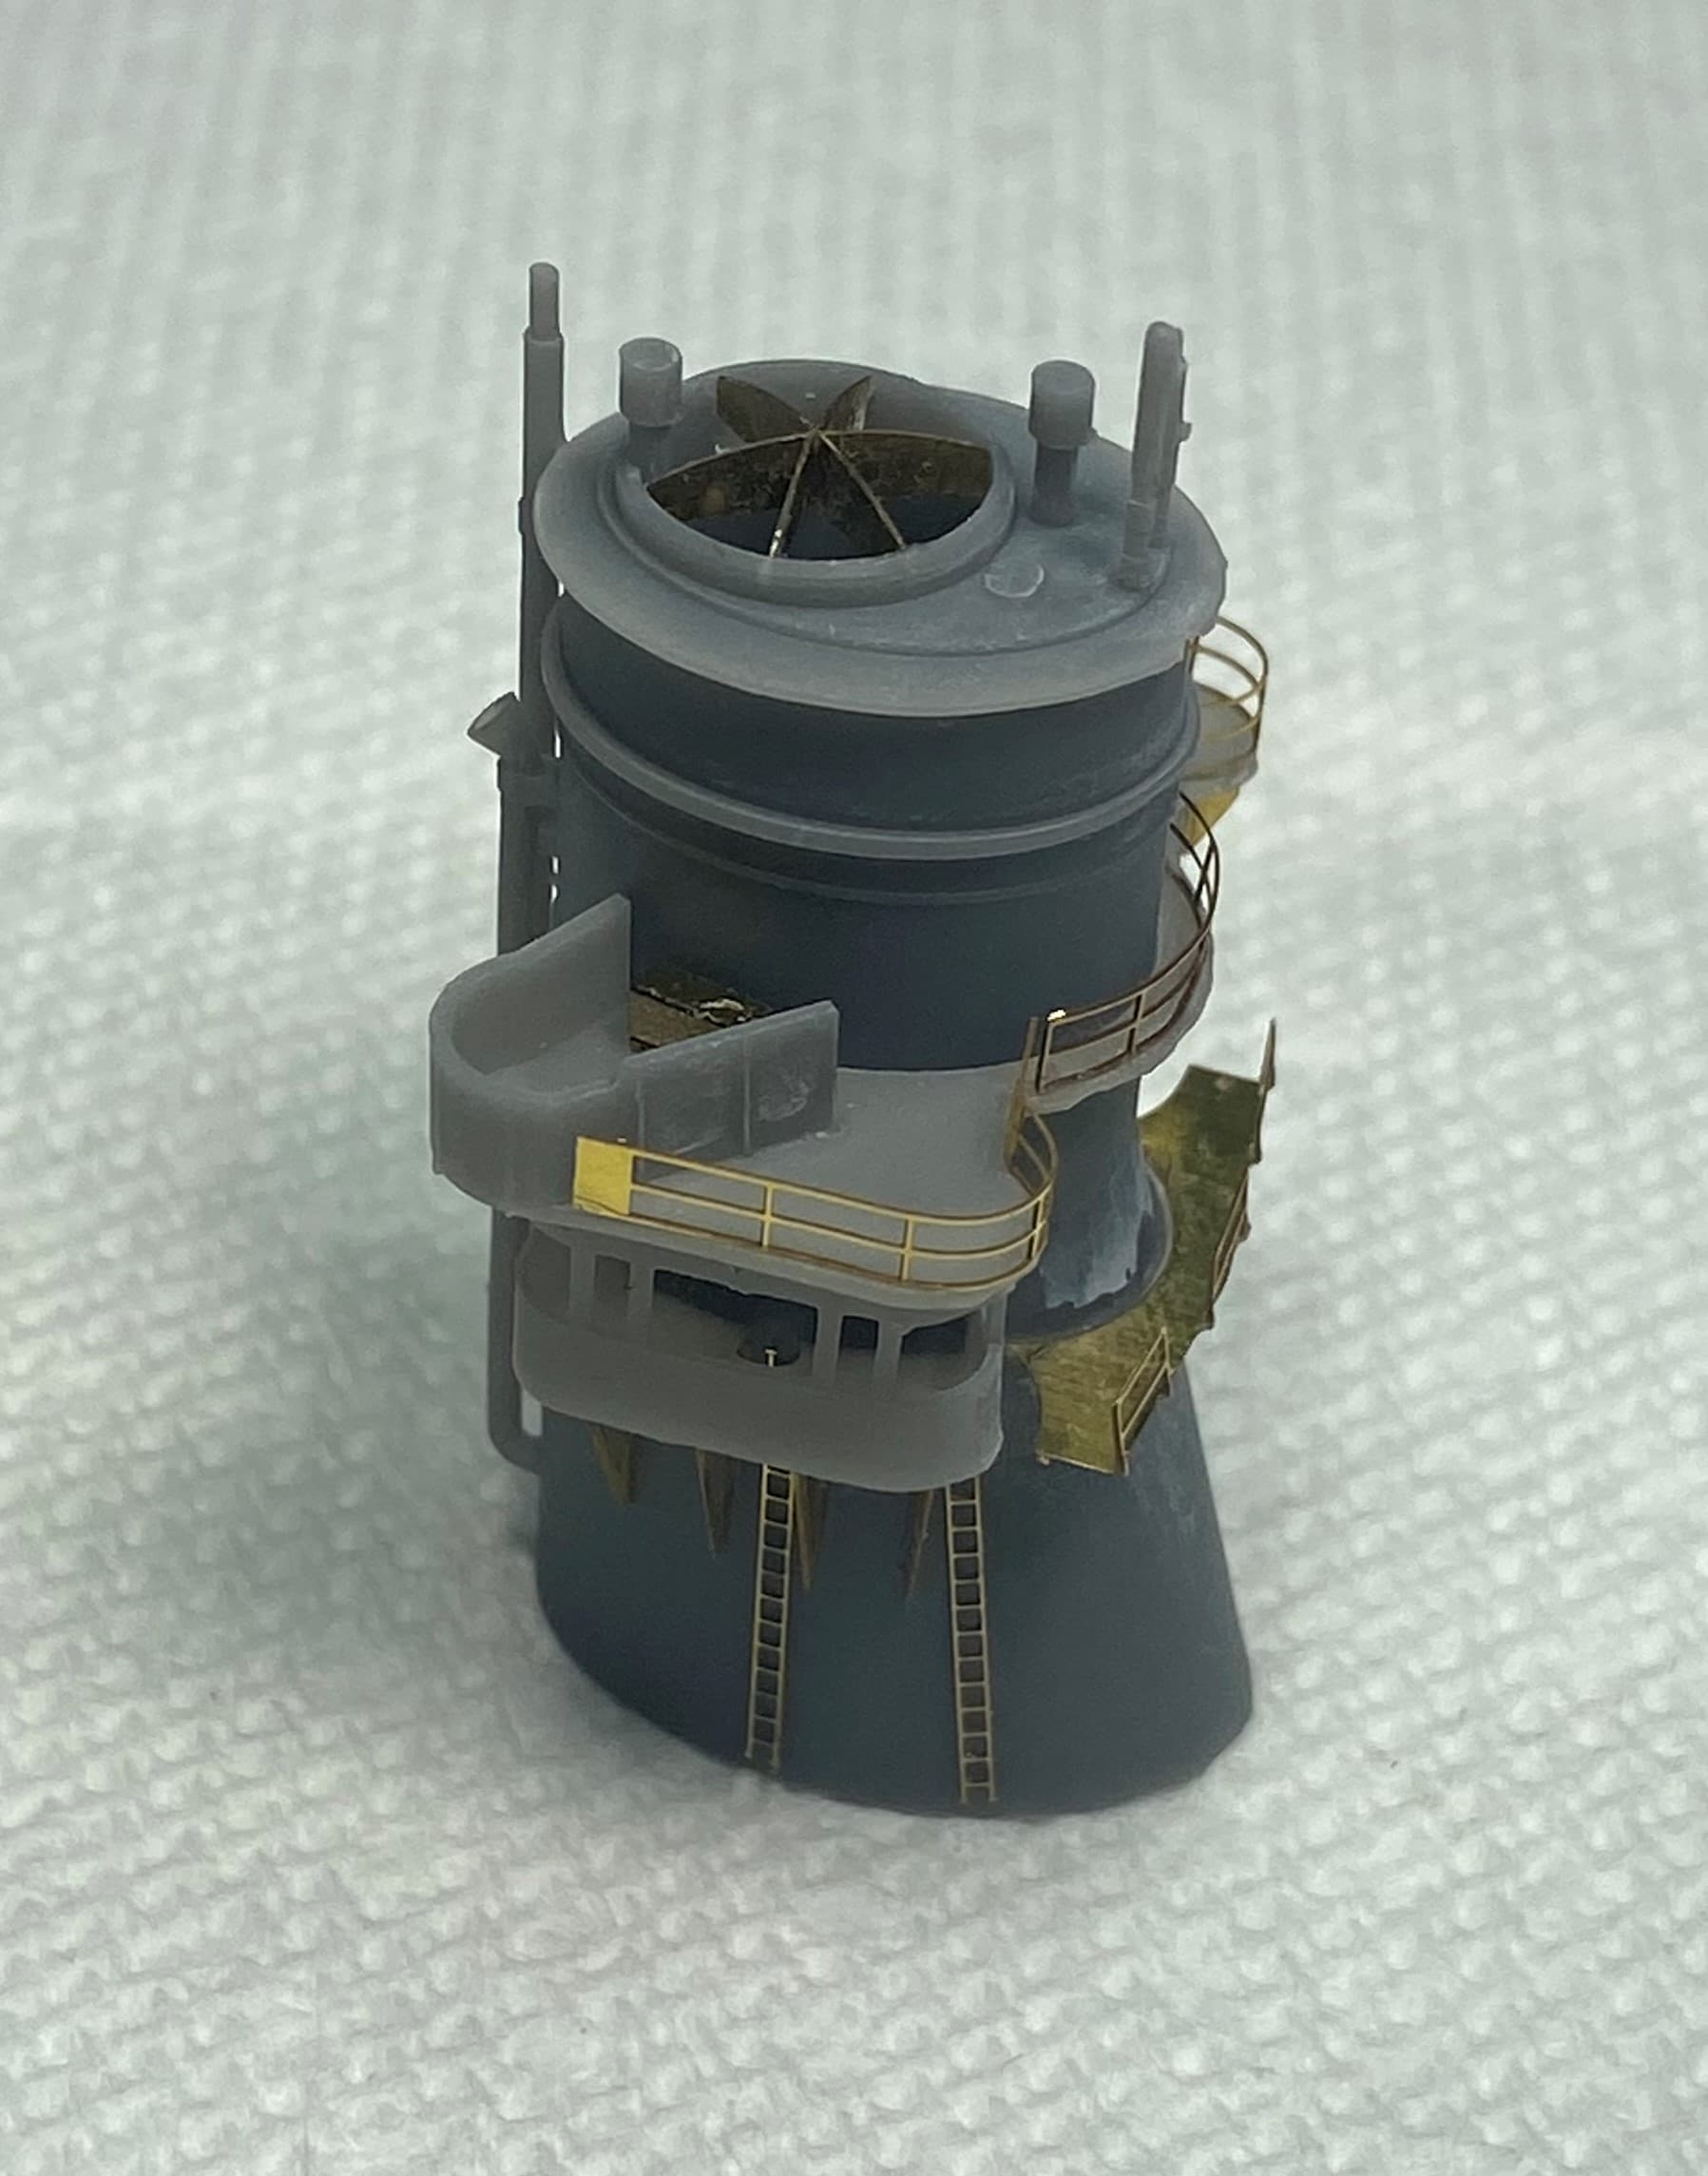
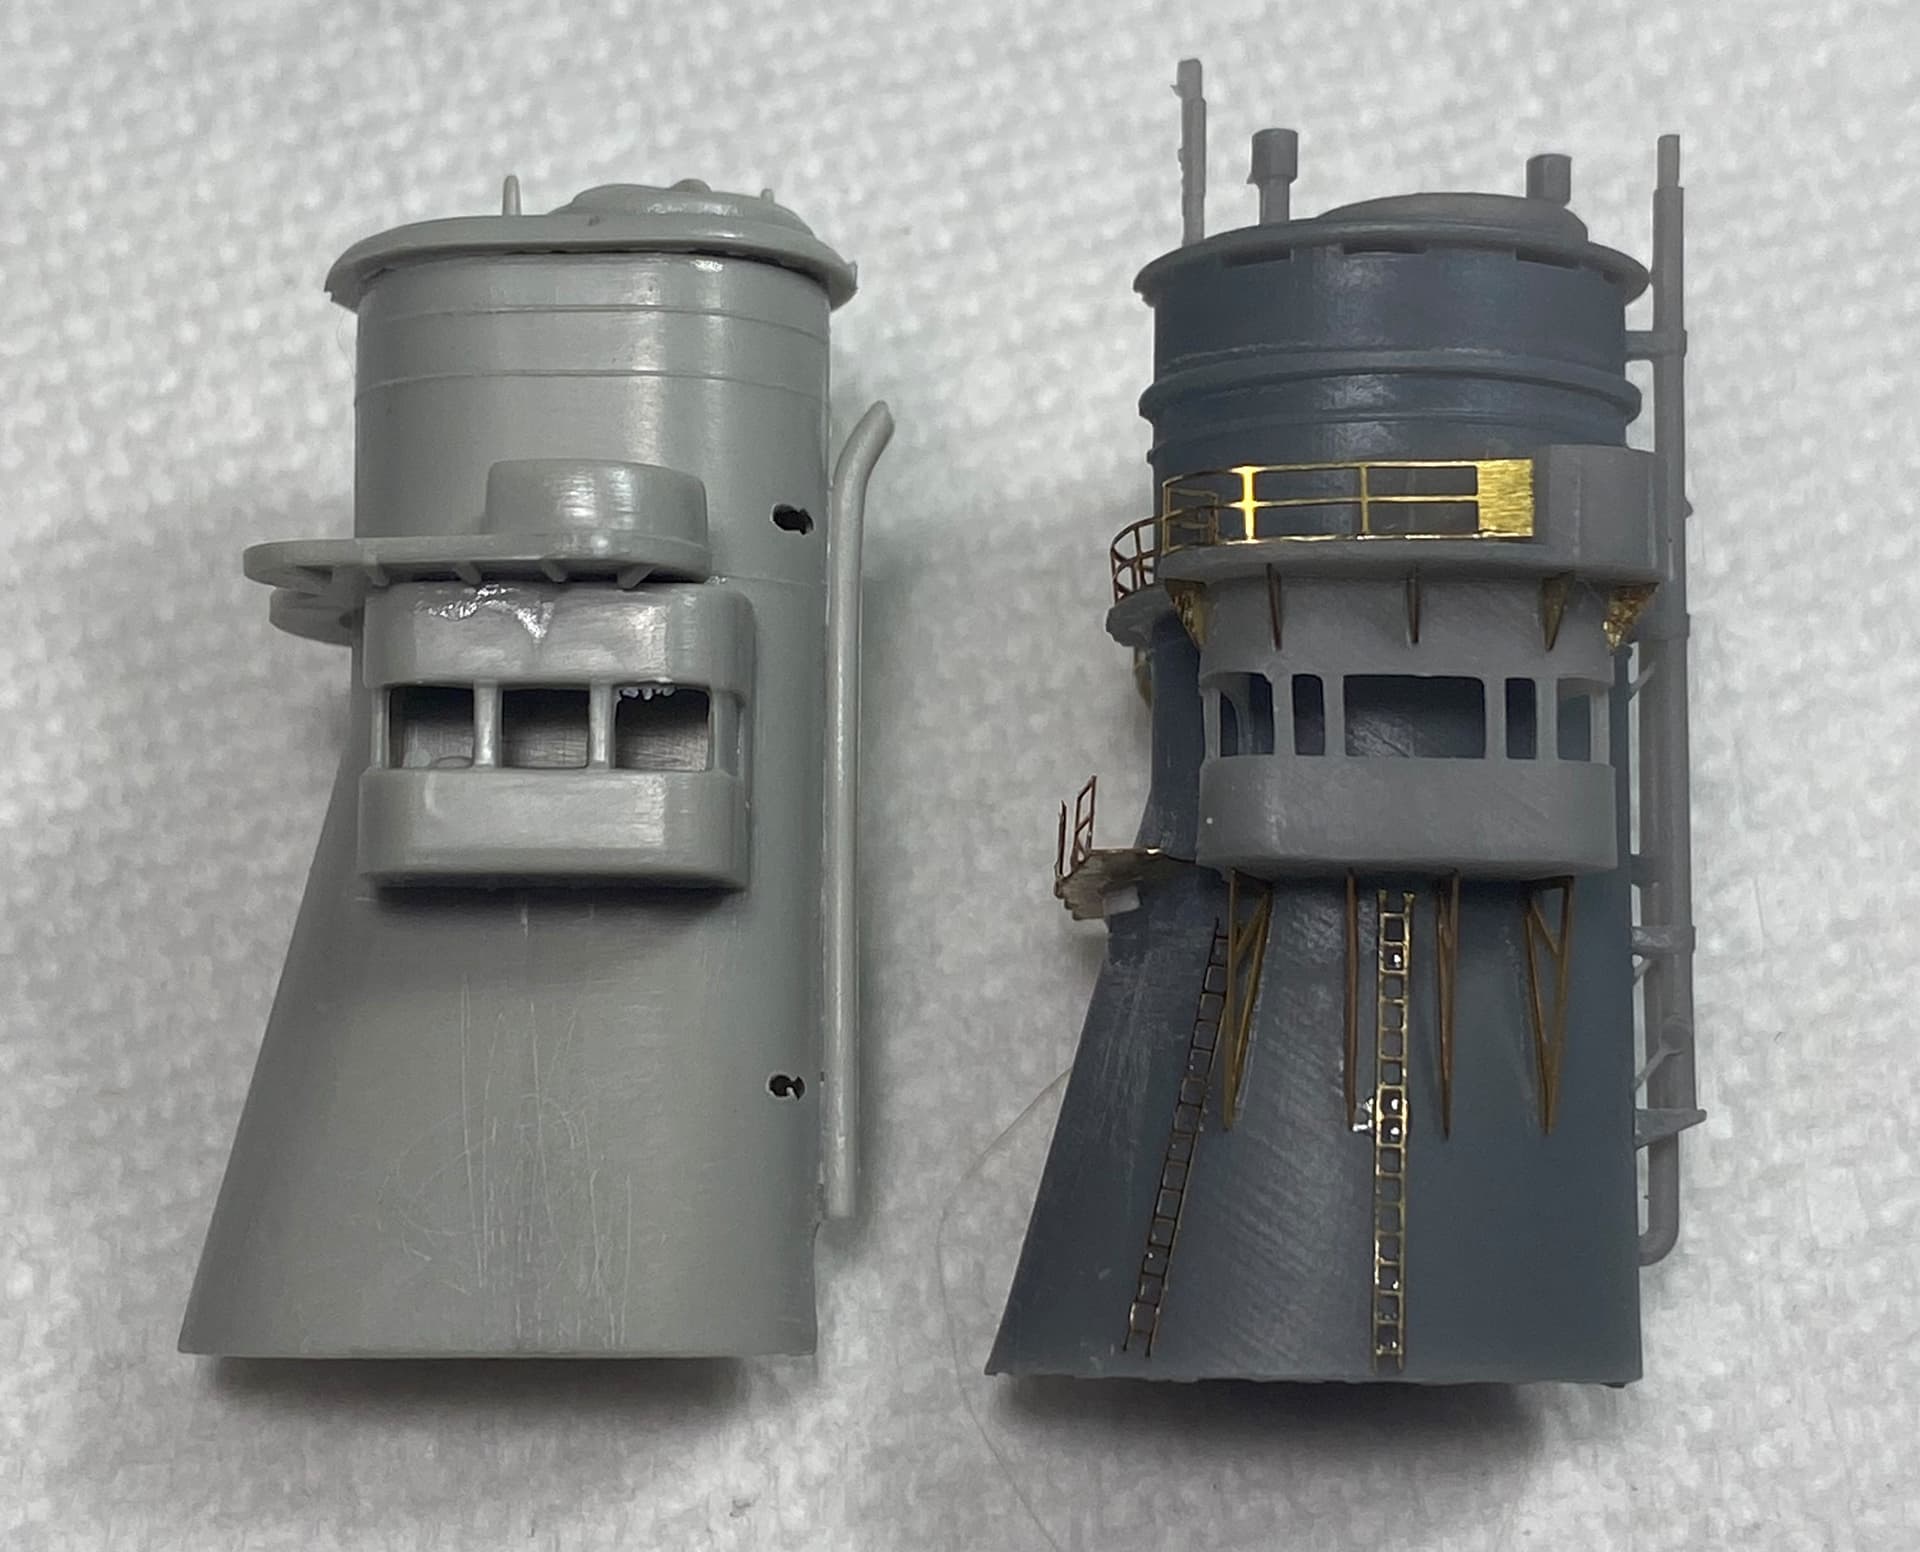
Decided to leave the deck for a bit and start work on some superstructure. Decided to start on the funnel.
Had to do some modifications to make the photo etch fit the MM piece. Fortunately not too much surgery was needed.
And for grins I quickly built up the kit parts for a comparison.
Just a bit of difference ![]()
A big difference and much better…Cheers Mark
What Mark said, looking very good.
Cheers
Si
I am pleasantly surprised. Eduard came through and sent me my missing bollards. And pretty quickly too.
Awesome work, Rory!
I’m sure the deck made your hair hurt. But it looks the part. Well done.
Have popcorn, enjoying the show.