Been there, done that! Great job so far! Don’t give up the ship!
Bill Morrison
Been there, done that! Great job so far! Don’t give up the ship!
Bill Morrison
They look nice and sharp. Should add that extra bit of Detail…Cheers mark
Rory,
great work, and the MM parts are first class, they really make a difference!
Keep up your fine work!
Cheers
Jan
Thank you. Now that my Musashi has reached a good pausing point, I have slowly recommenced work on Arizona. Should hopefully have some progress pics coming soon.
IWow, its been 18 months since I last touched Arizona but its time to return to work.
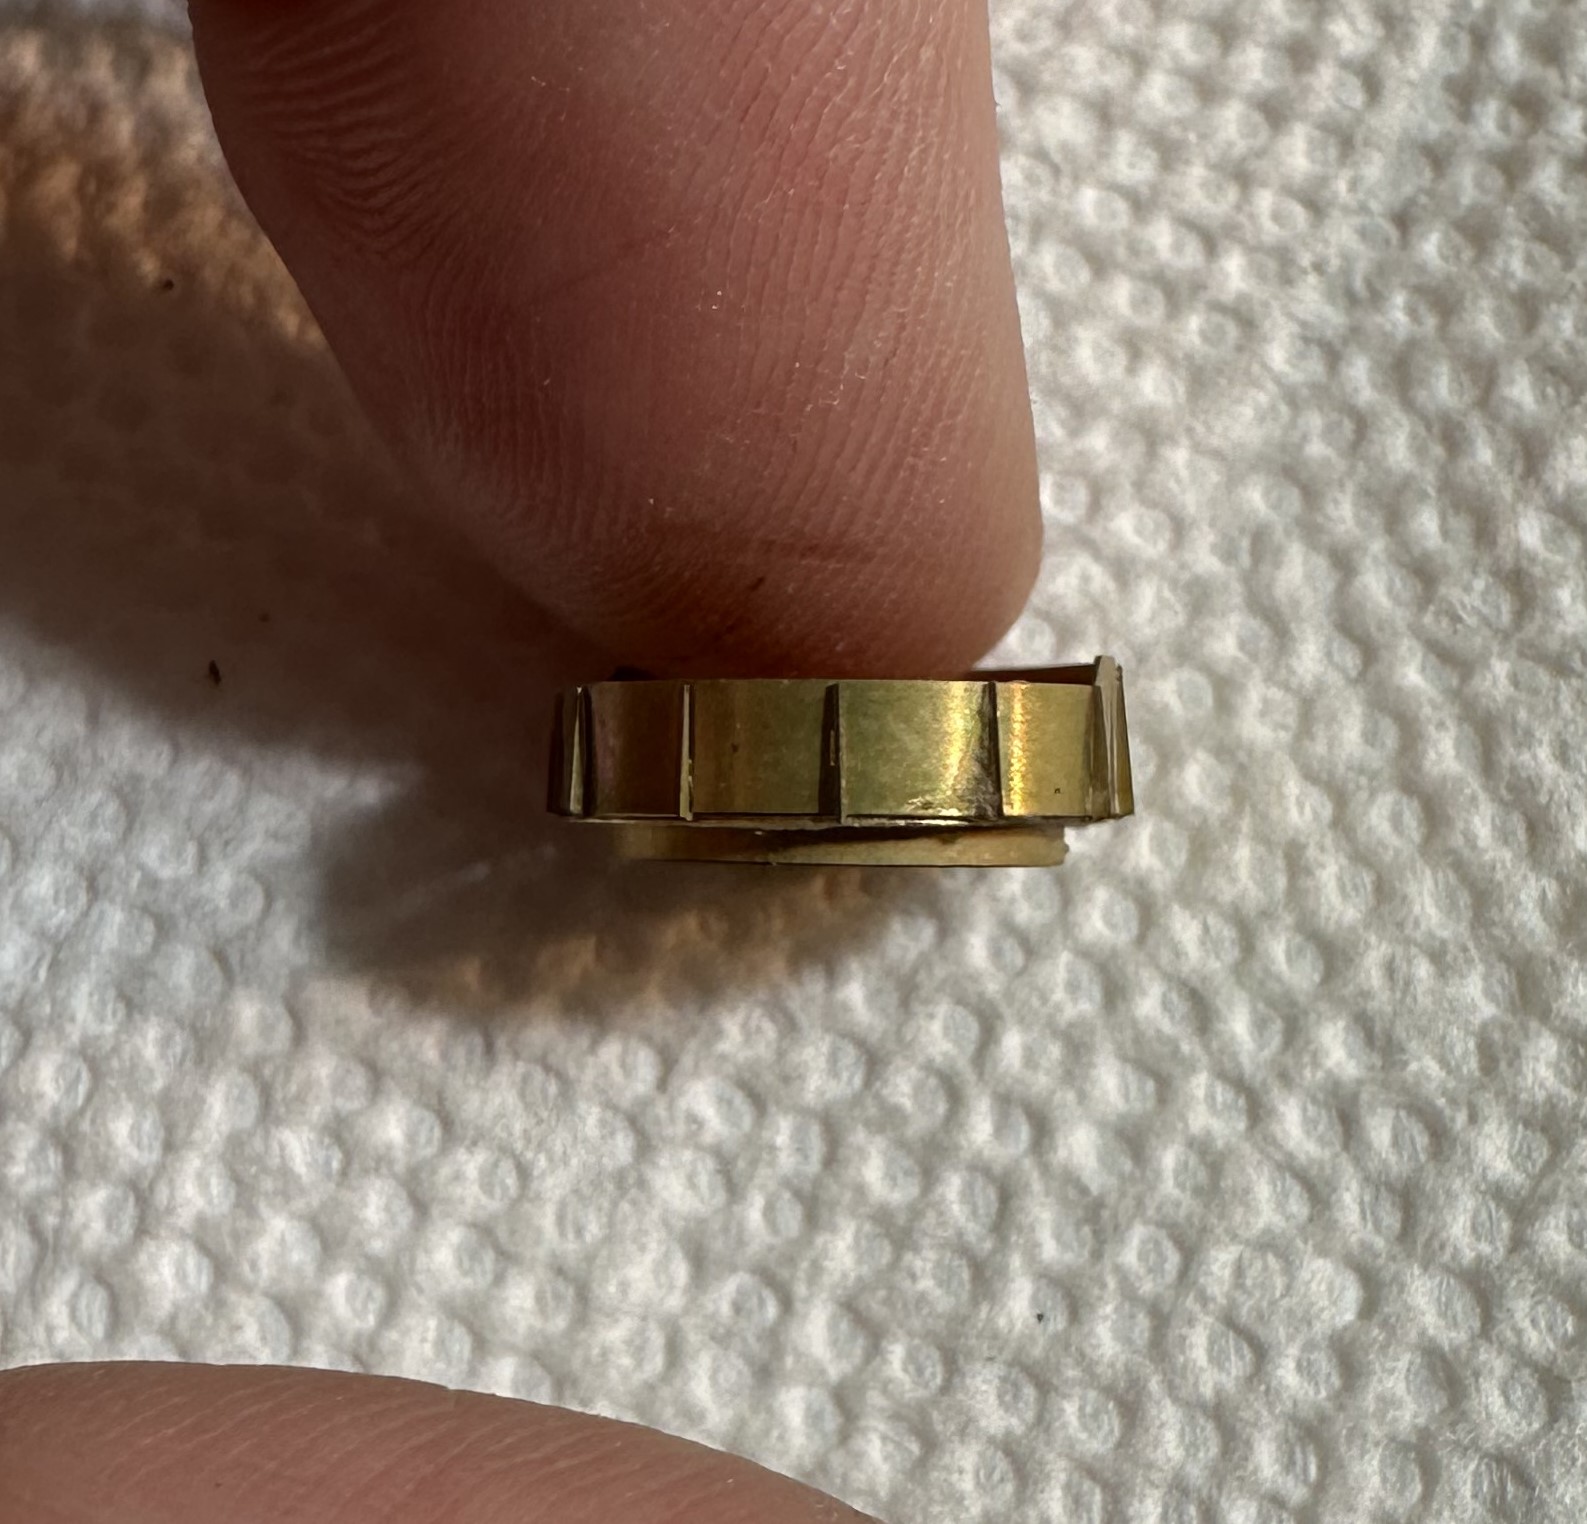
Of course the very first thing I did was drop my X-acto handle and shatter one of the aft gun tubs
One of these guys.
These were very nice resin parts from 3D Model Monkey which I used because the PE parts were super finicky. Sadly with one broken beyond repair I had to pull the other off and use the PE.
What a ball ache these were. Still, after about 2 hours of fighting and enough swearing to send the Mrs. running from my work space I was able to build up the new tubs.
I am annoyed at the wasted time as I am keen to get to work on the conning tower.
Rory,
Re-doing the tubs in etch may have been a pain, but you will enjoy the results long after you (and your wife!) recover from the annoyance. They look great!
Now take her to dinner… ![]()
Fantastic work. All those extras are really turning it into something special.
A few years back I started to build the Hobbyboss 1/700 Arizona but lost my mojo over how simplified some it was. It’s a little disappointing to see that the 1/350 just seems to be scaled up from that. But all your work has been worth it!
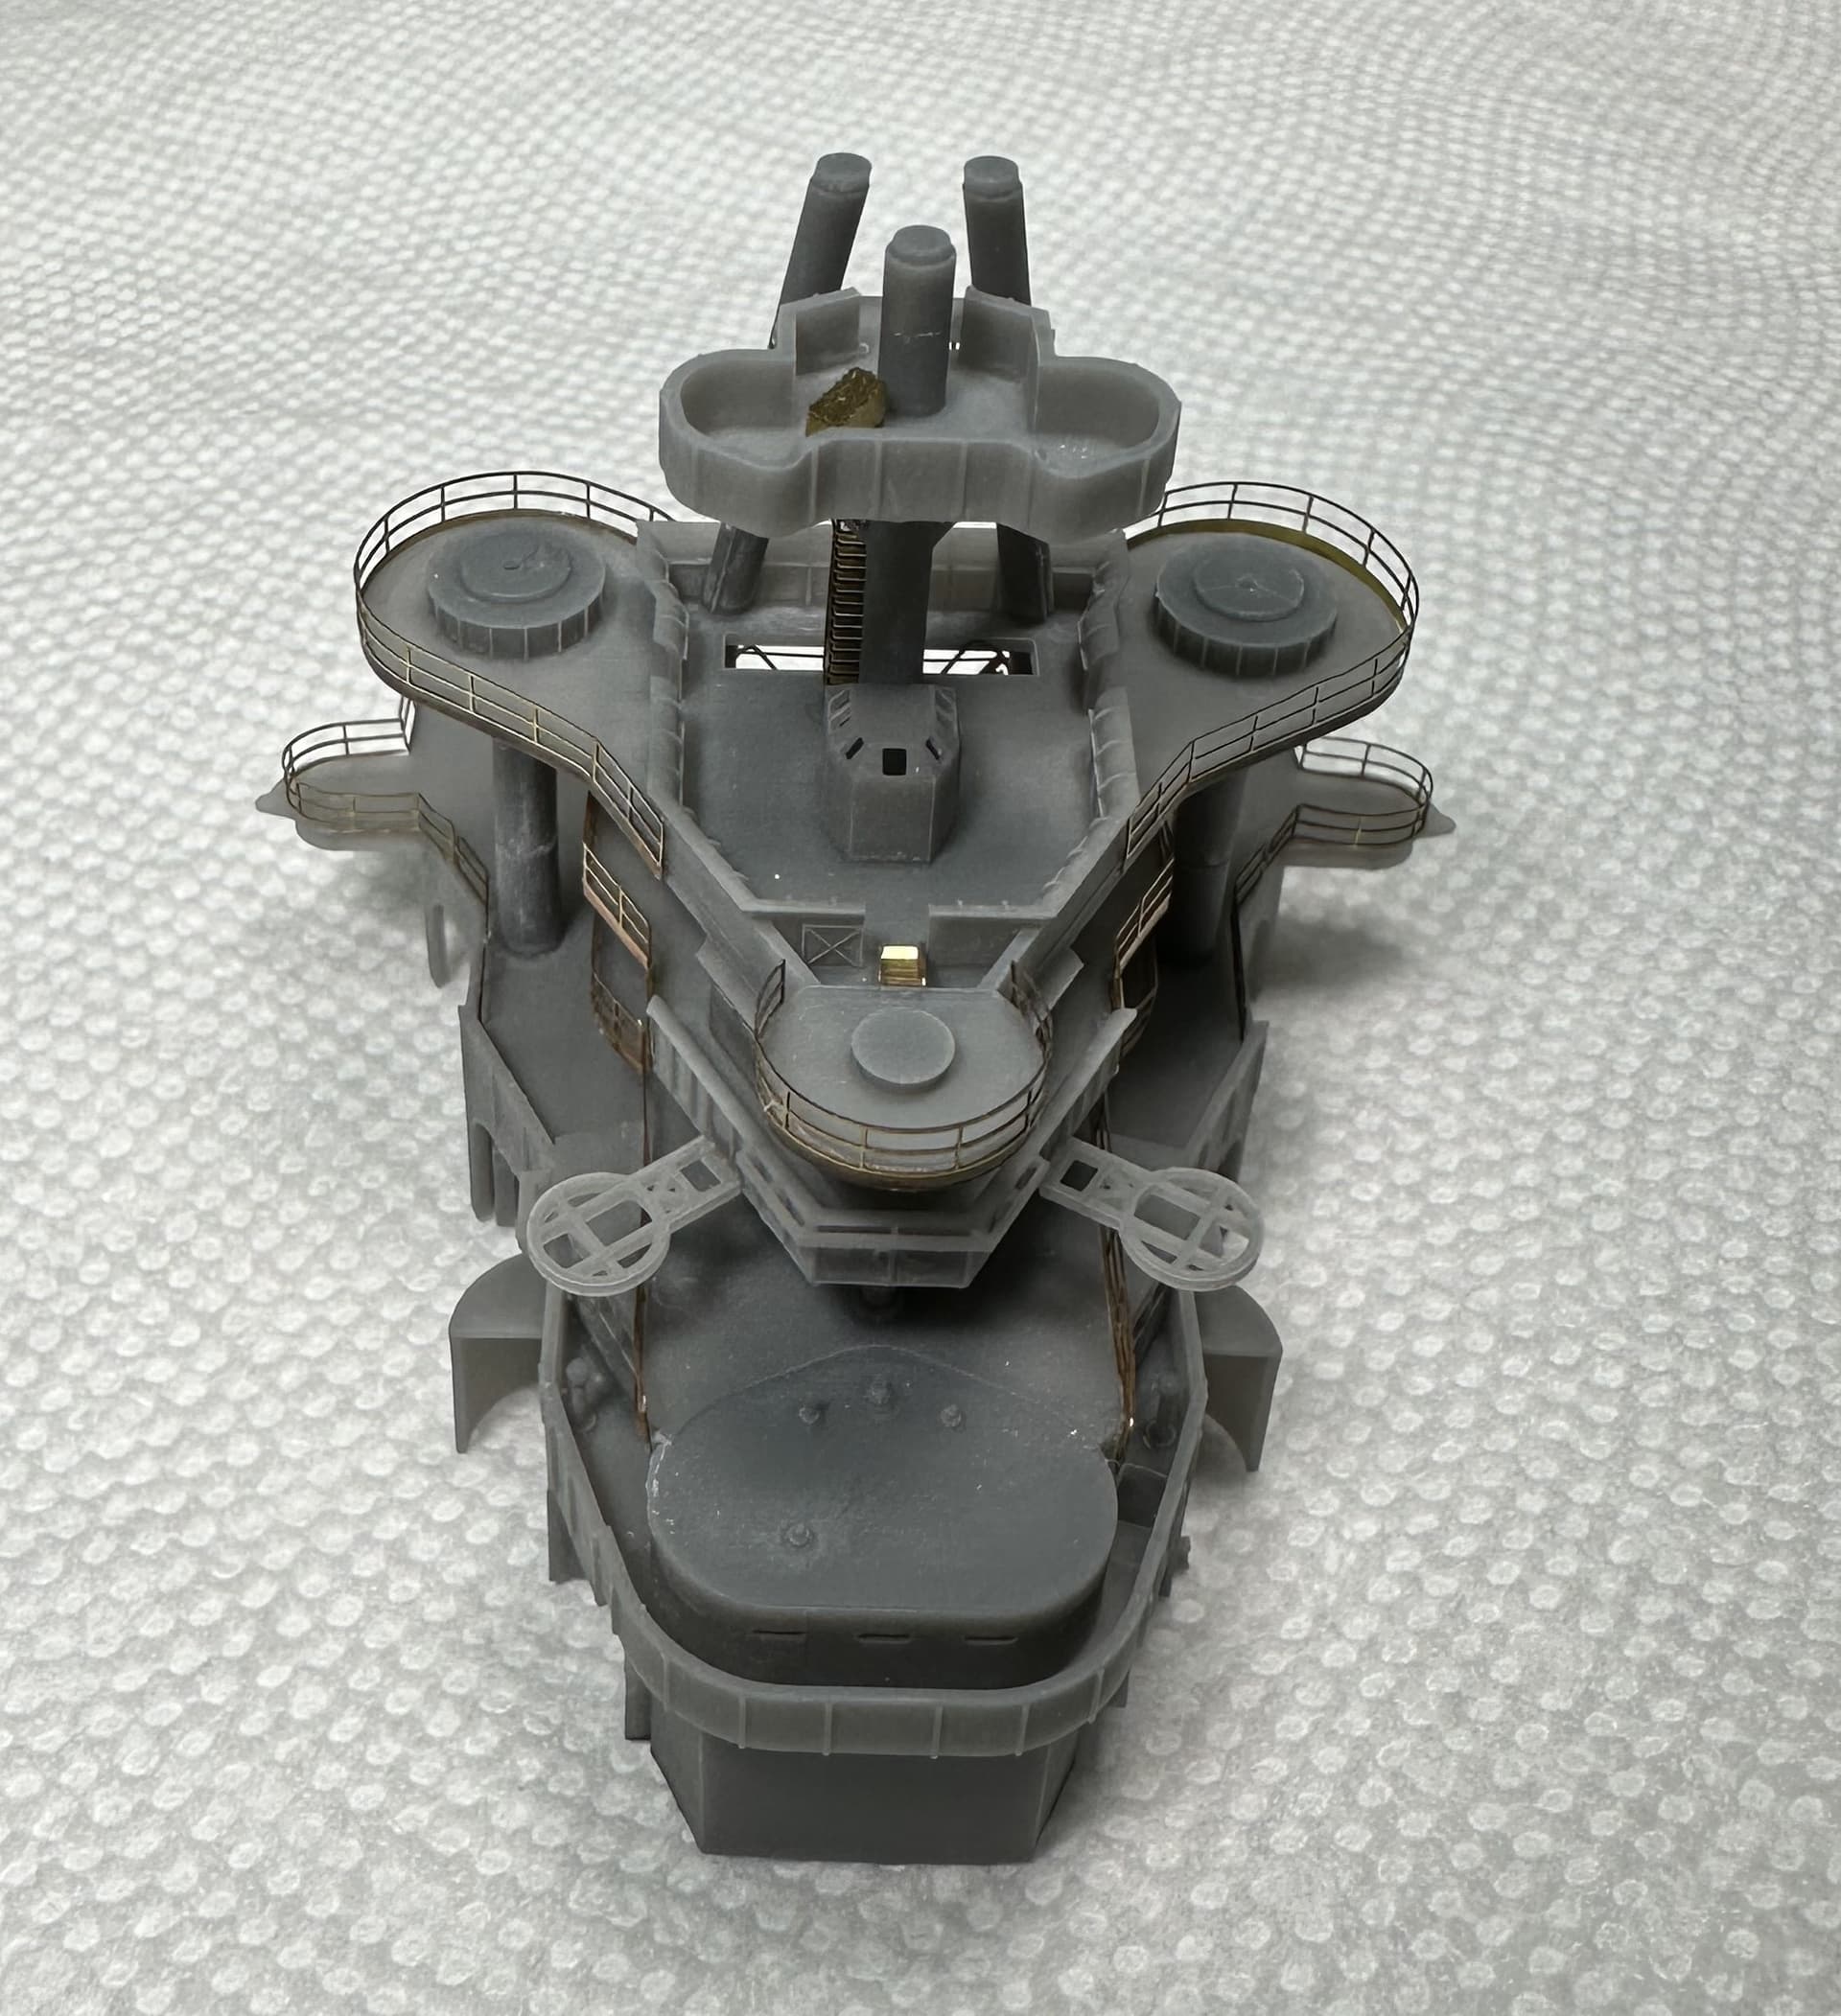
After many hours of work I have the main superstructure built. I have to be honest it’s been a fight almost the entire way and that’s mostly been sure to using the ModelMonkey parts. The issue is they are too good and accurate which sounds crazy I know. The problem is all my photo etch is for the plastic parts which are not so accurate. I am ending up with ladders either too long or two short, railings that don’t quite fit or are designed to go over areas that the resin parts already include.
I am mostly happy with how its come out but I am hoping that the paint will cover a lot of sins.
Great to see you back working on your USS Arizona. What a pity with the gun tub…
Great work, good recovery and and a fine looking main superstructure - the Model Monkey parts certainly are first rate! I love each and every of those parts for my Gneisenau, but the in general really good quality of the Dragon kit makes work much easier…so I hear your pain!
Cheers
Jan
There’s a 1/96 Arizona? Holy cow!
I’m watching this build with interest. Suddenly I’ve become enamored with cranes and dry docks. (Not quite true - I’ve always dug cranes since seeing the hammerhead at Pearl Harbor growing up)
I’ve thought about putting a 1/350 battleship in this:
Hello 18Bravo,
I’ve been focused on Pearl Harbor, the ARIZONA, and the other ships of Battleship Row since my first visit there in 1991. As for the 96th scale ARIZONA, it’s a fibre-glass hull produced by Lee Upshaw of the Scale Shipyard, with lots of accessories, so it’s not a kit per say. I’m also currently working on a Tom’s Modelworks 350th scale kit of the WEST VIRGINIA , with lots of aftermarket parts from Model Monkey, the latest batch arriving on Friday, and they’re beautiful. This is my second build of the WEST VIRGINIA, with the first being the test shot of Tom’s kit, for a survivor of the attack - Mr (Cpl, USMC, Ret’d) Dick Fiske. That model was presented to Dick in JAN 1999, and the USS ARIZONA Memorial Museum, and written up in the Honolulu Star Bulletin. My current build is for me. ![]()
Cheers,
Chris
Rory your USS Arizona is looking great! It’s good to see this one moving forward again! Outstanding!
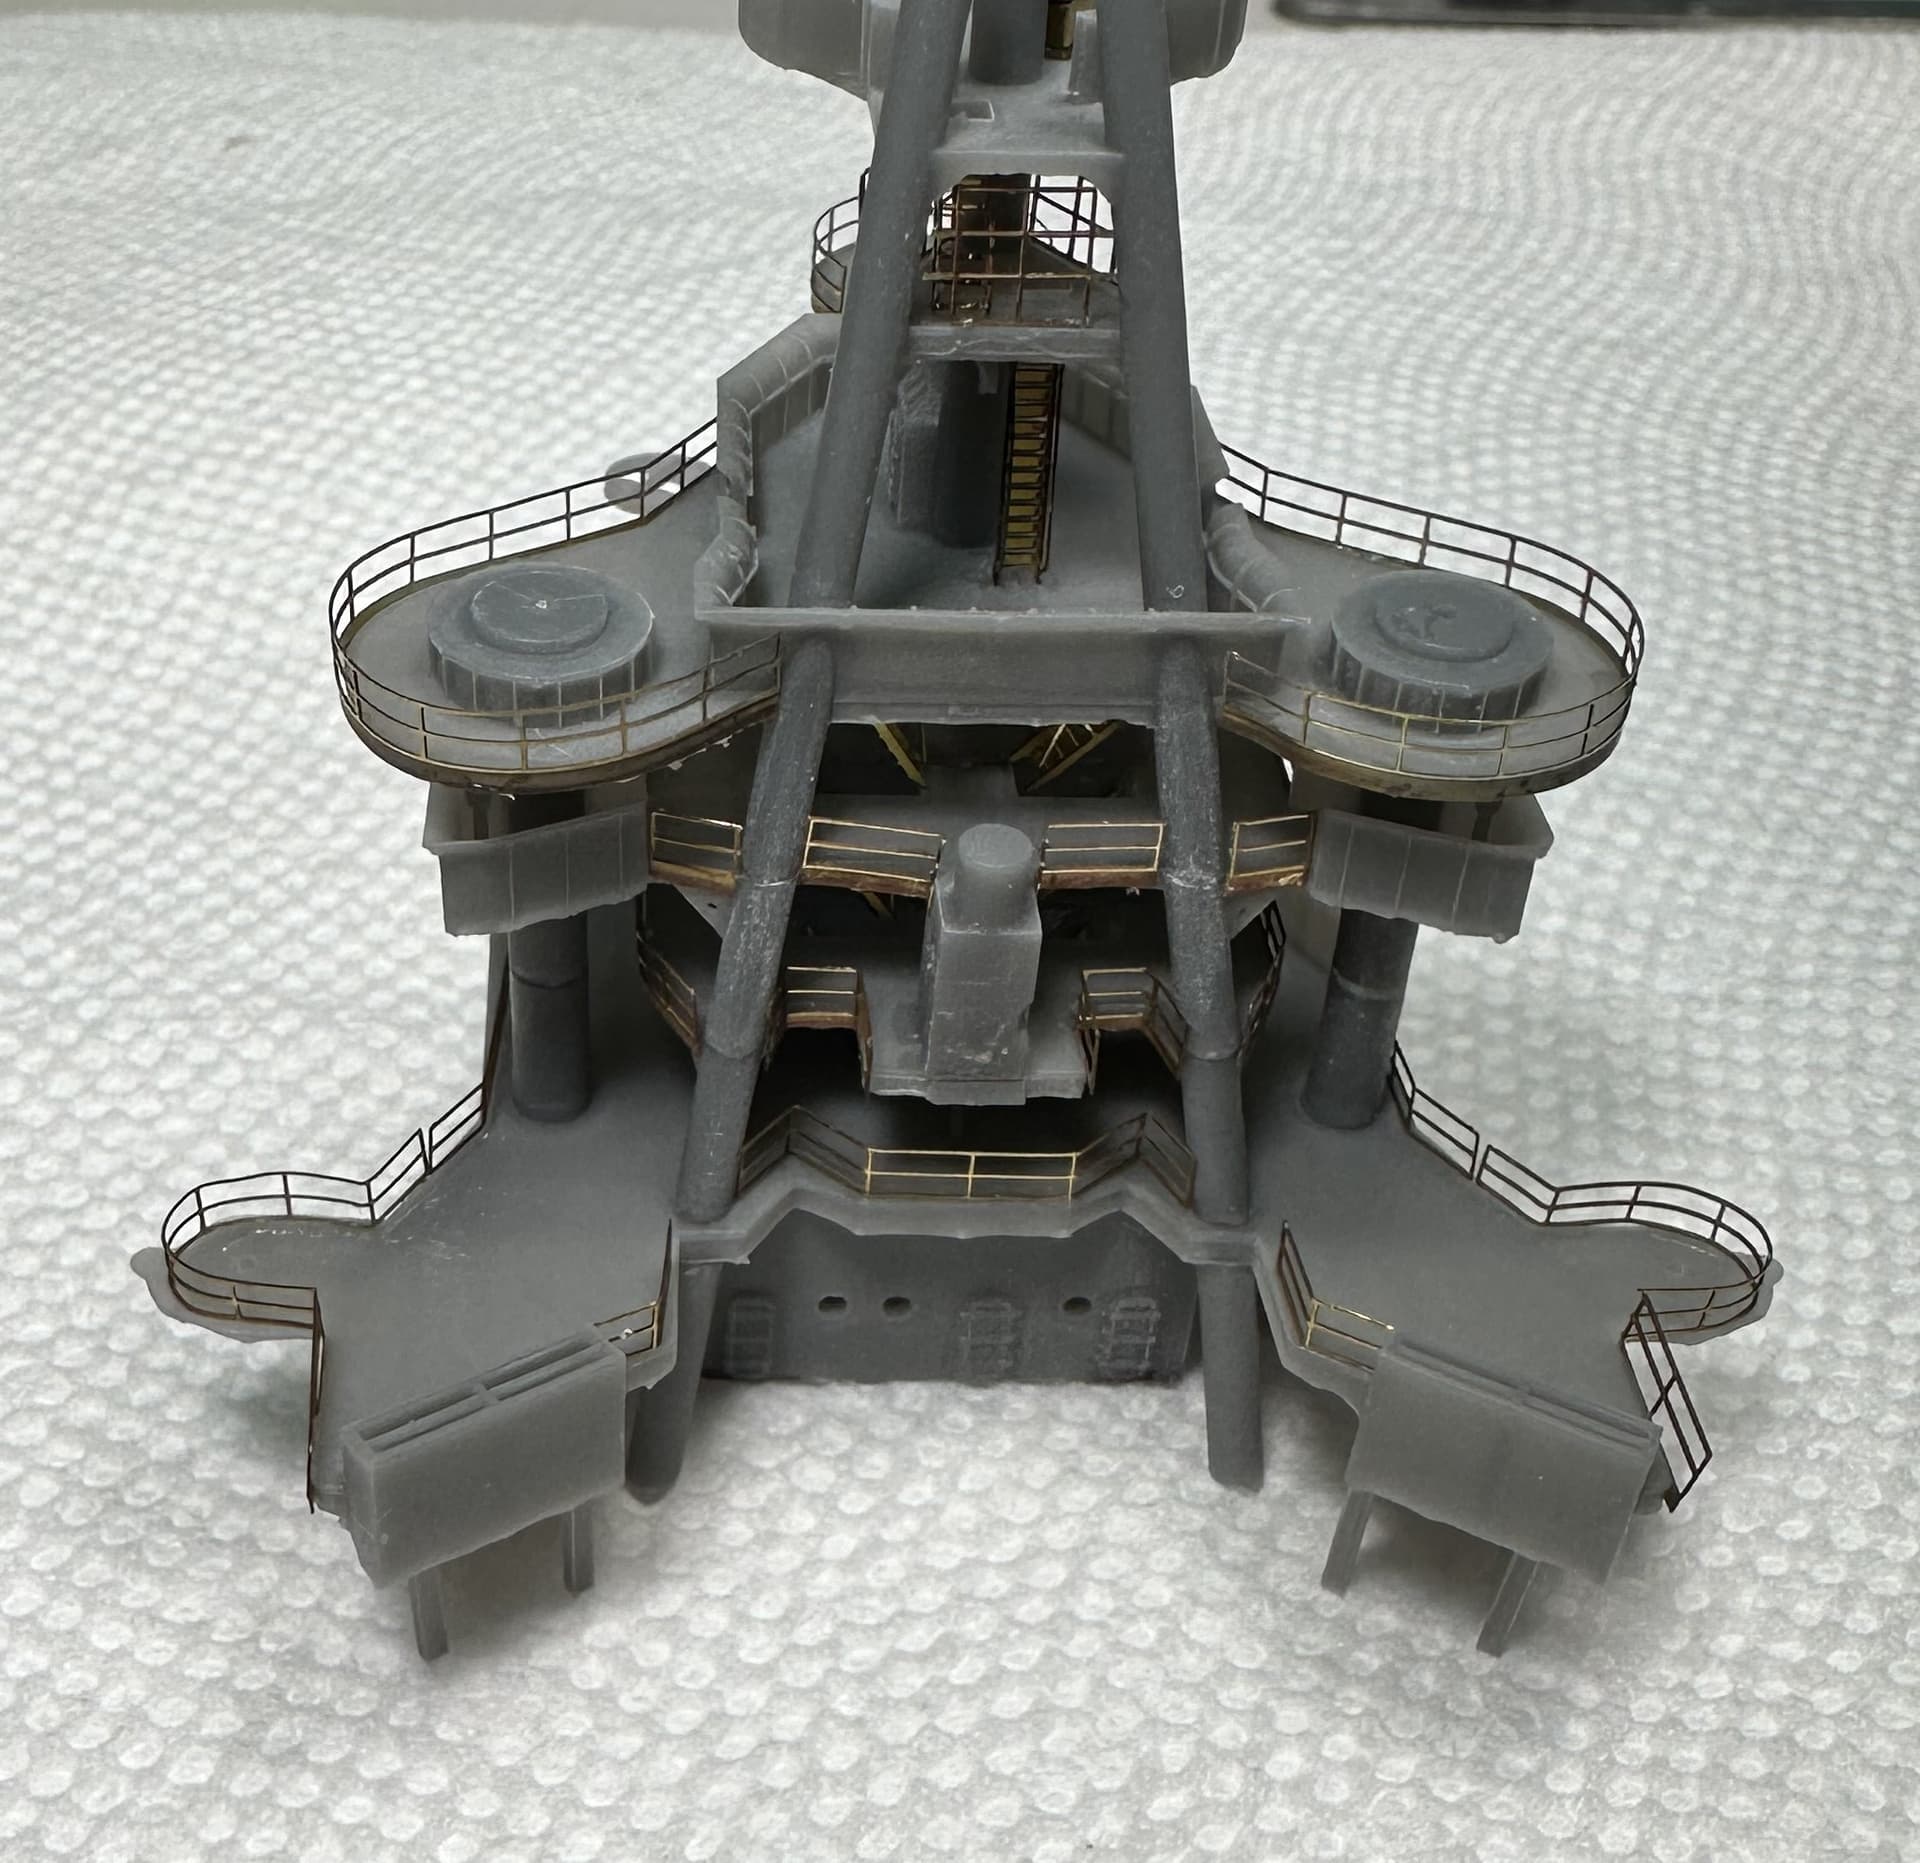
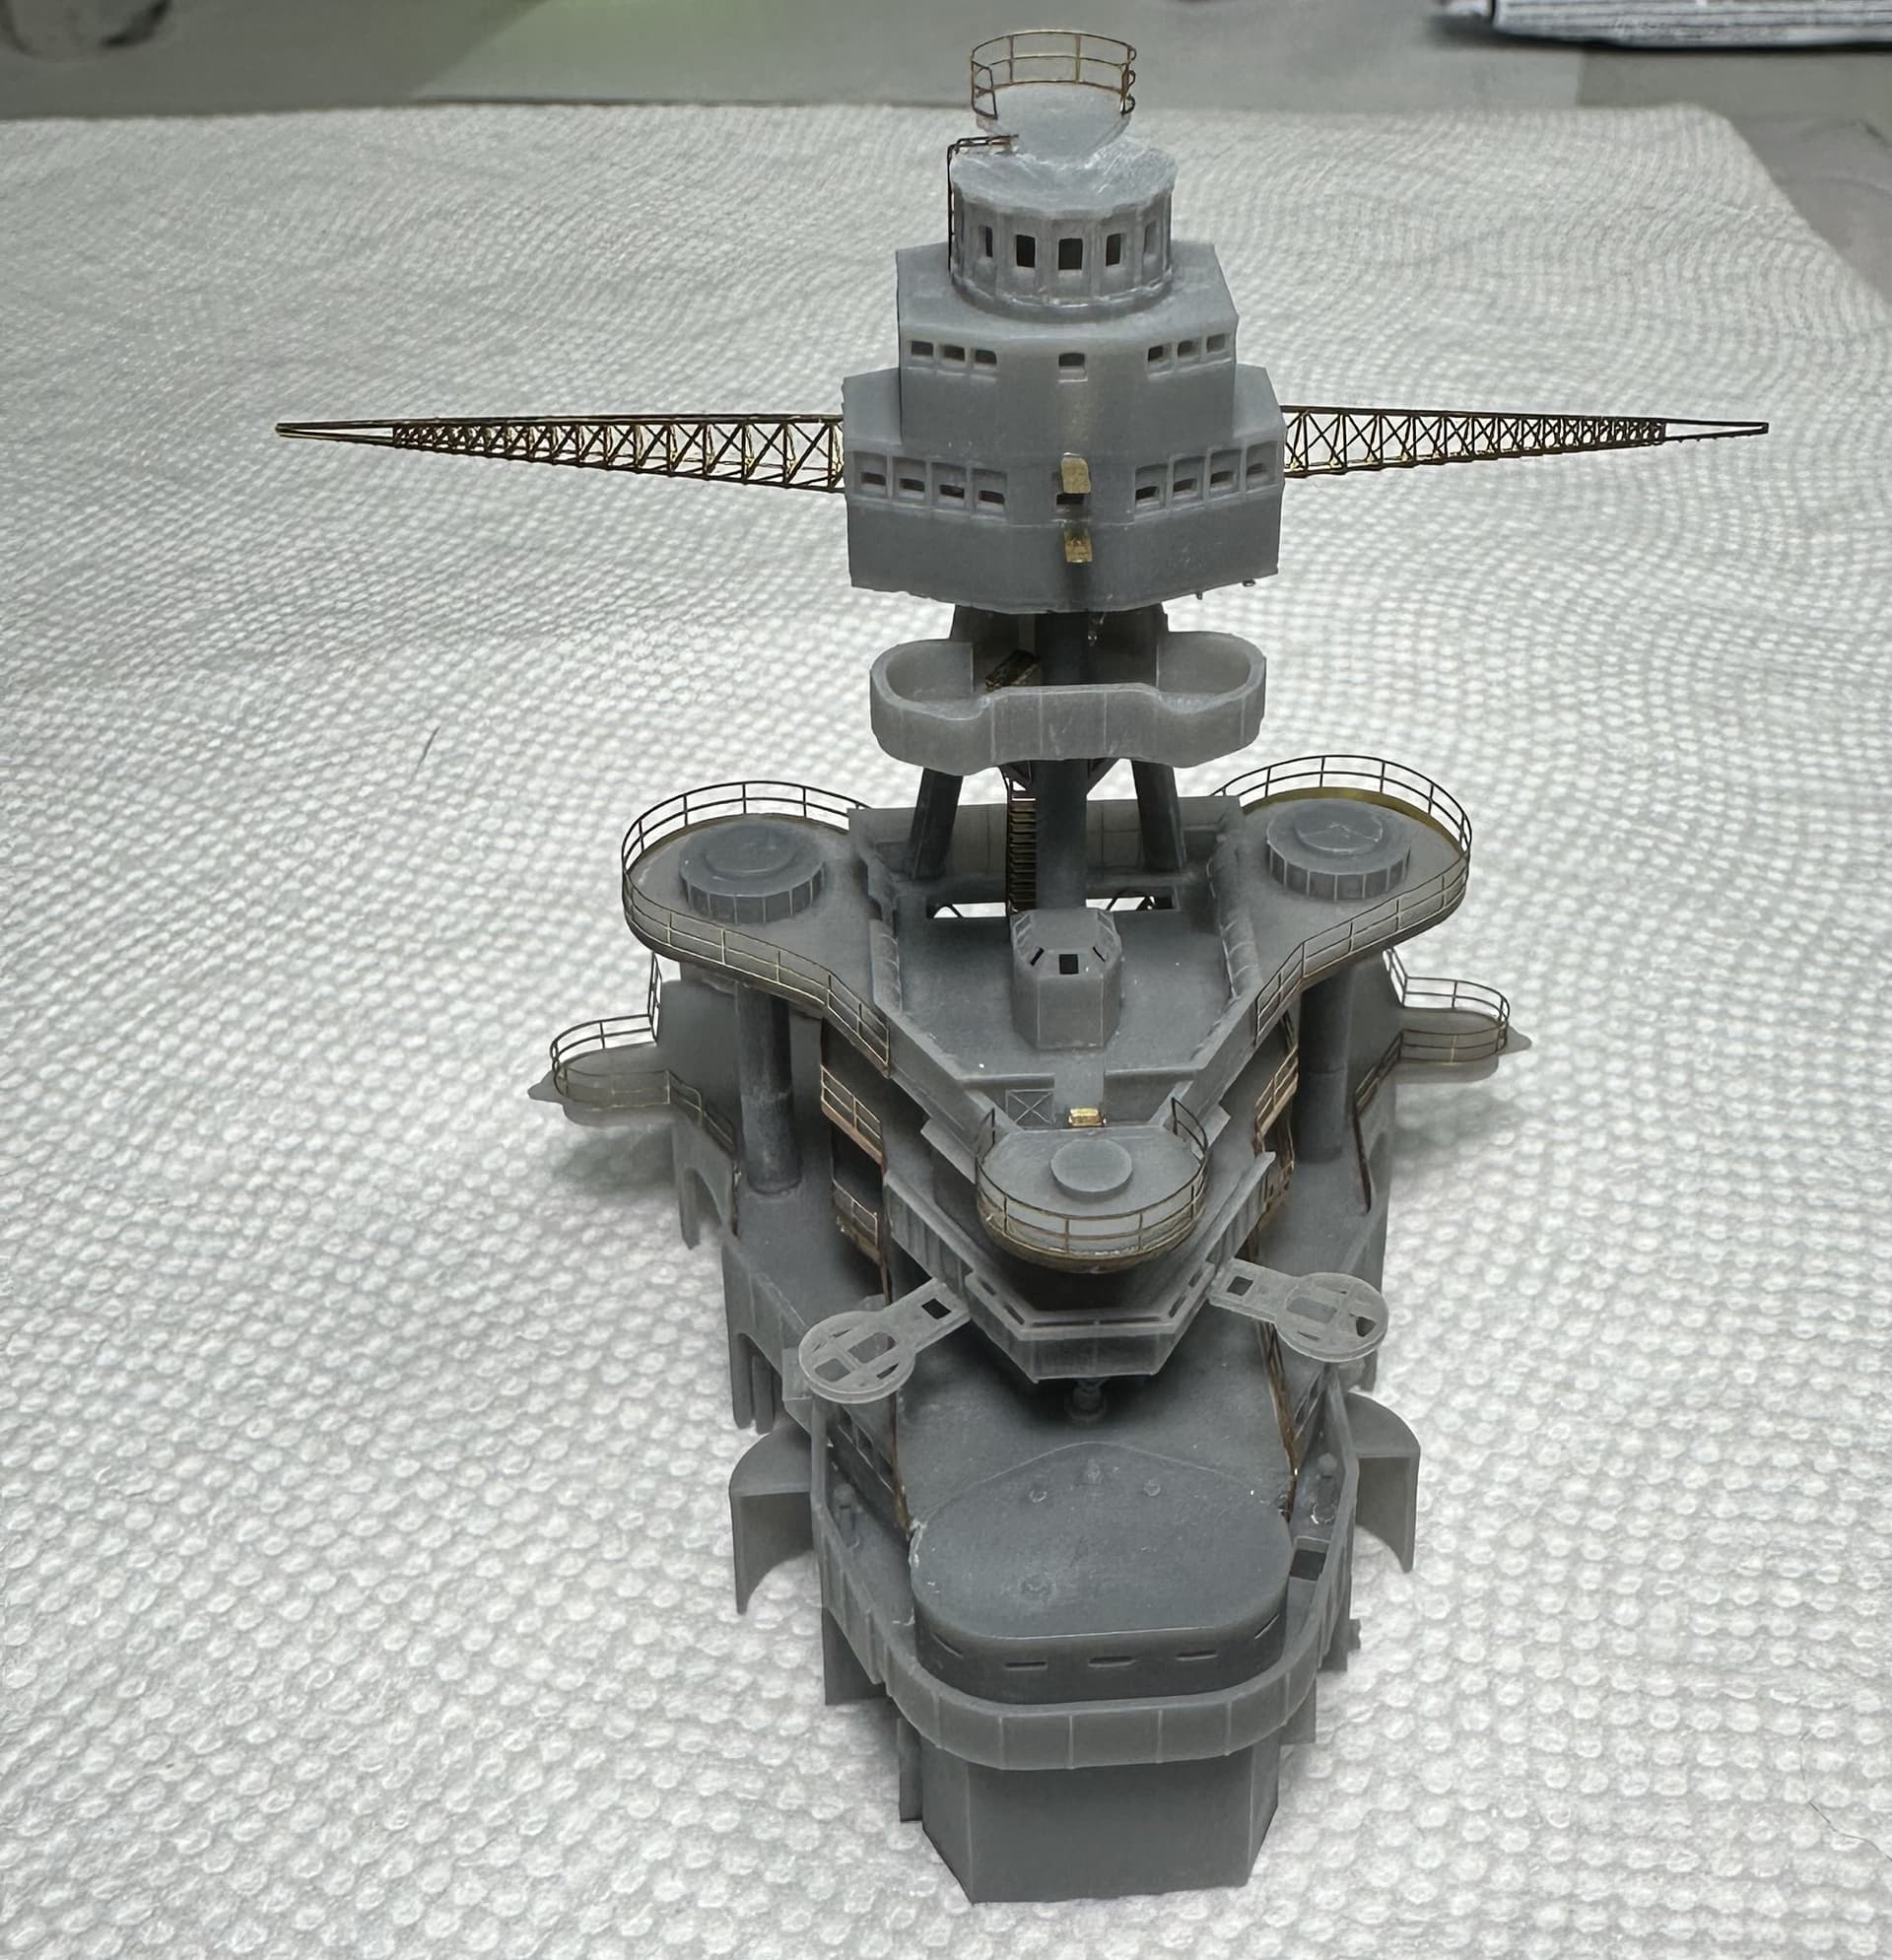
In todays edition of “Fun with Photo Etch” I finished up the Forward superstructure and top area.
I am not 100% sure I have the yardarms (?) at the right angle but I think thats an artifact of using the Eduard PE on the wrong kit. Will have to do.
I have to say I really like the look of this bridge. Its suitably blocky and menacing.
I will say I have some deep concerns over the strength of the arms, they are pretty flimsy, especially when it comes time to do rigging. We shall just see, may opt for stretched sprue just to avoid any tension.
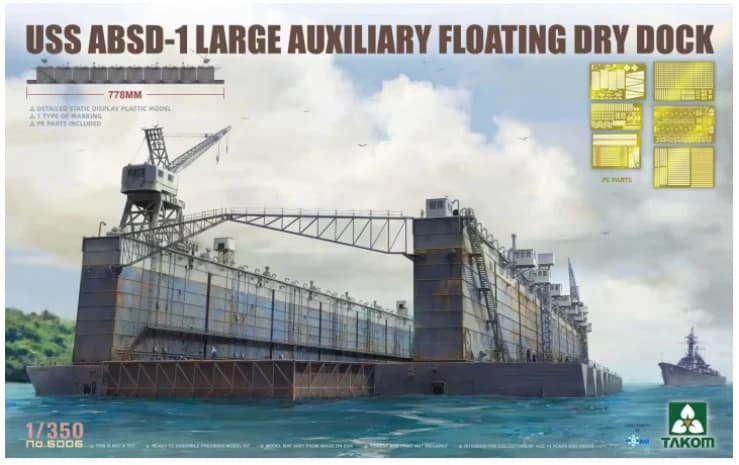
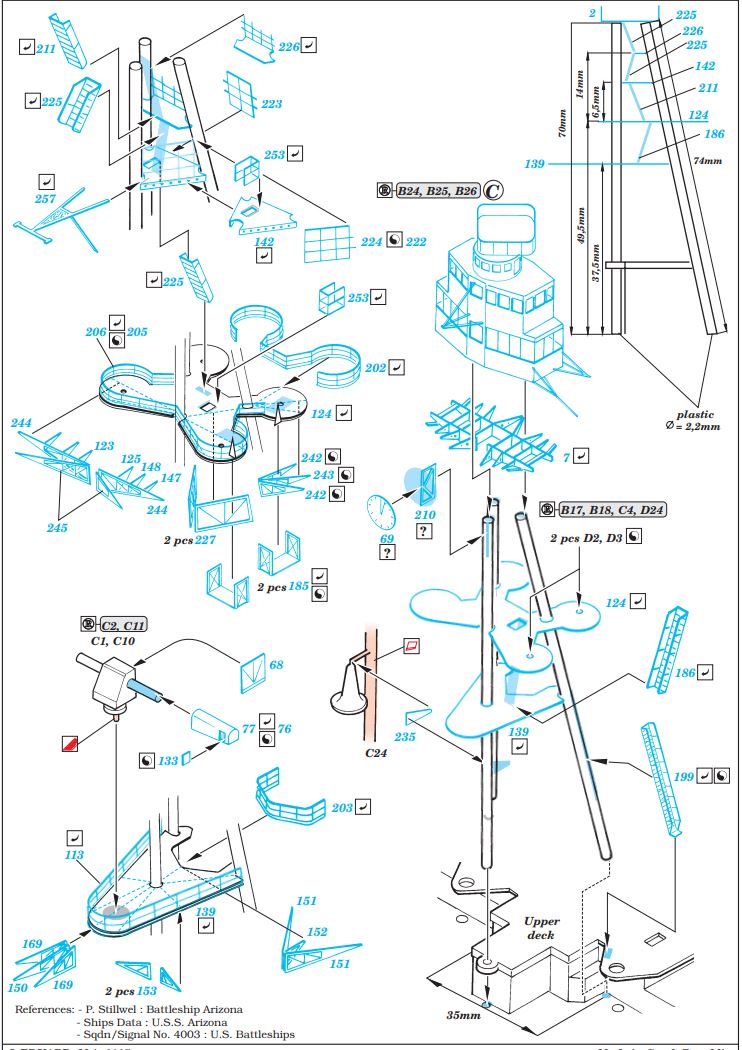
Next up is the rear mast and I am not looking forward to it. I have to replace all the kit parts with PE and styrene rod at very exact measurements, then graft to the MM resin top. I am not sure how I am going to keep the mast legs at the right spacing as I work my way down through the many, many platforms. Maybe imbed them in foam or something. Its a head scratcher for now.
Take a look and see if the group has any ideas.
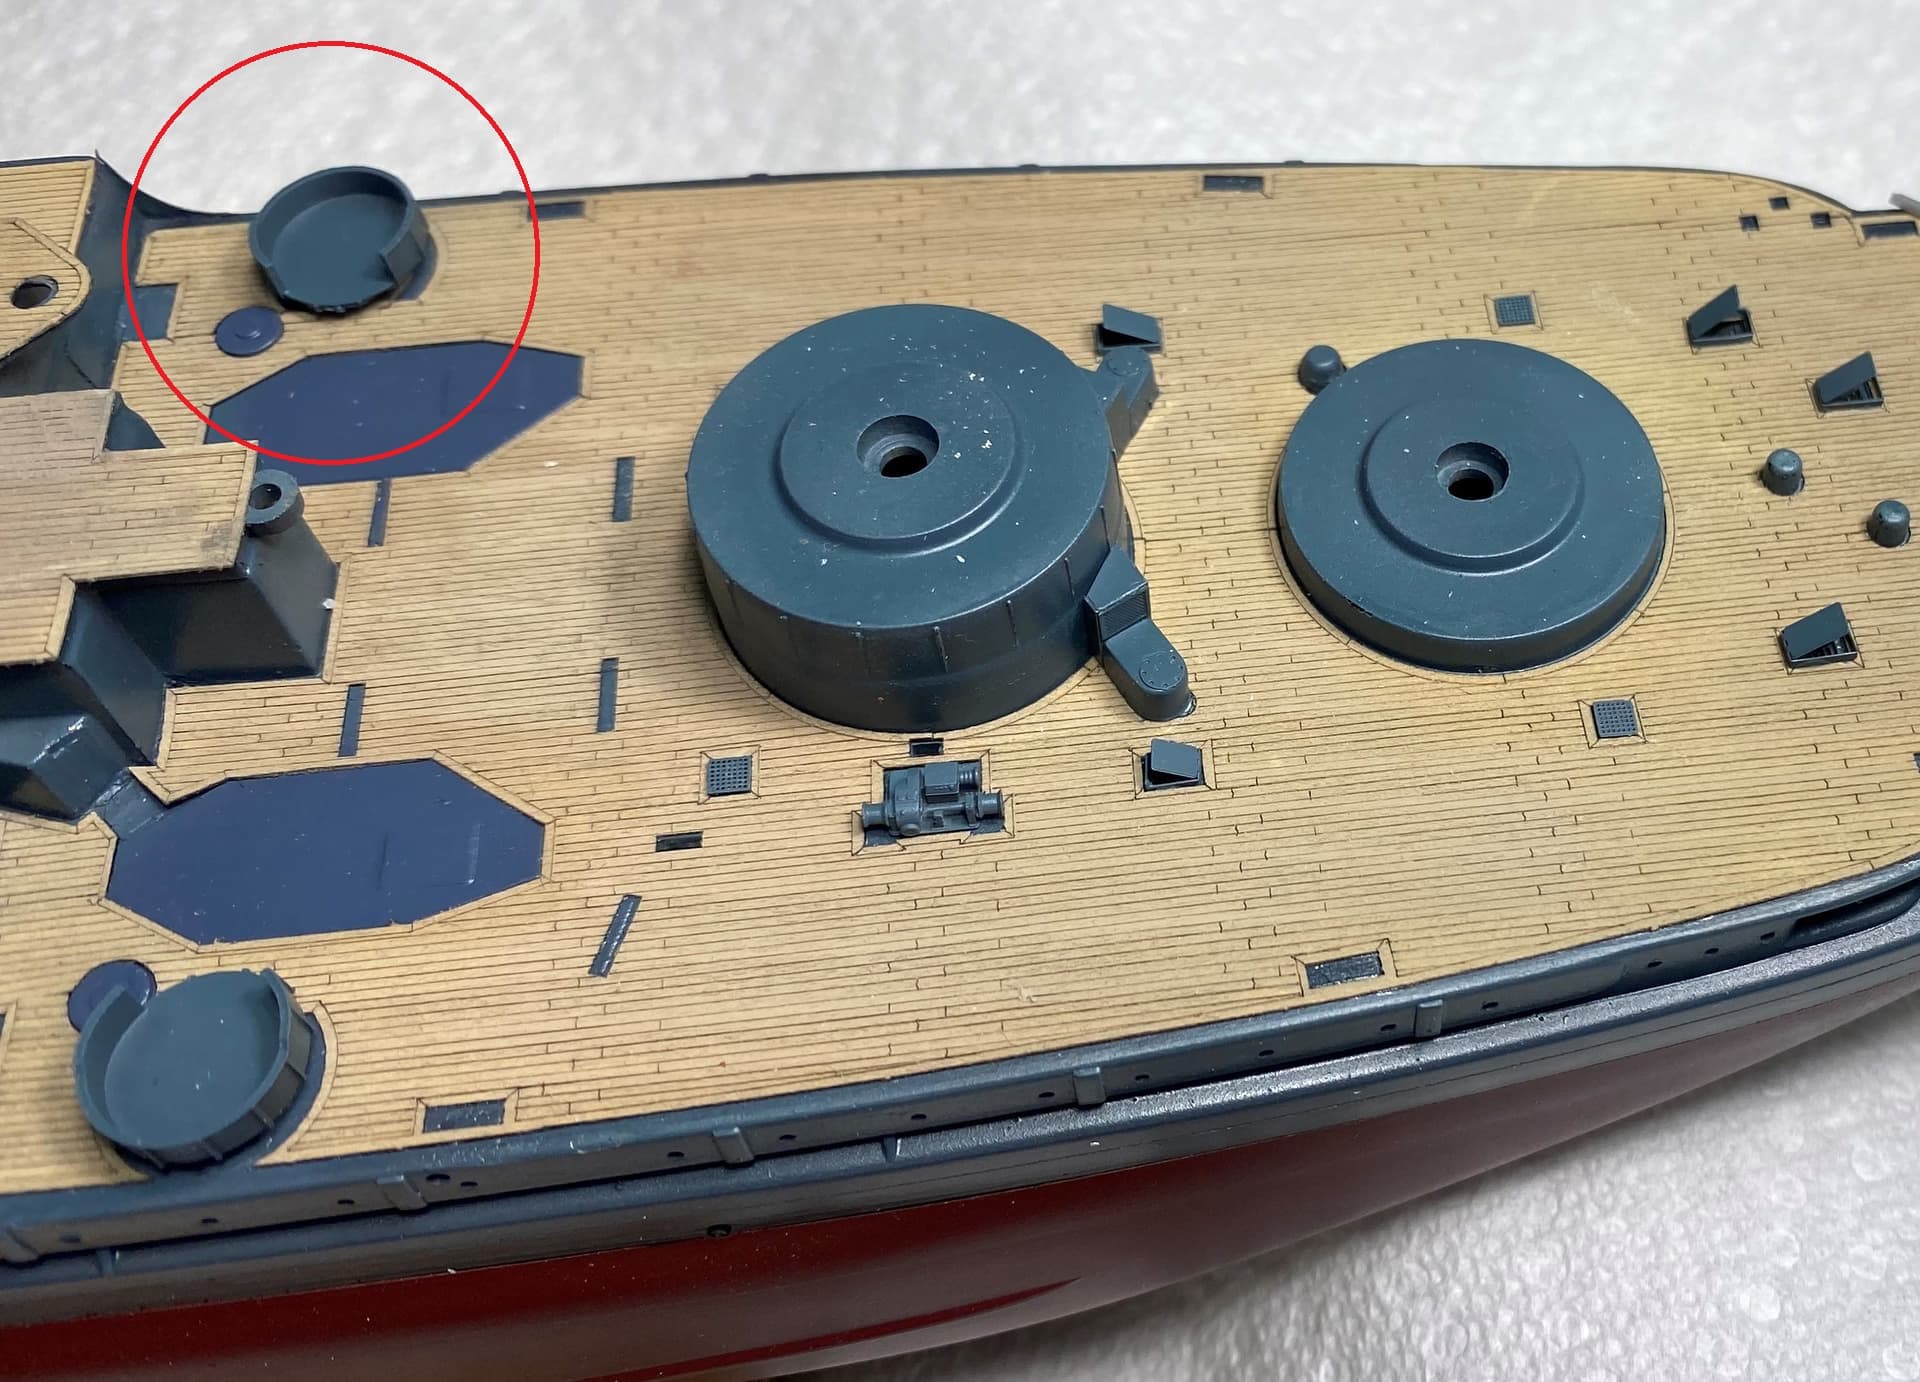
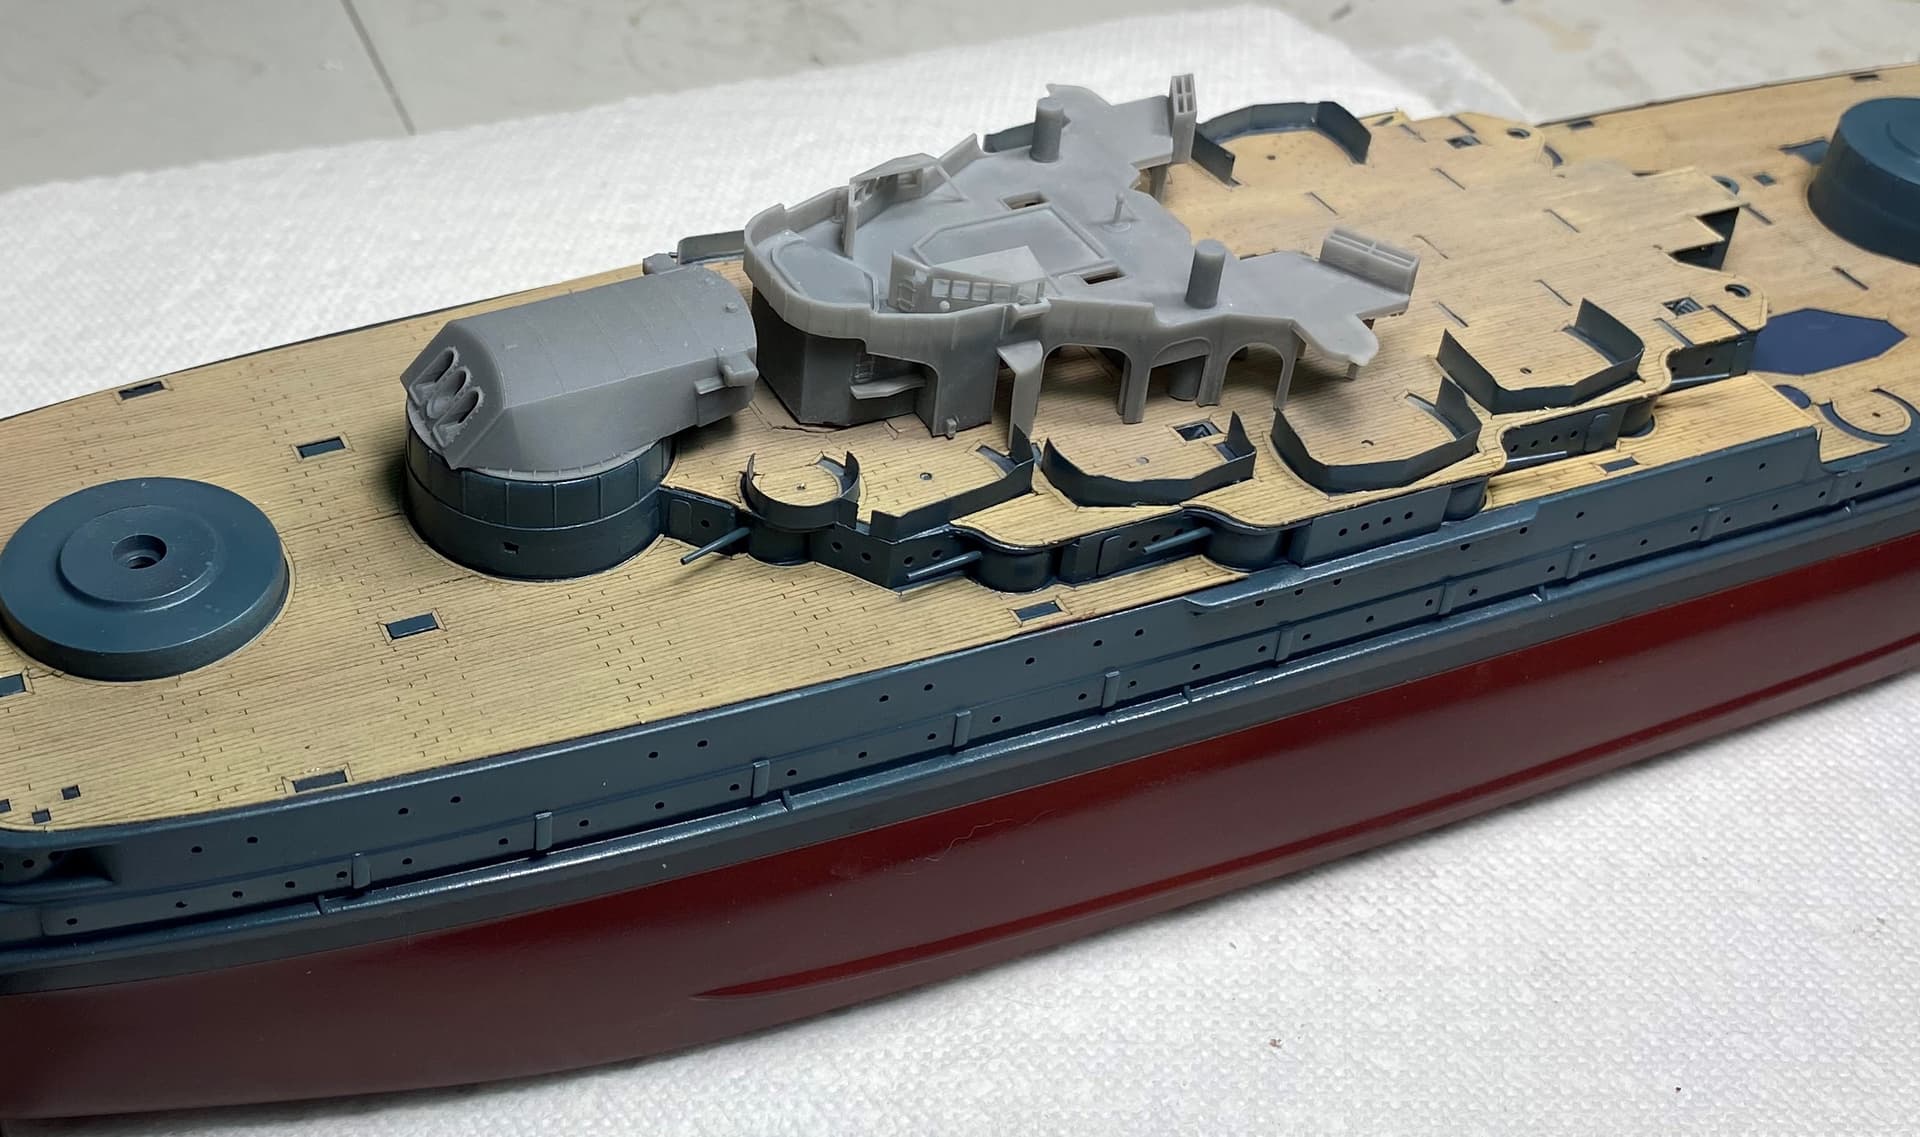
If you have been following along you may recall I had massive issues with the gun shields on the upper deck. They were not designed for the AM deck I bought and didn’t fit properly. I ended up loosing all the external support ribs that were part of the photo etch. The shields ended up being flat and I still had spots that were too short.
Original pic from earlier in the build showing the flat shields.
I was ok with it for a while but the more pictures I look at the less happy I have become. The supports are a very prominent feature of the gun shields and it just looks wrong with them missing.
I decided to skip working on the mast today and try fix some of these issues. First, I extended the shields where they were too short, using scrap PE fret. Its not perfect but looks way better.
Next, I started work on the support ribs. I admit I was baffled on how to approach this until I found a build log by someone who had the exact same issue. I admit to 100% stealing their idea ![]()
I used 0.5mm plastic square rod and cut length a bit longer than the shields. I then glued them in place using the Mk1 eyeball for spacing. I cut them overlong to make it easier to hold and glue into place.
Once all in place I cut them down to length.
Lastly I applied some paint and I have to say that while nowhere from perfect, I am very happy with the outcome and I think it has improved the look of the gun shield enormously.
Now to repeat the process 8 more times ![]()
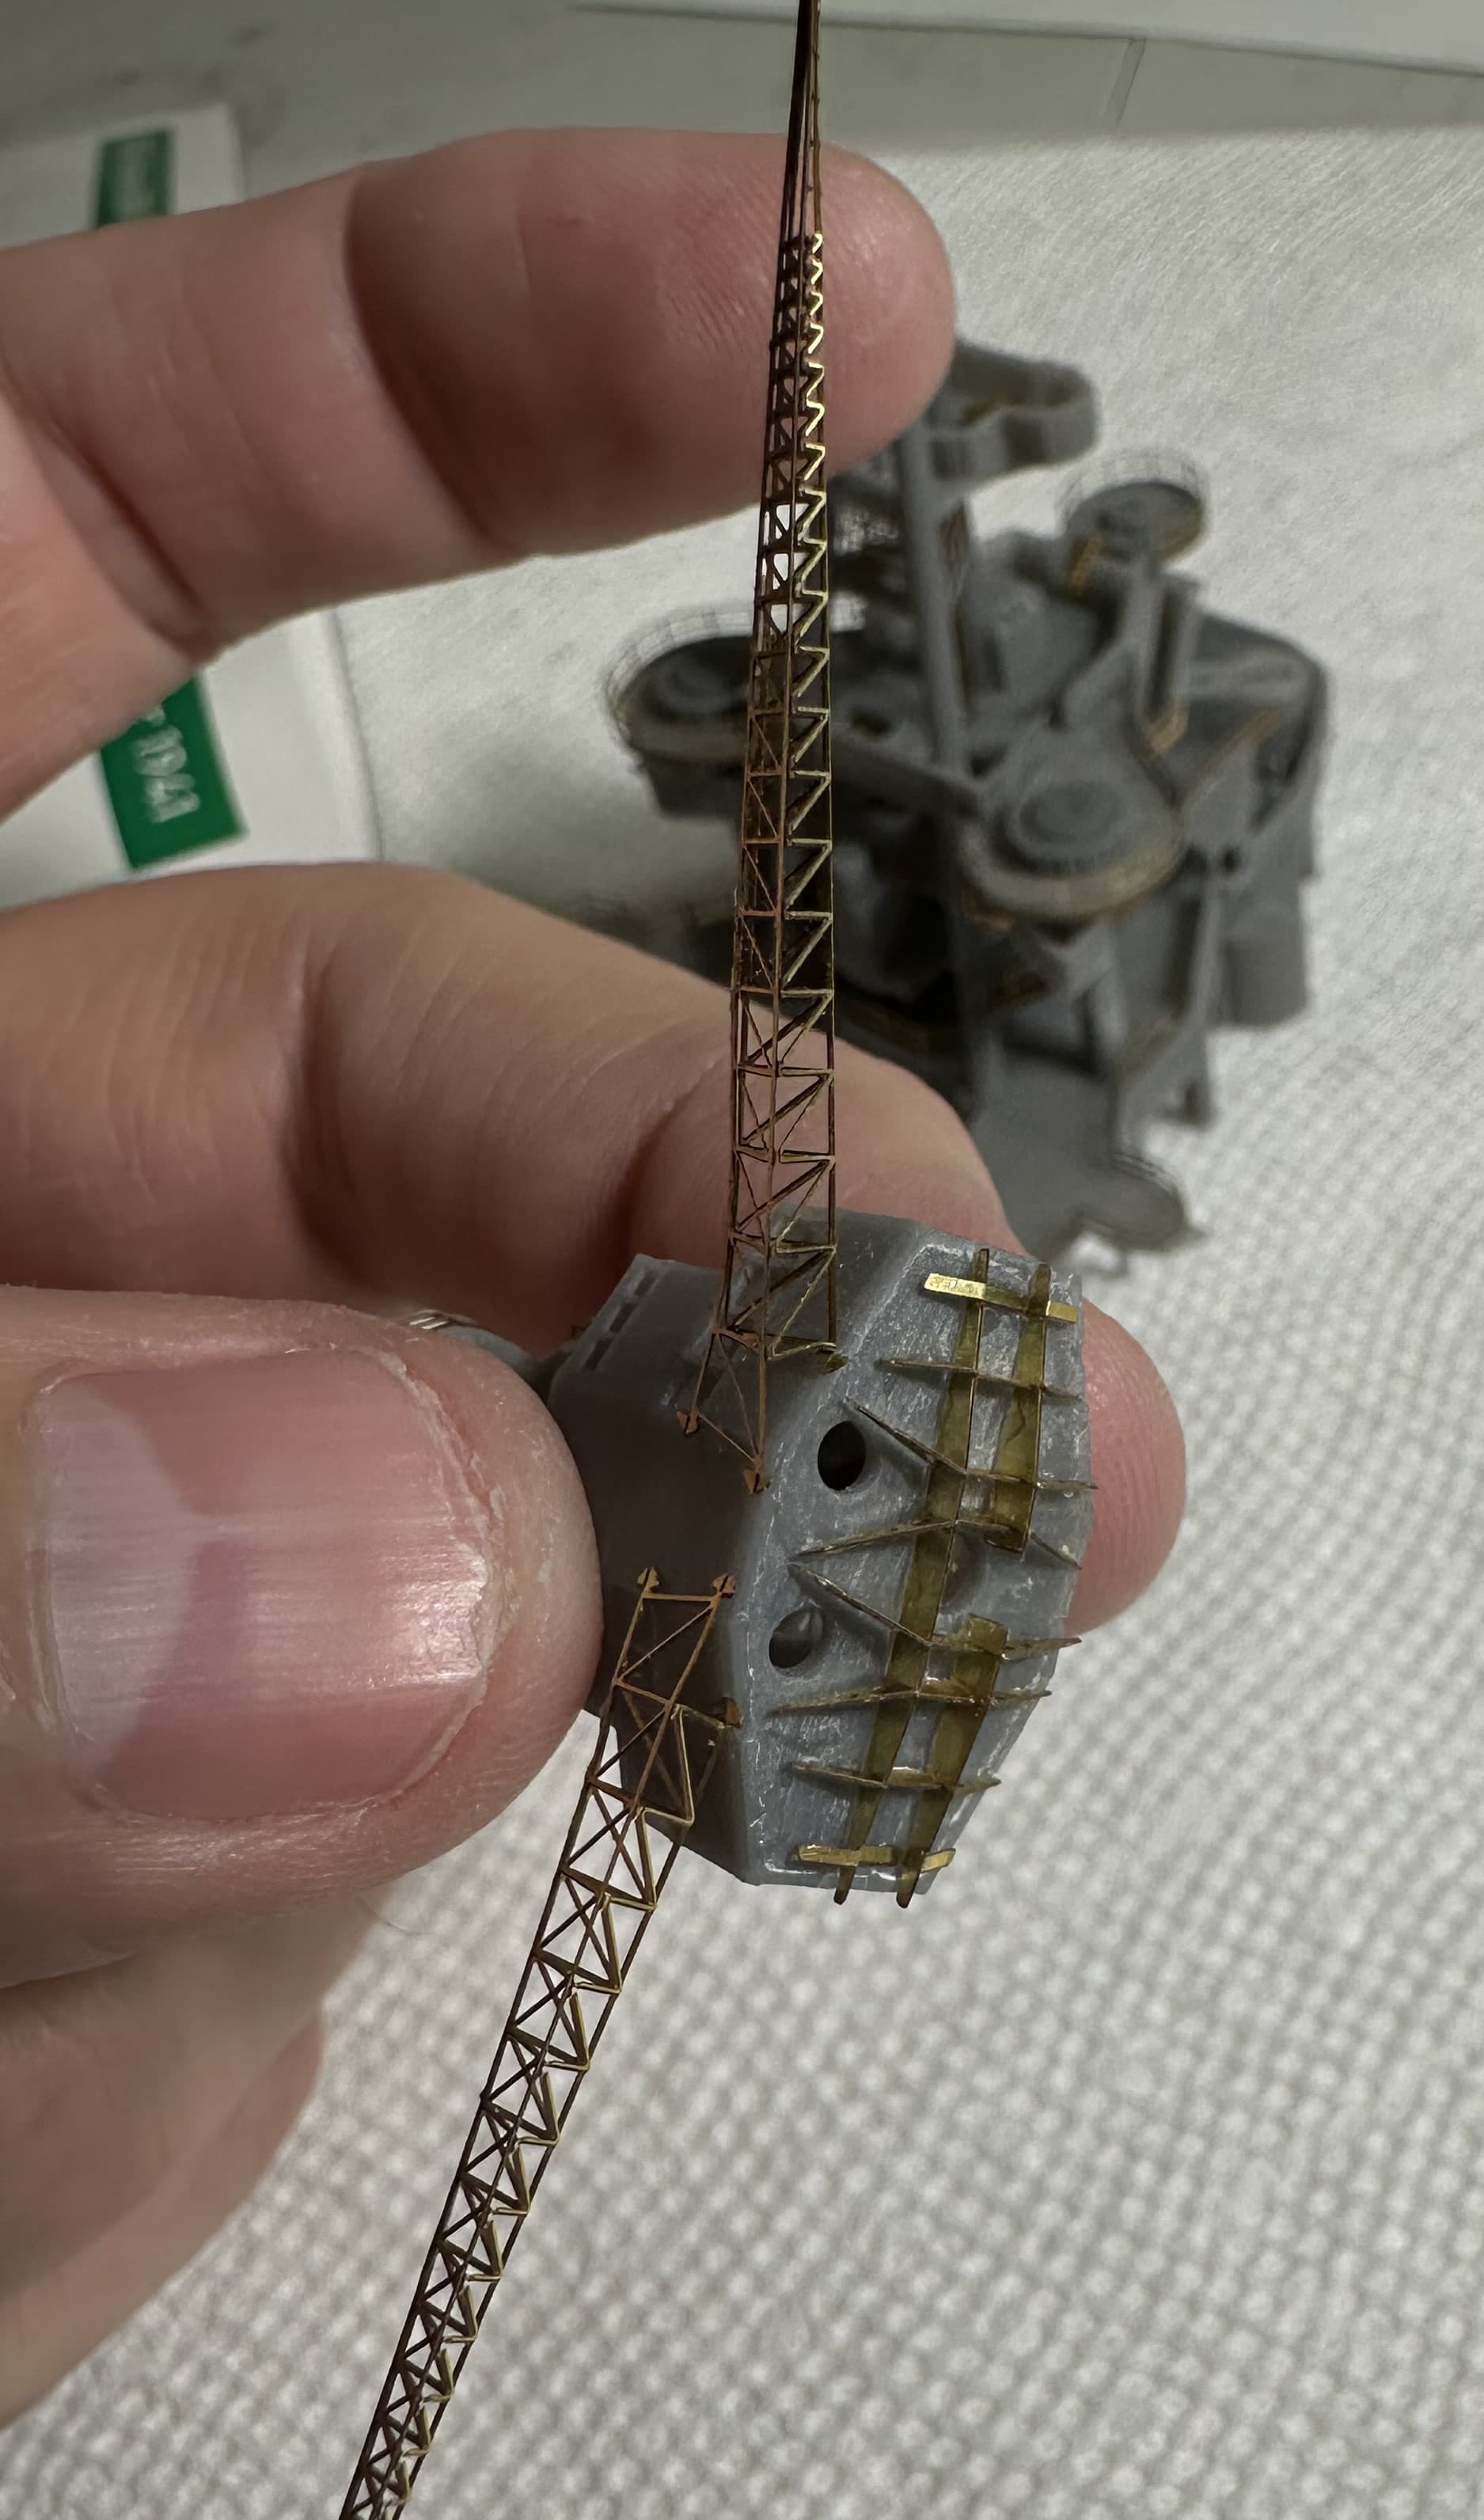
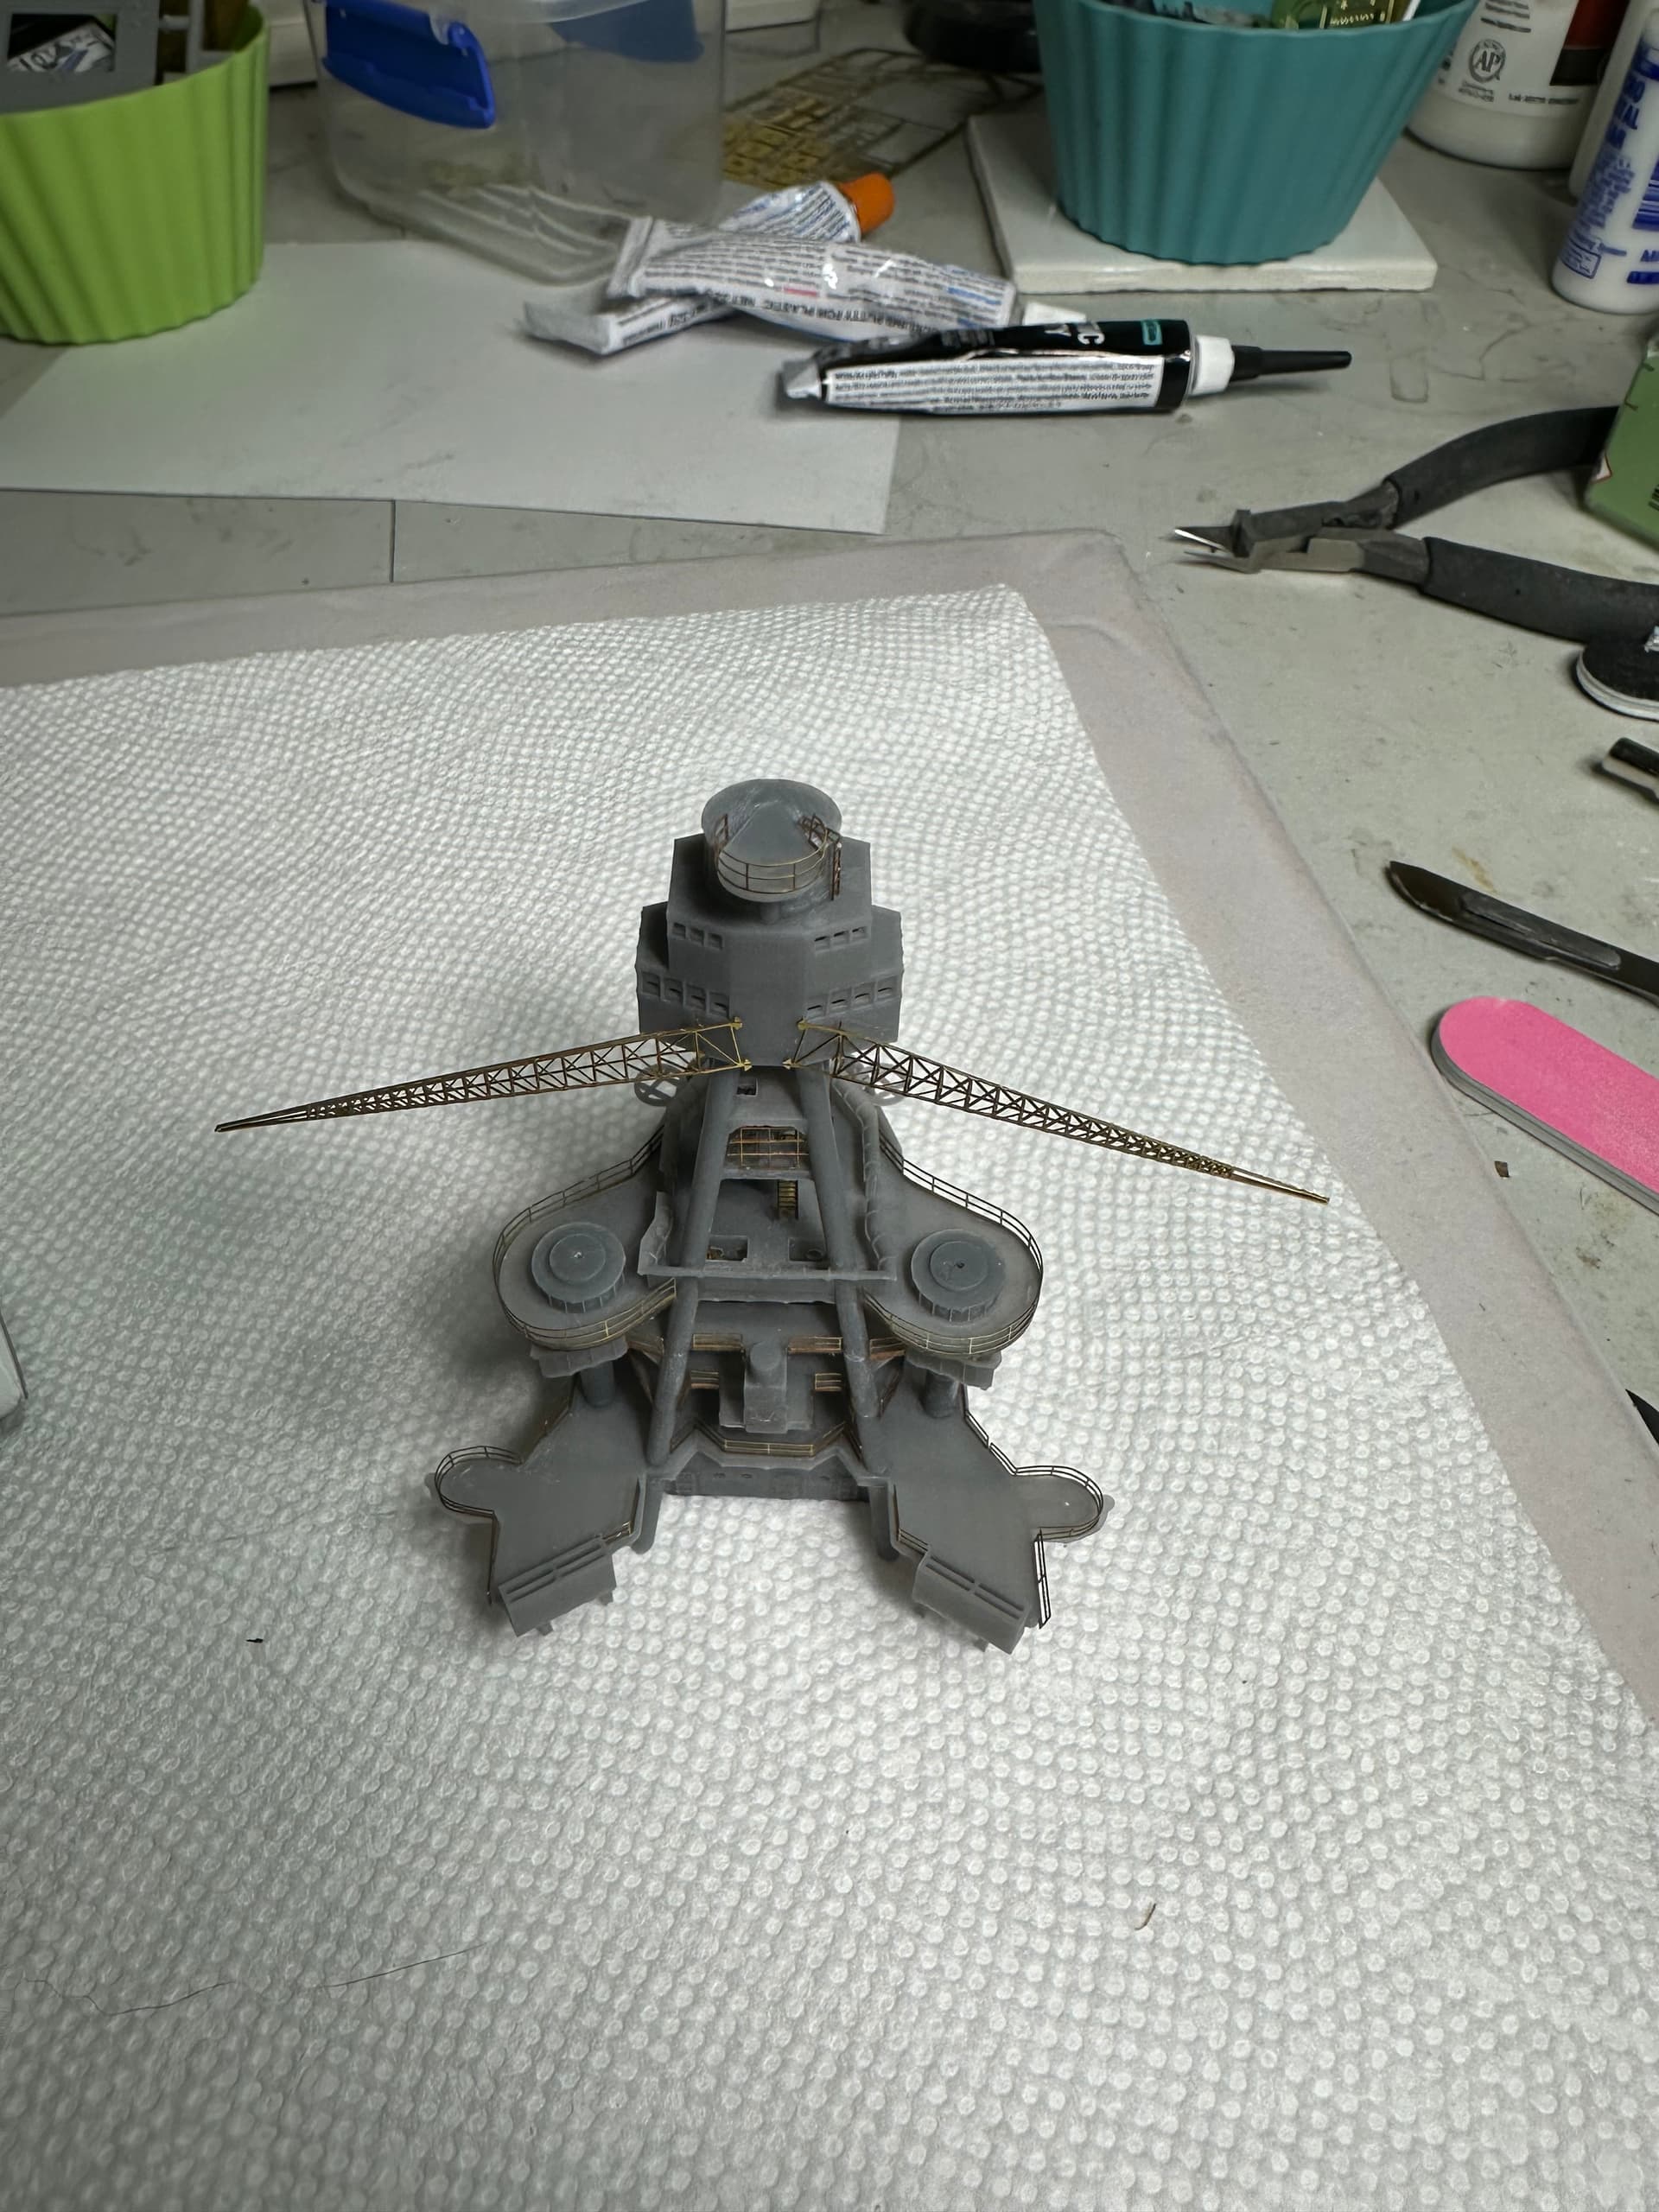
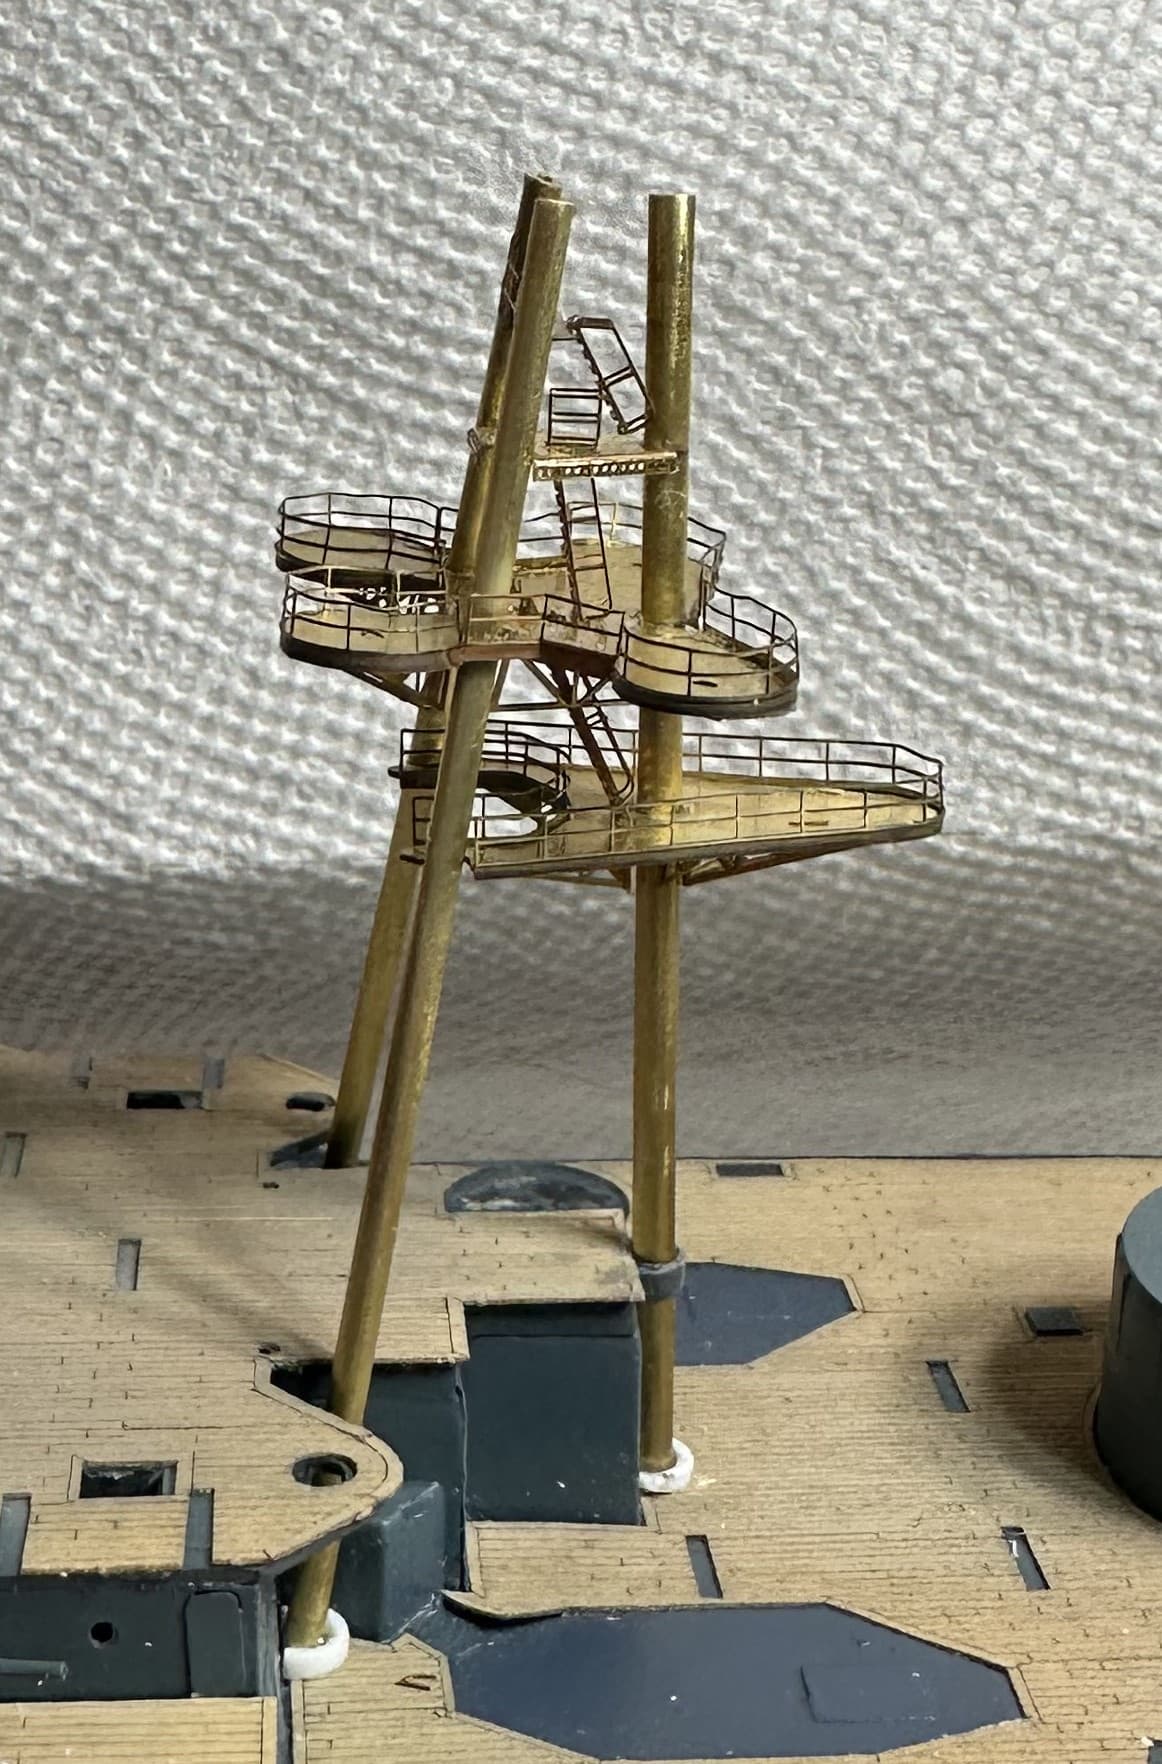
This has been the most frustrating 2 days of my modelling career. Trying to build up the tripod mast sucked so much.
If I had not already invested so much time and money in this kit I would have tossed it because I loath the very sight of it right now.
I did not want to build the mast on the ship but I could figure out no other way to do it. Trying to line up the various platforms was impossible. I ended up installing small collars at the base of the legs to stop them wandering and splaying out. I hope most of it will be hidden.
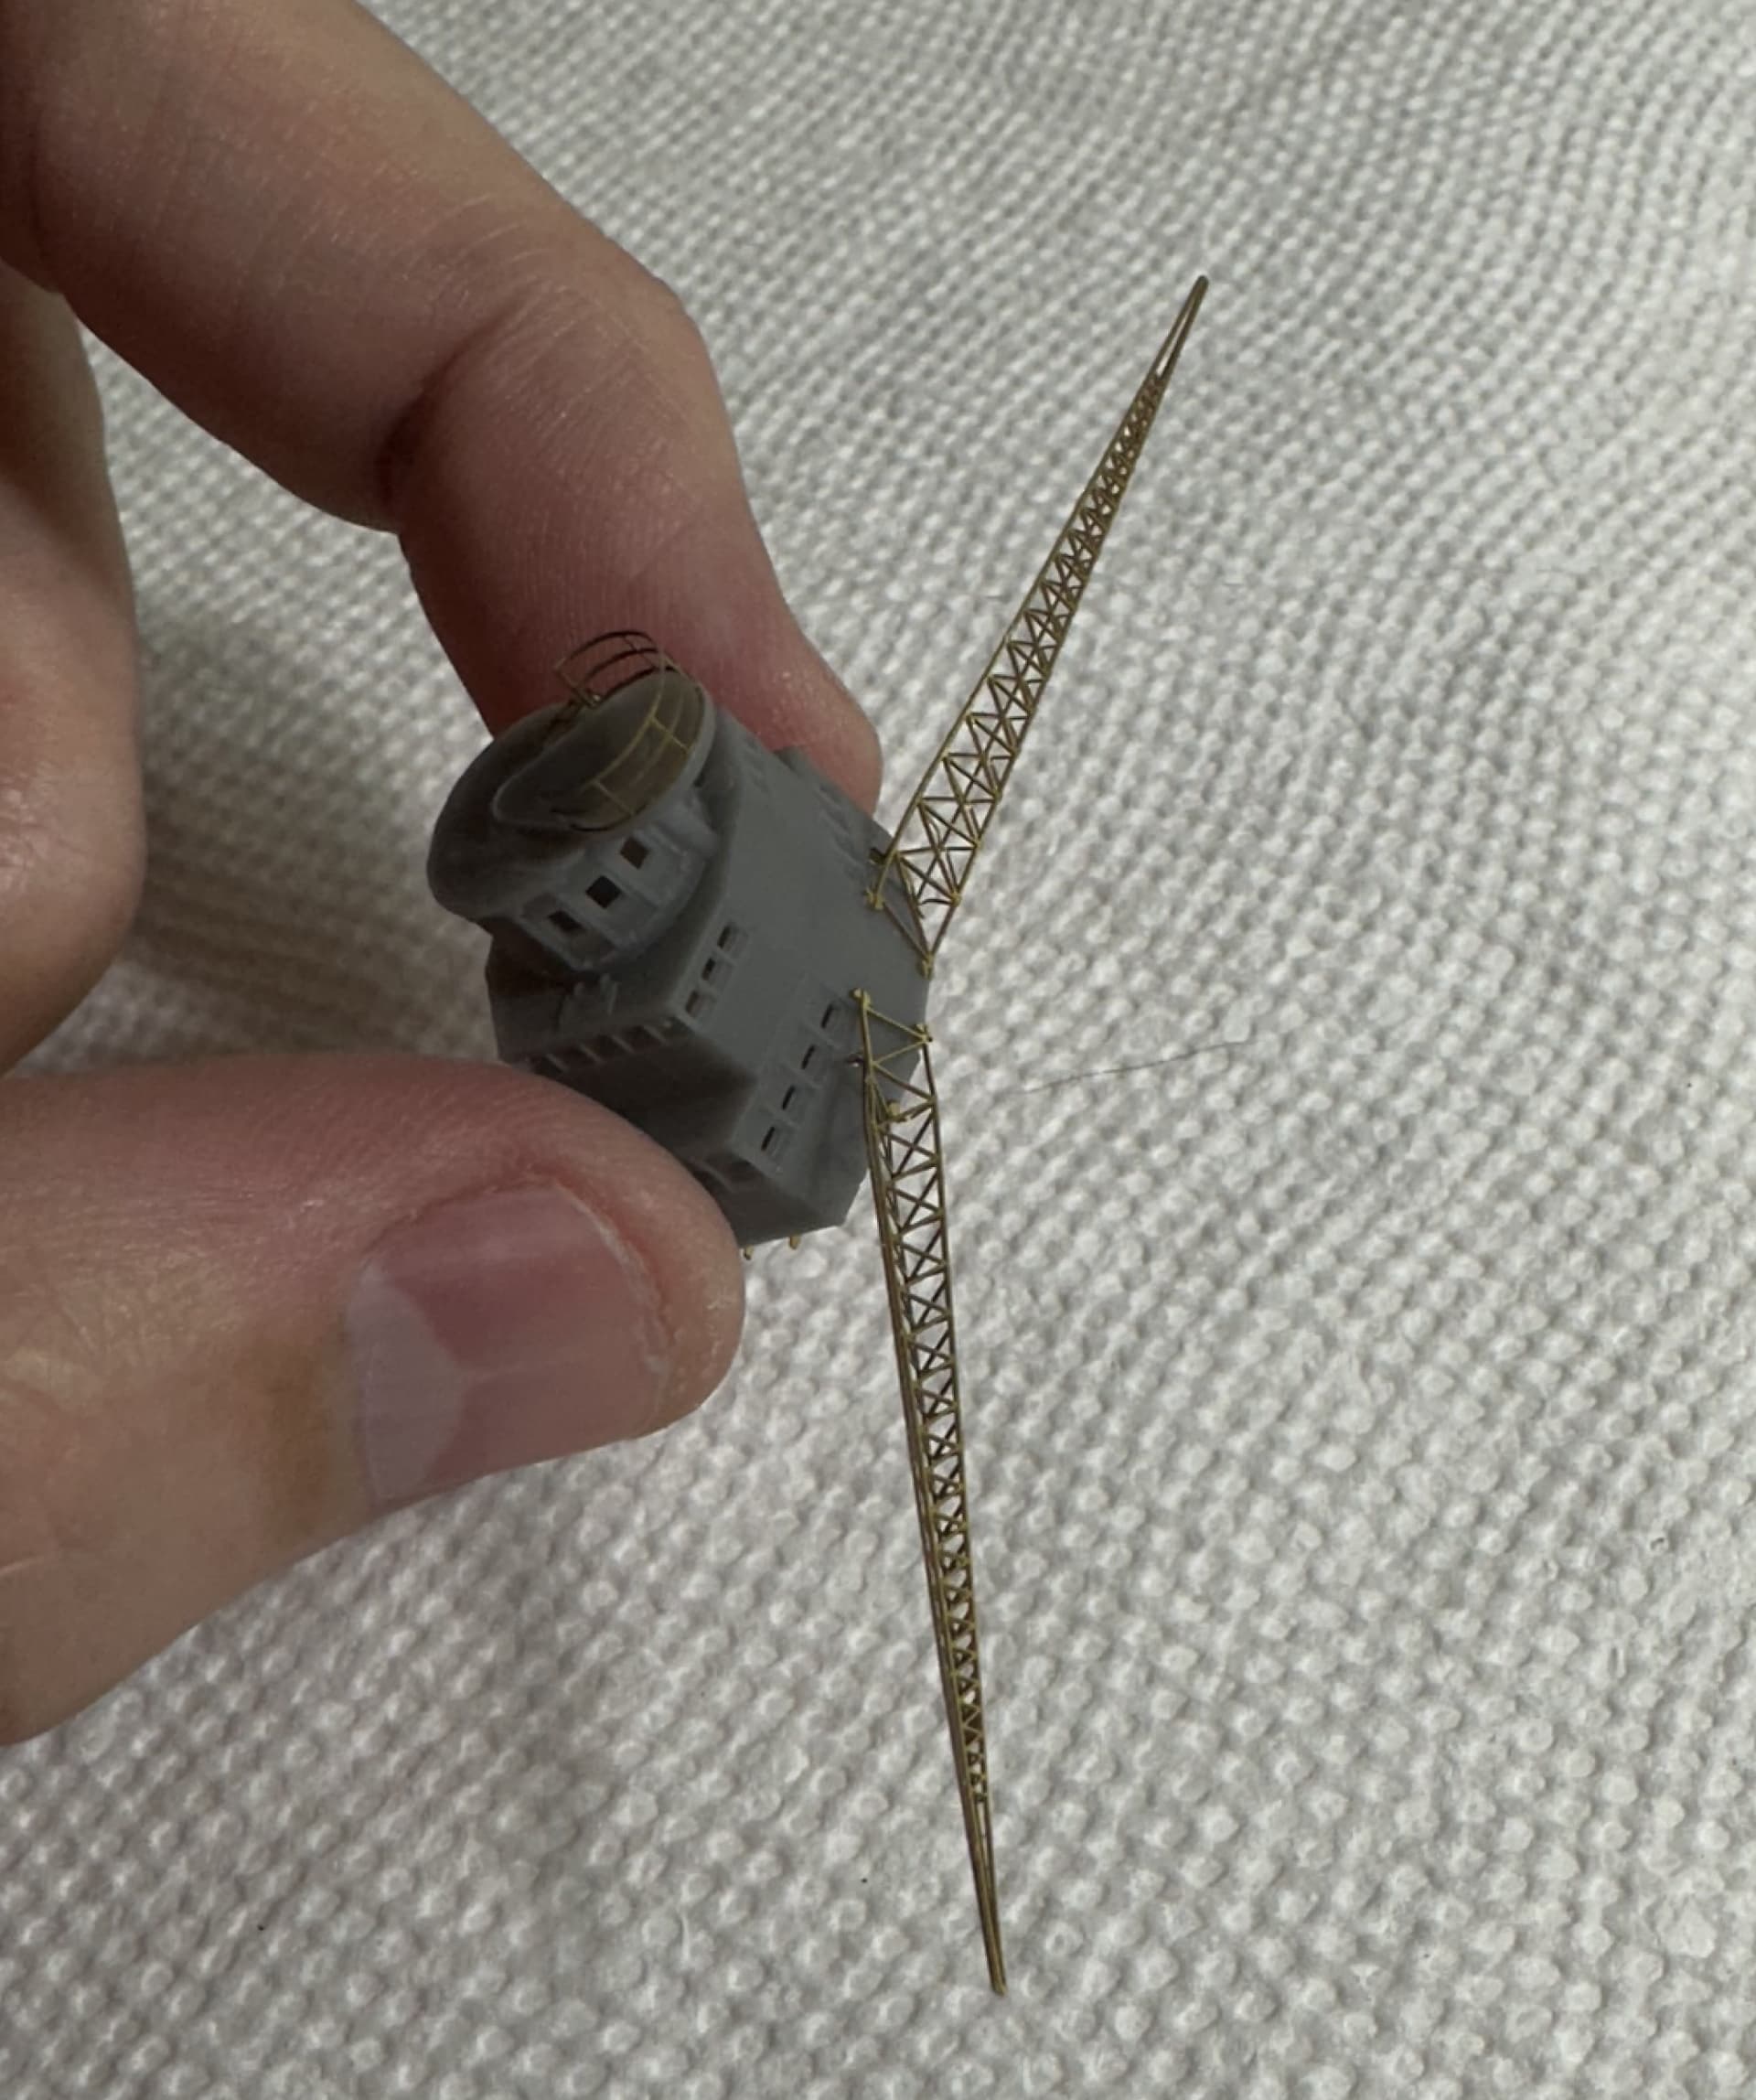
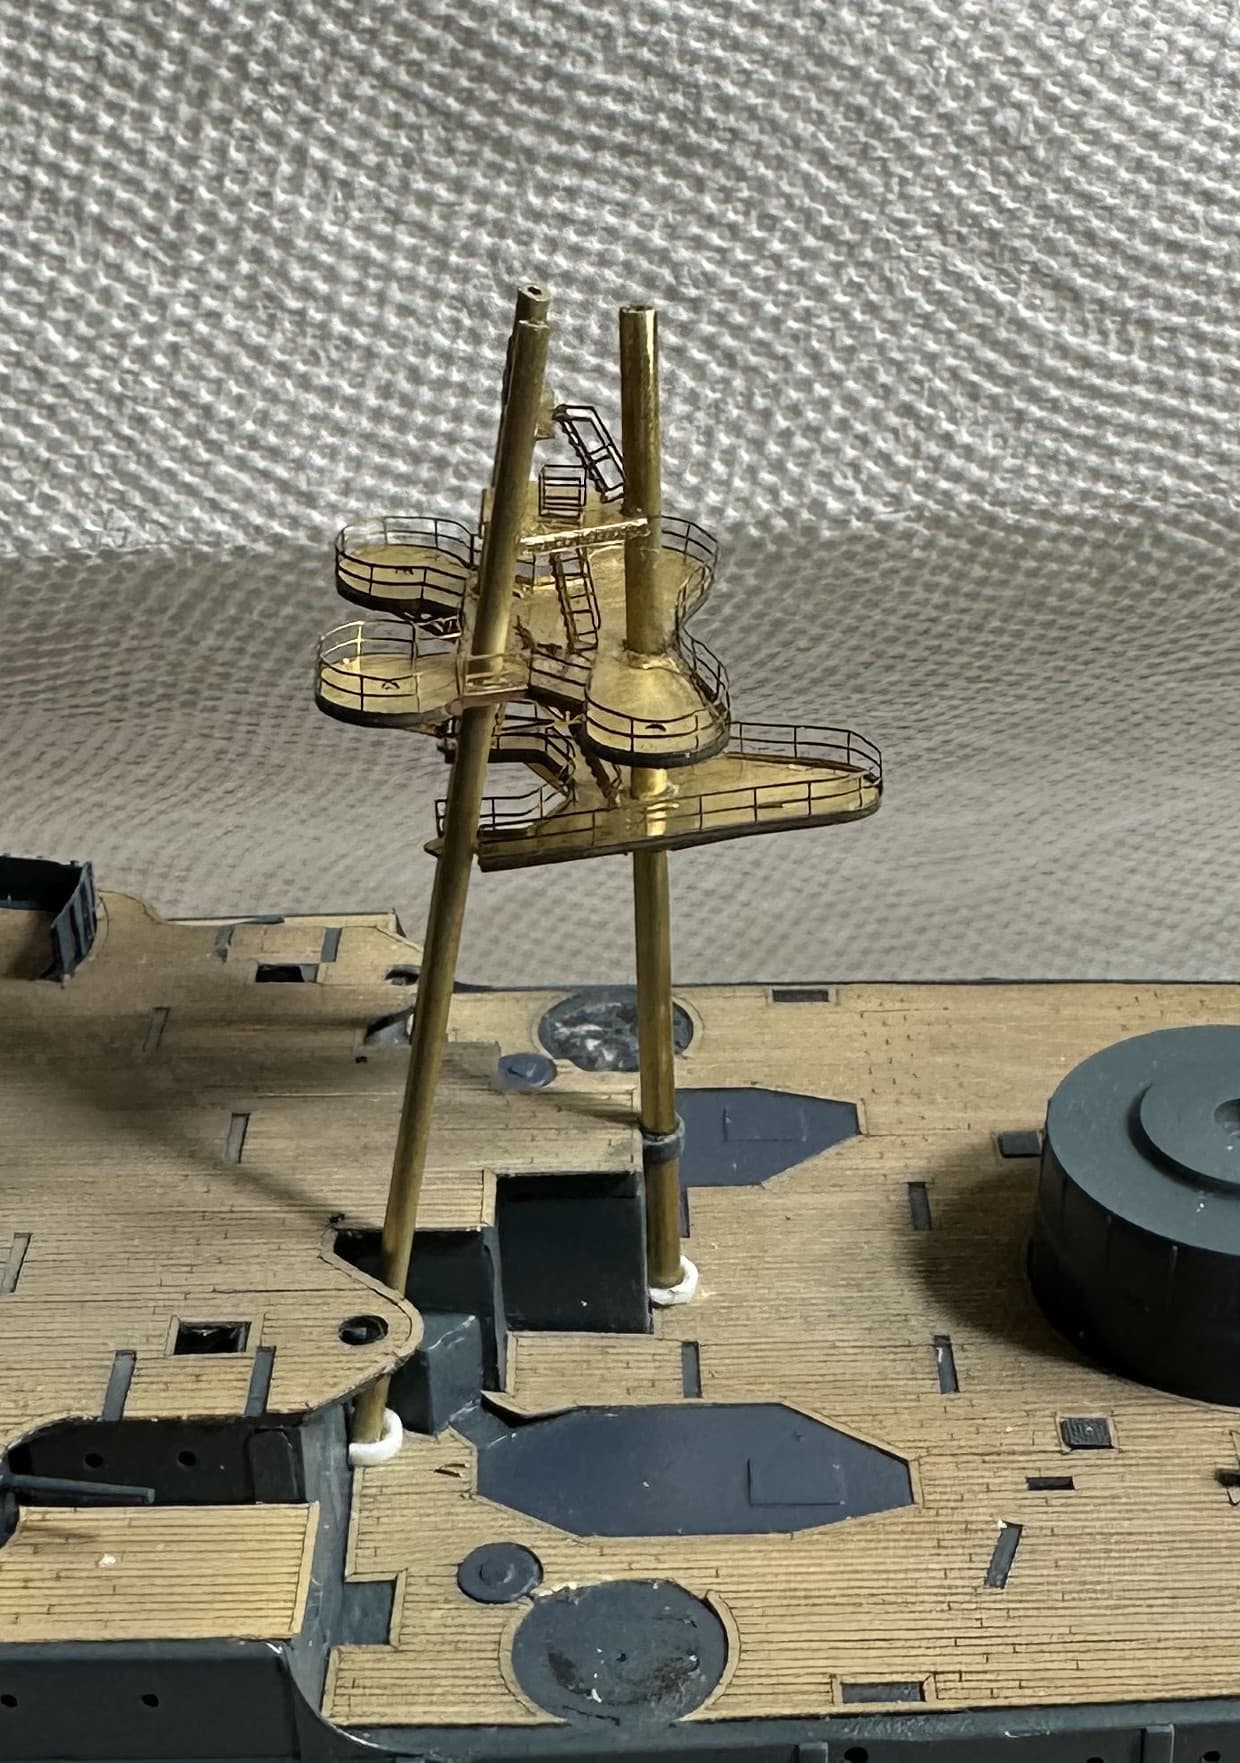
From this angle it looks almost ok but looks are deciving.
From lower down the horror becomes clear.
It gets worse when you move to looking at it from the starboard side.
Pitiful but at this point I had built up this mast 3 times and I just didn’t care anymore. I had literally burned the masts off the ship, applying heat to separate the superglue.
Even viewed from the back it is screwed up, leaning to the side. Wont be super visible when the ship is viewed side on but I only picked up on it after it had dried.
I could try one more time but I just don’t have it in me right now. May try again this weekend but as it stands, this is how she will be completed.
That is very hard work. I have done this only a couple of time and it was nerve-racking. The good thing about PE and brass is that you can clean it up and go again.
One trick for getting the platforms level is too mark their positions and glue a wire ring around the mast pole level position. Do this for each platform from bottom to top, first adding the position rings and then the platform each time. The wire rings provide a reference point and a bigger attachment surface for the glue. 0.5mm wire should be fine. After the platform level is attached add the brackets, braces, rails, ladders etc. This way you avoid bumping into small parts and braking them off. The second time I did this I added all the platforms and then the details from top to bottom so that I could keep my hand clear off the details.
In case, I understand your frustration. Let it cool off and maybe try again, I am pretty sure you will get this as you want it to be. ![]()
![]()
I had similar problems with a delicate PE assembly once. MY solution - putty to hold everything where you want it. And instead of CA, resistance soldering. It’s worth the money.
I feel your pain, Rory.
Tripod masts are hard work.
Under a coat of paint I reckon she’ll be fine though ![]()
Rory, I feel for you that looks like an exceptionally difficult PE assembly. I’d set the mast aside for a day or two and develop a new strategy for going after it again.
I’ve never done a tripod mast but suspect using CA probably makes it more difficult than soldering. As 18Bravo mentioned, I’d invest in a resist soldering set if faced with that level of PE difficulty. The resist set up will probably make other difficult PE tasks easier in the future.
Wish you the best.
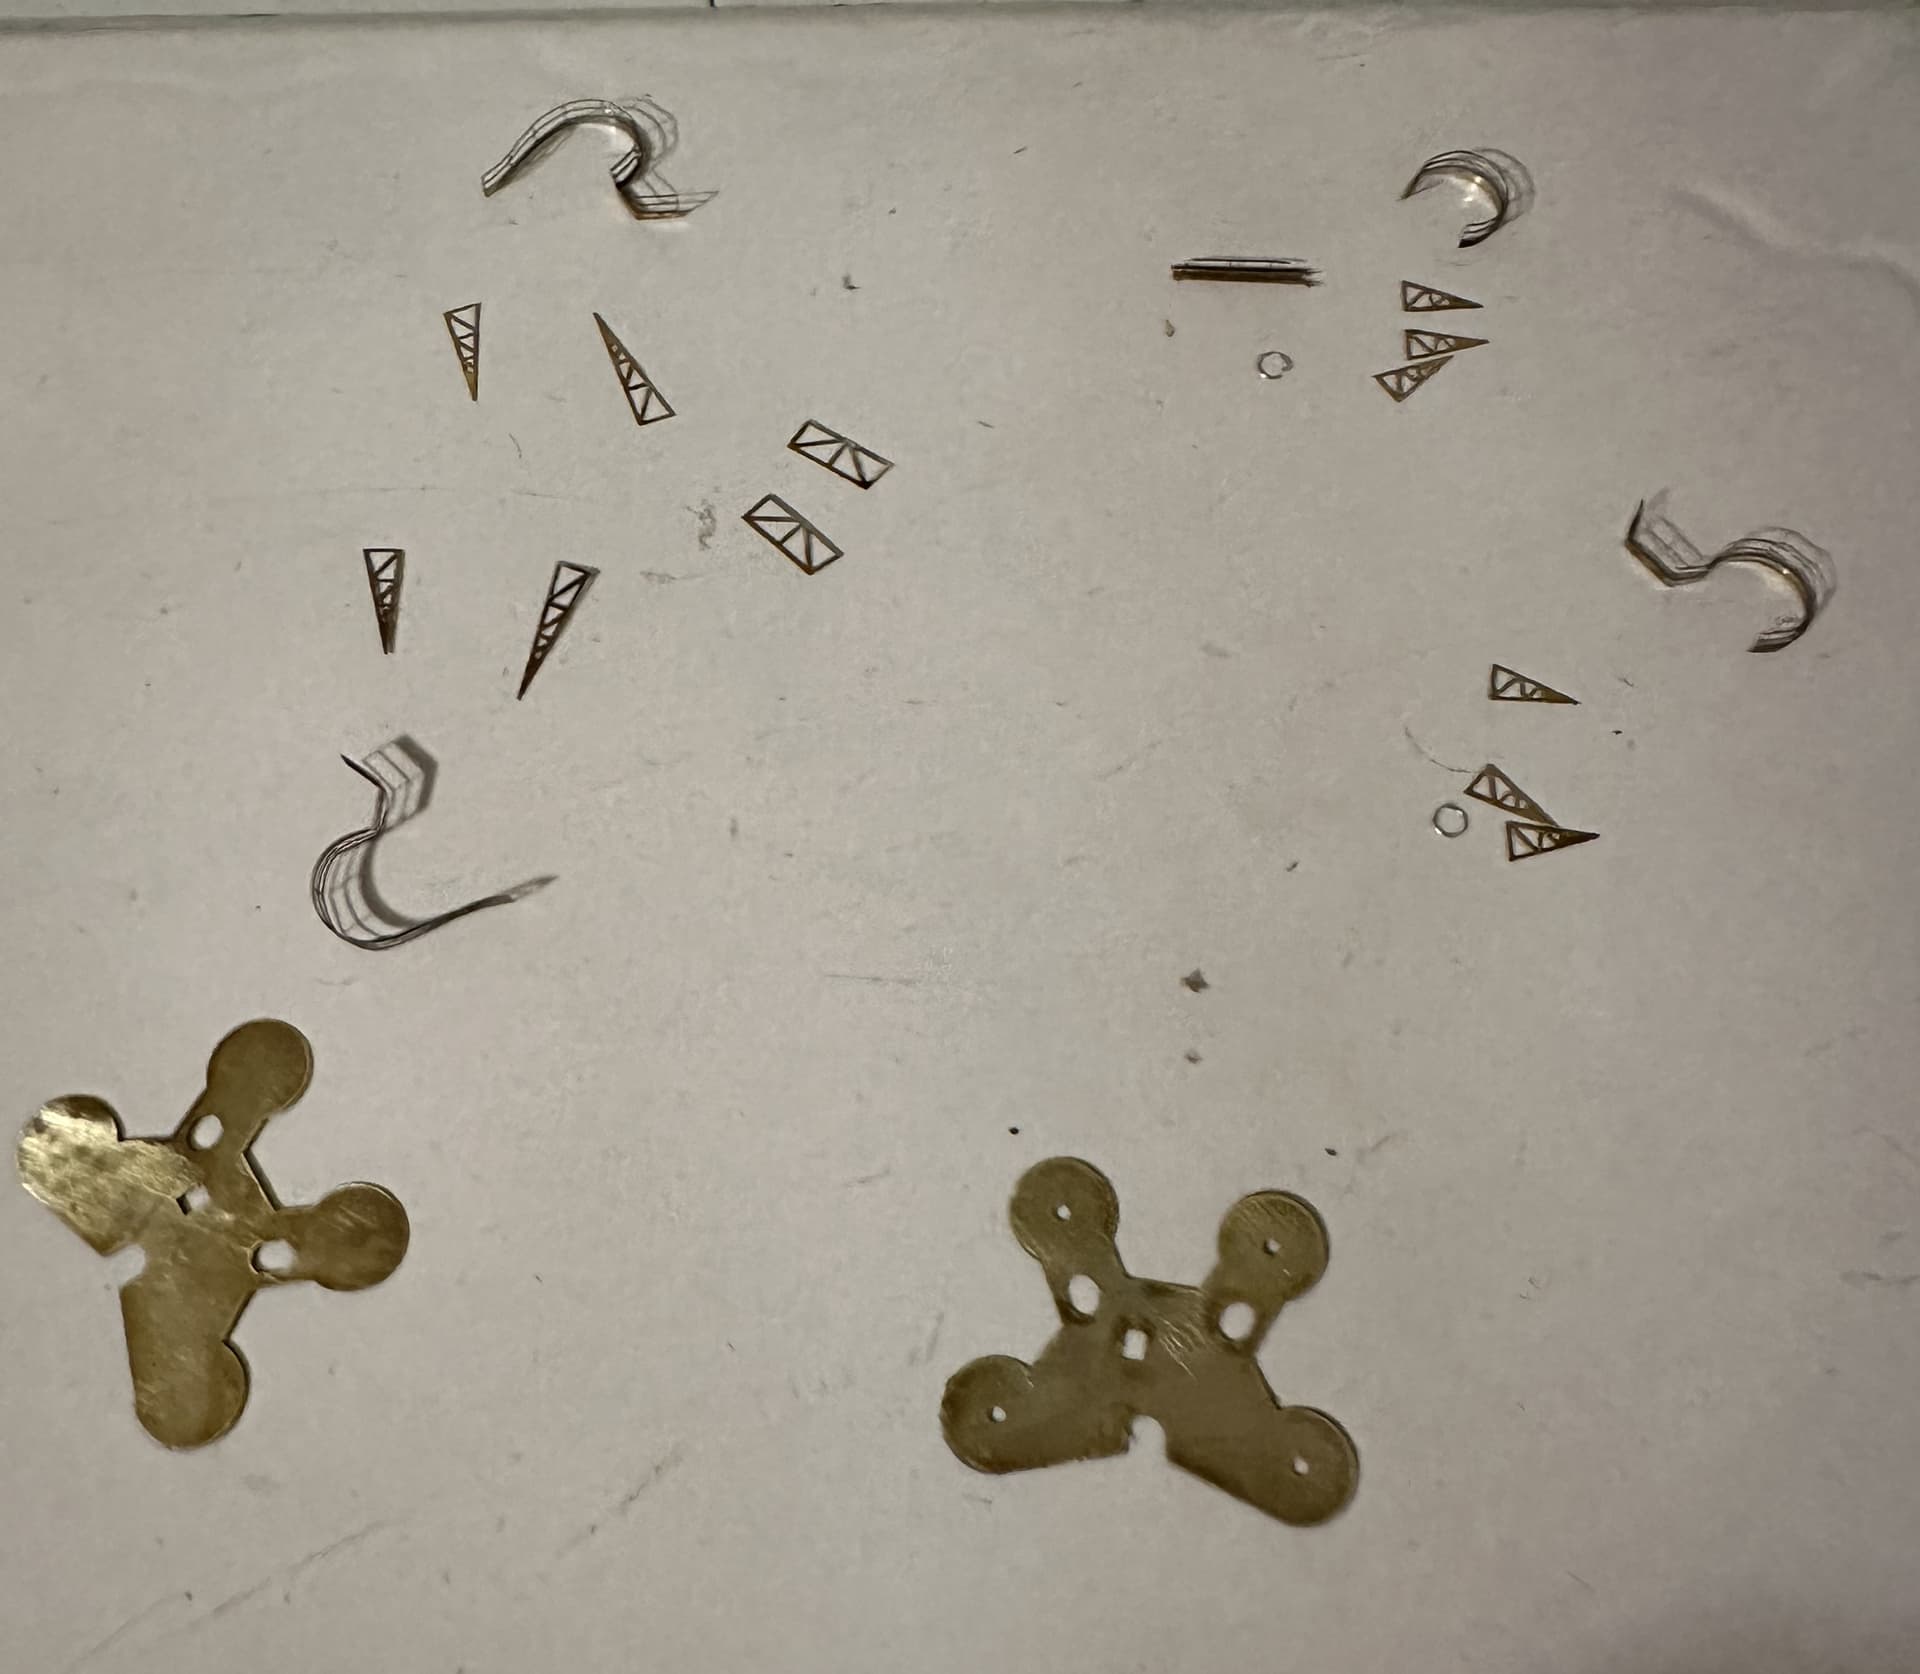
After taking a breather I bit the bullet and tore it all down again and will try again tomorrow. Spent the evening disassembling and cleaning up parts.
One of the platforms broken down.
This is an amazing idea and I will be using it going forward for sure!
I would love to be able to do that but I cannot justify the expense of an expensive new piece of equipment which I have never used before. Especially since Uncle Sam just stuck me with a tax bill I was not expecting ![]()
Honestly, this is the first time in one of my builds I have had this issue and frustration so for the time being, I will stick with what I know and have to hand.