After a handful of years desiring and attempting this project, I feel like I’m ready to take it on and I’ve figured out how to do one of the most crucial steps that will also be what makes this daunting.
In what feels like a weird mesh of a longstanding hobby and my day job, I’m finally getting around to making a submarine in scale. It’s a good way to get my feet somewhat wet (pun intended?) in the world of 1/350th ships, even though this is far different from building a surface ship.
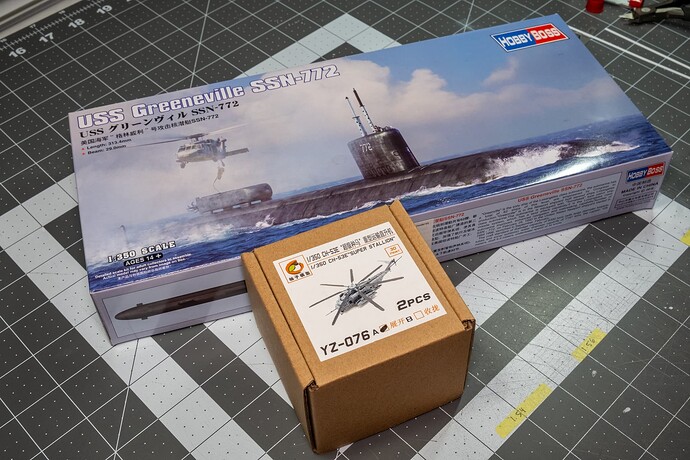
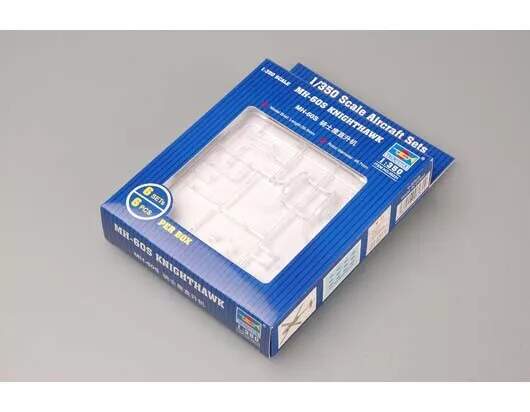
The plan is to depict a scene quite like what’s on the box, a helicopter hovering over a 688 presumably dropping supplies or people.
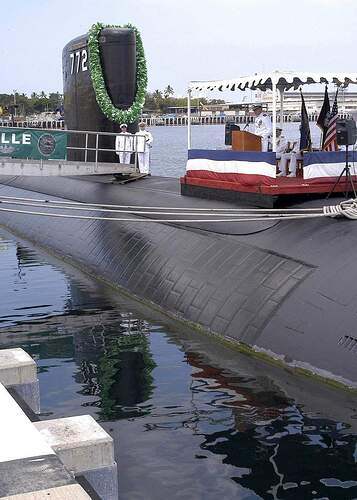
Here’s the problem that I’m sure some of you are aware of. If you look closely at the third reference photo, there’s a tile-like pattern on the hull of the boat, that unfortunately, is absent from the kit.
This is where I lose my sanity.
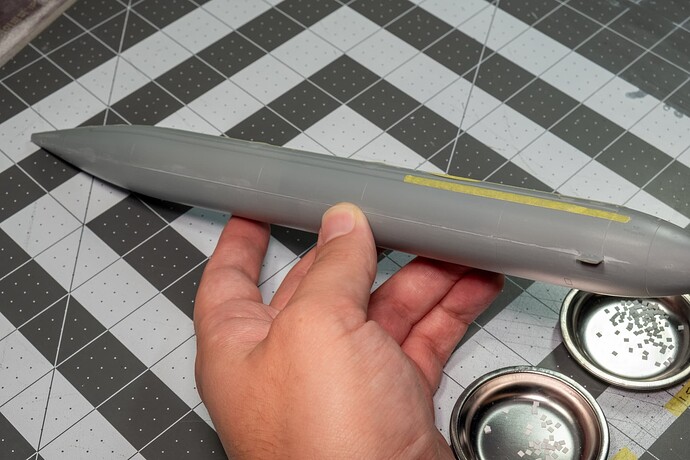
About three or so years ago I picked up this same kit, and went at it with a scribing tool to the best of my abilities. My not-so-great scribing coupled with the fact that I actually needed to add material resulted in that kit sitting on the shelf for quite some time until I wrangled with how to do it properly.
I tried using masking tape or aluminum duct tape and with how small the tile pattern is, I couldn’t get the adhesive on either to cooperate well enough to see it panning out over the length of the hull and thus we arrive here.
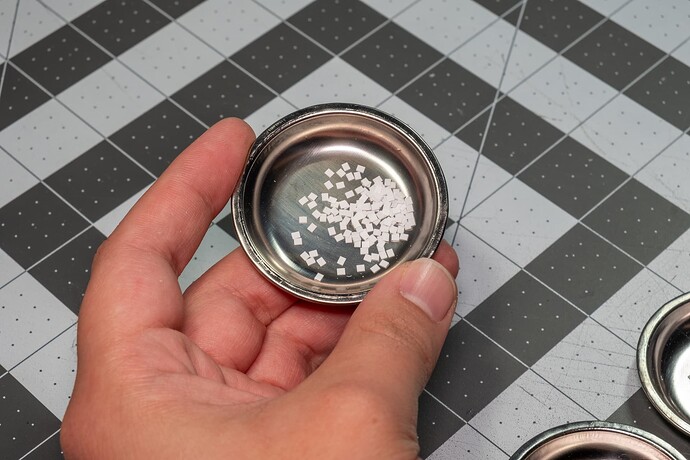
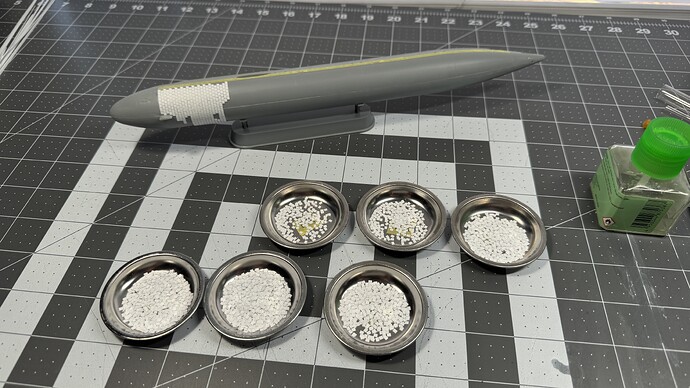
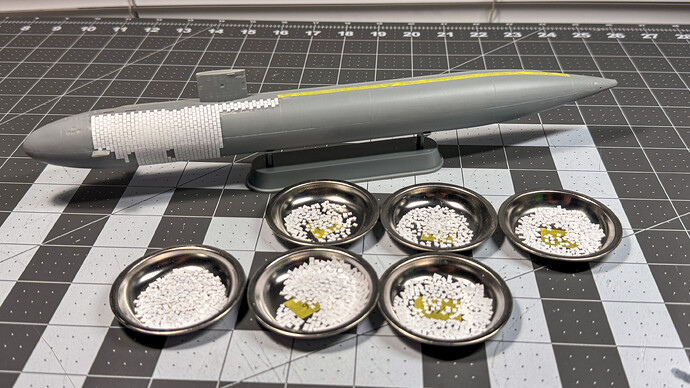
This is the second iteration my jig to cut the little tiles out so they’re consistent. I didn’t plan the first iteration out well enough and wound up with a 0.10mm range between all the widths which just didn’t work out. Learning experience I suppose. Now I’m cutting 4 strips at a time and everything is nice and square and the blade is pretty much fixed in position so I can get consistent tiles.
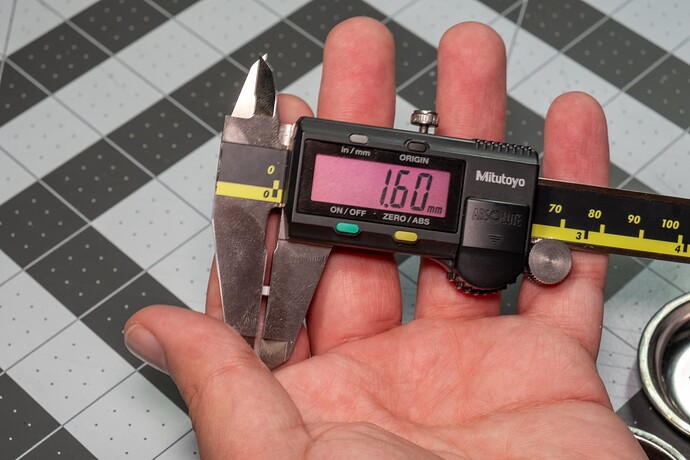
I then check every one to make sure it’s within 0.01mm of nominal which some napkin math and “by the looks” says 1.60mm, but I’m not too worried about it, as long as they’re consistent.
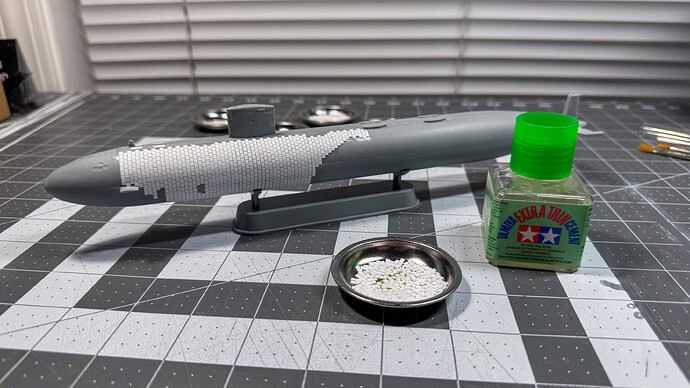
A checked tile gets plopped into a well, and I move on to checking some more. Once I’ve checked out from checking, I’ll put some tiles on and call it a night. Rinse and repeat.
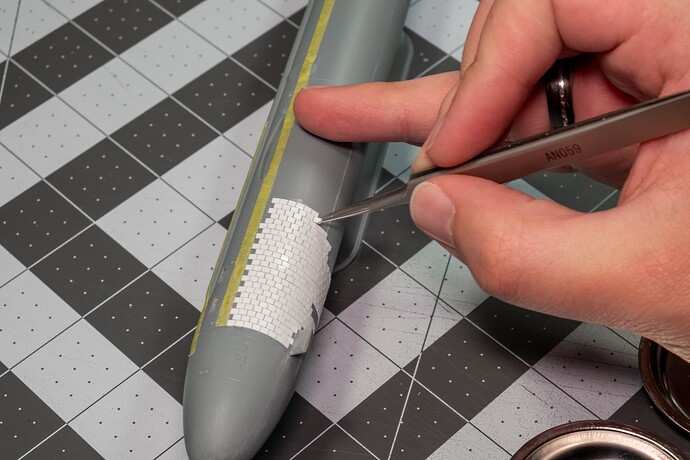
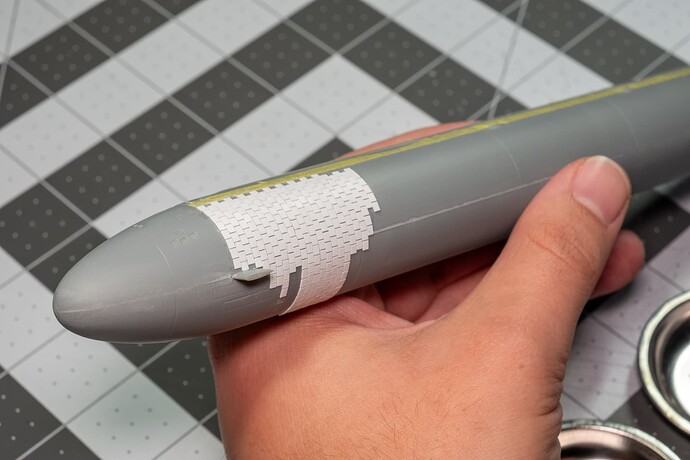
I use a 0.10mm piece of shim stock to make sure the spacing between rows and columns is consistent, steering clear of some of the molded in details for now that I’ll then come back and tile around.
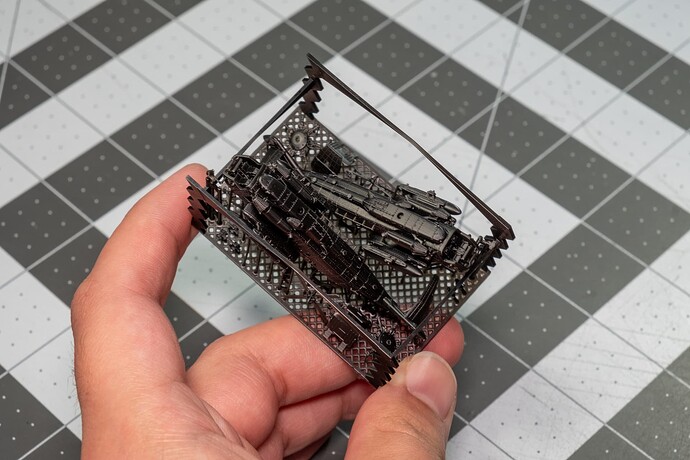
At the end of all of this, the little 1/350th CH-53 will be a reward. We’ll see how long this takes and if I spill my marbles any more than I already have. Why a CH-53 instead of an MH-60 or CH-46 you ask? I like the look of it, even though it may not be that accurate and that’s a little ironic considering my level of effort to get the tiles looking somewhat right.
Thanks for reading along so far and if you have any good movie suggestions (non submarine ones!) please do let me know, I need something on in the background!
Cheers!
