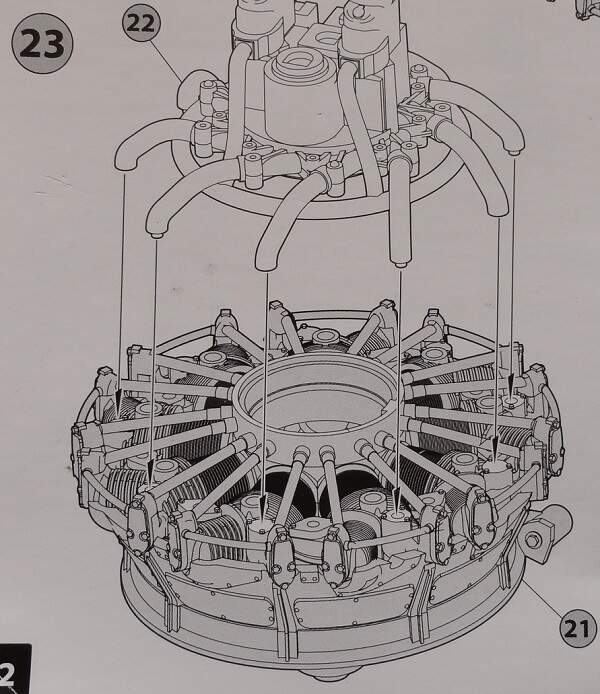
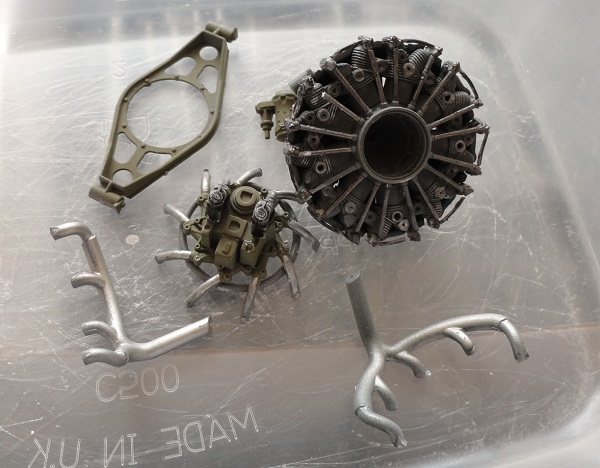
next up, the complex radial engine.
3 Likes
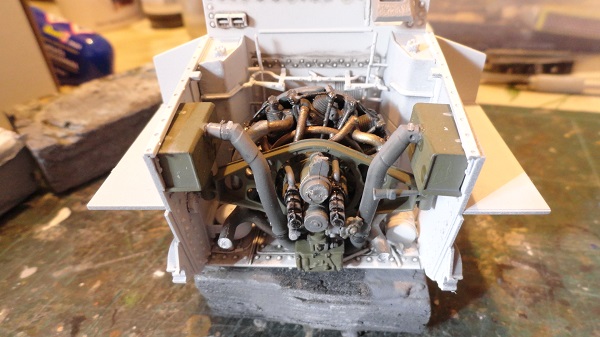
the engine may be partly visible with the back hatches open. So worth painting each part a different tone, as if it’s made up from different parts.
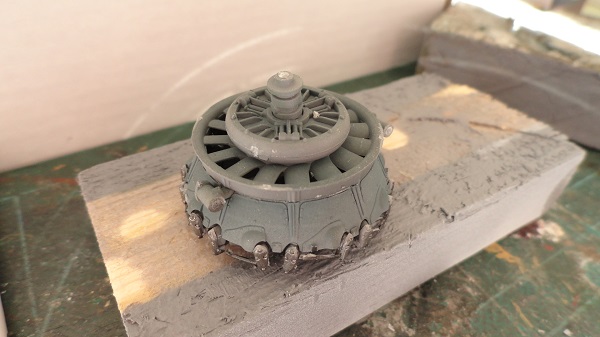
assembled.
9 Likes
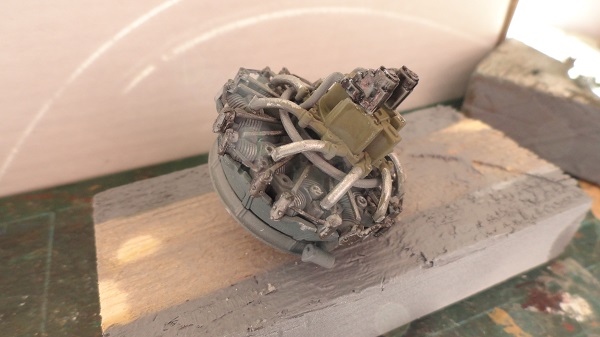
it should be partly visible with the rear engine access hatches open and the crew doing some routine maintenance, like a first parade service. “and if you fail to report a drop in oil pressure again my lad, you’ll be in front of the OC”
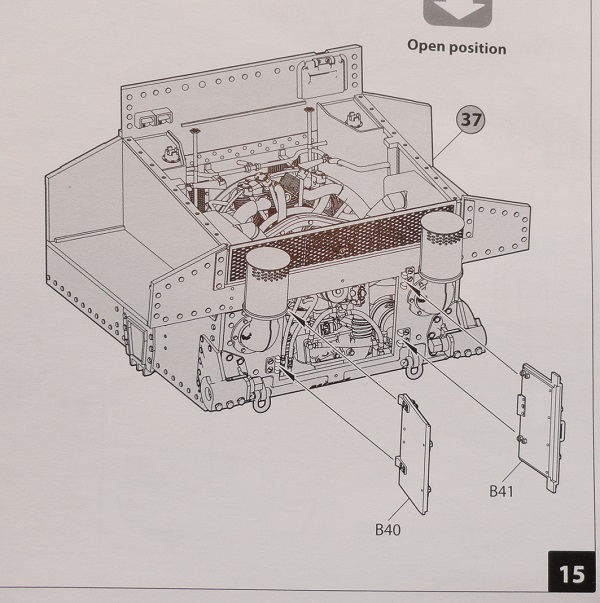
Fitting up, bit of a fiddle, but a lot easier than a real one.
8 Likes
Its a fantastic amount of detail in there Grouser. it would break my heart though doing all that and then sealing it all in …it would make a cracking dio for a battle damaged wagon in a field workshop or baseline repair unit with the turret and engine decks off and the side hatches all open … Great work mate. 
3 Likes
that’s tanks for you, If I was worried about hidden details I would stick to German mobile support guns where everything is open.
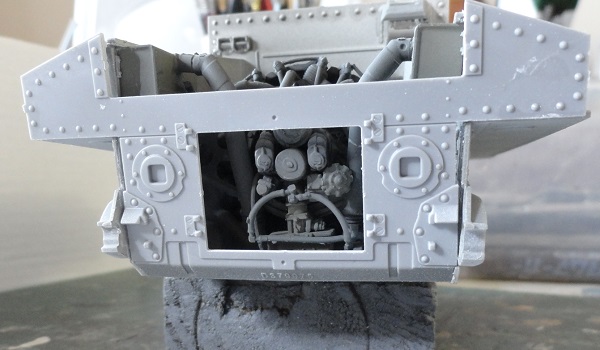
the engine bay being built up
5 Likes
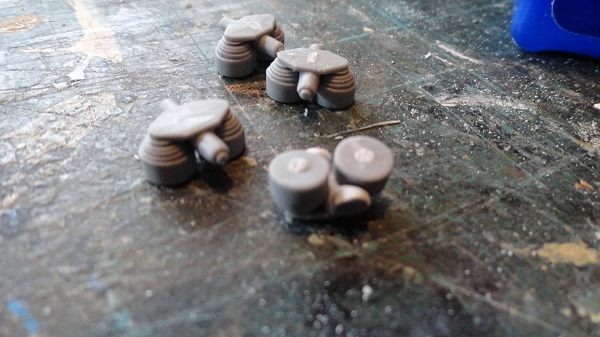
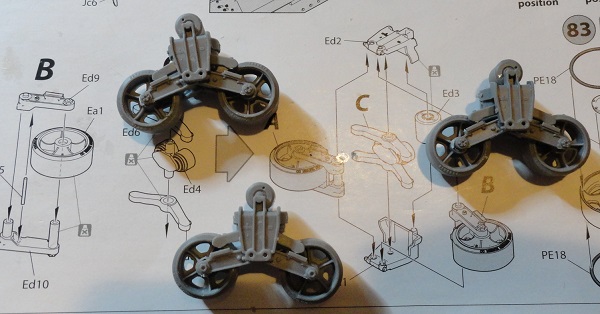
before I go any further with the hull, I’m skipping over to the suspension, running gear, tracks, starting with the first bogie.
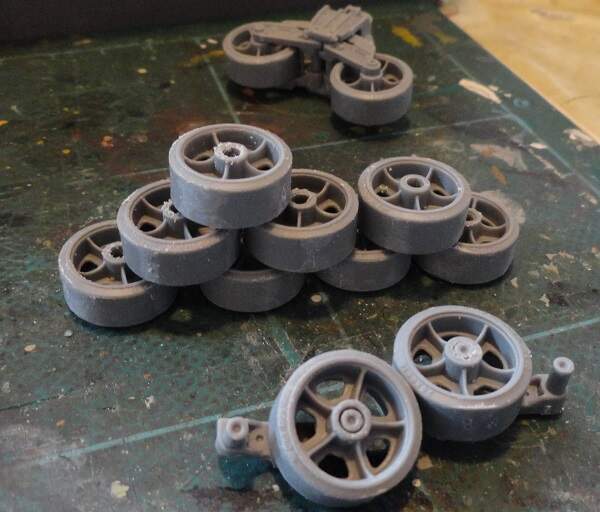
first bogie went together ok, 14 parts each including the wheels. but then I struck a problem…
2 Likes
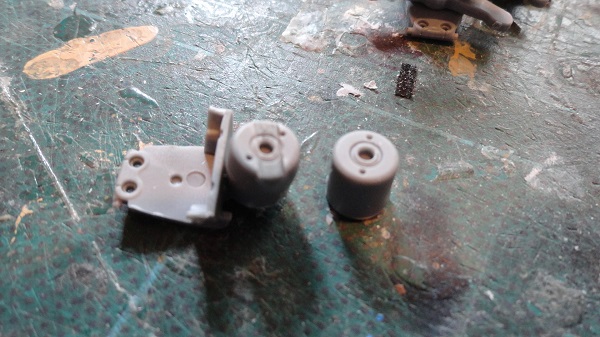
this is the problem, I found these malformed parts a while back.
axle, lugs and a return roller all short shotted or mis- molded somehow.
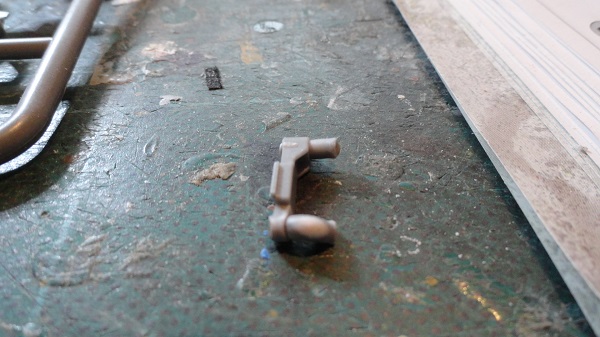
and the return roller
2 Likes
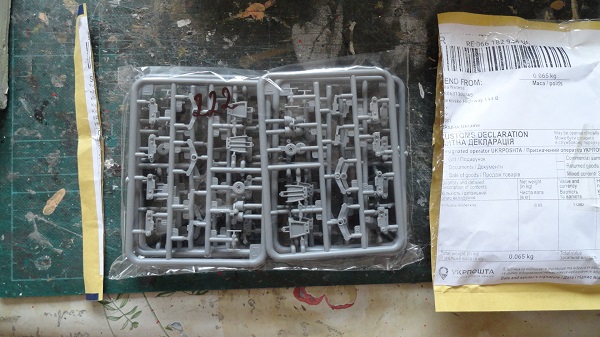
so using the email address on the box I sent Miniart these pictures asking for replacements, and I have to say, they came through for me,
very good customer service. I got six sprues through the post this morning.
5 Likes
making up the miniart bogies is fraught with potential to screw them up, fit has very exact, and the location of the pips into recess are difficult to get right, all I can say is. if you follow in my footsteps and go for this miniart Kit, make one sprocket up, take a break, tea, coffee. then onto the next one when your nerves return to normal. I didn’t give up and throw them against a hard surface, just stuck to it. eventually they assemble straight and level. Three down.
5 Likes
Looking great.
Great news on the replacements too.
1 Like
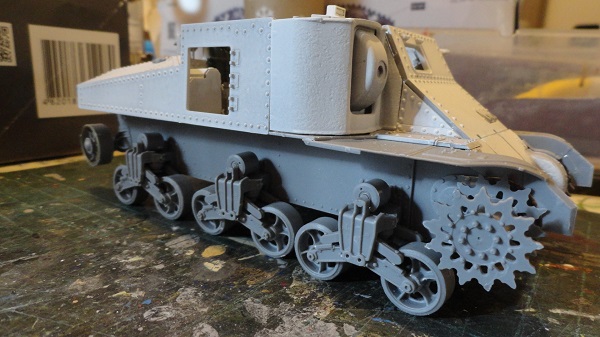
all wheels down on a level surface, that was a real trial and test of my patience. The weak pip attachment points between the axle swing arms and the central main body of the bogie frame will get a light application of liquid cement when I’ve let the work so far dry.
5 Likes
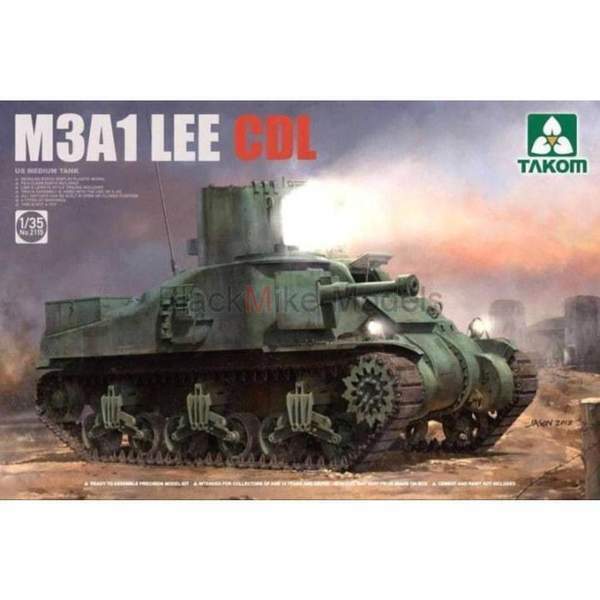
it’s odd, but I don’t remember a problem like this on the bogies of the DML’S M7B1 Sherman Priest, last year. Happy that the next Grant suspension I’m going to build soon, the CDL is a Takom kit
anyway it’s done, time to move on to the next step, the Tracks Yikes!
5 Likes
All worked out well in the end. M3 and M4 suspension can be challenging sometimes.
I have Mengs welded hull CDL. Had no idea they did the cast hull too! Looking forward to seeing how it turns out.
1 Like
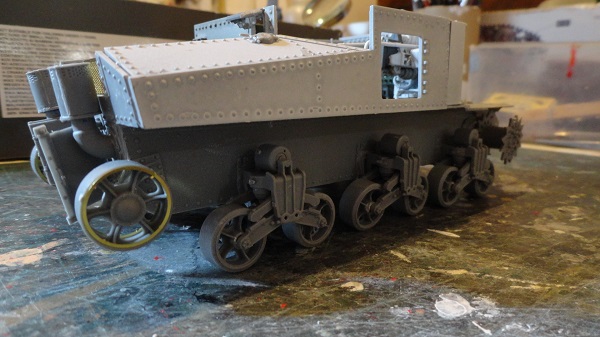
I’m far from happy with it, the design has just got the better of me, Checking the wheel alignment this morning I found all kinds of faults, and I really tried to slow down the build to get it right, I’ve never had this much trouble with Grant type suspension on a kit before, this being my third, but first Miniart one.
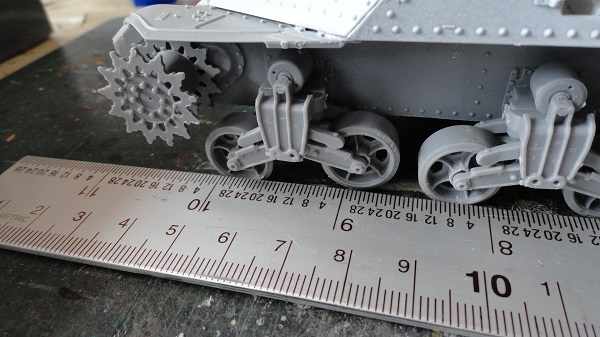
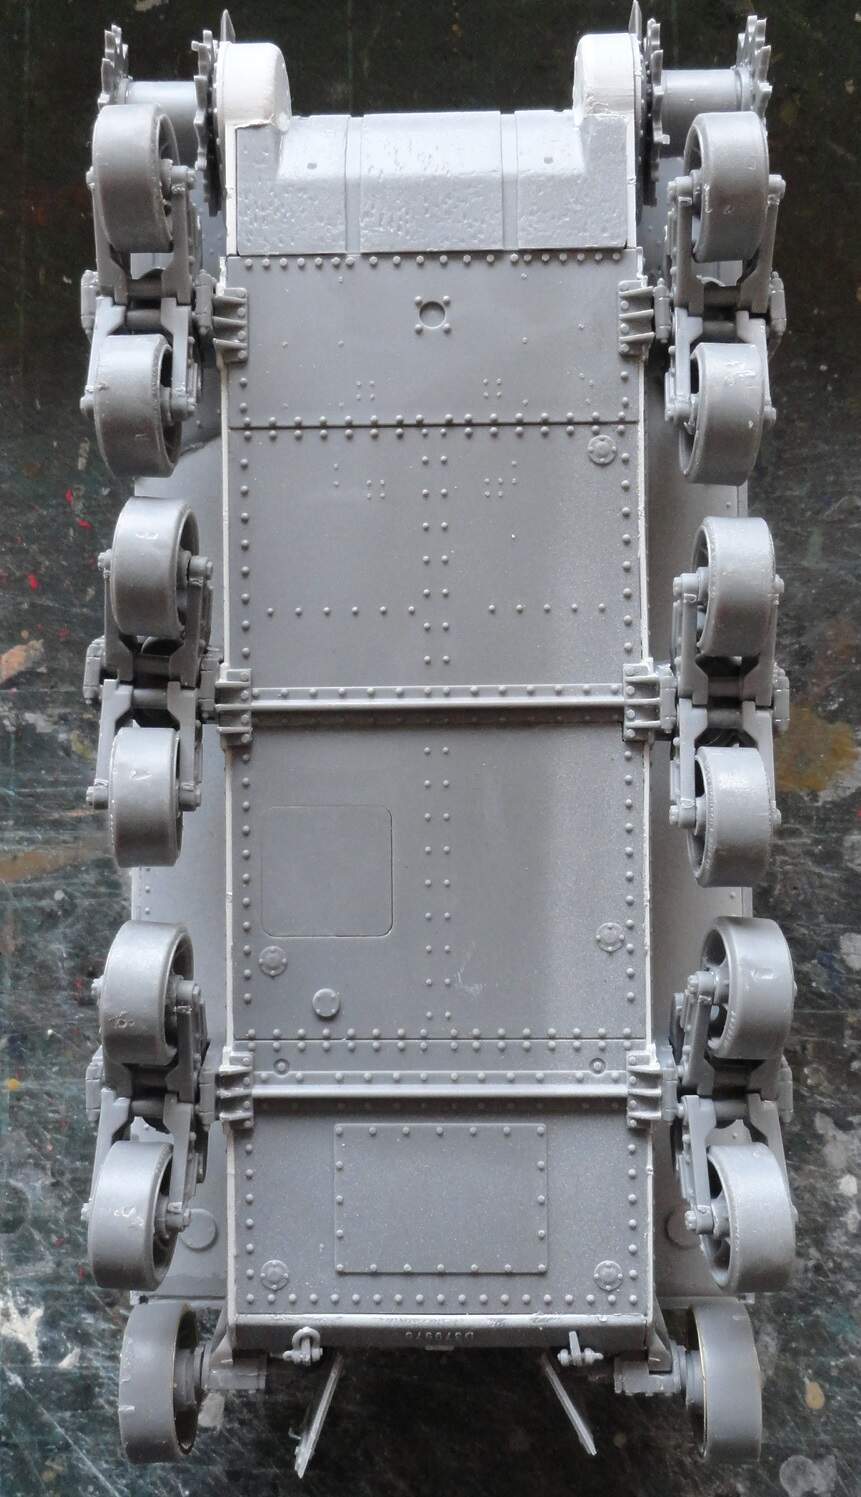
taking a look with it inverted, there are more problems with it than I can solve, I’m not making the effort to make up the links of track as I know it won’t fit with this level of misalignment.
1 Like
looking at how other makers kits handle the bogies, and here is the Dragon M7B1 bogie component, the pin fit is far more positive and stronger, leading to properly aligned suspension.

I may purchase a Dragon or Tamiya Grant and transfer the interior over. for now I’m placing it all back in the box, and I’ll get on with something else.
following my own advice I quite often give, if it’s all going wrong, place the model calmly away out of sight, later on when you return to it, the problems don’t seem so insurmountable.
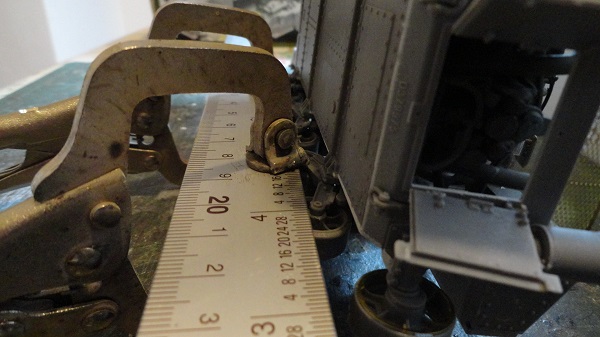
two steel rulers place along the bottom line of wheels, using welding clamps to provide gentle, but firm pressure. the rulers may, if left for a couple og hours, force the road wheel into line so the tracks will go on.

3 Likes
the simplest methods work best, all I need to do is line up the wheels.
3 Likes
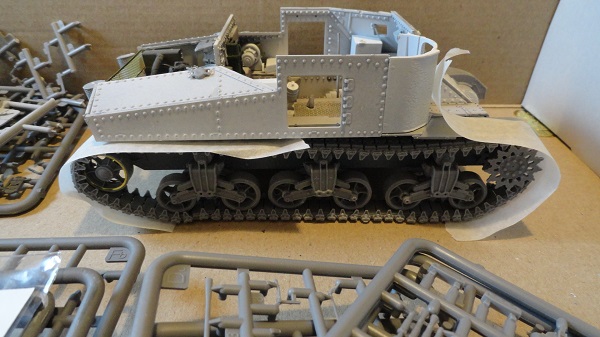
feeling a lot more confident about this project now, with the wheels straight, I’m starting to join up some track links, 79 per side, starting with the bottom half of the pads.
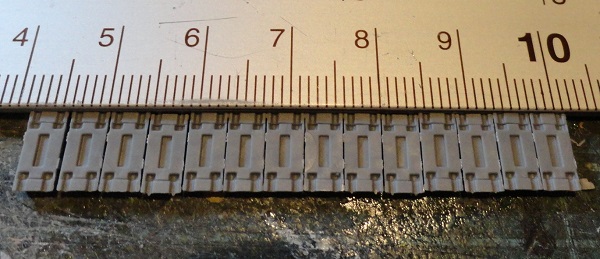
the teeth also form the pins that hold the pads together
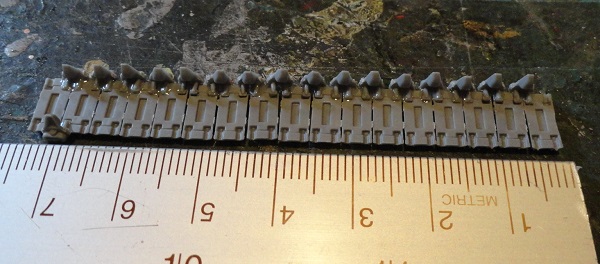
then the flat side of the pads seals the links together
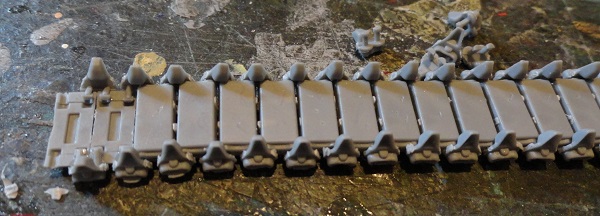
the track is still pliable, so it’s formed around the TA wheel using masking tape to get the curve right.
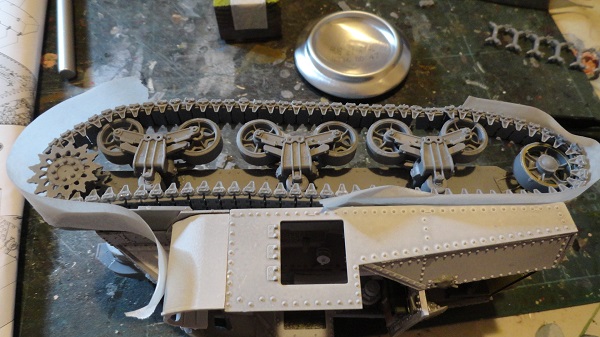
I’m going to pull the front tape tighter to pull the curve around the TA wheel into a tighter curve, then leave it overnight to harden.
6 Likes
Excellent problem solving.
2 Likes
Glad to see that you decided to take a deep breath and not give up on it!
1 Like