Absolutely well done for your approach to problem-solving, nice save. I’m surprised about this kit’s deficiencies, I’m a huge MiniArt fan but at least they stepped up when asked so I’ll still wave their flag. This is a great build, I was going to say that if the undercarriage problems proved insoluble then maybe the only answer was sink it into a dioramic bog, but looks like you’re back on….er…track 
2 Likes
thanks for the encouragement Gents. I’m back up to speed with it now, going from strength to strength. Starting on the left side track.
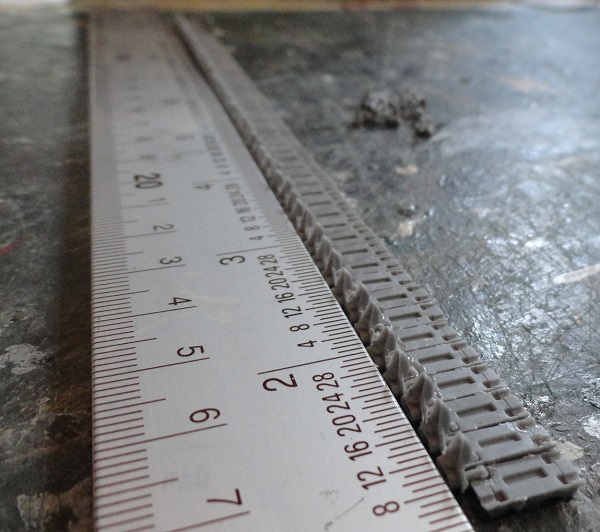
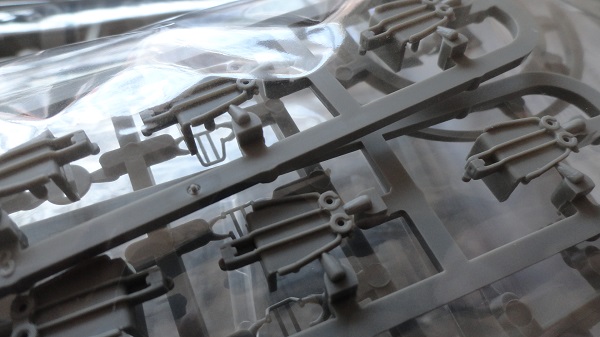
laying out the bottom pads against a steel ruler to keep them all in line.
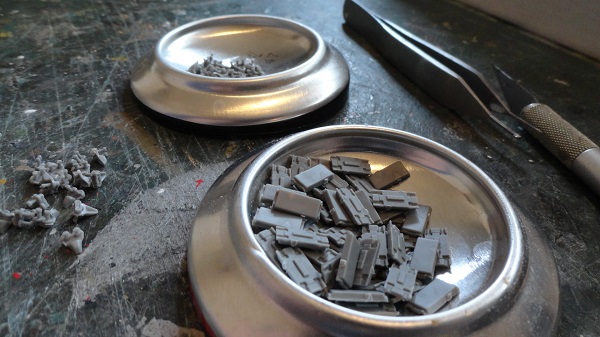
the three types of components that make up the track parts seperated into coke can bottoms, ready to use.
3 Likes
placing the individual teeth, with their two pins that hold the track together, into place. then covering them with the flat side of the pads.

forming the track around the left side TA wheel, leaving it there to harden in place ready for the front of the track to be made up.
4 Likes
tracks 99% done, just the top middle to join.
moving swiftly onto another part of the model, the trackguards, or rather sandshields, ironic, most kits have difficult to fit track guards, but on this model they are an easy and good fit.
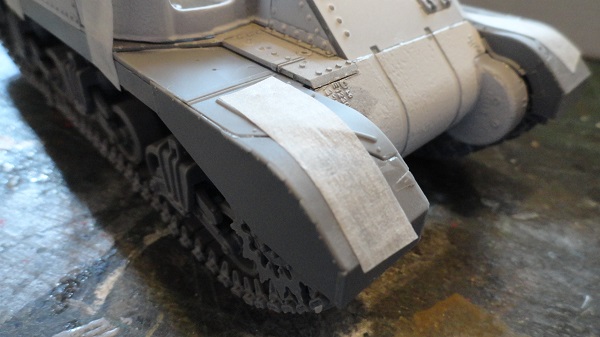
a good portion of the tracks are out of sight, further irony, but I’m just glad to be working on another area of the kit.
4 Likes
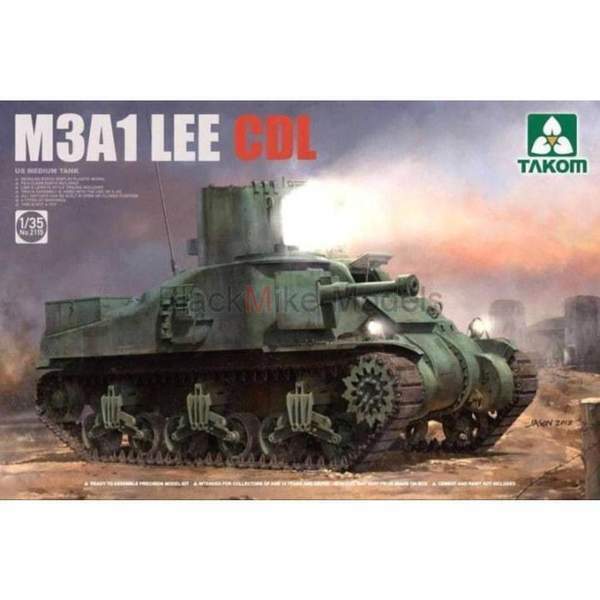
further M3 enjoyment for later on, this arrived in the mail today.
look at that cast hull, yes, the rear slanted escape hatch dates the hull type as a very early incarnation of the M3 evolution.
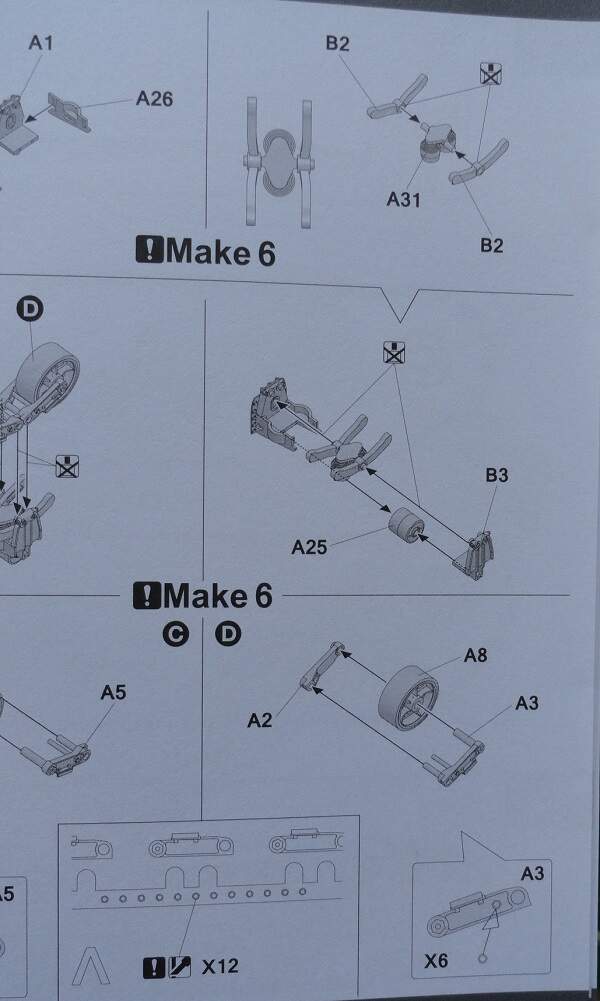
quick look at the bogies, nice crisp molding.
a quick scan of the bogie build instructions, looking good too. Looking forward to building this one next.
3 Likes
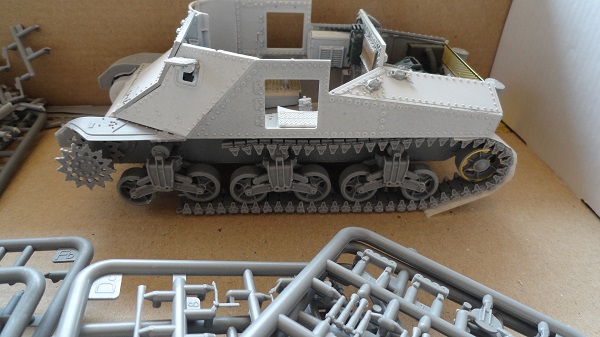
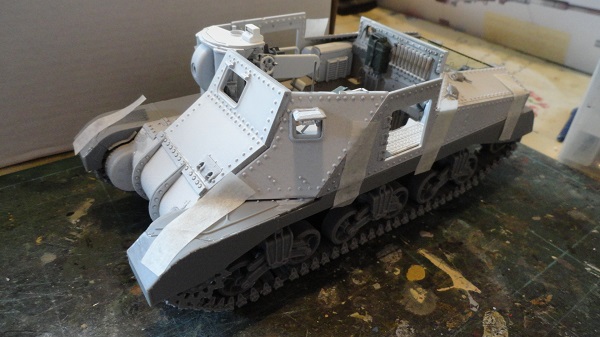
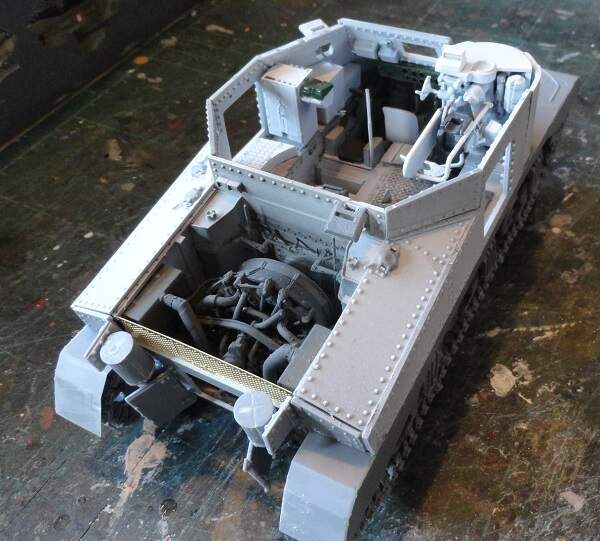
a dozen or so parts still to go inside the hull, then it’ll be time to fit the top cover, over the hull as well as the engine compartment.

3 Likes
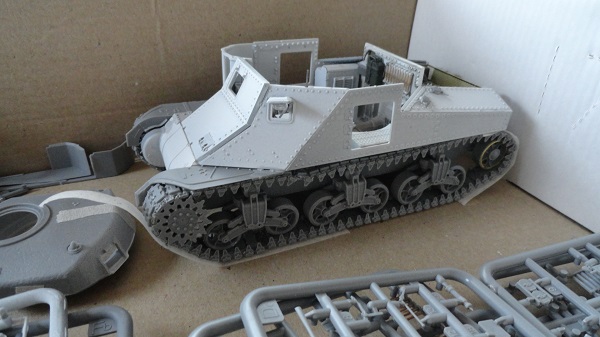
the hull roof is a good, flush fit.
the engine deck fitted. Time now for some external hull fittings.
6 Likes
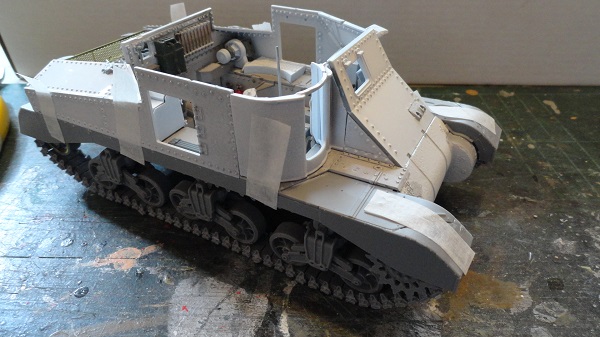
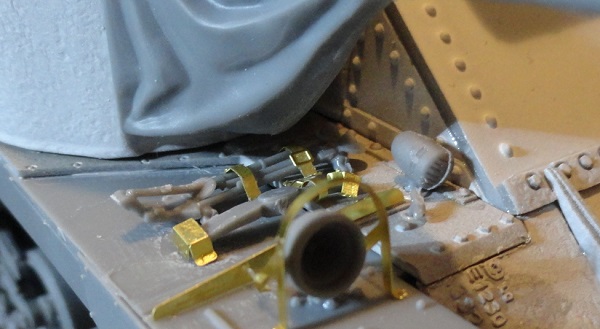
gun and it’s molded on shroud fitted.
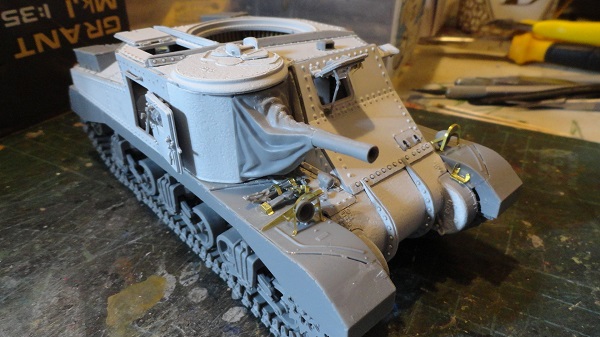
closer view of the tripod and mattock under the gun
5 Likes
Yikes I trust those tracks are removable for painting?! That Takom M3’s moniker “CDL” stood for Canal Defence Light in case anyone was wondering, a cunning deception that probably fooled nobody - its real purpose being to dazzle the enemy with its 13 million candle-power carbon arc lamp during night fighting. Odd that they used an early hull for what was presumably a very, very late version. Maybe it forced Speer to divert all remaining 1945 industrial resources into churning out sunglasses, the real untold reason why the V2 & jet/rocket plane programs failed to stem the tide 
2 Likes
FWIW, I believe that the M3 cast hull was used simply because of their availability for conversion.
By the time the US started to standup their own CDL units, the M3 wasn’t being used by US units in combat. All of the M3 cast hull tanks were held back in the US for use as training tanks, anyways, but the ever increasing availability of the M4 was making them obsolete even for that.
The CDLs were converted in the US from these excess available training tanks, and the units trained in very secret conditions before being shipped to Europe. This secrecy extended even so far, as I understand it, that the CDL units were kept segregated from other armor units being trained.
In the end, I think, the CDL units represented a lot of wasted and unused latent capability as they pretty much just sat on their hands waiting for missions because they were so secret that few tactical or operational level commanders were aware of the CDL units or their capabilities. The really senior commanders who knew of them were influenced by a desire to hold the CDL units back for some really decisive operation based on surprise.
By the endo of the war in NWE, the CDL units had only ever saw limited use. IIRC, they were used to some success in preventing German attacks against the Ludendorff bridge (i.e. the “Bridge at Remagen”) by illuminating the river so that floating objects, like sea mines and frogmen, could be seen and engaged by fires.
Really unfortunate since all they were actually about was simple battlefield illumination which would have been no shocking surprise or revelation to the Germans, but which could have proved quite useful in any number of tactical situations. Anti-aircraft searchlights had been used for that purpose for years, so CDLs used that way would have not been some great surprise to the Germans. Armored searchlights that might have been able to operate while under enemy counter-battery artillery fire, though… That might have been really useful in some situations.
The imagined offensive “dazzle effect” to confuse enemy defenders proved to be pretty much just that, imagined.
The Allies in NWE - especially the US Army - had the resources available to sustain the conduct of operations both day and night had the available battlefield illumination capability of the CDL units been fully utilized. Who knows what could have been done with the CDLs, and what battles could have been conducted and won at night?
A “secret weapon” that’s never used contributes nothing to success or victory.
6 Likes
Hull completed with it’s PE racks just above the side skirts, once the turret is built it’ll be time for some camouflage paint.
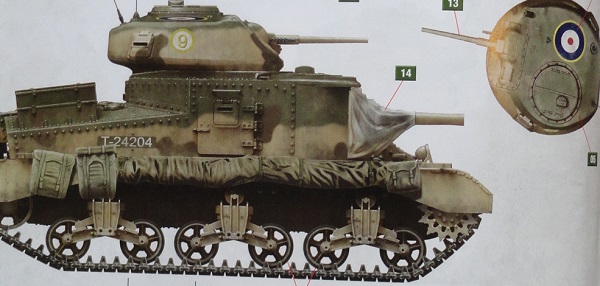
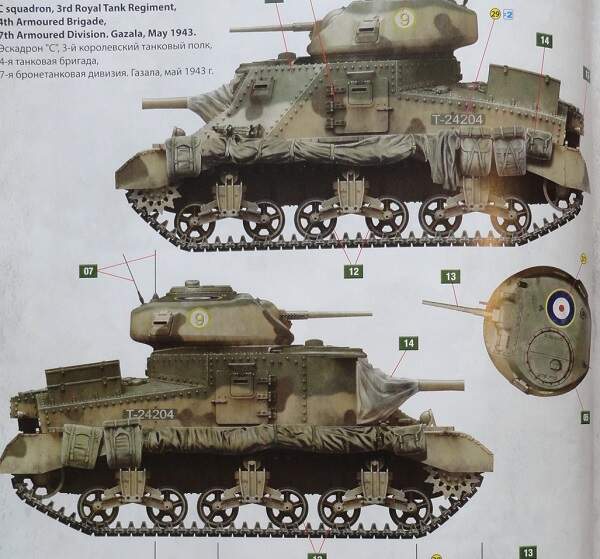
thinking either 3 RTR at Gazala, May 43.
or this cleaner look with the Gloucestershire Hussars.
2 Likes
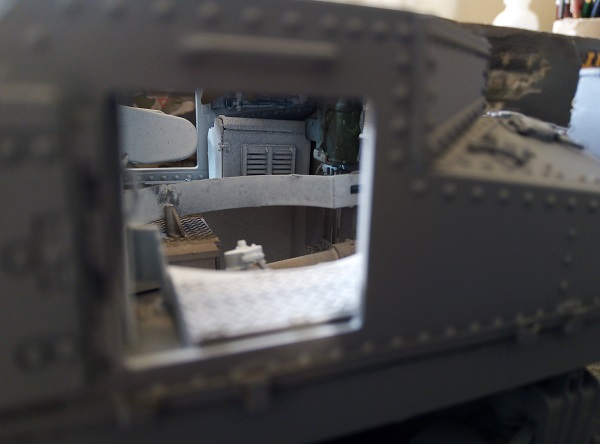
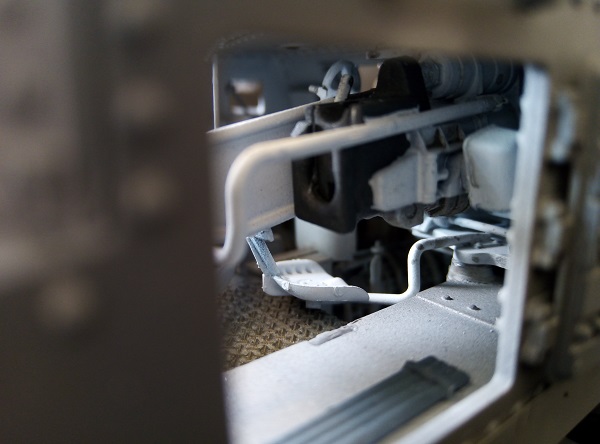
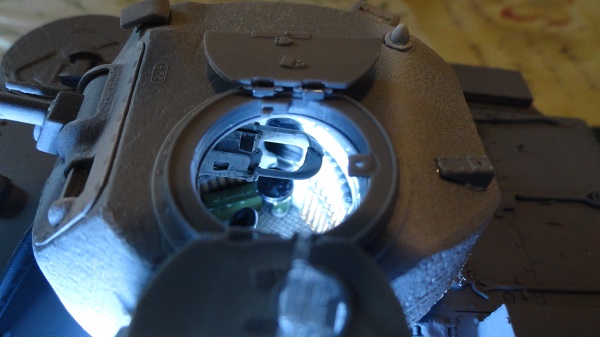
while the light pours in through the opening for the turret, I’ll place the tiny lens of my mobtel into the side hatch for a scale eye level view.
1 Like
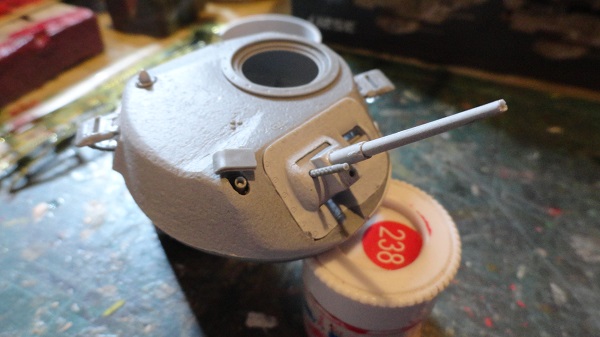
Fitting the 3 inch smoke bomb thrower next to the 37mm gun in the inverted turret.
the armoured flap that sits over the bomb thrower muzzle has come off and hangs at an angle.
2 Likes
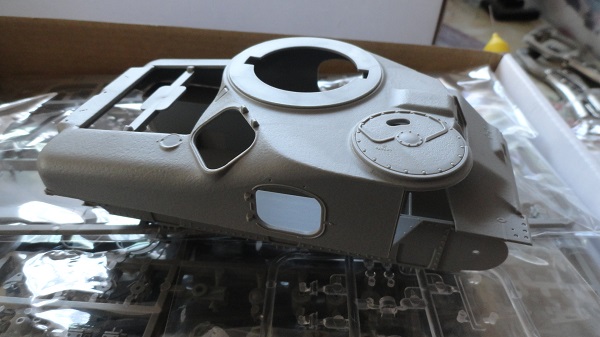
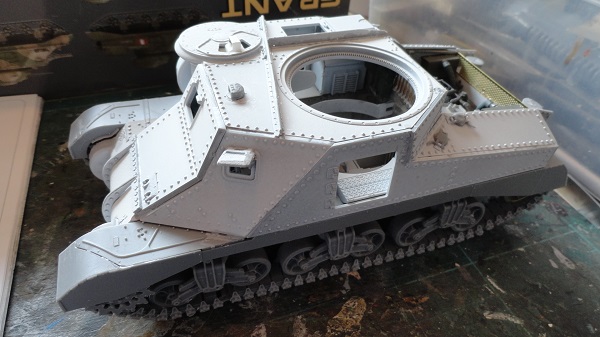
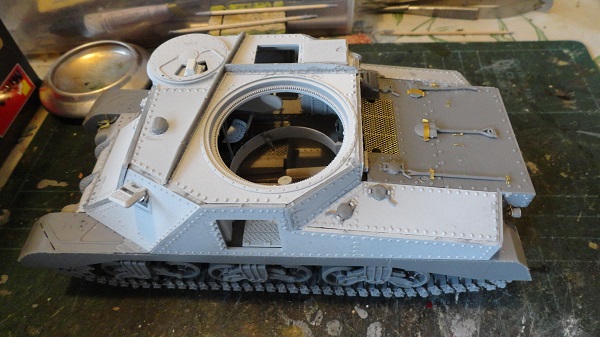
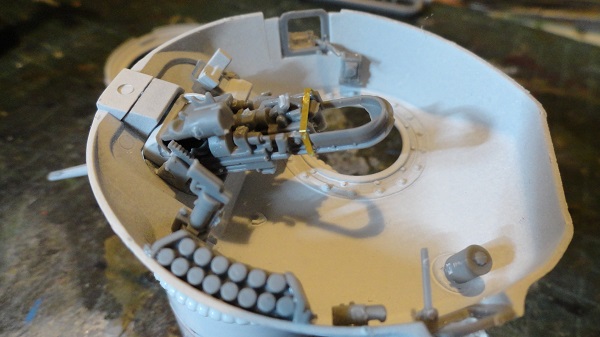
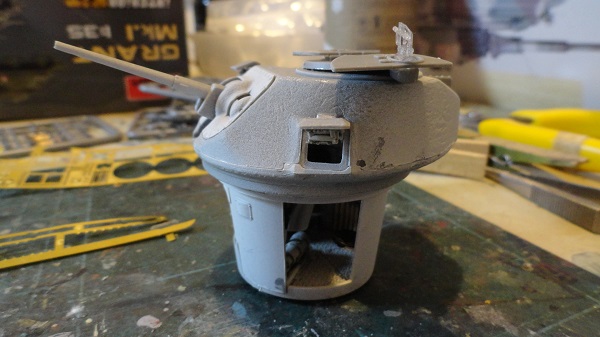
the turret interior in white primer, time to pick out the radio, gun breech and viewing devices in a different colour, next up, the turret basket.
1 Like
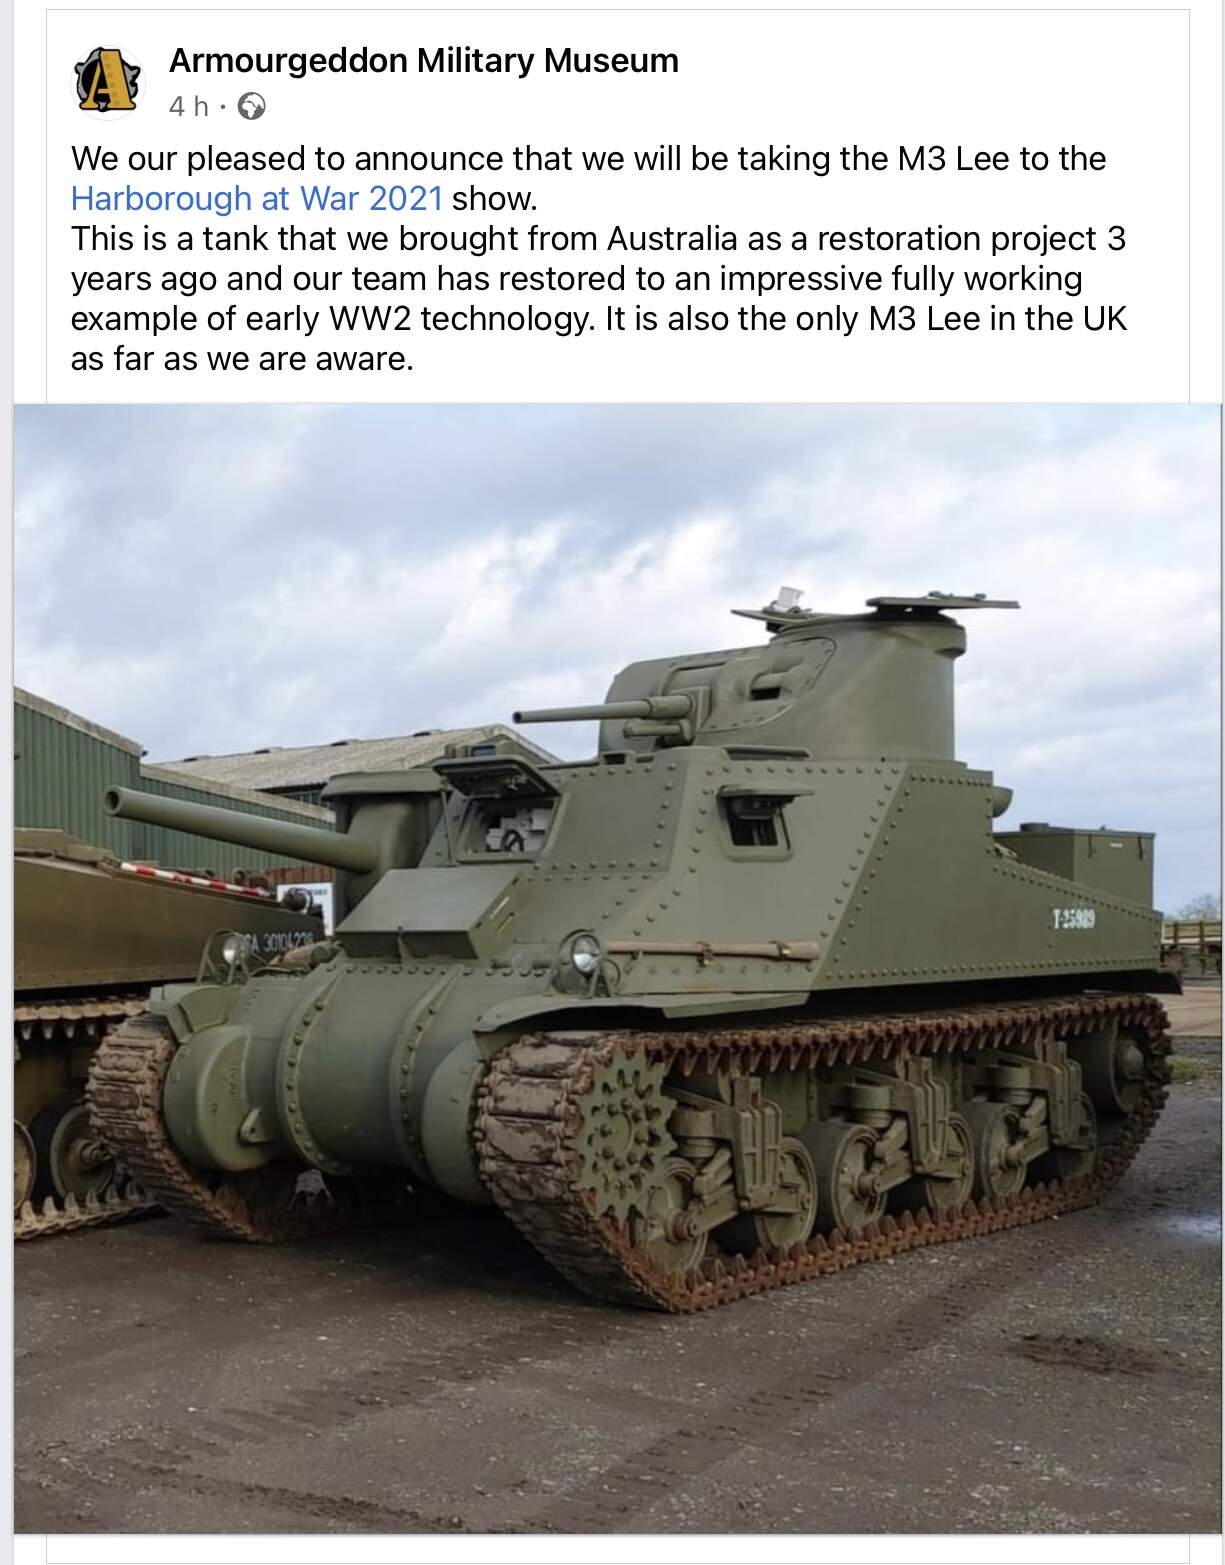
a friend over on the Army Rumour service put up a picture of this restored Lee they are going to run at Armourgeddon this year, the UK is a great place to be for Armour fans. But I am reminded that they deleted the side escape hatches in later models, that must lower crew chances of escape and survival after a hit.
2 Likes
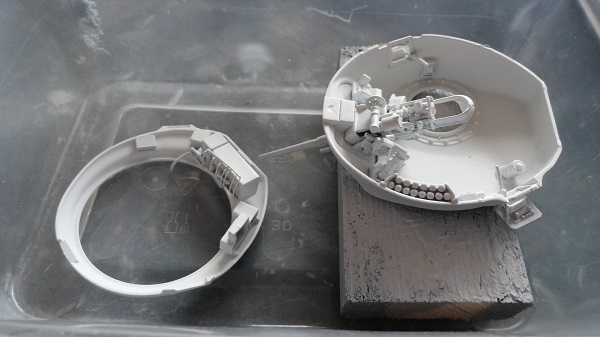
the turret resting on it’s basket, try this with a real one and it would crush the thin turret basket like a coke can.
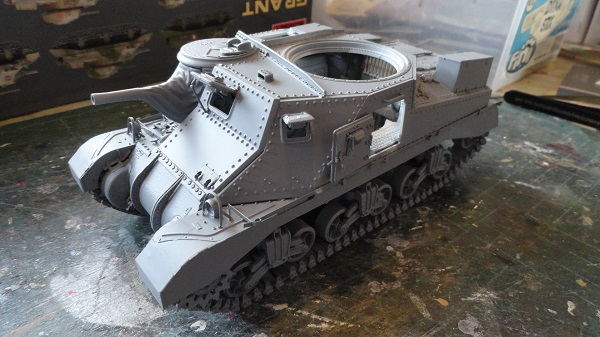
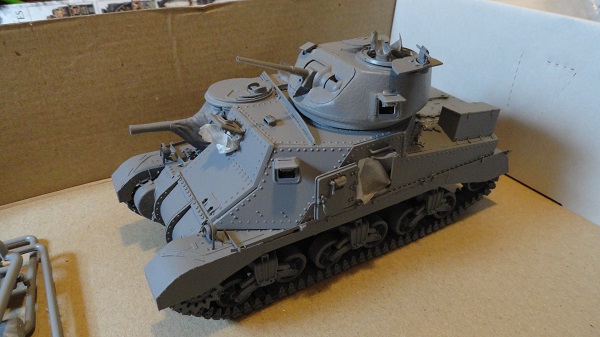
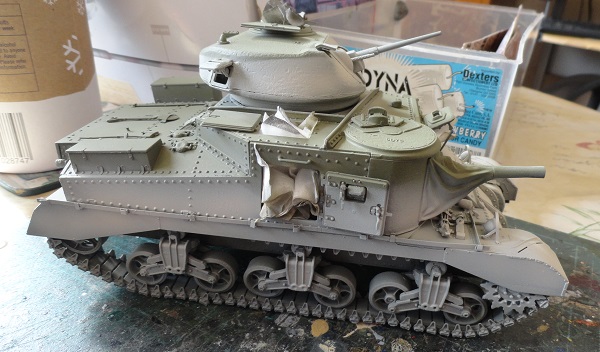
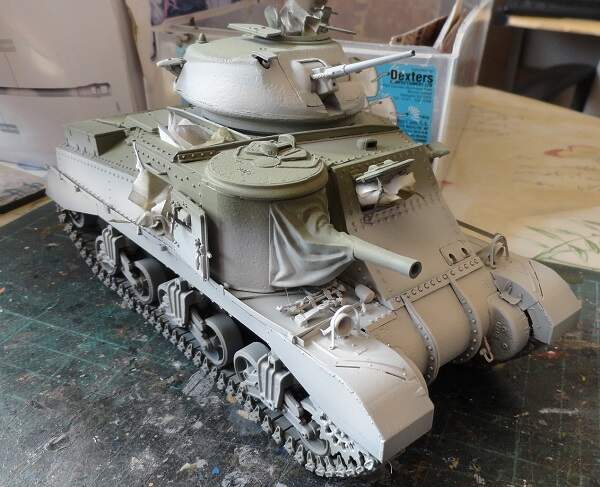
the whole unit assembled ands in grey primer, ready for a complex and protracted paint job, coming up next.
a couple of quick shots down the commanders hatch, I’ll get better shots in daylight later on.

3 Likes
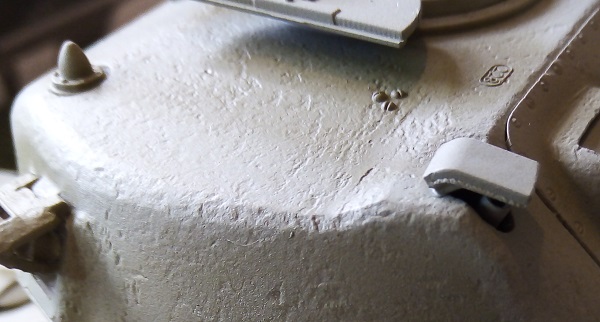
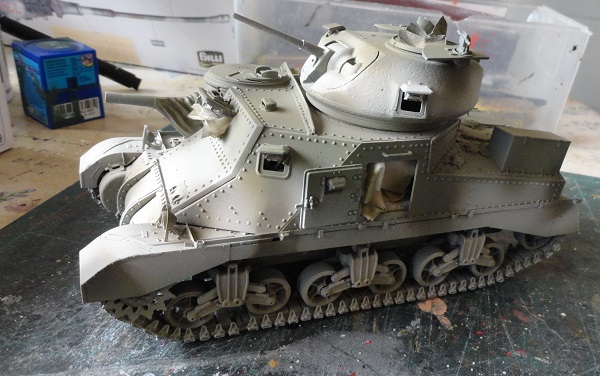
first base coat of olive drab, just a quick close up of the great surface texture on this Miniart kit.
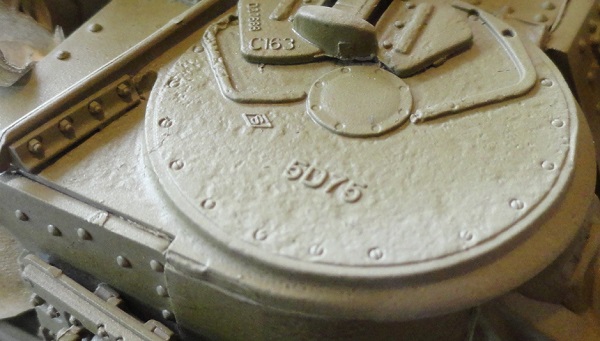
the cast texture on the turret
5 Likes
step two, a pair of horizontal stripes of Portland Stone over olive green.
the next step is darker shades over salt.
7 Likes
finally, some time on the Grant, camoflage patches of dark olive drab.
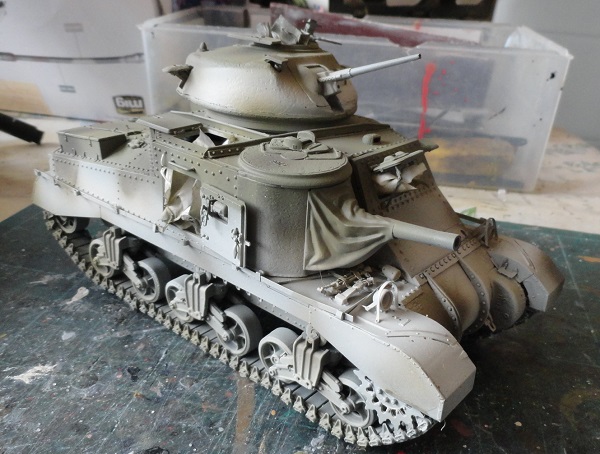
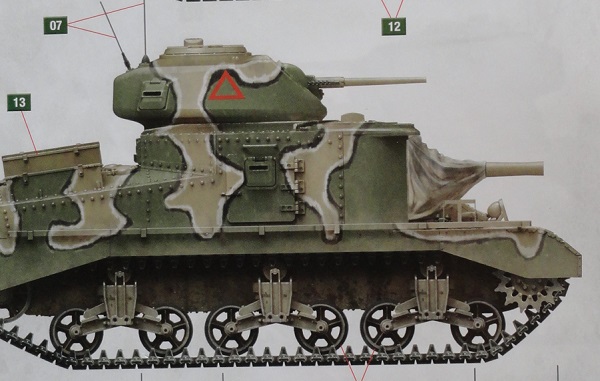
this is the scheme I’m trying to replicate.
8 Likes
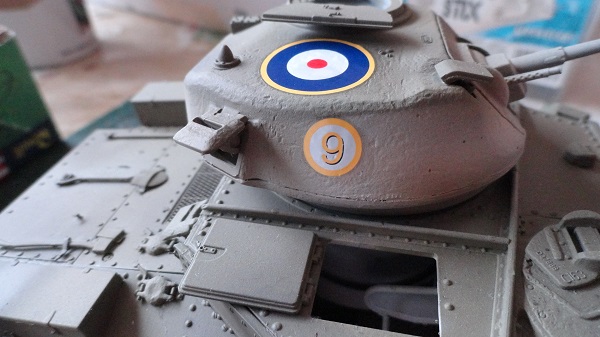
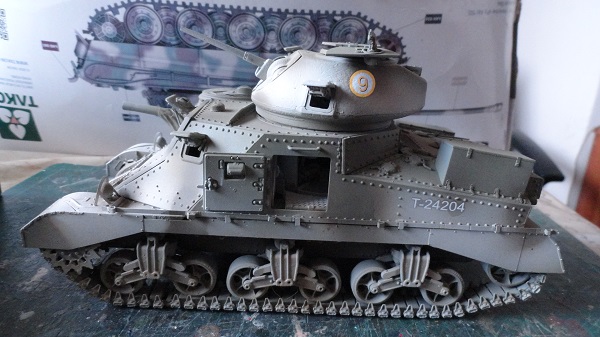
Time to apply the decals. nice thin, good register, no carrier film on show, great decal quality. Turret roof roundall, prior to the Allied star being adopted. Troop number on the turret.
side view of a close hull numbered tank taken during WW2.

Side view so far of the model, pre weathering…
6 Likes