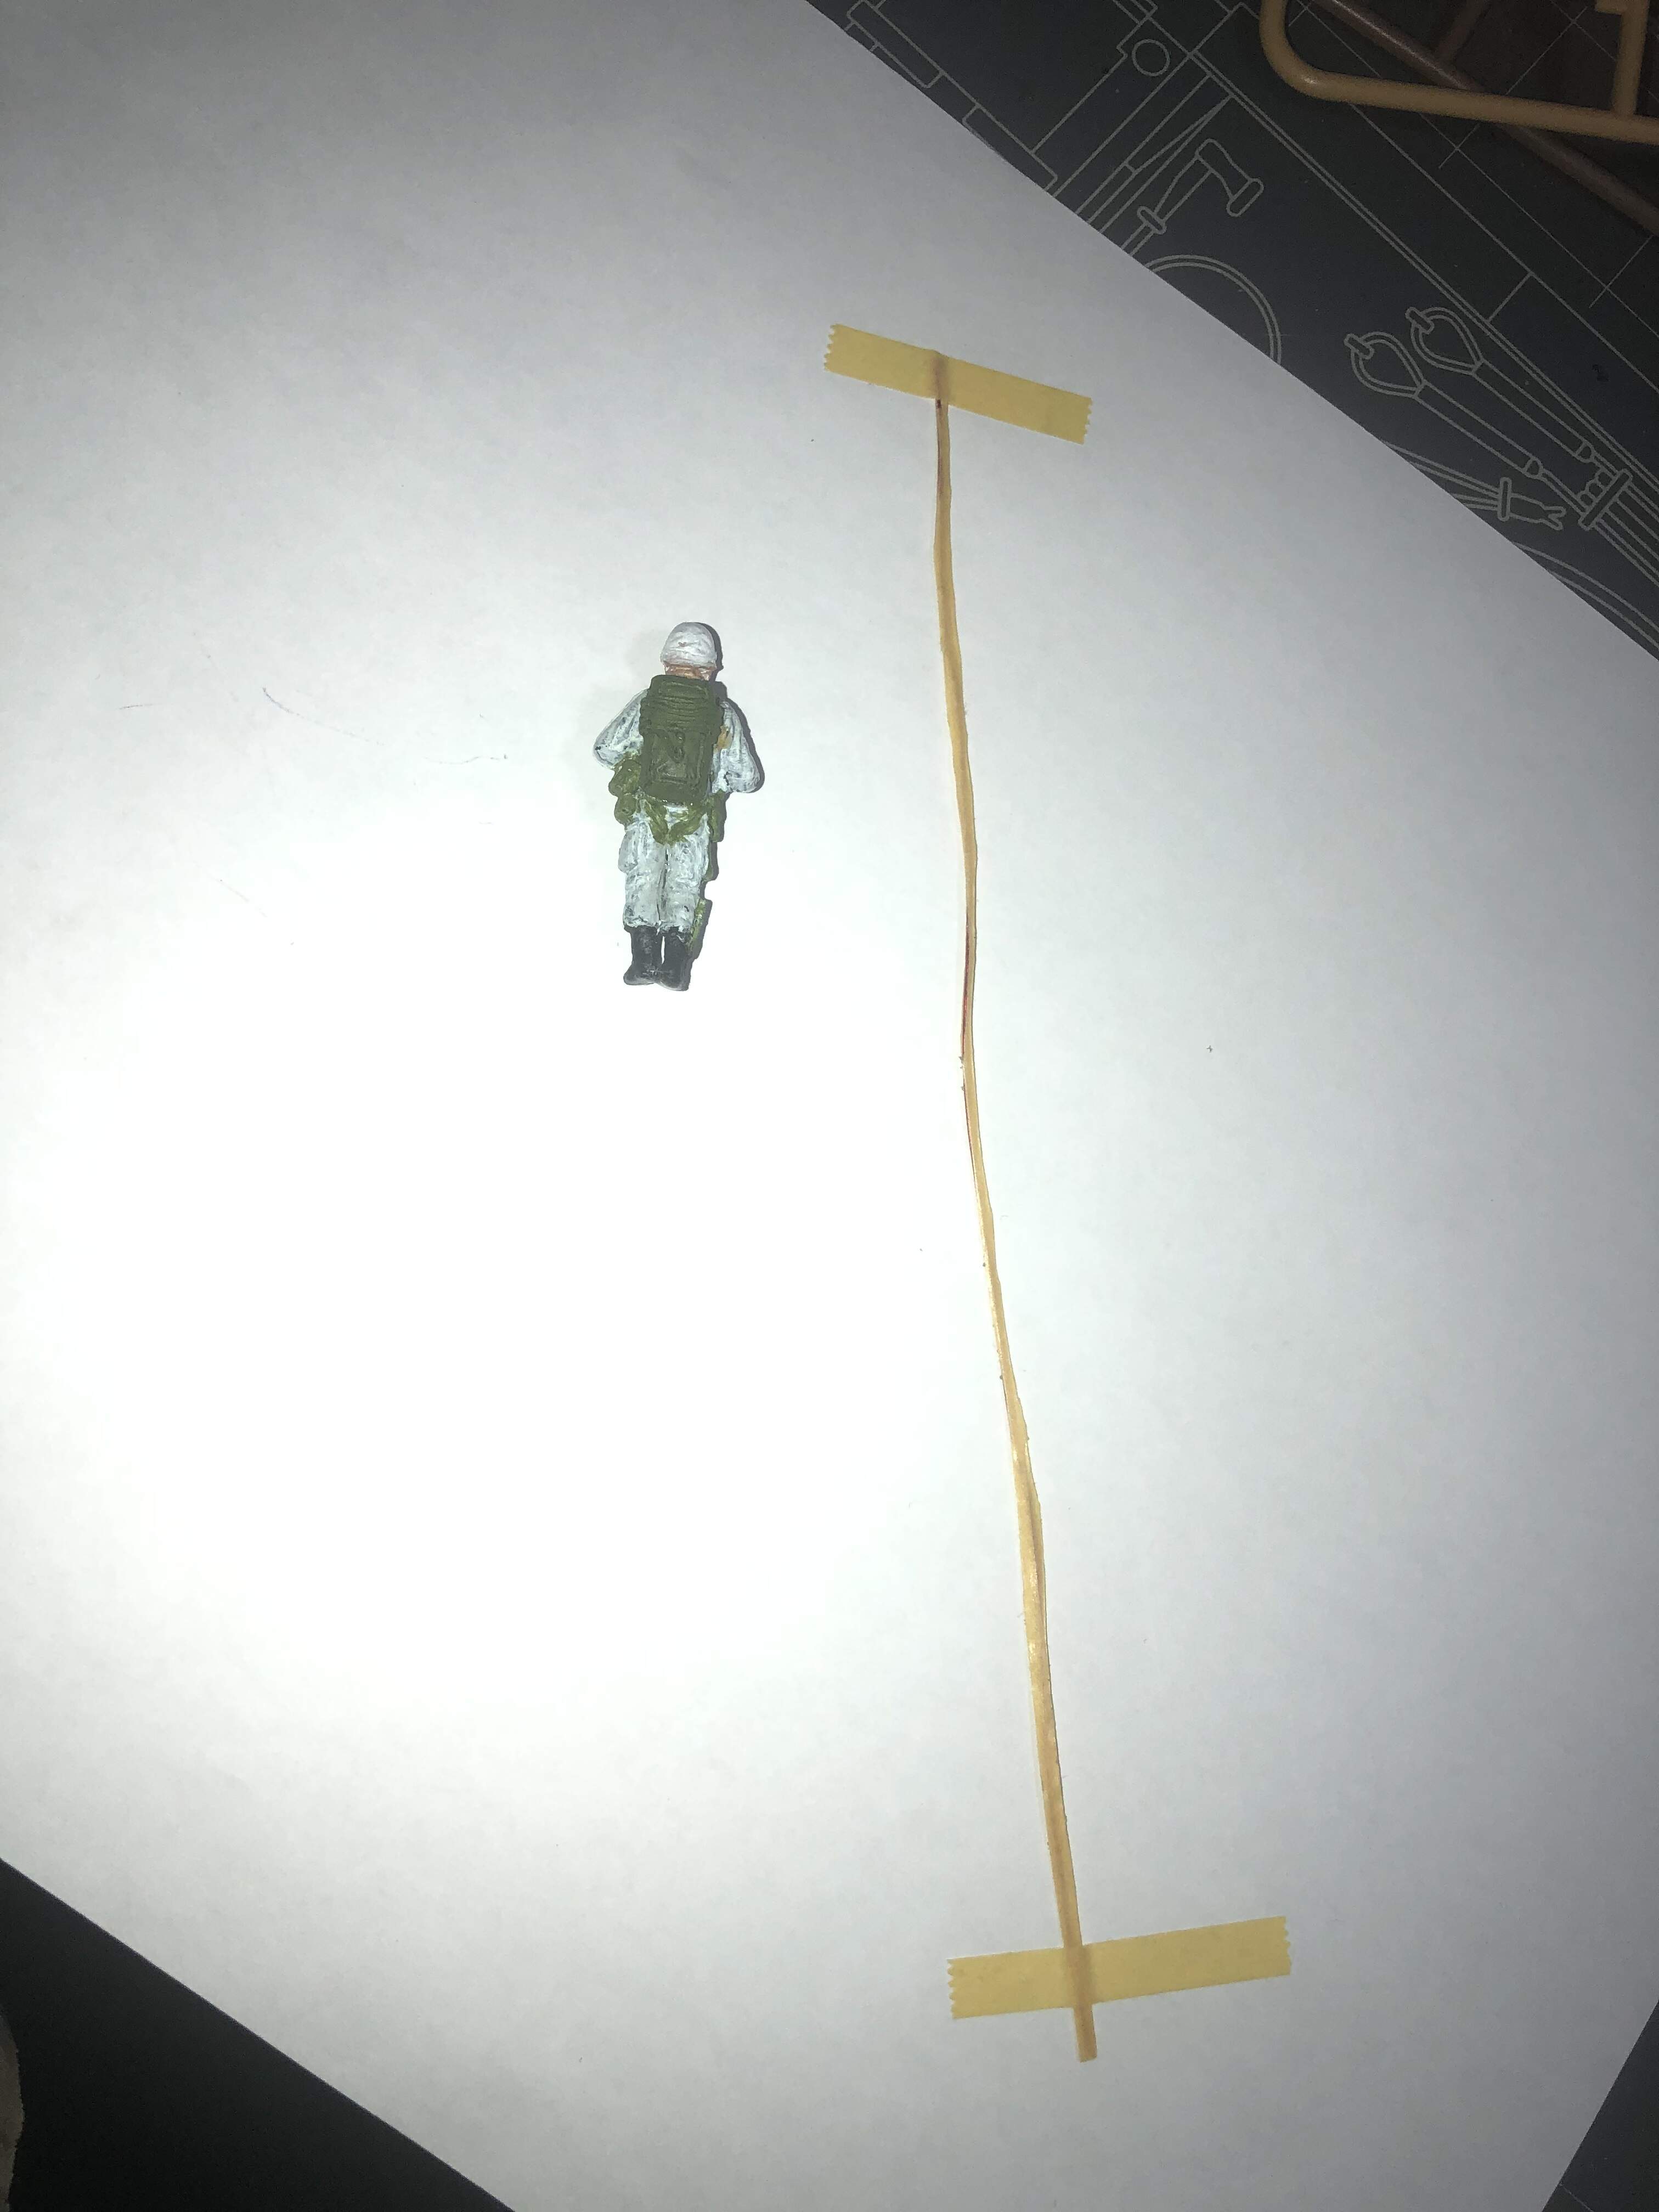
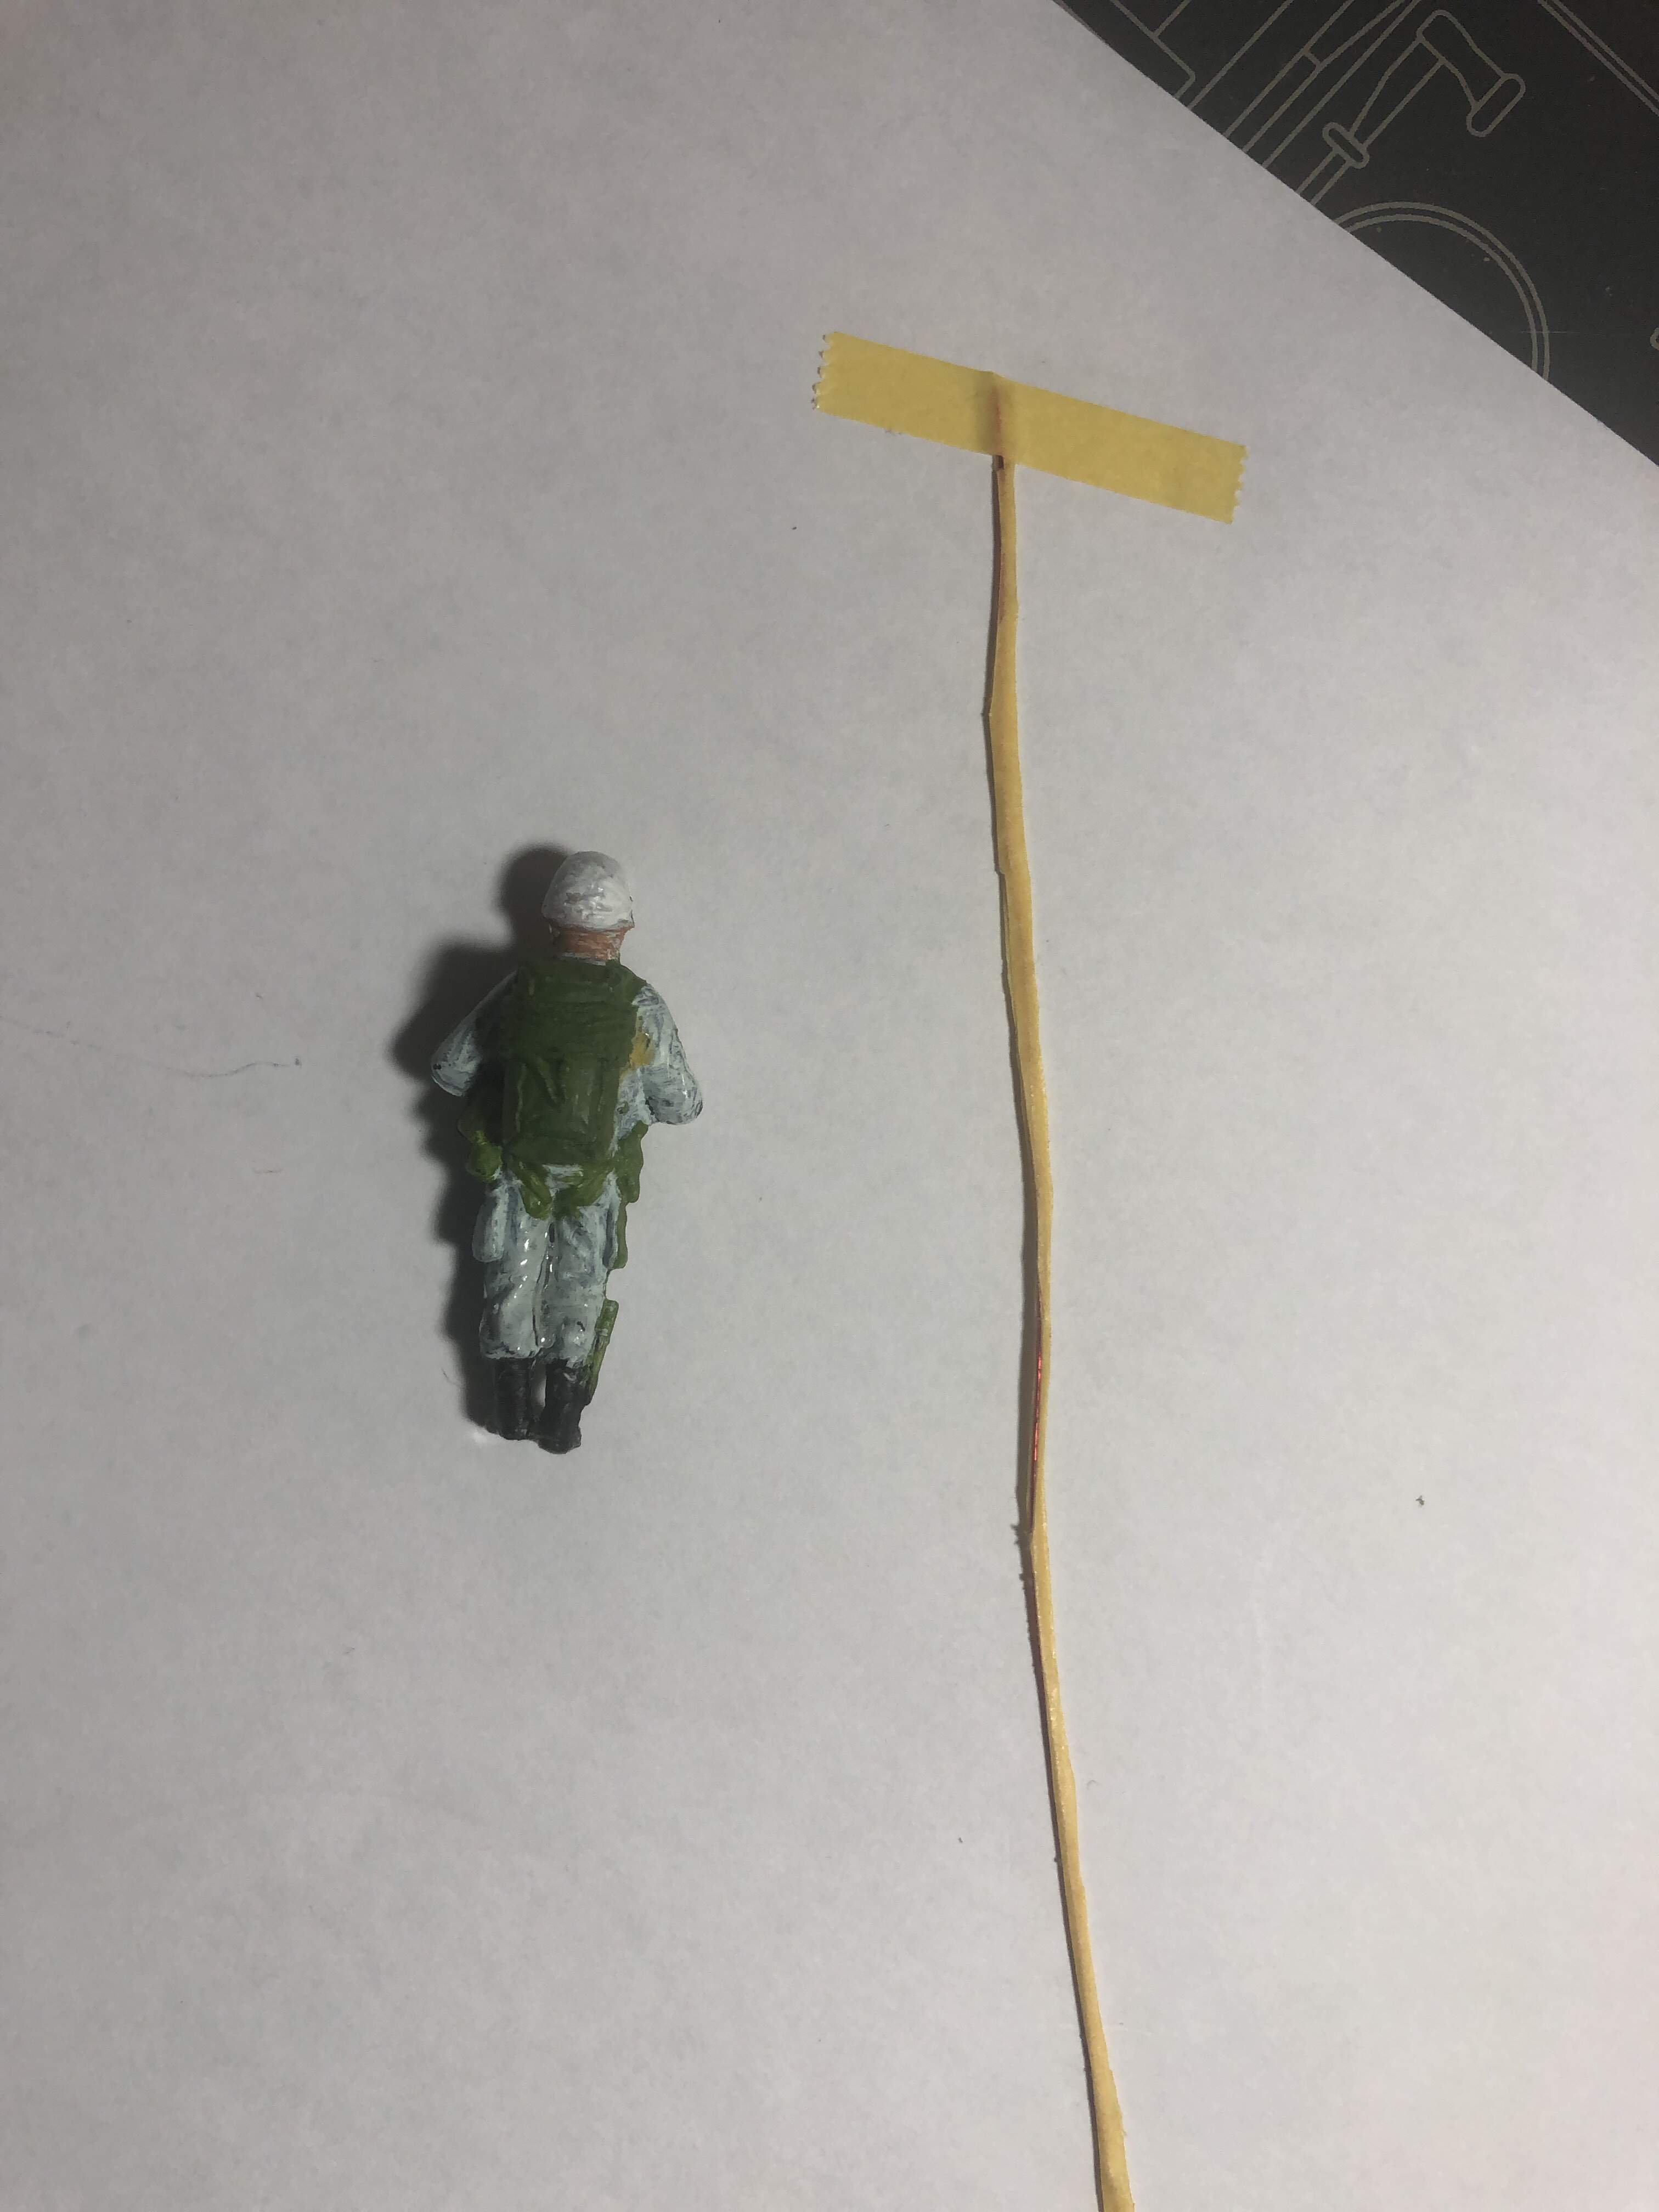
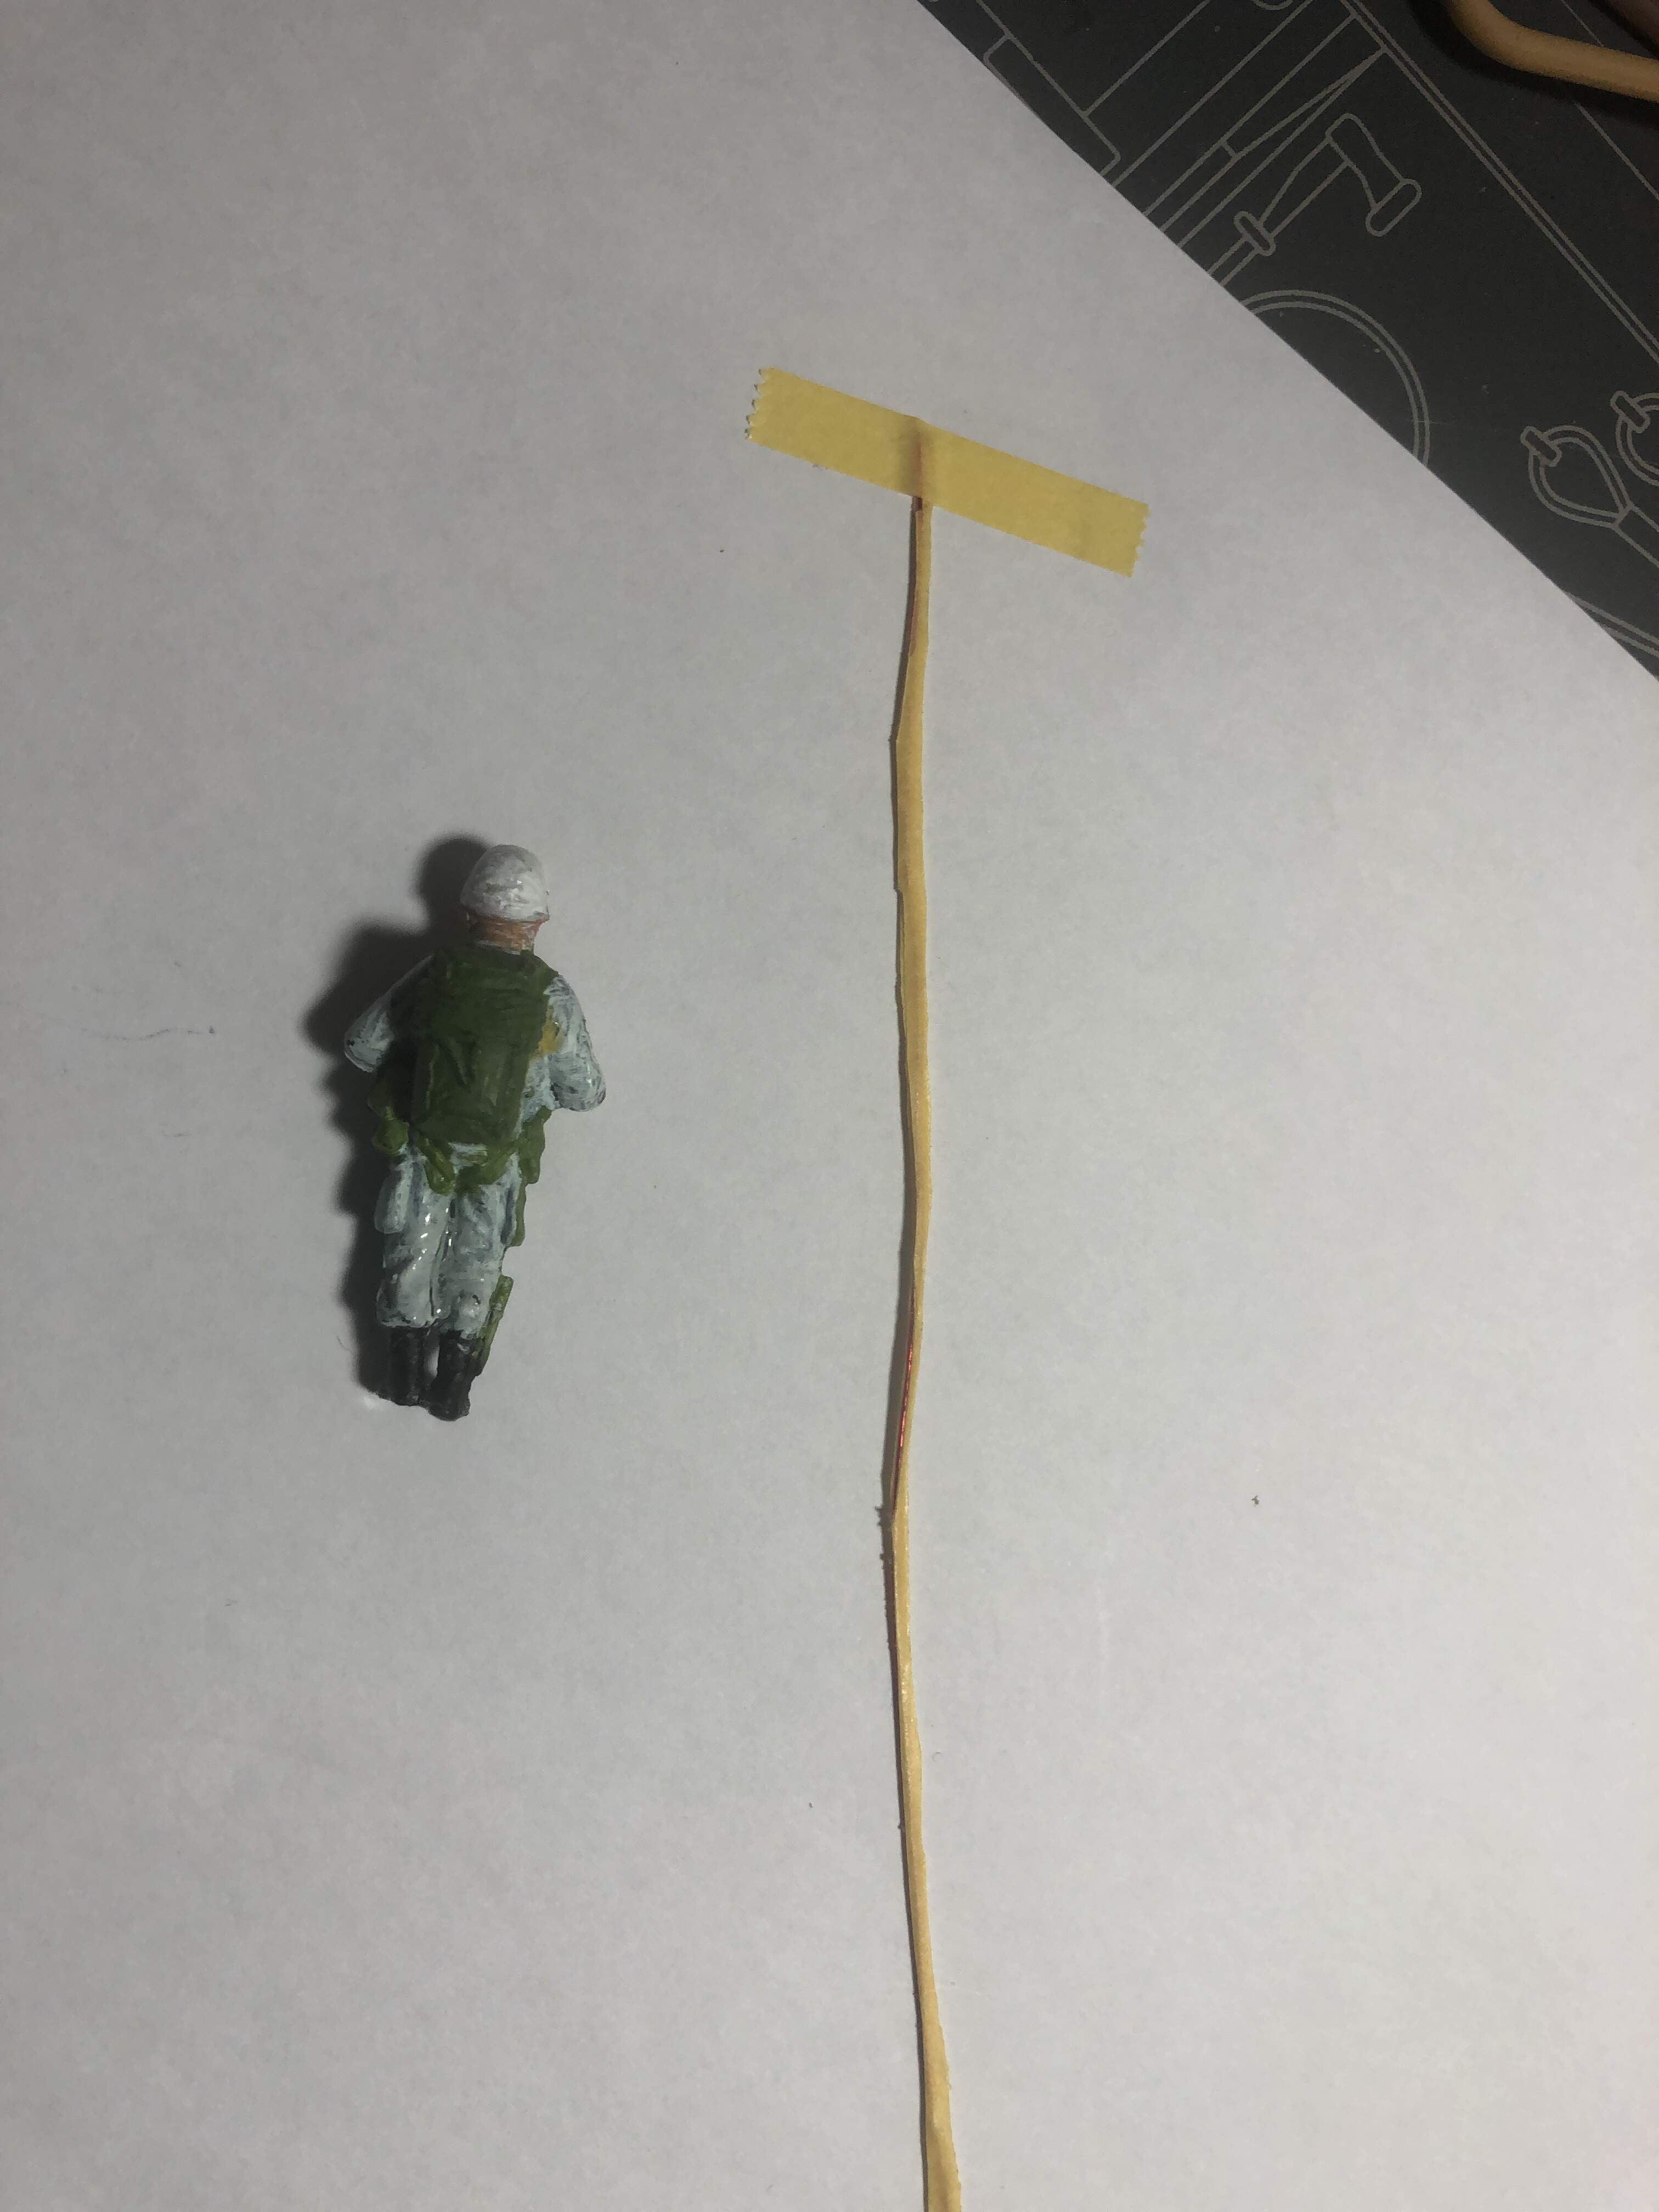
I am complete ting a 1/48 Dakota done by monogram. Originally it comes with a number of paratroopers to stand around it for embarking prior to the jump on DDay. I have done in in 50’s Canadian Air Force markings conducting a winter drop. Where I am now I have one in the door ready to jump but what I want is to show the previous jumper as the static line goes out until deploying the chute. My questions are 2 part: first what colour should the static line be? Second looking at the pictures I am attaching am I in a reasonable representation of the static line. I’m sure there’s a few paratroopers kicking around the site so I would appreciate any insight you may wish to share with me. I never was fortunate enough to get the jump course while I was in the military.

I was not a Paratrooper (never saw the reason to jump out of a perfectly good aircraft), but I did serve with a bunch and I am pretty good at research.
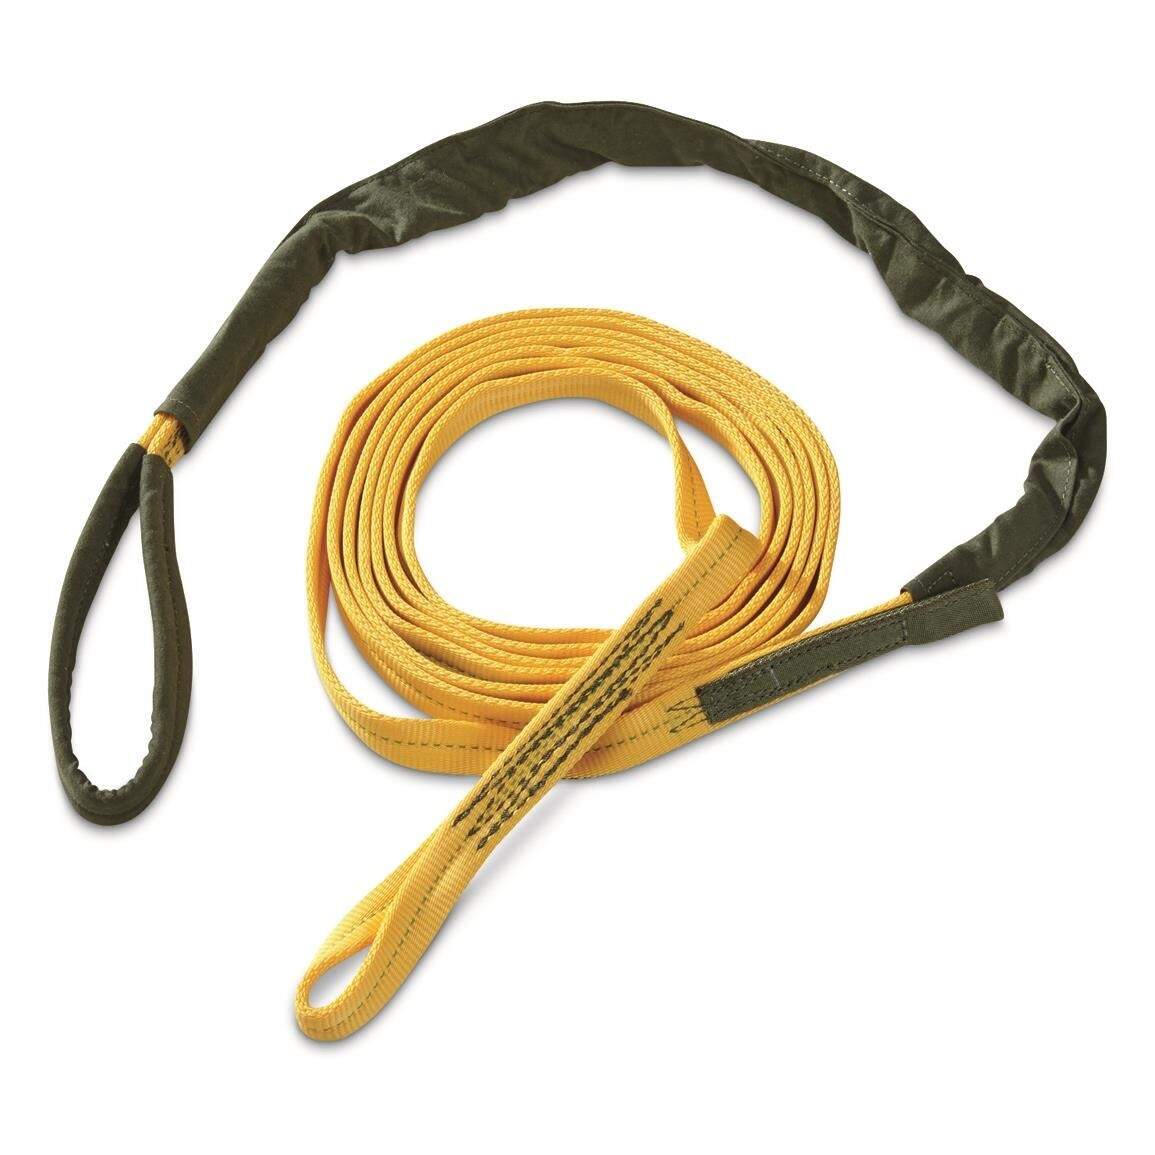
It looks like you are close. The line may be a little big though. I can’t really tell, but it should also be flat line, not a round rope.
Since you are talking about the '50s, I am assuming they would still be using WWII type equipment. In WWII, the static lines were a khaki color.

At some time (not sure when) they changed to the upper portion in yellow so they are more visible. Also, modern static lines are 20 feet long. I don’t know if WWII static lines were longer or shorter.
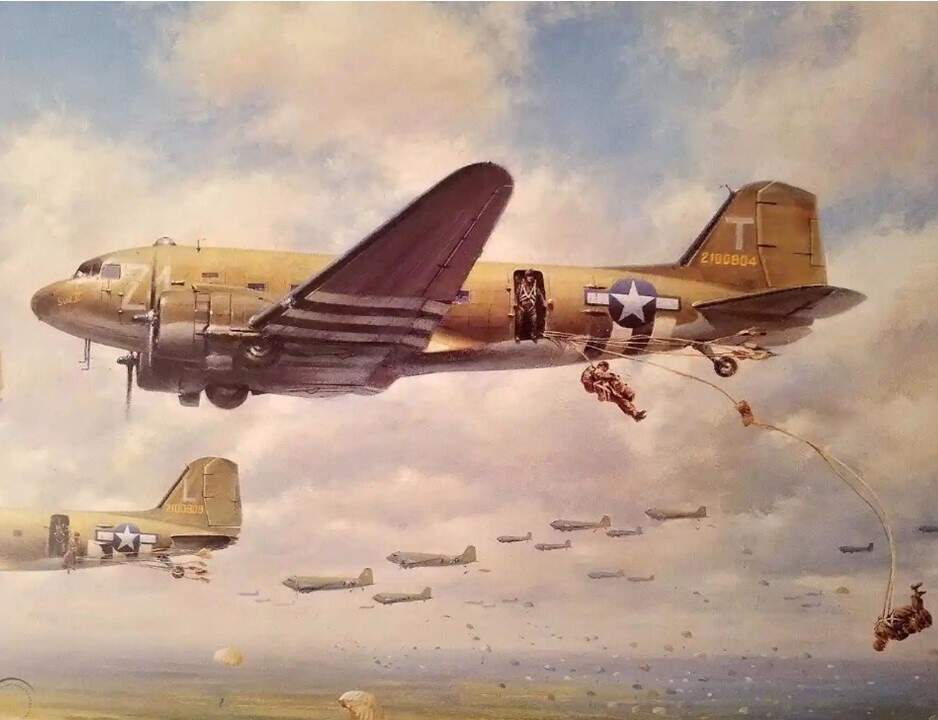
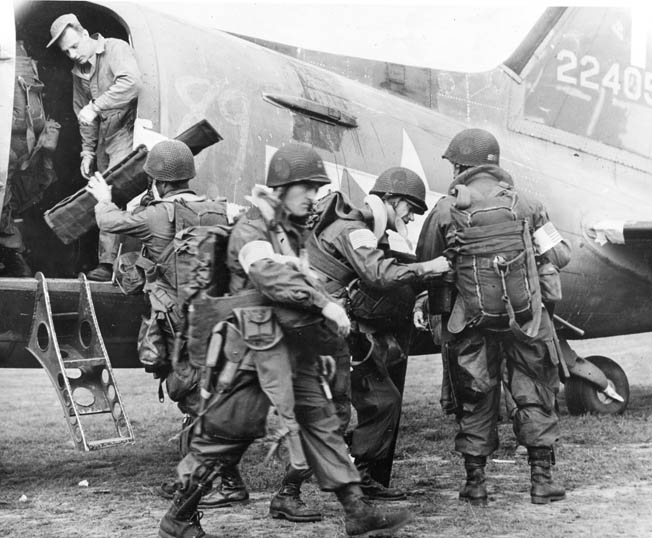
This print depicts a D-Day drop from a C-47 so you can see how the prior lines lay once the jumper is off them as well.
This site may help as well, Evolution of the US Army Paratrooper.
Hi Gino
I’m Al, as it happens I’ve been following your posts for a number of years now. I did realize that static lines are flat but I want the guy to not risk tape ripping and him falling off where I wanted him to be coming out of the plane. The picture of the c-47 doing a drop really helps in showing where the jumper would be in relation to the aircraft and also showed that I need more than one static line so I need to represent a few alongside the aircraft. I took the smallest diameter copper wire and covered with tamiya tape to represent the flat static line. I do have some 1 mm tape but not really sure how I could stiffen it enough to make it safe to hang up. I hang my aircraft from the ceiling it’s my way of saving shelf space for my other genres that I do.
Any suggestions to drop the wire in favour of something else are absolutely welcome. I never really understood jumping either but I really loved the look of the wings on our dress uniform.
Because the pilots and aircrew don’t like to go to those places where they usually would leave us for our adventures ![]()
You might want to try a strip of very thin brass for the static line
You could sandwich the wire between 2 pieces of your tape,or you could maybe get some lead wire and flatten it. Just some thoughts that I had.
I have a bit of a different take on how to achieve this. I can’t think of anything that will support the weight of a D bag without being horribly out of scale. (it needs to be about .025 inches in width) I’d use very thin strips of tape, and make four or five static lines intertwined, with D bags at the end. I’d then pin one of the D bags to the fuselage, and let this very sturdy one support the others. At the point where the lines untangle and the bags are billowing behind them, you could probably “paint” the tape with CA to give it a bit of strength.
I don’t think that the WWII T-5 had a deployment bag, only a separate rear cover flap for the pack tray. The static line was connected directly to the canopy thru the flap by a breakaway cord.
Oh I understand jumping it’s just I was never lucky enough to get the course or get posted where it was required. I certainly would have given the chance!!
Thanks for the suggestion closest I can come is maybe a thin piece of styrene from evergreen. Definitely worth a shot!
That’s what I have now but it’s apparently still to round. For what I’m trying to achieve
The image you show has the exact chute on as my figure. The static line would be connected to a wire in the plane ? Then the jump master ensures that the attached line would end up on the side of the door towards the tail to ensure everything is clear for the next man?
Canadian infantry is 031 for MOC. That’s where I started until a knee injury and surgery.
Thanks
Thats correct, the T5 deployed in the opposite manner to the T10 in that the canopy came out first then the lines hence no need for the deployment bag ( I’m an ex rigger). The static line is a flat tubular webbing but it’s also quite thick.
So I should attach my static line to the top of the chute and thinking  of it now I should probably remove that particular detail from the back of the chute since it wouldn’t be nice and tidy there after exiting the aircraft! Funny how after thoughts happen good thing I haven’t gotten to far in this endeavour as of yet. I’m learning a ton of stuff that needs to be there for it to look right. My son has laid claim to it for his ceiling so I want to do it right.
@Blackbob welcome and many thanks for your input on my question 
@unclelar welcome to the forums and thanks
And supposedly had one hell of an opening shock with that method of deployment. ![]()
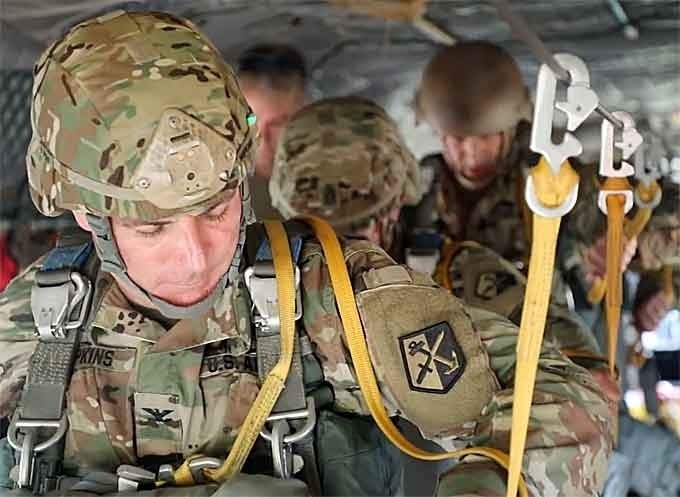
Better make sure those legs straps are routed properly ![]()
Yes  One of the features was it opened faster but much harder. Later, in the 50’s, it was modified to open in the same sequence as the British GQ X series to become the T10 with a deployment bag - the rigging lines were looped to lock the canopy in the bag until the lines had fully extended.
Jumping is merely another means of delivery lol. I was told once that only two things fall from the sky - sh— and idiots !
Yeah I know a lot of guys that gave their left nut to go airborne lol
The back of the chute on the back of the the monogram 1/48 paratroopers appear to be looped across the back of the parachute. the attached image isn’t the greatest but I hope you can see the detail on the parachute itself.
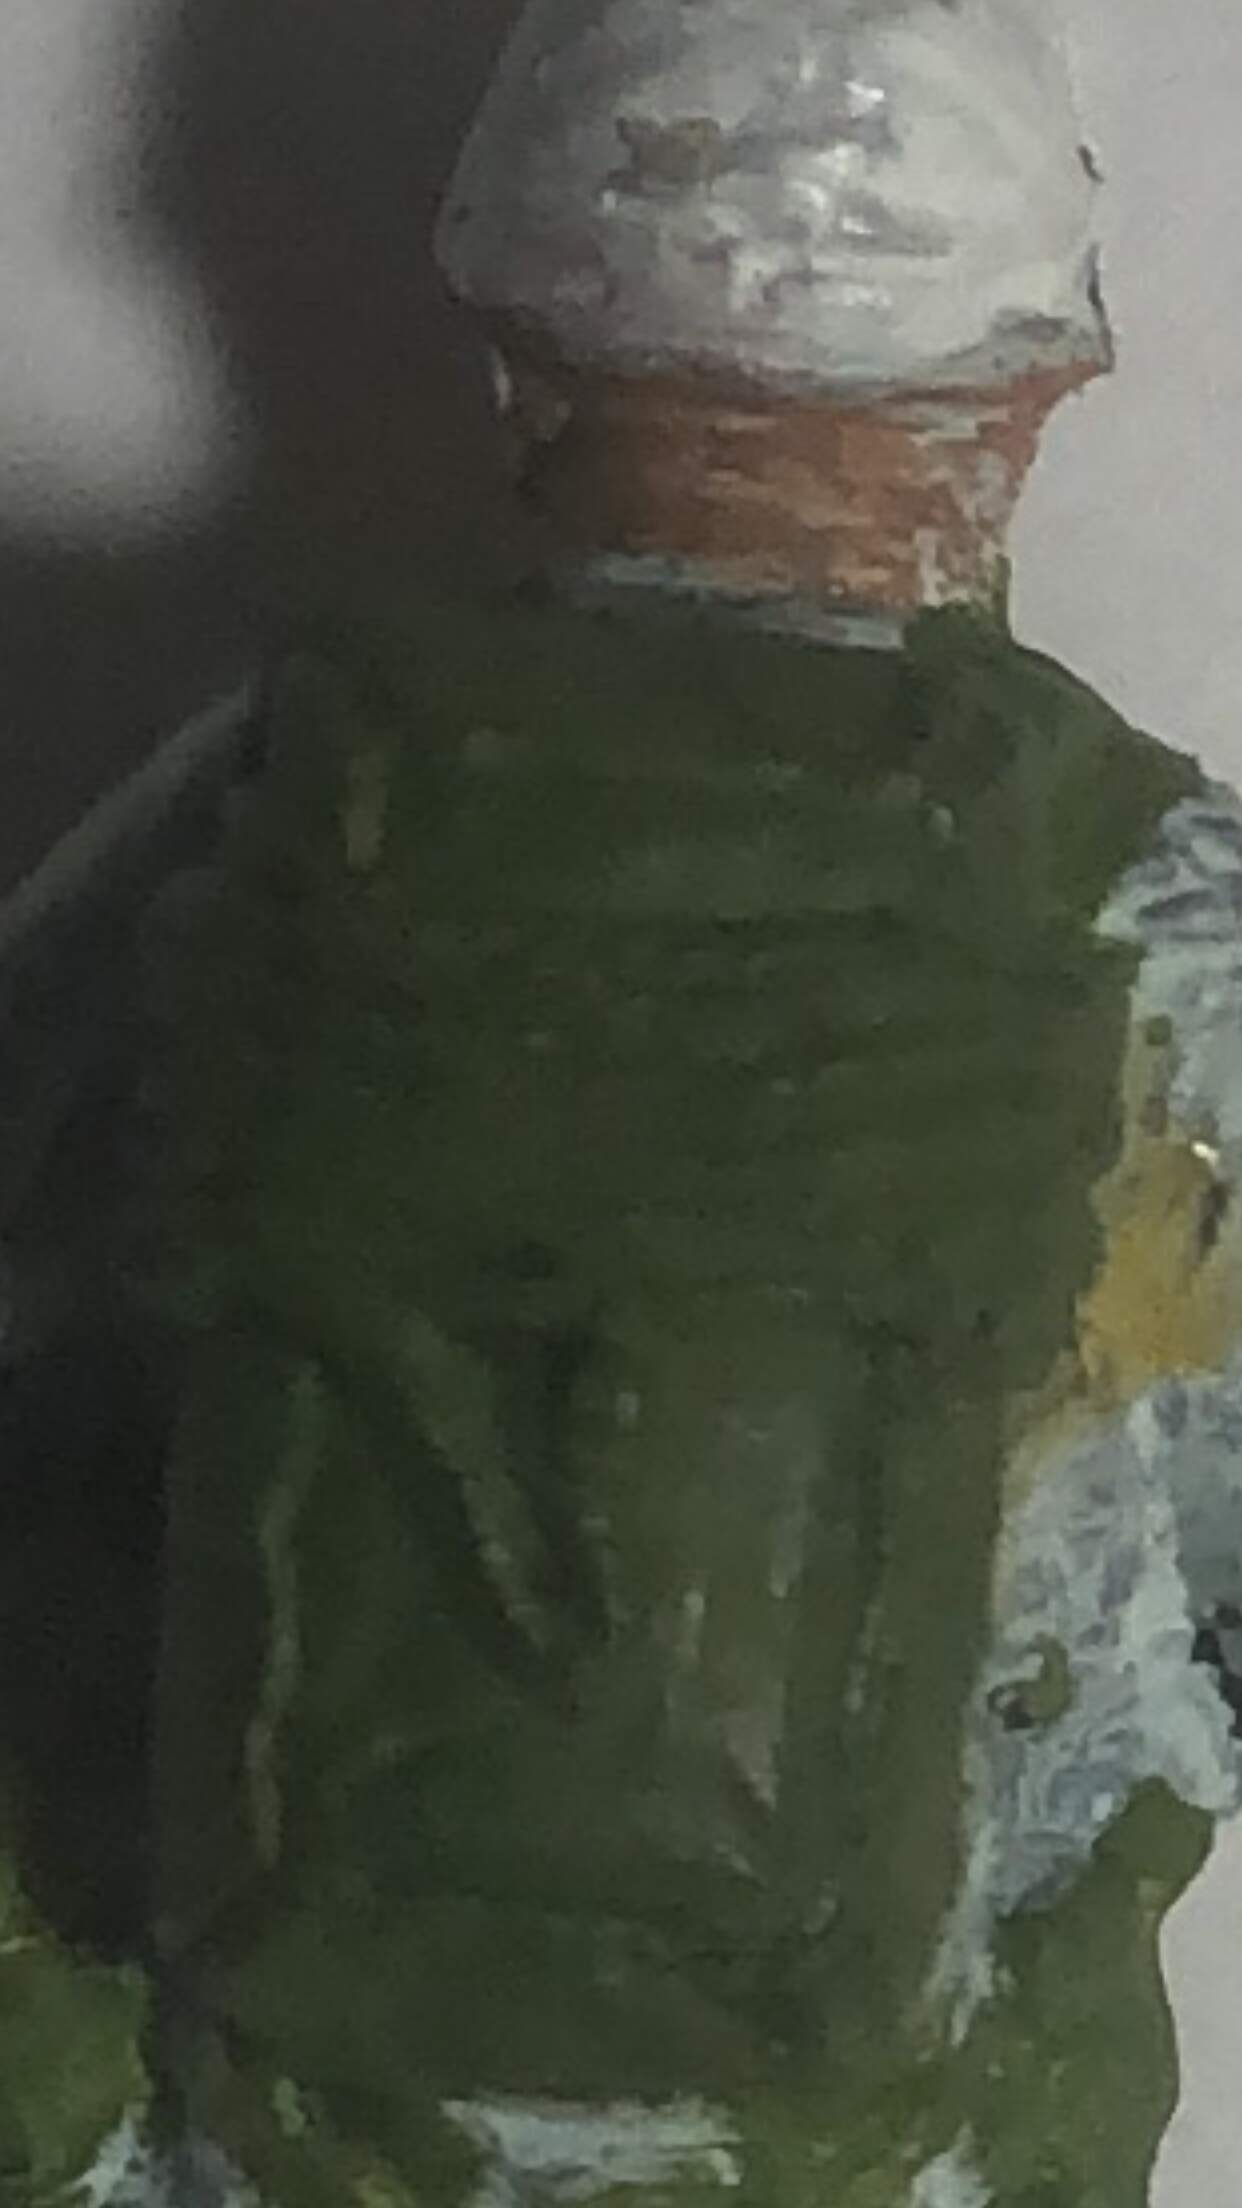
Hopefully that will help, I probably need to remove that detail the last few days have been pretty rough on me. Every 4 weeks the nursing station likes to delay my refills and this last time put around 20 hours between my doses of Parkinson’s meds so it’s been kicking like a mule probably won’t be before Monday for me getting back to my desk. 

 sometimes we get slowed down. I appreciate the help though