Happy New Year guys. I hope you had a great Christmas if you celebrated it.
For me, it’s a New Year and a new build. And, to go with them, a new approach. Looking back over the last year, I realized that I hadn’t finished many kits. For me, the journey is a good part of the fun, but I also want something to show at the end. I’m sorry if you were following a few dead ends posted here.
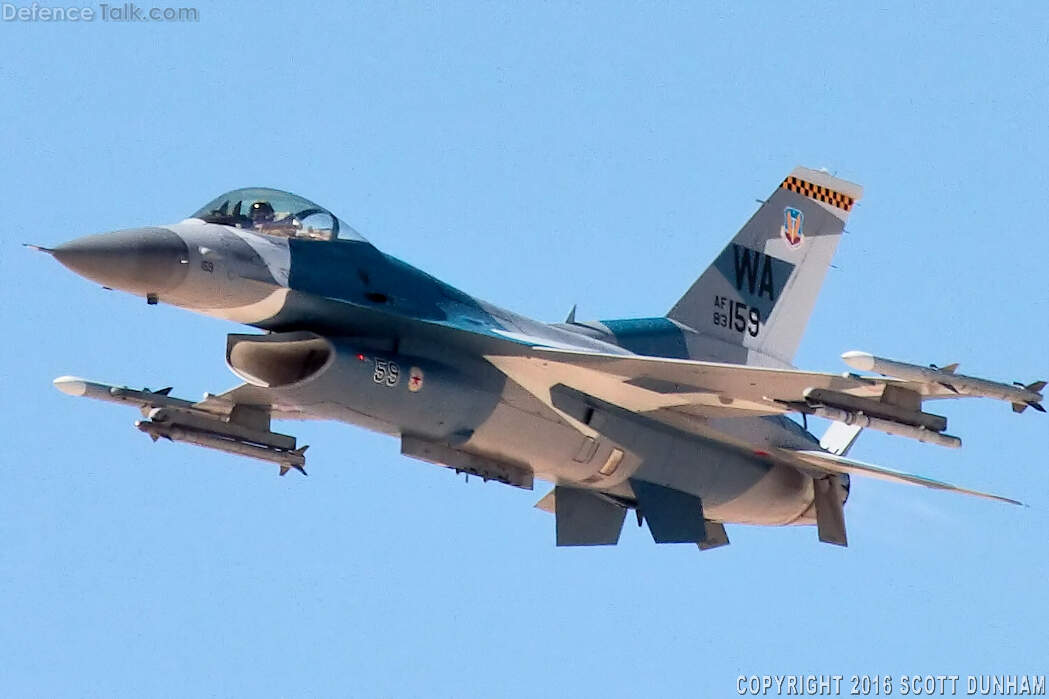
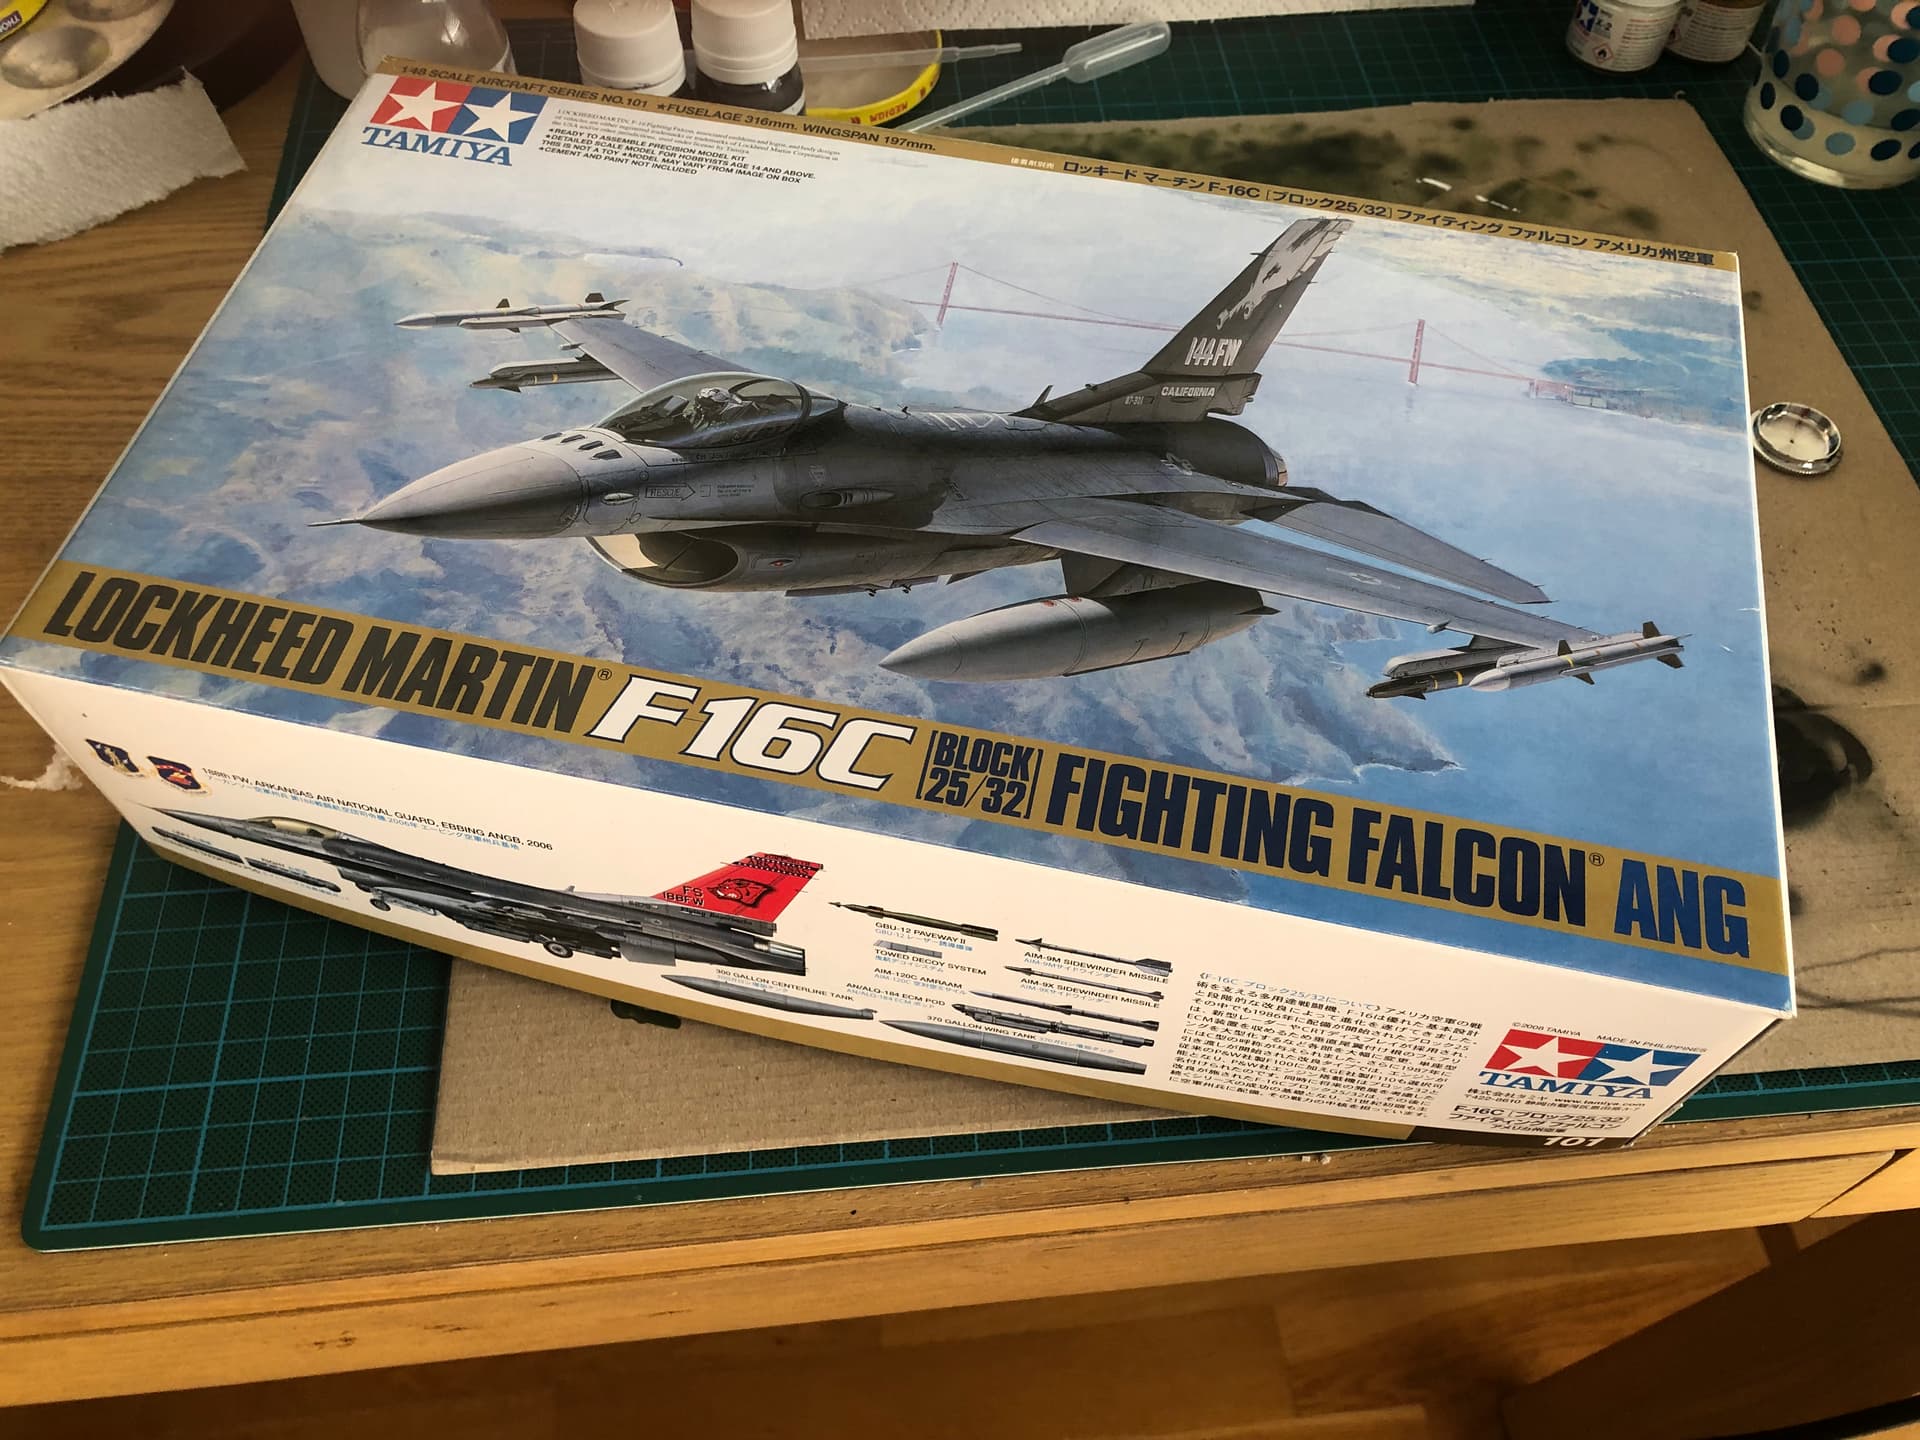
The problem was my choice of kits; picking those that needed a lot of work to bring them up to a standard I liked. So, to kick off 2023, I’ve unearthed Tamiya’s 1/48 scale F-16C from my stash; a kit that promises lovely detail without too much hassle. My intention is to finish it in the aggressor colours shown below, but otherwise, build it largely out of the box. I have the appropriate decals from Two Bobs. There’s an aggressor version of the kit out there, but I’m going to work with what I have. Any help and advice along the way will be very welcome.
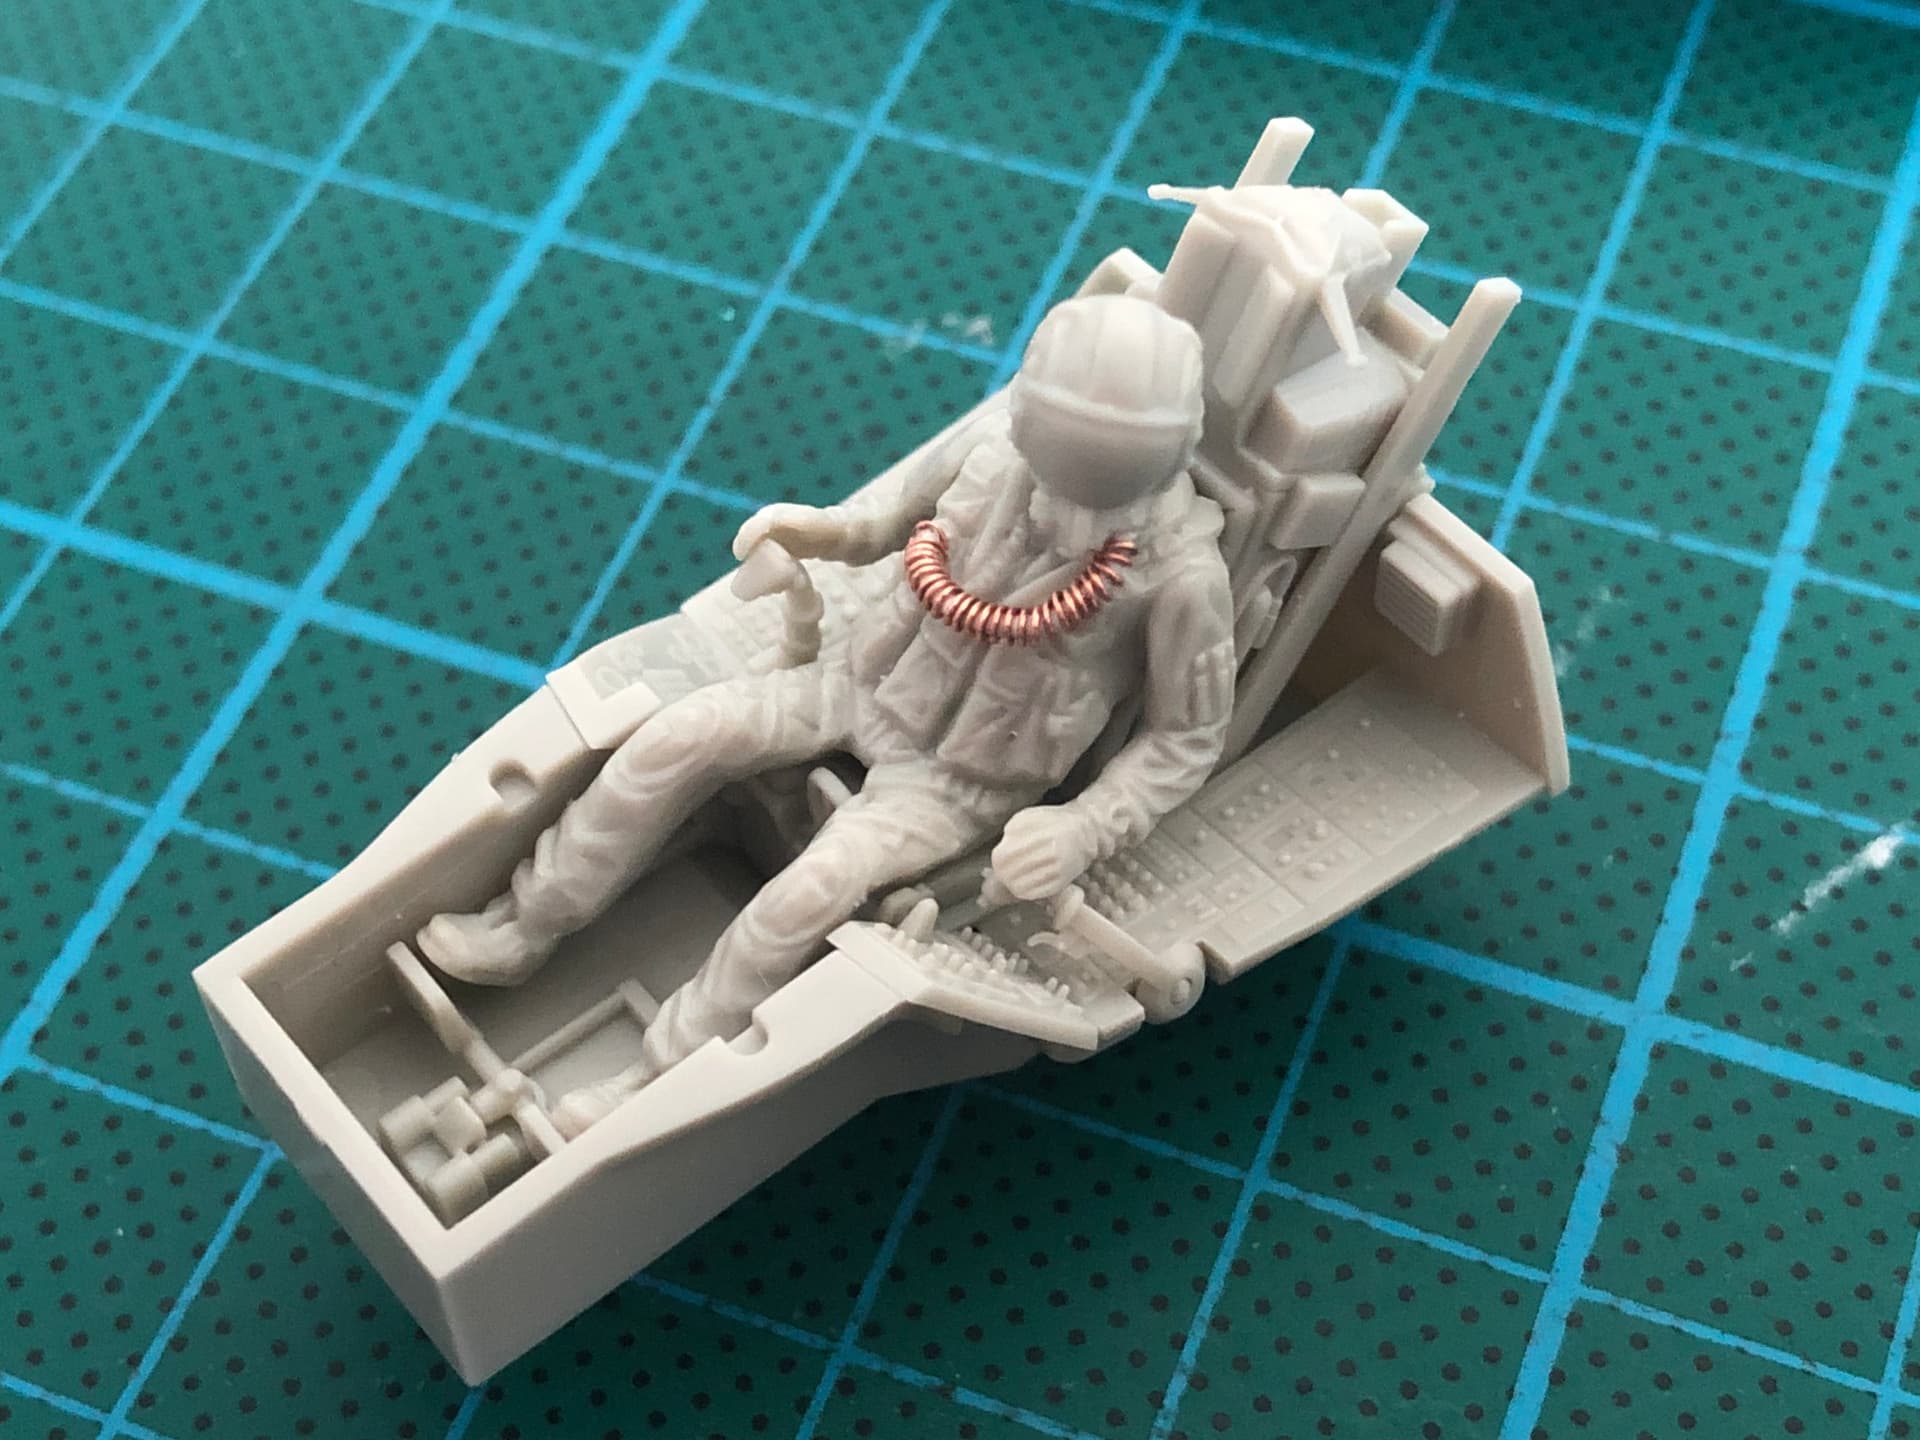
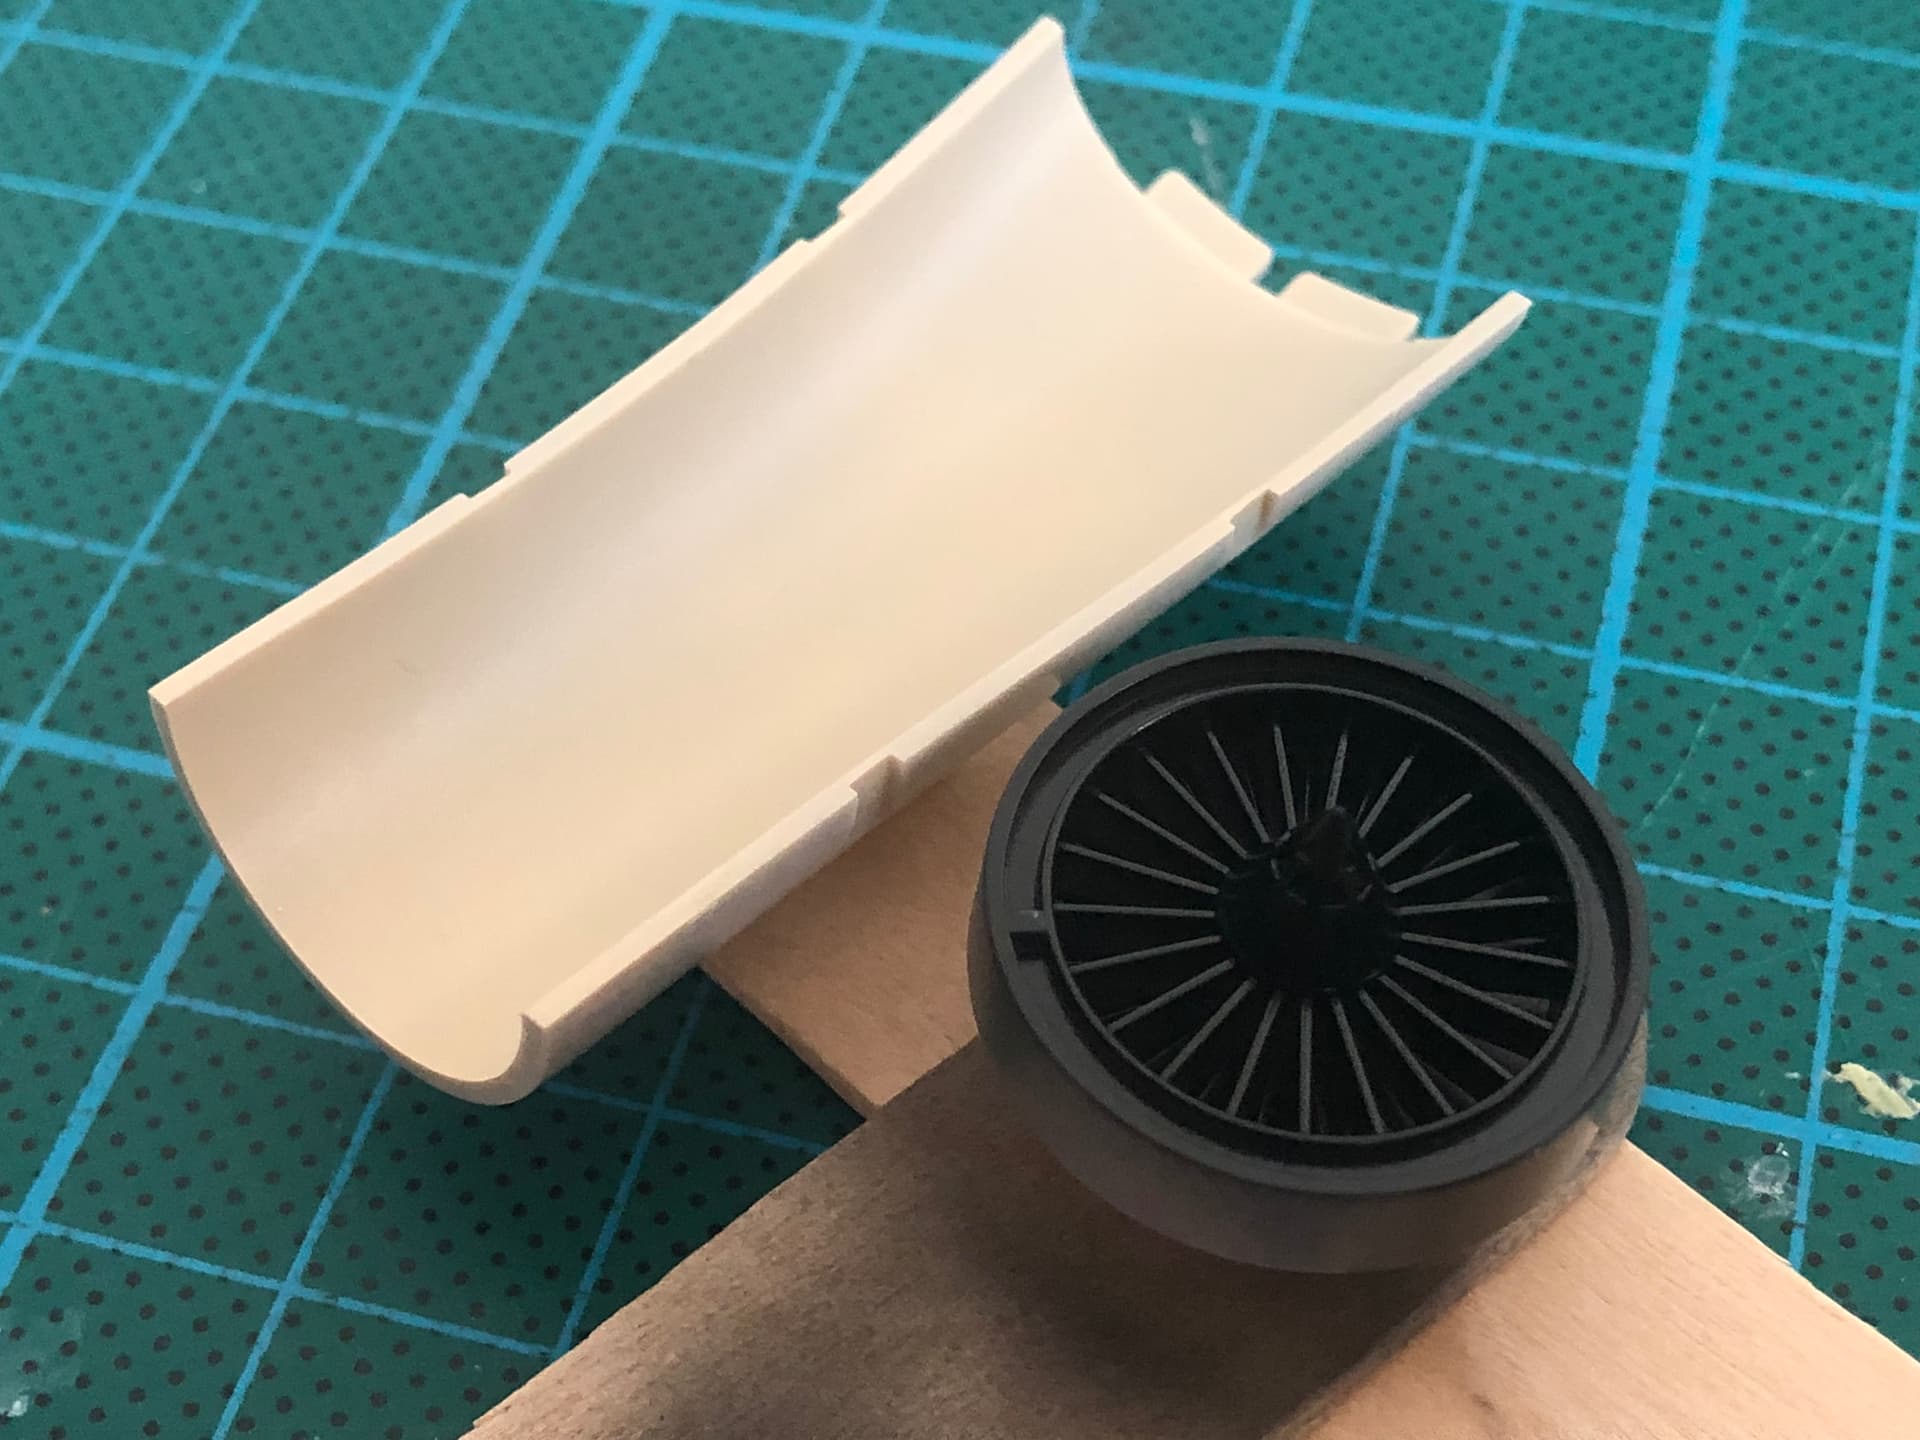
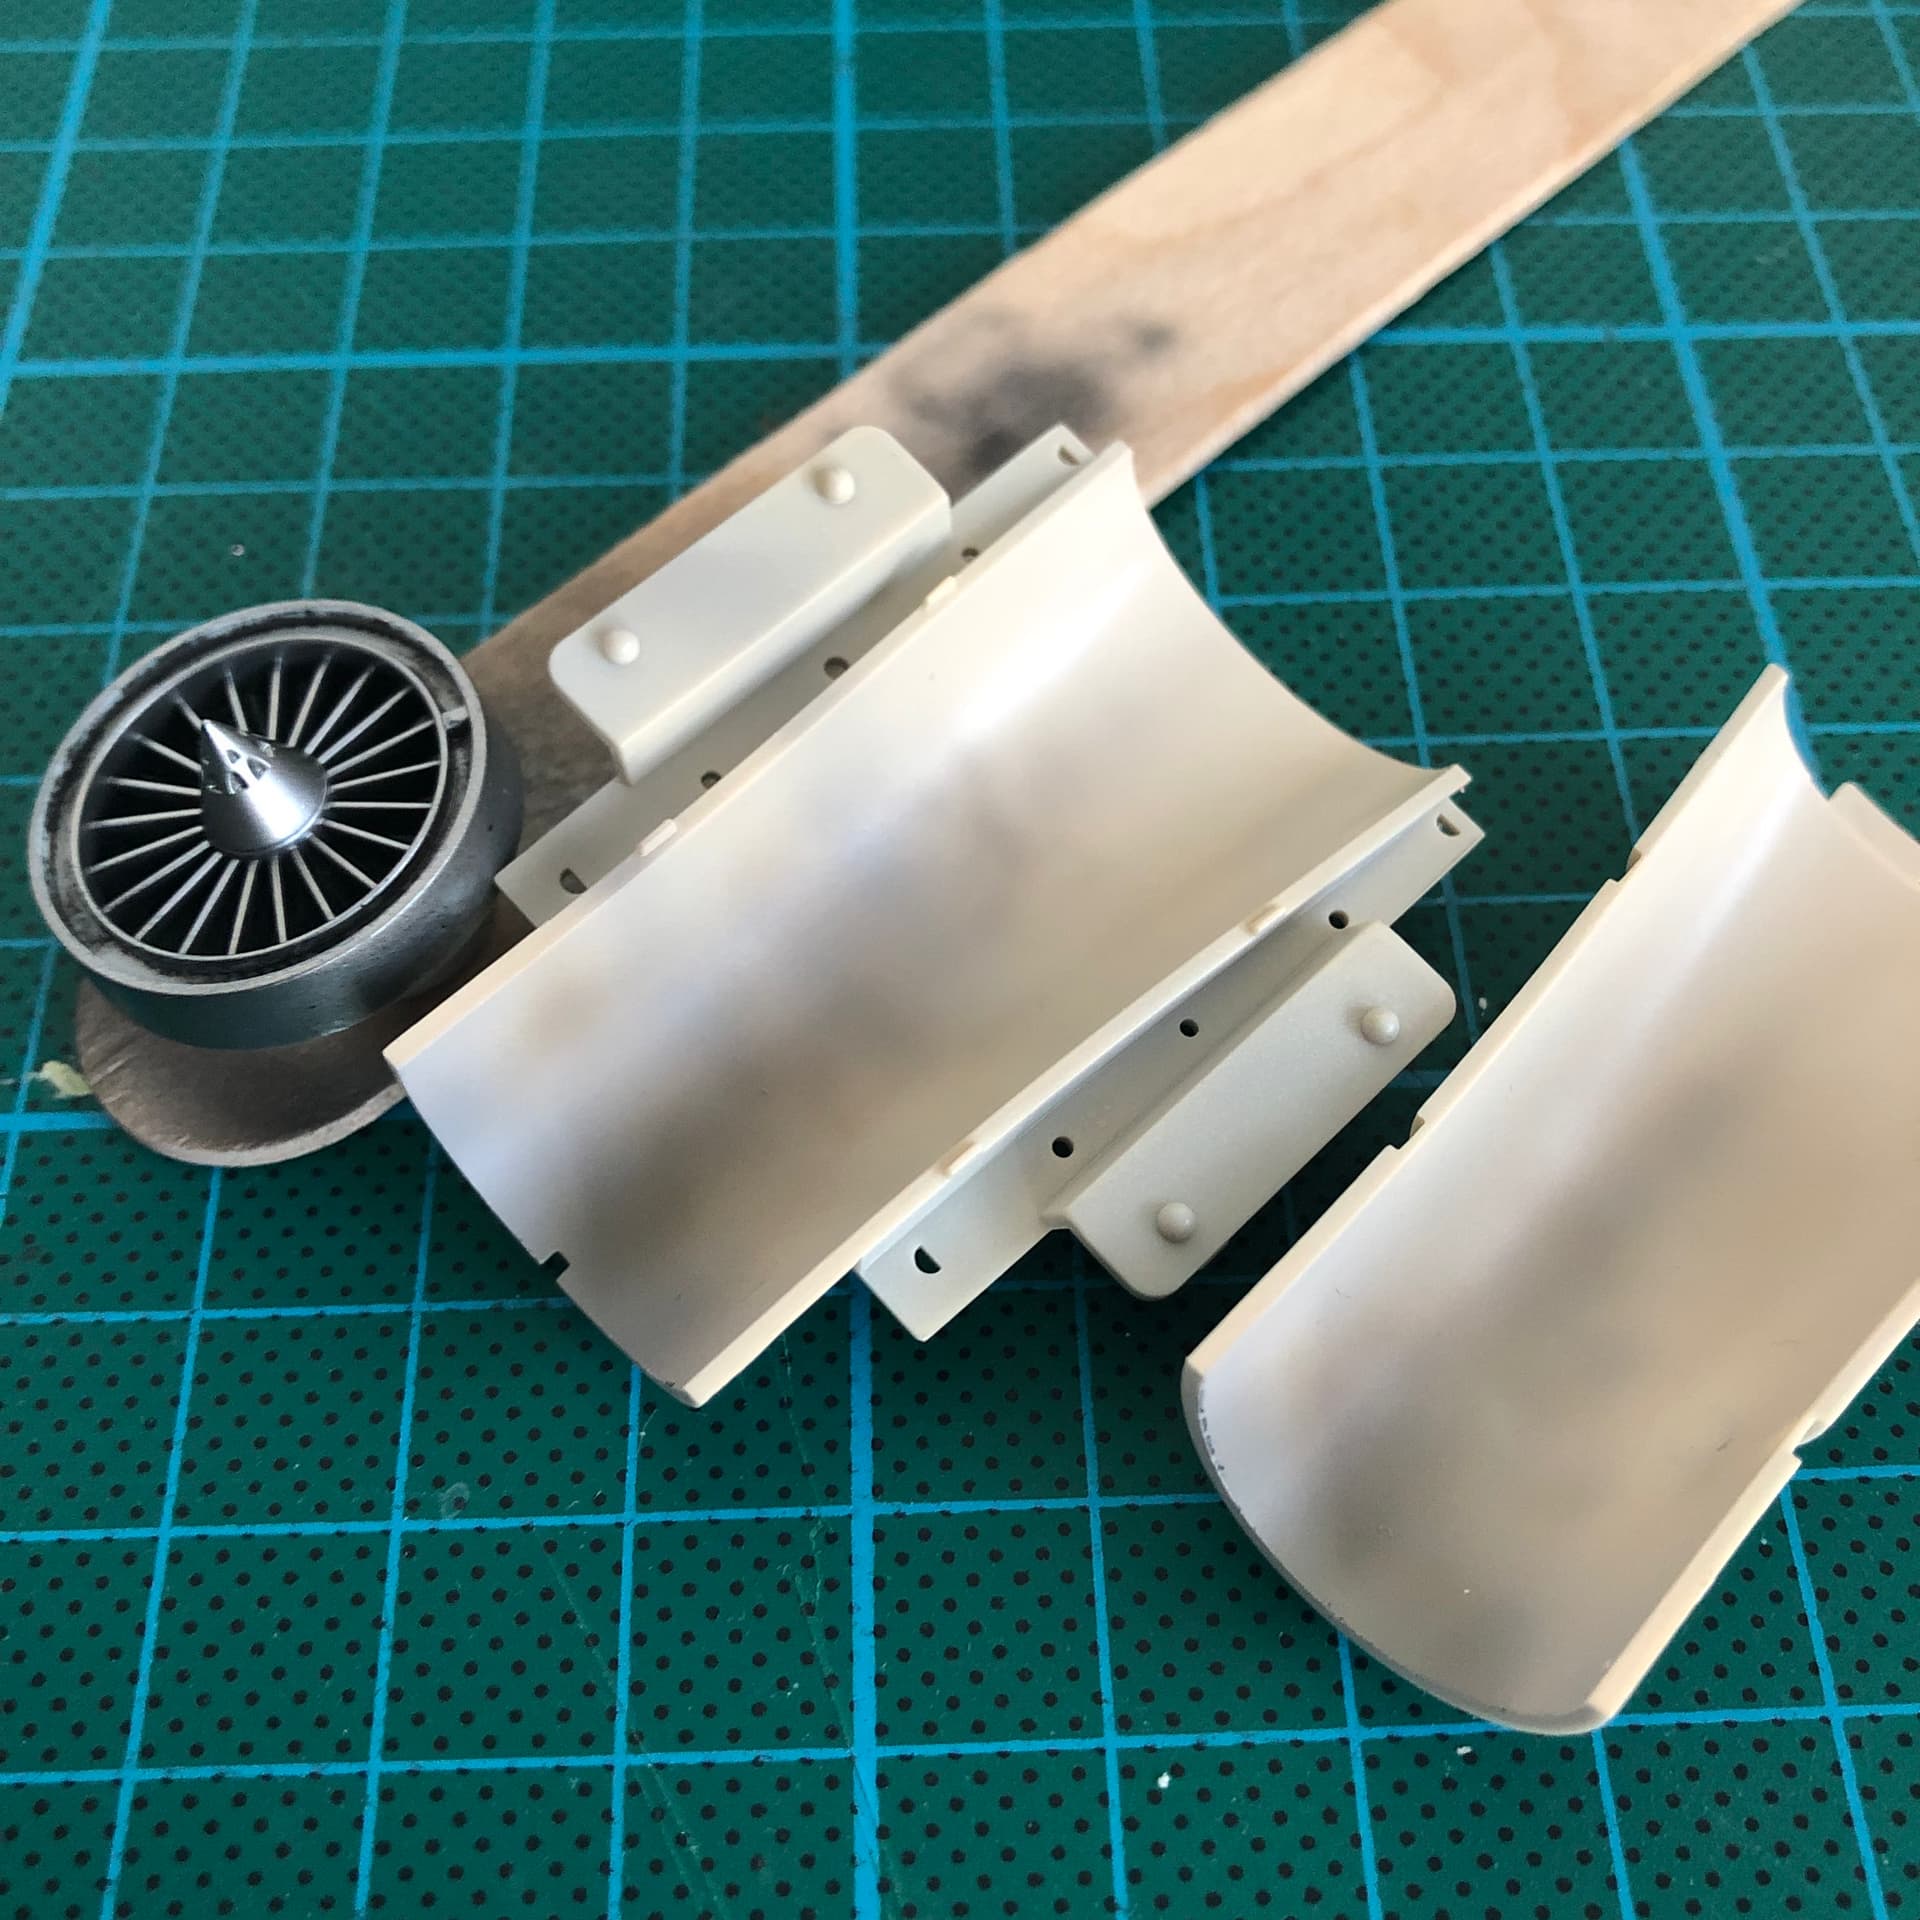
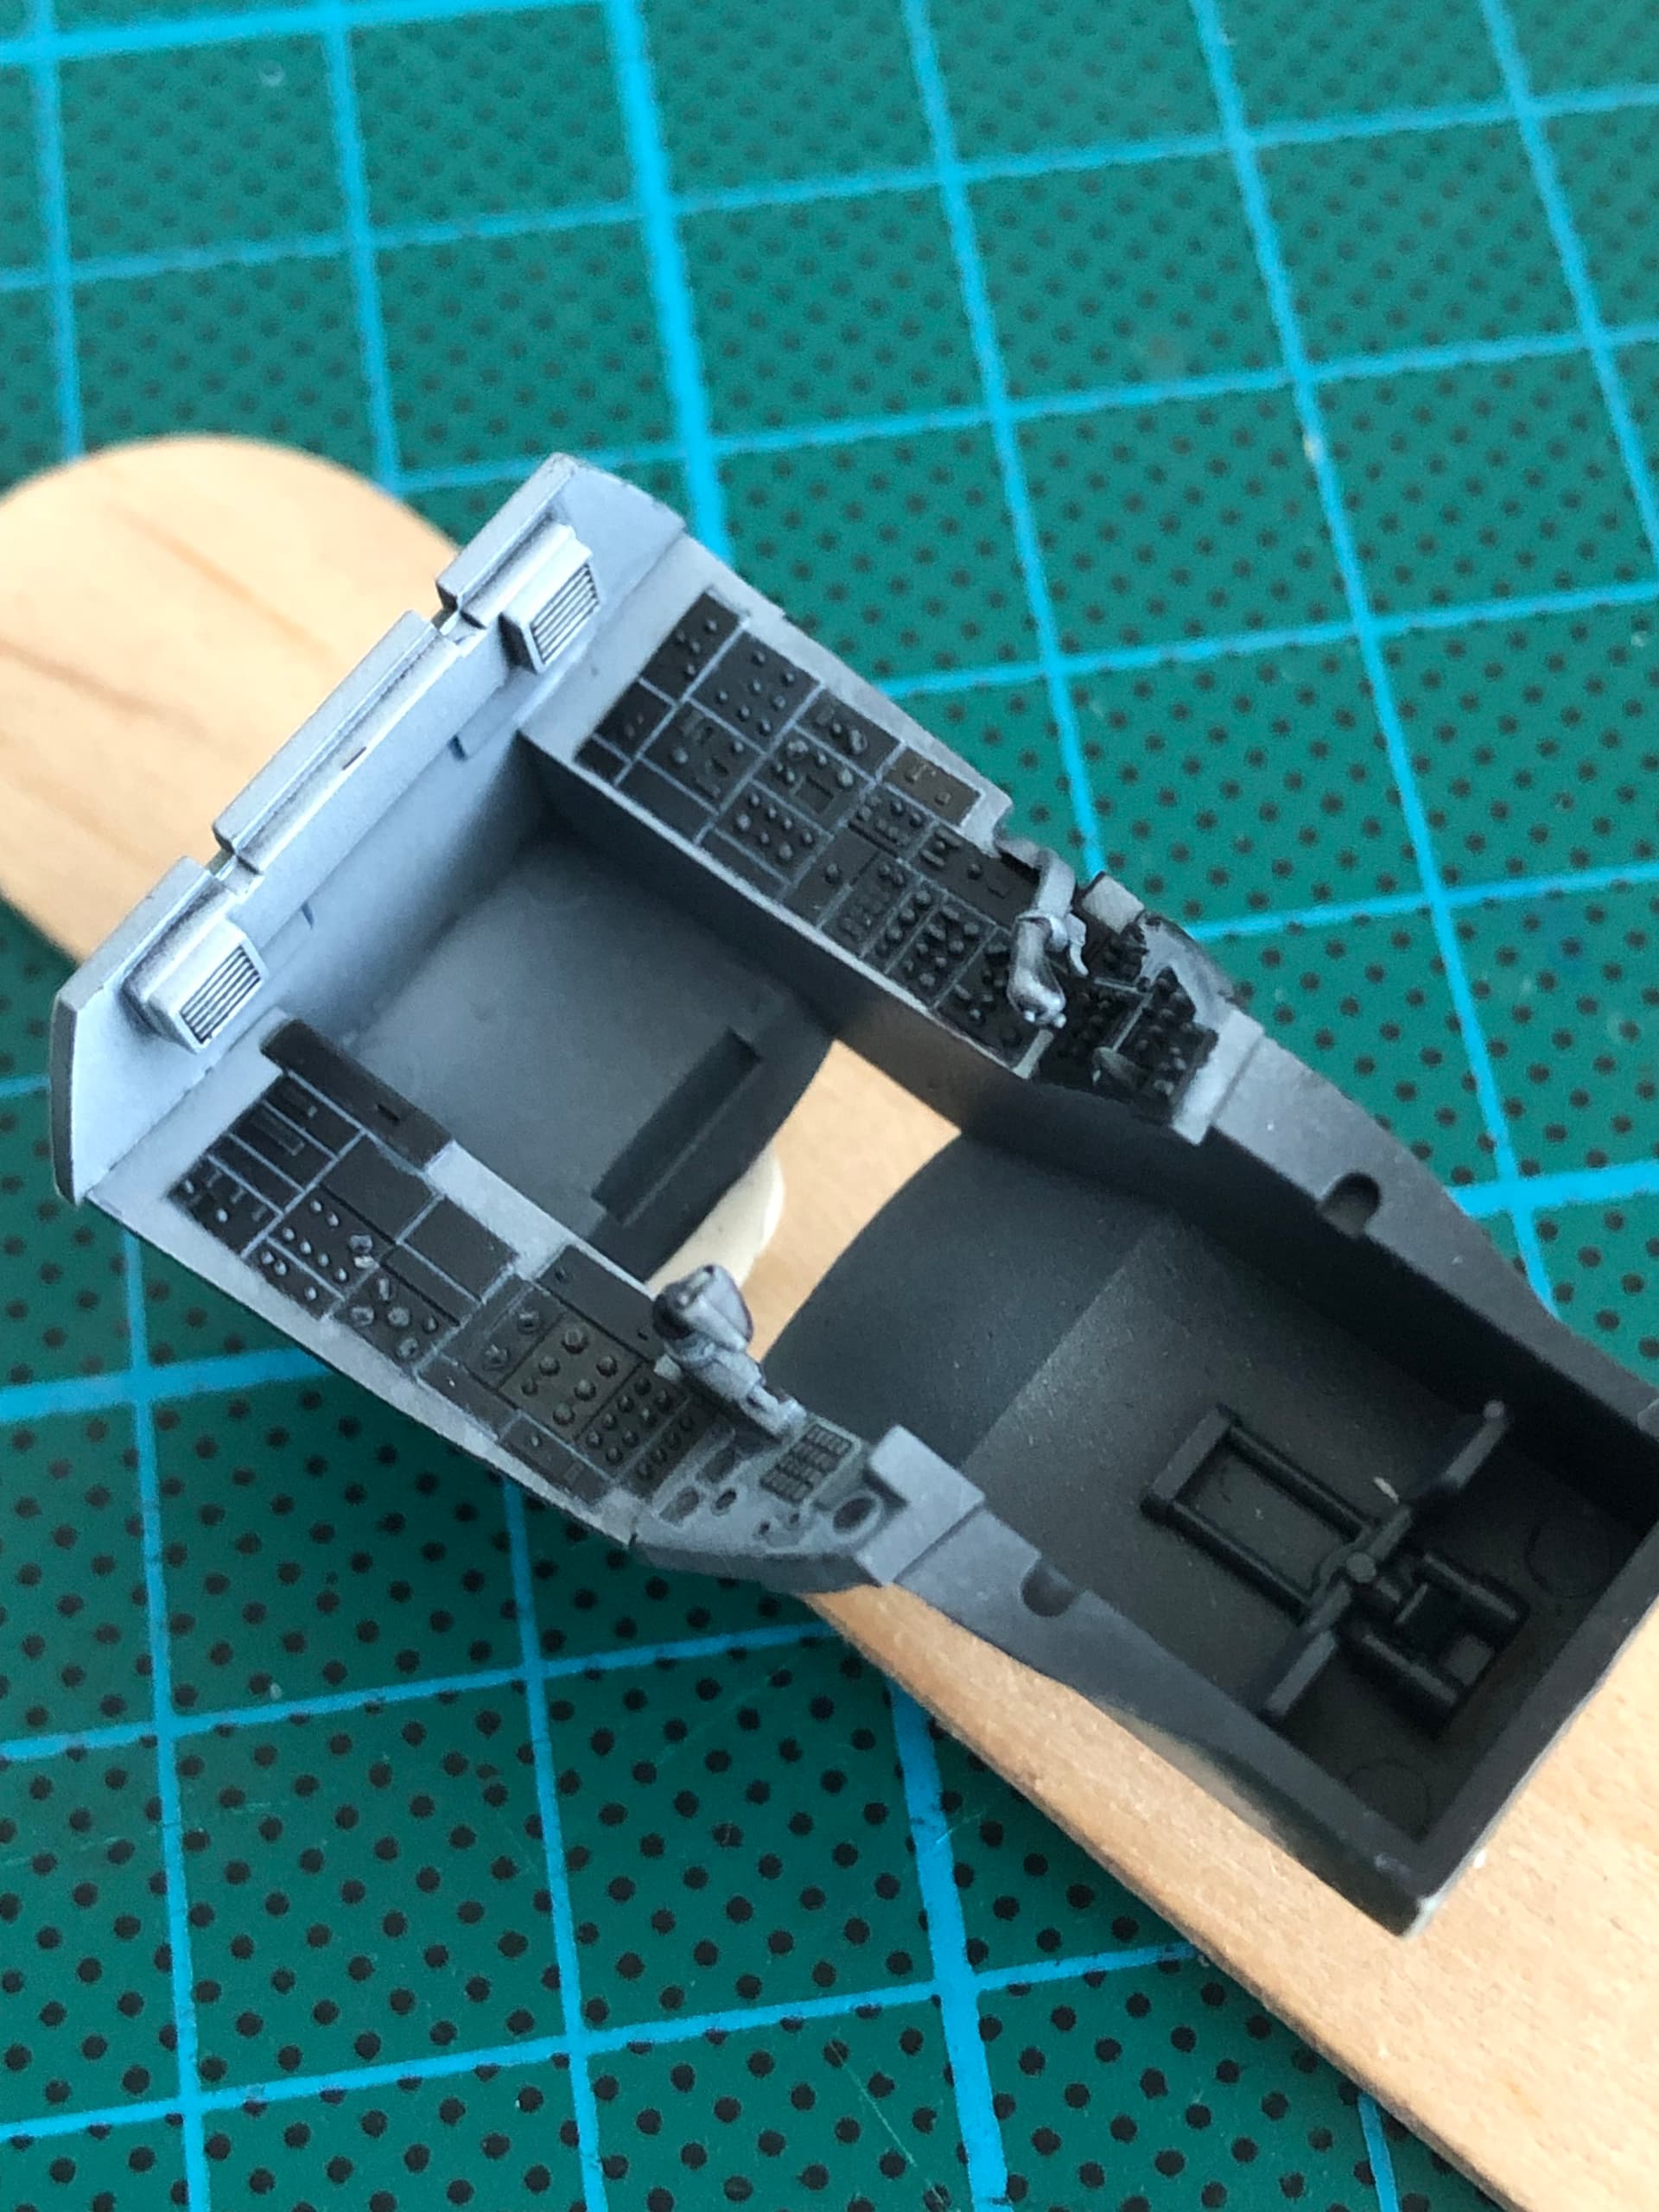
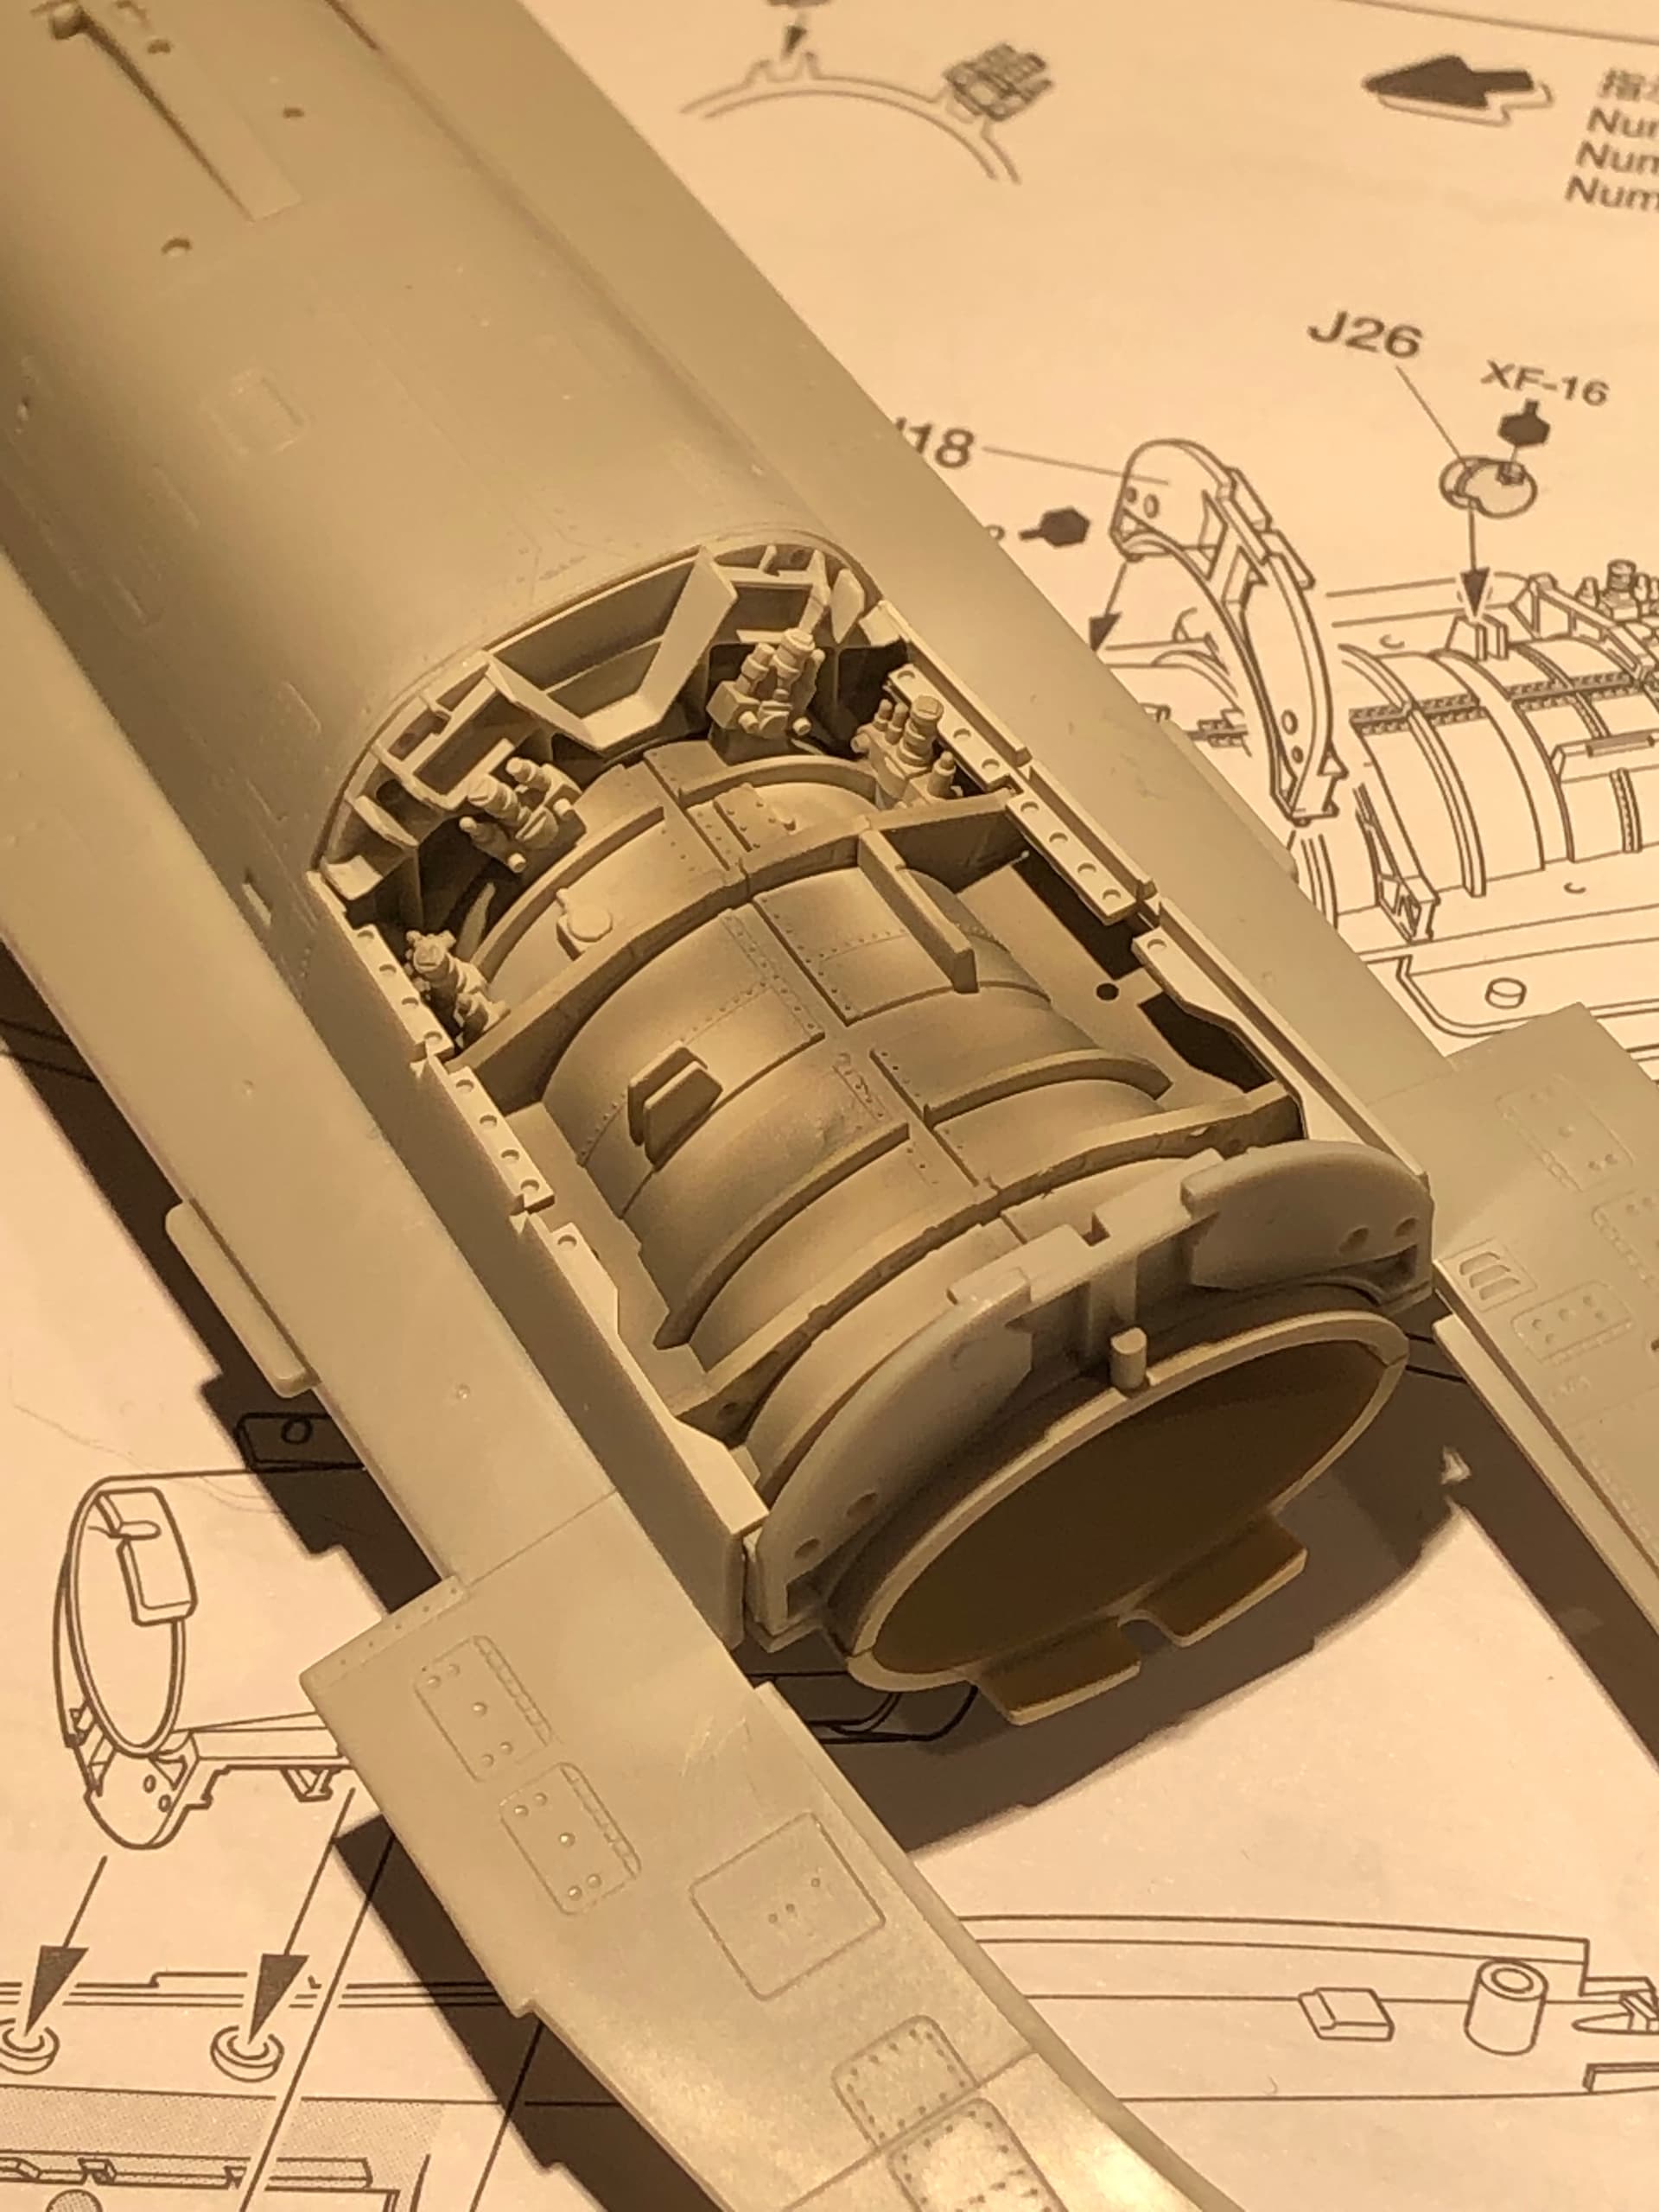
I made a start already. Here’s the cockpit and pilot with a scratch-built air hose. The kit part was sacrificed to the carpet monster. The sandy-coloured object is one-half of the rear part of the air intake. I’m going to do some preshading and then go over it in white.
In the meantime, I hope you are looking forward to a whole year of modeling ahead.
Have fun.
10 Likes
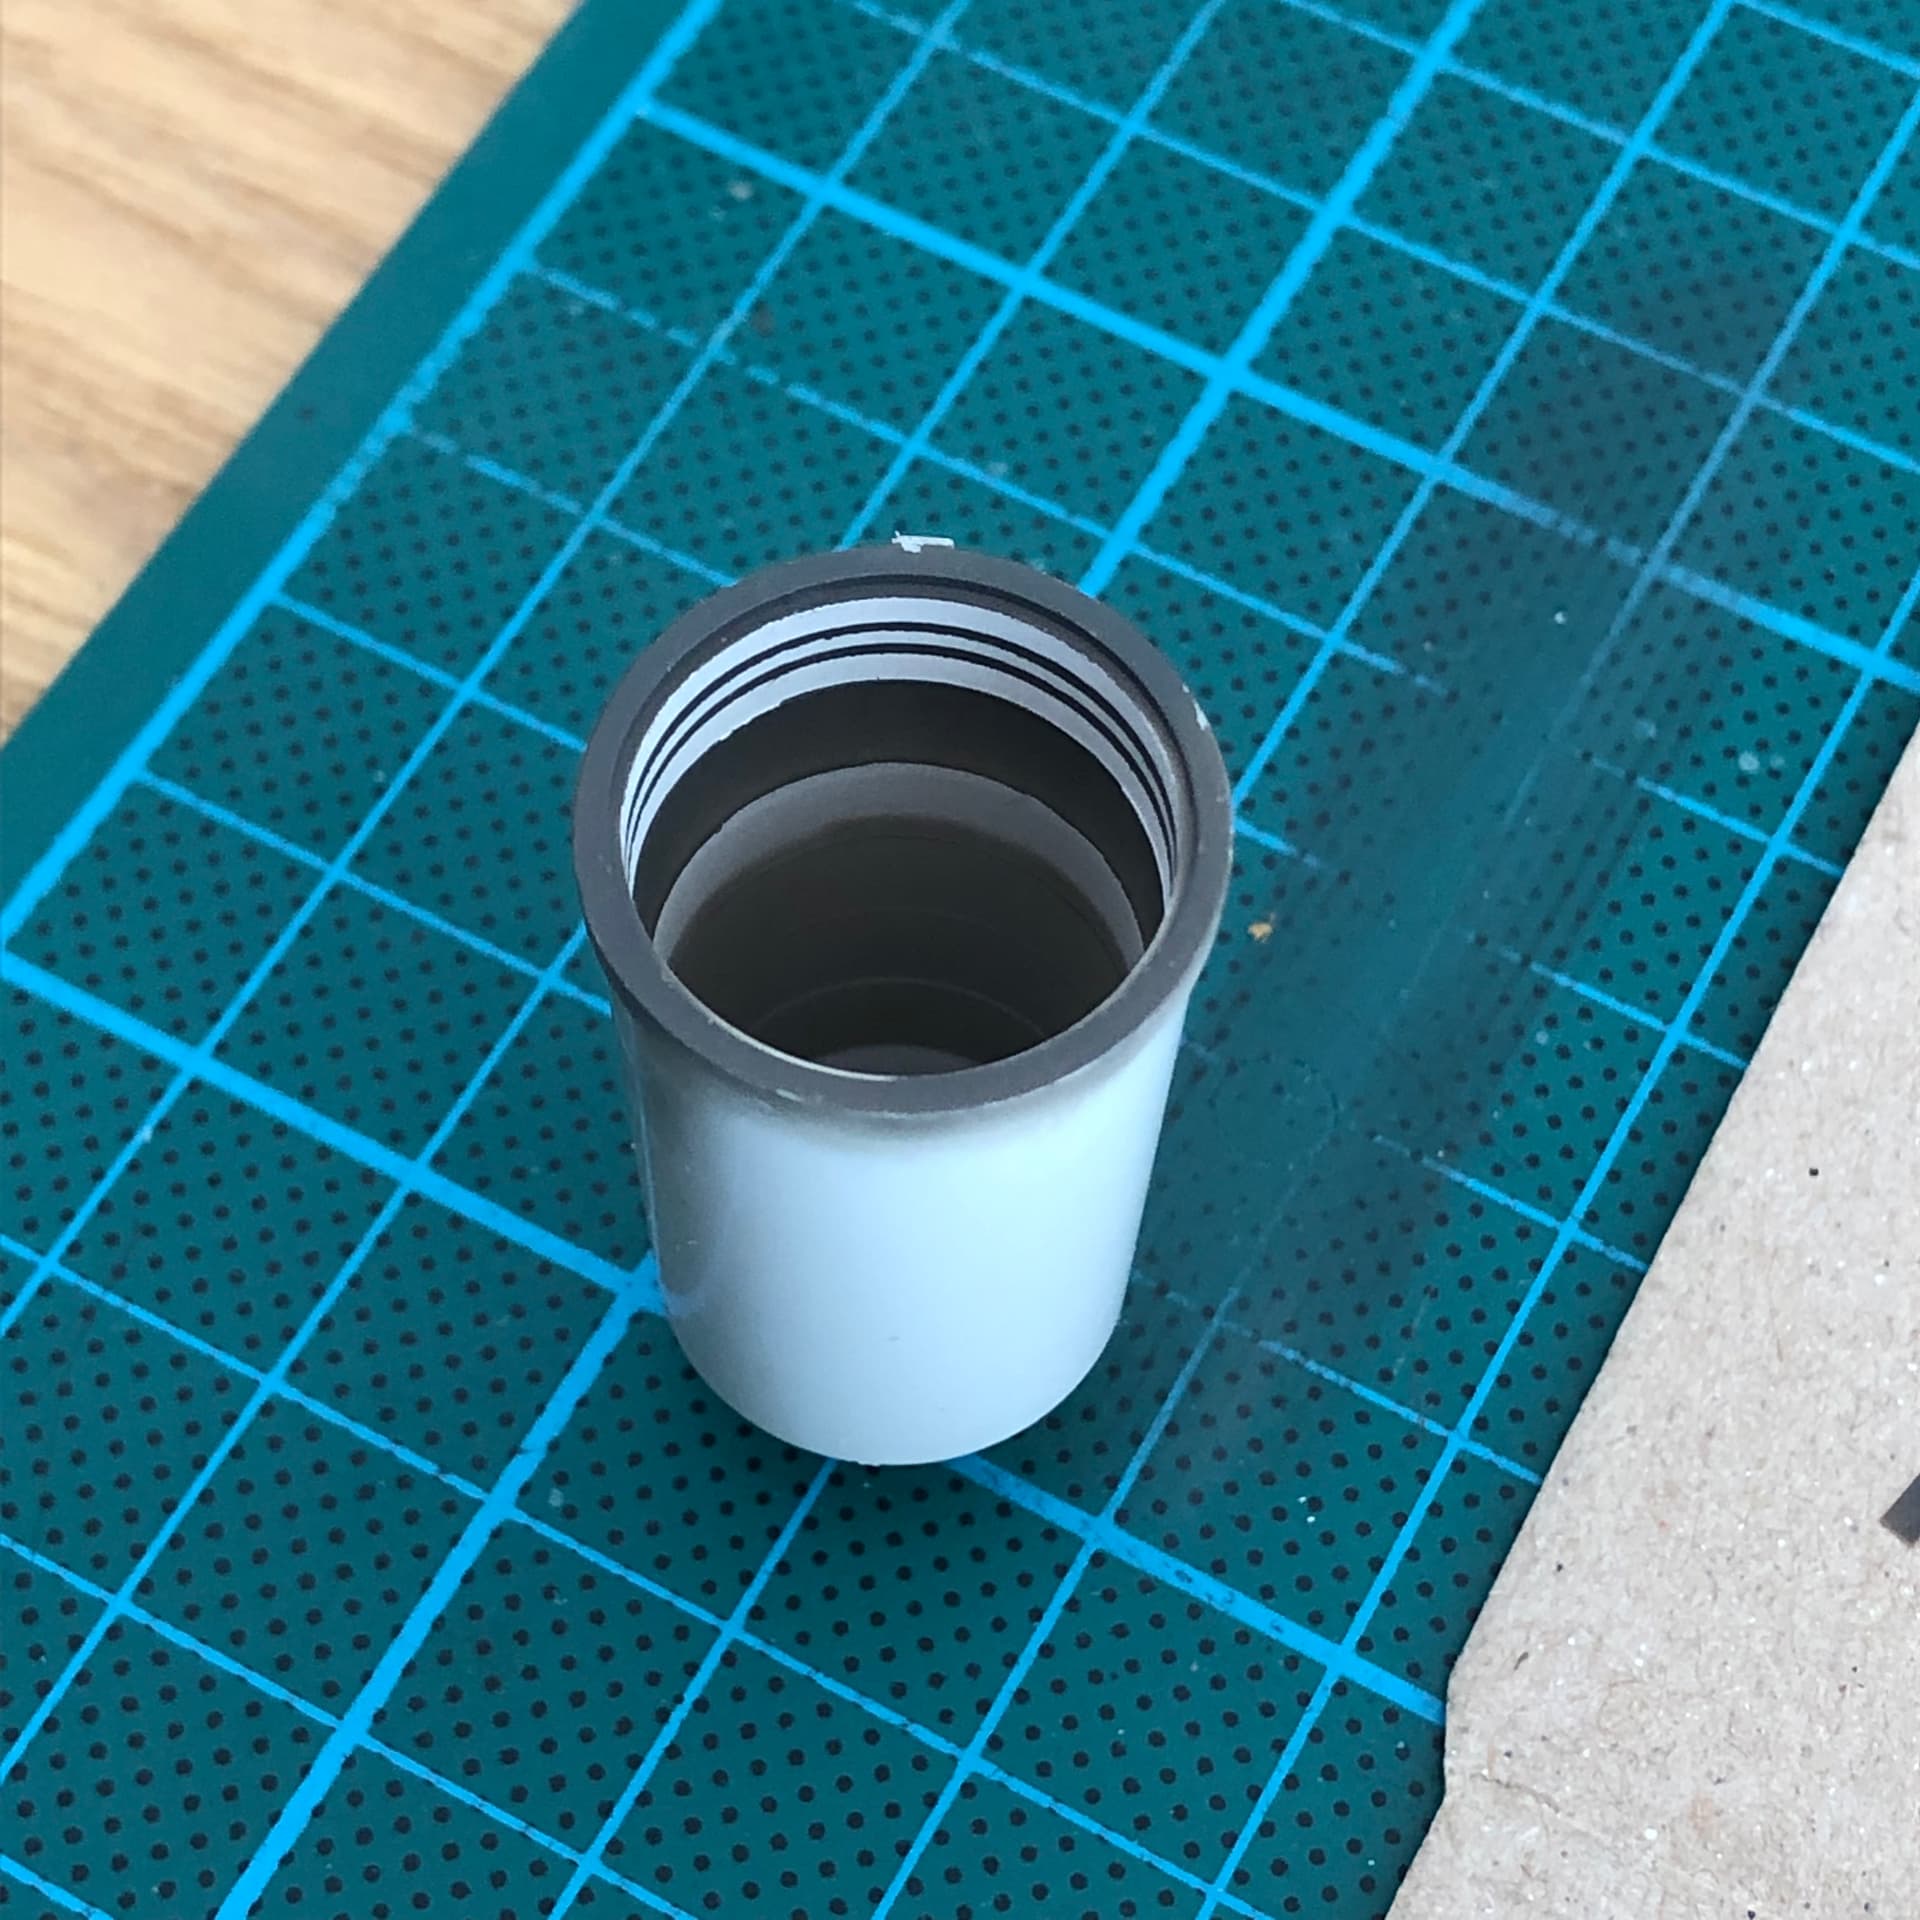
There has been progress. I weathered the inside of the air intake, although I’m not sure this section will be seen. At least it was good practice.
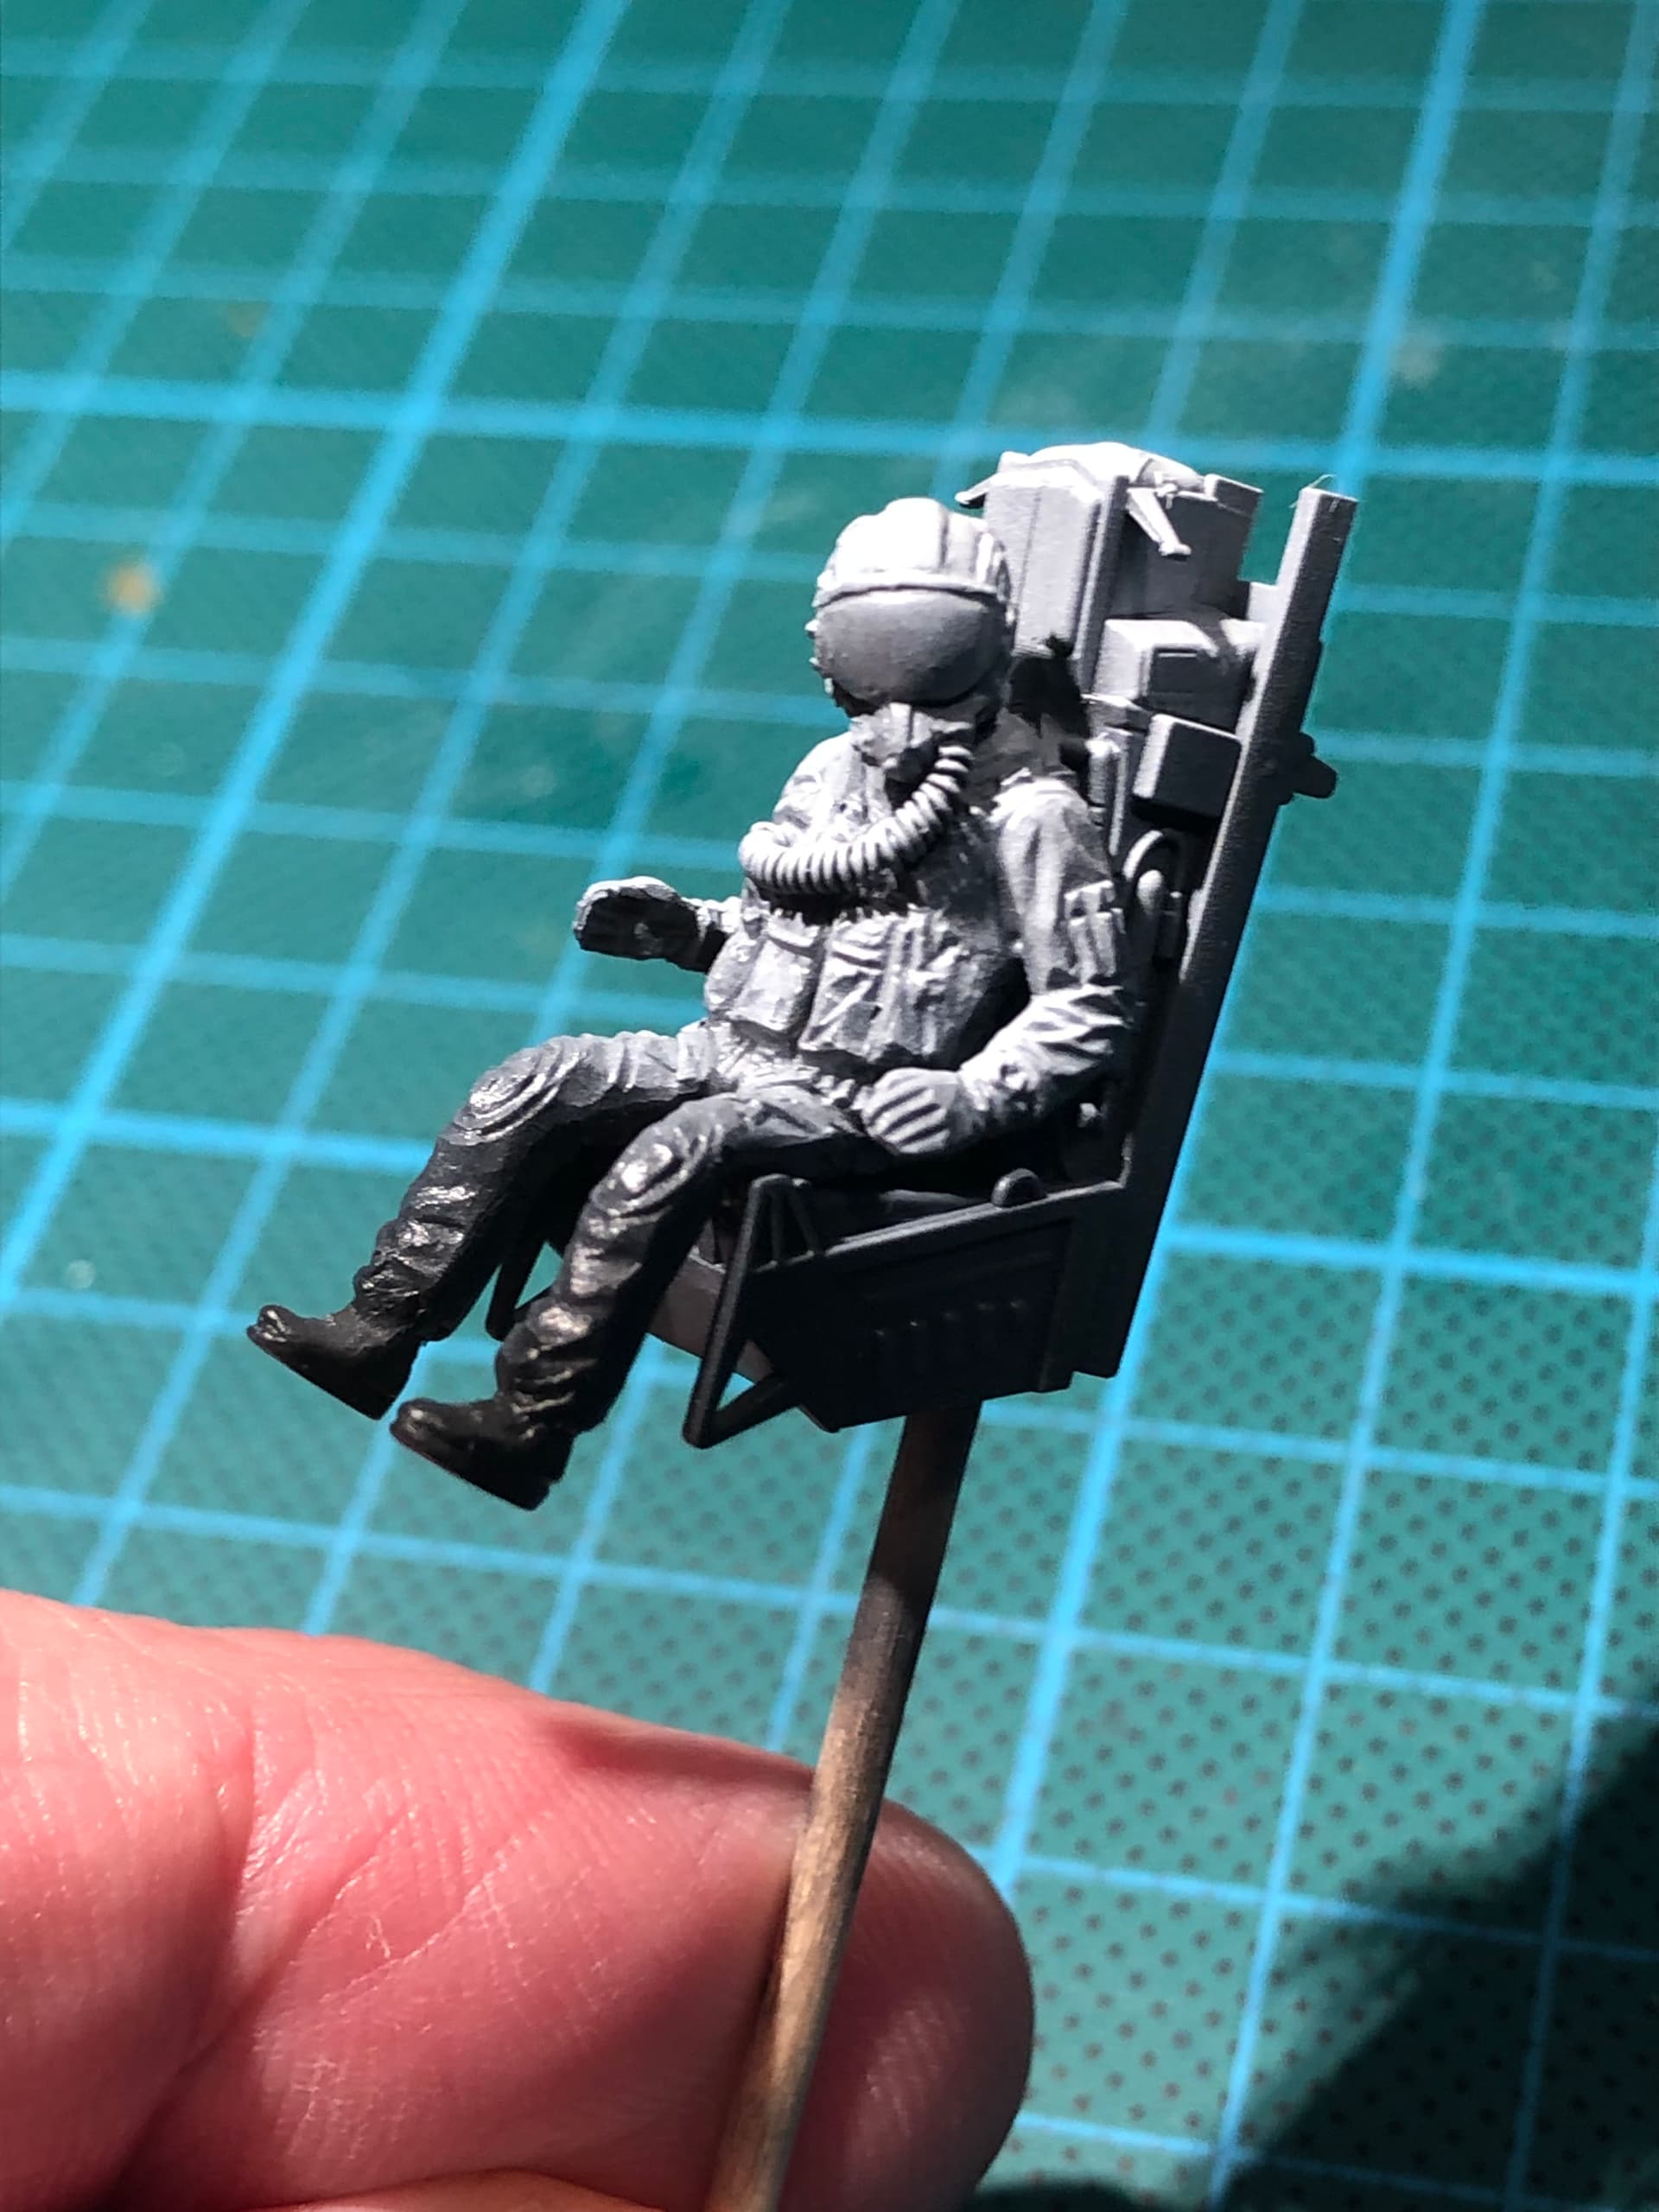
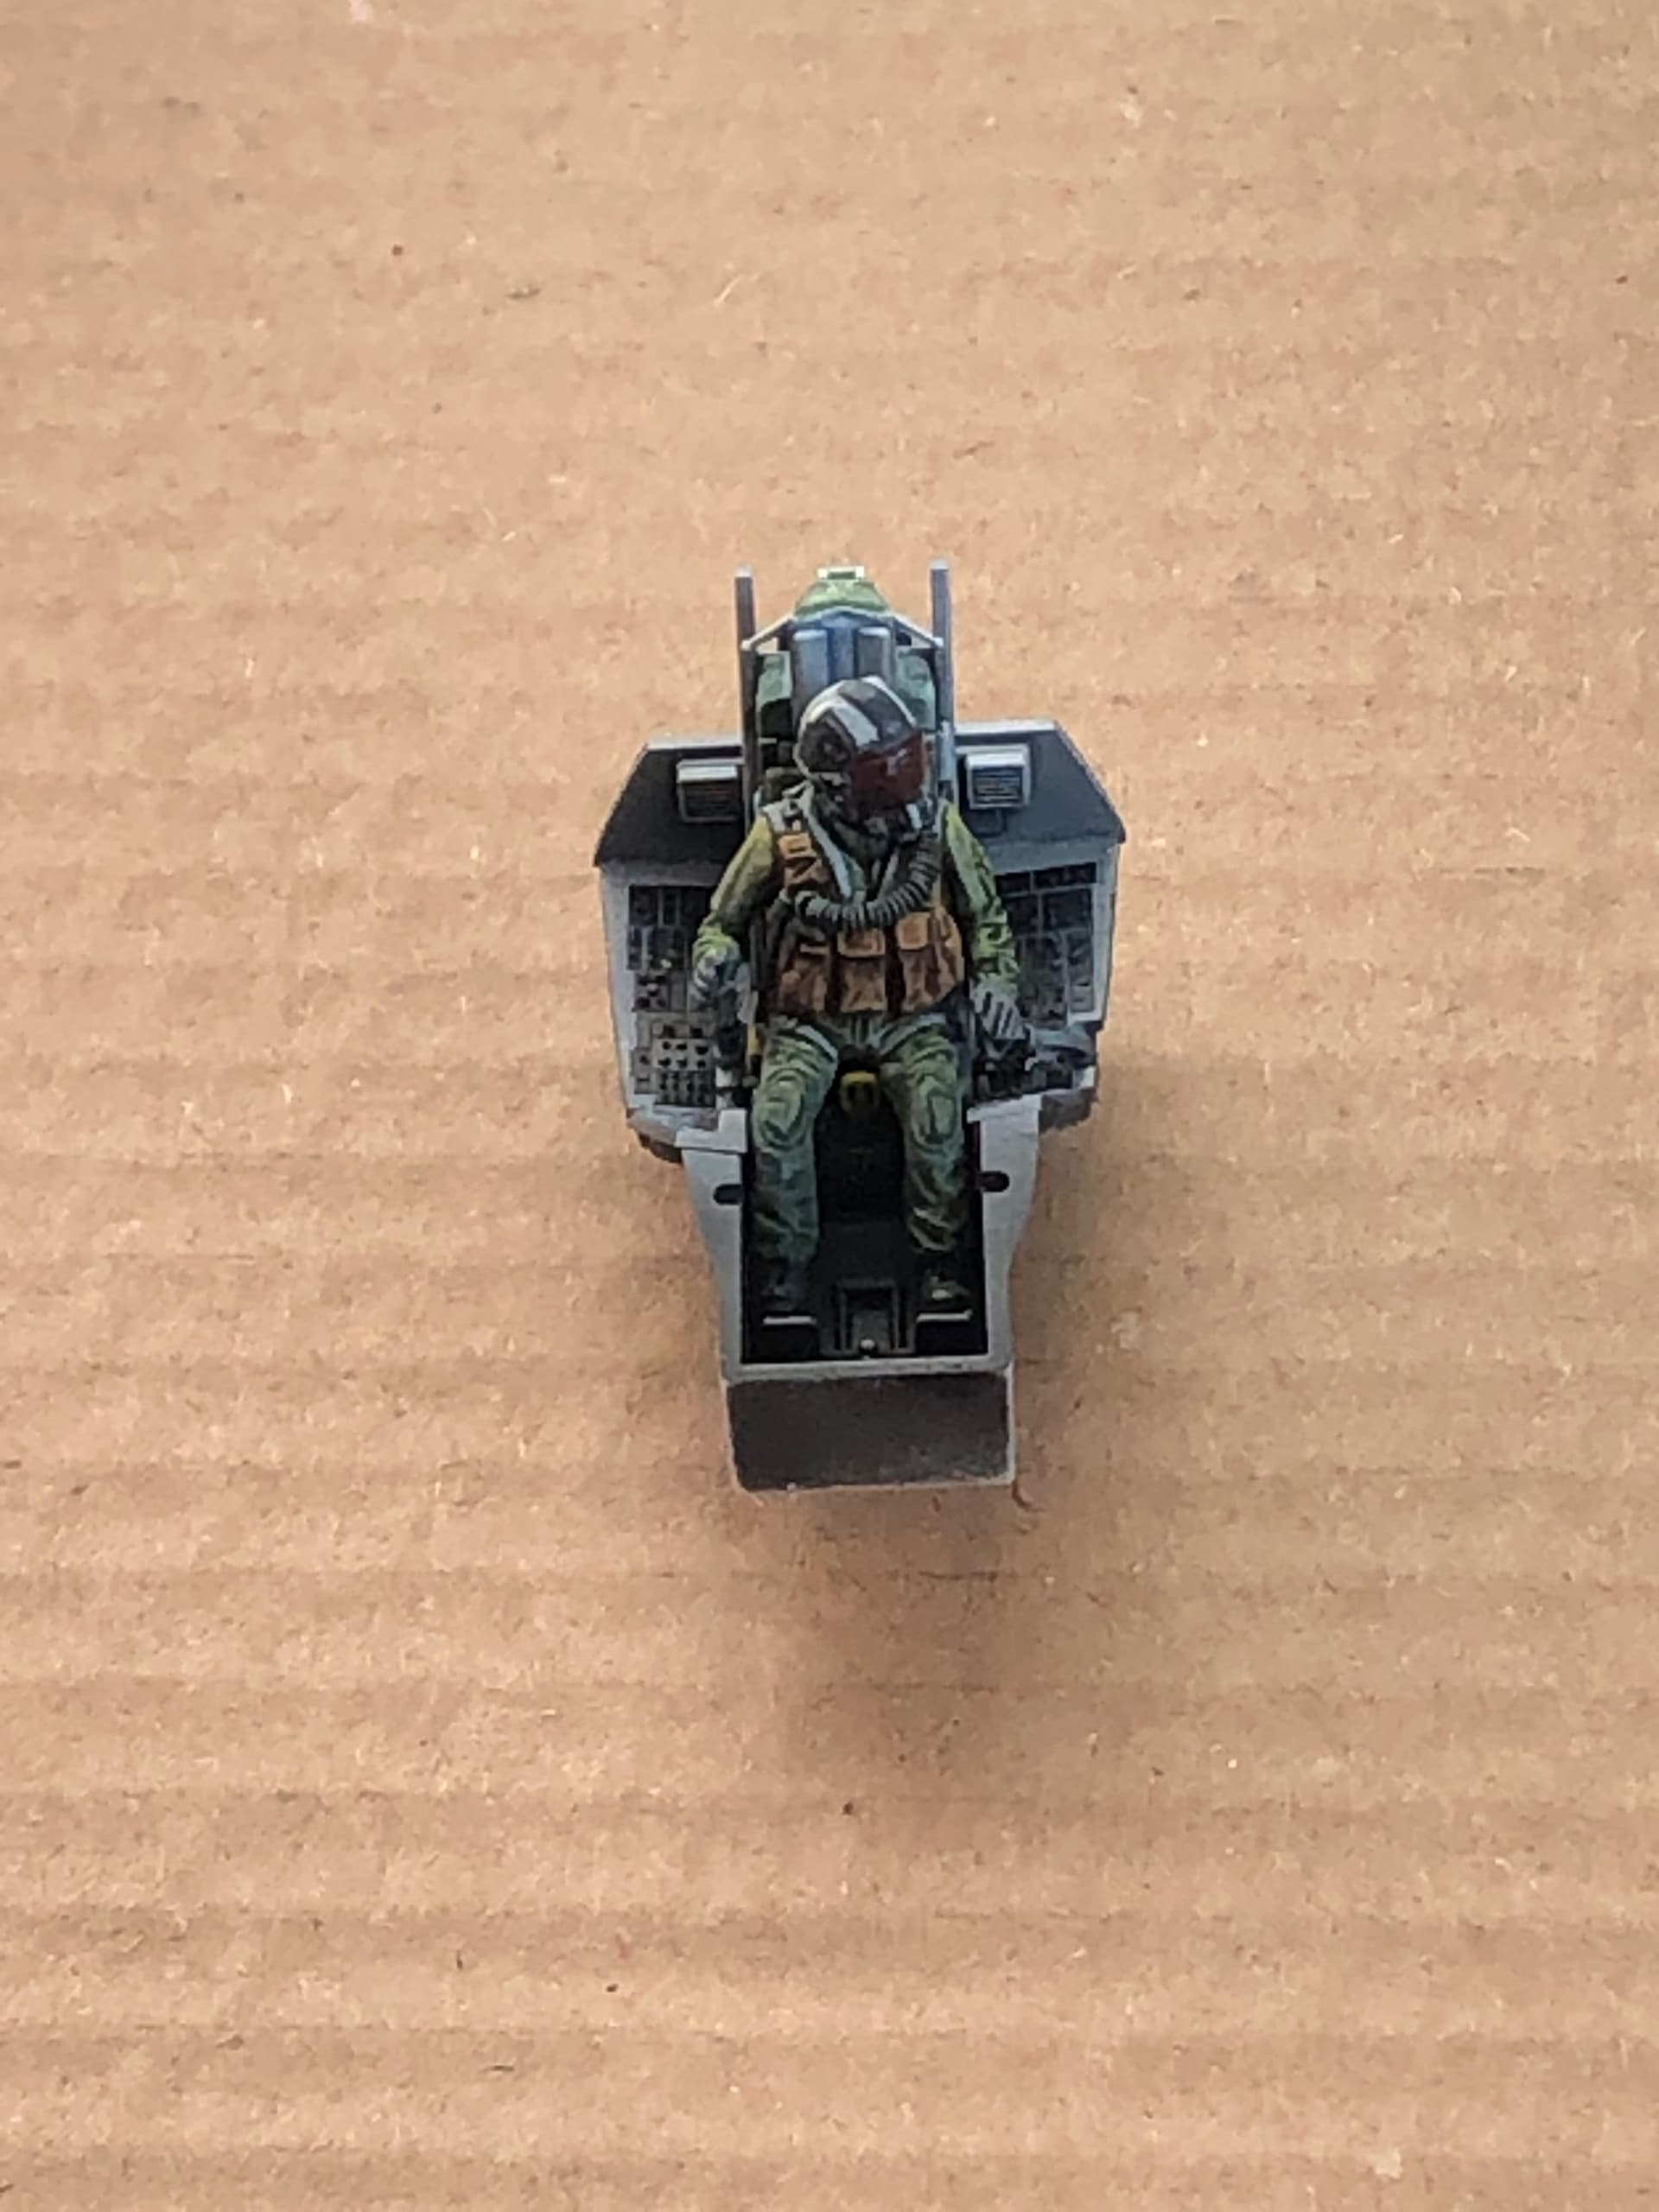
The cockpit and pilot figure are being painted using techniques borrowed from fantasy painters, and Uncle Nightshift (check out his channel even if you are not an armour builder. It’s inspirational). The technique starts with getting the highlights and shadows sketched out with an airbrush and then moving on to thin glazes of translucent colours that work with the light sketch. That’s the next step. Here for now is the basic black-and-white painting. My simple lighting has struggled to show the more subtle transition in values, but I hope you get the gist.
Happy modeling, chaps.
5 Likes
Hi guys,
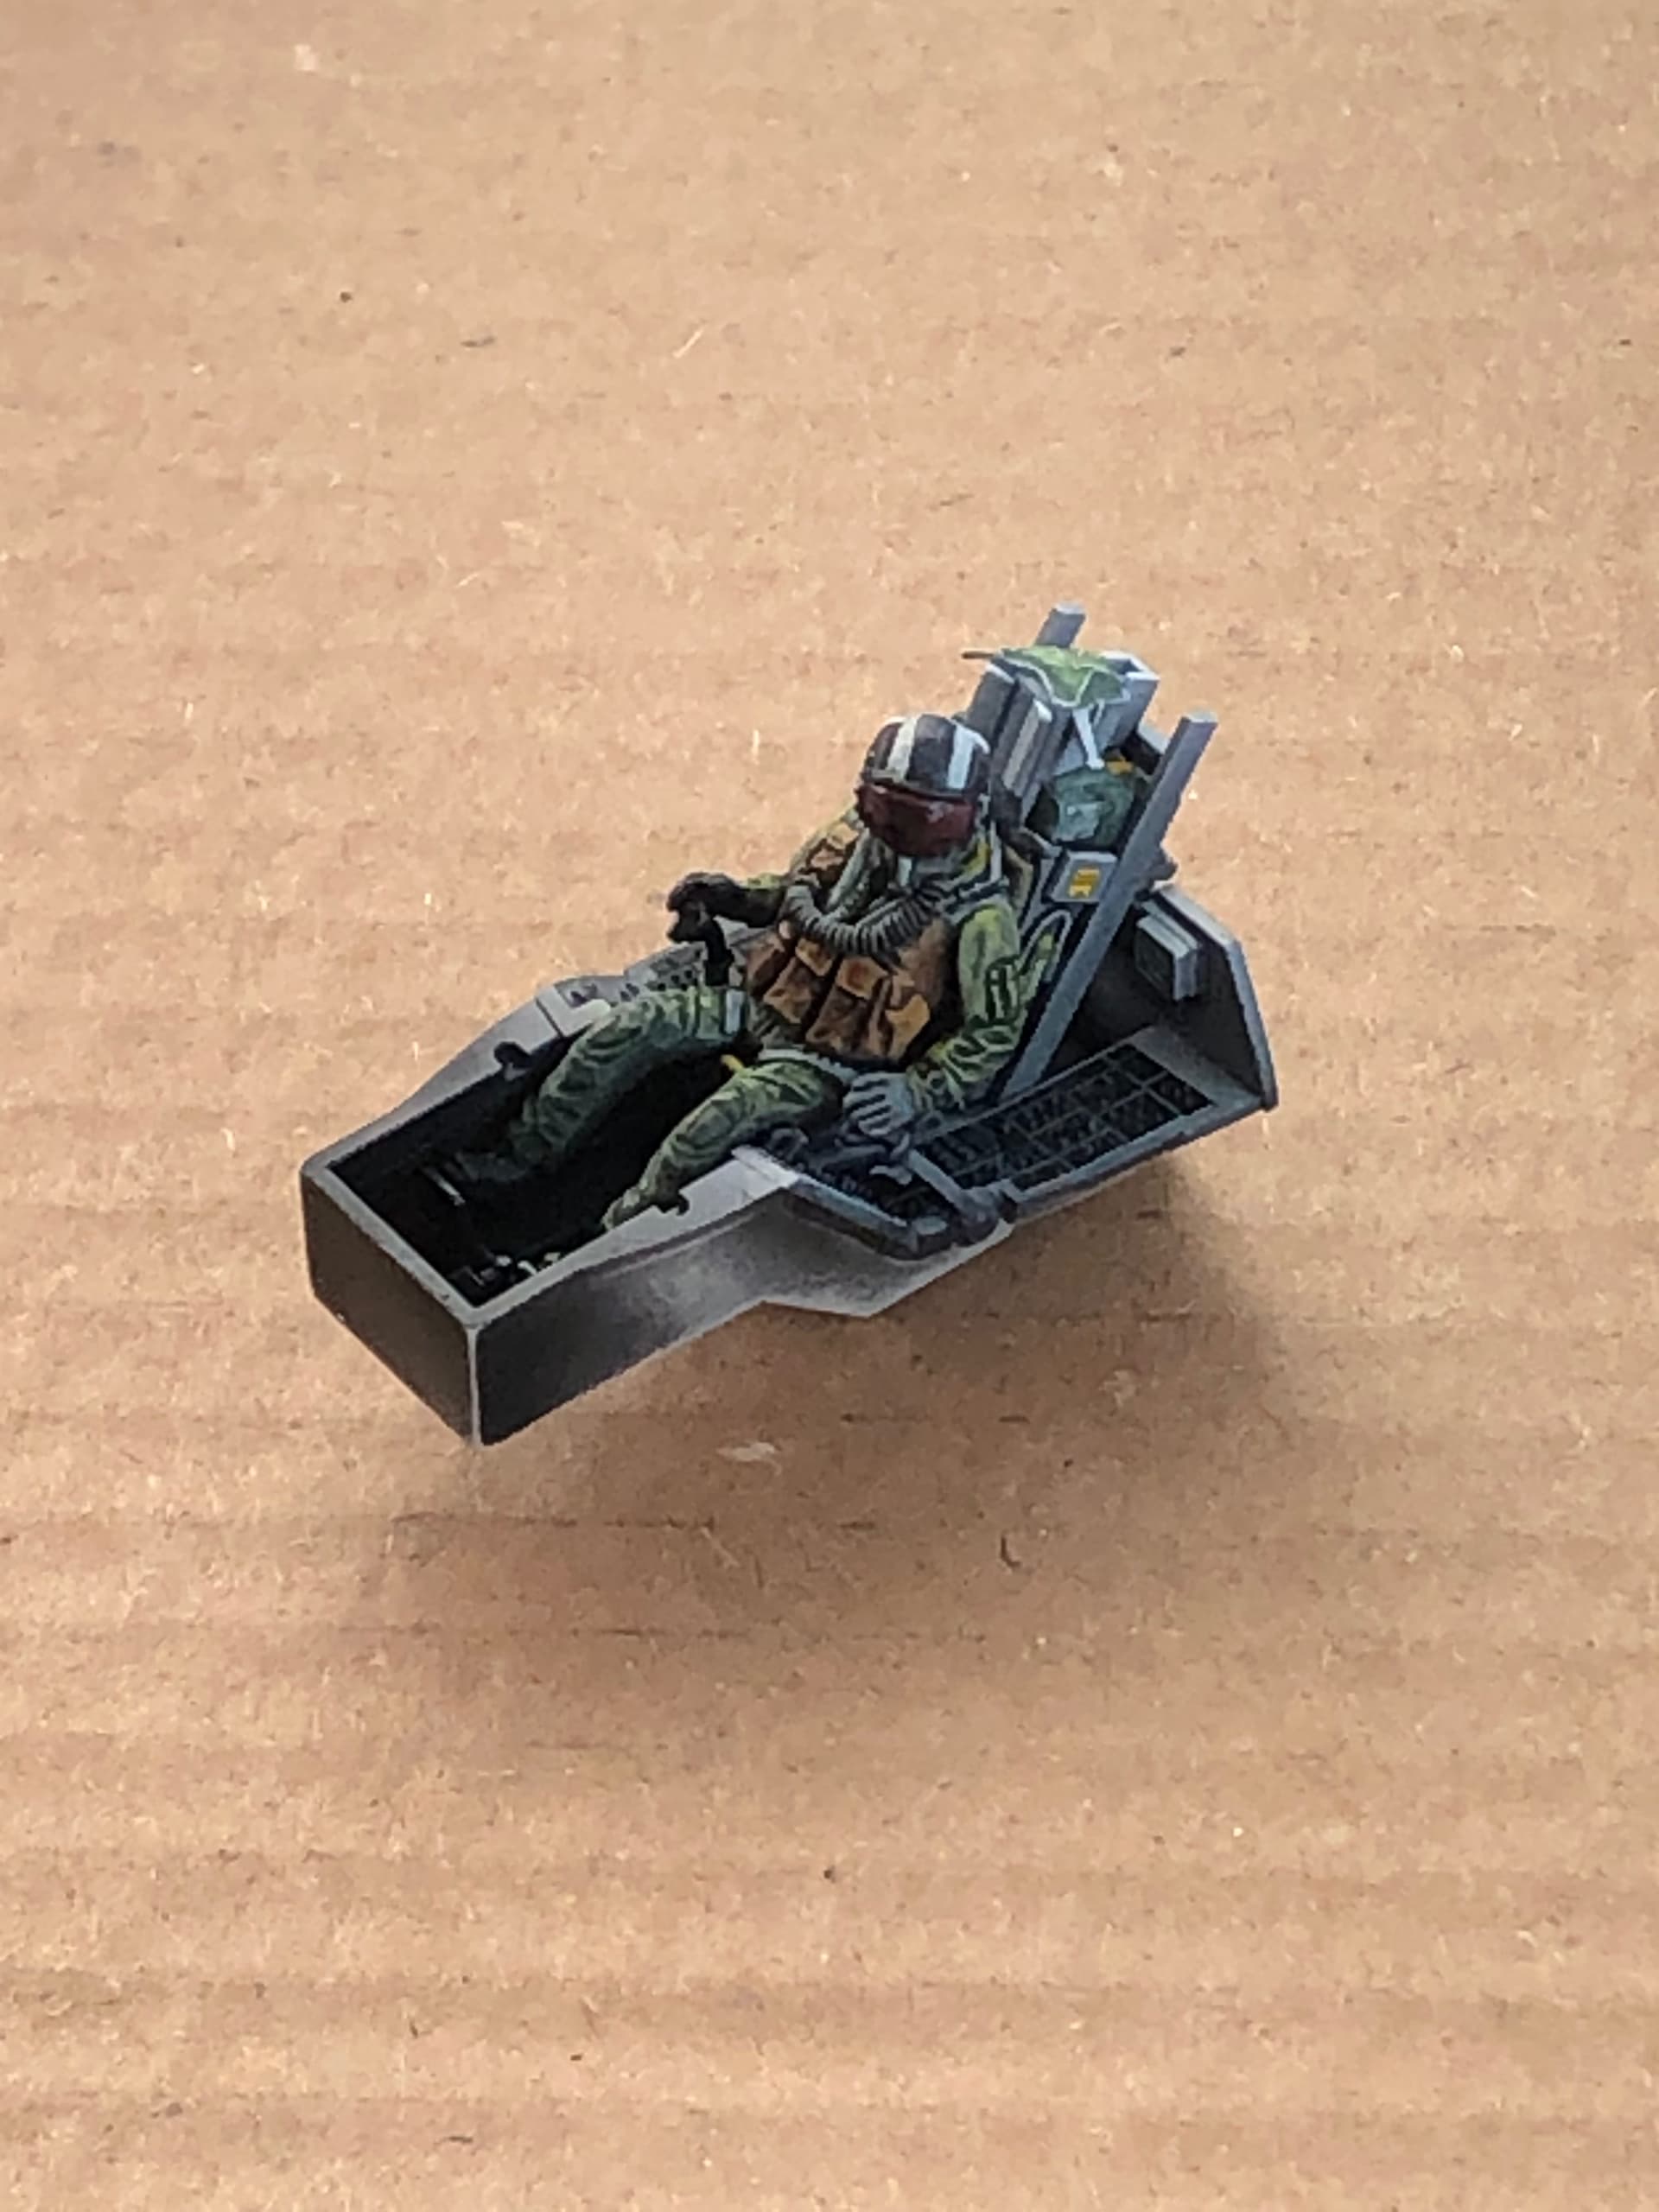
The last few weeks have been spent happily painting the cockpit and pilot. Airbrushing, filters, oil washes, and a bit of highlighting/dry brushing with oils got me here.
This is the first figure I’ve painted in years. I learned a lot in the process and reminded myself of things I’d forgotten. The end result satisfied me - especially as there will be a tinted canopy covering all this work - but with more practice, I could do better. Here are the painting steps I went through to get this result:
- Base coat in black
- Airbrushed zenithal highlighting in white to create the initial shadows and highlights
- Blocking in basic colours with filters. The aim is to tint the black and white, not cover it in opaque paint.
- Oil washes to reinforce the shadows. My amateurish pics, don’t really show that I used darker versions of each base colour, rather than a single dark wash.
- Accentuated highlights with oils.
- Final touch-ups with oils to correct mistakes.
- Gloss varnish on the visor.
- Putting the brushes down and cleaning them up thoroughly as a way of resisting the temptation to go too far.
The decals are taken from more spares box. They’re not F-16 labels but I took the ‘close enough’ approach.
What works and what doesn’t for you?
Next, it’s back to the aircraft itself.
Happy modeling guys.
12 Likes
can’t wait to see further developments!
1 Like
Hi David and you guys looking in,
Thanks very much.
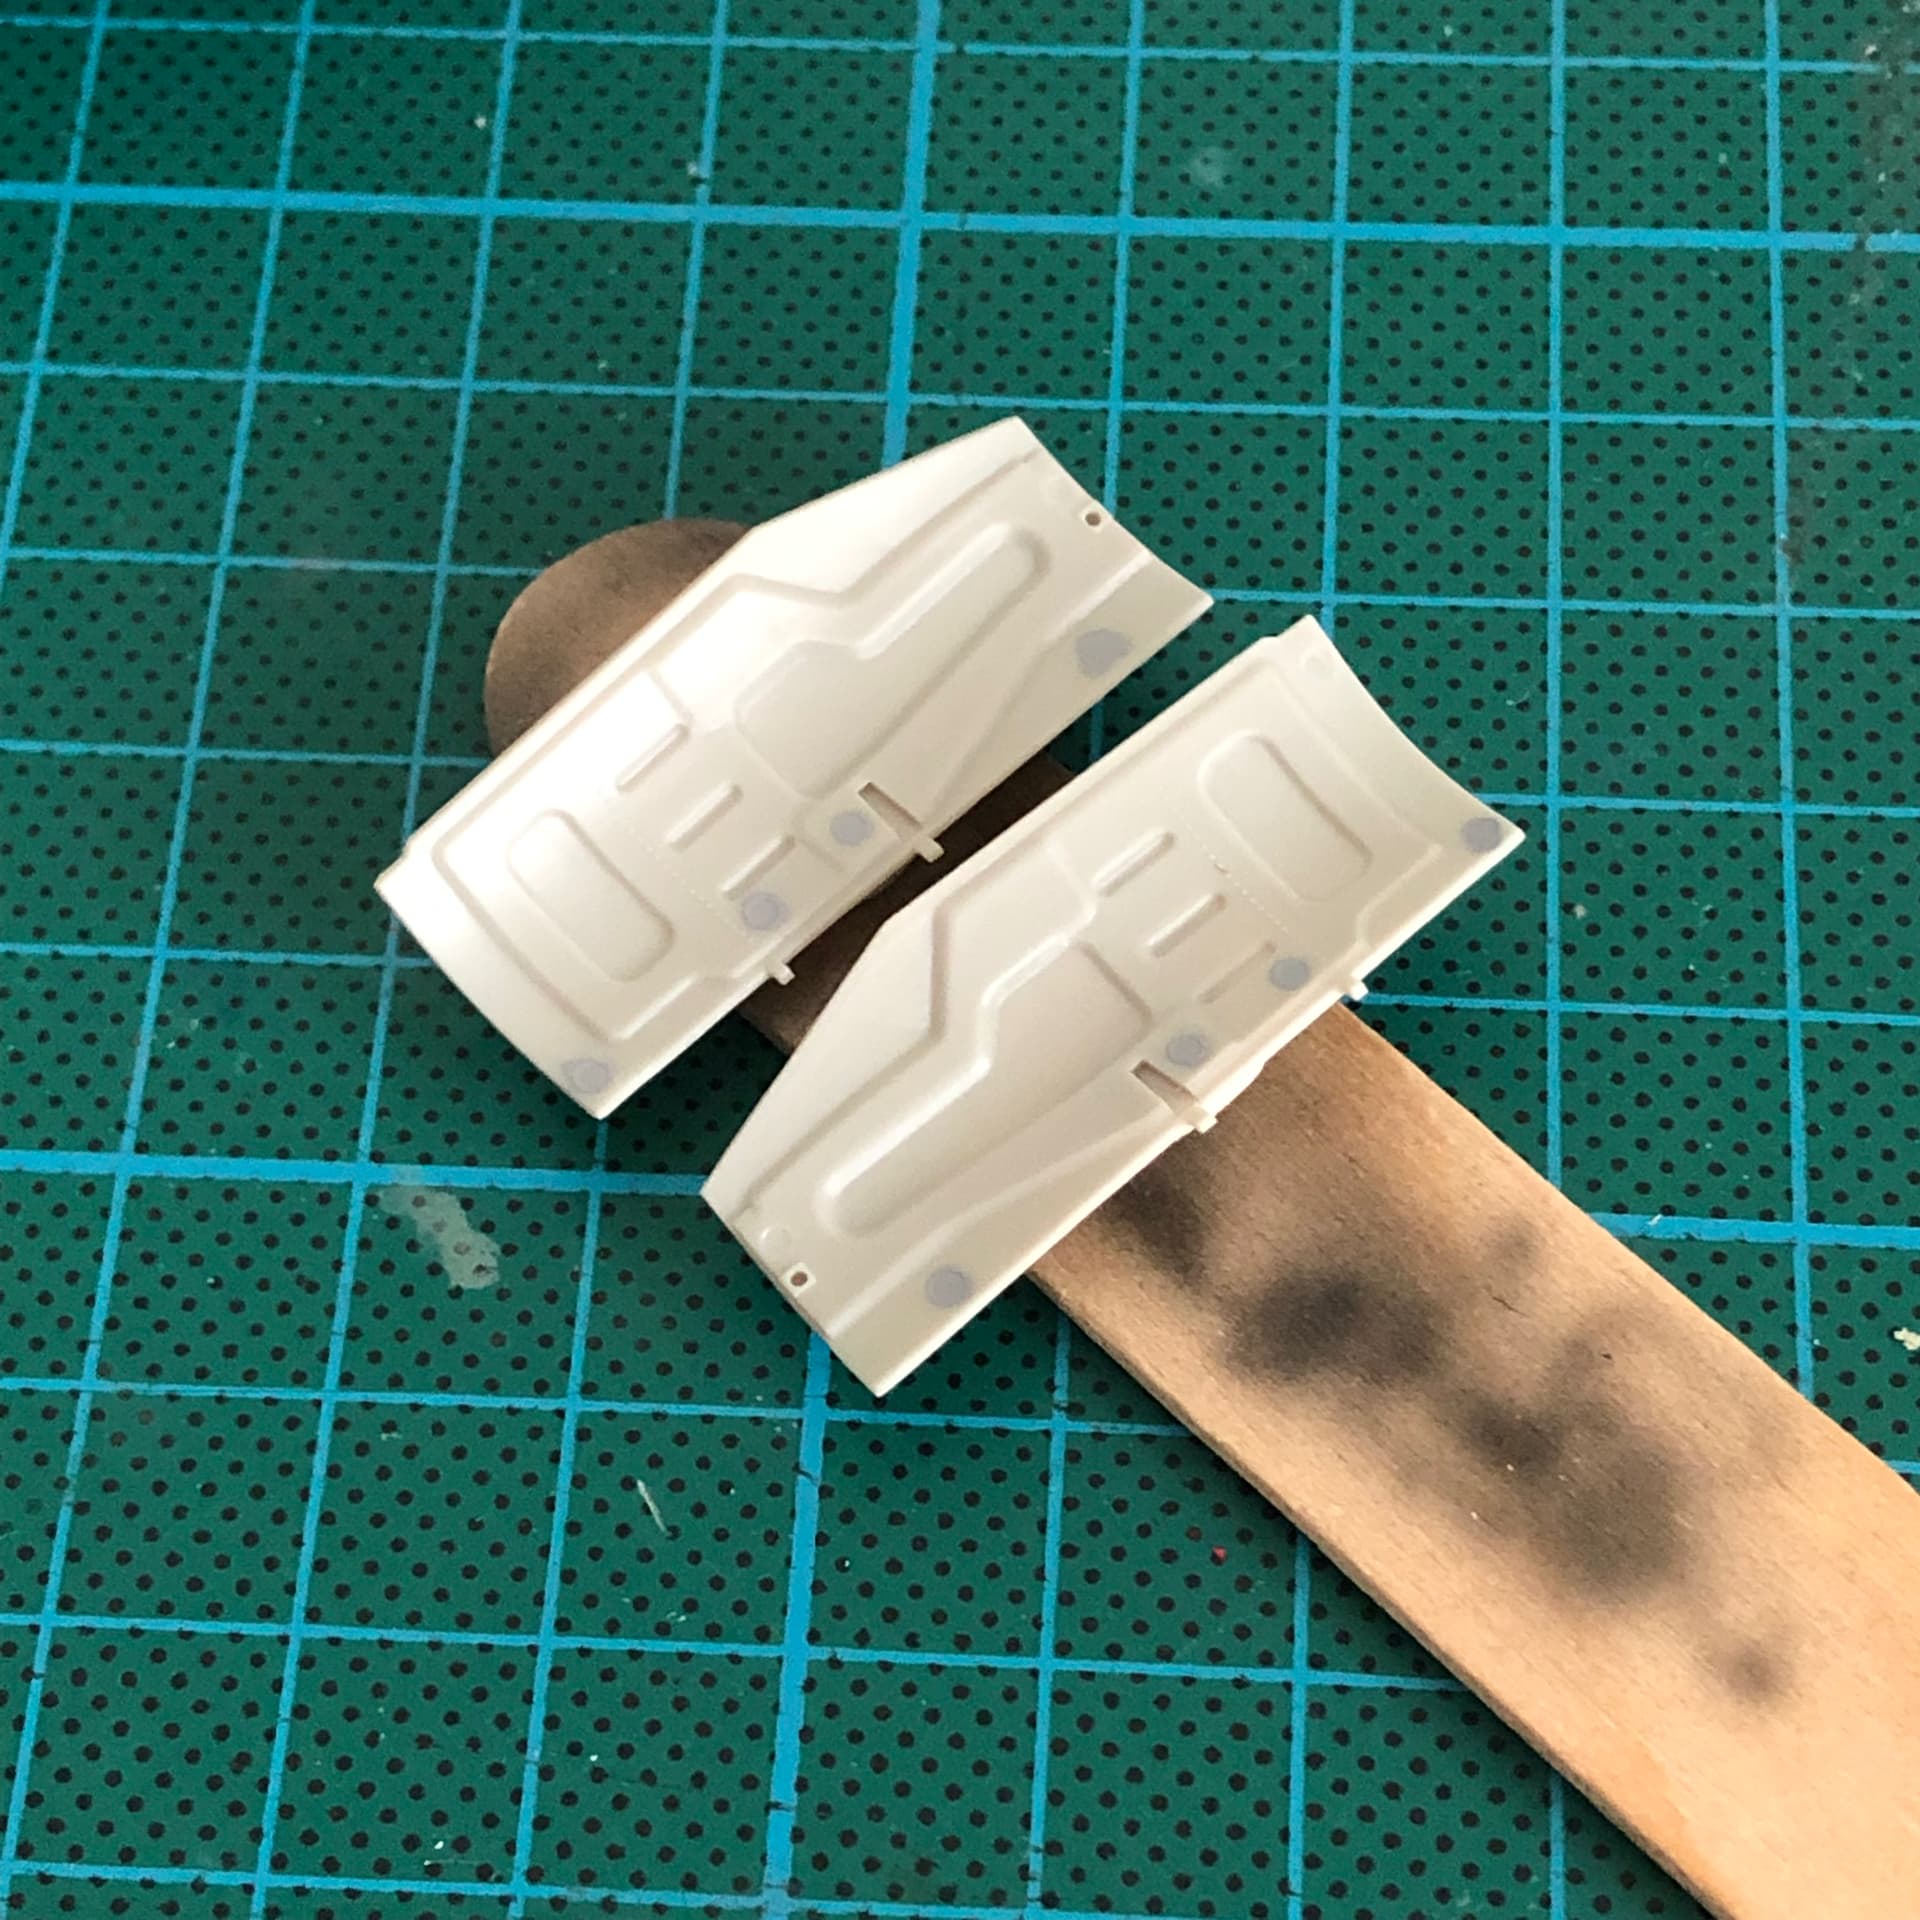
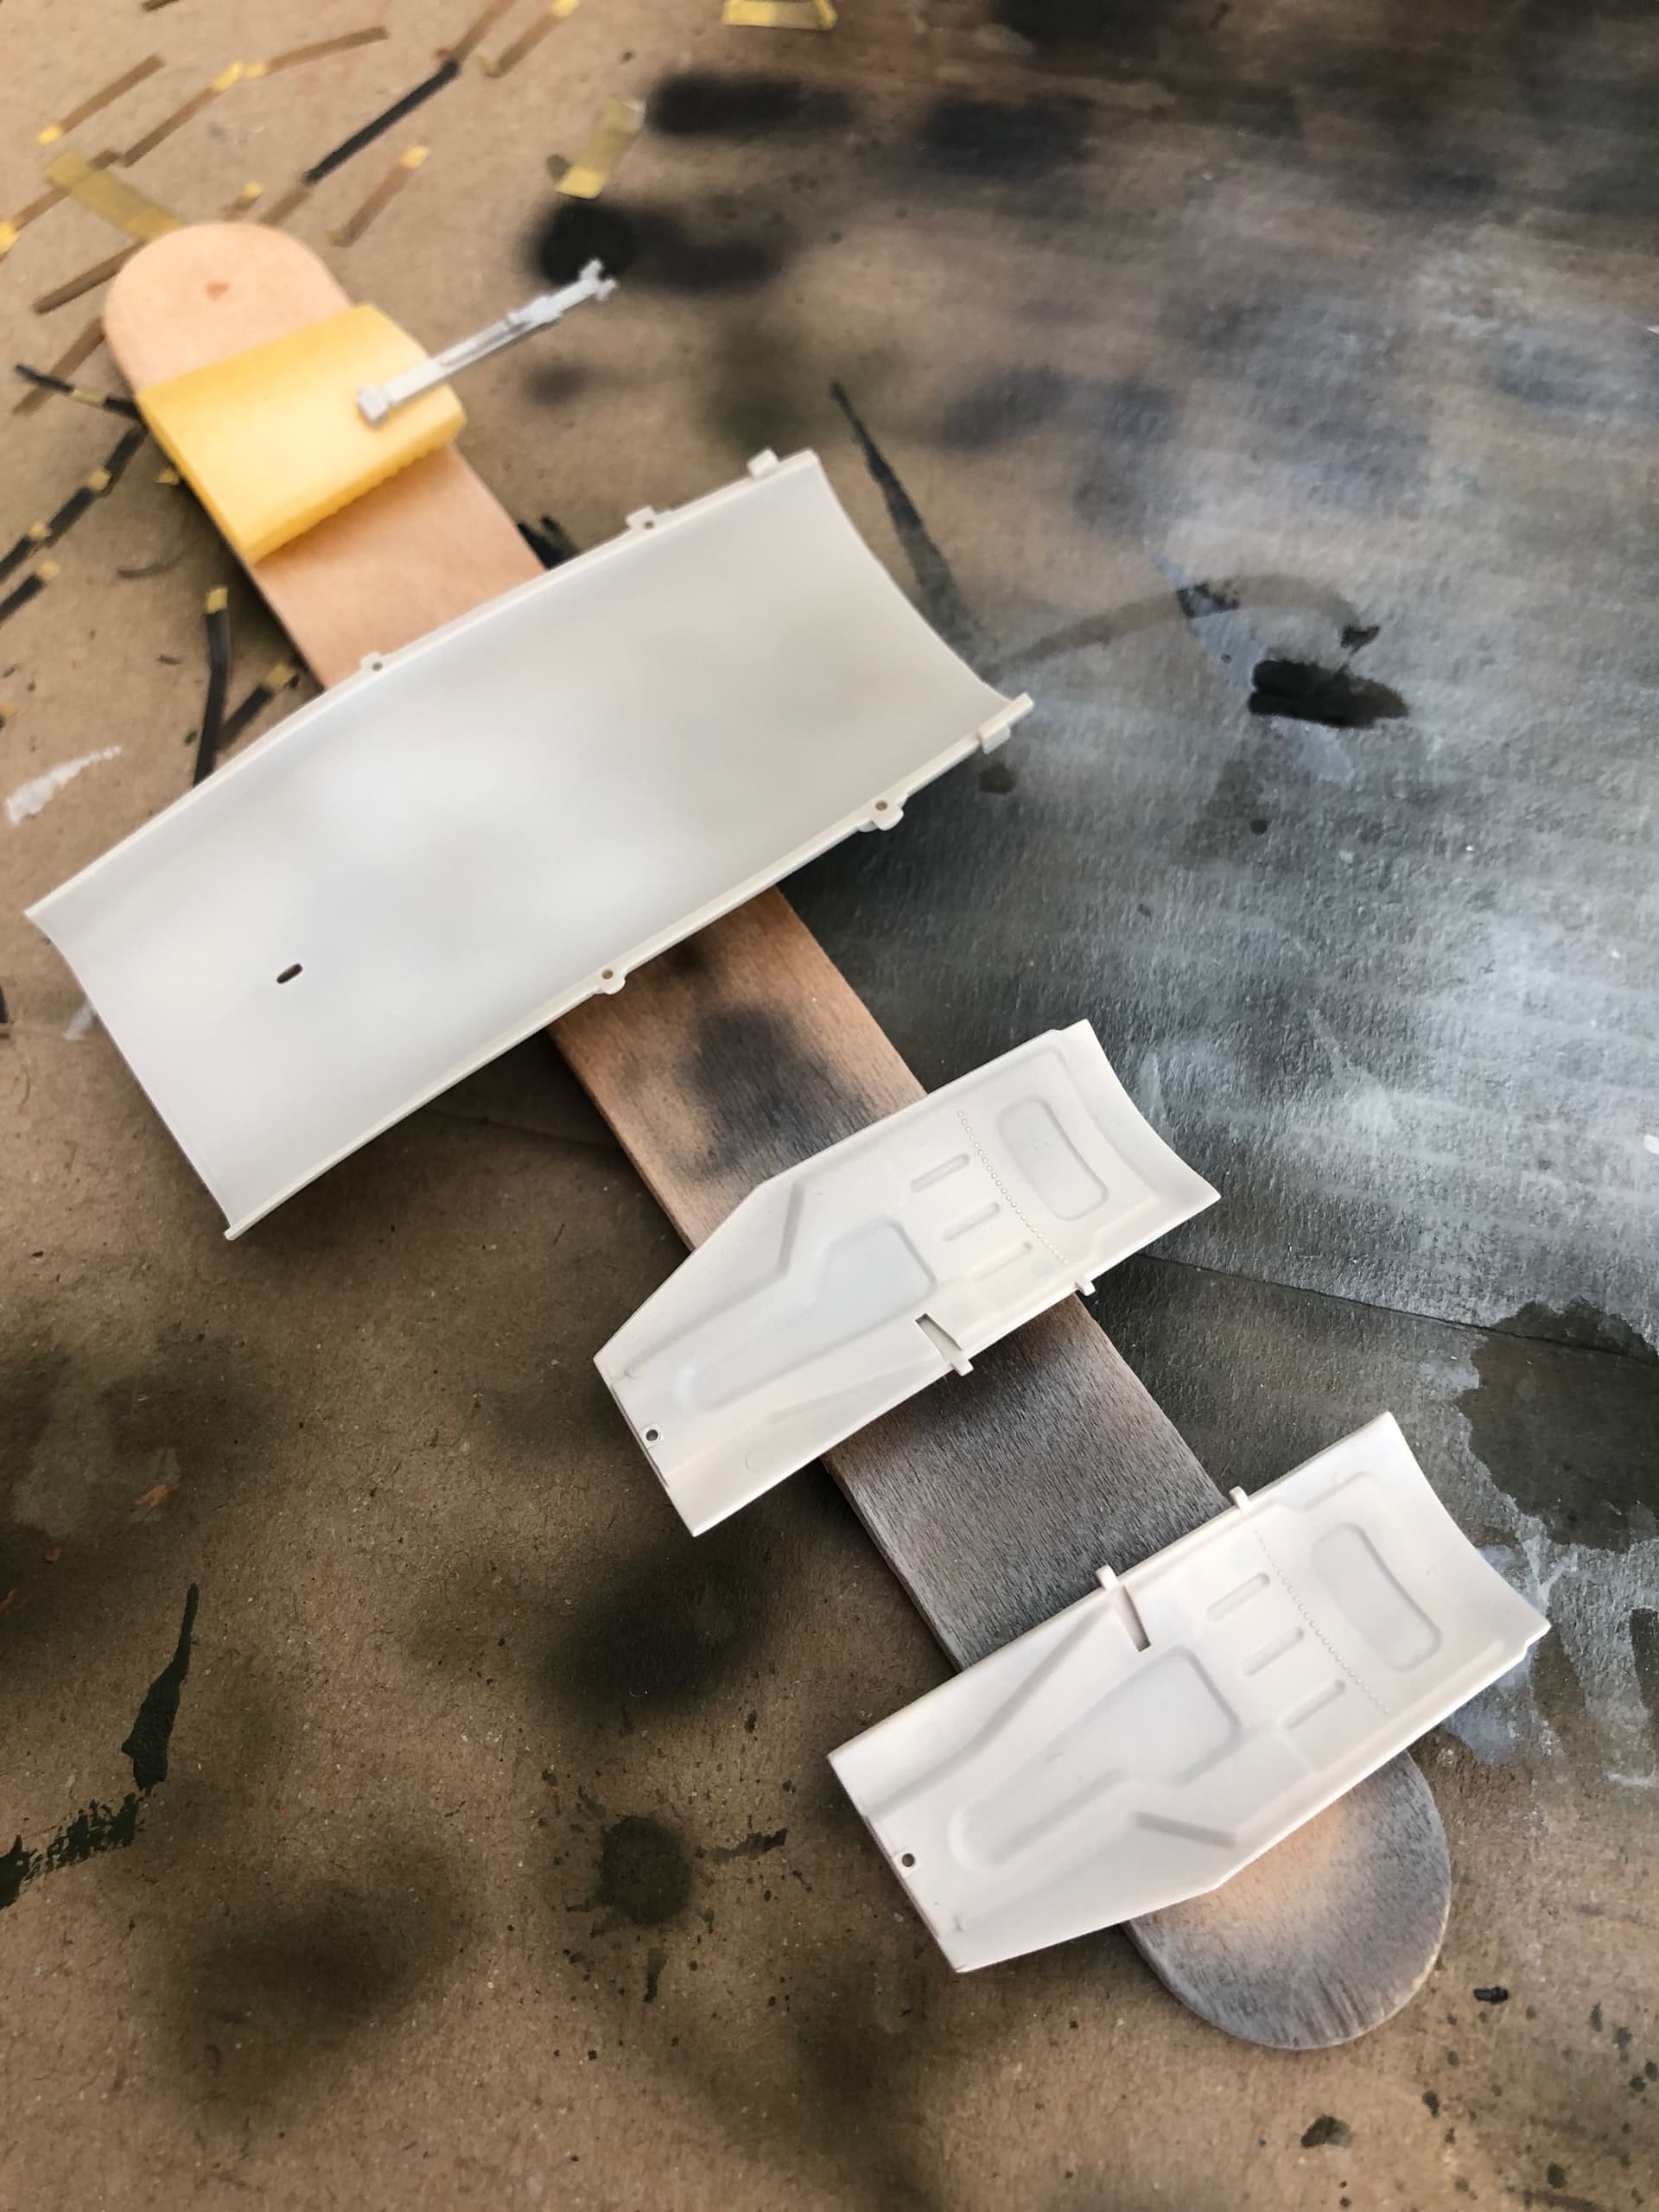
Progress is being made. Right now, that means filling and sanding the many small but deep ejector pin marks that festoon the details.
I’m tackling the holes by dripping Mr Surfacer 1000 into the recessed ones, and then smoothing with tiny bits of sanding sponge, repeating as many times as it takes (usually two to three). Luckily there are none on the larger parts, at least not in places that show.
Here are the main gear doors, as an example:
Happy modelling 
2 Likes
Looks great … pilot is very good … 
1 Like
Hello chaps,
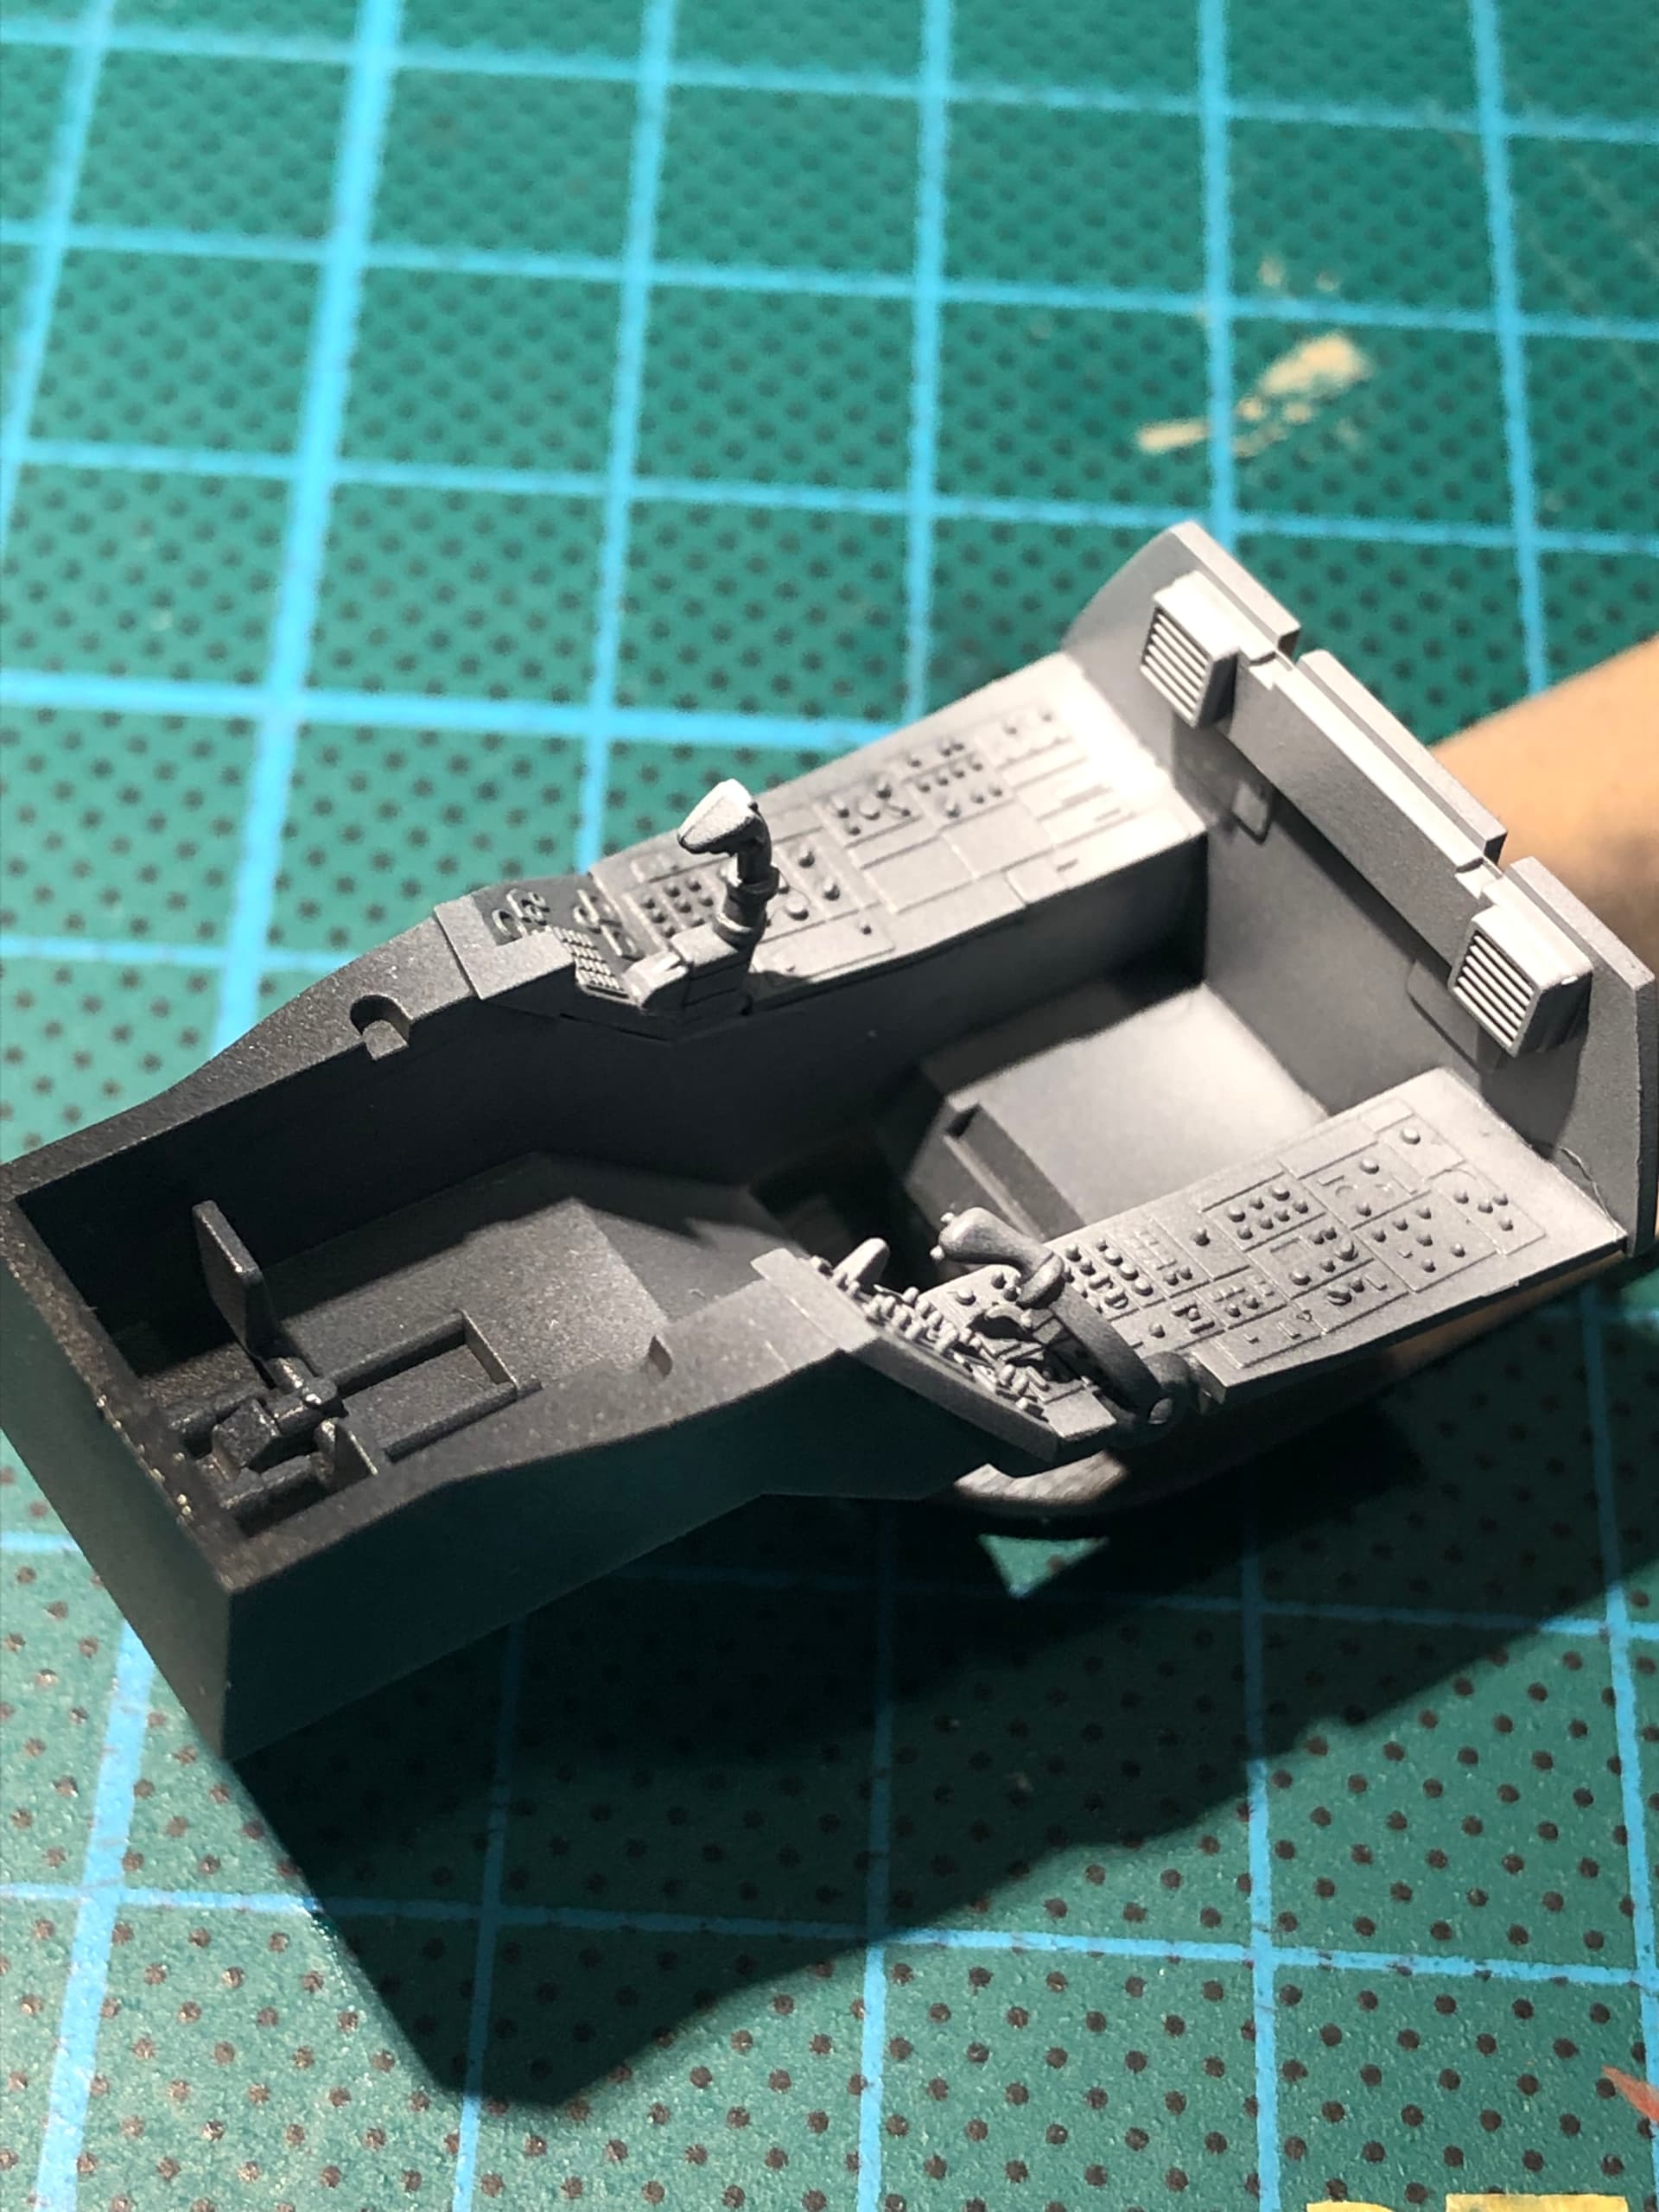
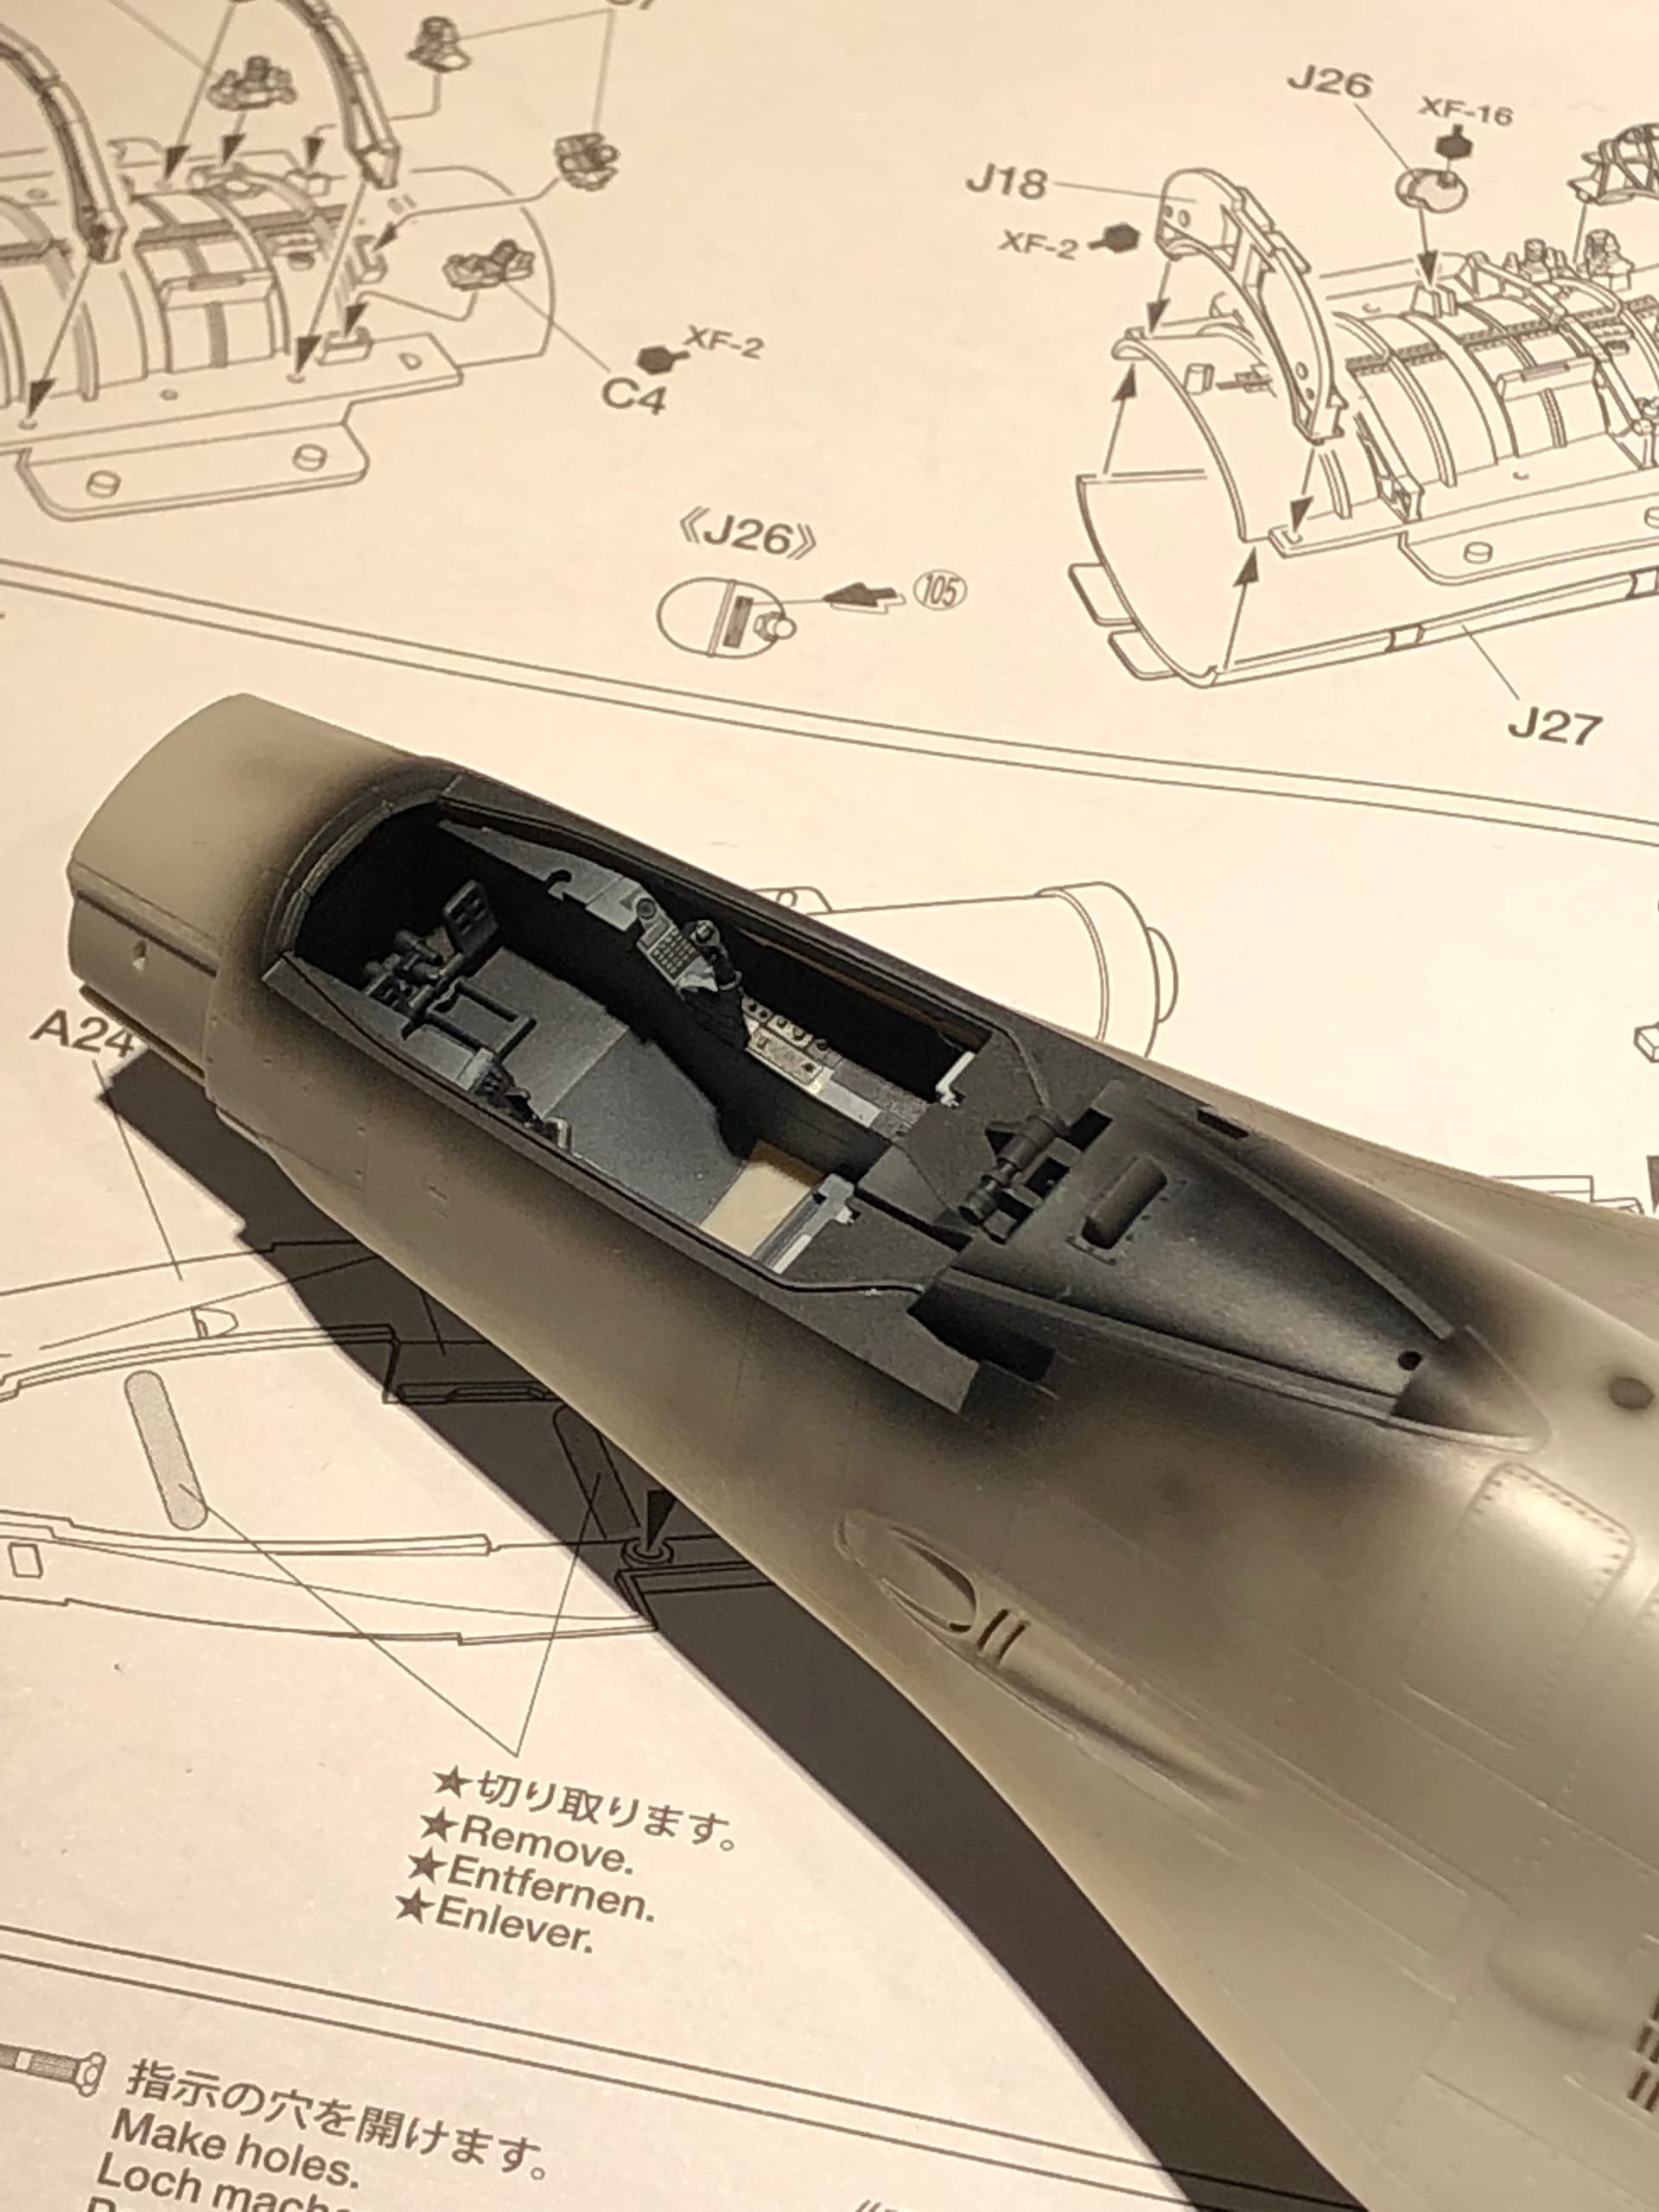
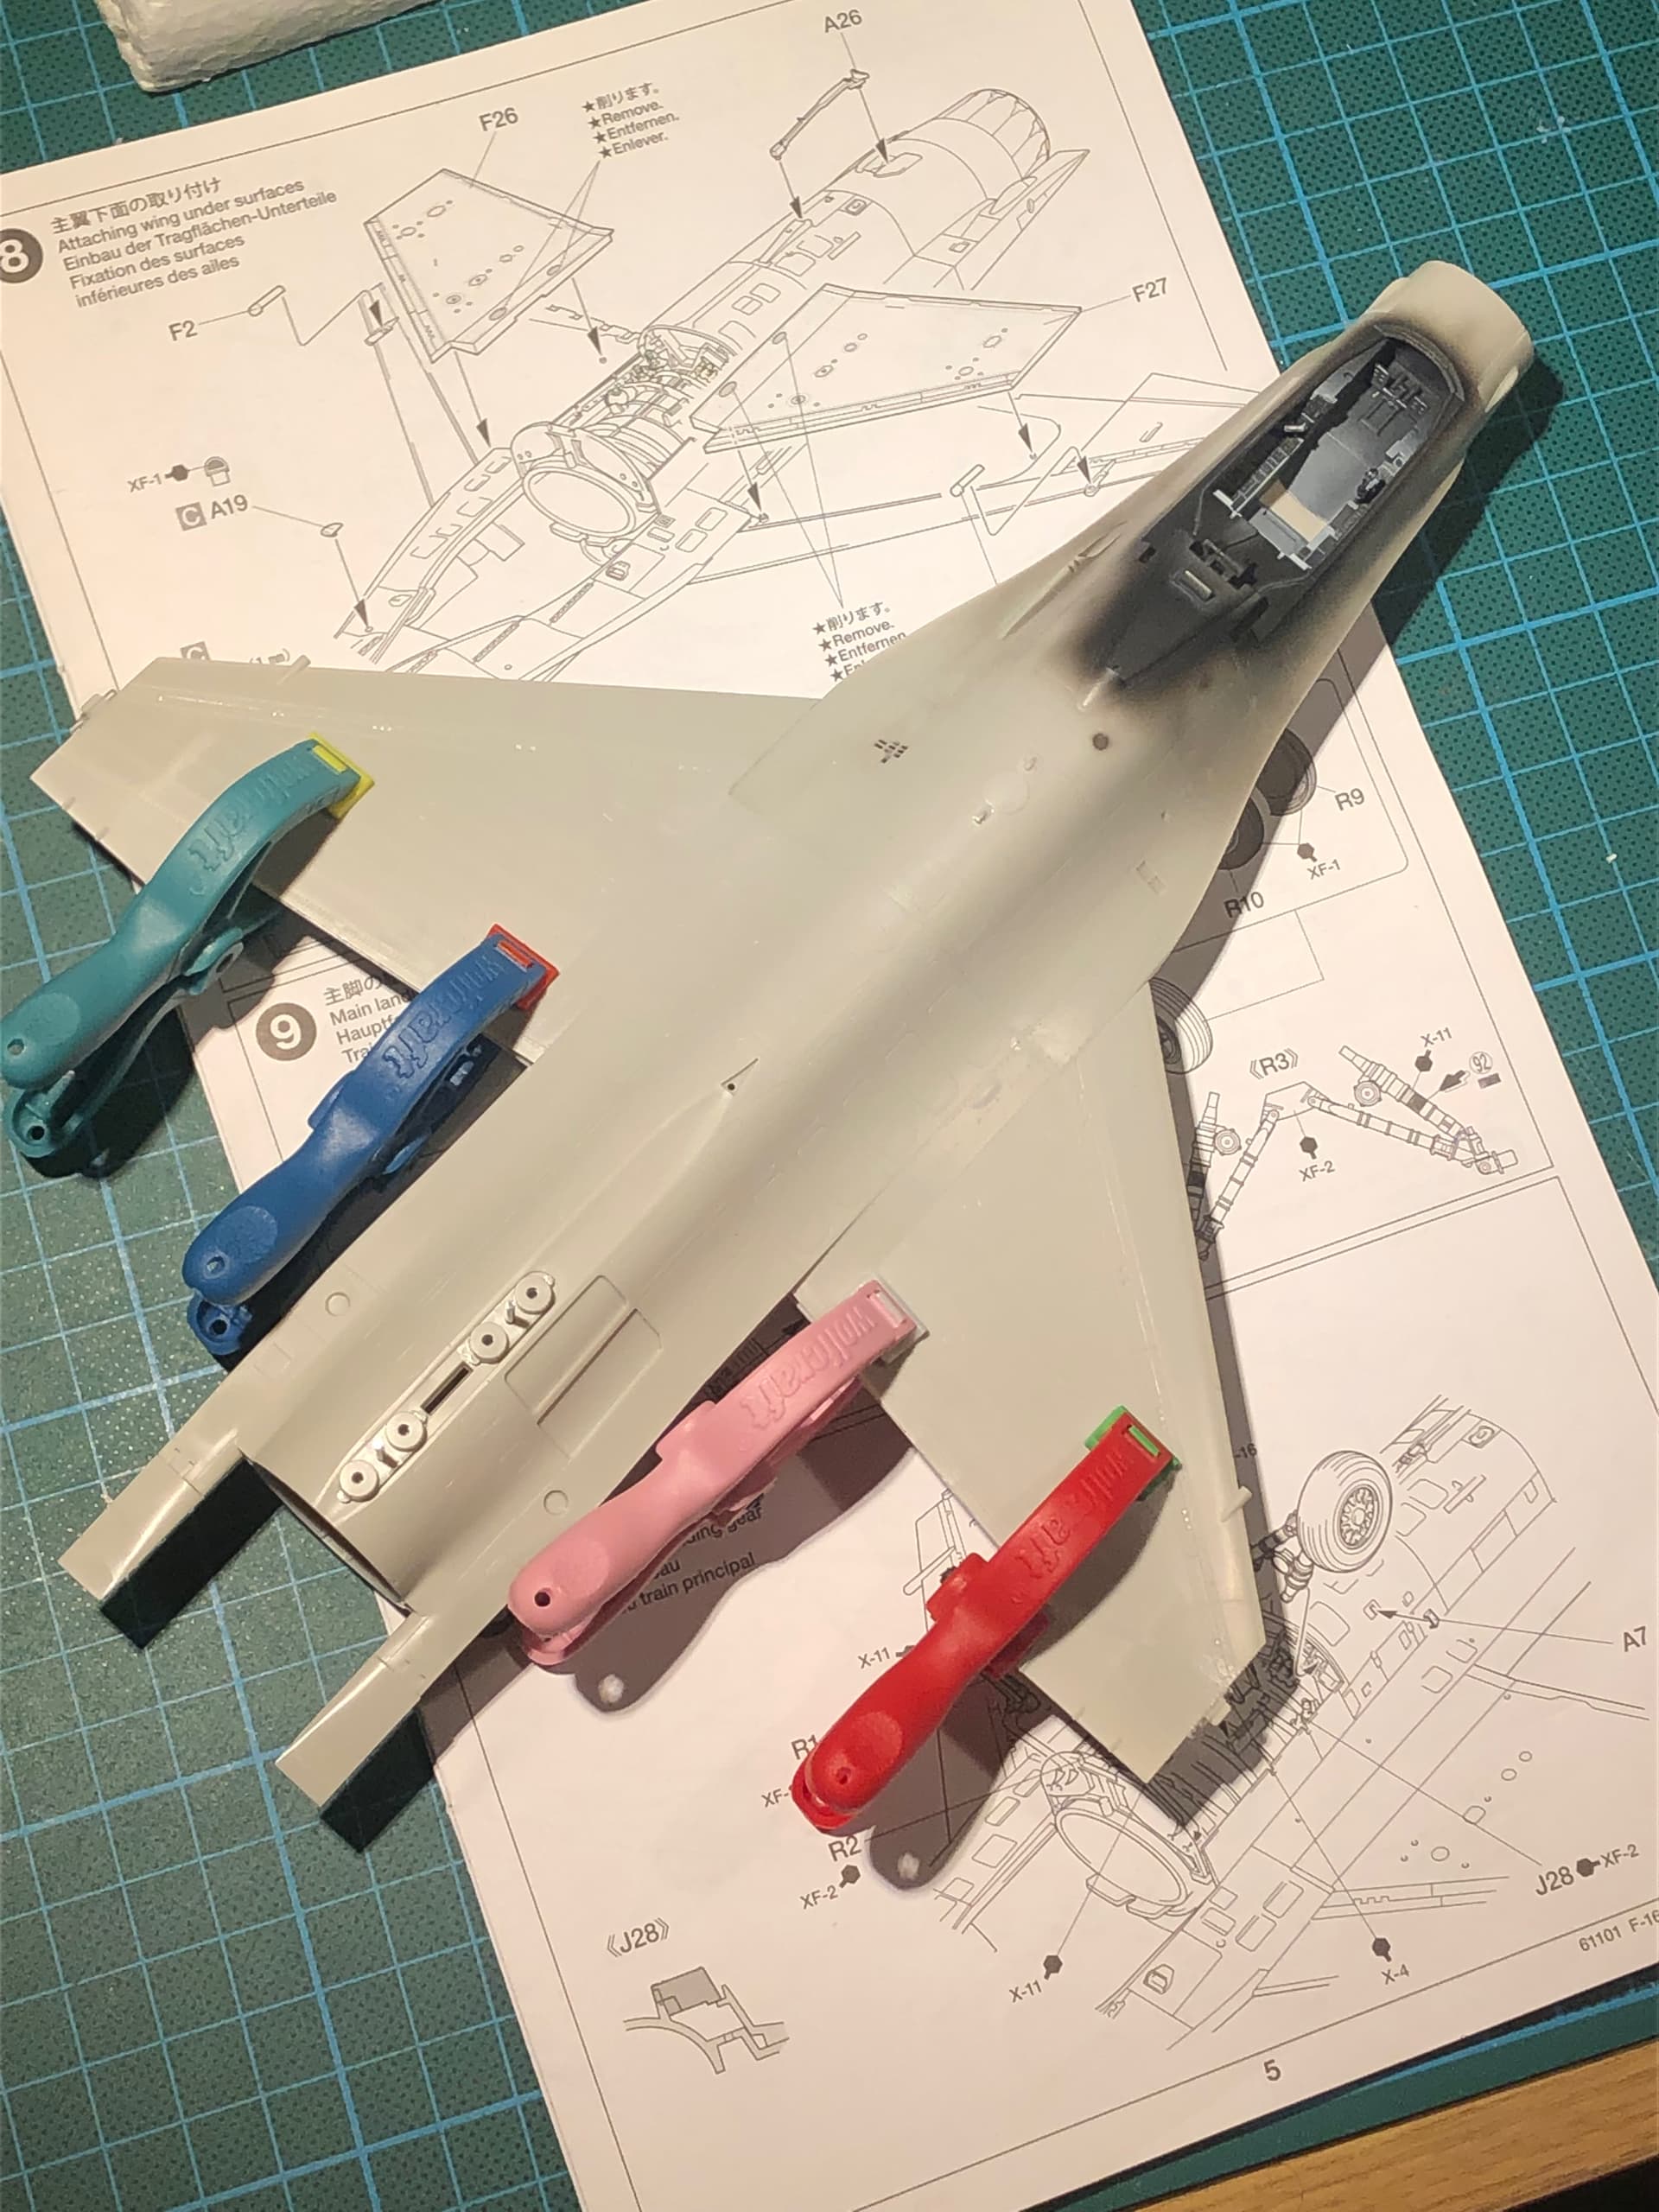
Given my track record last year, you could be forgiven for thinking that I’d abandoned this build. In fact, I’m still on it, but the not-so-interesting process of cleaning and preshading lots of white parts has been going on. I’ll show you the relevant stuff as it comes up for construction. For now here’s a look at the main wheel bay, pre-shaded and glued in place. White paint and weathering to follow. Nice fit isn’t it? You may also see my ejector pin filling fail. I’m living with it because correcting it would mean going back too many steps.
The cockpit is glued in place. It also looks like a good fit with the front upper fuselage dry-fitted.
What’s not so good is the pronounced step between the front and rear upper fuselage halves. Luckily some clamping and step-by-step application of glue seems to be aligning the parts.
More soon I hope.
Happy modeling,
4 Likes
Welcome back lol… Steady progress is better than none … The clamping seems to have done the trick.
The wheel bays are nice on these, I liked the Kinetic one on my F16, nicely detailed…
1 Like
Hi John,
Thanks very much for the encouragement, Yes, that seam disappears once the work to align the parts is done.
How did the Kinetic kit go together?
1 Like
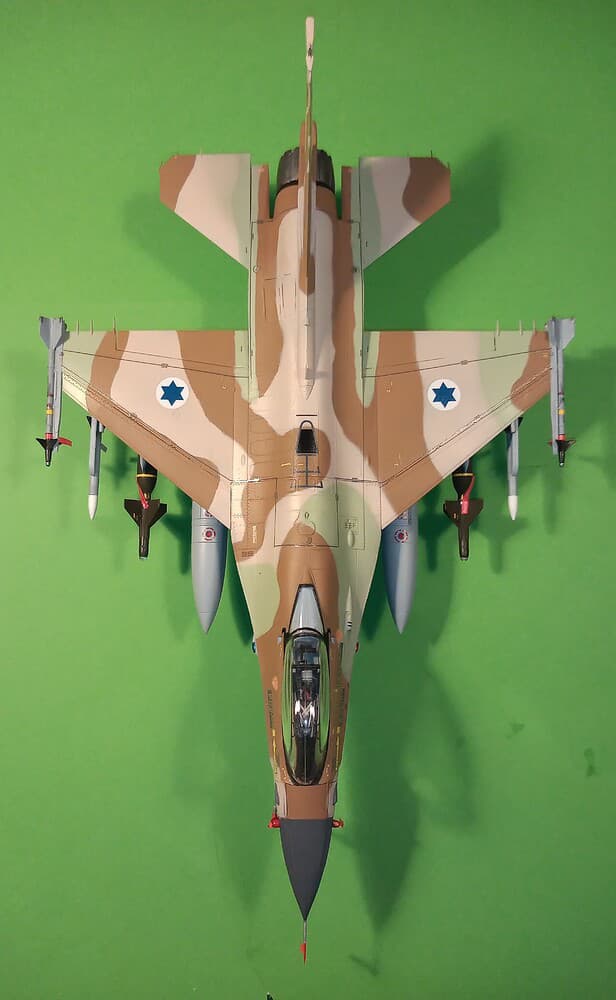
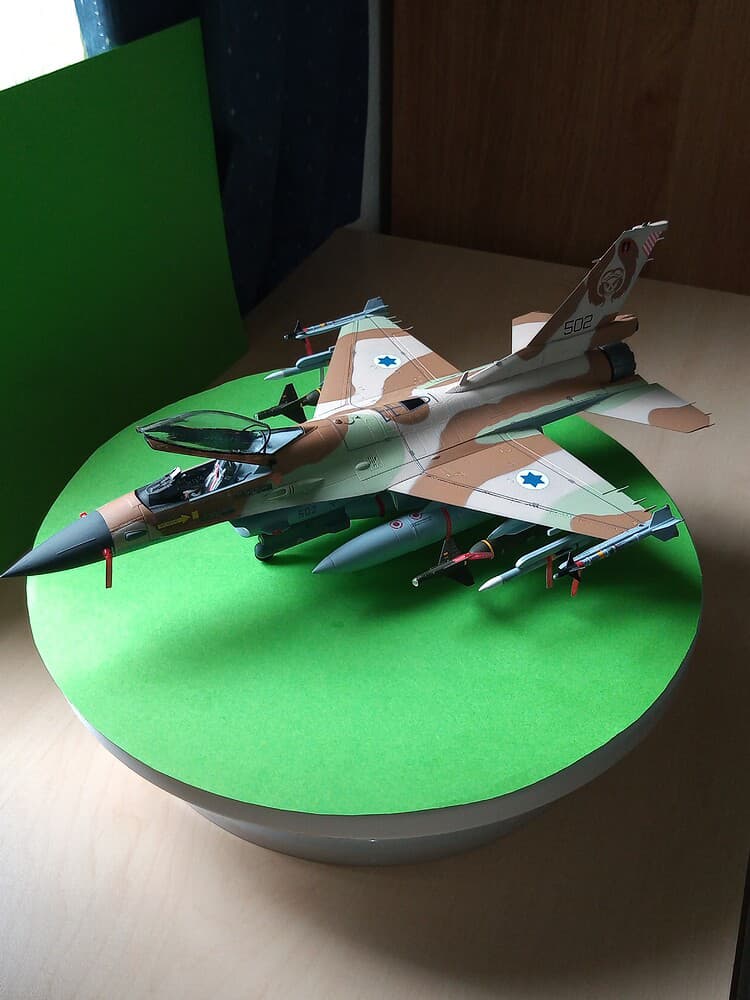
Hi, it went together pretty well on the whole, there were a couple of issues but they were my fault when I joined the fuselage together and made a self induced gap in the main landing gear bay.
This is how it turned out.
It was just done for the IDF group build.
5 Likes
Hey John,
That’s a very nice finish. The Israeli camo looks spot on.
2 Likes
Hello folks,
You may have heard that Tamiya 1/48 aircraft are the perfect kits. Well, I’m here to tell you that they are not. If you build one you will still find yourself sanding, filling, and fettling. And, there are those ejector pins on small parts. But - and it is a big but - you’ll need these skills far less than you do for most other kits, at least ones that I’ve built. The Tamiya fit is very, very good. Maybe more modern Tamiya products are perfect. That is if your definition of perfect is filler-free and sanding-free fit. As for me, I’m really enjoying the build and looking forward more and more to attempting the camo. I wonder if the 1/32 scale kit is still available.
Happy modeling.
6 Likes
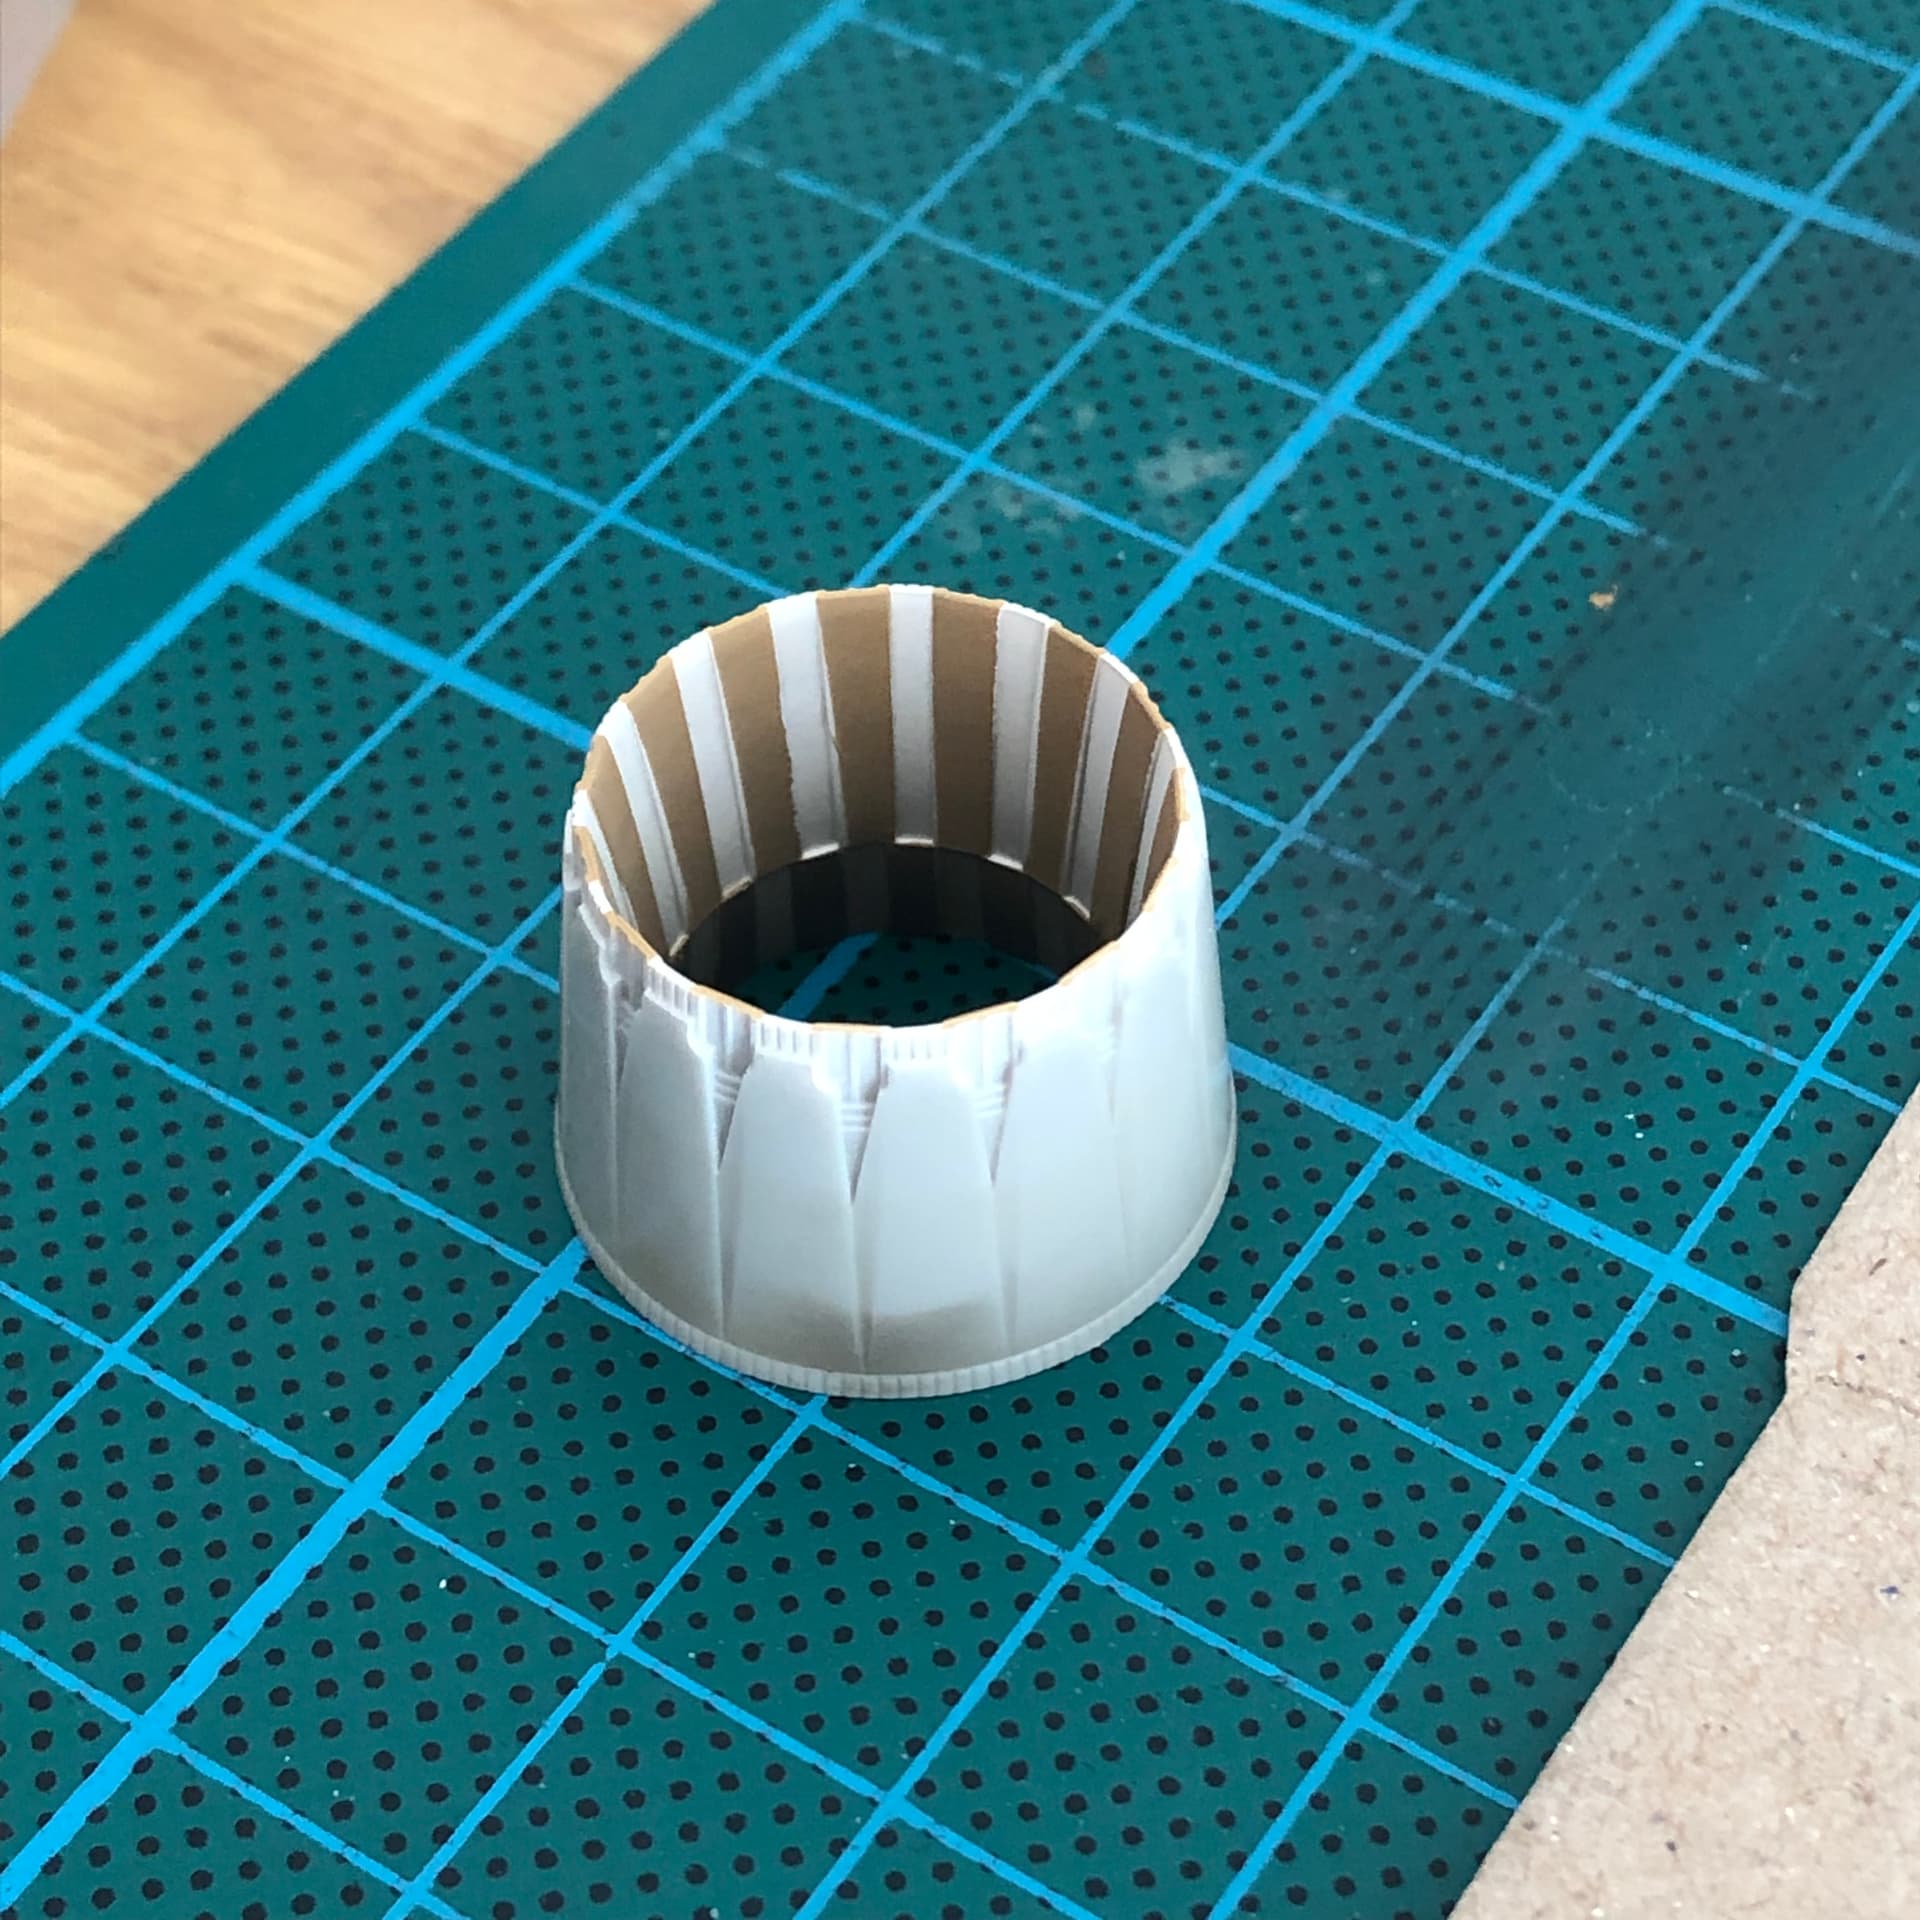
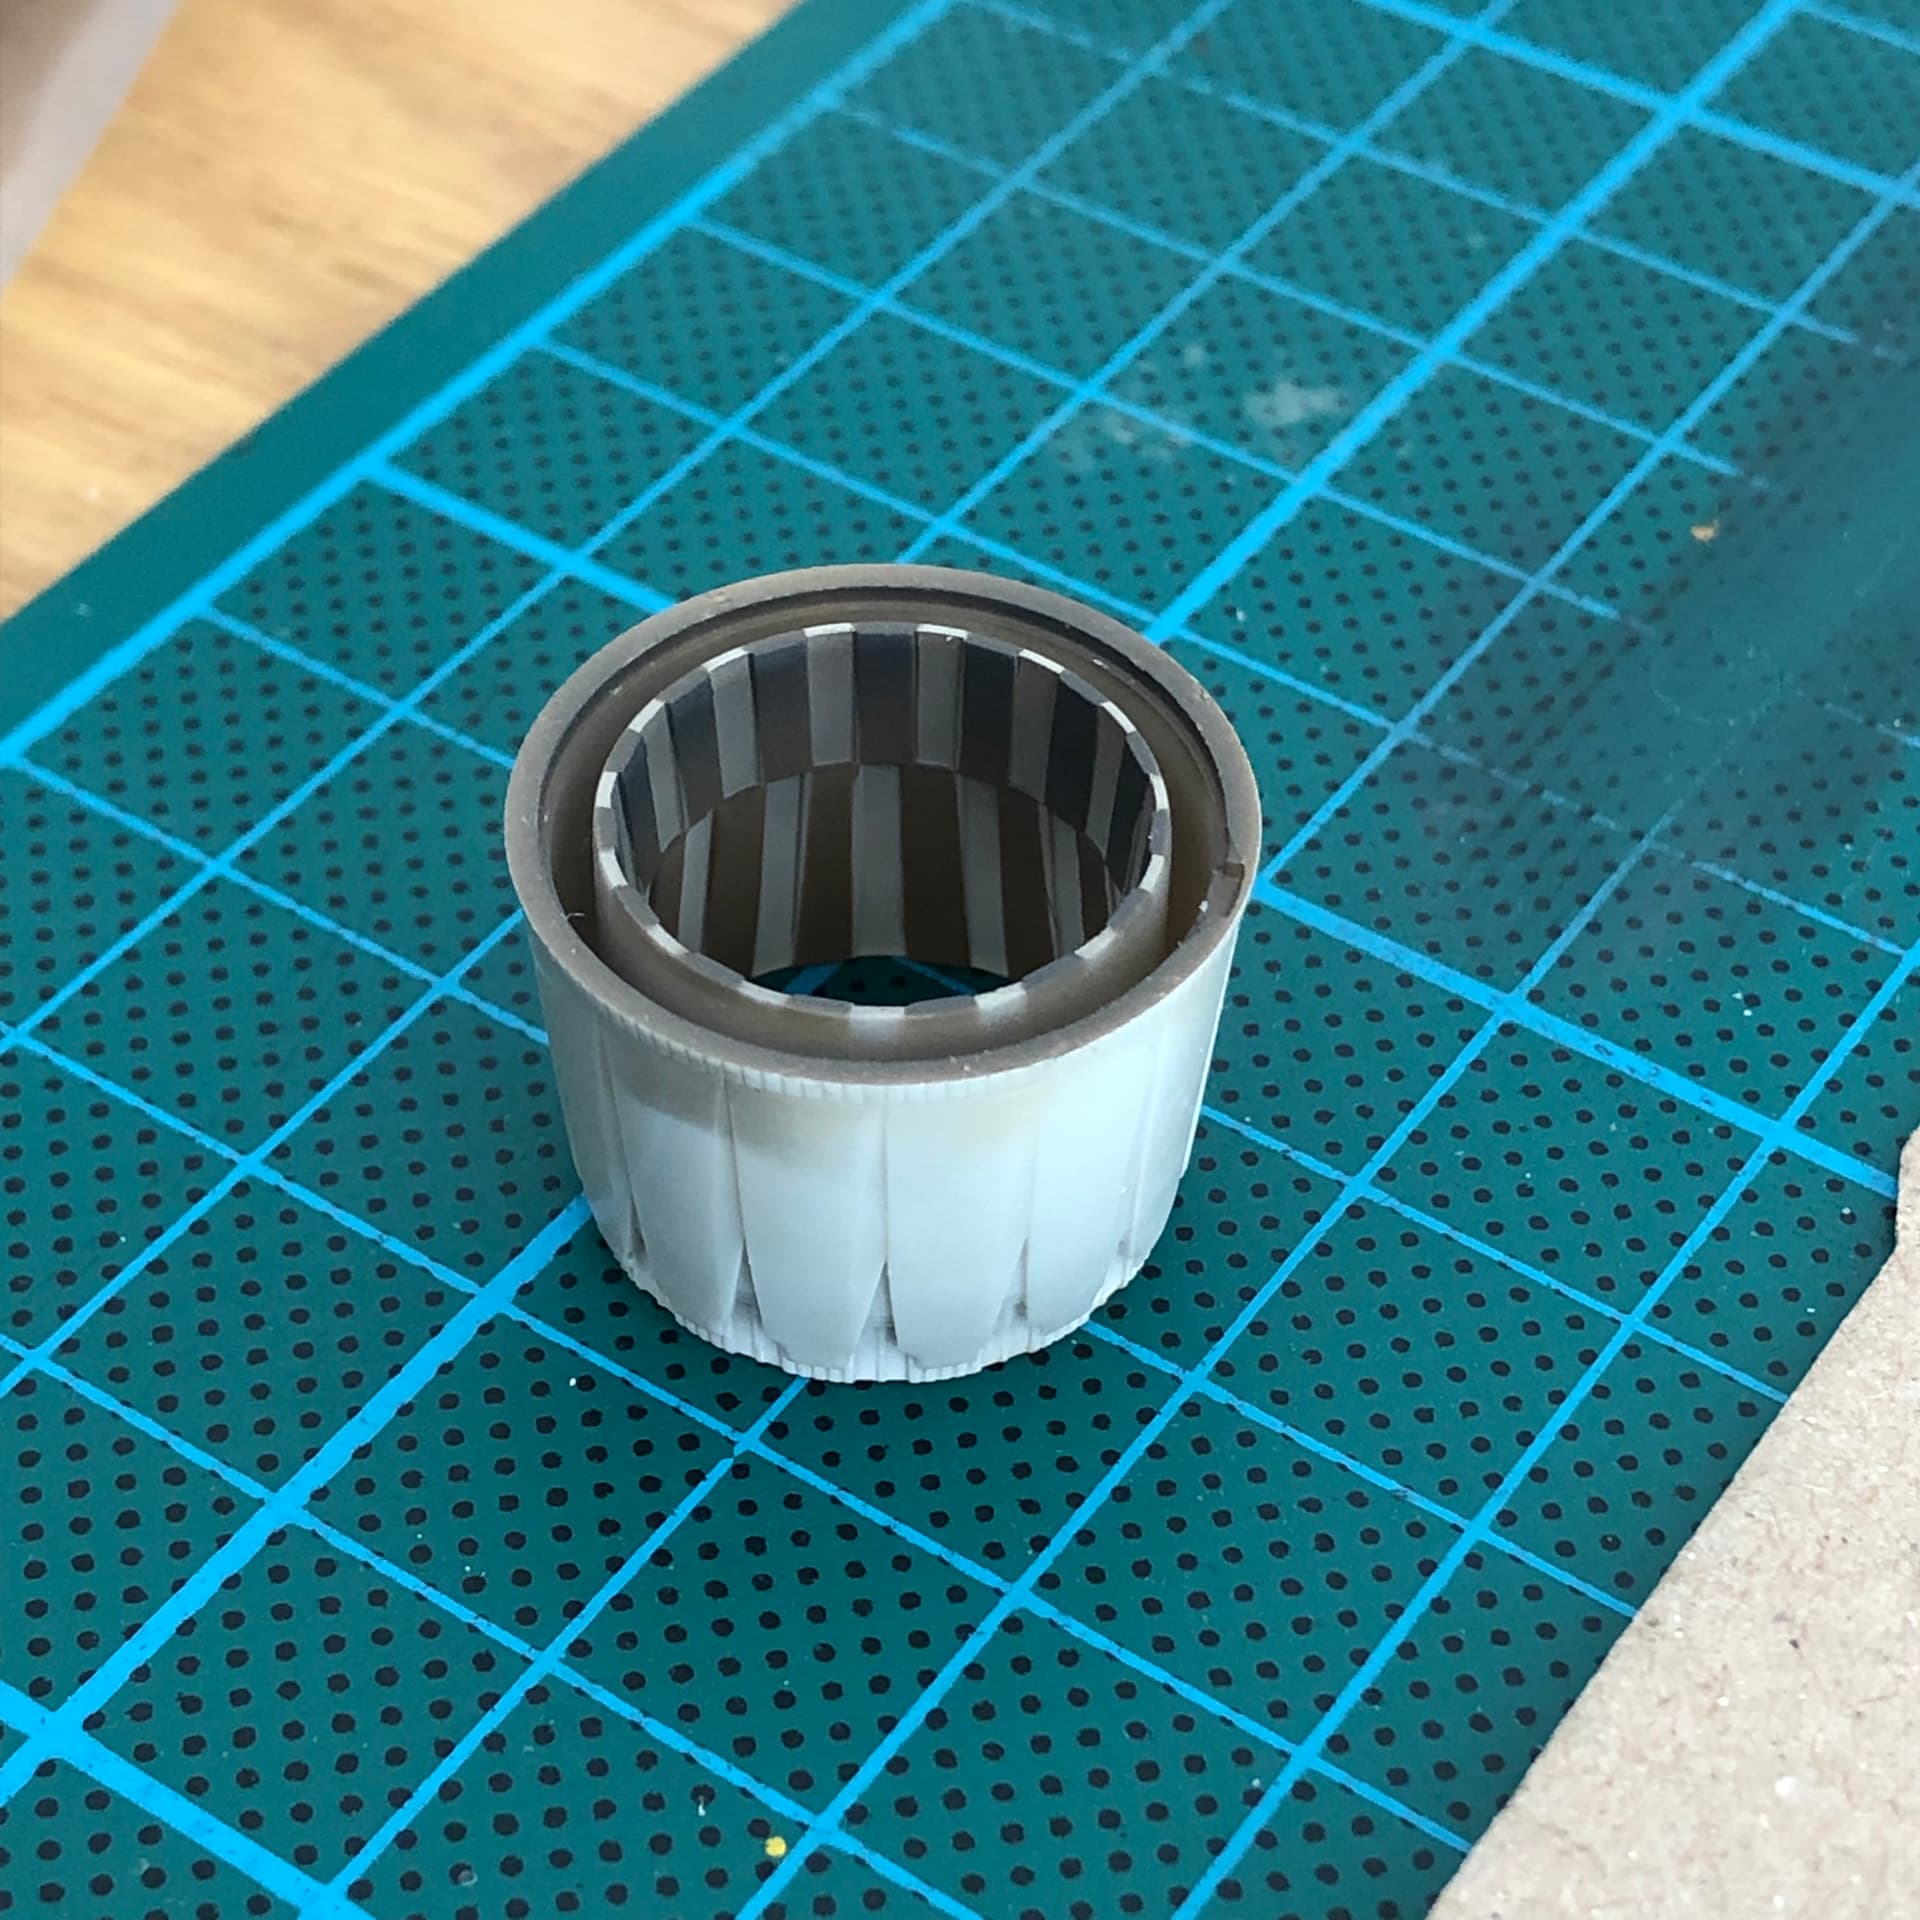
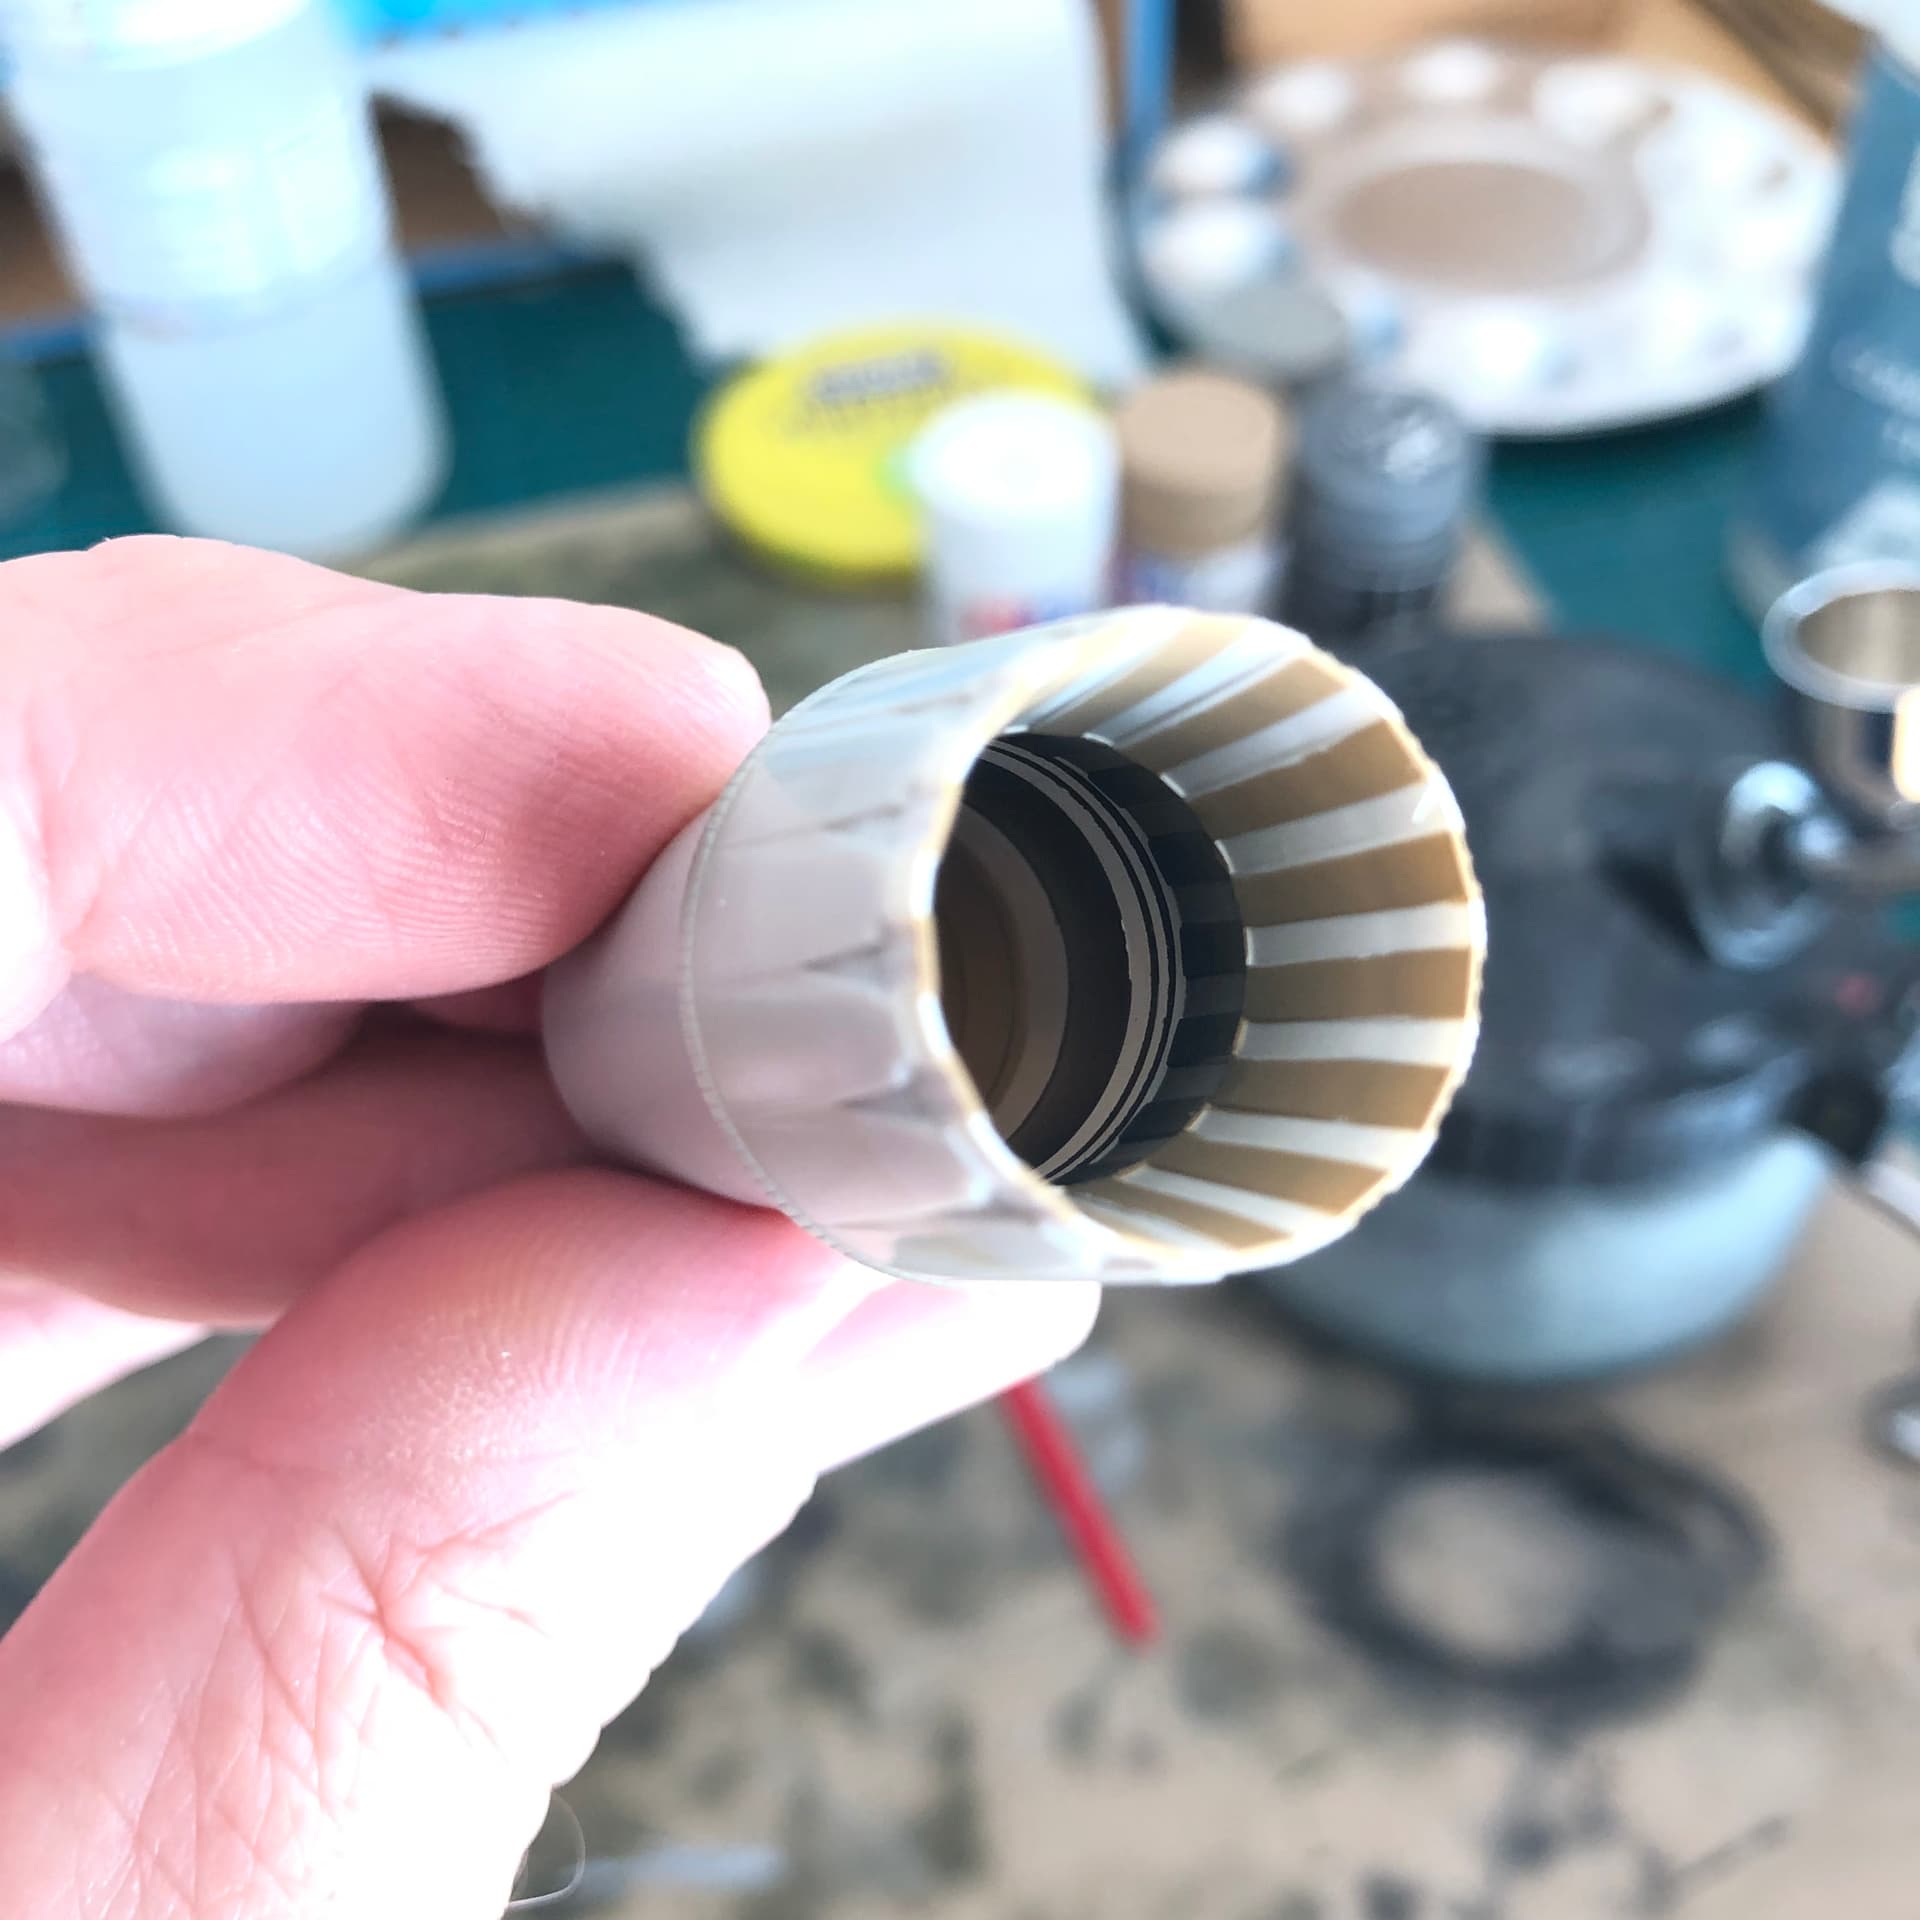
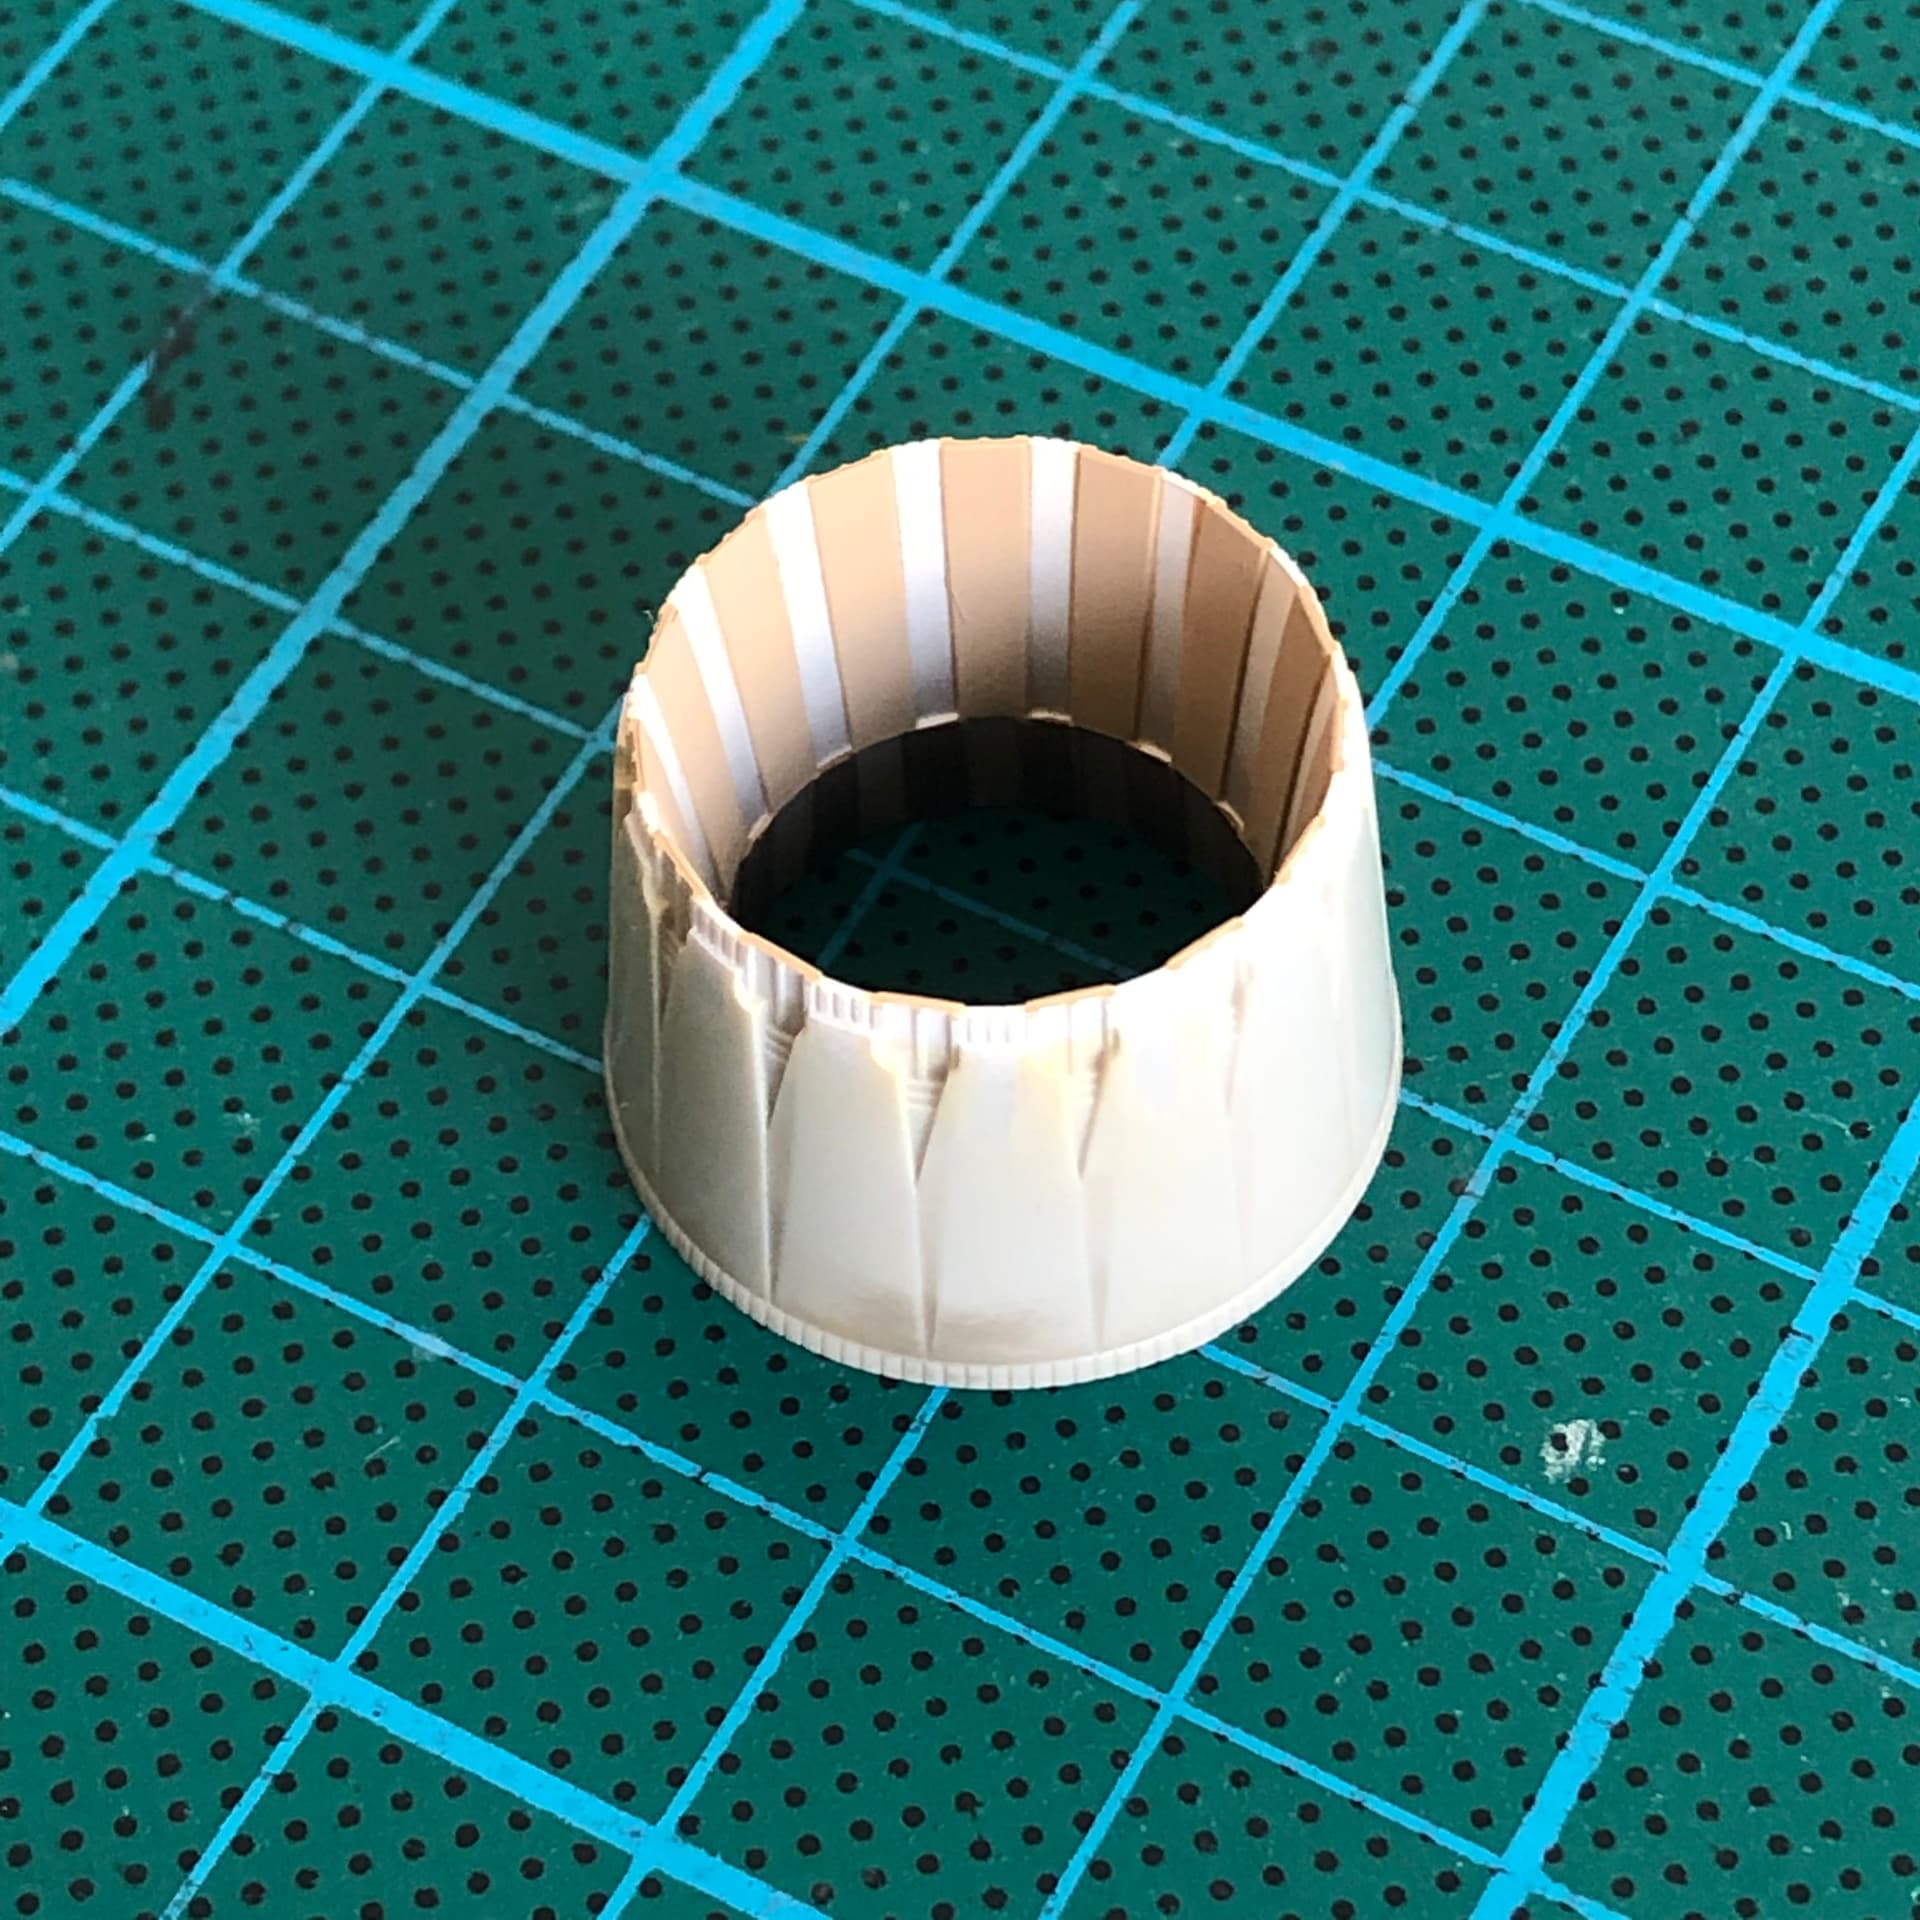
Hi gents,
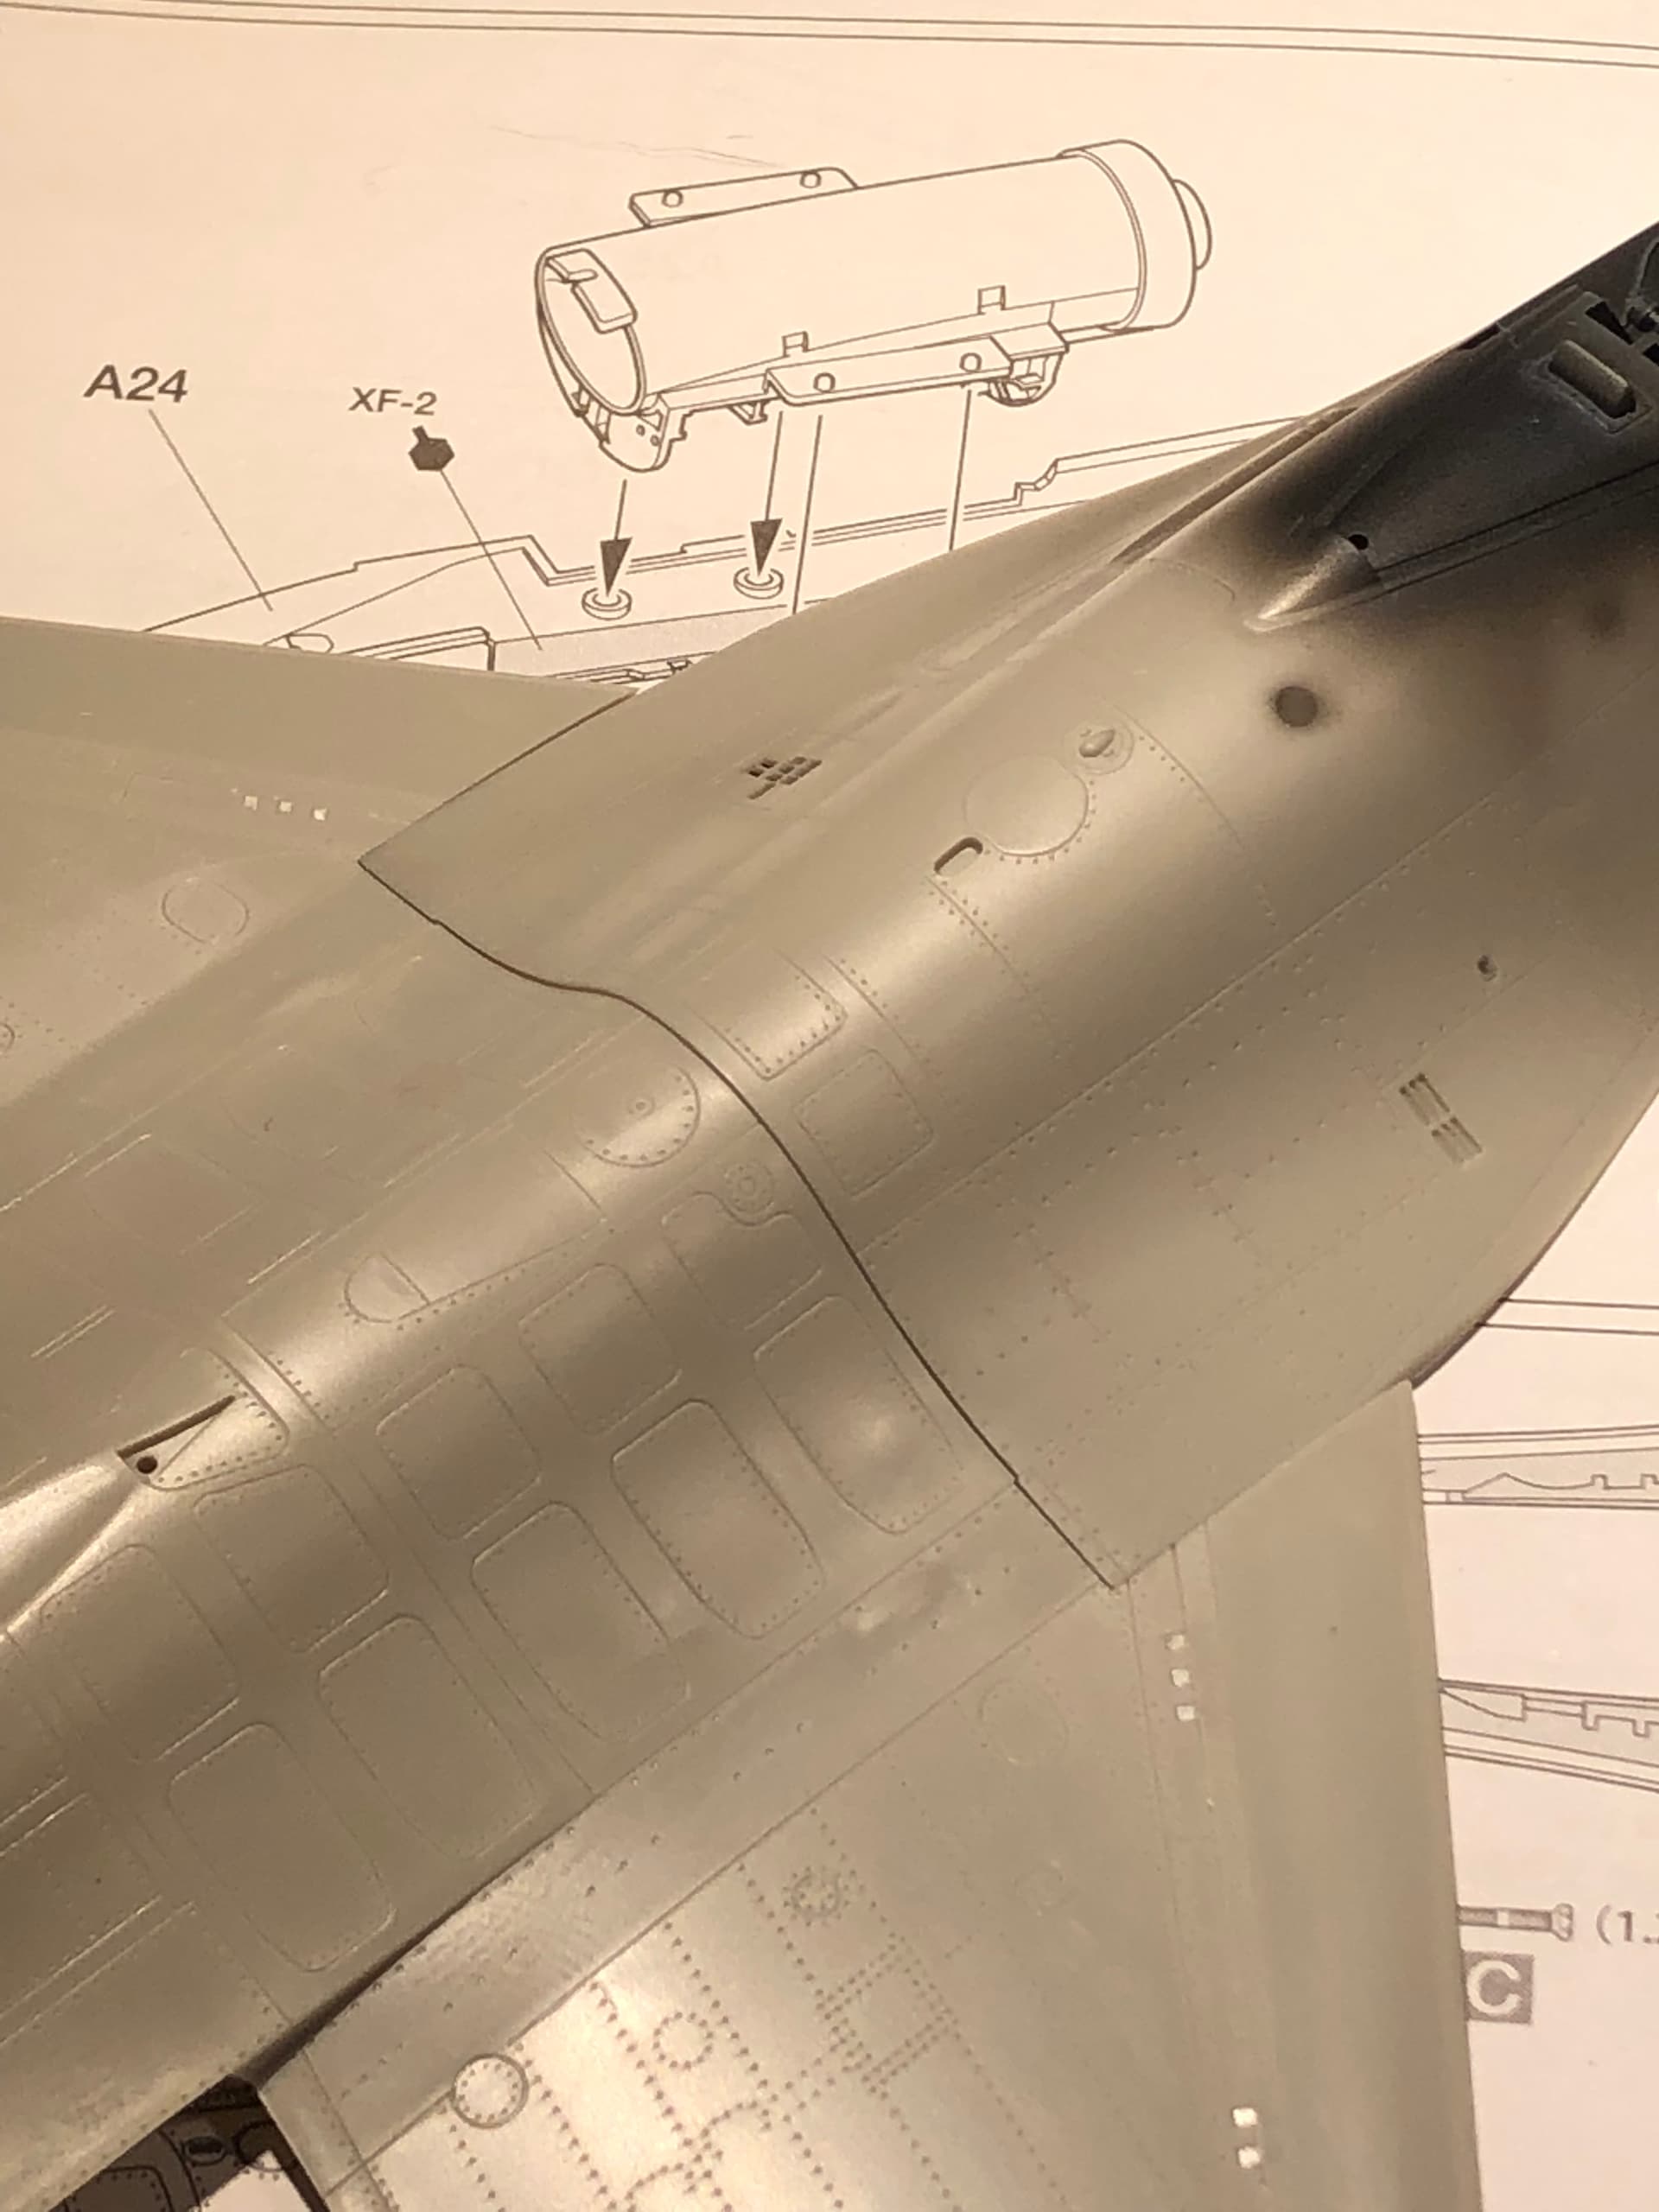
I’ve turned my attention back to paint, with a focus on the jet exhaust and undercarriage parts. Here’s a look and some self critique.
What’s not to like? Well, to my eyes the masking isn’t straight and the brown/grey louvres (if that’s what they are called), are too dark. The more I look, the more I get the itch to fix it, so I’m going to, before turning to oils to get a sooty finish.
I’m happier with the undercarriage and intake parts. The pre-shading worked well, although it’s a little hard to see. Maybe you can just make it out in this example.
Next steps soon. In the meantime, I hope your kits are cooperating.
Happy modelling.
2 Likes
Ahhh, that’s better. A modeling itch has been scratched
4 Likes
Hi fellow modelers,
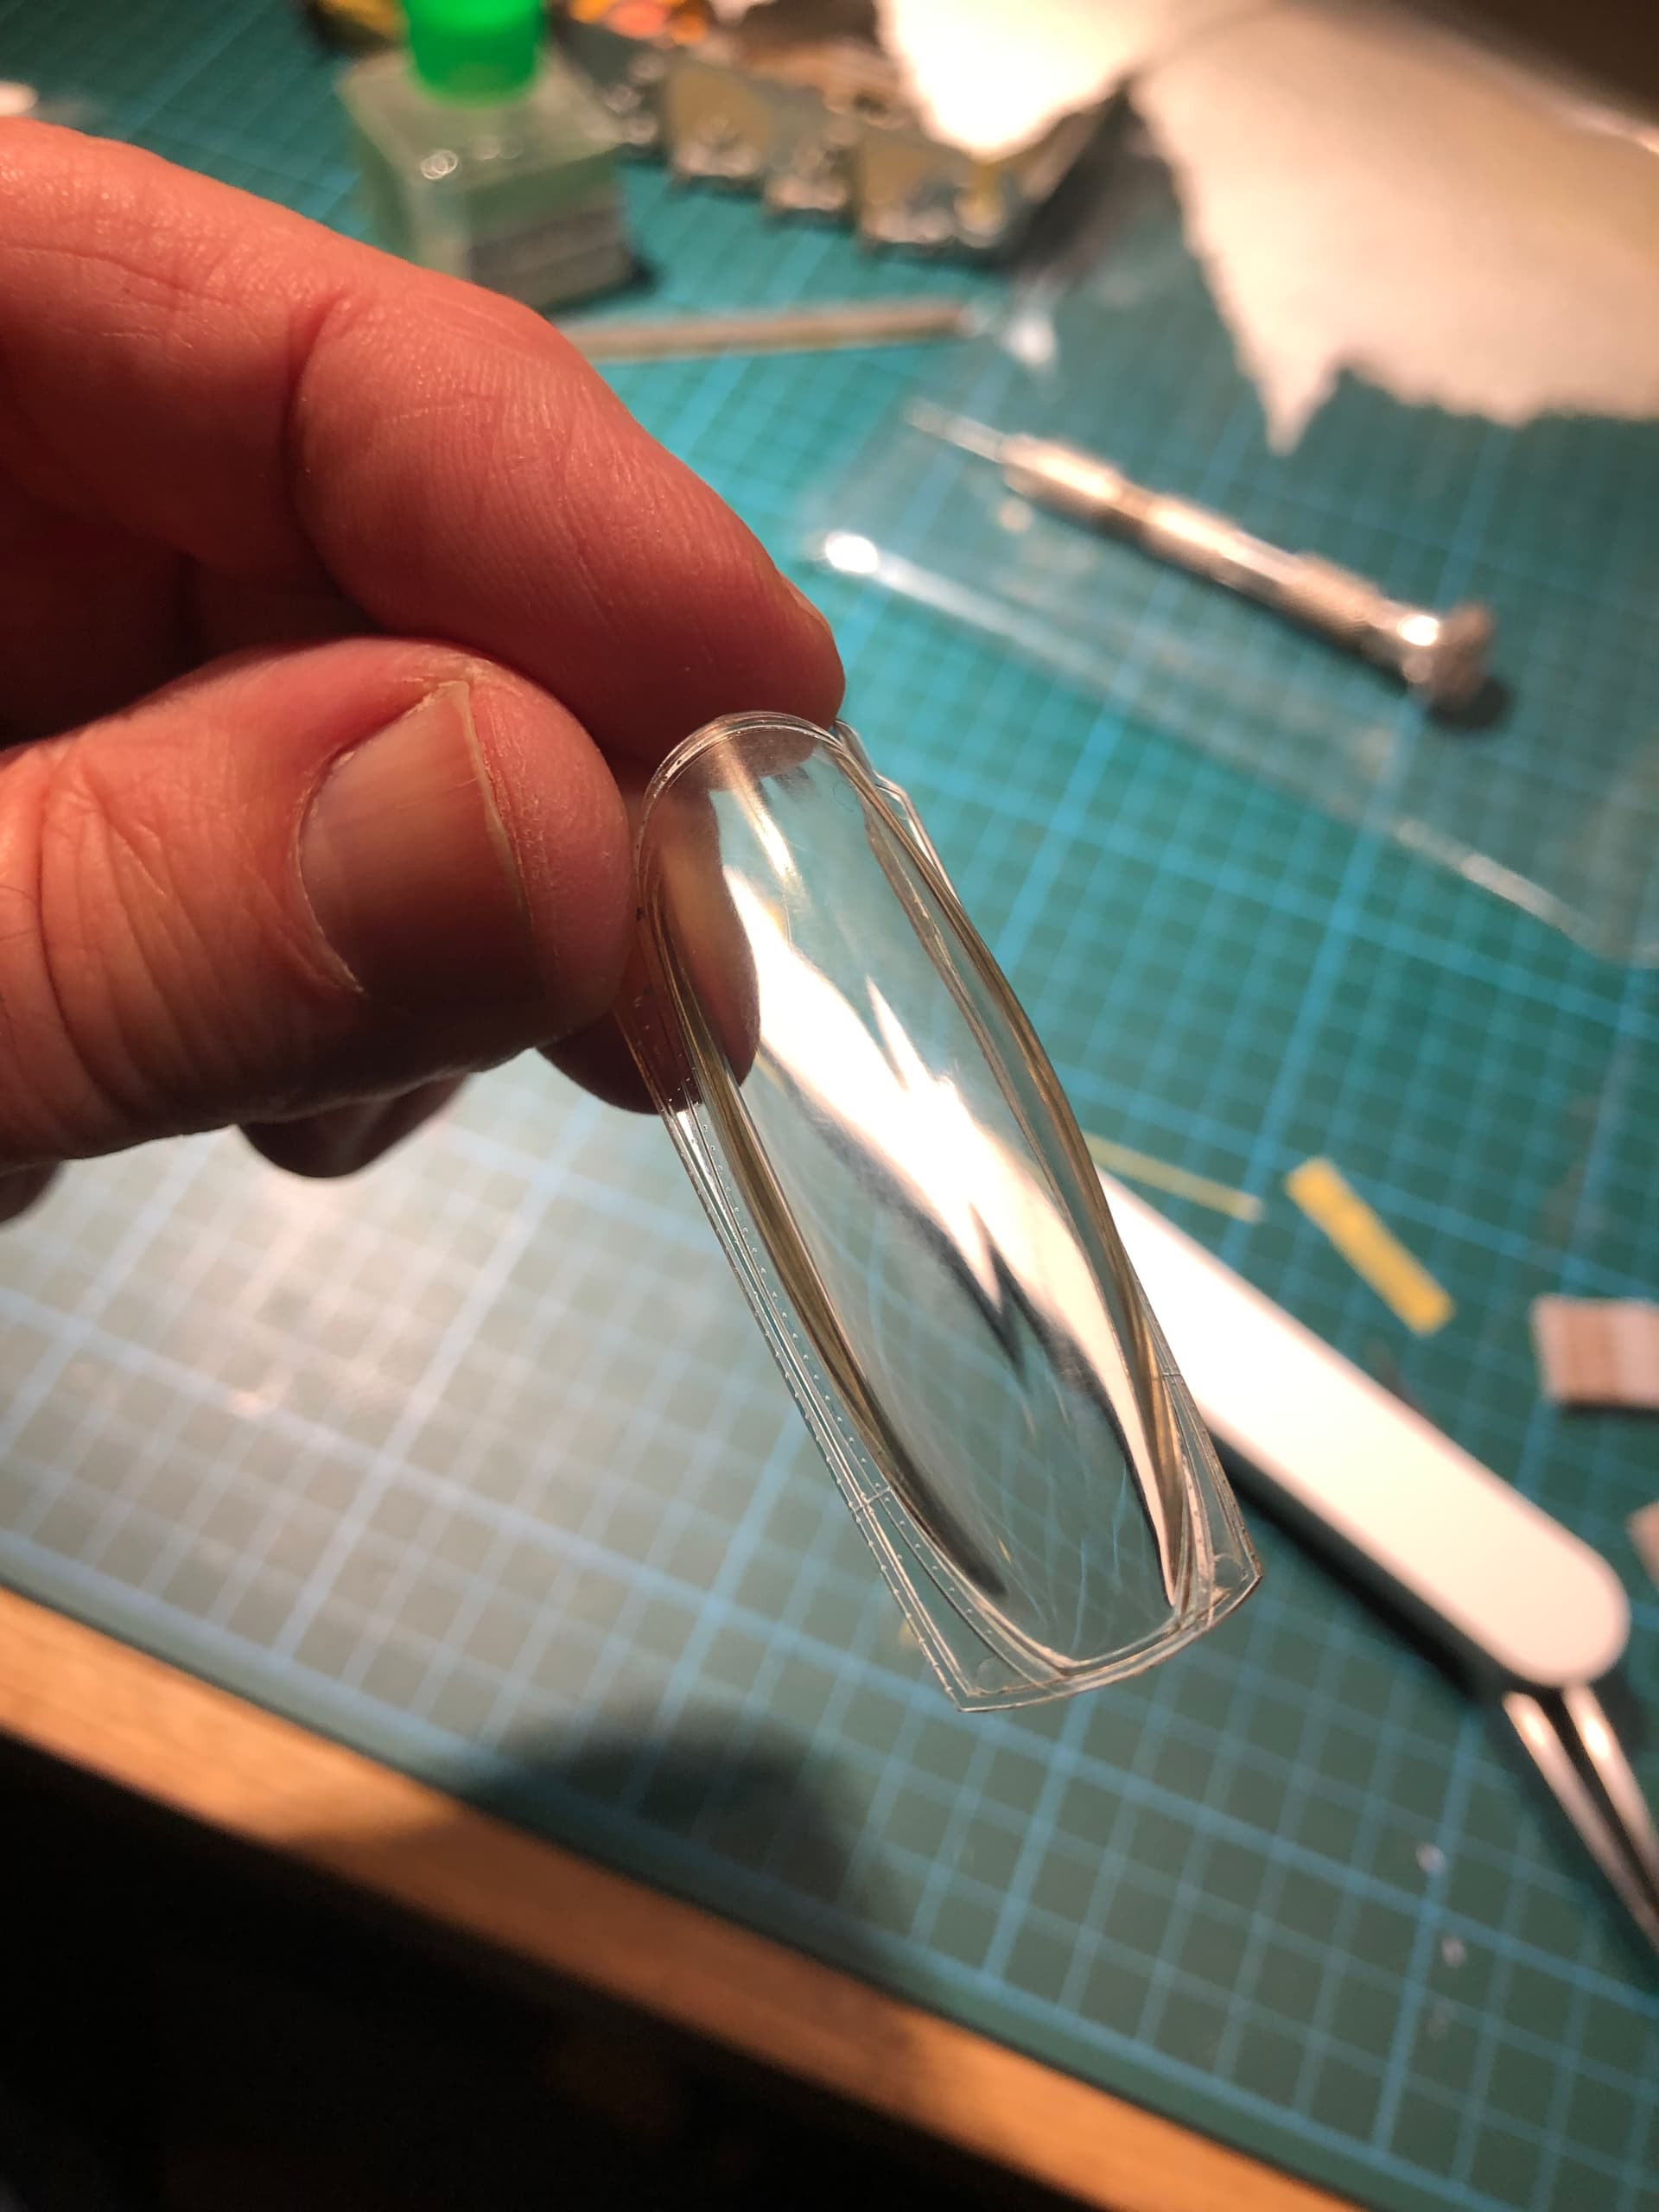
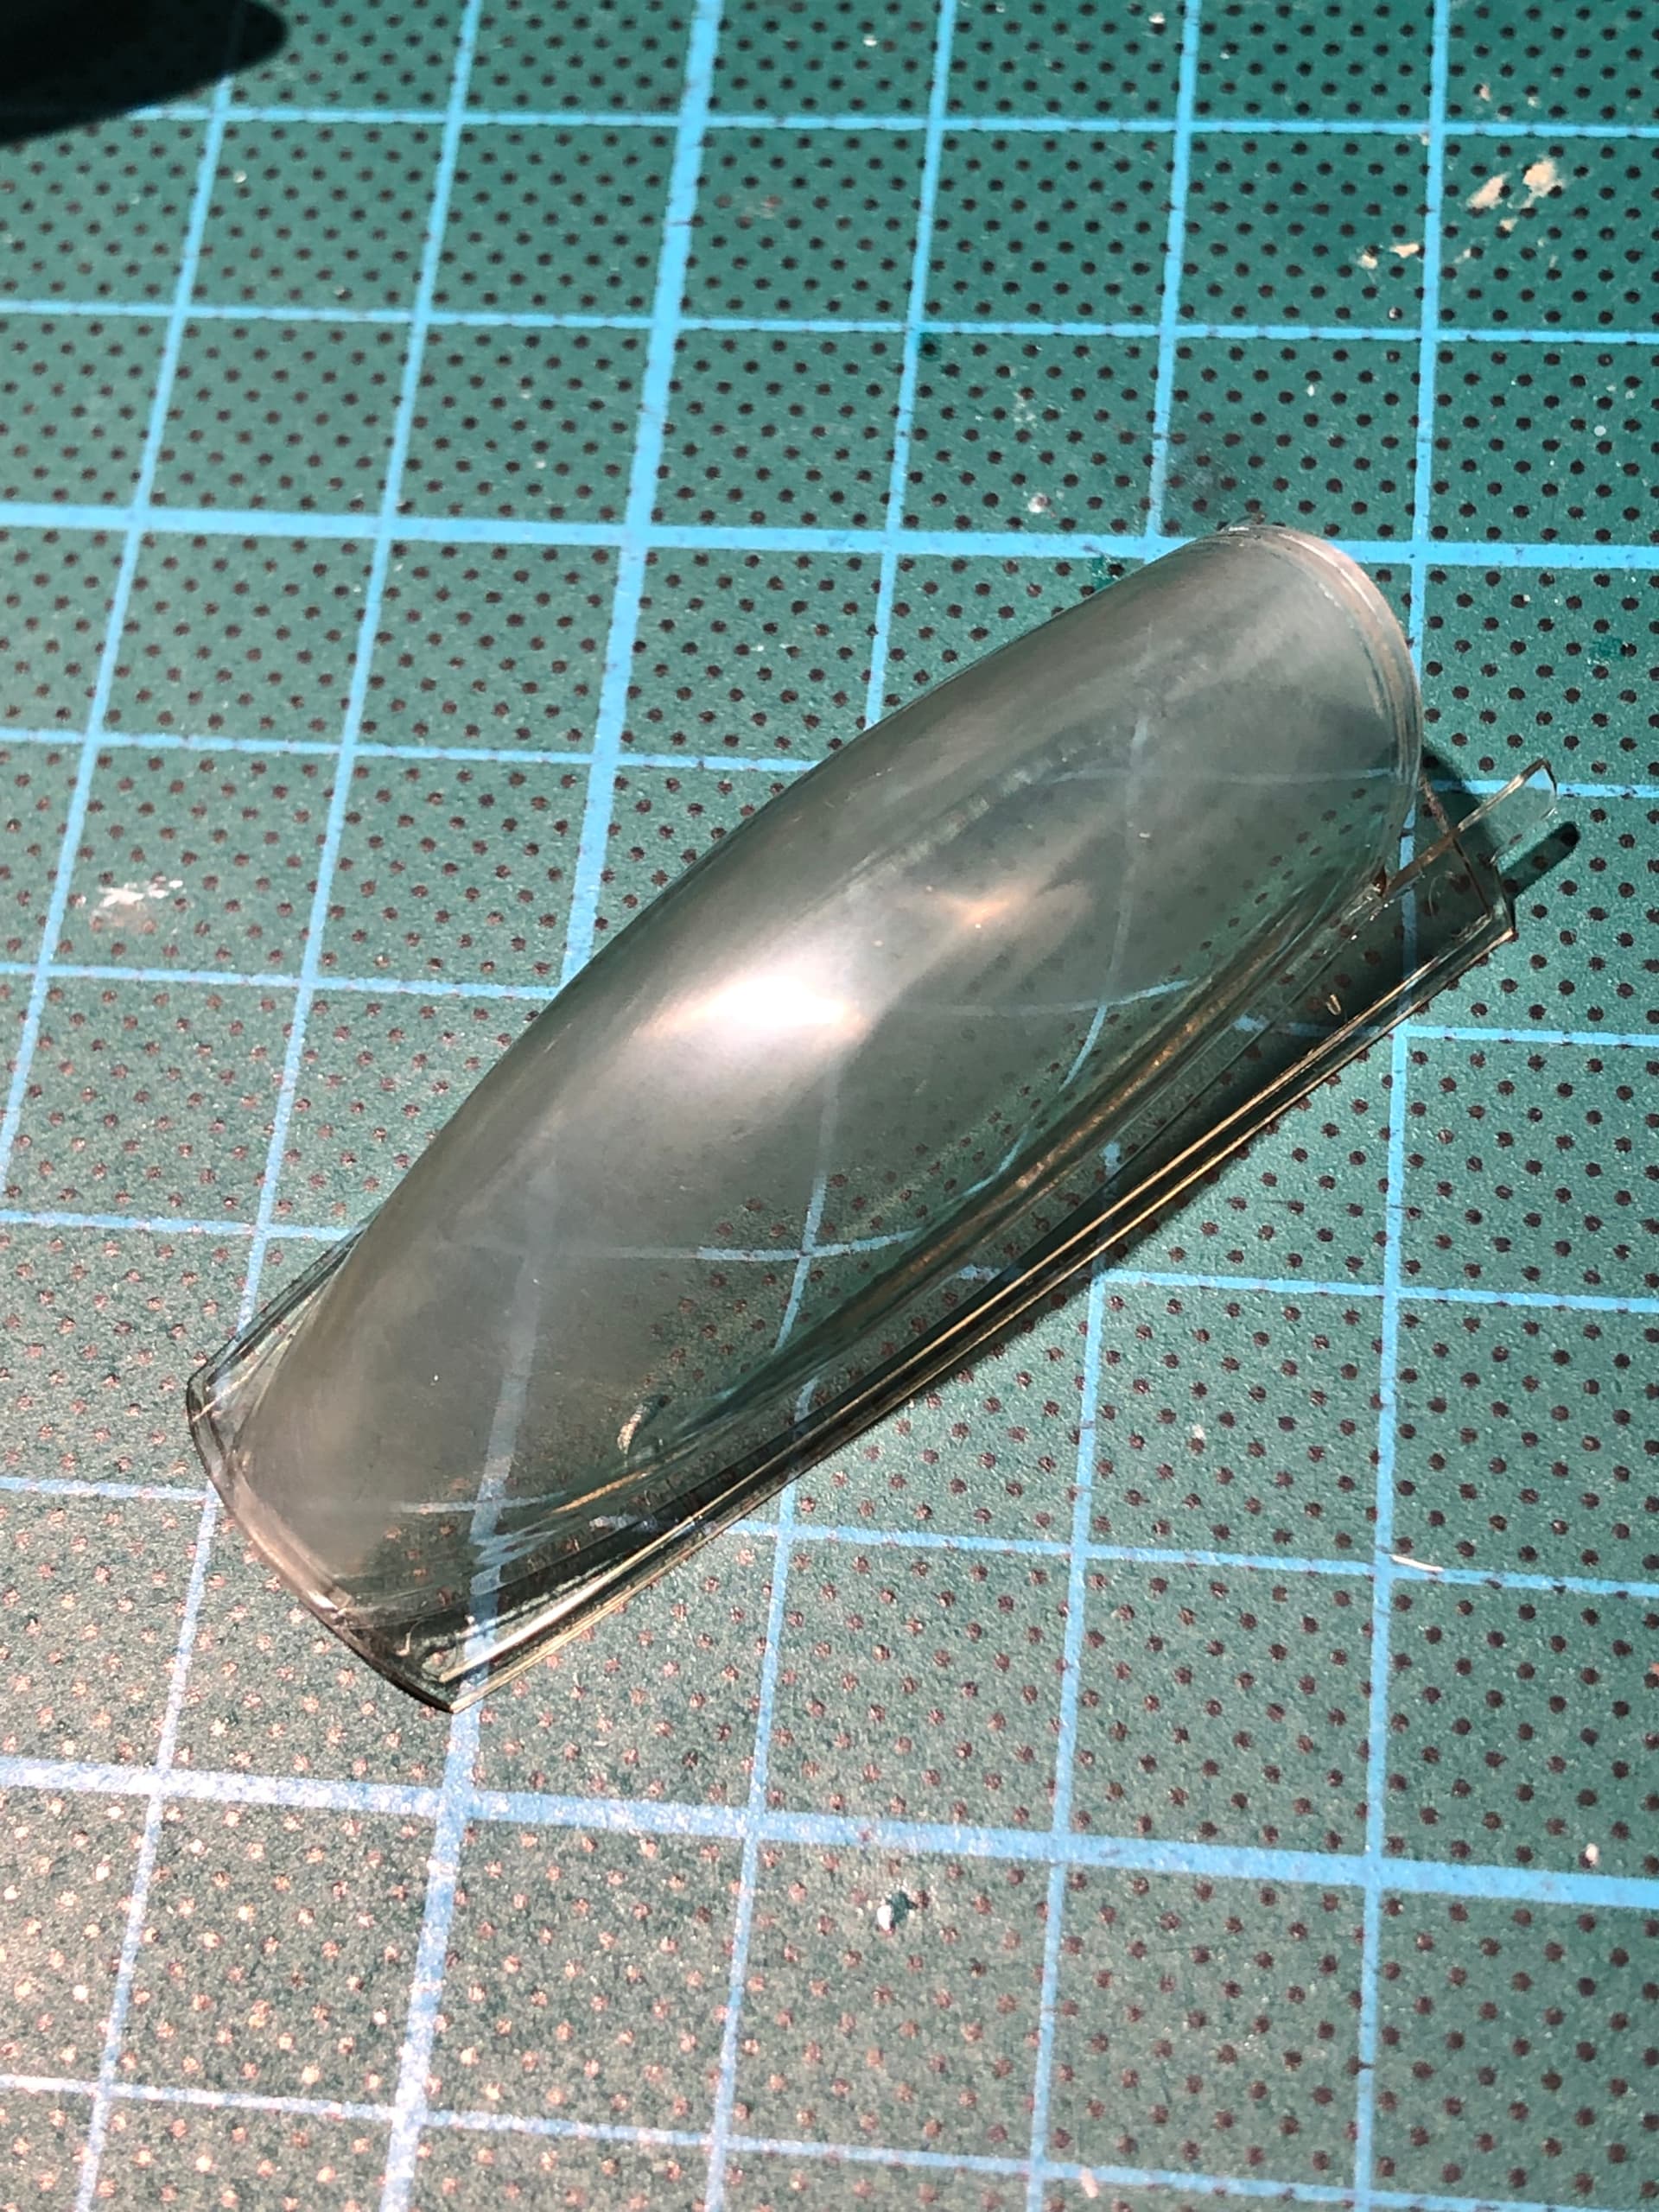
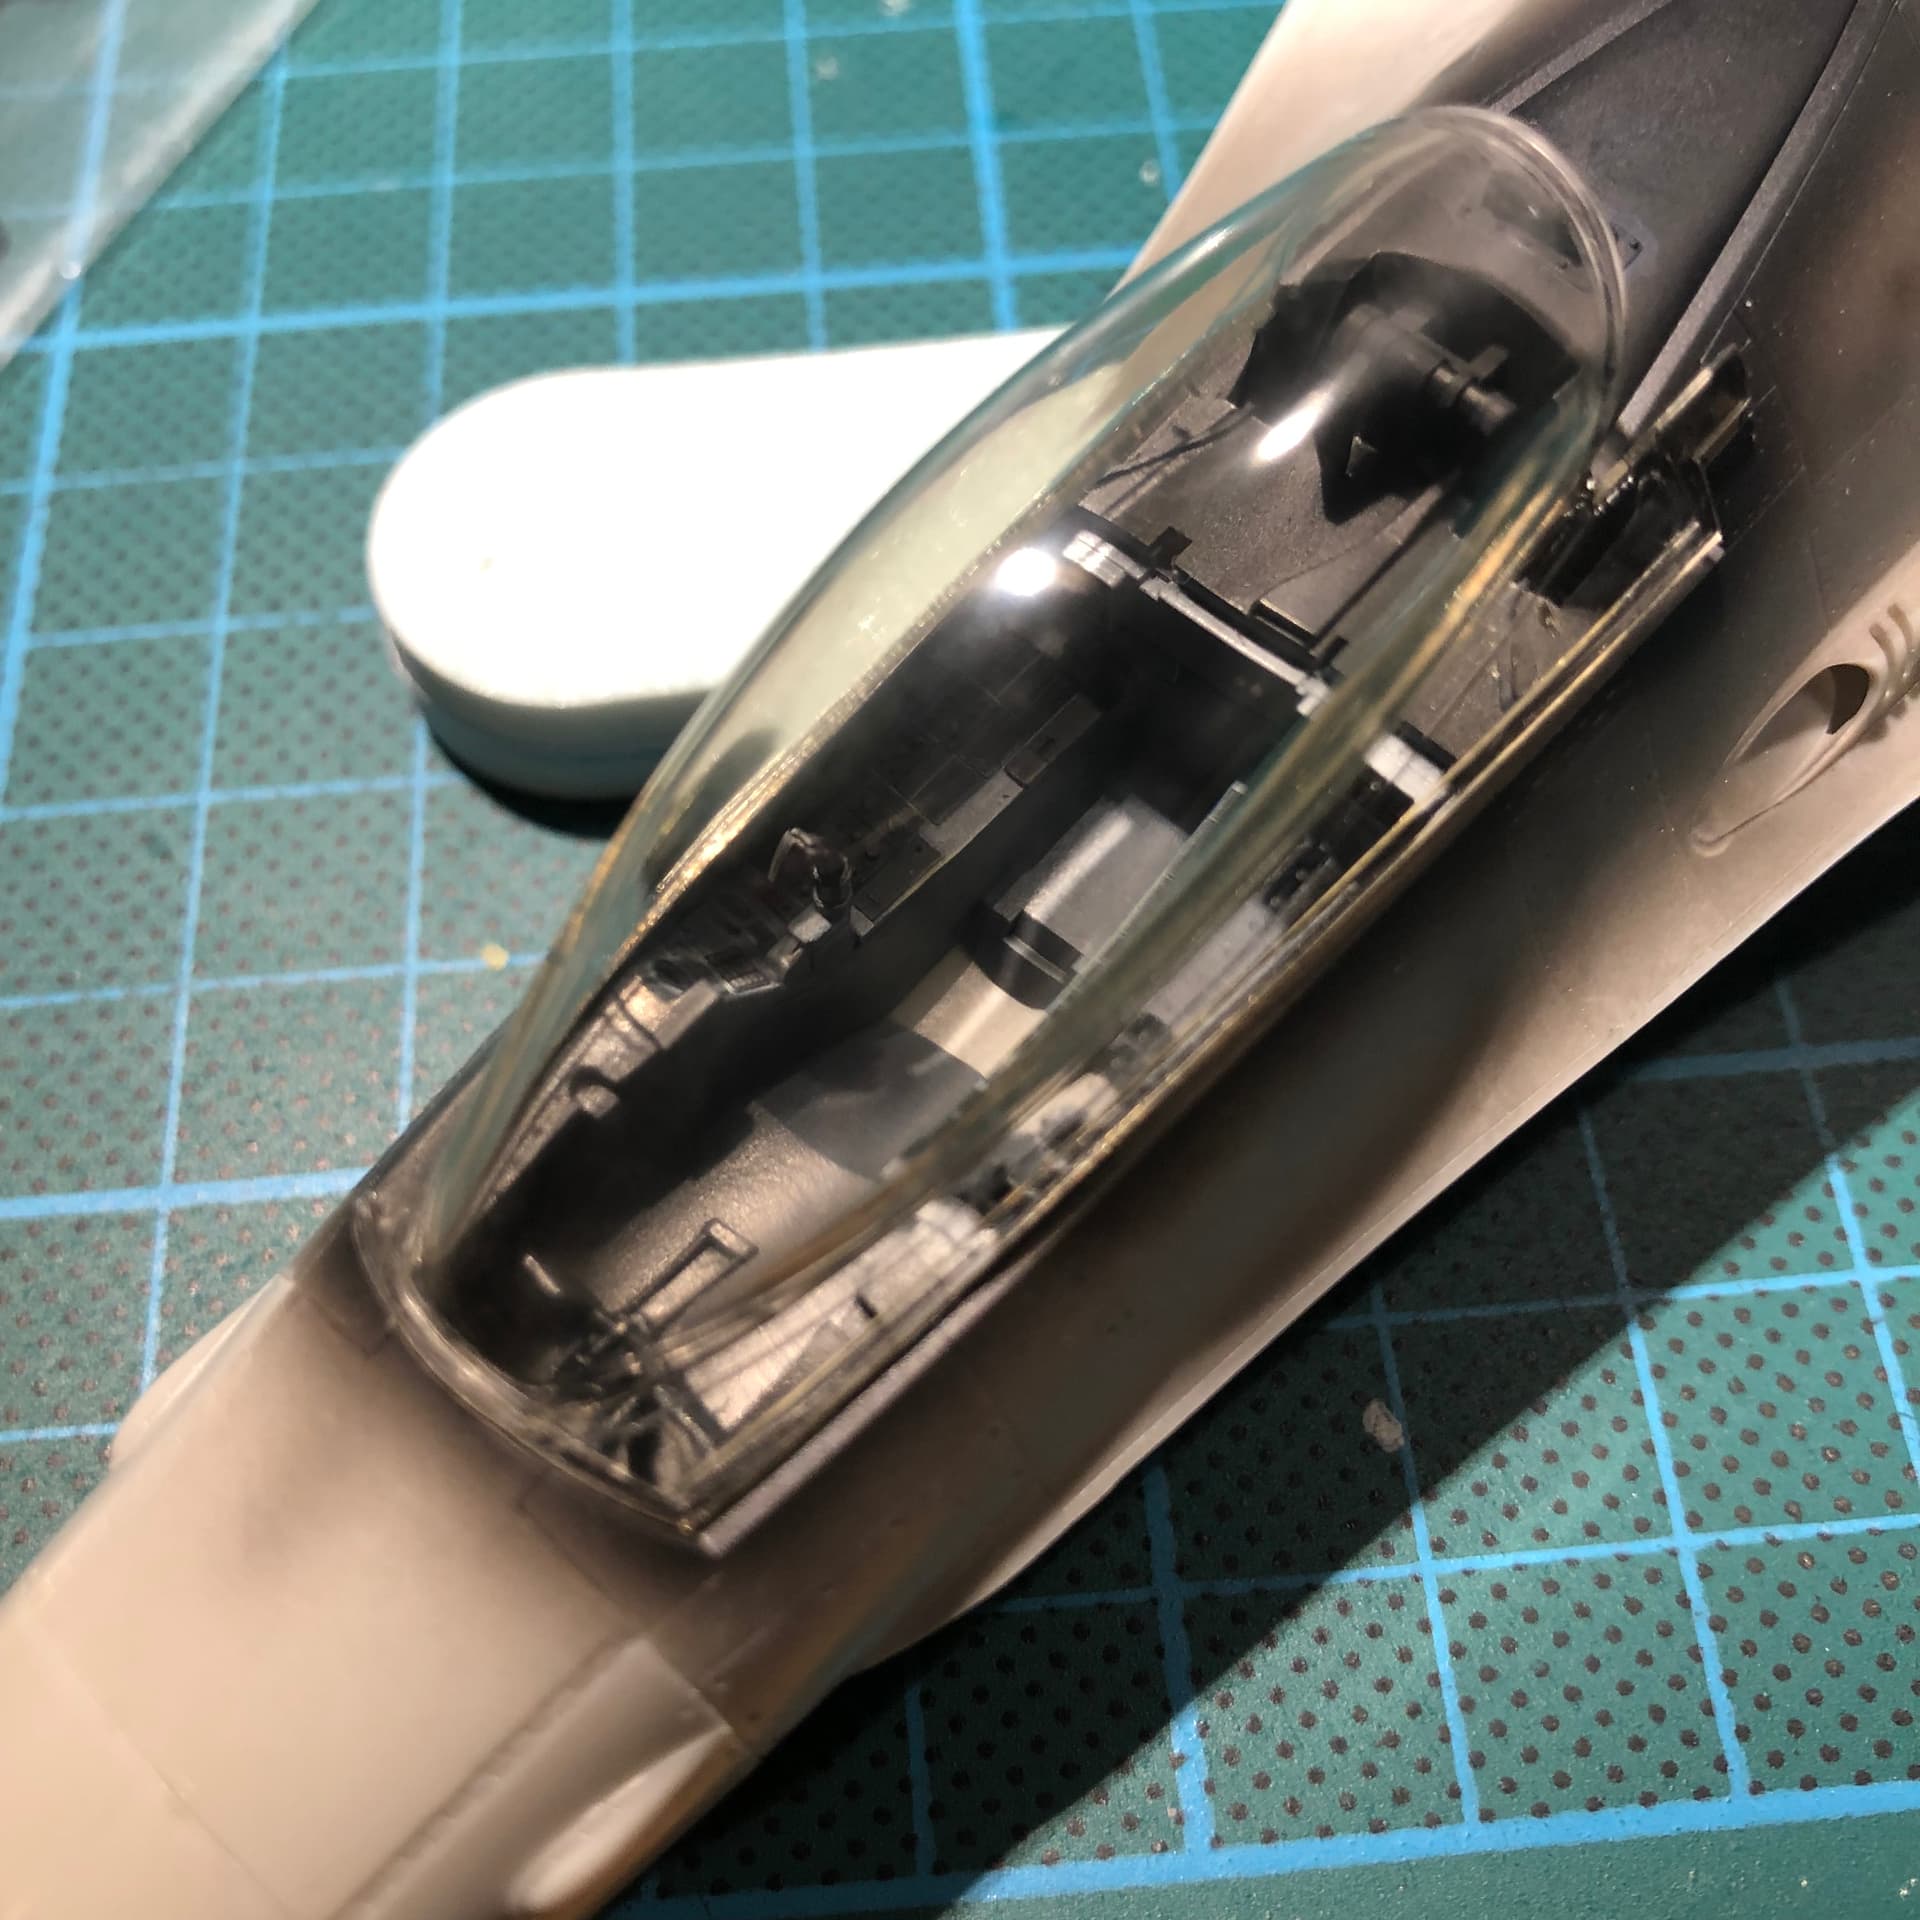
I’m at the stage where there is a sequence of small painting and construction steps. I like to paint in daylight, and where I live that means weekends; at this time of year, it’s still dark when I finish work. Even so, I want to keep things moving along, so I took a look at the canopies. There are two - a clear version and an alternative that is tinted. Both look nicely moulded and both have a seam line that needs removing. Having decided on the tinted one, and after sanding with increasingly high grades of sanding sponge, I got this result.
Yes, the seam is gone but there’s distortion. I wasn’t sure if my faulty workmanship was to blame or if there was a defect, so I repeated the process:
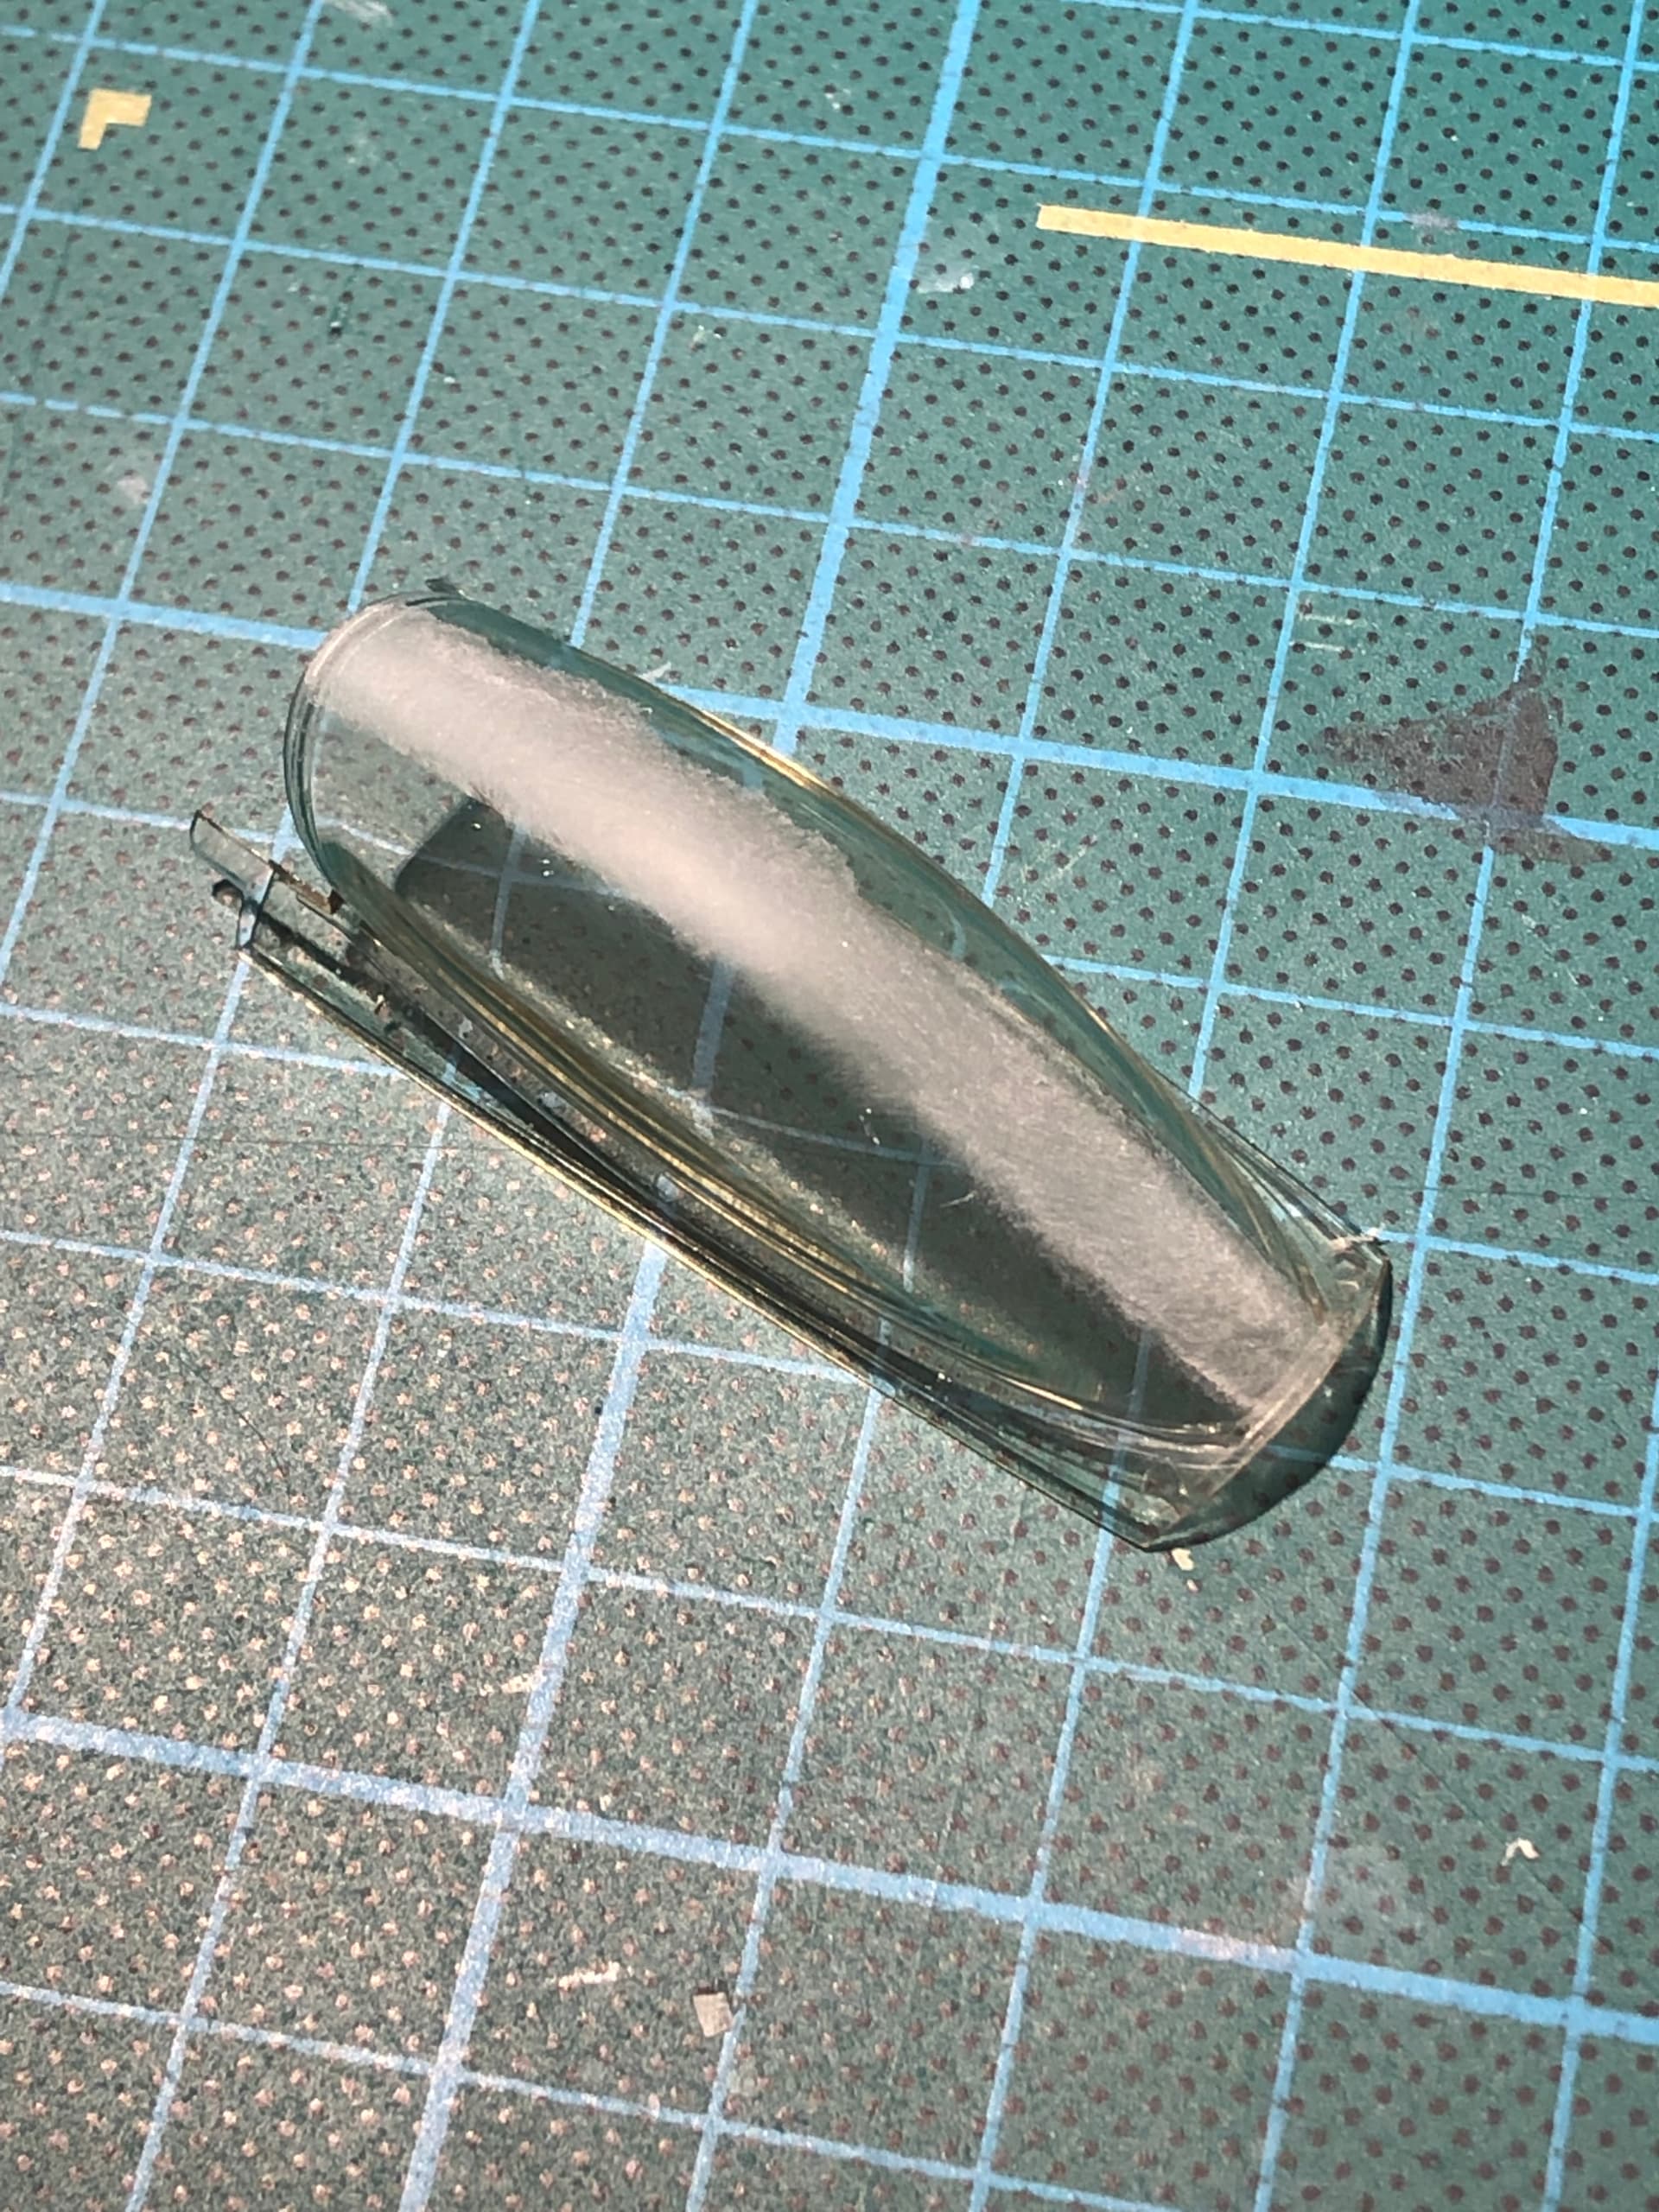
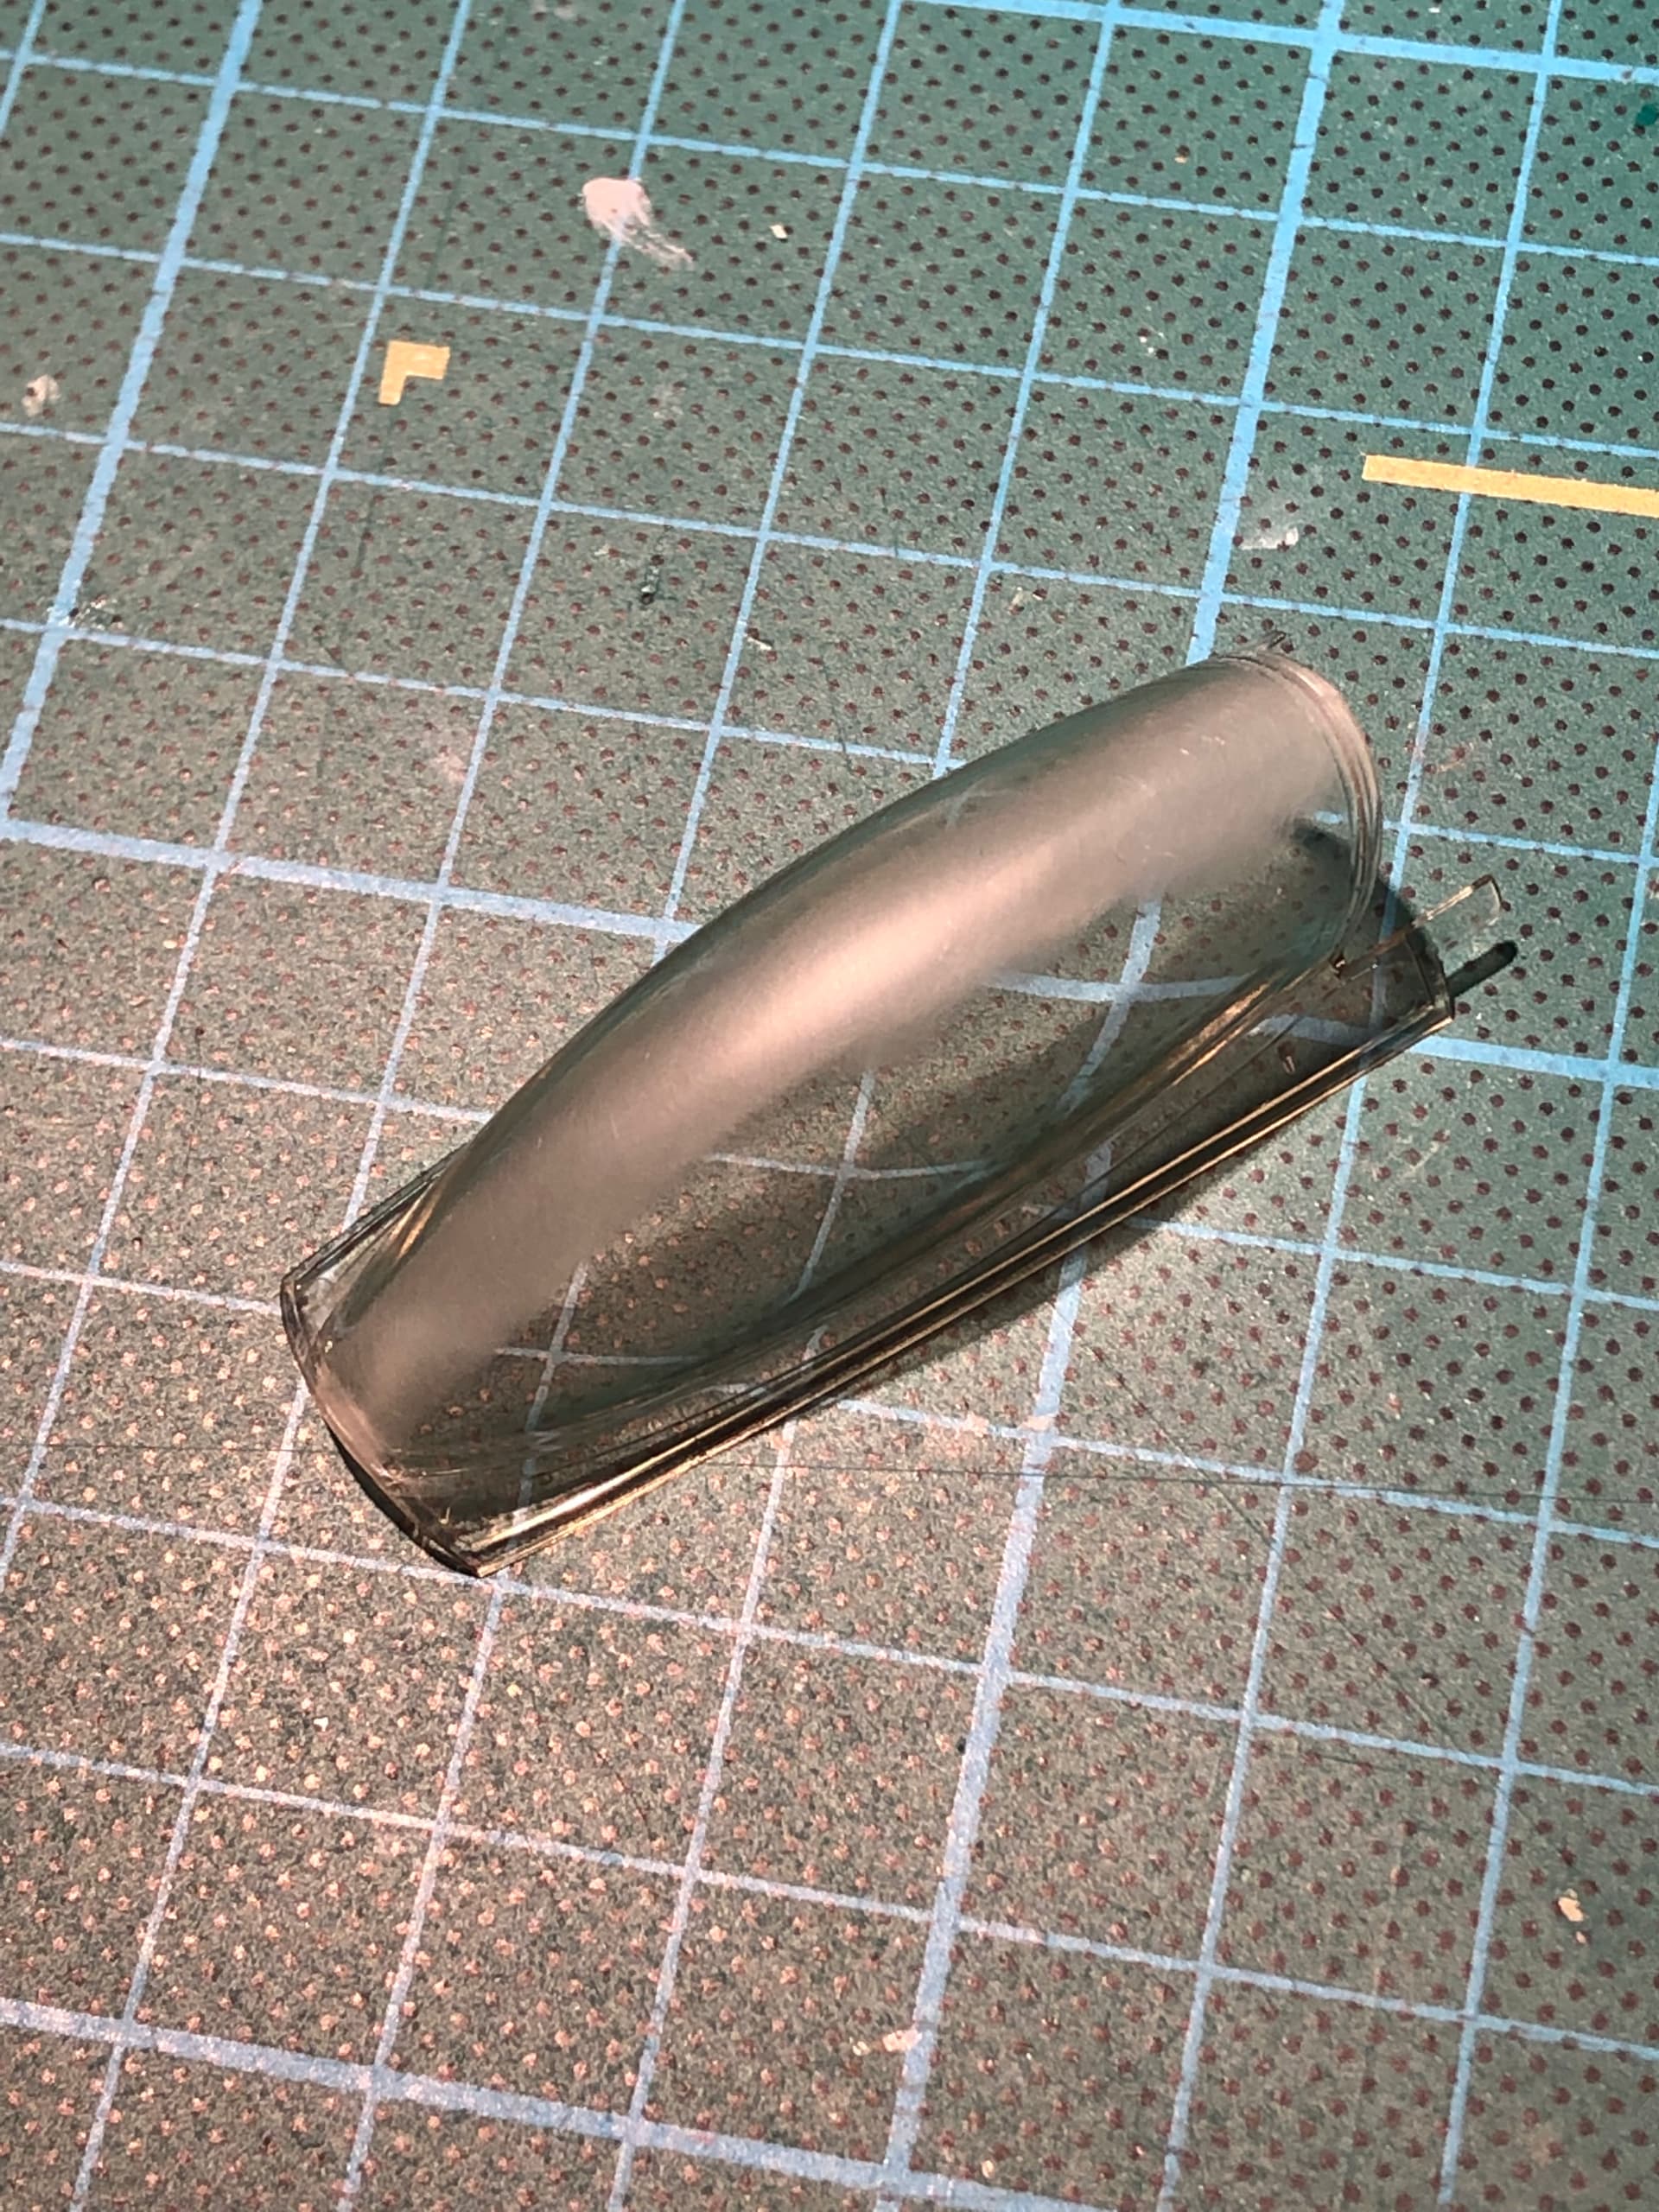
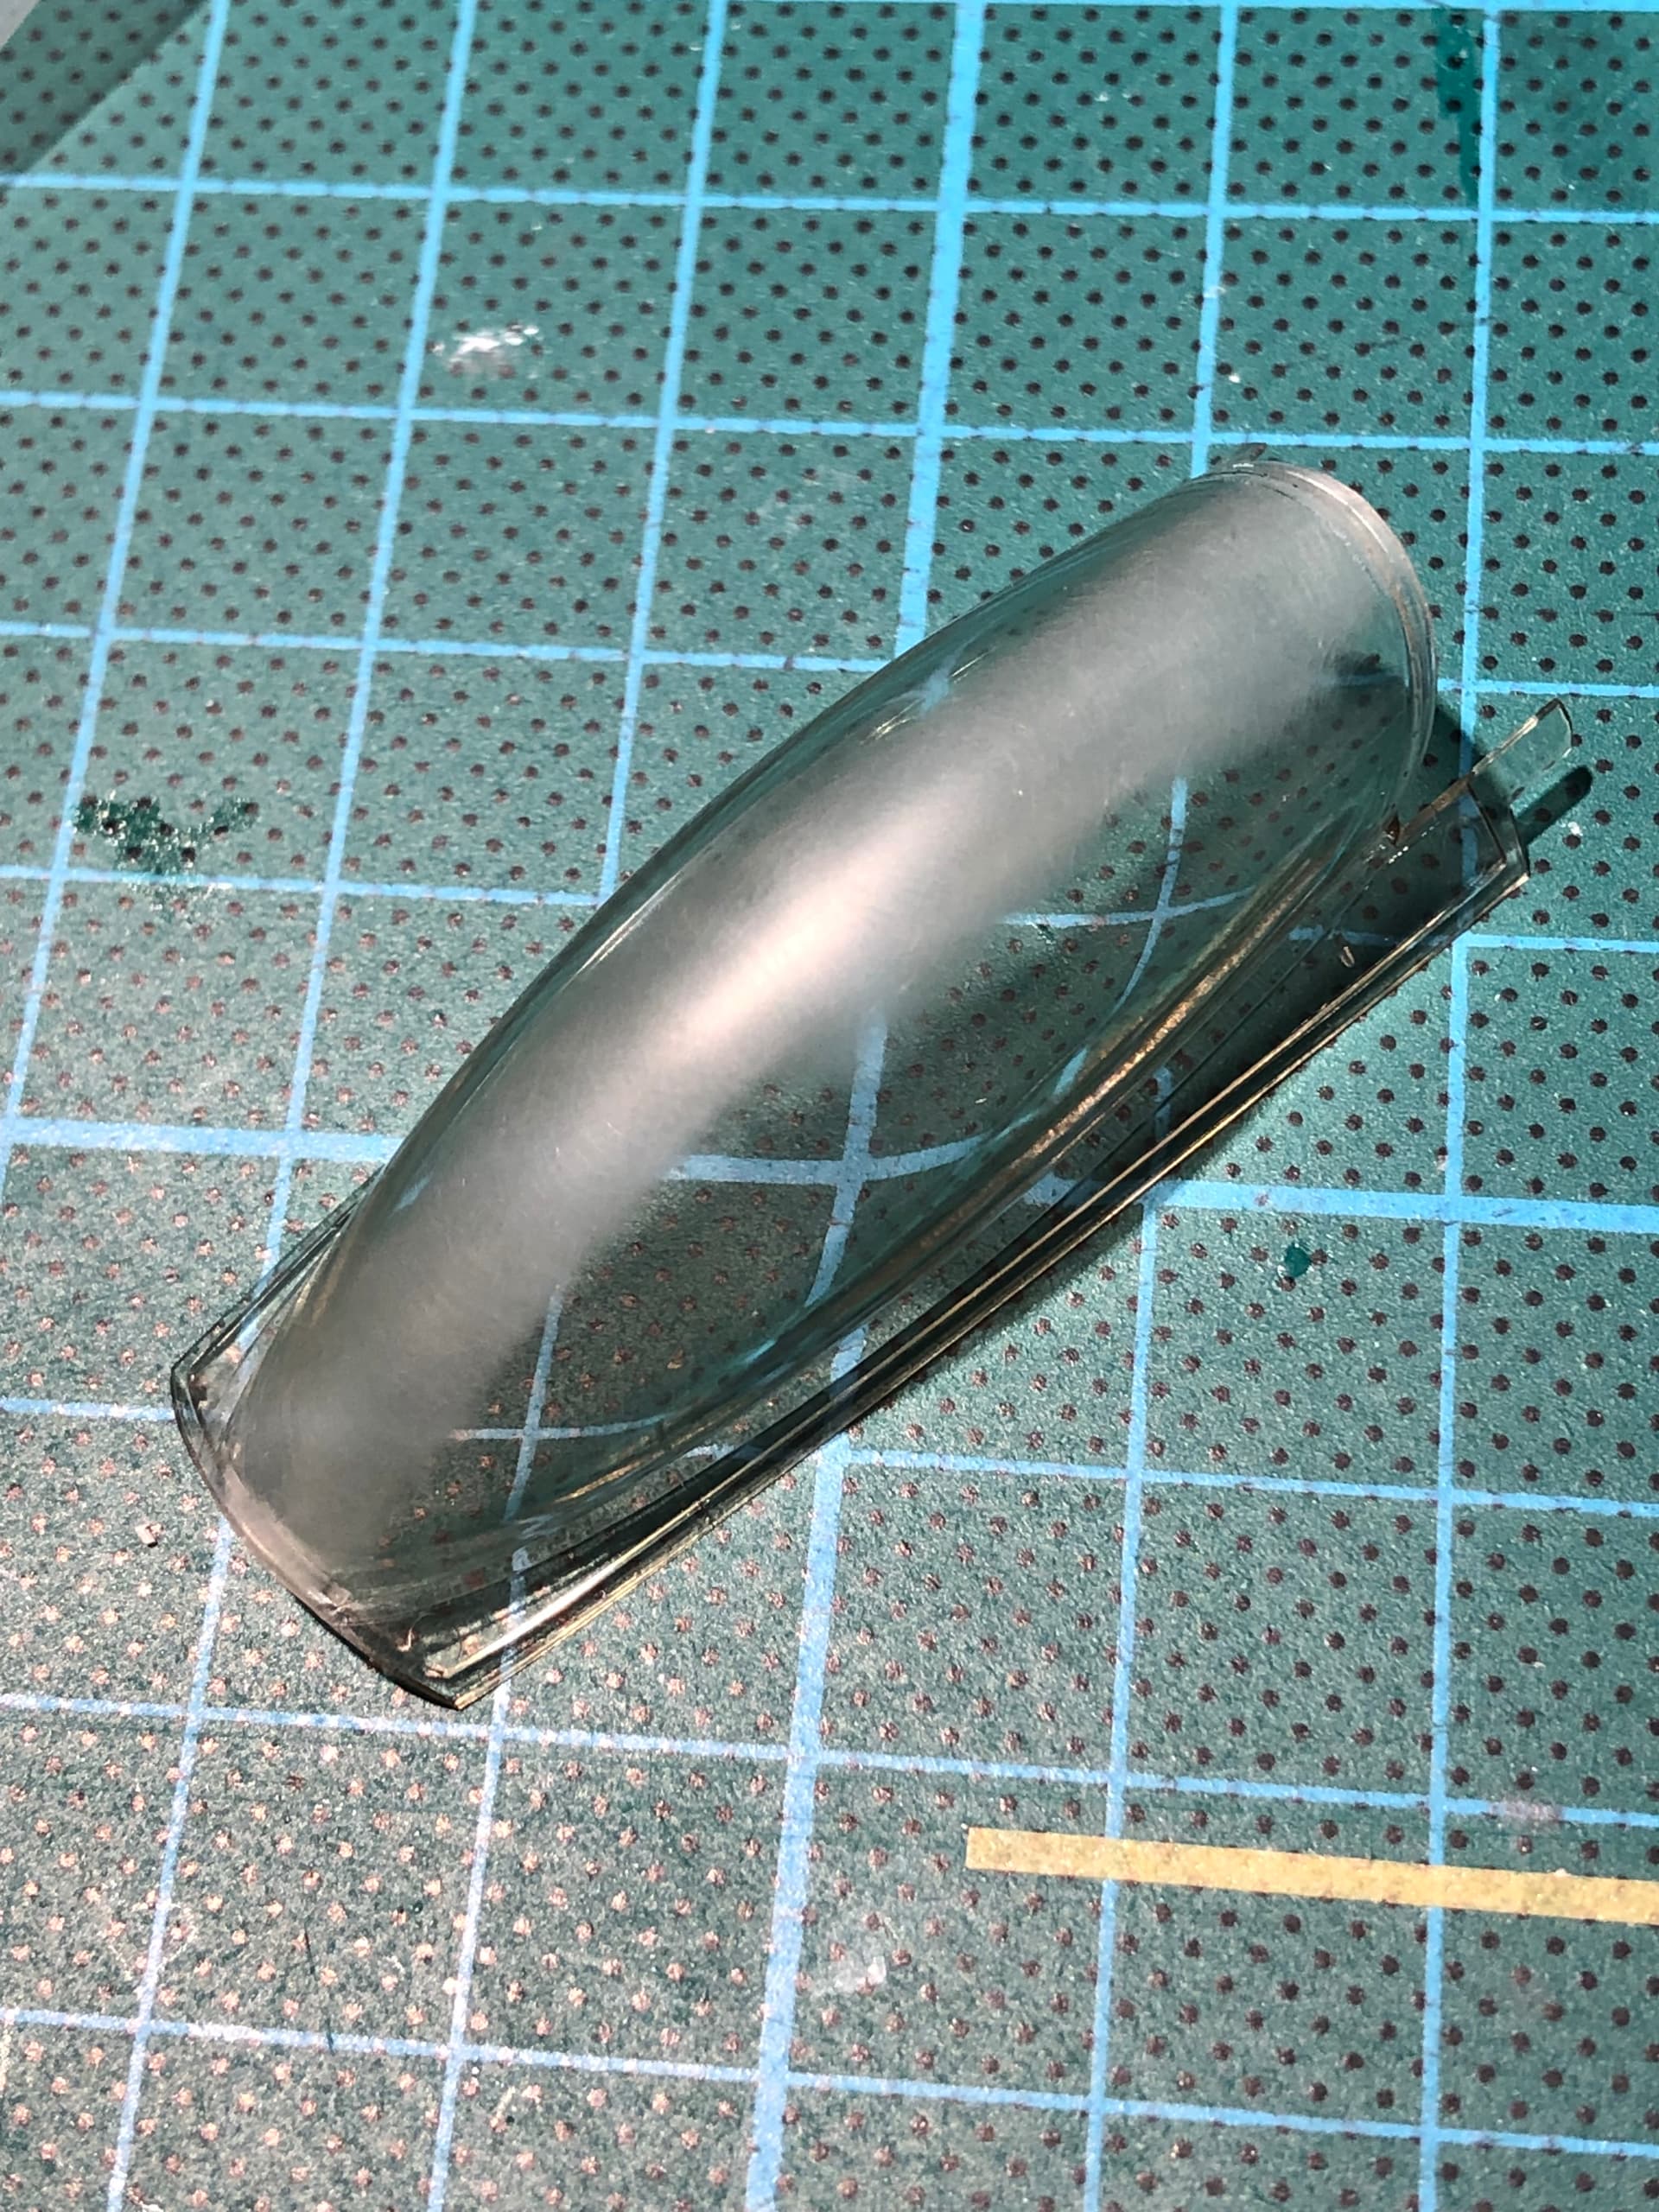
Step 1, 600 grit sanding sponge
Step 2, 2000 grit sanding sponge
Step 3, 3000 grit sanding sponge
Step 4, Ultimate Modelling Products buffer ‘rough’ side
Step 5, the smooth side of the same buffer
Step 5, will be Tamiya polishes, but I’m holding off. It seems (ho-ho), like the worst distortion is gone, but there is still some. Now I’m deciding if I live with what is there. I tend to sleep on these decisions to clear my head.
What do you think?
In the meantime, I hope you are mastering your builds.
Happy modeling folks.
5 Likes
i built the tamiya 1/48 Royal Navy Harrier and it was junk. Tamiya’s earlier aircraft do have issues from what i have learned.
1 Like
Brilliant job with the canopy seam … I was terrified of doing mine as I knew I would totally mess it up so left it. what is the " Ultimate Modelling Products buffer ? " and is that a must have in the process ? I recently bought a batch of sanding sticks and they have all the above grades up to 12000 …
1 Like
Hi David,
Yeah, there’s a little bit of mythology about the Tamiya brand, it seems to me. I’ve no doubt they produce some excellent kits, but not everything is wonderful. Even so, I’m enjoying this build.
I’m sorry the Sea Harrier didn’t work out. It’s a bummer when excitement turns to disappointment, or a kit saps all the fun from a project. I hope your latest build is keeping you motivated.
2 Likes
Hi John,
Thanks very much. My confidence was boosted because there are two canopies, so I had a spare if needed. The trick is to sand gently and do so in circles, not lines. As for the buffer, I bought a few some years ago. It looks like you can get them as part of a set now. Have a look here:
I’m talking about the light blue one in the middle, although any very fine grit abrasive will do the job. I just happen to have these.
Good luck with your projects!
3 Likes
Brilliant, thanks, I have those grades so thats good … I may put a shout out and see if anyone has any old canopies with seams in they will not use, so I can practise the technique … Cheers