A few weeks back I had decided that I wanted to build a F8F Bearcat, as I can’t remember ever building one in any scale before. Not the old Hawk or Monogram kits, nor any of the new tool releases, which I have a few of in my stash. Seeing how I’ve never built an RVN/VNAF aircraft either, I decided to go with this one that I’ve had in my stash for several years. Especially after recently building the Hobbycraft La-5FN. I like the cross of simplicity, and detail offered in this kit
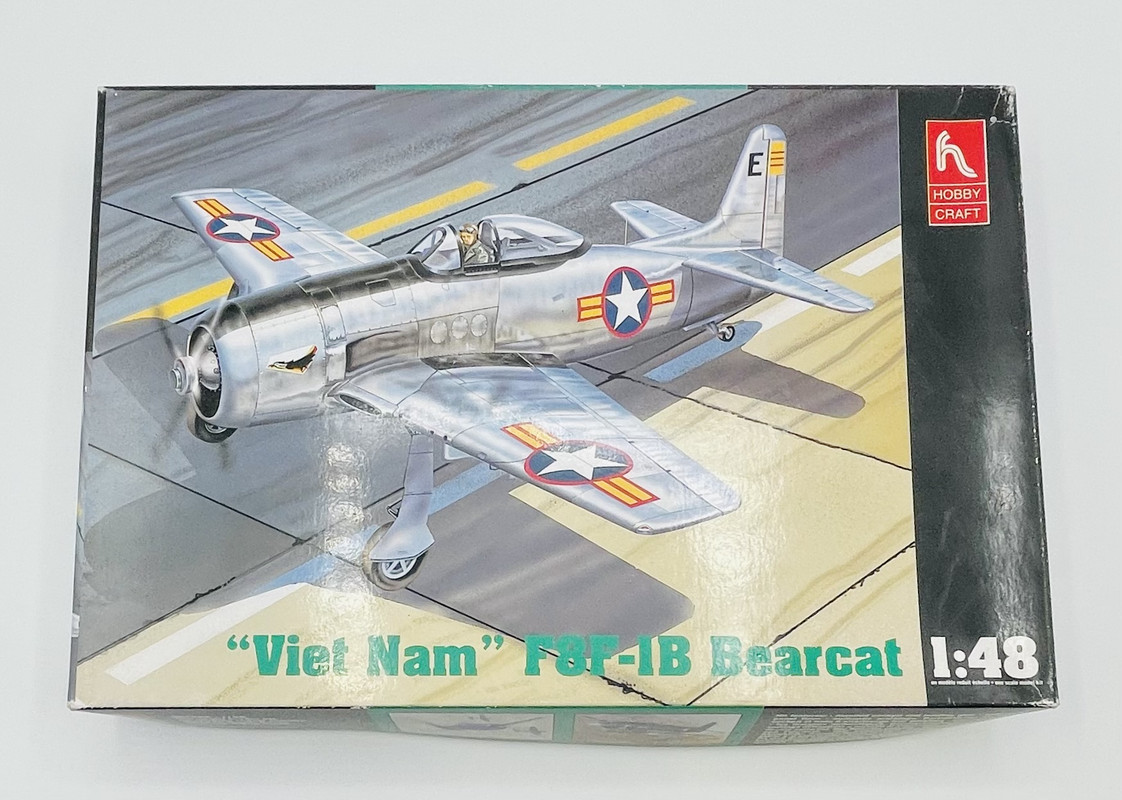
So I’m kicking off my build today, using this Hobbycraft kit.
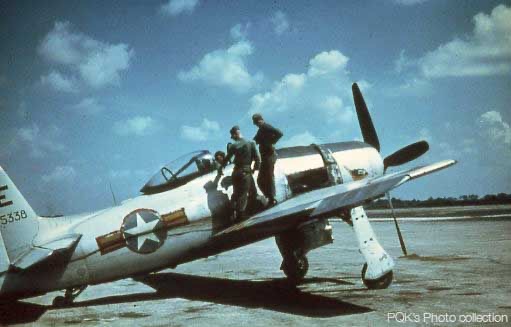
It’s one of their later moldings and is pretty nicely detailed, inside and out. Here is a photo of the real aircraft in the early 60’s
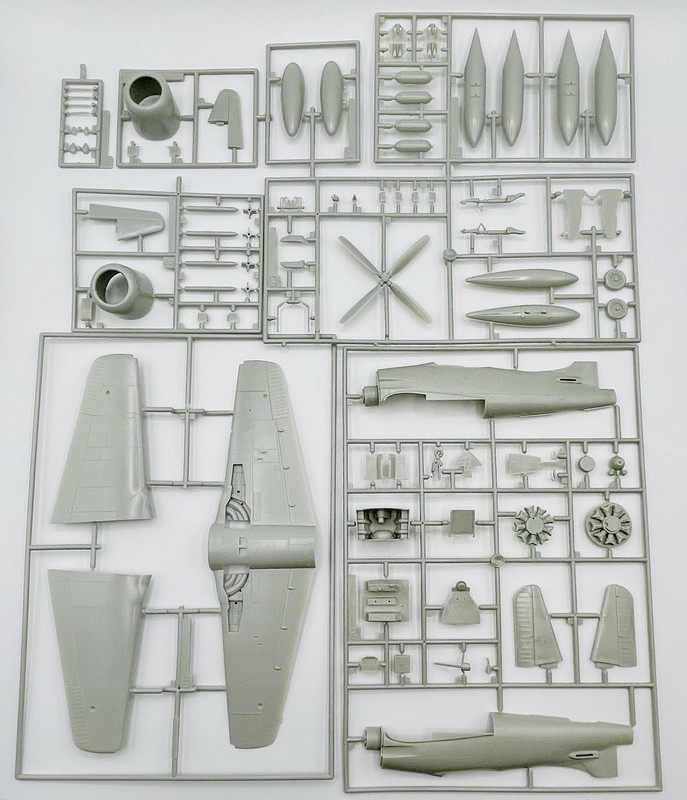
and the kit sprues… not too high of a parts count, so this might be a fairly rapid build
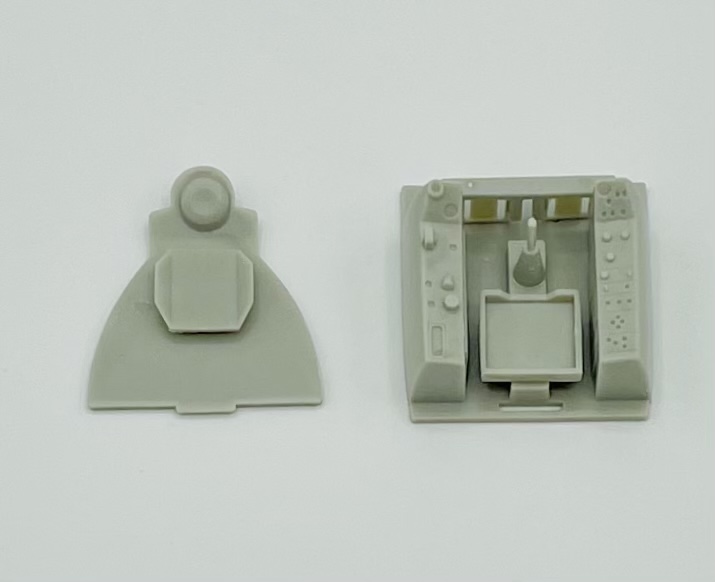
And of course, assembly starts out in the cockpit
I’ll get some paint on there in the next few days…
Thank you Fred. I have that same T-28 in my stash to do one day as one of the Farm Gate aircraft. Just not sure yet how much extra effort that I want to put into that build.
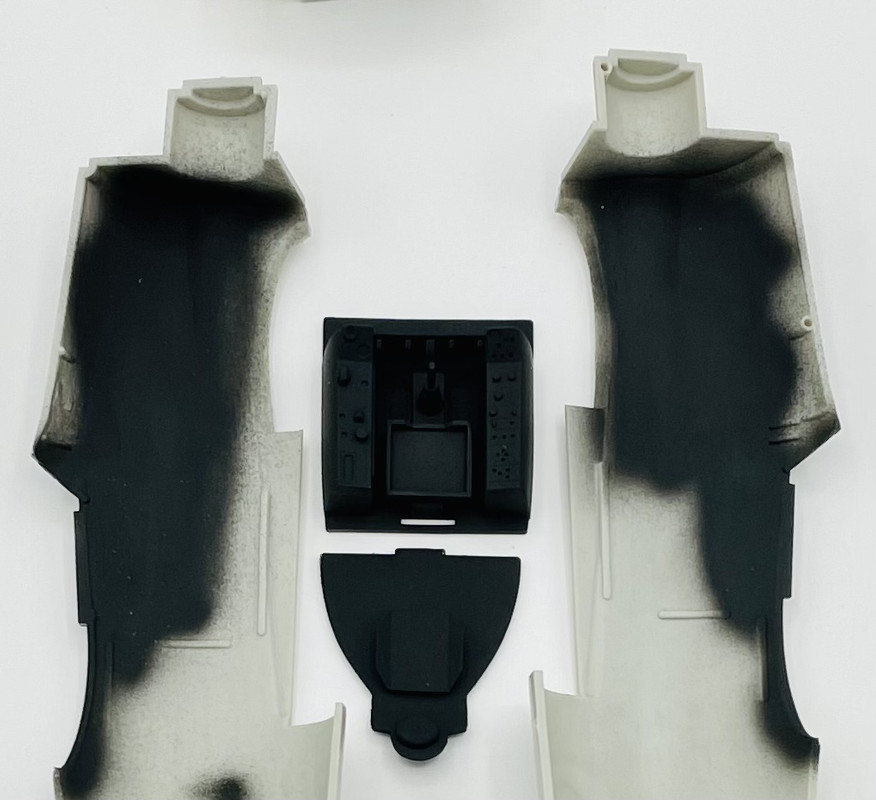
Started slinging paint on the Bearcat today. First up I used Tamiya Rubber Black in the cockpit and wheel wells. It works for a good faded black.
since USN cockpits in the post war era were painted in flat black from the level above the side consoles and IP, and Interior Green below that, I’m just gonna mask off the black areas tomorrow, then paint the green after giving the paint overnight to dry and cure before masking.
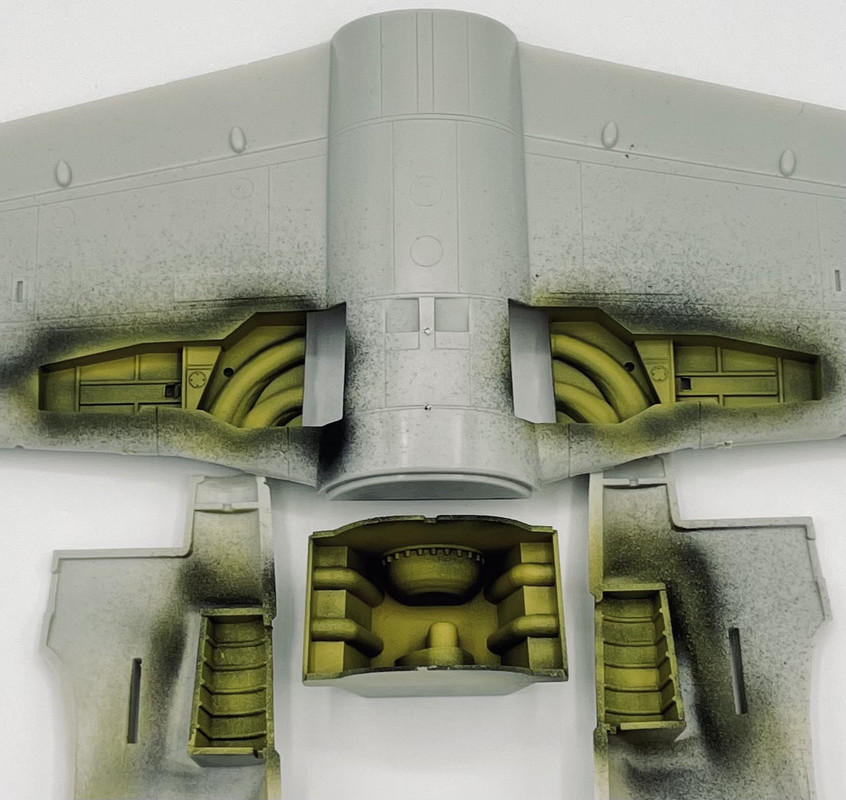
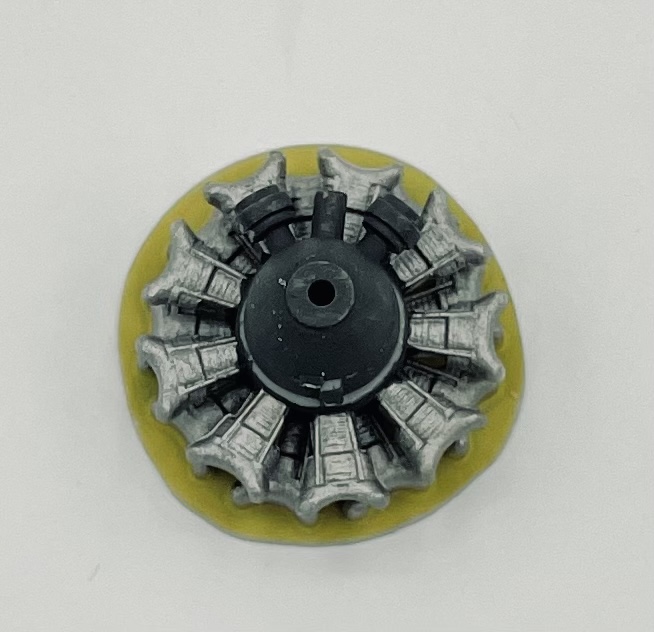
In the wheel well areas, I used Tamiya Yellow Green as Zinc Chromate Yellow over the Rubber Black
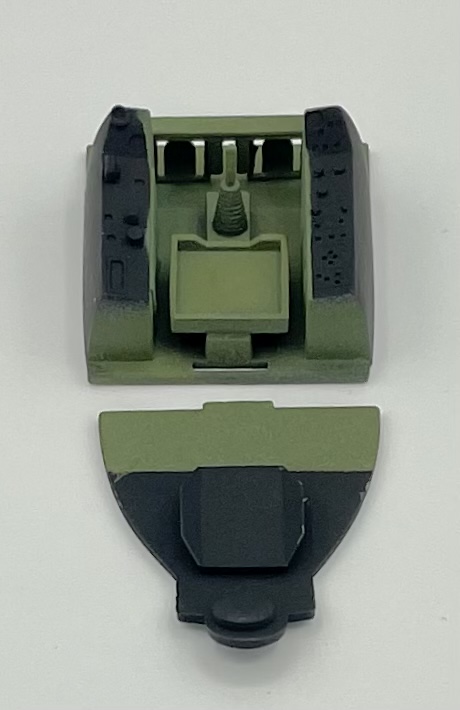
Minimal progress today, I’m trying to wrap up a few other projects that are nearing their respective finish lines. But I did have a good airbrush session for all three builds. For this one, I used Humbrol Acrylic Interior Green in the lower portion of the cockpit tub. Thinned with plain old water the stuff came our smoother than with the previous thinners that I had tried.
Now I have to do all the detail painting and weathering in there, so it will be awhile before I have more progress photos…
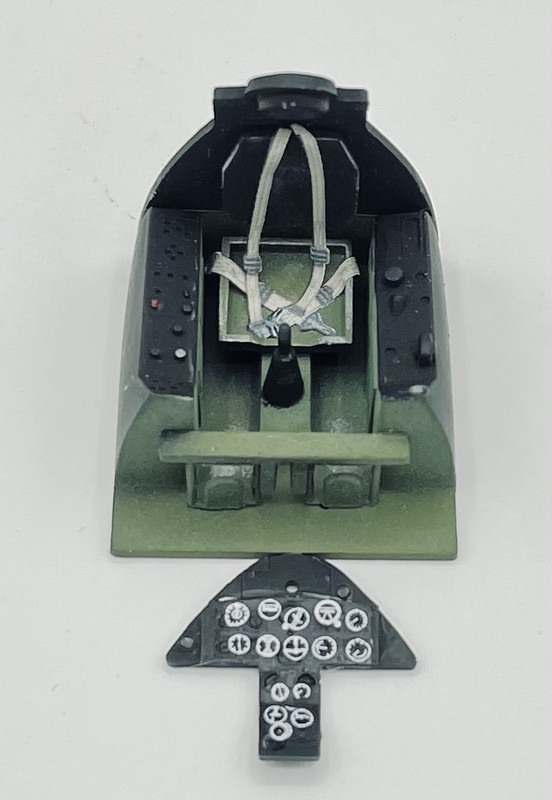
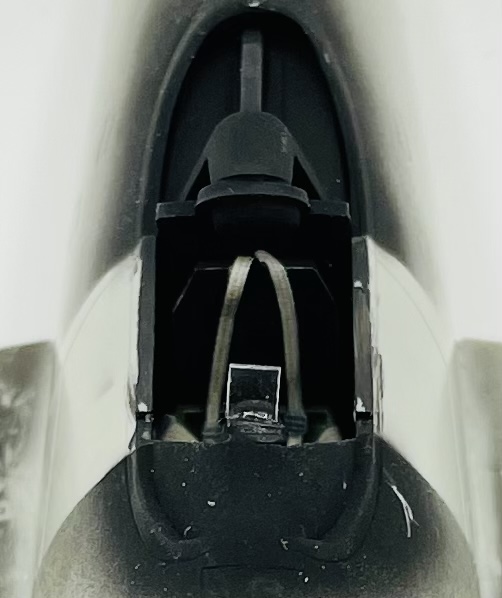
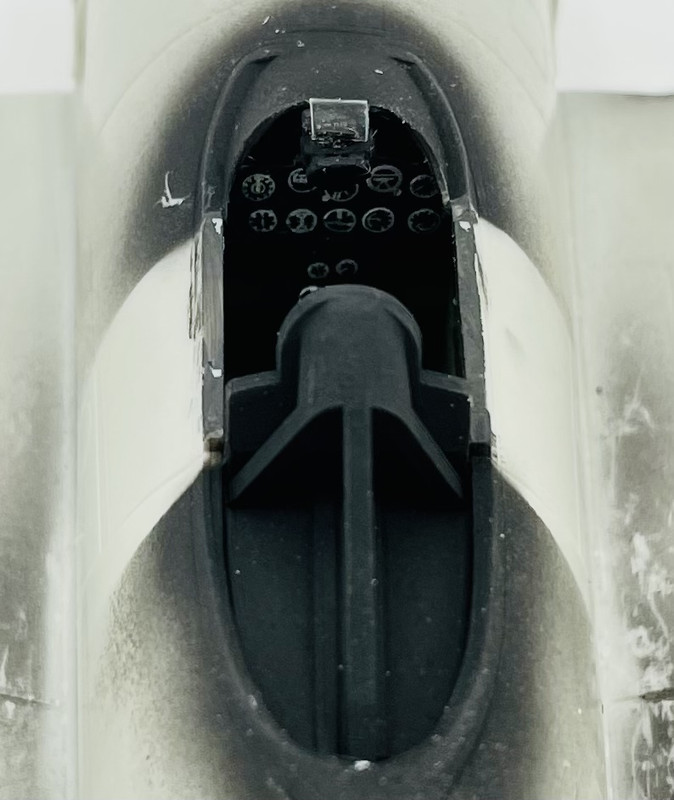
I resumed work in the cockpit, using a 3-D print decal seat harness, modifying a F6F-5 IP decal for use on this one, and some final detail painting plus dry brushing
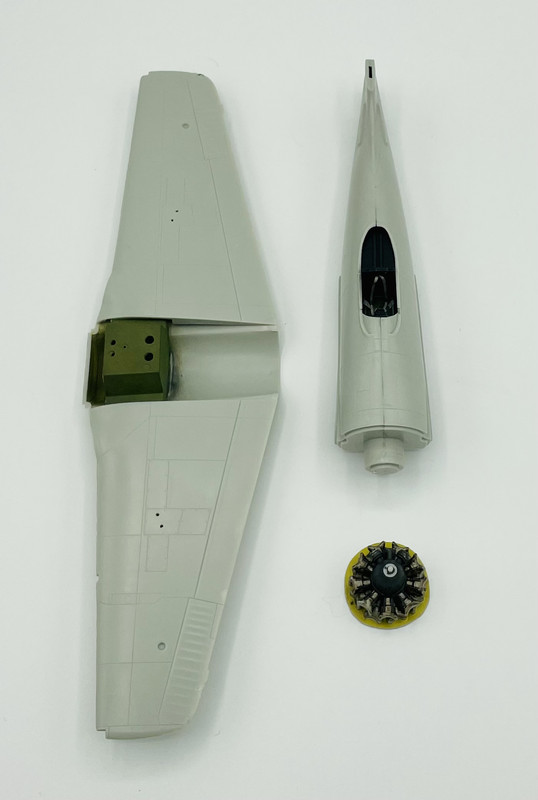
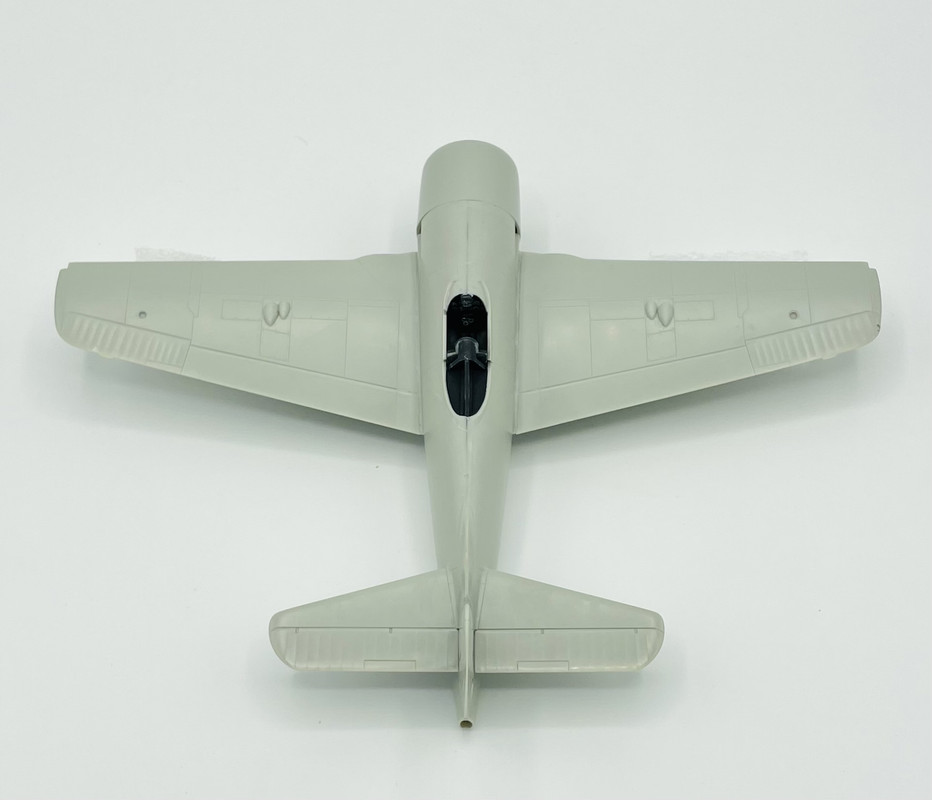
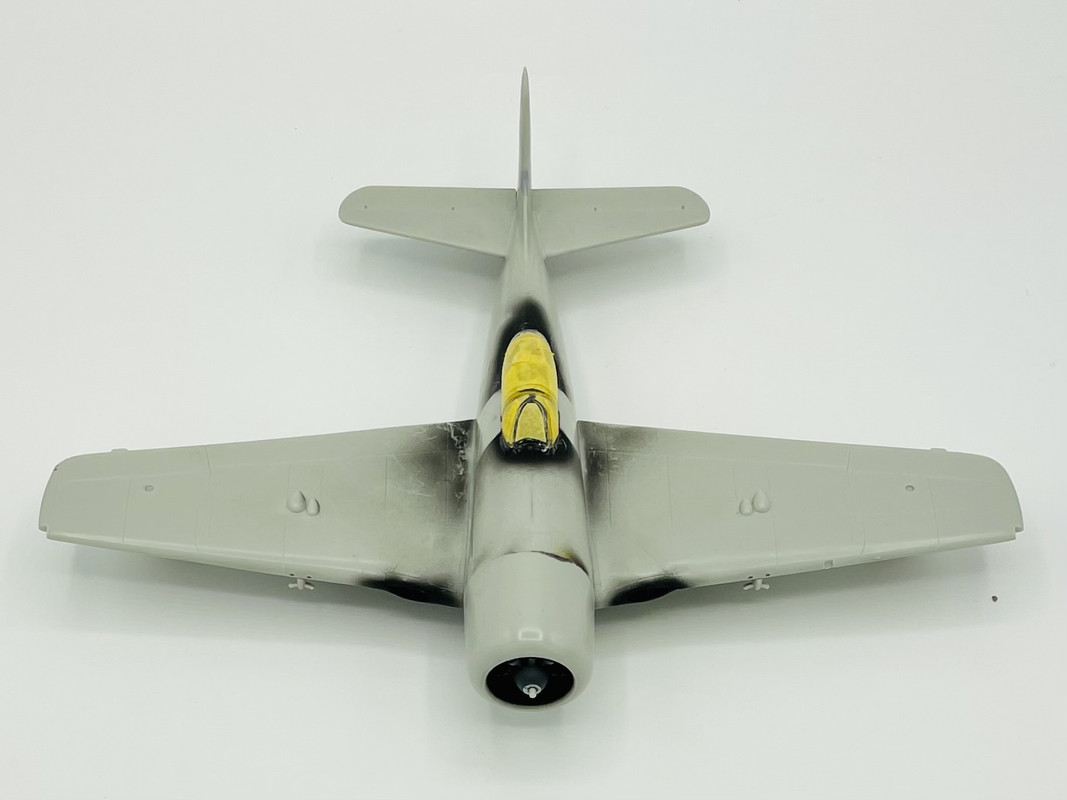
Between yesterday and today I did most of the seam clean up on the separated wings and fuselage, then glued them together. I also added the vertical stabilizer, engine, wing cannon drum bulges and cockpit rollover brace.
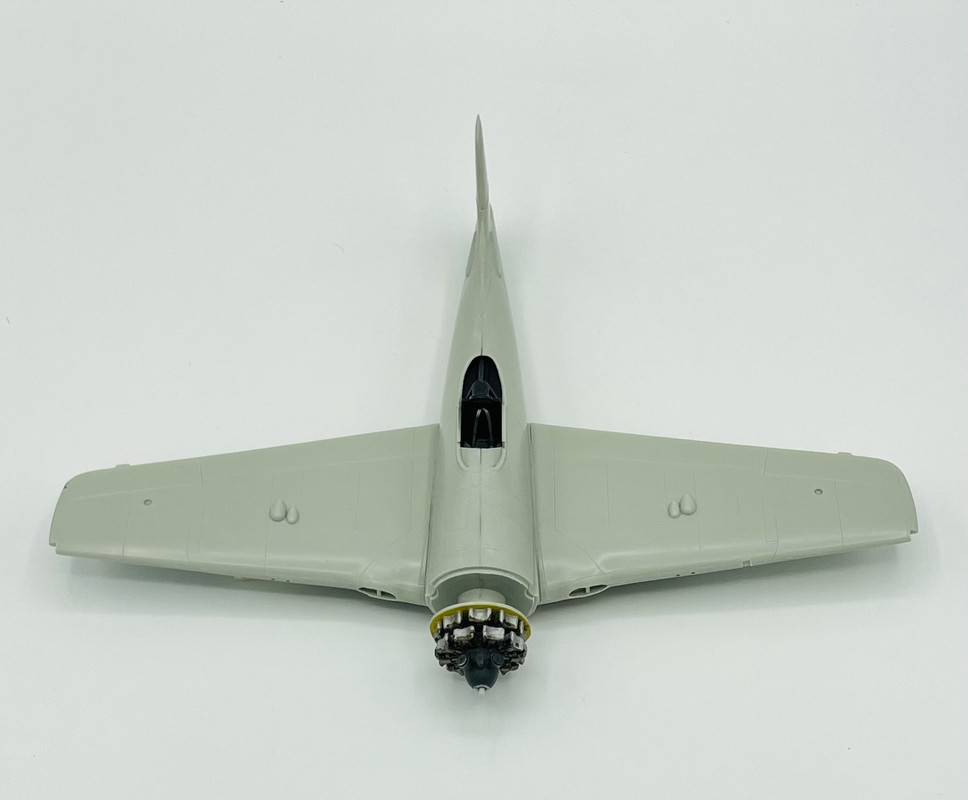
Afterwards I have been doing some sanding to improve the fit of the cowling to the fuselage. It was a bit off, but with some work, now fits pretty well. I just placed it on for the photo, as I still need to paint the interior color.
I have a bit of seam filling to do before the next update…
@Klaus-Adler, thanks for looking in and following along. This type is an interesting subject. It was just a tad bit too late to see service with the USN in WWII, and not selected to go to Korea five years later. Although it did see combat with other air arms such as the French and Viets.
More progress to report!
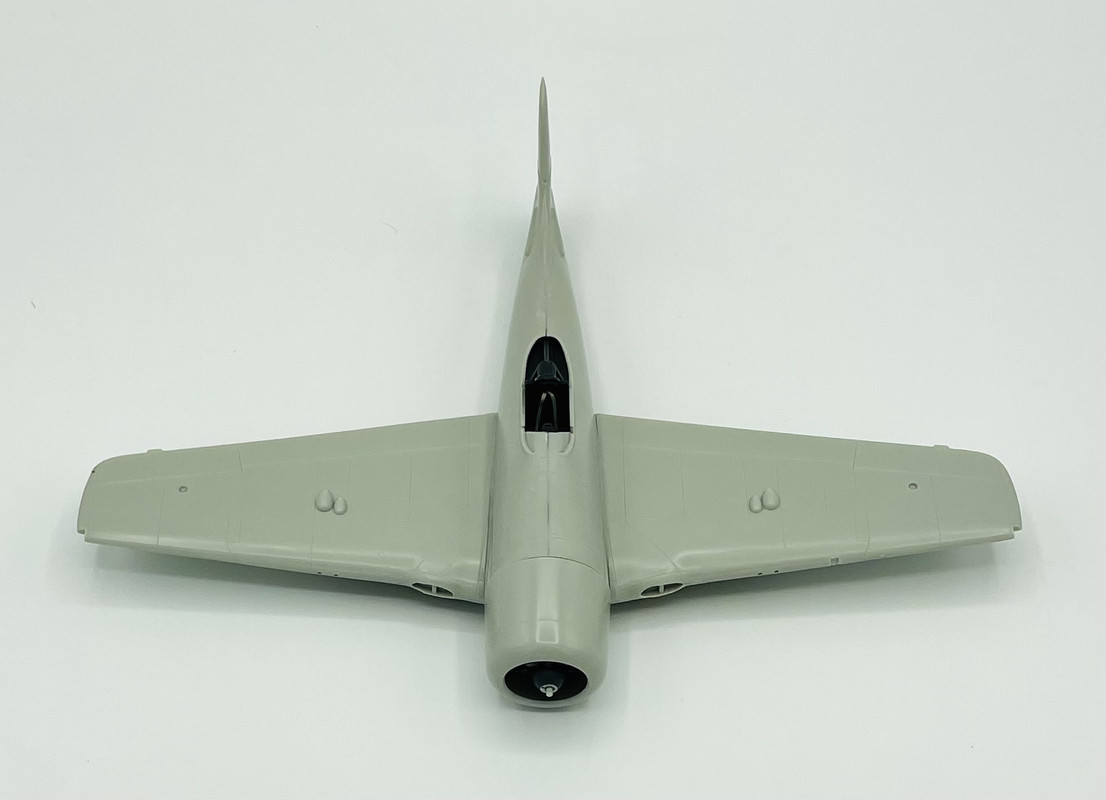
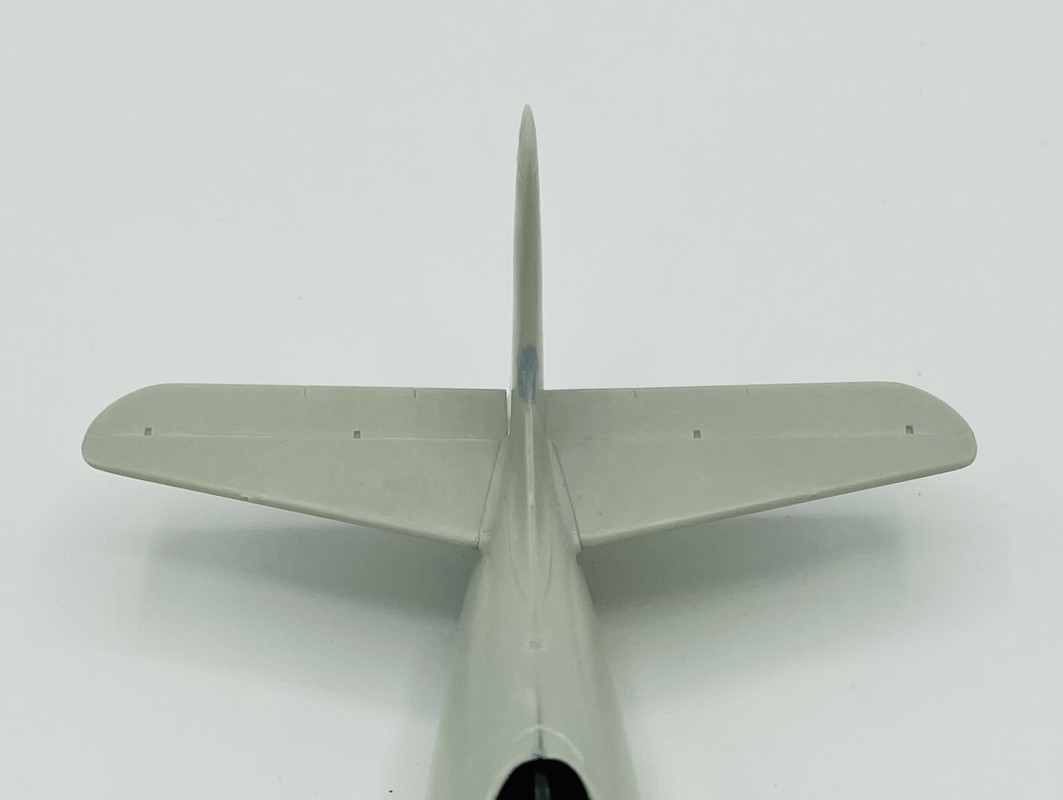
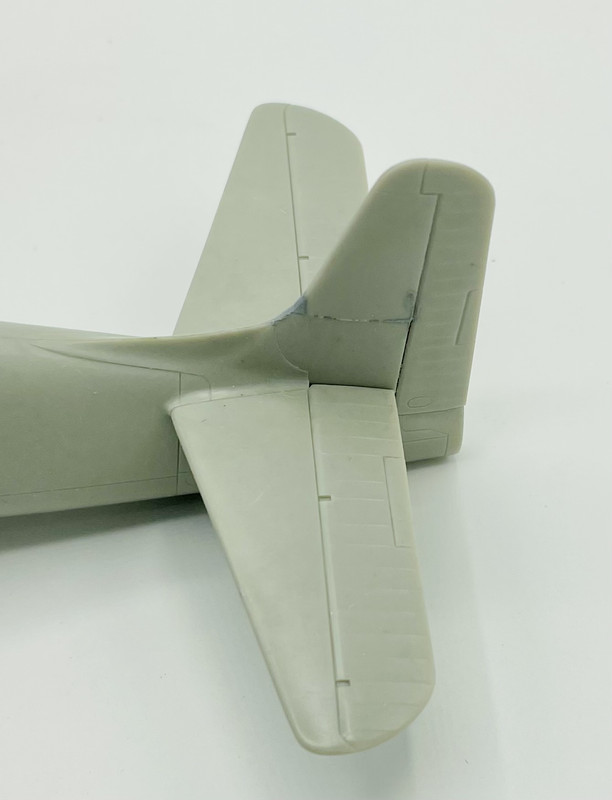
I finally glued the horizontal stabilizers in place… also shows a good view of the fuselage spine seam clean up.
that was done after seam clean up on the vertical stabilizer. The kit provides separate tails for a -1 or -2 (as well as cowling and exhausts), but the seam was quite pronounced, along with a slight step. Since I’m doing a bare metal scheme, I had to make sure that the plastic was sanded and buffed super smooth….
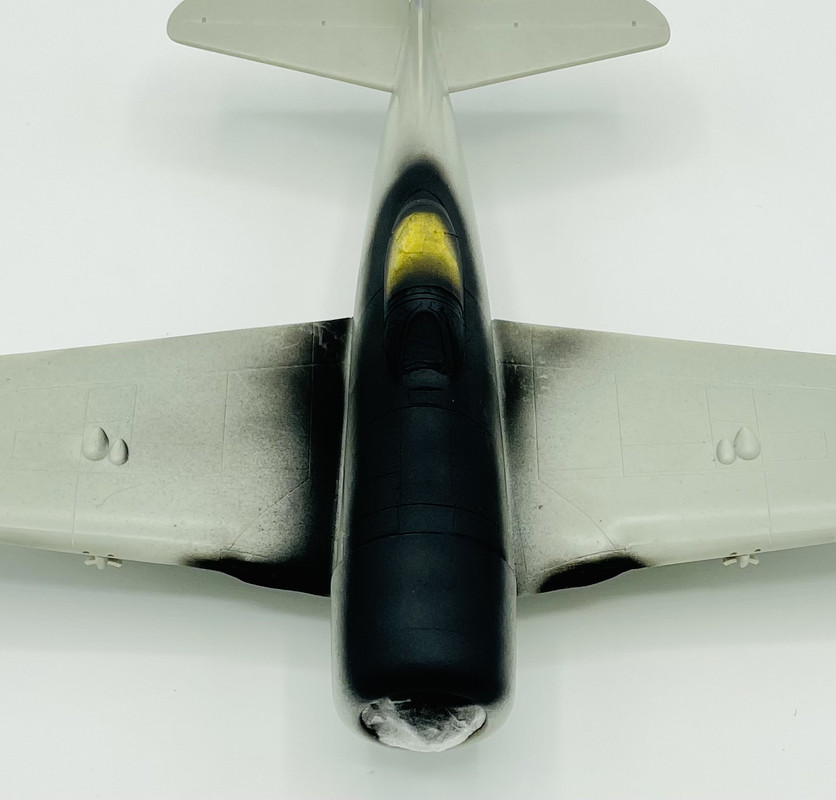
Then of course I had to test fit the cowling again for the latest profile shot….
Man this cat is looking like a bear from this angle!
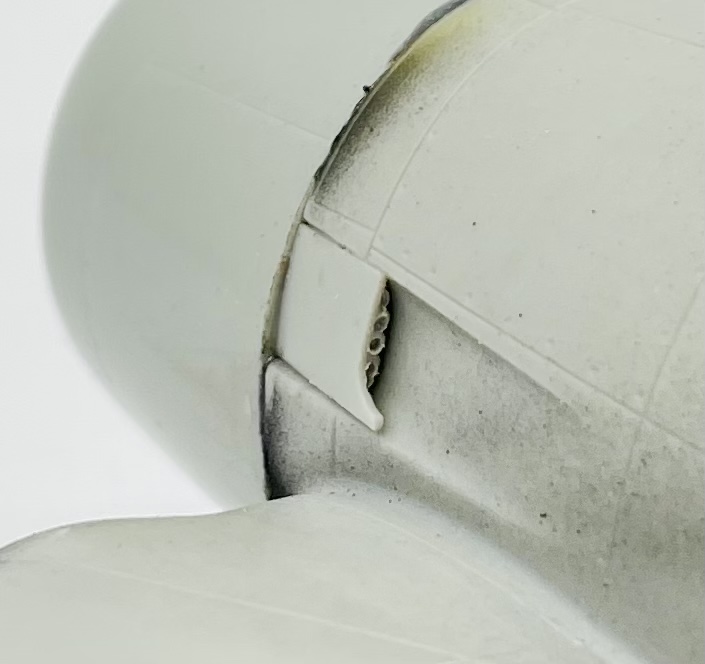
First up, I drilled out the exhaust stacks and installed them in place
Then I installed the bomb racks and rocket stub launchers. I also added some sway braces to the pylons. And lastly I glued together the ordnance that I’m going to mount- four 5” HVARs and the centerline drop tank
I also polished up the canopy & windscreen and gave those items their dip in Future. Those are drying now, so no photos until they’re masked off and glued in place prior to painting. Hopefully that will be tomorrow….
Today I airbrushed on the anti glare area using good old Testors enamel Flat Black. I’ll let that dry overnite, then tomorrow mask off and get down a base coat for the NMF areas.