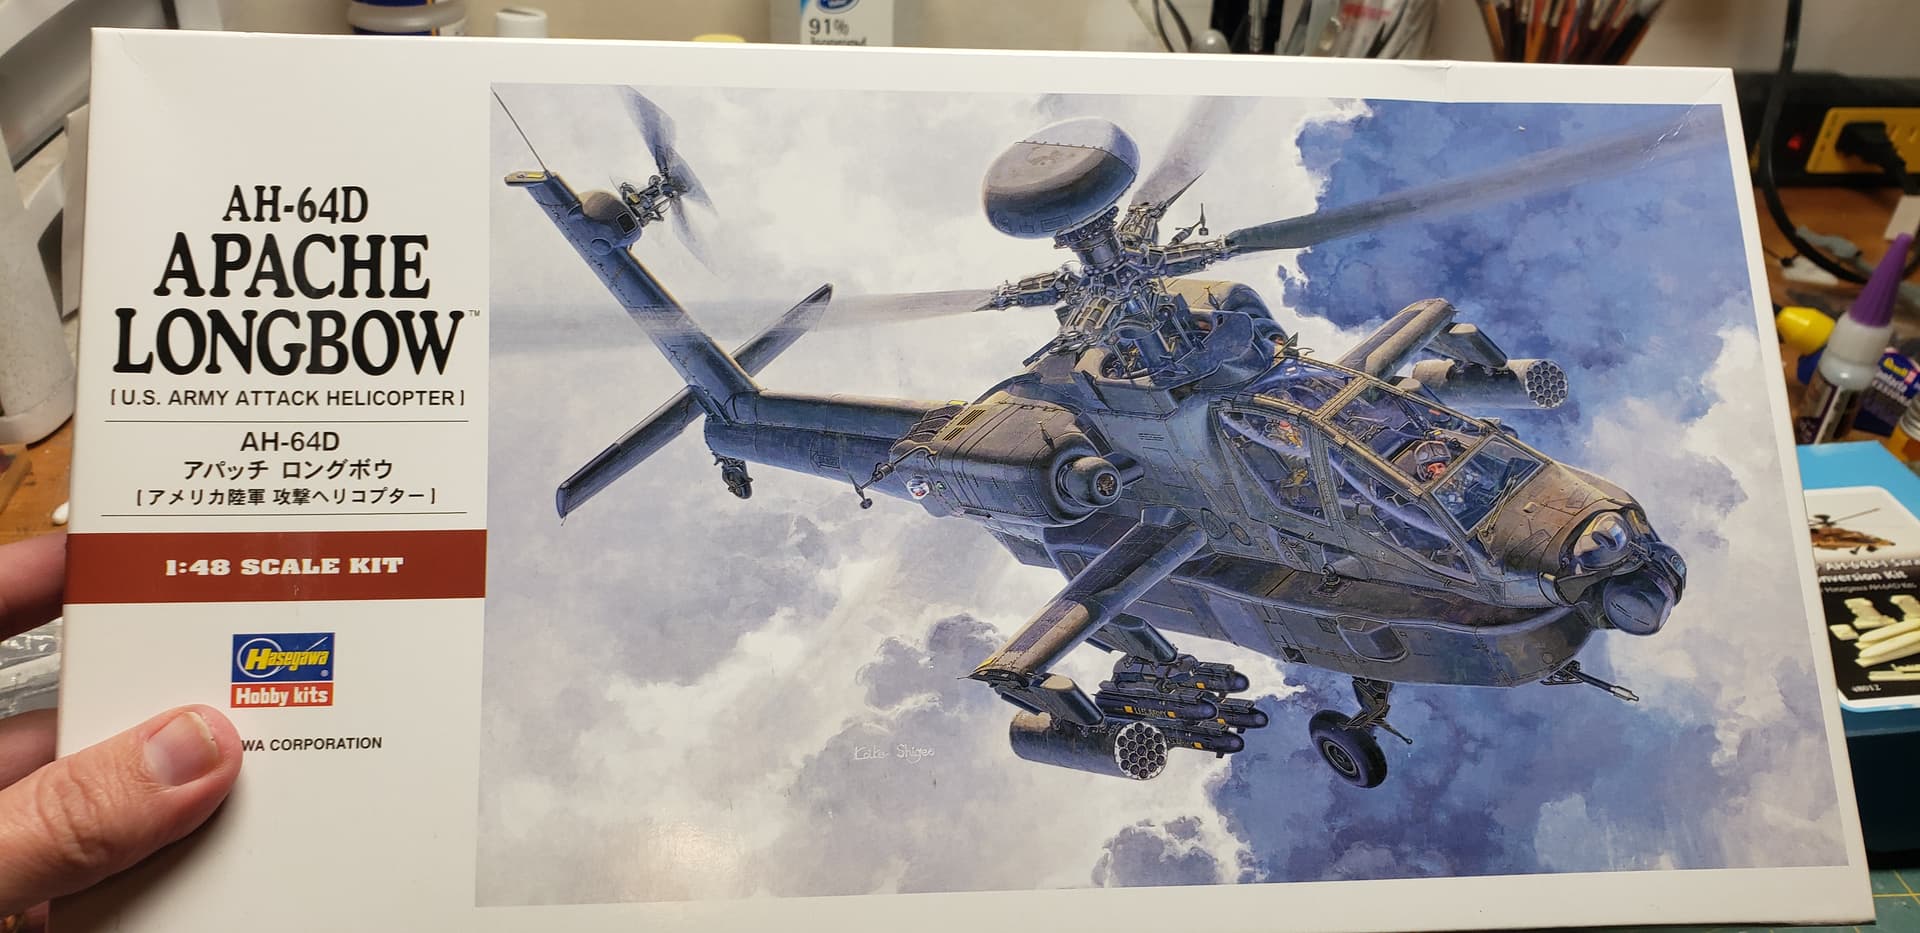
I just started working on something completely different for me…aircraft. I chose the Hasegawa AH-64D Longbow kit after the fantastic reviews. The reason for choosing the Apache was
while I was stationed at Ft Hood, the aviation units would constantly be training during my drive home off post. Several times, the pilots would cross a gulley, and pop up across the road surprising driver’s.
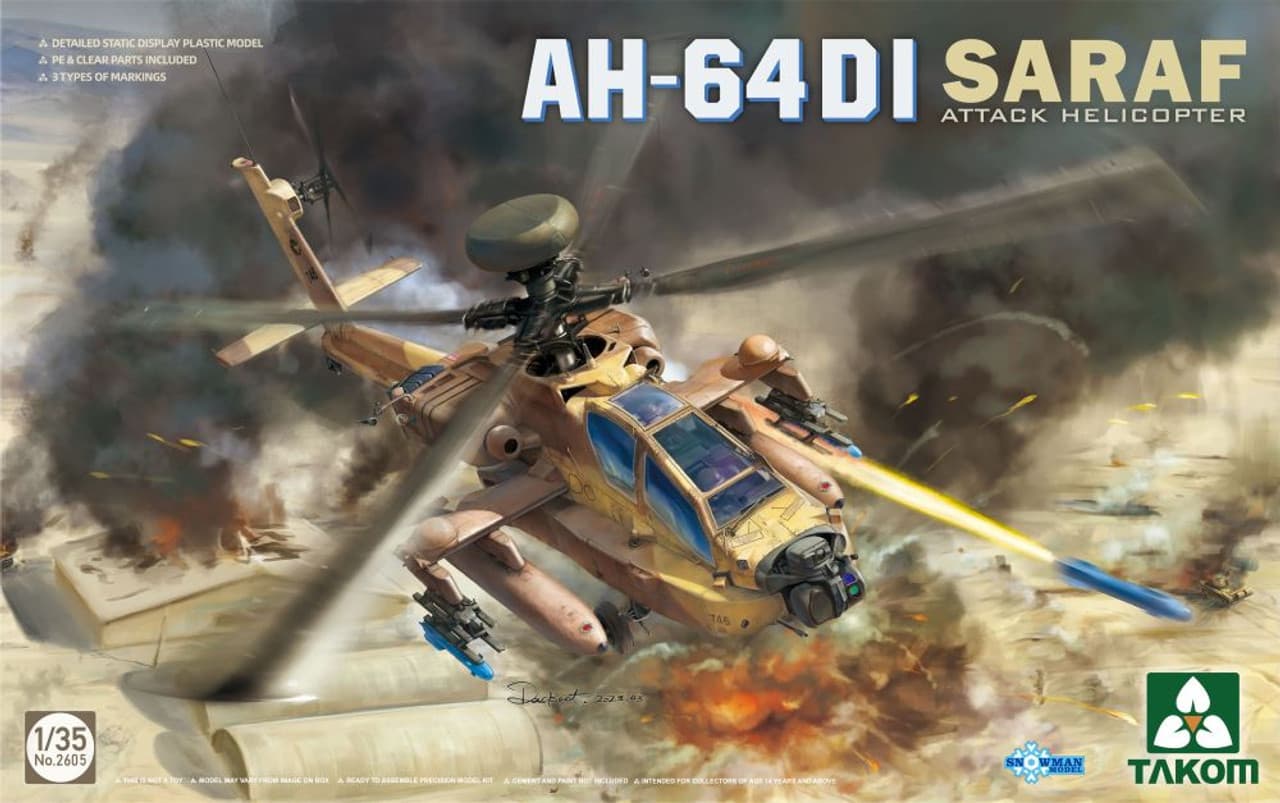
The build consists of the Hasegawa Longbow kit, Isracast IDF " Saraf" conversion, and Isradecals IDF aircraft decals. I also picked up quinta studios 3d printed interior set, along w the Master brass pitot / antenna set.
Heres the kit Im using
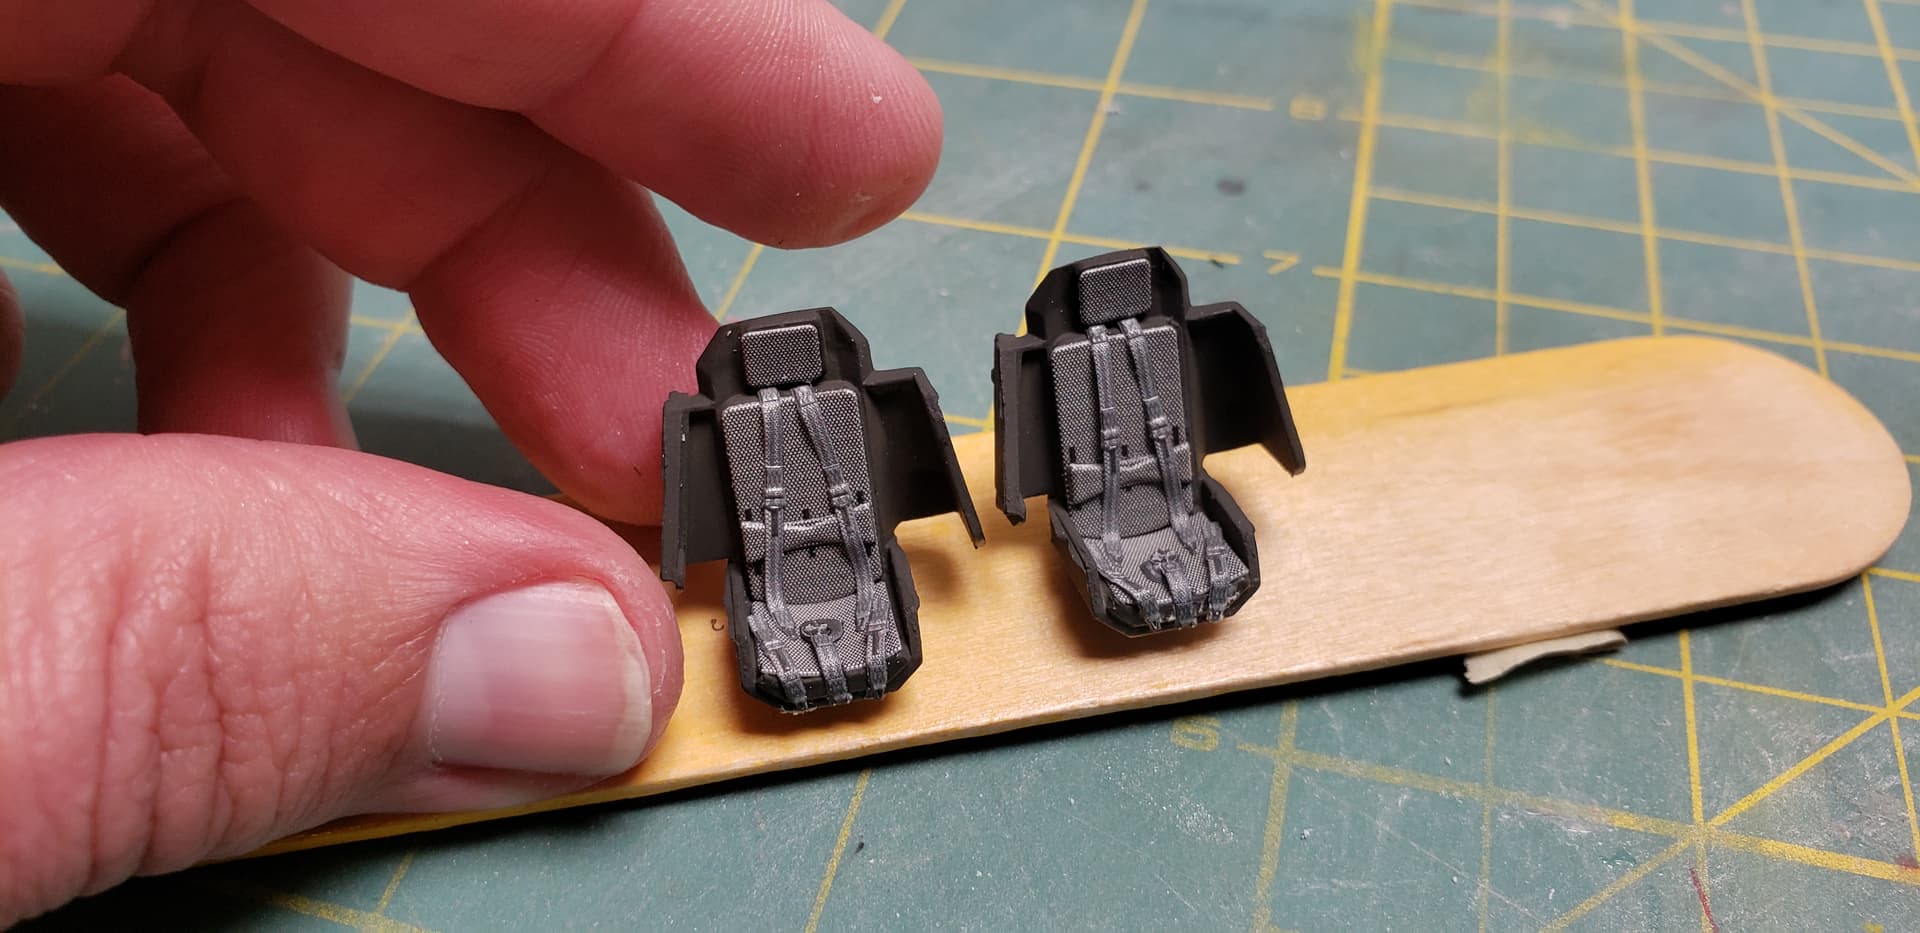
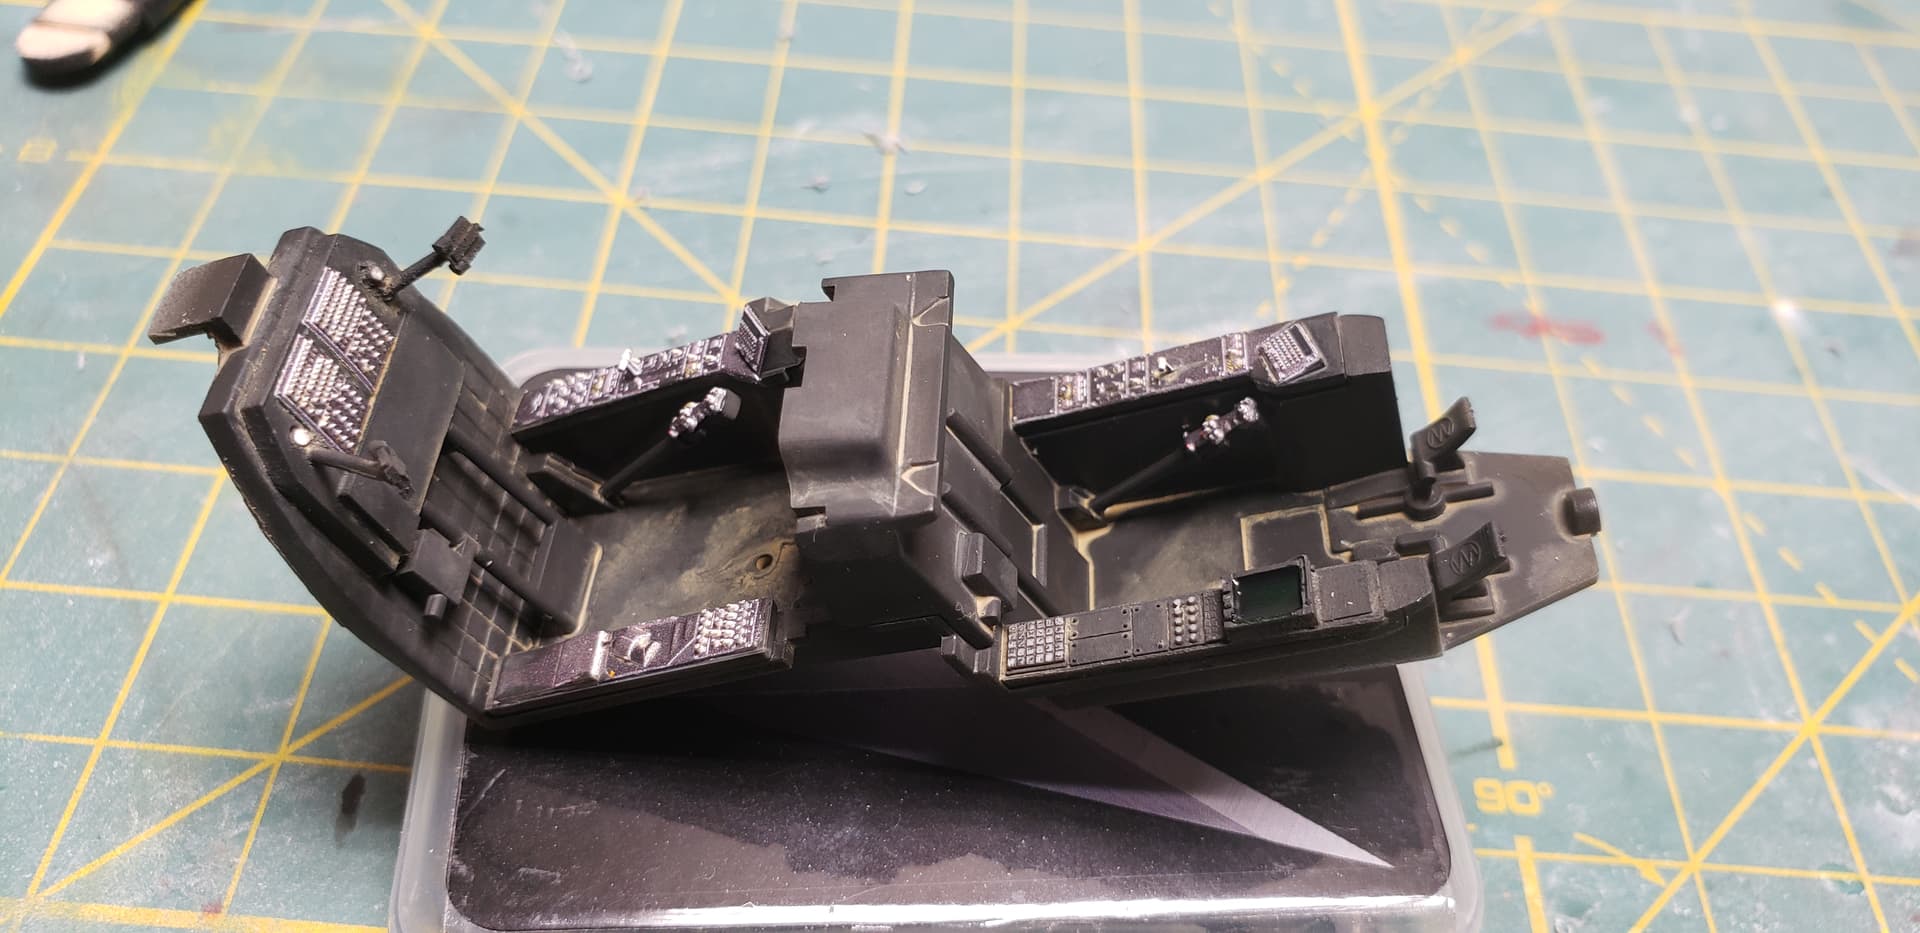
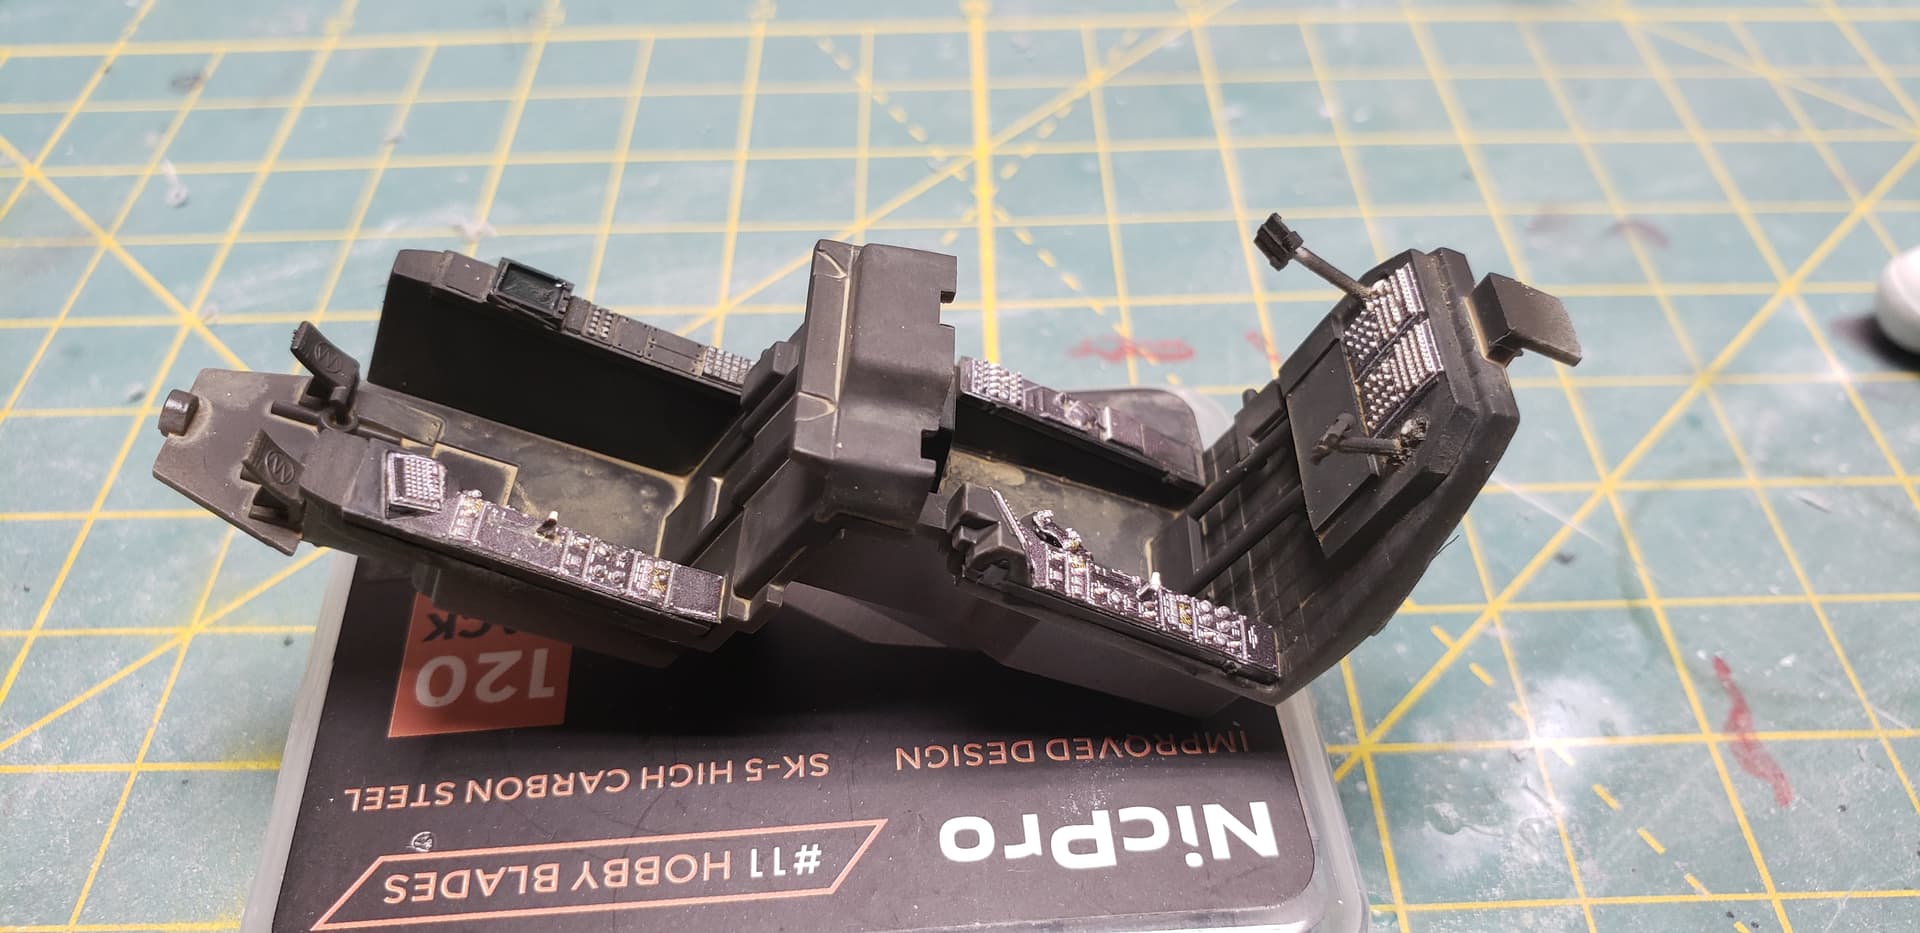
I painted the tub a mix of flat black and grimy black…lets be real…everything inside is black on these lol
A quick wash of AK dust was applied for some detail in the recesses
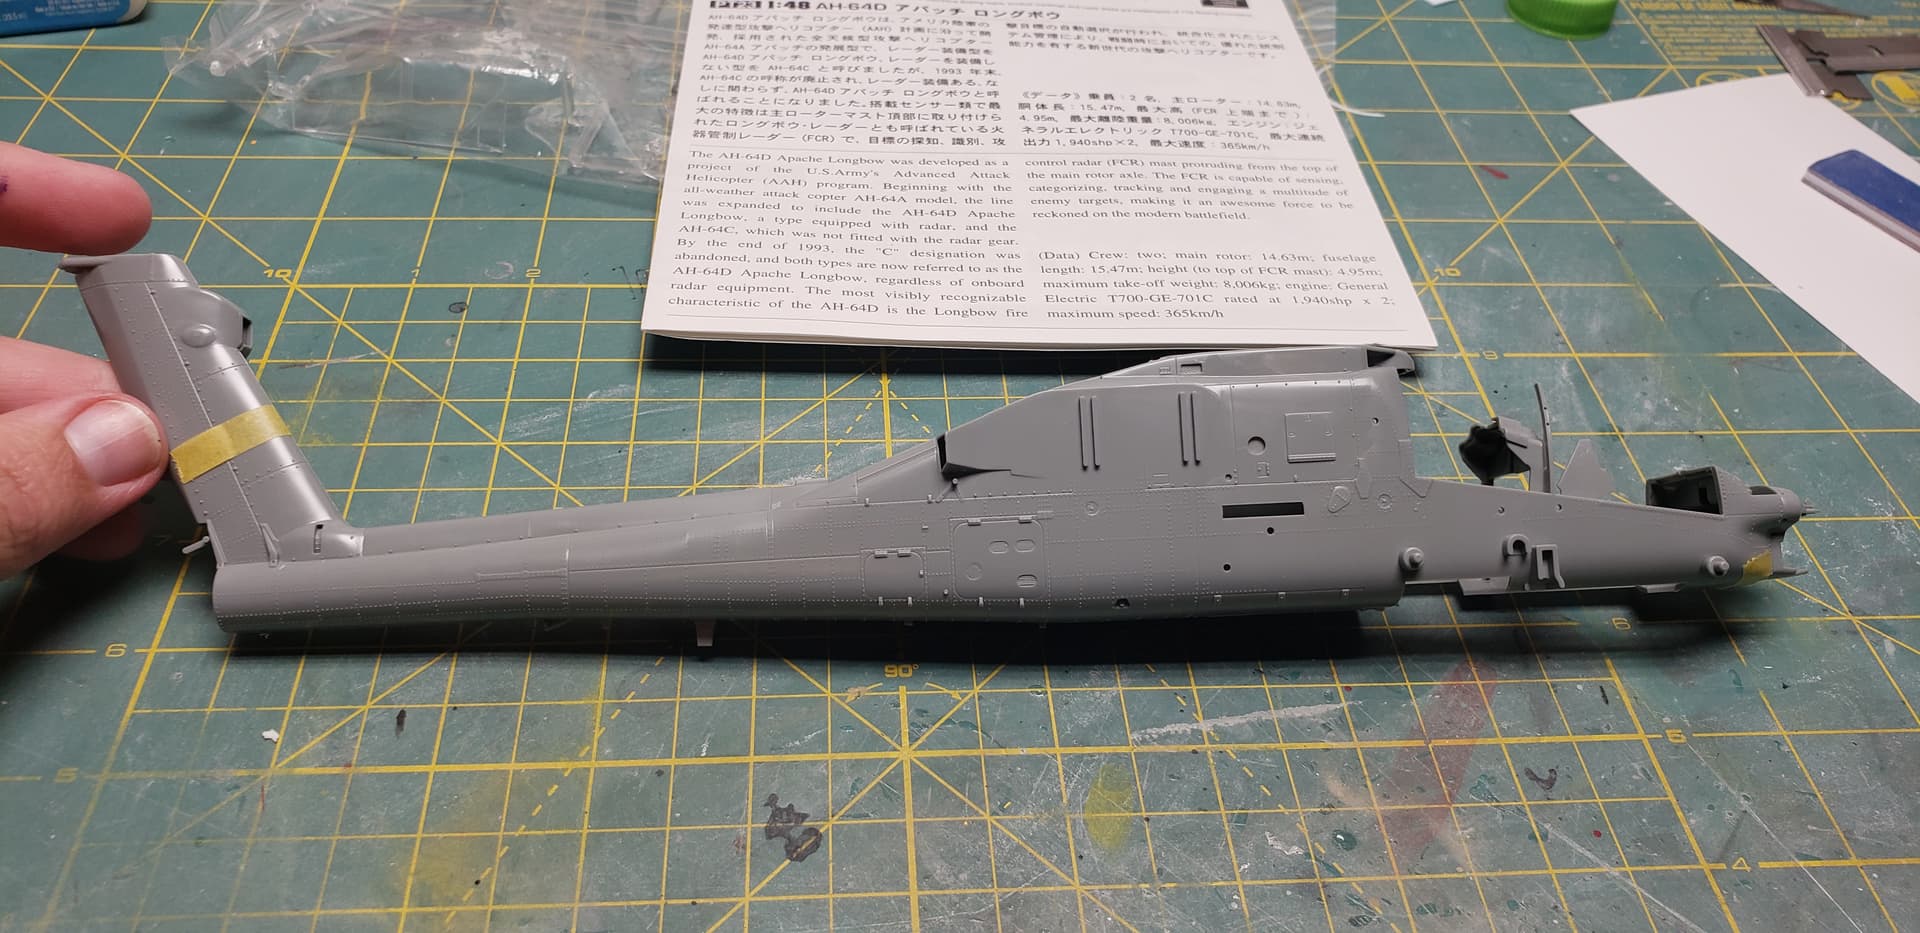
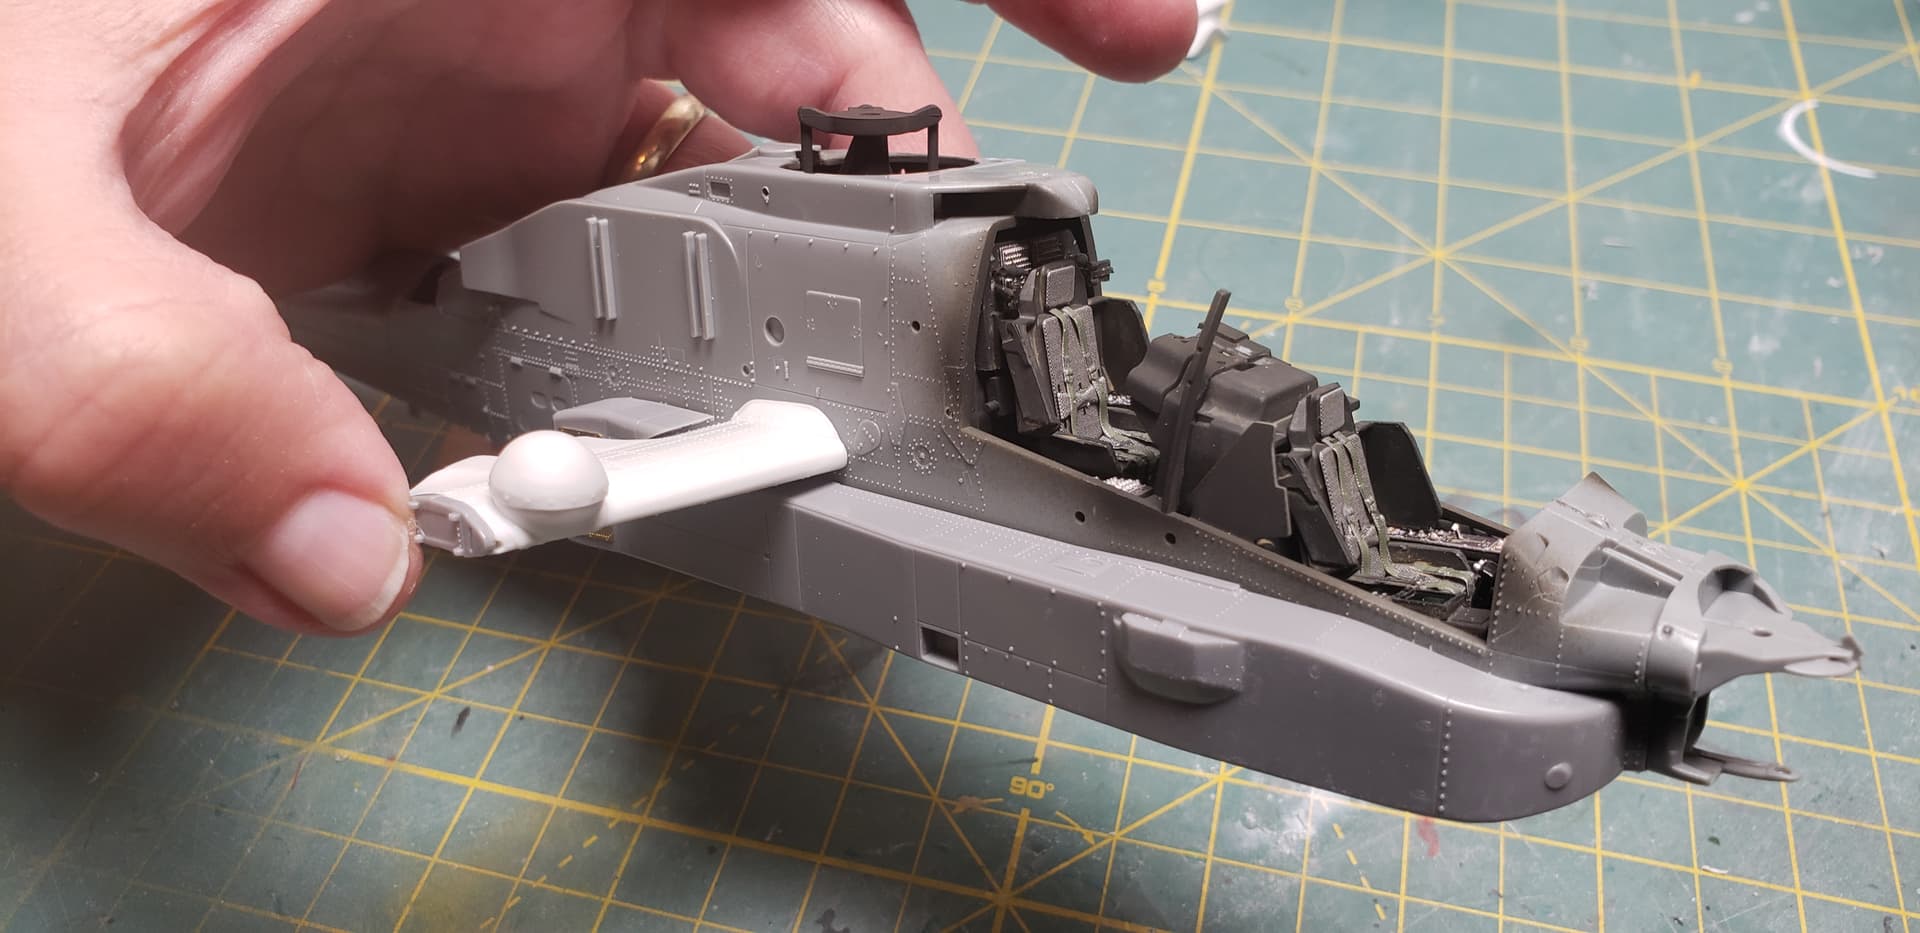
Today I closed up the fuselage after checking the interior fit several times. While the fuse dried, I jumped ahead working on the stub wings. The wings are attached to a robust casting block, and I mistakenly removed the tabs that slot into the fuselage…oops!
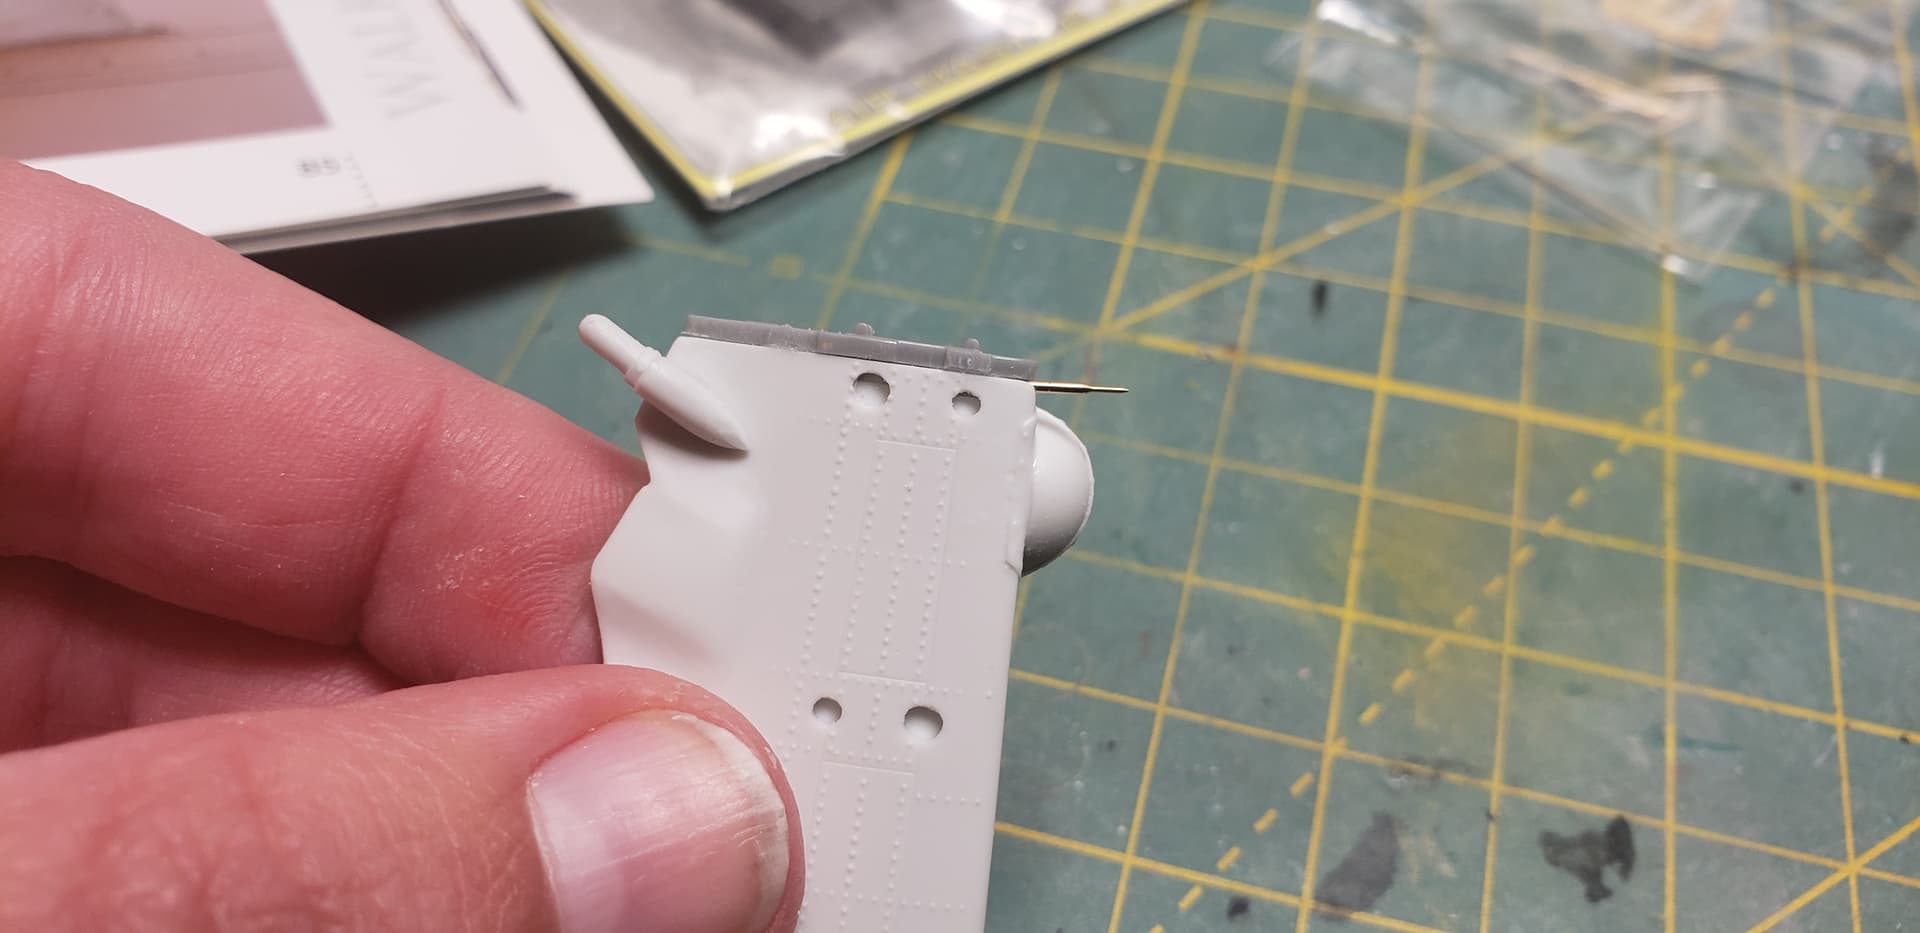
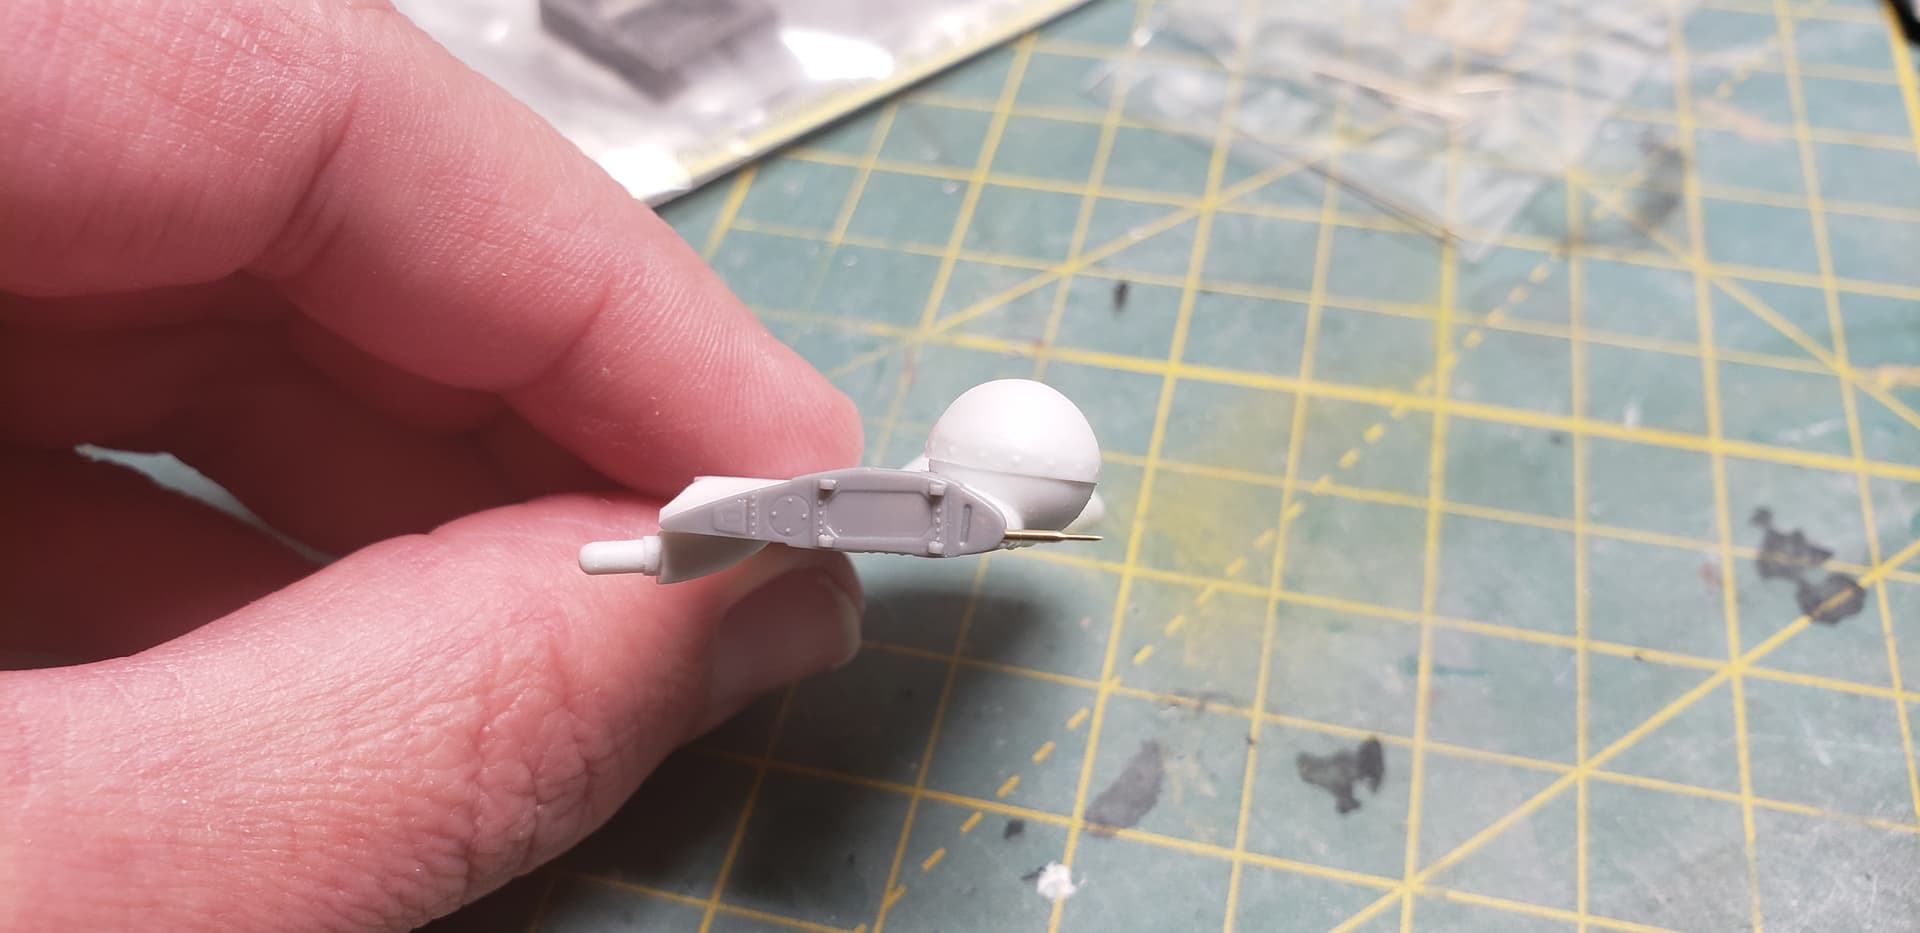
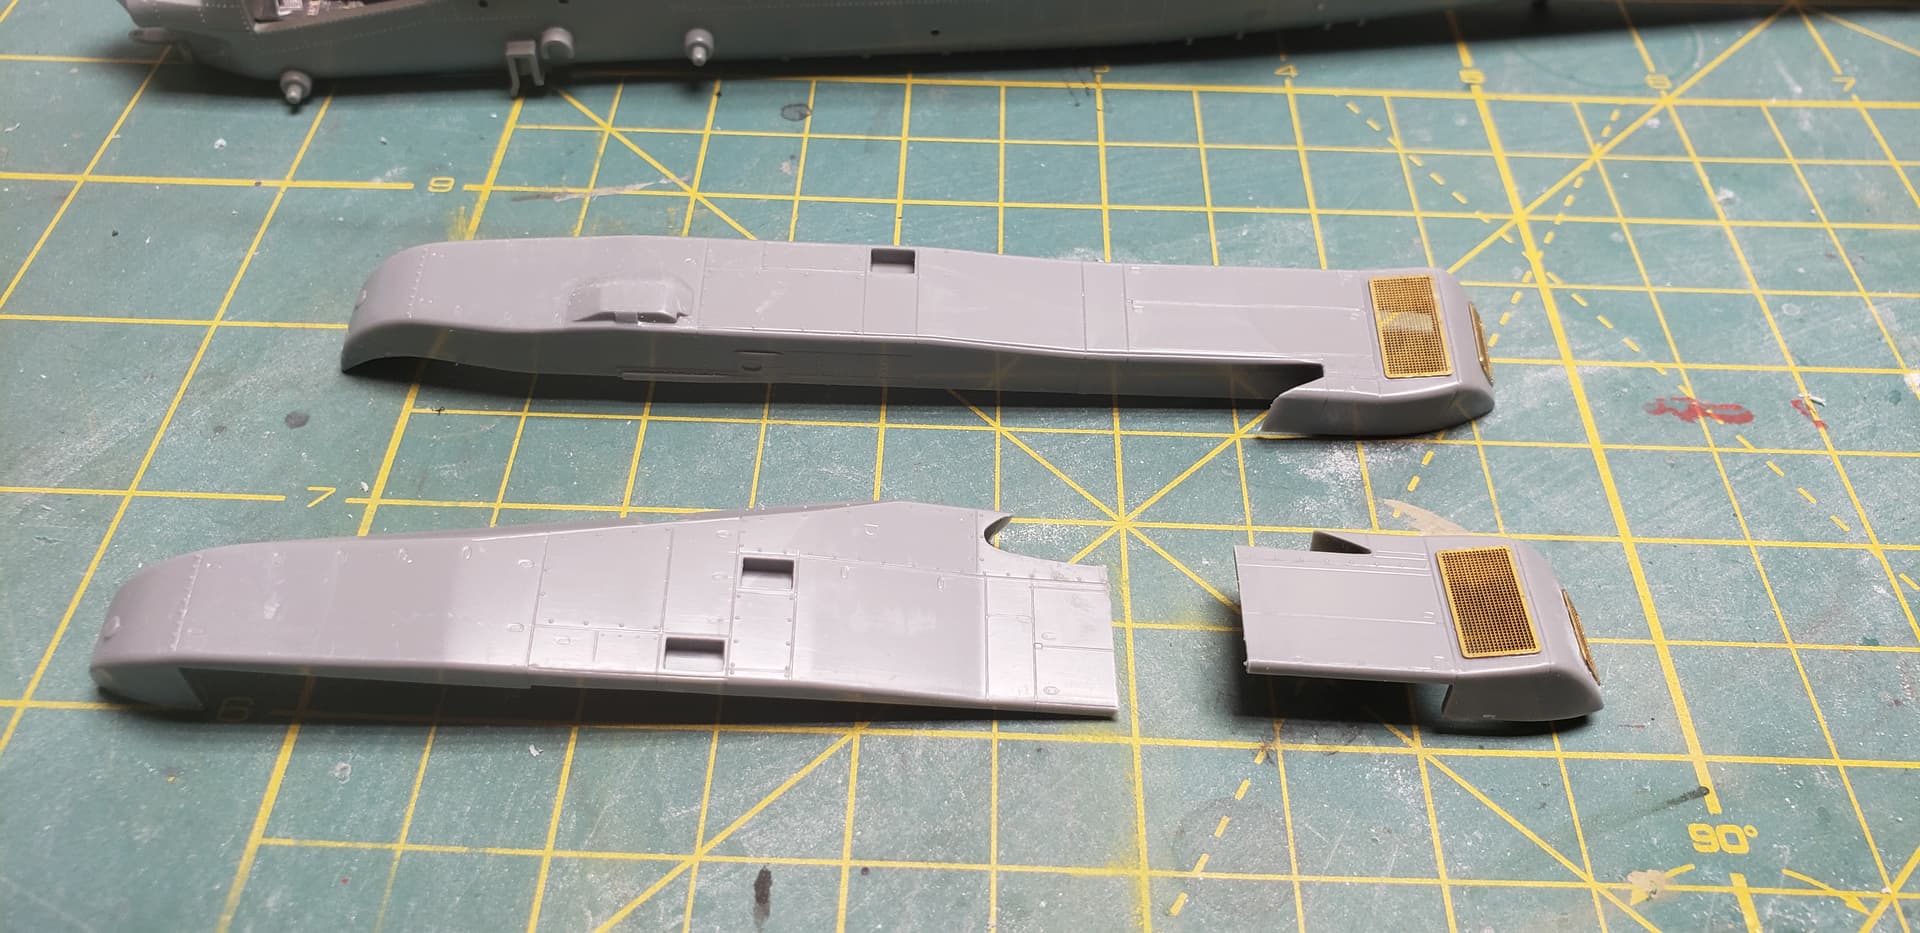
The wings are beautifully cast, w postive rivets. Sat - com domes on each side and angled chaff dispensers blended into the wings tell ya this isnt your typical Apache!! They have you add air warning sensors underneath before installing on the body. I ordered the Master brass chain gun/ antenna set, which includes some turned pitot tubes. I removed the kit tubes and will install the brass ones later.
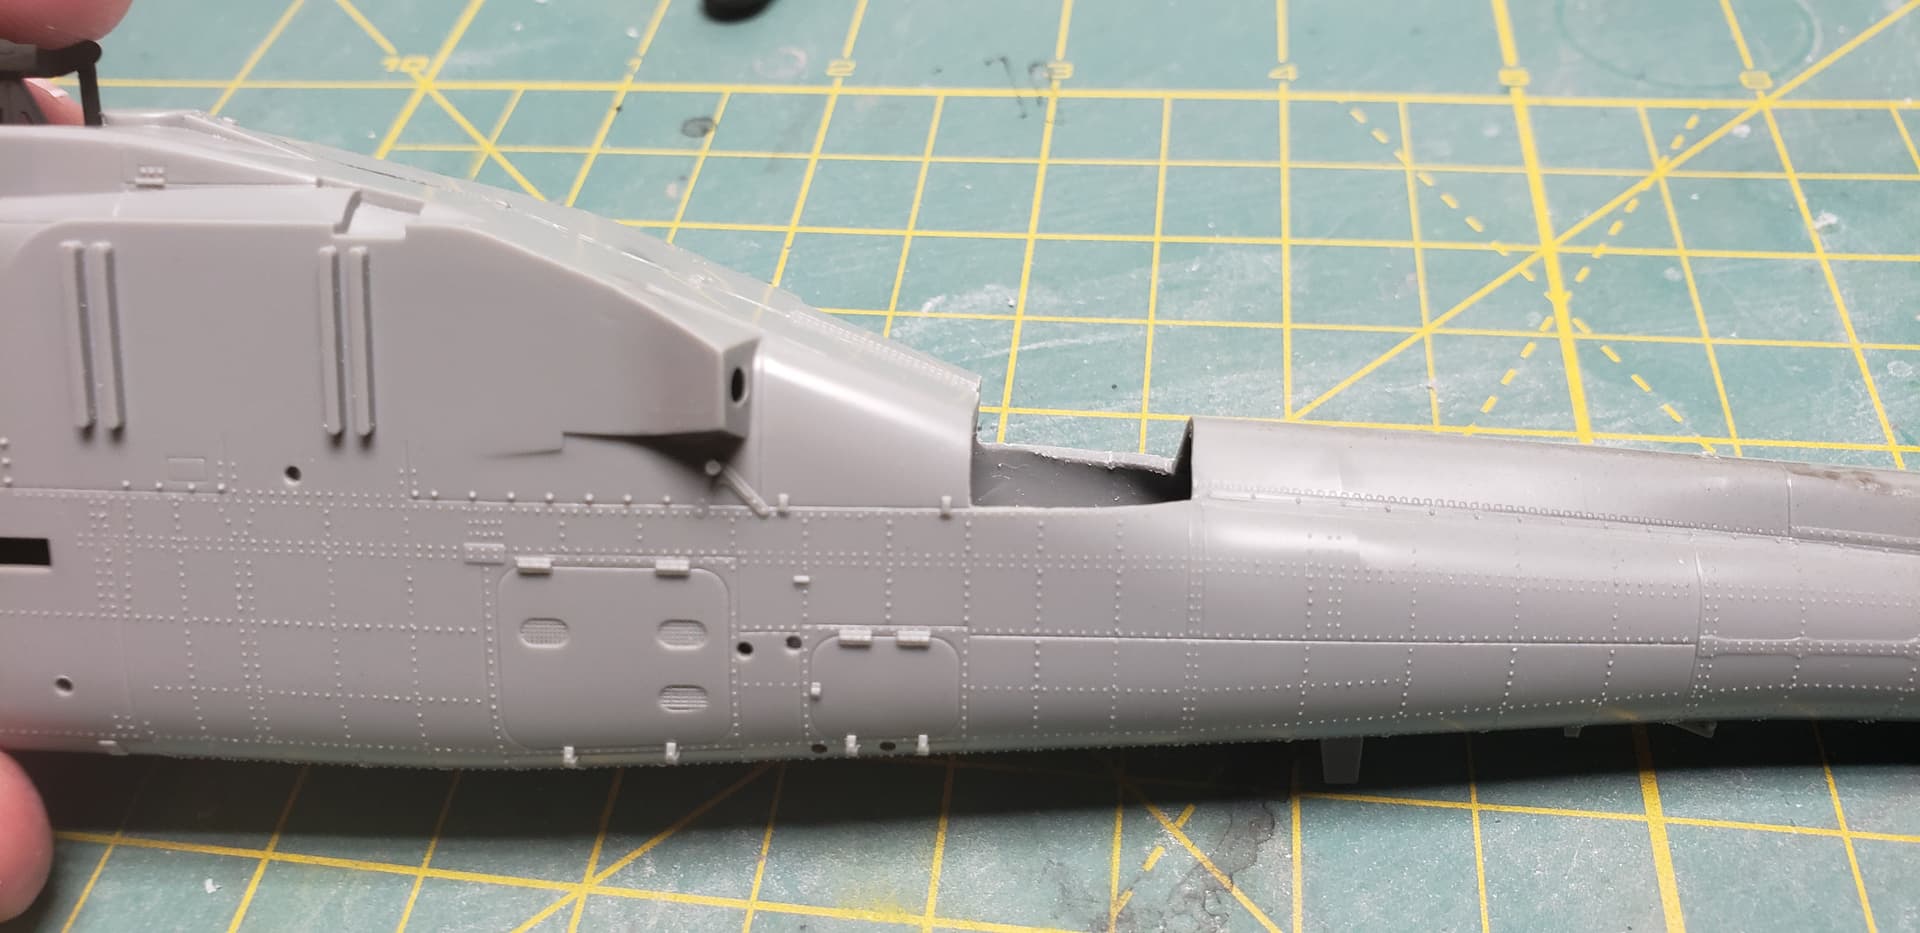
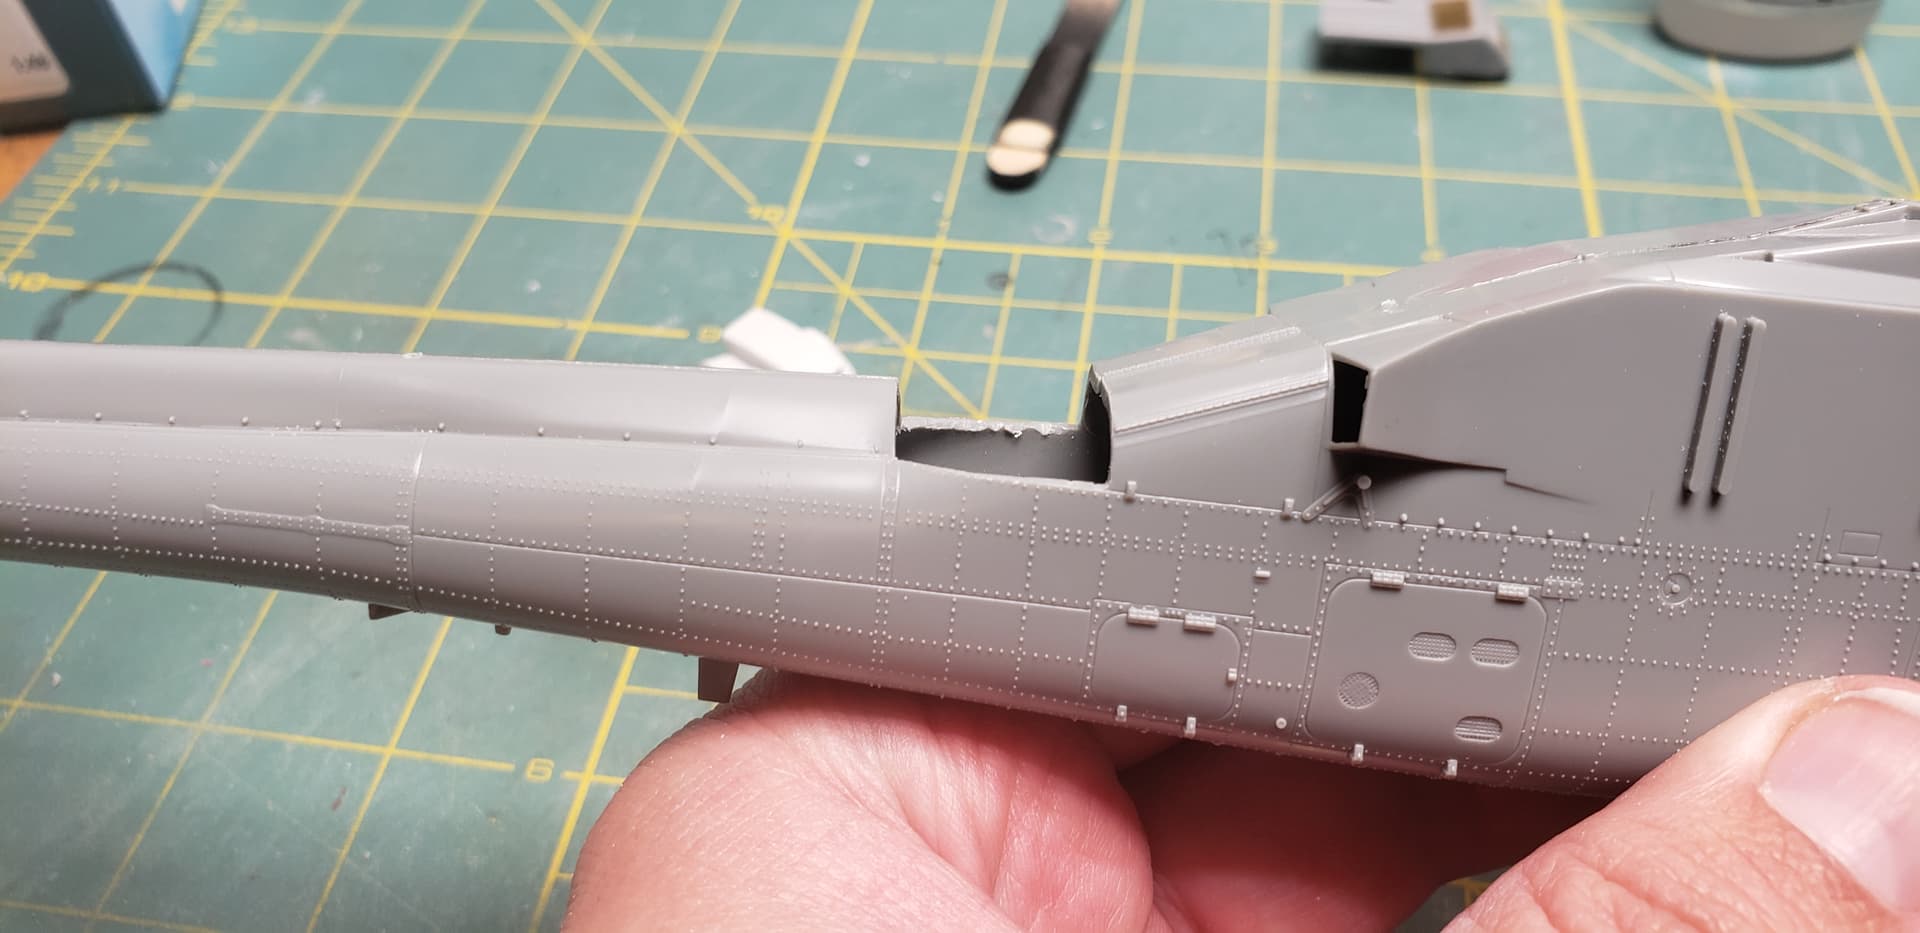
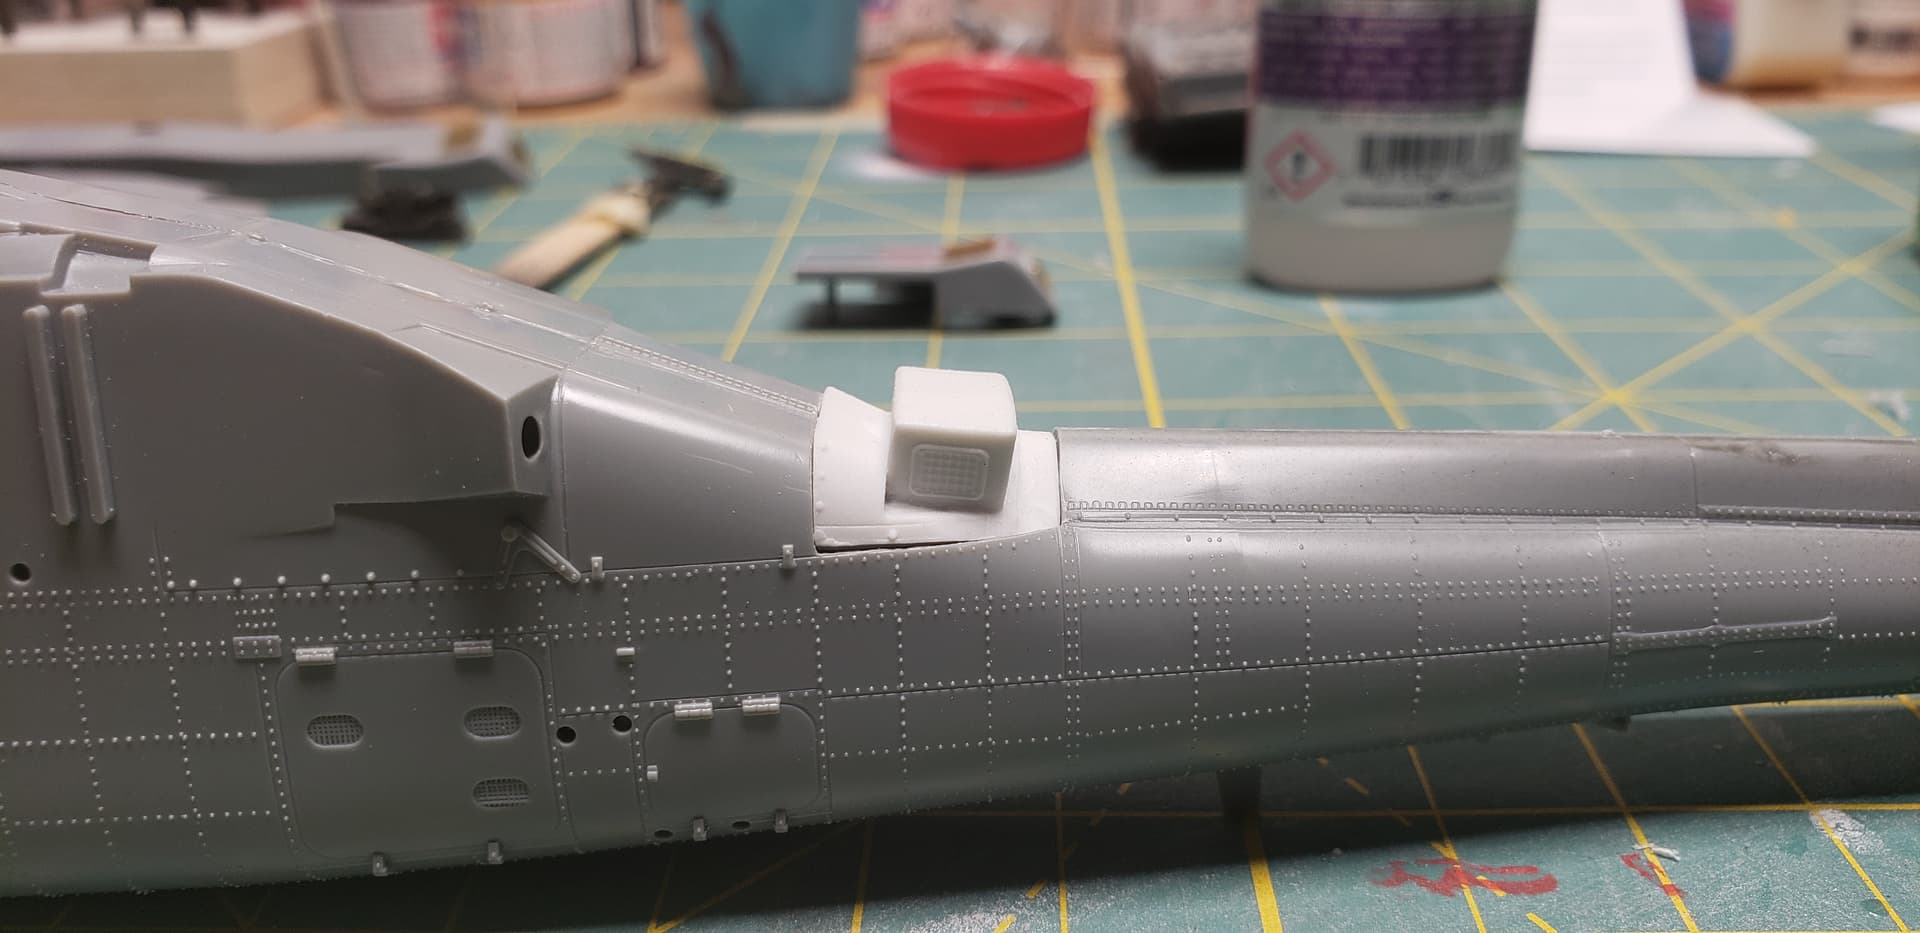
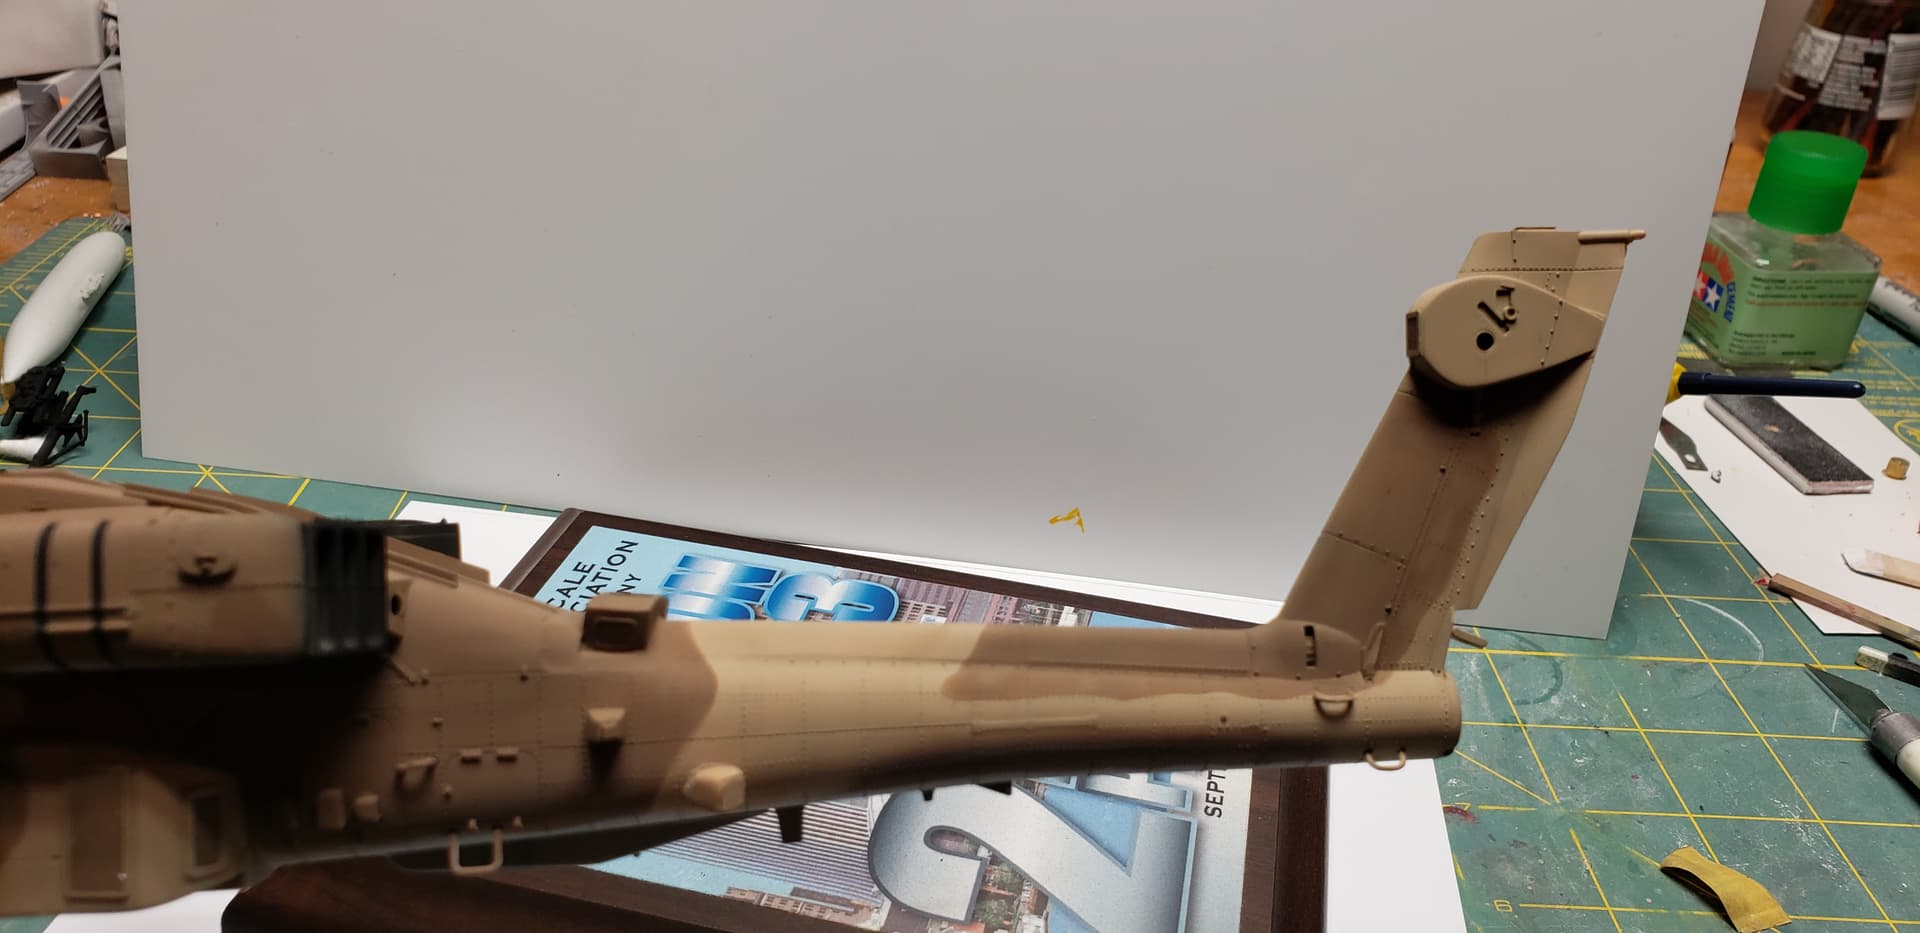
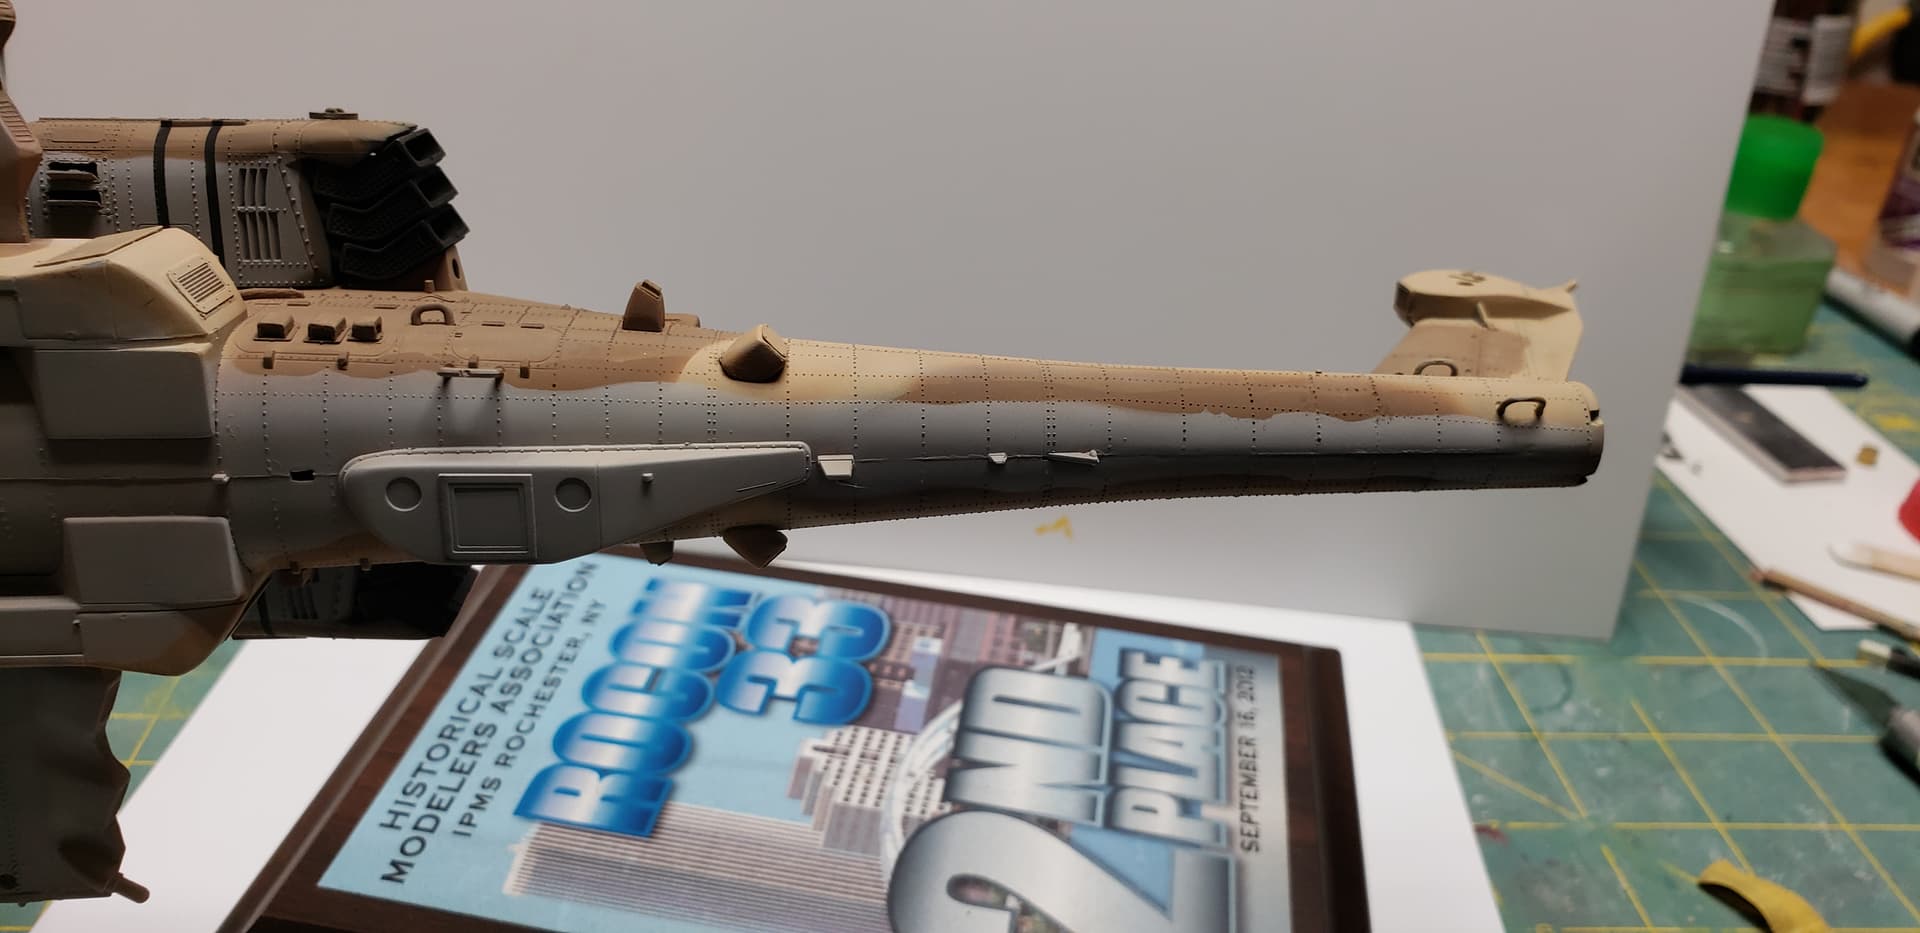
Another change to the kit, was removing a section of the tail spine. Theres a resin chaff/ flare dispenser plug that fits into the hole. Theres actually a panel line to follow making this fairly quick, I just went slow checking the fit often.
The camera showed a slight step Ill need to blend in, but the fit is good !
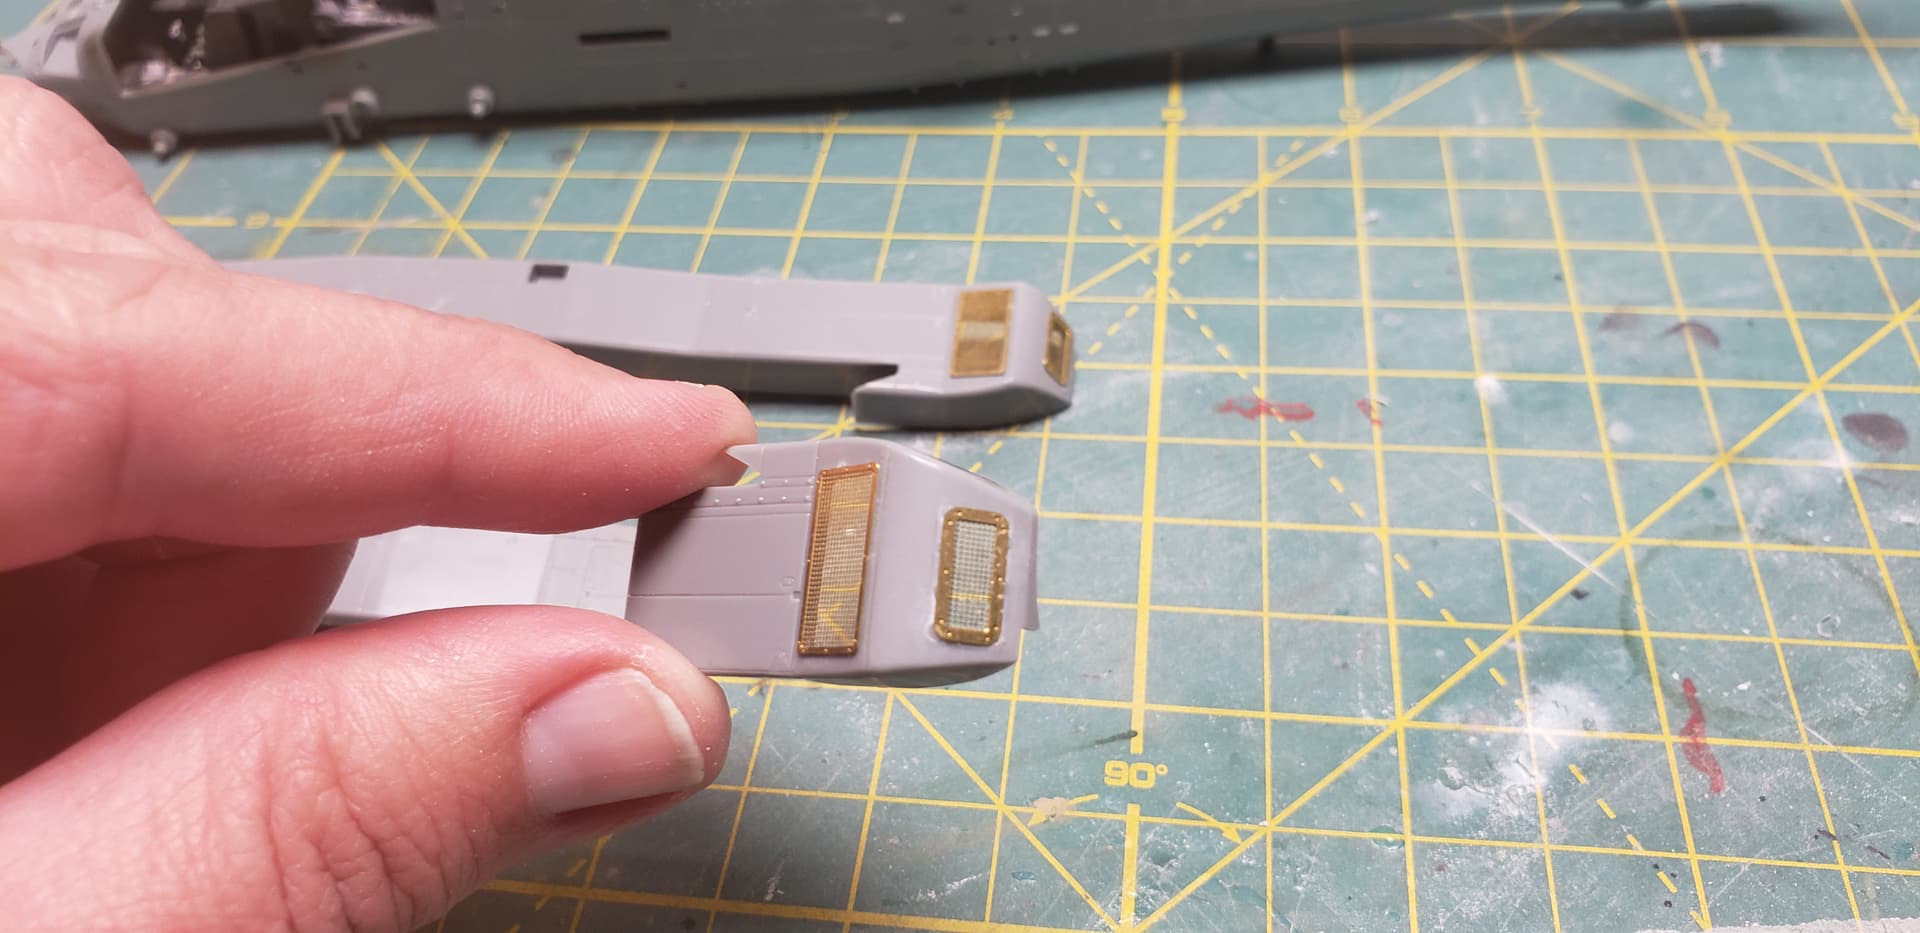
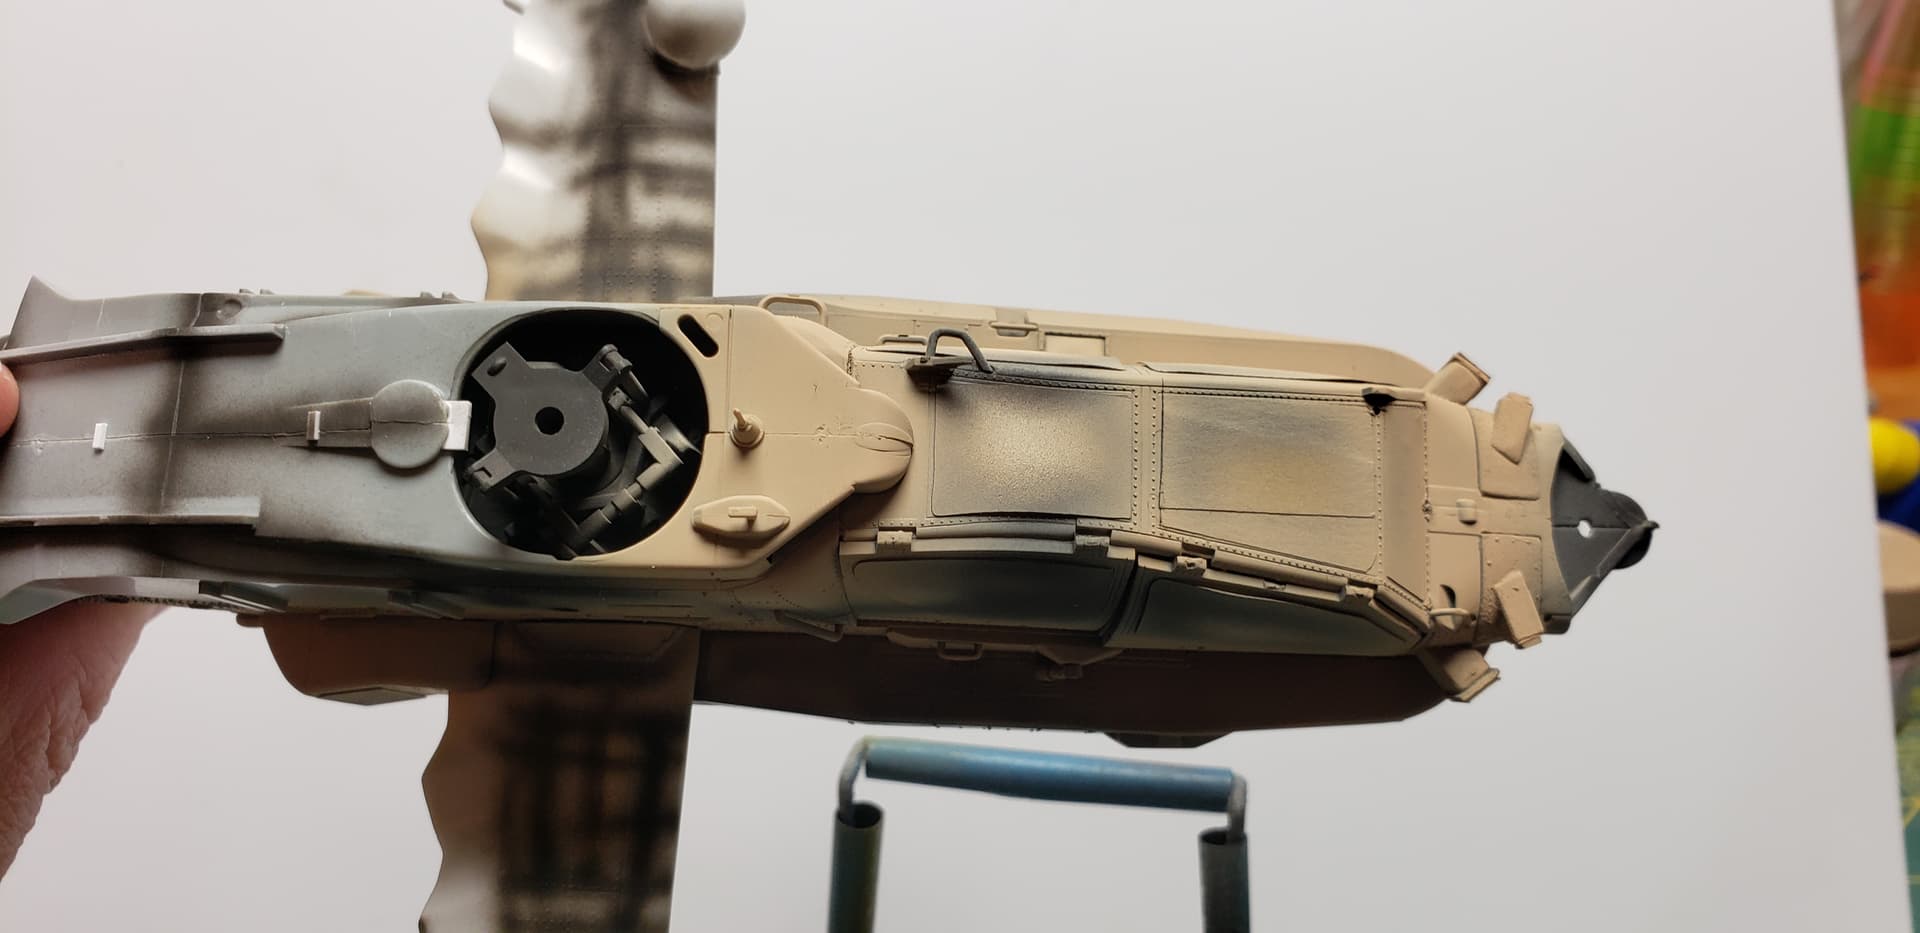
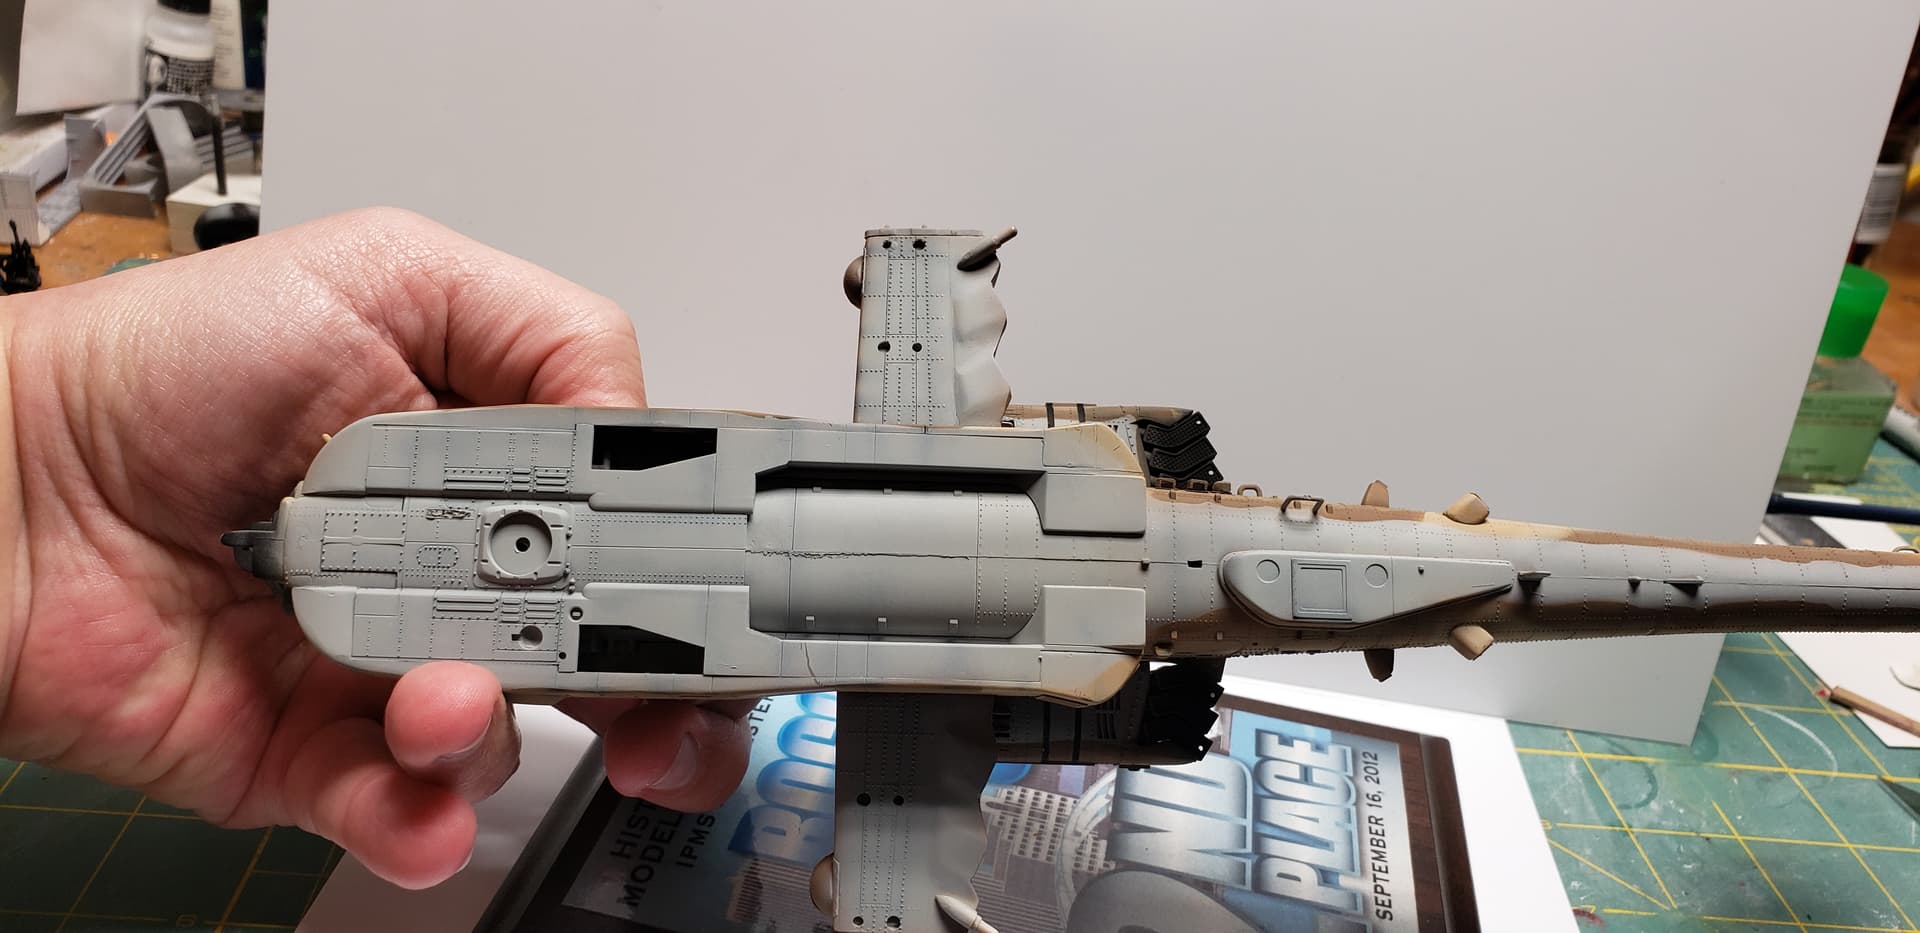
Last up for tonite was installing the etch screens on the sponsons, then cutting the left side to allow the wing to fit.
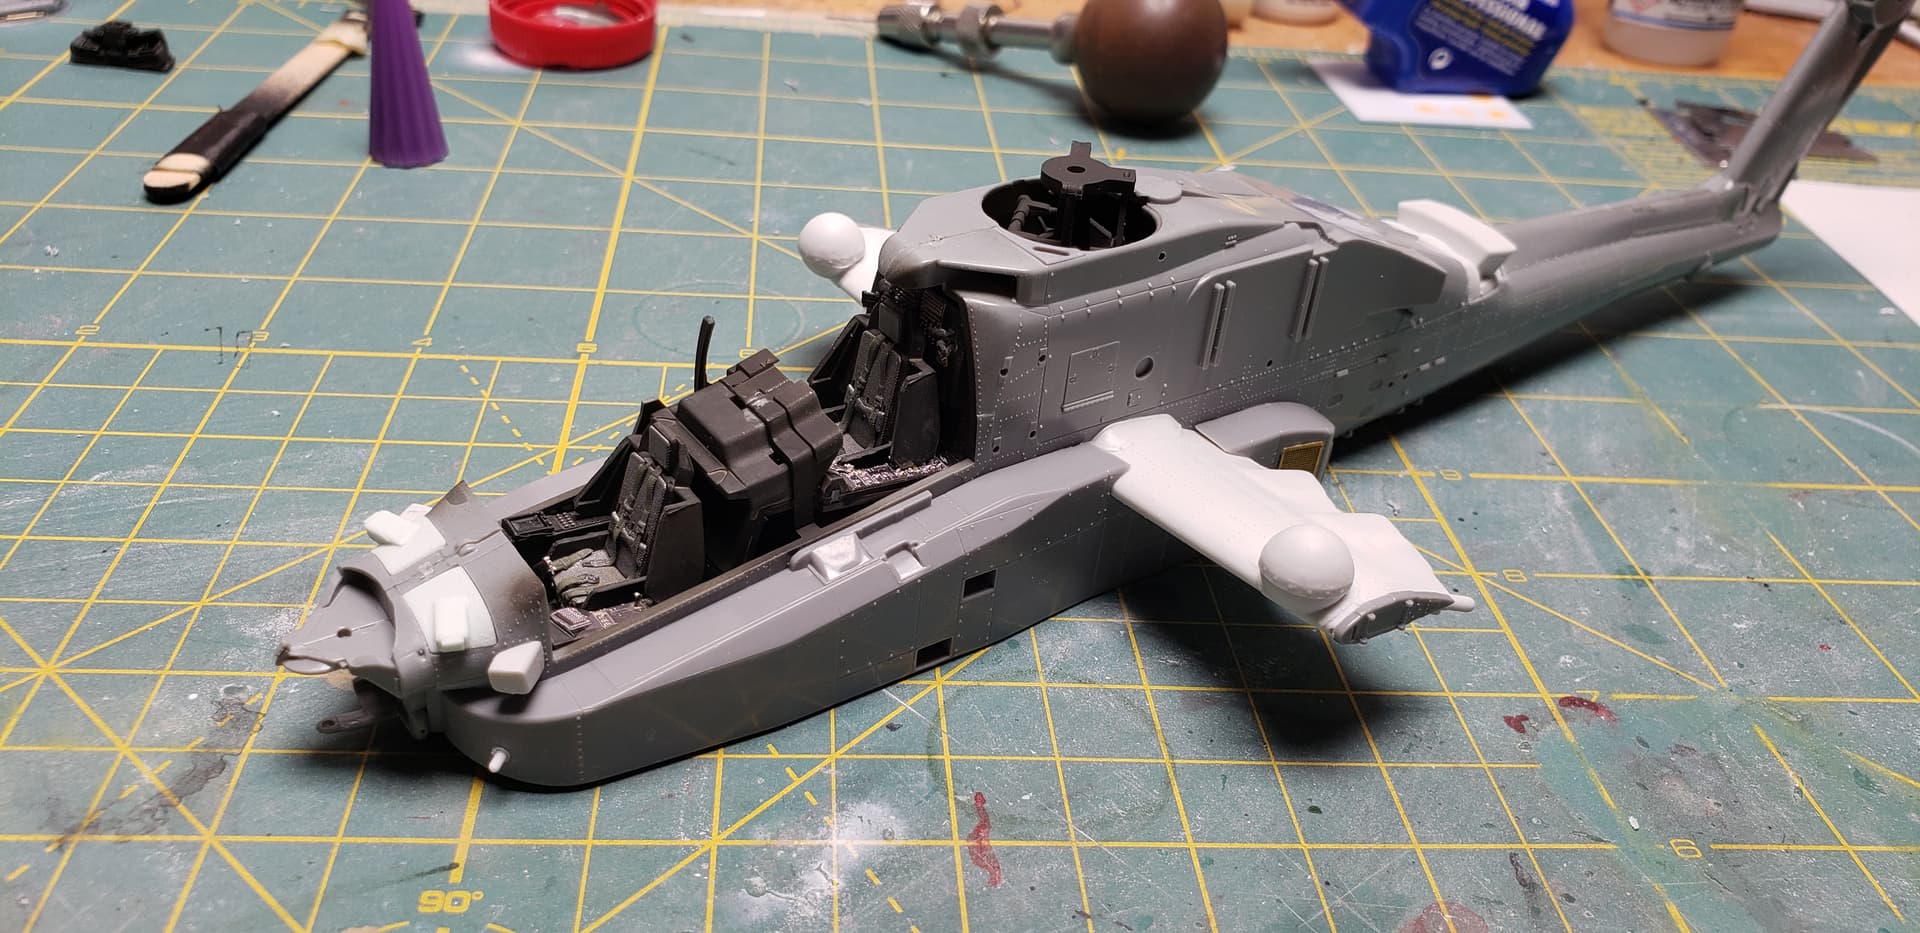
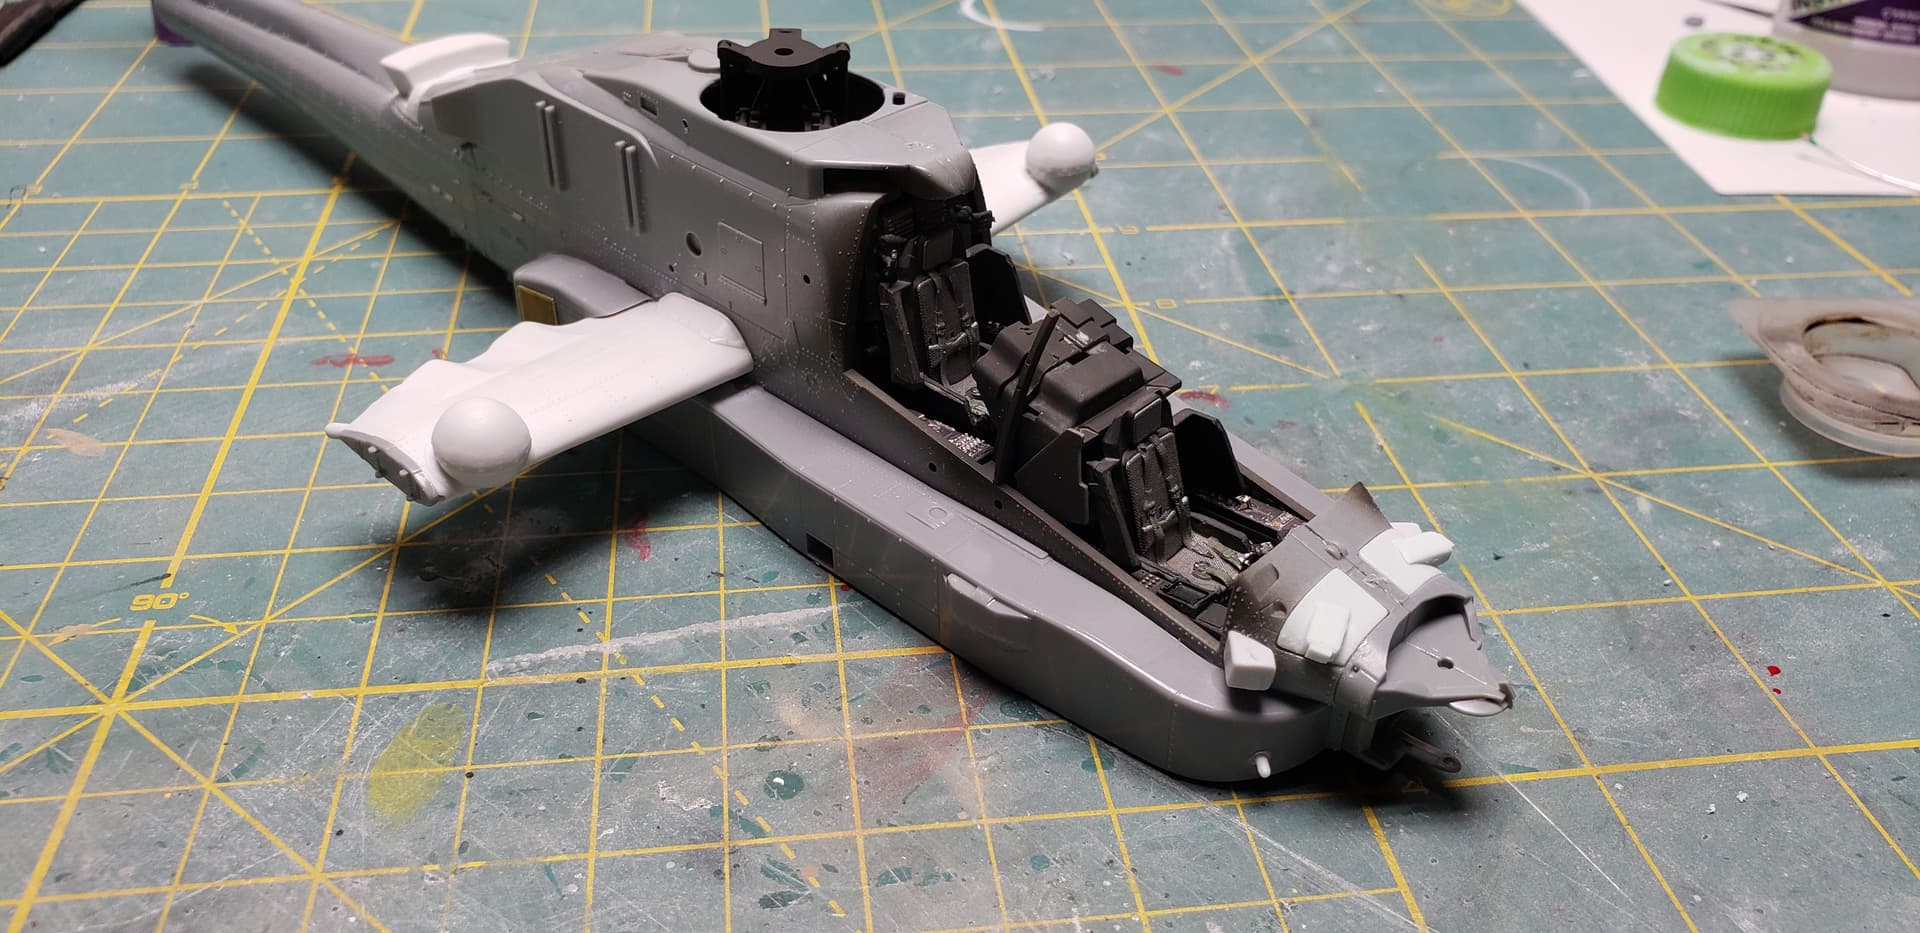
Started adding the lumpy bits around the helo yesterday that differ it from the US Apache. The Isracast parts fit perfectly in theyre locations, making them seem almost less of a conversion, more like the original kit. I see a few small seams to fill, but the Hasegawa fit has been impeccable .
I havent forgetten about this build, Im actually working on the seam cleanup faced by everyone! I worked on removing the rear fuselage seam behind the rotor head, then noticed in the Saraf book Im usingz theres an actual hinged panel…time well spent
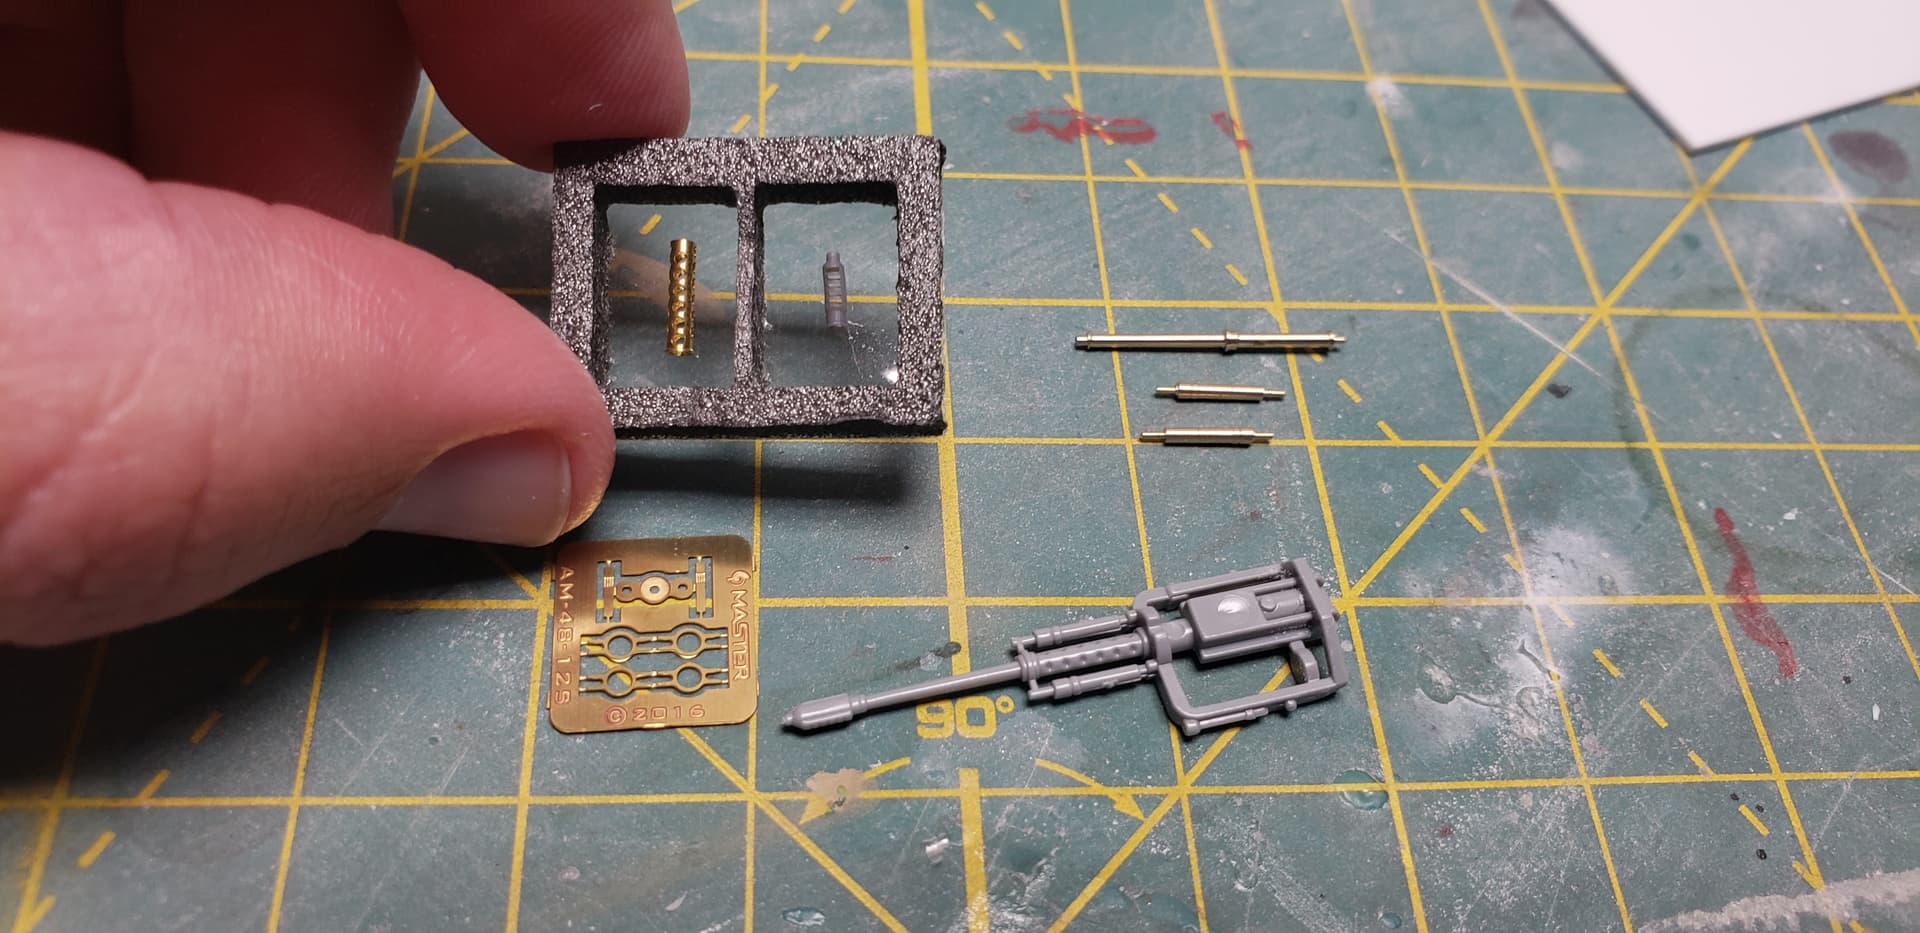
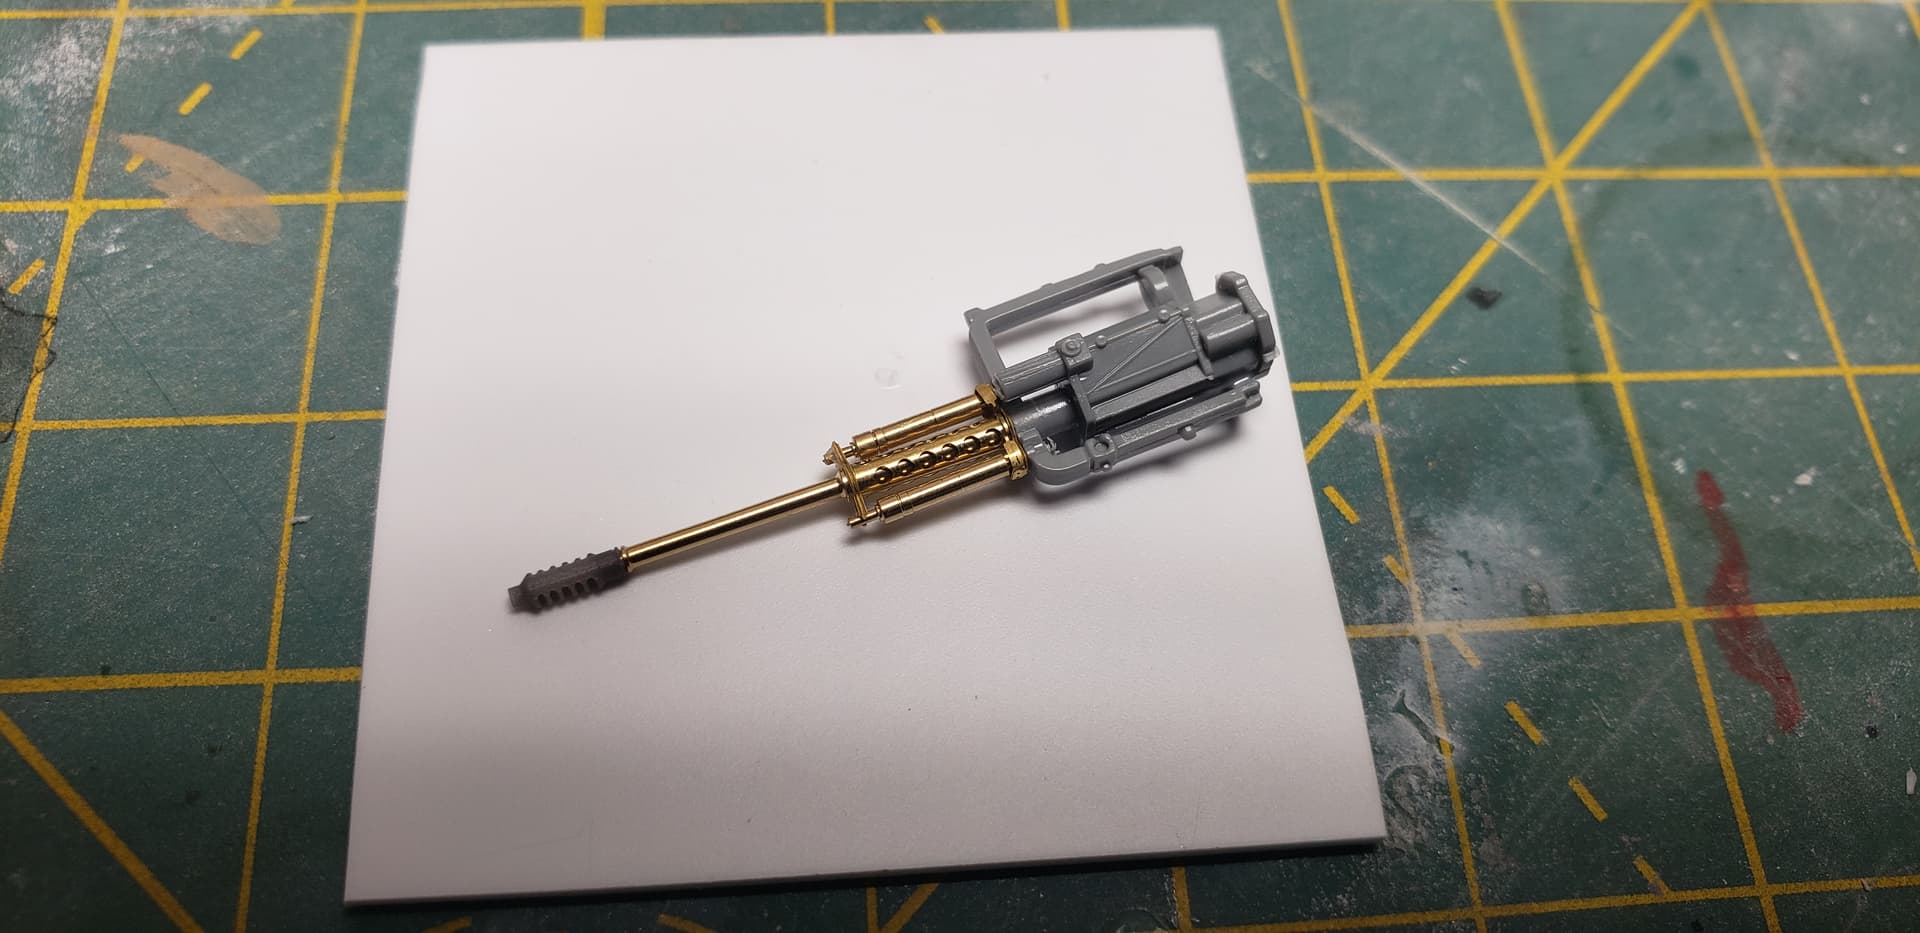
I worked on the boom stick today, removing the kit parts and attaching the beautiful Master Models brass parts. Drilling out the needed holes for the brass replacements, then install the brass. The cherry is the resin muzzle brake.
Ill add some other details after painting the gun assembly.
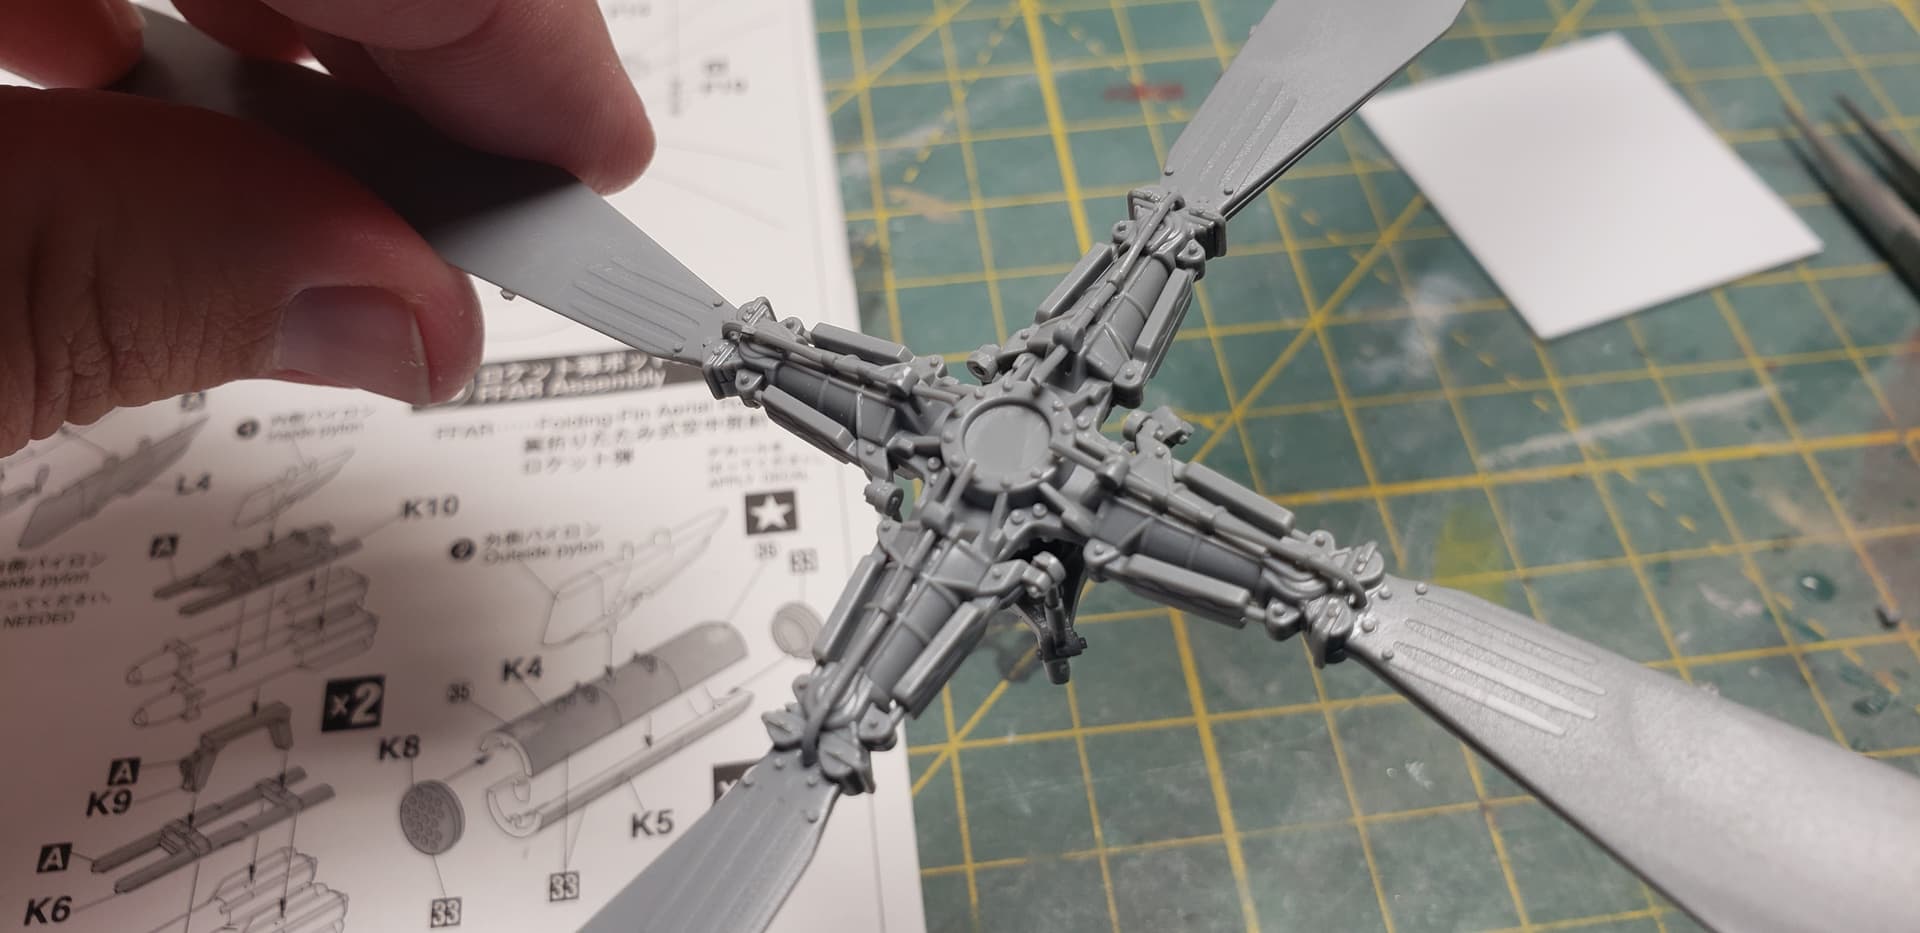
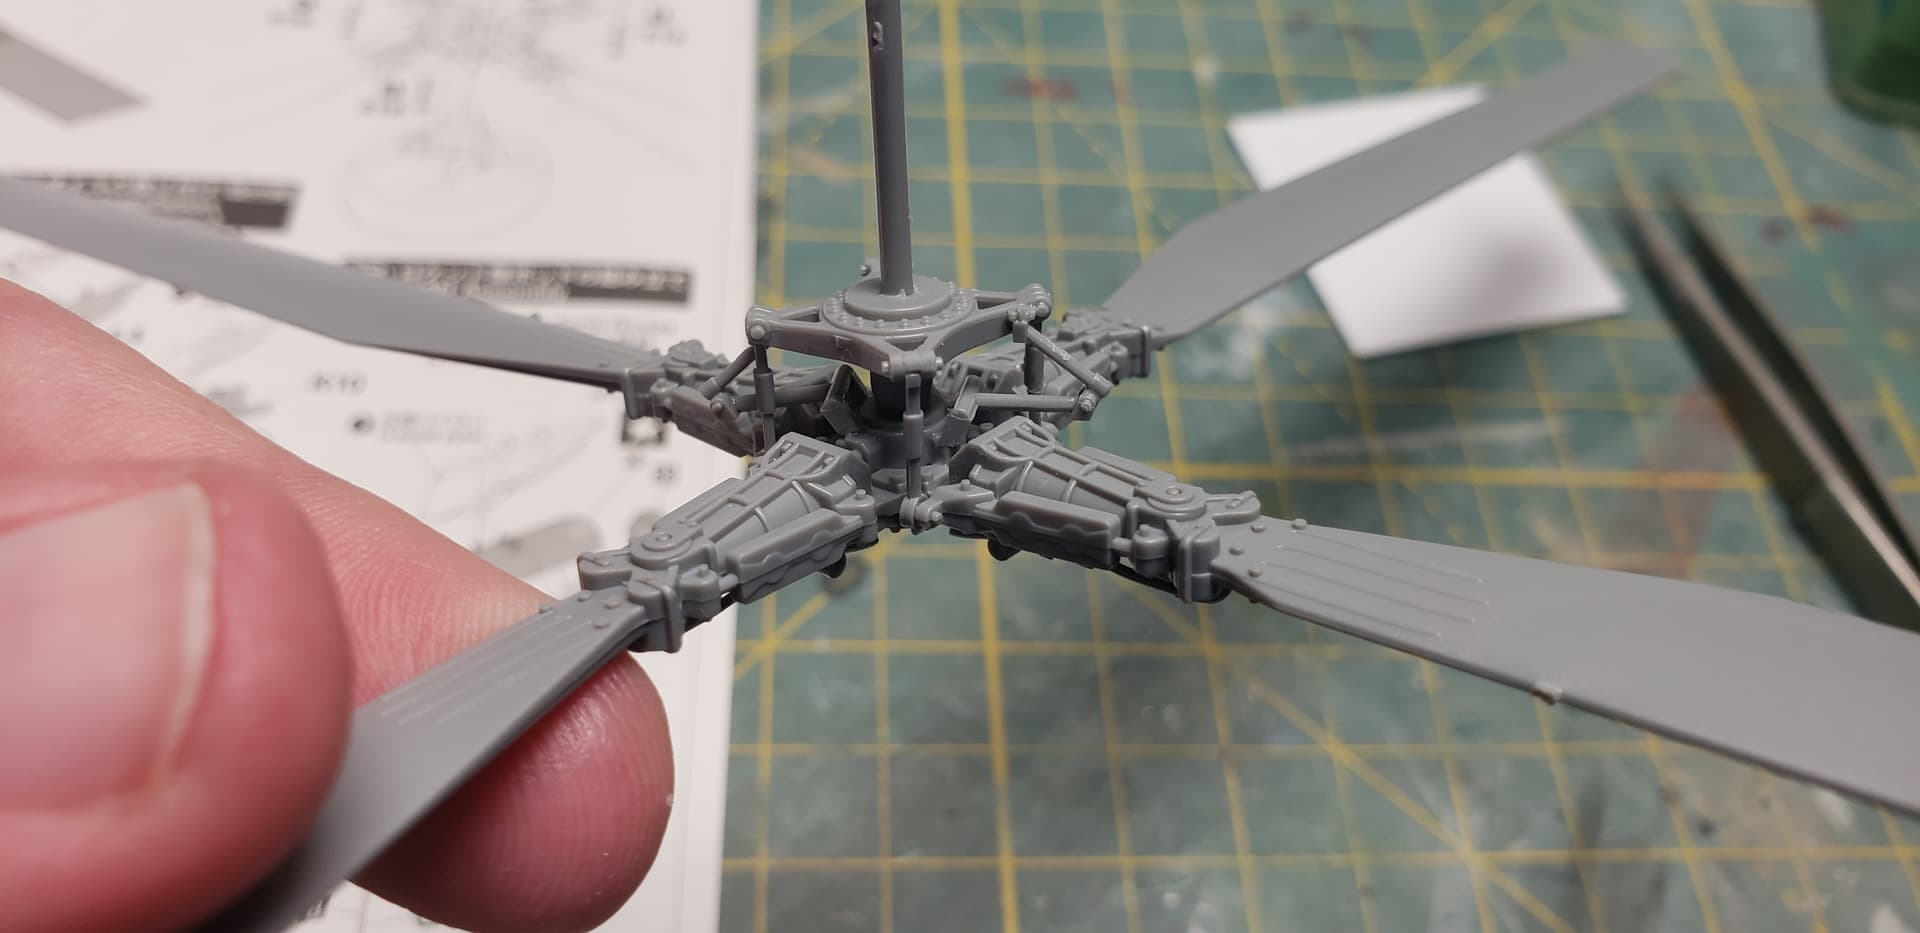
While the brass parts dried, I built up the kit rotor assembly. Everything went smooth, until fitting the scissor parts onto the swash plate. The parts( F14) have pins that arent on the rotor head. I used the Saraf detail book for placement.
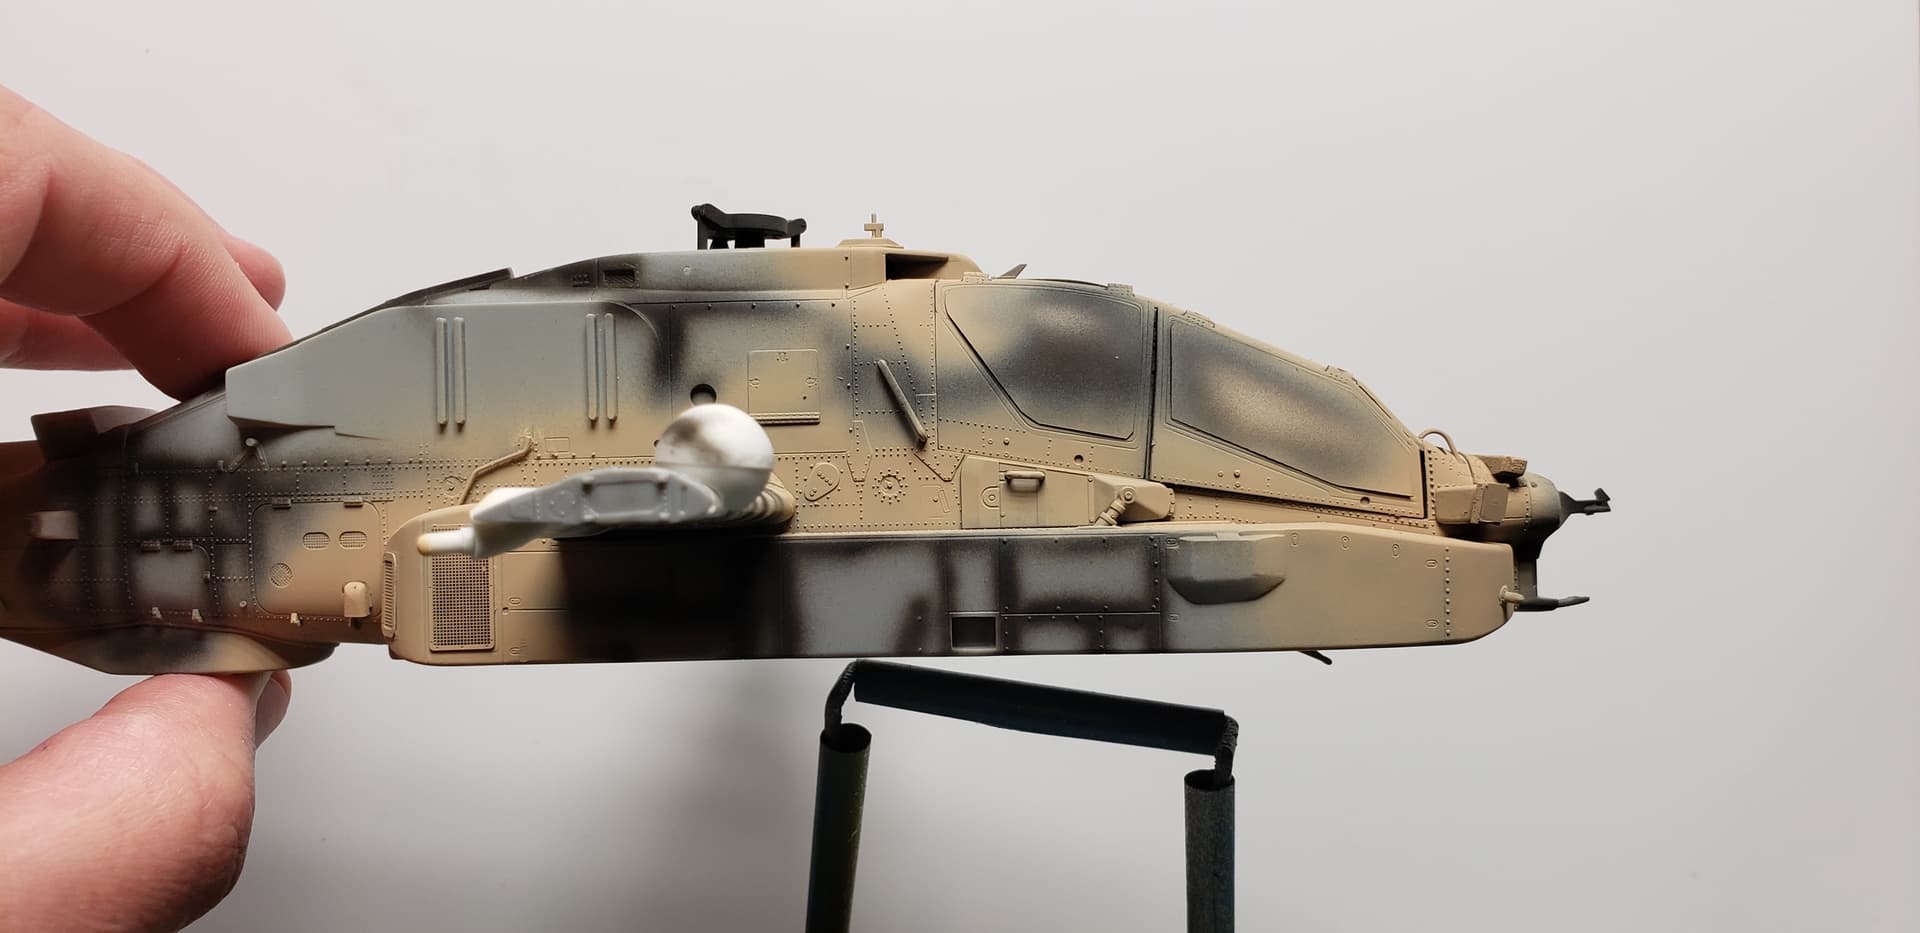
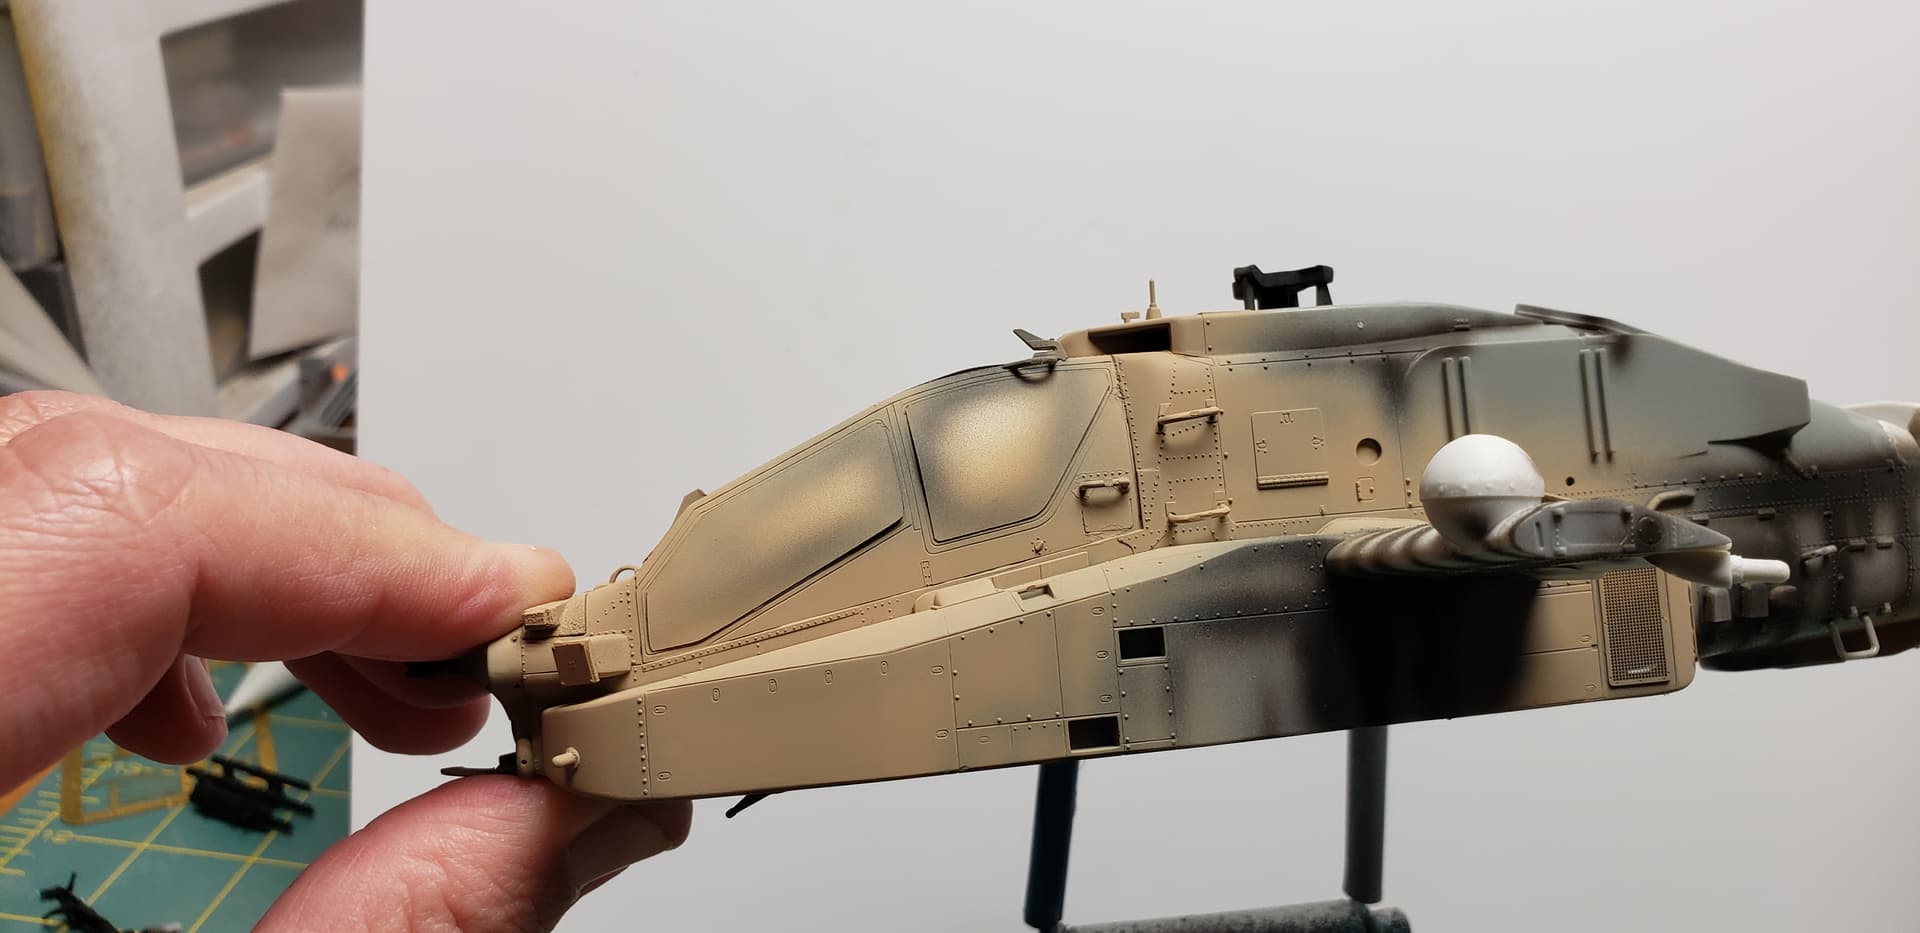
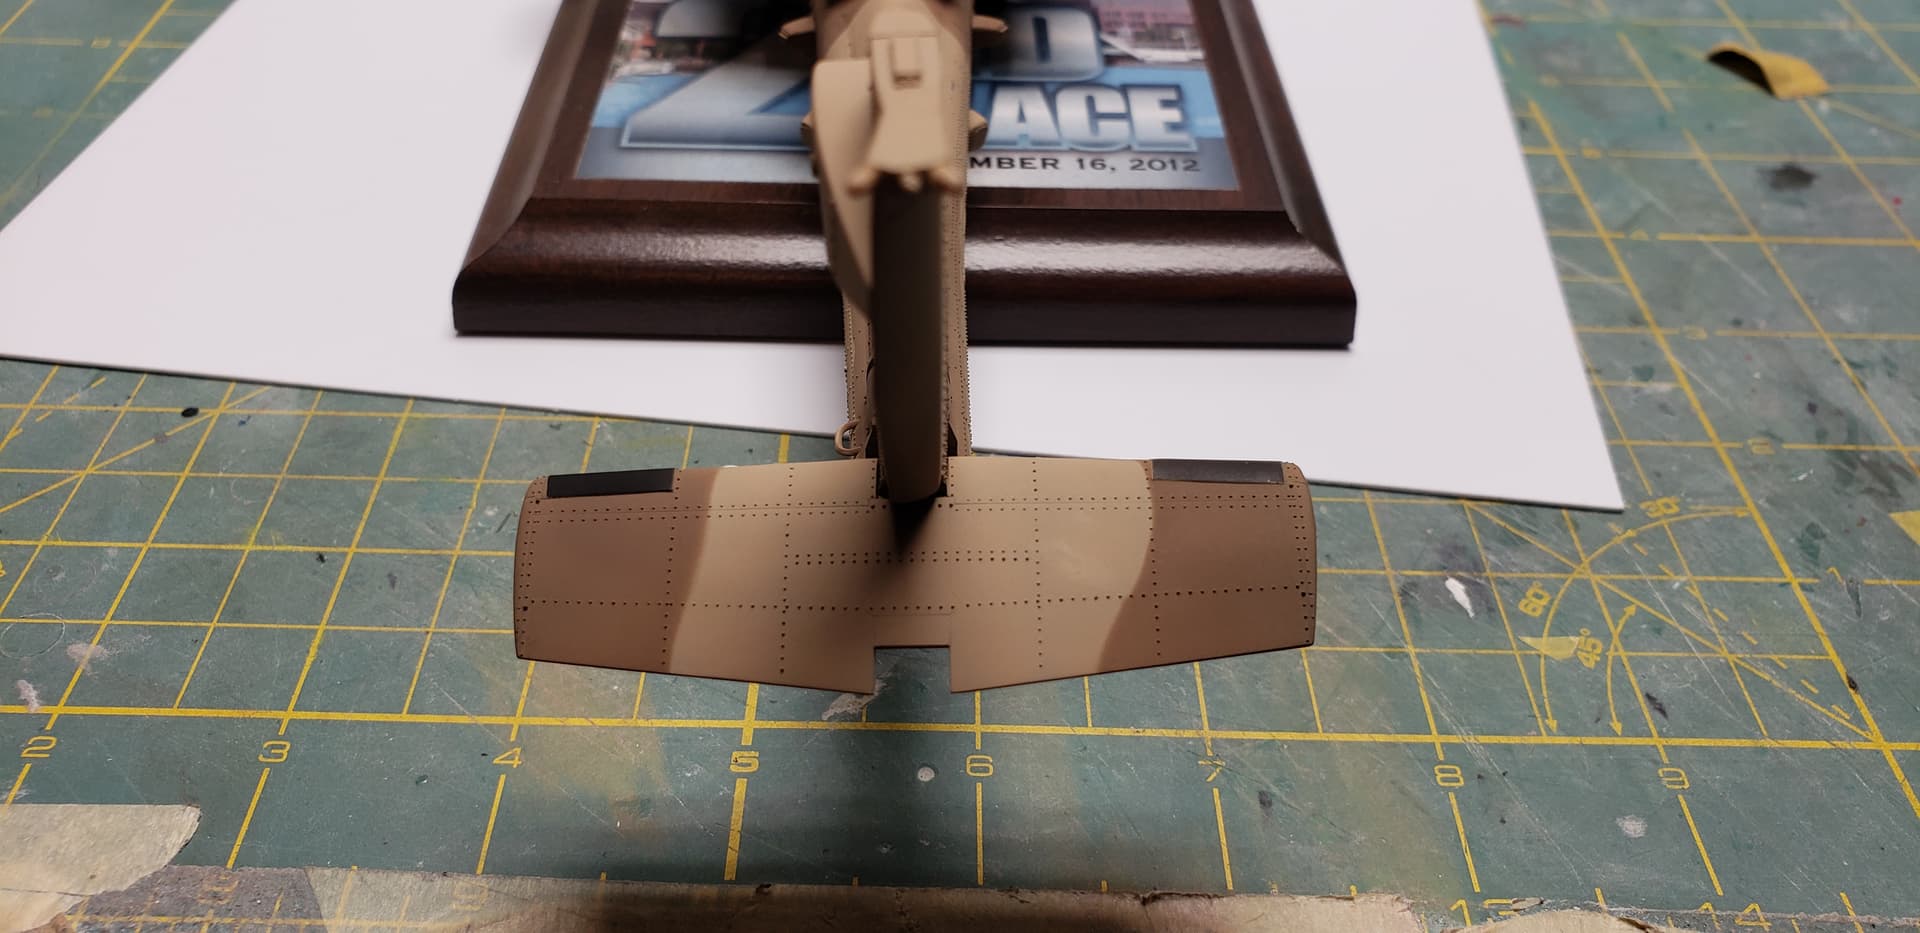
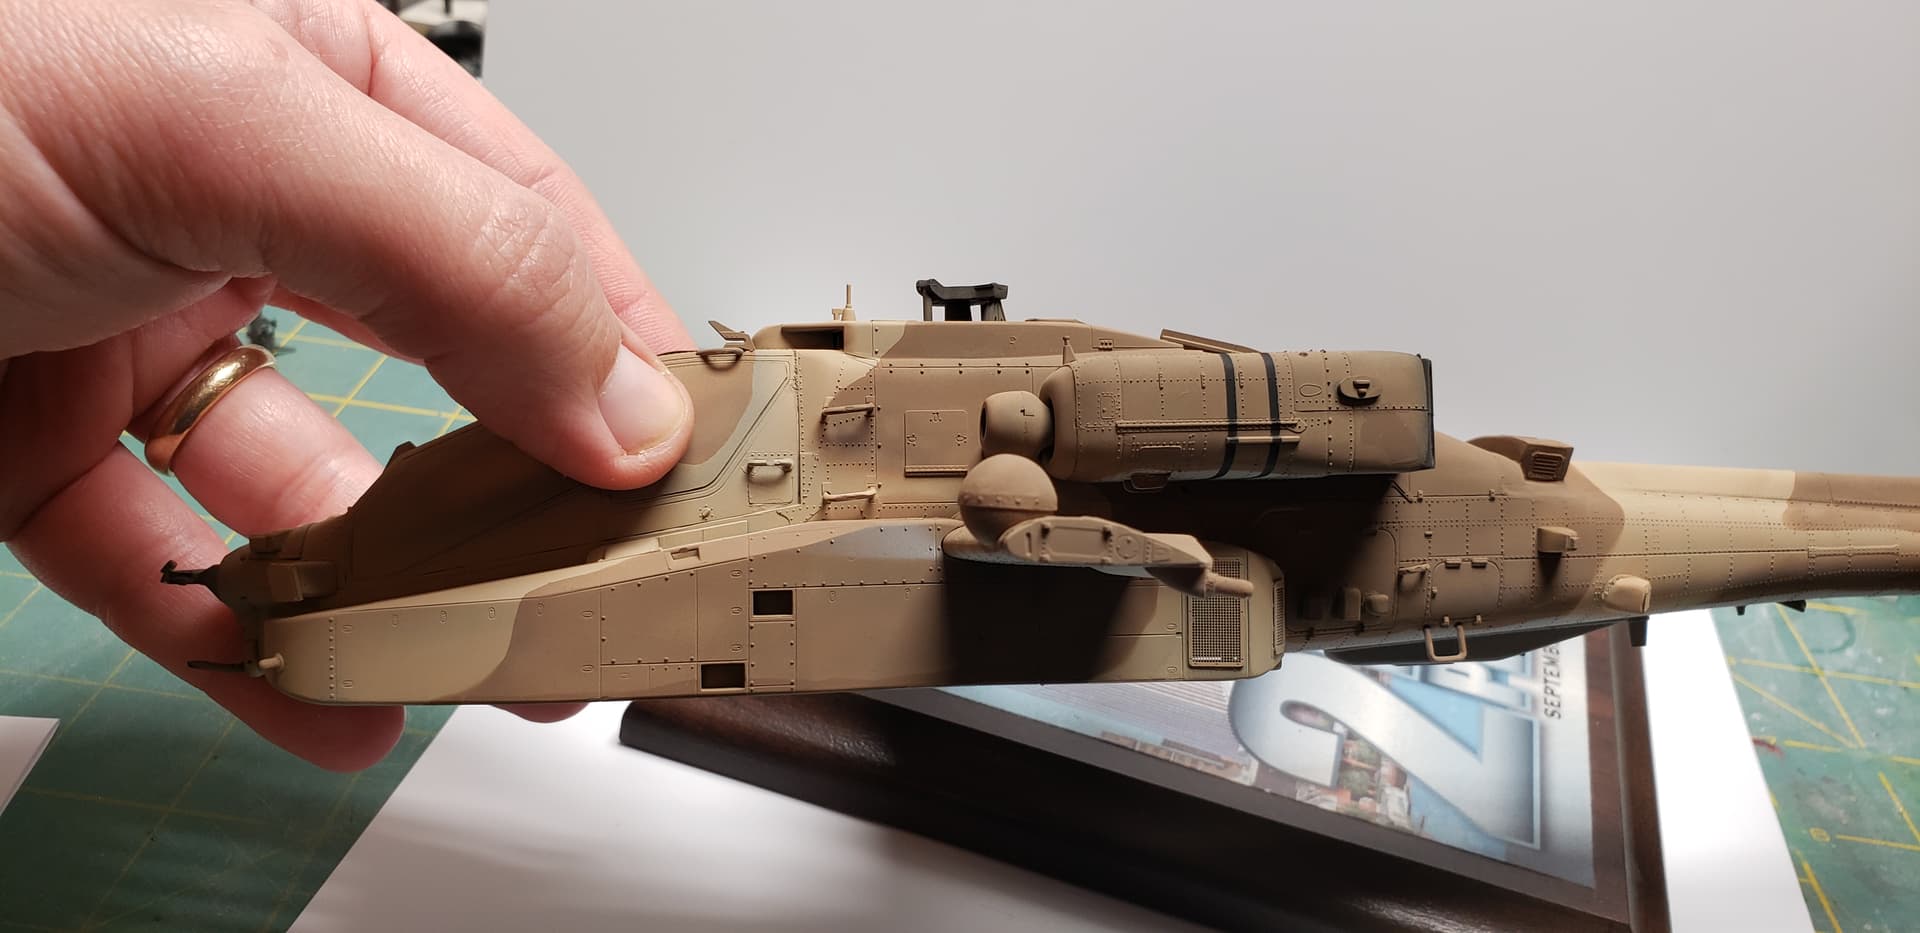
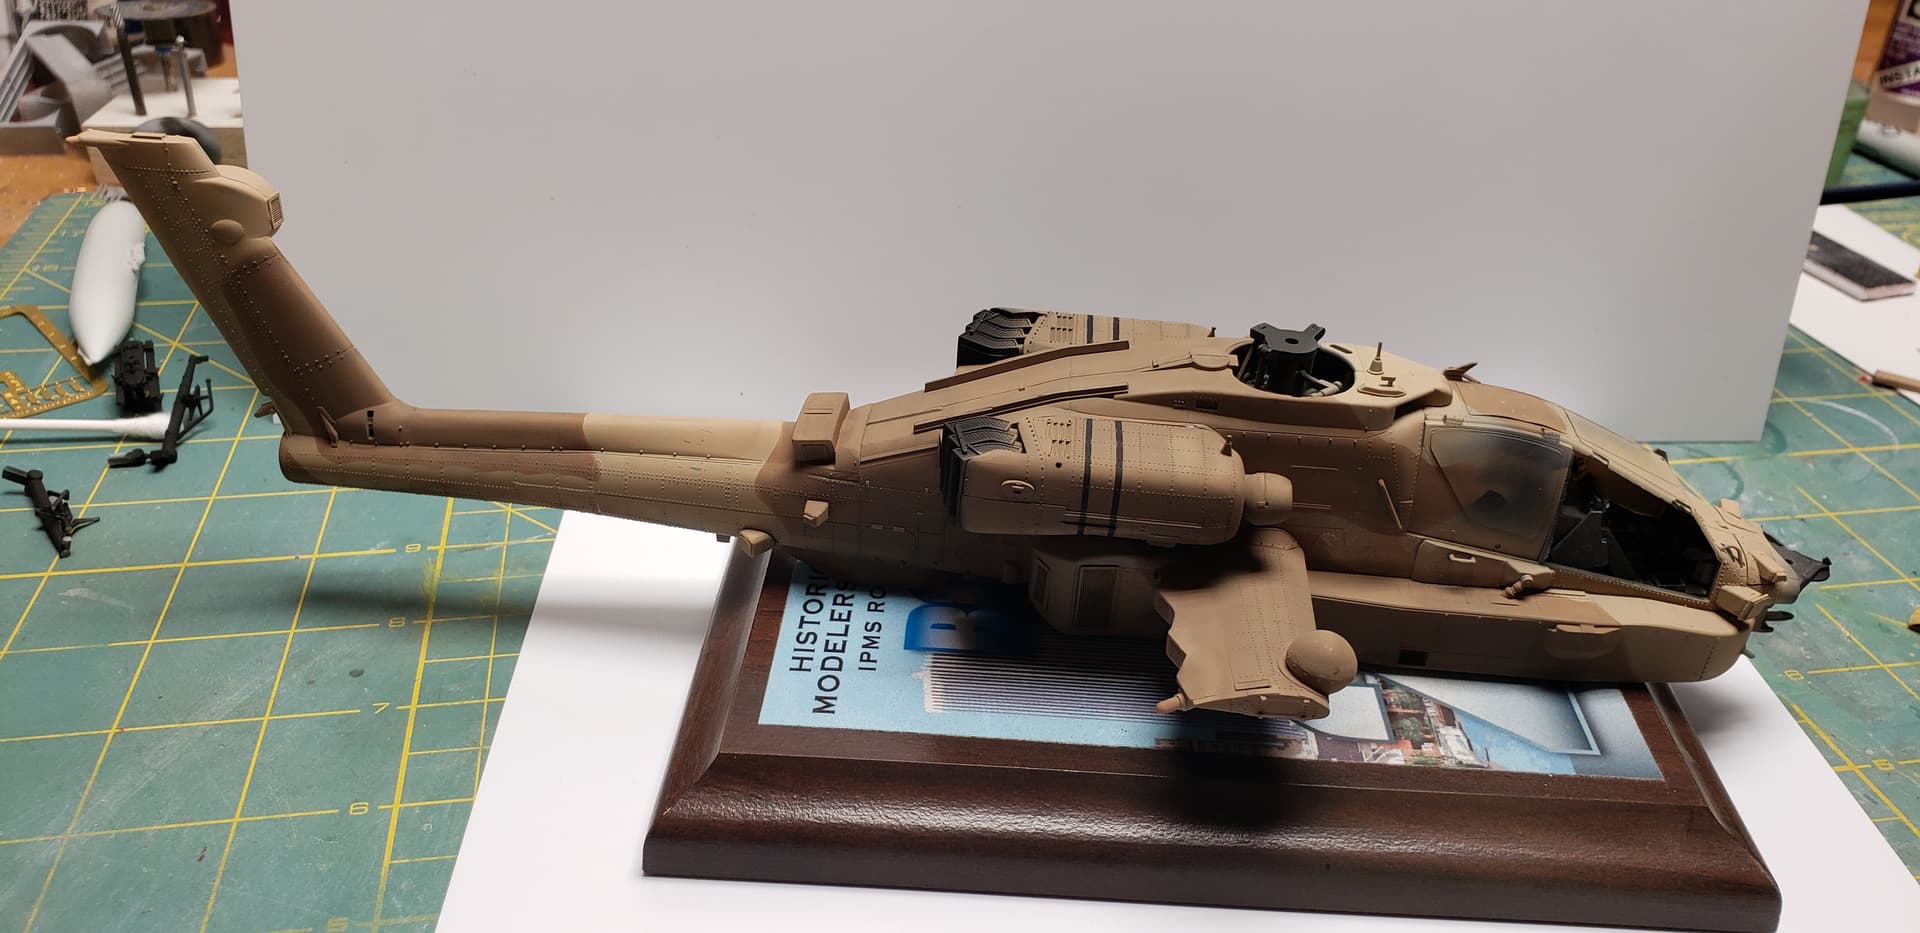
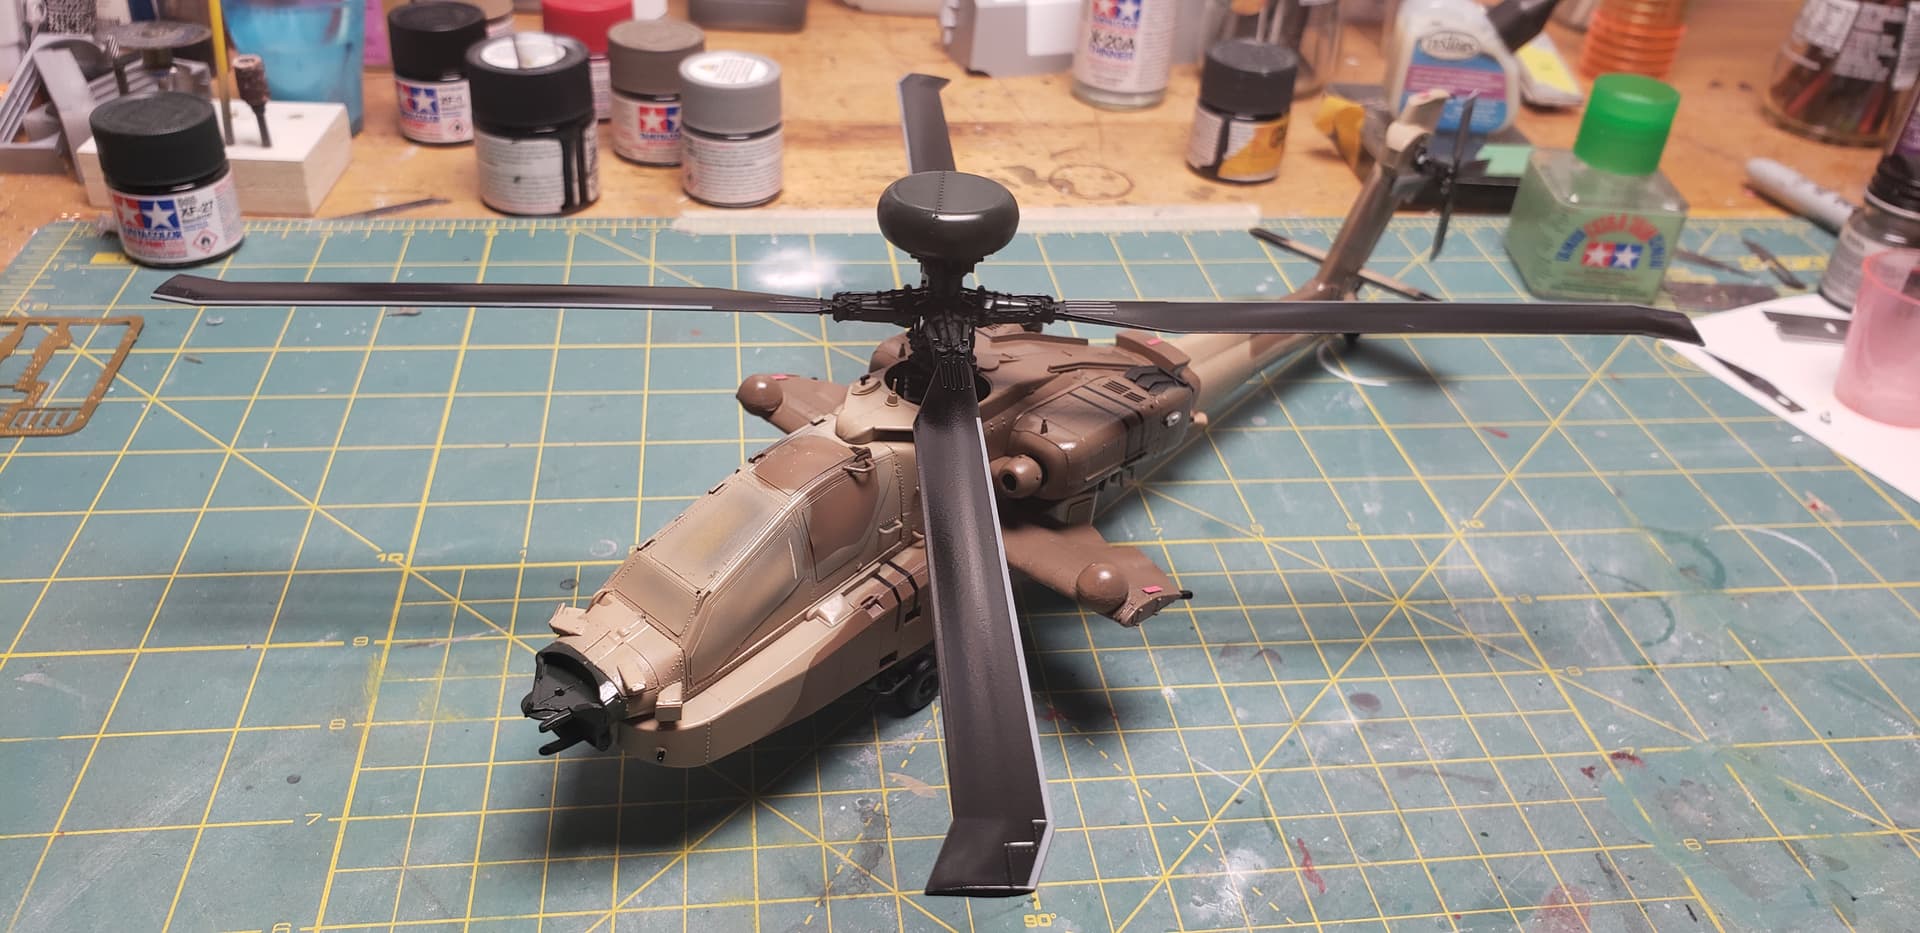
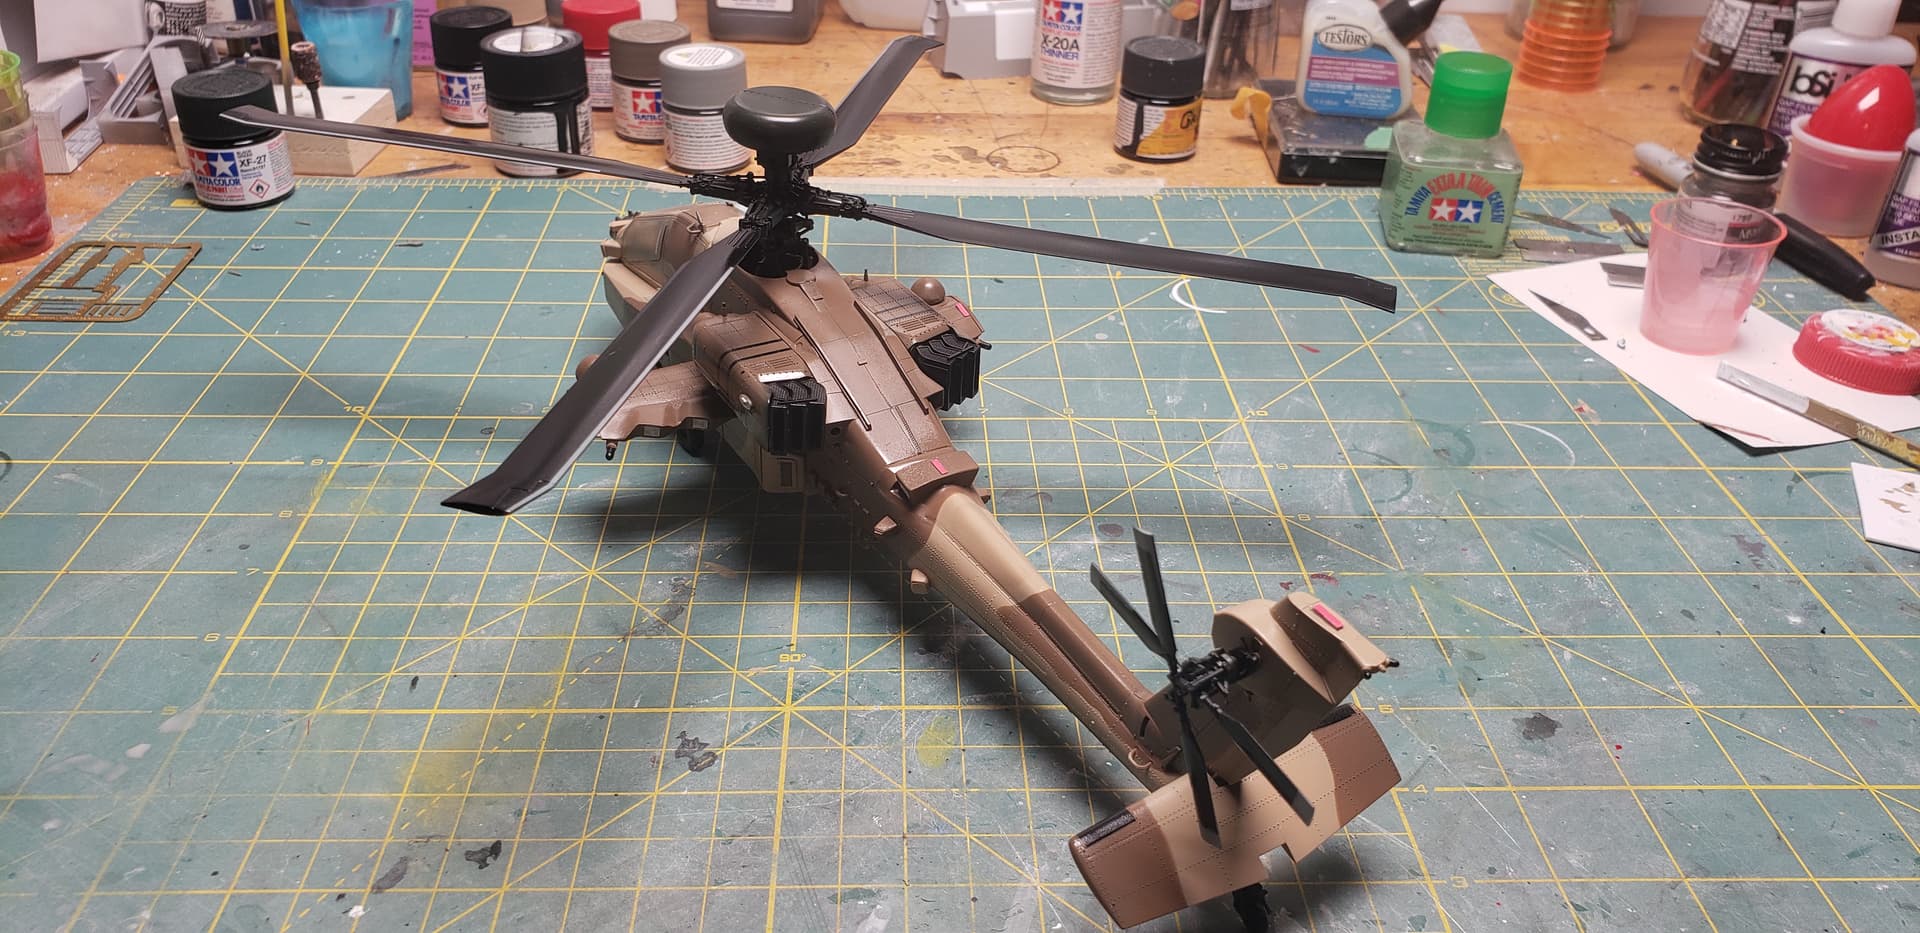
Little update today, the Saraf reached the paint stage !! I pre shaded the panel/ rivet lines w tamiya flat black. After a couple test sprays of colors, I settled on Tamiya wooden deck brown for the sand color. I planned to used Desert yellow, but it dried much too yellow compared to photos Ive saved. Flat earth will be used for the dark brown portion of the camo.
I’m going to try silly putty masking for the brown portion, not trusting myself to spray it freehand.
Heres the progress today, my lights kinda wash out the details…sorry
Quick wknd update…the Apache got its gloss coat to prep for the decals! My LHS had a few options for gloss, I used Vallejo " Metal" gloss varnish. I should’ve thinned it before spraying, it was thicker than I’m used to running…but just cranked up the compressor lol
Before the gloss, I decided to paint the gray leading edge on the rotor blades. Im not overly impressed w the look, but its done…I preferred the solid black.
I am really impressed how fast the gloss dried, it was probably 10 minutes while I cleaned the airbrush. I’ll give it overnight to rest, then start the stencils tomo!
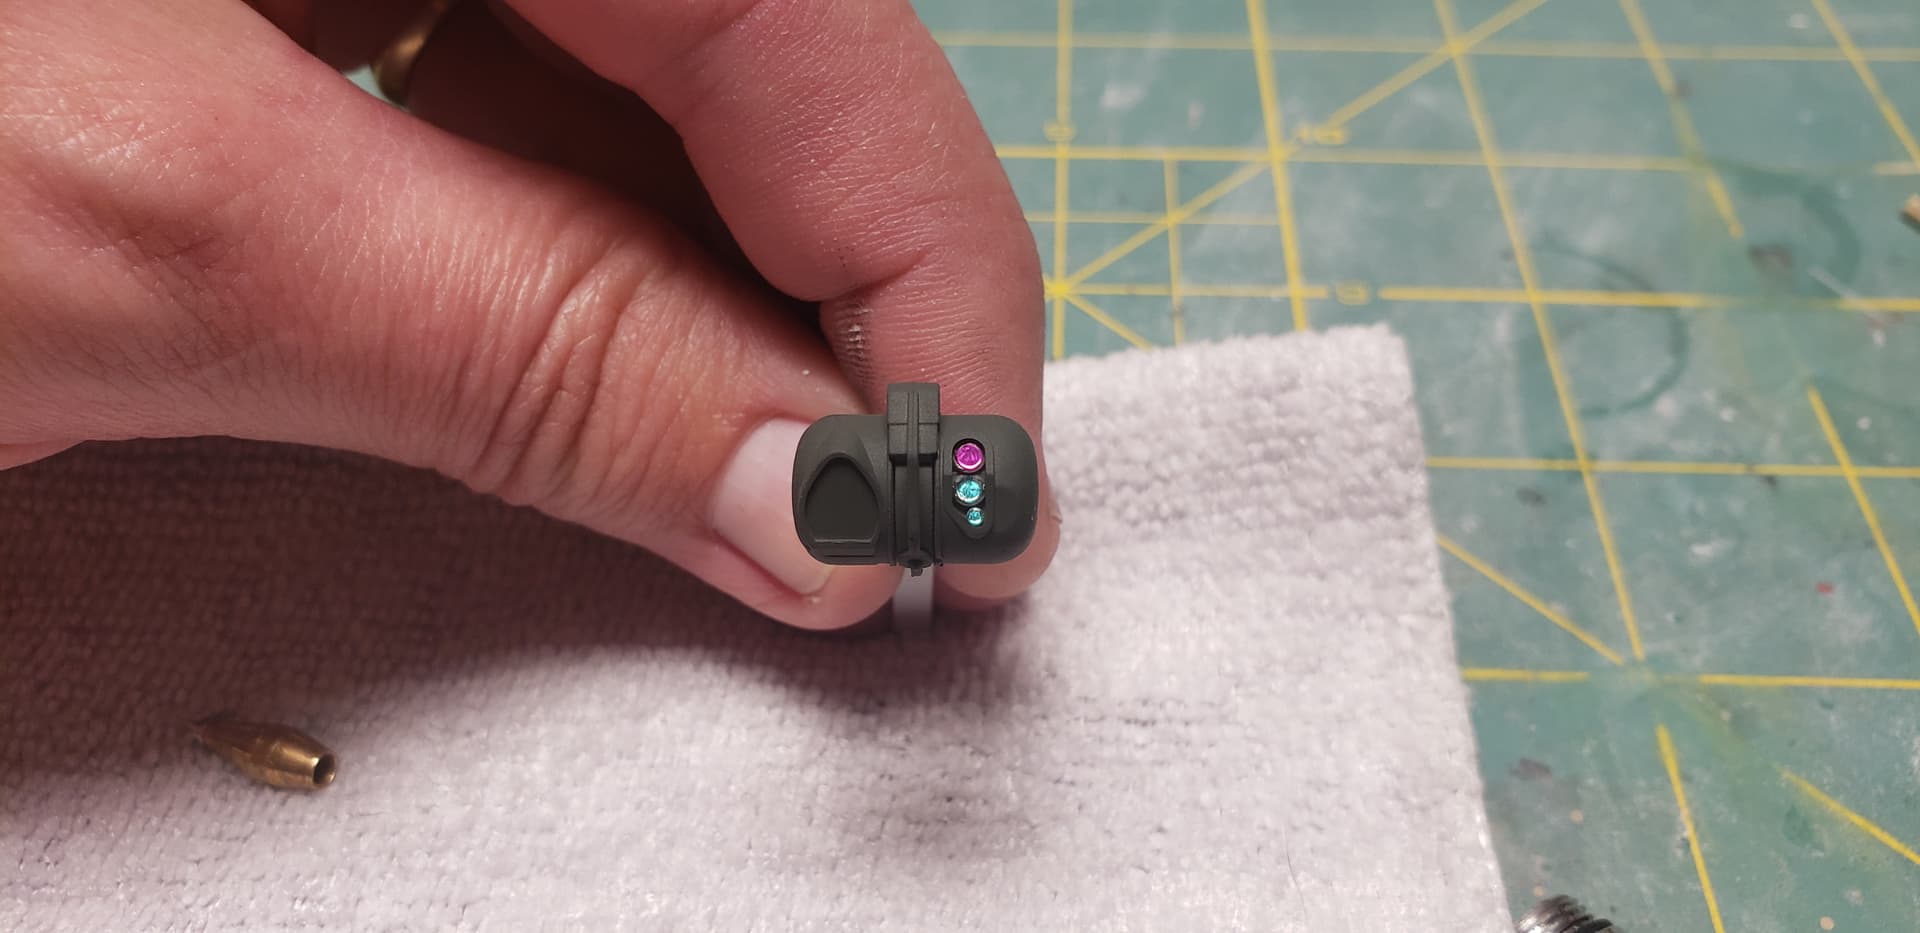
Ohh…I wanted to show my attempt on the optic sights. Most photos showed a purple and turquoise color. I found some party confetti wandering the fabric store…a quick run thru my mini punch later