1/48 Me 410 B-6/R-2 by Revell Pro Modeler

Hi All,

Stew Styrene (I say that because I’ve got so many projects on the go it’s like a big pot of plastic on my benches… yes plural) here with another update.

I picked this up at a reseller for a price so low that it turned my bloodshot Scottish eyes white! Been looking to get at it for a long time. The kit included, as most of you know, photo-etch for the interior along with the antenna array. Many of you also know the extensive build done some years ago. I’m not going to go that far yet will do somethings different.

Here’s the link to my product review for all the parts layout if need a reference.

All the many other add-ons I’ll list as we go.

1 Like

The final bit of inspiration to get this underway was reading Brian D. O’Neill’s (Known here as Red Hand) book “Three Engines Half a Wing and a Prayer”. Therefor, this build is dedicated to him

Naturally, because it’s me there had to be some rivet detail added. Not a lot though, just the possible places missed by Revell.

DSC00021 (Small)

Also, some panel lines were a bit soft and wouldn’t take a wash well.

DSC00022 (Small)

The wheel bays will be extended open on this build so some strengthening post went in.

DSC01866 (Small)

My kit had a few short shot prop blades as well, but we’ll get to that when the paint shows up.

DSC02023 (Small)

Sure wish they had included a template, but if anyone needs some…

DSC01948 (Small)

That back plate is super thin.

DSC00023 (Small)

The CMK resin bay extensions were nice enough to warrant the cost and after you get their shape cut into the plastic required only a few supports and some 5 min. epoxy.

DSC00051 (Small)
DSC00052 (Small)

That was all the wings needed before being assembled.

DSC00055 (Small)

Some time was spent on improving the already nice detail.

That’s it for now. Next up is the fuselage prep. Thanks for dropping by and please leave a comment if you have any suggestions.

Great start and excellent choice of subject, I love the heavy twin-engine WWII fighters!

I will be following along on this journey for sure.

Cheers, D

1 Like

You won’t have to wait long Brother. Thanks for the kind words.

1 Like

Fuselage time!

DSC01945 (Small)

Photos vary in clarity if this airplane had rivet marks or smooth. Since some do show signs… well you get the picture.

DSC01942 (Small)

This kit contains many versions so I took some hollowed out barrels to add life to the cheek guns.

DSC01943 (Small)

With a few mods to the parts I had me some good lookin’ rock throwers!

DSC01875 (Small)

Time to prime. I use Mr. Primer Surfacer 1000 cut 50/50 with either leveling thinner 400, Mr. Thinner 400 or regular lacquer thinner professional grade from a tin.

DSC01944 (Small)

RLM grey will be used for the interior, which is nicely lighter than German grey so the highlights and washes will show better. Note the barrels sticking out still. It’s done like that to align them then let stand till dry.

DSC01867 (Small)

There wasn’t a lot of work here really, save for the riveting, but I did not take a picture of the tail bay. It does have to be painted prior to coupling… I know there’s a joke in there somewhere.

Next up, it’s back to the grinder. Thanks everyone for dropping by.

2 Likes

Interior time.

By the font and origin it looks like Eduard had a hand in the PE.

DSC01871 (Small)

Some test fitting goes a long way.

DSC01870 (Small)

Instructions are a bit ambiguous but after fitting things work out.

DSC01869 (Small)

Some warped parts to deal with.

DSC01868 (Small)

Sure looks purdy :slight_smile:

DSC01872 (Small)

DSC01873 (Small)

DSC01874 (Small)

This is great stuff for dry brushing and pulling out details.

DSC01876 (Small)

DSC01877 (Small)

DSC01881 (Small)

DSC01883 (Small)

I was shocked how quickly this went. Mind you, there’s very few colors to put down and the PE frees up time spent on fine detail painting.

Thanks again for stopping by and feel free to make a comment or ask any questions. Next up, I build and paint a fuselage.

3 Likes

Hi All,

Quick update for you.

DSC01946 (Small)

Halves went together like a champ!

DSC01952 (Small)

Just walked the cement around until finished.

DSC01953 (Small)

Very little filling needed and where it did I used sprue-goo. Those connected bars (can’t remember what they’re for) were delicately removed.

DSC02109 (Small)

It made riveting and scribing so much easier. That green tape is flexible and can be purchased at most hobby paint supplies shops.

DSC02108 (Small)

Here’s my weapons of choice for this job.

DSC00315 (Small)

DSC00317 (Small)

DSC00102 (Small)

Turned out ok I guess. Next up… bits and more bits.

Thanks everyone.

3 Likes

Looking really good, the cockpit turned out great and the camo is perfect.

1 Like

Thanks Colin. Nice to get the nod from someone here in Edmonton.

Hi All,

Before you go any further, let me say that if you read a line and roll your eyes with thoughts of “Tell me something I don’t already know for crying out loud!”. Well just recently I met two young men and someone my age who are relatively new to the hobby or the hobby as we know it now. Hence, there’s more explanation in this post. Thanks for understanding and help with fueling their enthusiasm.

DSC00066 (Small)

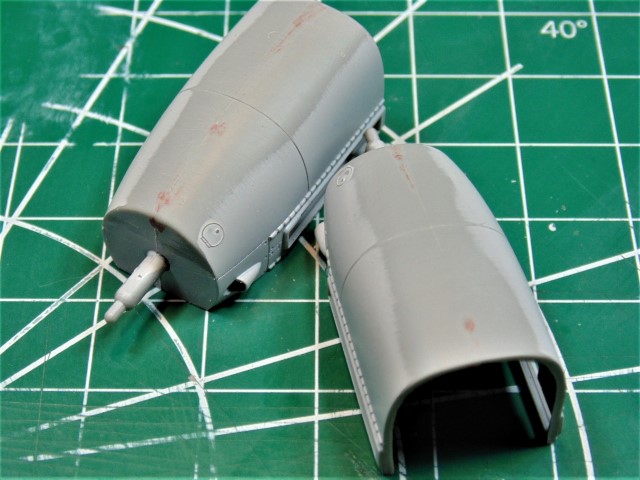
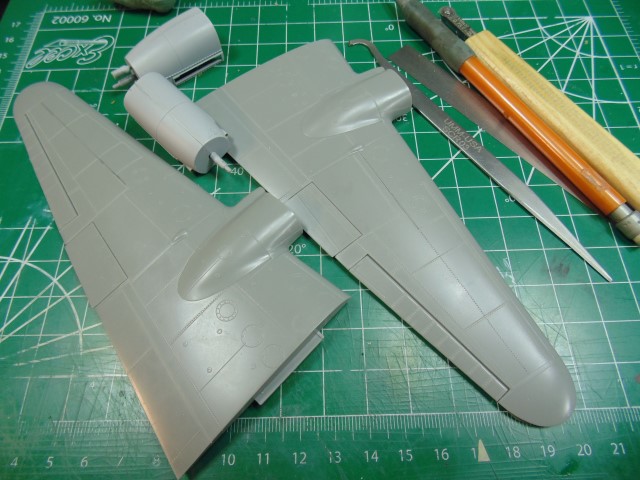
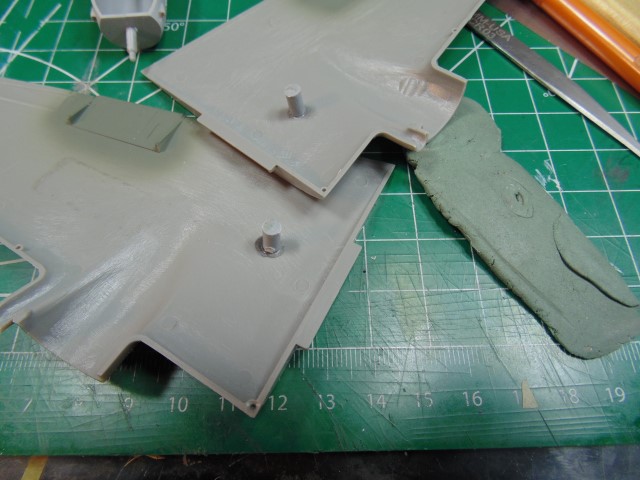
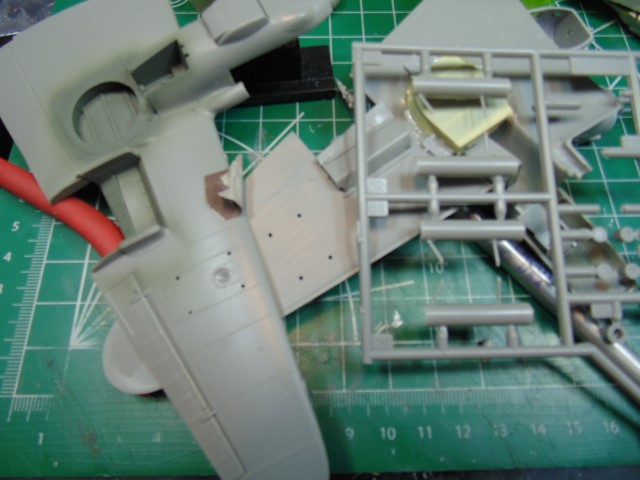
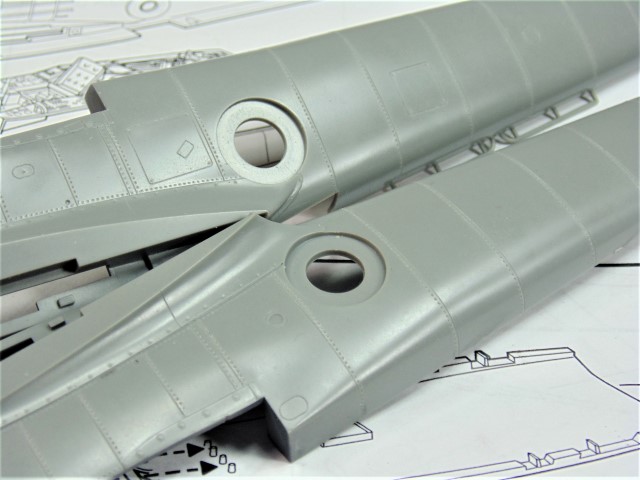
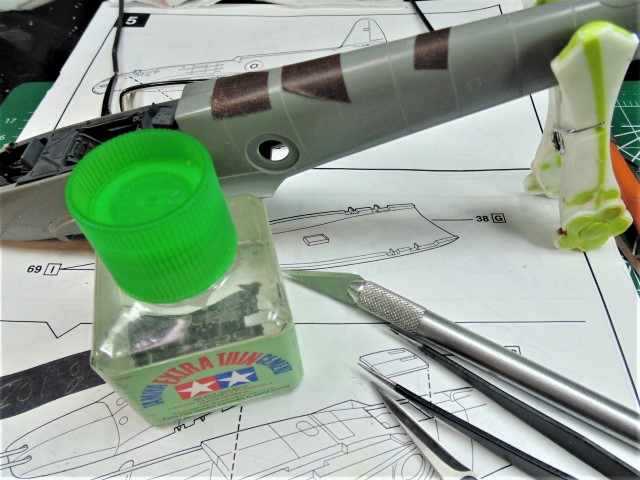
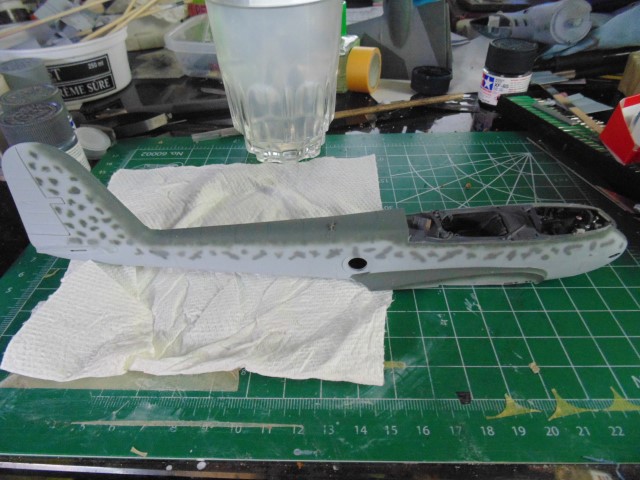
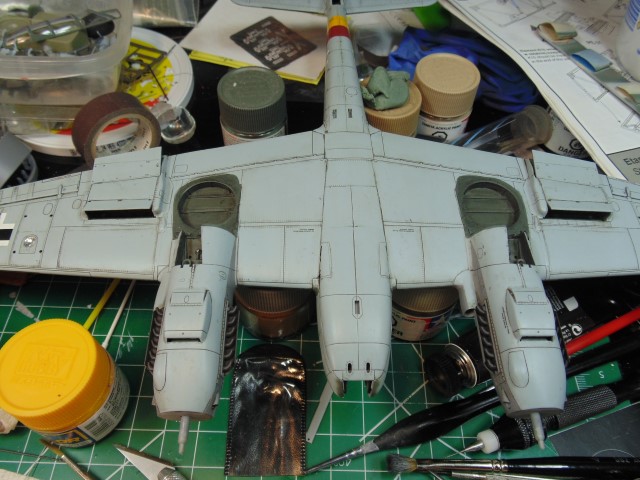
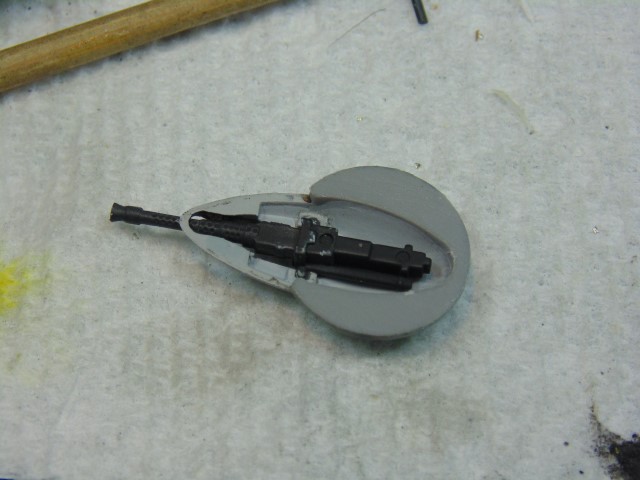
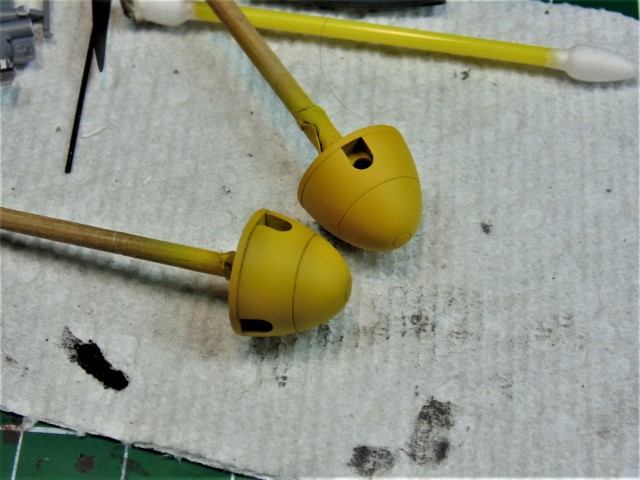
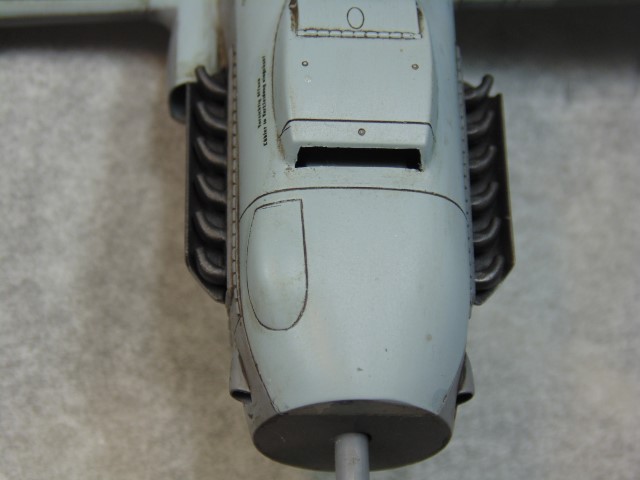
Nacelle parts are together yet needing some filler. For places which don’t need rescribing rivets and lines I use 3M Bondo spot glazing putty. Being lacquer based it cures fast within 20 minutes or less (a few hours is best), sands very easily and can be as smooth as glass if you so choose.

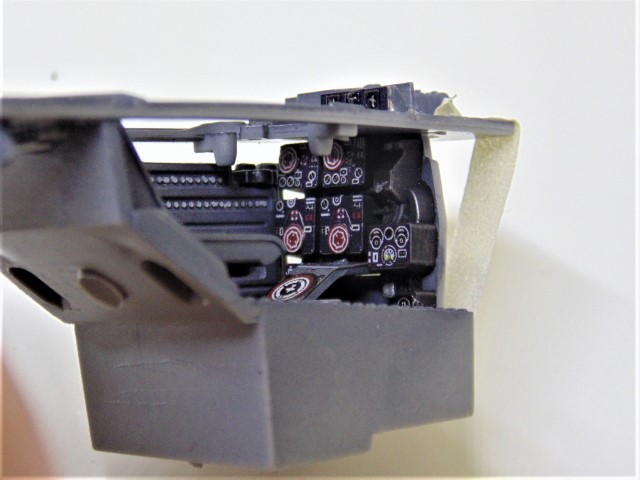
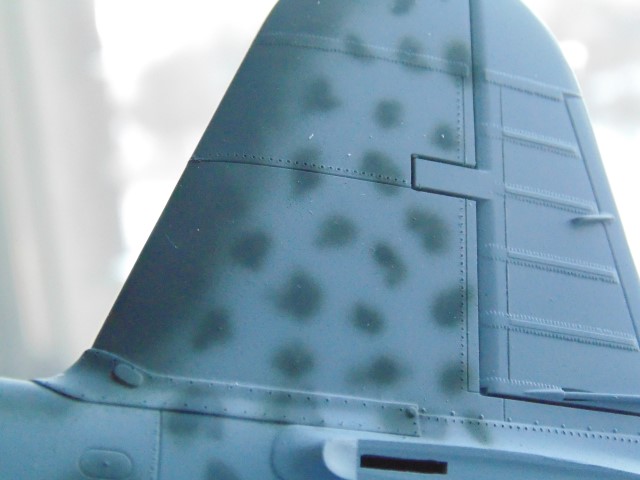
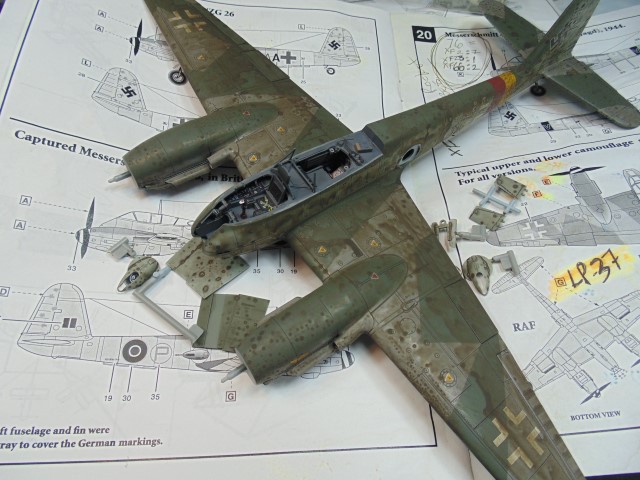
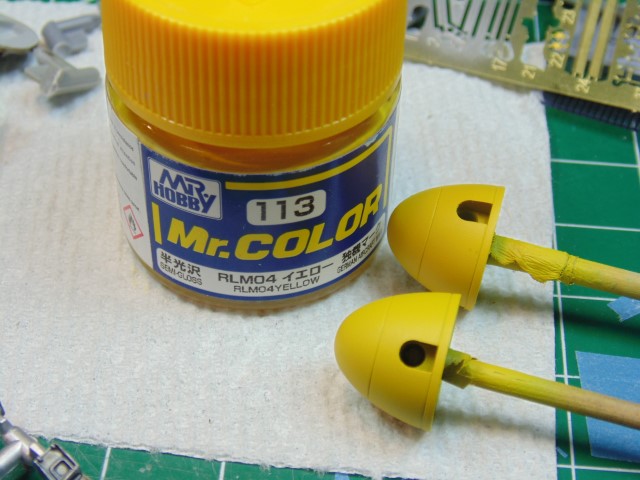
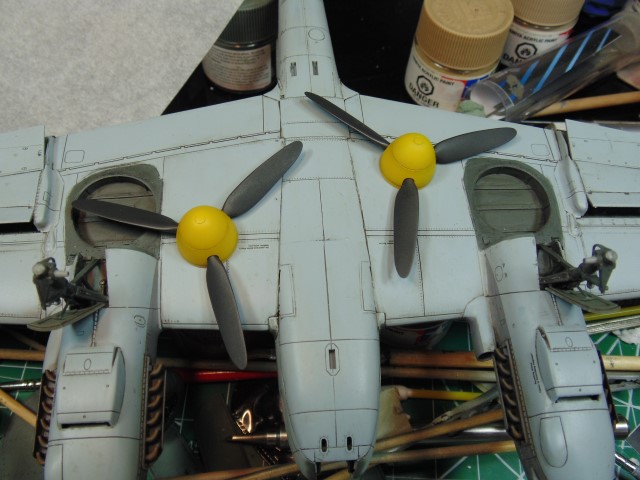
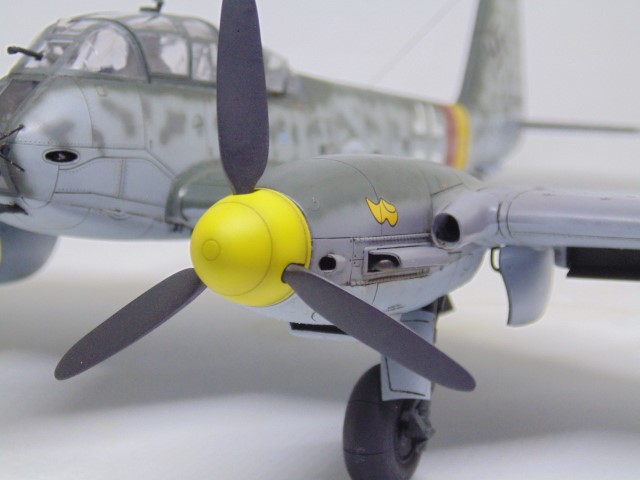
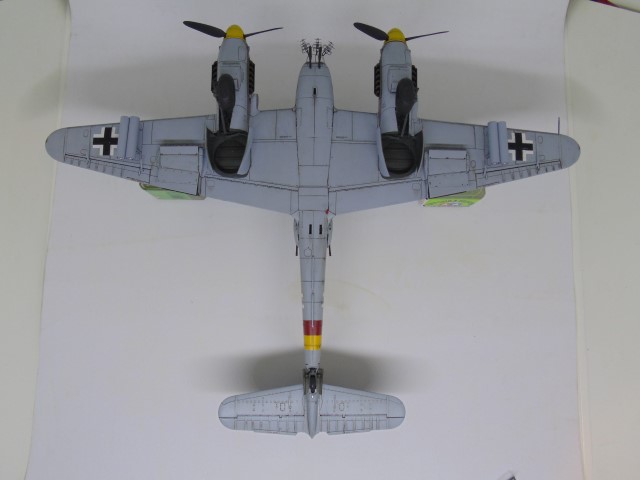
Painted up and ready to go on. All these German camouflage colors are easily hand mixed, as they are here, but you can buy AK Real colors and others to get them premixed.

DSC00358 (Small)

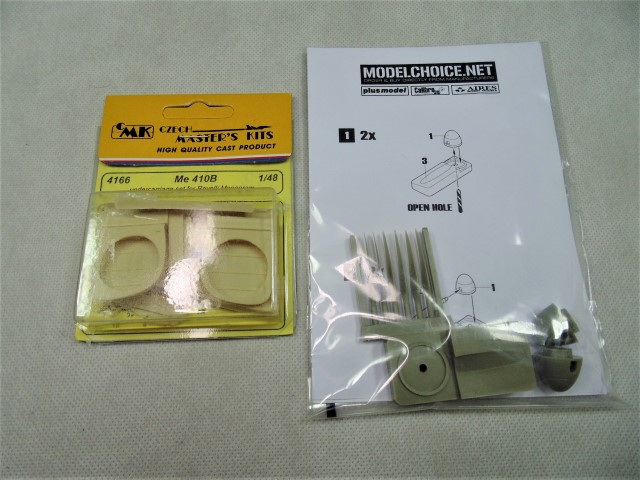
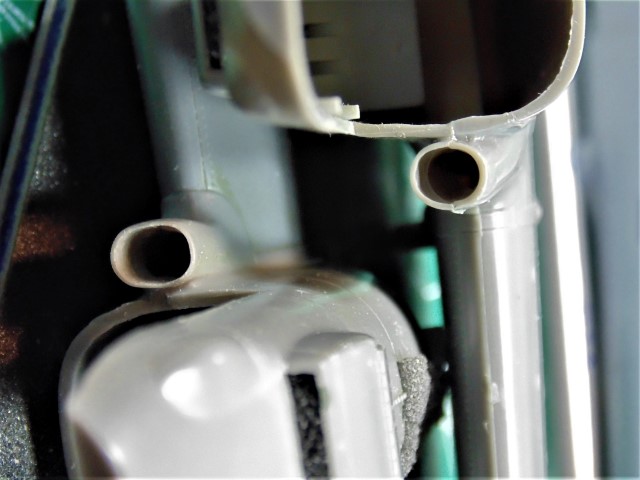
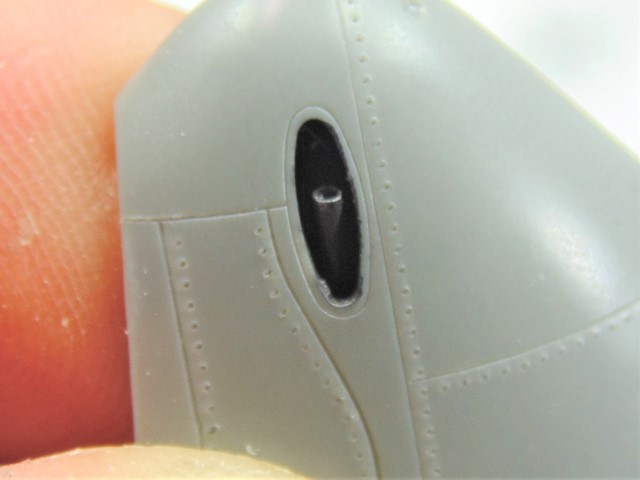
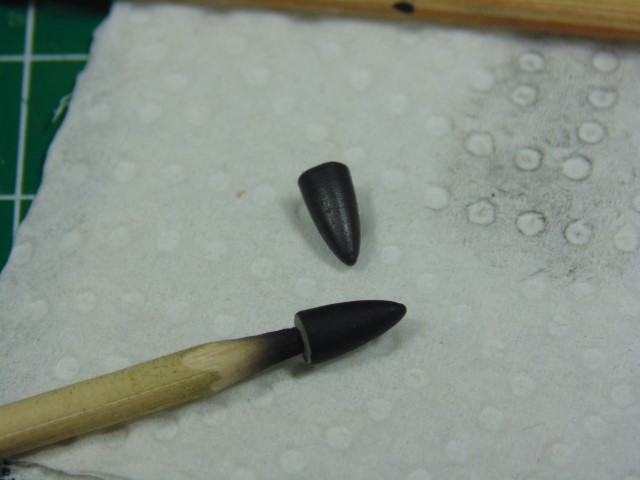
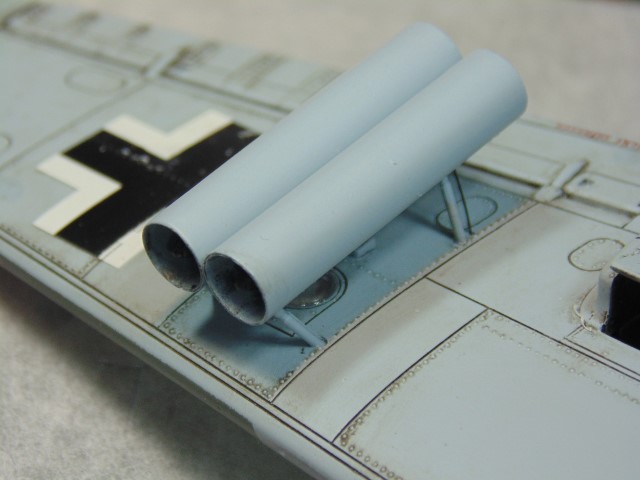
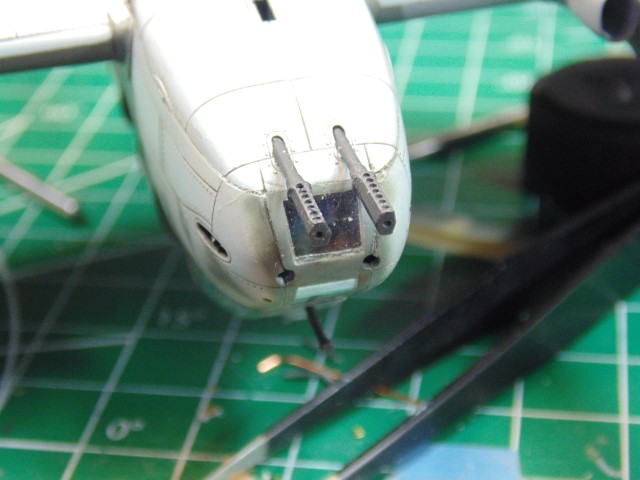
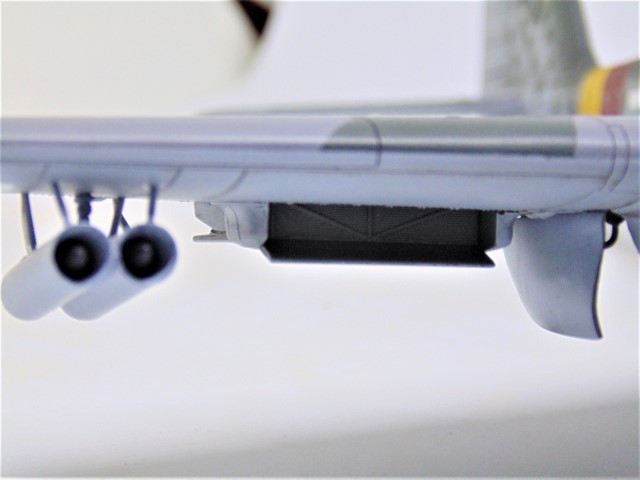
The resin exhausts are fantastic looking, just a shame all that fine pipe work is hidden under the rain shrouds HA HA. Regardless, they’re eye candy better than the plastic.

DSC00359 (Small)

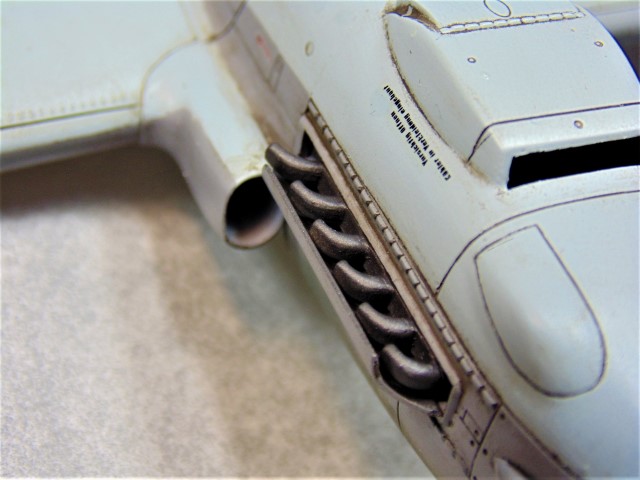
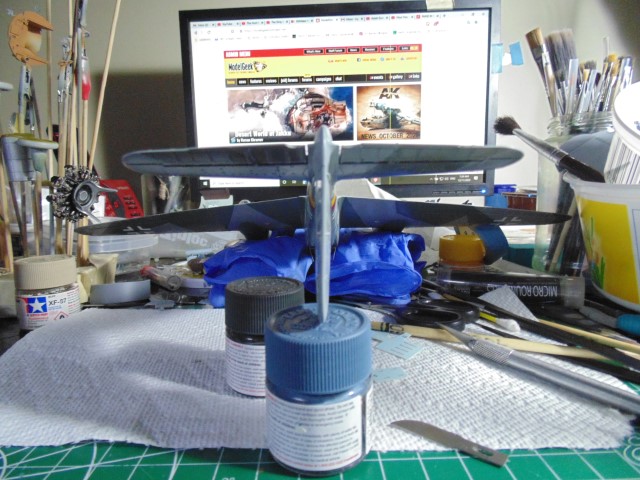
I’m not one to rust every pipe so all these will get is a light dust of Tamiya weathering master B rust on the bottom.

DSC00056 (Small)

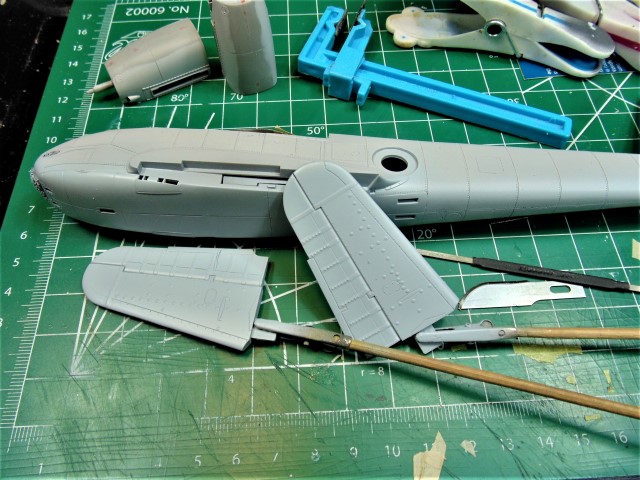
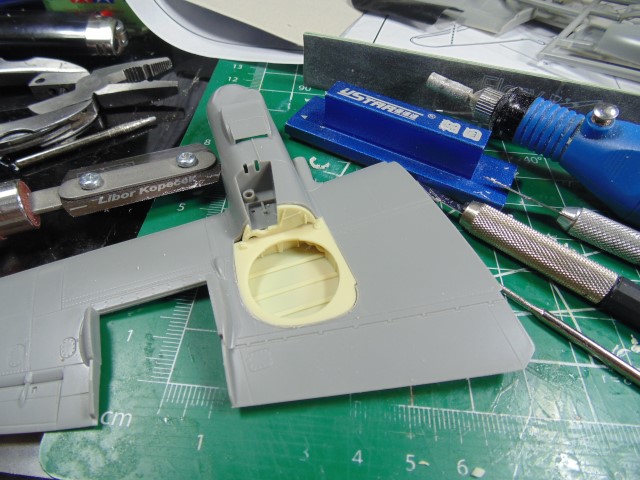
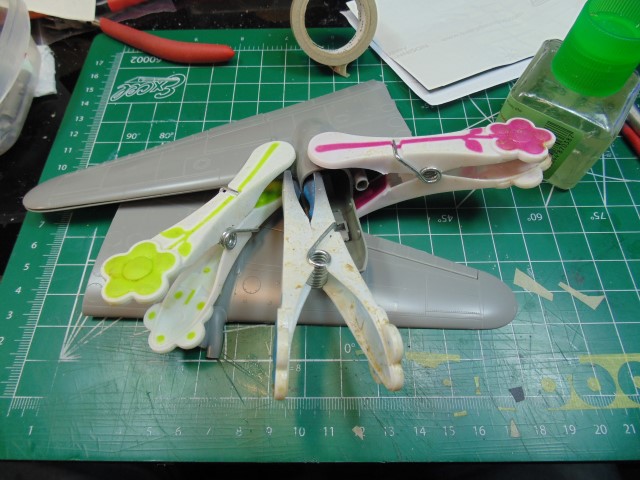
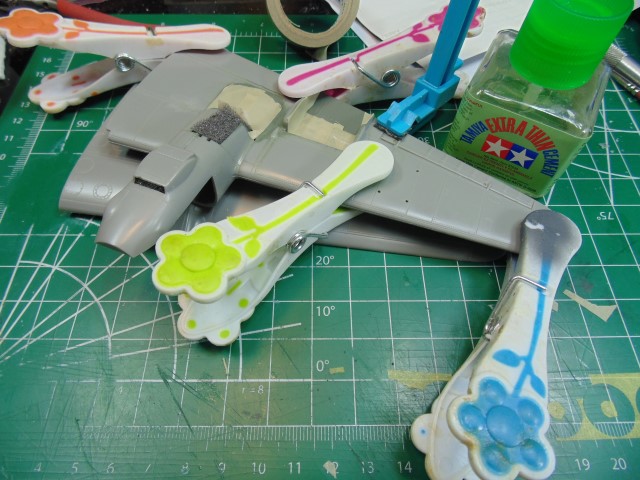
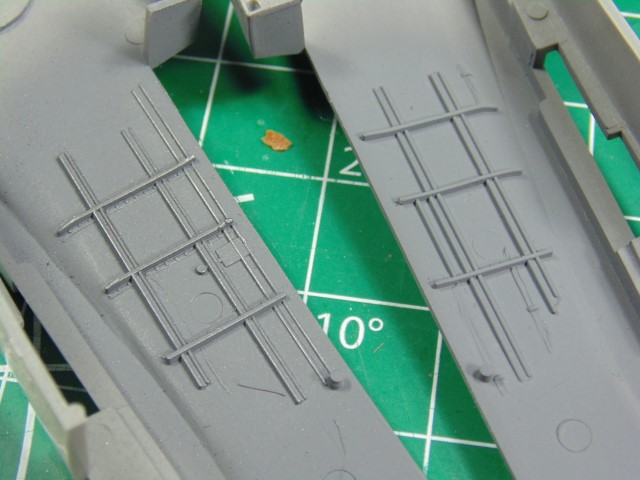
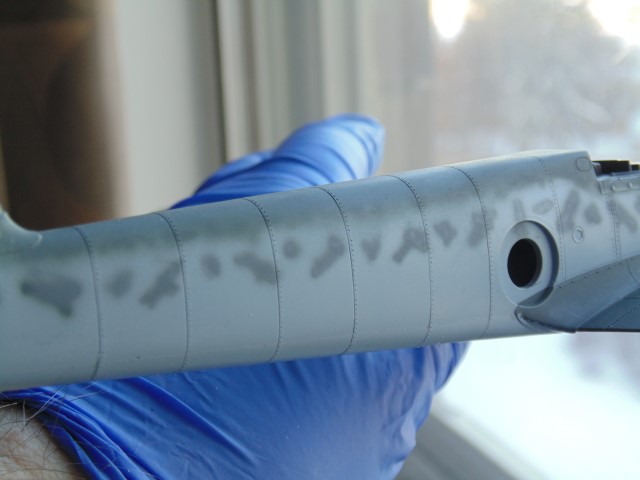
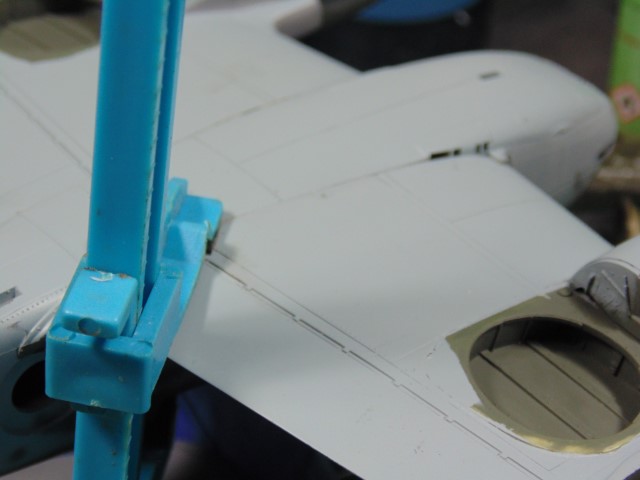
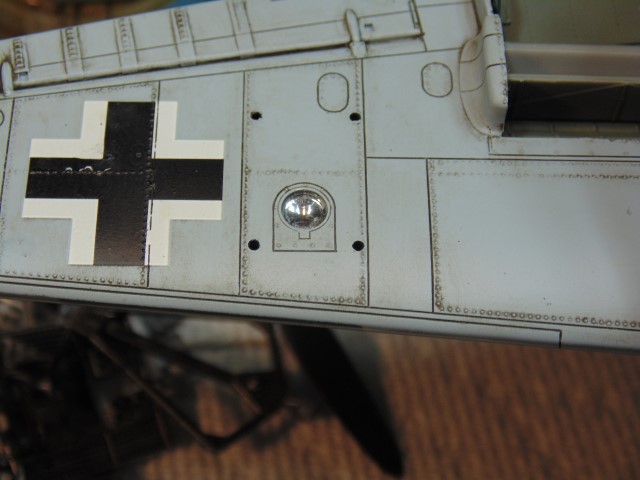
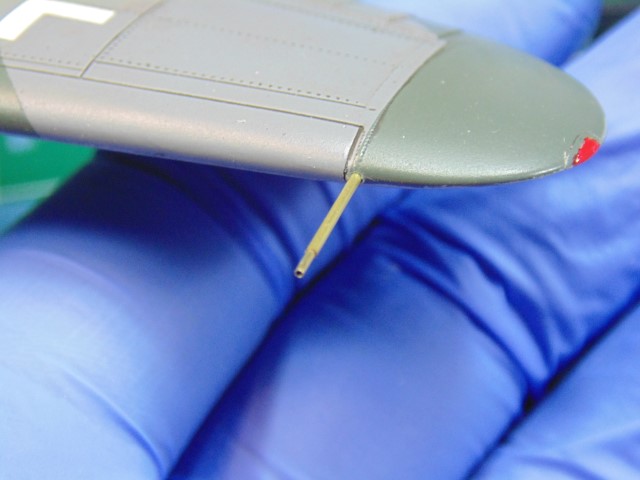
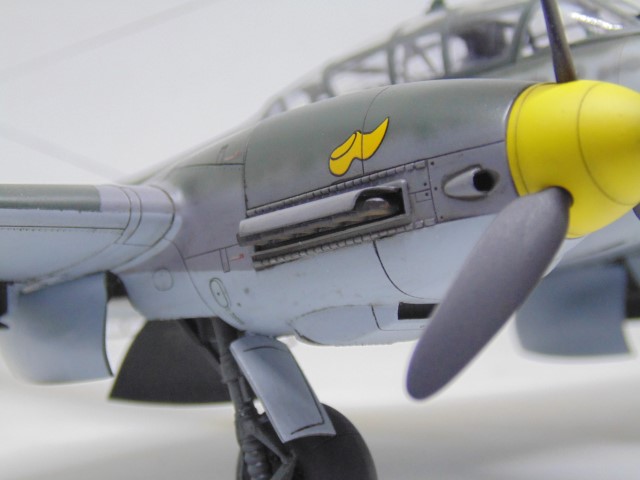
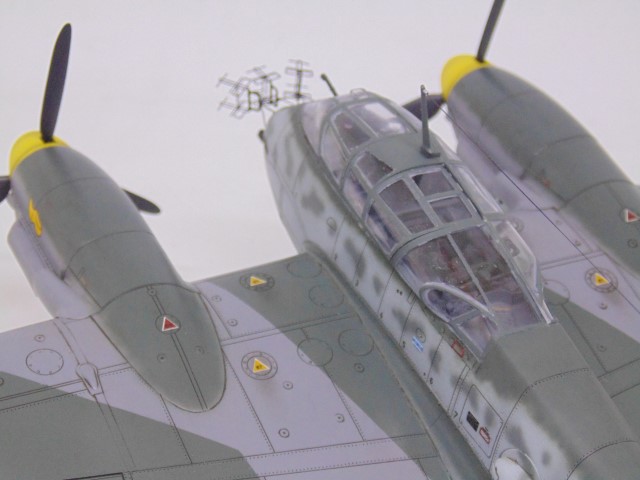
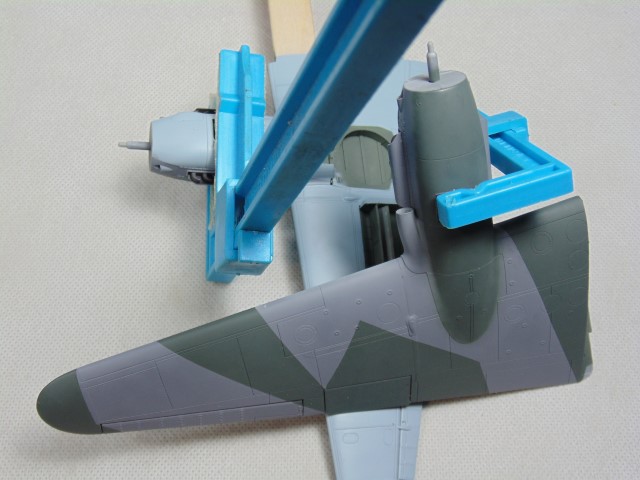
Stabs, wings and belly got a few coats of Mr. Primer 1000 and lacquer thinner (50/50) then a couple of coats of Tamiya LP-37 light ghost grey. It’s just blue enough to look different from the light grey on the fuselage.

DSC00039 (Small)

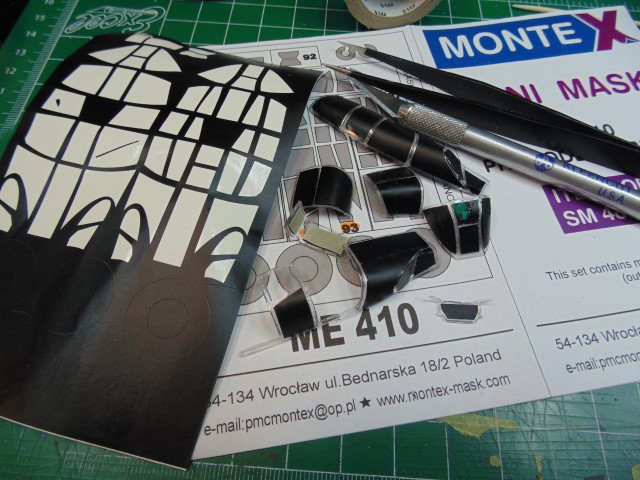
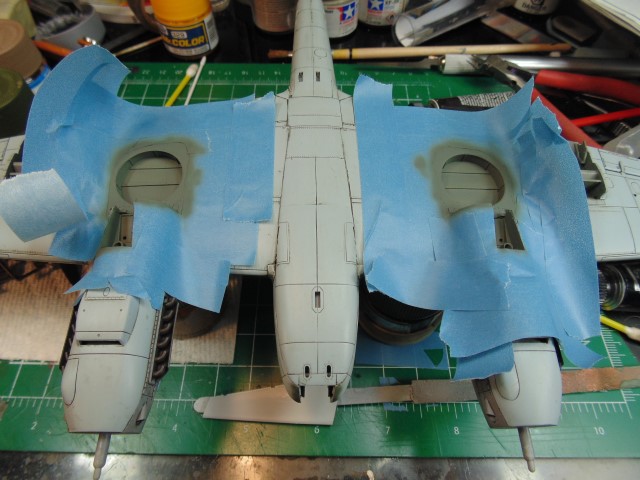
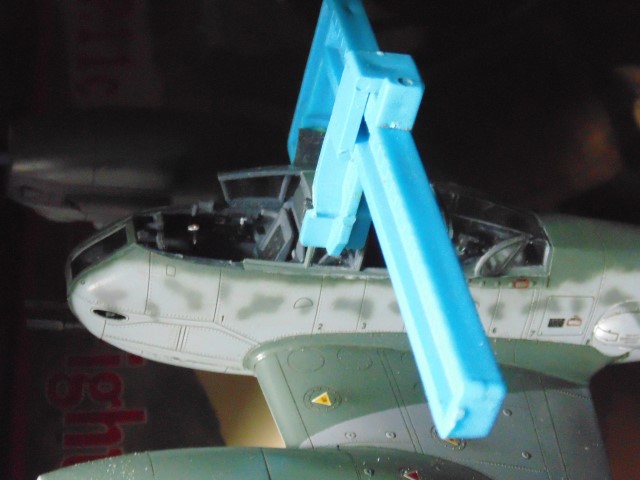
On to masking… UGH! My least favorite task in the hobby yet a necessary one which is made easier, well mostly, by manufacturers making them from die cut hobby tape or vinyl. These Montex inside/outside masks were a help, however, they are missing some inside parts and didn’t separate others on the main canopy. Some spots do need help from a latex masking fluid.

DSC00099 (Small)

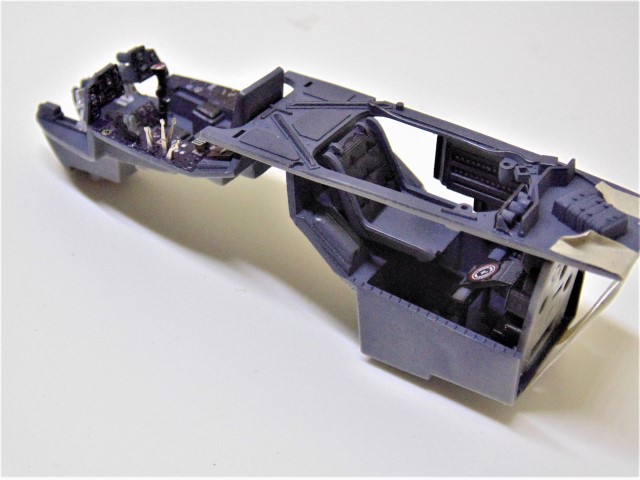
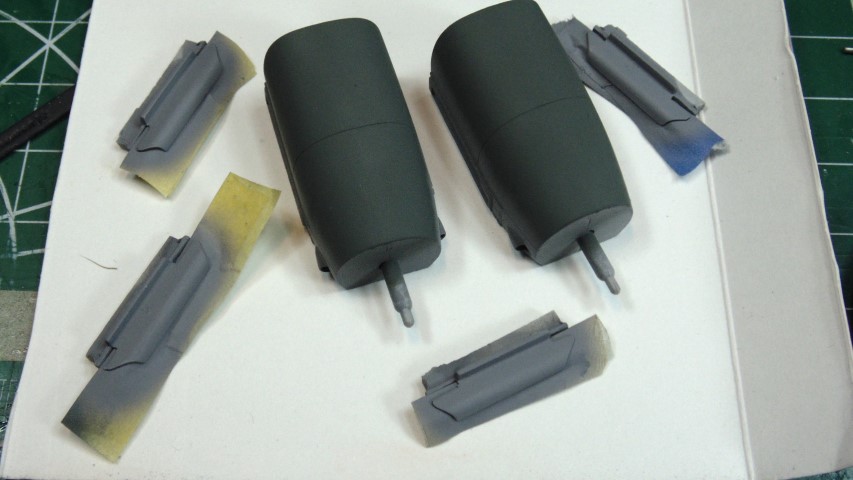
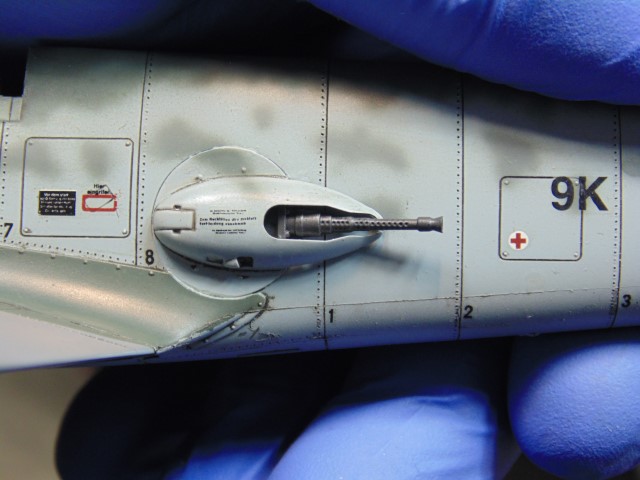
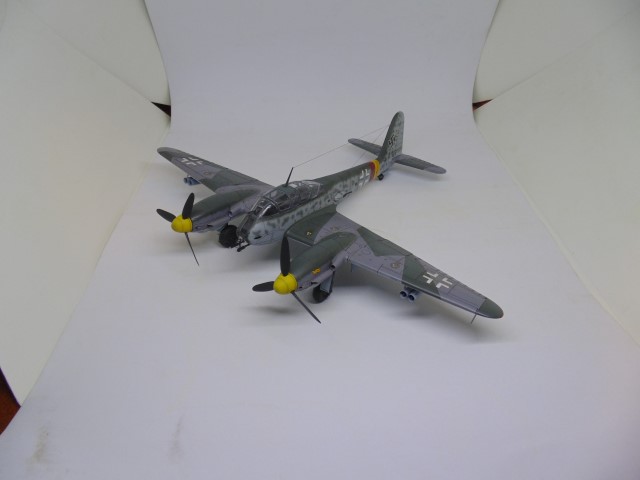
RLM colors painted then engine covers attached… progress! Huge thanks to Sunward Hobbies for supplying some of the paint for this build.

DSC02120 (Small)

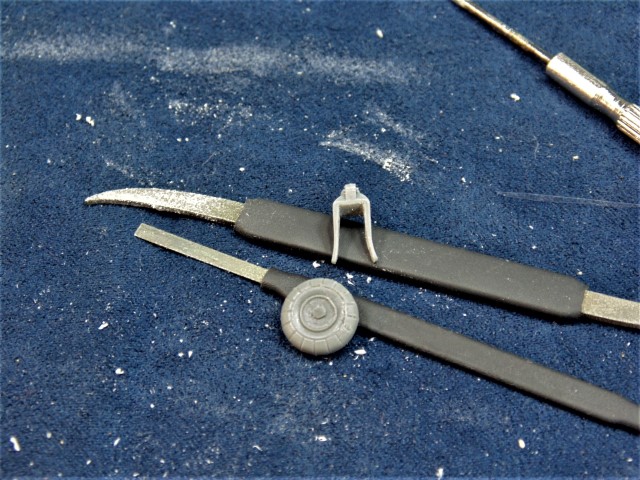
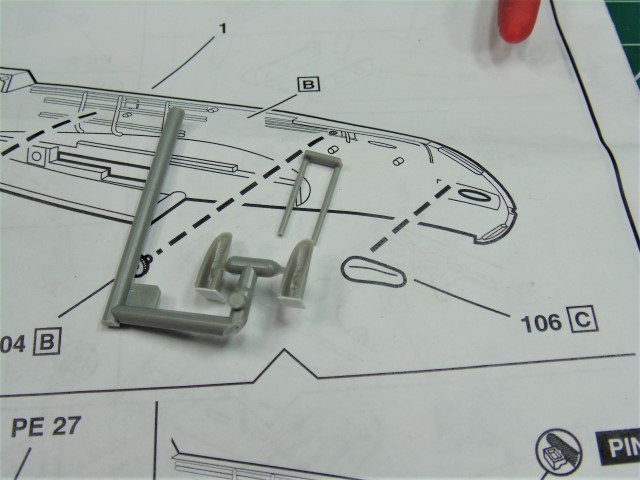
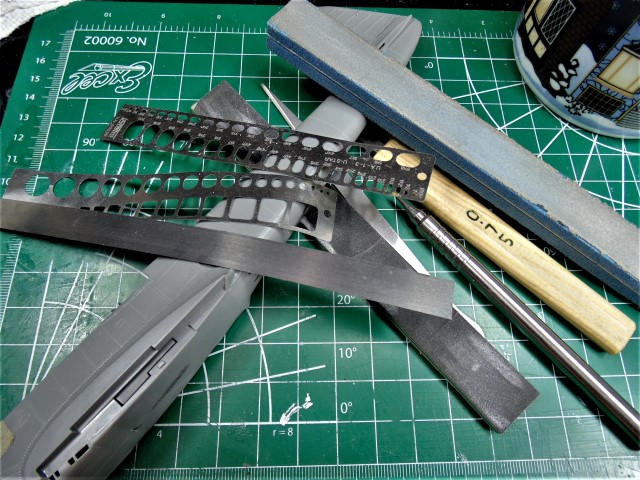
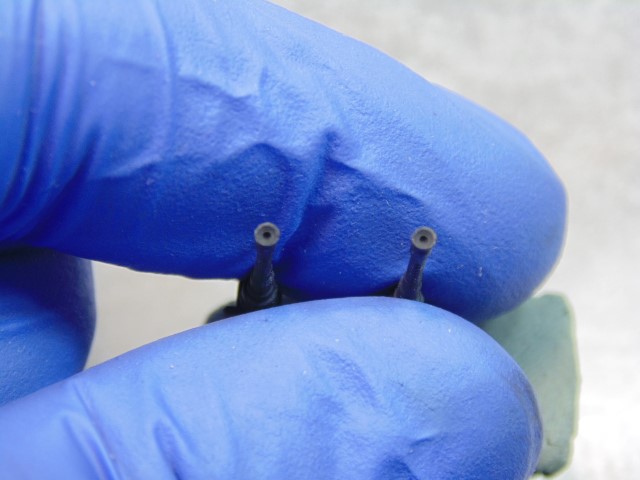
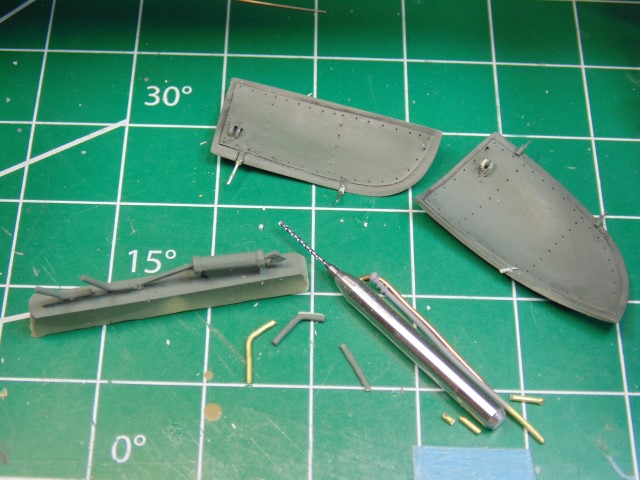
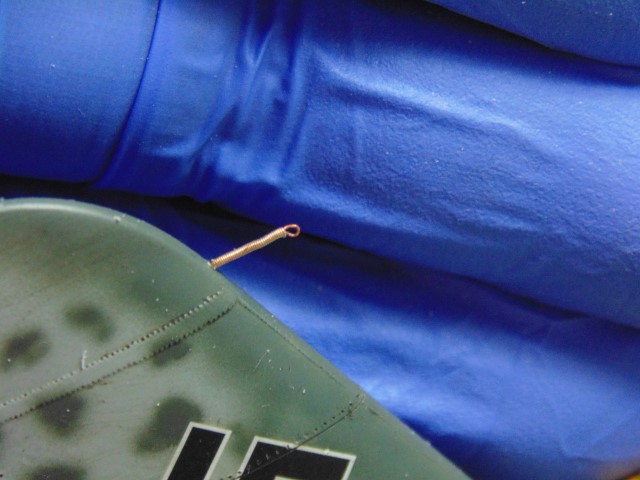
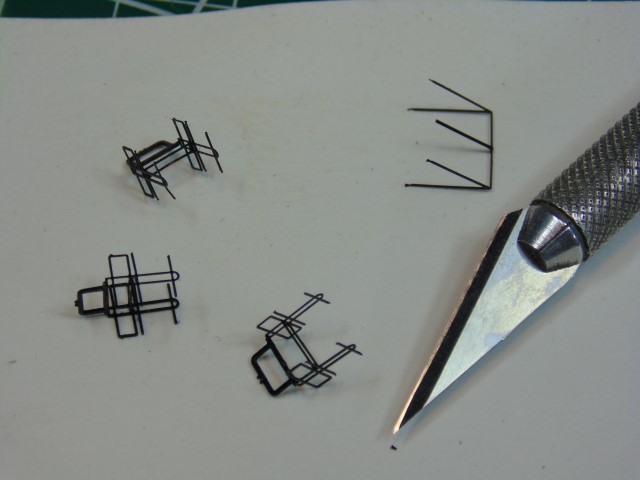
The one piece tail wheel looks awful but nothing a bit of plastic surgery can’t fix. These will be drilled and a metal pin will connect the two. Love my Hobby Elements micro files!!!

That’s it for now Everyone. Next up, Wings and Things.

3 Likes

Definitely watching this one. The 410 is a ominous looking a/c. Your work on the cockpit looks great and I appreciate your concise explanations as to what you are doing and using.
Cheers,
C.

2 Likes

Very nice HG - watching with interest !

1 Like

Hi All,

A little update for you. Sorry if some photos may be out of sequence.

DSC00313 (Small)

I pre-fit these wings prior to painting. The idea was to do all the different components separately for ease of painting, especially with mottling the fuselage. Something shifted though and removing the step on left wing was not fun.

DSC00331 (Small)

The tail stabs are keyed to interlock and went on great. Please note the “Model Geek” website on the monitor.

DSC00346 (Small)

Decals went on easily too with the semi-gloss lacquer finish helping immensely. After a clear coat the bird and bits got a clay wash. Next time I’m airbrushing this filth on because I did have a few droplets react with the surface despite manufacturers claims.

DSC00351 (Small)

Some radiator parts went on and sprayed then the resin bays got some love. I had already traced templates before they were installed.

DSC00312 (Small)

I’ll be installing the rockets and launchers on this model so the tips got a metalizer drybrush so they wouldn’t look like black holes. Sure does add life to a bland black finish.

DSC00352 (Small)

A quick run around the landing light recess with a Molotow chrome pen. Make sure you let this stuff dry for a few hours before adding the lens.

DSC00353 (Small)

Radiators are made of four parts each and now installed, plus the wheel bays got a wash with Abteilung 502 smoke and engine grease.

DSC00355 (Small)

Wheels and tires were done in Tamiya tire black and semi-gloss. Note the one on the right after a metalizer dry brush to bring out the manufacturer

DSC00366 (Small)

Side MGs diffusers were widened and the barrels hollowed.

DSC00367 (Small)

Make sure you cement these in the covers before they are test fitted. I mean you wouldn’t want one to drop into the assembled fuselage and spend an hour trying to fish it out… eh em… right? Yeah… sigh.

DSC00368 (Small)

Notice the decal on the left access panel being horizontal? That’s what the instructions call out for. Found out later this is incorrect and should be at the angle to match the hand hold spring cover. Oh well, it looks good.

That’s it for now Everyone. Thanks for stopping by and thanks to Sunward Hobbies for supplying some of the paint for the build. Next up, Final Reveal.

5 Likes

Hi All,

Well not the final reveal BUT some fun details to add.

DSC00349 (Small)

The props need some love.

DSC00350 (Small)

They were painted and weathered.

DSC00357 (Small)

Then faded.

DSC00362 (Small)

Make sure the distance is right.

DSC00363 (Small)

1 mm past the hash mark in the resin plug. Use reference photos placement.

DSC00356 (Small)

Just a light rust pigment here.

DSC00359 (Small)

And some more here.

DSC00369 (Small)

These look clean on purpose because they were dropped after each launch to cut down on drag. Note the wire at the rear.

DSC00365 (Small)

Landing gear and details added.

DSC00380 (Small)

The resin wheel bay doors need help to stay put, so I pinned them.

DSC00381 (Small)

That’s better.

DSC00383 (Small)

20’s added.

DSC00384 (Small)

Need a recliner for the antenna. The dust gets removed HA HA.

DSC00385 (Small)

Brass tubes for the pitot. Nav lights painted.

DSC00386 (Small)

The canopy needs special attention.

DSC00387 (Small)

Radar done.

DSC00388 (Small)

And Voila! Well less some needed pigments here and there.

DSC00390 (Small)

DSC00393 (Small)
DSC00394 (Small)
DSC00399 (Small)
DSC00403 (Small)

Many thanks to you guys for dropping by and to Sunward Hobbies for some of the paint in this build. Best of health every one!

9 Likes

Looks great. Gotta love those Quickboost propellers and their jig. IMHO one of the best aftermarket items invented.
Cheers,
C.

1 Like

Yeah a bit of coolness to work out the kinks is always fun. Thanks for the kind words and sure hope you enjoyed the project.

Looks great!

Thanks Colin.

Very nice build of a great kit of a sleek aircraft- cheers! Did you do the radar from scratch? That was a great surprise in the final post.

Thank you Sir. The radar is the PE included with the kit. Some very delicate stuff HA HA. Glad you enjoyed and she’s going to auction to raise money for the disabled.

1 Like