This’ll be my first build thread here on this forum and I’m looking forward to building with all of you fellas.
I can’t remember the last time I started an aircraft model. Sheesh! What’s it been now…five years?? Just haven’t felt comfortable with my painting and weathering skills until the finish up of my Ar 234 last year. Additionally, automotive modeling has given me a new spin on airbrushing. Well…I guess it’s about time to bust out with one huh?
We’ll be going with the Tamiya offering so with that…let’s get started:
6 Likes
Looking forward to this one Joseph, I love the Me 262! In fact, 2 of my last 3 completed aircraft builds were 1/48 Me 262s, and I have another almost complete.
Have you got a scheme in mind for this one, or will it just evolve as you work through the construction?
Cheers, D
1 Like
Count me in on this one Joseph !
1 Like
Thanks for the comments fellas. I’ll be going with “White 3” from JV44
Picked this kit up to get things started in the detailing department.
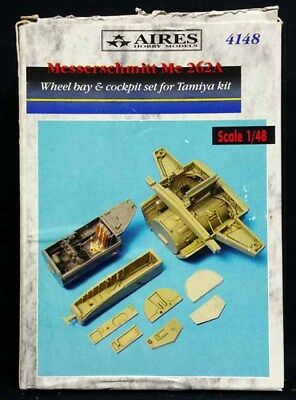
1 Like
Cool! I have a 1/48 Tri-master 262 1-1a Night Jager on the build list this year so it’ll be great to watch so I don’t rip off your camo scheme. 
1 Like
Thanks HG.
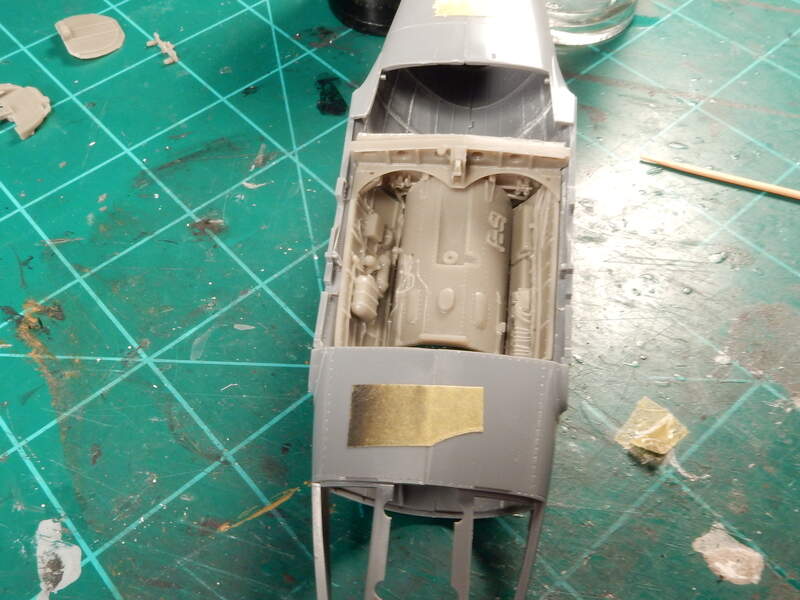
I’ve been busy getting rid of the interior detail/ ribbing from the inside of both halves of the fuselage in order to fit the AM pieces in here. After accomplishing that and test fitting it’s looking pretty good from about every angle so far.
Details removed:
The interior tub, side panels and rear wall of the gear bay fit well.
I fitted the original rear wall in place to see how high it sat above the fuselage to ensure a proper wing fit to the fuselage. Here’s the stock / OOB height:
and the height with the Aires AM piece fitted in which checks out good:
So…I tried my luck with the wing test fit. I think I’m good here:
5 Likes
Nice test fit. Let me know if that step in front of the fuselage is tough to get rid of. I have some tips if you need. Lovely detail, you have a good eye for what what to get.
1 Like
Thanks for the heads up on that HG! I’ll keep that in mind potna.
I’ve been working 7 days a week for the last month and ended up going on vacation last week so I’ve been out of pocket now for a while but …I haven’t been away from the bench except for last week when I wasn’t home. Had a great time in Dallas with my family.
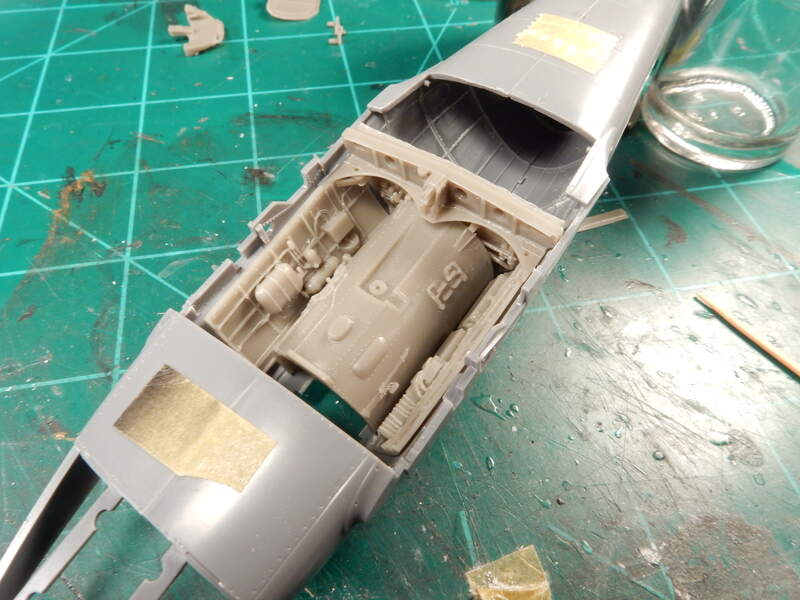
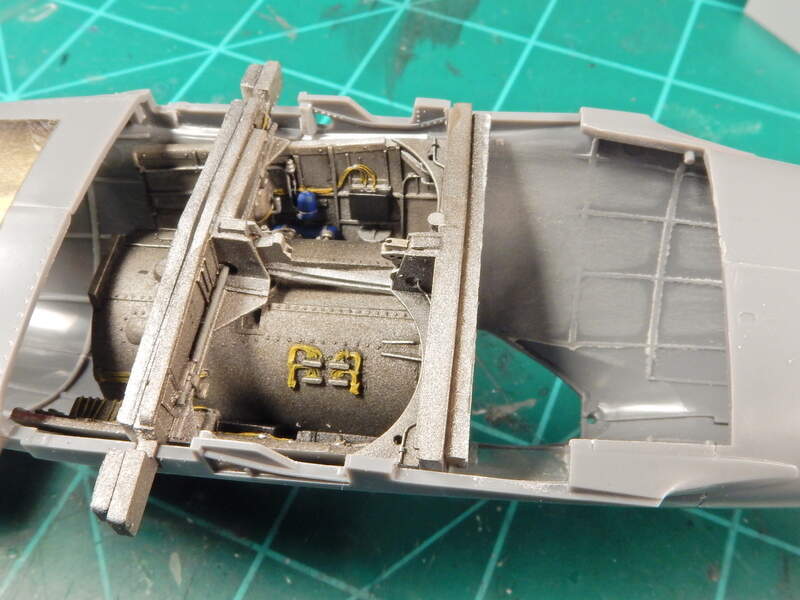
Gear bay is now around 90% complete and will add the remaining bits when all the walls (front, back and sides) and interior tub are glued into place. Stuff like linkages and wiring harnesses still to go.
5 Likes
Yeah, that looks terrific!
1 Like
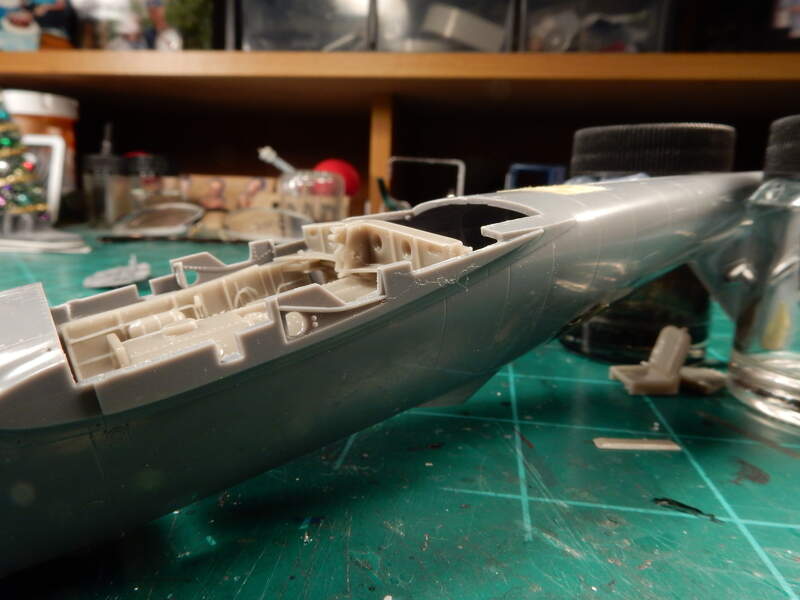
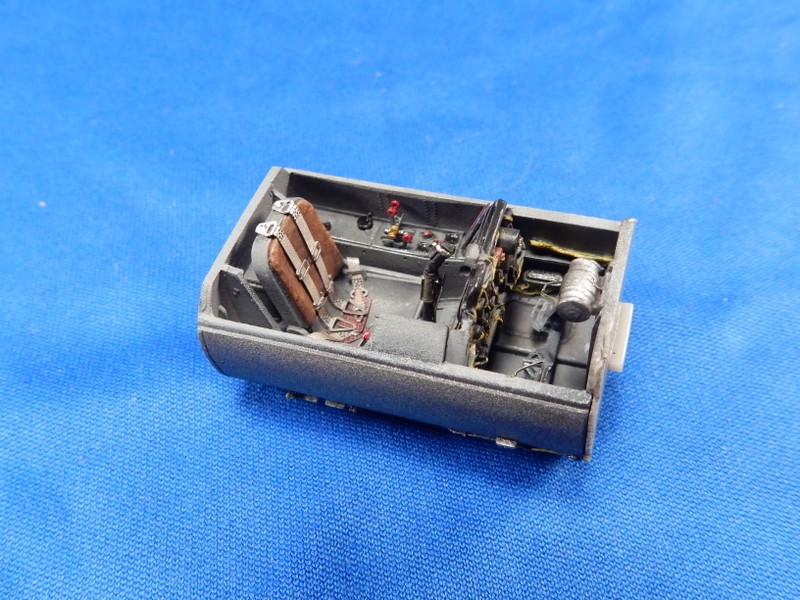
Completed interior that I built during my 7 day work weeks. Took around 3 weeks to complete.
8 Likes
Thanks HG!
More to come on this one. Just have had a rough “go” at work for the last few weeks. Will post some progress soon.
1 Like
Been a bit since I’ve posted any progress but it has been ongoing. It’s mostly been build up and getting things ready for the painting stage of the build. Looks like the wing/ fuselage fit is gonna be a little tricky but doable on this one.
2 Likes
Due to some issues at work, my time on the forums has been limited but I’m trying to make a comeback. I have not, however, given up bench time.
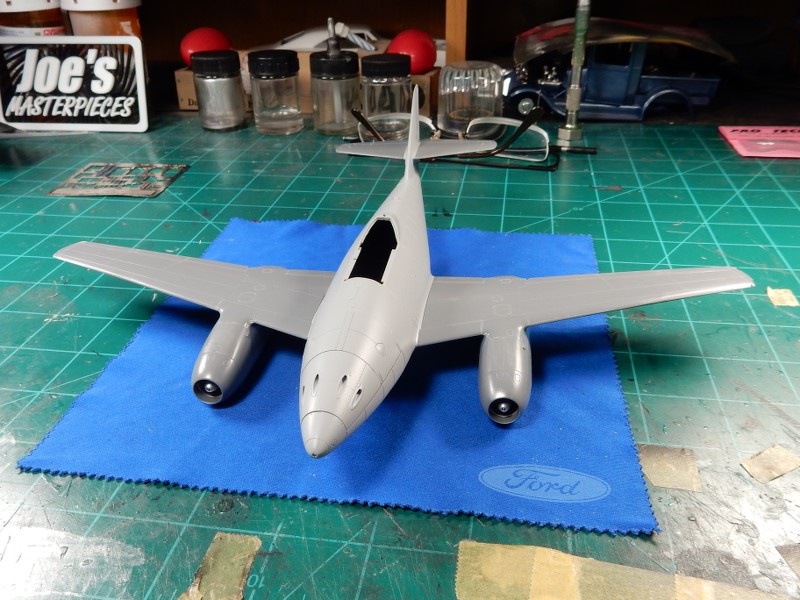
Of the Tamiya kits that I have put together, I haven’t yet seen one with such a bad fit between the fuselage/ wing join areas…until now. I’ve been sanding all week long and will produce some photos of the results when I’m done with that process.
Here’s the pics of what I’m up against though. A most terrible fit for such a good kit. At first I thought it was due to the aftermarket landing gear bay pieces but all of those clear the inside of the wing bottom. Dunno what it was but in any case…I had my work cut out for me.
and the topside aint much better…

4 Likes
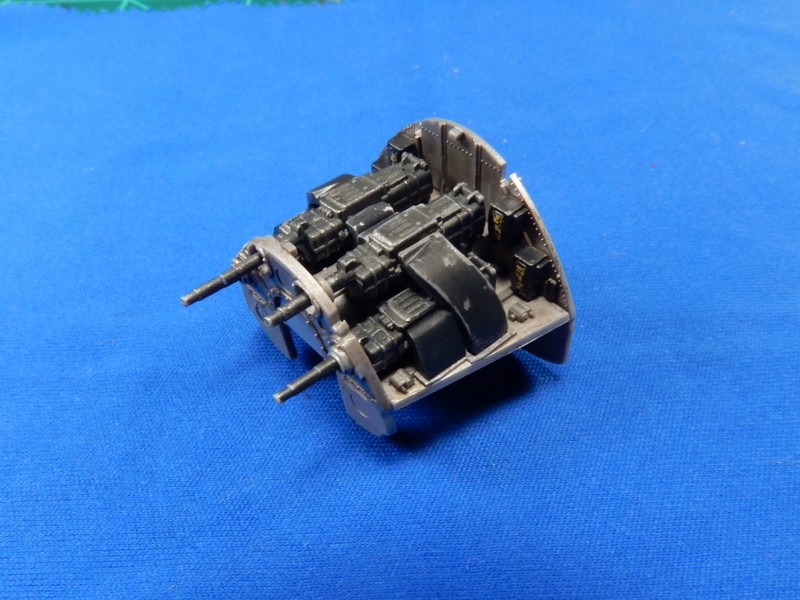
Didn’t post the pic of the completed weapons platform yet. Here ya go…
7 Likes
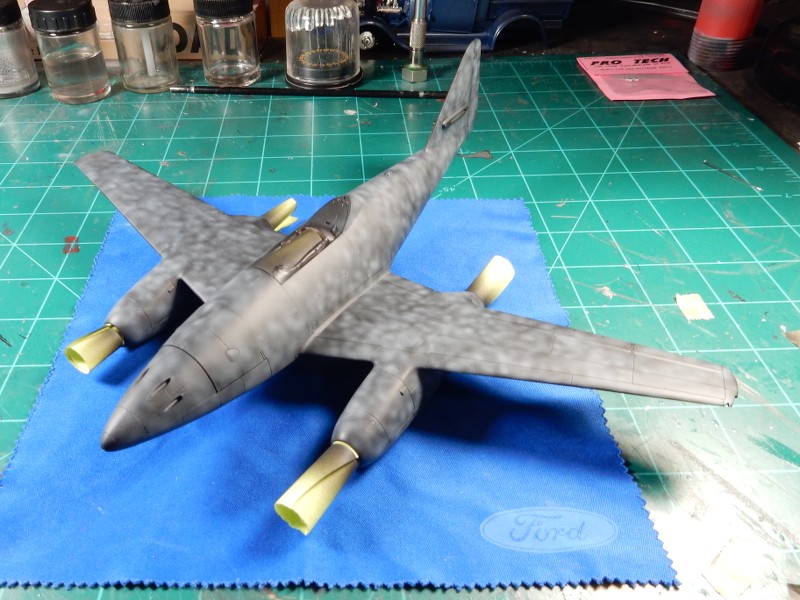
Here we are black based…
and with the warble pattern applied…
7 Likes
You’ve got to be happy with that paint job so far I hope.
2 Likes
I’m good with the foundation so far but there was something missing and I figured it out sooooo…
I added some panel line preshading to shake things up a bit…
2 Likes