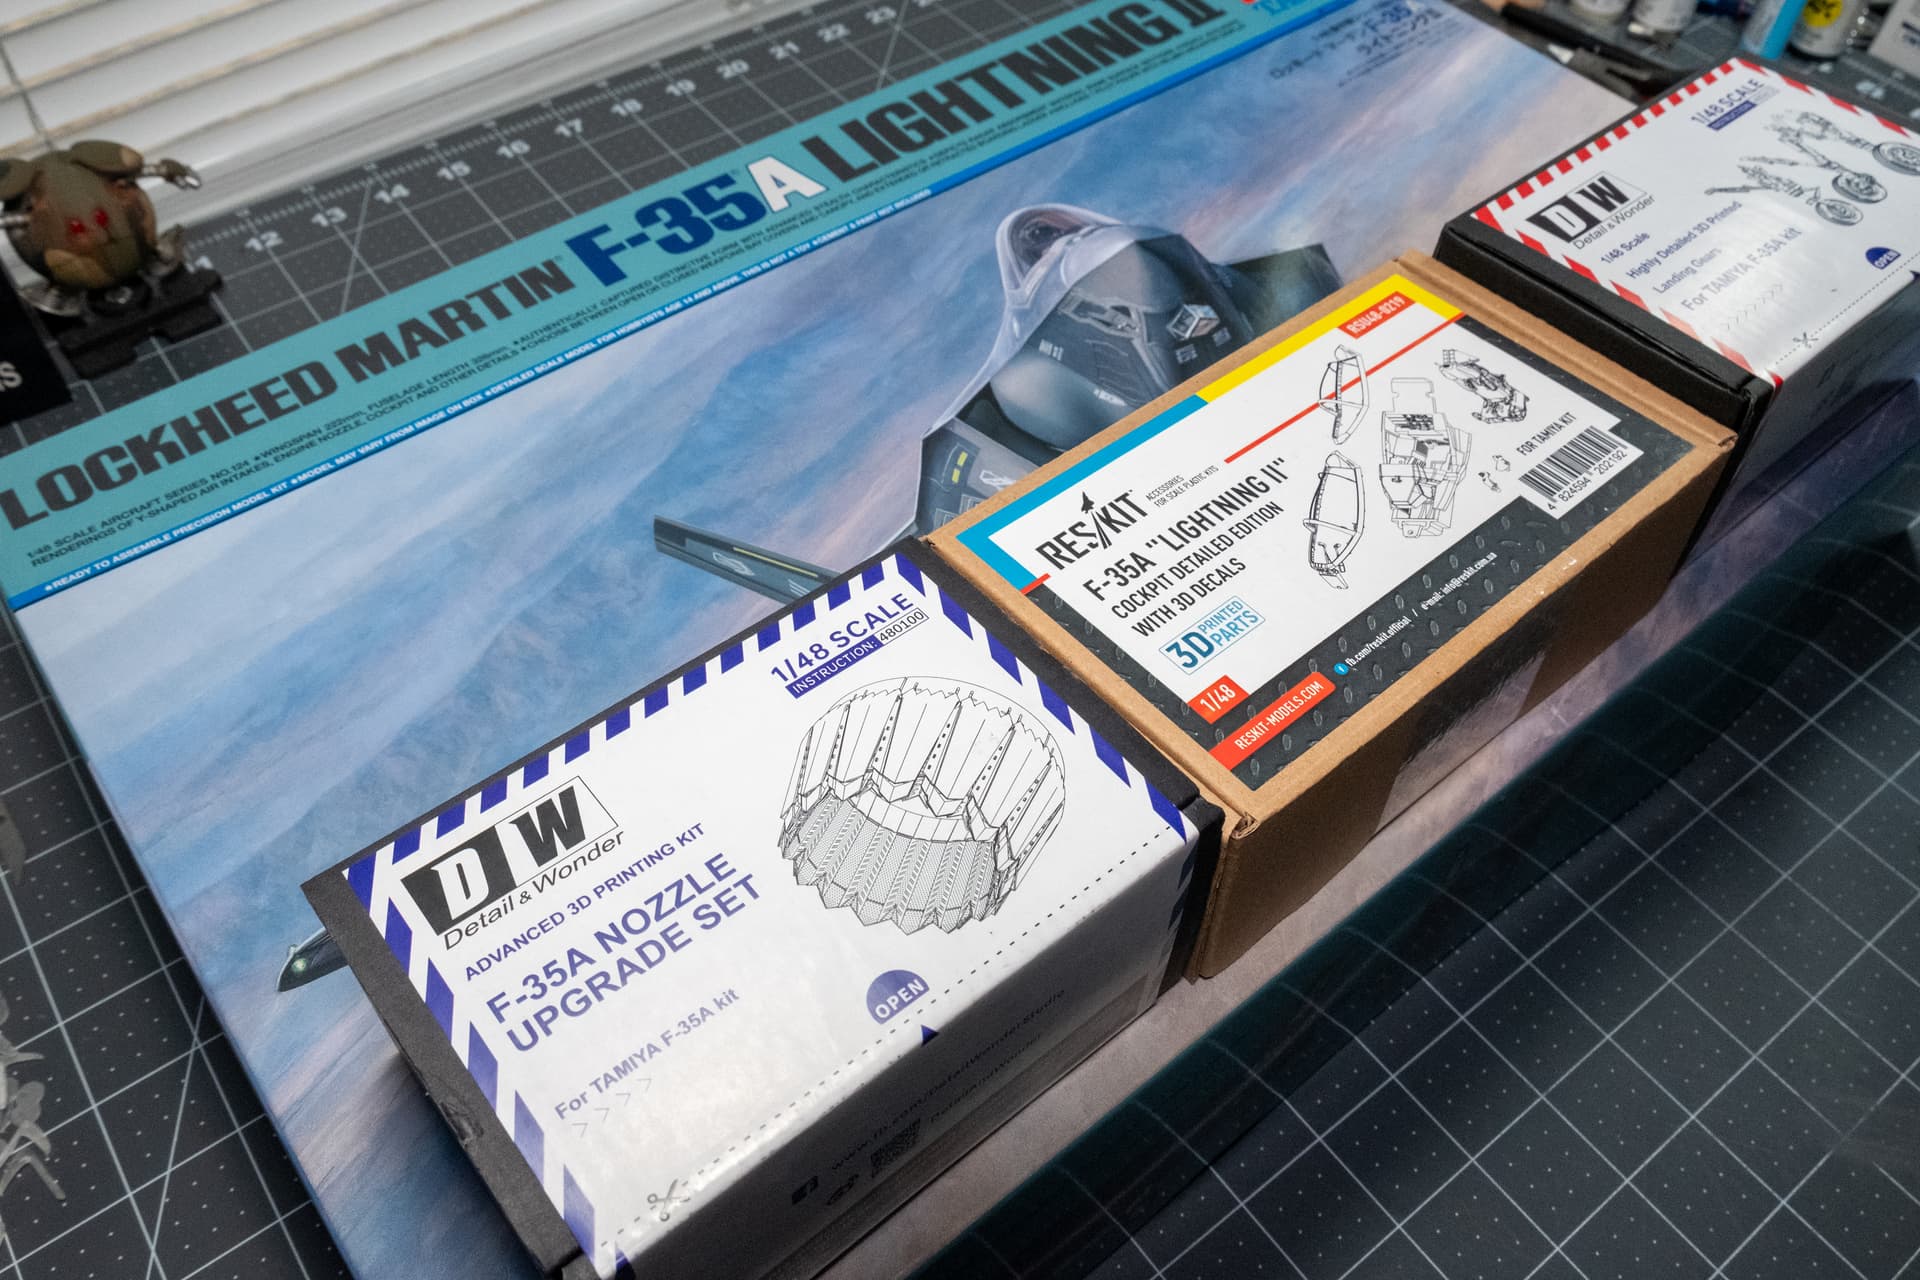
Just as I thought it would play out, the copper wire for my ABV project showed up on Thursday and the aftermarket for the F-35 project showed up on Friday. The F-35 project gets precedence, sorry armor guys! Like my F-14 project being the basis of my U.S. Navy Cold War era fighter jets guidebook, this F-35 will be the centerpiece of my U.S. Air Force fifth generation fighter jets. Let’s dig in.
The kit cockpit has some really nice detail, but I wanted to go all out and got the Reskit set. Both cockpits will be completed to show two things: you can make a nice cockpit without aftermarket and two different variations on weathering.
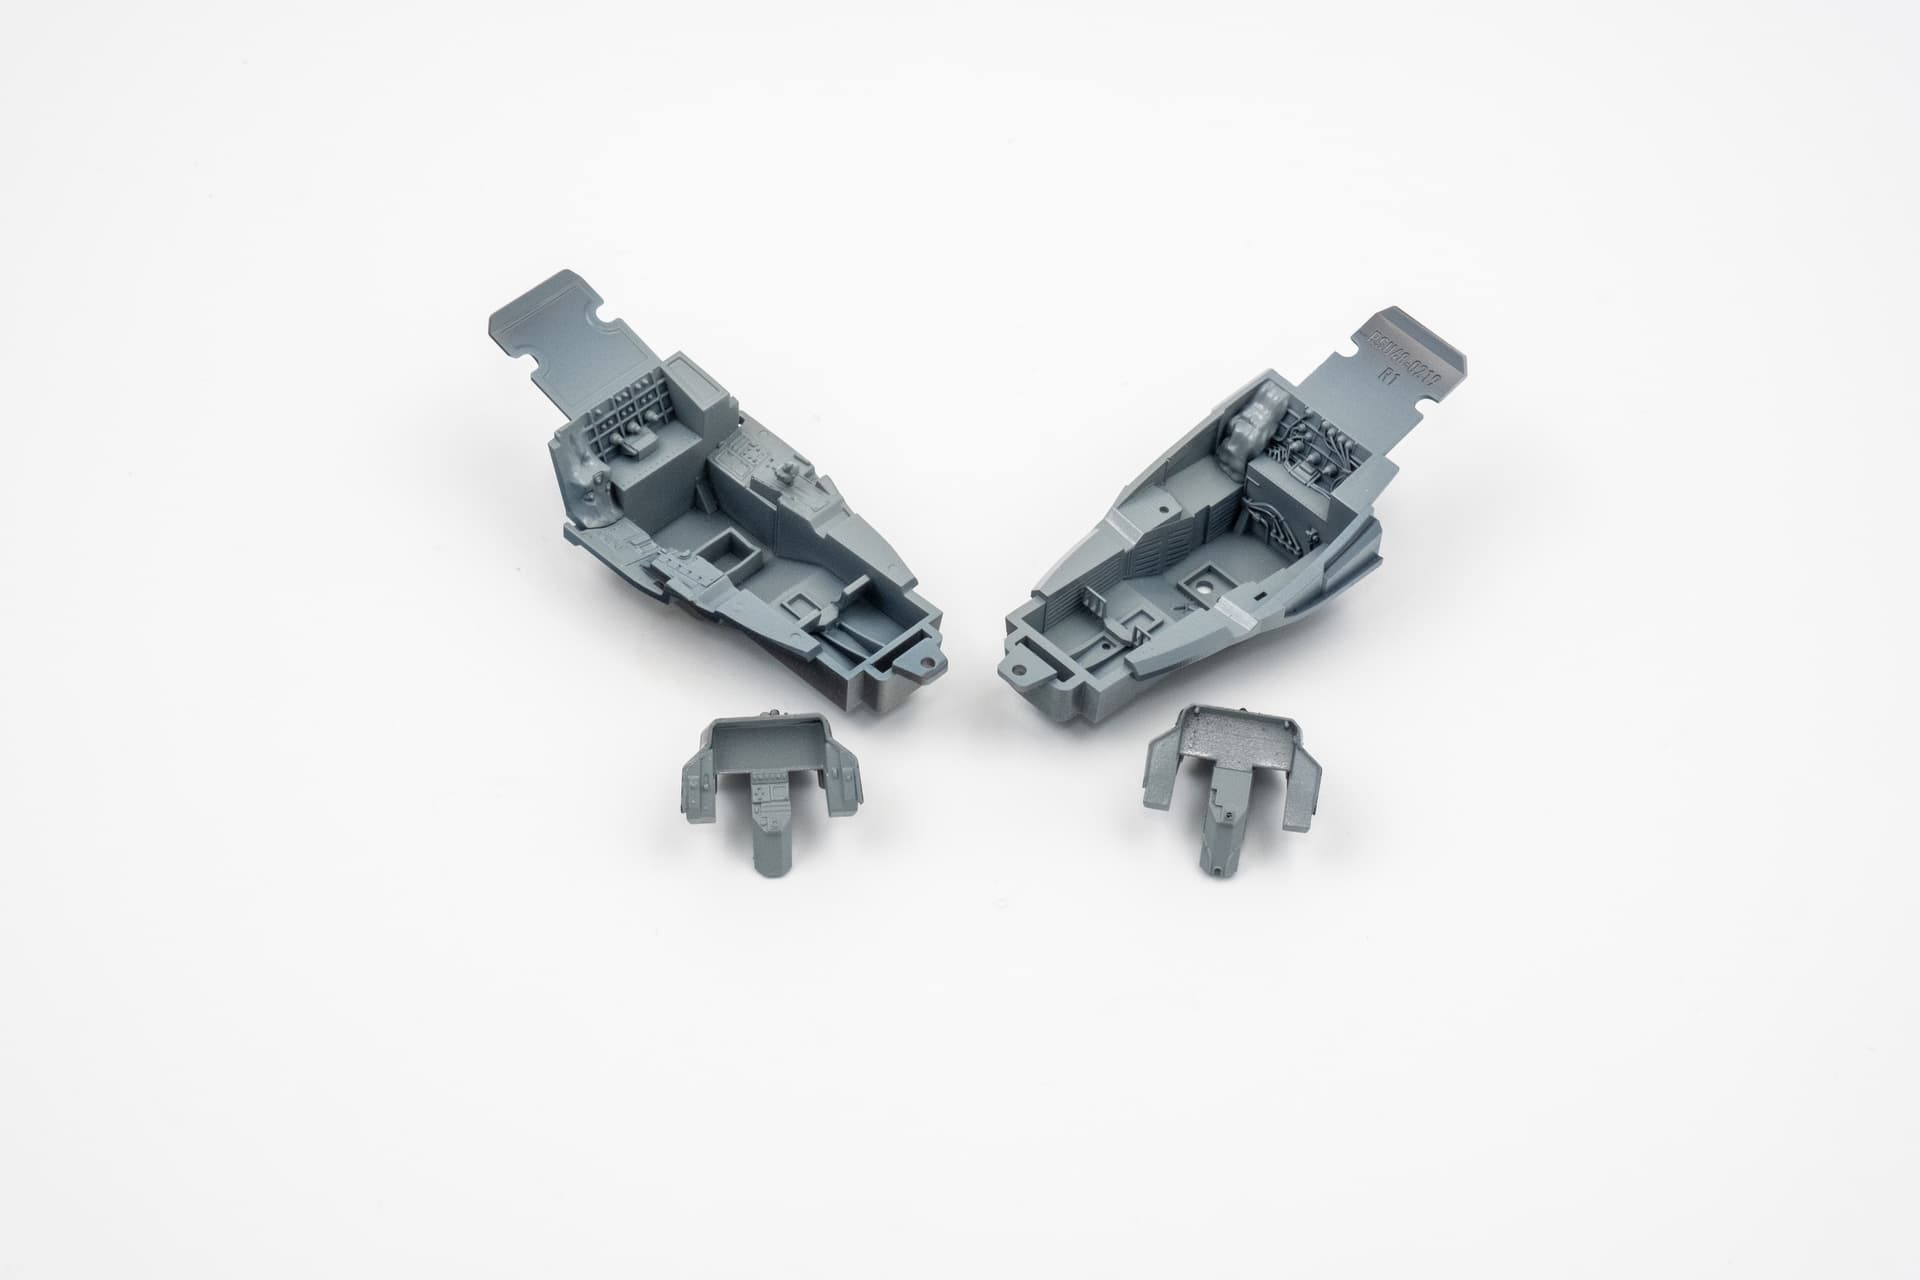
The cockpits get painted in MRP’s “Dark Gull Grey” FS36231. I was somewhat surprised looking at reference photos months ago that the F-35’s seats are nearly all black, so they get painted in all black with the details to be picked out by brush.
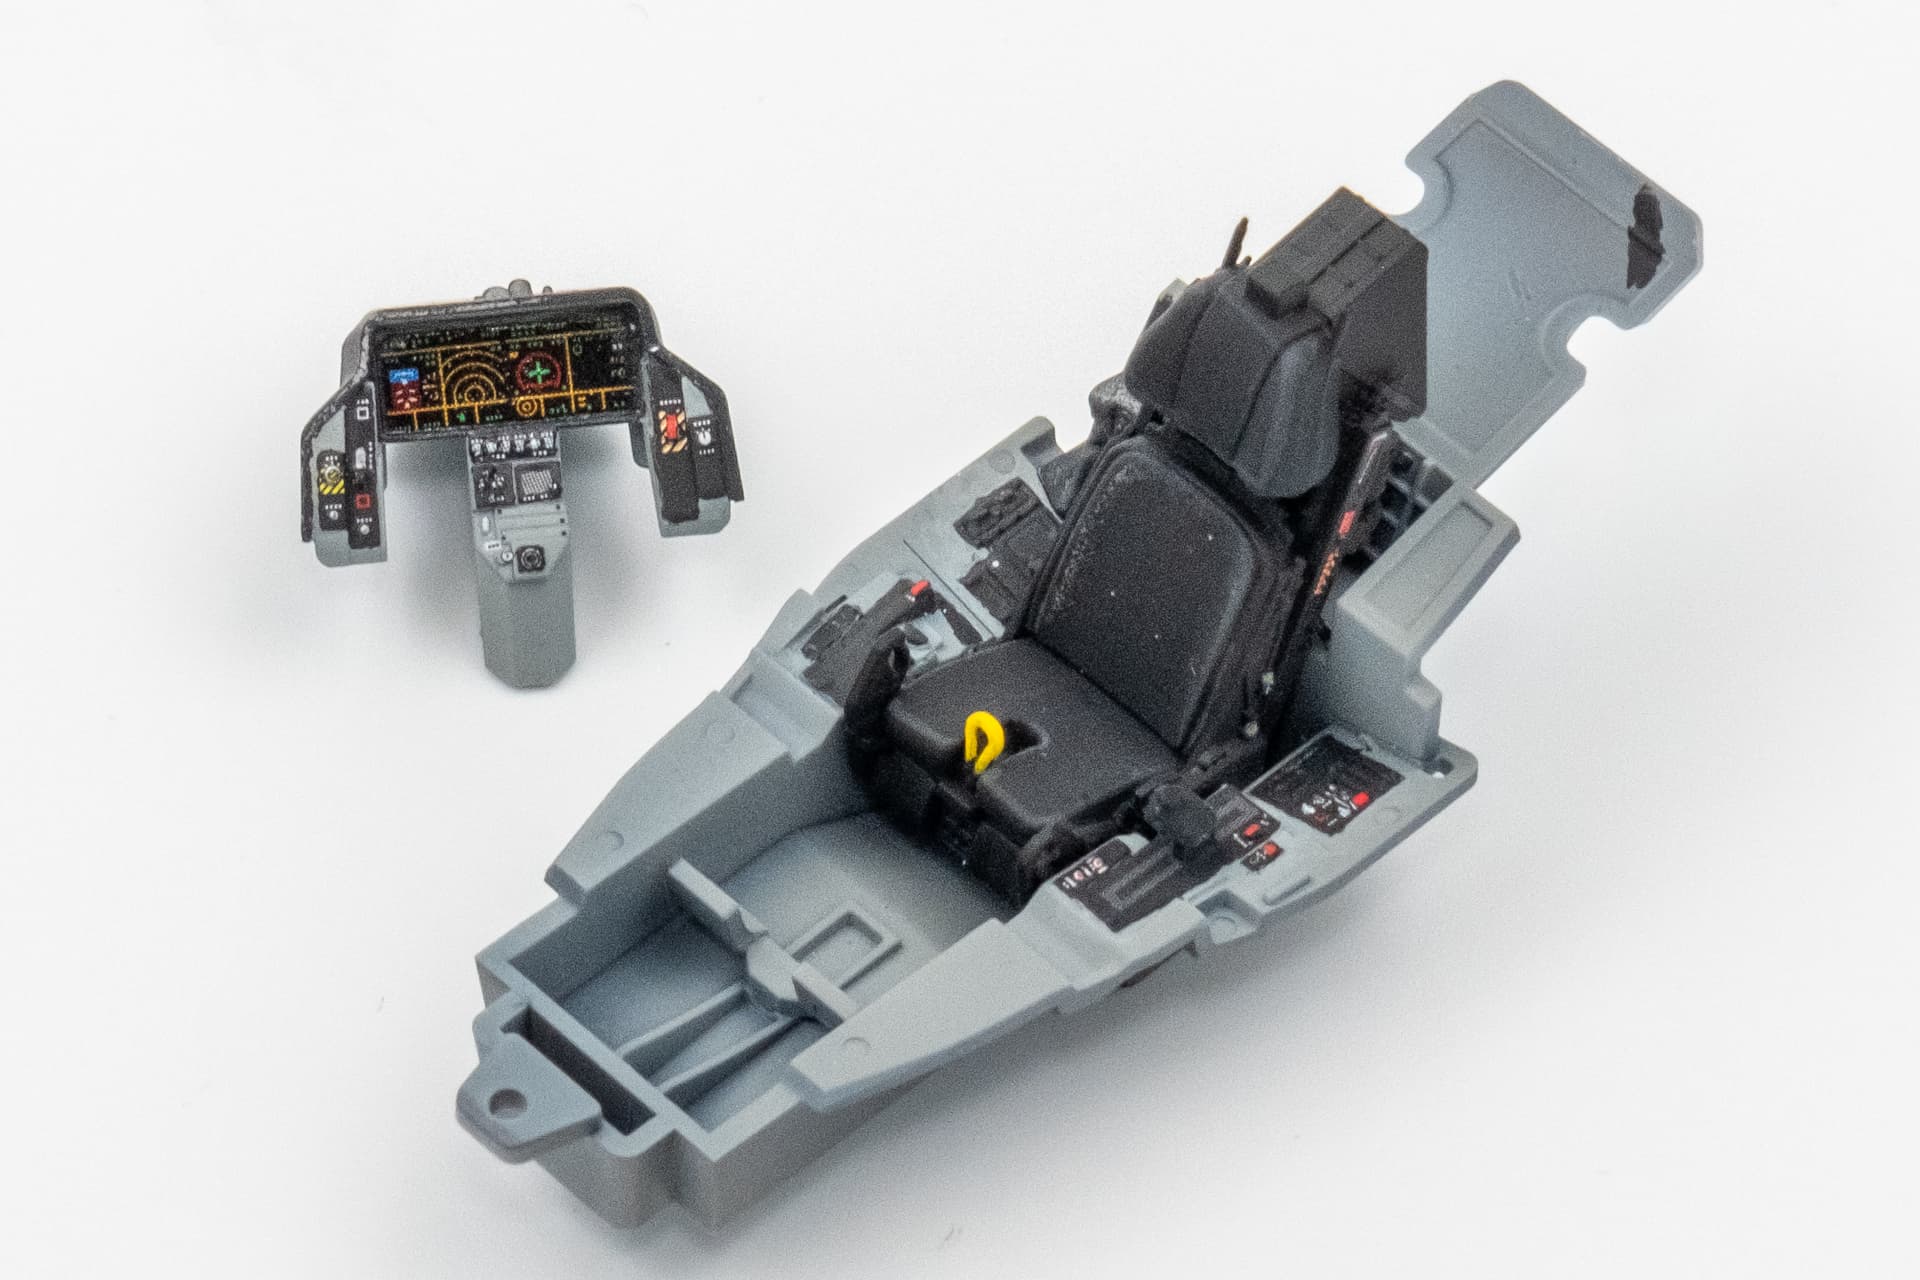
The cockpits get details picked out by brush using some AK 3G black and the Reskit gets the provided 3D decals glued into place. The screens will get a light coat of satin or matte clear, as they’re far too reflective.
I waffled a little bit on the shading options and in the end decided with this level of shading. I think it will be the right amount of subtlety in my eyes that the creases and wrinkles will pop enough that they’ll catch your eye in the cockpit, but not too much that it looks unnatural. Only took me three different attempts…
Here’s where we leave off on day one. Kit seat and cockpit gets the same decal and shading treatment tomorrow, then some bits and bobs on the seats need to be picked out both before and after clear.
After an intense decal session on the kit cockpit, everything got a coat of clear. They really needed to be worked to get them flat around the raised details.
I thought I had another bottle of MRP matte super clear in the drawer, but I thought wrong. I had enough to do the Reskit cockpit, but the kit cockpit ended up being done in Hakata’s matte clear. They spray very differently and I had a little bit of an oops moment on the kit seat. Not too miffed as I’m not using it and it’ll be covered by the pilot figure that’s included in the kit. Something something covering a mistake in mud something something.
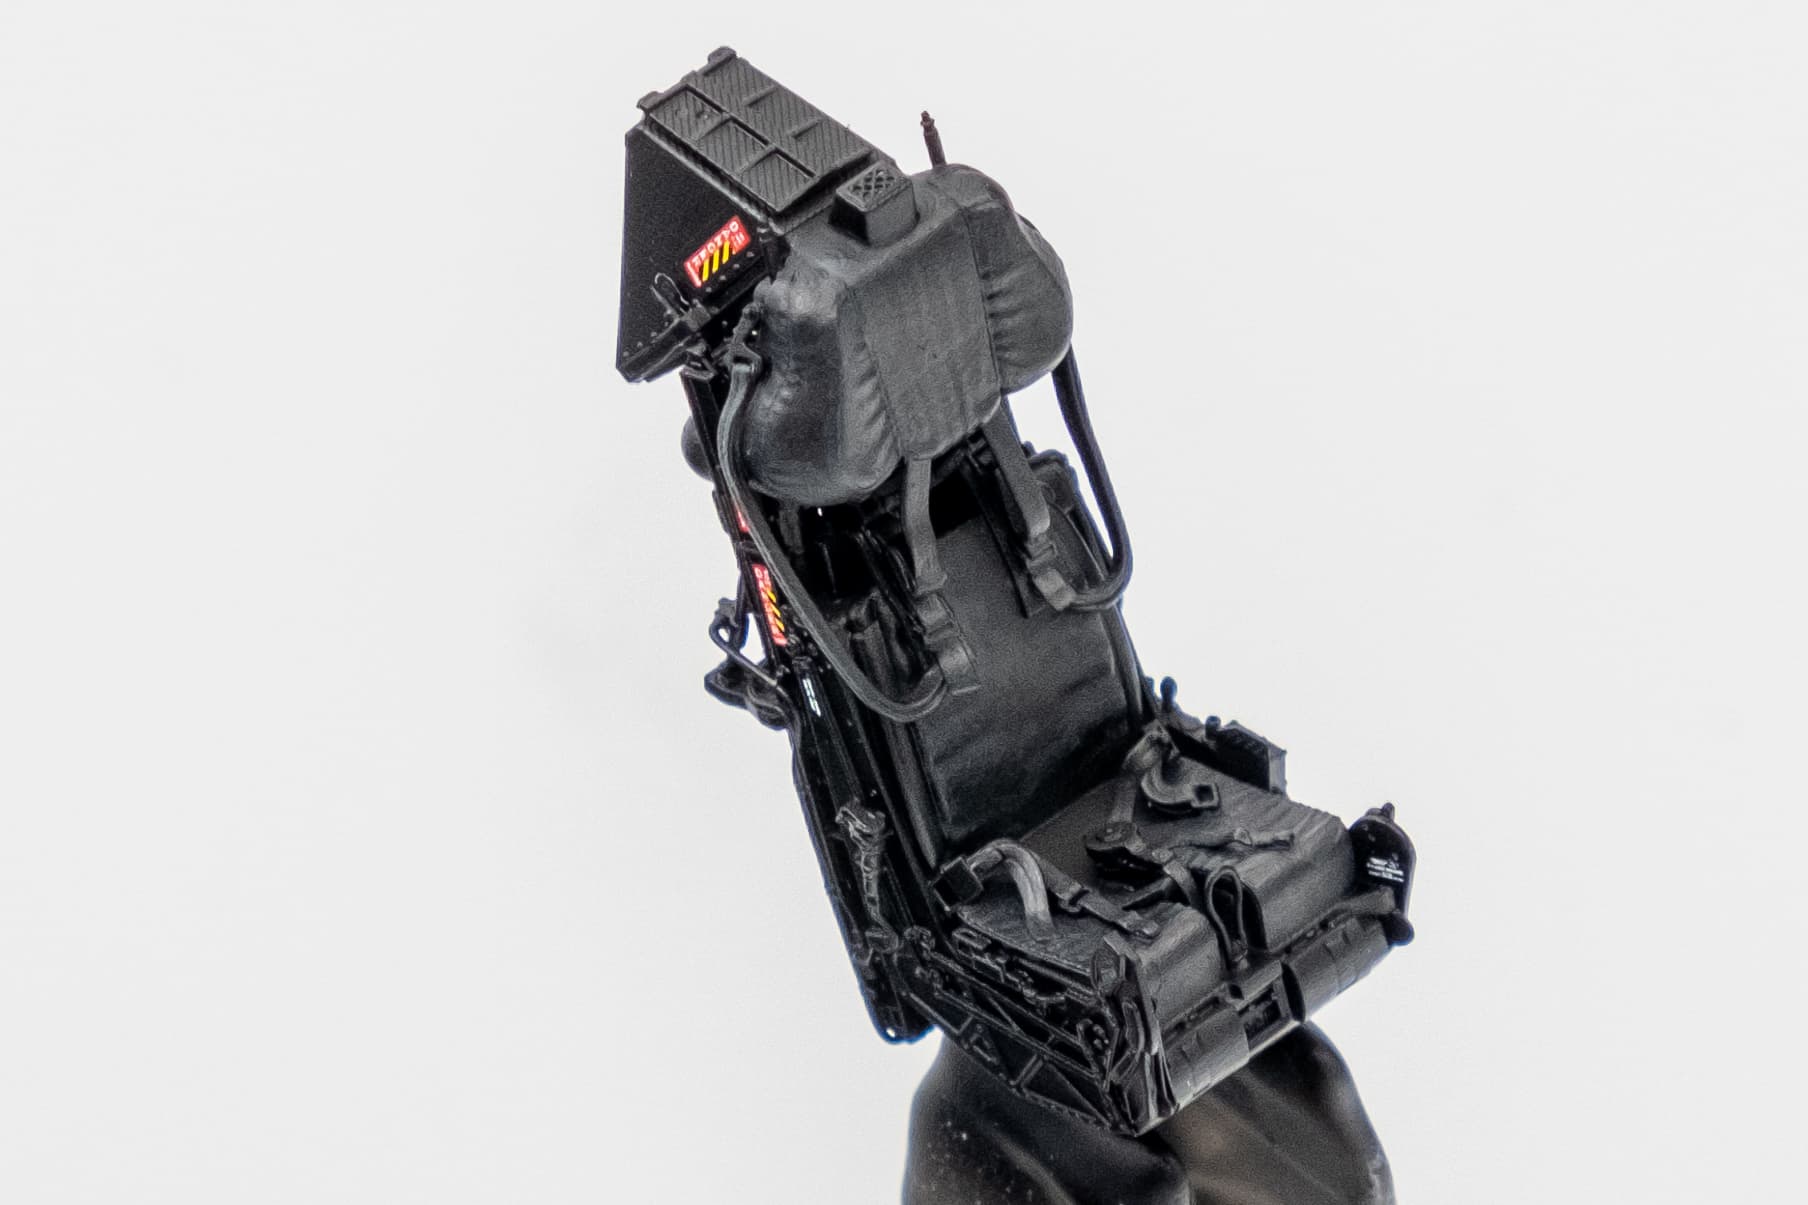
I wasn’t too satisfied with the grey shading on the Reskit seat, so I changed it up for some blue. I think it looks much better and I’m happy with the result. We’ll see if I fiddle and fuss with some spare black decals to get the black stripes on the emergency ejection pulls.
Apologies for the “noisy” photo, I really had to zoom in on this one. It’s times like these when I realize I really need to get a macro lens (and a camera made in the last decade!).
A light touch of weathering in two different styles tomorrow and then it’s onto the landing gear. Hopefully more MRP matte shows up by the time the landing gear and bays are ready for it.
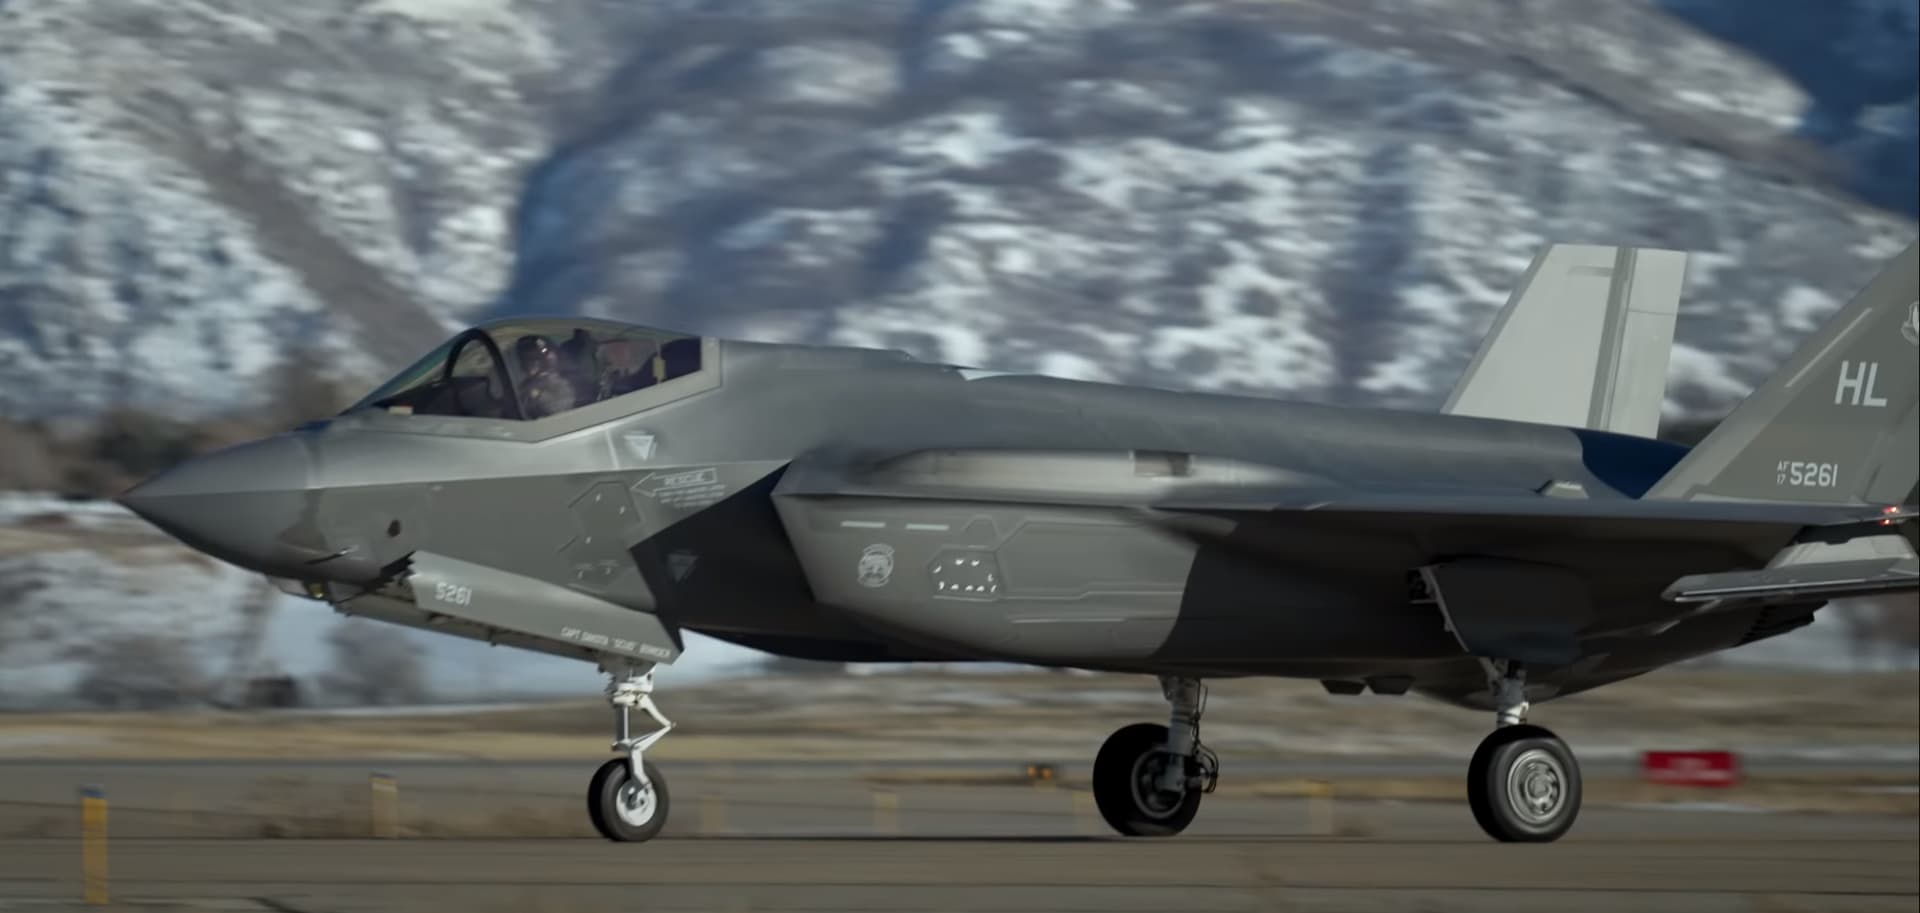
While poking around for landing gear references, I came across this video on YouTube:
It looks to me that the “newer” (not sure if it’s only new airframes or including fresh repaints) F-35s don’t have that “two tone” pattern as a result of the different RAM used around the individual panels. Tamiya’s included marking guide calls out the USAF scheme as having this secondary colored RAM, but as the “early” scheme and then the foreign air forces (with the exception of the JASDF) have the “late” scheme which does not have the secondary colored RAM.
I’m leaning towards an “early” F-35 because it’s more dynamic, especially because secondary colored RAM doesn’t get the HAVE GLASS coating. Although the near-single colored “late” paint scheme looks slick.
What do y’all prefer the look of?
“Early” F-35 scheme with secondary colored RAM coating
“Late” F-35 scheme that’s nearly all HAVE GLASS coated
My vote would change depending on the day. The old scheme is attention-grabbing. But the overall solid color ones look really sharp, as you say. So do the F-16s in the HAVE GLASS paint.
The Reskit seat is done, and both cockpits have been weathered. The landing gear and some of the internal bays have been painted white, but photos to come later on those. In the meantime here are some glamour shots of the finished Reskit seat. The Reskit seat and cockpit got a straightforward wash of Ammo by MiG’s PLW Blue Grey. I think it’s the right amount of dusty/dirty against the black backdrop of the seat. An outright dust wash would’ve been far too bright, and far too dirty!
The cockpit is in the fuselage and the landing gear is coming along. While I was painting the landing gear and the landing gear bay white, I went ahead and painted the interior of the weapons bay, there’s a few parts I forgot to grab and paint white while I was there, but ah well.
I’m still decaling the landing gear and painting a few bits before it gets a clearcoat and weathering can begin, but I’ve got the tires painted and weathered. Just a little bit on the sidewalls to give it a more dull, aged look compared to the tread which stays dark as the rubber stays “fresh”
The landing gear and the front landing gear bay has been clear coated and they get weathering in short order. Should go quicker than the F-14 because the F-35s landing gear gets nowhere near as rusty. At least on the A variant!
Finally got around to editing some photos of the finished landing gear over the course of a few days. Not too crazy with how I’ve photographed these. I may revert back to how the setup I had for the F-14’s landing gear.
They just feel kinda meh compared to the F-14’s, but I think part of that is just due to the fact the F-35 is a new plane so most references I’ve been able to find of the “A” have good-condition landing gear. Plus the fact that they’re not in a salty environment doesn’t accelerate rusting. I’ve added some small chips and light rust staining based on the reference photos I have seen - plus plenty of brake dust buildup on the main landing gear, again based on some reference photos.
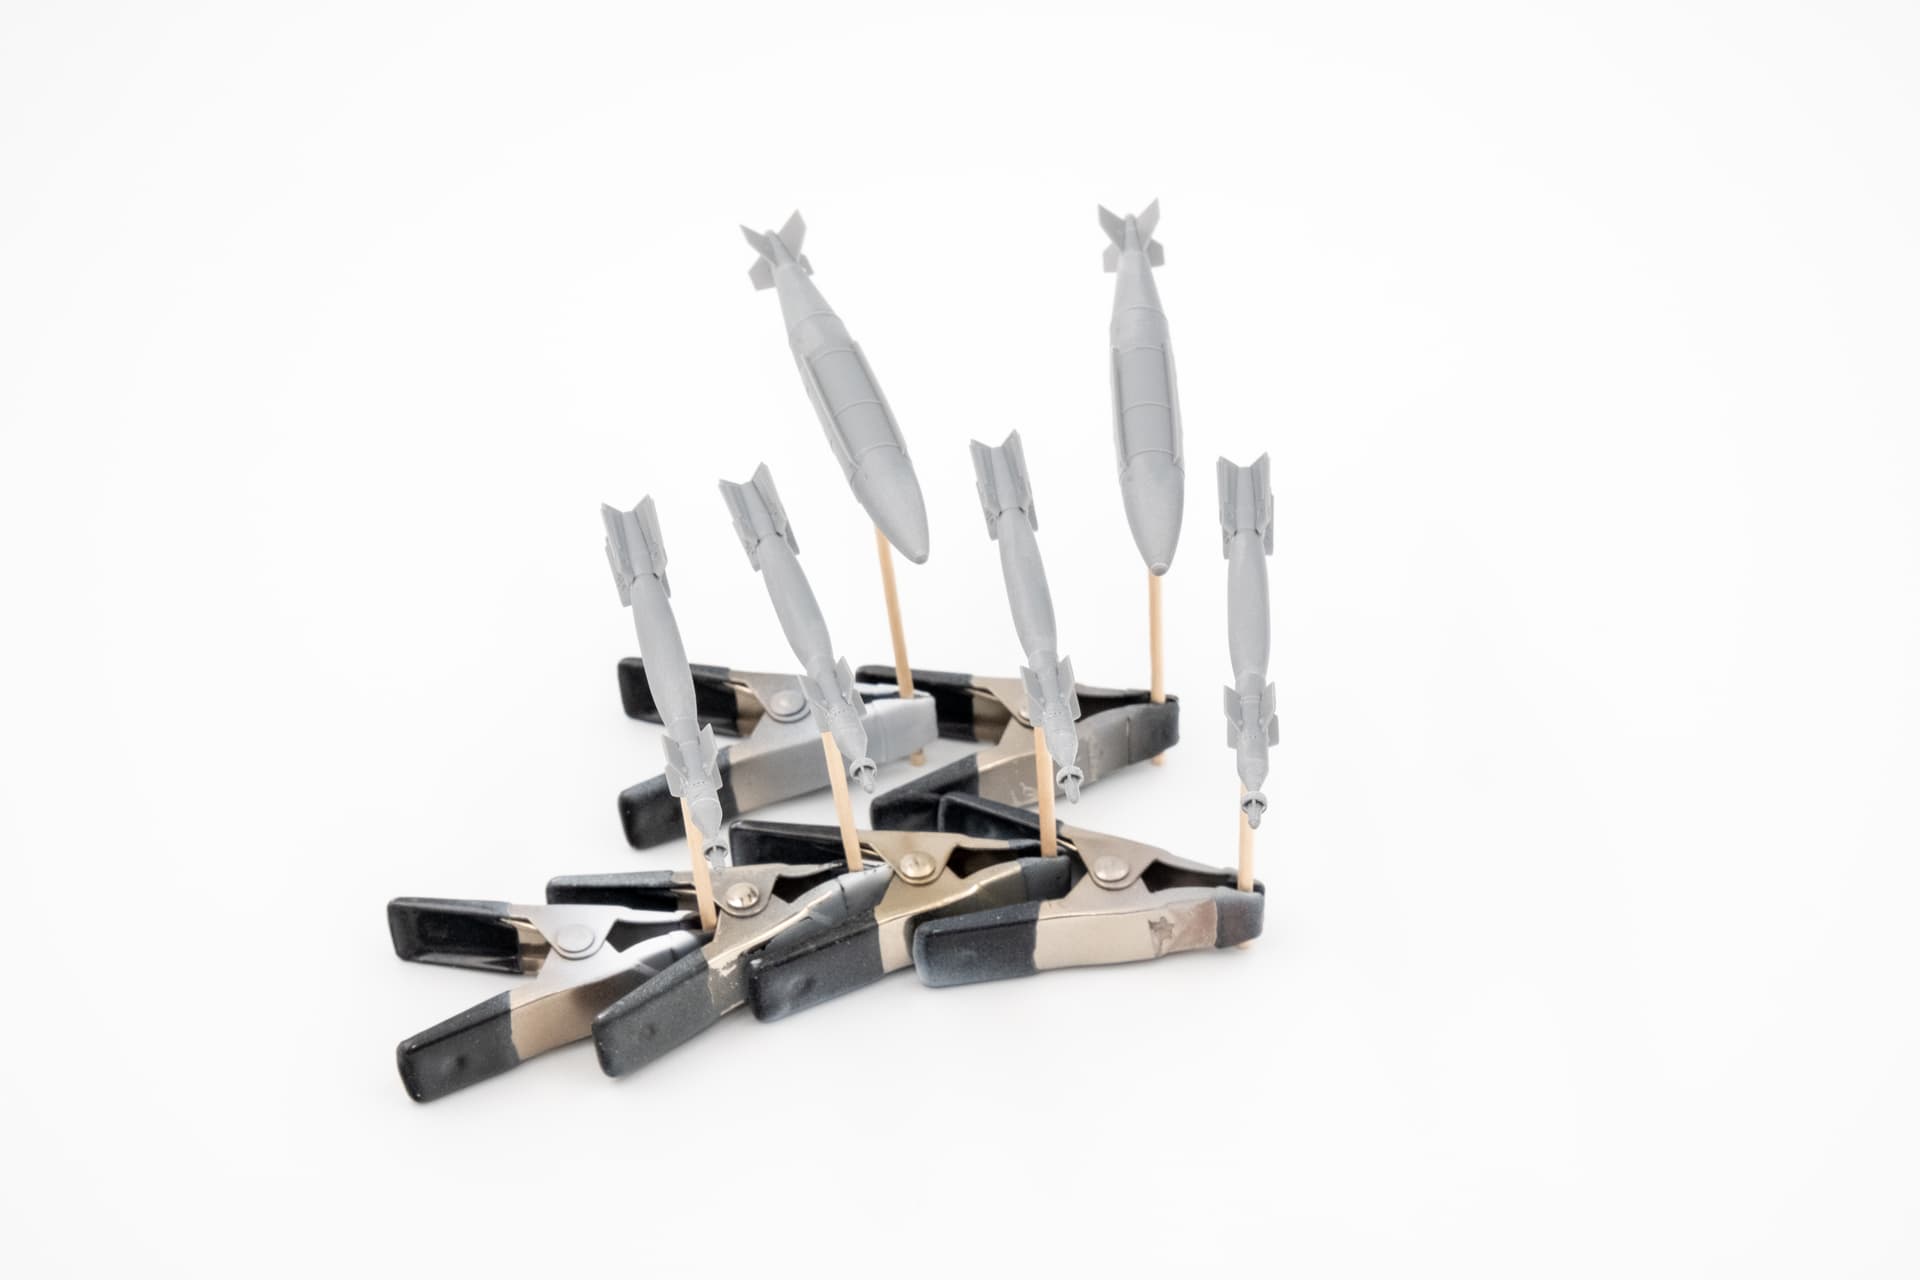
The internal ordinance bay is in progress, just waiting for some yellow paint to show up and I’ll be able to finish and weather that. Then it’s onto the ordinance itself for some beauty shots of the bay before it gets closed up for good.
Looking great! I have the exact aftermarket as you have for my F-35A. I’m going to keep up with your build. I take it the Res-Kit details/parts fit the airframe the same as the kit components?
They fit like a glove, but the seat did require a little trimming on the bottom to get the seat to sit at the right angle so the canopy could close. I think this may have been a me issue though, maybe I forgot to remove enough of the seat in the first place, but I wasn’t expecting to have to do this once I cut the 3d print supports off.
Whew! After nearly three weeks, I’ve scrounged enough time to get the F-35 finally ready for paint. Hopefully not much longer now.
Here’s what I’ve been up to:
I’ve got half of the ordinance painted, I figured while I was painting the JDAMs to get them in in the ordnance bay, I’d also paint the GBU-12s.
Did a wash on the ordnance bay and put the JDAMs in place for some “glamour” shots before I took them back out. The ordnance bay will be closed on this build, but I secured the doors with Microscale’s LiquiTape so I can pop them off later if I decide to do the other set of doors so it can be displayed in the open position. I still need to weather the ordnance even though this will be in the “stealth” configuration without pylons, but that will come later.
The plan is to paint the plane in it’s HAVE GLASS color, post-shade and weather that color (just to show some sun fading), clearcoat with the metallic clear, paint the RAM panels in their color, and then clearcoat those in their non-metallic clear. We’ll see where the decals fit in there. Likely some at both stages but we’ll cross that bridge when we get there.
Cheers! and hopefully not much longer on the next update.
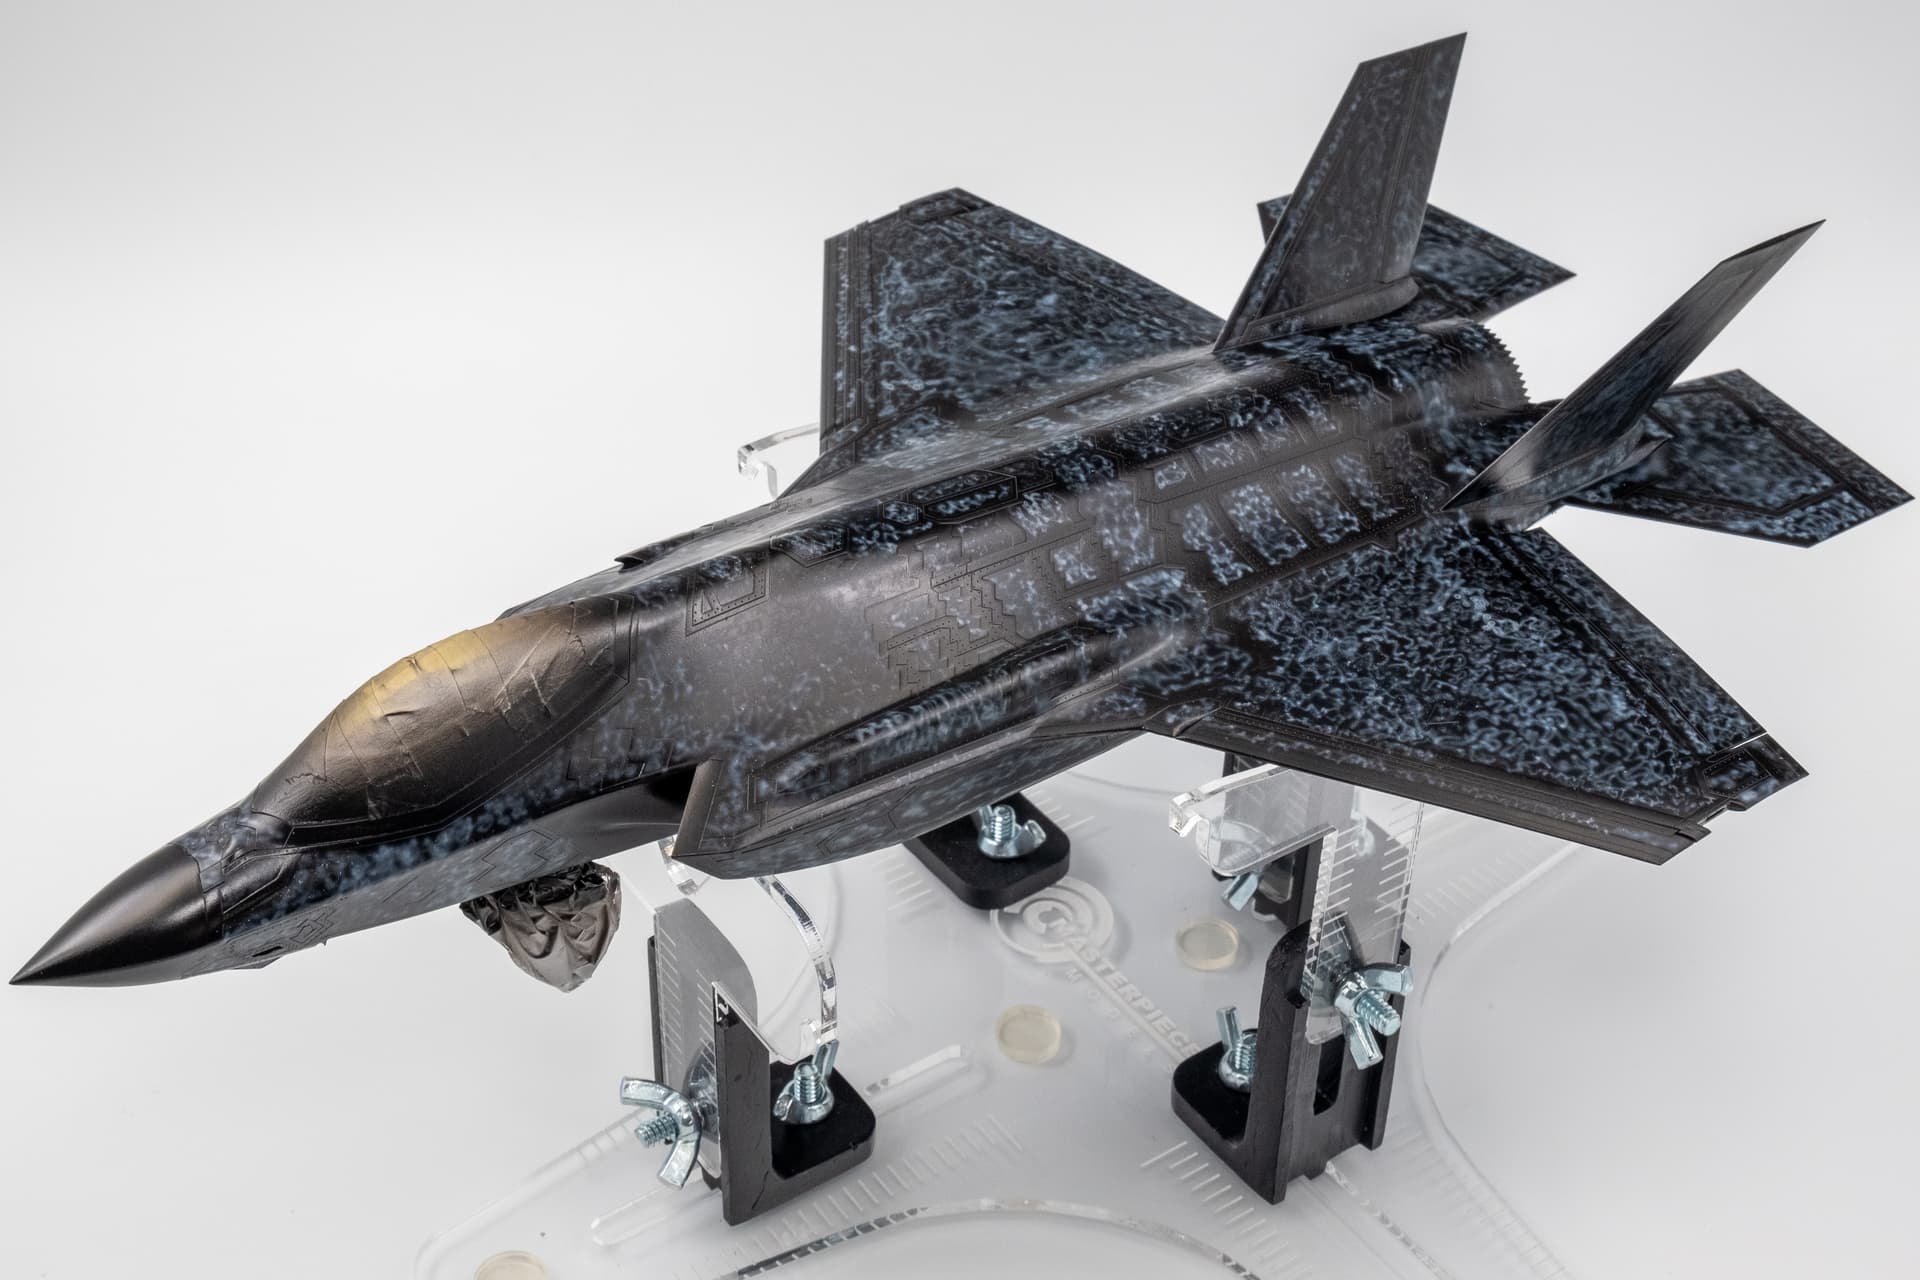
Whew! Feels good to finally be at this stage. Mottling done. I went with a tight, single color, pattern because from what I’ve seen there isn’t too much tonal variation on these. I’ll let my hand un-cramp overnight and do the blend coat tomorrow.
It feels like the home stretch is finally here, but there’s quite a bit to go with how I plan on doing the RAM coating which will require post shading the HAVE GLASS before the metallic clearcoat and then masking that all before the RAM coating gets painted.