Thanks G. The E100 looks like a nice detailed build, apart from the front lower hull as it was squashed, but it is easily fixed. I think knowing the size now, if I had stayed with 3 or even 2 E100s the realistic ground area would of been about 2 A3 size areas in all. I will only do a splinter cam on the turret of the E100 and leave the hull and running gear green, one shade or another.
The Modroc isnt to bad to be fair, I have a large tupperware container with lukewarm water and then cut the bandage to the rough length I need and then (with latex gloves on) dip it in, wring out the excess water and apply. I just have some kitchen towel out to catch any loose drops of water, so its not that messy if managed ok. it works well with the Oasis as it just lays straight over it and then you have a good few minutes to rub it down and how you want it shaped.
The reason I like the oasis is you can glue it down in a block, and cut and sculpt it after its dry and secure, or cut smaller blocks/areas and glue and do it that way.
One thing with the oasis is to make sure you cut any big areas in an area away from your kits etc as when you cut/saw it, it leaves minuscule particles and they do seriously get everywhere … a lesson I learnt the hard way lol
Once the modroc is set, I leave it a while and then use sculptors plaster of paris and build up areas that need it or how i want the ground work to look.
1 Like
I would agree with you John that more than two of that size would have been too cramped on an A4 base,  .
.
Thanks for the advice regarding your use/experience of both Oasis and Modroc, luckily I tend to do the groundworks in the garage and the kits in the den, so cross contamination is less of a risk,  .
.
G
Hi all,
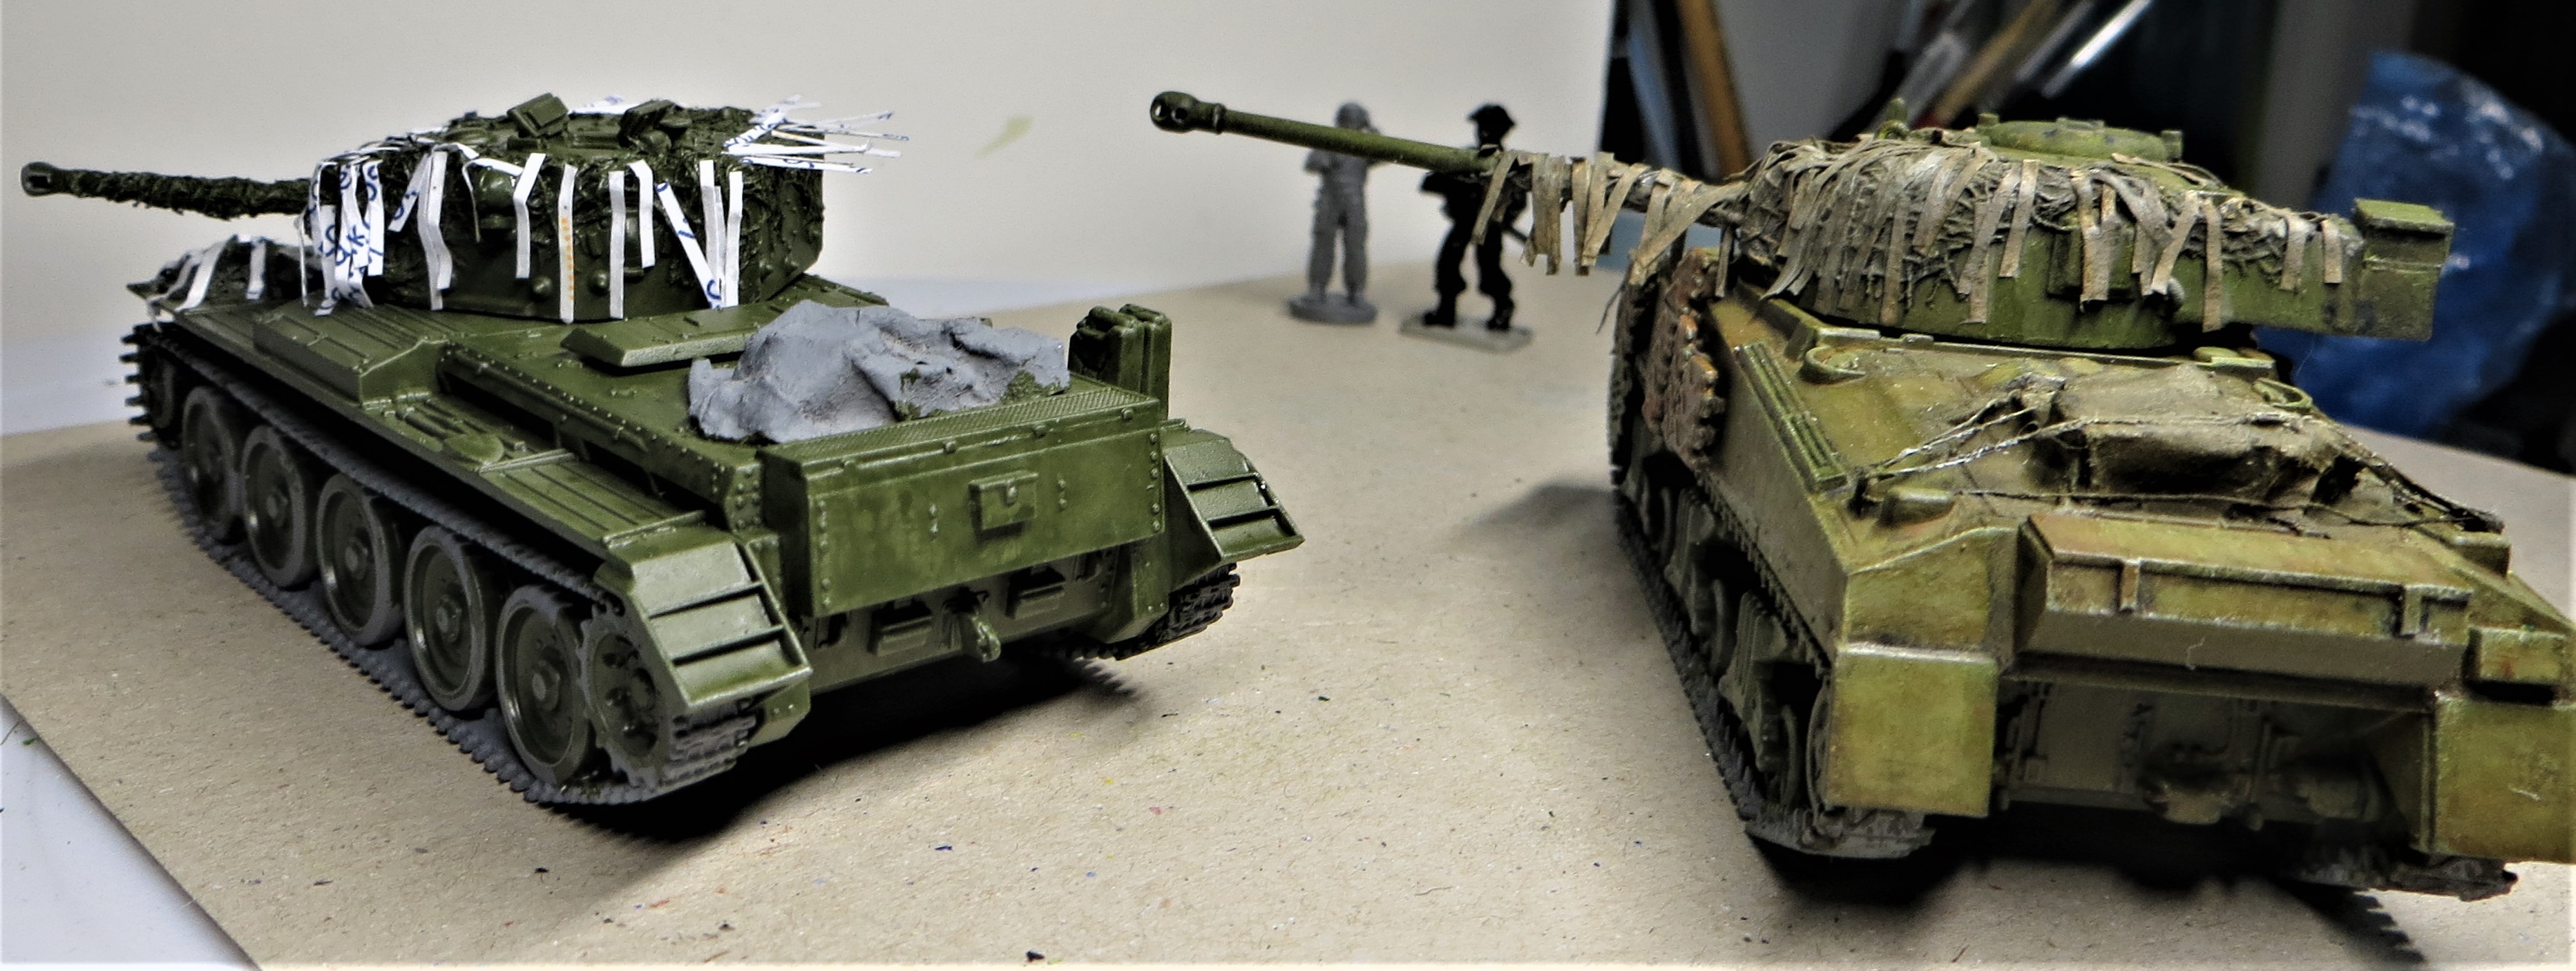
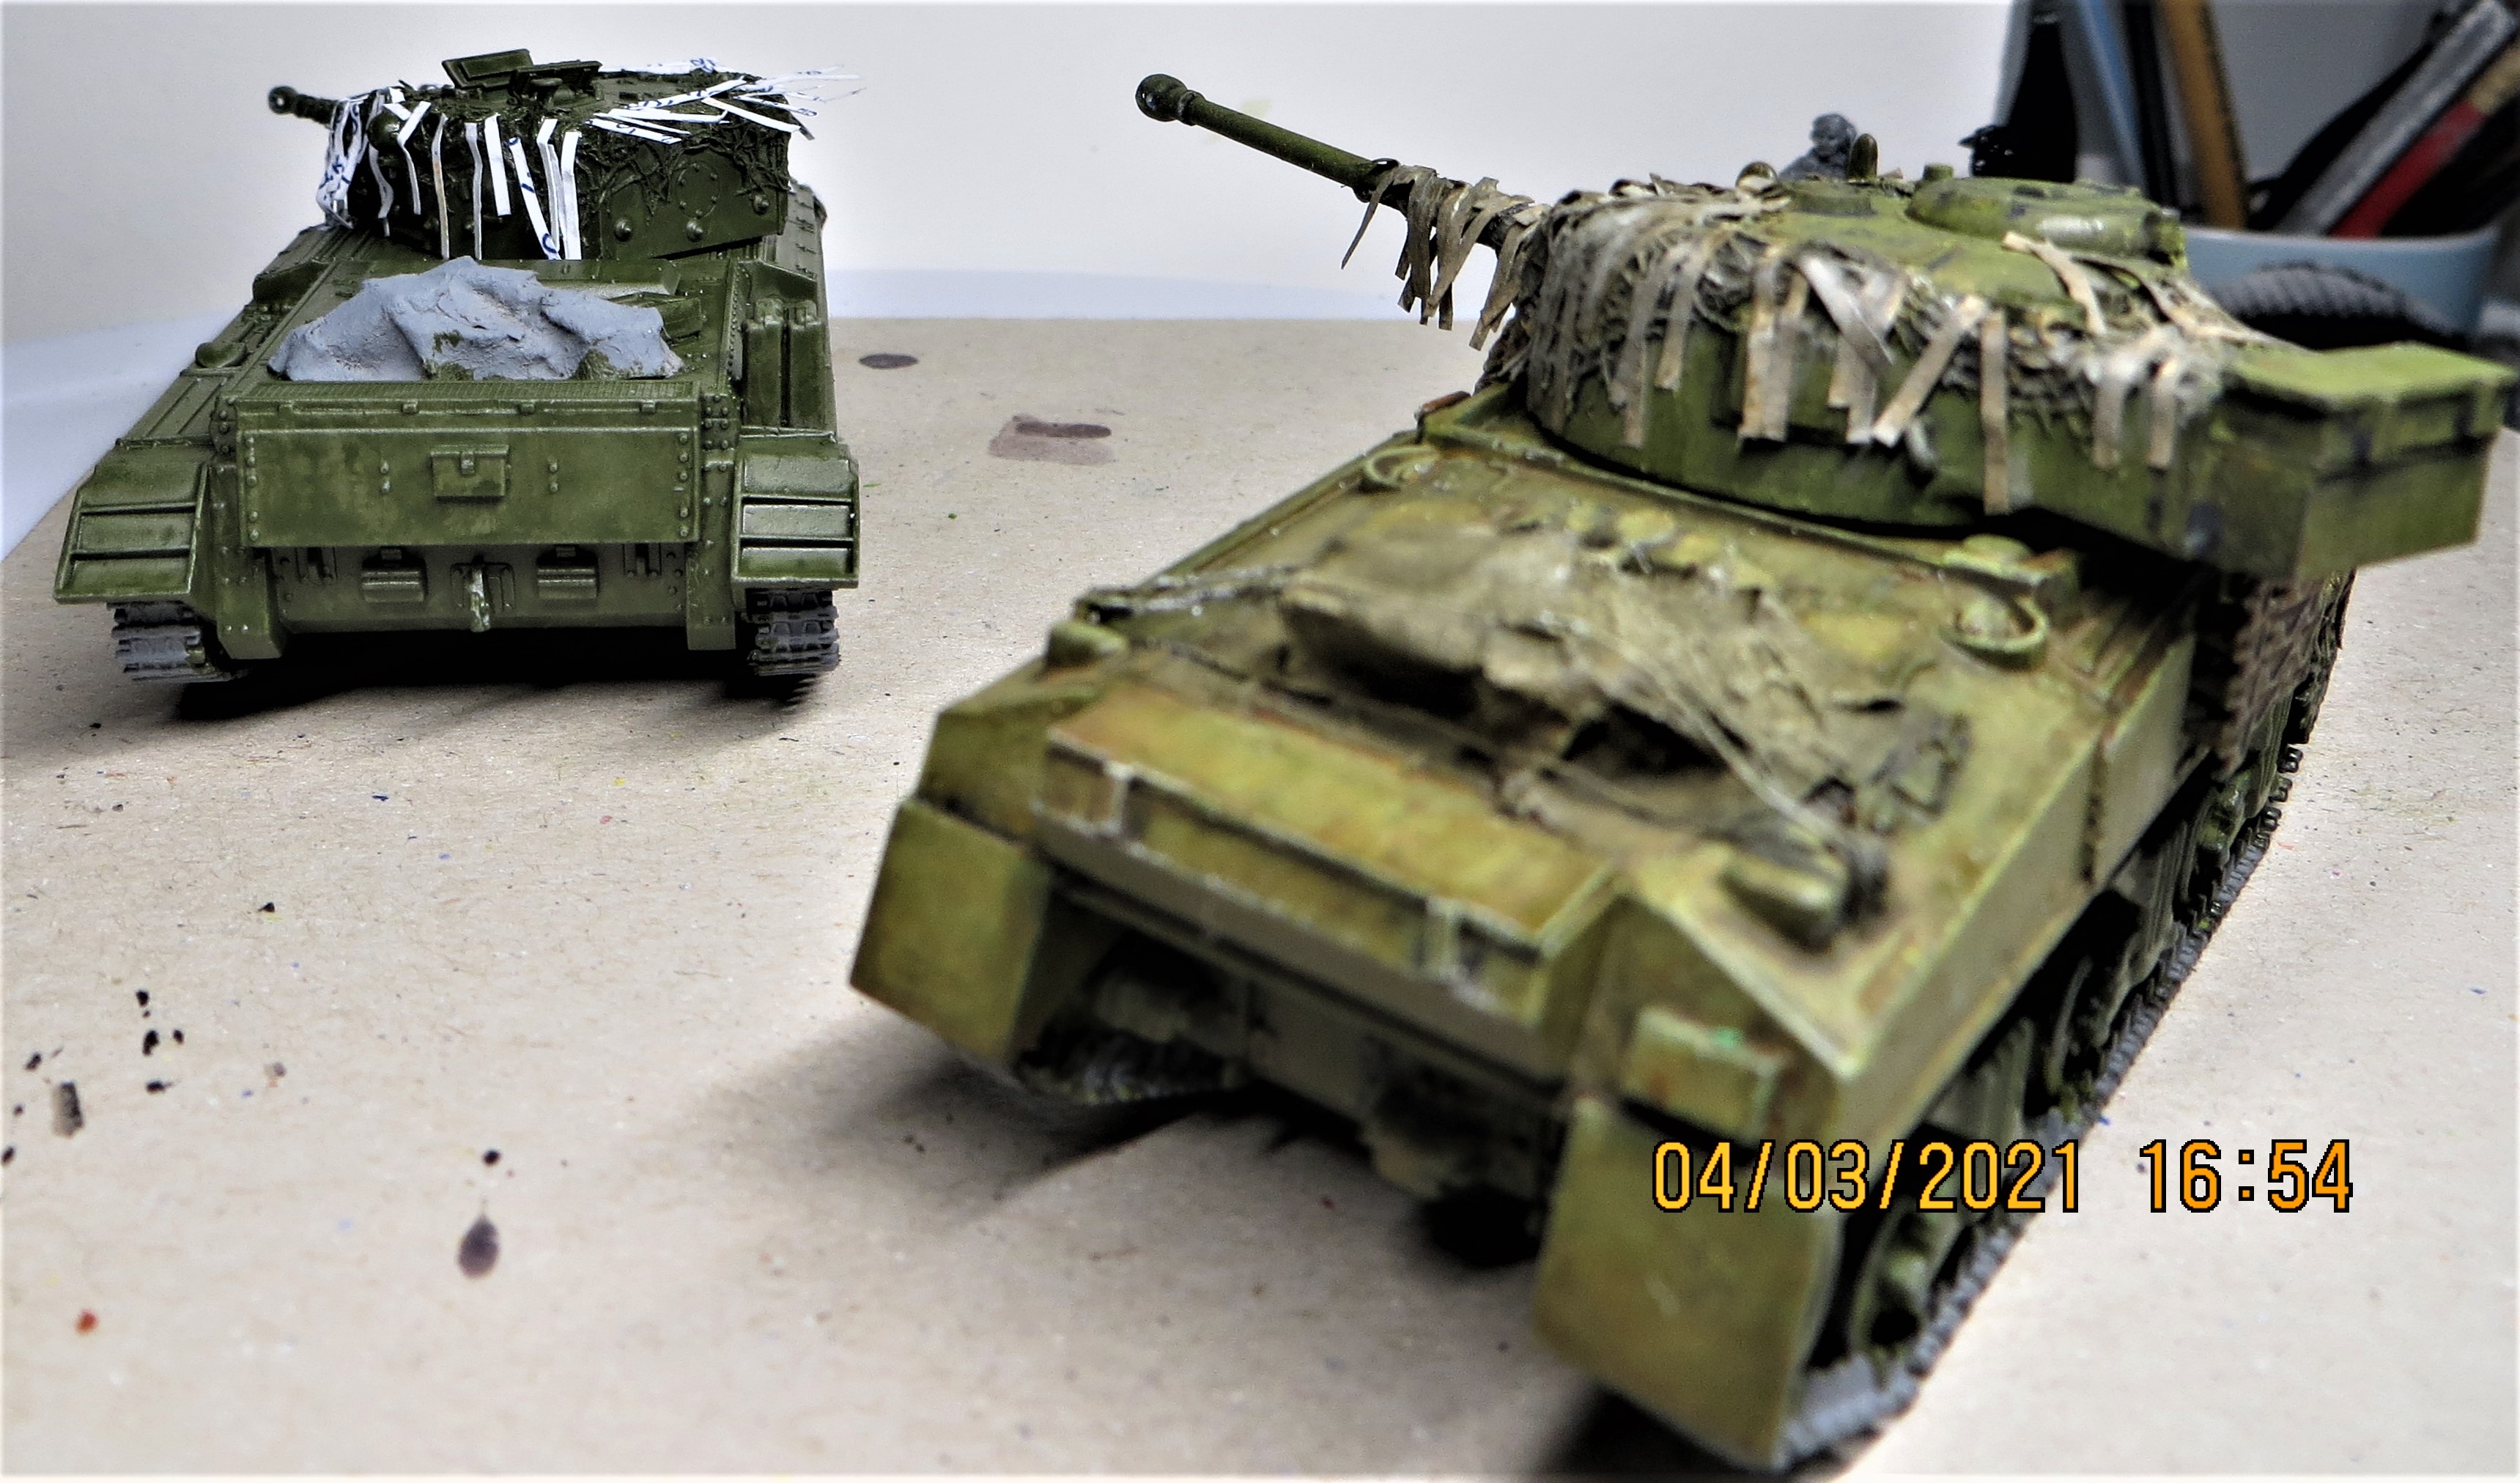
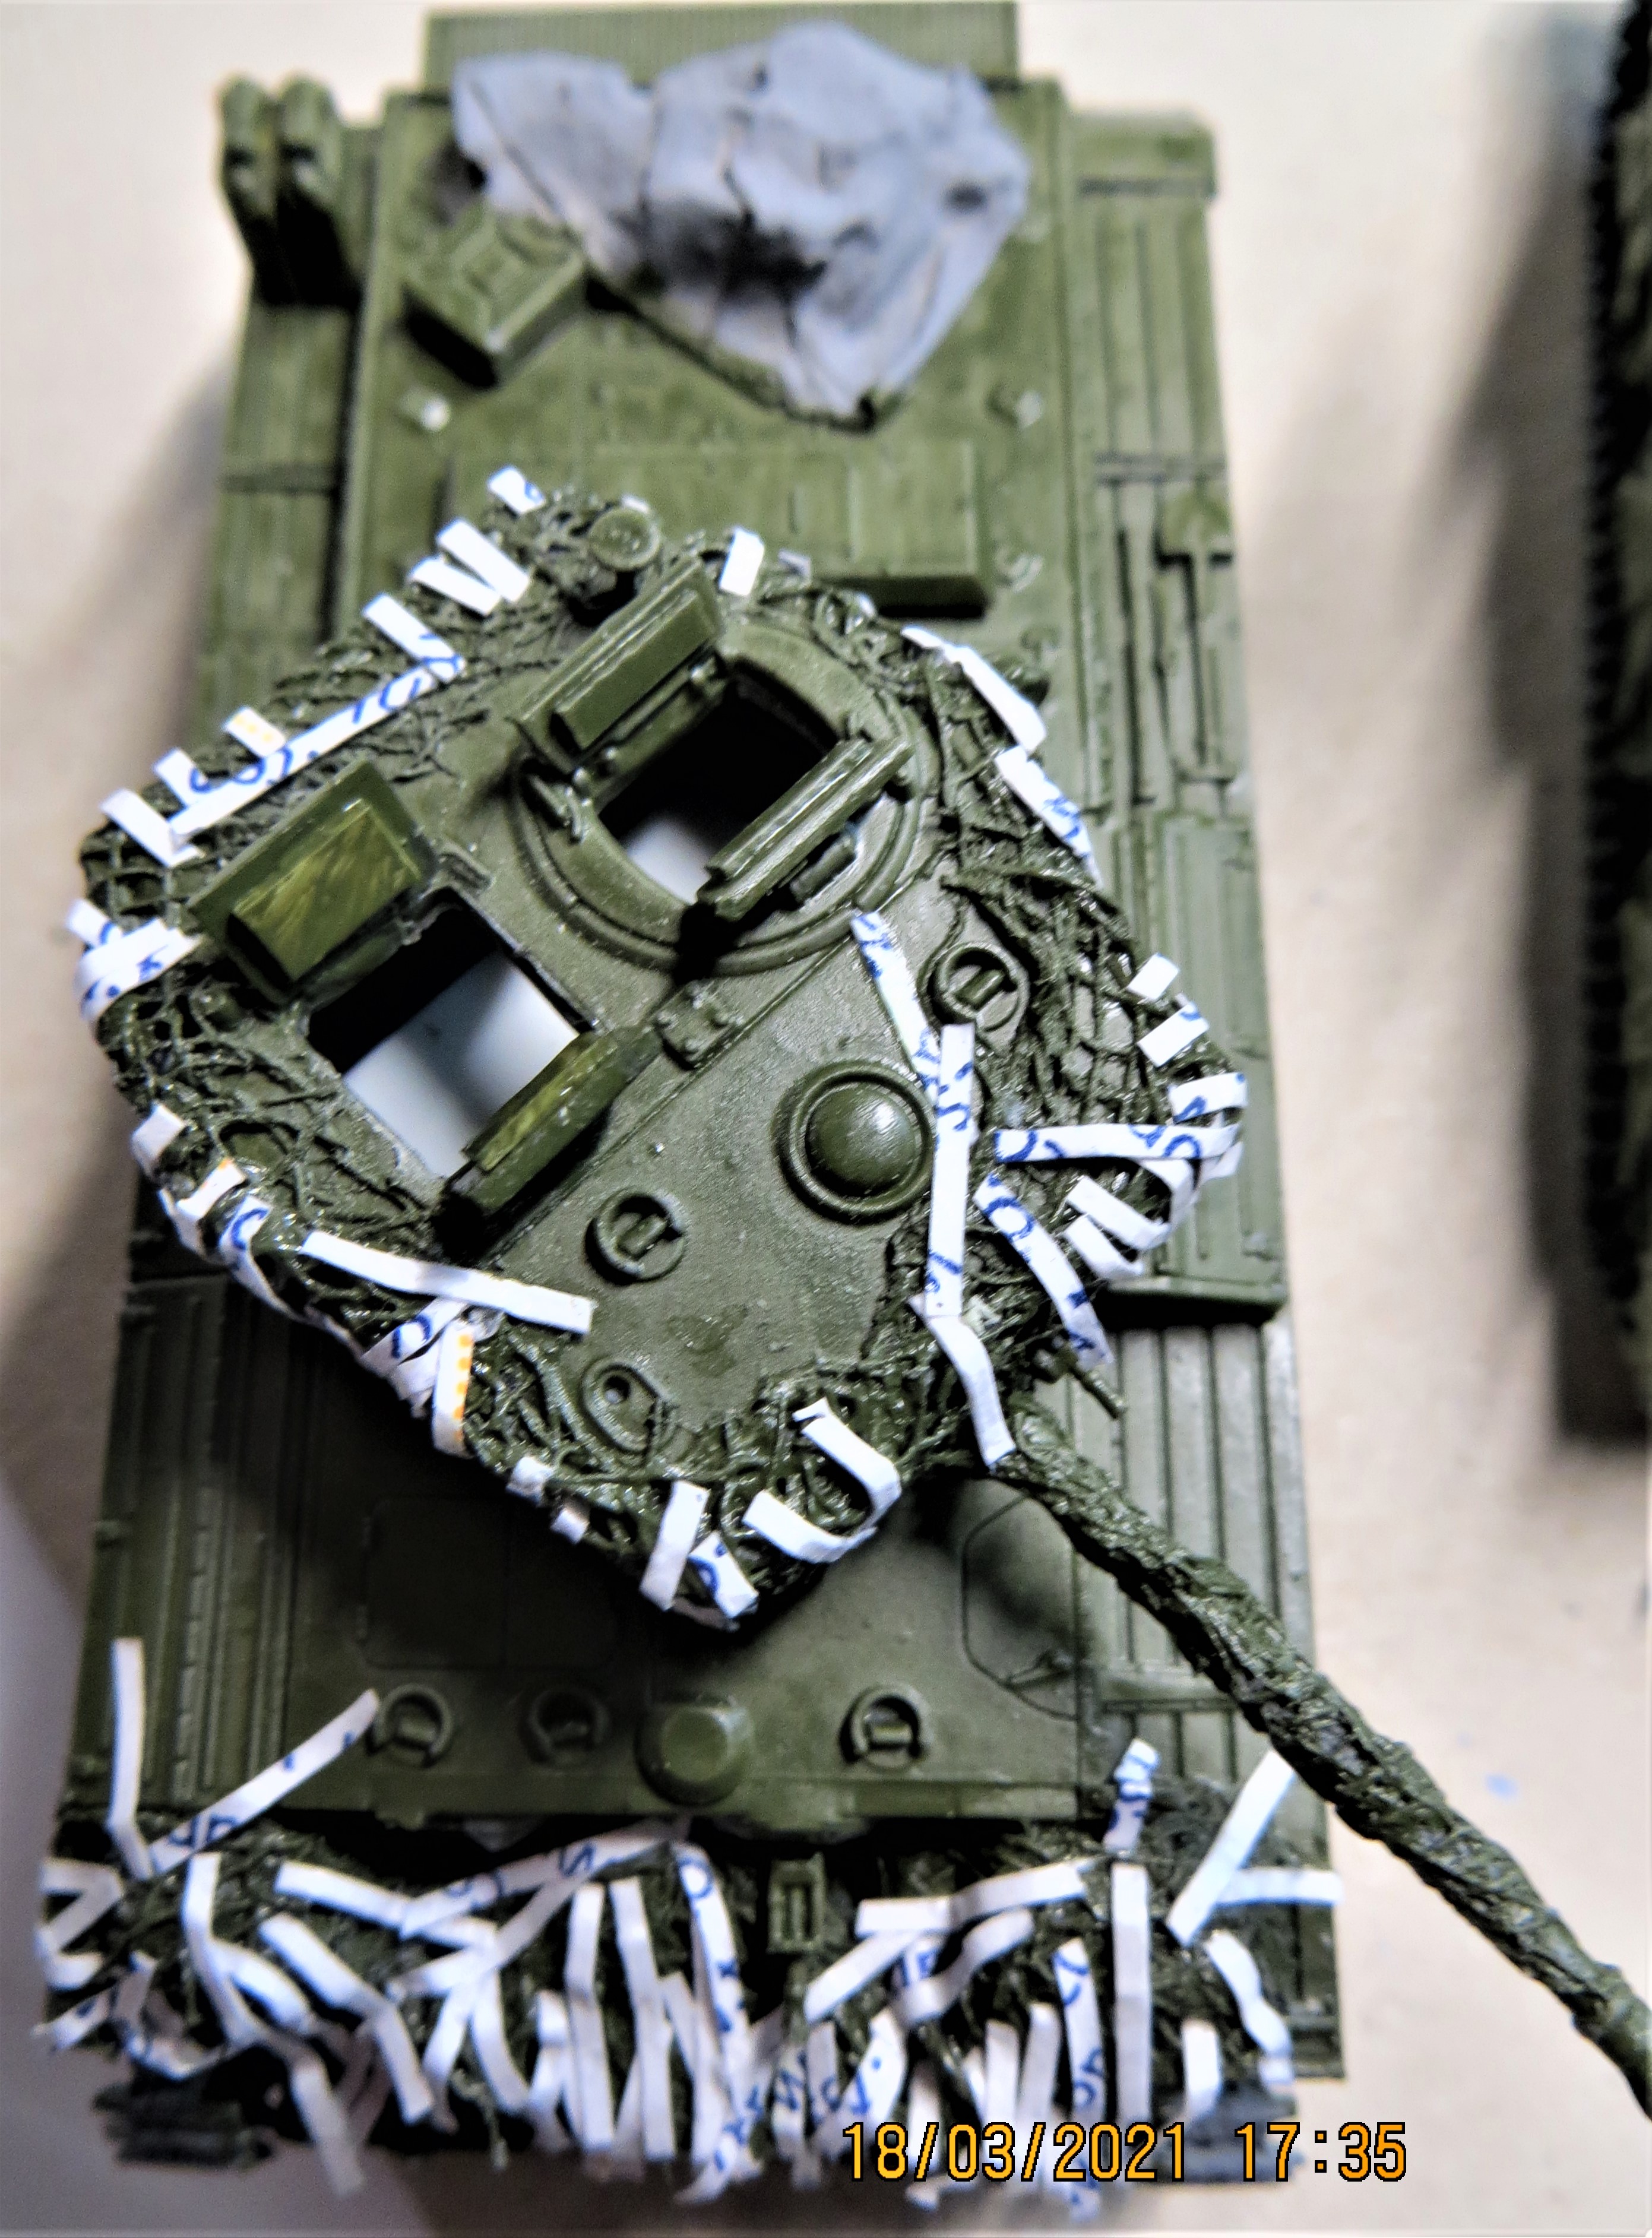
Spent what little time I had this week working on the construction of the second vehicle, the Revell 1/72nd Cromwell. The kit is generally nicely detailed, but I found the link-and-length tracks very fiddly,  .
.
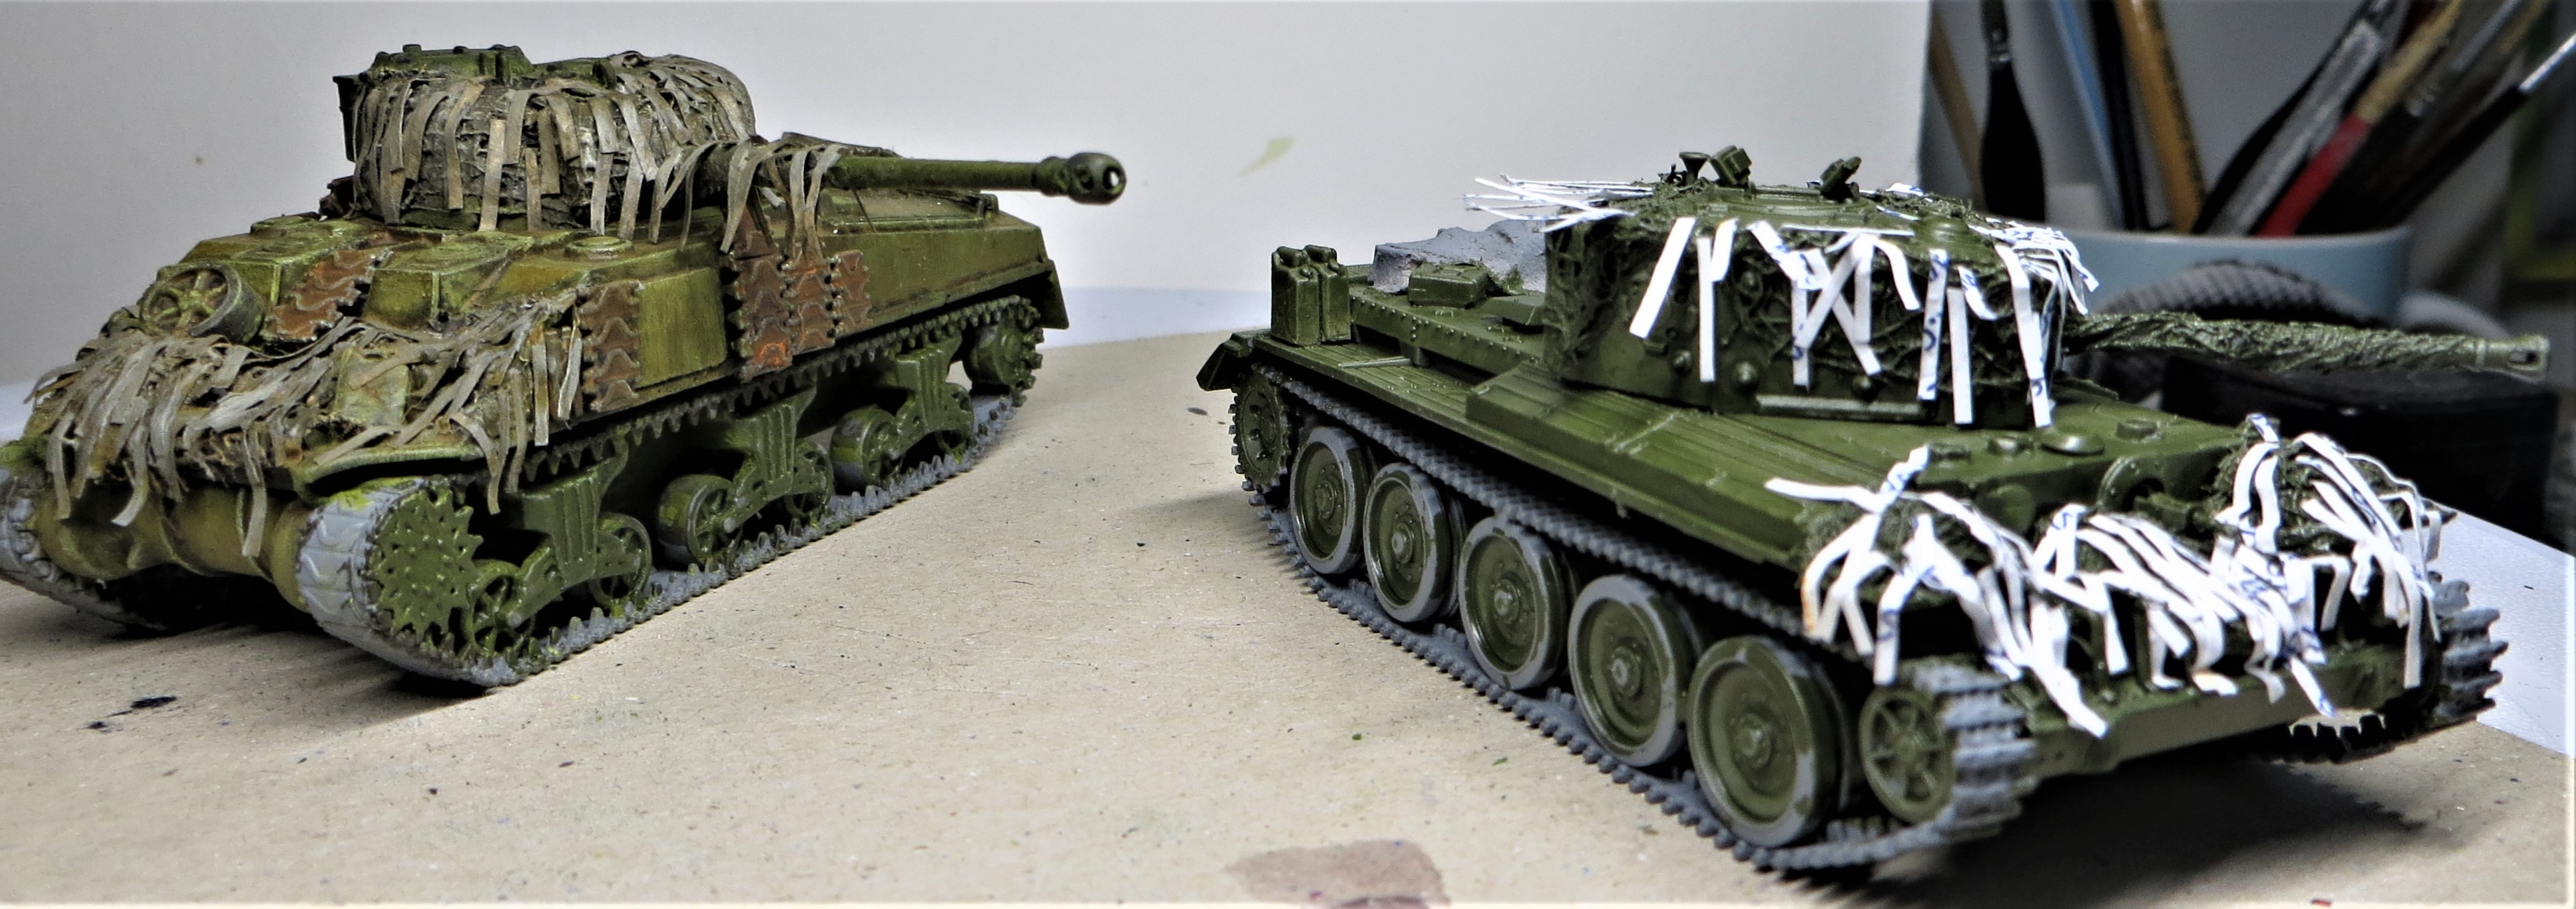
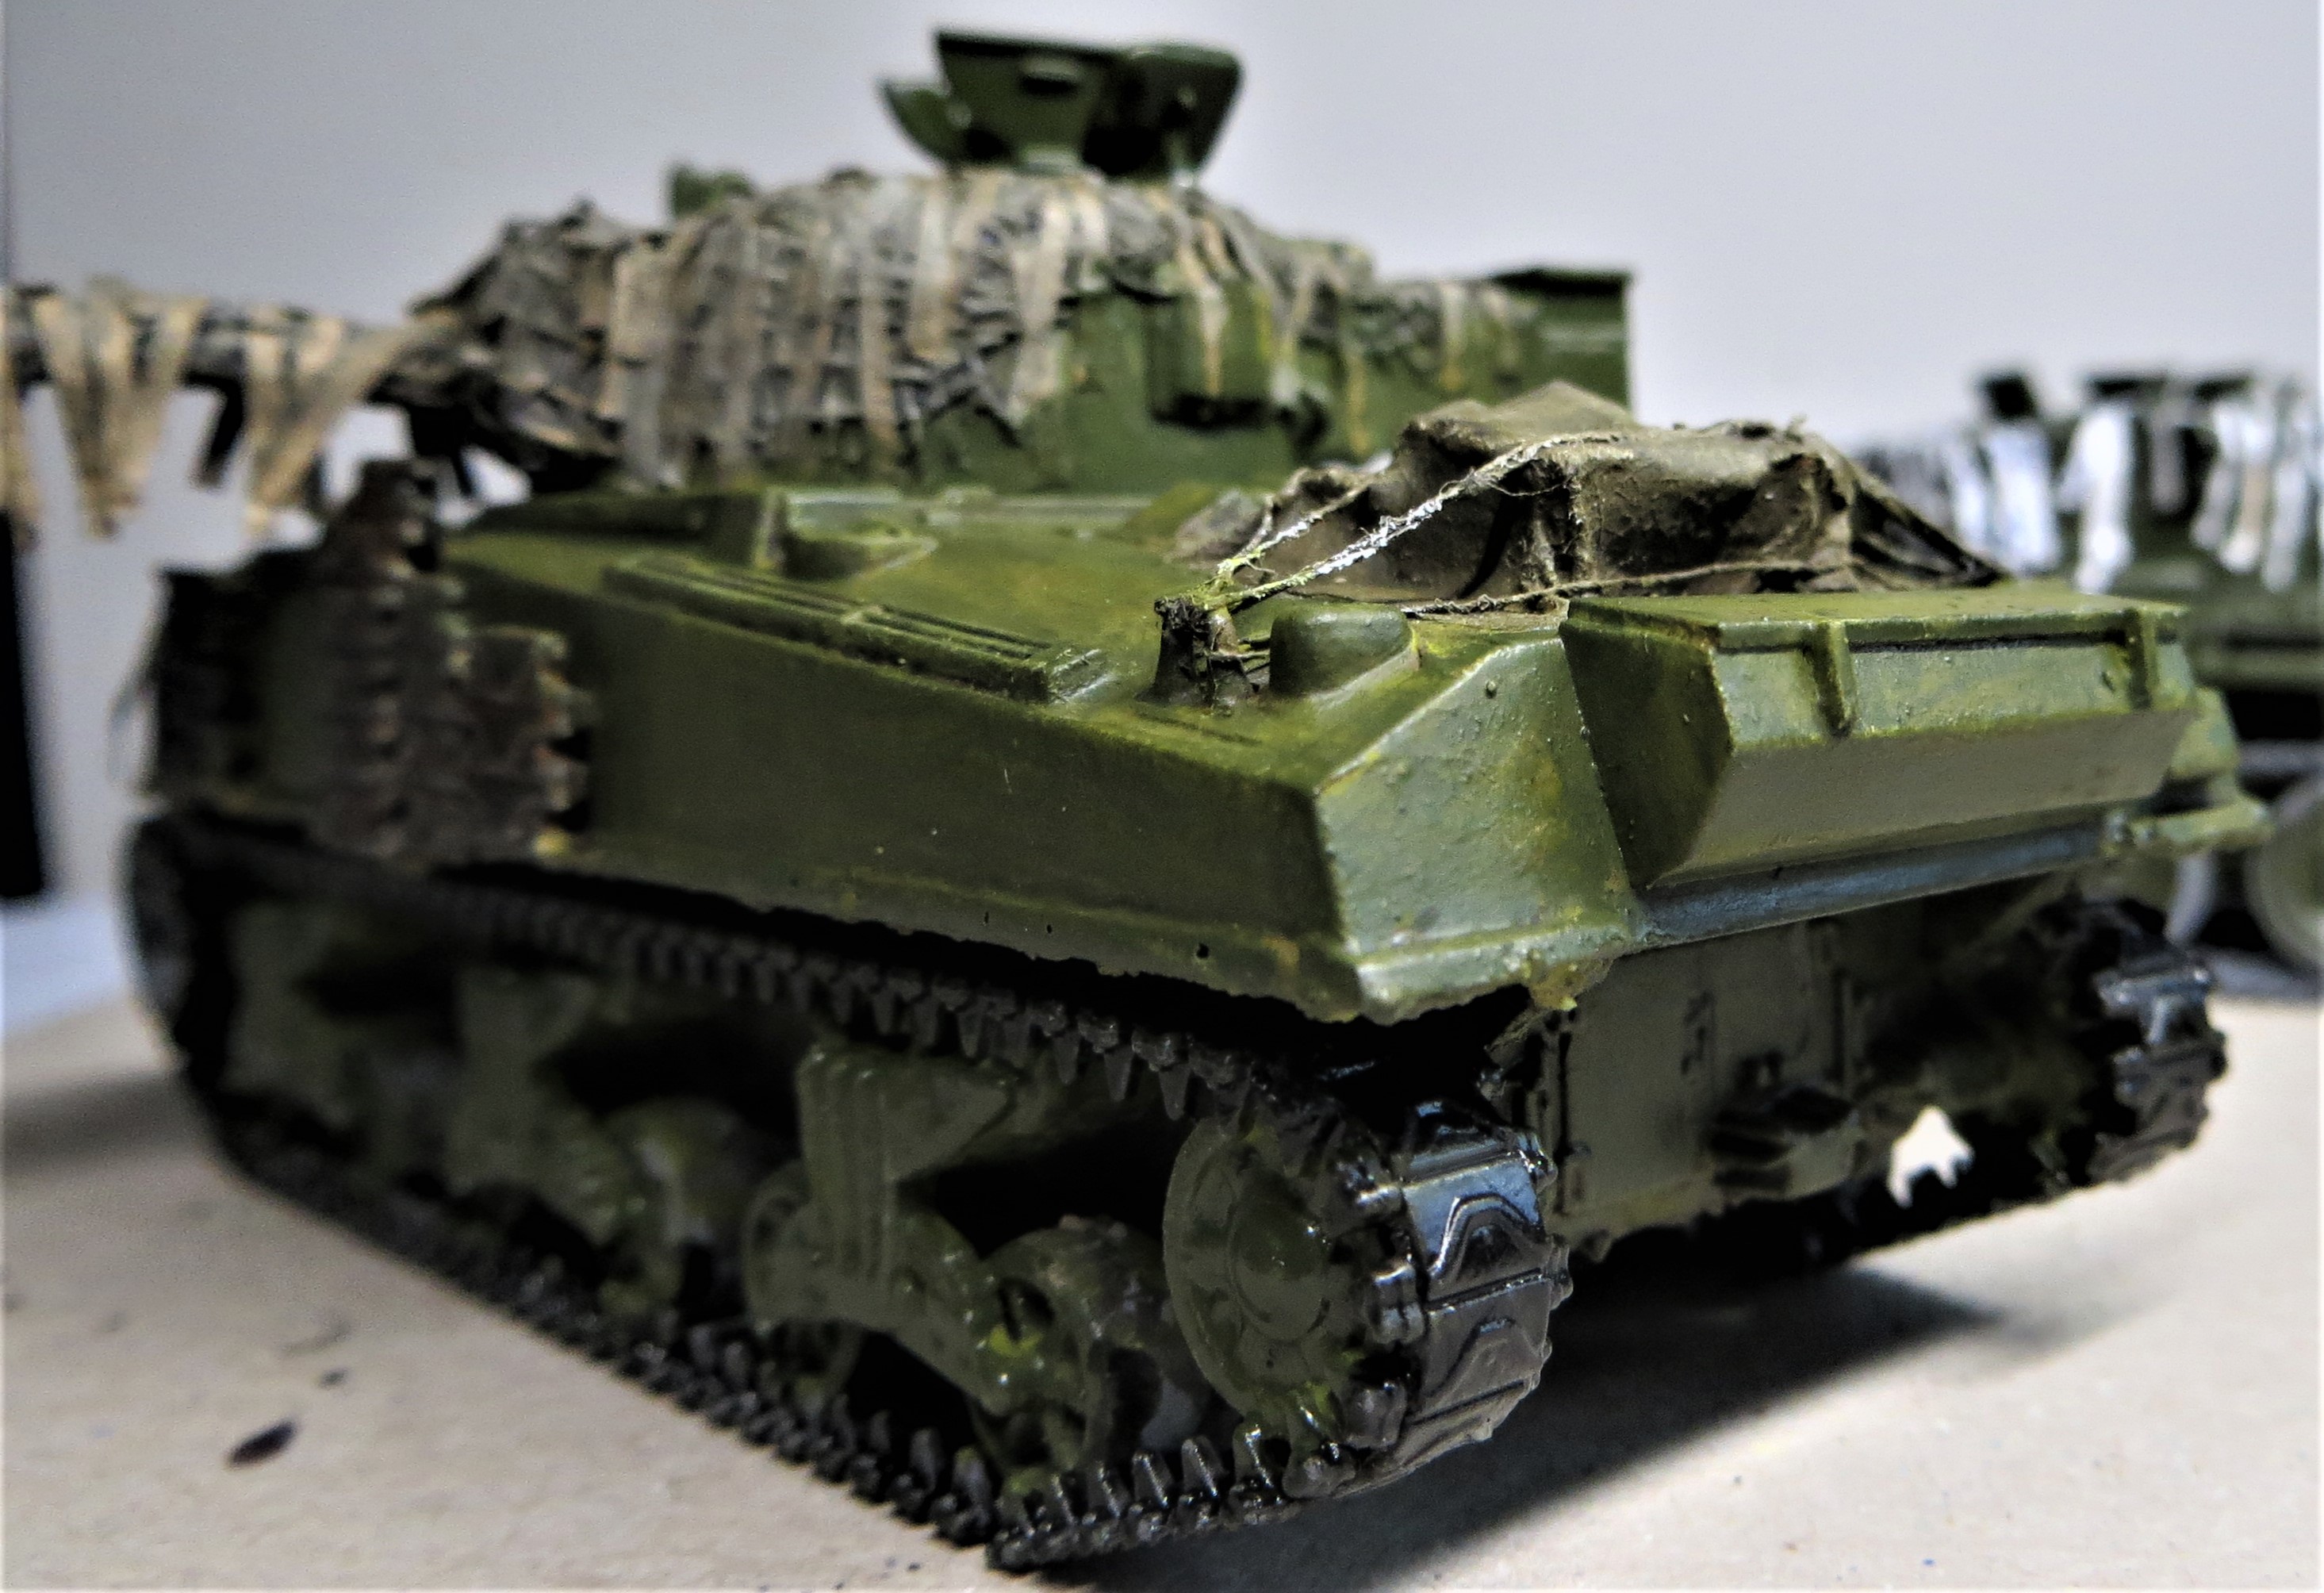
Basic construction is pretty much finished, and a base coat of paint added, I just need to finish adding the scrim to the camouflage netting and add some tie-down rope to the stowage tarpaulin.
Cheers,  ,
,
G
5 Likes
You have both looking nice there G, they will sit in nicely within the bocage and lanes on the Dio. looking in depth, those 2 figures don’t look to bad & if the crewman was standing on the rear decks talking into his mic, that would help with the slight height variations as well … its all getting set up nicely for the overall build though …
Thanks John, much appreciated, .
I’ve had a rethink about the figures, I’m going to finish this build off using ‘true’ 1/72nd scale figures only, and then do a separate build for the Valiant figures, no vehicles included, so the issue of scale won’t matter so much.
Just need to find the best set of figures for my needs, one with more emphasis on non-combat poses.
G
1 Like
Sensible plan … there were a few work rounds but sometimes the simple option pays off in the end. I need to try and find some 1/72 German maintenance figures as I am thinking of having the engine deck in the up position so I can show the engine off.
Check out the Orion German tank crew sets, they have figures that might work for you.
G
1 Like
Thanks G, they could well be the solution 
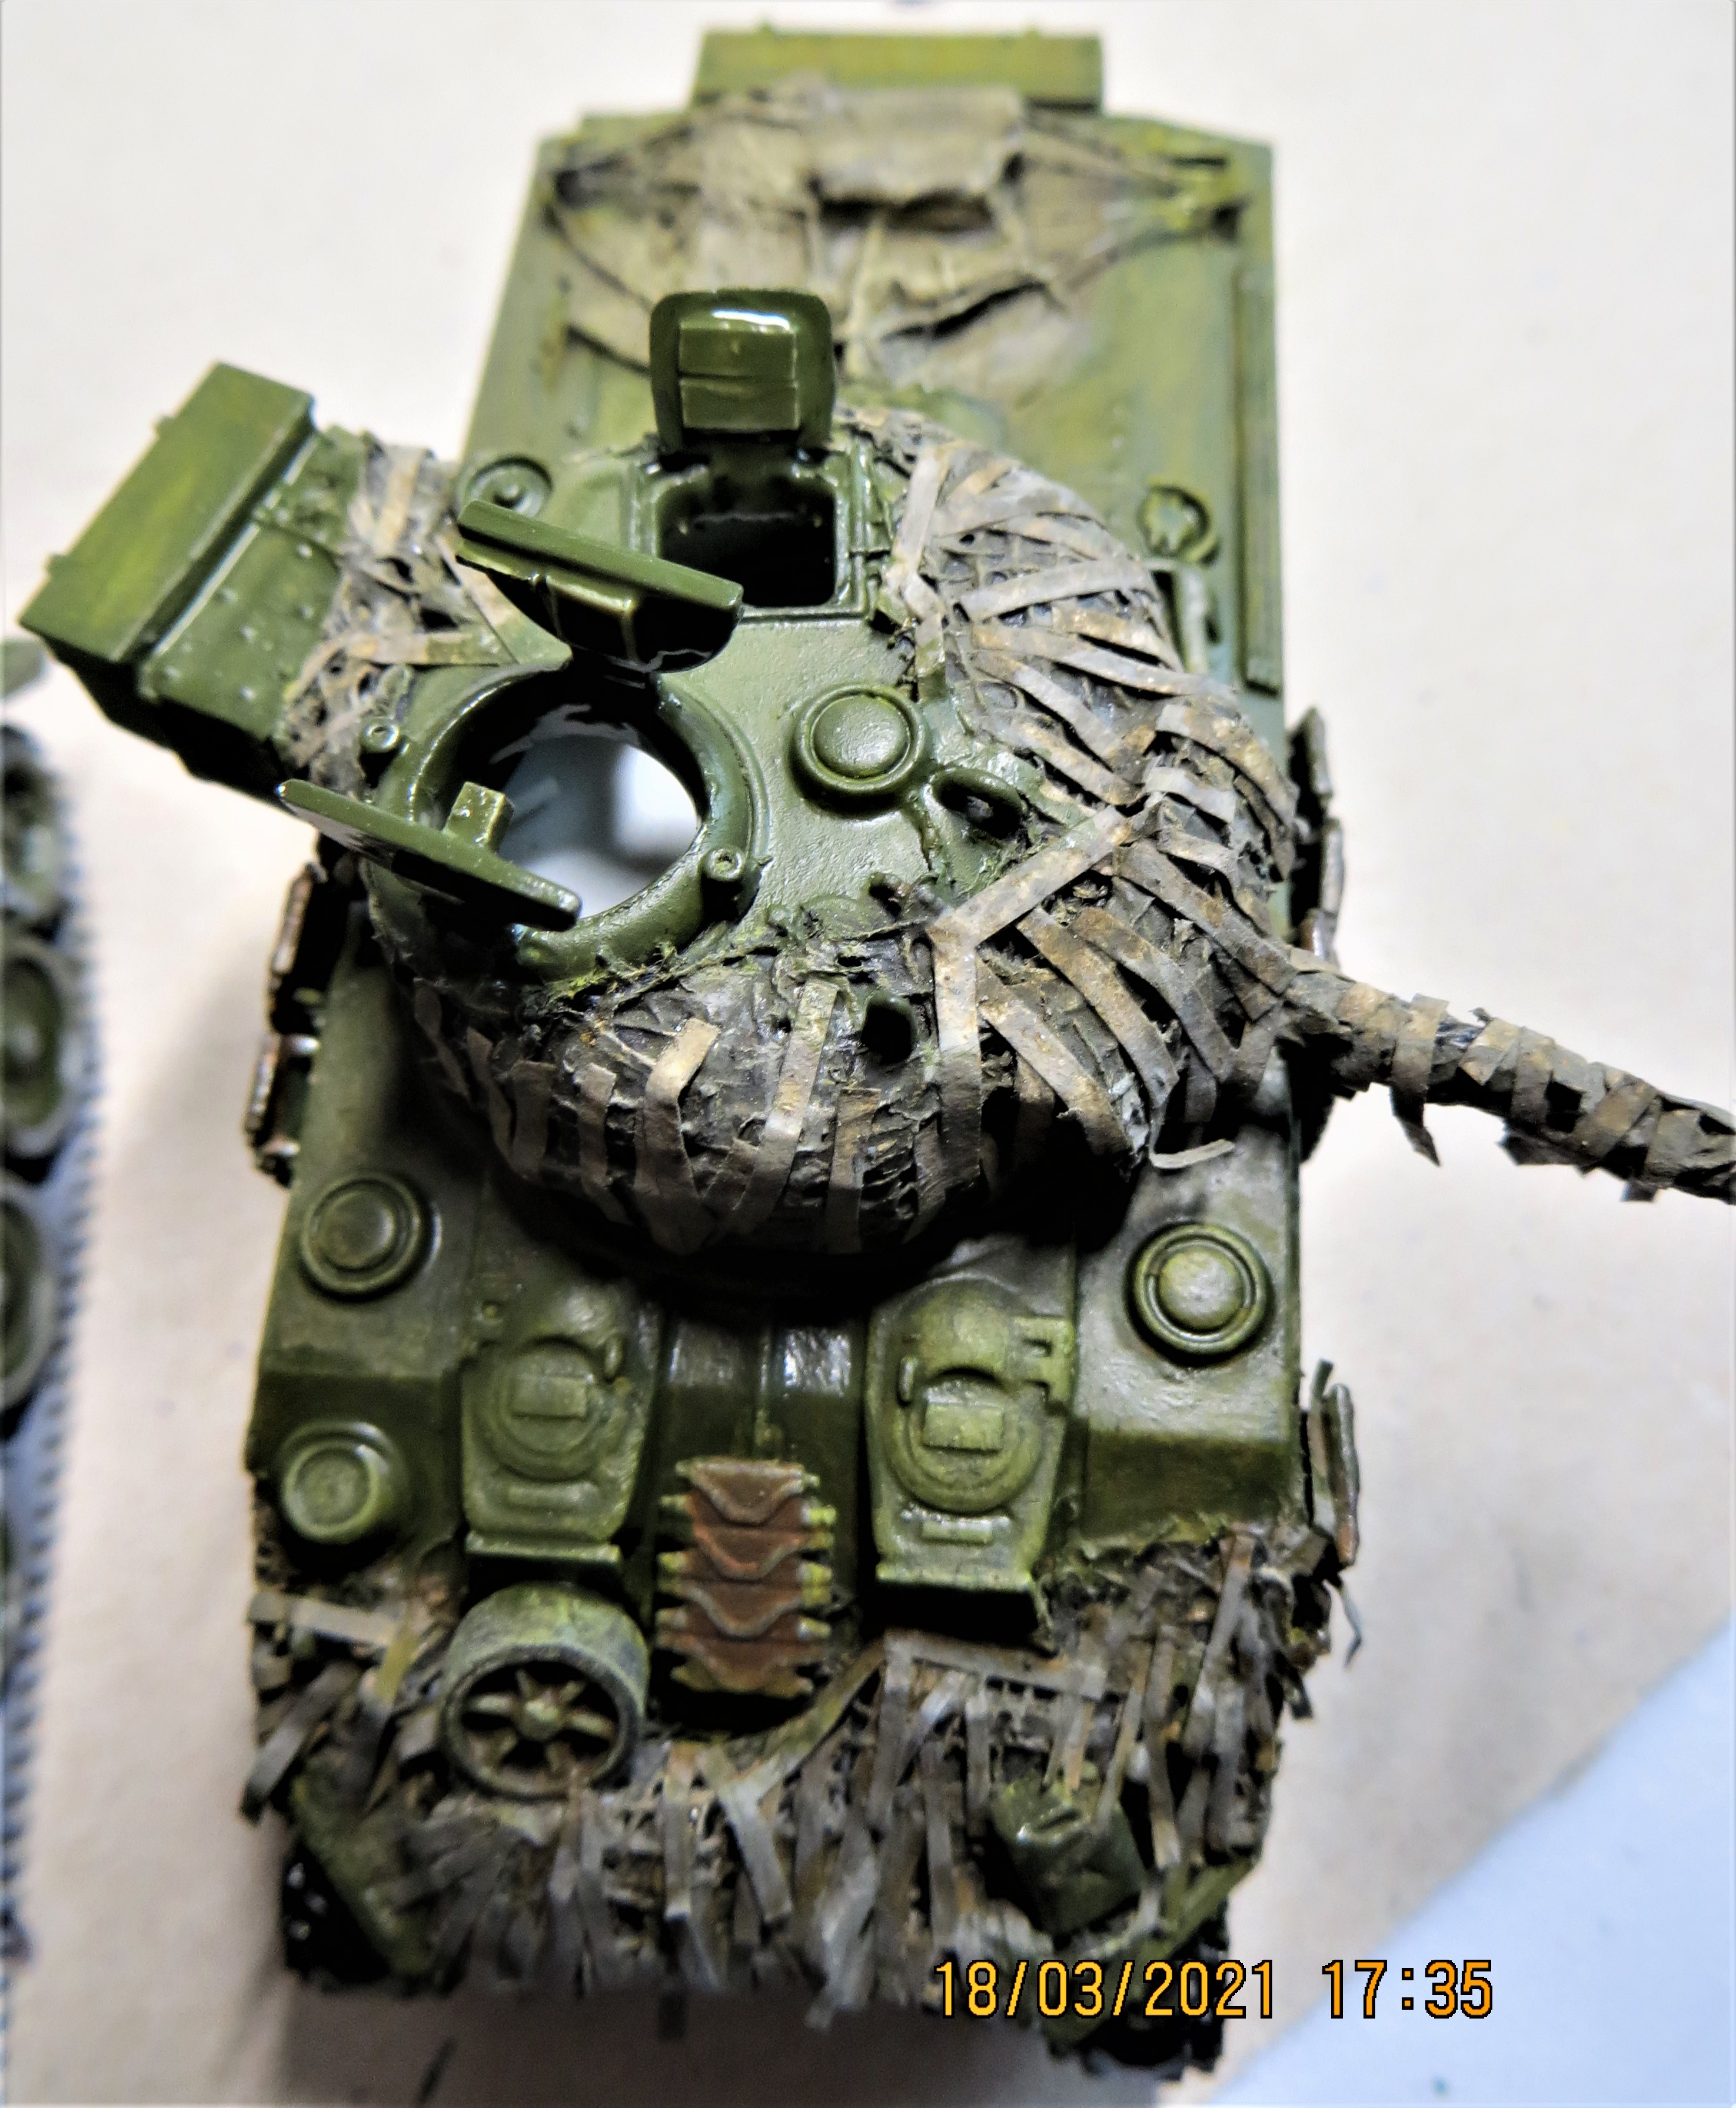
After finishing the Stryker, I thought I’d have an easy half hour and do the link and length tracks for the KT… Wrong !!!
What a complete nightmare. If you follow the instructions, there is no way on earth they will fit correctly… I tried and tried and tried then cried lol…got so frustrated I almost launched it into the bin …
Ended up starting with the bottom section, glueing that in place, then working round and doing one link at a time to the sprocket and idler … Then chopping part of the top run as that wouldn’t fit …
Luckily the side skirts will hide it all… It’s not pretty  , oh … And all that took nearly 2 hours for one side only lol
My sympathies are with you John, I feel your pain, as I mentioned before, I really struggled with the tracks on the Revell Cromwell, it was the minuteness of the individual links around the sprockets and idlers. In the end I glued the requisite number of links together on a flat surface, gave them time to set and found them easy to bend around the relevant wheels before inserting the long lengths.
G
Hi all,
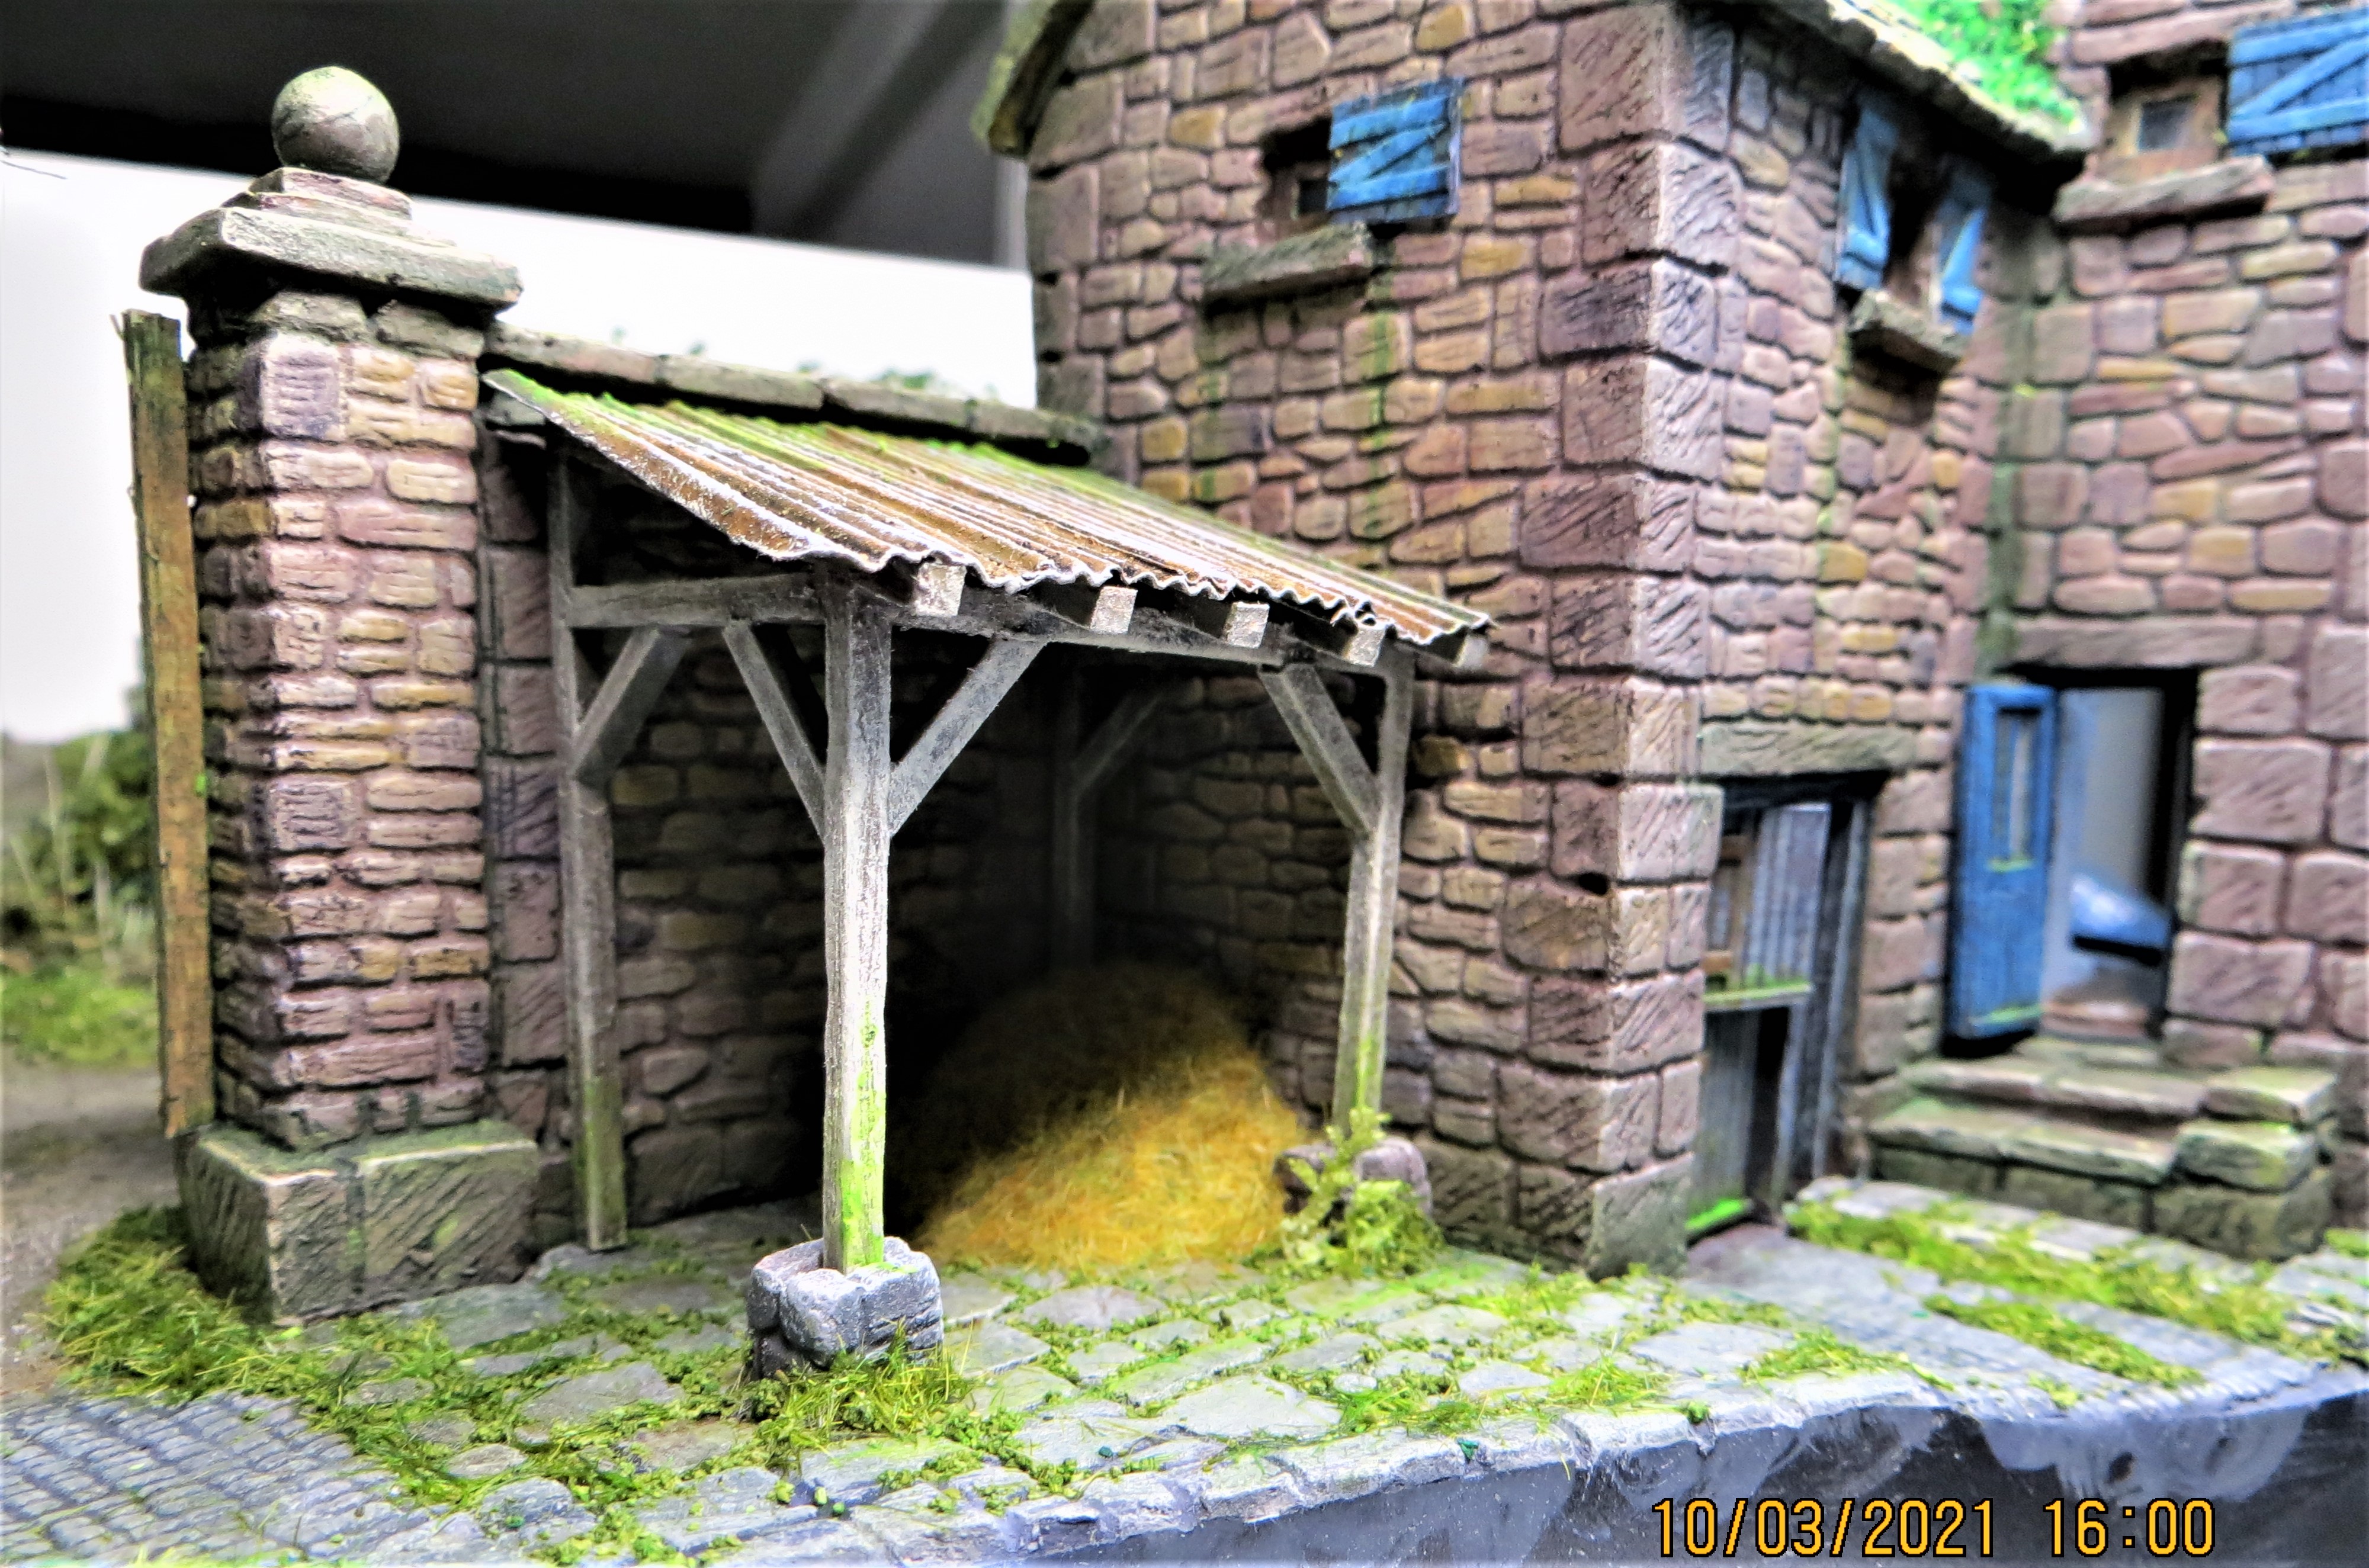
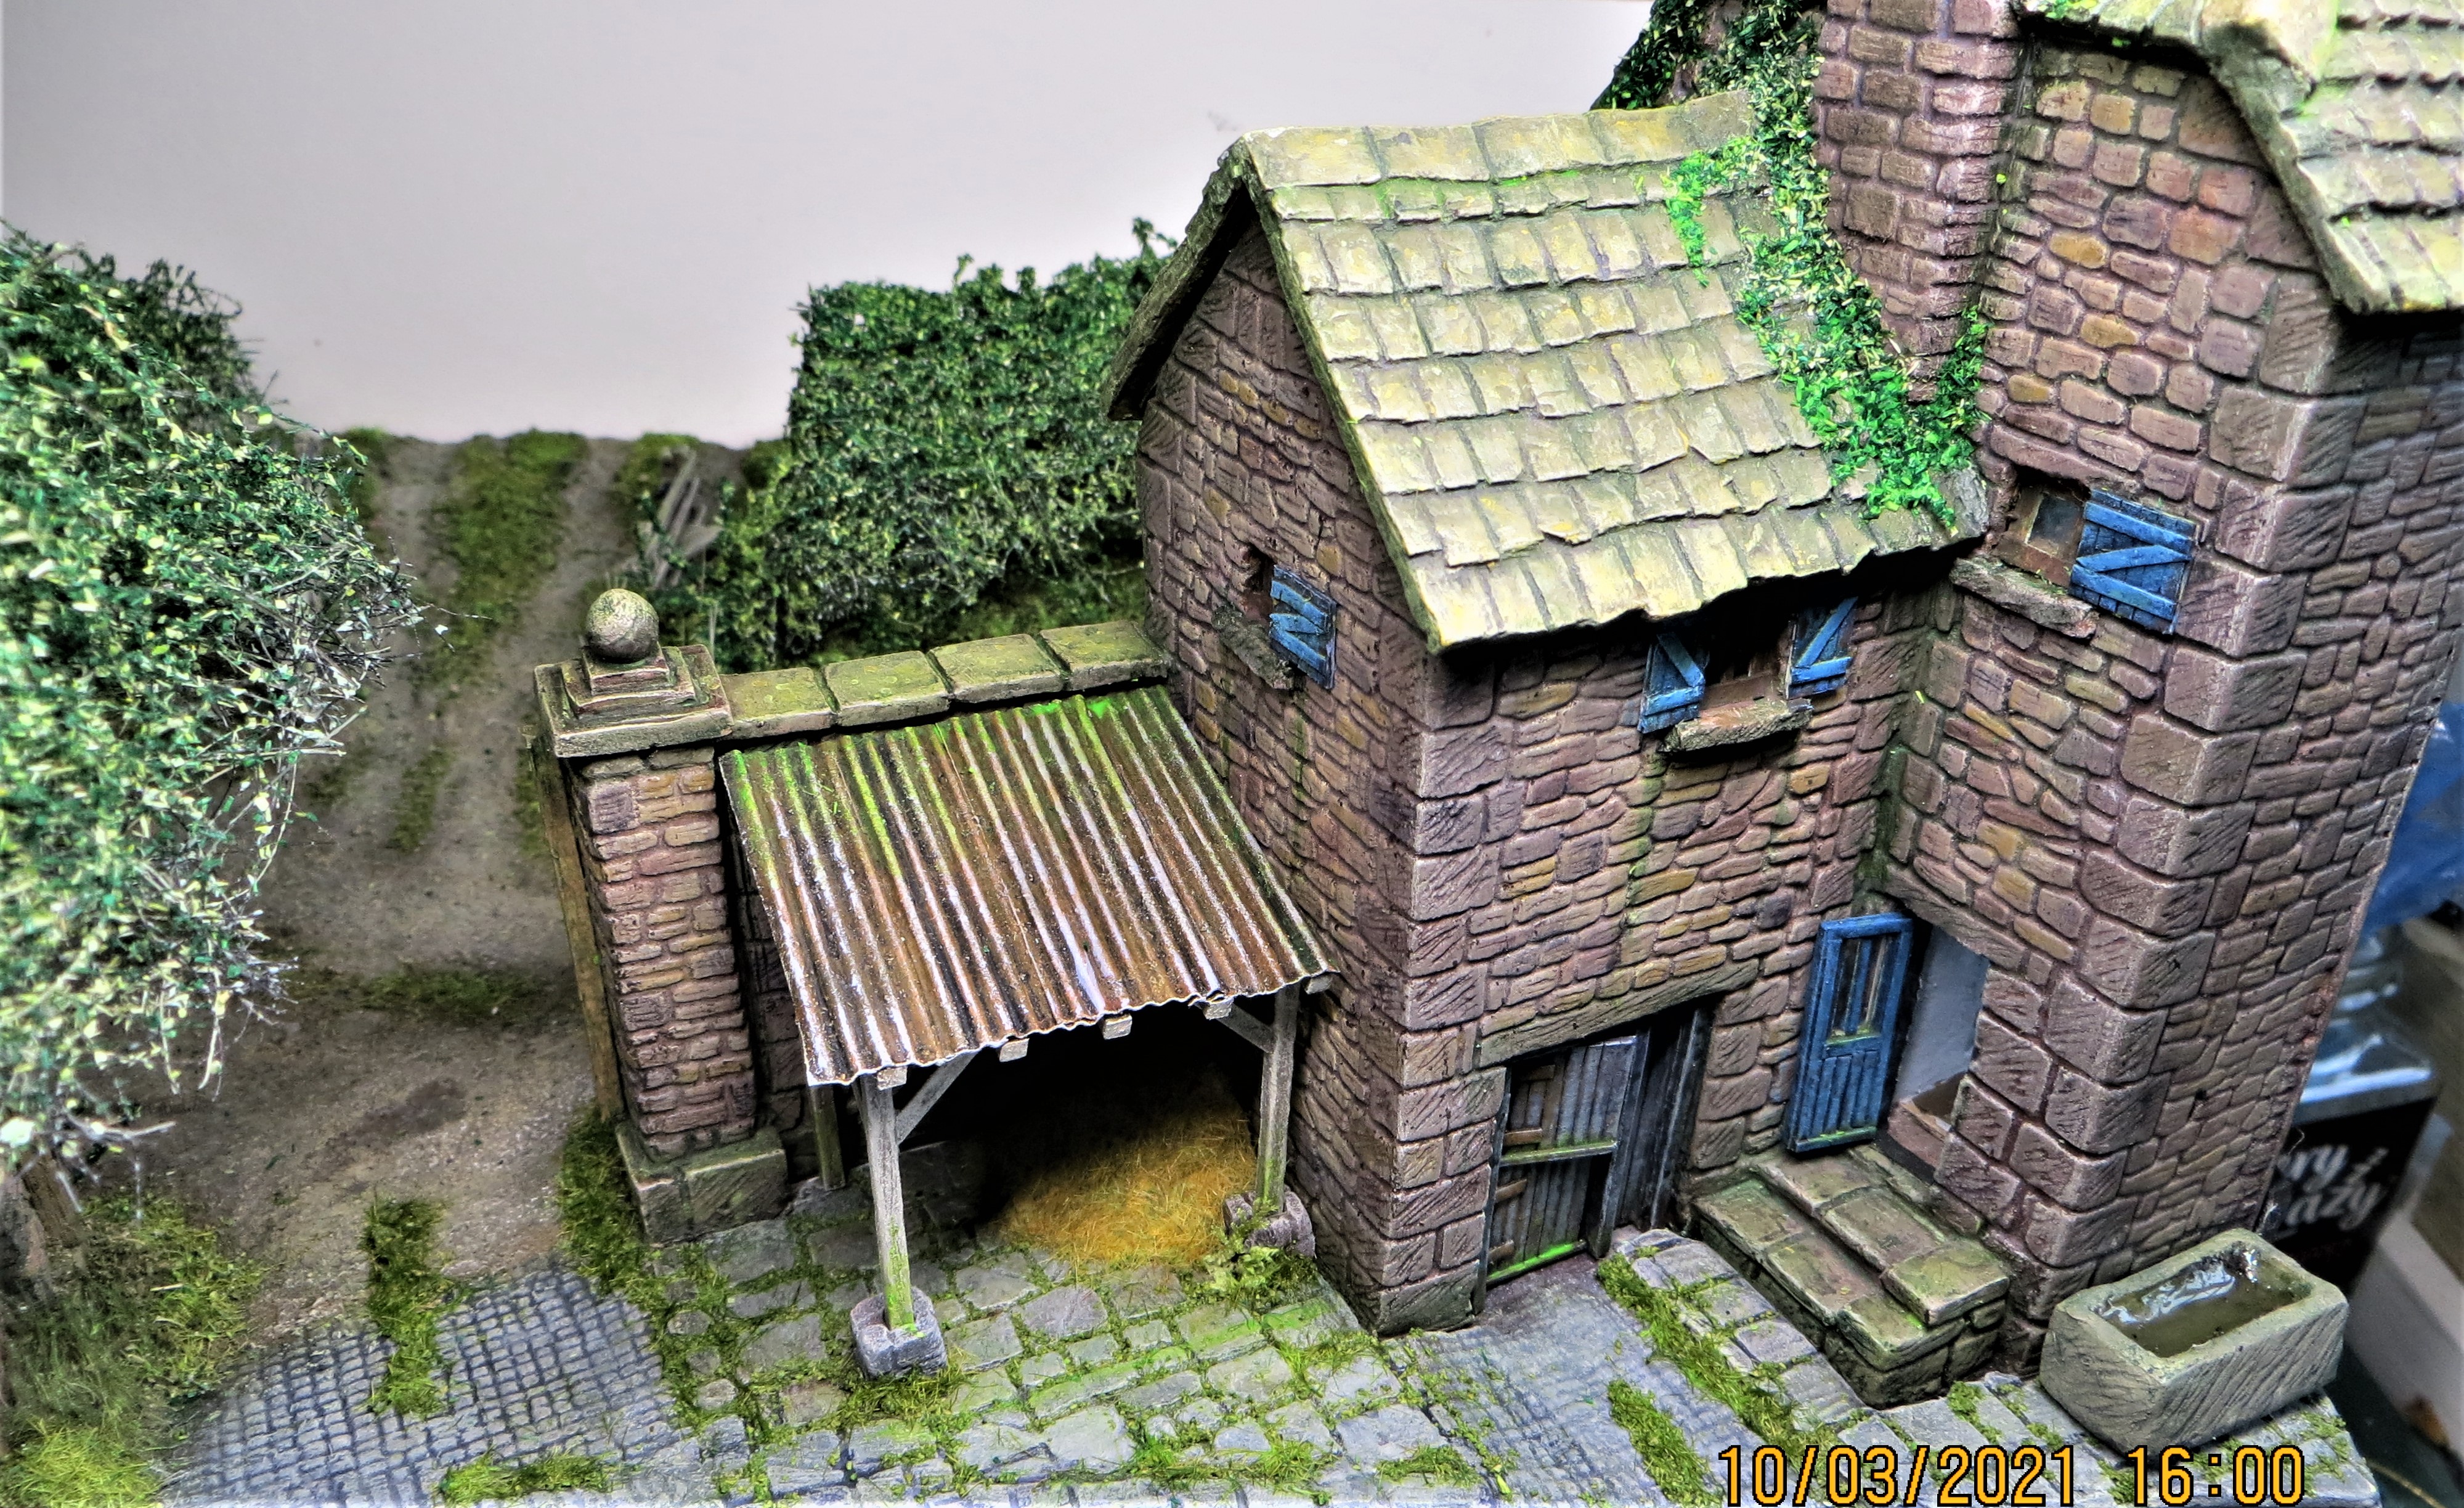
Until today I’ve not had chance to do anymore work for nearly a week, but have reached that stage where it’s lots of time for small gains,  .
.
Today I’ve managed to add a pile of hay/straw beneath the lean-to shelter and add grass/weeds in the gaps between the stonework of the farmyard.
Cheers, ,
G
4 Likes
I think that is genuinely one of the nicest little Dios I have seen … and there isnt even any vehicles or figures in it yet. And I know without even thinking about it, that in real light with those same backdrops as the others, it will look stunning G
Wow, I haven’t been here for a while, I see your wonderful work and I feel your pain John!
@G-man69 Your diorama base is something extra, you take the best out of 1/72 scale, love it!
I have almost all German 1/72 figure-kits that is available in 1/72 and a lot of allied as well, mostly Americans. After meeting you guys I realize I have get more of the British figures that are available.
Sorry to say that I don’t have any allied tankers at all.
1 Like
Thanks for the kind words John, much appreciated, .
G
I think you set the benchmark for braille-scale dioramas Erik, but thank you for the positive feedback, .
The number of ‘good’ sets of British/Commonwealth figures in 1/72nd is, imho, sorely lacking when compared to some of the other combatant nations,  .
.
G
1 Like
Hi all,
Good weather always impacts negatively on my modelling, so I’ve not made a great deal of progress recently, .
When it comes to building kits I’m strictly an OOB kind of modeller as I’m somewhat ham-fisted, but after building the two kits I was disappointed that the majority of crew hatches were non-poseable, only the commanders hatch on the Cromwell being able to be positioned as open…so I went back to the drawing board.
As my diorama isn’t meant to be set during combat I figured that the crew, especially those in the turrets wouldn’t be buttoned-up, so I decided to try and drill out the moulded on hatches and scratch a few replacements…something I would never contemplate, especially in a larger scale. However, I figured that in braille scale most of my heavy handed work could be hidden,  .
.
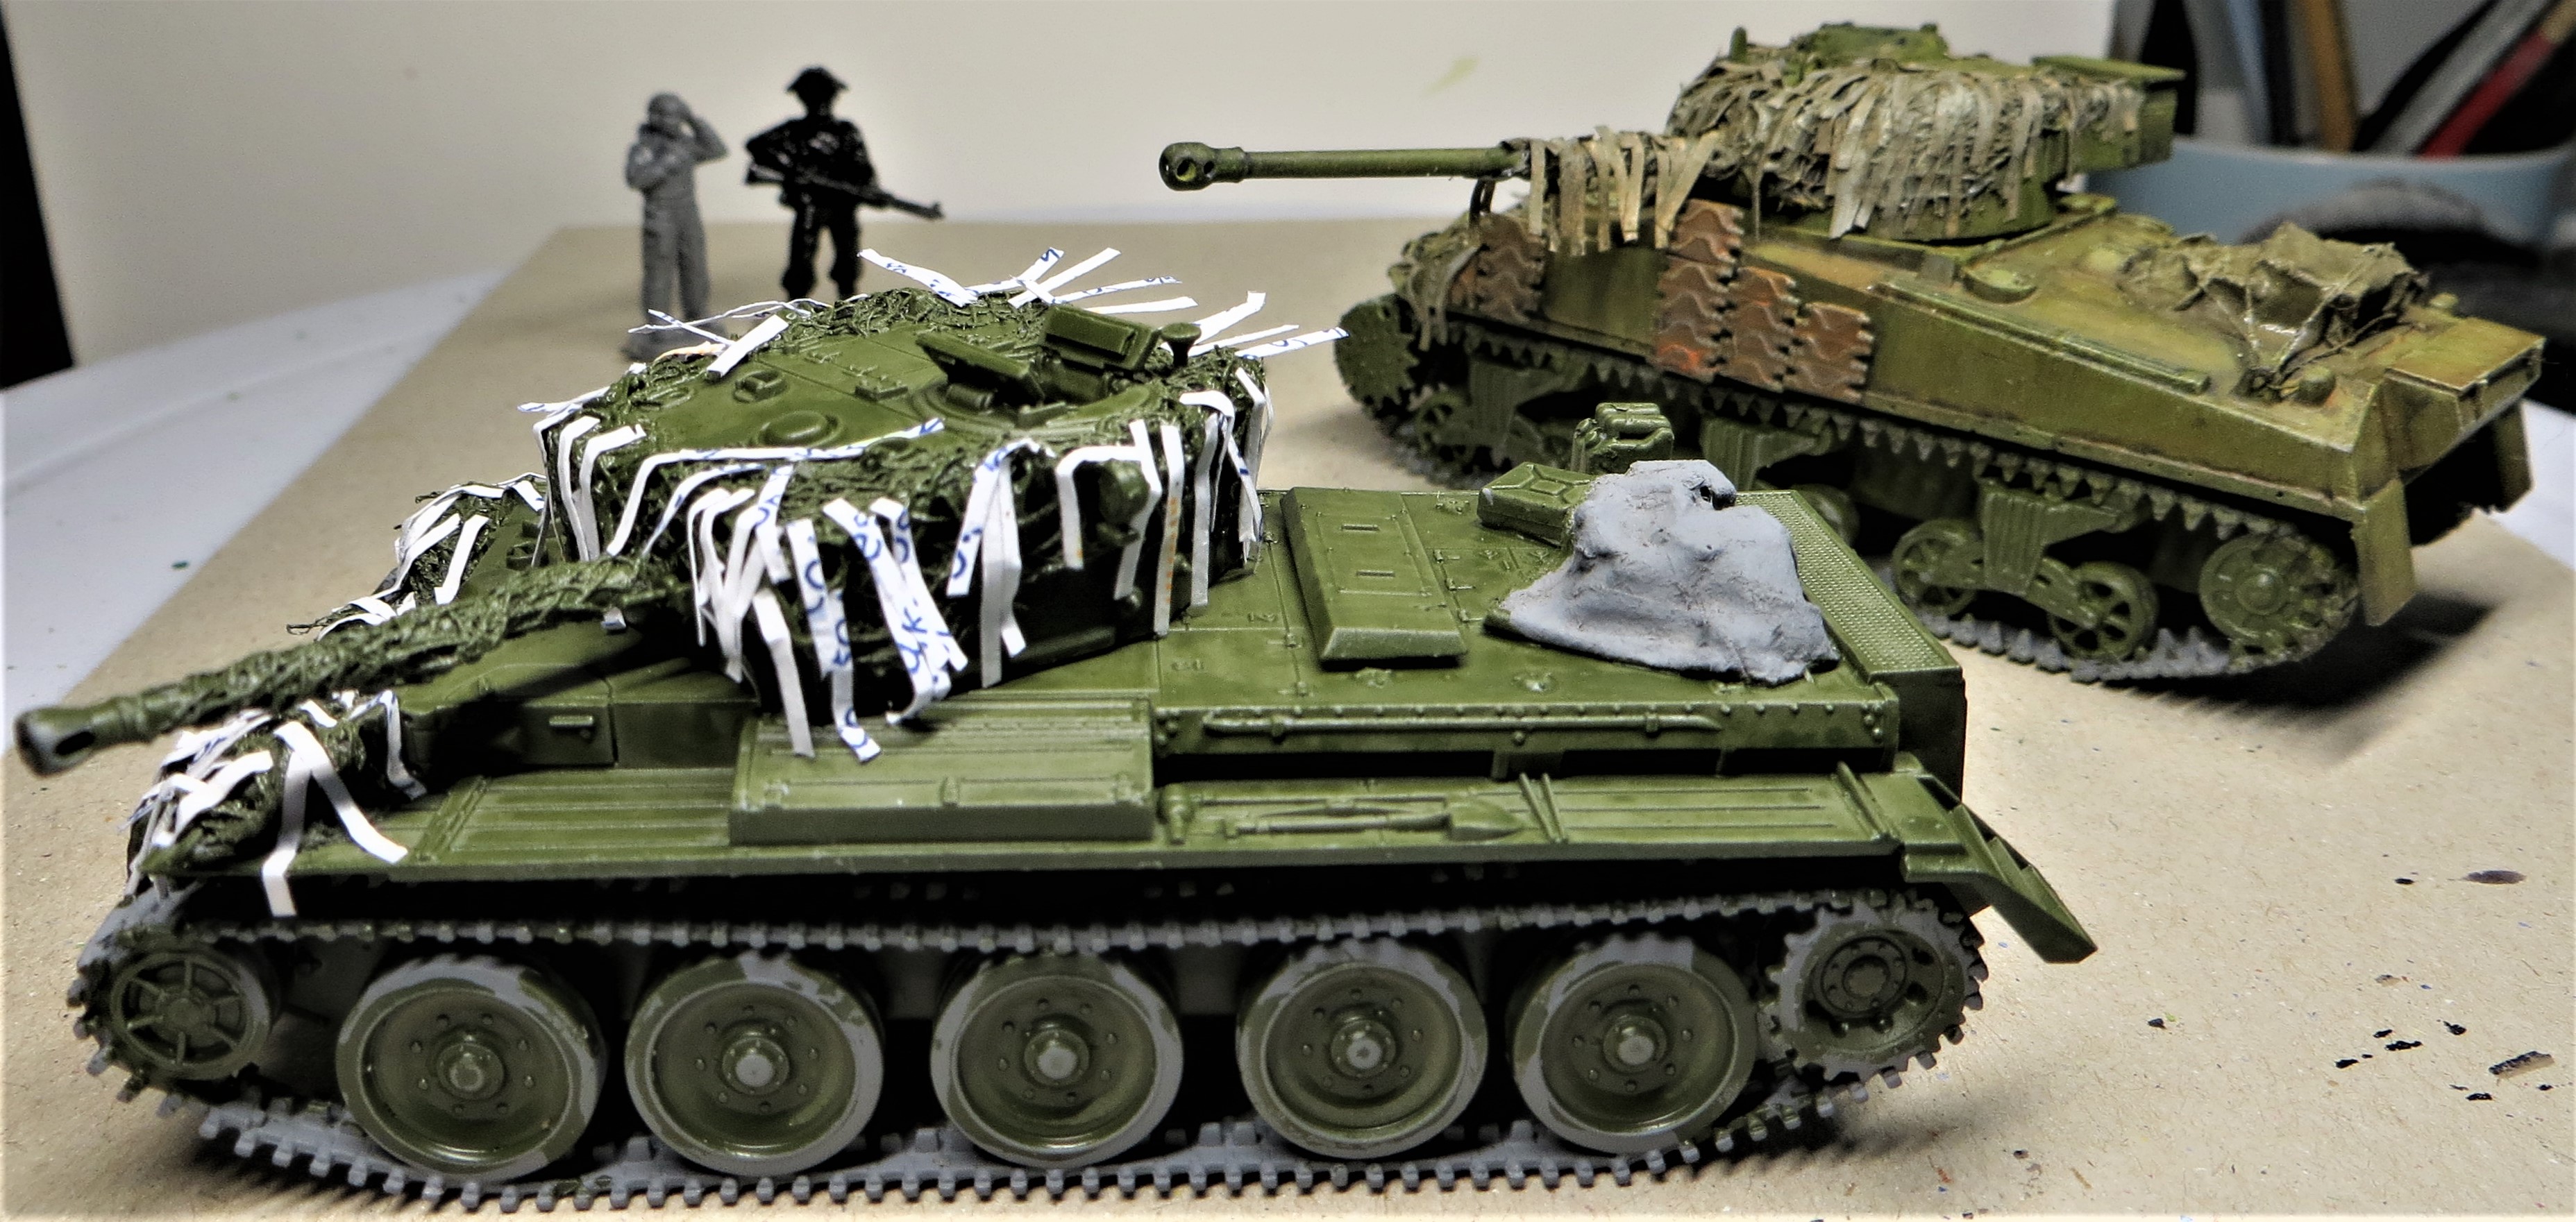
I also didn’t like the look of the ‘heavy’ mudguard flaps on the rear of the firefly, so decided to cut these off.
Firefly before, with heavy flaps and moulded shut turret hatches:
After, with flaps removed and scratched hatches:
Cromwell before, with only commanders hatch open:
After, with both hatches open:
I wasn’t even going to think about the hull hatches in either vehicle,  .
.
Cheers, ,
G
4 Likes
Very well drilled !! That will make a big difference for a non combat scene and allow for more scope on figure placement
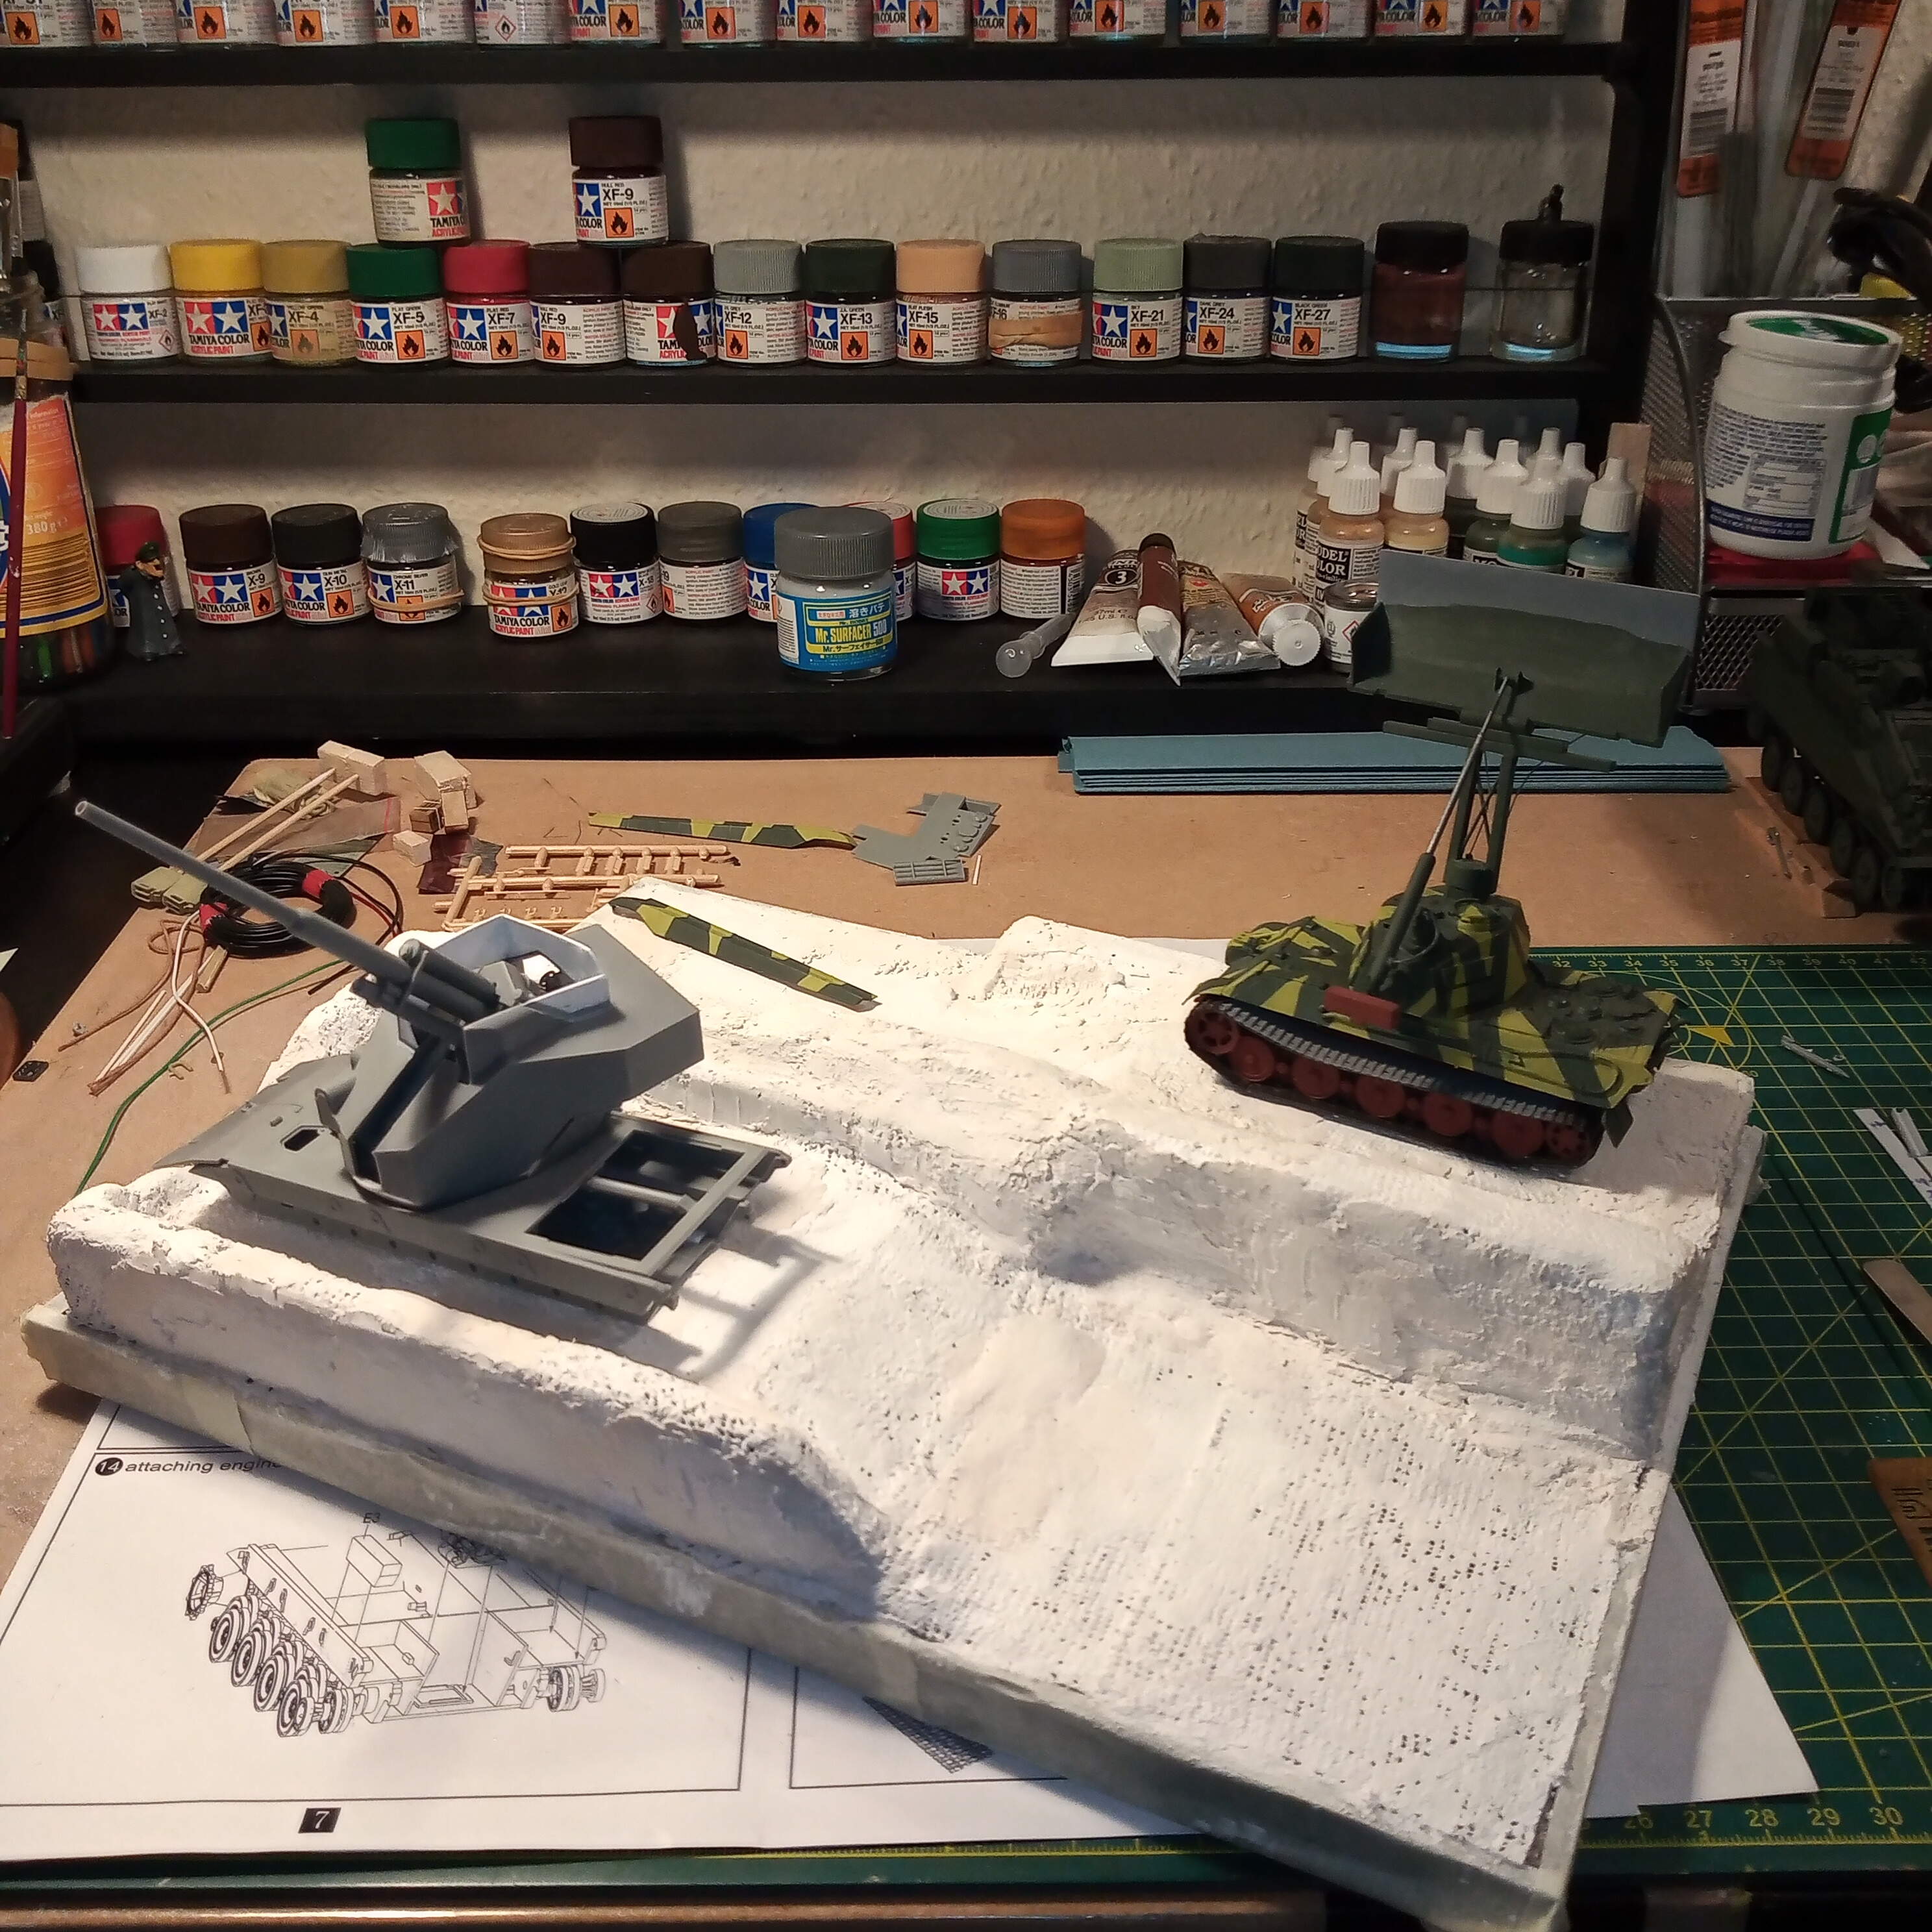
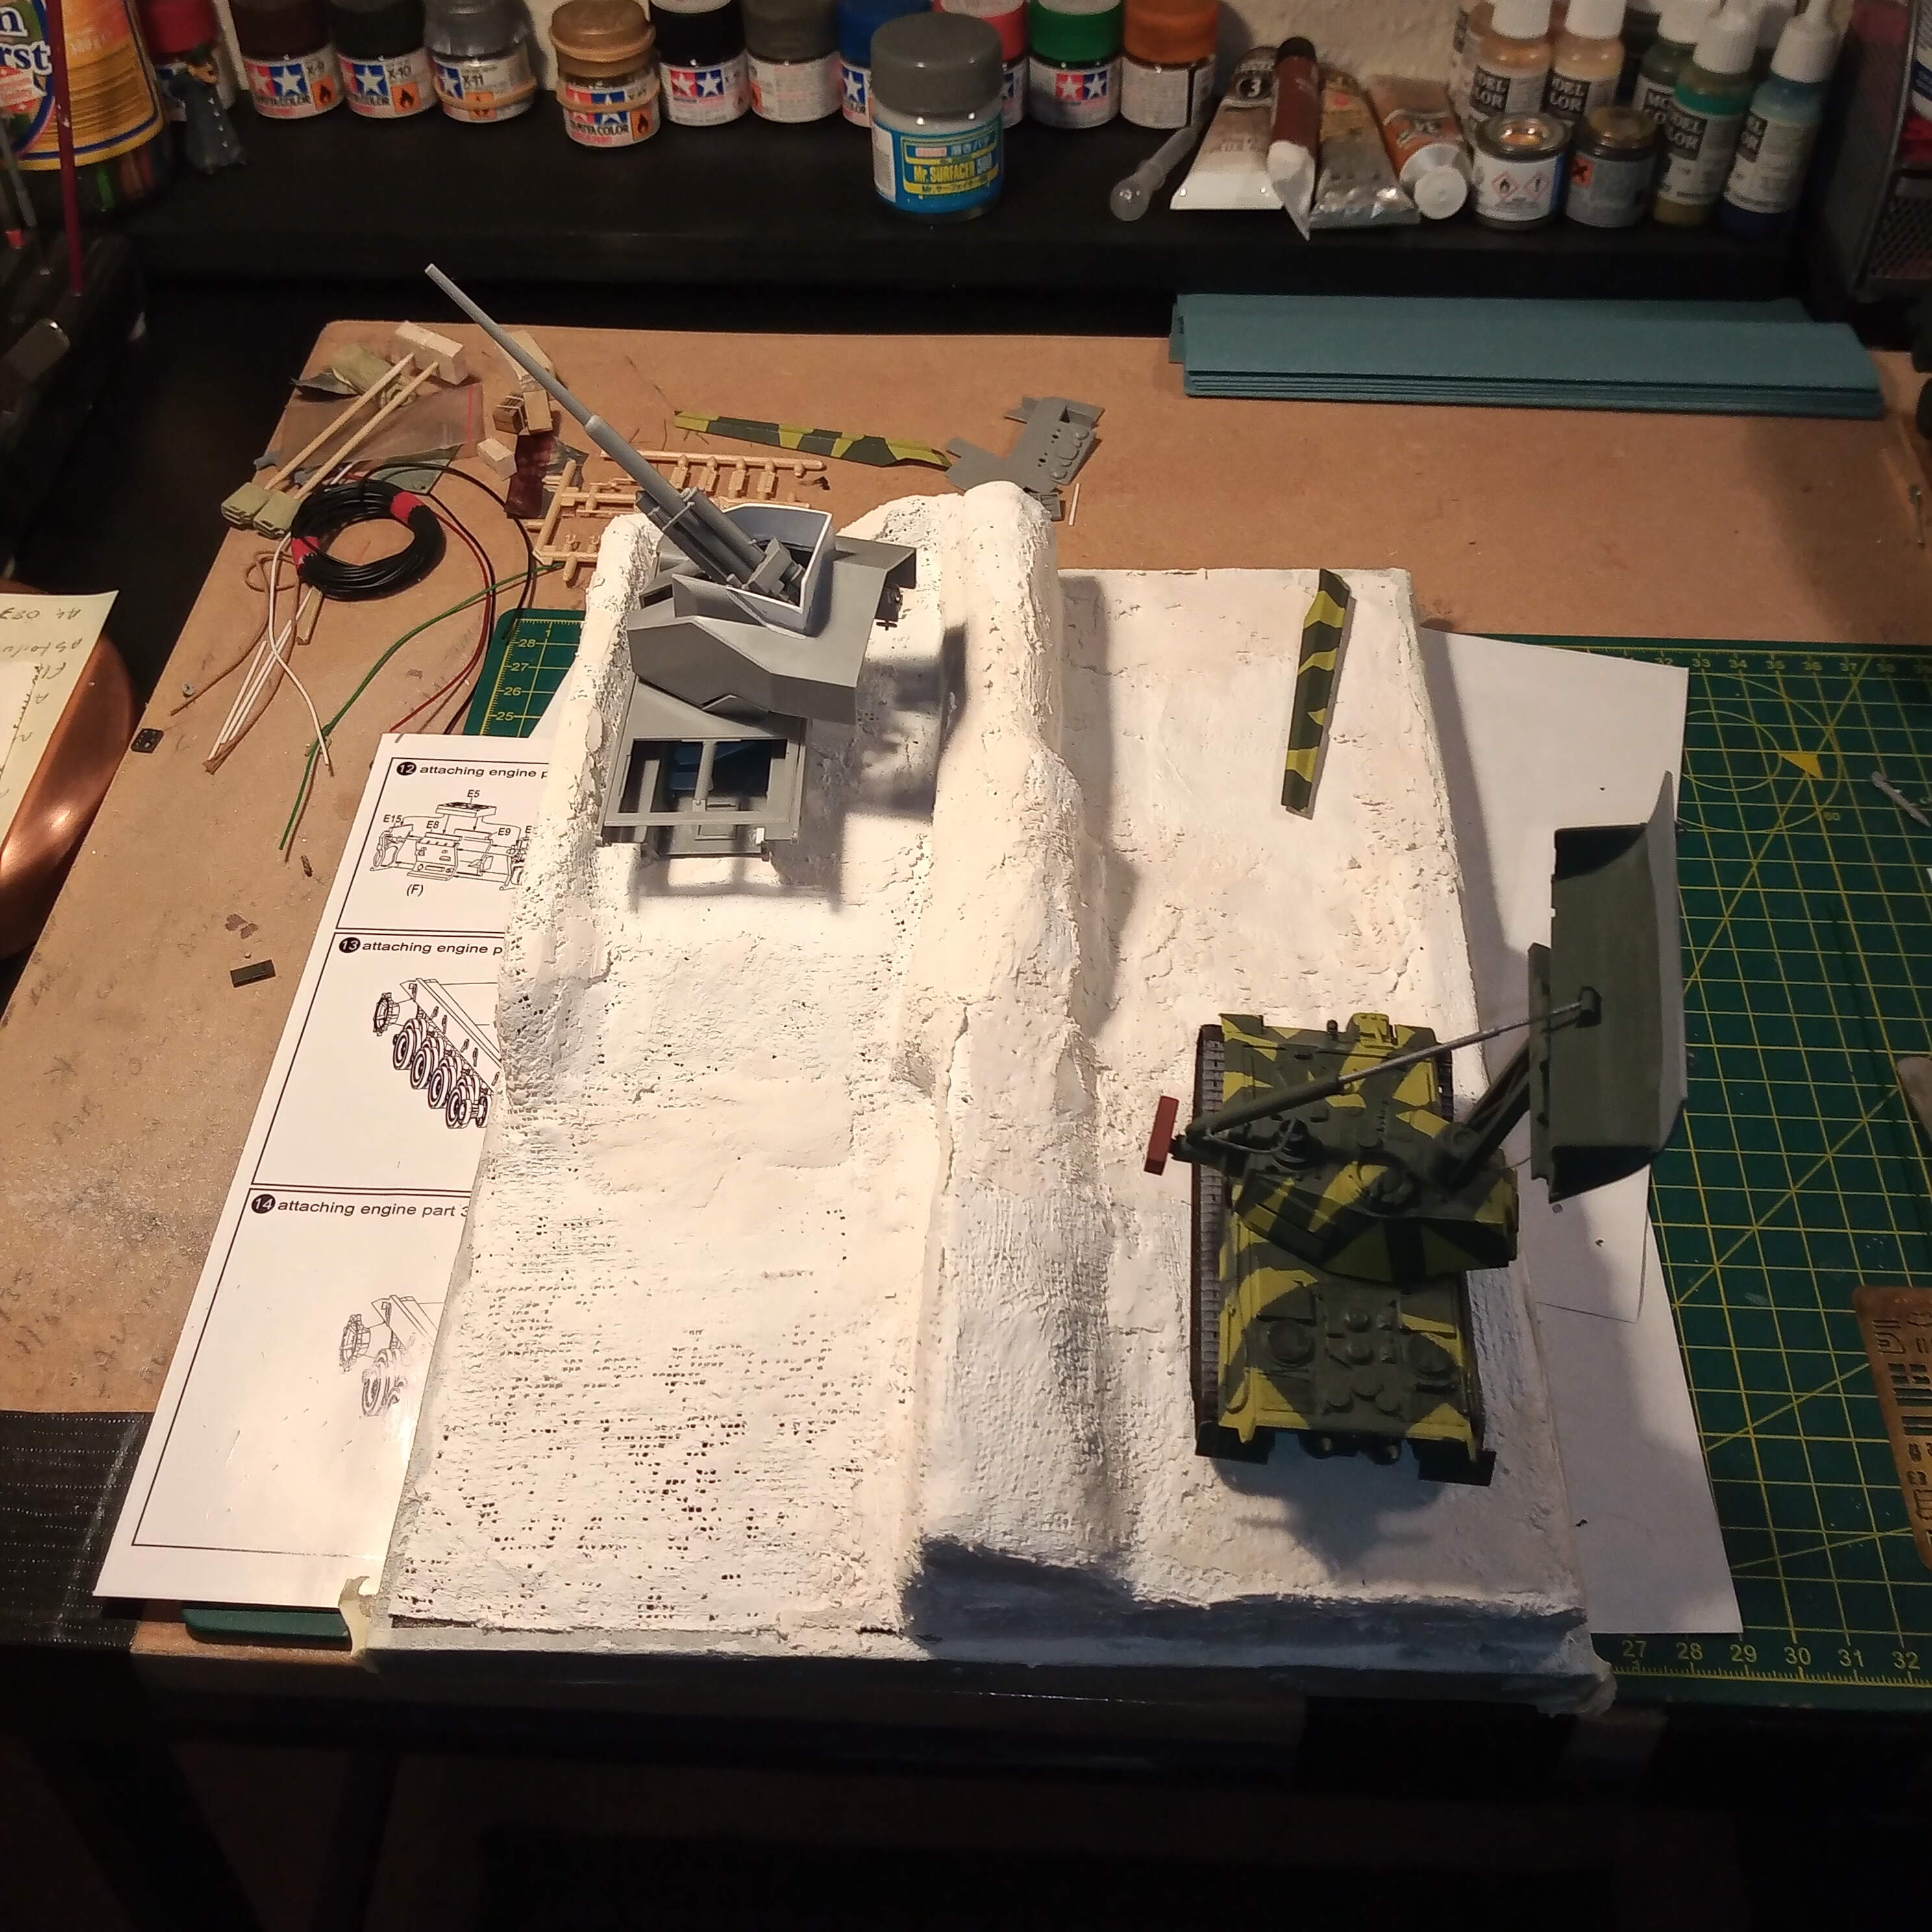
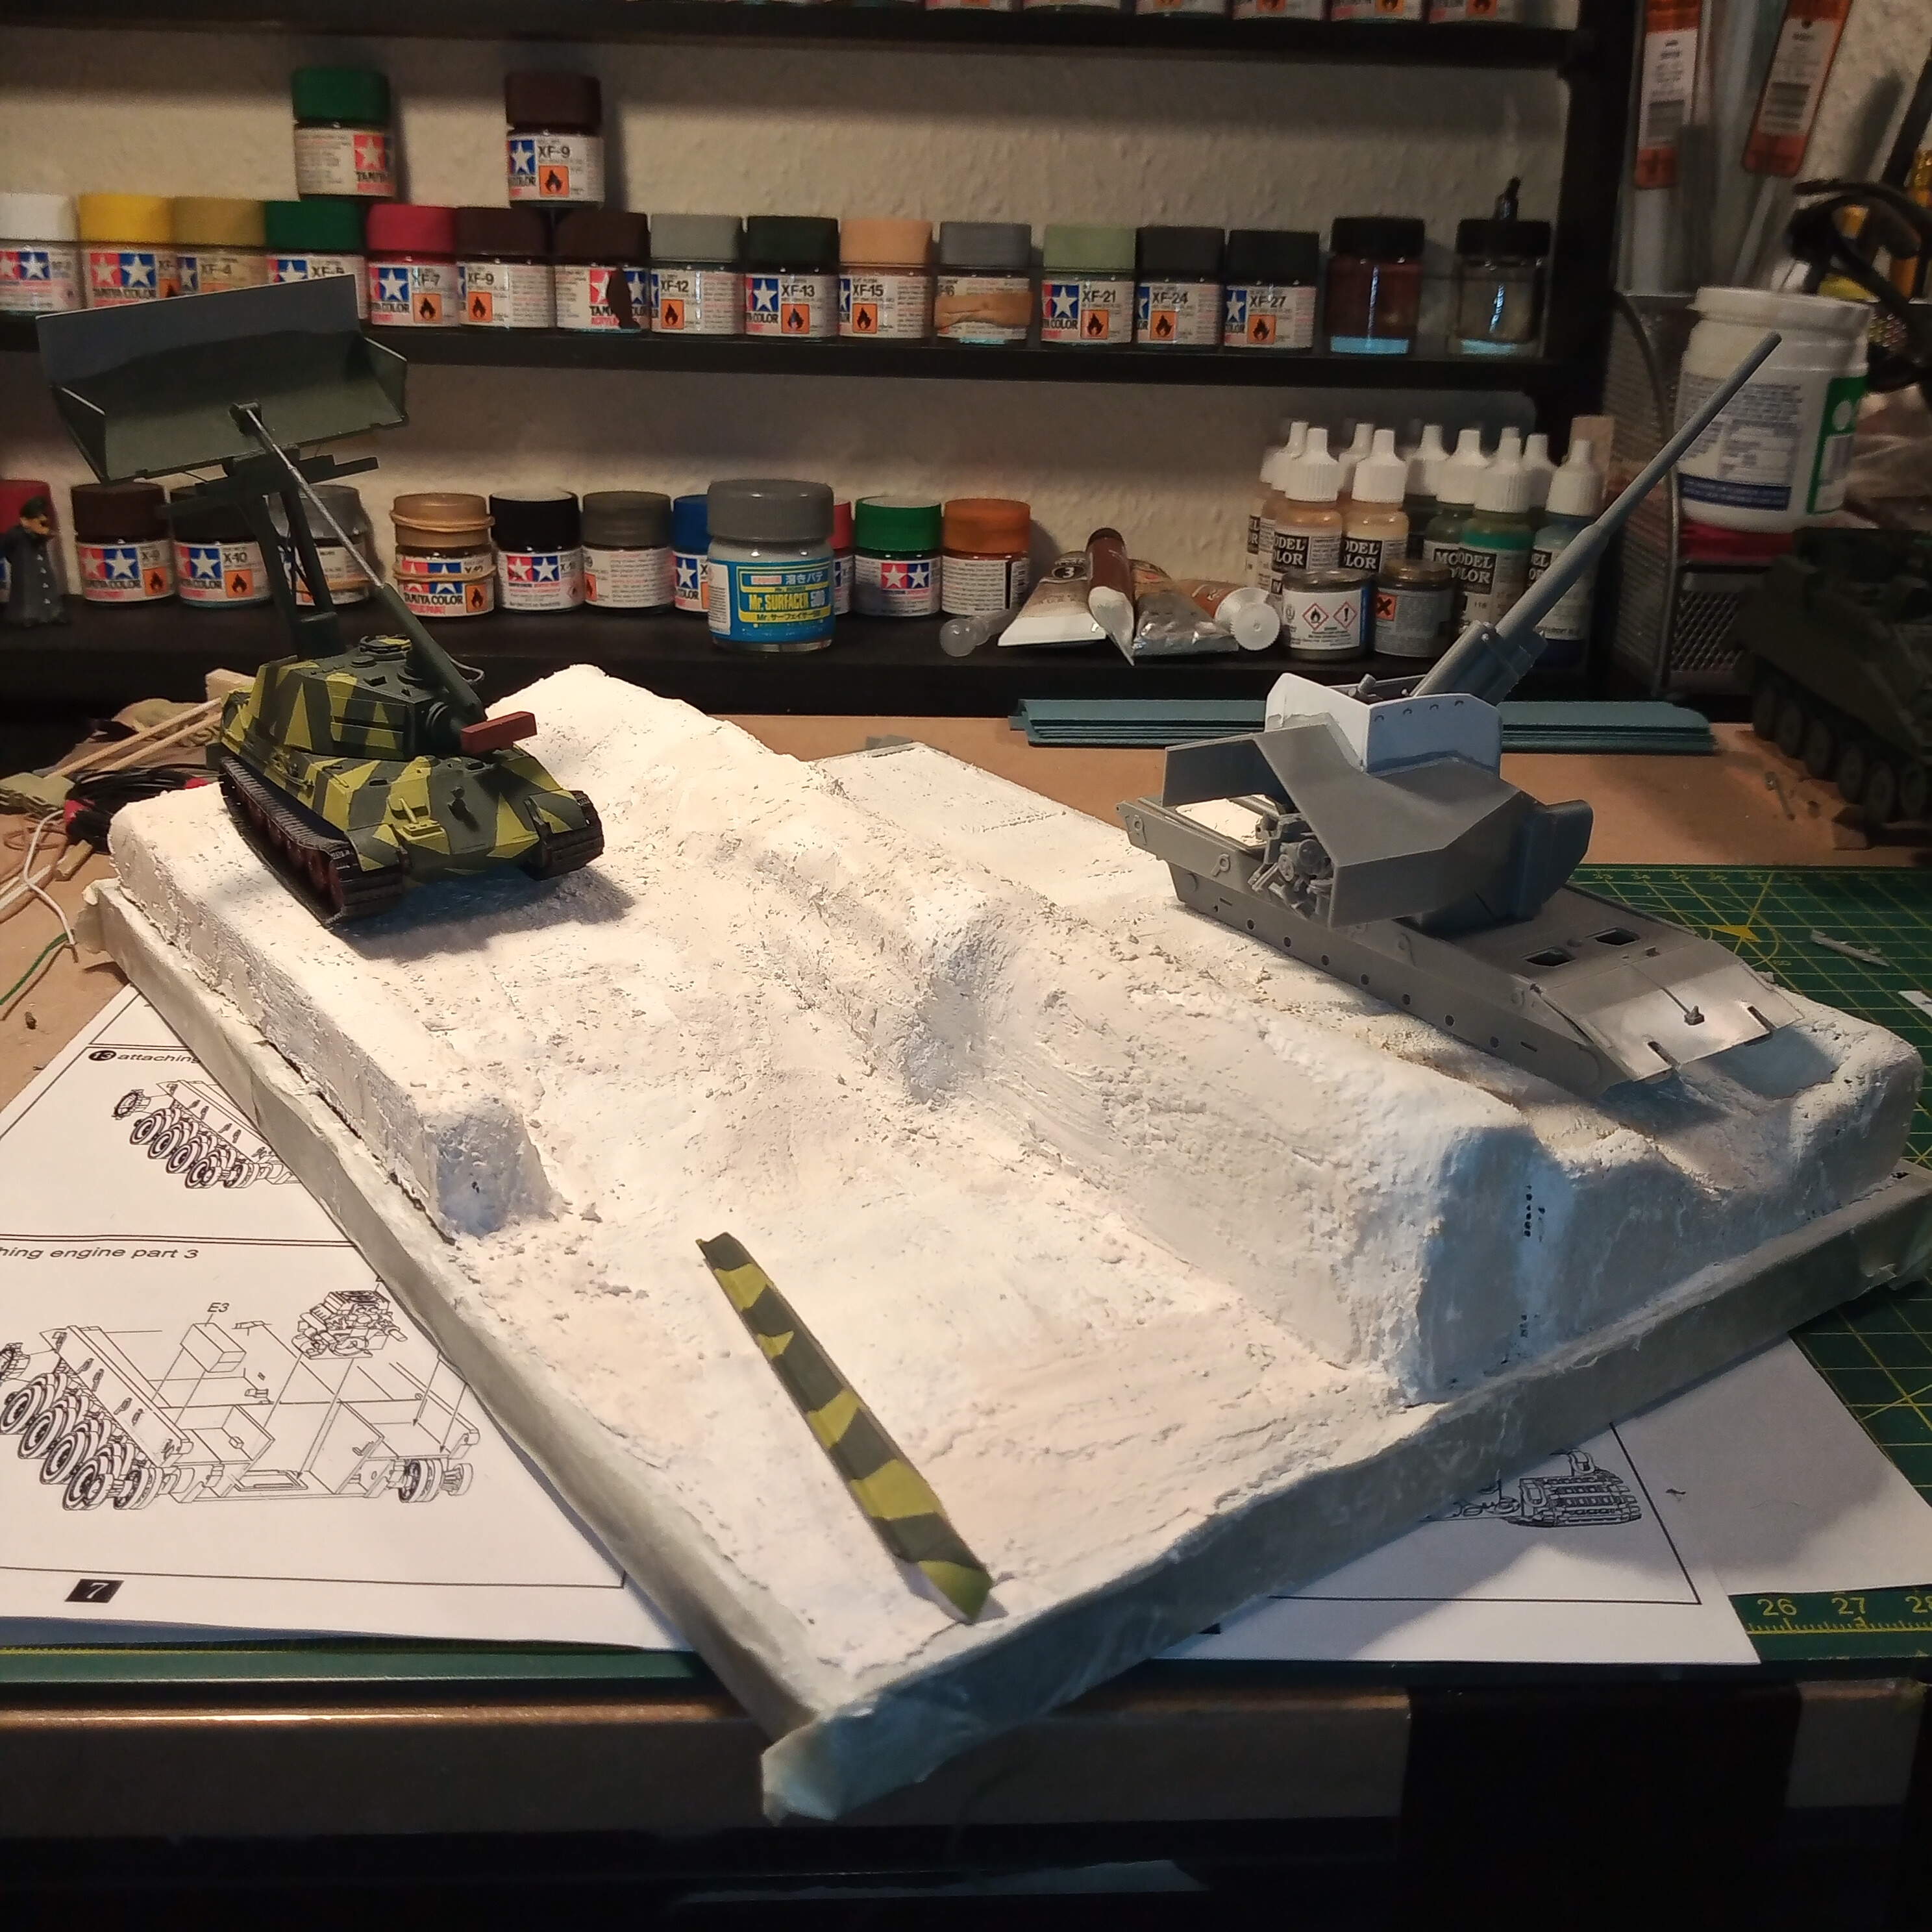
I have got a bit further along with both the KT tracker array and the E100 Flak40 so thought I see what sort of area they take up on the backdrop.
I was initially thinking of the semi bunkers as being covered with cam nets, but am now thinking of possibly at least one of them being a hardened permanent bunker with overhead protection. They would still be cut away from the side so the inside is visible.
4 Likes
@G-man69 nice work!
@Johnnych01 Looking good, but I don’t understand, will you see a part of the “inside of the bunker as well”?
Yes Erik, on the side the Flak40 gun is pointing, that will be open, so the hide bunker will have a sloped side coming up from the KT side and then a roof with soil/ grass on top of it. That will hopefully run to the invisible edge of the Dio base/frame, so you can see inside. I will try and do a very crude mock up later.
1 Like