I wanted to build the F-111A for a long time… Years ago I’ve bought a Hasegawa kit of the FB-111A (only one I could get my hands on back than) - but it wasn’t the right variant for Vietnam, so I traded it for this one:
Since then Hasegawa reissued (and they are gone again) the “righteous” F-111A, but I decided to stick with my plan of converting the above kit to an F-111A. Most of the necessary parts are there anyhow, what’s actually missing is the lower hull. Then again, from my friends in Poland I got two lower hulls with wide air intakes (thanks a lot guys!). So I’ll try to put it all together, let’s see how this turns out.
I’m starting with the toughest nut, the lower hull, but first I have to take care of the main landing gear bay and the air intakes. Here’s how the bay looks now:
I added some simple details. The rear wall will be detailed with the kit part for the main landing gear. This part will be installed after the hull is done. The front bulkhead would stay blank as per kit instructions, but I intend to put some gizmology ther to make it look as busy as it should be.Then again I don’t think a lot will be seen of it, because it looks like the airbrake/gear door will obscure the view.
Right after glue dried on the gear bay and the intakes I broke out the saw and let it rip:
I installed two ribs pointed to by two red arrows that will help to stiffen the rear hull that is surprisingly flimsy. Those ribs are 6mm high for those who would like to build something similar in their models:
So the hull is already drying and in the meantime I started working on the cockpit:
That’d be it for now - thanks for looking and have a nice day!
Hello! @Nito74 - thanks a lot for your kind words! I try my best. There are yahoos out there, that manage evem more - I’m sure they use microscopes for that.
And I have a small update - I was working on the front bulkhead of the main gear bay, to have it done before joining front and rear parts of the fuselage.
First I scratchbuilt this:
If I was building out of the box the gear bay would look like this:
After installing my scratchbuilt (and painted) part it has a chance to look like this:
Probably little or nothing of it will be seen above the open airbrake, but I’d rather not have a “bald spot” there…
Hello everybody!
Thanks a lot for your comments! @SenorOuiOui , @Pitar - thanks a lot for your kind words! @Nito74 - don’t worry, look at these pictures:
Looks about right, eh?
As you can see I’m starting to build up the air intakes. I painted the splitter plates black before installing them to not have to worry about reaching the tight spots under them - and there is the intake sucking up the boundary layer shown there.
But I have to say that the parts for the air intakes don’t fit too good. avoiding the gaps here will take some work.
Thanks for looking and have a nice day!
It’s been a long time without an update, but the work has been going on…
I’ve built the intakes:
I’ve also built the wings after painting the flat and slot cavities red. I used a heavy metal ruler to straighten the wings a little, because they had a tendency to curve upwards slightly:
I haven’t written here for a long time, because this project was on hold for some time, but now I’m movin’ on again:
I’m preparing the cockpit for closing it up:
Close up on the canopy glass. I made the frames with strips of painted decal and the rescue capsule release handles were upgraded:
Here’s what the instruments look like:
And here’s the hull rear:
I’m preparing everything to start painting the SEA camouflage. I think I’ll paint the wings separately, because they are removable. I plan to paint the engines after painting the camouflage
I’ve got another, long overdue update here. I’m building the loadout of 16 SUU-30 cluster bomb dispensers + 1 spare. This is my design printed by my friend Przemek:
I have finally managed to start painting this big baby. This is how it looked like in the beginning:
Instead of engines you can see a fancy holder professionally constructed out of pencils, bubble wrap and masking tape.
For painting I used the “orange” Hataka paints - they go on very well, I’m a big fan!
First colour (tan - C012) I have put on with wings disassembled, then, after paint dried I have dry fitted everything to have colour demarcations fit. The spots are marked with Patafix rolls and masking tape:
Dark green (C016) and medium green (C021) were attached later. After taking down the masking I have disassembled the wings and tail again:
This way (disassembled) it will be easier to mask and add the fourth colour (undersides - black).
There are some problematic spots, but I’m actually pretty happy with my paint job. Especially how the difference between the two tones of green turned out. So now I’ll make a few fixes, then I’ll mask the top and paint the underside black.
That’s looking very sharp!
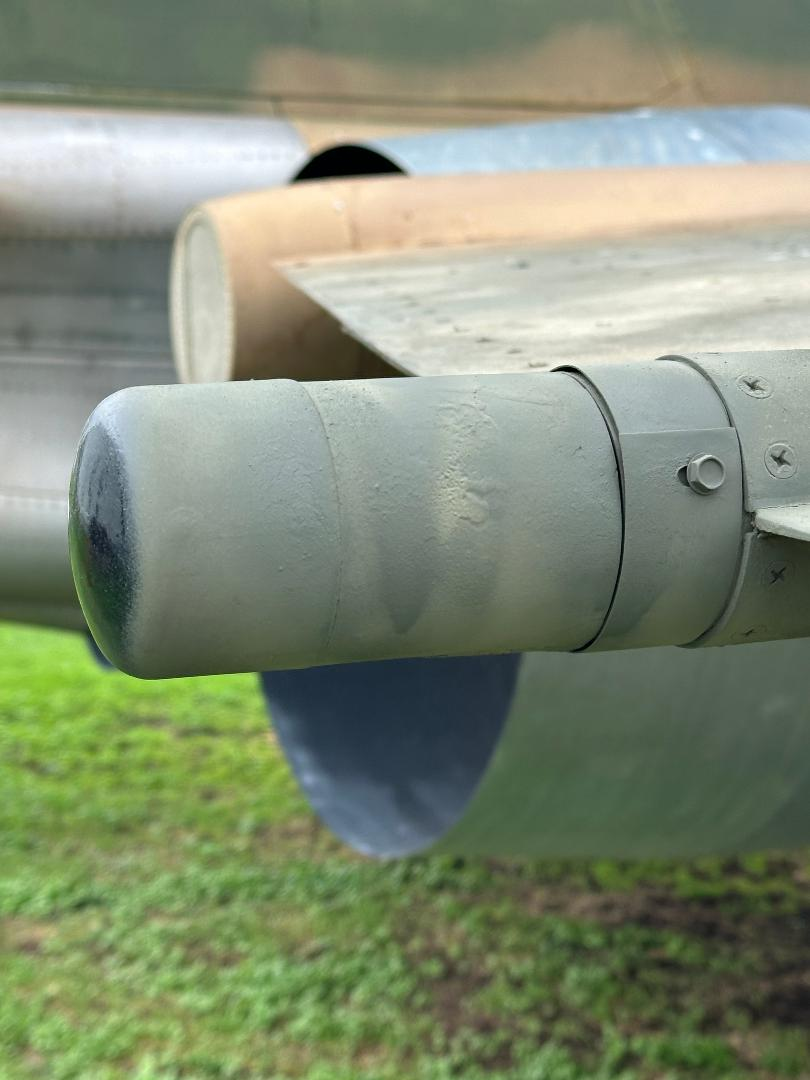
I myself had to fabricate an ECM sensor out of steel tubing and PCV the other day. Kids keep pulling on it. This time the steel tubing will keep in on. Prior to that it was very thin wall plastic. Still needs to have the whole end cap painted black.