Hello everyone, testing out the new forum. This would be my first post and I would like to share several of my 1/72 projects relating to AA(anti-aircraft) guns. Right now, I am concentrating on the ZU-23-2s as mounted in various platforms. For starters, I will share a build log of a ZSU-23-2 on top of a BTS-4A. Some of you may have seen pictures of this build on Facebook but I thought it would make a good topic for this new forum. Here it goes.
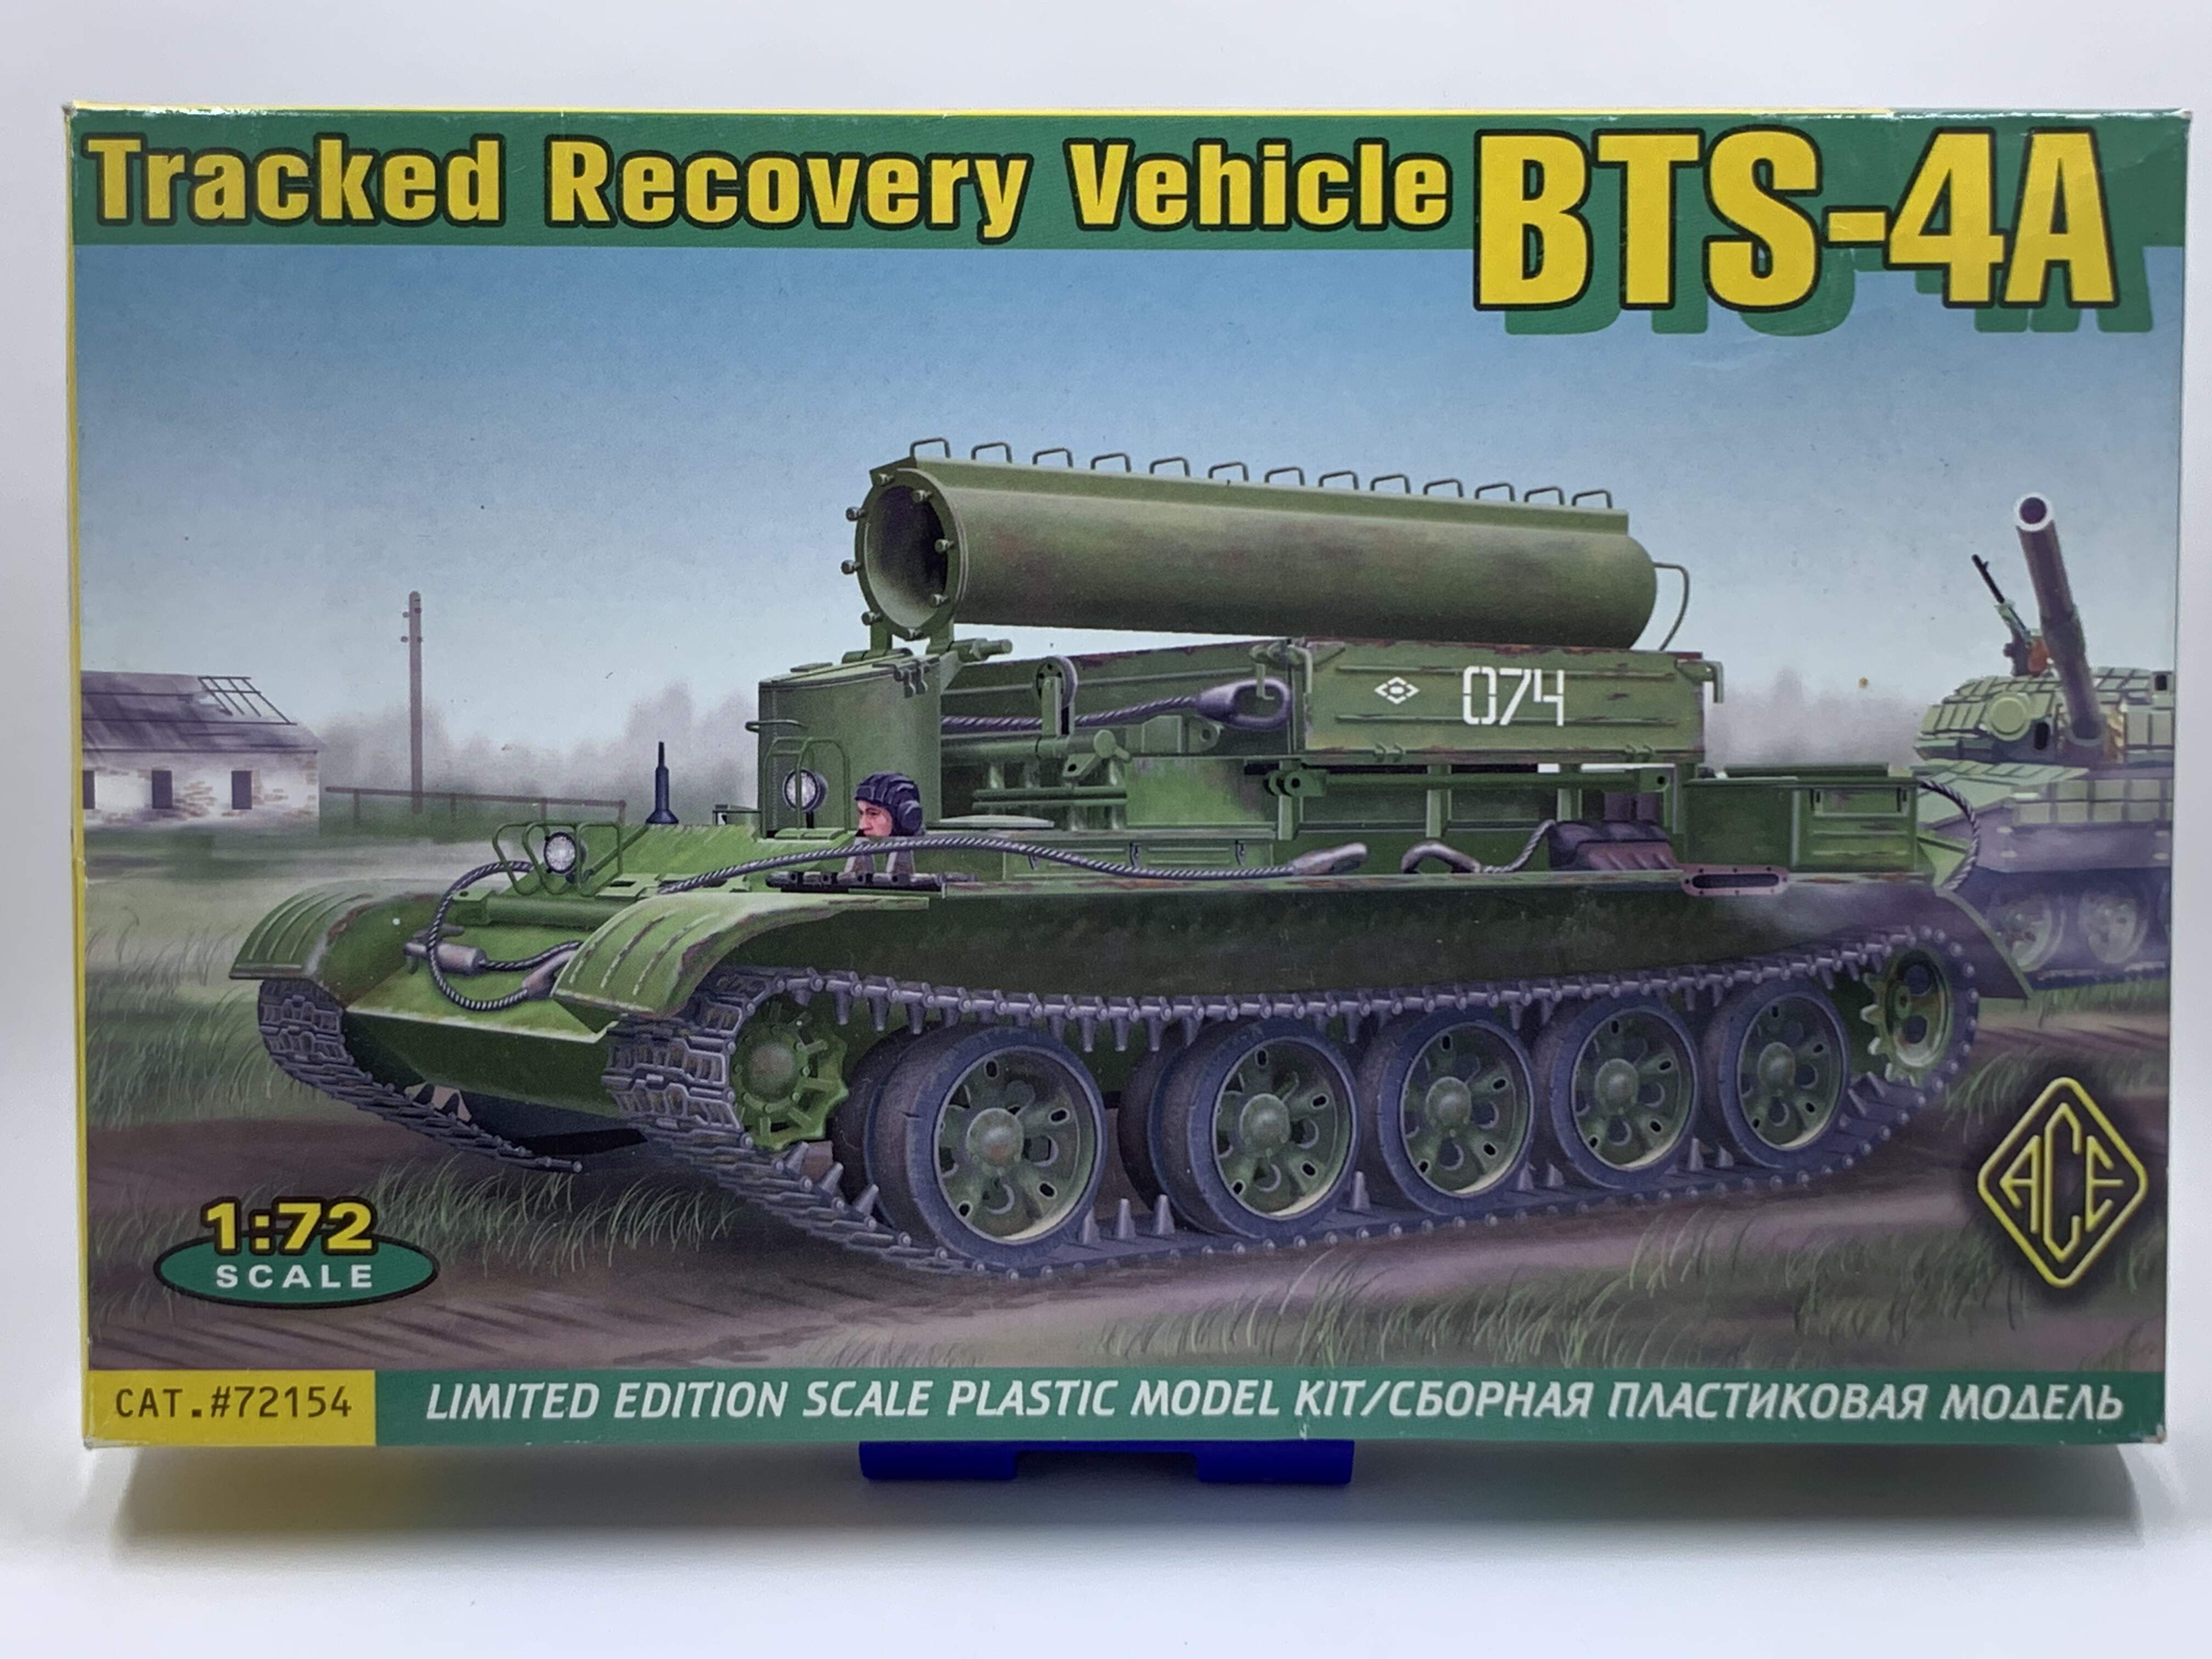
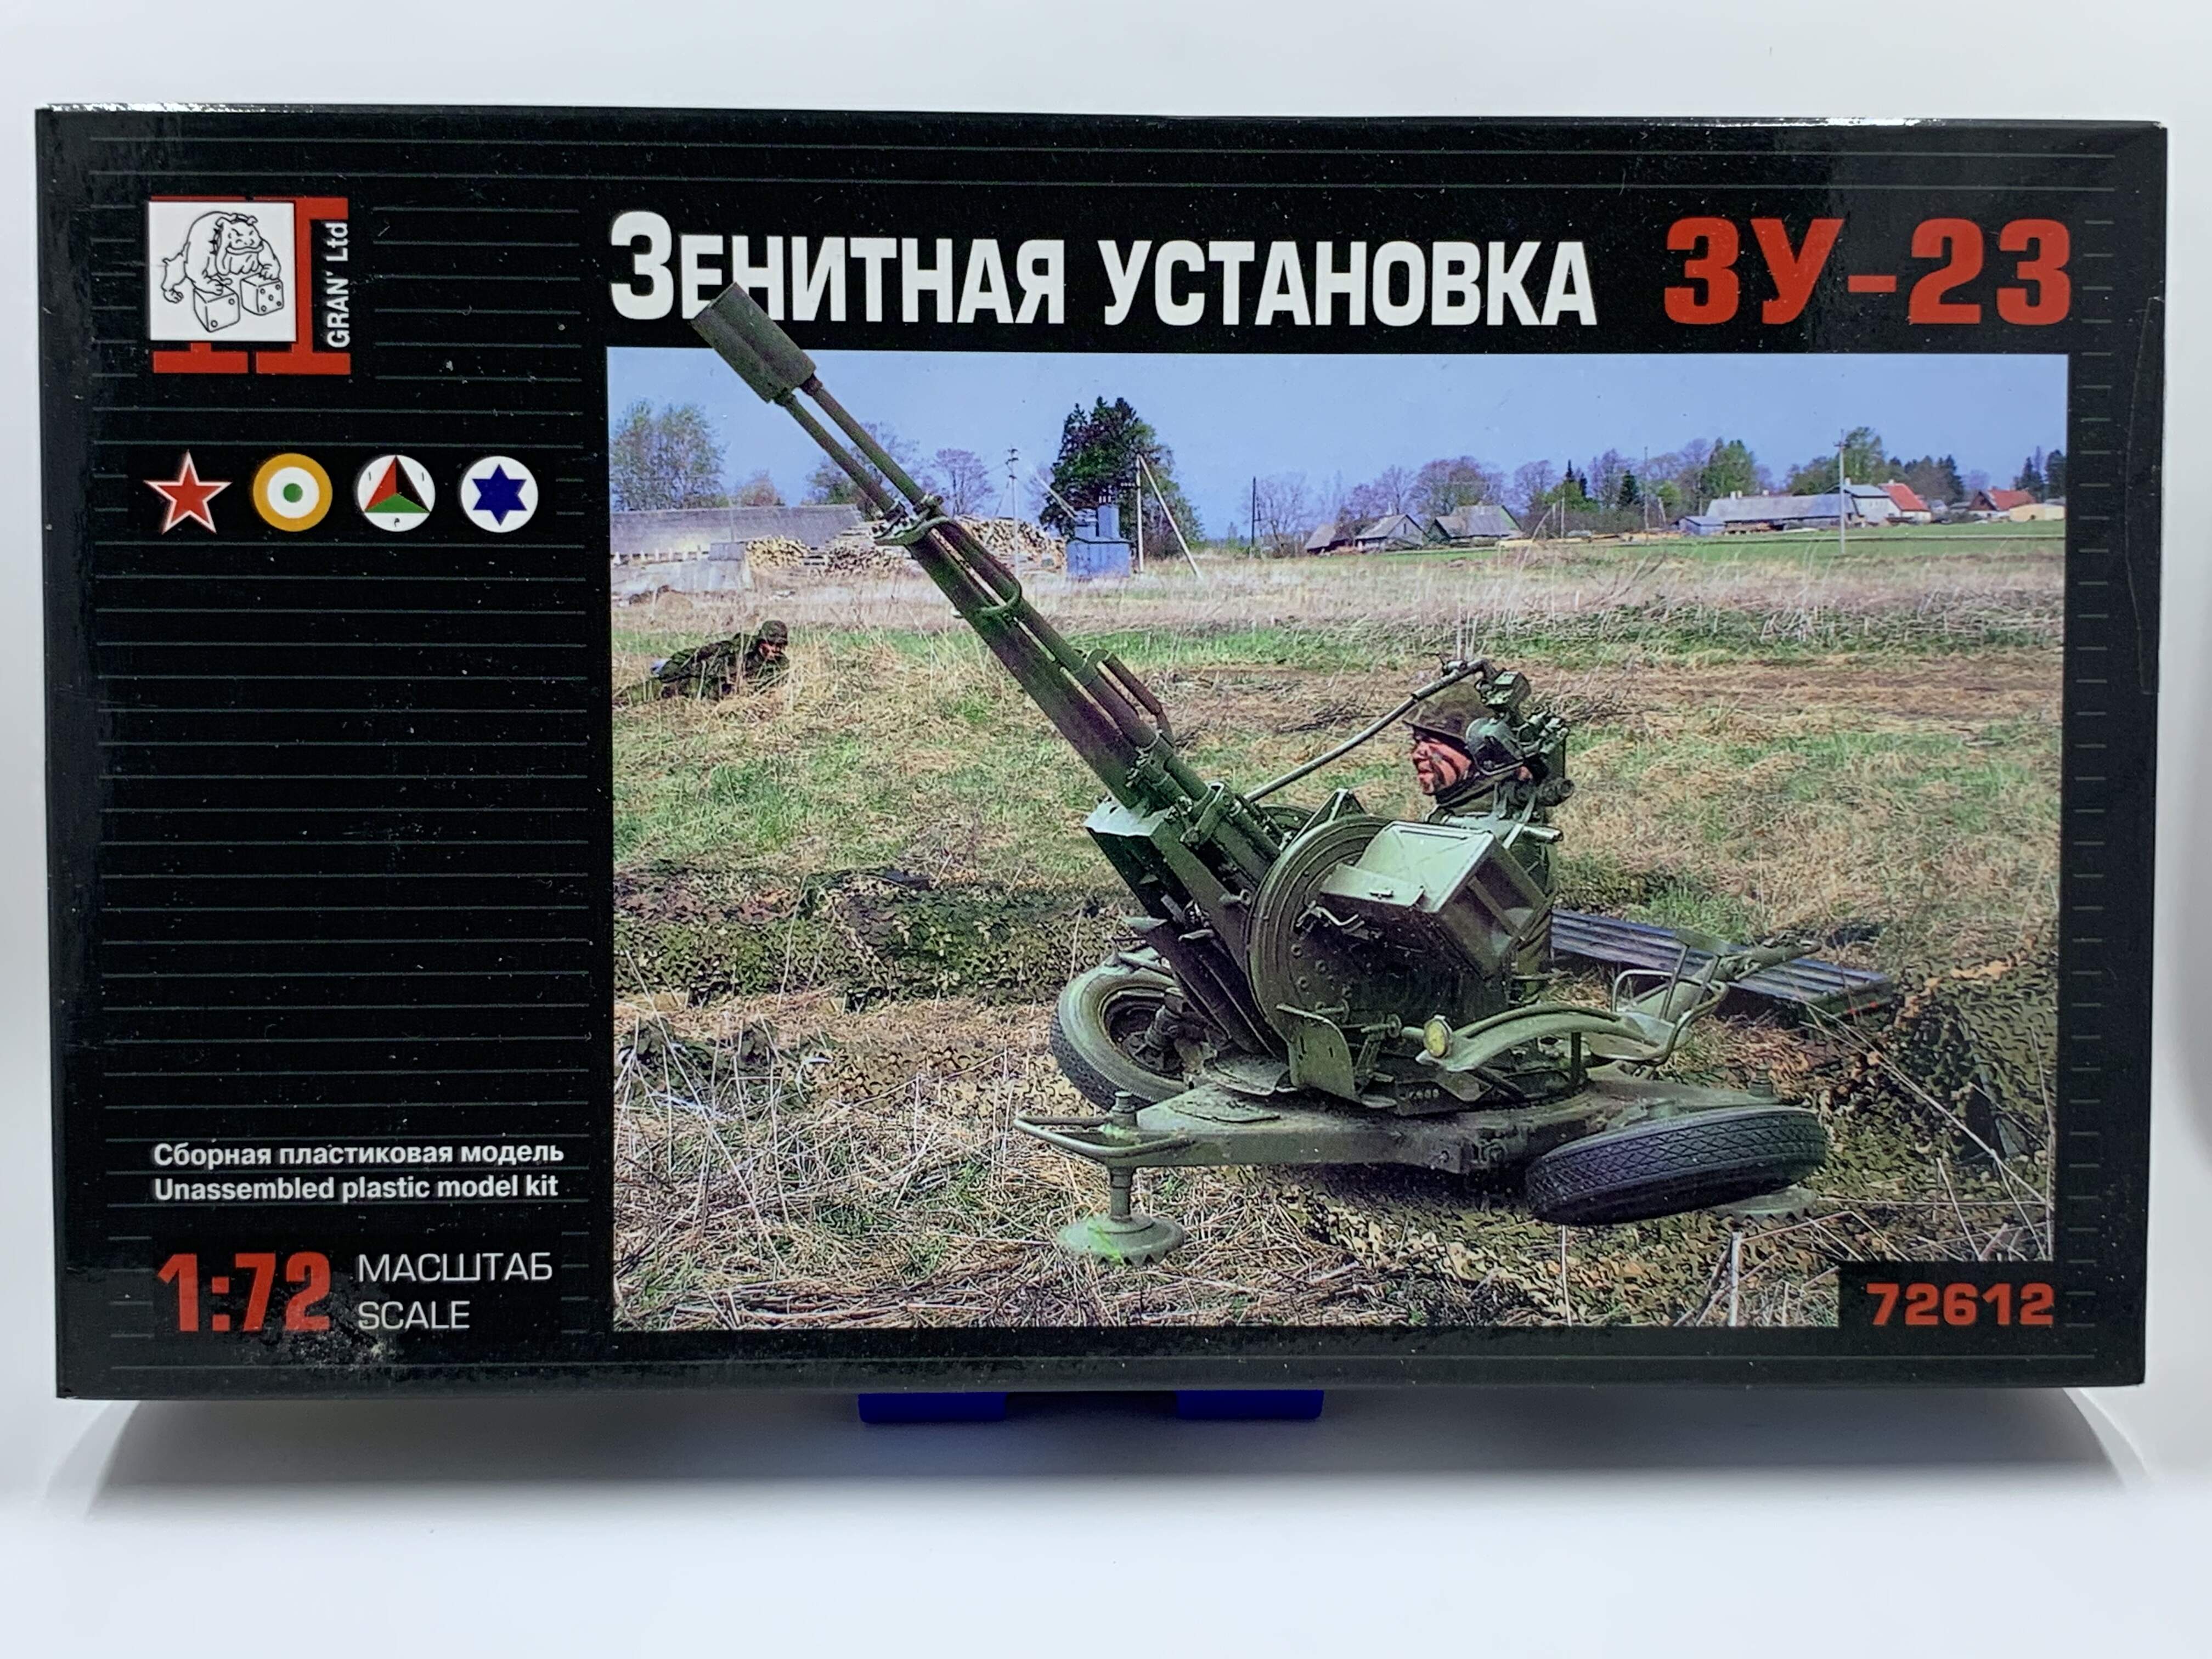
The two main components of this build are: 1/72 Ace BTS-4A and Gran ZSU-23-2.
The inspiration for this build is this picture of a 1/35 scale version that I saw online (not my model).
This looks so cool that I wanted to build this in 1/72 scale.
-Joseph
6 Likes
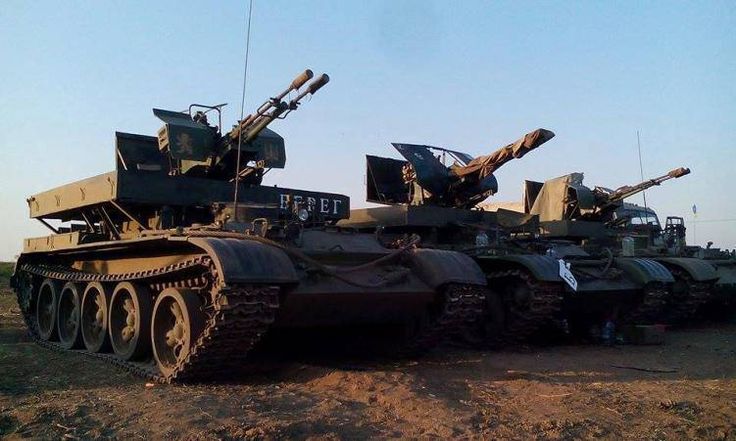
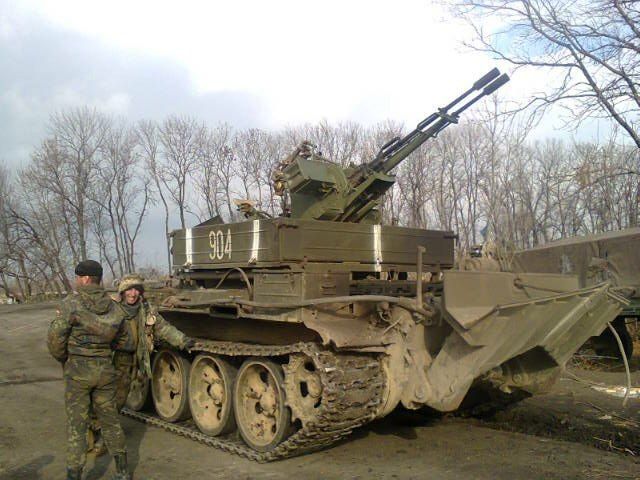
Here are some 1:1 ones from Ukraine :
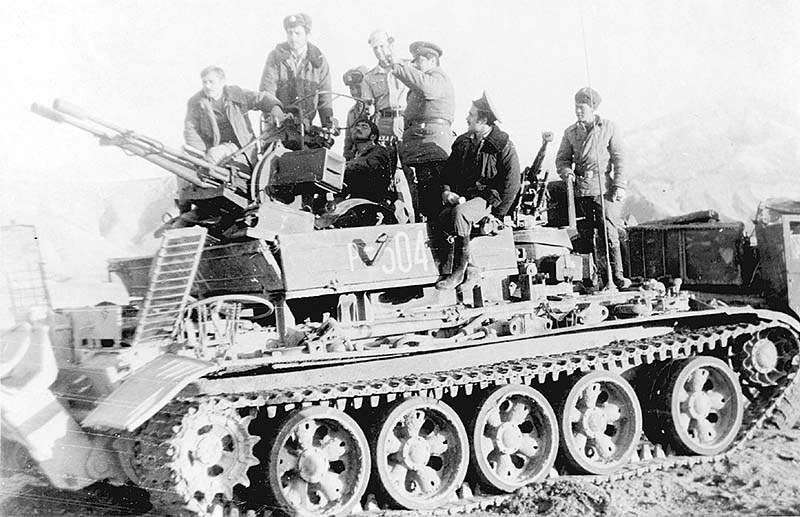
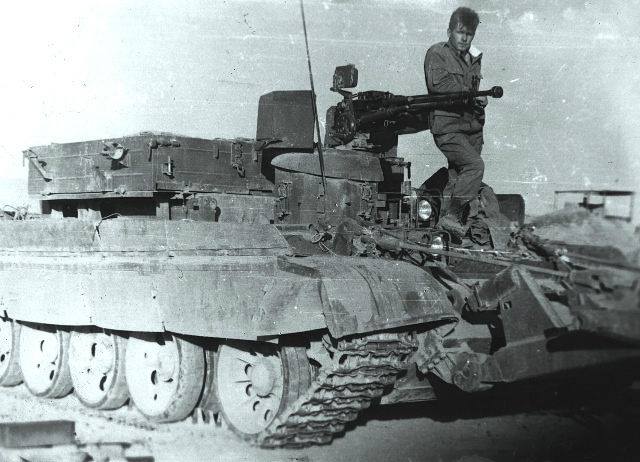
And from Afghanistan :
H.P.
2 Likes
Looks like an interesting and fun build. Will enjoy watching your progress. The Afghanistan photo is the only one that appears to show the front-mounted machine gun similar to the example you showed above. Do you plan to go with or without the gun?

Hi Frenchy, those are excellent references. Thanks very much! I will definitely be using these. 
Namabiiru, the version I will build is from Afghanistan. I like the look with the Dshk in front! 
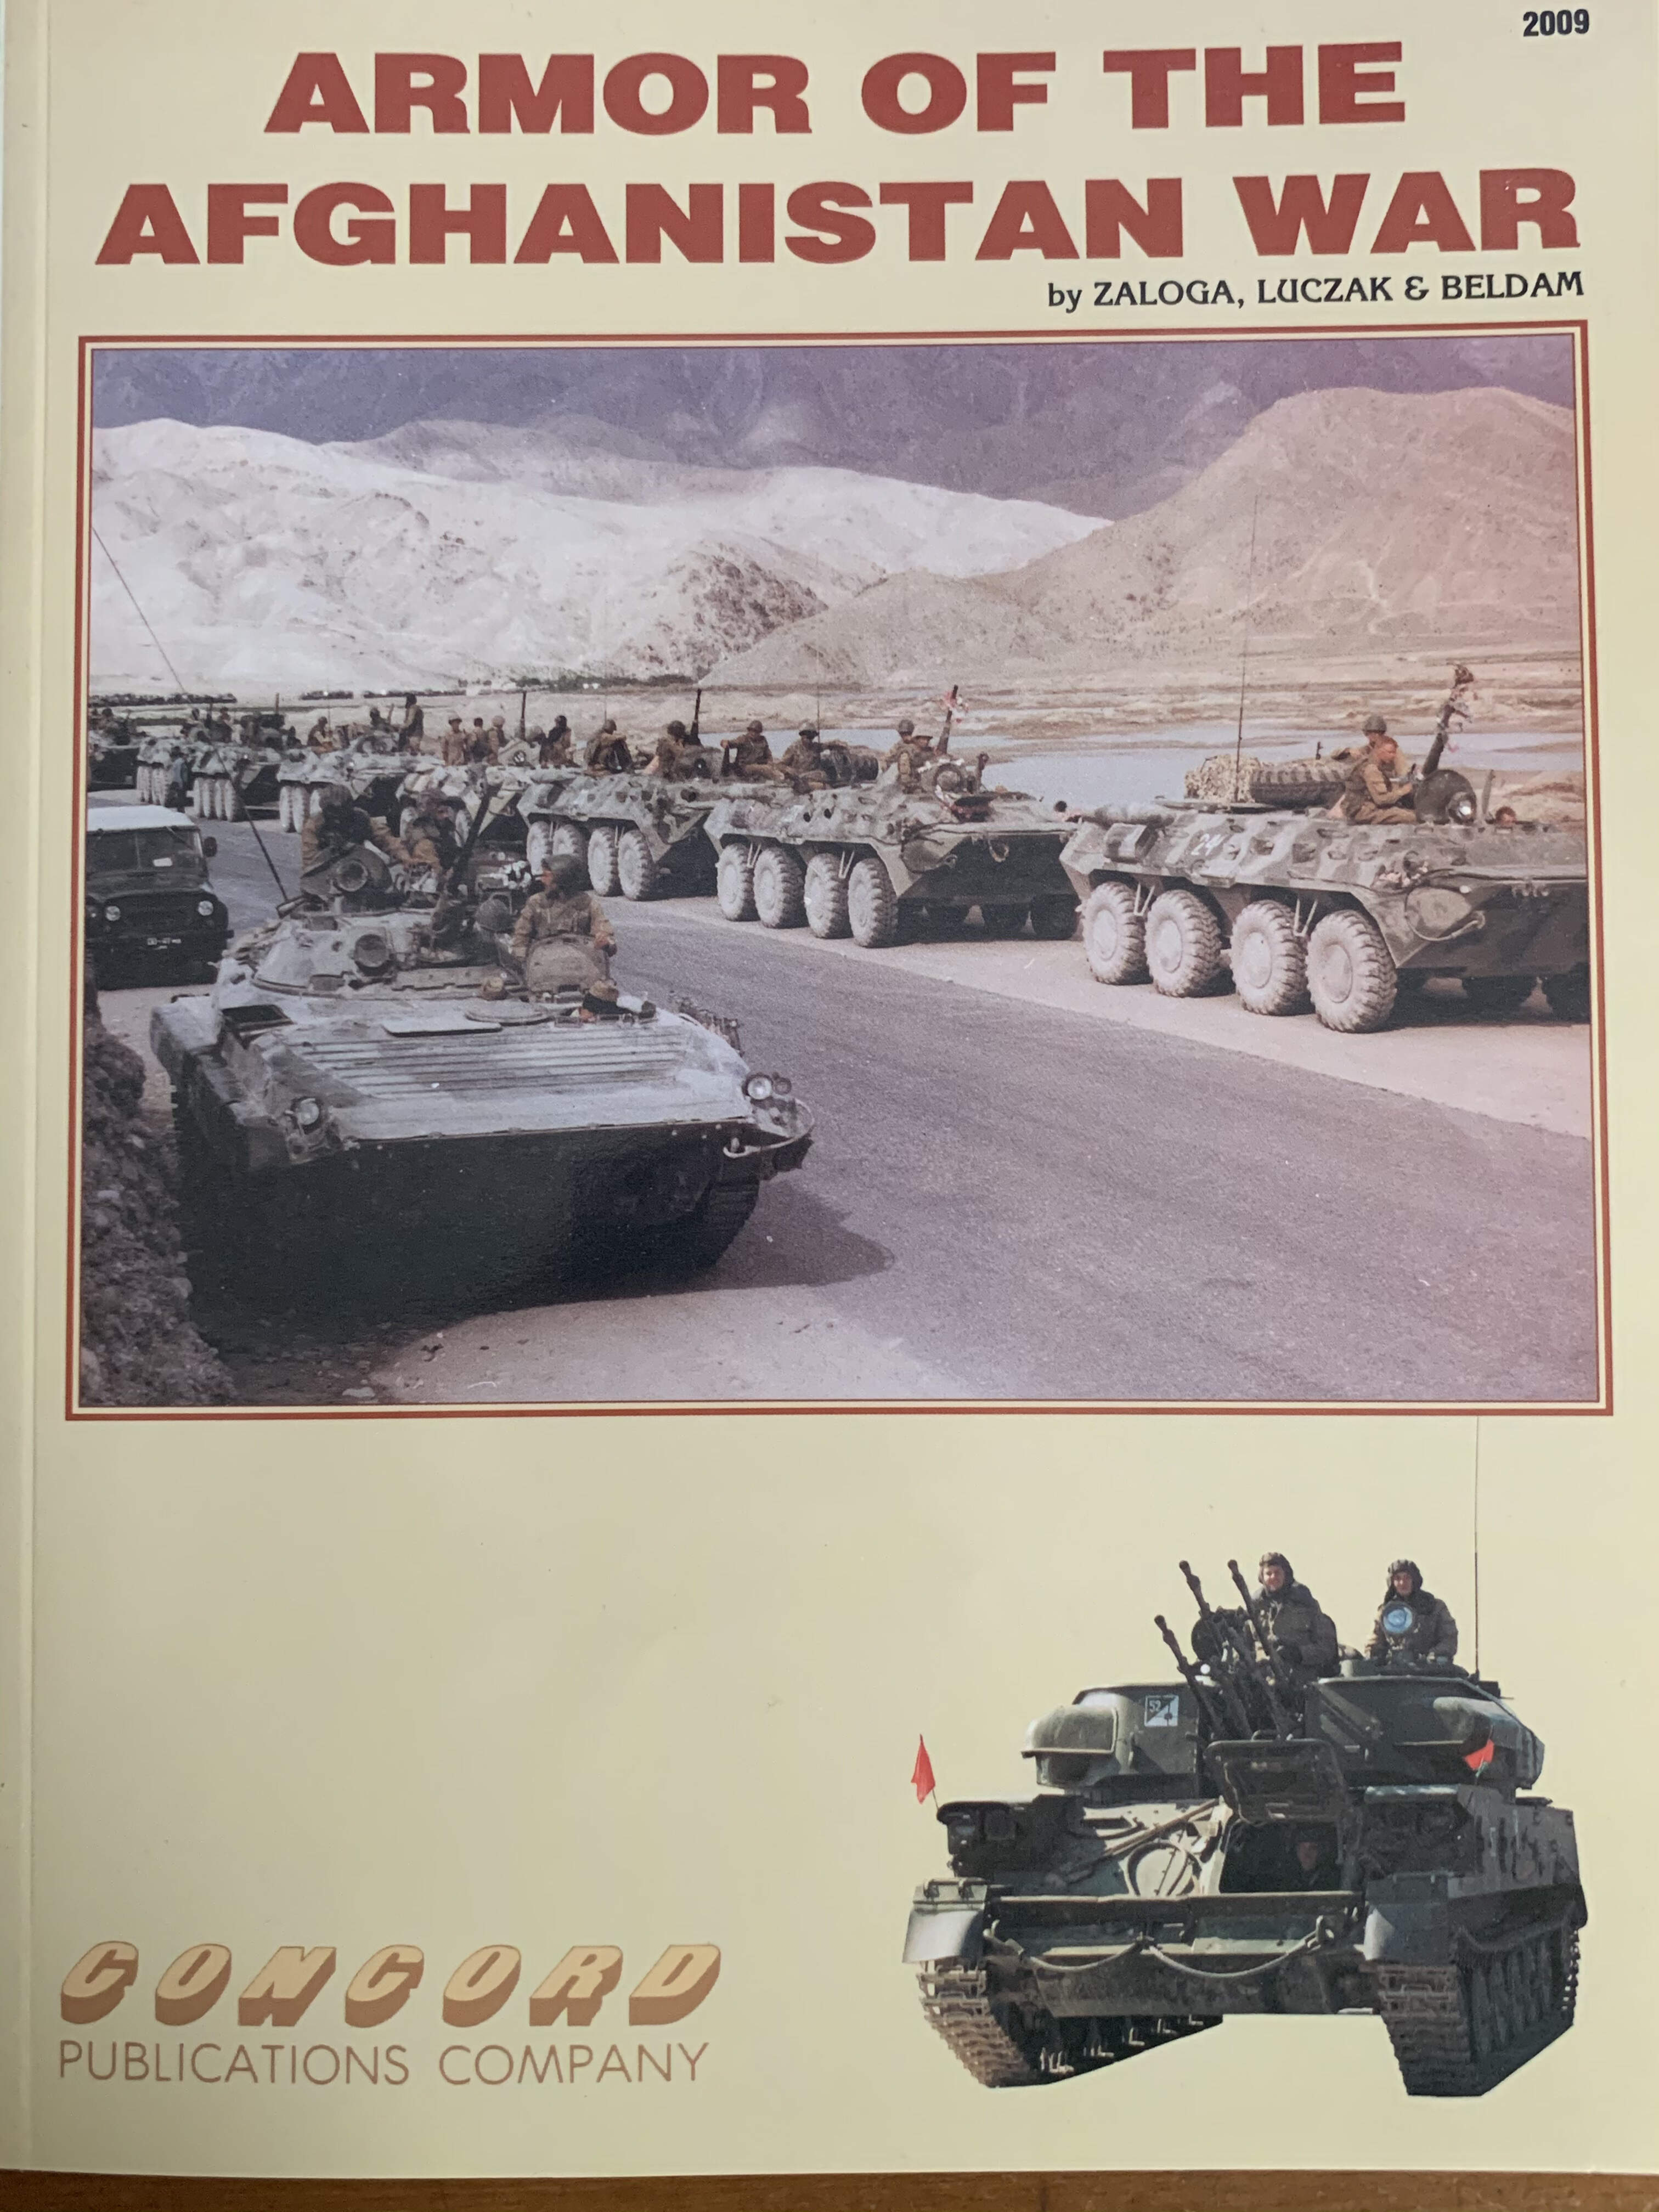
I have a copy of the Concord Publication reference book, “Armor of the Afghanistan War” by Steven Zaloga, Luczak & Beldam.
There are a couple of pictures of a BTS-4. Great detail study. The picture shows it in a camouflage scheme plus the rubber mudguards. The photos unfortunately did not have any ZUs on them but thanks to the picture above, this combination will not be a stretch.
1 Like
Here are a few more Afghanistan pics of the BTS-4A (without the AA gun…)

Related thread on a Ukrainian forum (with some useful pics…)
Here
H.P.
1 Like
Frenchy, thanks very much for the additional pictures and the link! They will be very useful!
yeah, thanks! those pictures will come in handy!
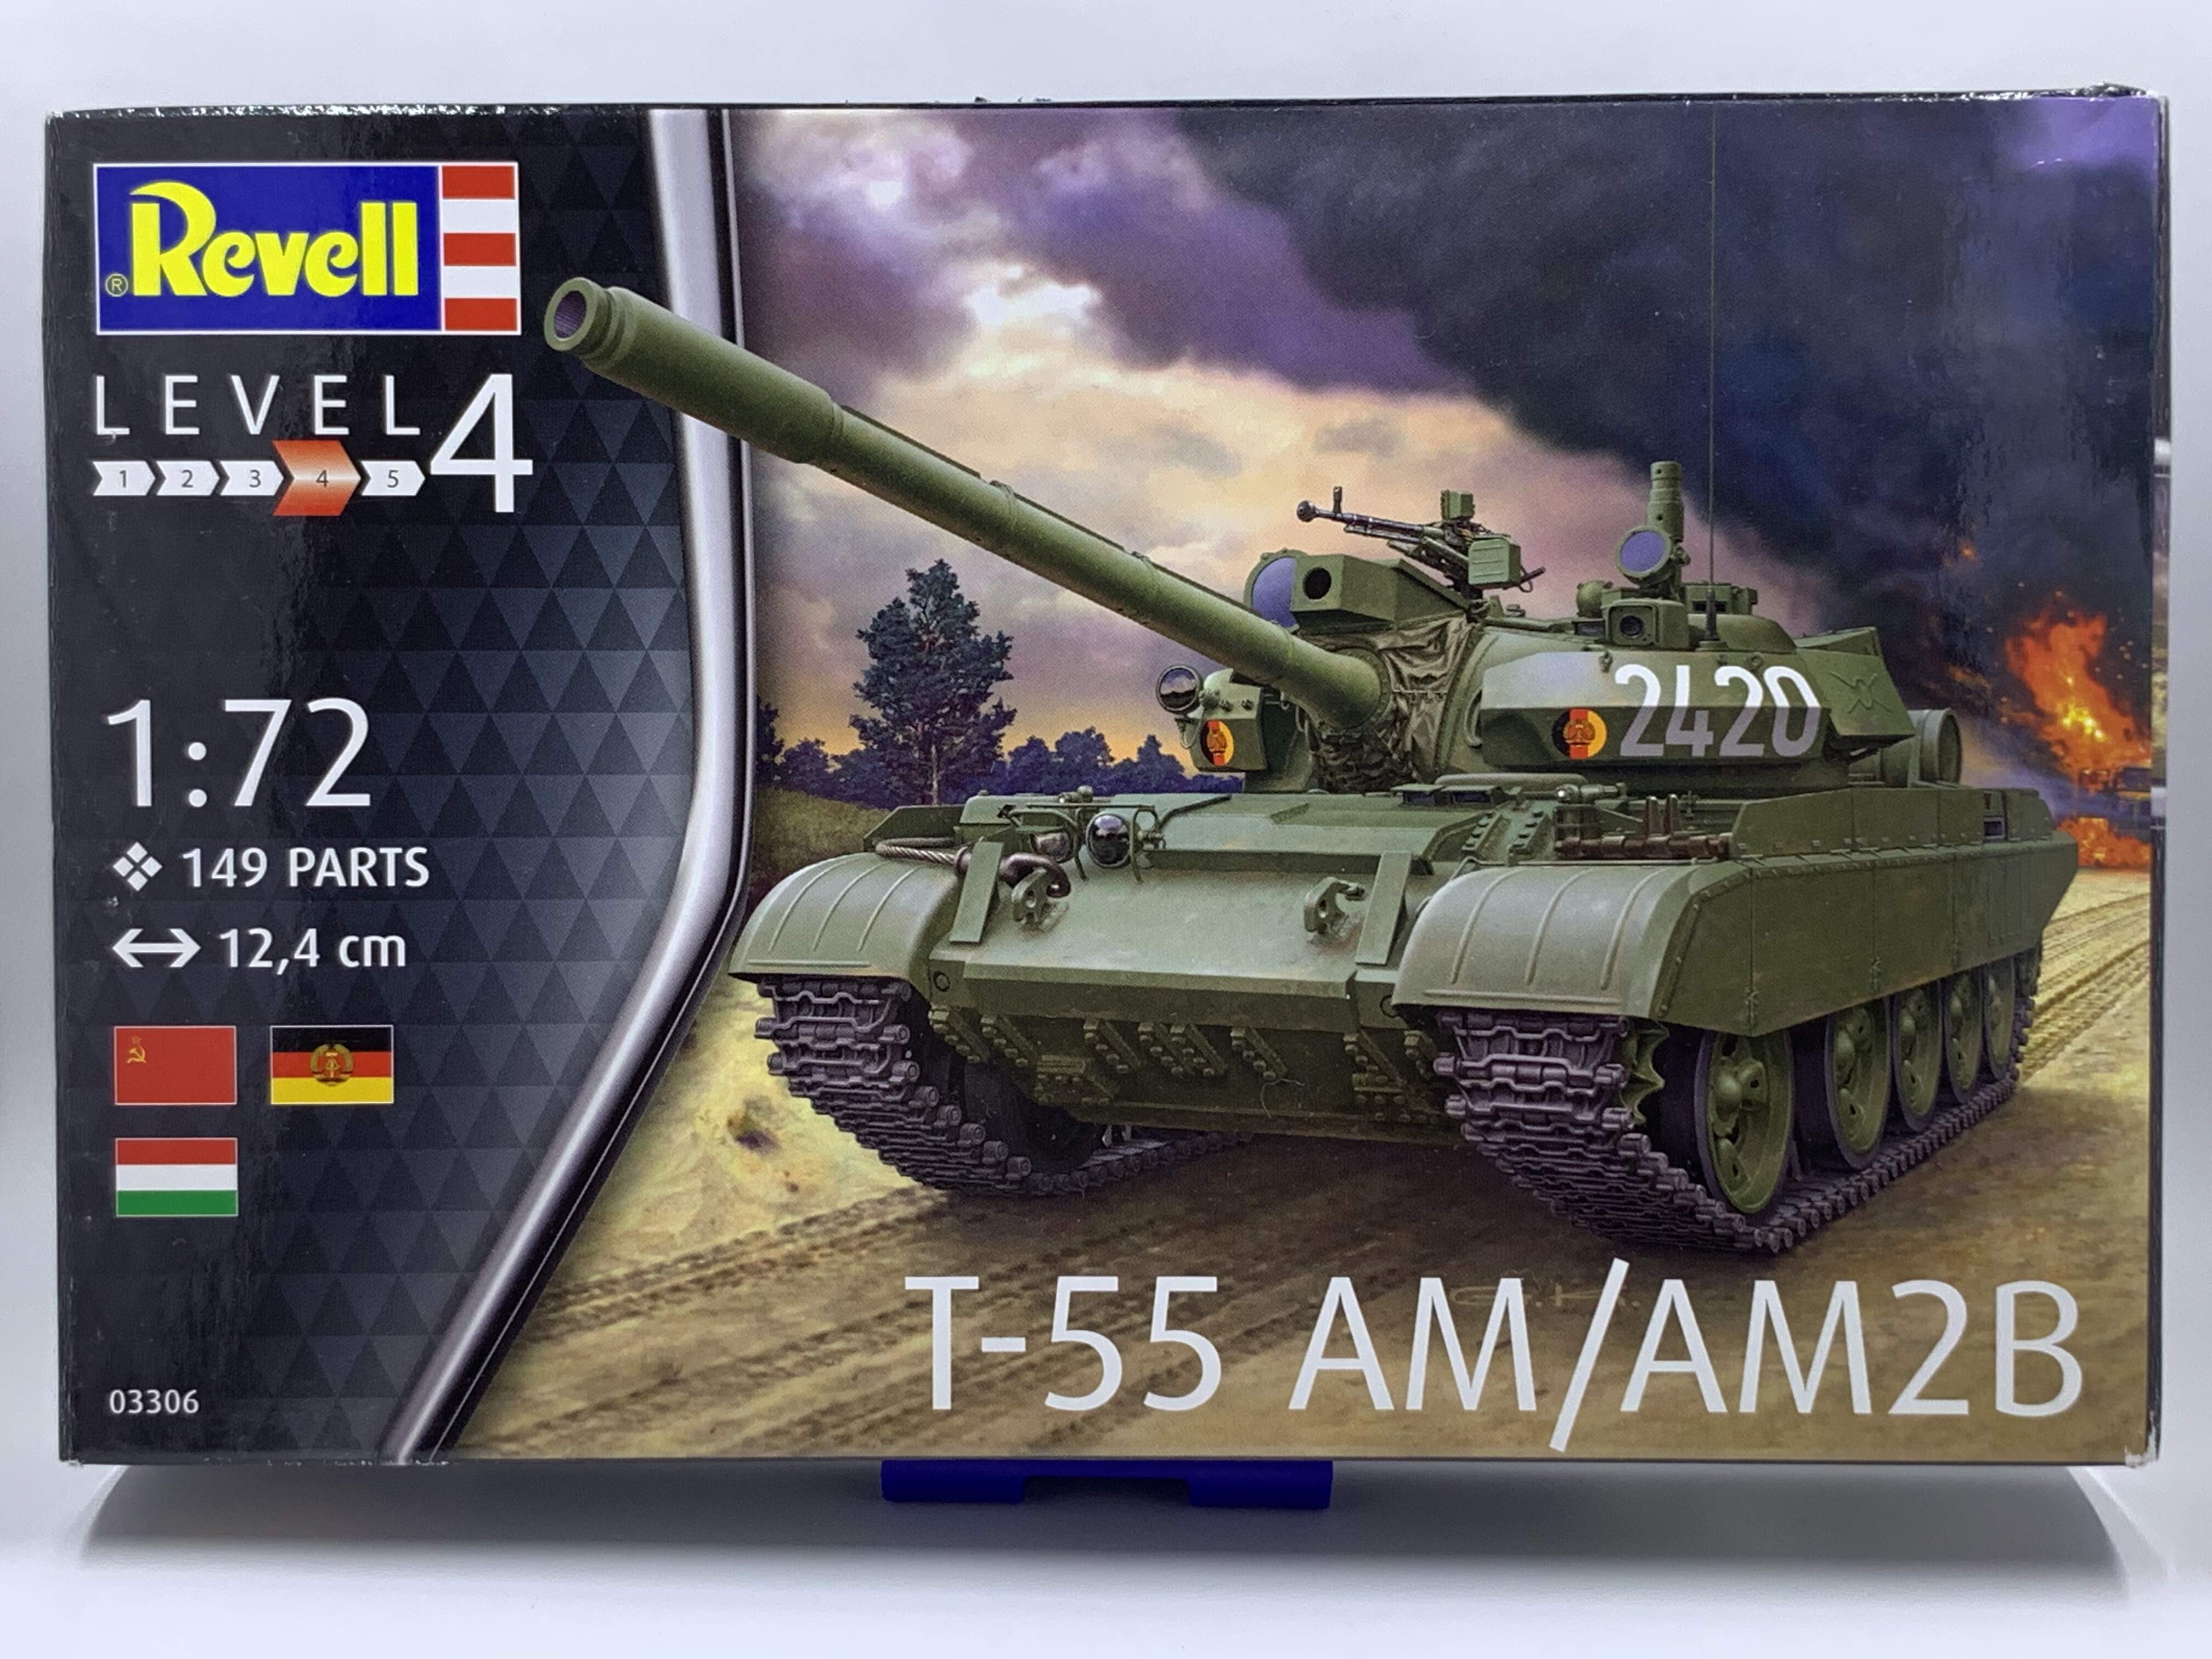
After reviewing the 1/35th model and the pictures, I have determined that the Ace kit will need additional parts. The most prominent of which are the rubber side skirts. My source for these will be Revell’s T-55 AM/AM2B.
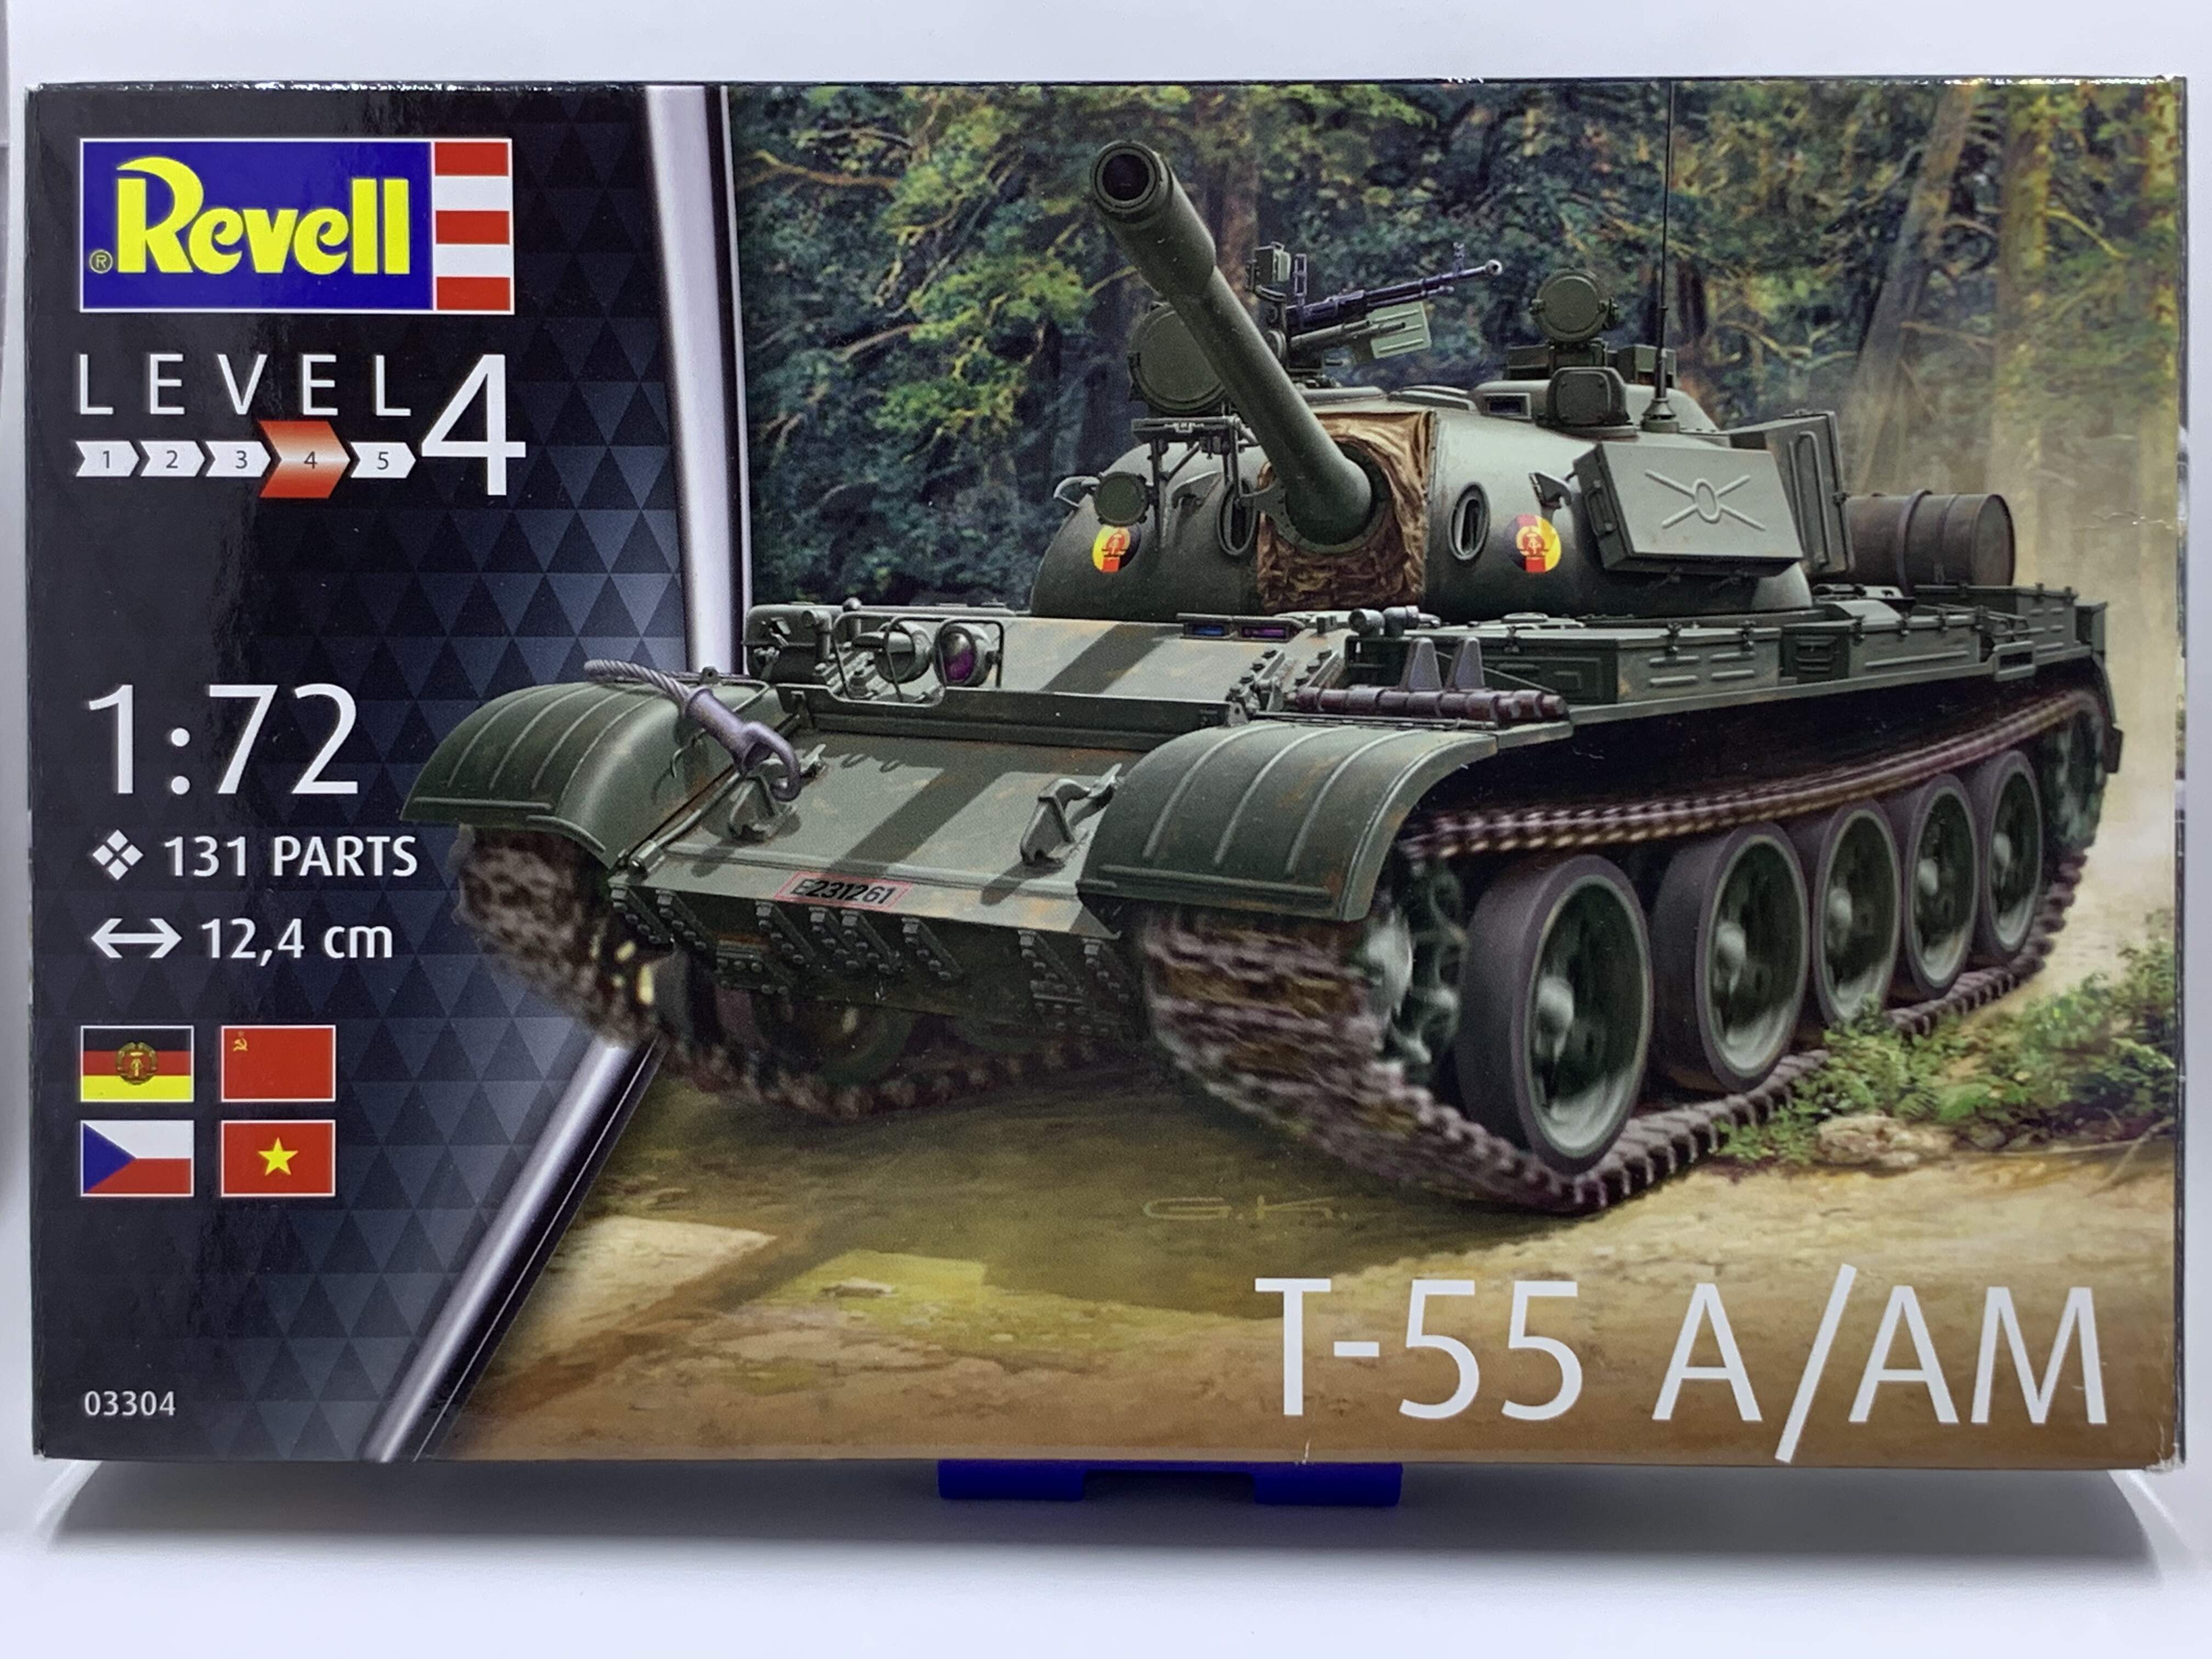
I will also need the a regular T-55 glacis plate, not the up-armored one of the T-55 AM/AM2B. This means that I will also be using the glacis plate from the other Revell offering of T-55 A/AM
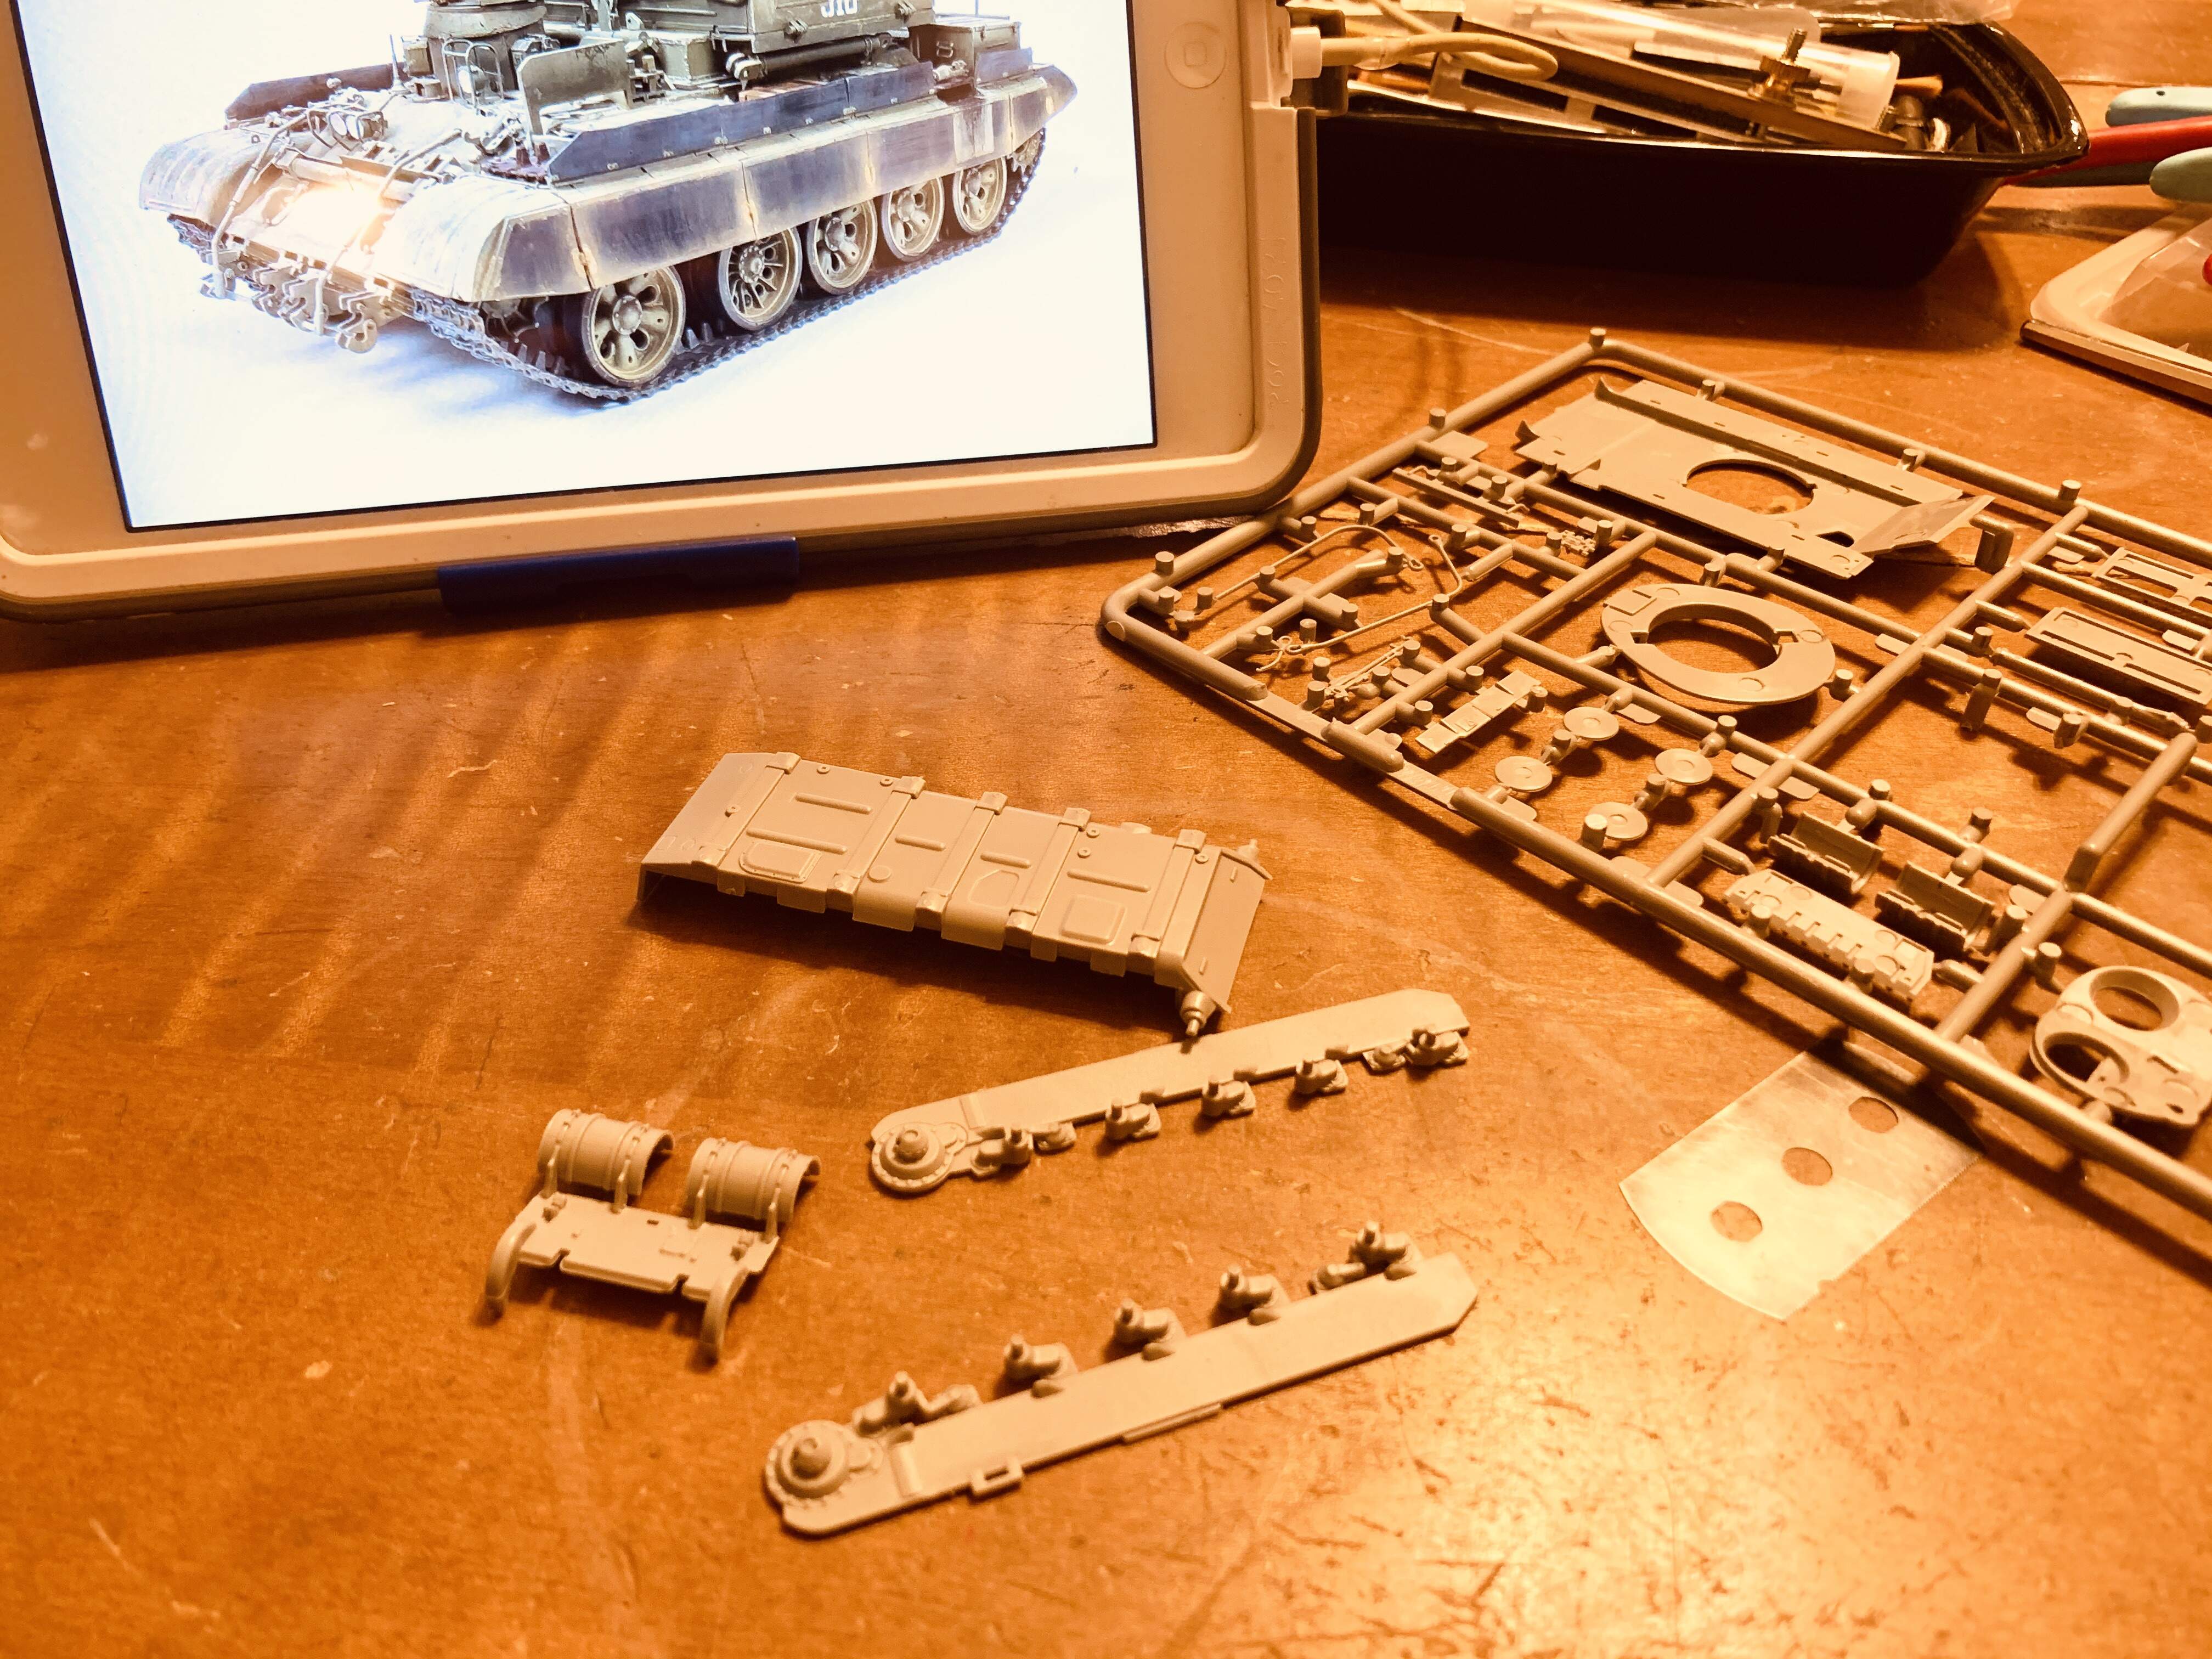
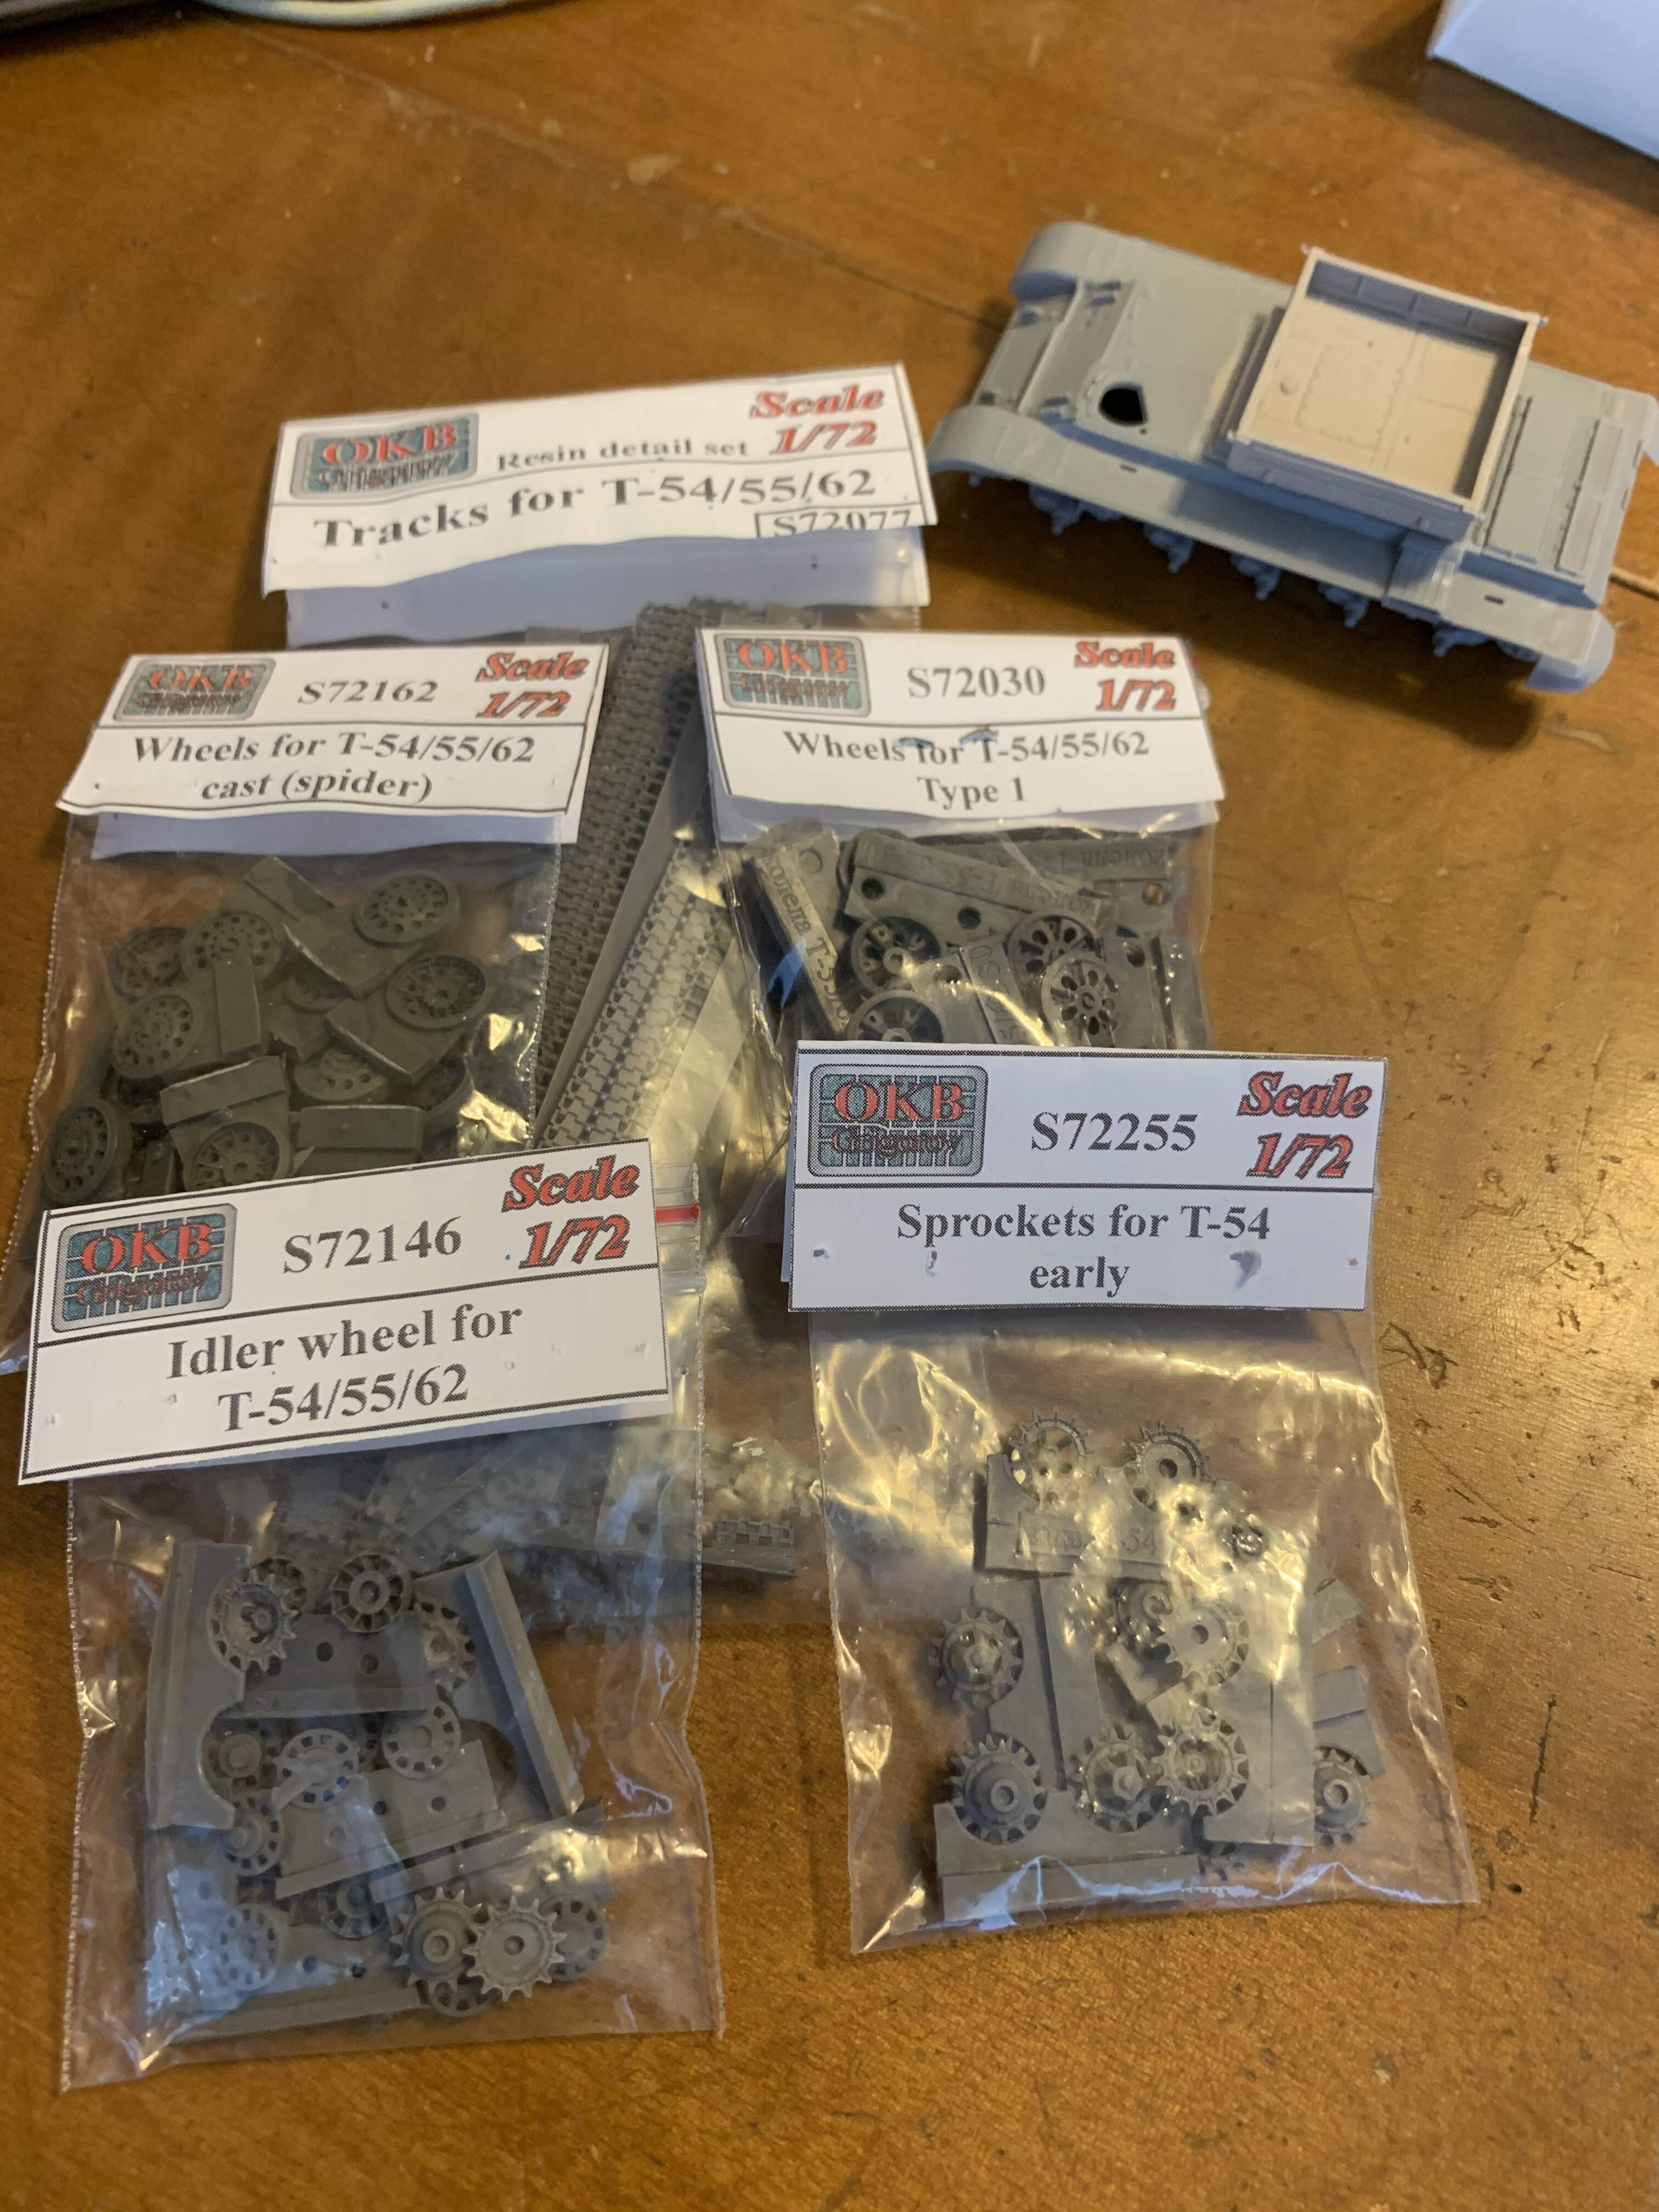
Furthermore, the tracks for the Revell kits are the RMSh, I will need the OMSh version. I will be using the excellent OKB Grigorov tracks for these. And so, the build is off to a start.
1 Like
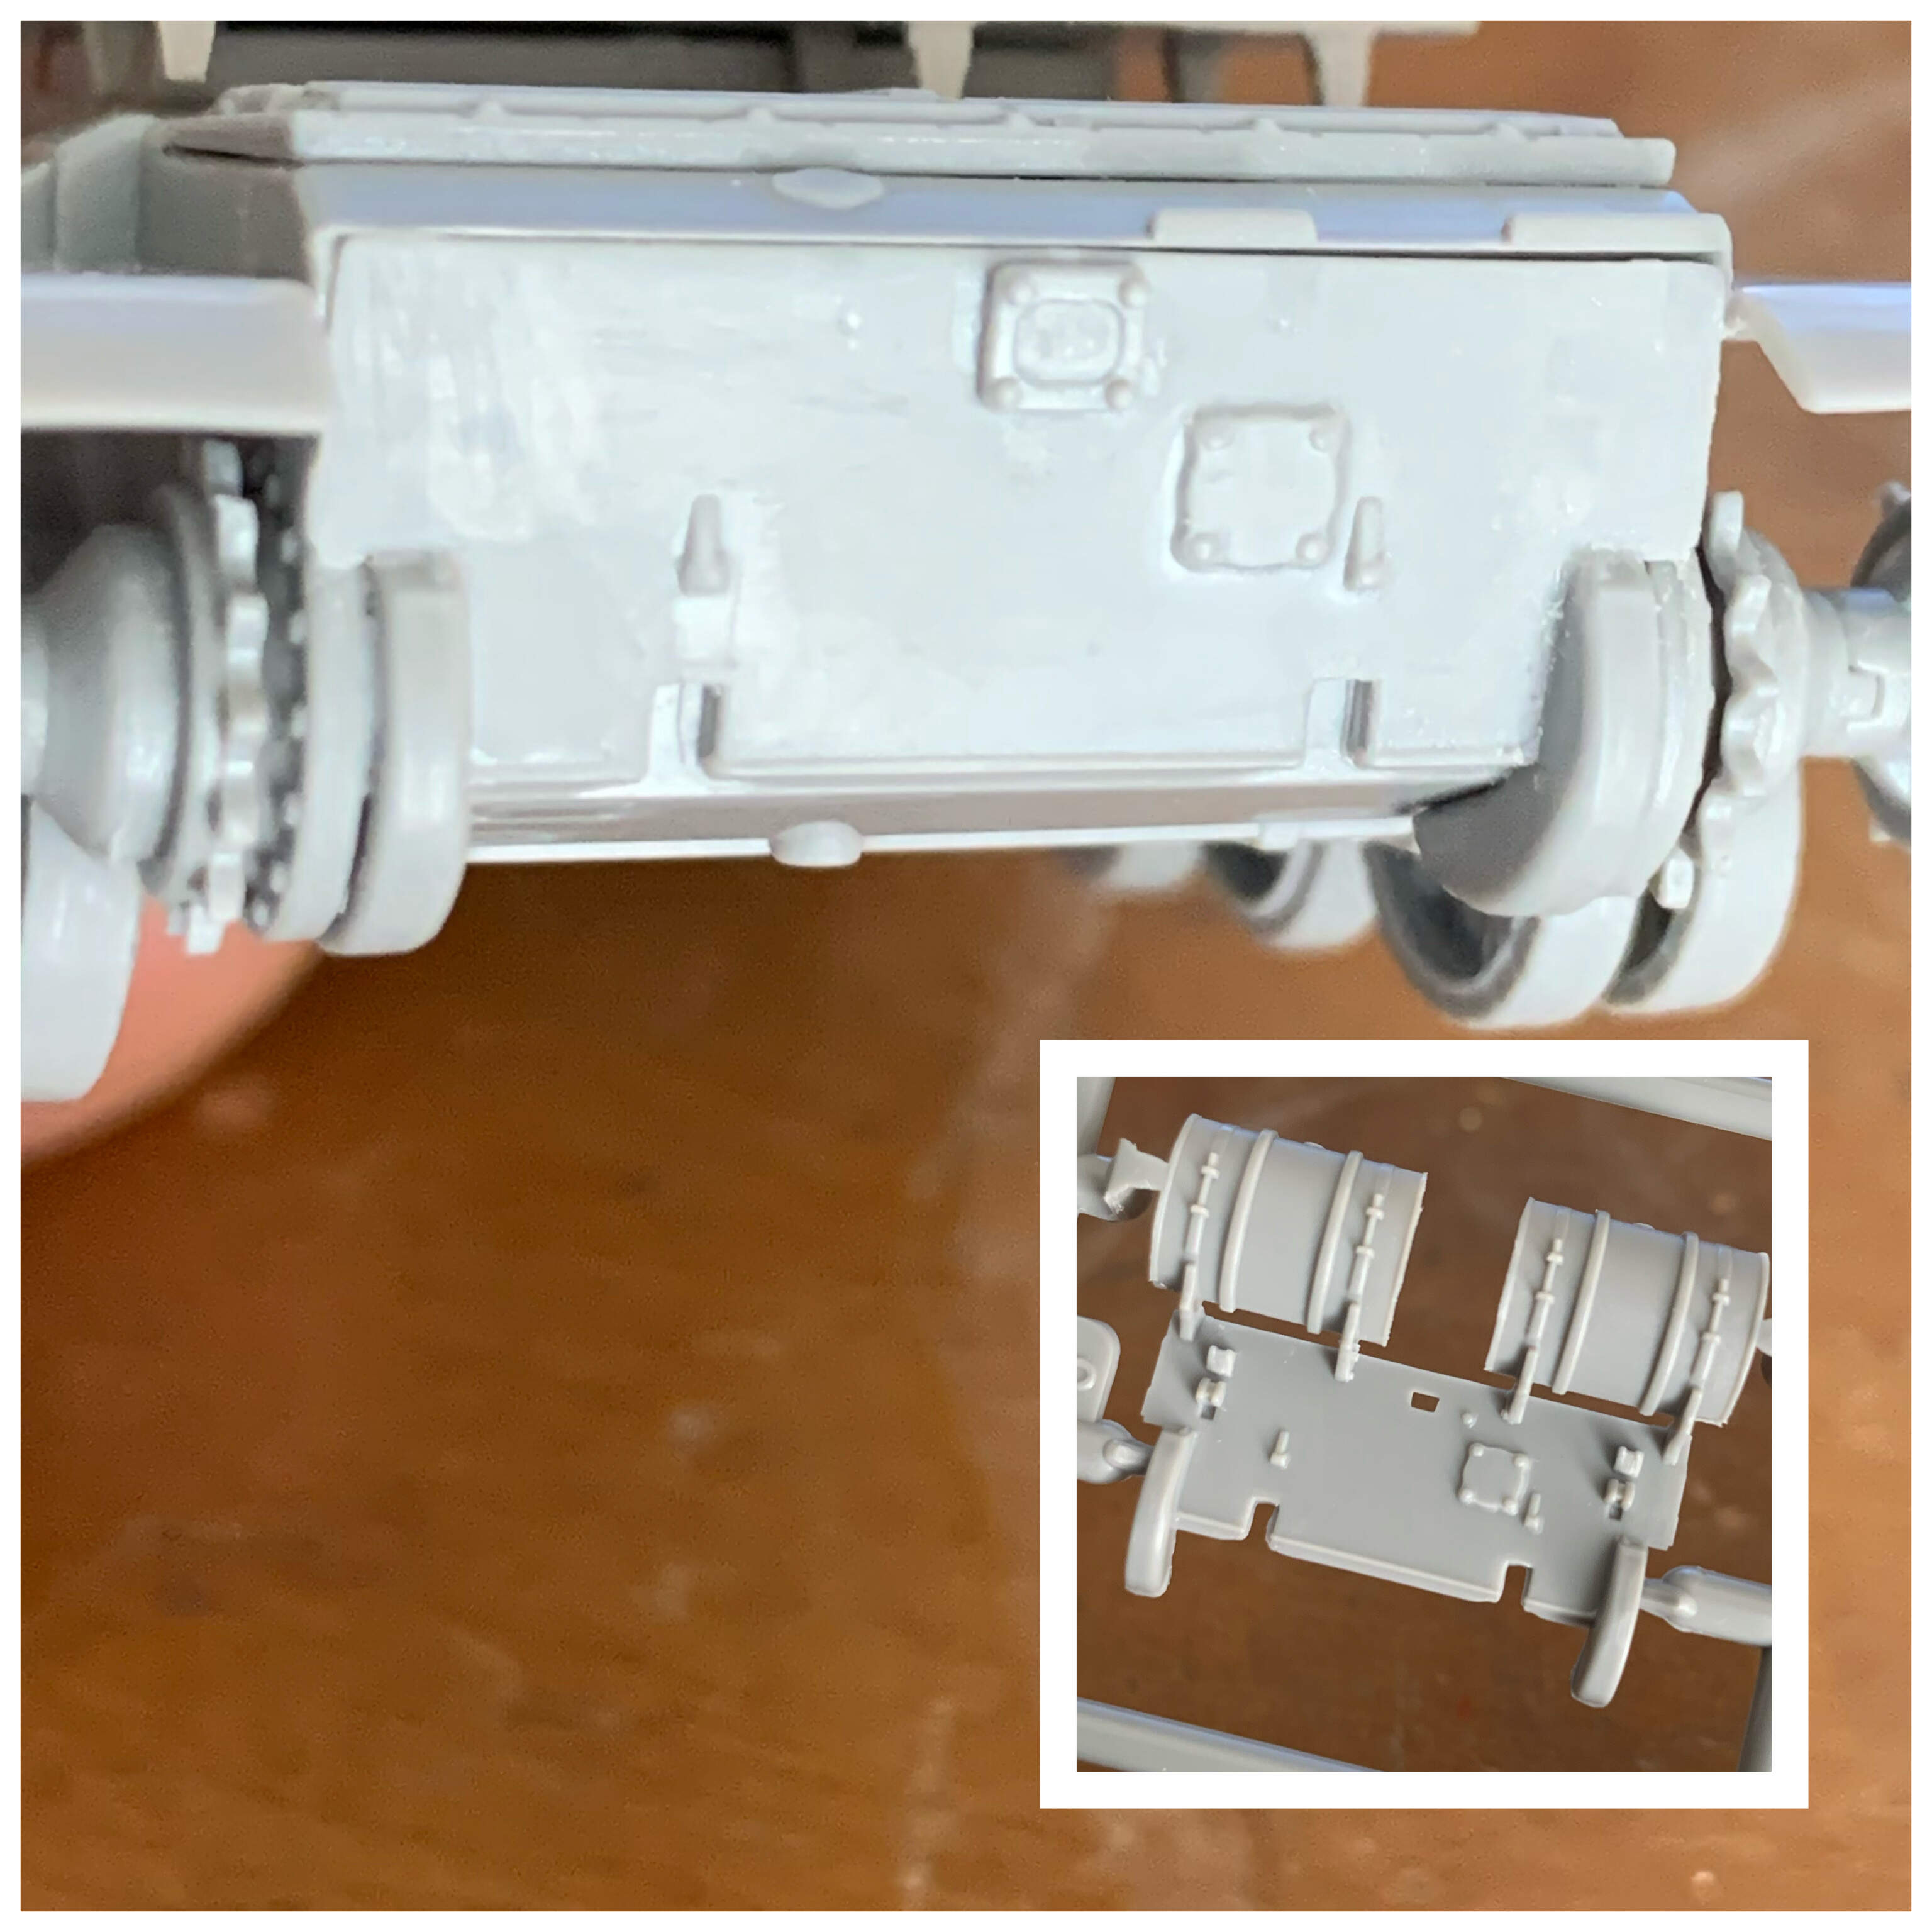
I finished working on the tub. I decided to use the chassis from the Revell kit. The Ace chassis will go to the spares box. One of the first things I did was to remove the fuel drums. Inset picture shows how it would have looked like.
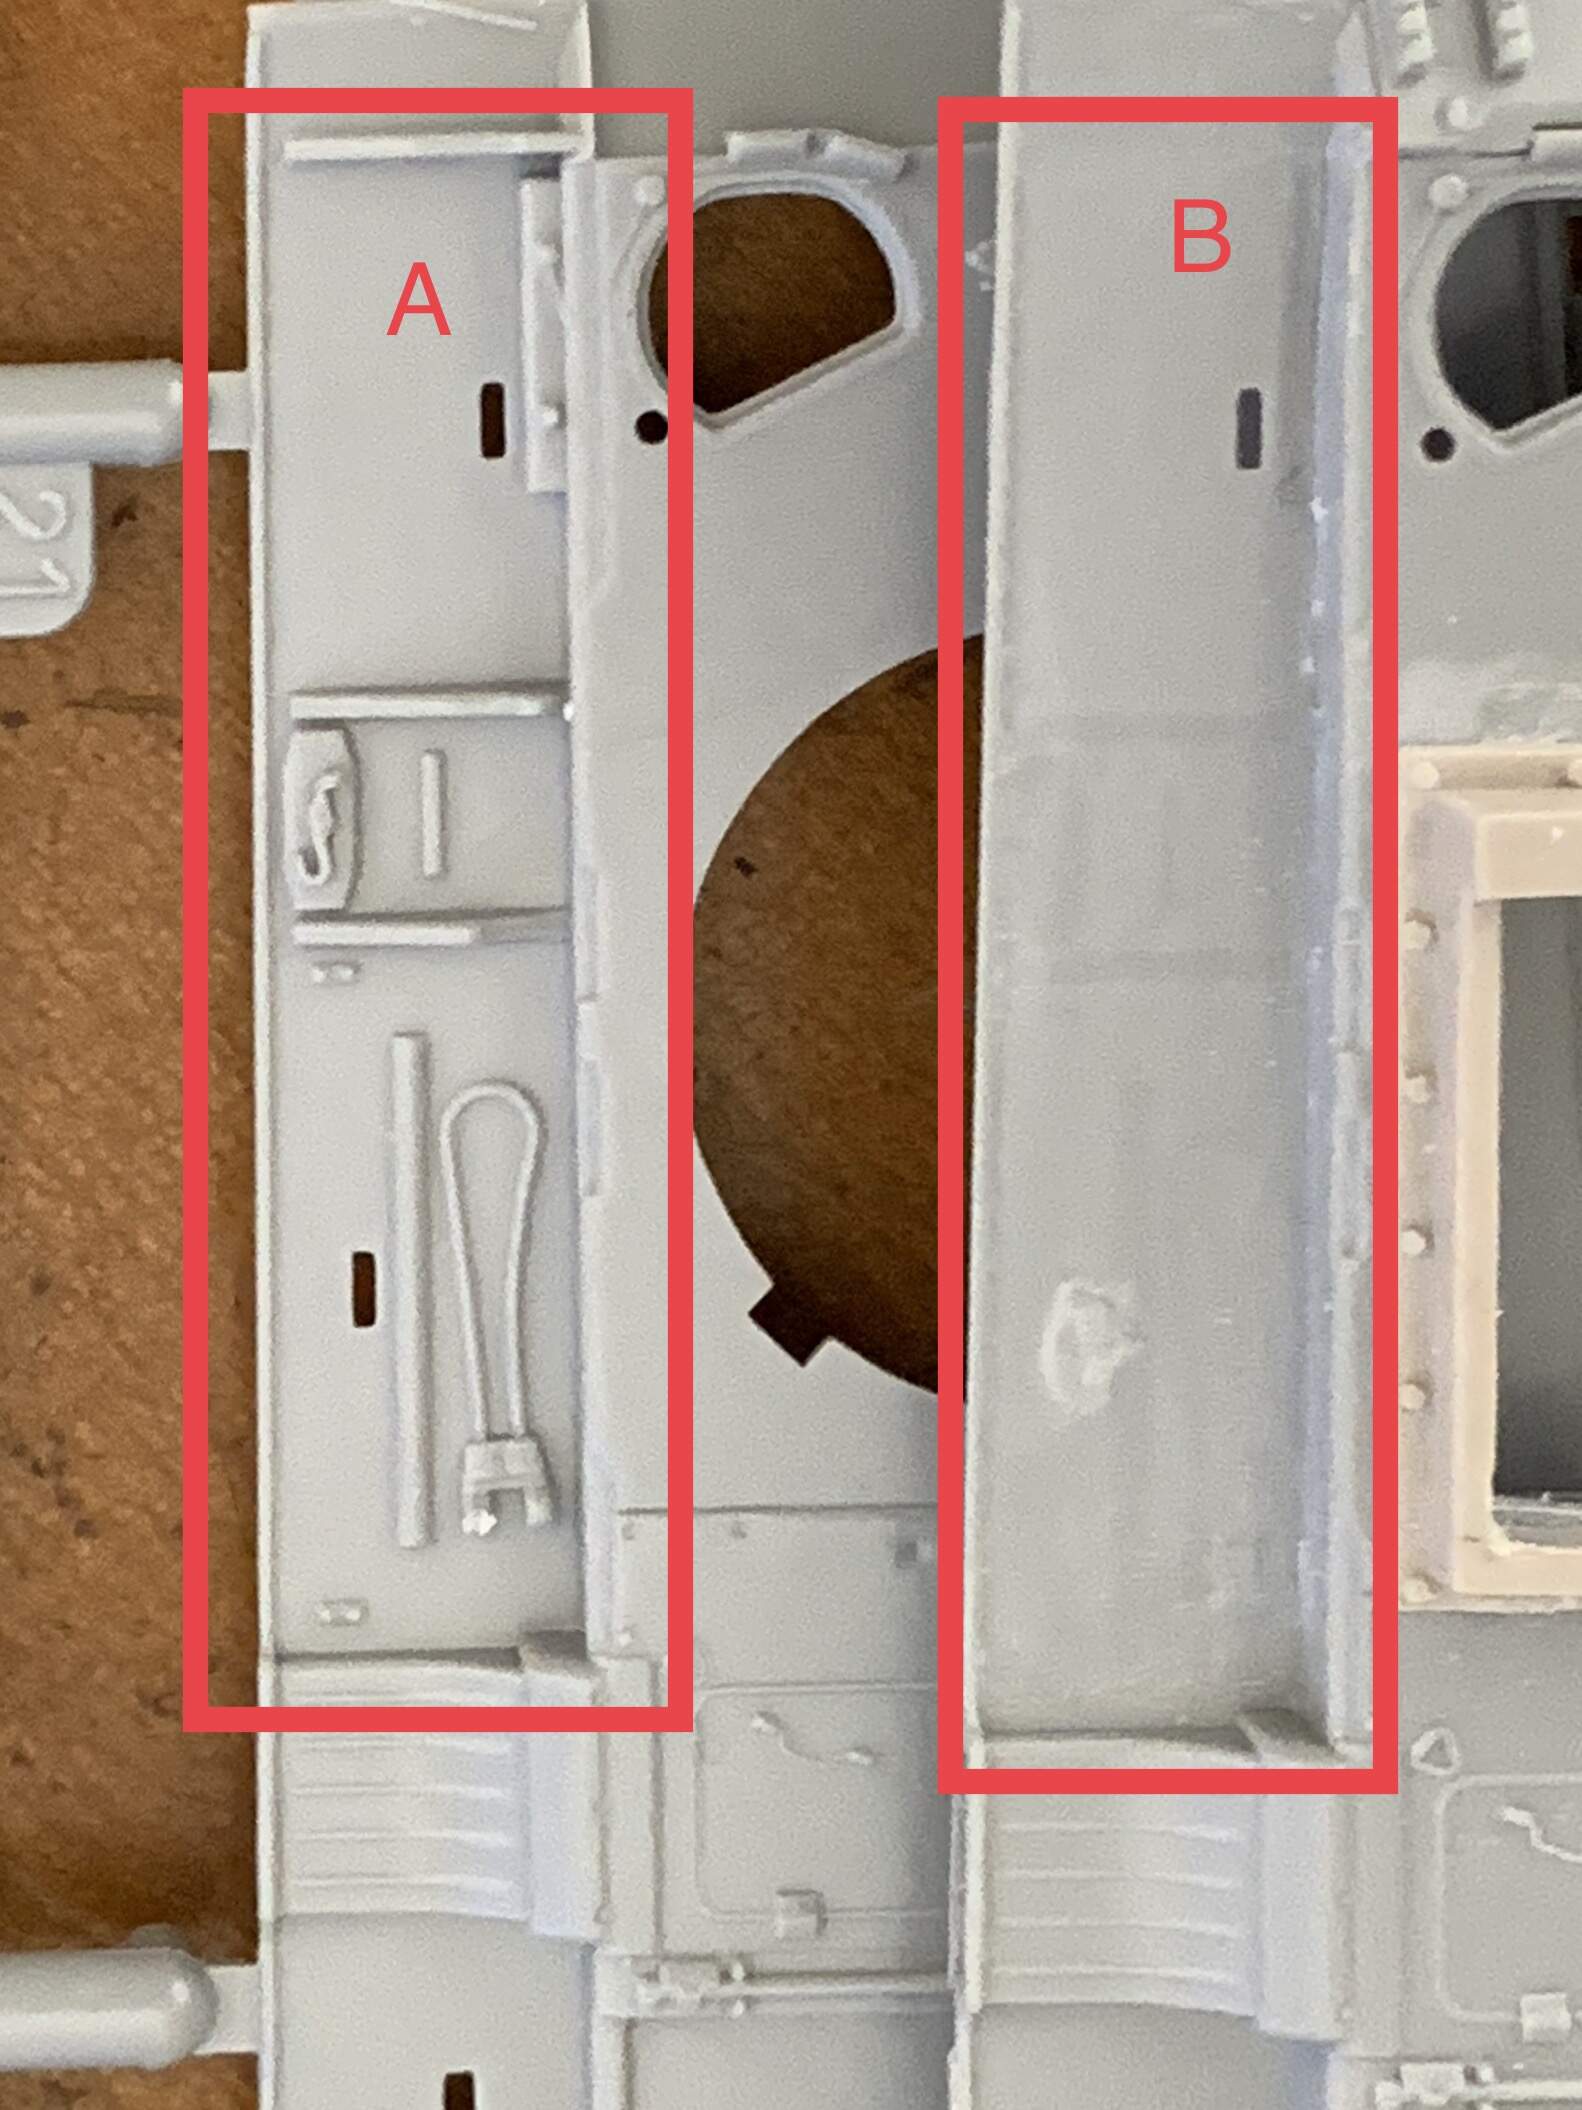
I shaved off a lot of detail from the Revell fenders. I completely wiped it clean and filled up locator holes. Here’s a comparison photo of an original fender and the one I cleaned up. Labelled A is the original and B is the one I am going to use.
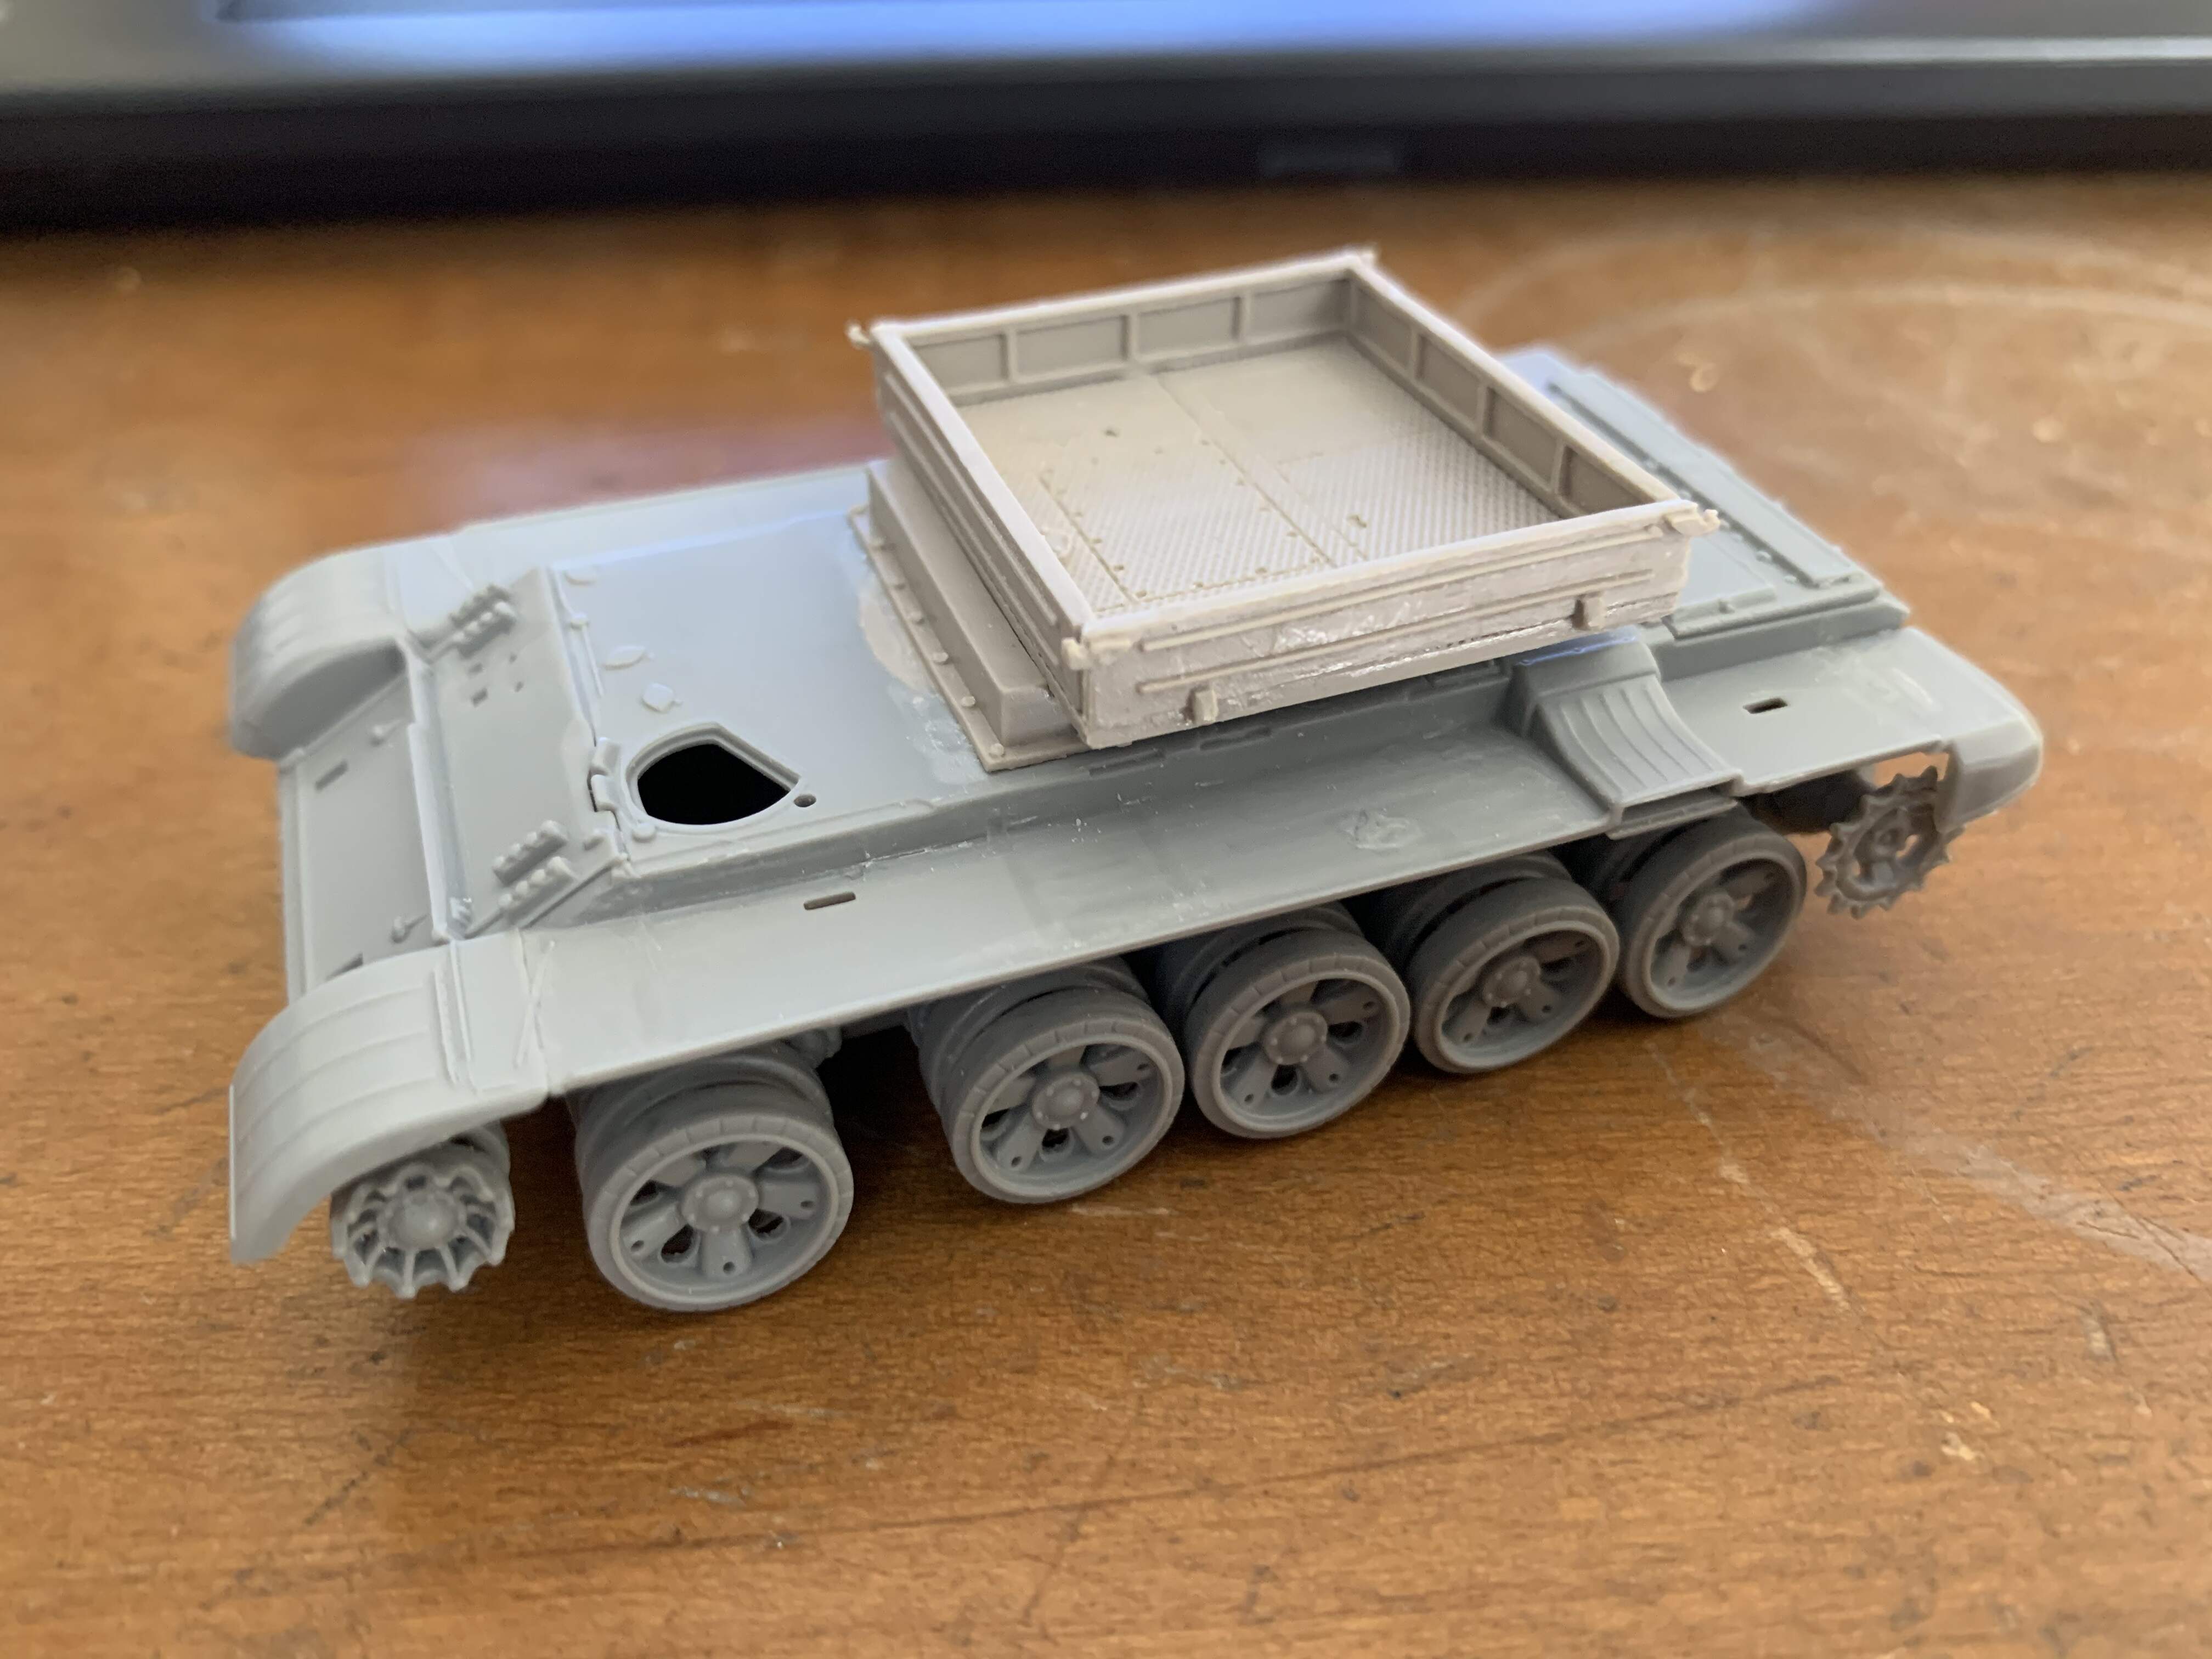
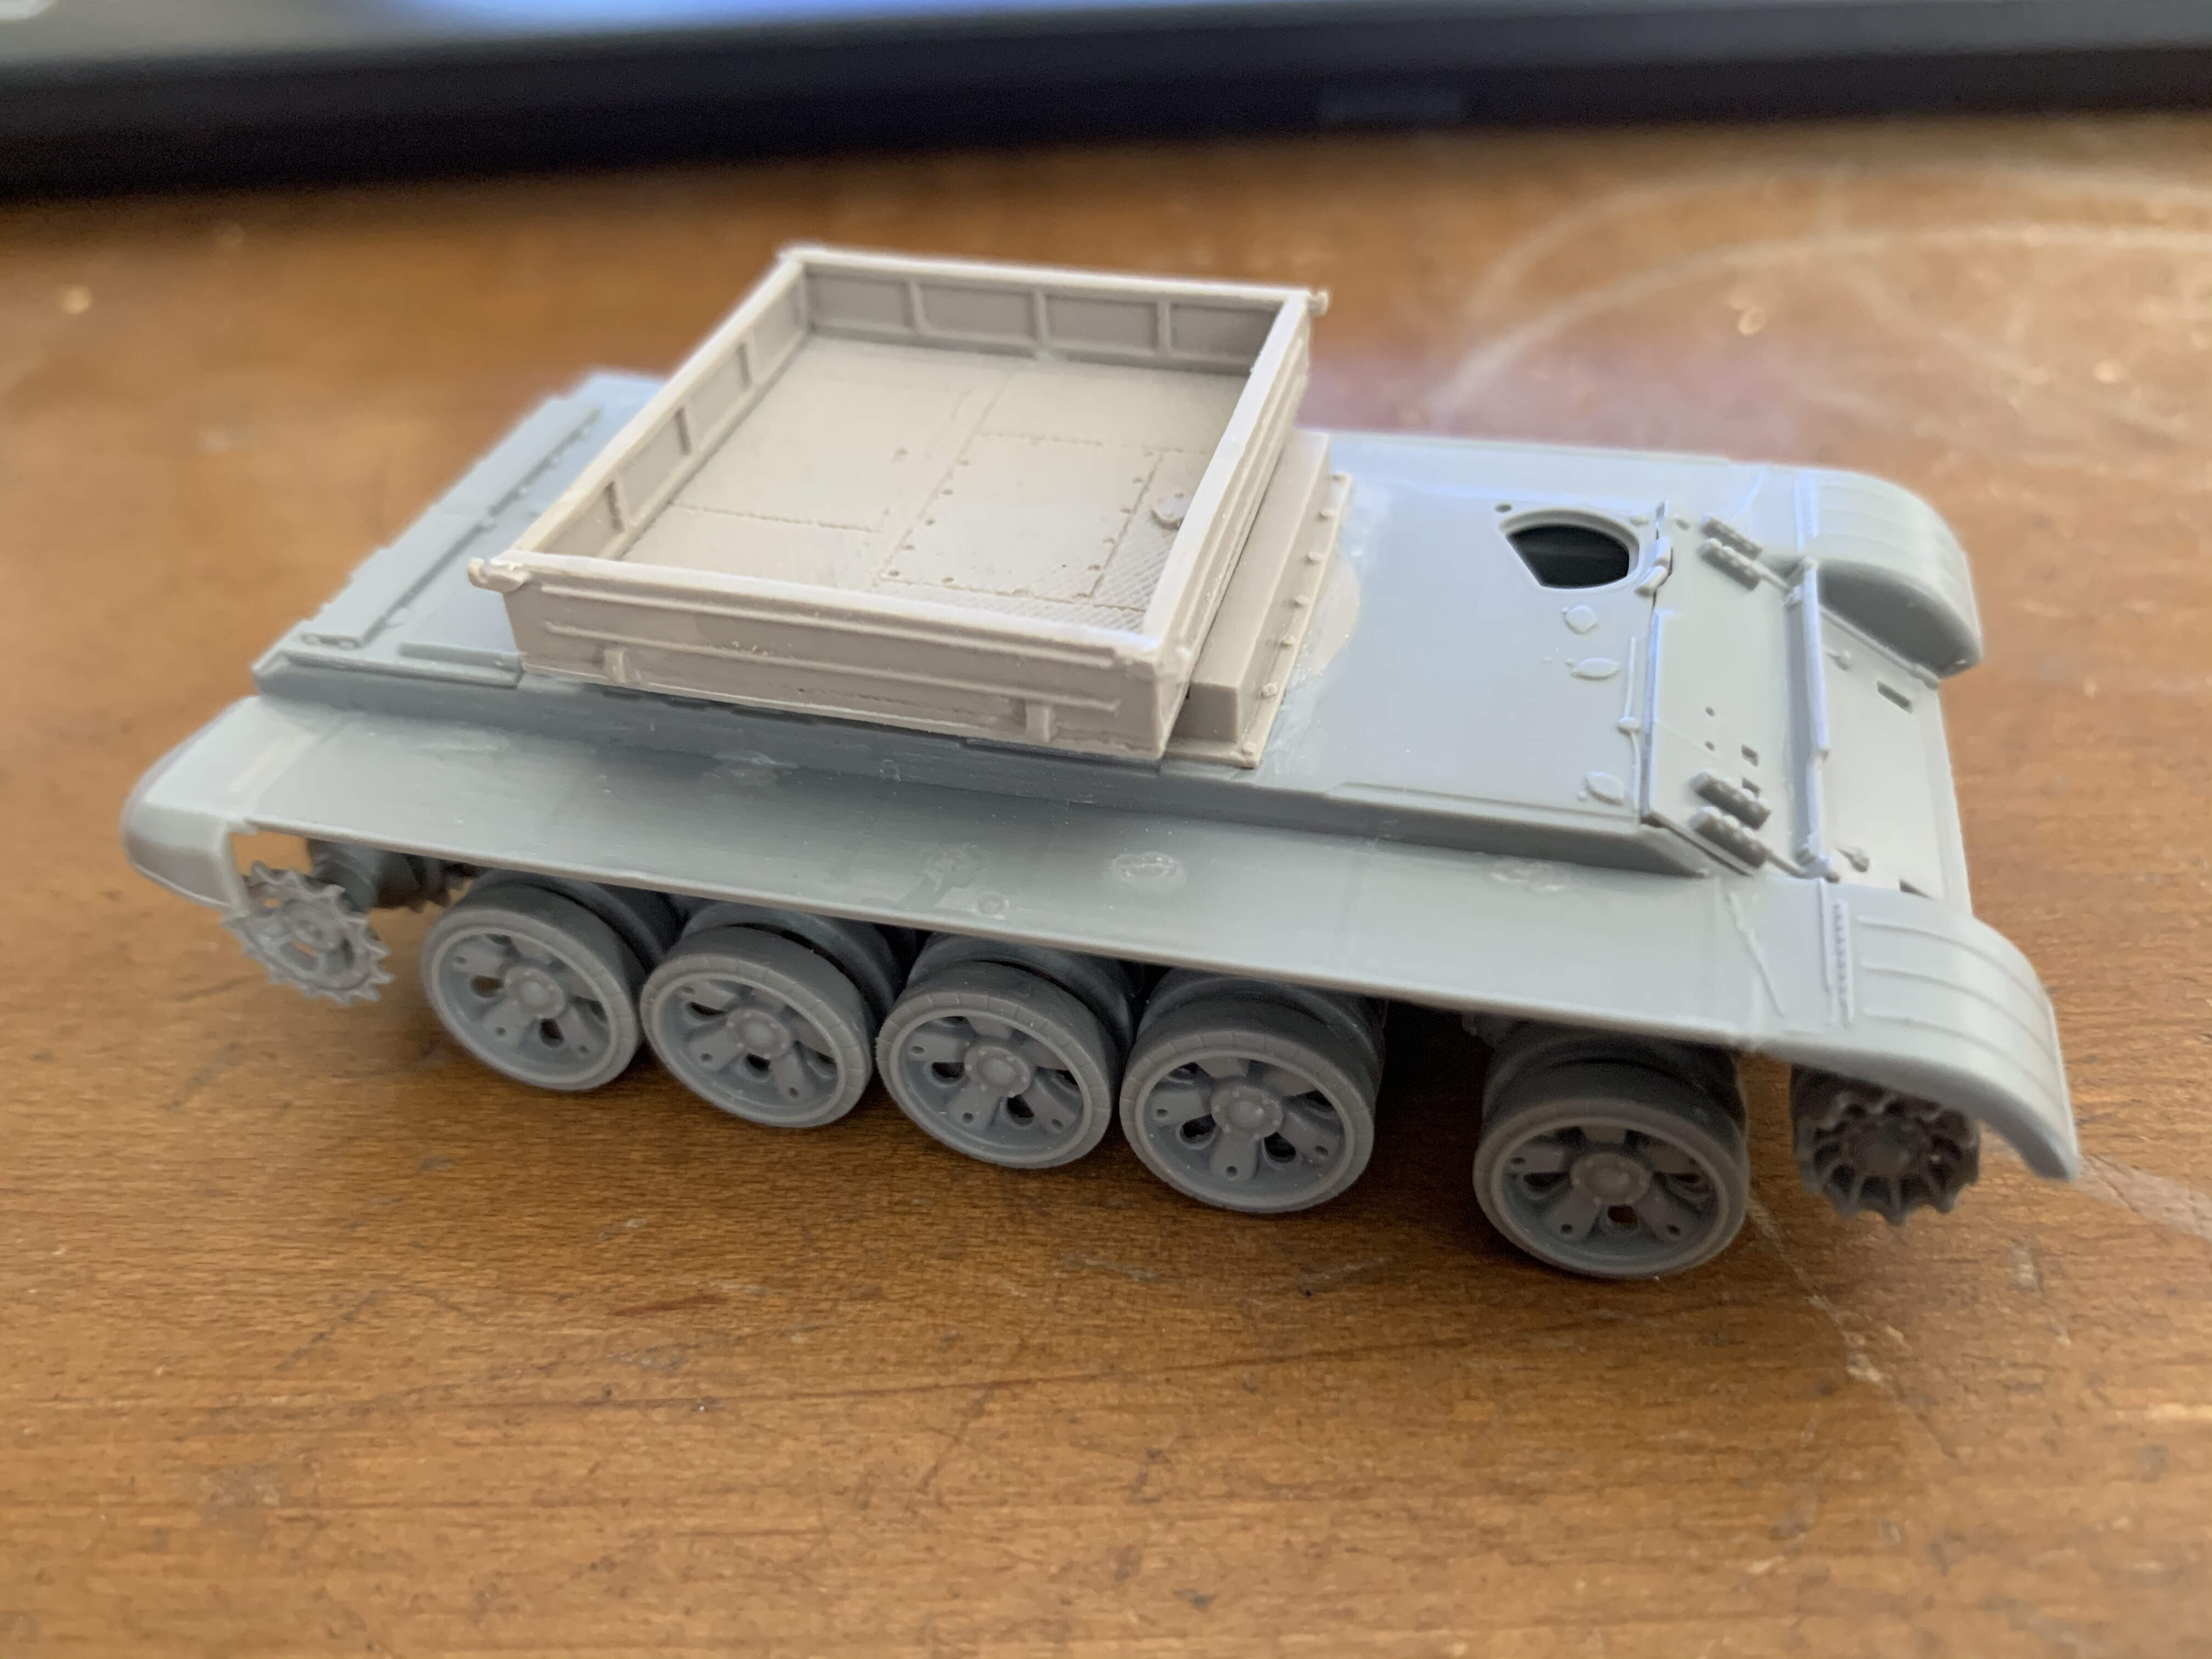
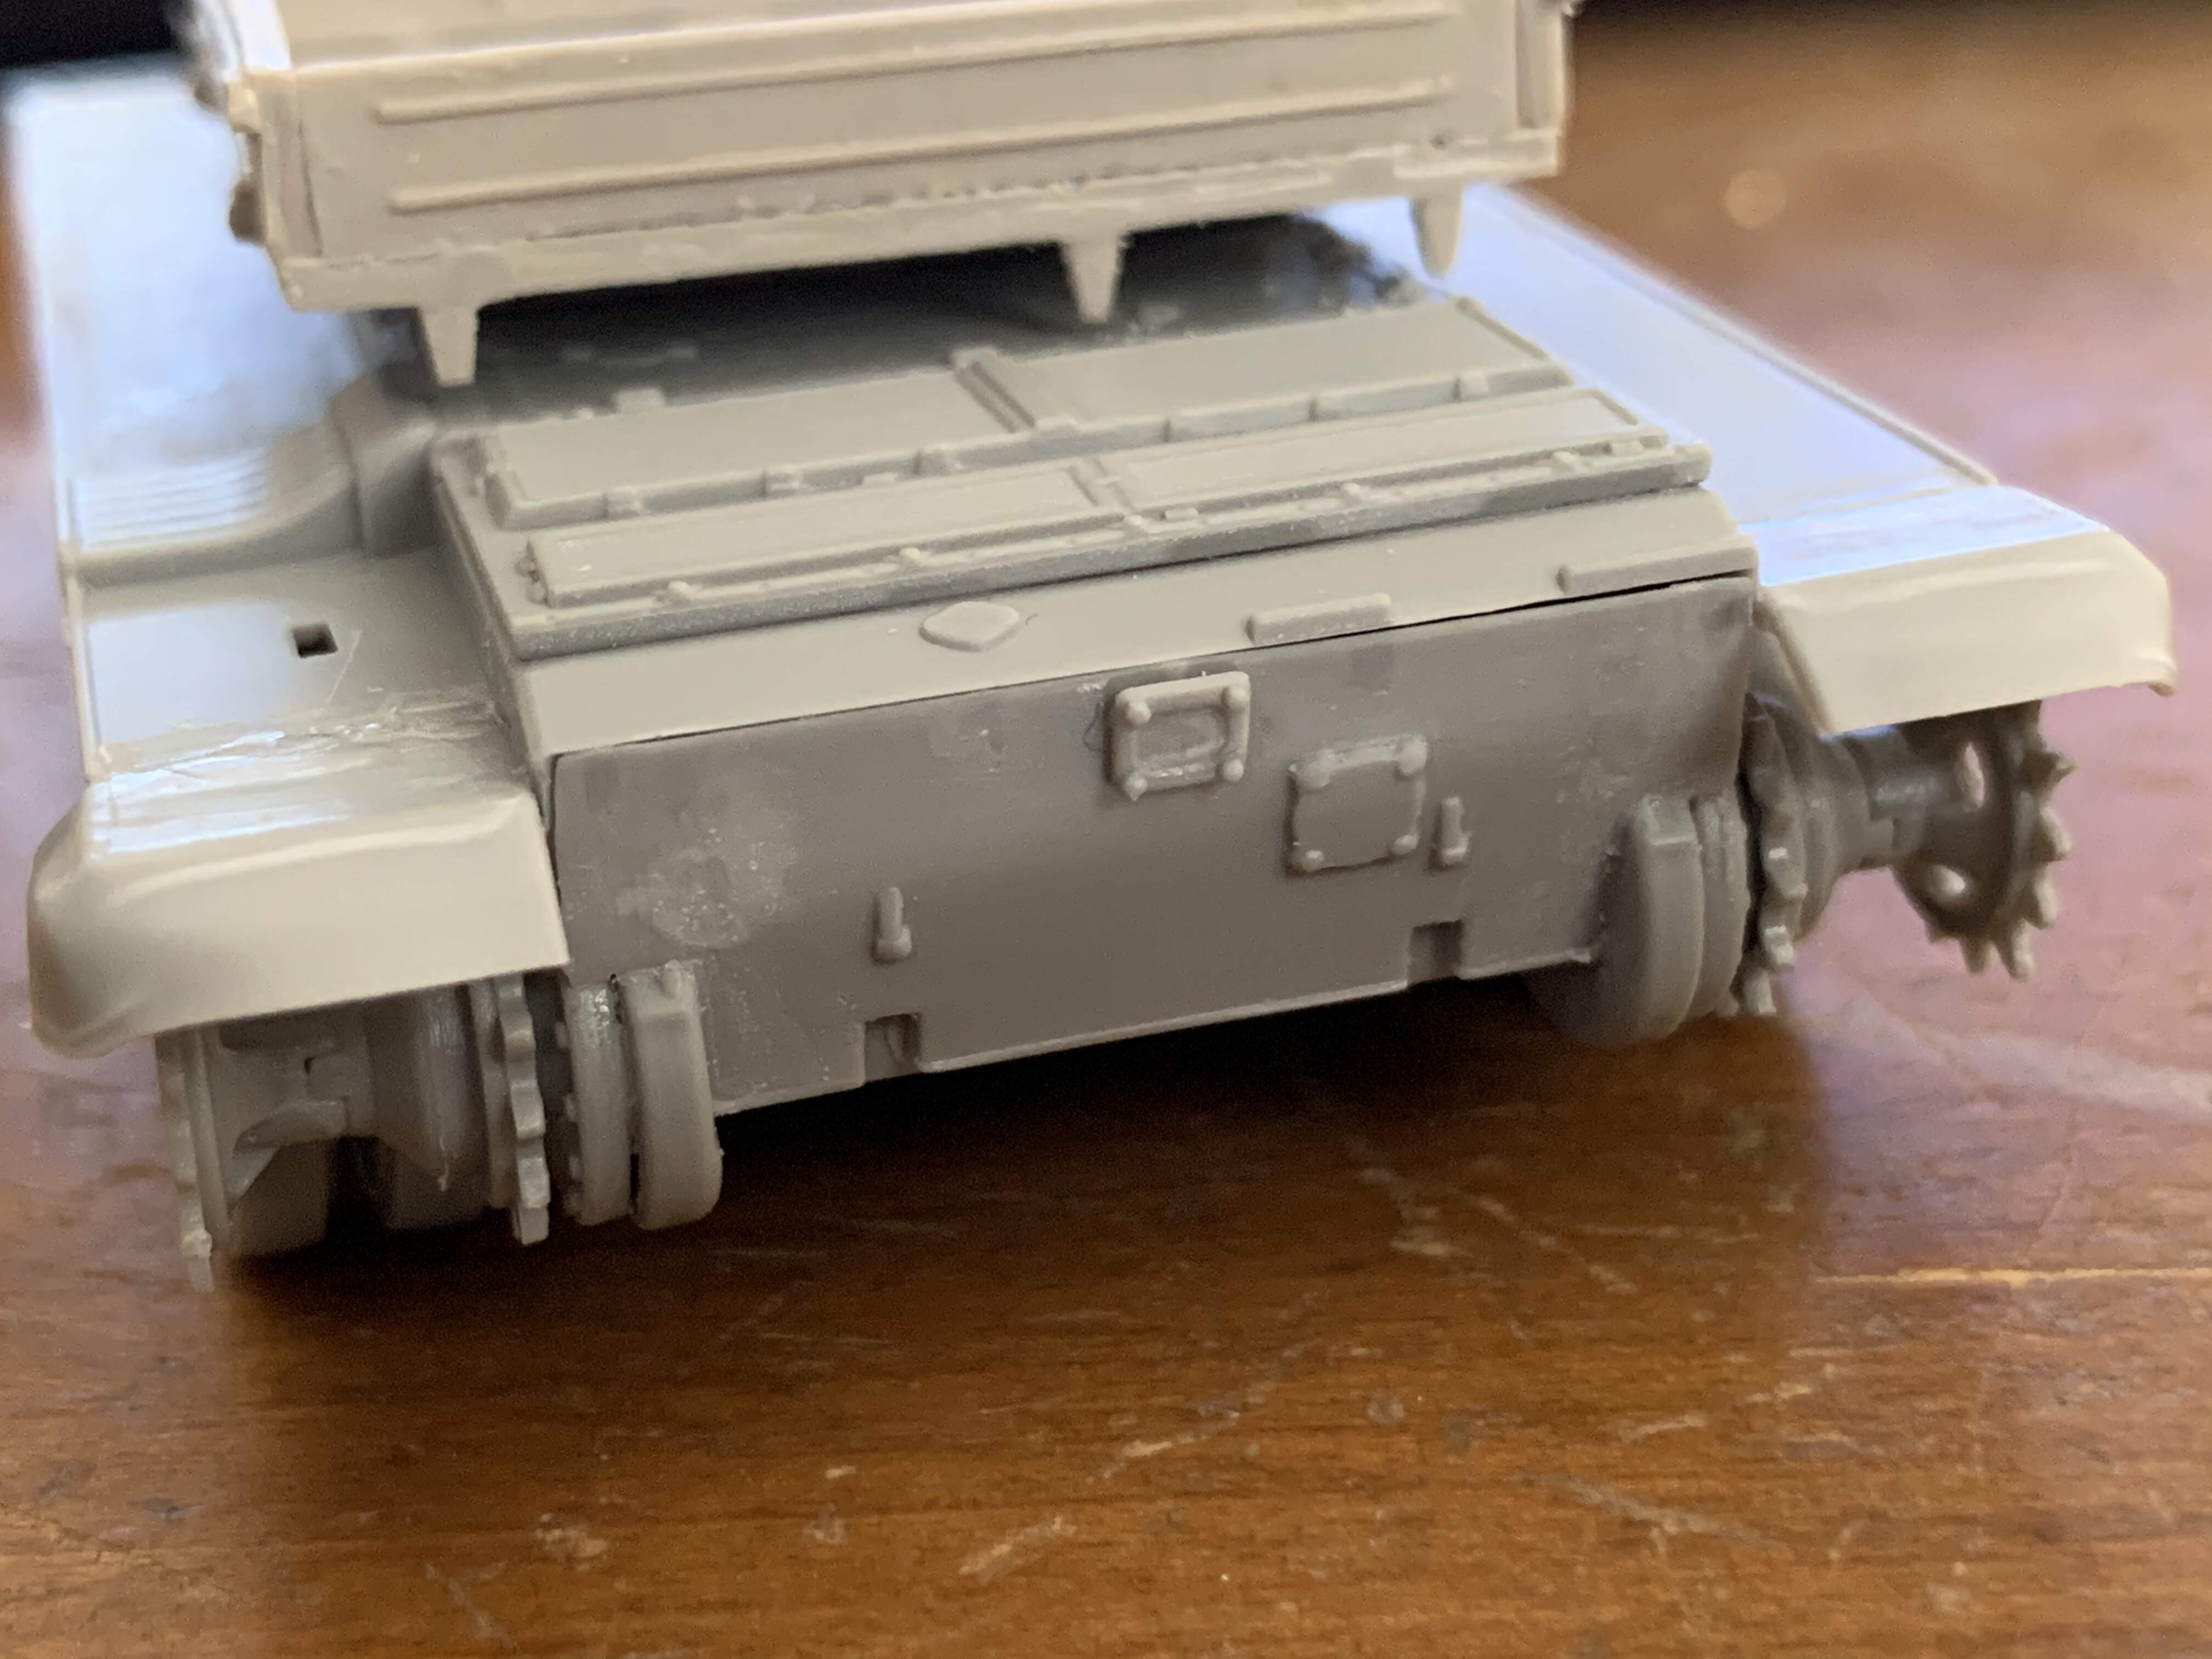
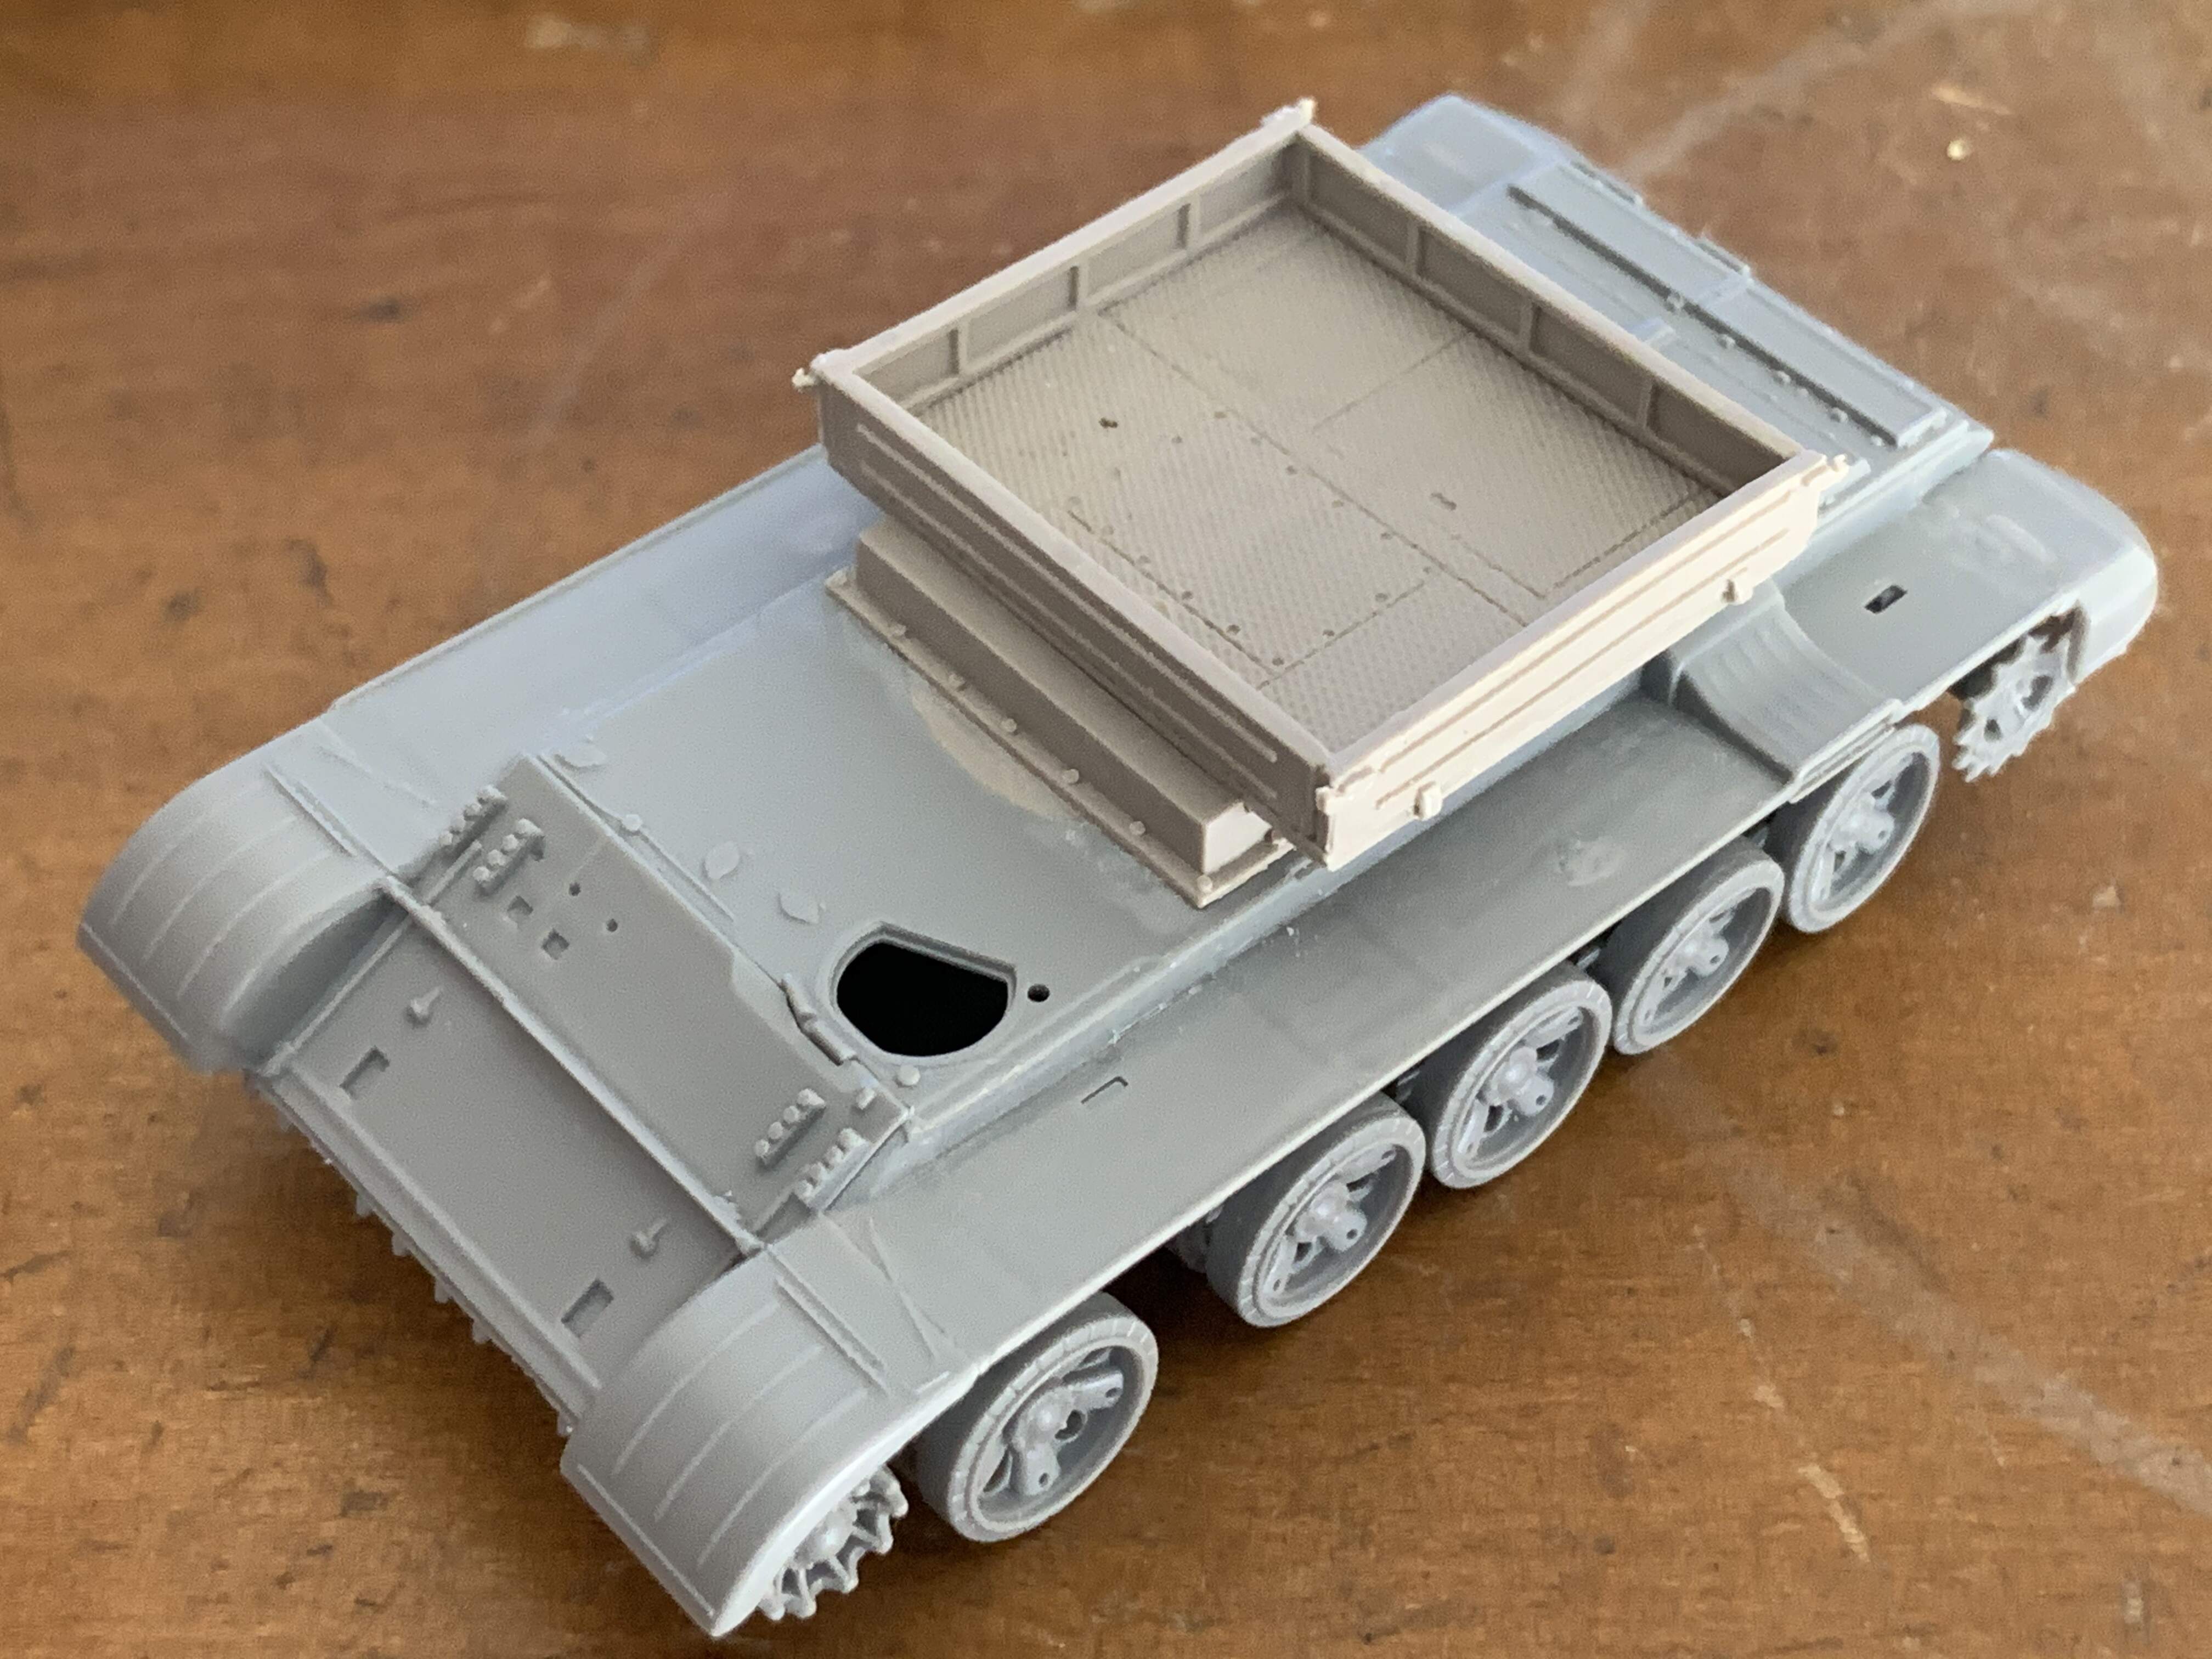
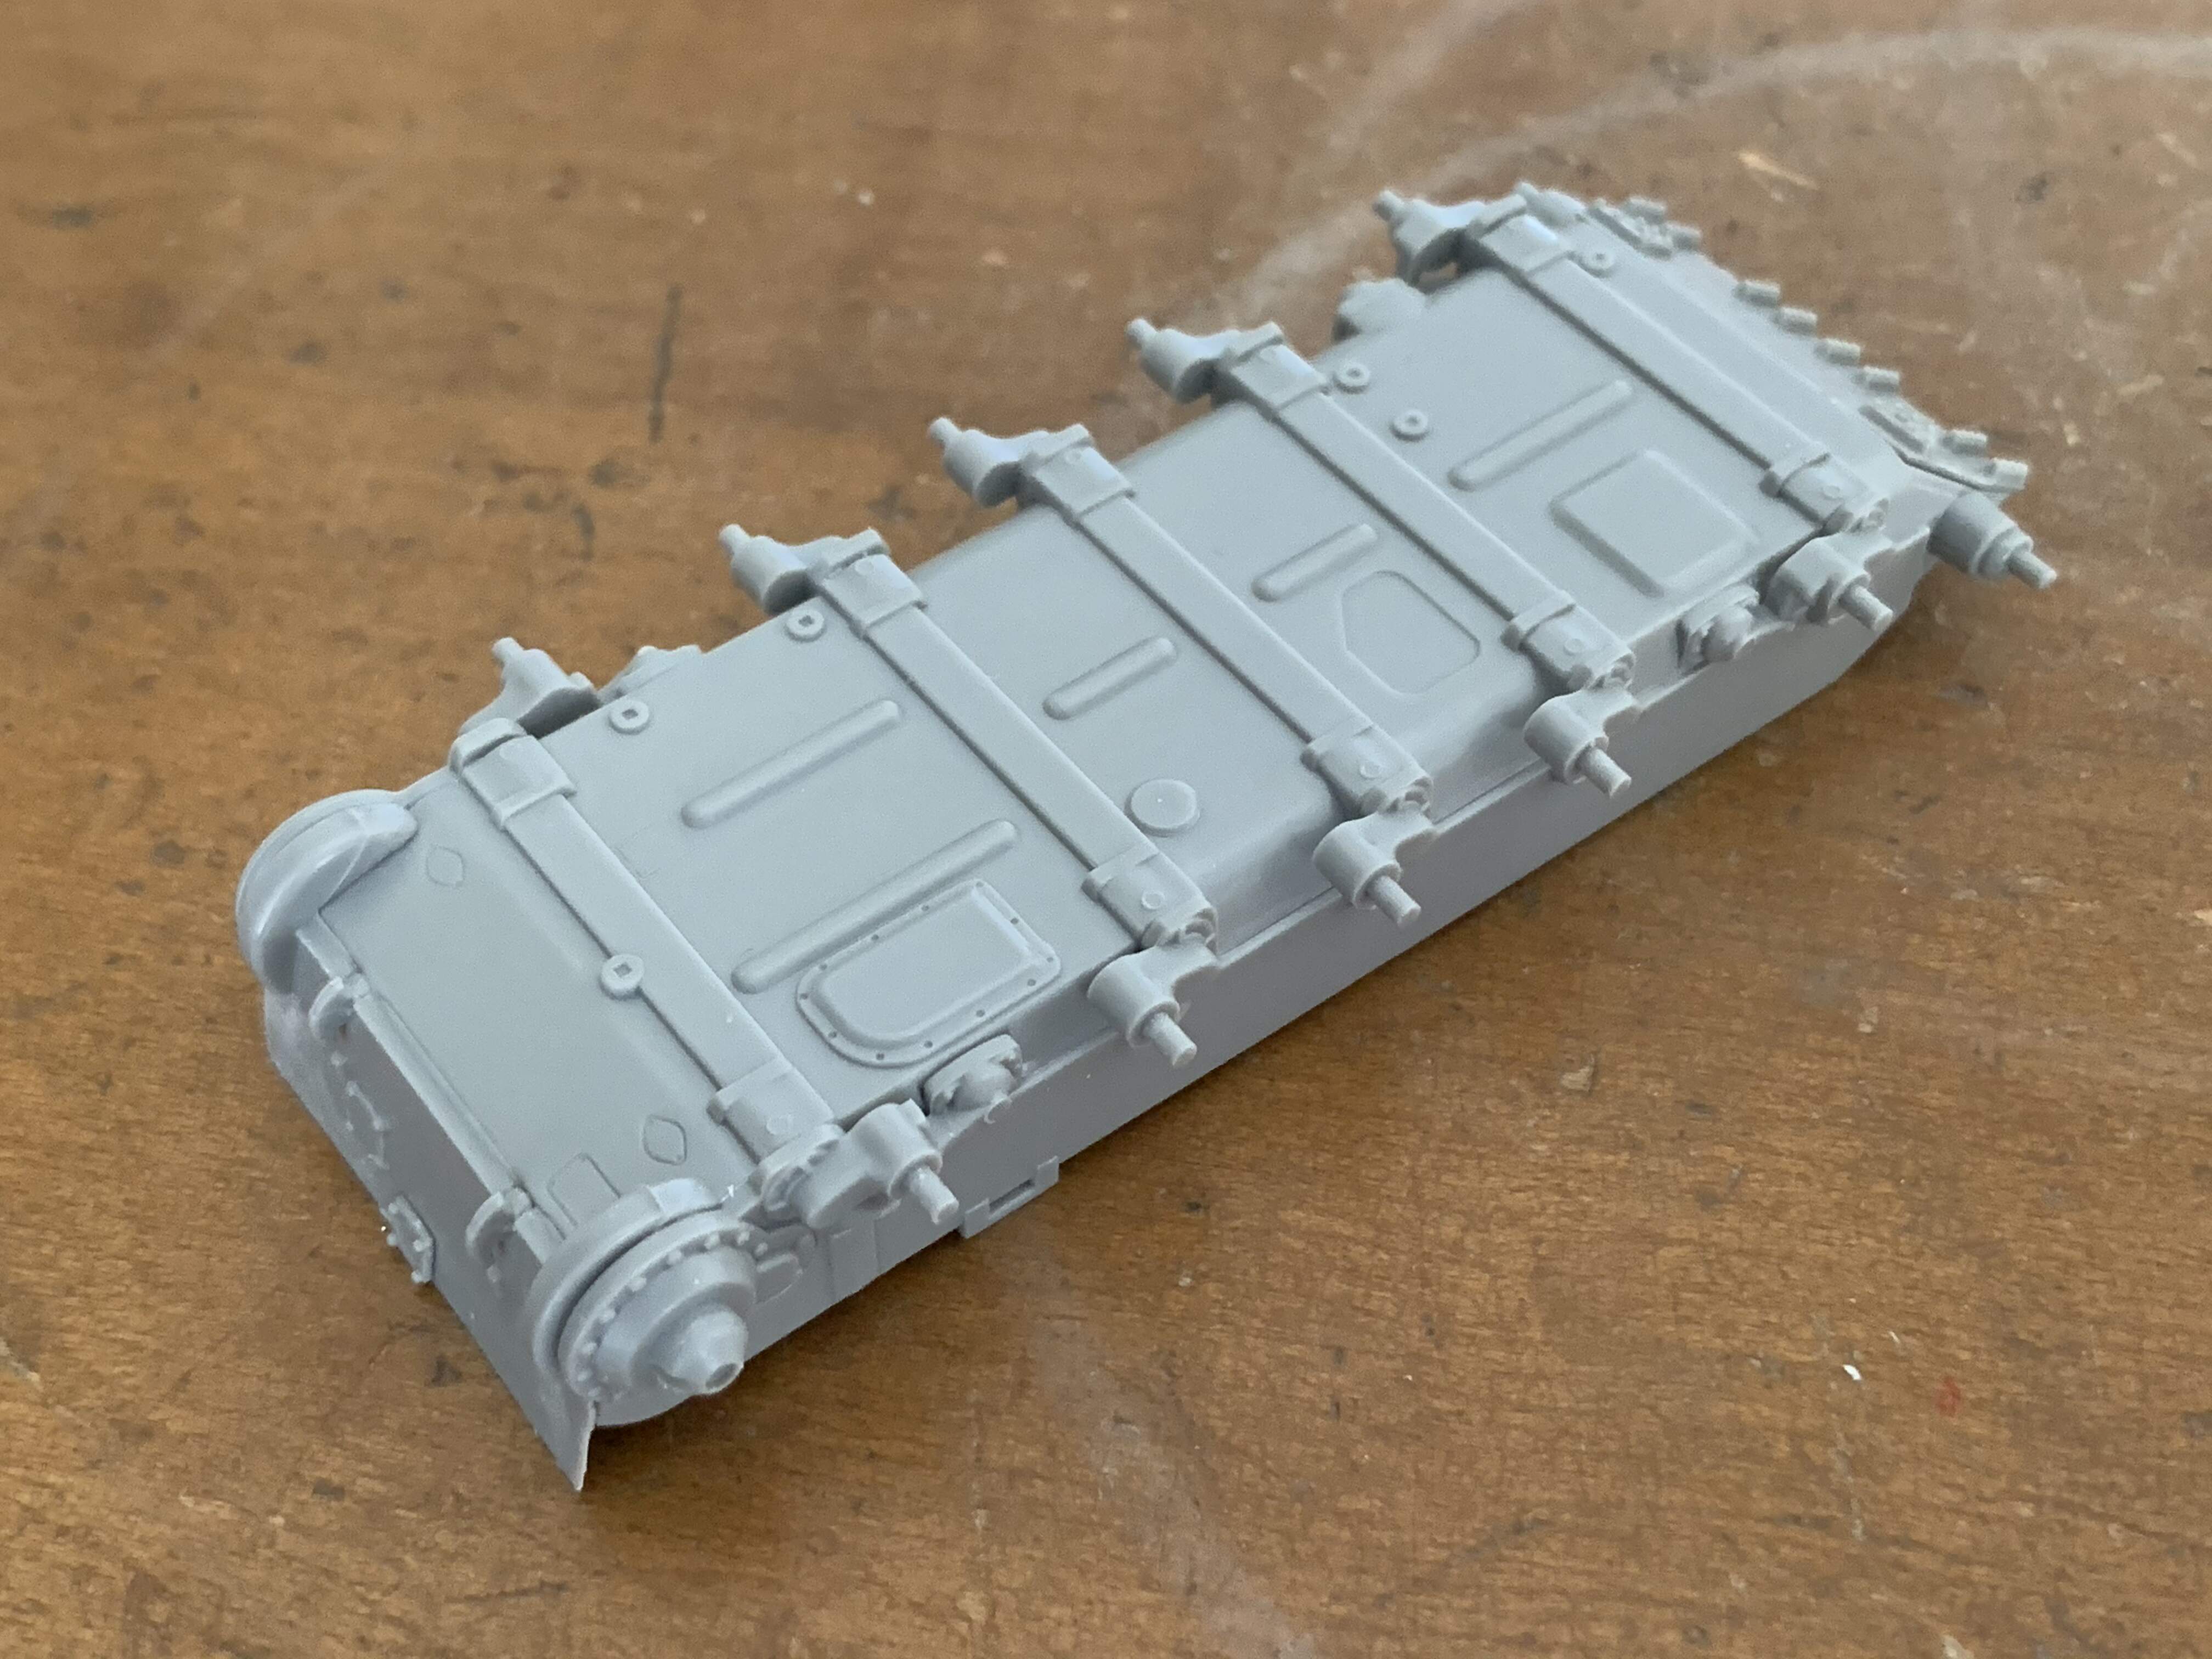
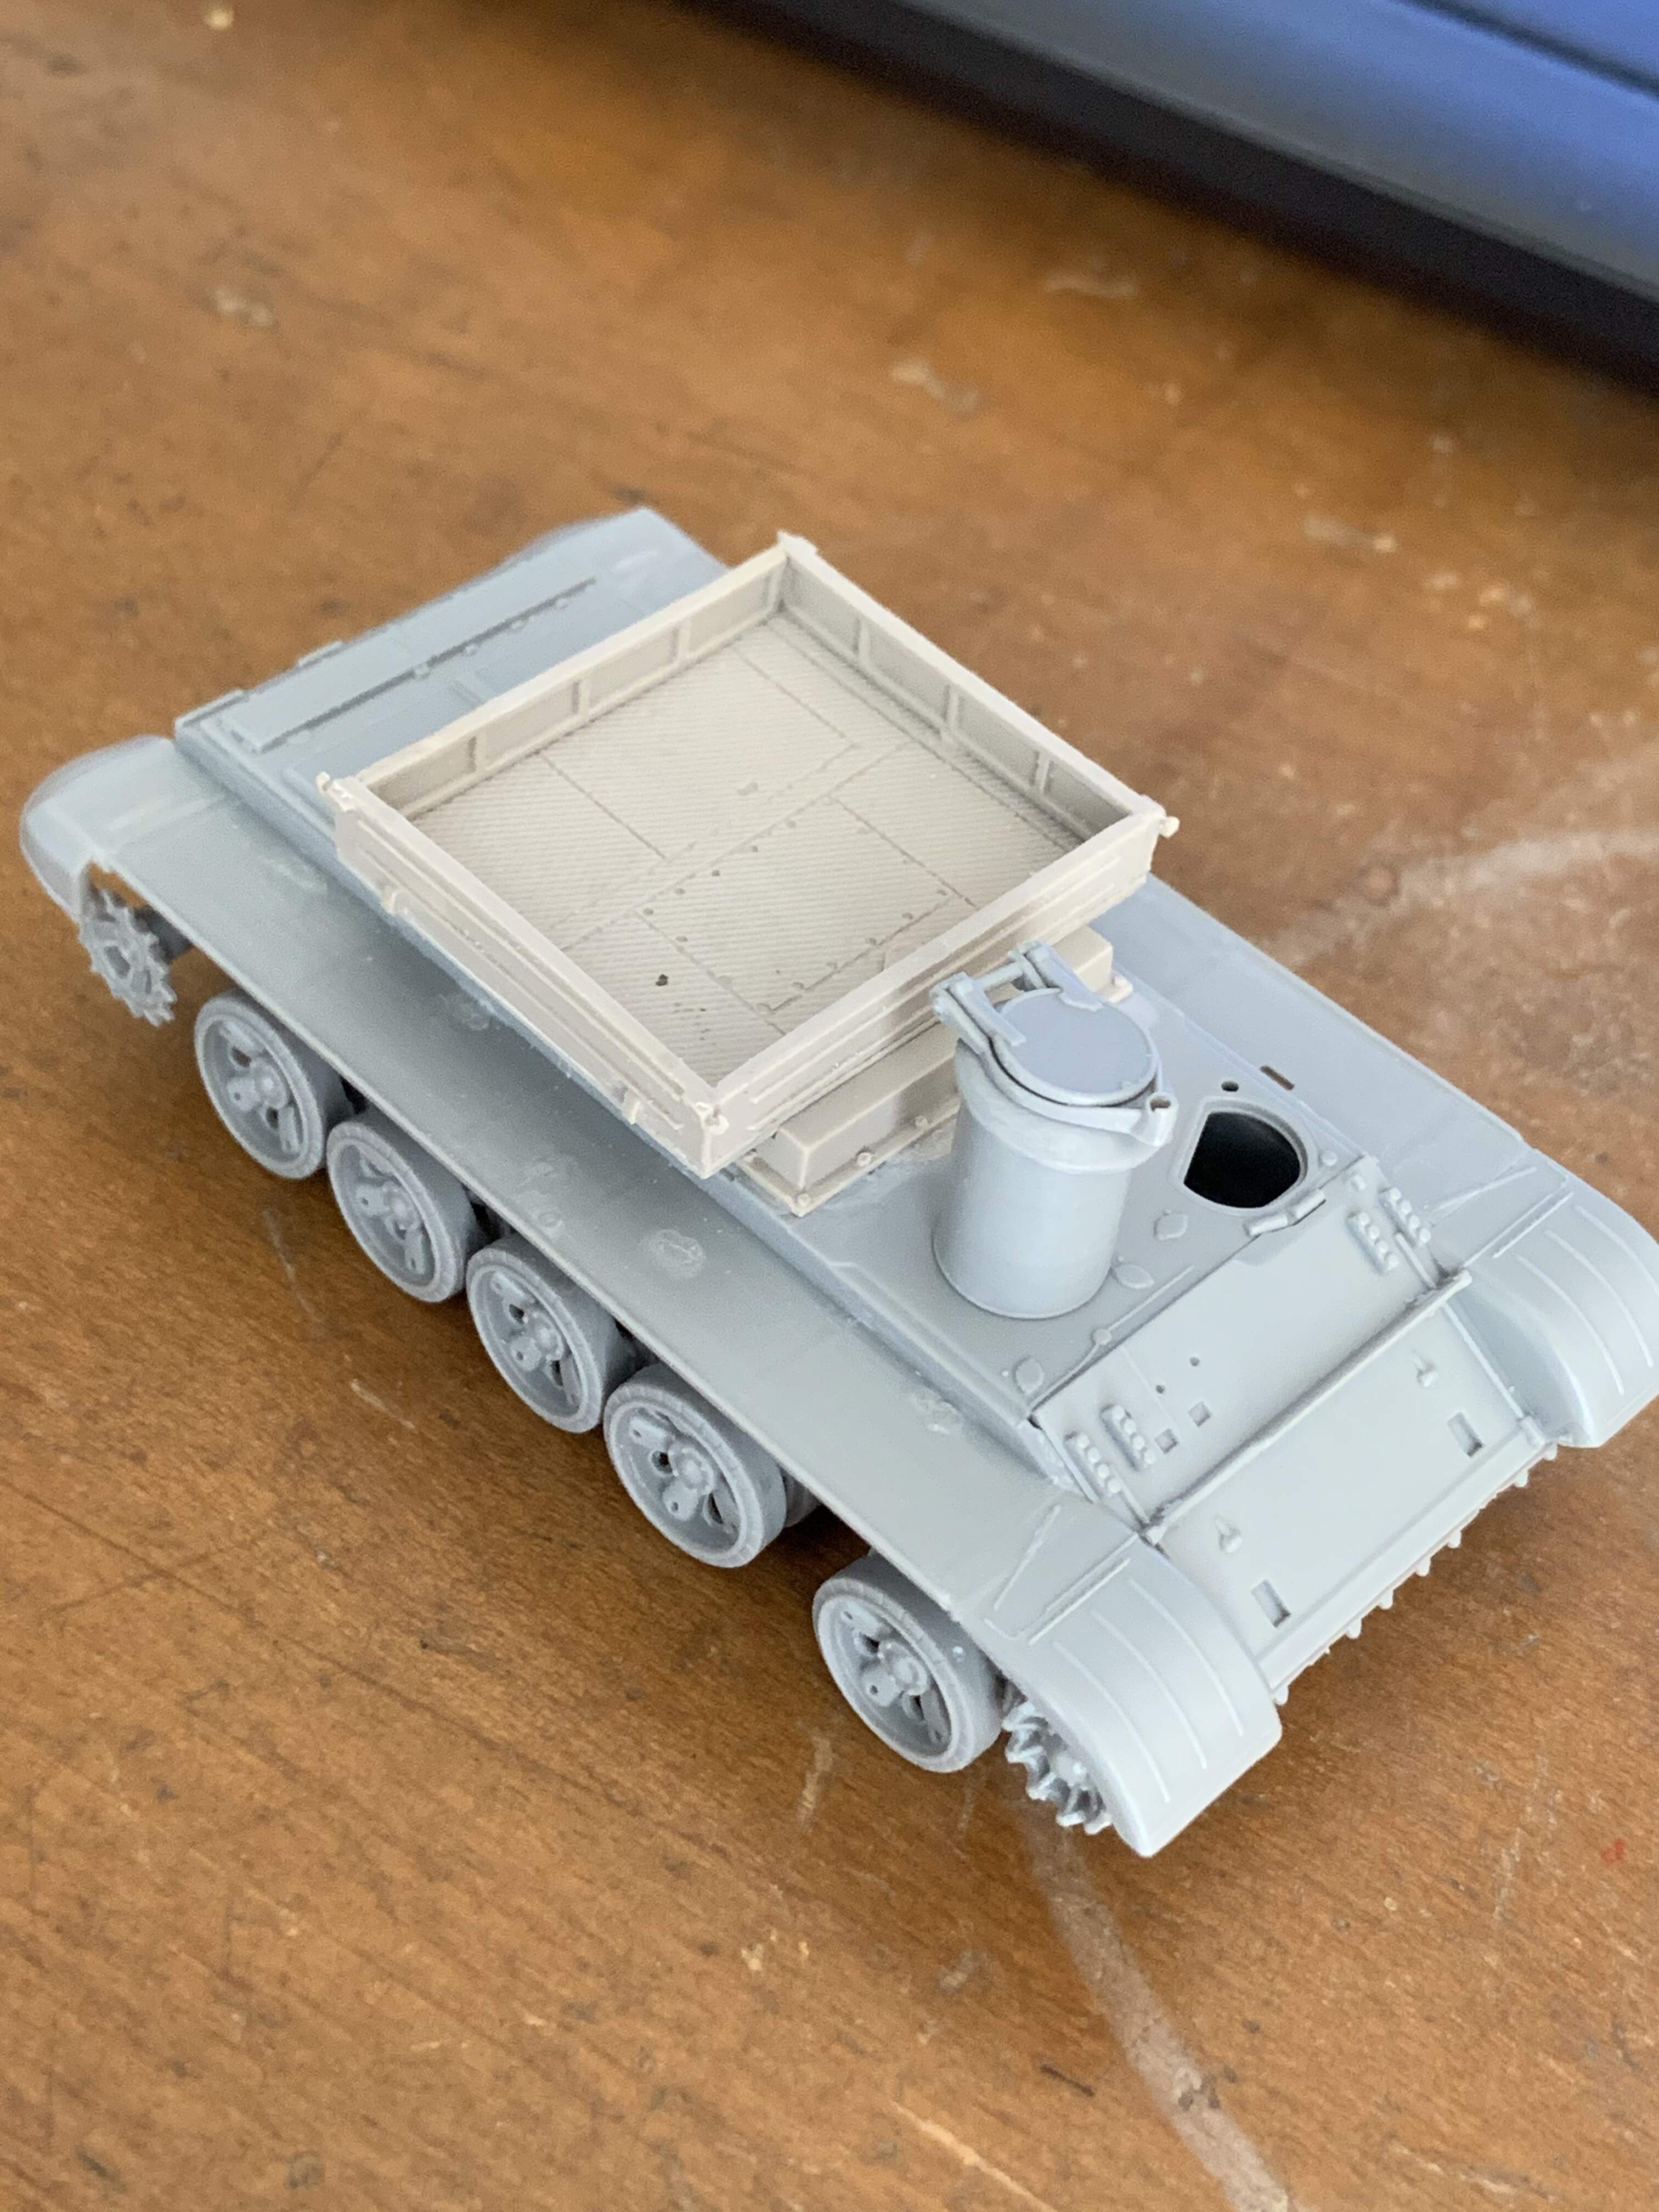
I then used the Ace BTS-4A deck and fitted it on to the Revell hull. I didn’t have any access to technical diagrams so the positioning of the deck was done by using my Mark50 (I am in my 50s) eyeballs plus optivisor!
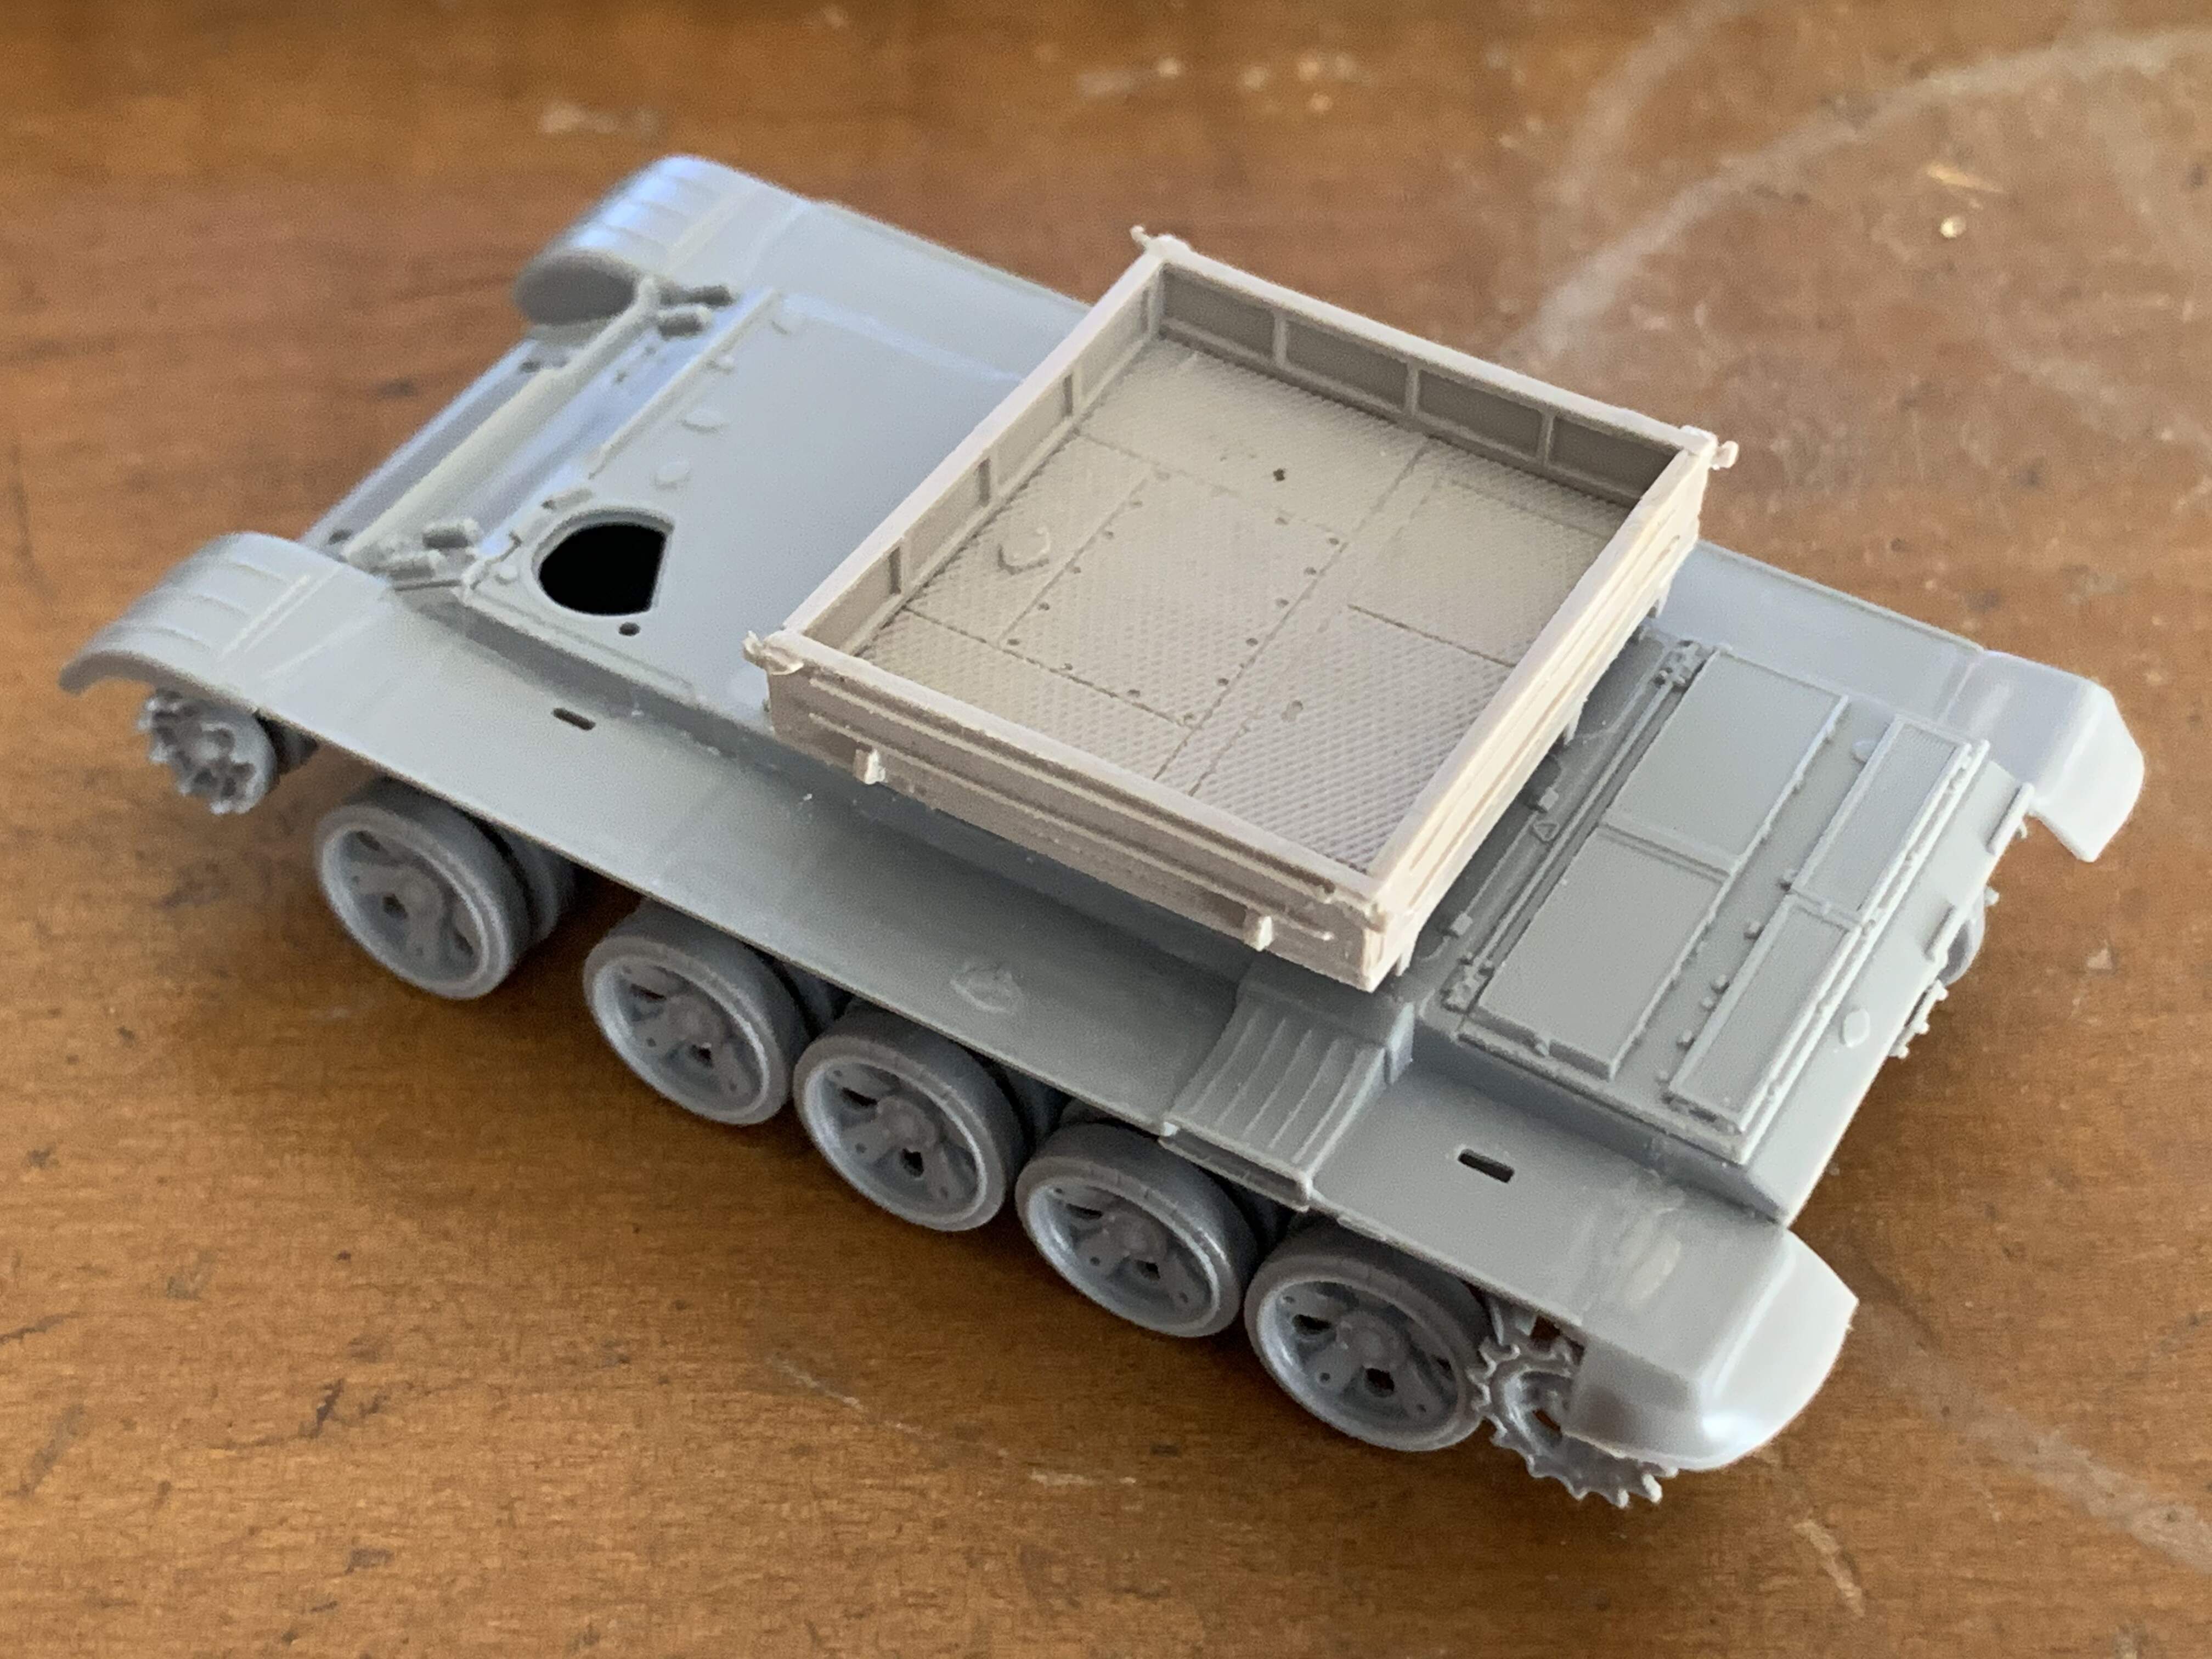
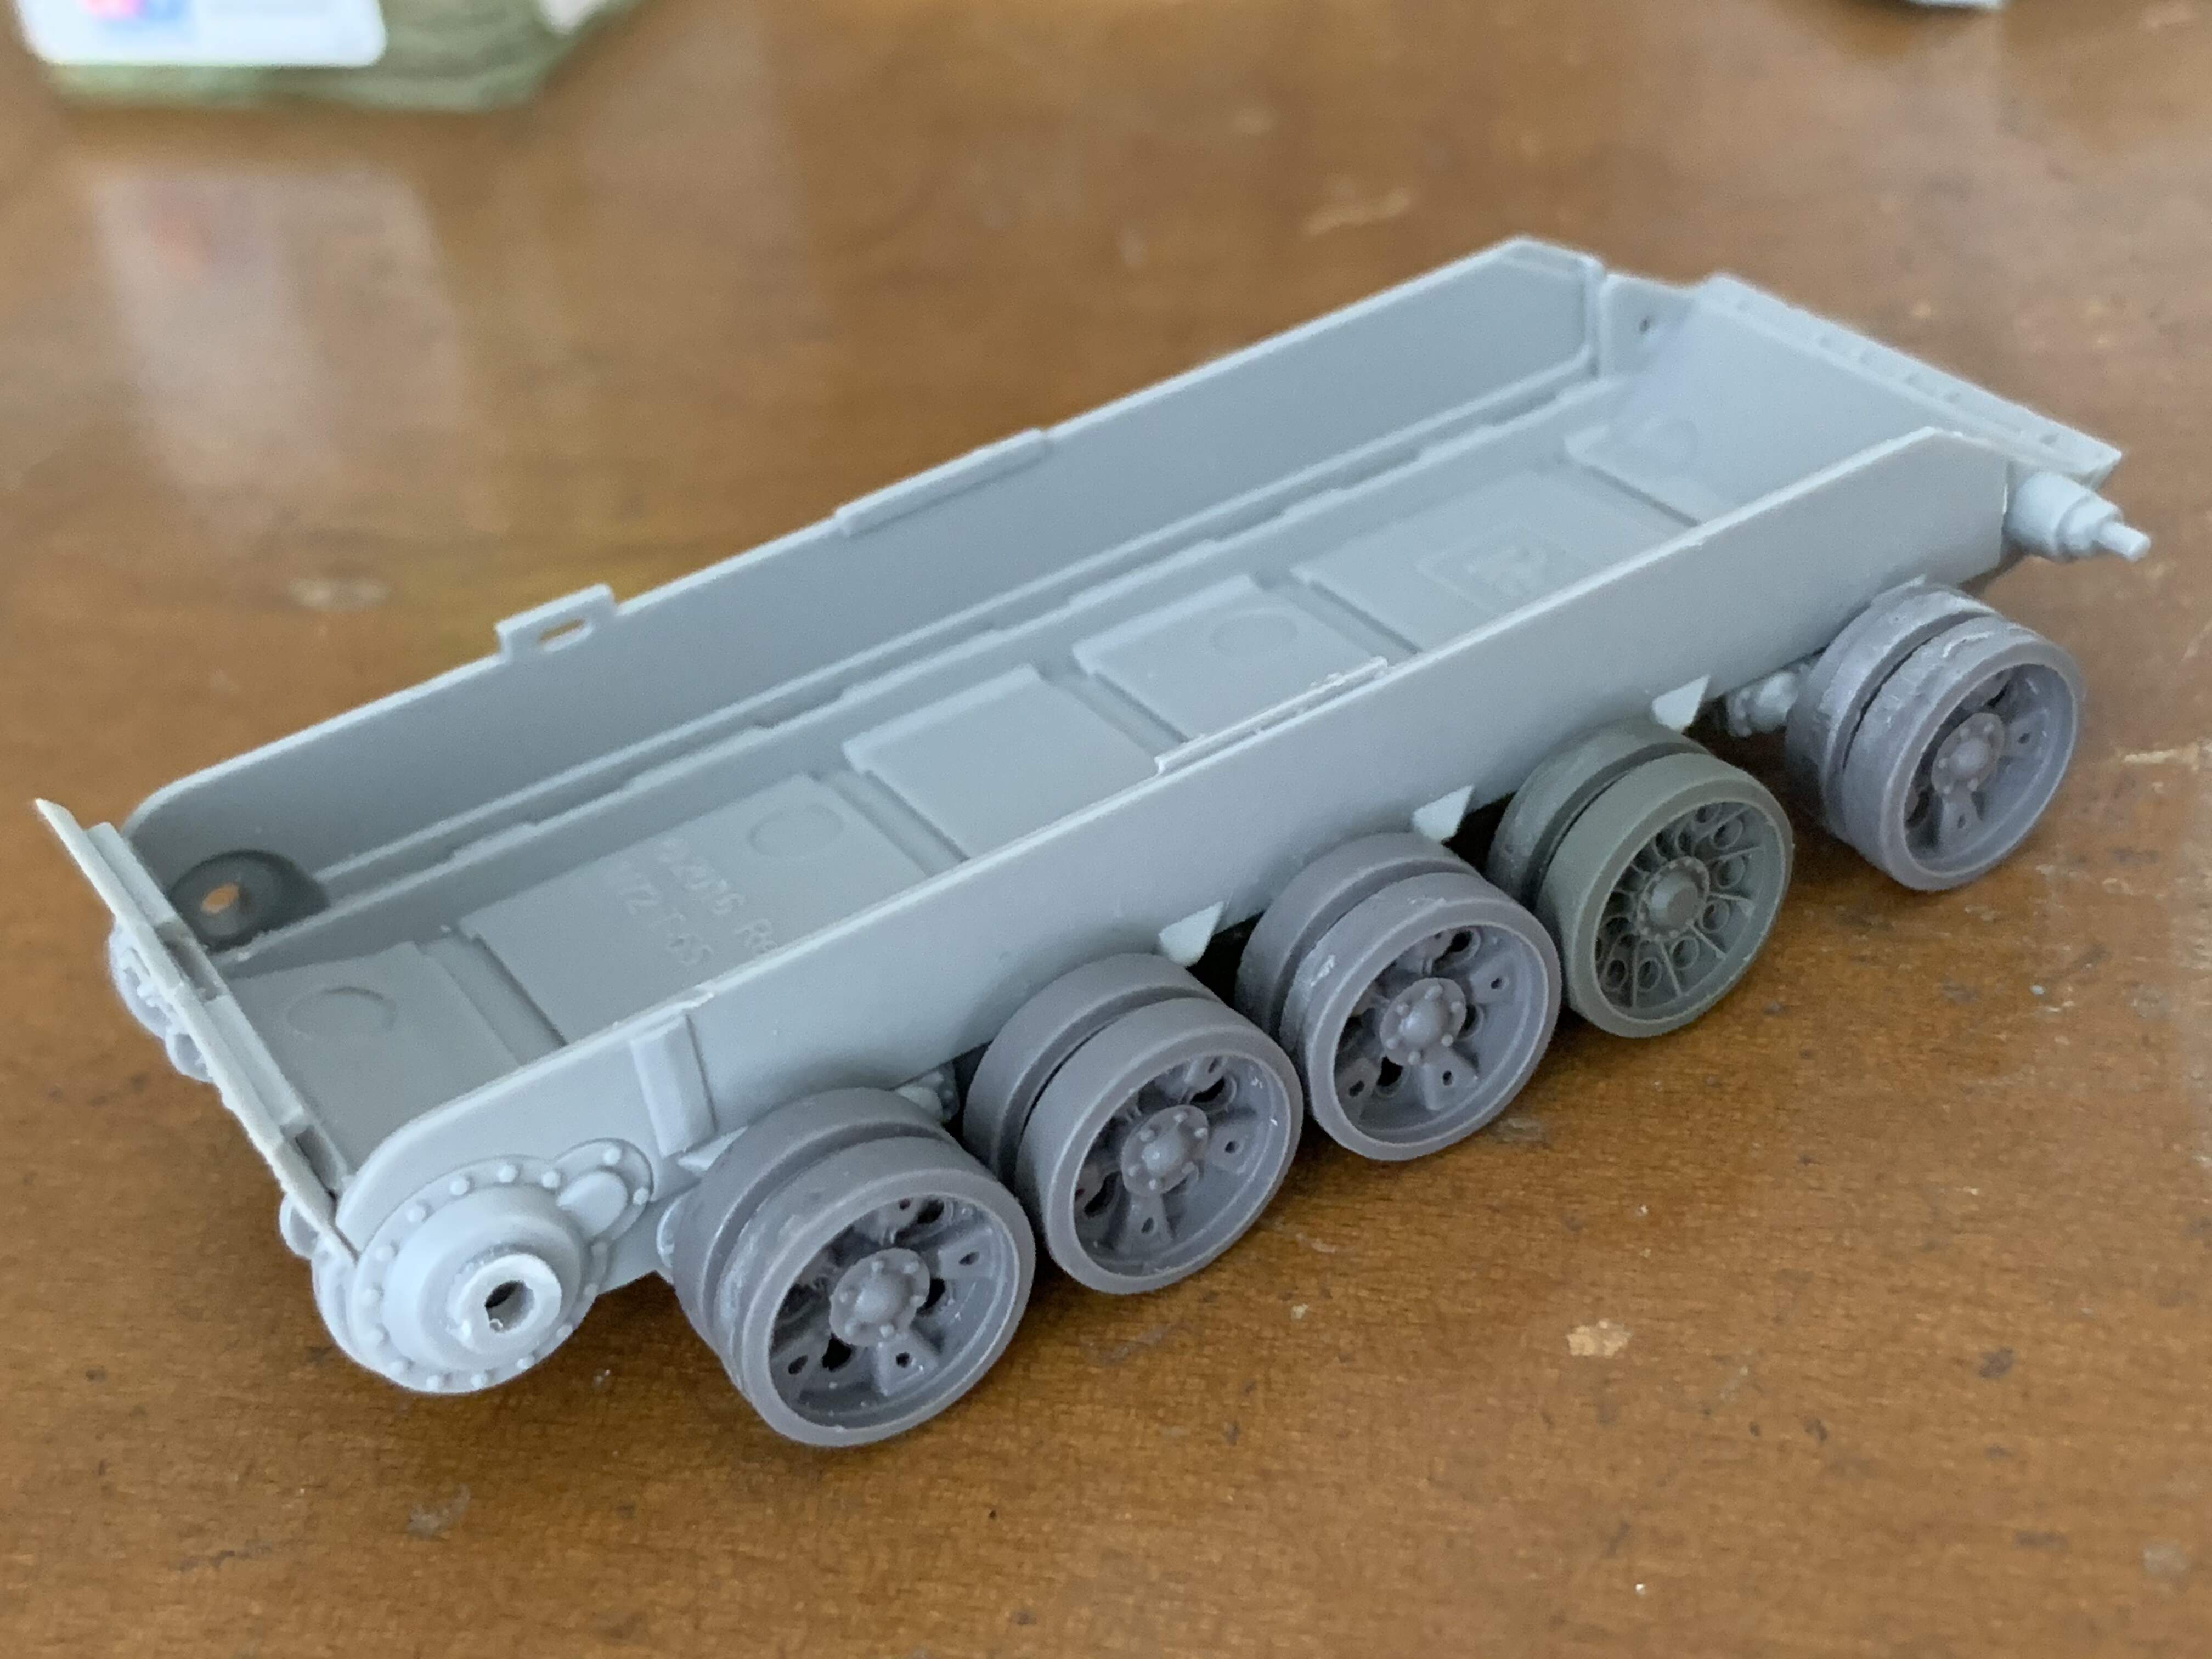
Further modification involves using the OKB Grigorov tracks and road wheels. As can be seen, I will be mixing both starfish and spider types of roadwheels.
Here is how it originally looked
I glued copper wires that will hold the OKB road wheels.
I think I am off to a good start.
BTW, I like that I can upload photos directly from my phone. As everyone knows, it was a tedious process to upload pictures to a hosting site, edit the size and then, copy a link on to the thread. It is easier now and a lot of time is saved. However, does anyone else have the same experience as me? When I select multiple photos, some other random photos get uploaded. Definitely not the ones I selected. Though not as tedious, I now have to go on to preview mode to see what position the unwanted photo(s) is and then do a lot of backspacing. Does anyone have tips to avoid this?
Thanks!
4 Likes
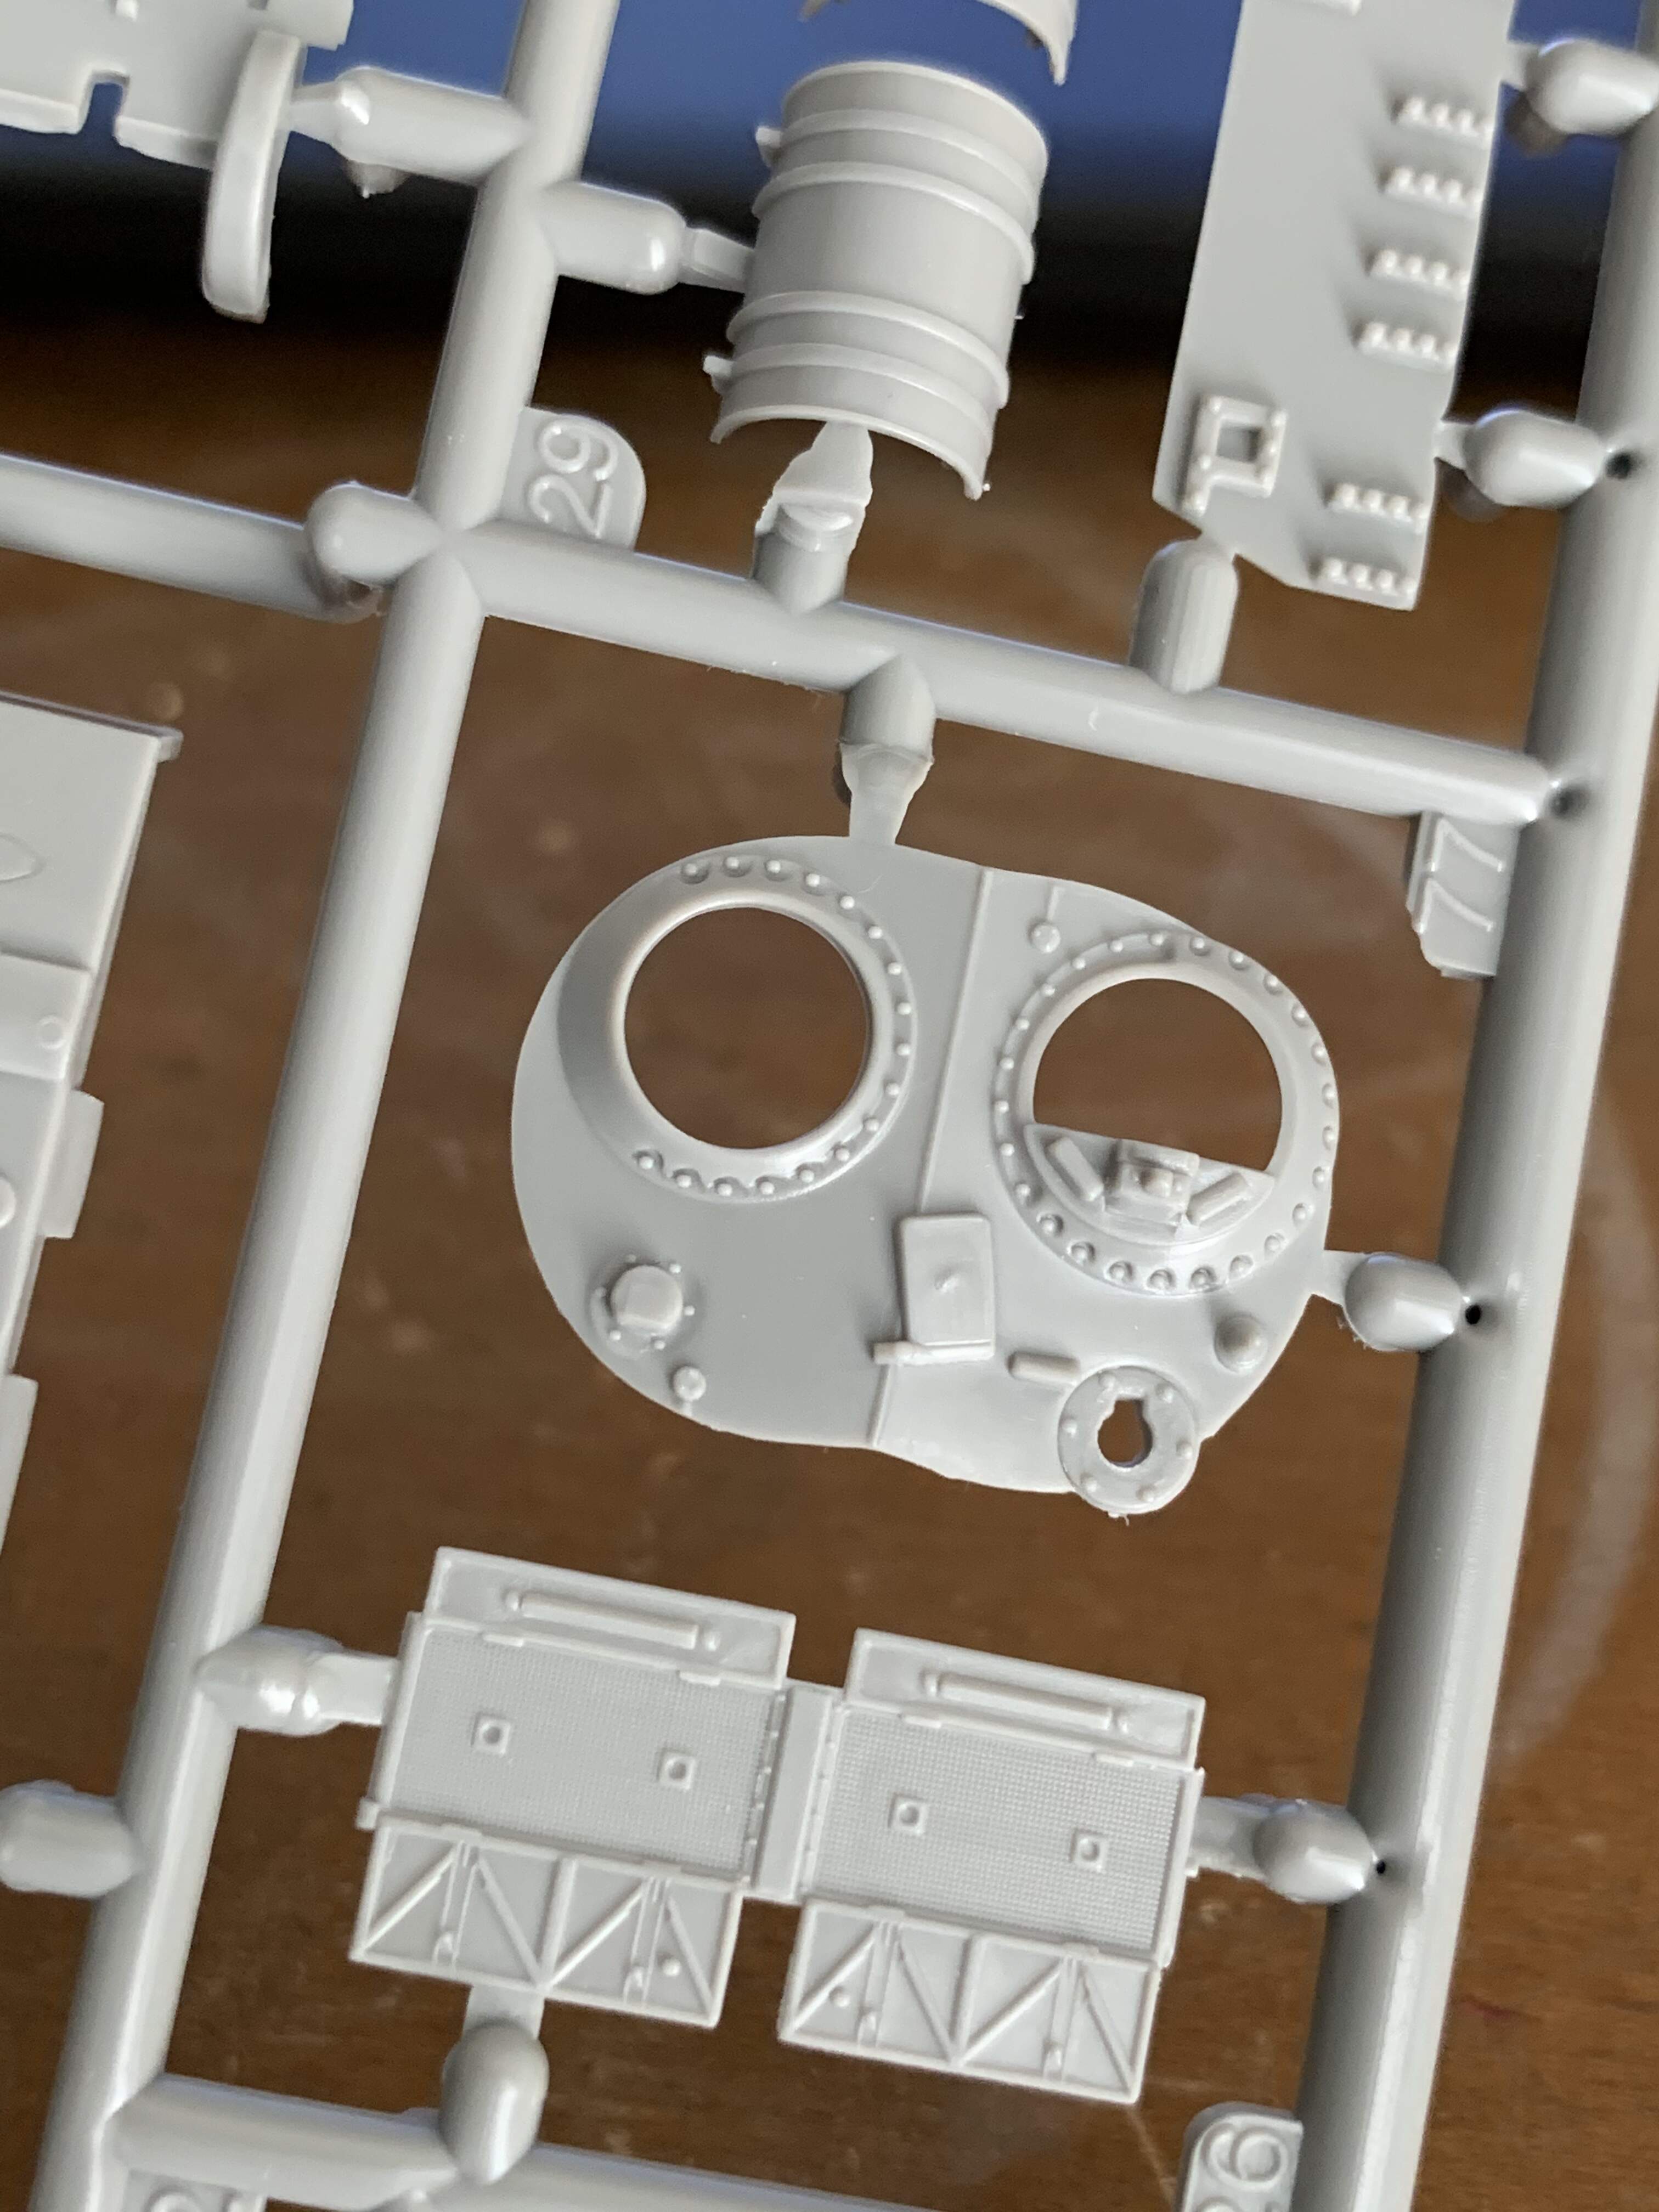
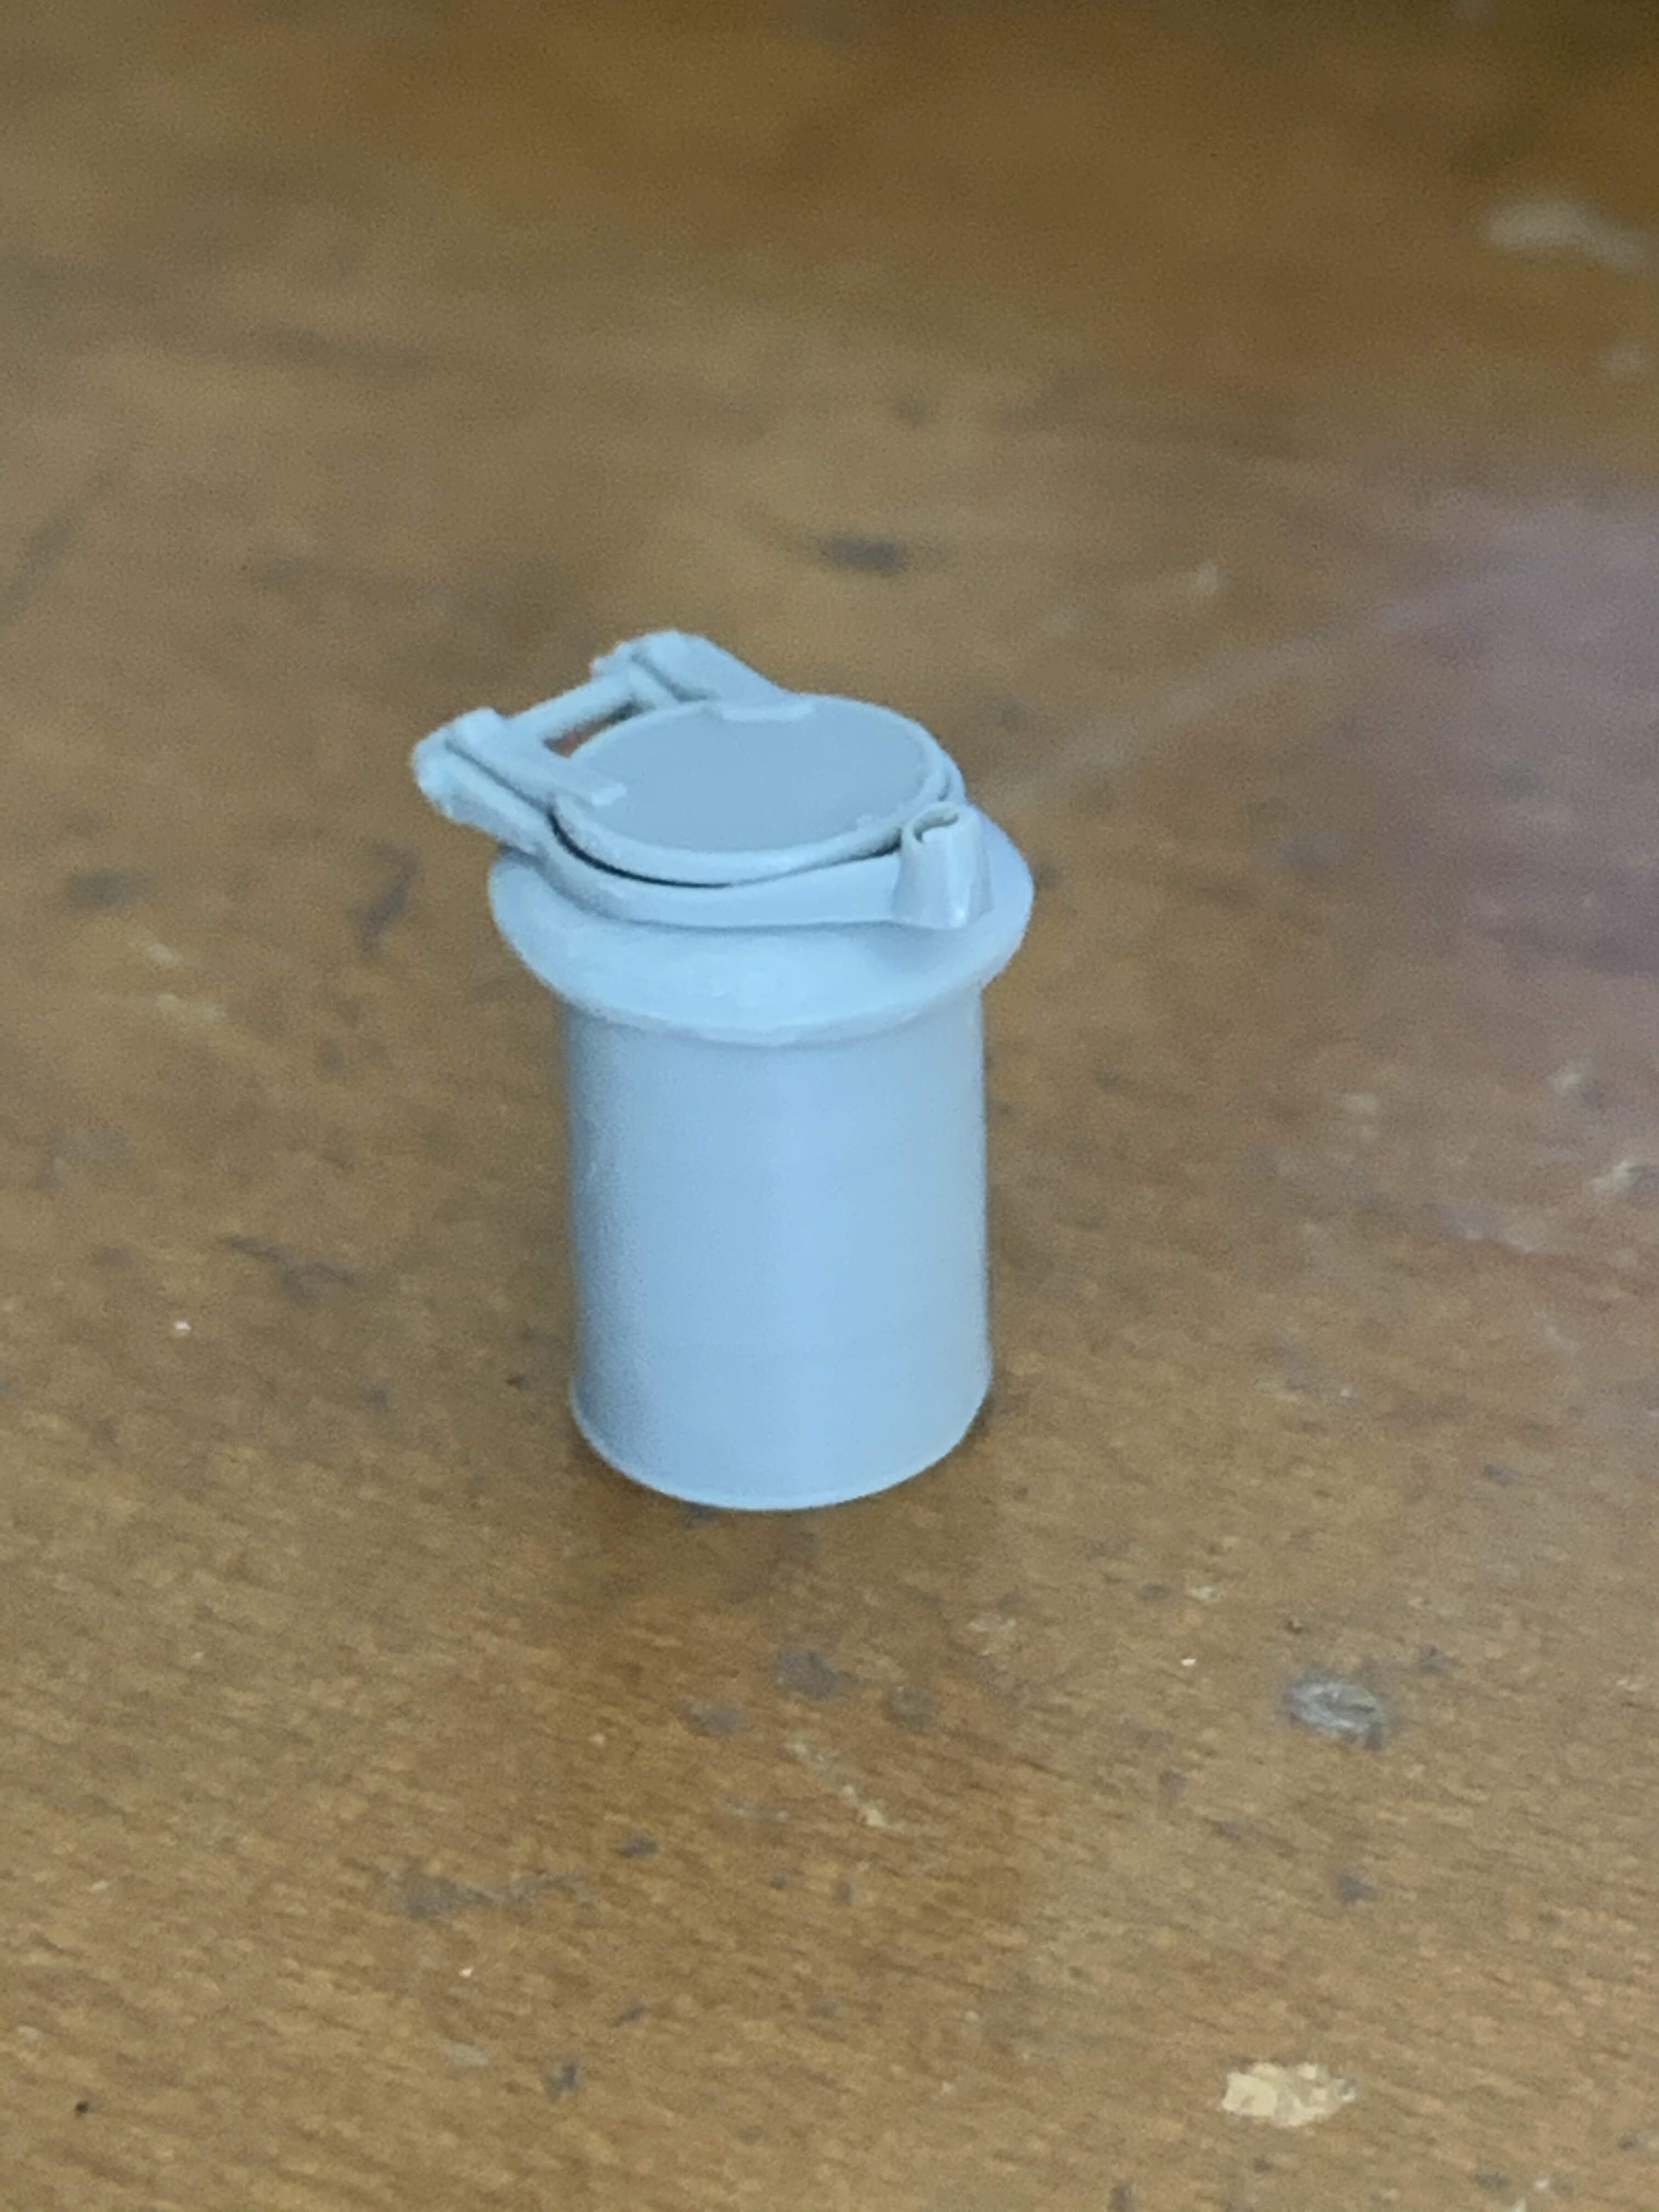
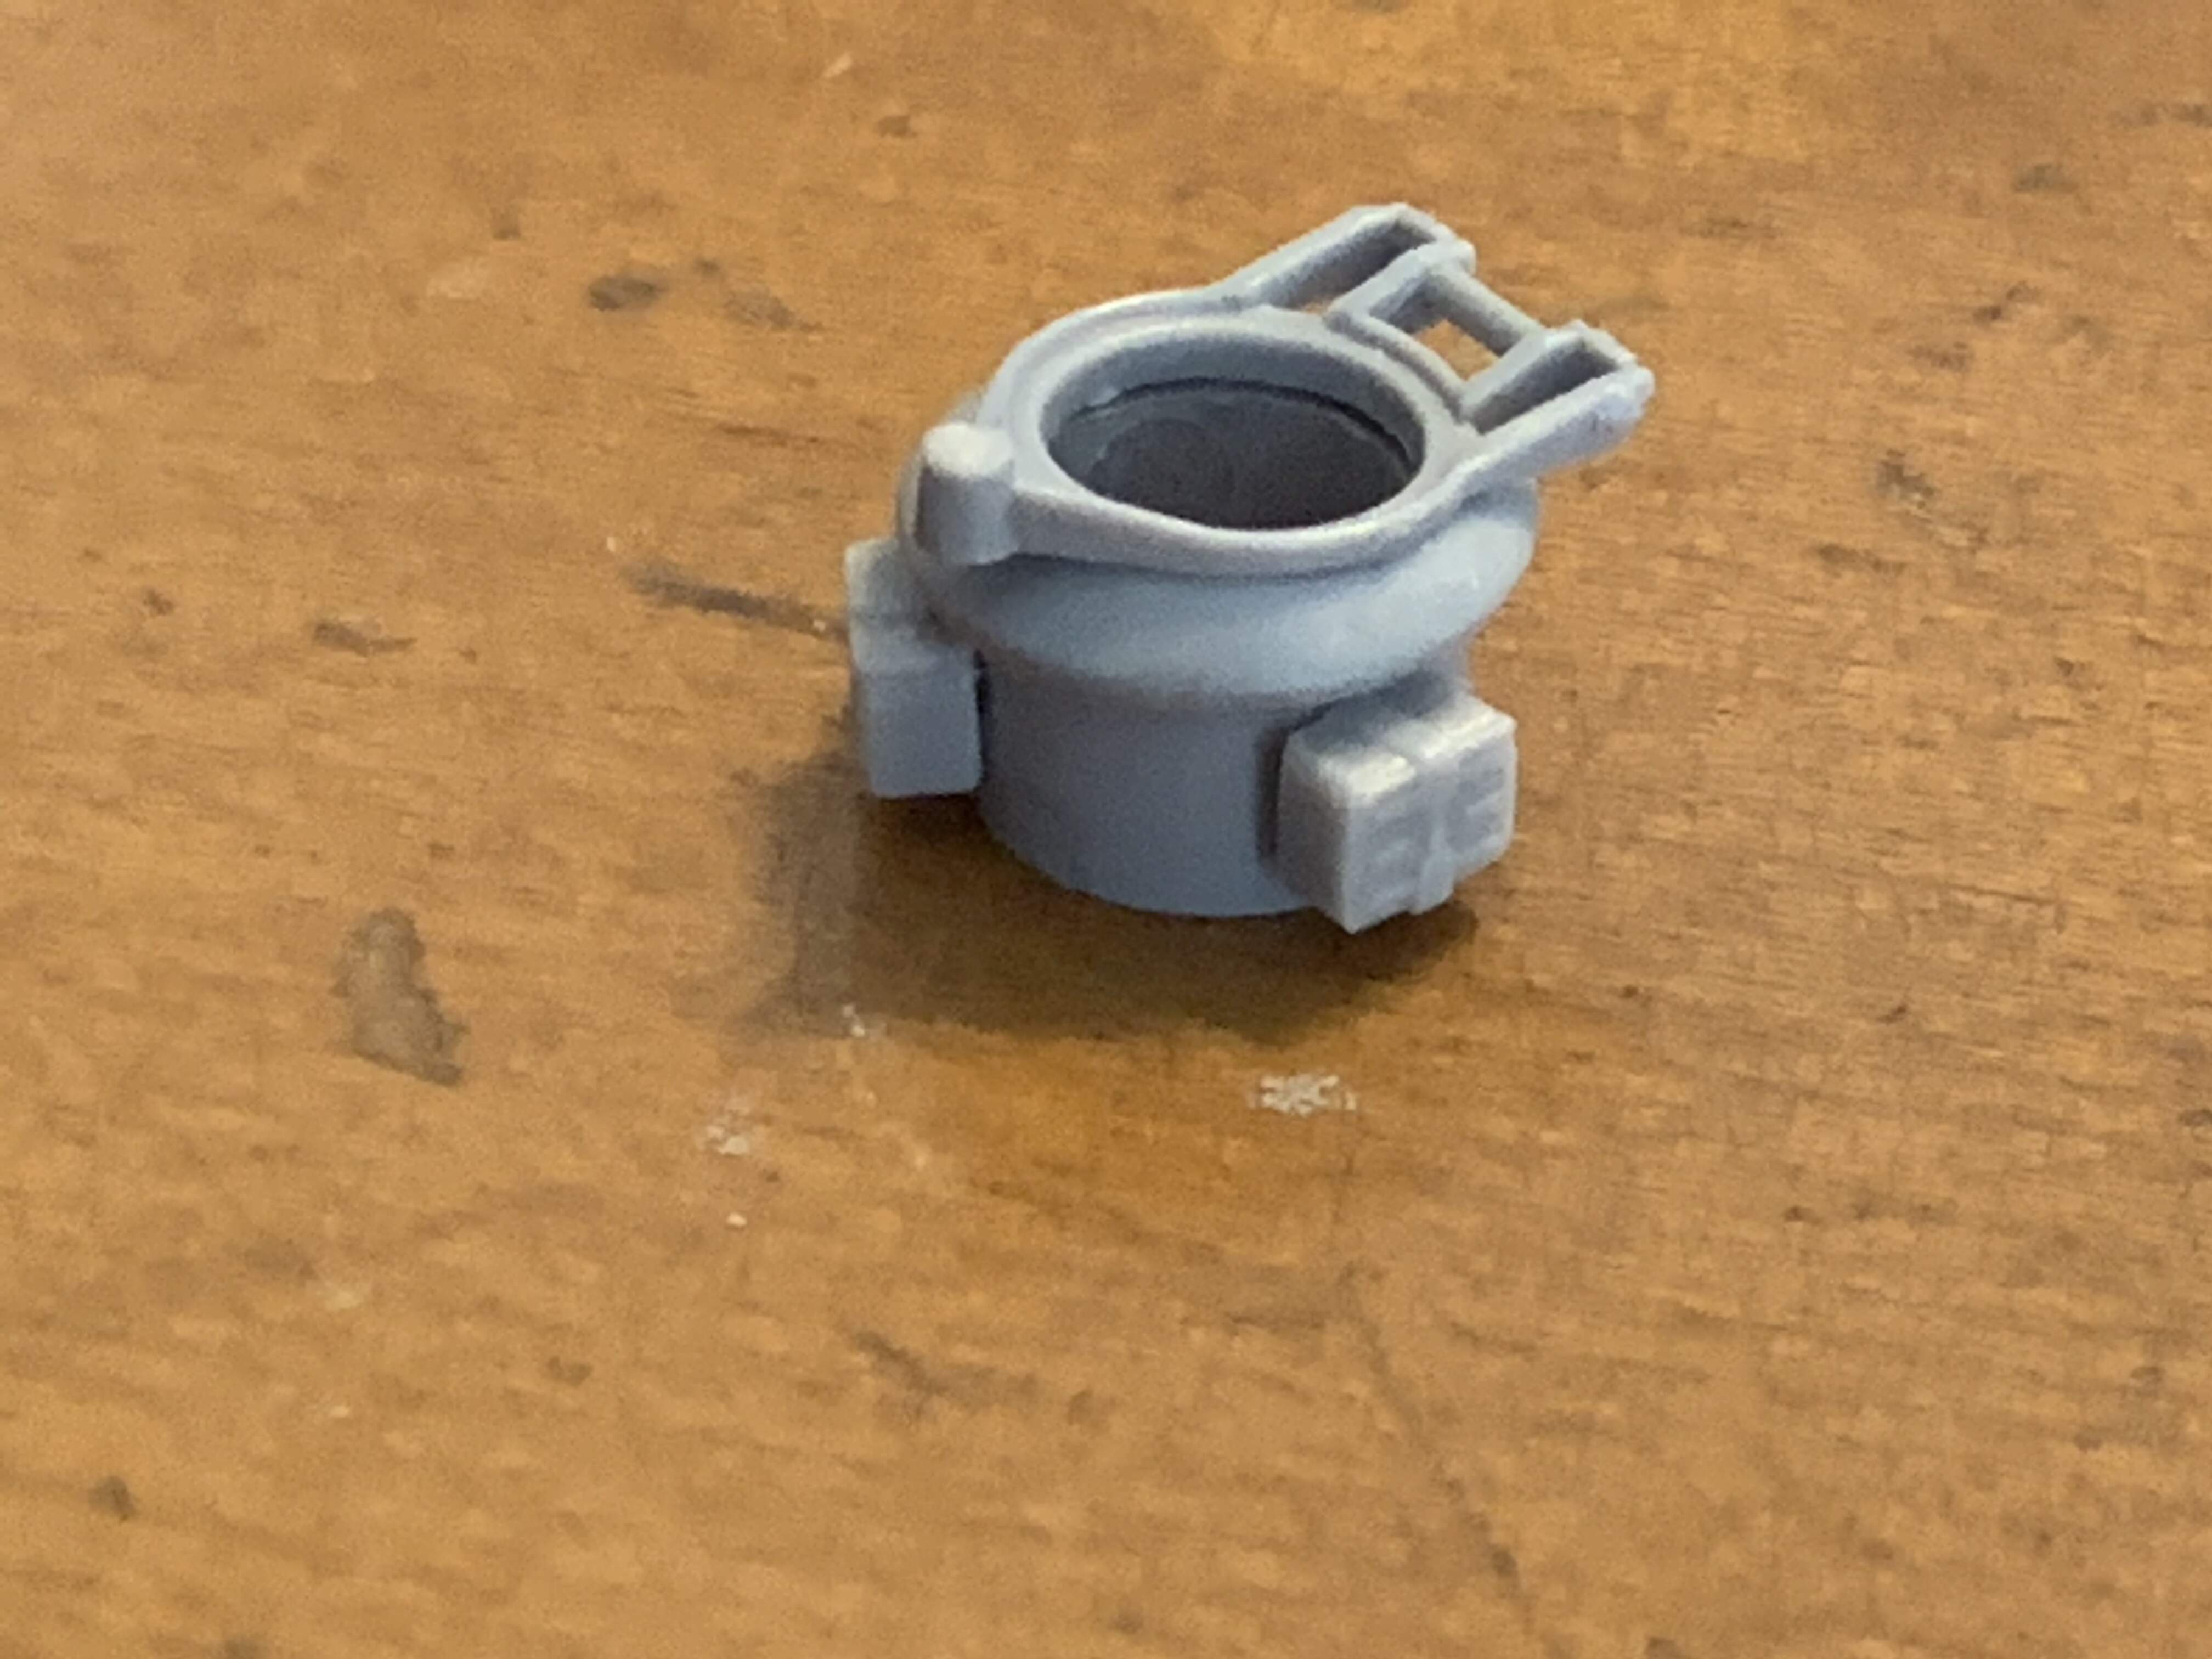
Time to work on the gun tower. I thought long and hard on what material would be suitablefor this. Then I saw the fuel tanks. I decided to give it a try. I smooth out the details and was happy with it.
Next thing to think about was the “lip” for the tower. I needed something that could mount the DShK. I ended up cutting it from the turret. I will use the turret opening on the left.
Here is the result after I cut out the turret opening plus filling in the gaps and sanding.
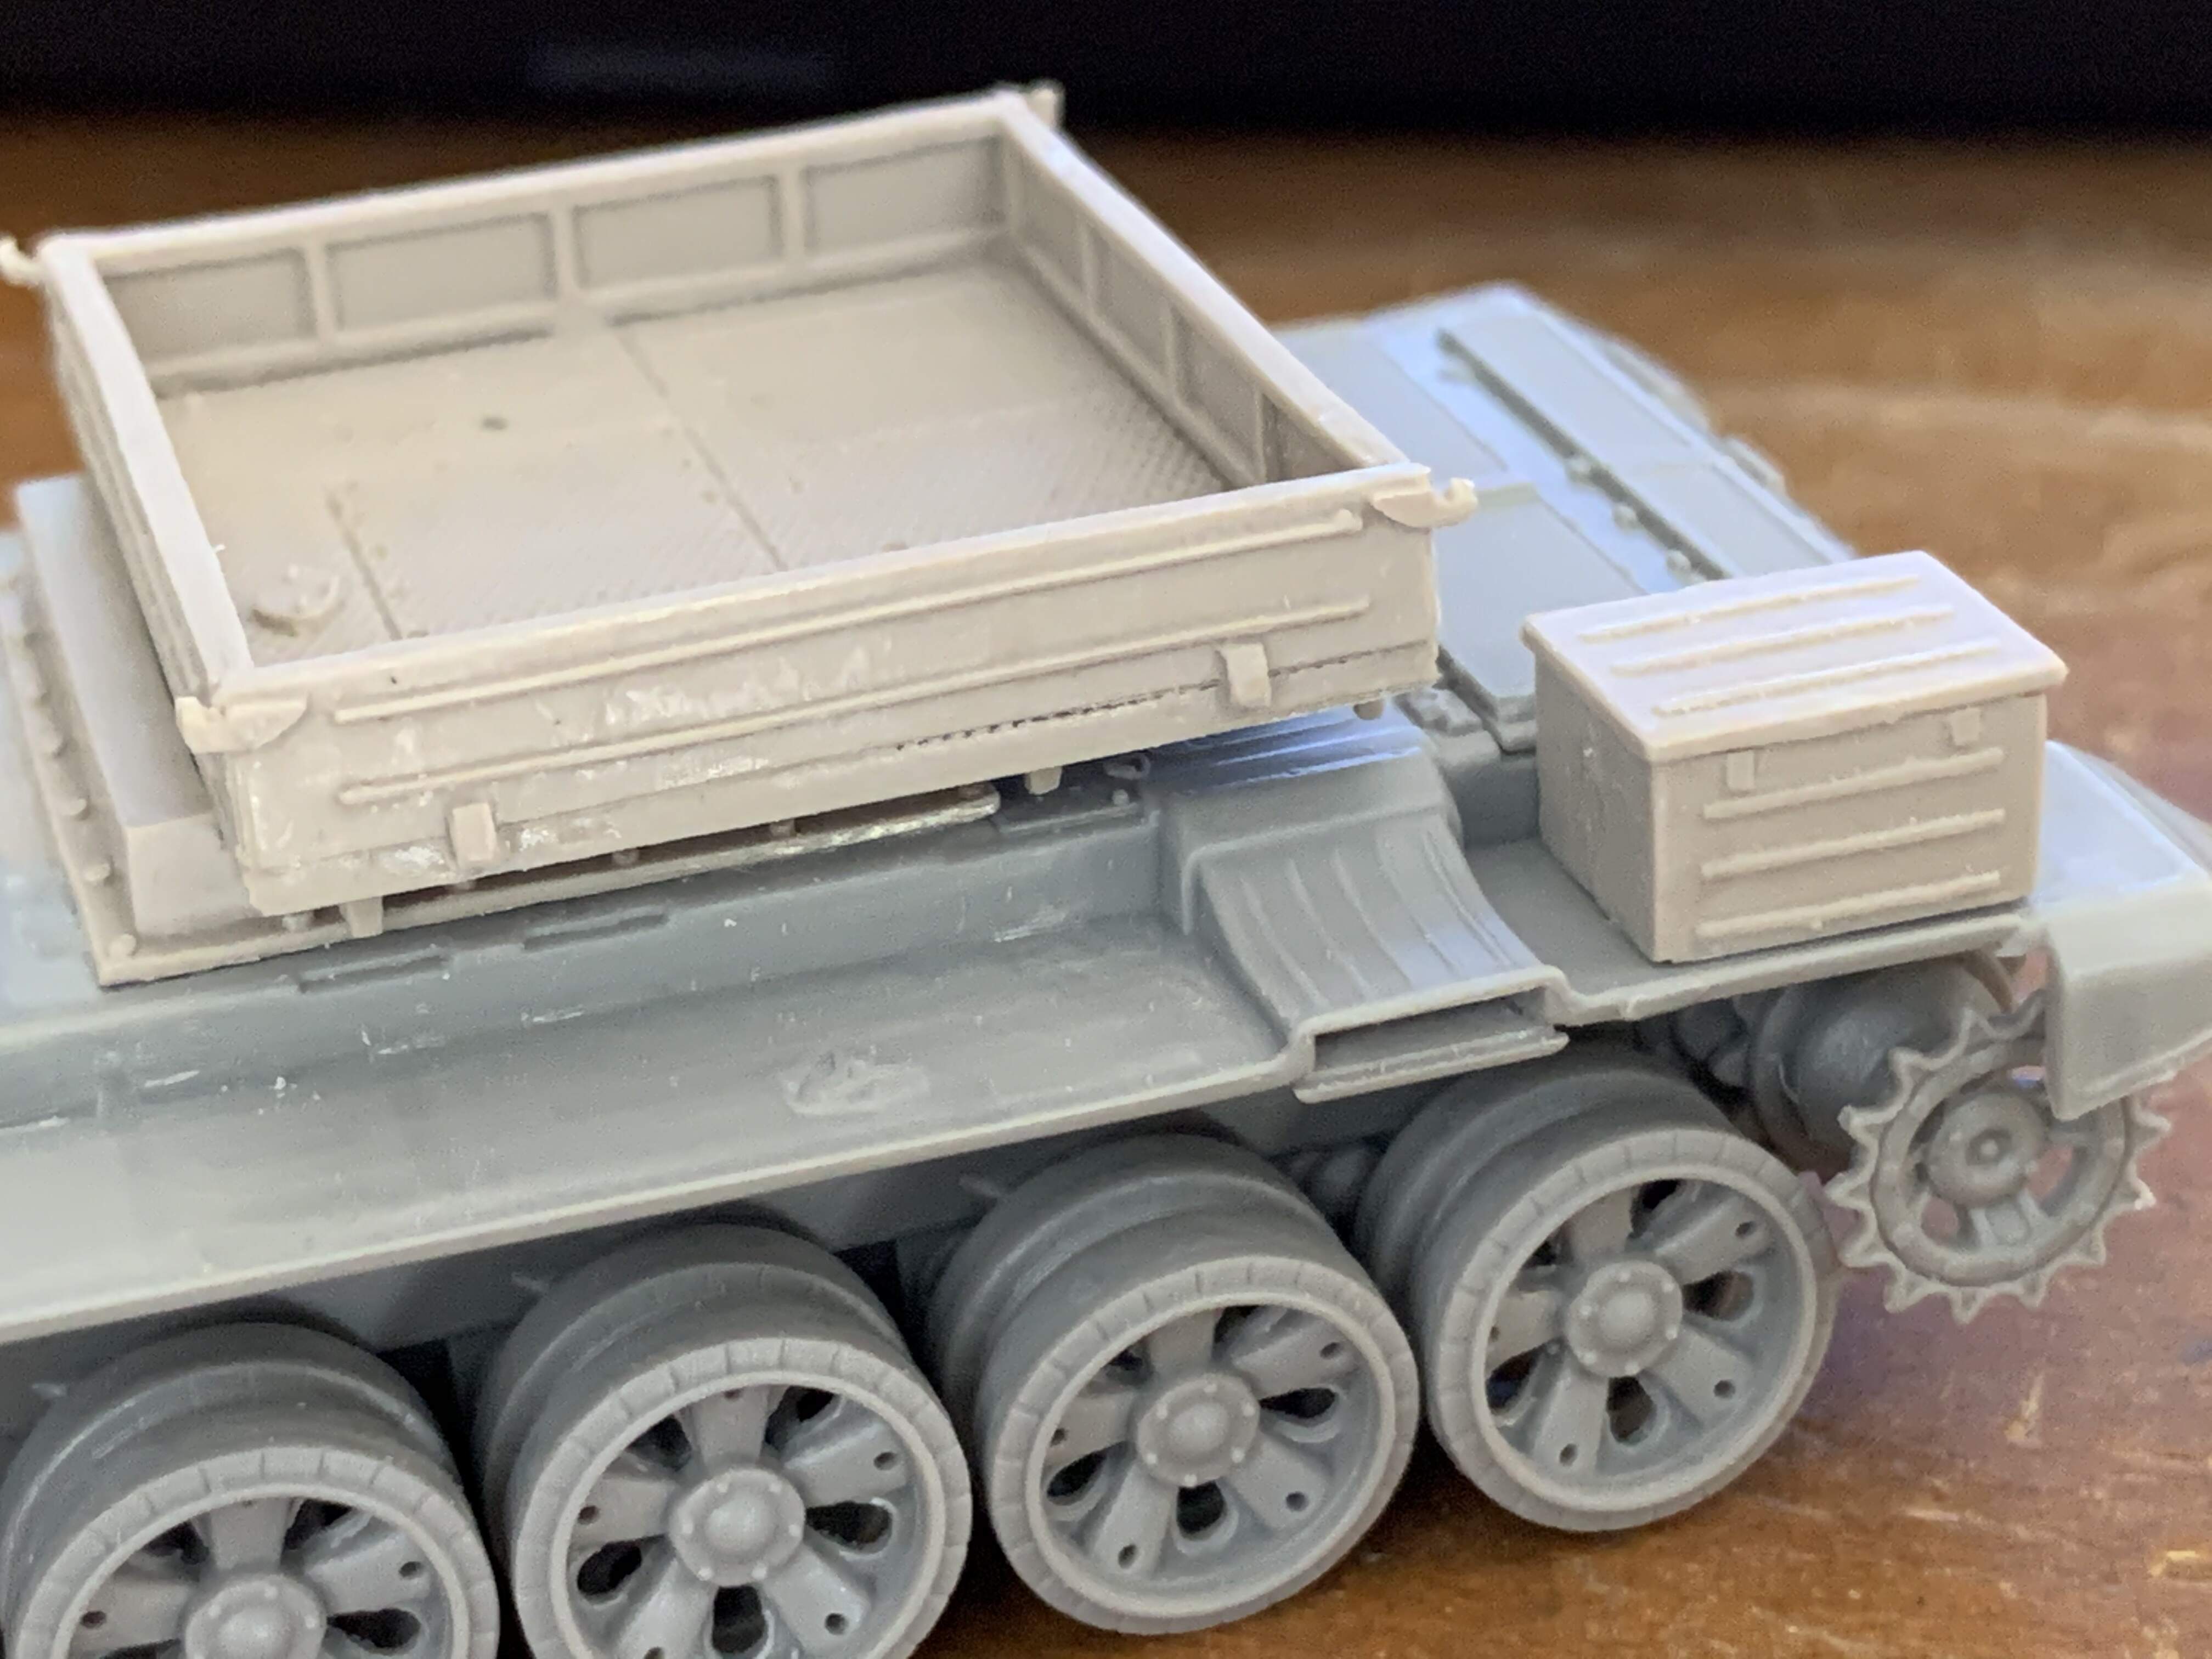
This is how it looks after dry fitting it to the tube.
And then tested on the deck. A little higher compared to the reference pictures but still not bad.
I also worked on the tool box located on the left rear fender. I sanded the cover to make it thinner and then glued it in place.
More WIP pictures to post later.
5 Likes
Hey Joe, your kitbashing skills are quite amazing! Excellent work on that tower! Your kit is really taking shape and it looks like you’re dead on. Fantastic work! 
Thanks Matthew! I appreciate you chiming in.
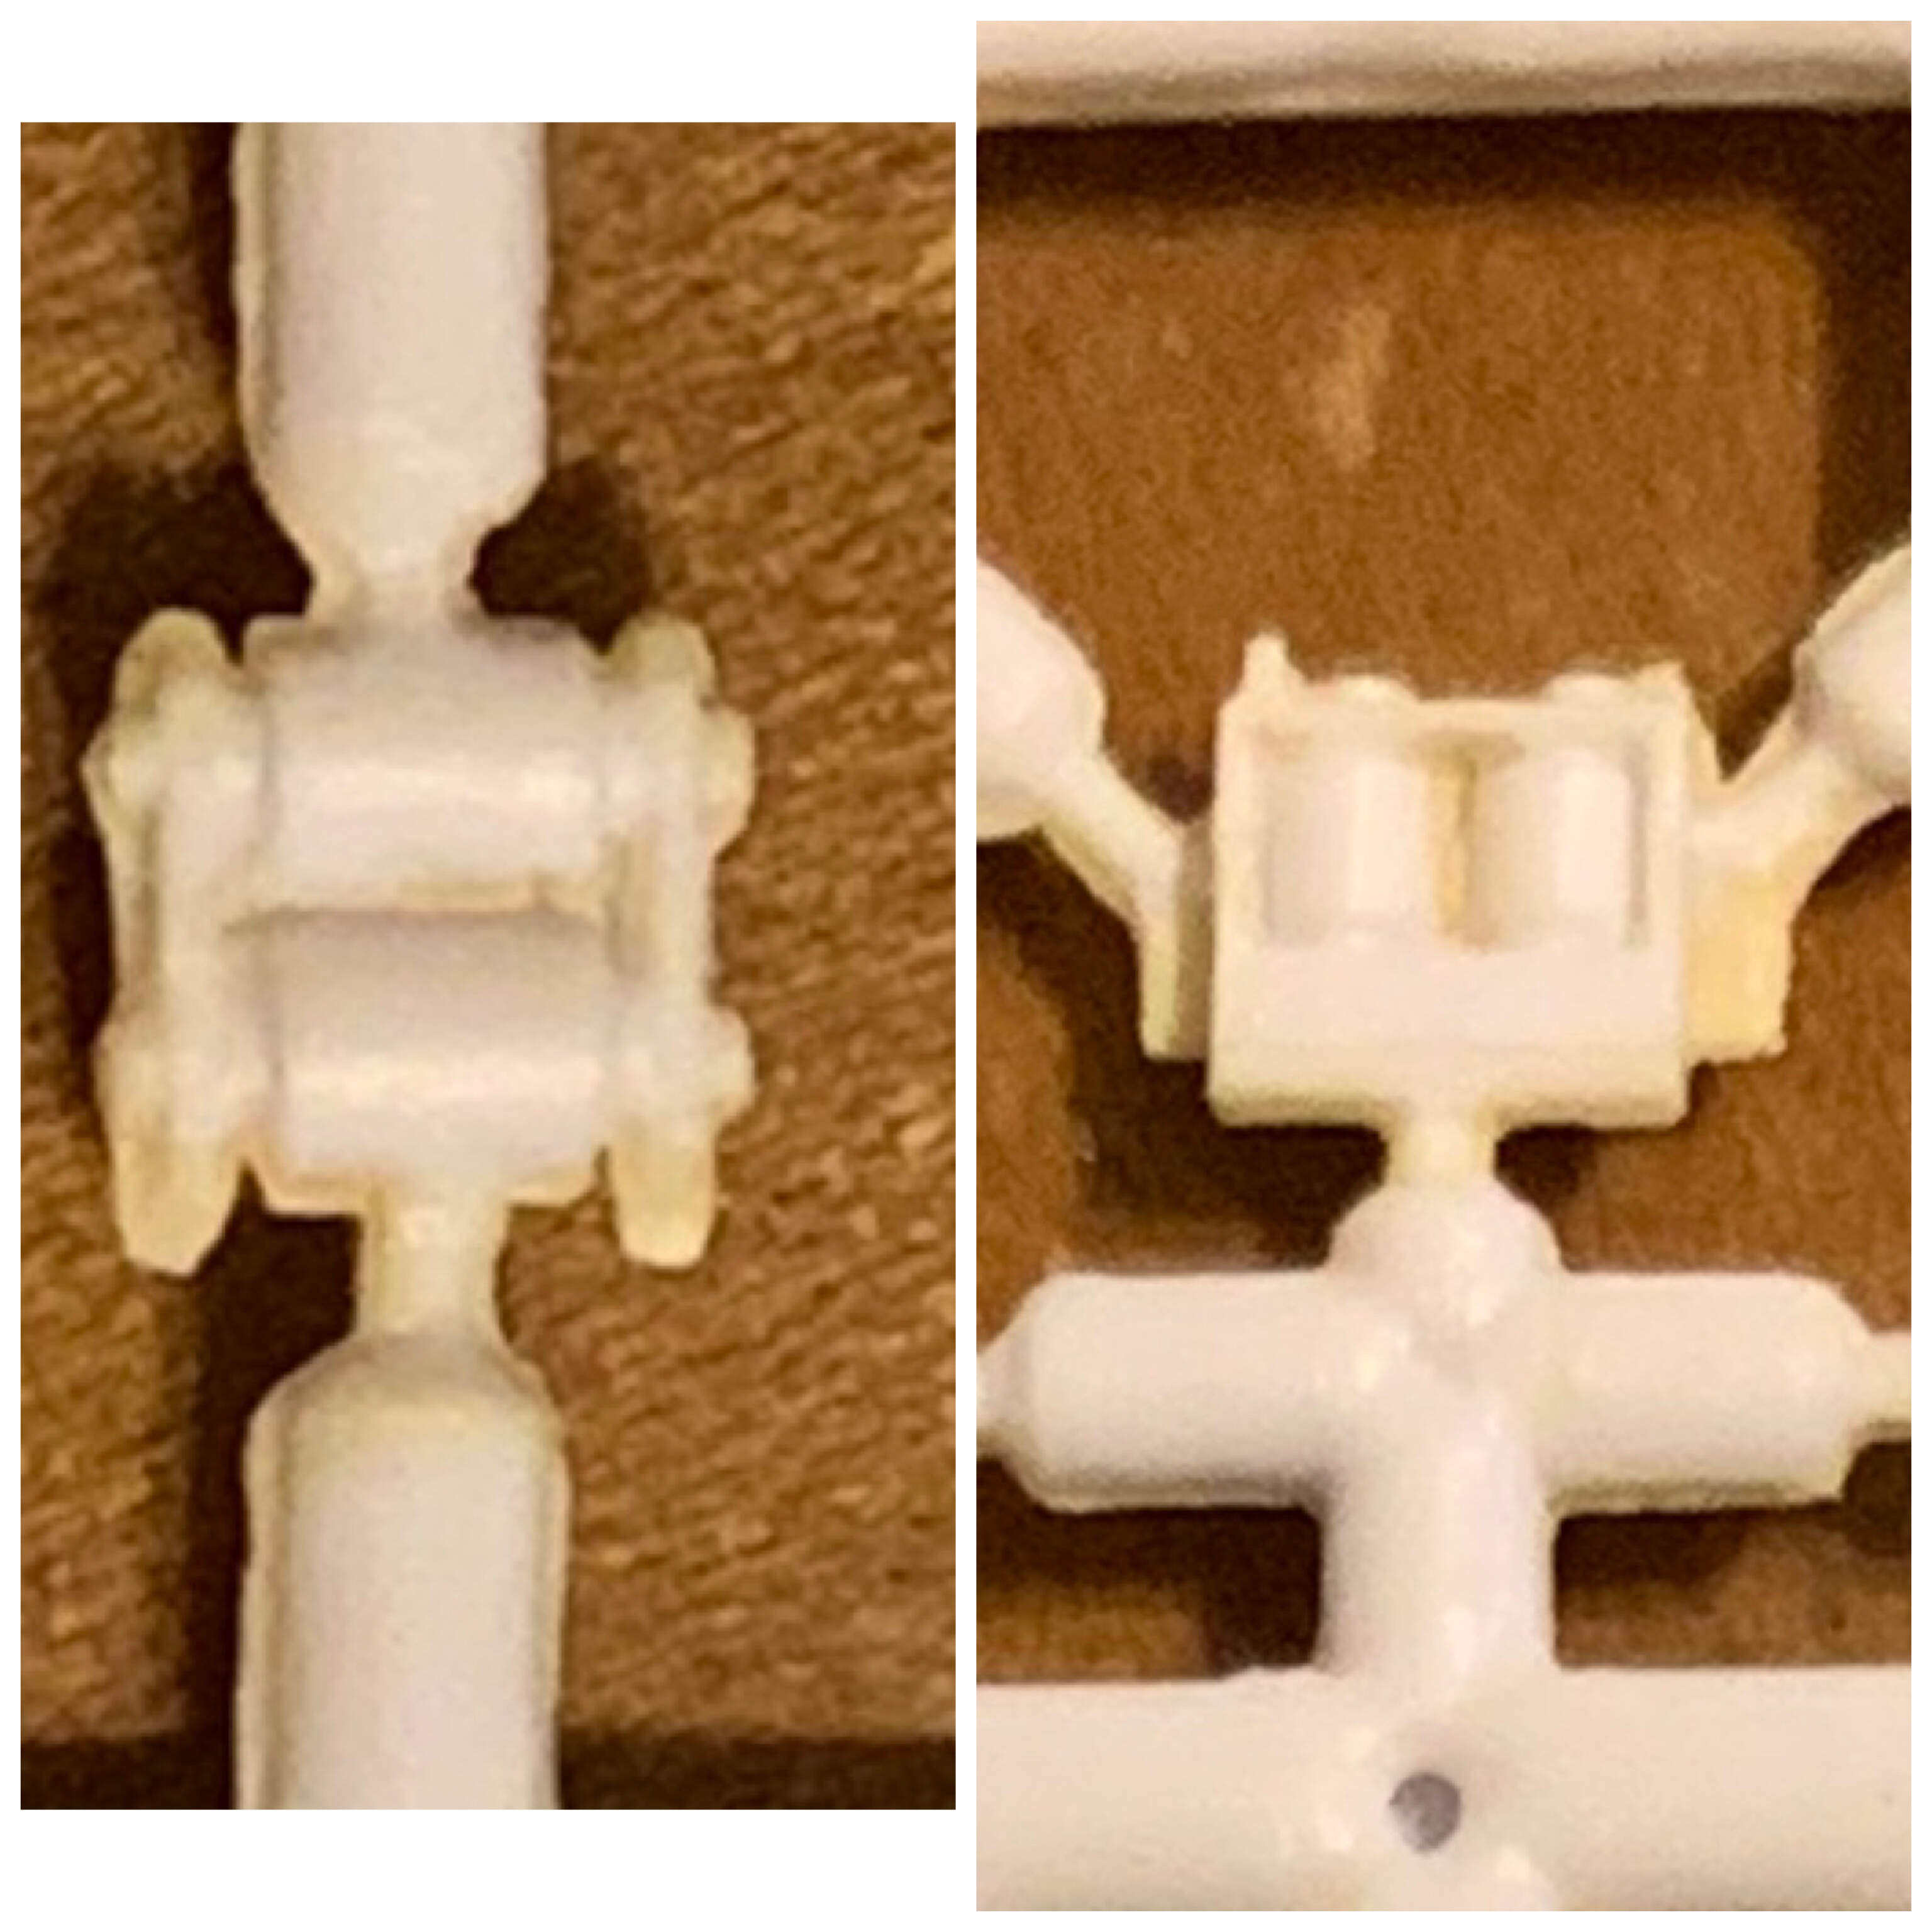
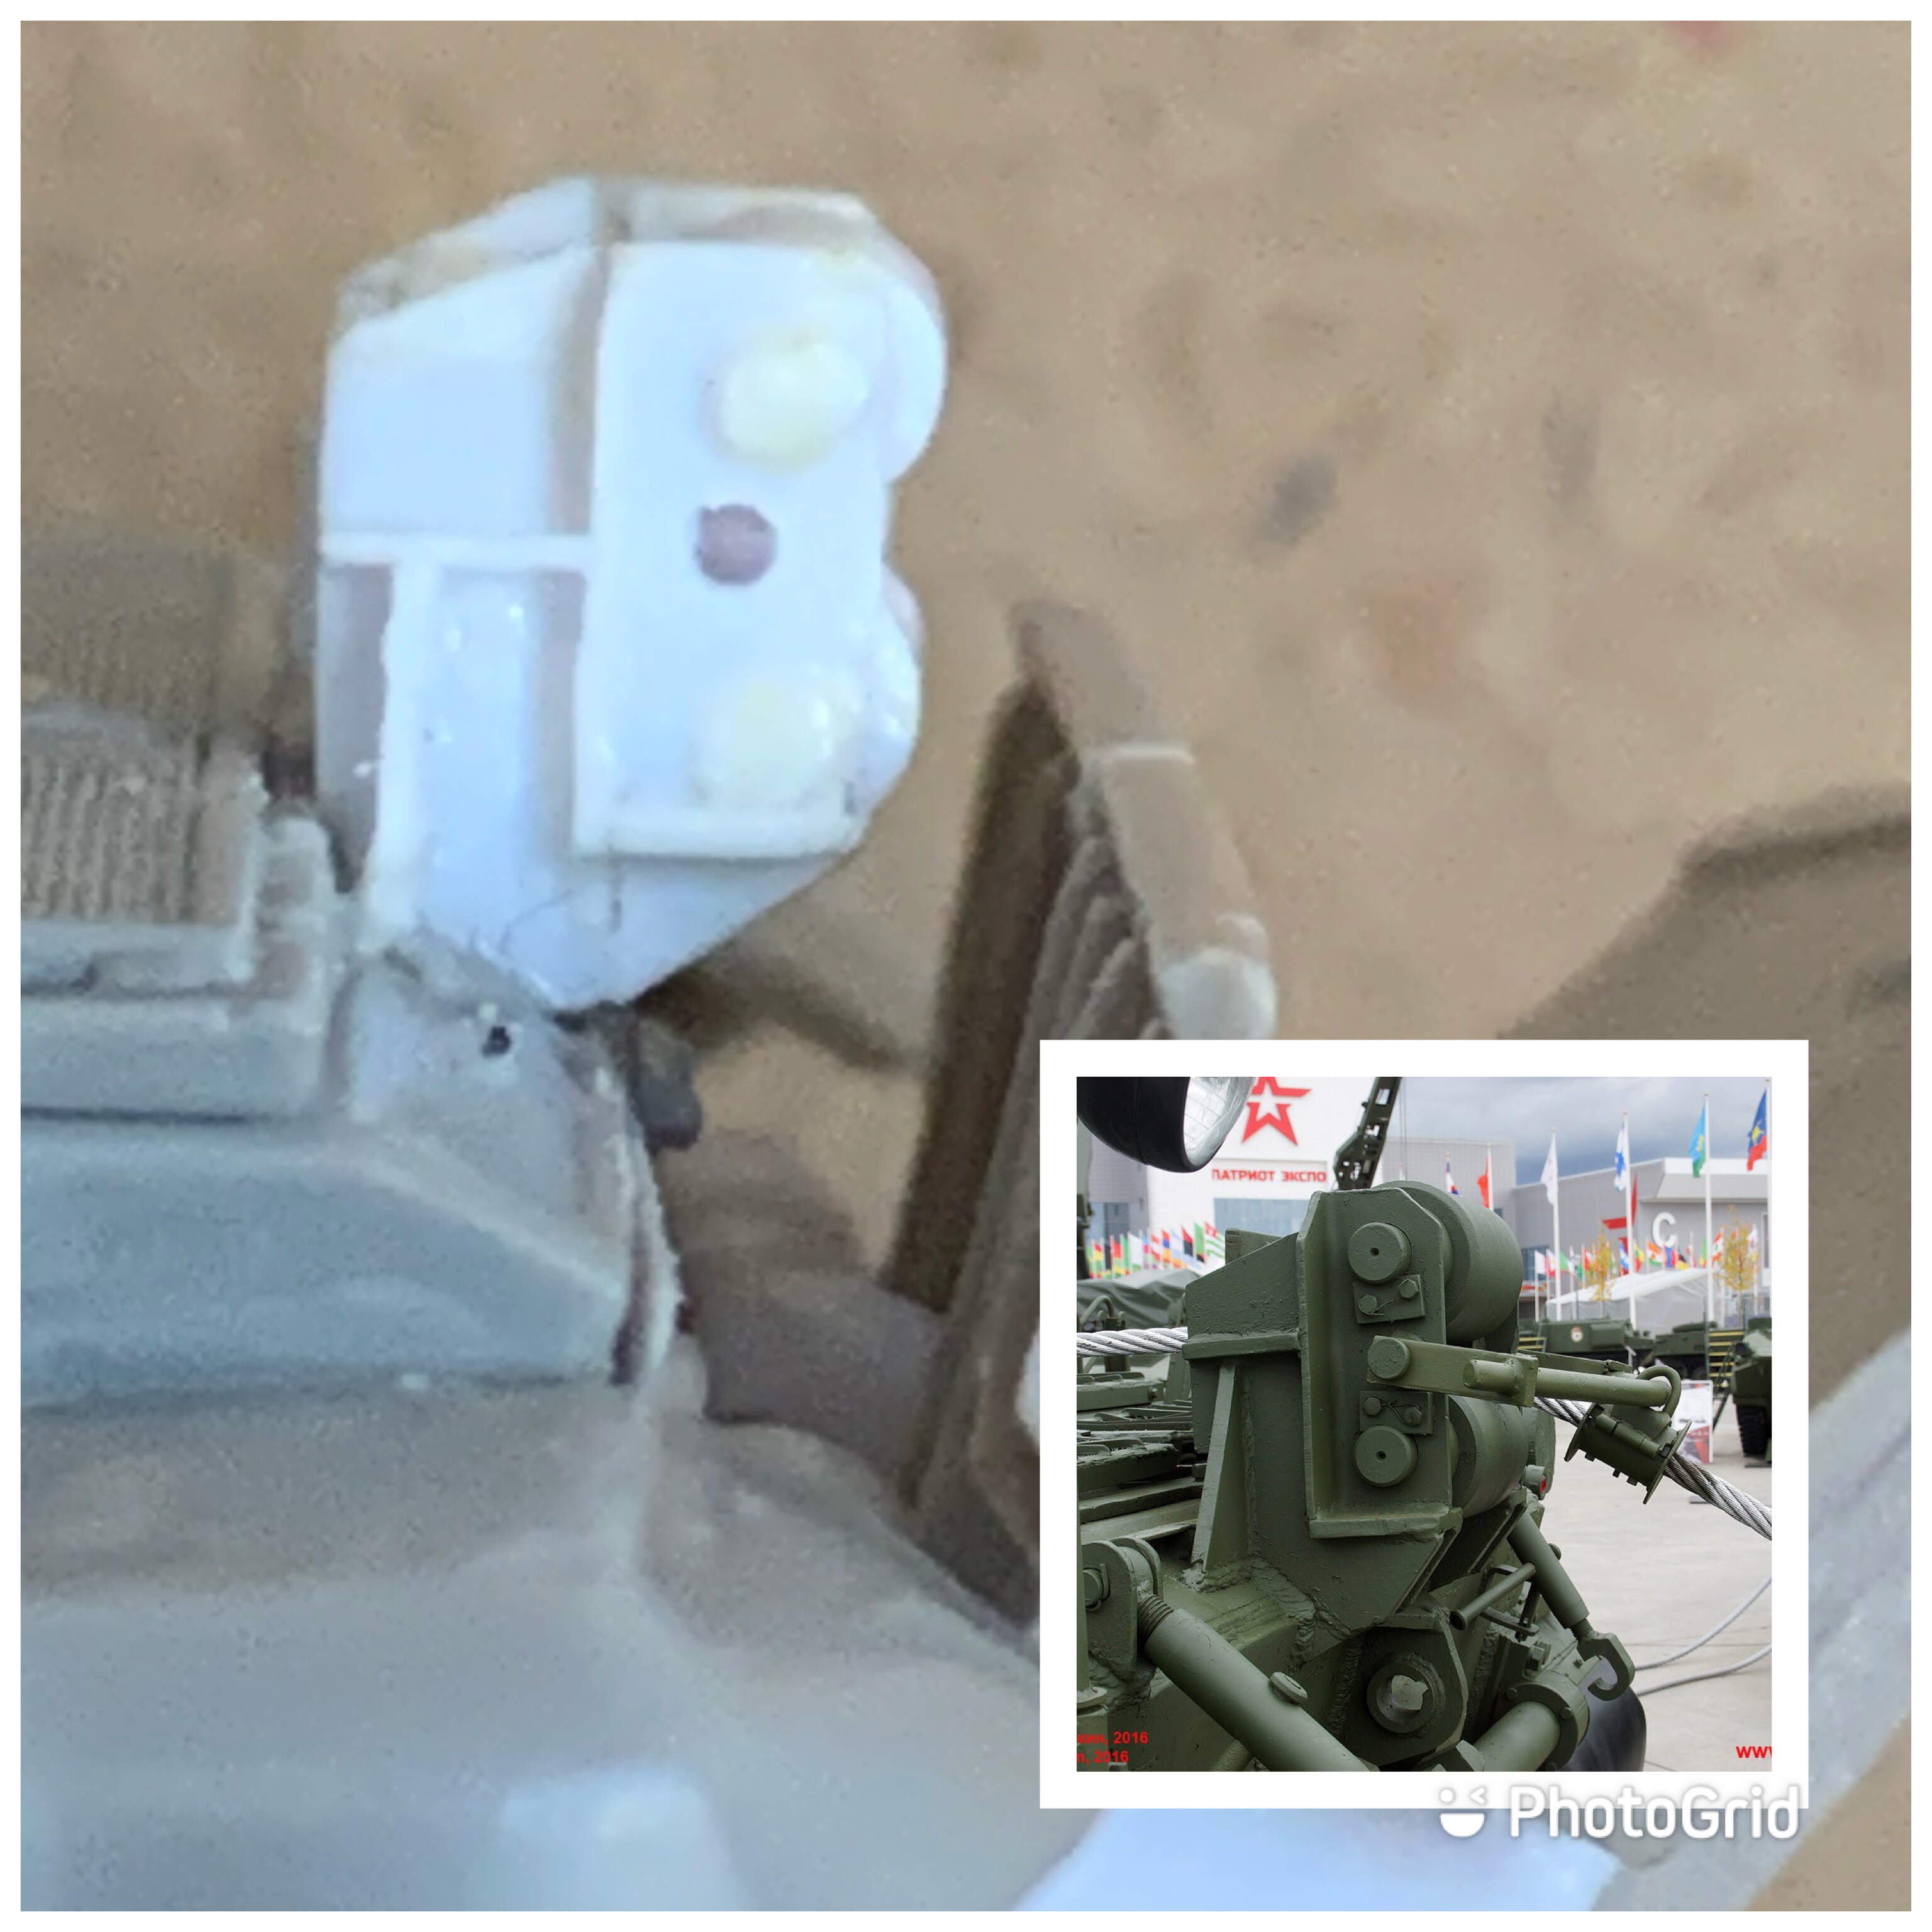
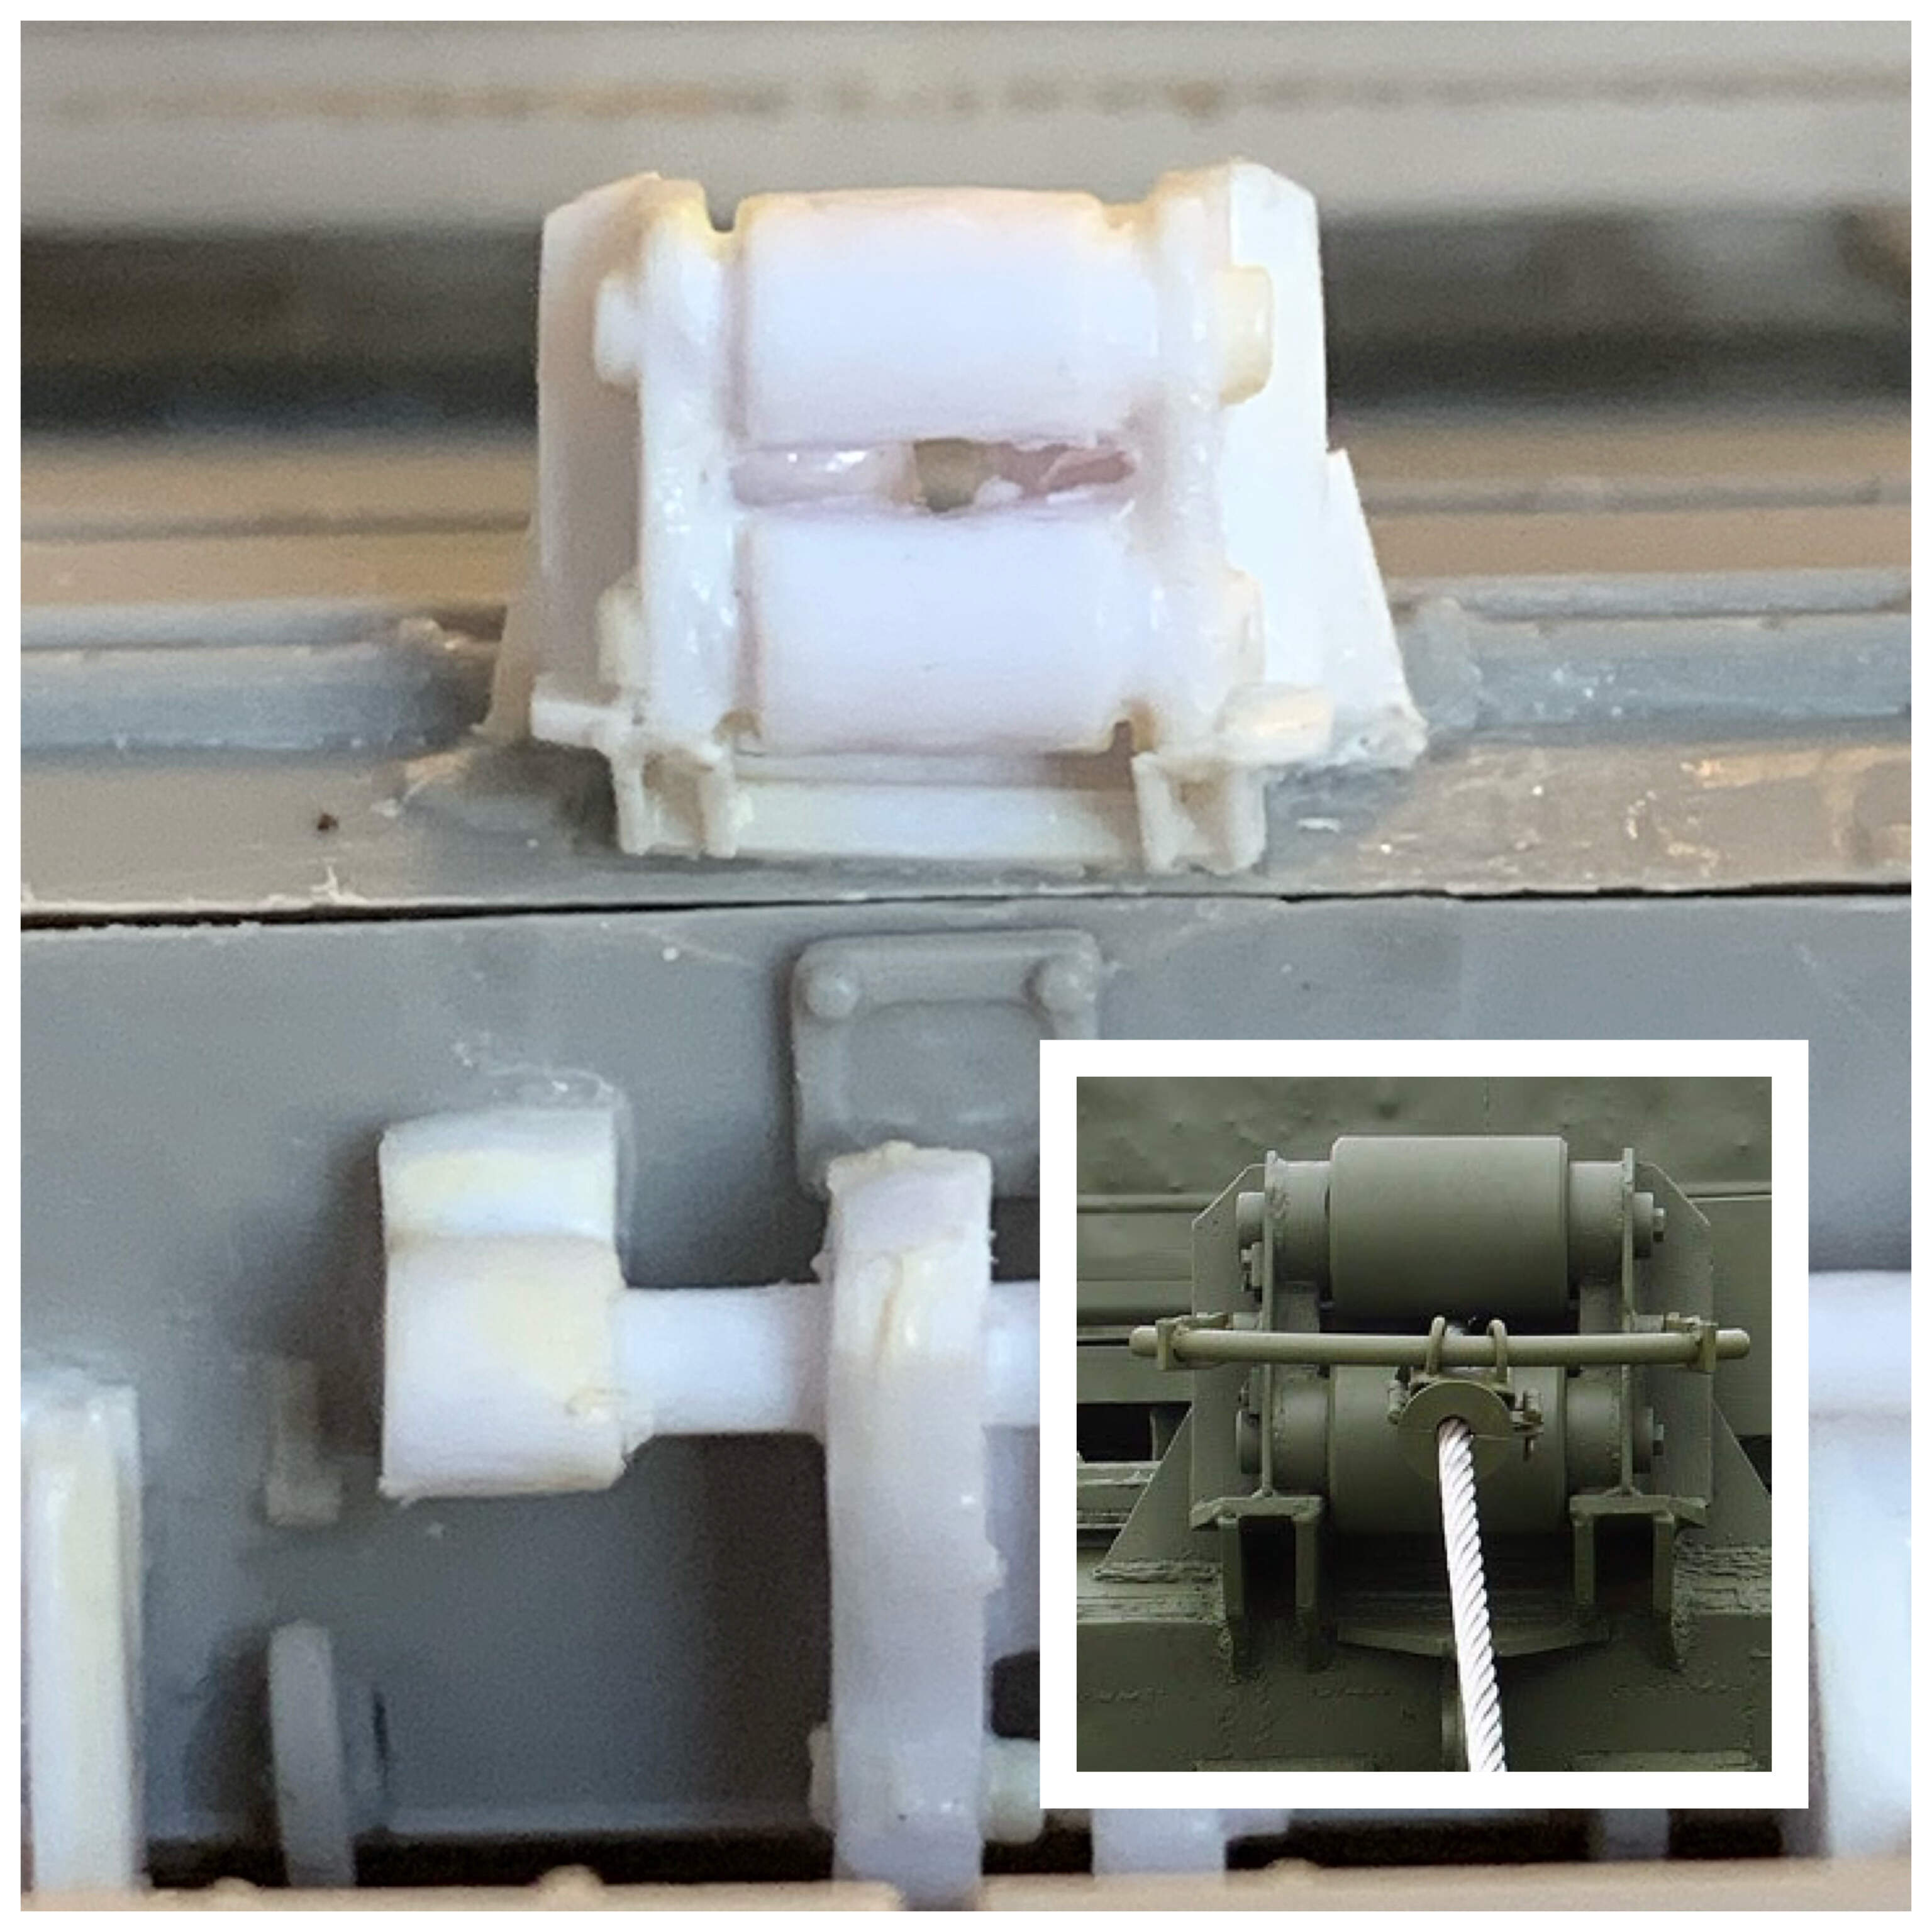
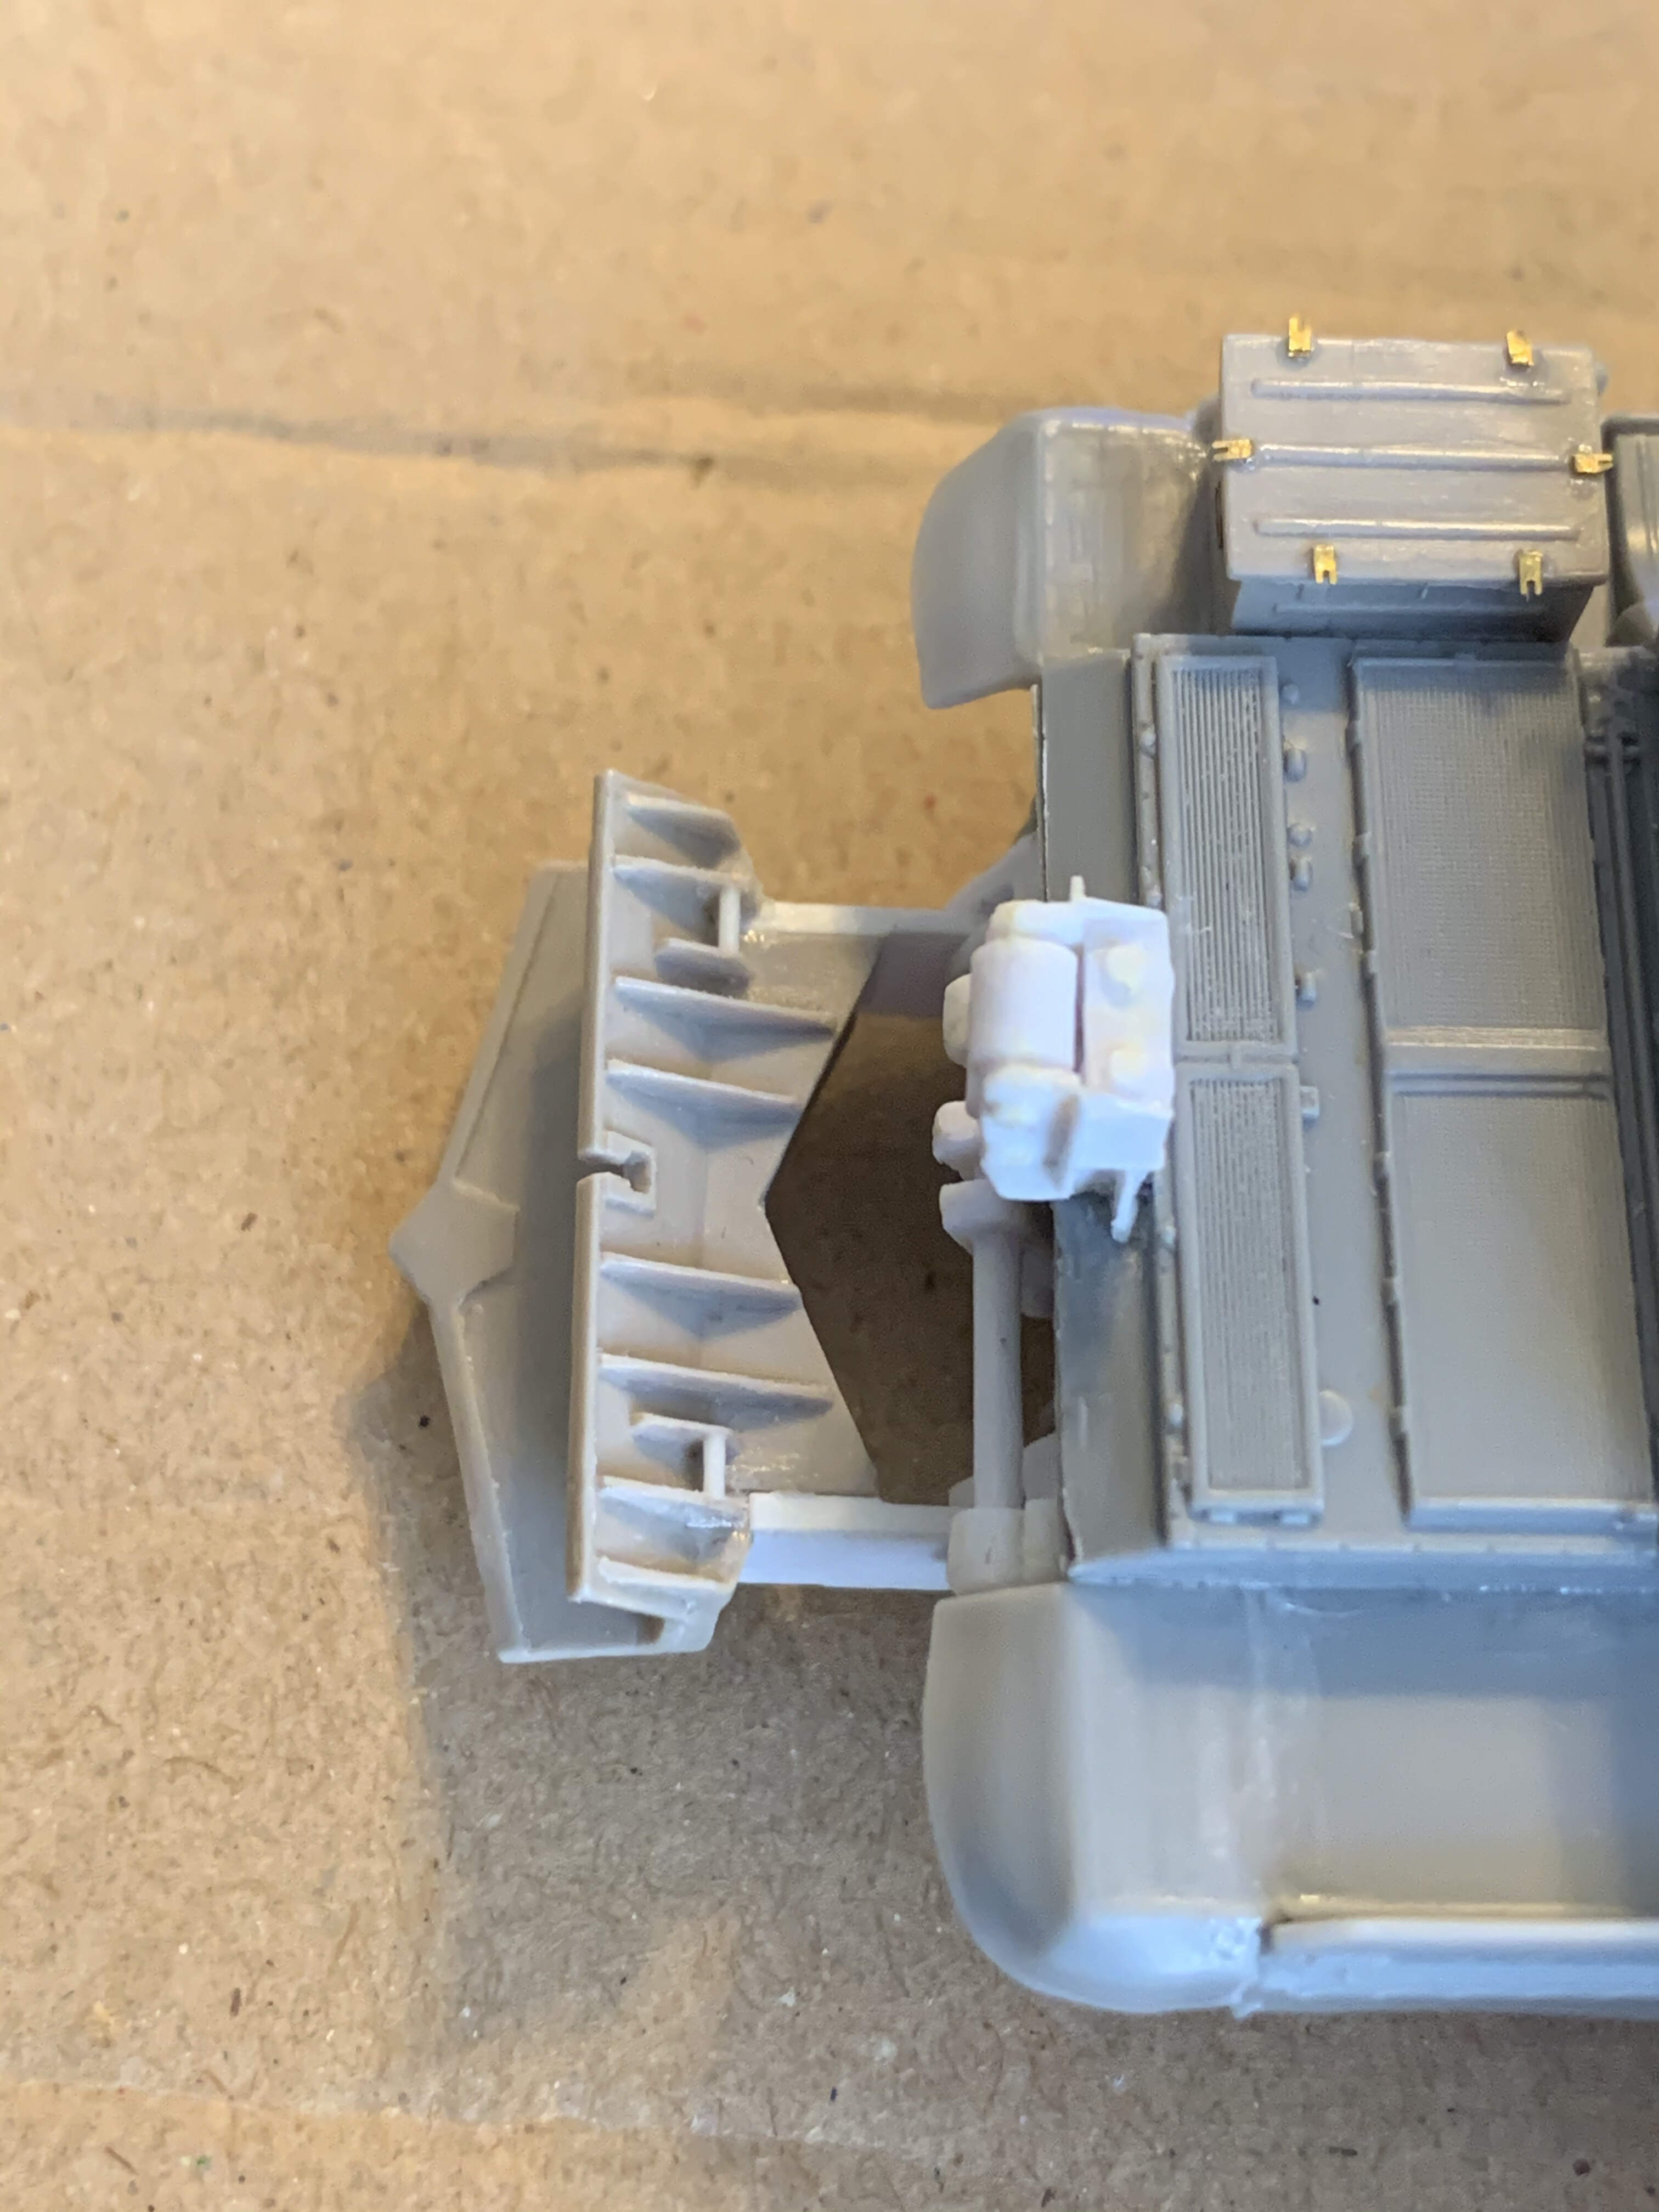
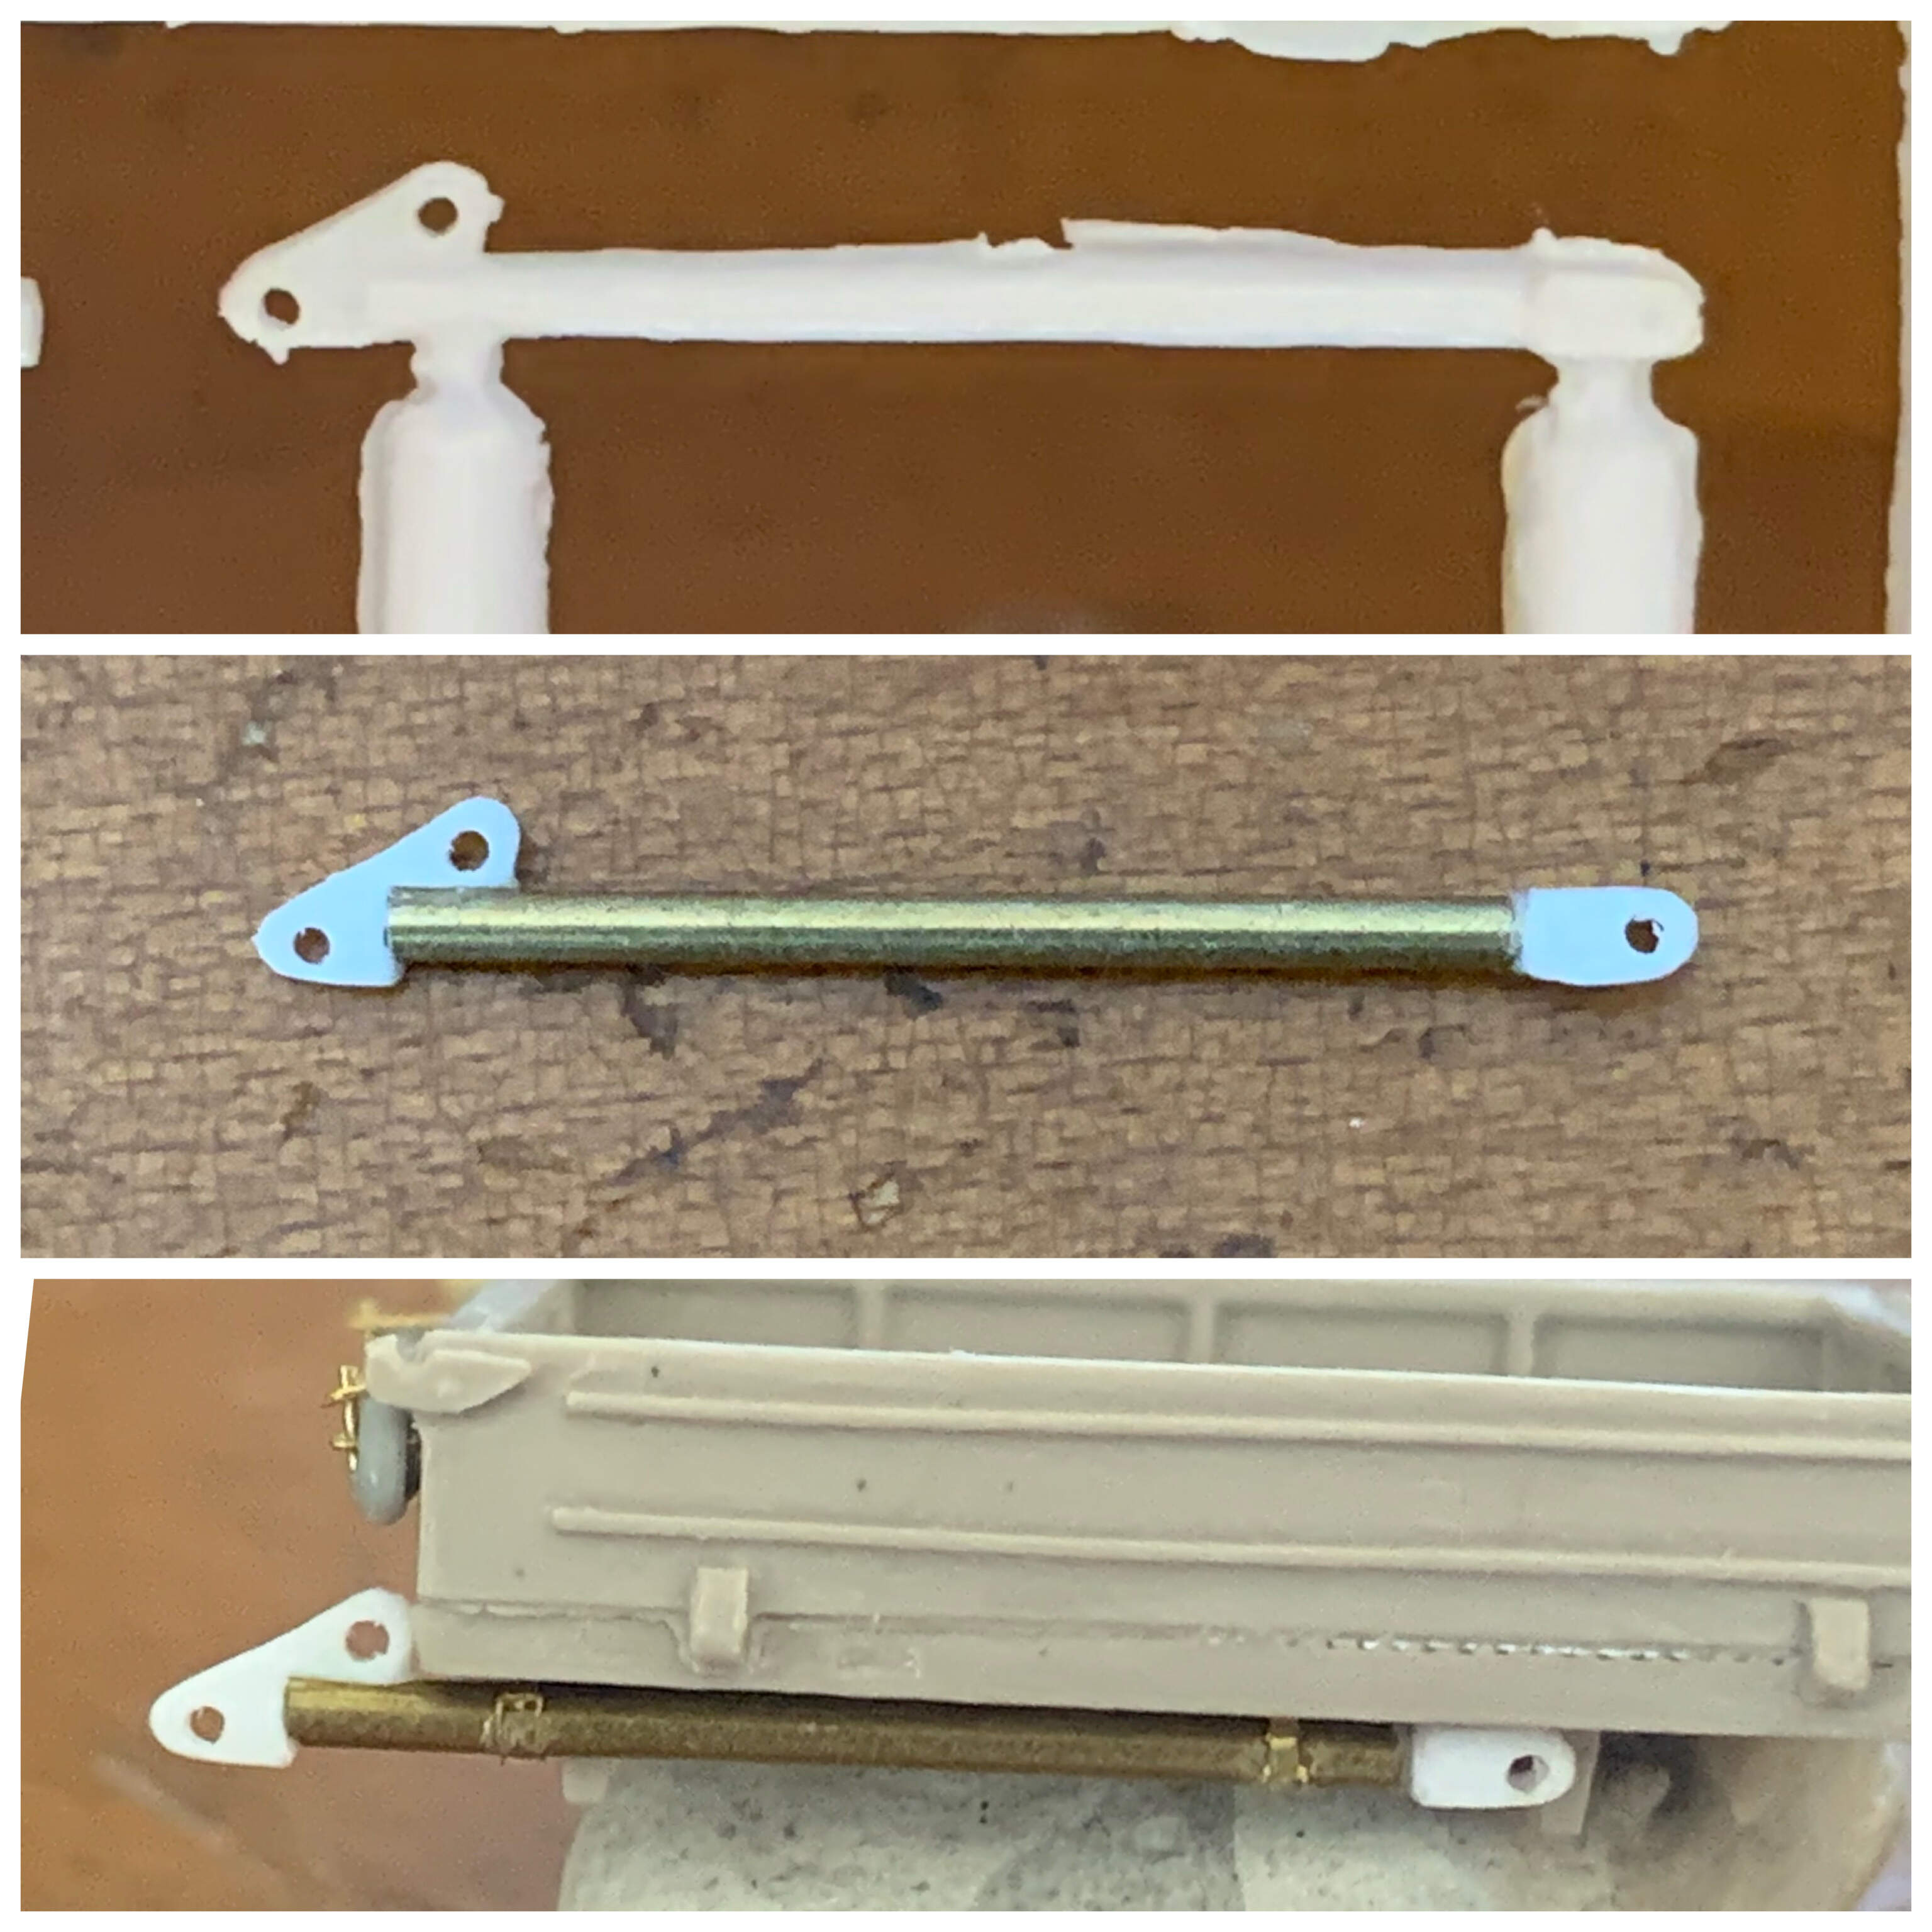
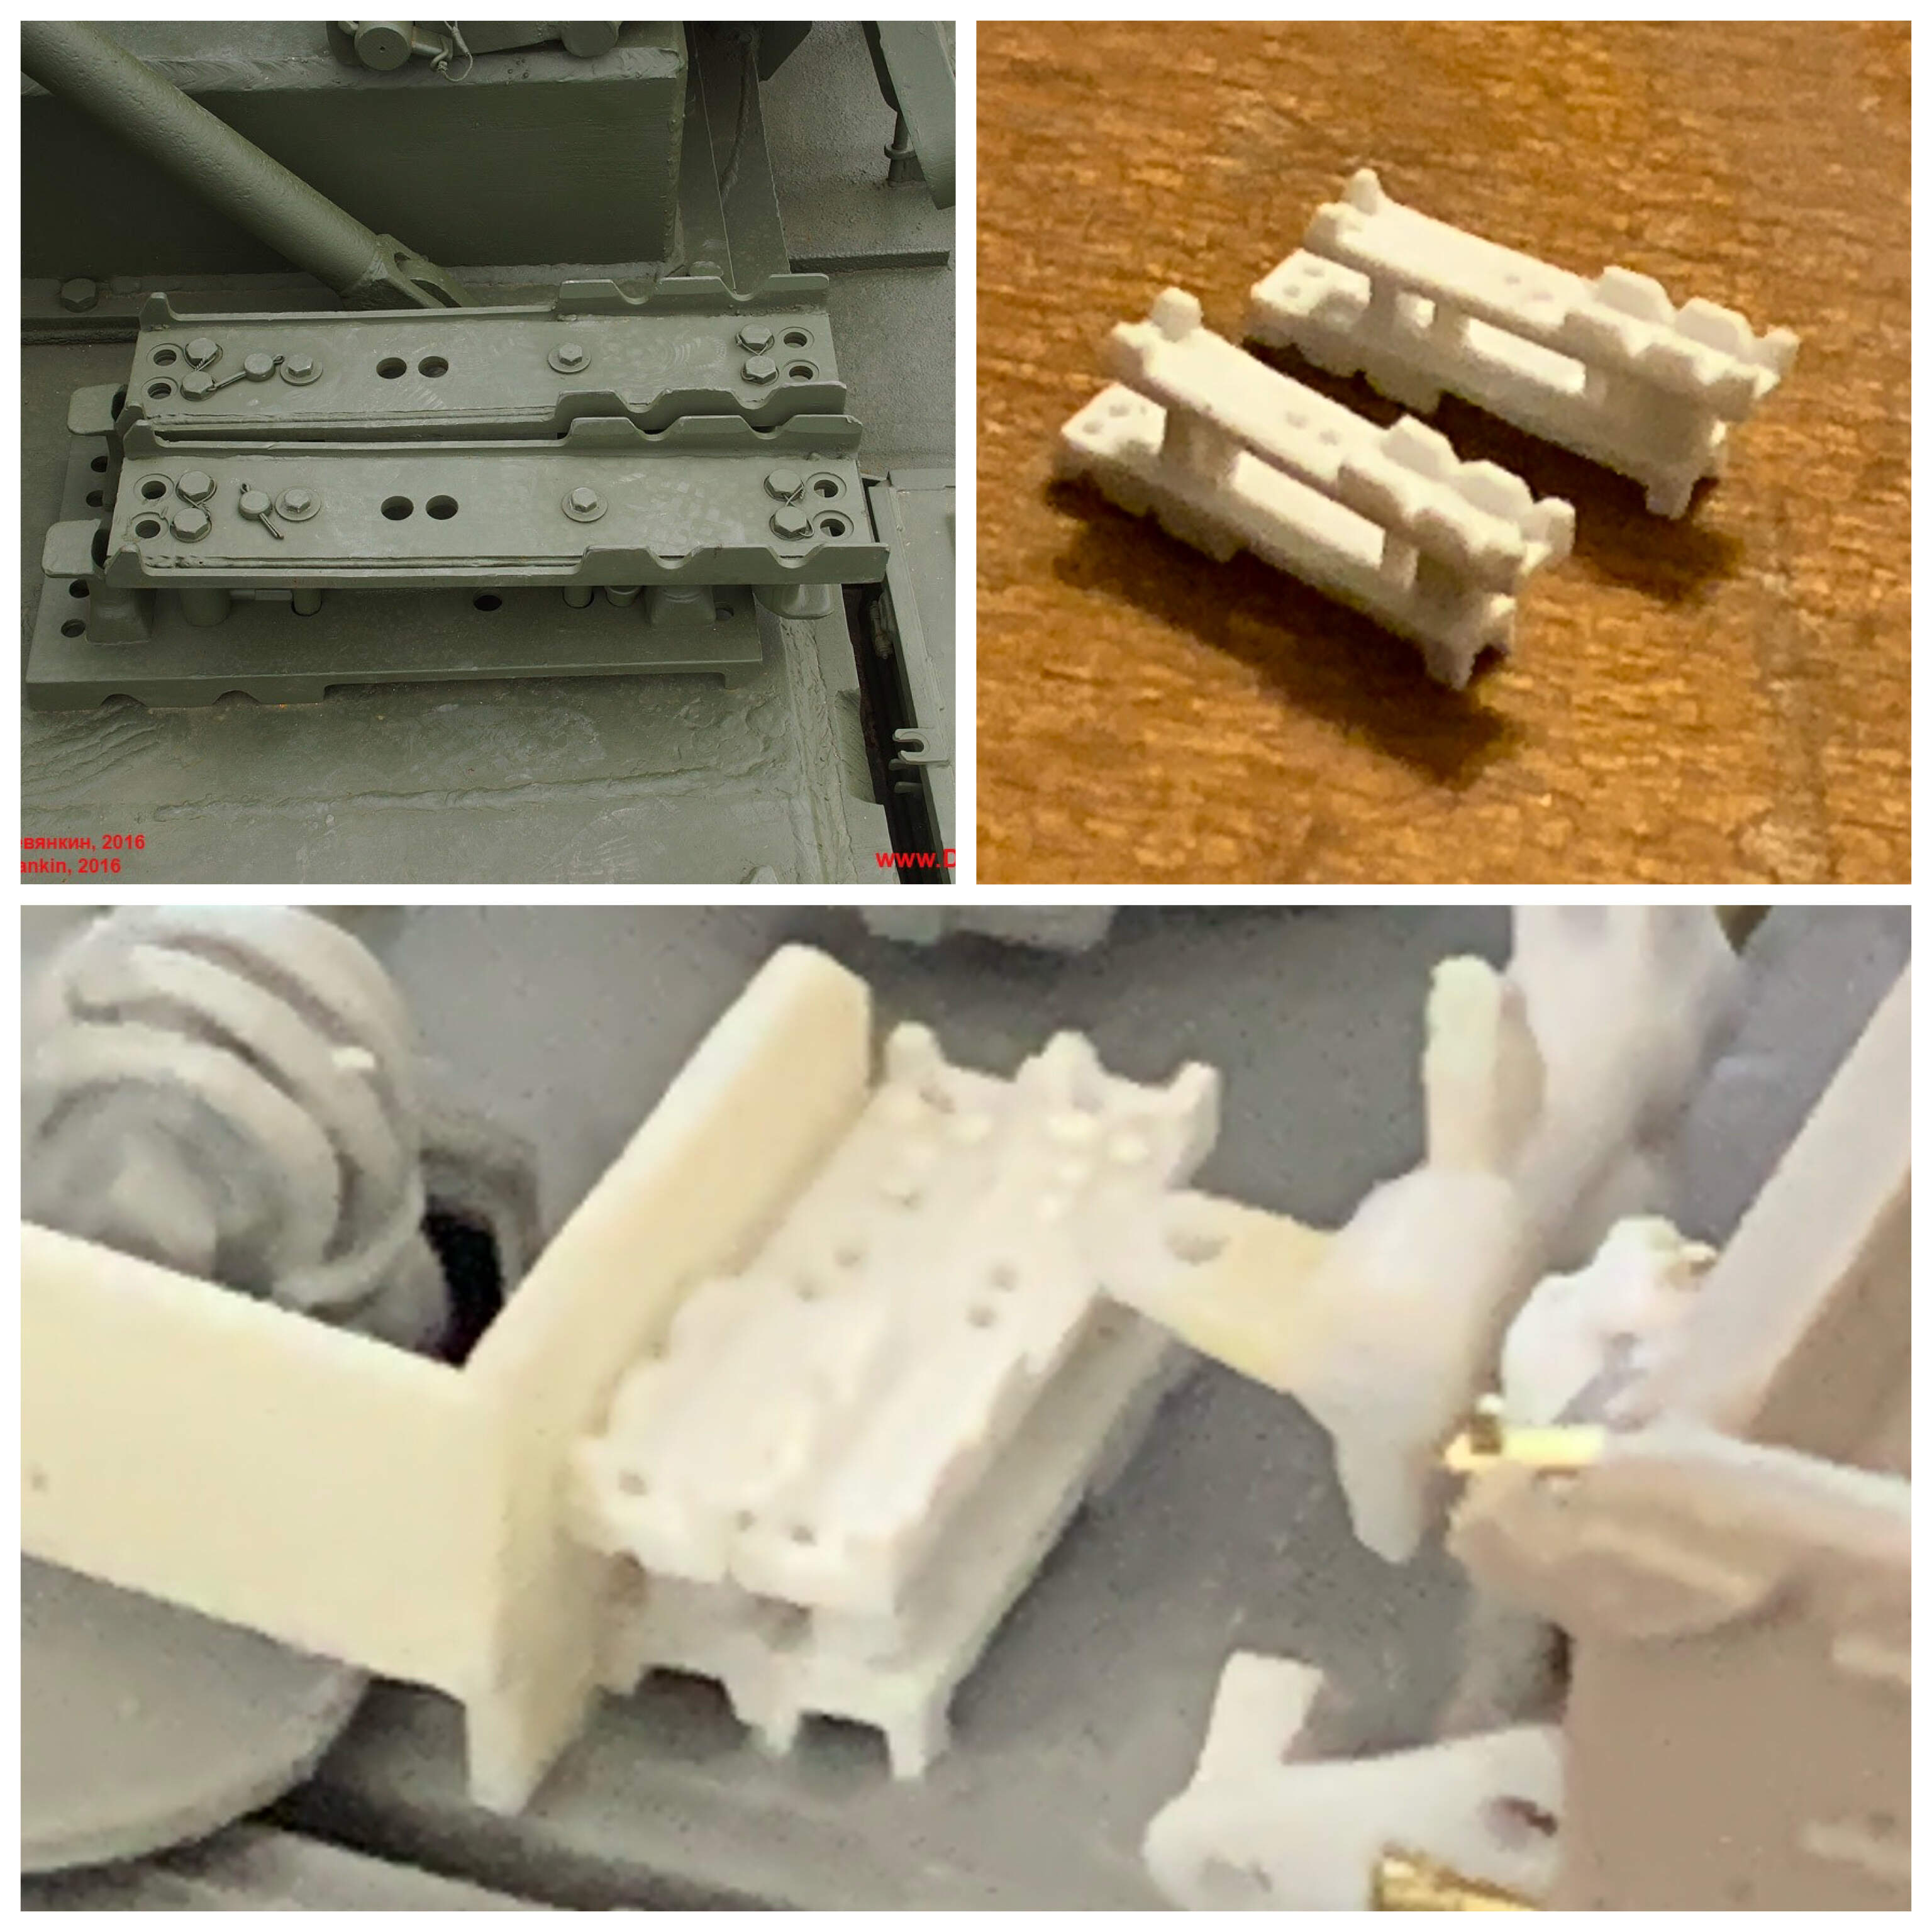
Here’s a quick update. I superdetailed the rear cable guide. It came with the Ace kit and consists of two parts. Unfortunately, it begs for detail.
Fortunately, there are an abundance of photos available online. The following photos show how I tried to replicate the 1:1 version.
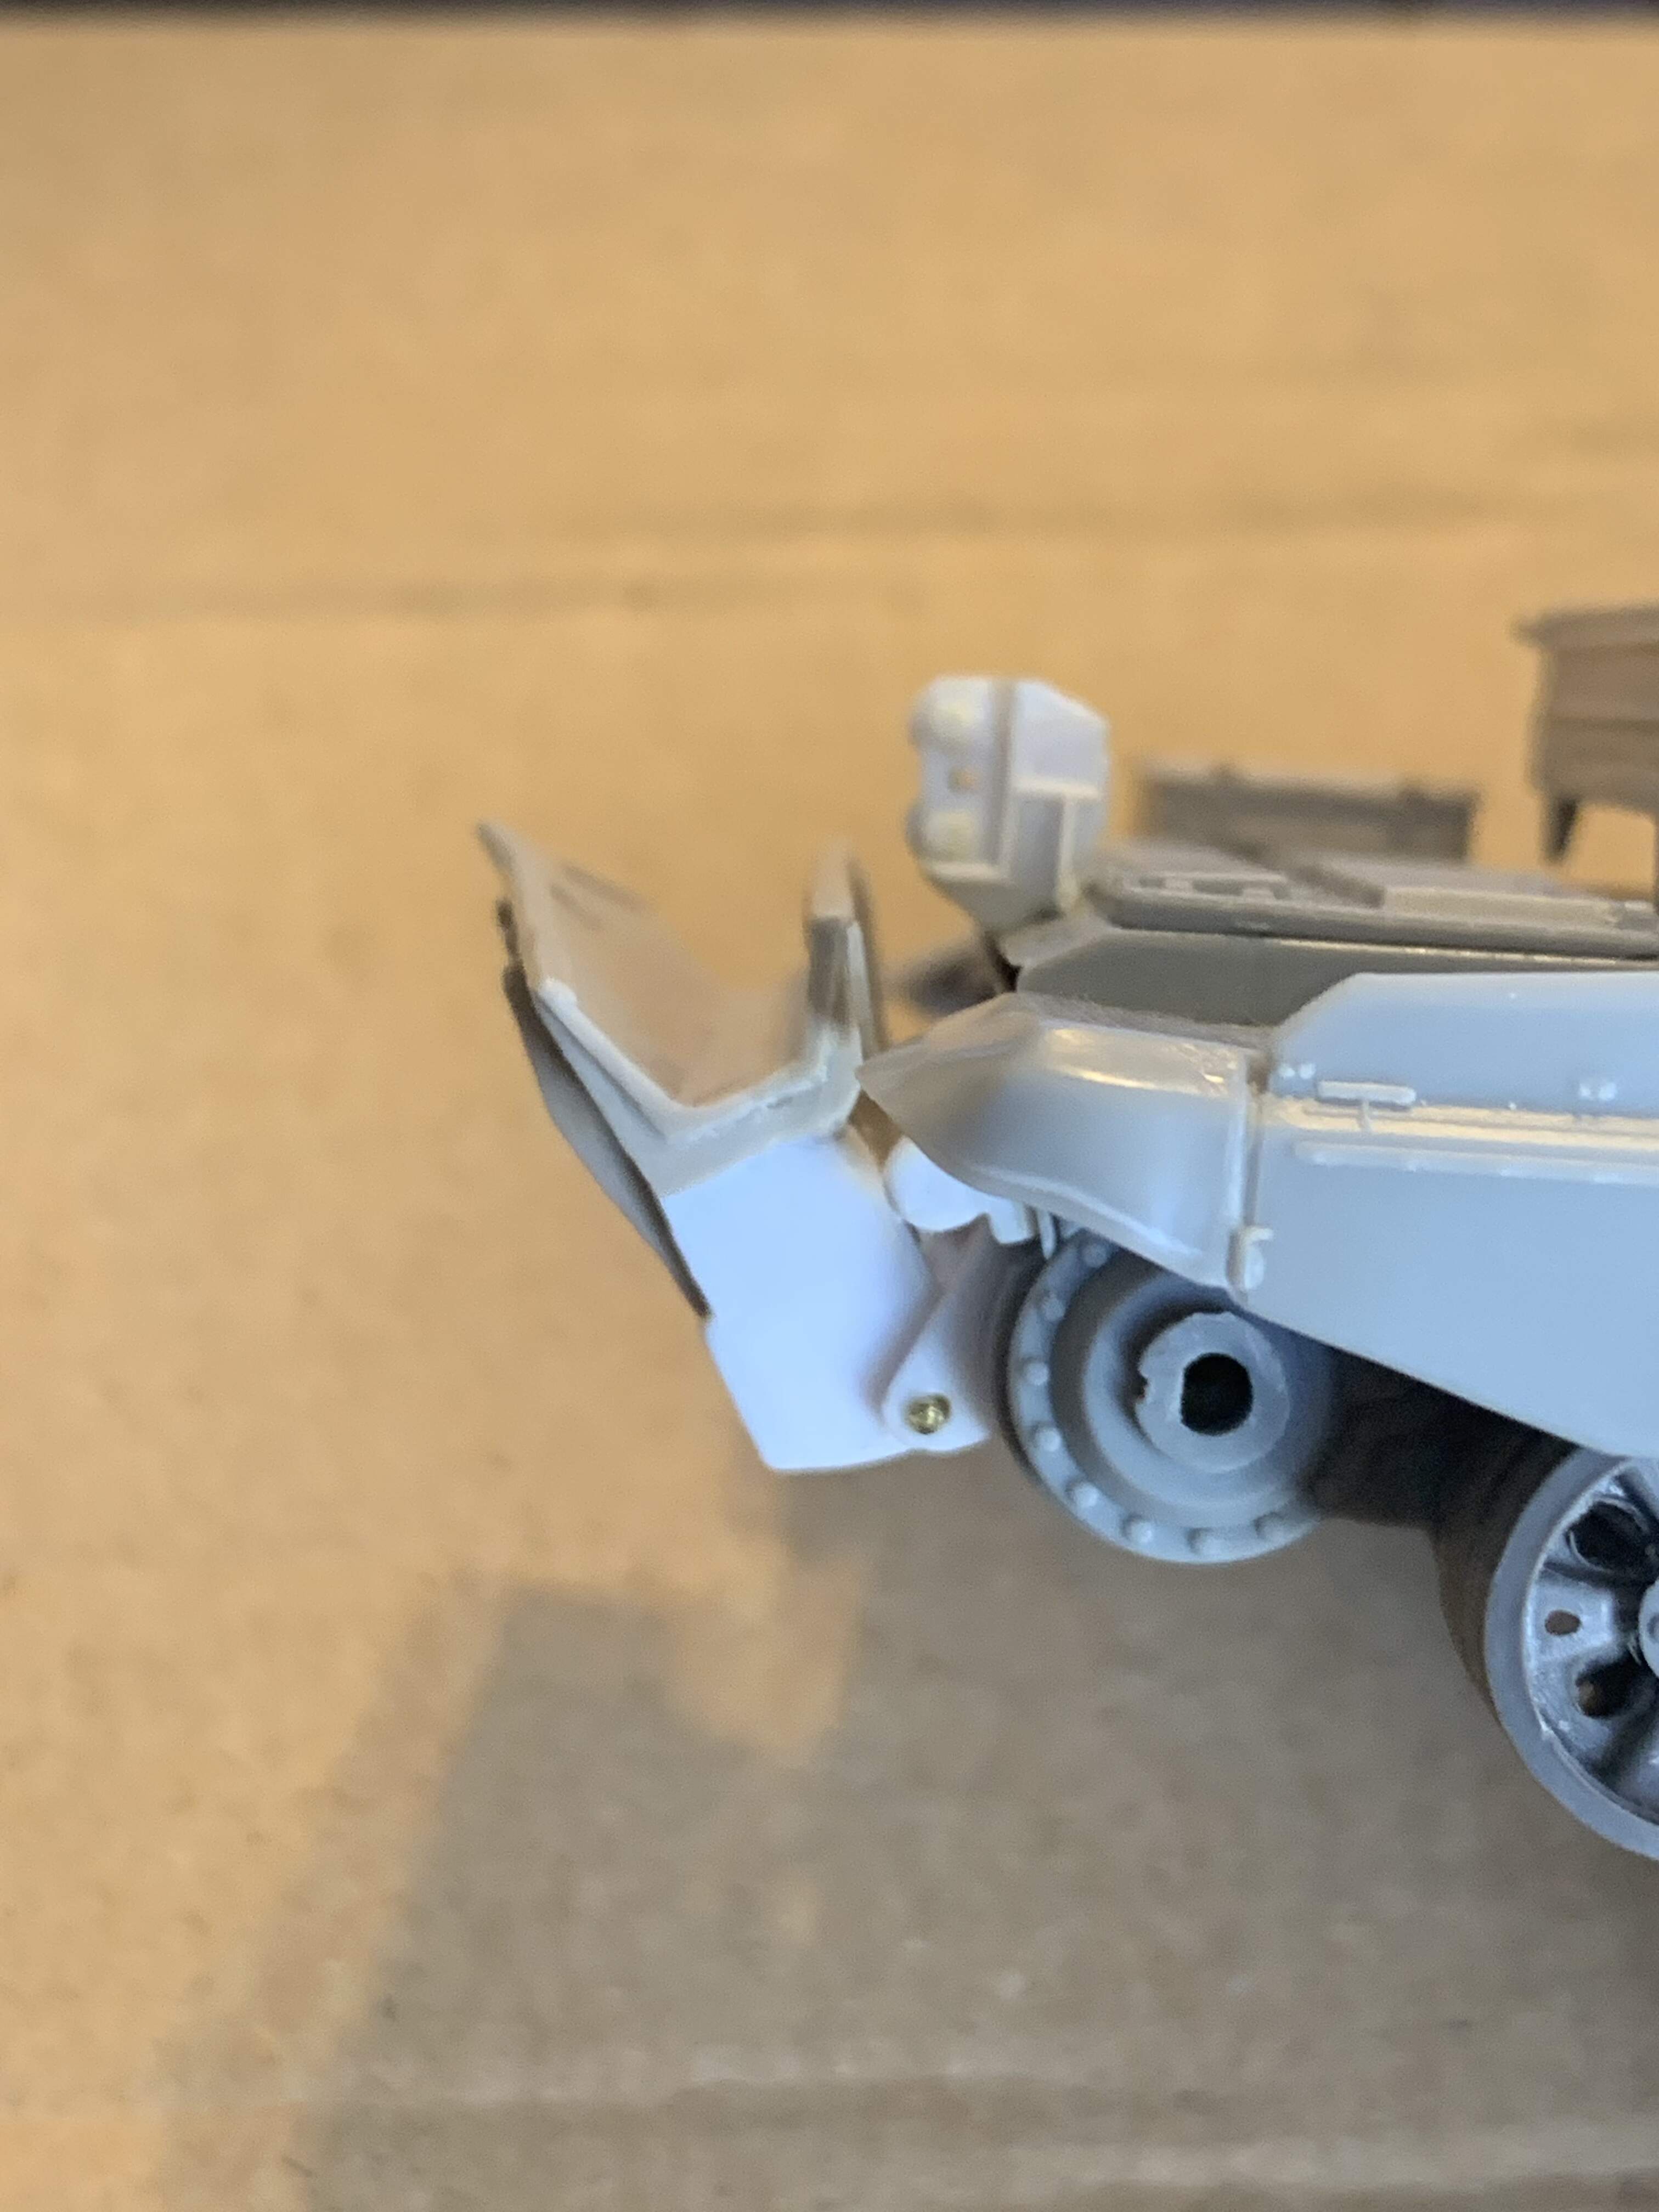
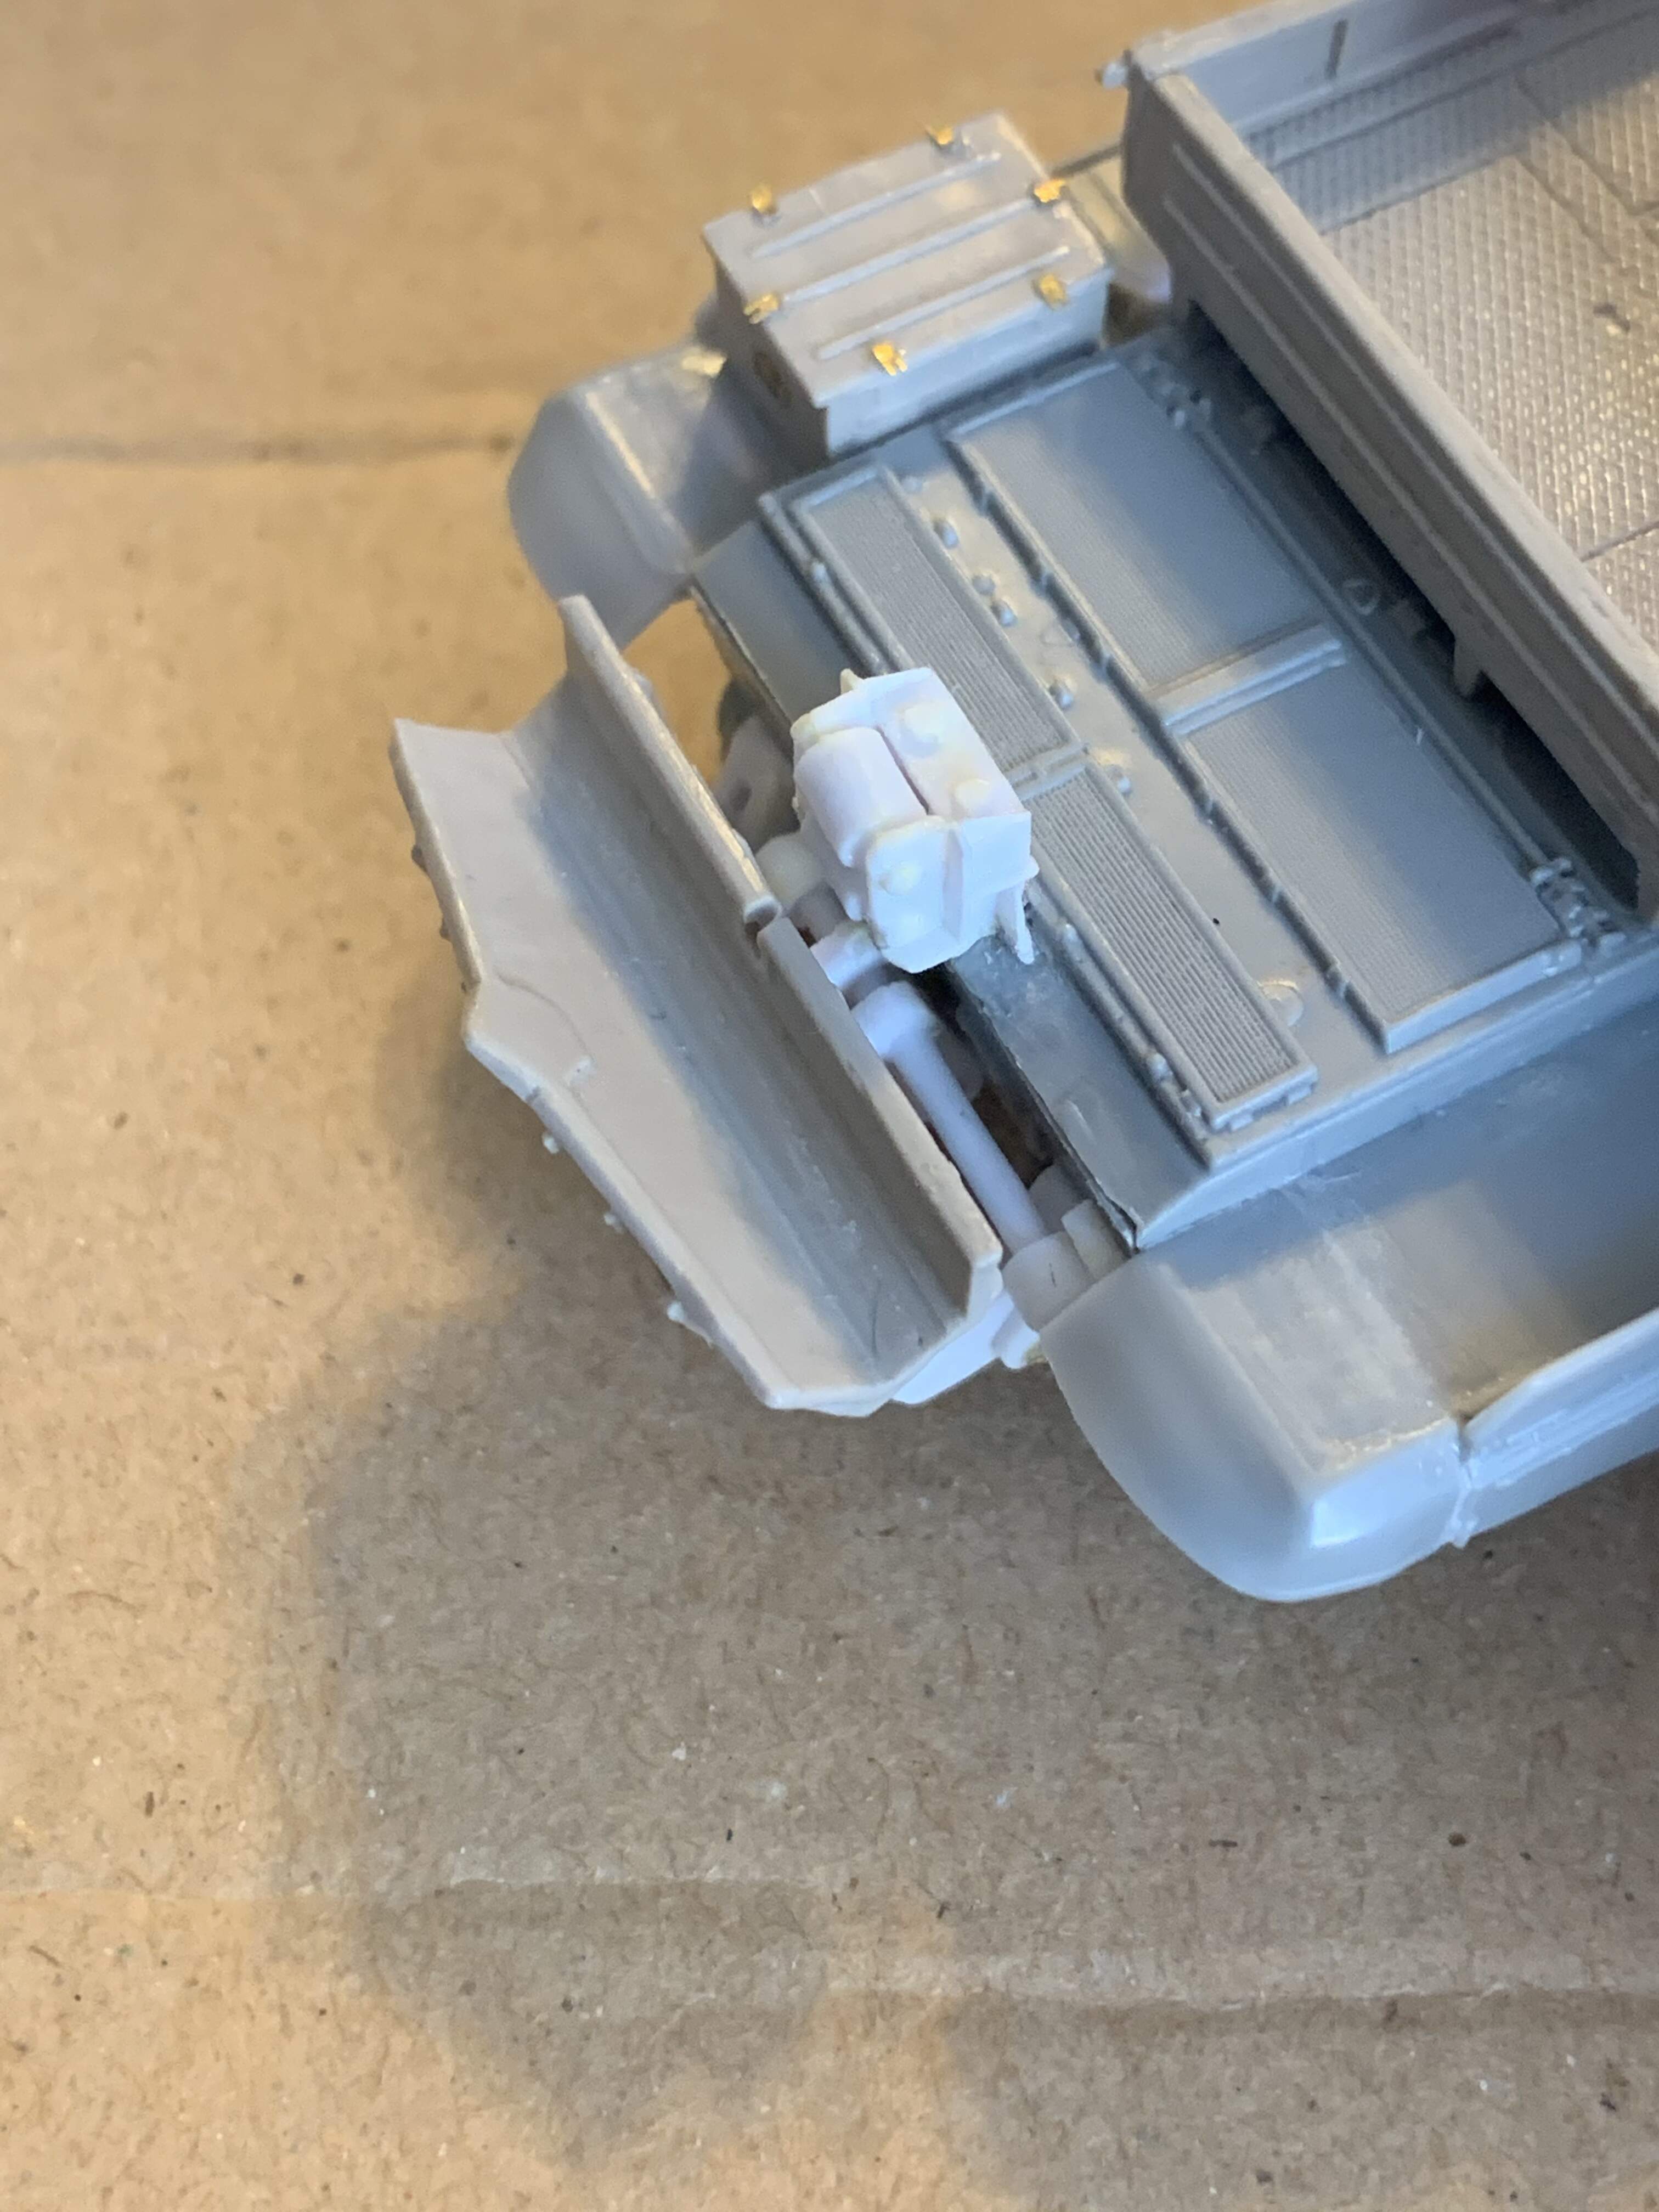
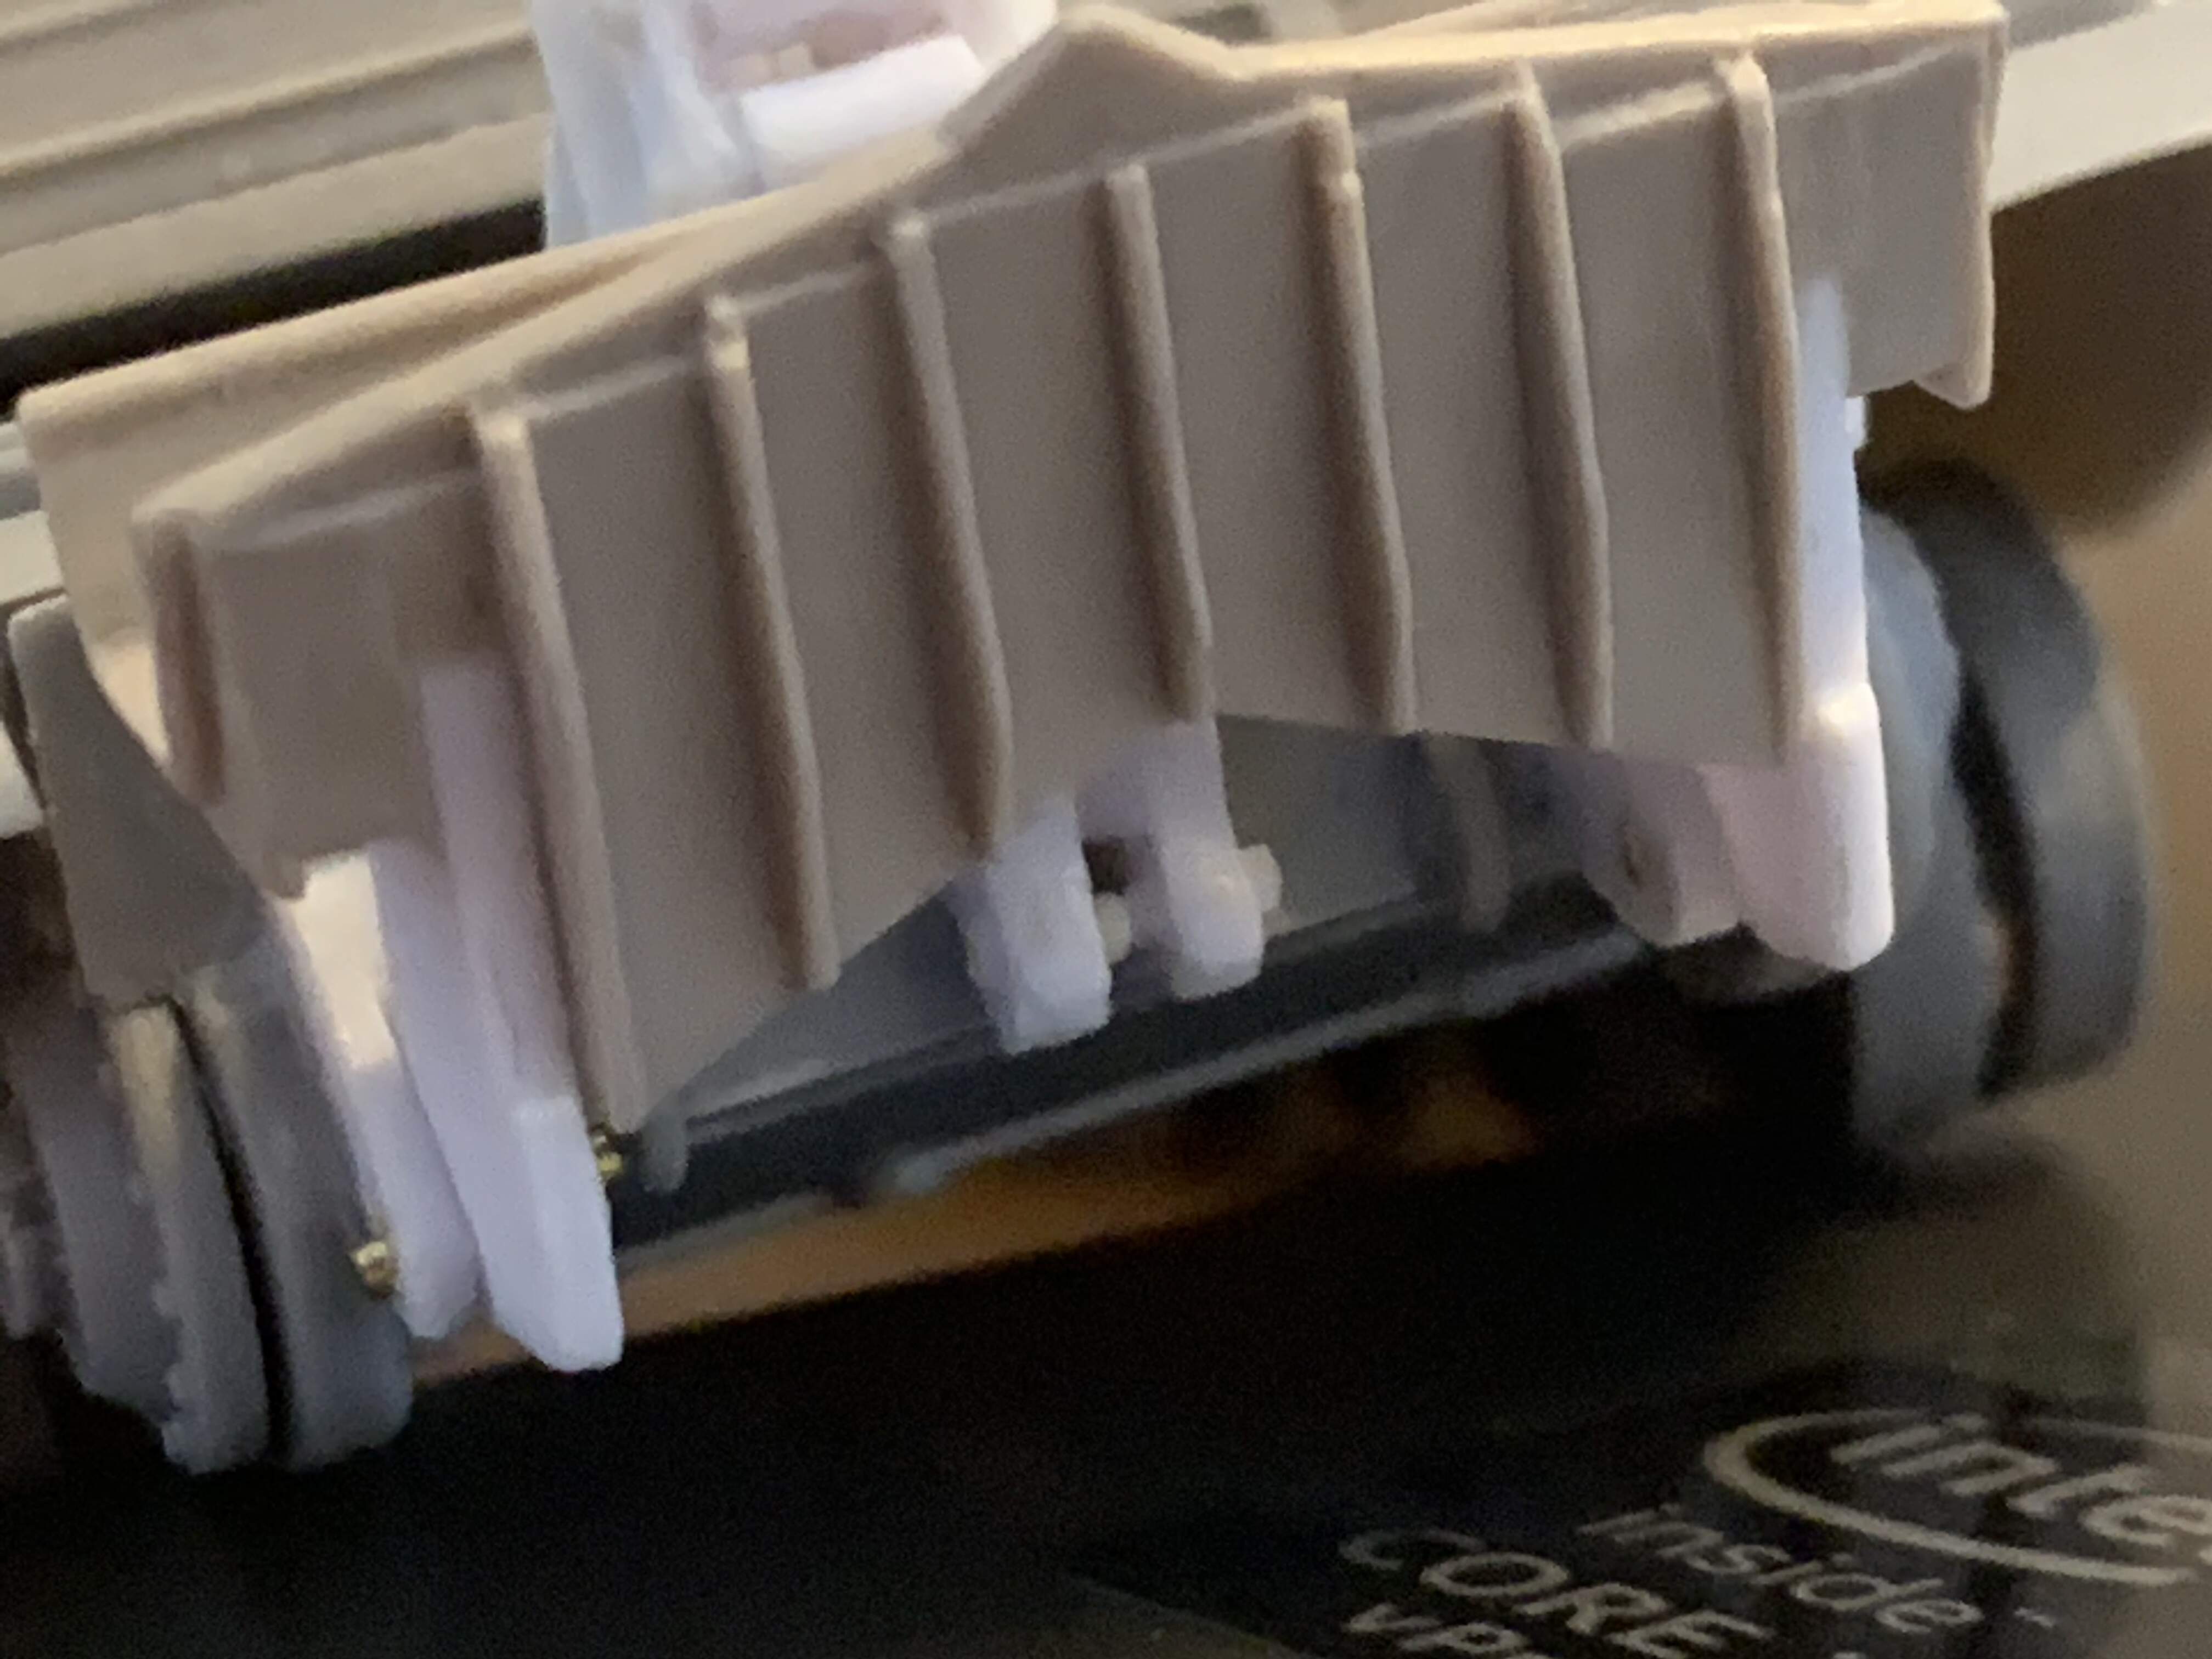
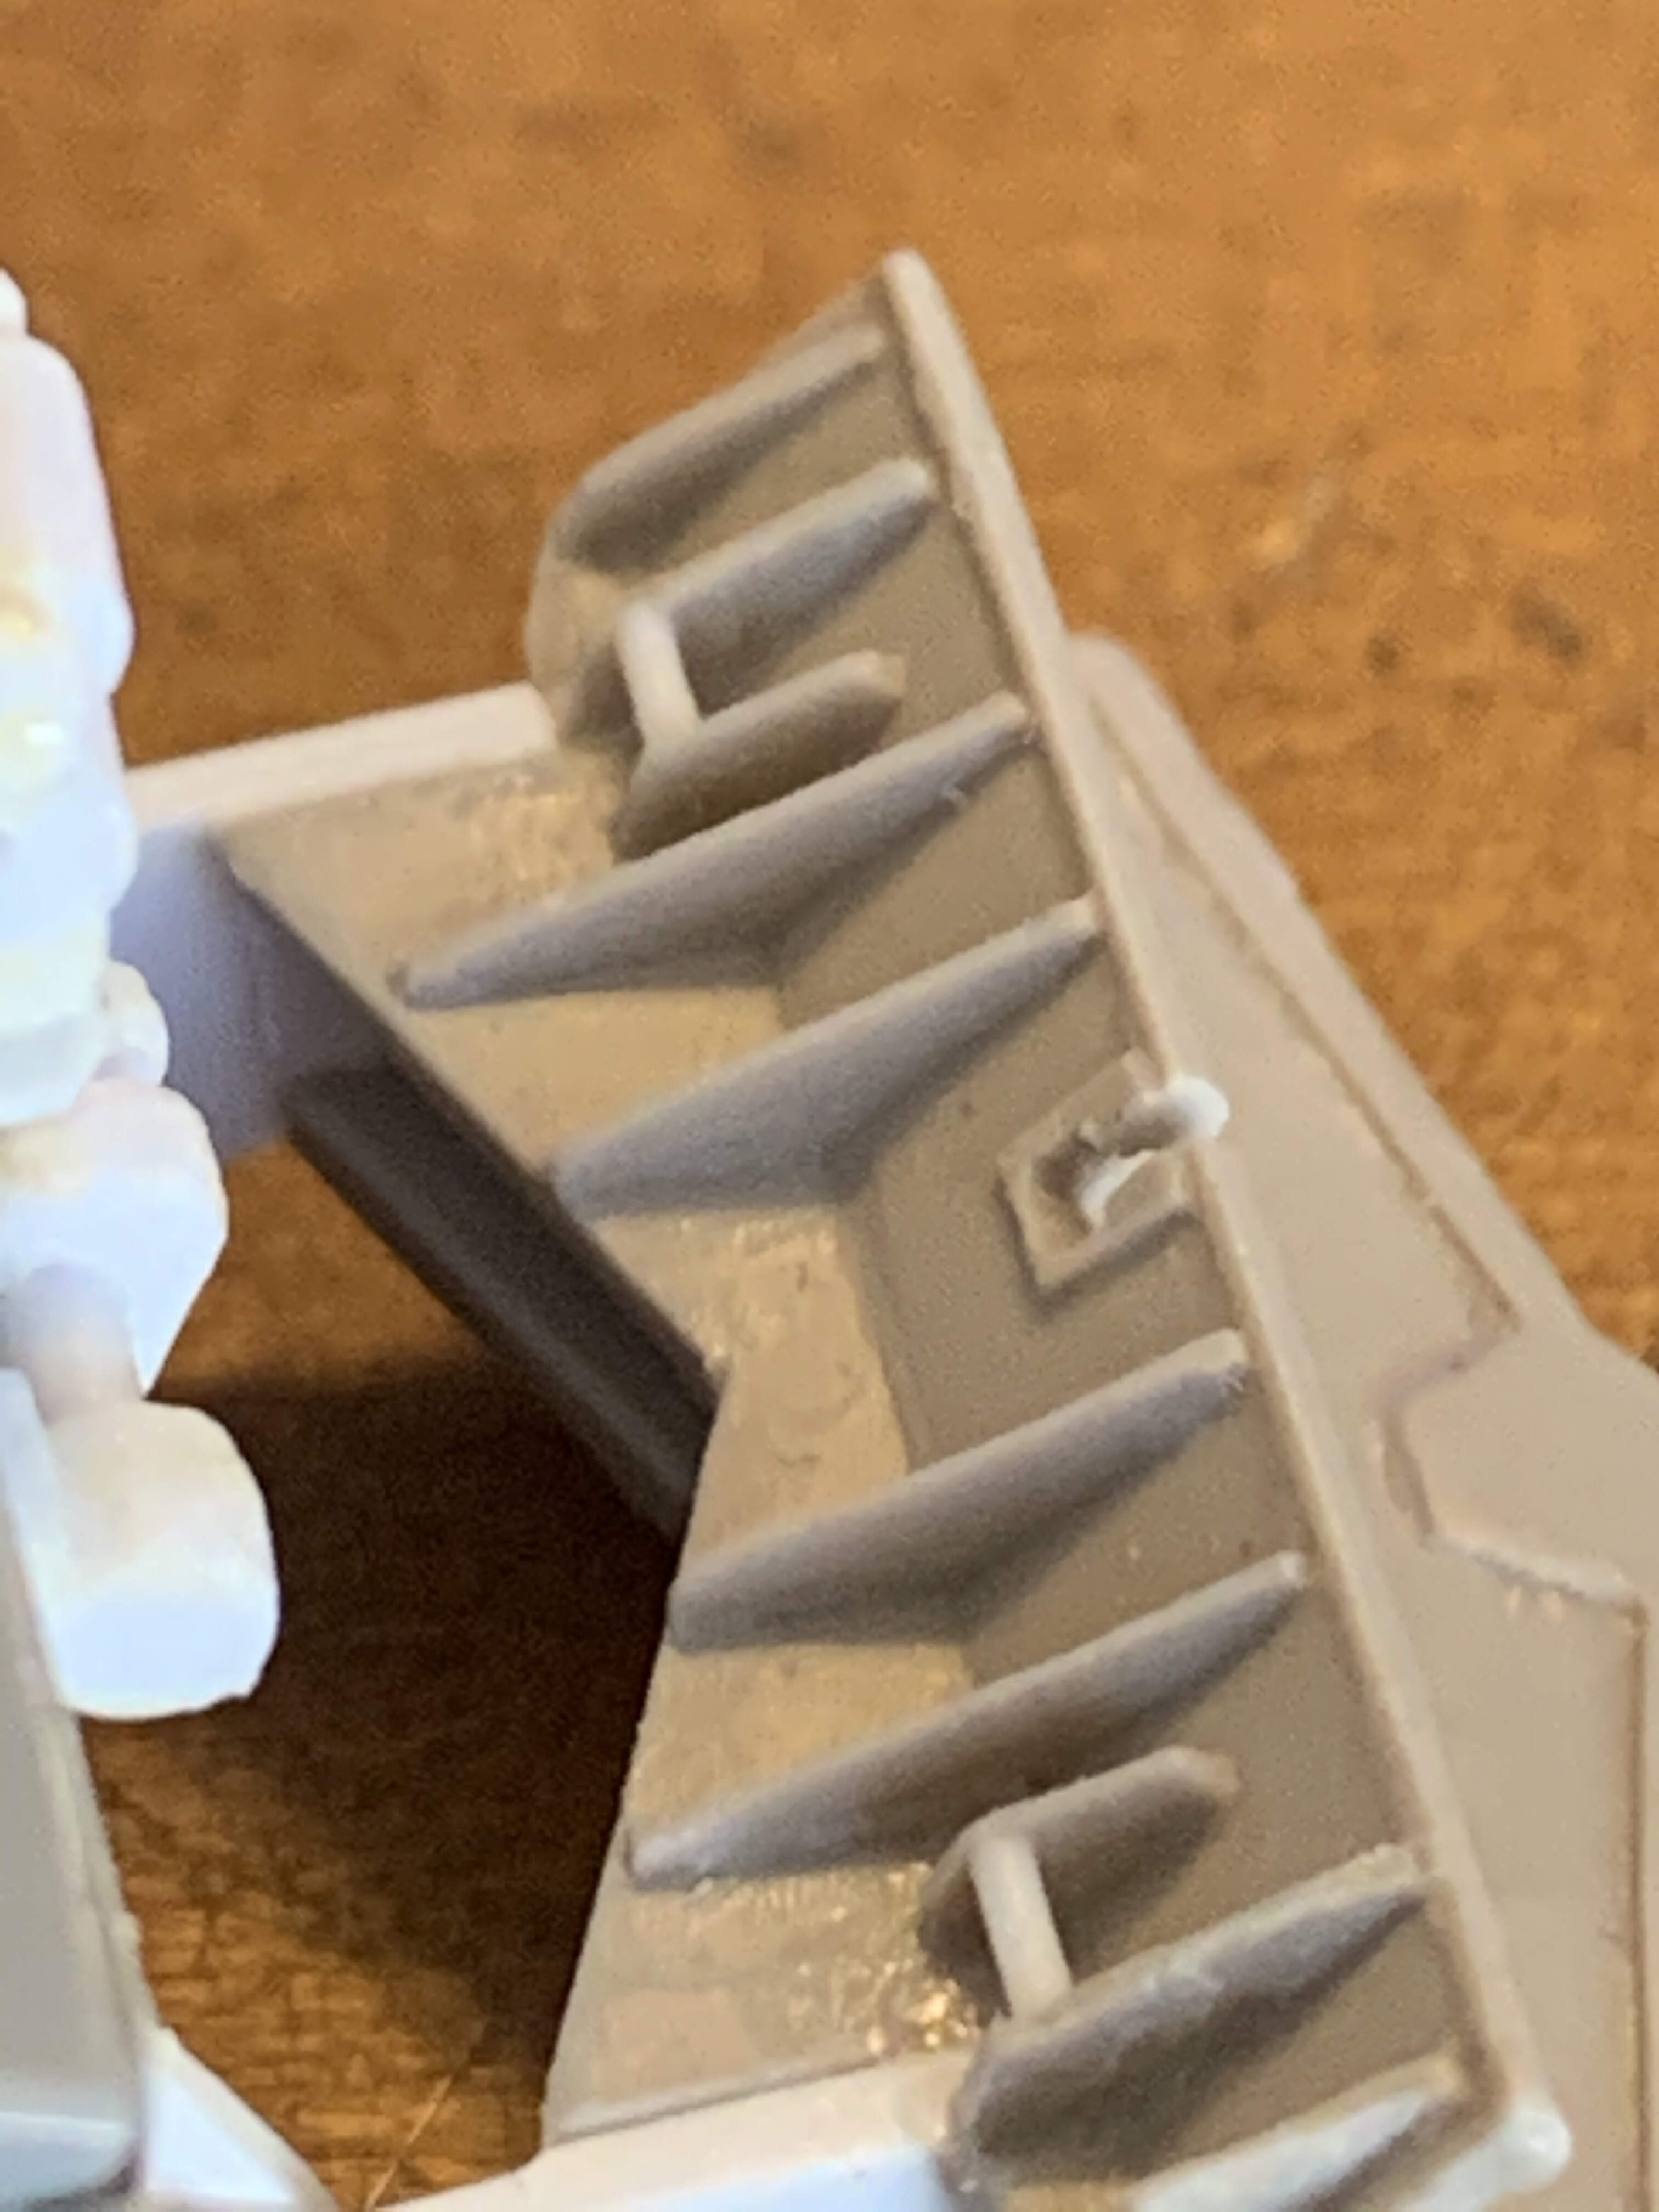
I was also able to work on the rear spade also kit supplied from Ace. It consisted of 4 poorly fitting parts. Once glued together, there were a ton of gaps and even some missing ribs. To make the gap seamless and recreate ithe missing ribs, I shaved off some plastic from the sprue where the parts came from and mixed in Tamiya glue. When it had pasty consistency, I applied them to the gaps or built the ribs up to shape. When done, everything is seamless and you can no longer tell where the gaps were. I wasn’t able to take before shots but check out how the spade turned out.
The details on the side of the blade was all jagged. Now, the lines are smooth.
There was a big gap right in the middle of the spade. Not anymore!
Notice how the white material from the arms blend with the grey/brown colored spade? There were also missing ribs here. I even forgot where they were!
You can’t even tell where the missing ribs are! Actually, because I was able to recreate the ribs, I was able to add those white handle bars.
A lot of work but it was worth it.
5 Likes
Got to hand it to you Joe, your scratchbuilding work is pretty amazing too! Outstanding job on the spade. I can’t even see any seams. Really 5 star work. I’ll be following your build with great interest.
Gotta agree, that looks great!
Thanks for the encouraging comments. Here are some more photos.
I built the armor plating for the driver for when he sticks his head out.
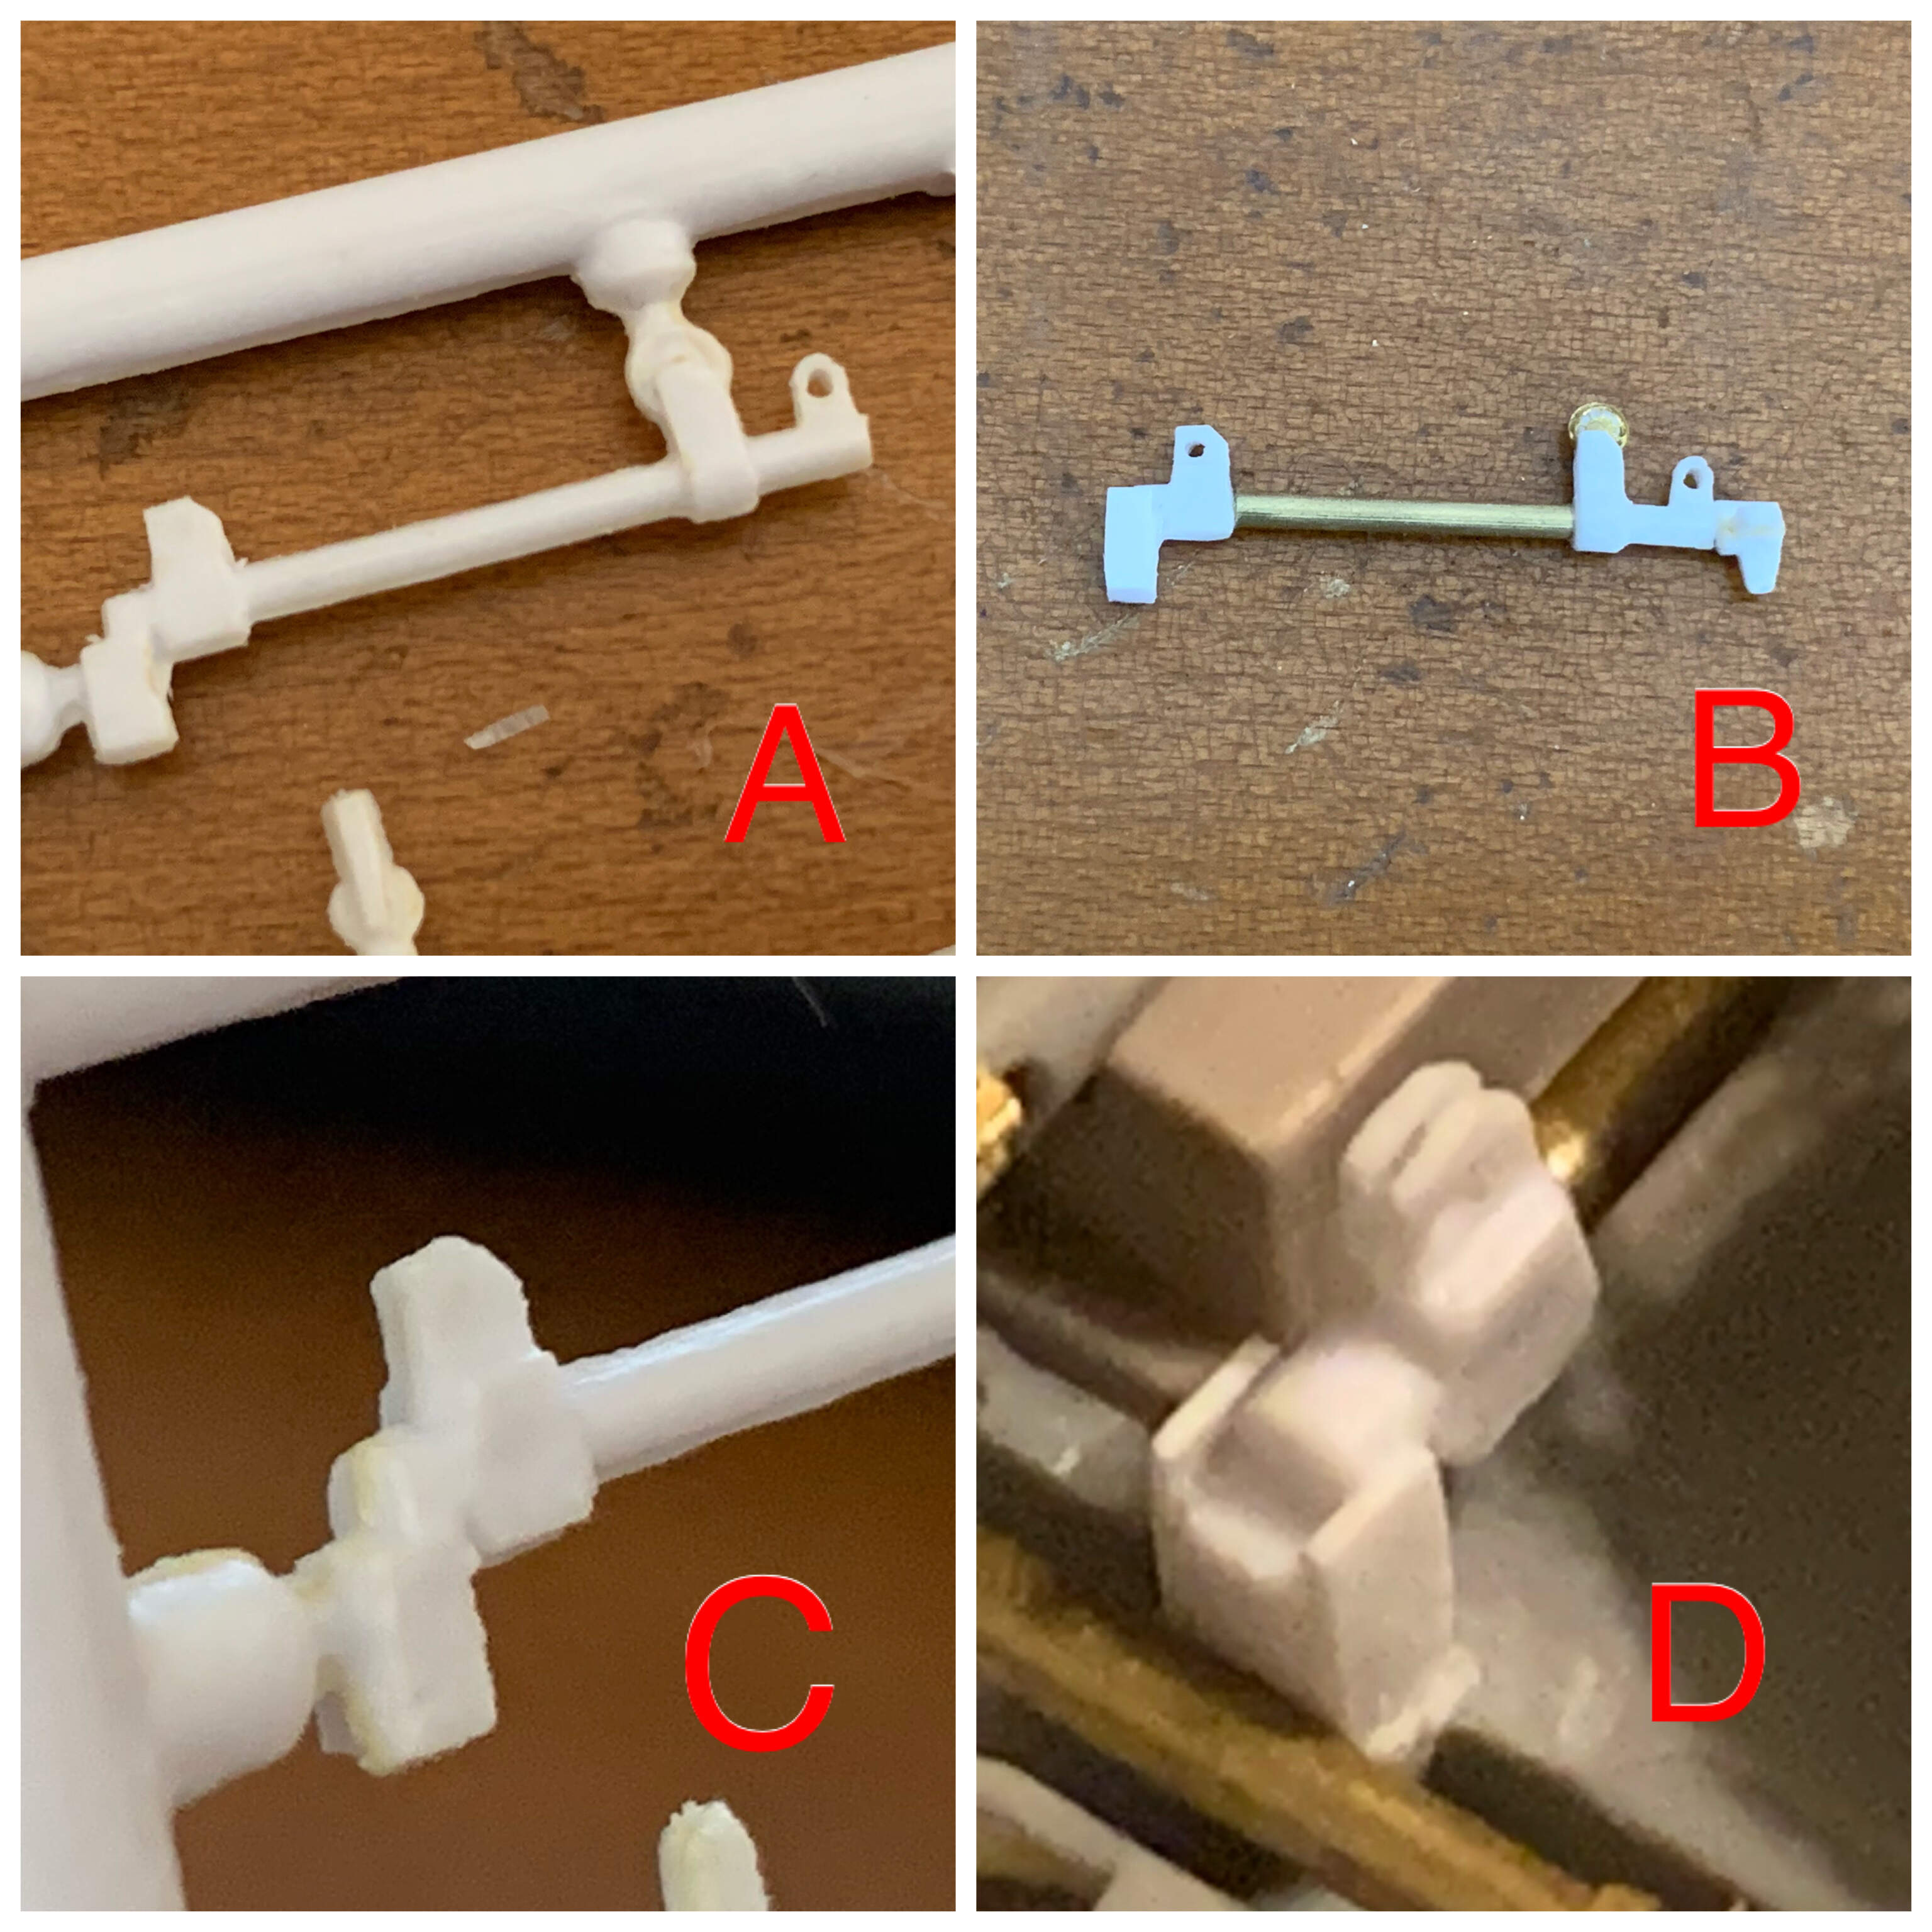
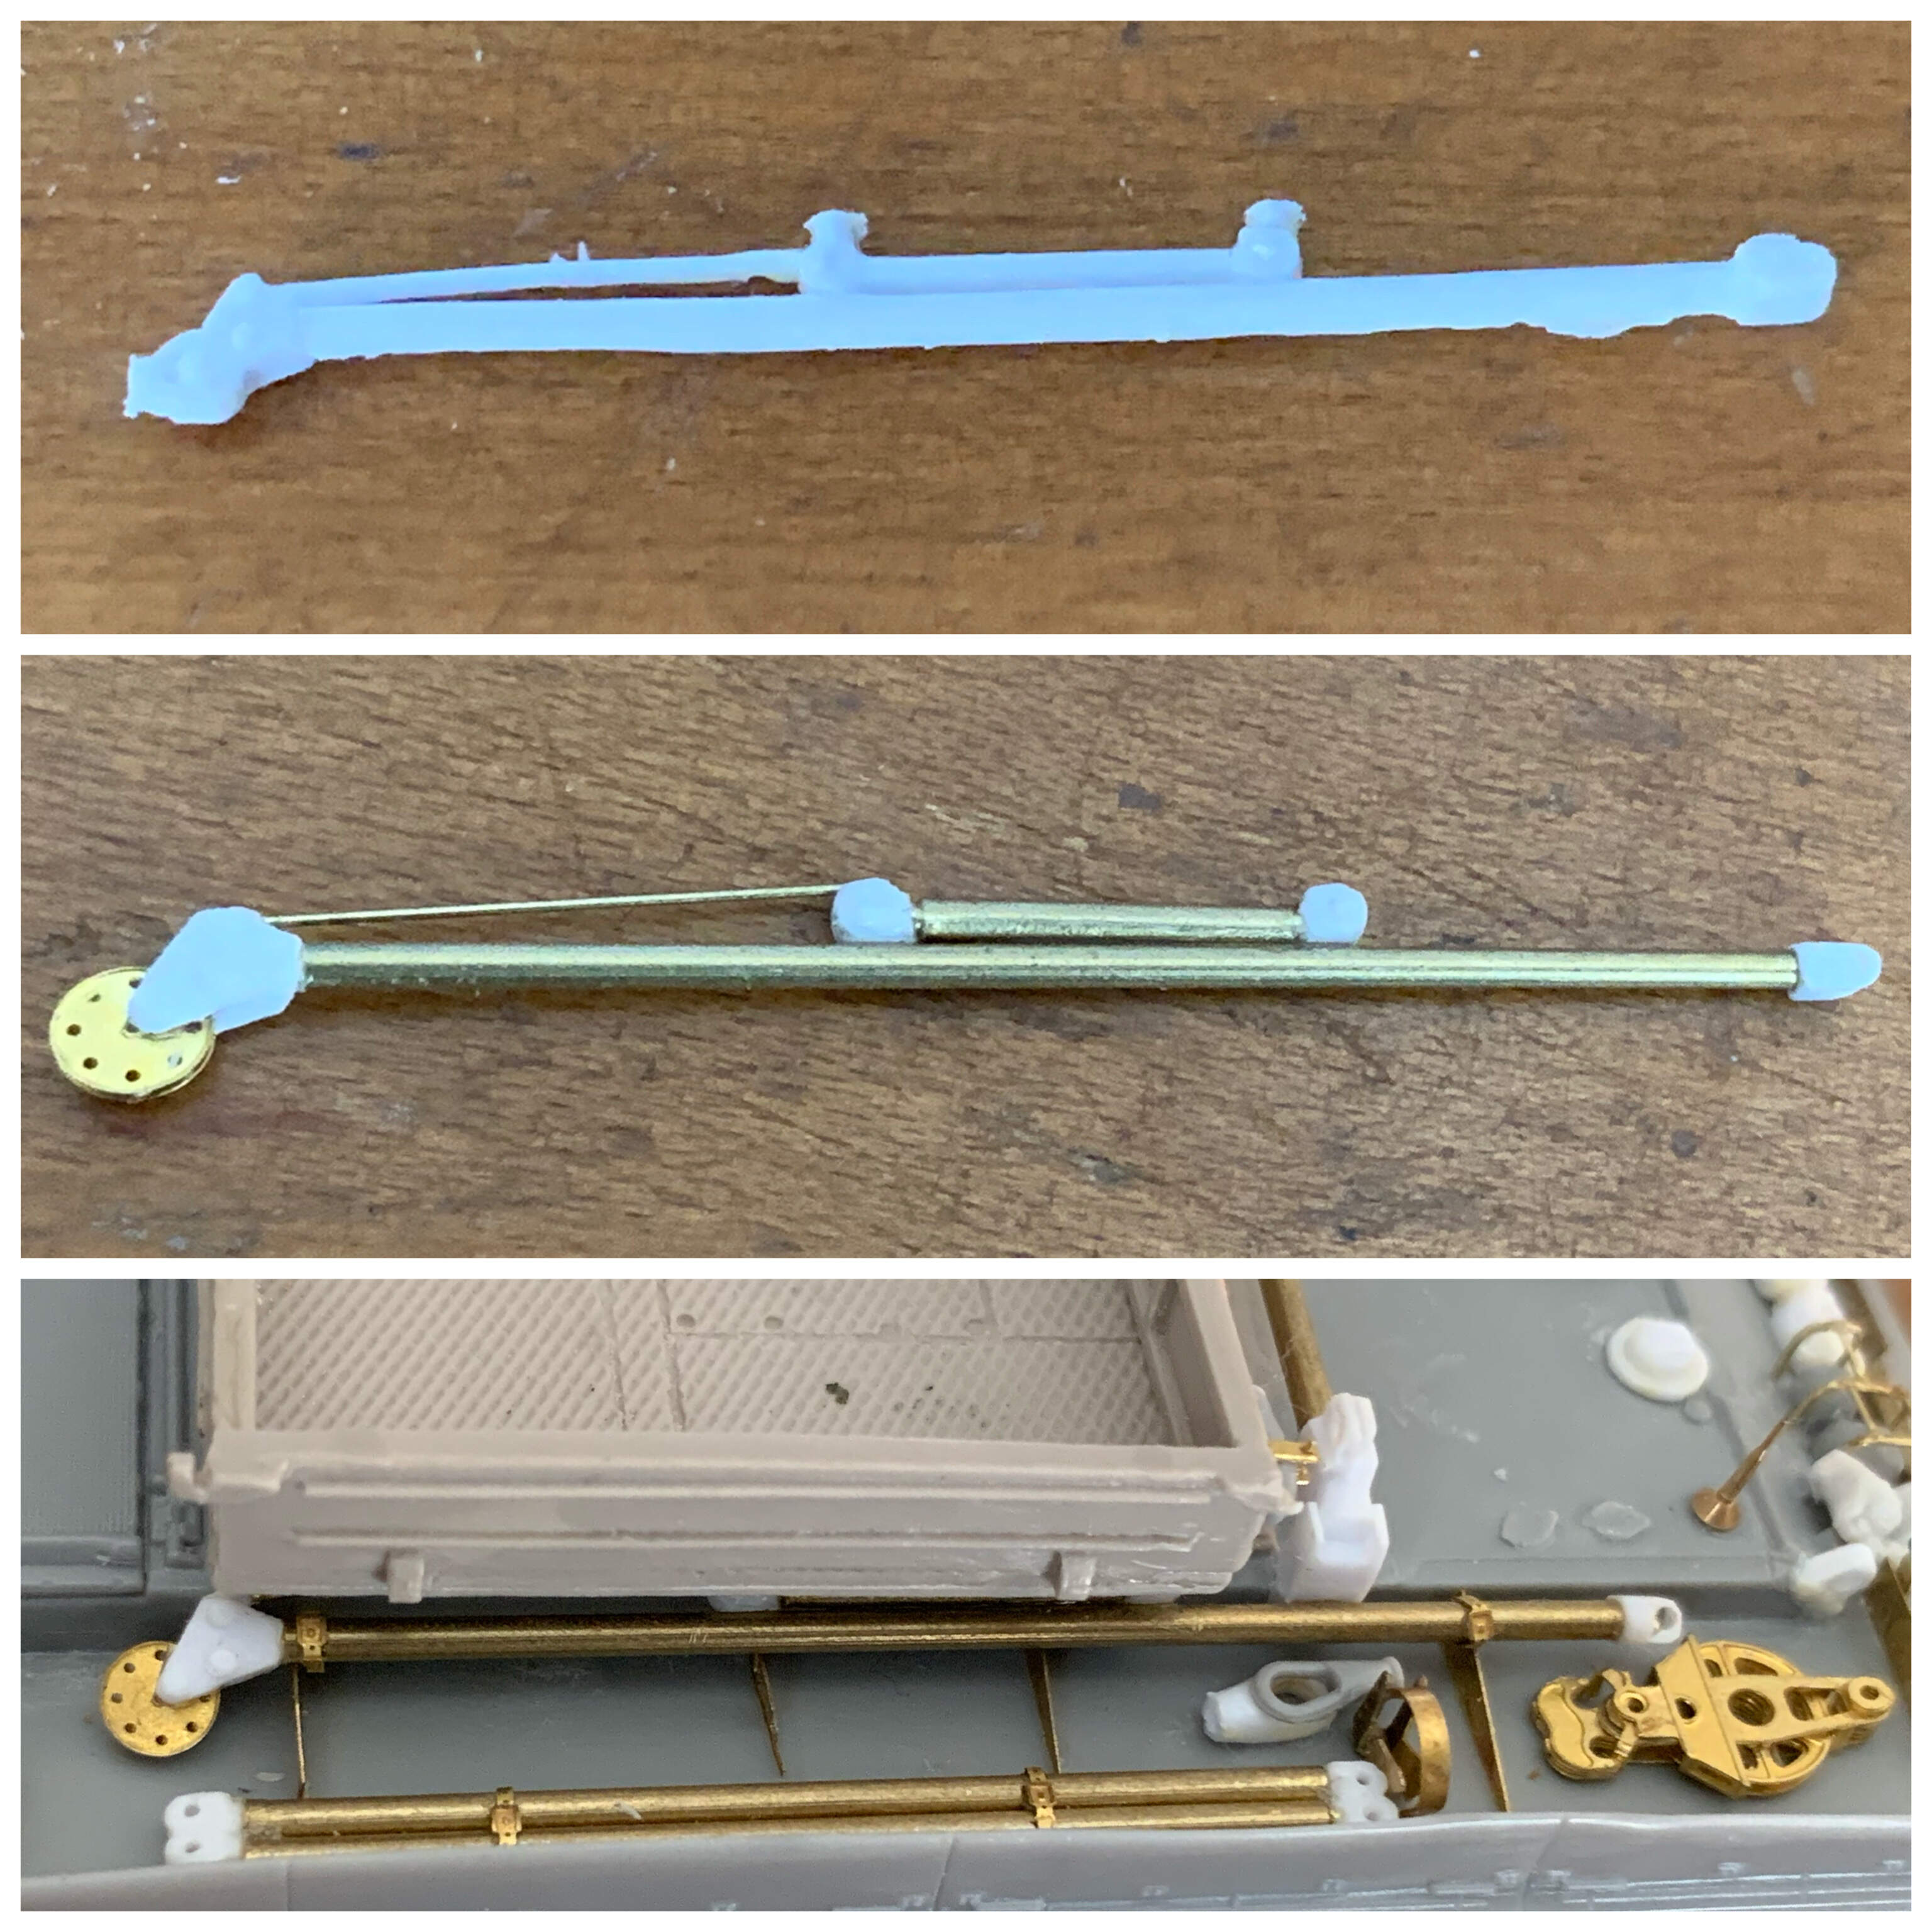
I then worked on the various items strewn about the deck. Here’s a progression shots for this part:
A) Original part
B) mid section replaced with brass and holes drilled
C) oblique view of part
D) super detailed and glued to the hull
Bottom photo shows additional securing straps and radio antenna from Zedval set. The photo etched crane hook came from the VT-55. Fender braces came from OKB T-55 update set. The crane hook visible in the picture came from the Armada Hobby VT-55 kit.
Bottom photo shows securing straps added. The straps also came from a Zedval set.
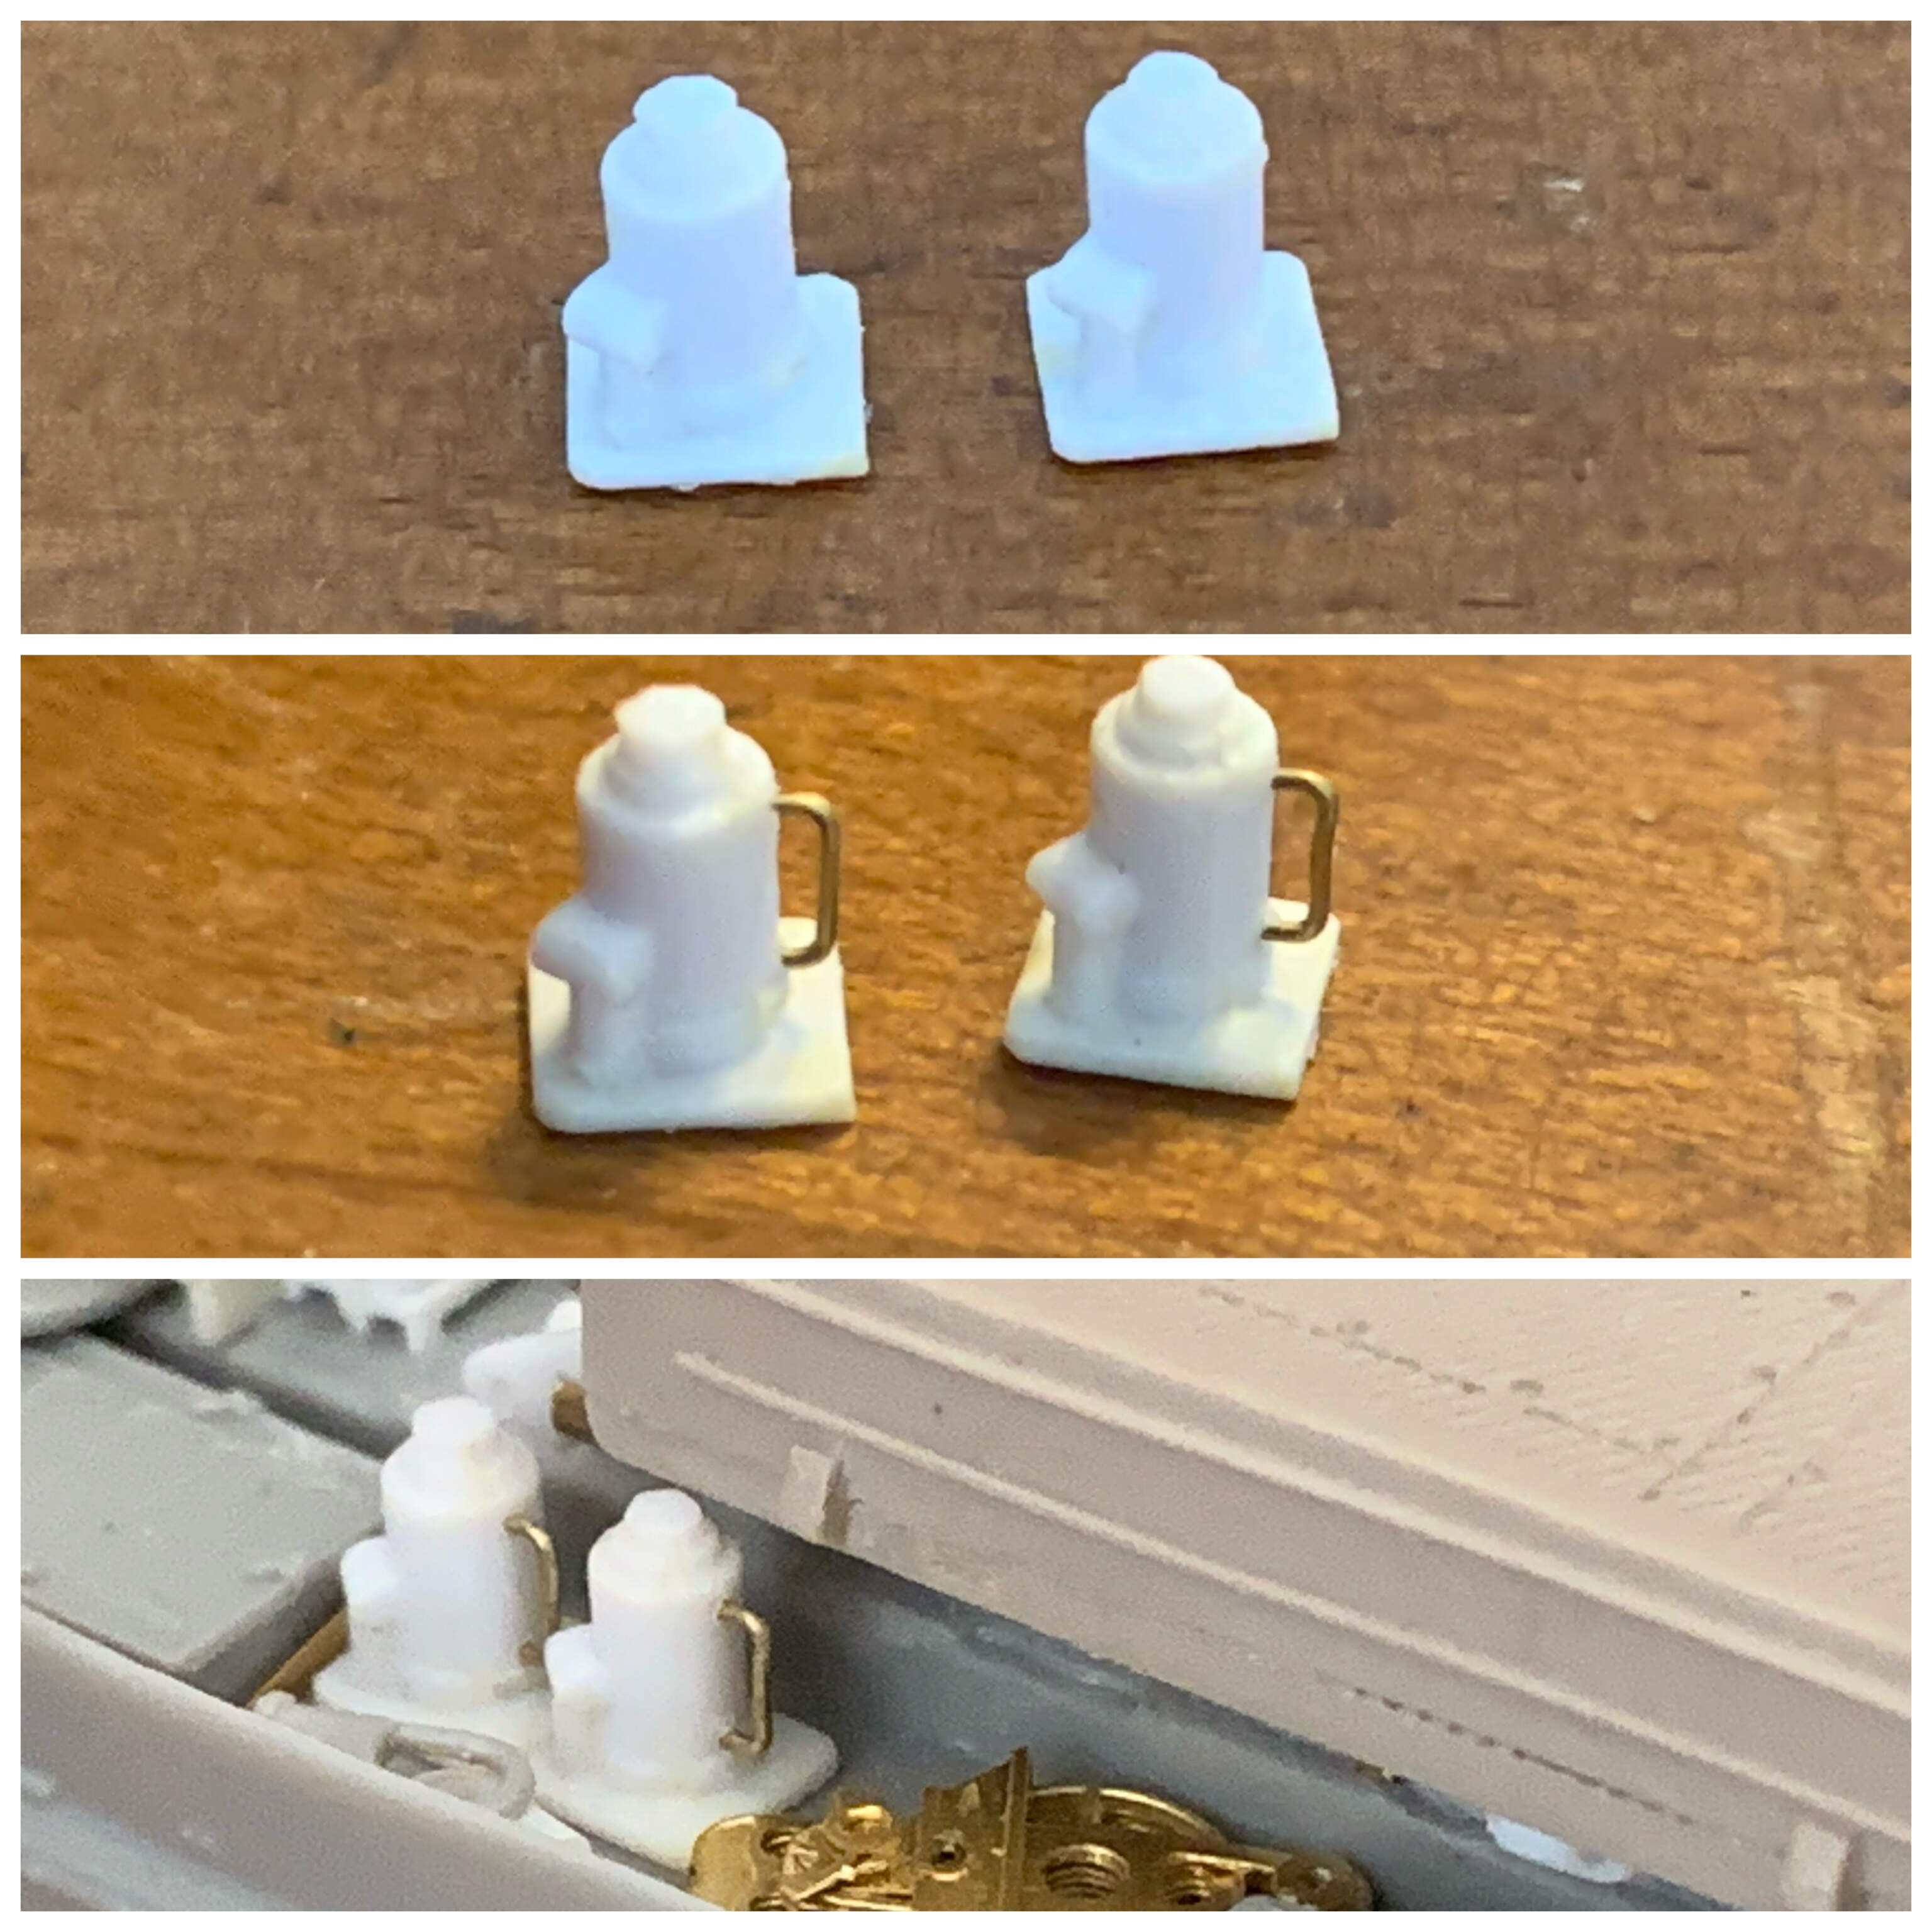
Jacks have also been updated. Grab handles were added. Bottom picture shows where they will be installed.
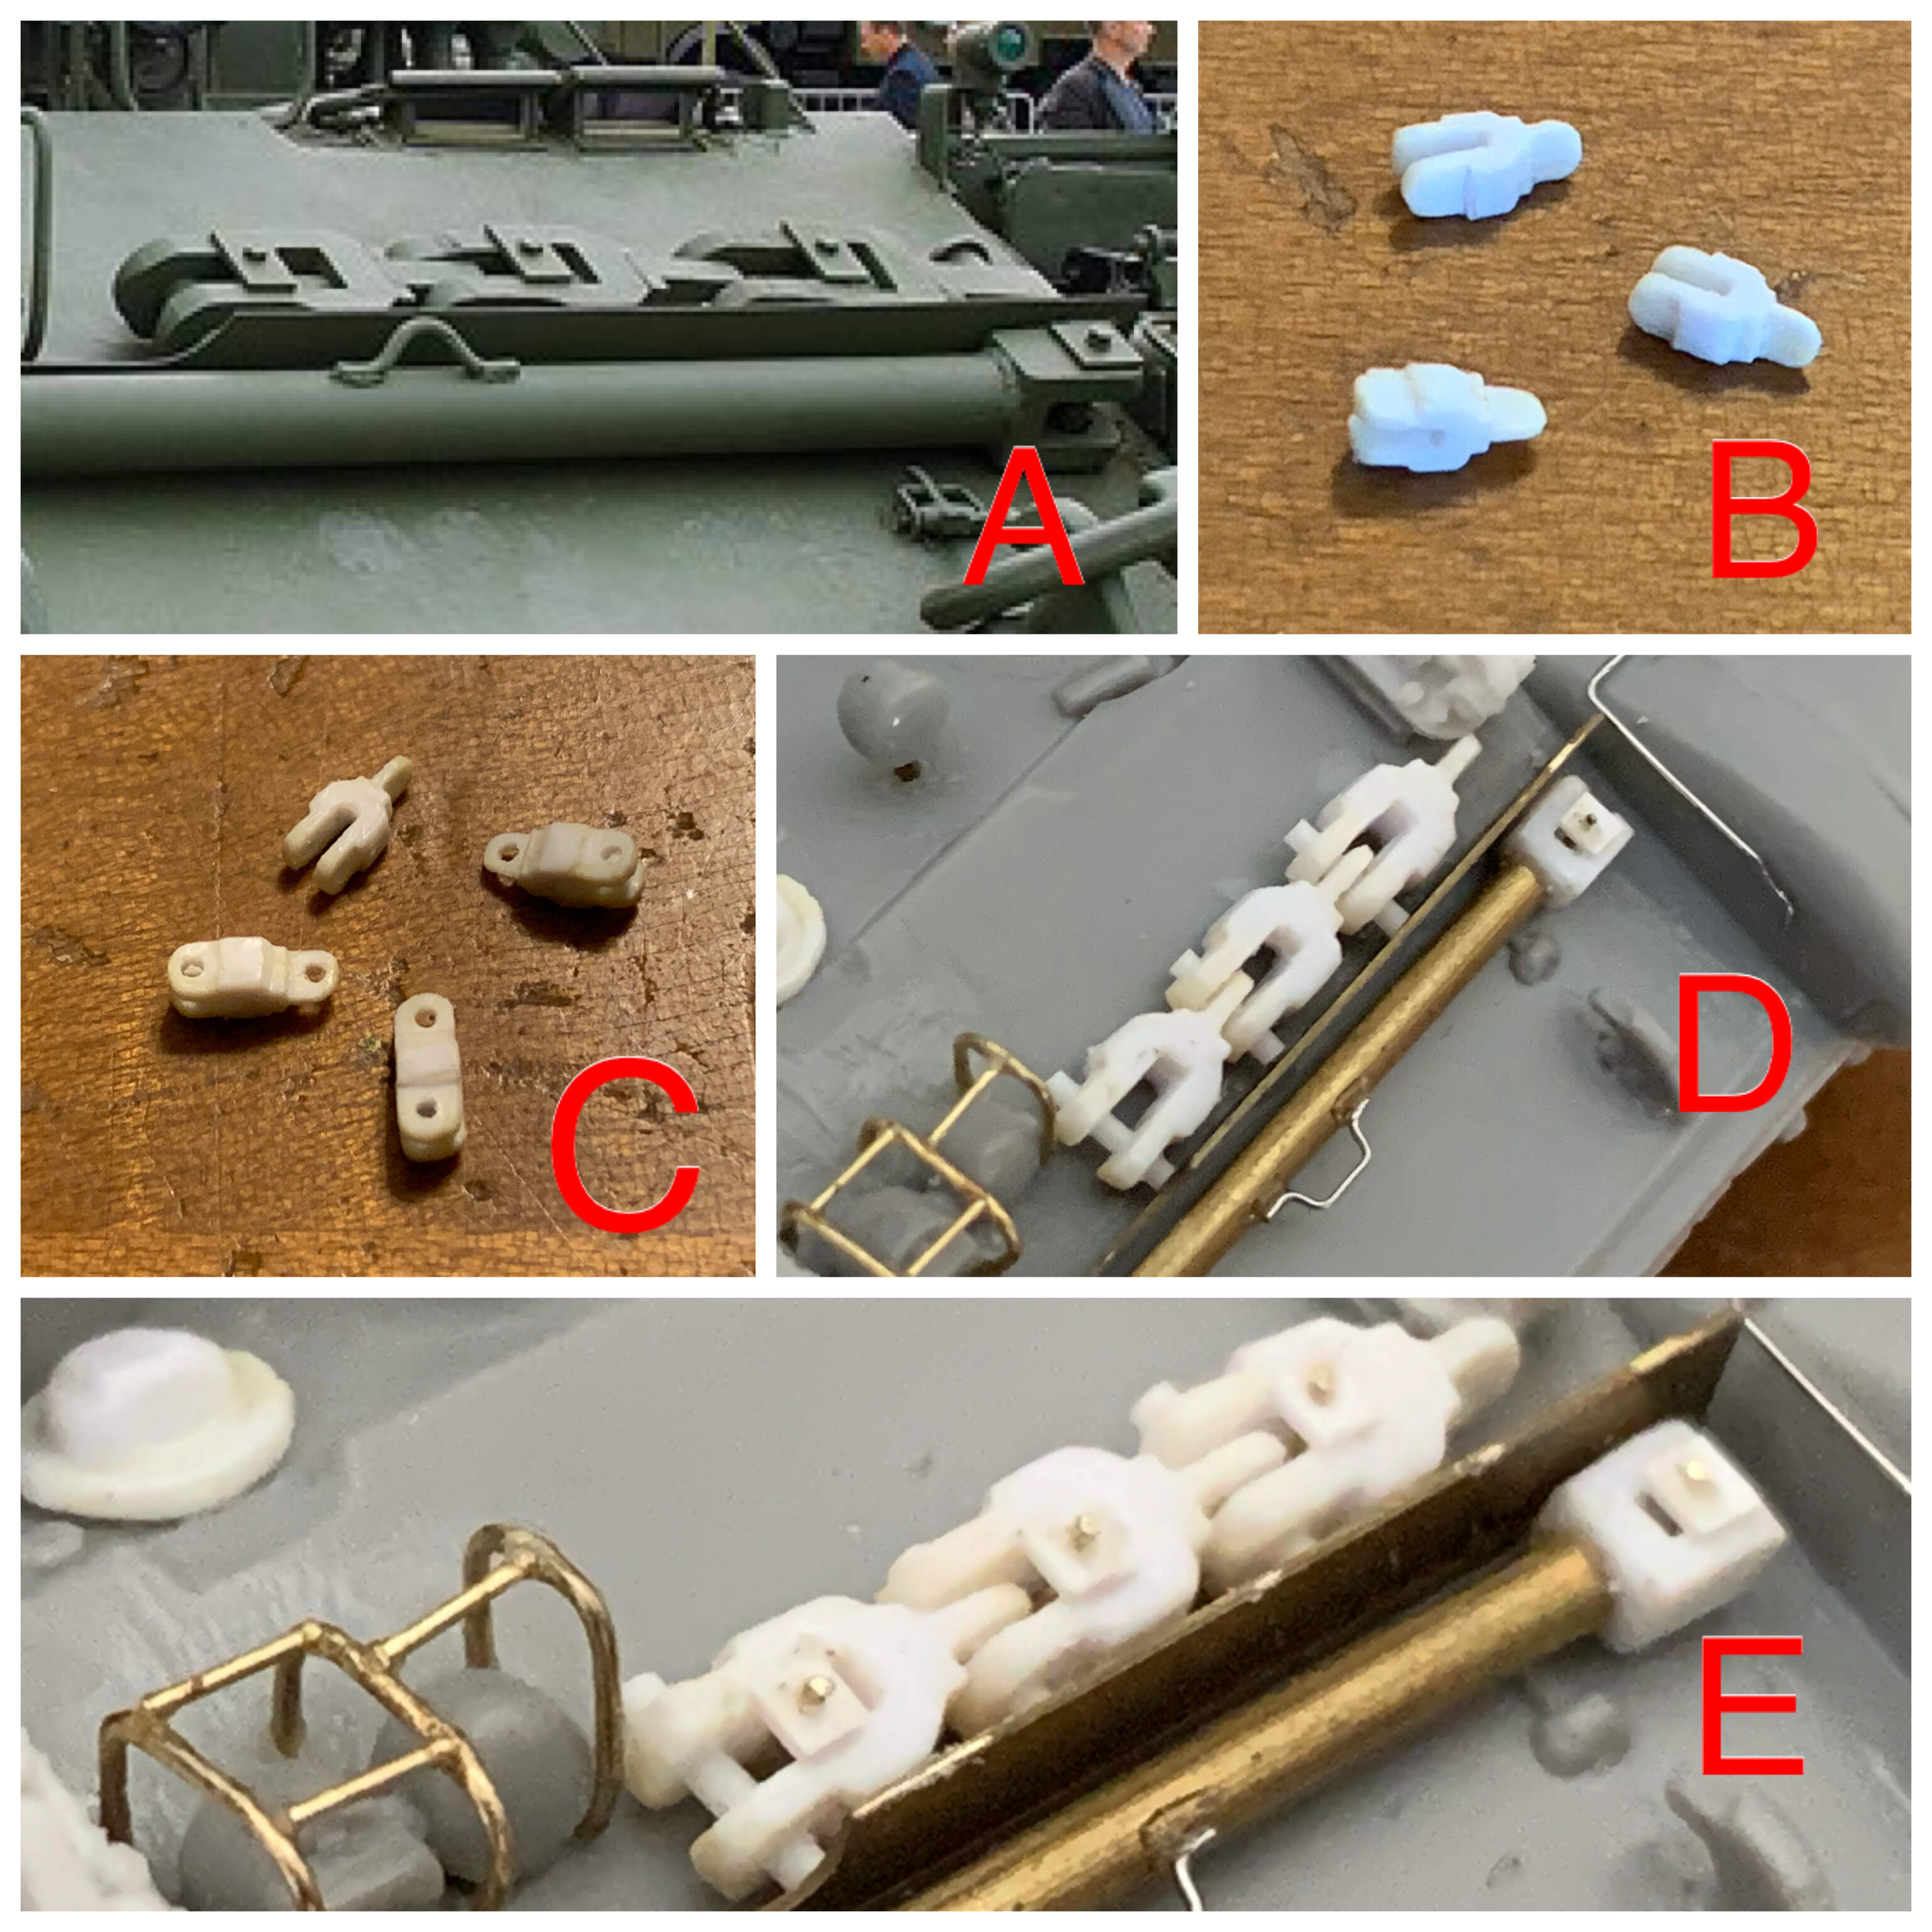
Crane connectors
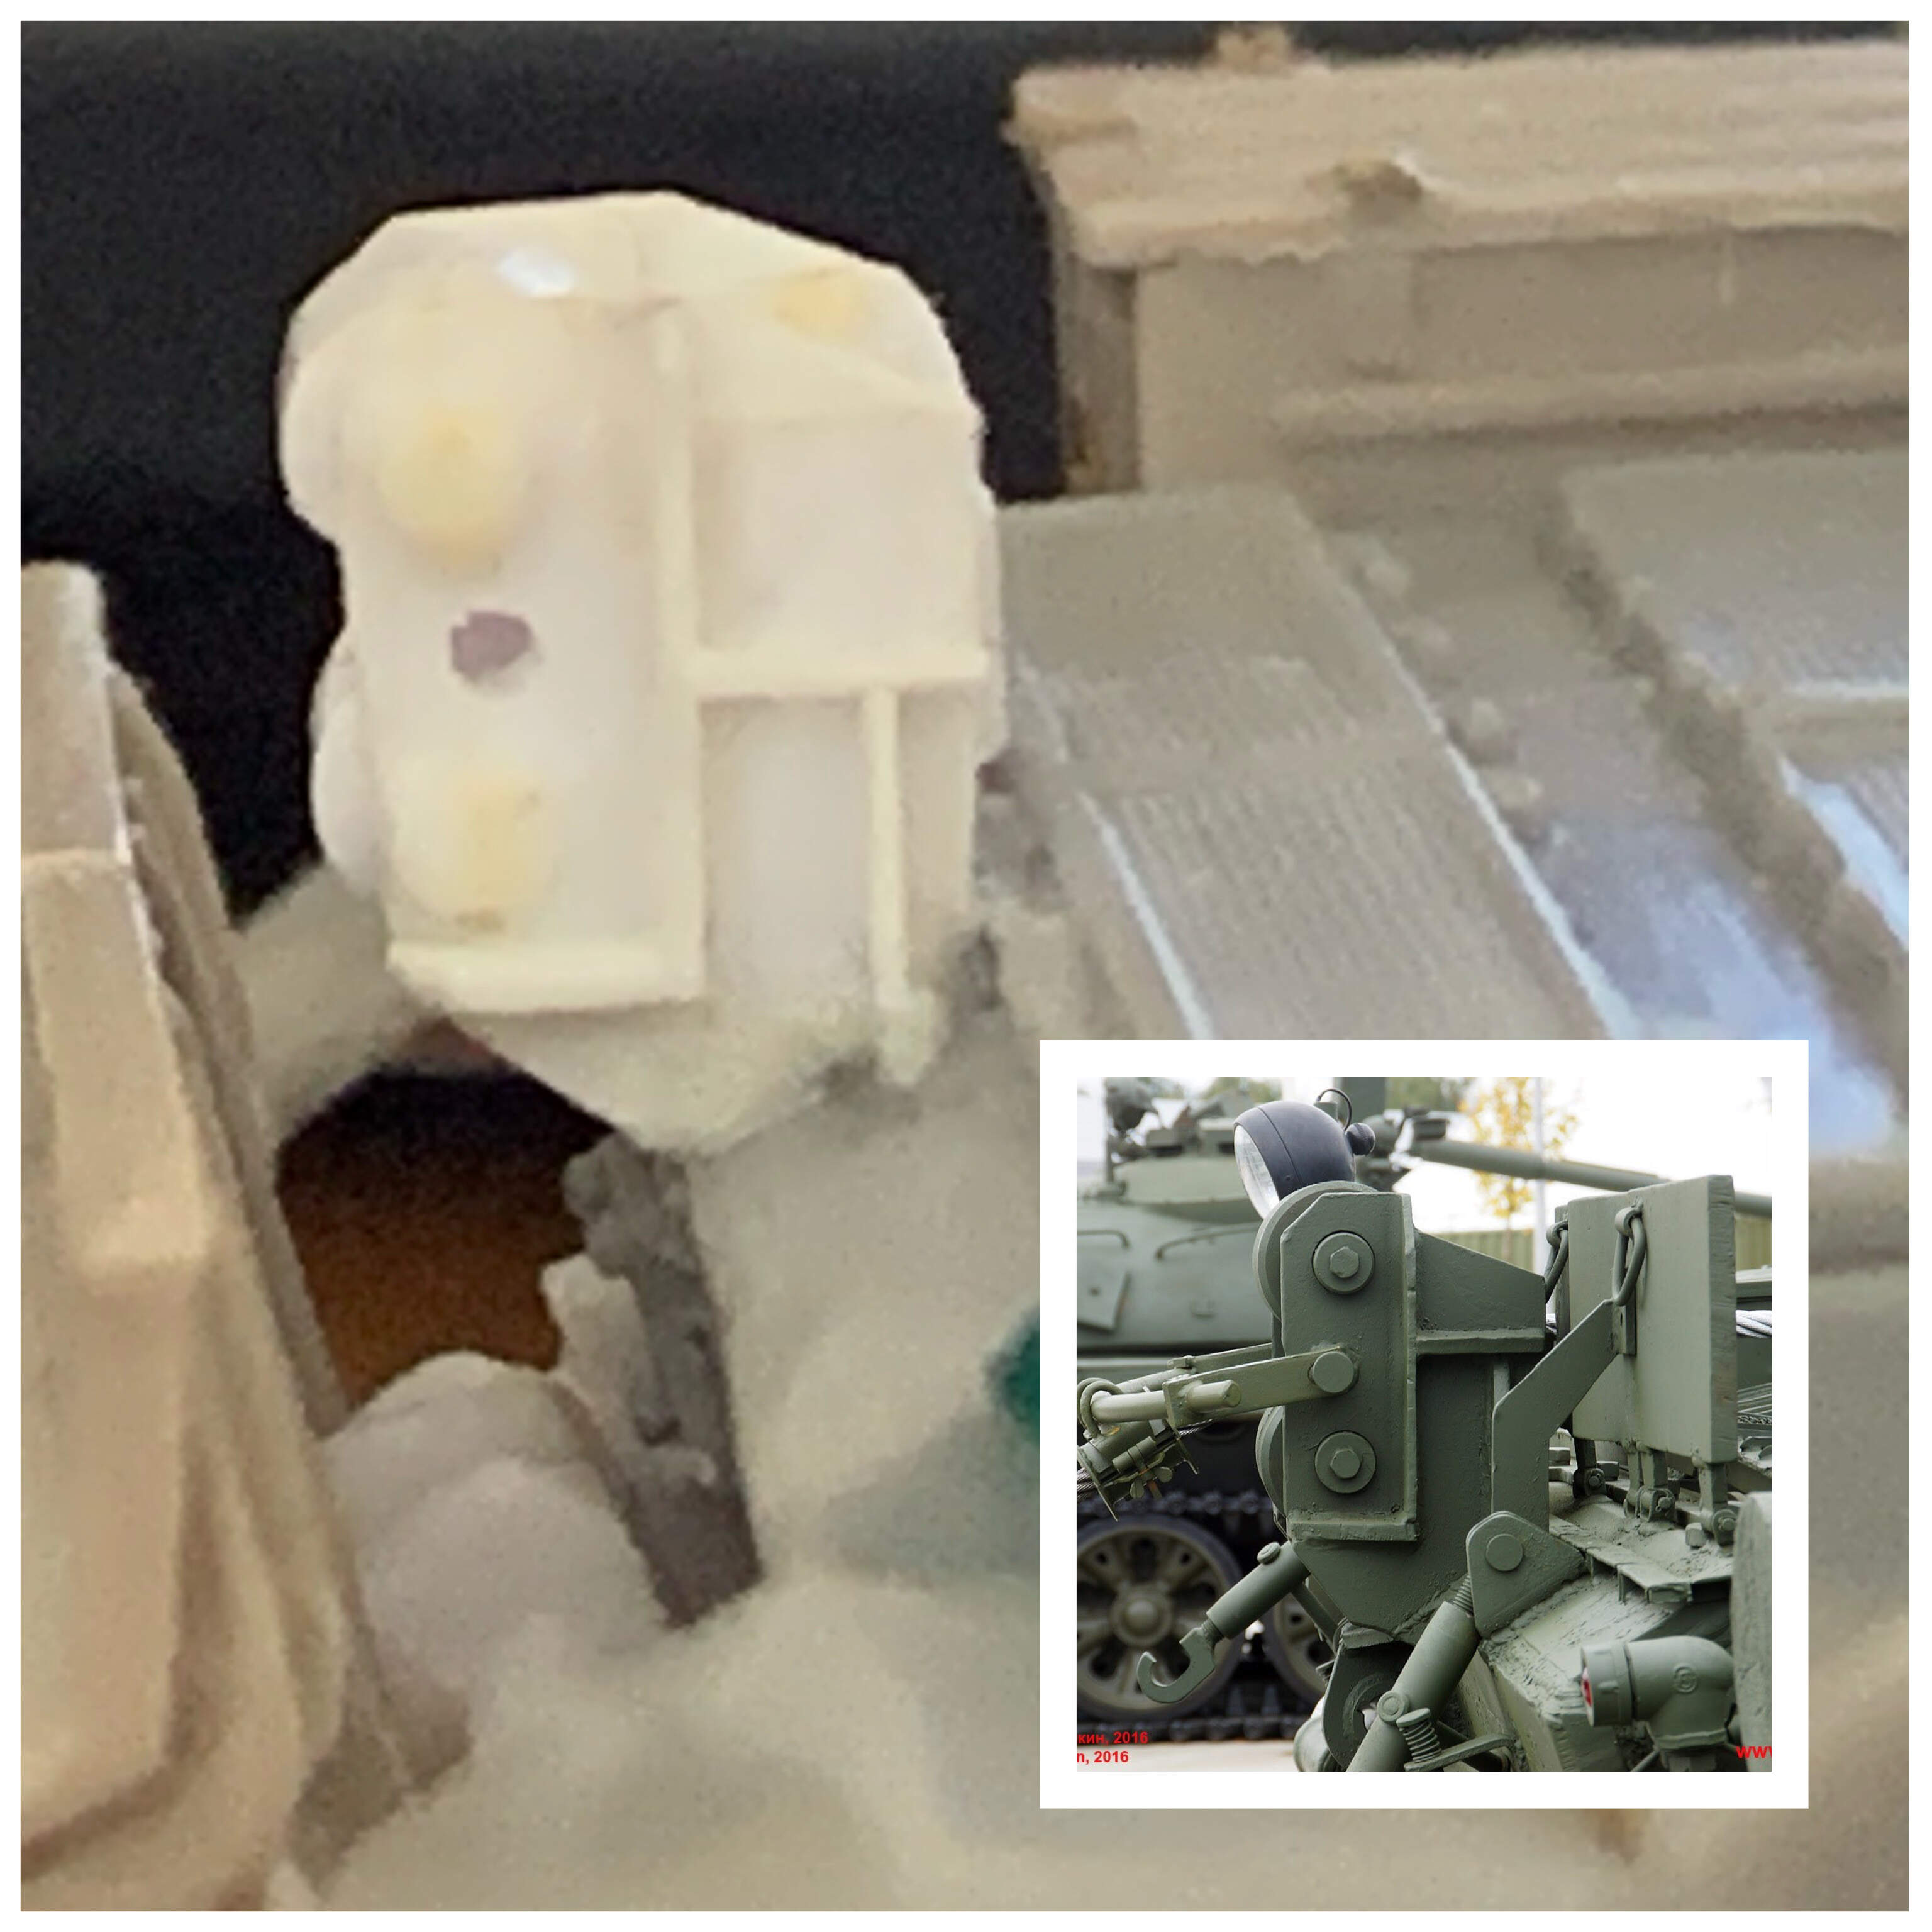
A) Photo of the real thing
B) Kit supplied parts removed from sprue
C) Hole were drilled
D) Added pegs and connectors. I then installed them on to the glacis. Securing brackets will still need to be installed. Note that a grab handle was added to the crane bar.
E) Securing brackets were added. Note the brush guards for the headlights which I scratch built using brass wires.
Not sure what these are or what they are for but these will add to the busy look of the deck. I created mine from scratch using a 1/35 version from my Takom T-55 kit as reference. Not an exact copy but I am okay with it.
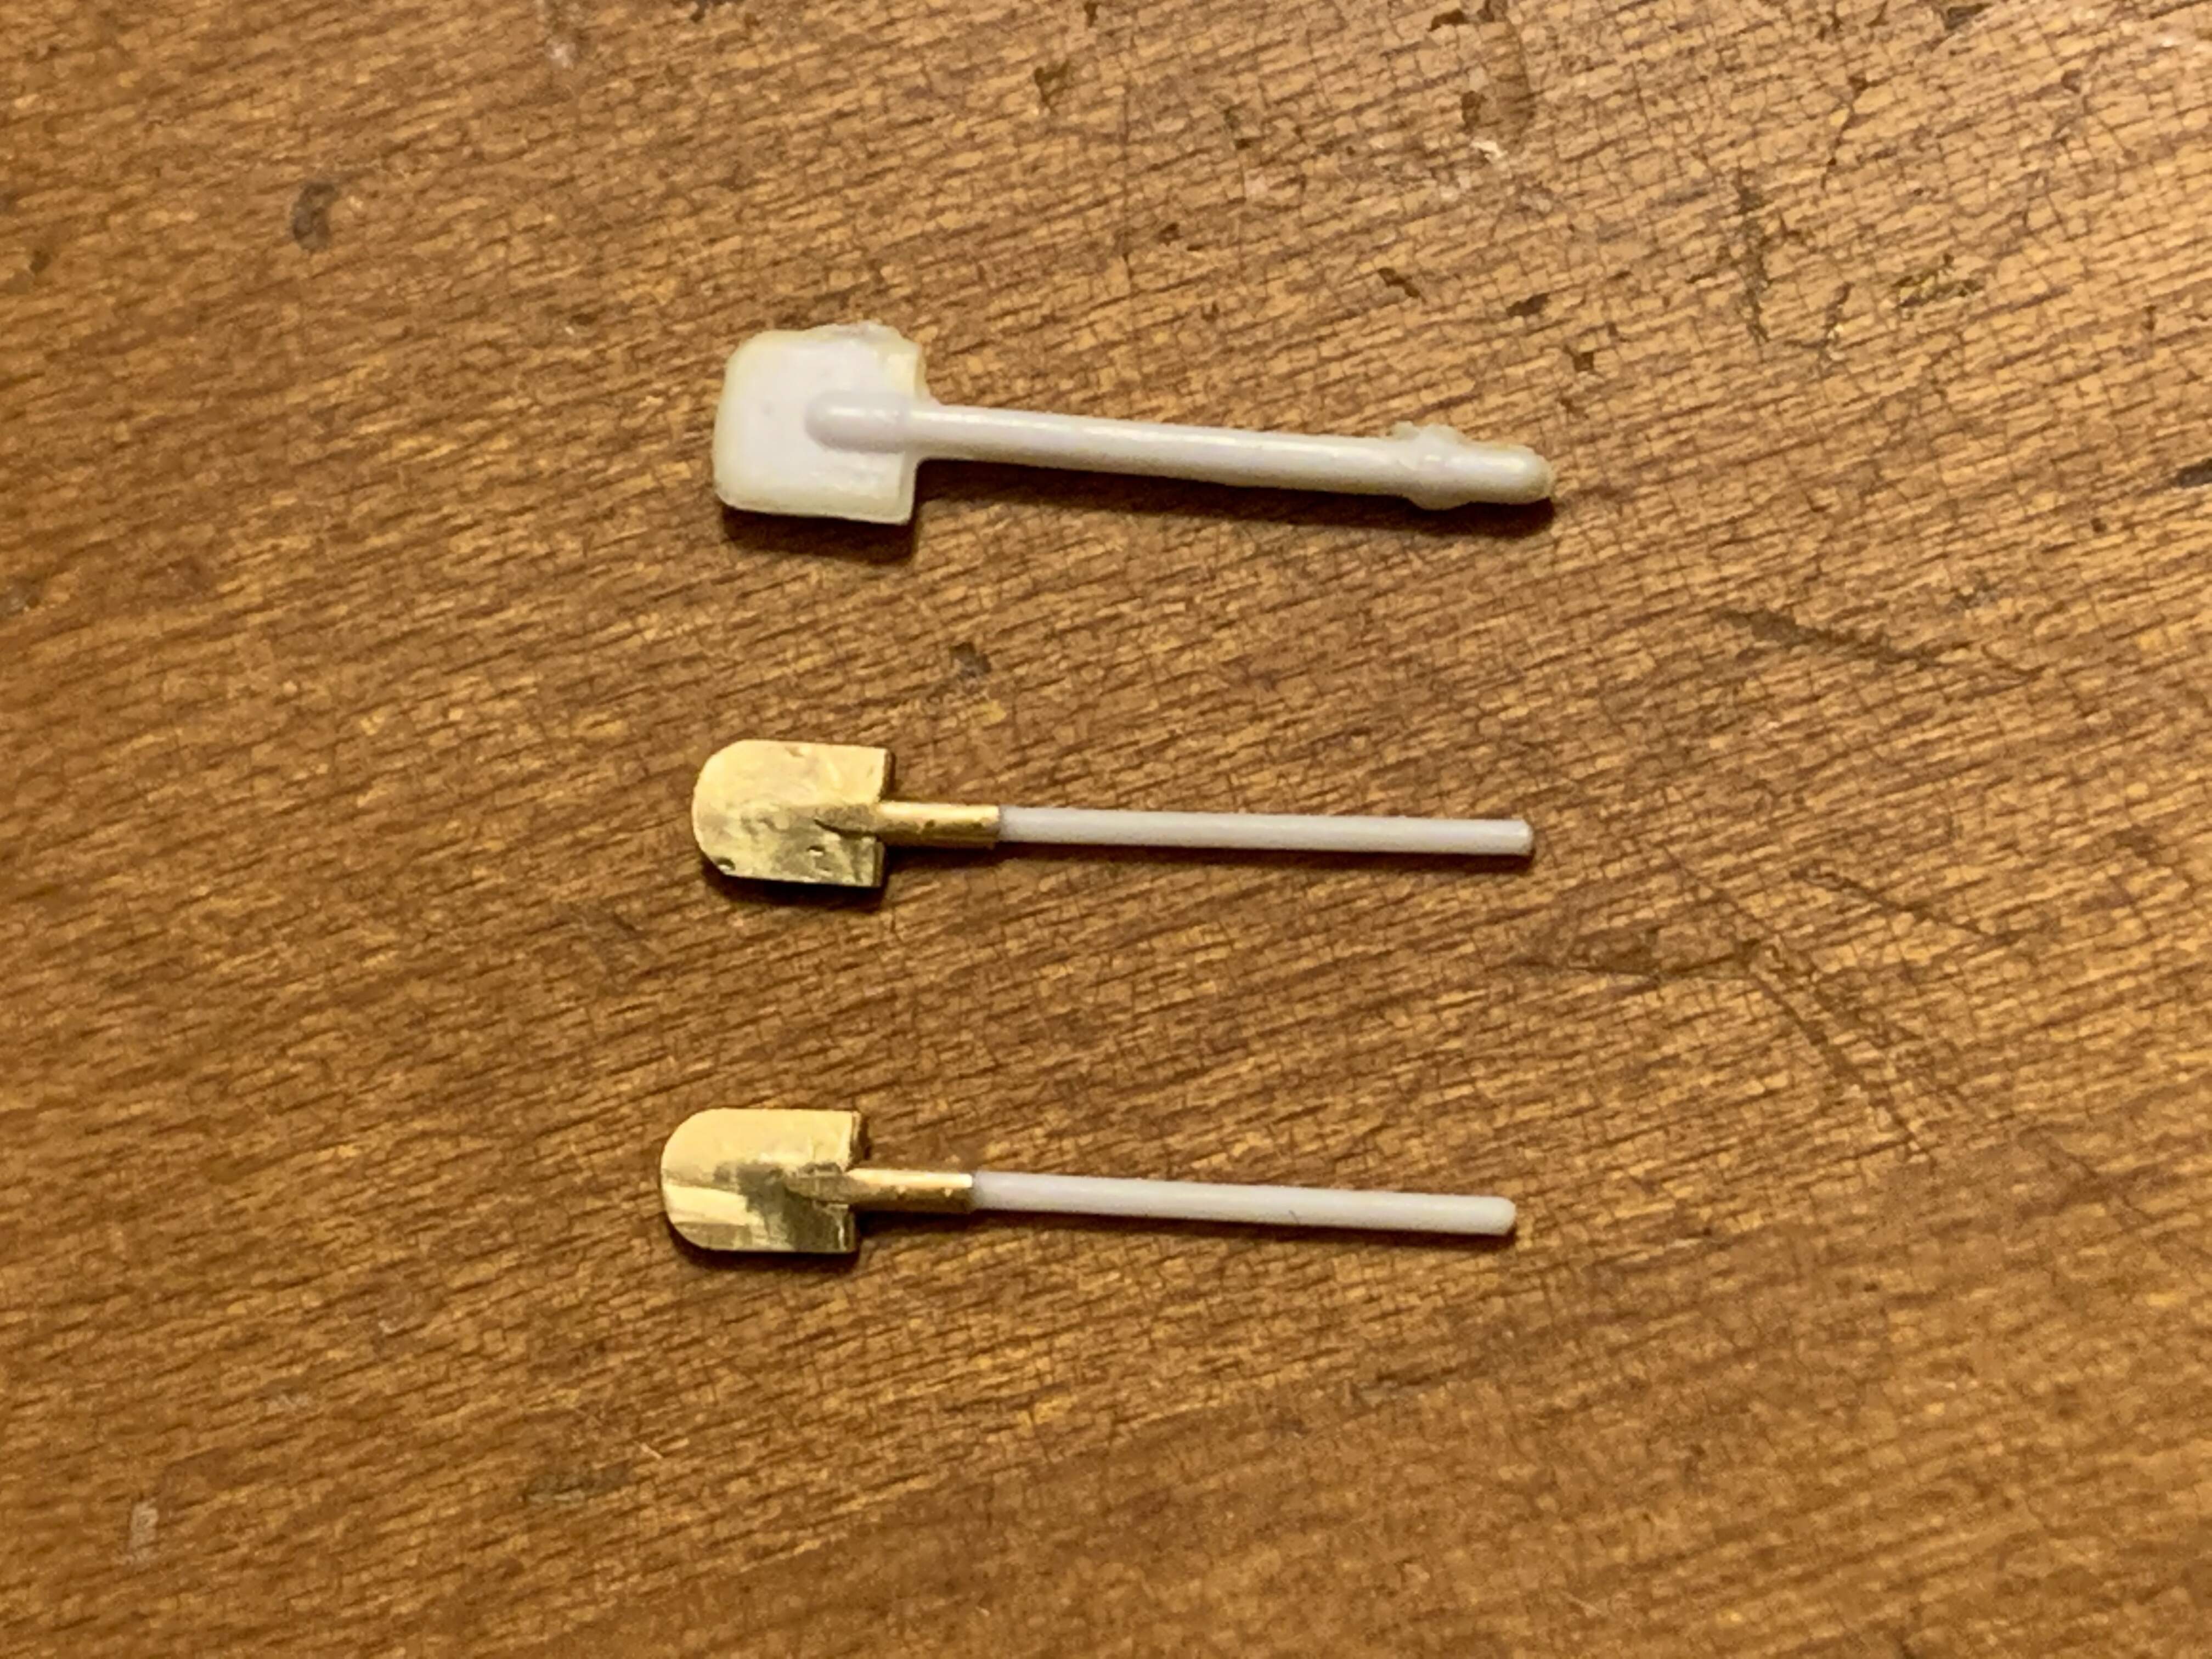
I also worked on the shovels. I found that the kit supplied ones are on the thick side. I used the Hauler Russian Tools set and fashioned replacement shovels.
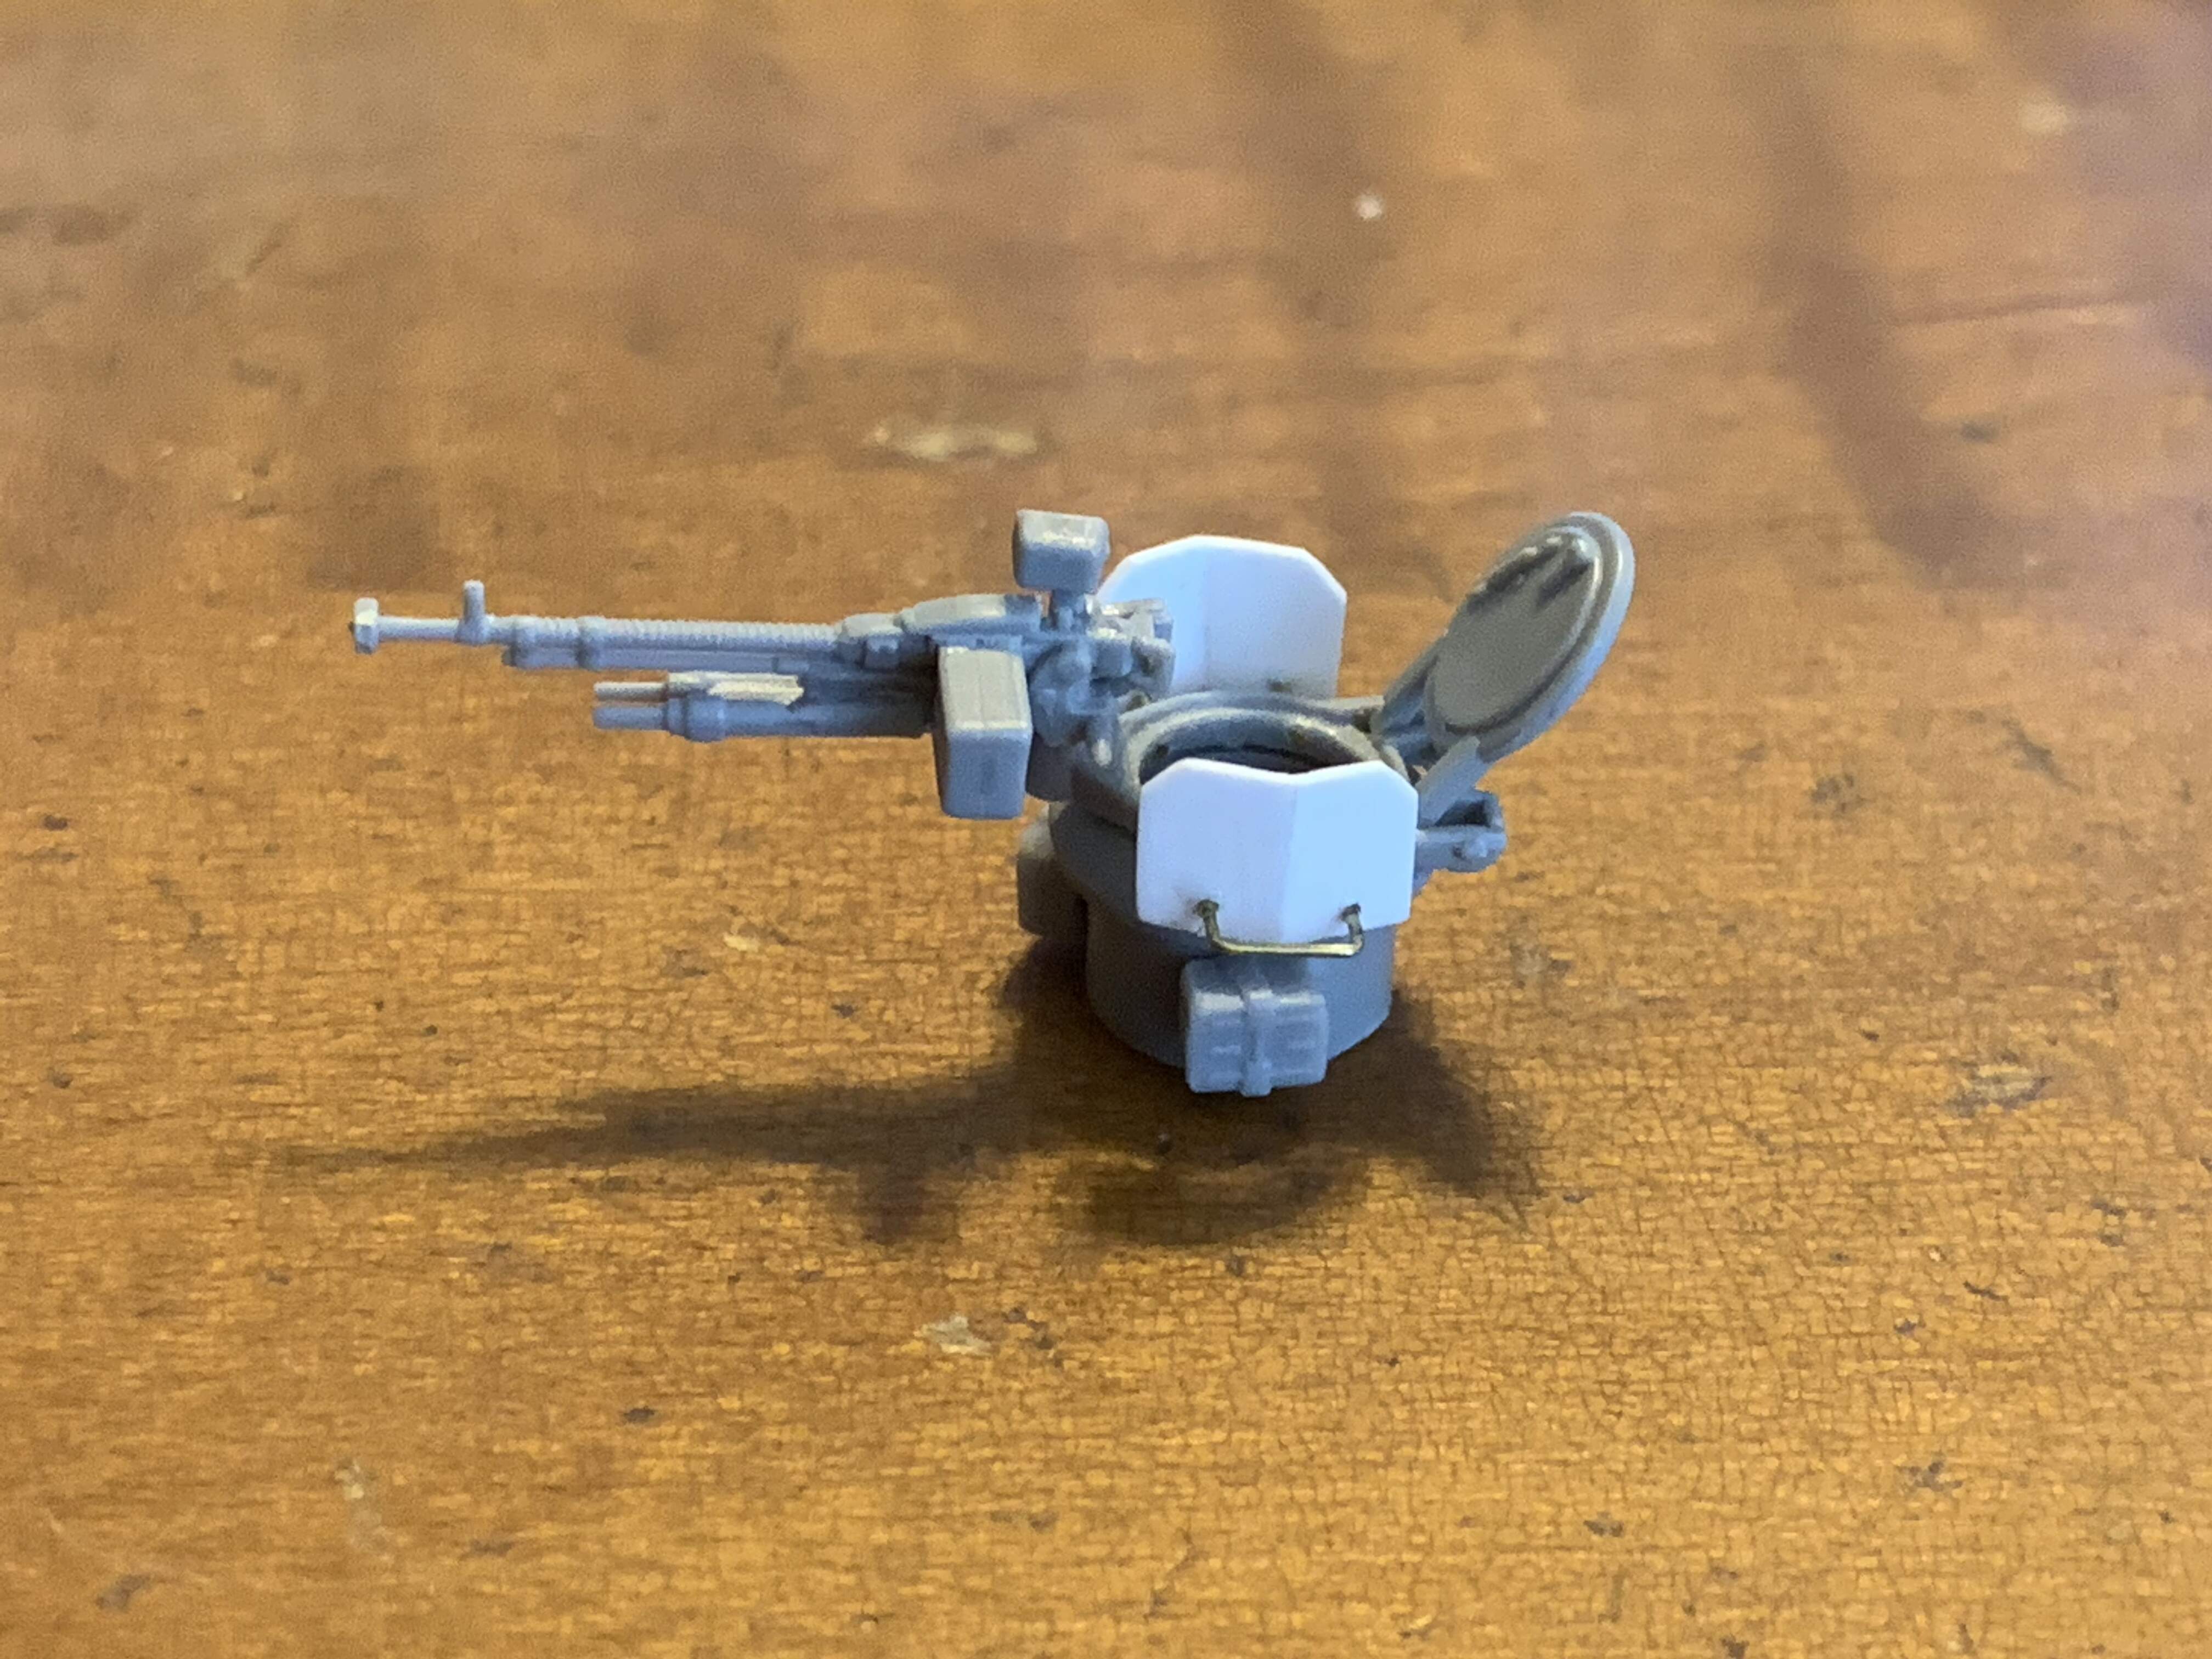
I also continued work on the gun tower. The DsHK and ammo cans came from the donor Revell kit. I fashioned the armor plating from spare plastic cards and then installed some grab handles.
I think it looks the part.
And finally, have decided to add a driver. I used one from Tankograd Russian Tankers in summer uniform.
Still more work ahead but I am happy with the progress so far.
4 Likes
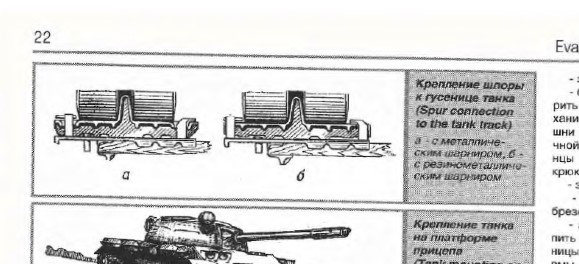
they’re used to secure the vehicle to the wooden deck of a railcar for rail movement
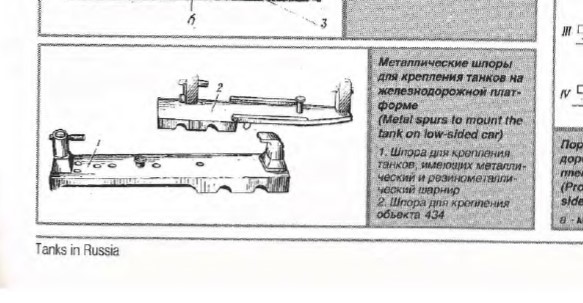
and here’s what they look like in use
Sean
1 Like
Hey there Sean, thanks for the info. Glad to know what that item is for!
Sure thing, really impressive work you’re doing ! As you’ve shown , those Ace kits can be pretty rough.
Sean