Greetings all,
Been a while since I’ve done a review or BLOG or too much else so my skills at doing this are pretty rusty (especially for this new incarnation of Aeroscale).  This is a kit that I received from my SWMBO as a holiday gift a while ago.


Lets see how this will work out?
Cheers
Jan 
4 Likes
Welcome to the new forums Jan, looking forward to your progress reports on this build!
Cheers, D
1 Like
This looks like a good build to start with here after all it is a flying tank of sorts. It appears that the kit is absent any crew figures? If that is the case will you be adding any? The box art is captivating.
~Eddy 
Hi,
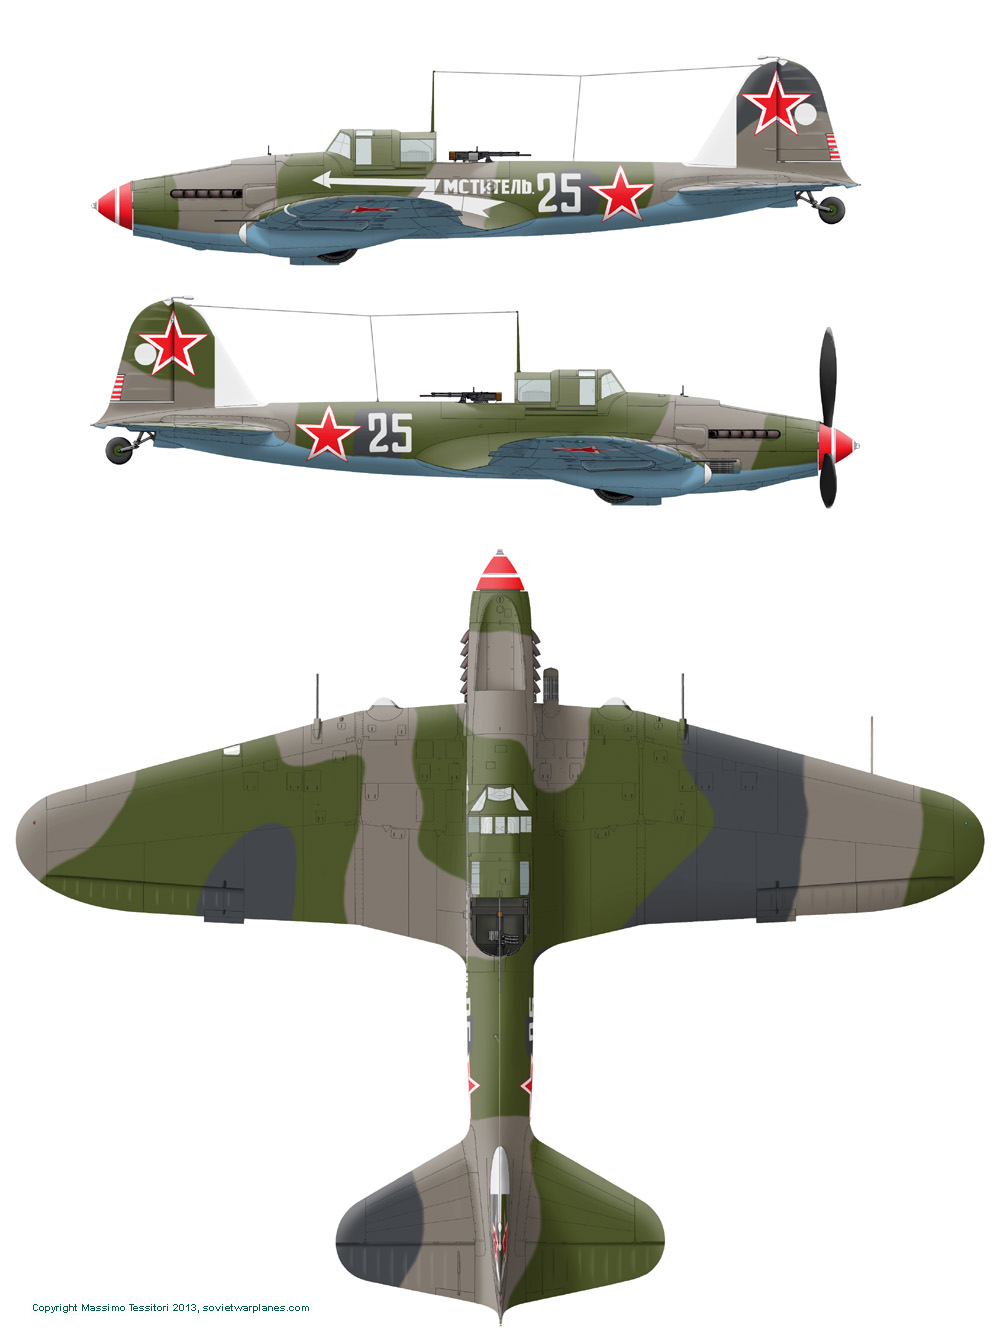
I’ve made a research on this type. Here is a page with photos and profiles, if it’s of your interest.
http://massimotessitori.altervista.org/sovietwarplanes/pages/il-2/il-2.htm
There is a review of this kit too, made by another author. I would have added some more.
The decals for n.100 are the only usable ones because the plane had straight wings (1943 production). In this case the camouflage should be black and green.
http://massimotessitori.altervista.org/sovietwarplanes/pages/il-2/il2-camo/il-2m/emelyanenko/emeljanenko.html
The decals for n.25 are not compatible with the wings of the kit, because it should have swept-back outer wing panels, and a green-dark grey-khaki camouflage.
http://massimotessitori.altervista.org/sovietwarplanes/pages/il-2/il2-camo/il-2m3/il2m3-bp-fl-al-3view-prof-msitel.jpg
All two-seat Il-2s had only two rocket rails under each wing, not four.
Regards
Massimo Tessitori
2 Likes
this looks to be an interesting little build so I will be following it closely
Greetings Massimo,
Thank you very, very much for passing along those links with the huge volume of information and pictures.  I have done some research of my own but nothing compared to what you have put together. I have seen two-seat aircraft pictures with the longer F43 canopy that had four rocket rails under each wing. But I also read in a few places that planes that carried 82 mm rockets normally would care 4 rockets under each wing but if they carried 132 mm rockets they only carried 2 rockets. I am sorry I never kept links to all this information as I just made notes to myself about it.
The pages you’ve listed will give me and others an awful lot to think about. However, as I have also read, wartime also meant that whatever rules were meant to be followed often changed in reality.  Thank you again for sharing your work.
Cheers,
Jan 
@AussieReg
Damian, thanks for your welcome and interest in this beast. I fear I might be a bit slow in my progress as I’ve been slowly rebuilding my modelling skills after an unfortunate absence. Plus a new camera and new photo editing software have left me at a bit of a disadvantage until I get the “hang of things”. 
@Braille Eddy, yes the IL-2 WAS a Flying Tank in a sense and some of my reading quote German FLaK gunners referring to it as that. And no, there are no crew figures in the kit as perhaps Zvezda had plans to offer some in their figures sets (just a wild guess?) 
@Klaus-Adler David, as I mentioned to Damian I have a few hinderances to handle that preclude a speedy build.  Add to that the fact that I was primarily a vehicle aficionado in my recent past.
  (don’t hold that against me?)
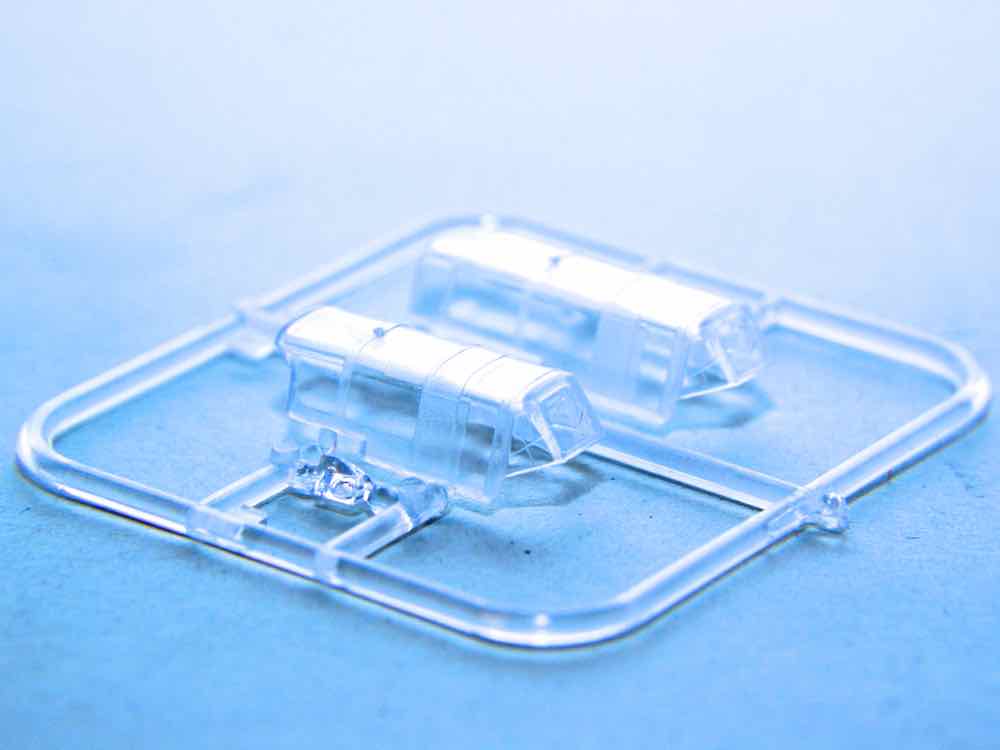
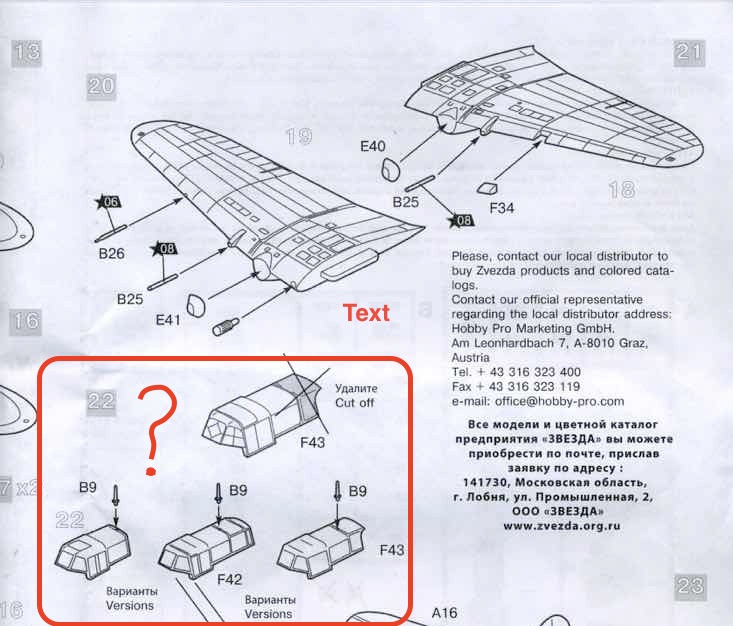
As I mentioned the canopies in the answer to Massimo here is a picture of the two you get with this kit.
The foremost is the F43 kit number in the above picture.
In the above F42 is the foremost with F43 behind.
Cheers,
Jan 
1 Like
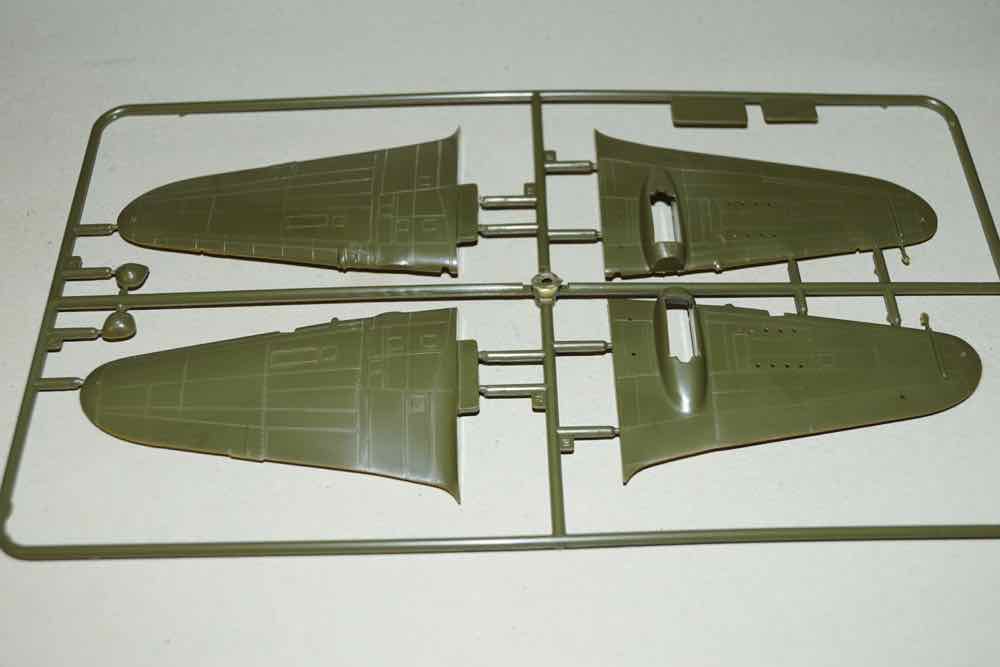
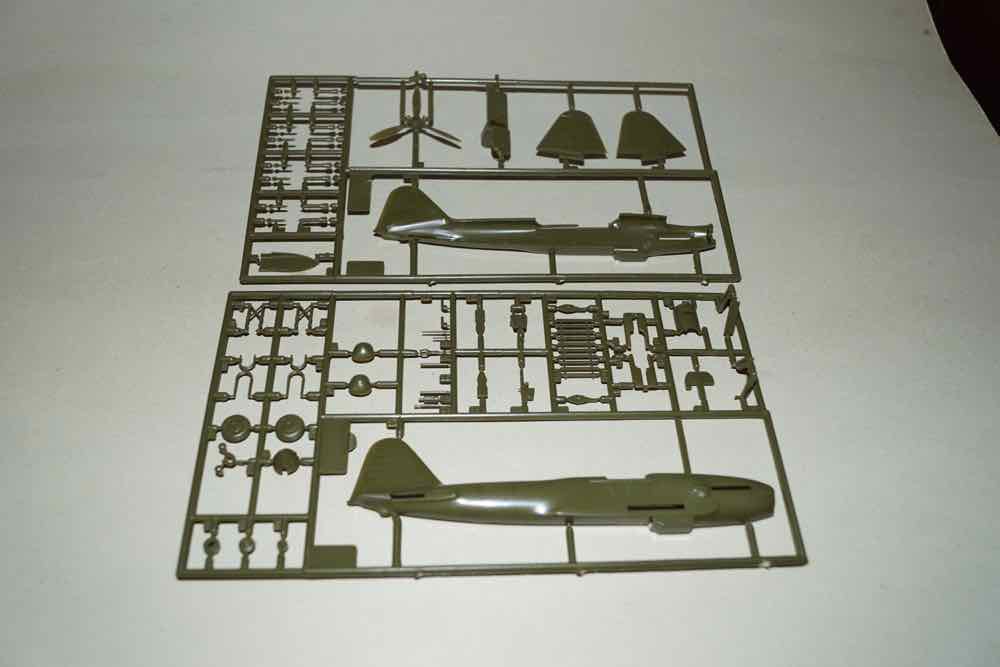
Okay, I’ve managed to resurrect a few sprue shots from my older software’s library. First up are the wing sprue.
In the above please note that I have started to drill out the holes for the wing and bomb pylons.
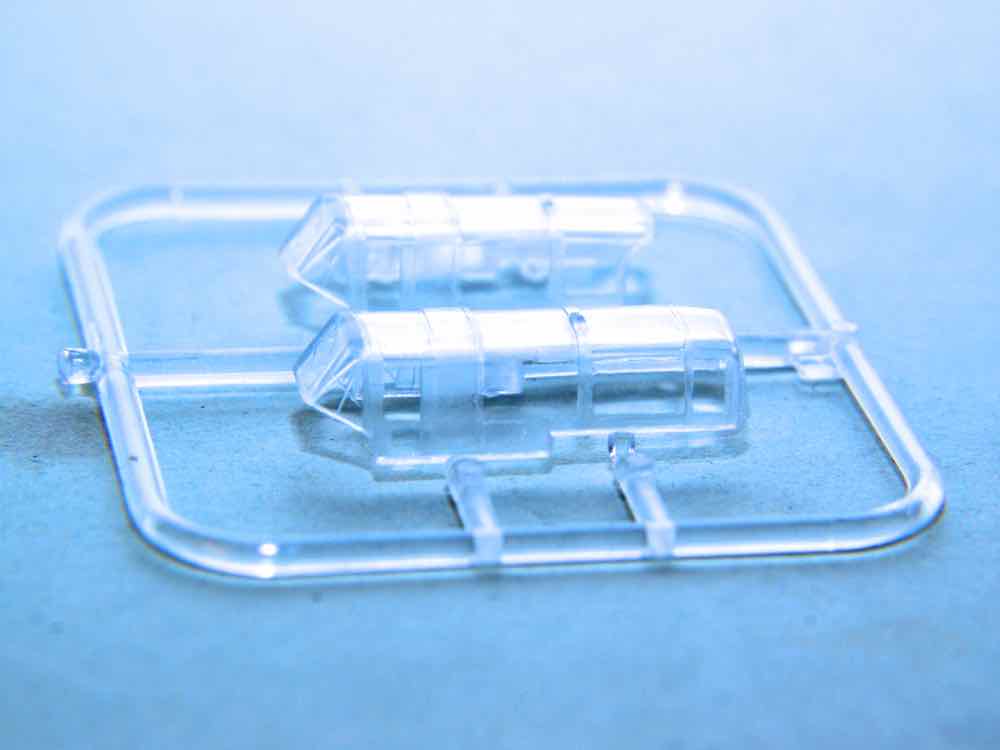
Next we have the two fuselage sprues and each contain different kit parts.
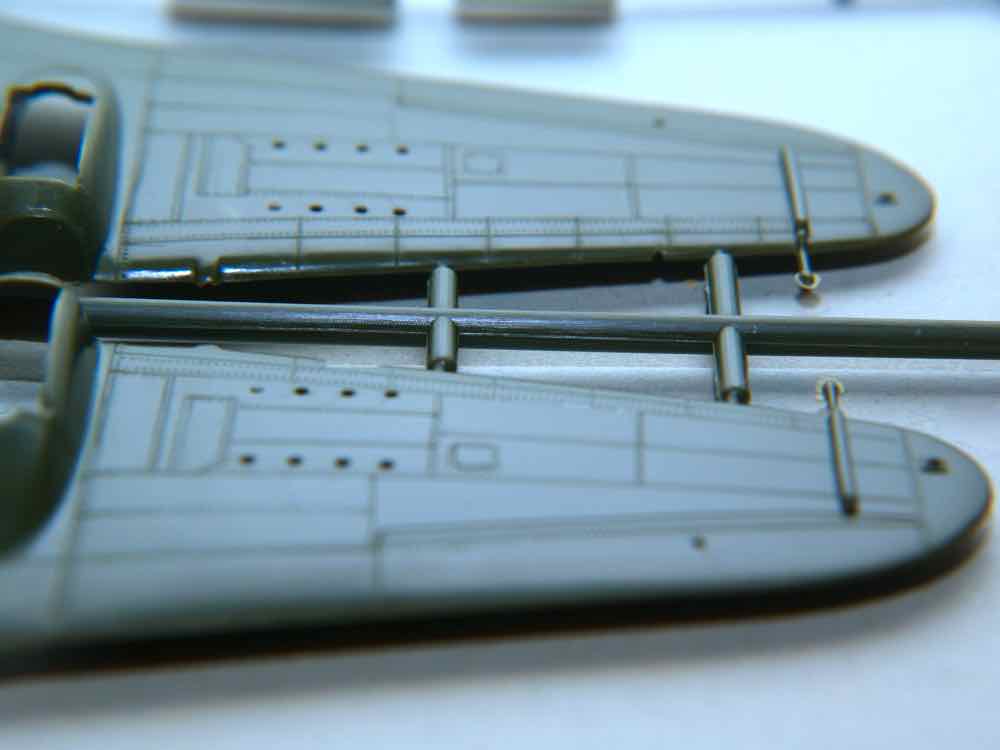
The next image is a closer view of the lower wing showing the drilled wholes. I am guessing that this was an older mould as the wing edges had areas of very thin but evident flash. I trimmed most of it for the pictures but there is still a bit on the wing end pitot tubes (or whatever they were).
I think that’s about it for today! As they say on the news “think positive, test negative!”
Cheers,
Jan
1 Like
Hi Jan,
thank you for your words for my page.
If you have photos of twoseaters with 8 rockets, please let me see them. It could be that they were singleseaters roughly converted with the addition of a gunner’s place anda Shkas machine gun.
Now that I see the sprues, I add some further warnings: the extensions in front of the wingtips were only on singleseaters, they don’t appear on twoseaters.
Besides, of the two canopies, only the longer one is usable as it is, the shorter one (typical of late 1943 built planes) is too short. In case of need, it could be replaced with the long one, whose rear sides have to be opened by a careful filing.
Regards
Massimo
Okay, I looked through the instructions and some images and thank you for pointing that out. They definitely do not belong on this aircraft so I will happily remove them. As far as canopies go, I’m still not sure. The instructions are no help at all as there are just the below:
At this point I’m thinking to use the F43 canopy with the area in back cut off as in the illustration above. So much for this being a simple out of the box built? 
–Jan 
1 Like
Hi,
piece F43 can be cut and will be good. Besides it is of no use if it is not cutten.
Should the cut give a bad result, I suggest to use F 42 as it is; it is the standard factory canopy for the planes of the first half of 1943 as n.100, even if its rear part appears removed on the plane of Emelyanenko.
Regards
Massimo
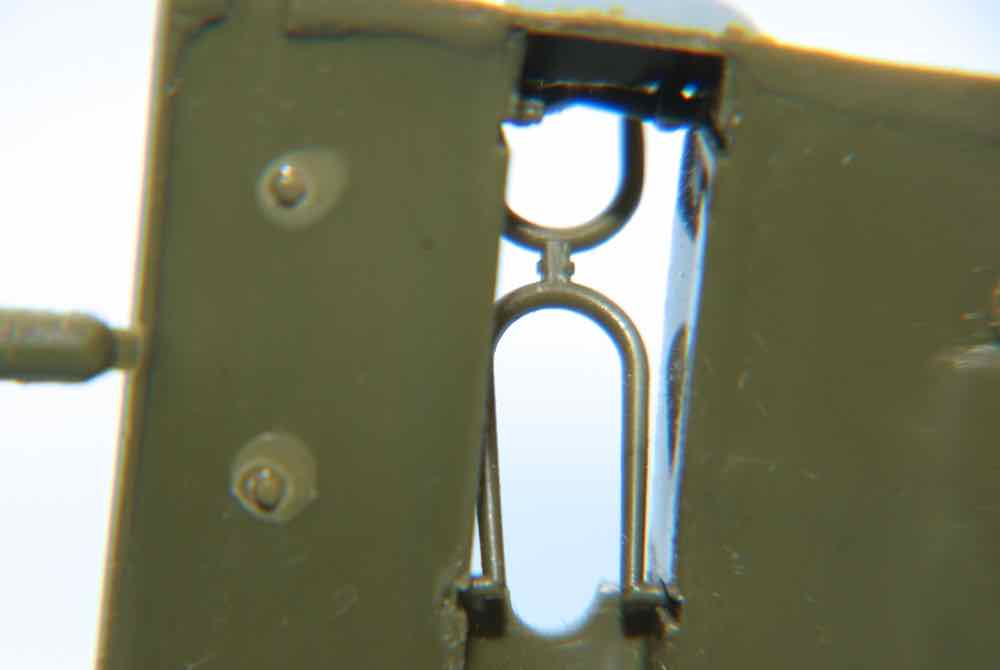
Now I see that there is a balance horn (B 35) to glue under each aileron. It was only on singleseaters of 1941, not on twoseaters of 1943. It has to be omitted, and the hole filled.
Regards
Massimo
Here’s something I found today, a restored 1943 Stornovik.
Cheers,
Jan
2 Likes
Hi,
unfortunately they used a camouflage that was discontinued in July 1943 with a plane with arrow wings built in 1944. Not a perfect choice. Planes of 1944 should have a green-dark grey-khaki camouflage.
Besides it lacks of the radio mast and of the rocket rails, that were not an option.
Regards
Massimo
1 Like
Been a bit since I last posted but I had a few things to mull over thanks to all the information that Massimo has made available. As this was a gift from my SWMBO after a fairly long break from building, I envisioned just doing an OOTB build. As my building skills have dulled from my absence I also want to sharpen them and relearn any I might have forgotten. That being stated I still want to keep this build simple but still hopefully end up with a aesthetically appealing looking model. This model has been in “progress” for a while now so one could refer to it as almost a Hangar Queen. Thankfully I did have the presents of mind to photograph the various construction steps. So “on with the show”?
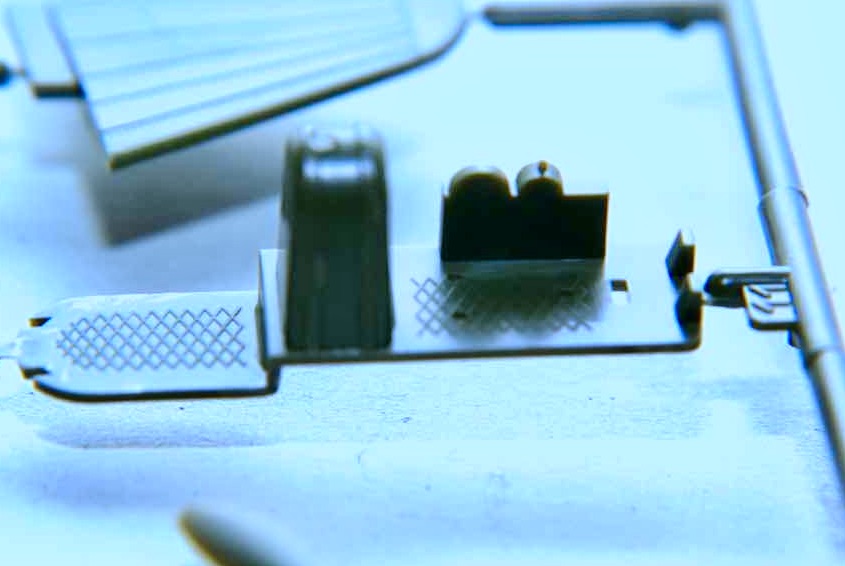
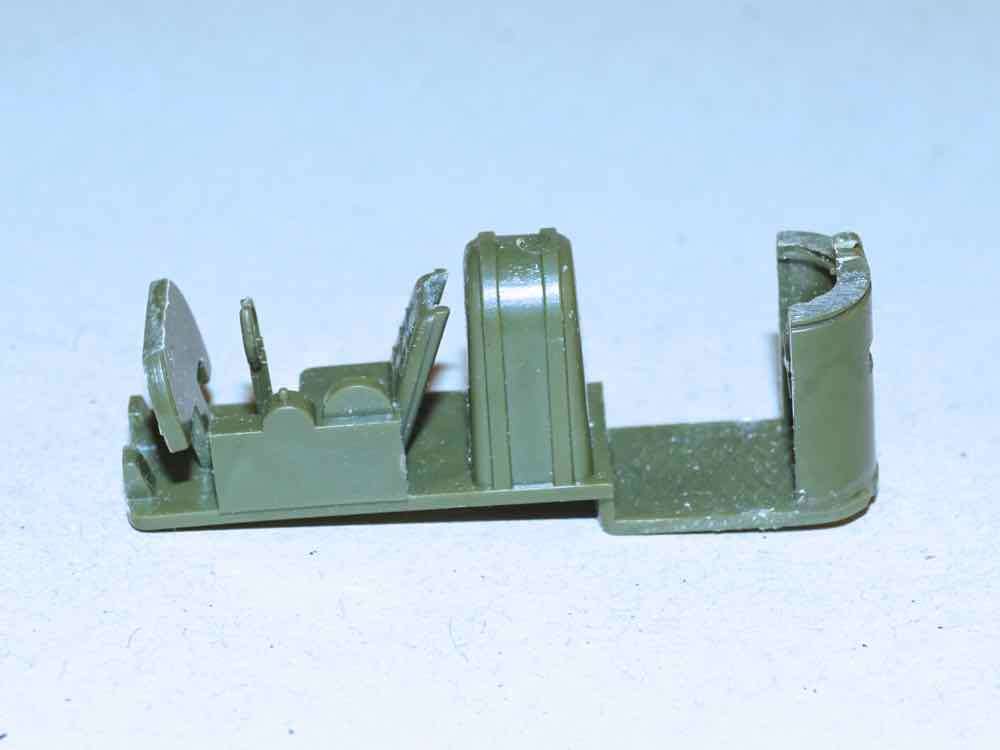
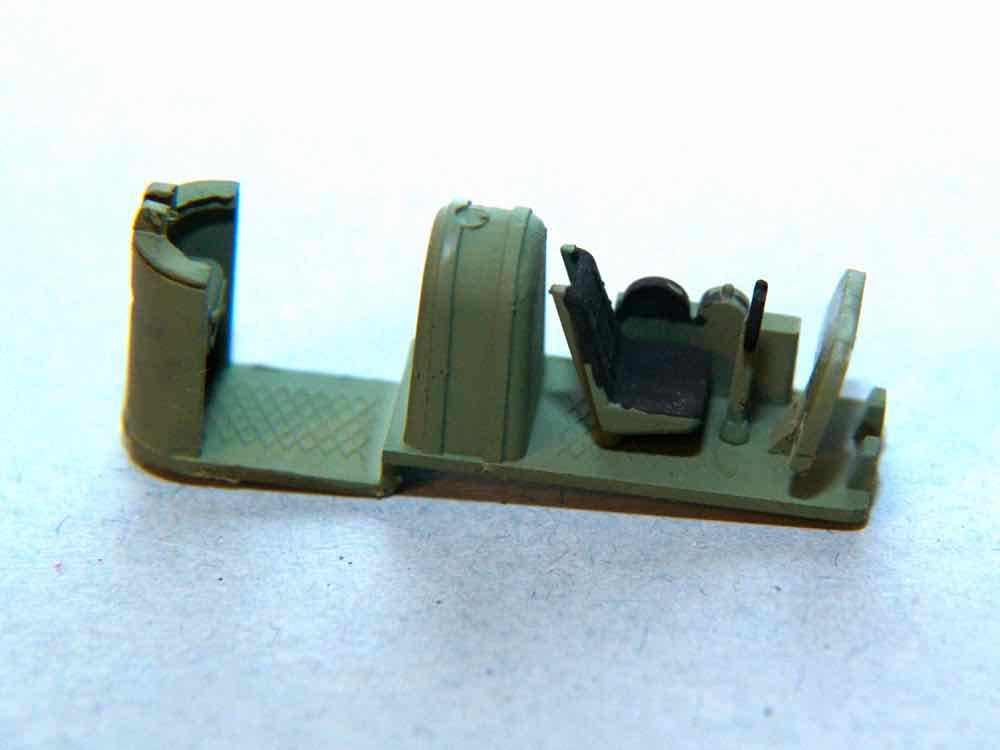
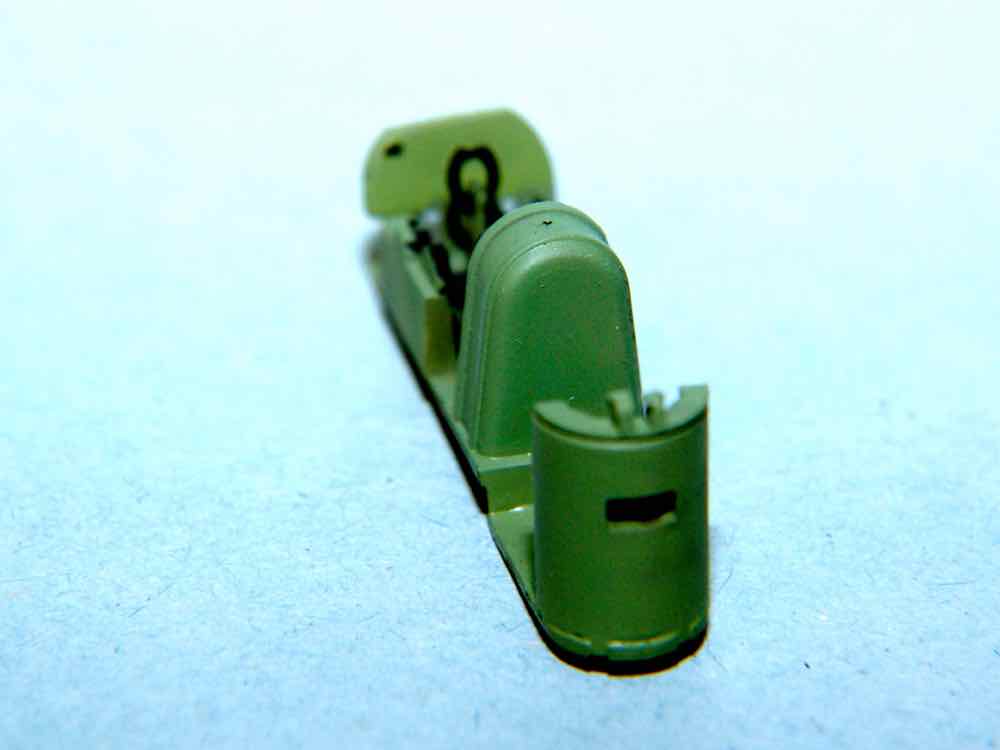
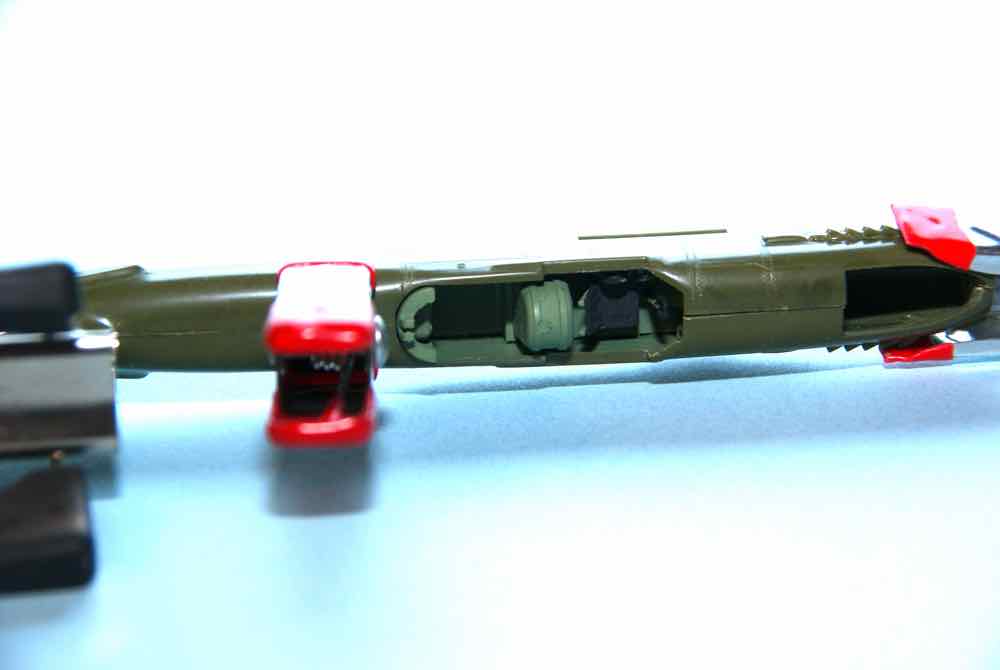
We’ll start off with the interior and cockpit. The kit details are pretty light to almost non-existent in this area and as much won’t be too visible through the canopy I wasn’t too concerned. Cockpit interior on the sprue.
The five parts that make up the bulk of the area.
A bit of simple painting of the interior are(s).
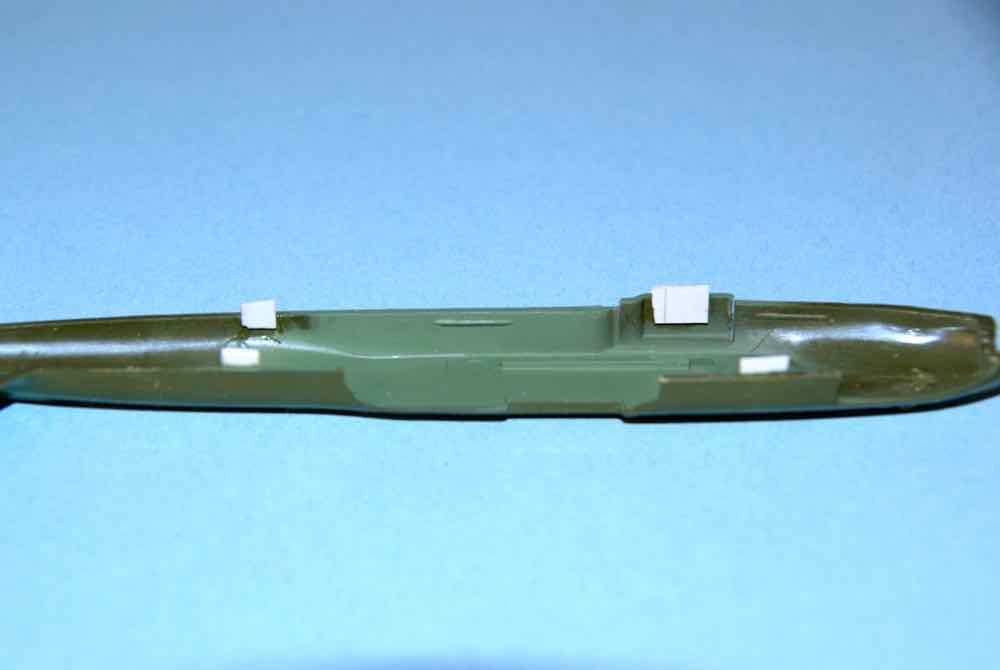
Please note the pieces of styrene card stock in the image above. These were necessary to assist in properly lining up the fuselage halves as no proper alignment fixtures are provided on the kit parts.
That’ll be it for now, think positive and test negative. 
Cheers,
Jan
1 Like
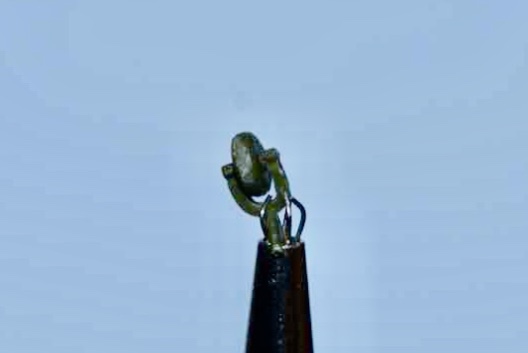
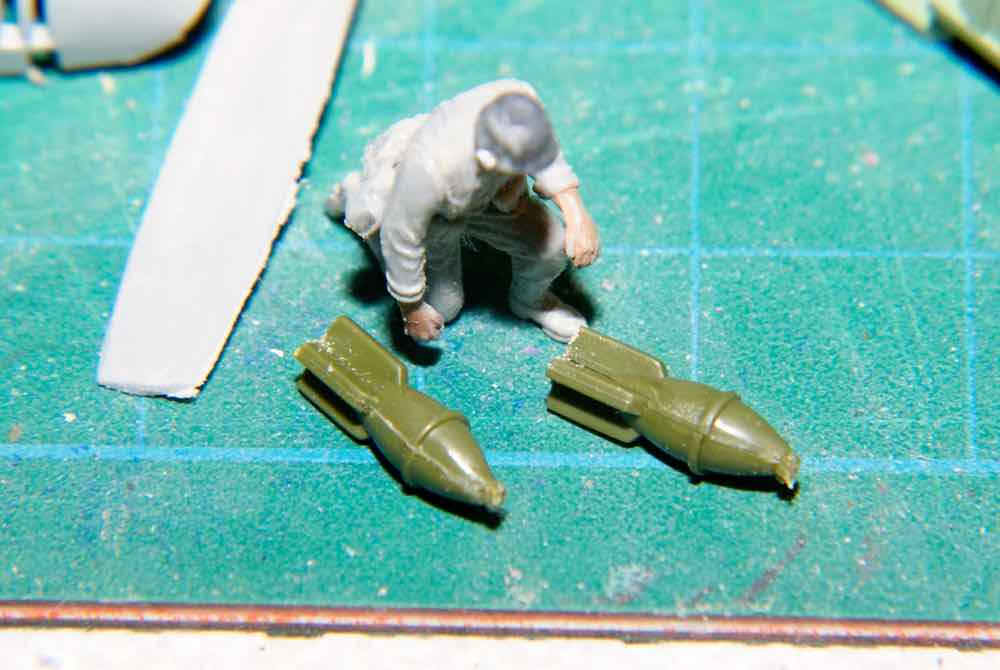
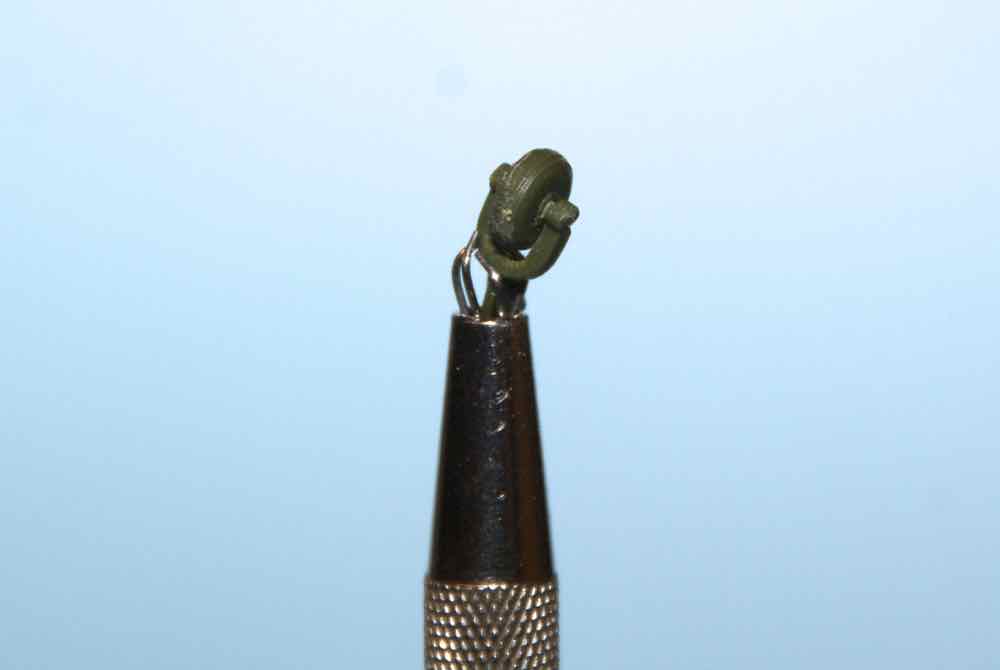
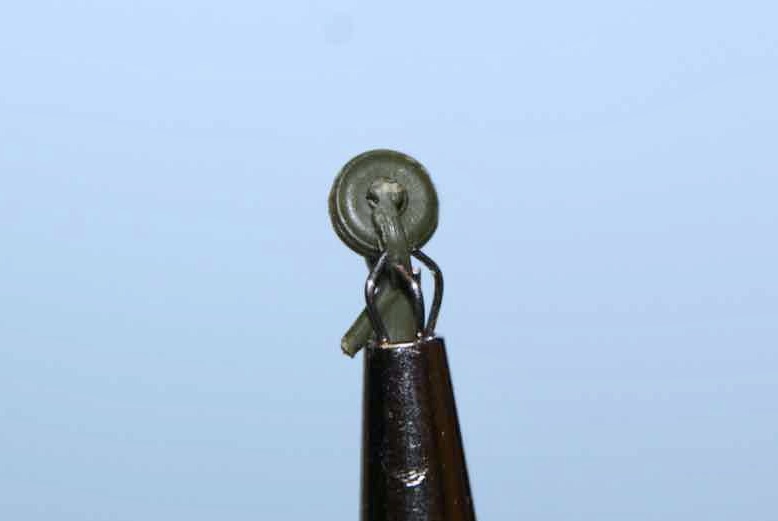
While this wayward crewman toys with bomb assembly we continue the build.
Assembly of the the rear landing gear.
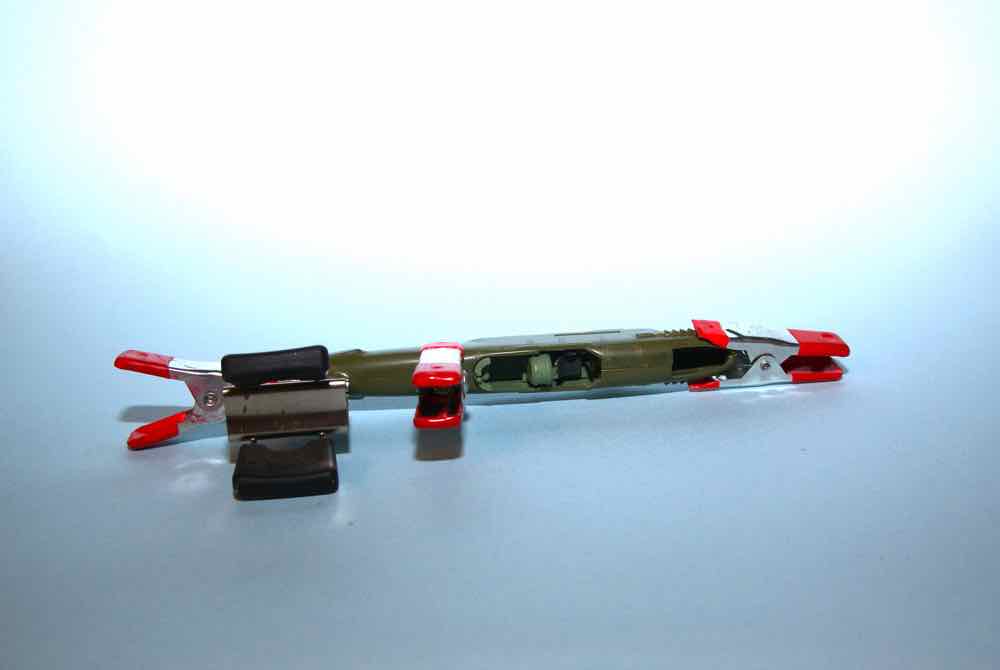
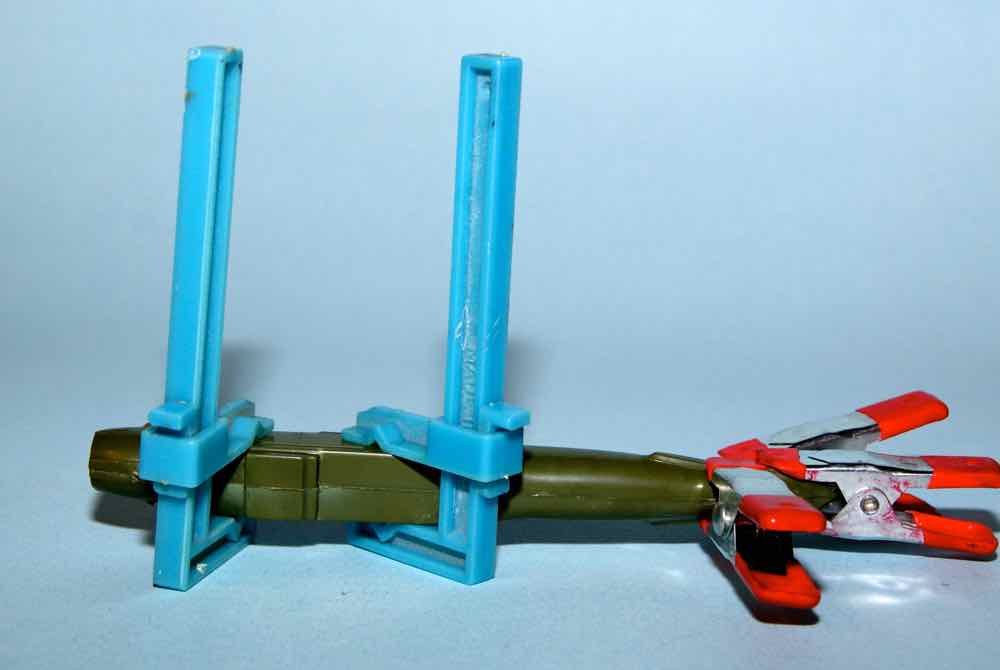
Now the fuselage assembly, the added styrene guide tabs really helped.
The above will definitely need more clamps? 
That helped some but now to let things set a bit.
Cheers,
Jan
2 Likes
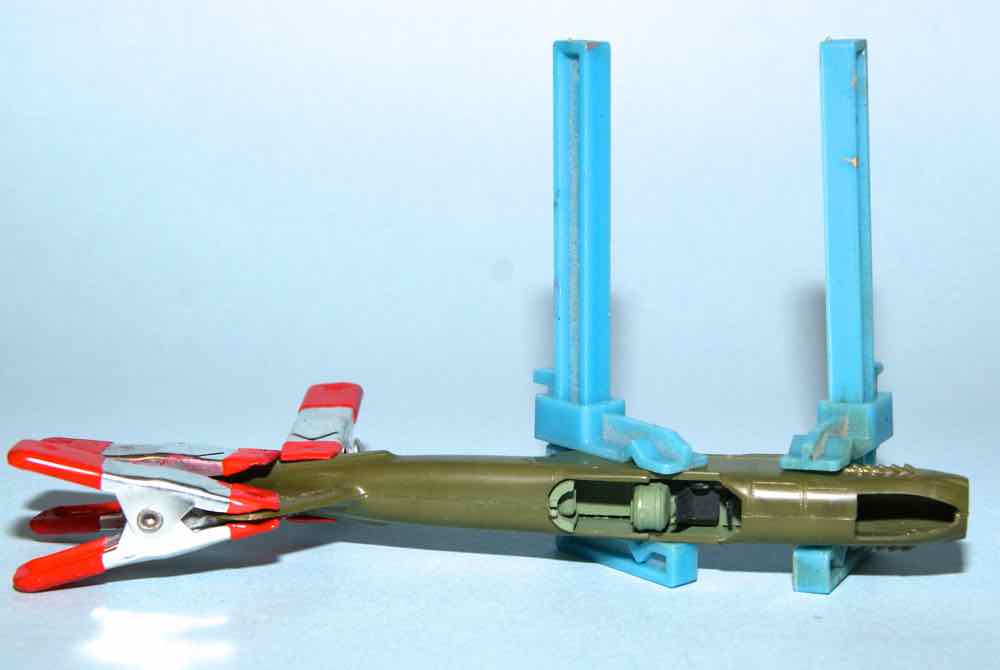
Time for another update on this, at least here, wet and gloomy day. Firstly the placement of the tail wheel. for this I used the Testor’s gel type, “liquid glue” as it takes time to set up and therefore allows one a bit of time to adjust part placement.
A closeup.
Since we’re at the back end of the plane, how about we handle the tailplane parts next.
Now both using the liquid glue!
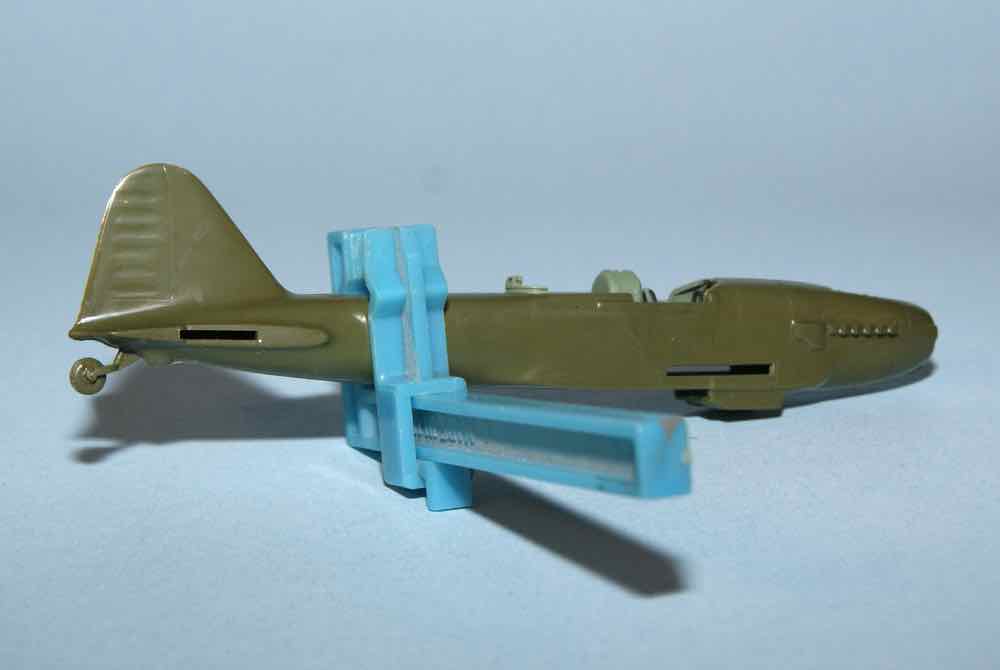
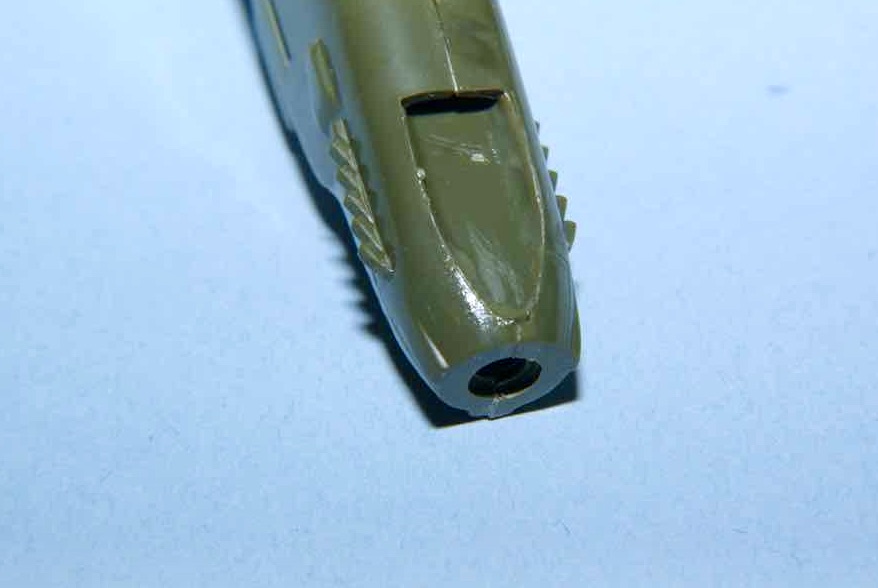
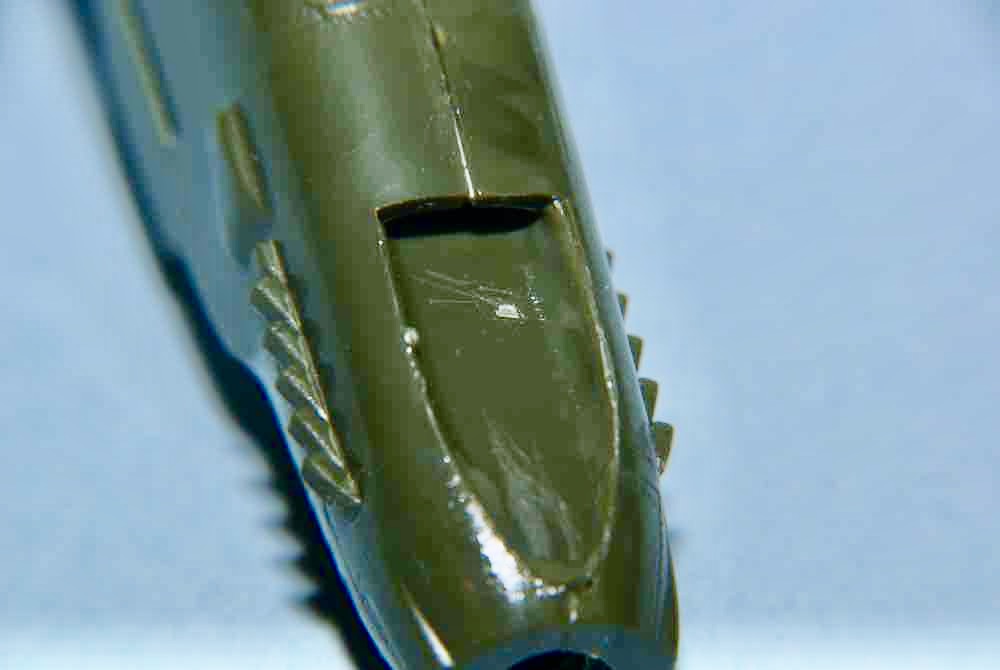
Now we move up front for the front radiator(?) scoop (Part A27) and engine exhausts.
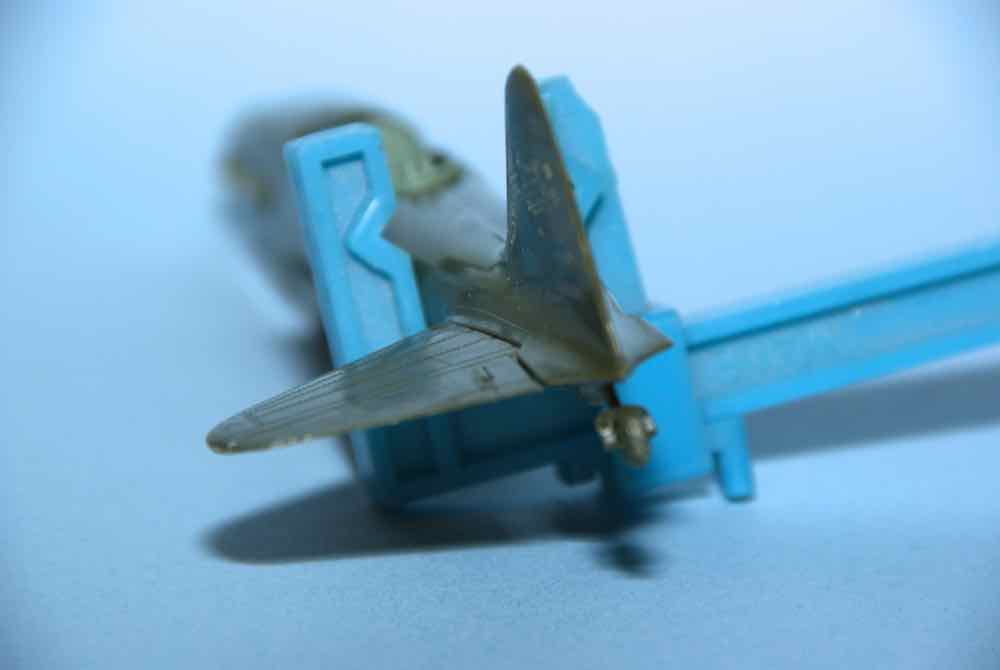
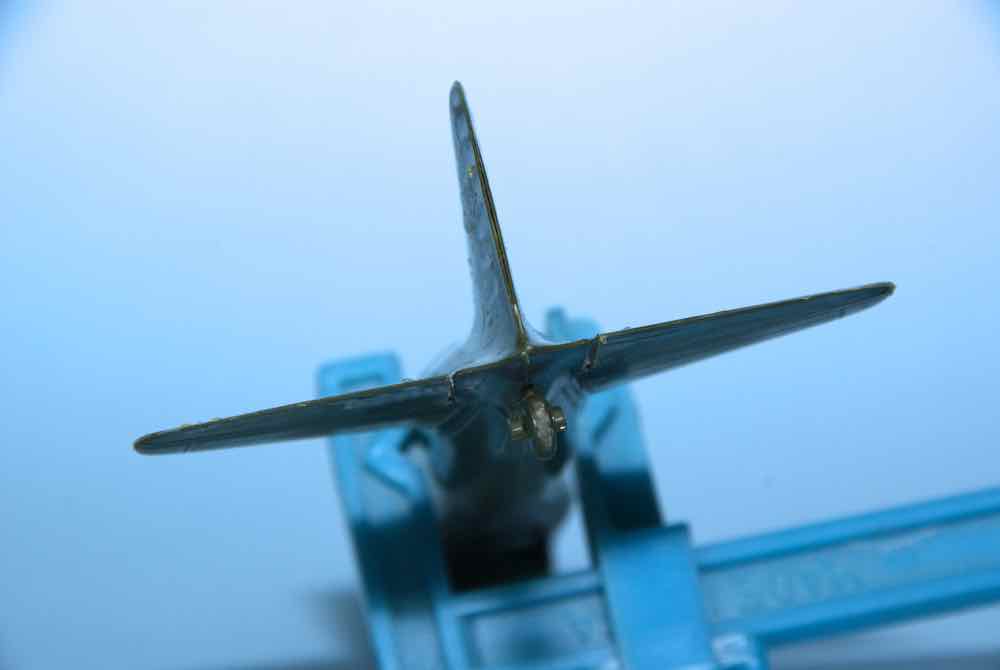
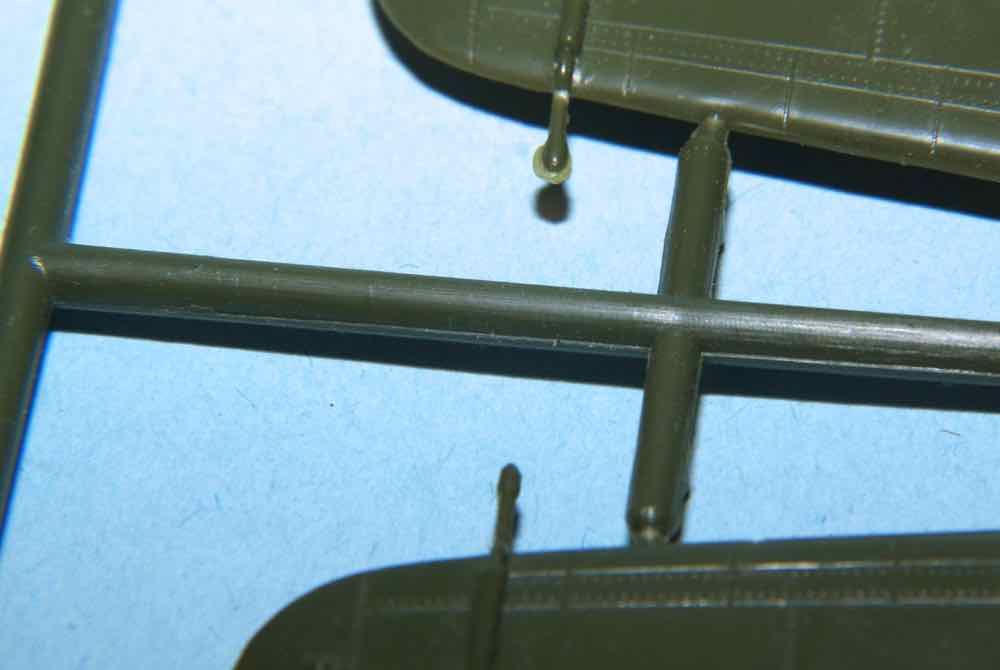
One last thing that I’d like to show is what Massimo mentioned above as not belonging on a two seat IL-2, the wingtip “probes”.
These should and will be removed.
Until next time! 
Cheers,
Jan
1 Like
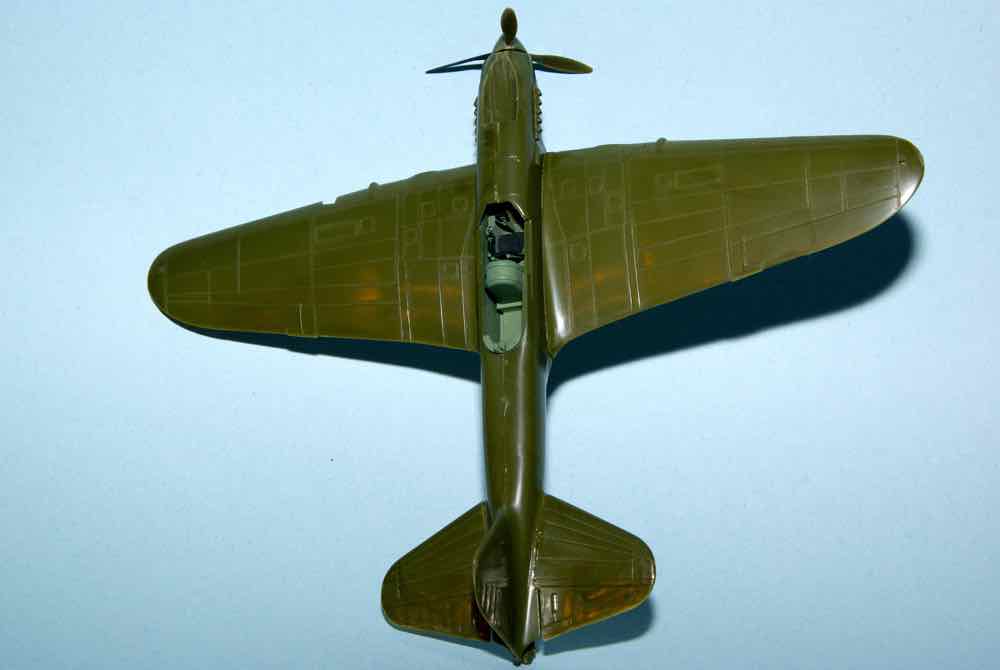
I see you’ve been on the workbench having some fun. Plenty of pictures shows this flying beasty is coming together. it appears that Zvezda, did not supply this kit with an instrument decal or seat belts. Would have been a nice touch though. But don’t know if that will show once the canopy is in place? None the less this wingything is a big’gin! Are you planning to pose the crew figure together with the plane perhaps on a dio base?
~ Eddy
As I believe I mentioned somewhere above, it appears this is not an original Zvezda kit. In fact from what I gather it was first released by two other manufacturers. I’ve read that people have simulated seatbelts with Tamiya tape so that may be the route I take. As there is no crew provided and I have no appropriate figures in my spares box the easiest option may be to just leave them out. Unfortunately with the closing of our areas closest hobby shop getting figures mail order may be the only option and that under the current circumstances is expensive and slow. A recent kit I ordered from HobbyEasy in Hong Kong took almost five weeks to get to me and cost nearly double for shipping compared to pre-pandemic times when I received kits/supplies in under two weeks and less than half the shipping cost (seems they have to rely on private couriers now as regular airline flights are so limited).
As far as size goes the IL-2 is comparable to some WW II twin engine fighters or light bombers. In length and wingspan its about a match for a Ju-87 Stuka. Eddy, planes were never my focus in the past so it’s been a while since I built them. There is a true relearning curve to almost everything.
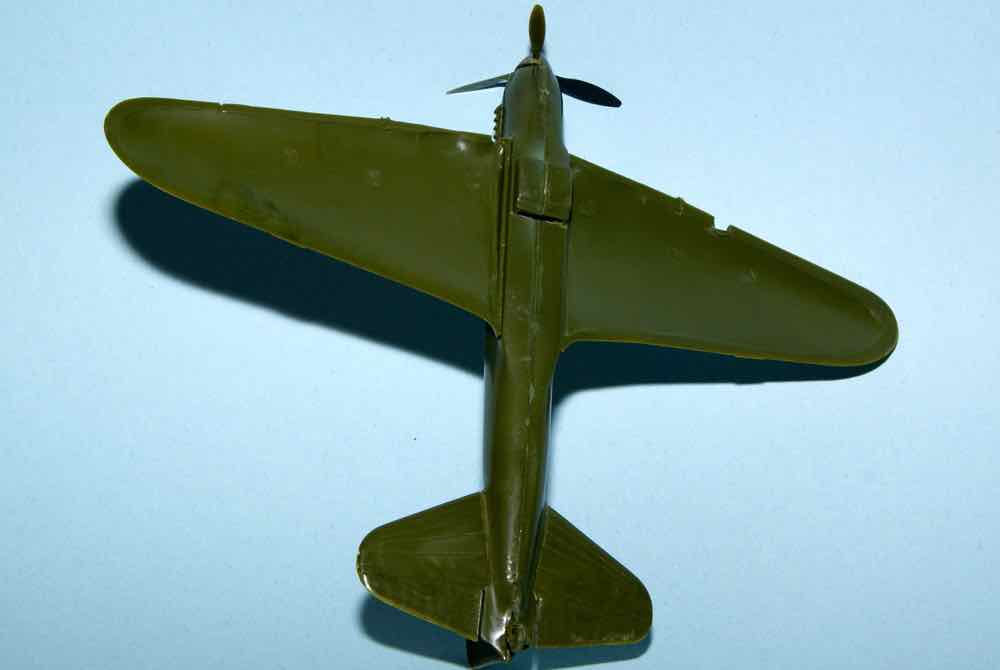
Can’t not have pictures so here’s the beast with dry fit upper wings and propeller.
Cheers,
Jan
2 Likes
So a bit of work on thee main landing gear today. The part locating features on those parts, except for there actual wheels are pretty vague so one needs to be careful with lining them up. Below is the parts for one set from below and above.
With the glue cured.
Jumping ahead the other side is now done with both sets of wing halves glued.
Hmmm, wonder if I half enough clamps set? 
Cheers,
Jan
2 Likes
Hi,
I see that you have used four rocket rails under each wing.


