Hi Everyone,
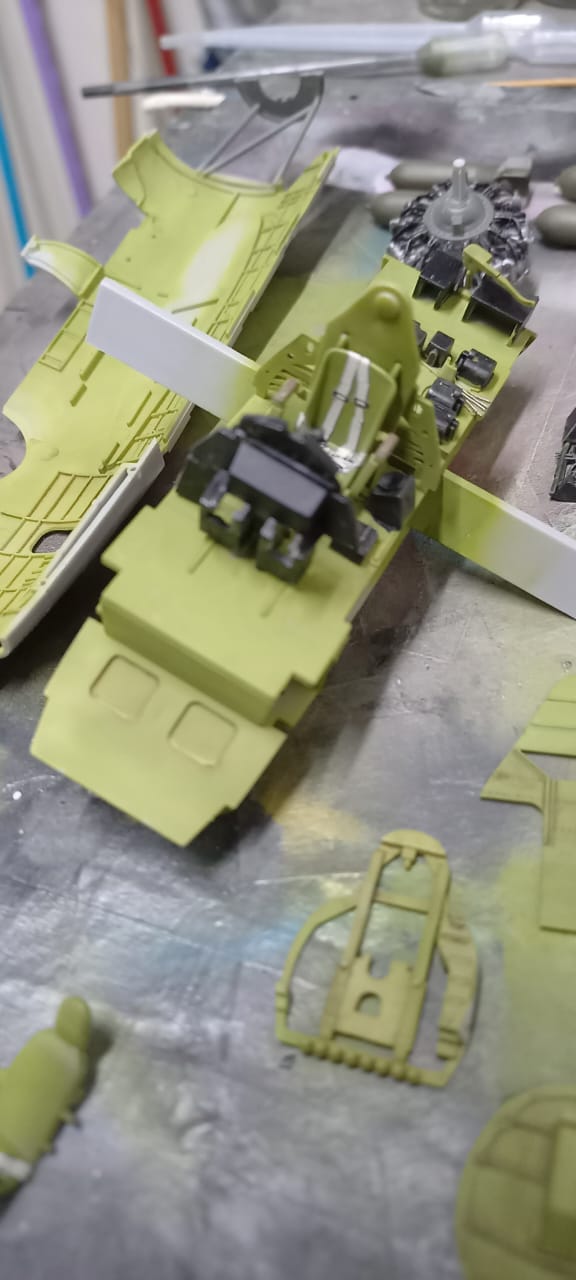
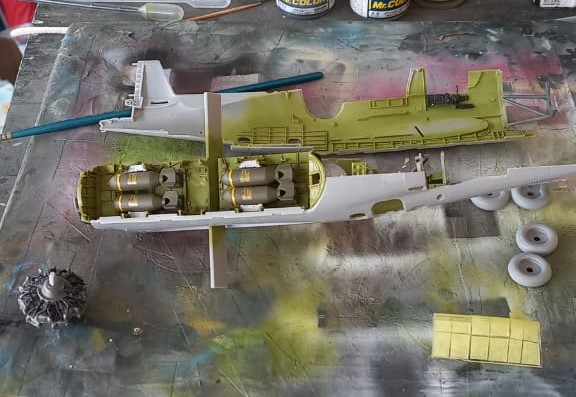
I was pretty excited about doing the TBF Avenger, so, I jumped right in! I was figuring doing one from Midway or from Guadalcanal. The Accurate Miniatures (AM) kit is really well done. The detail is very fine, and after a go through I’d say one would be hard pressed to want to include any aftermarket items, maybe some wheels, but that’s about it. I began construction with the cockpit, gluing some basic parts together before giving it a coat of interior green. I followed up by painting various items black, and did add some details to the lackluster instrument panel. These were instrument decals and some cockpit placard decals from airscale. Sadly at the end of the day it’s a bit hard to see. I also opted to use the kits seatbelt decals, which haven’t delt well with being 28 years old.
.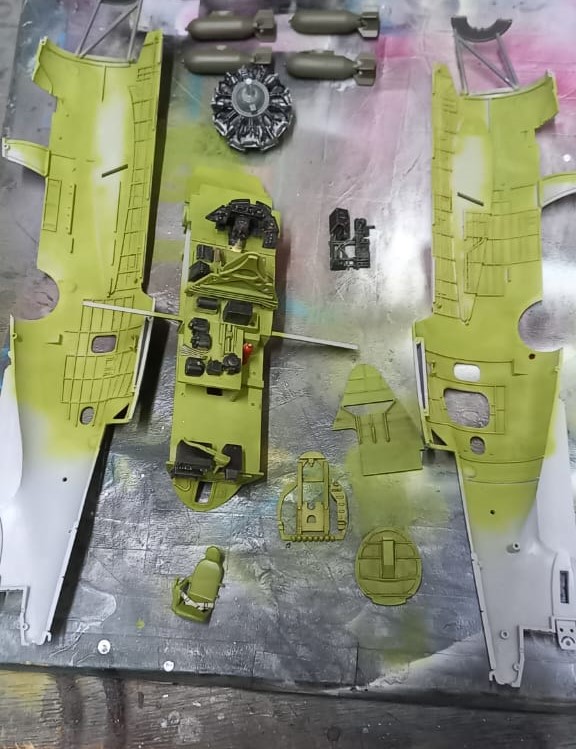
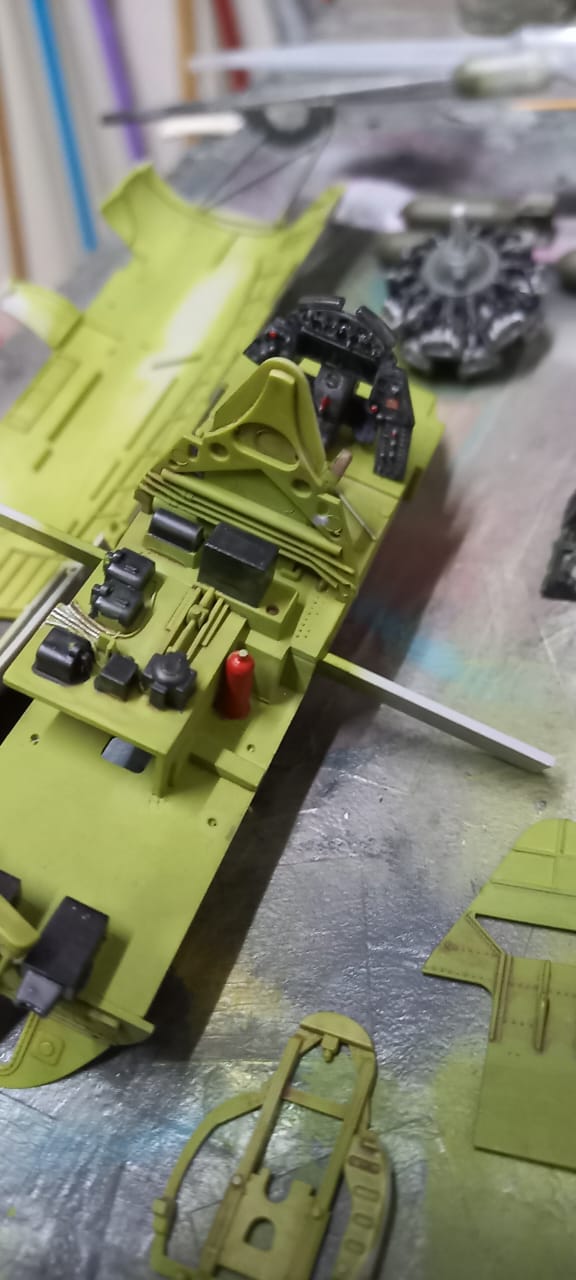
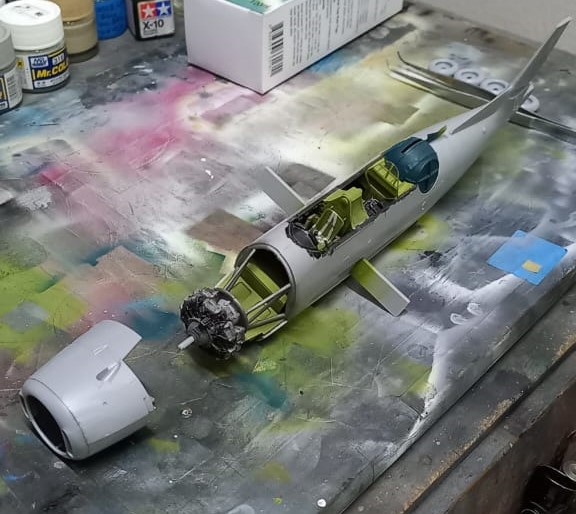
Once everything was together and painted, I gave the interior a wash of oil based burnt umber, and prepared to close up the fuselage. I also used an Eduard mask set which made getting the greenhouse canopy masked much easier, still took a day though. I was quite surprised at how quickly this builds up.
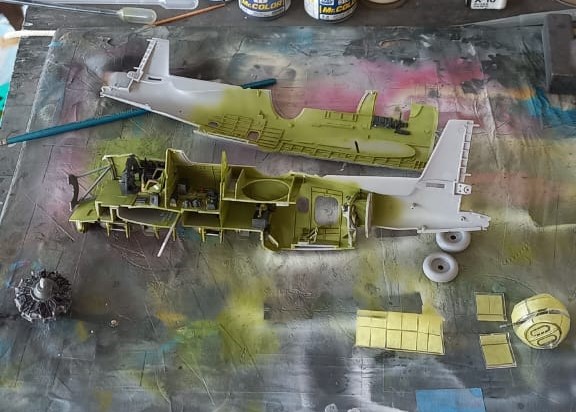
Next, the fuselage was closed up, which was trouble free, painted the turret, and got the engine all prettied up. I then prepared to complete the fuselage with the addition of the cowling.

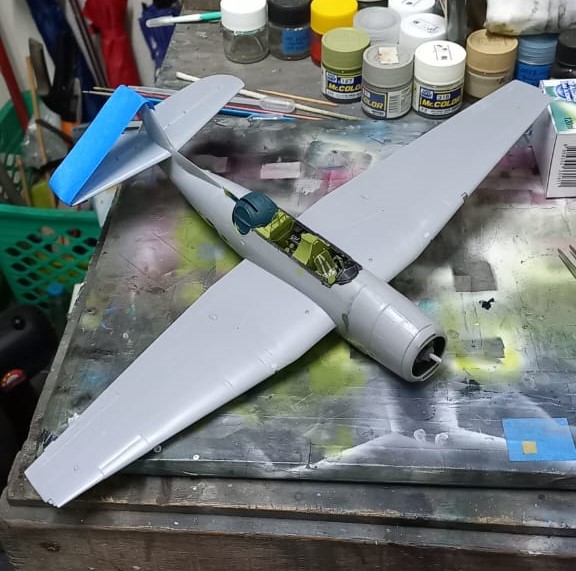
With the fuselage closed up, the wings and tail surfaces were added, which went well, with the exception of one tail that drooped, thankfully this was remedied with a strategically placed piece of masking tape.
Research? Who needs it! Apparently, I do. While doing a dive into the Avenger, looking for how it would look once done, I discovered that the TBF-1C went into service in early 1943. Talk about the wind getting knocked out ones sails! So, this build will meander over to the Hangar Queen XIV campaign and I’ll be pulling out something that will work for this campaign. Perhaps a true TBF1.

Or perhaps a P-40B. We’ll see.
Till next time, be safe, wash your hands and have fun!