1942: The Turning of the Tide

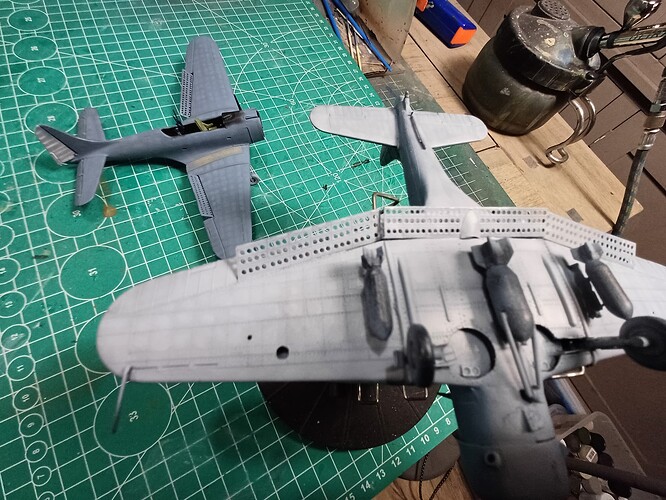
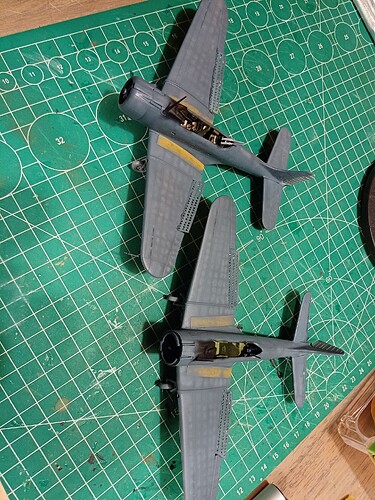
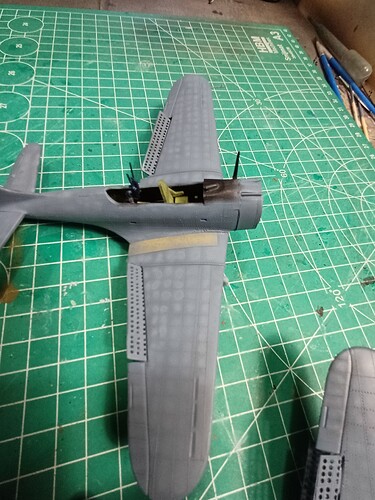
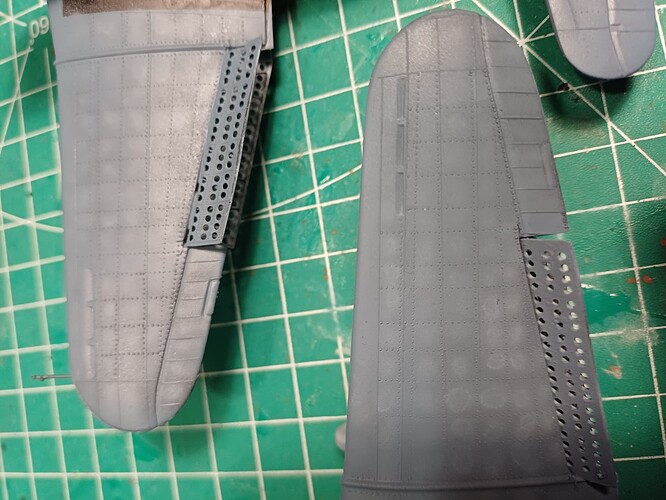
Well, I’m starting this campaign a bit late, but I should still have time to finish even though I’m a slow builder. So, I’m going to take this one on as my entry for this campaign. The interior will be closed up, except for possibly a open few hatches with crew hanging out, but I’ll still enjoy building, painting and weathering it.

Hope everyone has a great time building in this campaign. Looks like some very cool entries.

Cheers!

chuck

7 Likes

I have one of each.

I might consider one.

1 Like

Hmm then i would have to do the other or the p 40 orrr i could do a afrika 109. i’m kinda feeling the p 40 since i have an academy B model i’m otherwise not going to use. always did want to do a spit with an american star on it though, well in any case i have to get my spit for the spitfire campaign finished first.
Joe

For anyone interested in doing zeros, the Bros have a pretty good lightning deal offering. Just sayin’…

by bros you mean sprue bros i assume?

2 Likes

Hi Everyone,

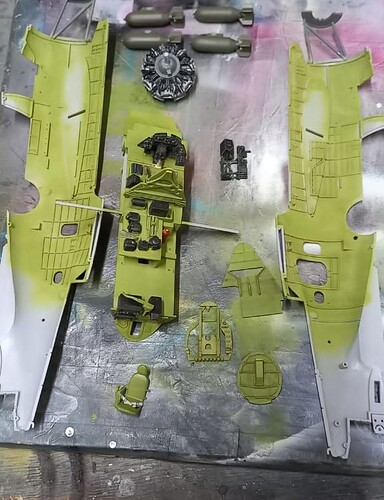
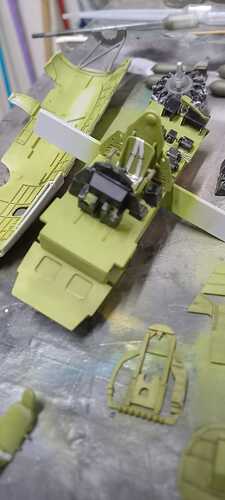
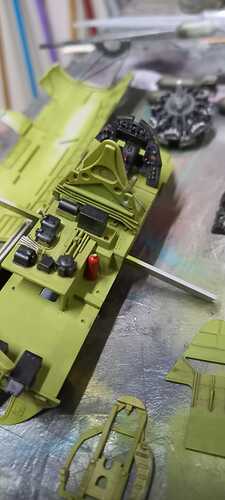
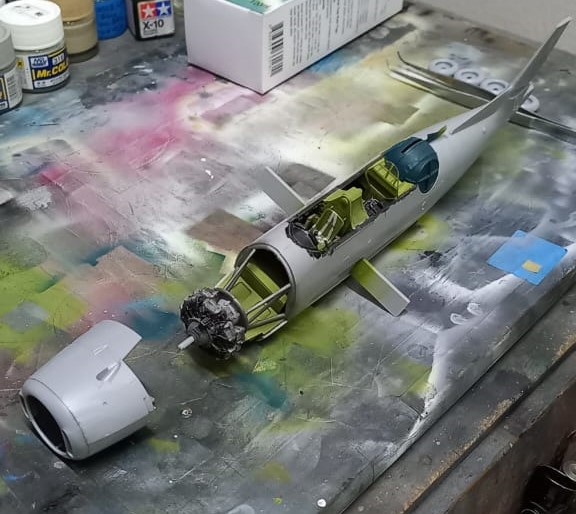
I was pretty excited about doing the TBF Avenger, so, I jumped right in! I was figuring doing one from Midway or from Guadalcanal. The Accurate Miniatures (AM) kit is really well done. The detail is very fine, and after a go through I’d say one would be hard pressed to want to include any aftermarket items, maybe some wheels, but that’s about it. I began construction with the cockpit, gluing some basic parts together before giving it a coat of interior green. I followed up by painting various items black, and did add some details to the lackluster instrument panel. These were instrument decals and some cockpit placard decals from airscale. Sadly at the end of the day it’s a bit hard to see. I also opted to use the kits seatbelt decals, which haven’t delt well with being 28 years old.

.

Once everything was together and painted, I gave the interior a wash of oil based burnt umber, and prepared to close up the fuselage. I also used an Eduard mask set which made getting the greenhouse canopy masked much easier, still took a day though. I was quite surprised at how quickly this builds up.
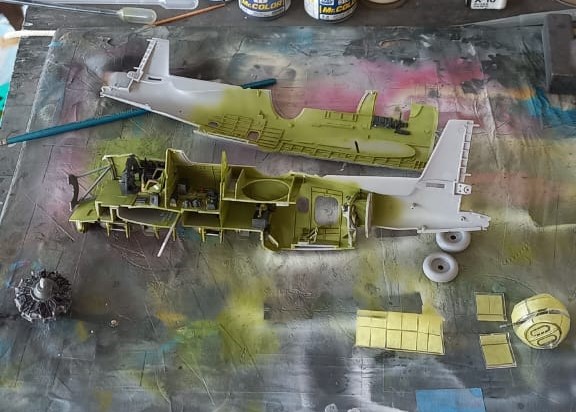
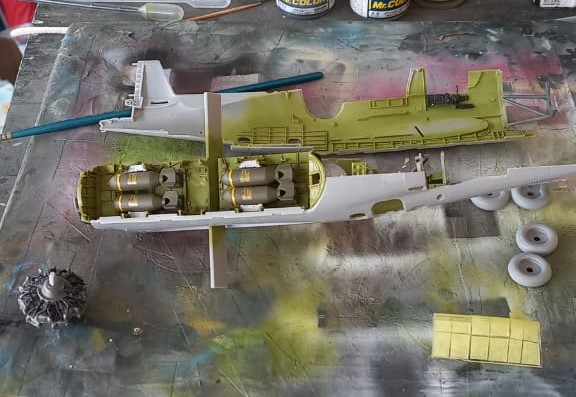
WhatsApp Image 2024-01-15 at 21.28.56_a47b7e16 (2)

WhatsApp Image 2024-01-15 at 21.29.08_119b456a (2)

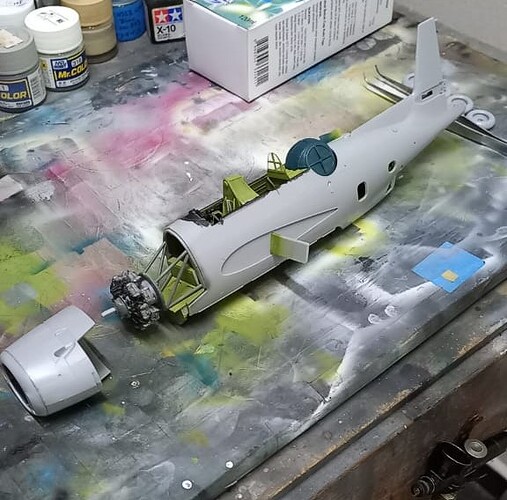
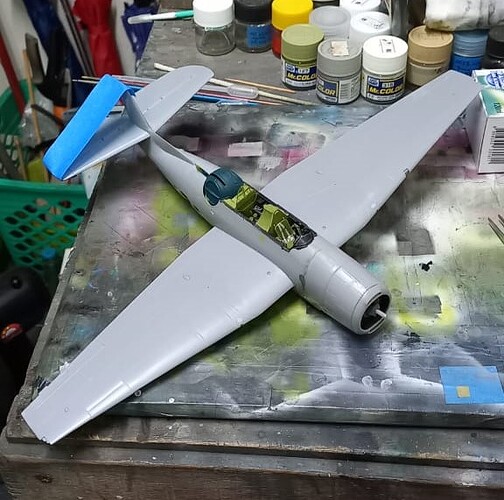
Next, the fuselage was closed up, which was trouble free, painted the turret, and got the engine all prettied up. I then prepared to complete the fuselage with the addition of the cowling.

With the fuselage closed up, the wings and tail surfaces were added, which went well, with the exception of one tail that drooped, thankfully this was remedied with a strategically placed piece of masking tape.

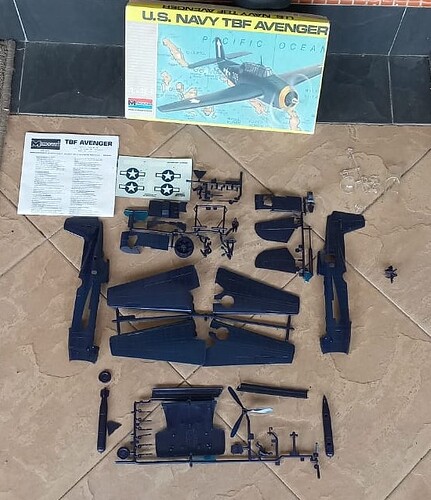
Research? Who needs it! Apparently, I do. While doing a dive into the Avenger, looking for how it would look once done, I discovered that the TBF-1C went into service in early 1943. Talk about the wind getting knocked out ones sails! So, this build will meander over to the Hangar Queen XIV campaign and I’ll be pulling out something that will work for this campaign. Perhaps a true TBF1.

Or perhaps a P-40B. We’ll see.

Till next time, be safe, wash your hands and have fun!
9 Likes

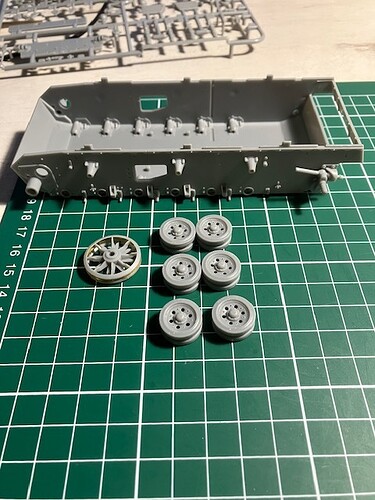
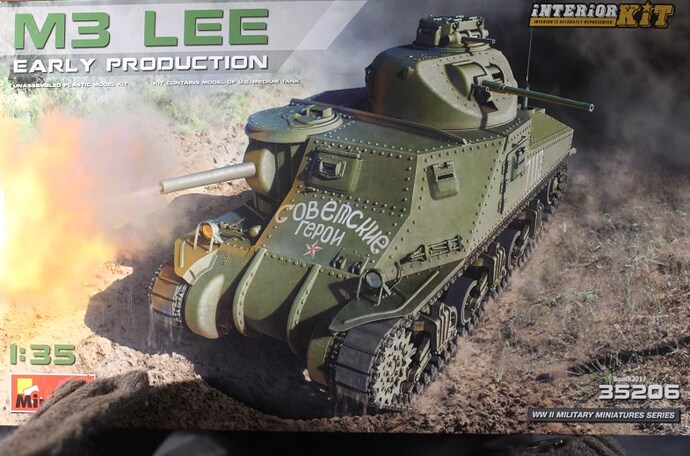
Finally started today with the Pzkpfw III J. Looks like Dragon just throws a couple of sprues in a box and have a new kit.
There are STuG III, Pzkpfw IV and Pzkpfw III sprues in the box. So, there will be a lot of spare parts for future projects left after this project. I am still thinking about getting a metal gun and Quicktracks for this build.

4 Likes

I have mixed feelings about Dragon kits in general, mainly around buildability, but let no one complain ever about how well Dragon kits enhance the spares box! FWIW, I find their magic tracks very easy to work with. I am looking forward to seeing how this builds for you (buildability) and I love your subject.
1 Like

Yes; always disappointed when I open a box to find DS in of the MTs. Judging from the price the MTs fetch on ebay lots of people prefer them.

As far as buildability, I find that once you’ve built a few it gets much easier as you understand how the beast works at that point and what drugs their translators are taking. It especially helps if you build all the variants of the same vehicle as it becomes assembly-line work.

1 Like

Looks like a great kit. i have several in the stash i am considering however the talk of the difficult to assemble the turret. please give some detail to how it went/goes together.
thanks Joe

1 Like

Think I’ll hop in with Airfix P-40B in flying tigers scheme

3 Likes

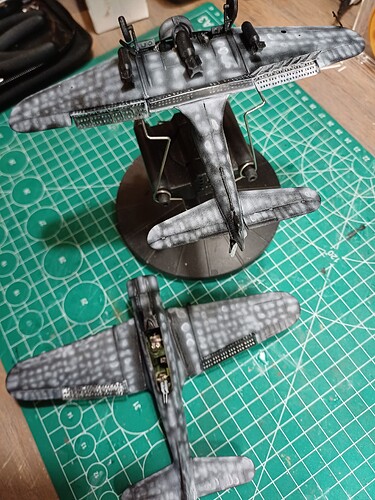
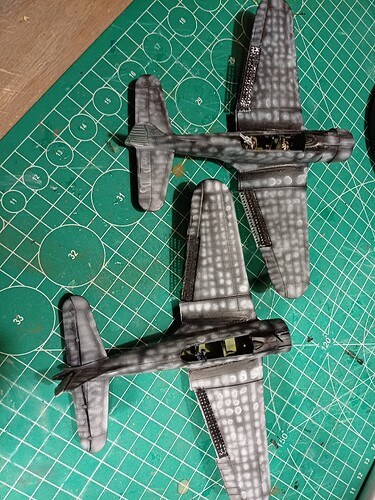
Progress! Small, but progress nonetheless! Base coats are on, rear engine plates painted, engines attached, camo next! This should be interesting and vaguely anxiety-causing lol. I’ve done this in 1/72nd so this should be easier right???

IMG_2288 by Chris Wilson, on Flickr

IMG_2289 by Chris Wilson, on Flickr

IMG_2290 by Chris Wilson, on Flickr

Wish me luck!!

Chris

7 Likes

Primer on both…
20240125-230459

7 Likes

Good luck, Chris! :slightly_smiling_face:

I love the Italian camouflages, but they are a challenge to get right.

Looking forward to see your results!

1 Like

Great looking work here!

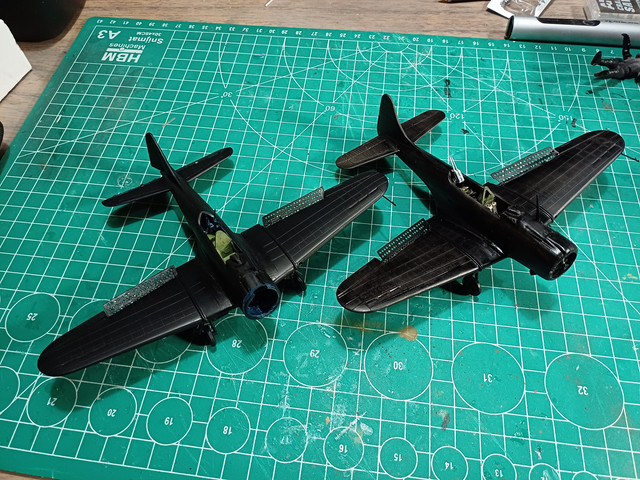
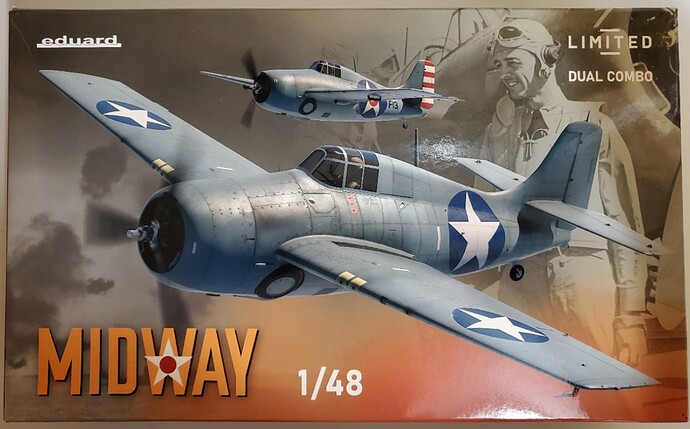
I’ve run into a bit of a block on the A6M and need to wait on some paint I’ve ordered. But, no stopping now; on to the F4F!

When I was airbrushing with black on the Zero, I took the opportunity to hit some bits on the Wildcat as well. But I’ve gotten more pre-painting done since then:

Next weekend, I think I may get to start sticking bits together!

Michael :israel: :stuck_out_tongue:

7 Likes

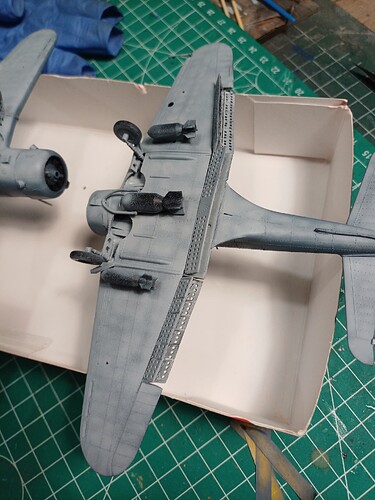
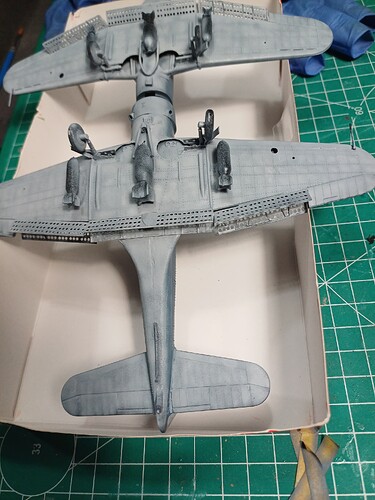
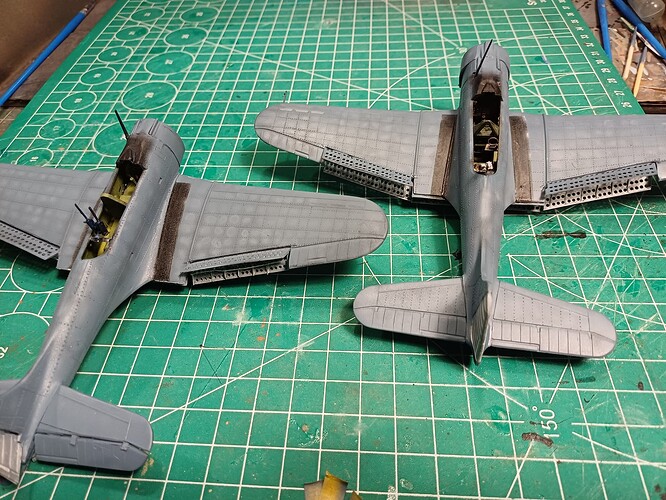
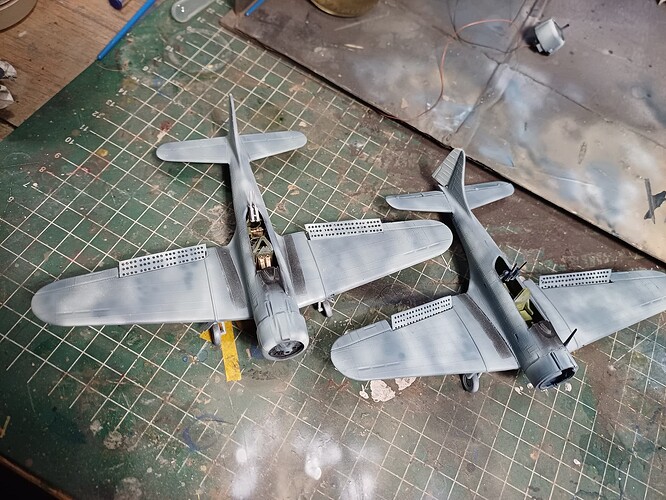
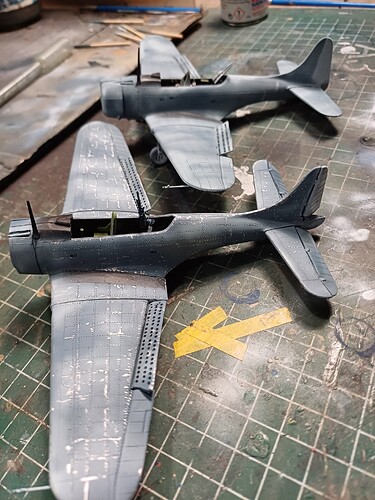
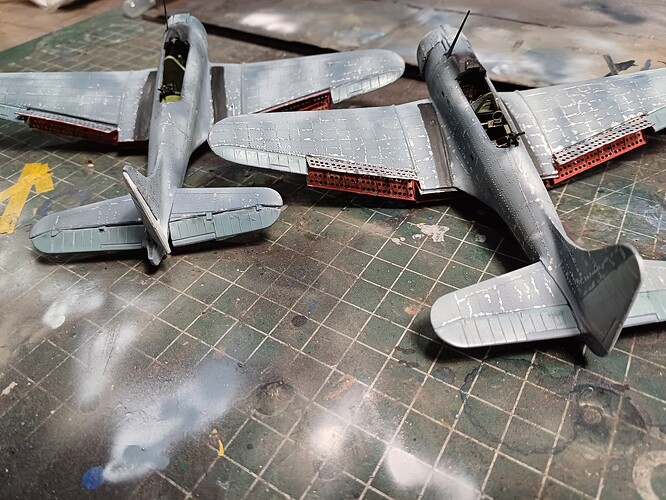
Pre shading with white…

Followed by light grey for the underside…

And grey blue for the top side…

And then with the masking removed…

9 Likes

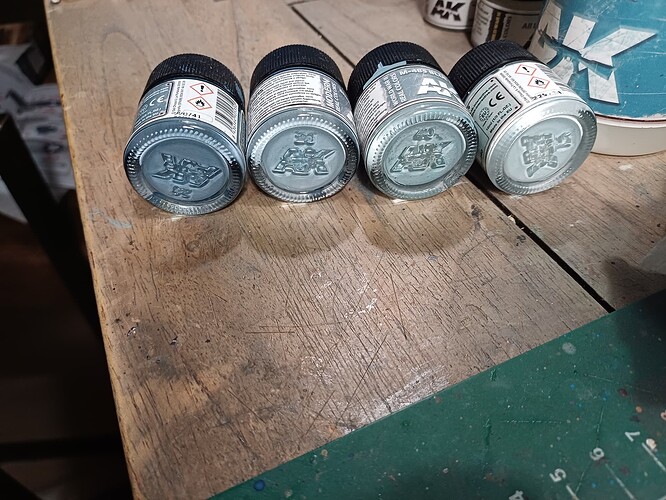
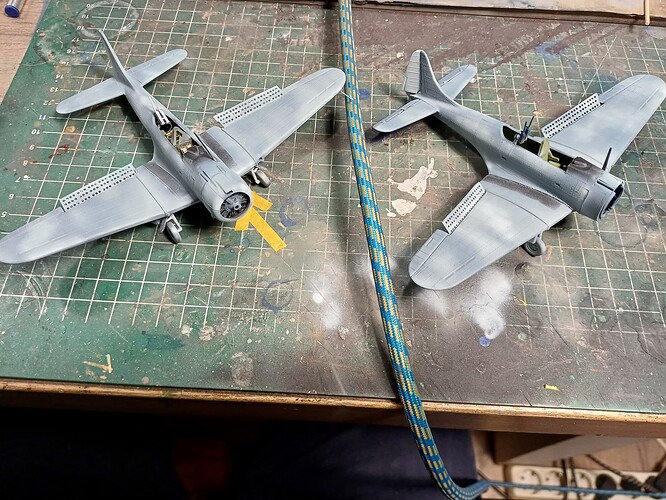
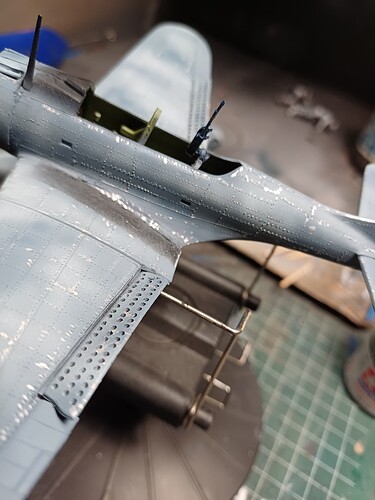
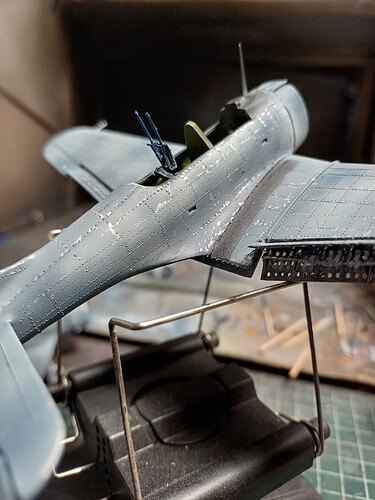
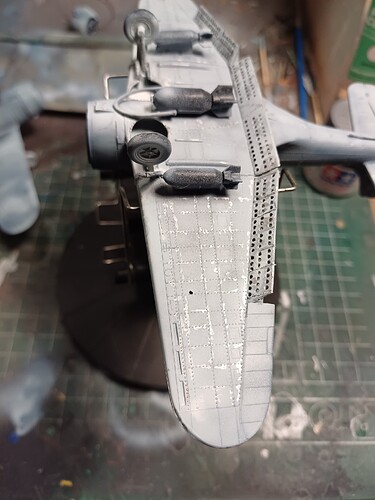
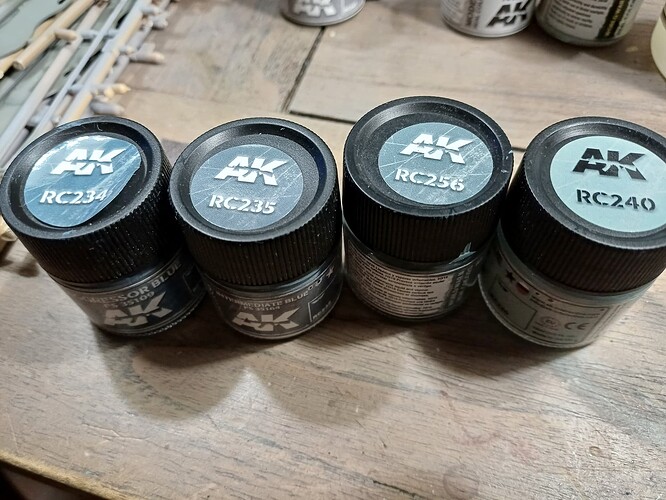
Used three lighter shades to get a fainted look… The left jar is the base colour that I used…

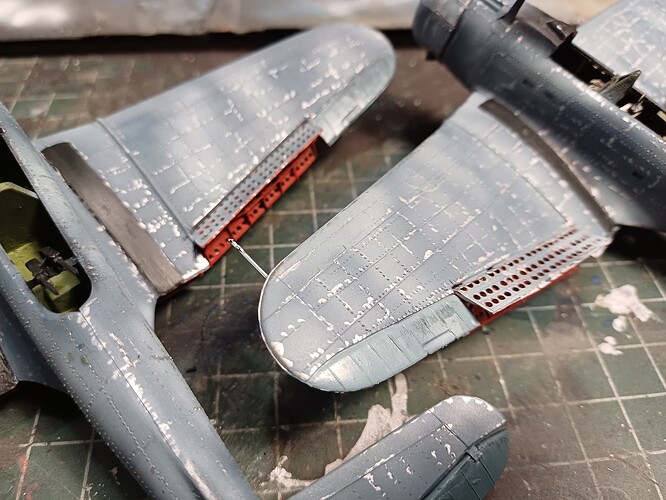
And added some chipping to one of then…

8 Likes

Looks good Bert … what were the actual AK numbers/names for those 4 greys ?

1 Like

3 Likes

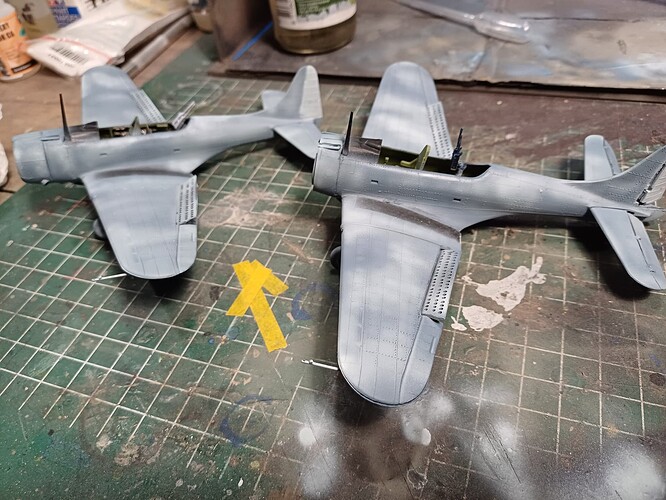
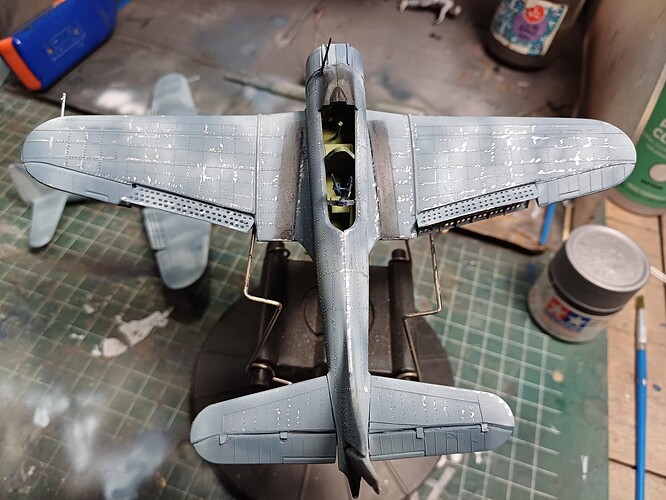
Ad now both chipped and some extra color…

9 Likes