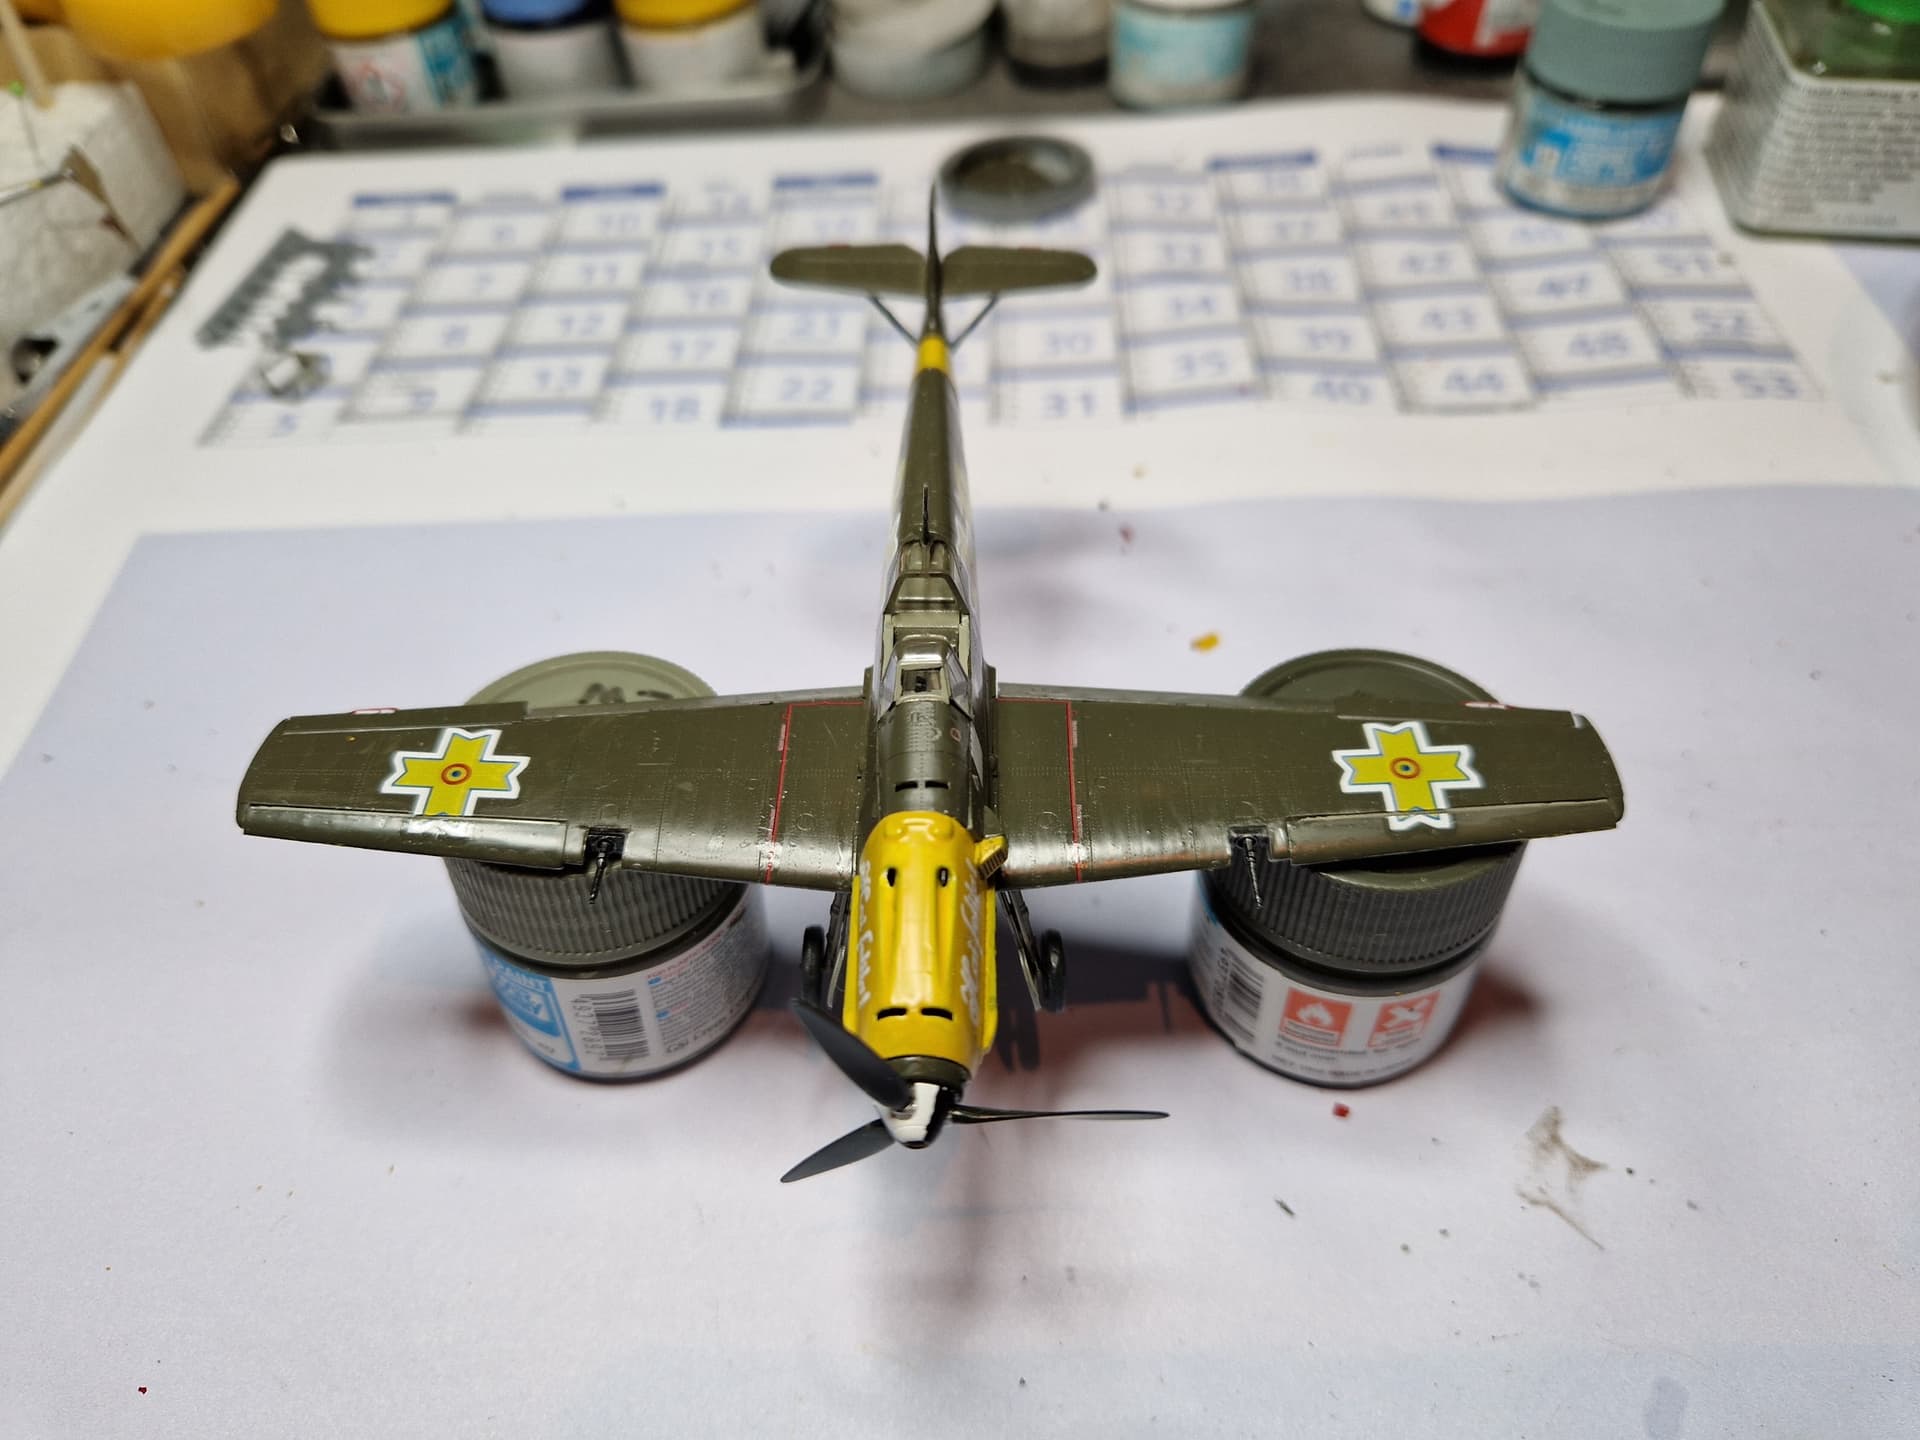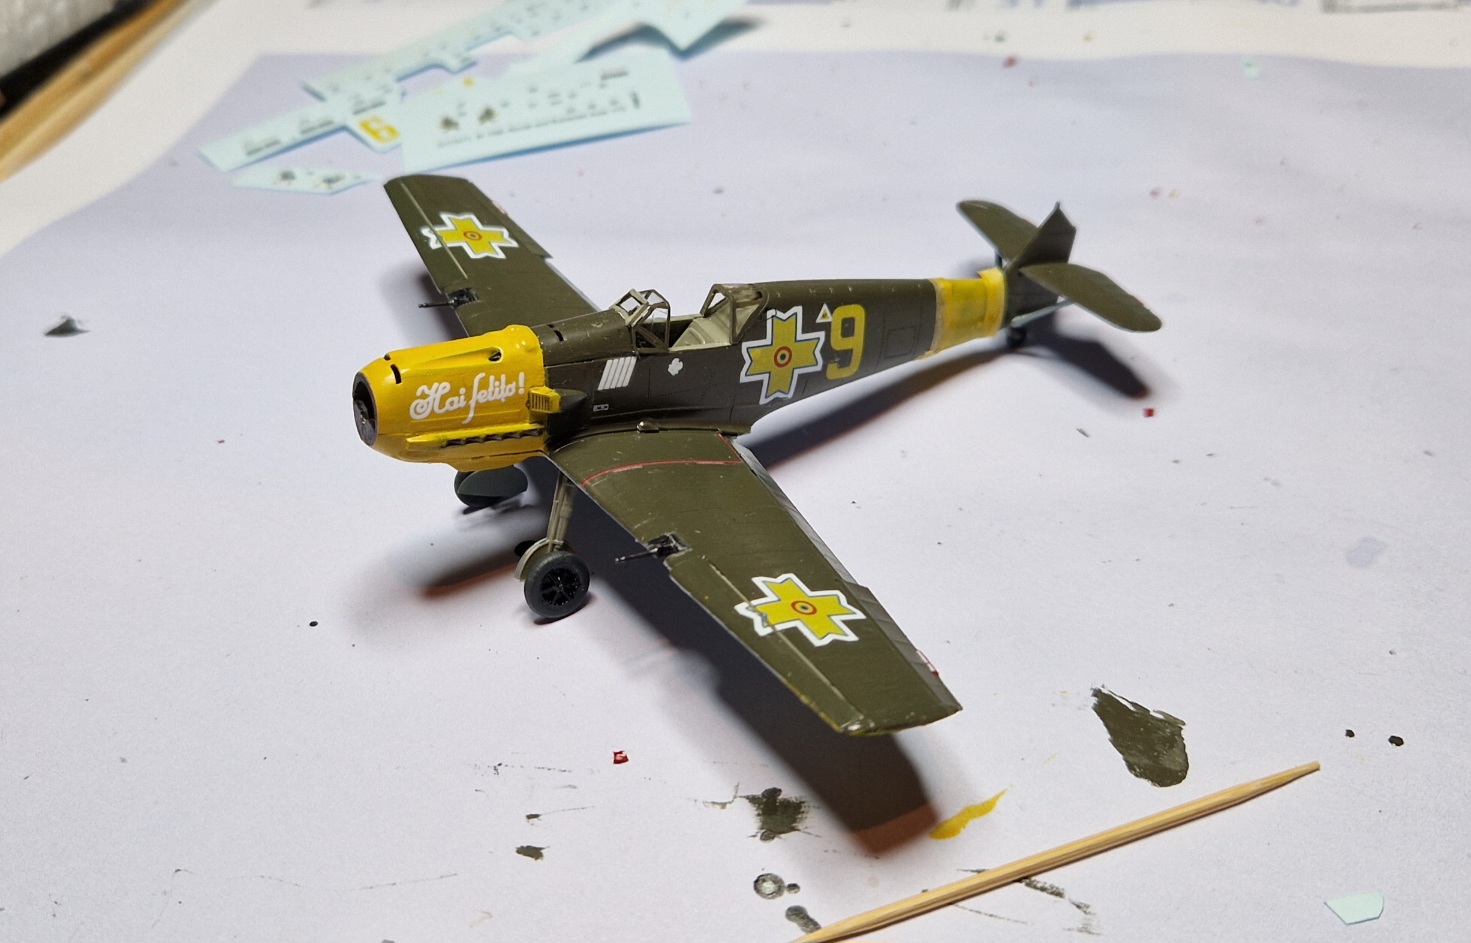
Decaling is underway, I nearly forgot the yellow fuselage band. Just in time, before some decals got into the deadly masking zone…
Keep going, guys!
Peter
Looking good Peter… Colours are jumping out on it ![]() .
.
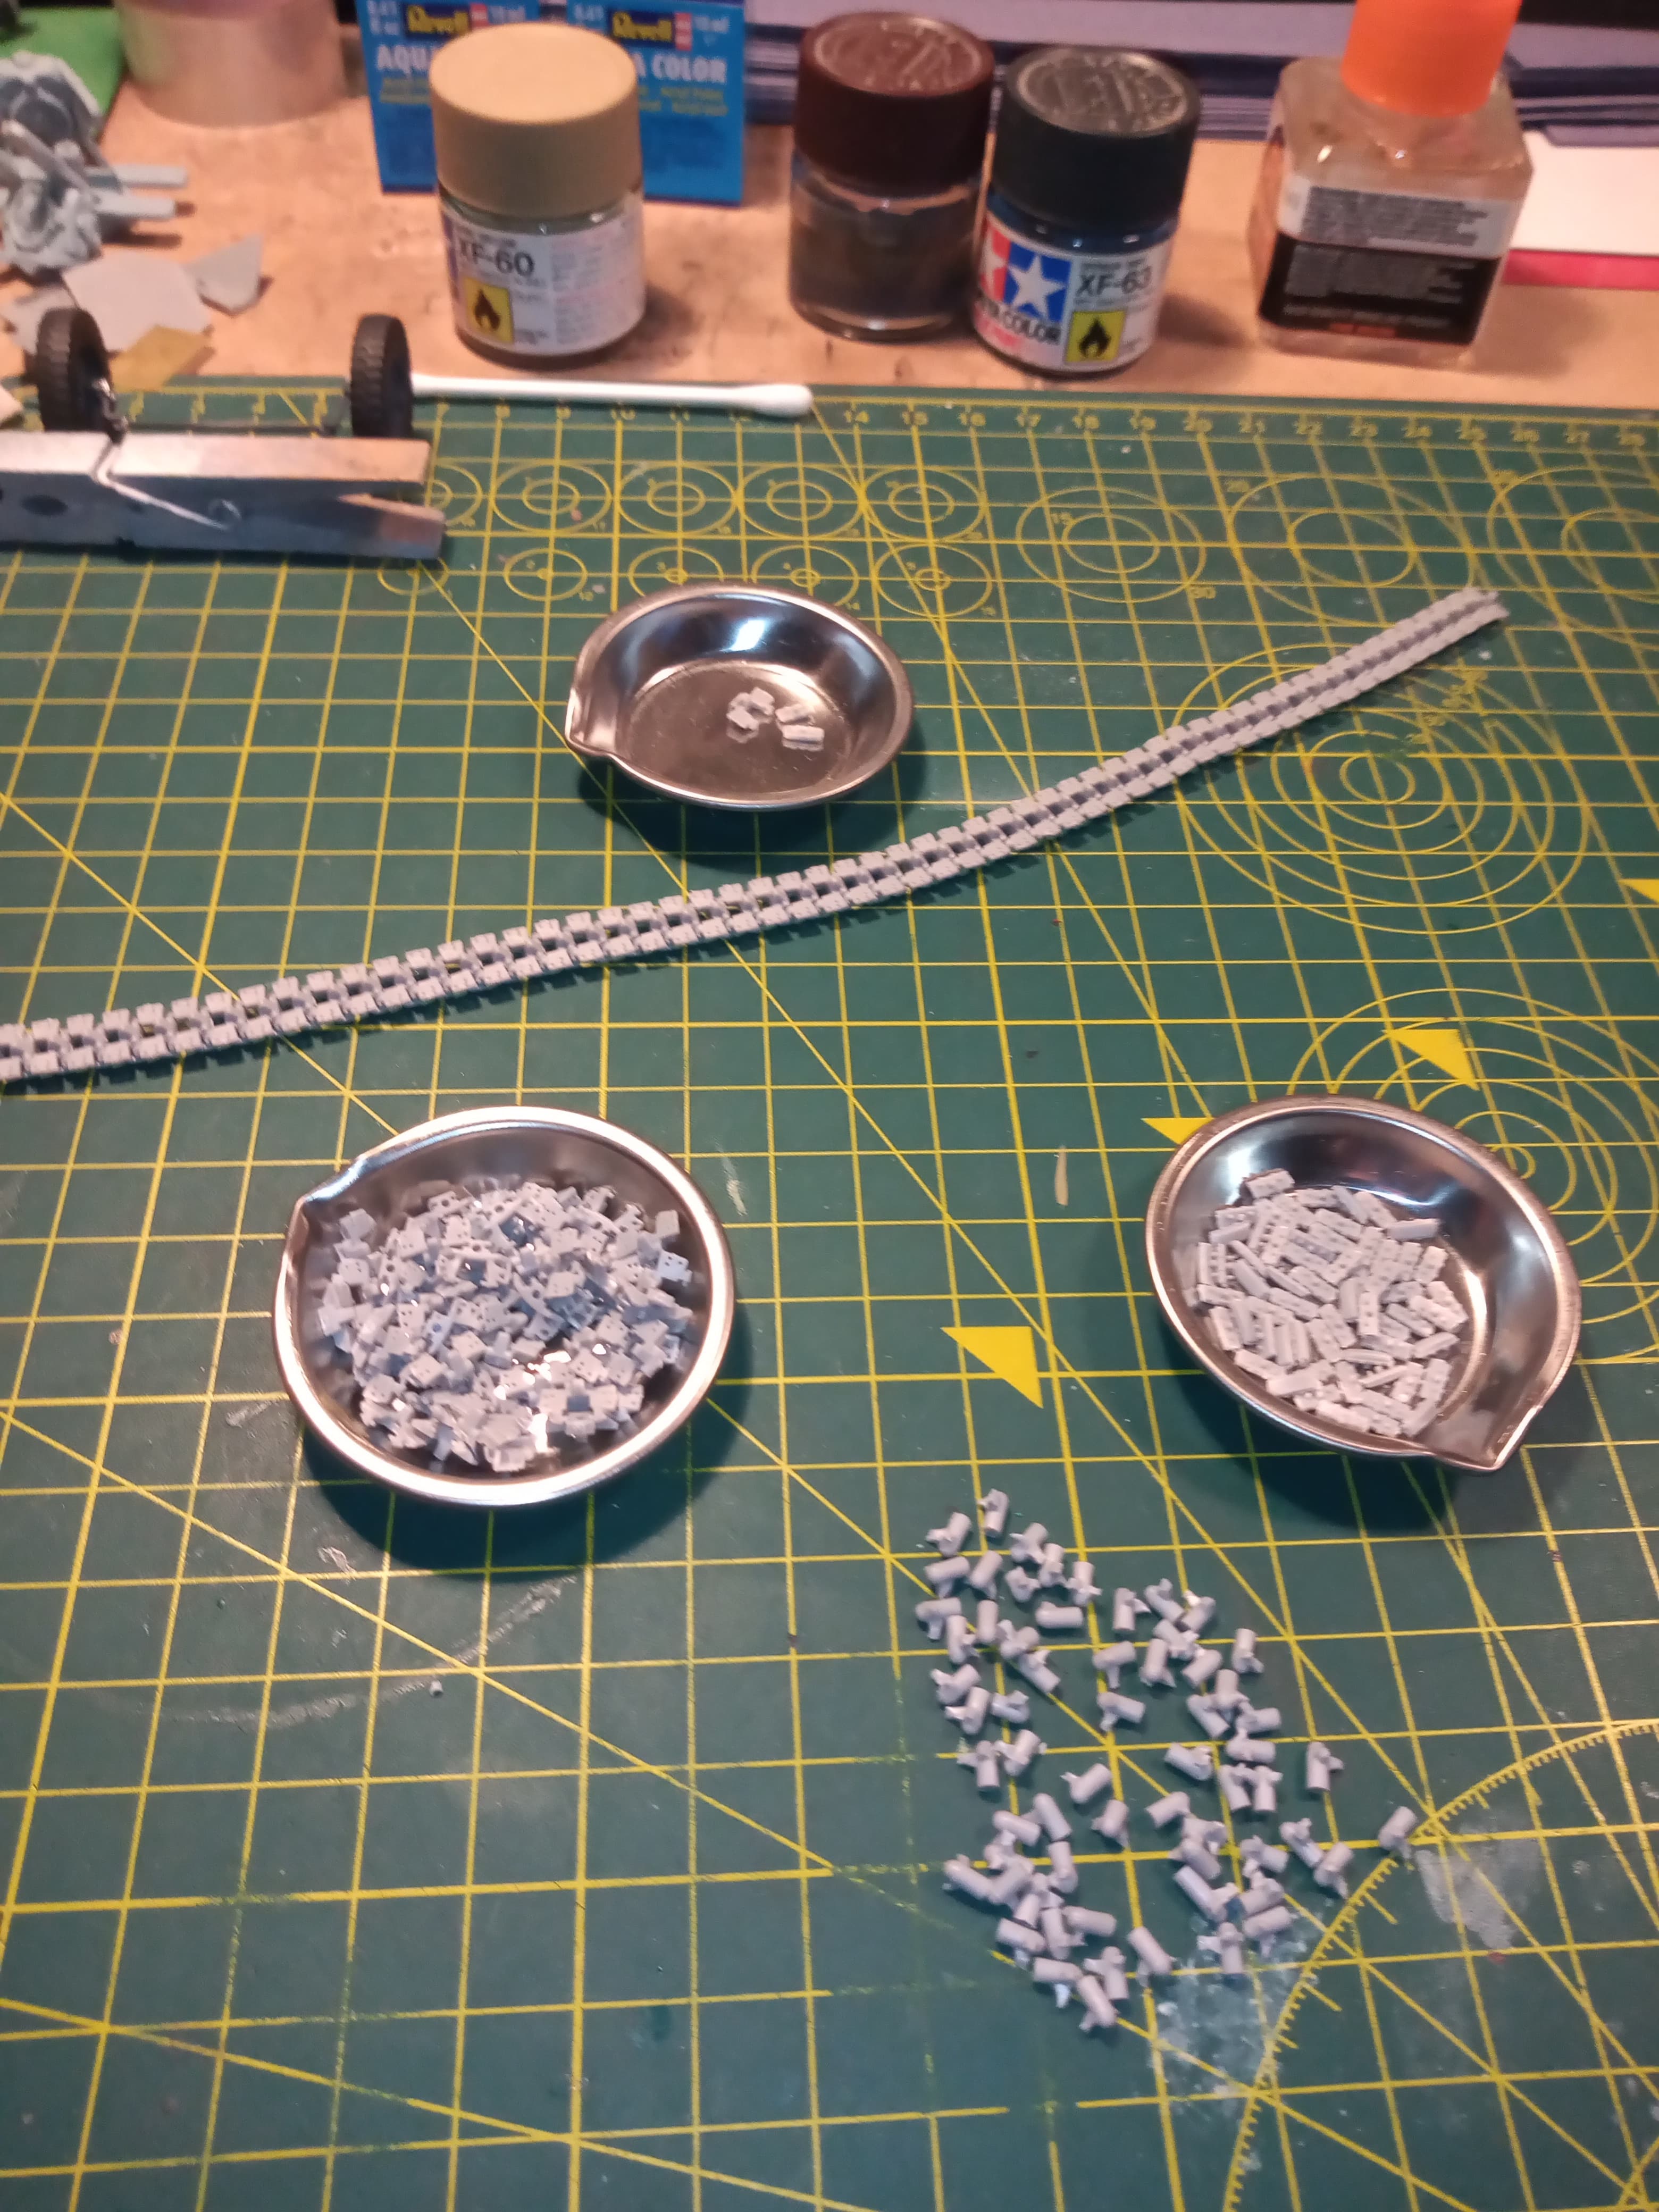
Have got one track run done, less the connecting link.
And it fully articulates… Altogether, using the play doh method of assembly, it probably took 40min to get it together…
Most time consuming part was cutting the other complete run from the sprue and cutting away the small plugs which are bunched up on the cutting mat …
Did a test fit of the one track run that I completed. Looks very good and sits great on the wheels etc
I did make it to long though, in my eagerness to build it up, I went ahead and built the entire run from one sprue = 59 complete links plus one to connect. This is to long so, for anyone else with this in the stash or building it - the correct length of track links for the Dragon 6246 Sd kfz 251 Ausf C riveted version is 55/56 links with will leave you 4 or 5 spare links to have as stowage or spares.
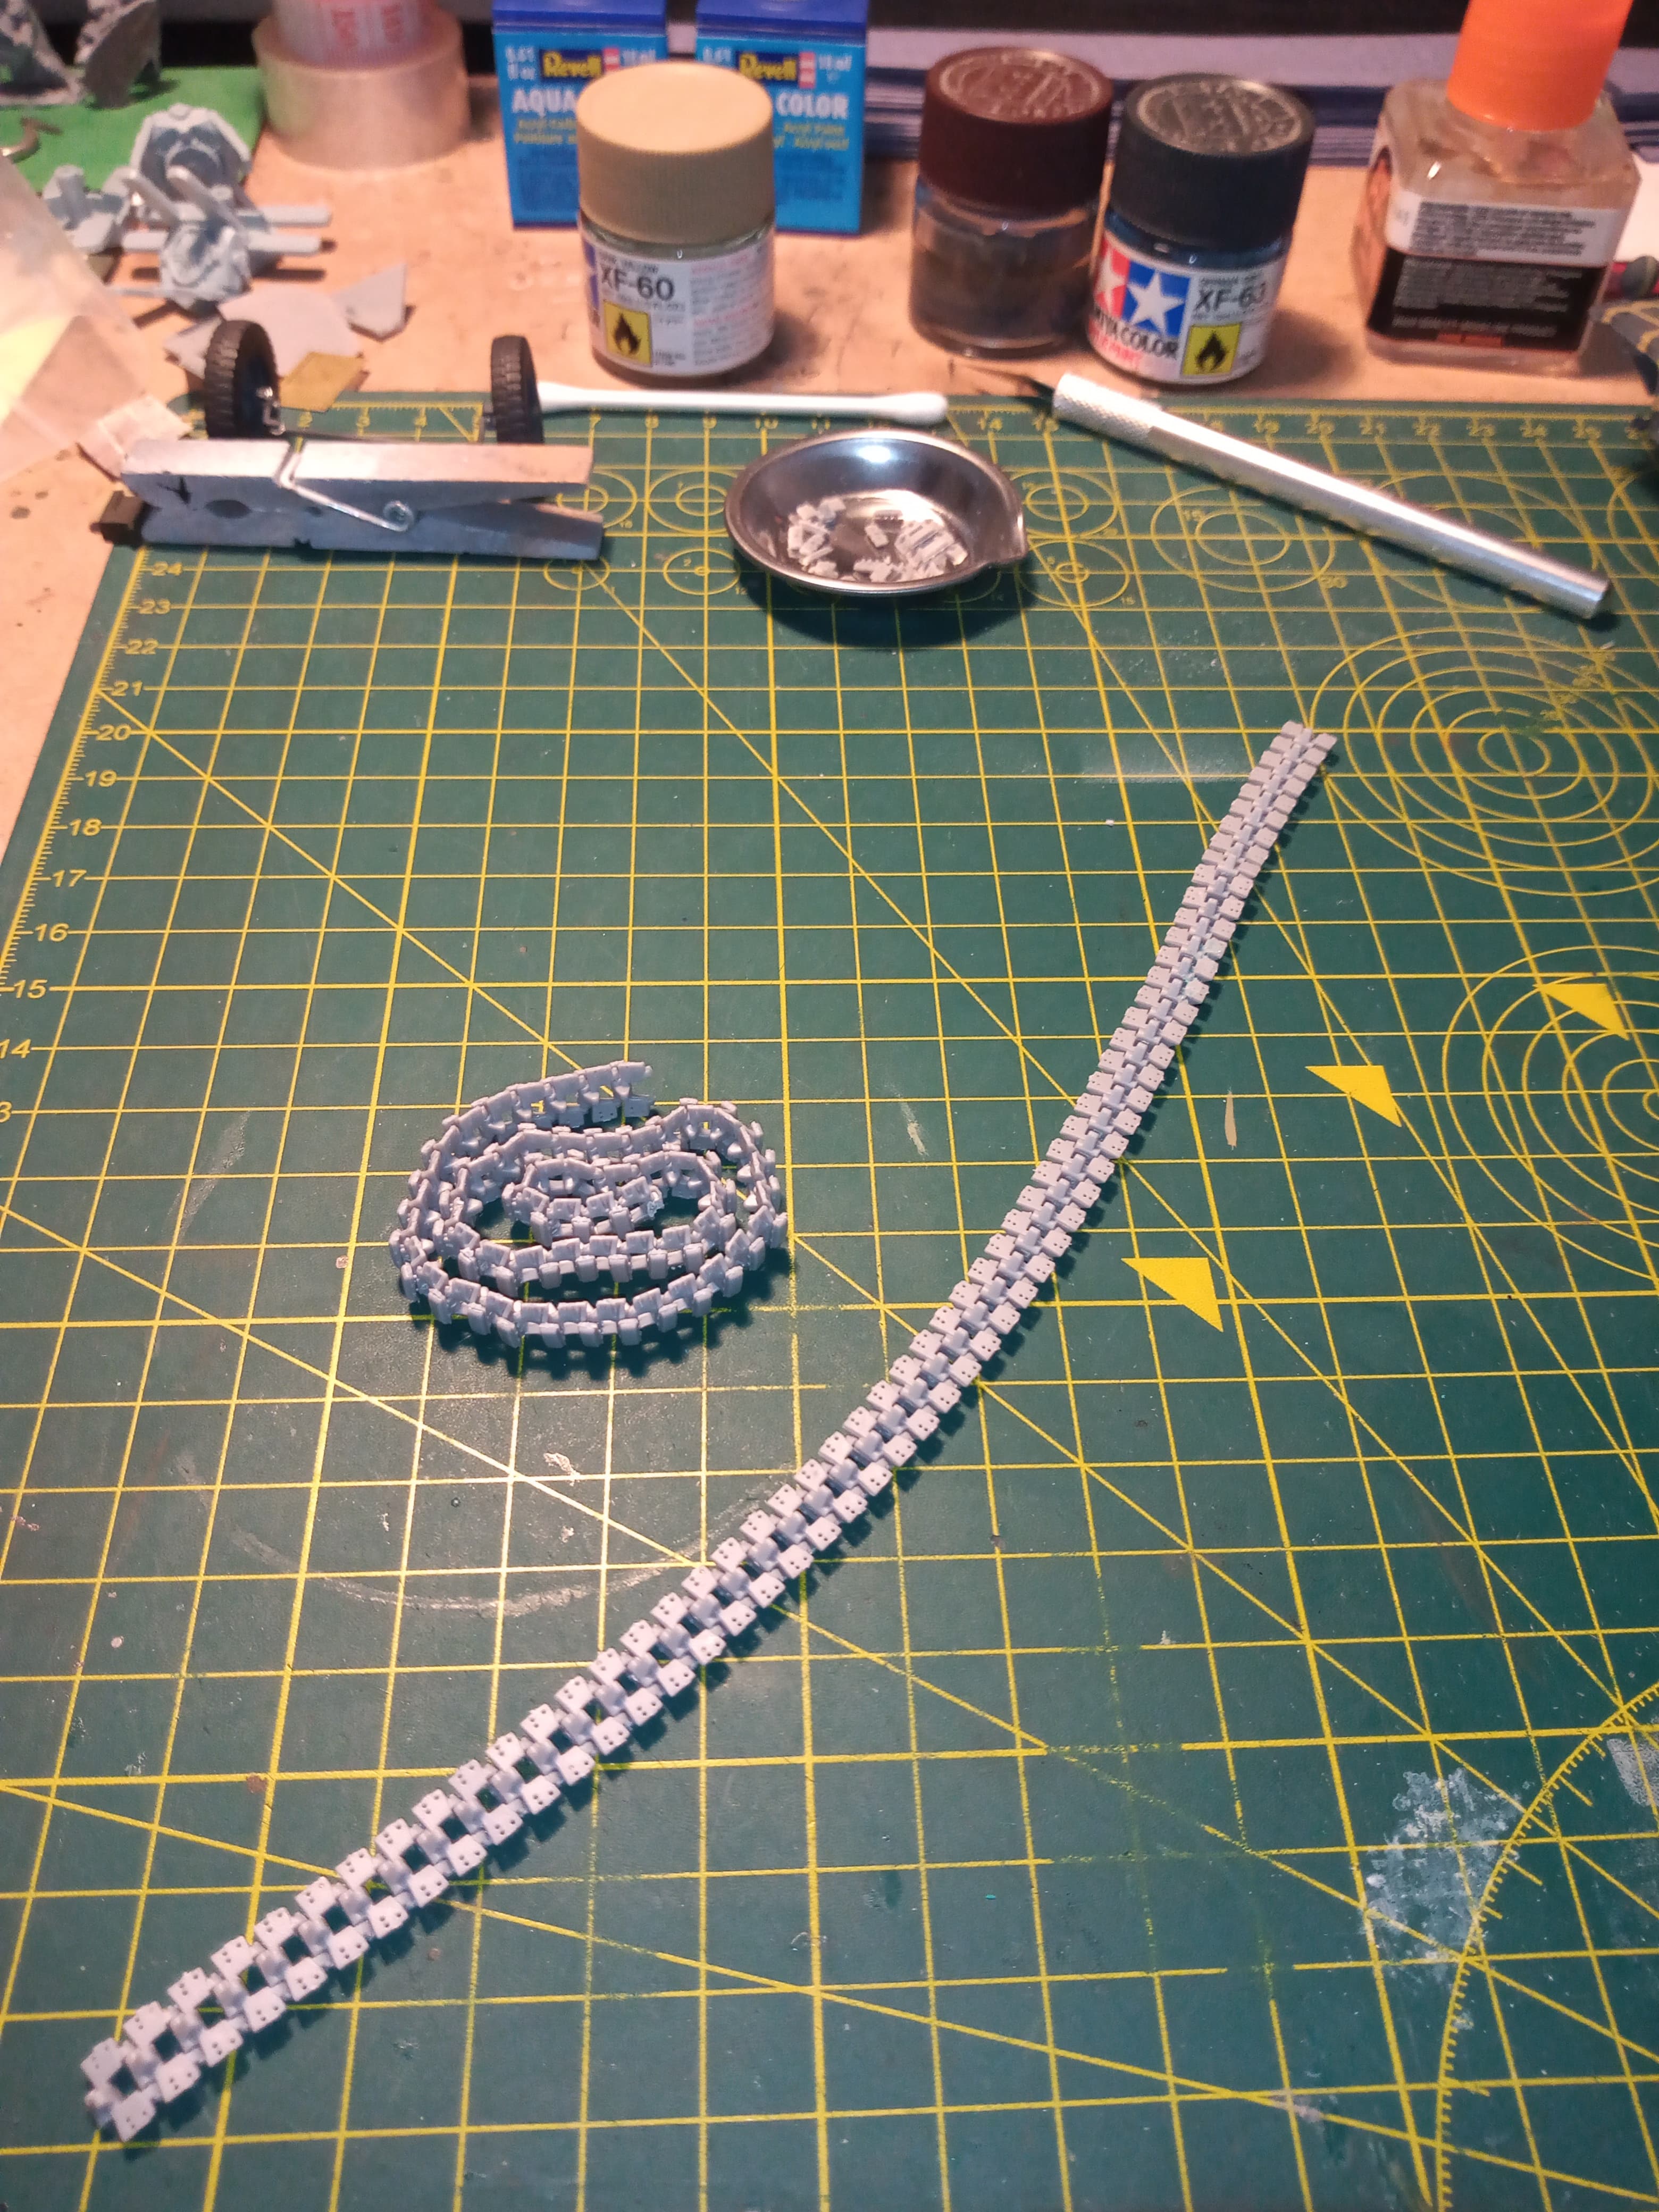
I had to cut away 3 links to bring mine down to 56, but may need to remove one more …
Both track runs made and fully movable
56 links per side… May need to go to 55 as per a real vehicle…
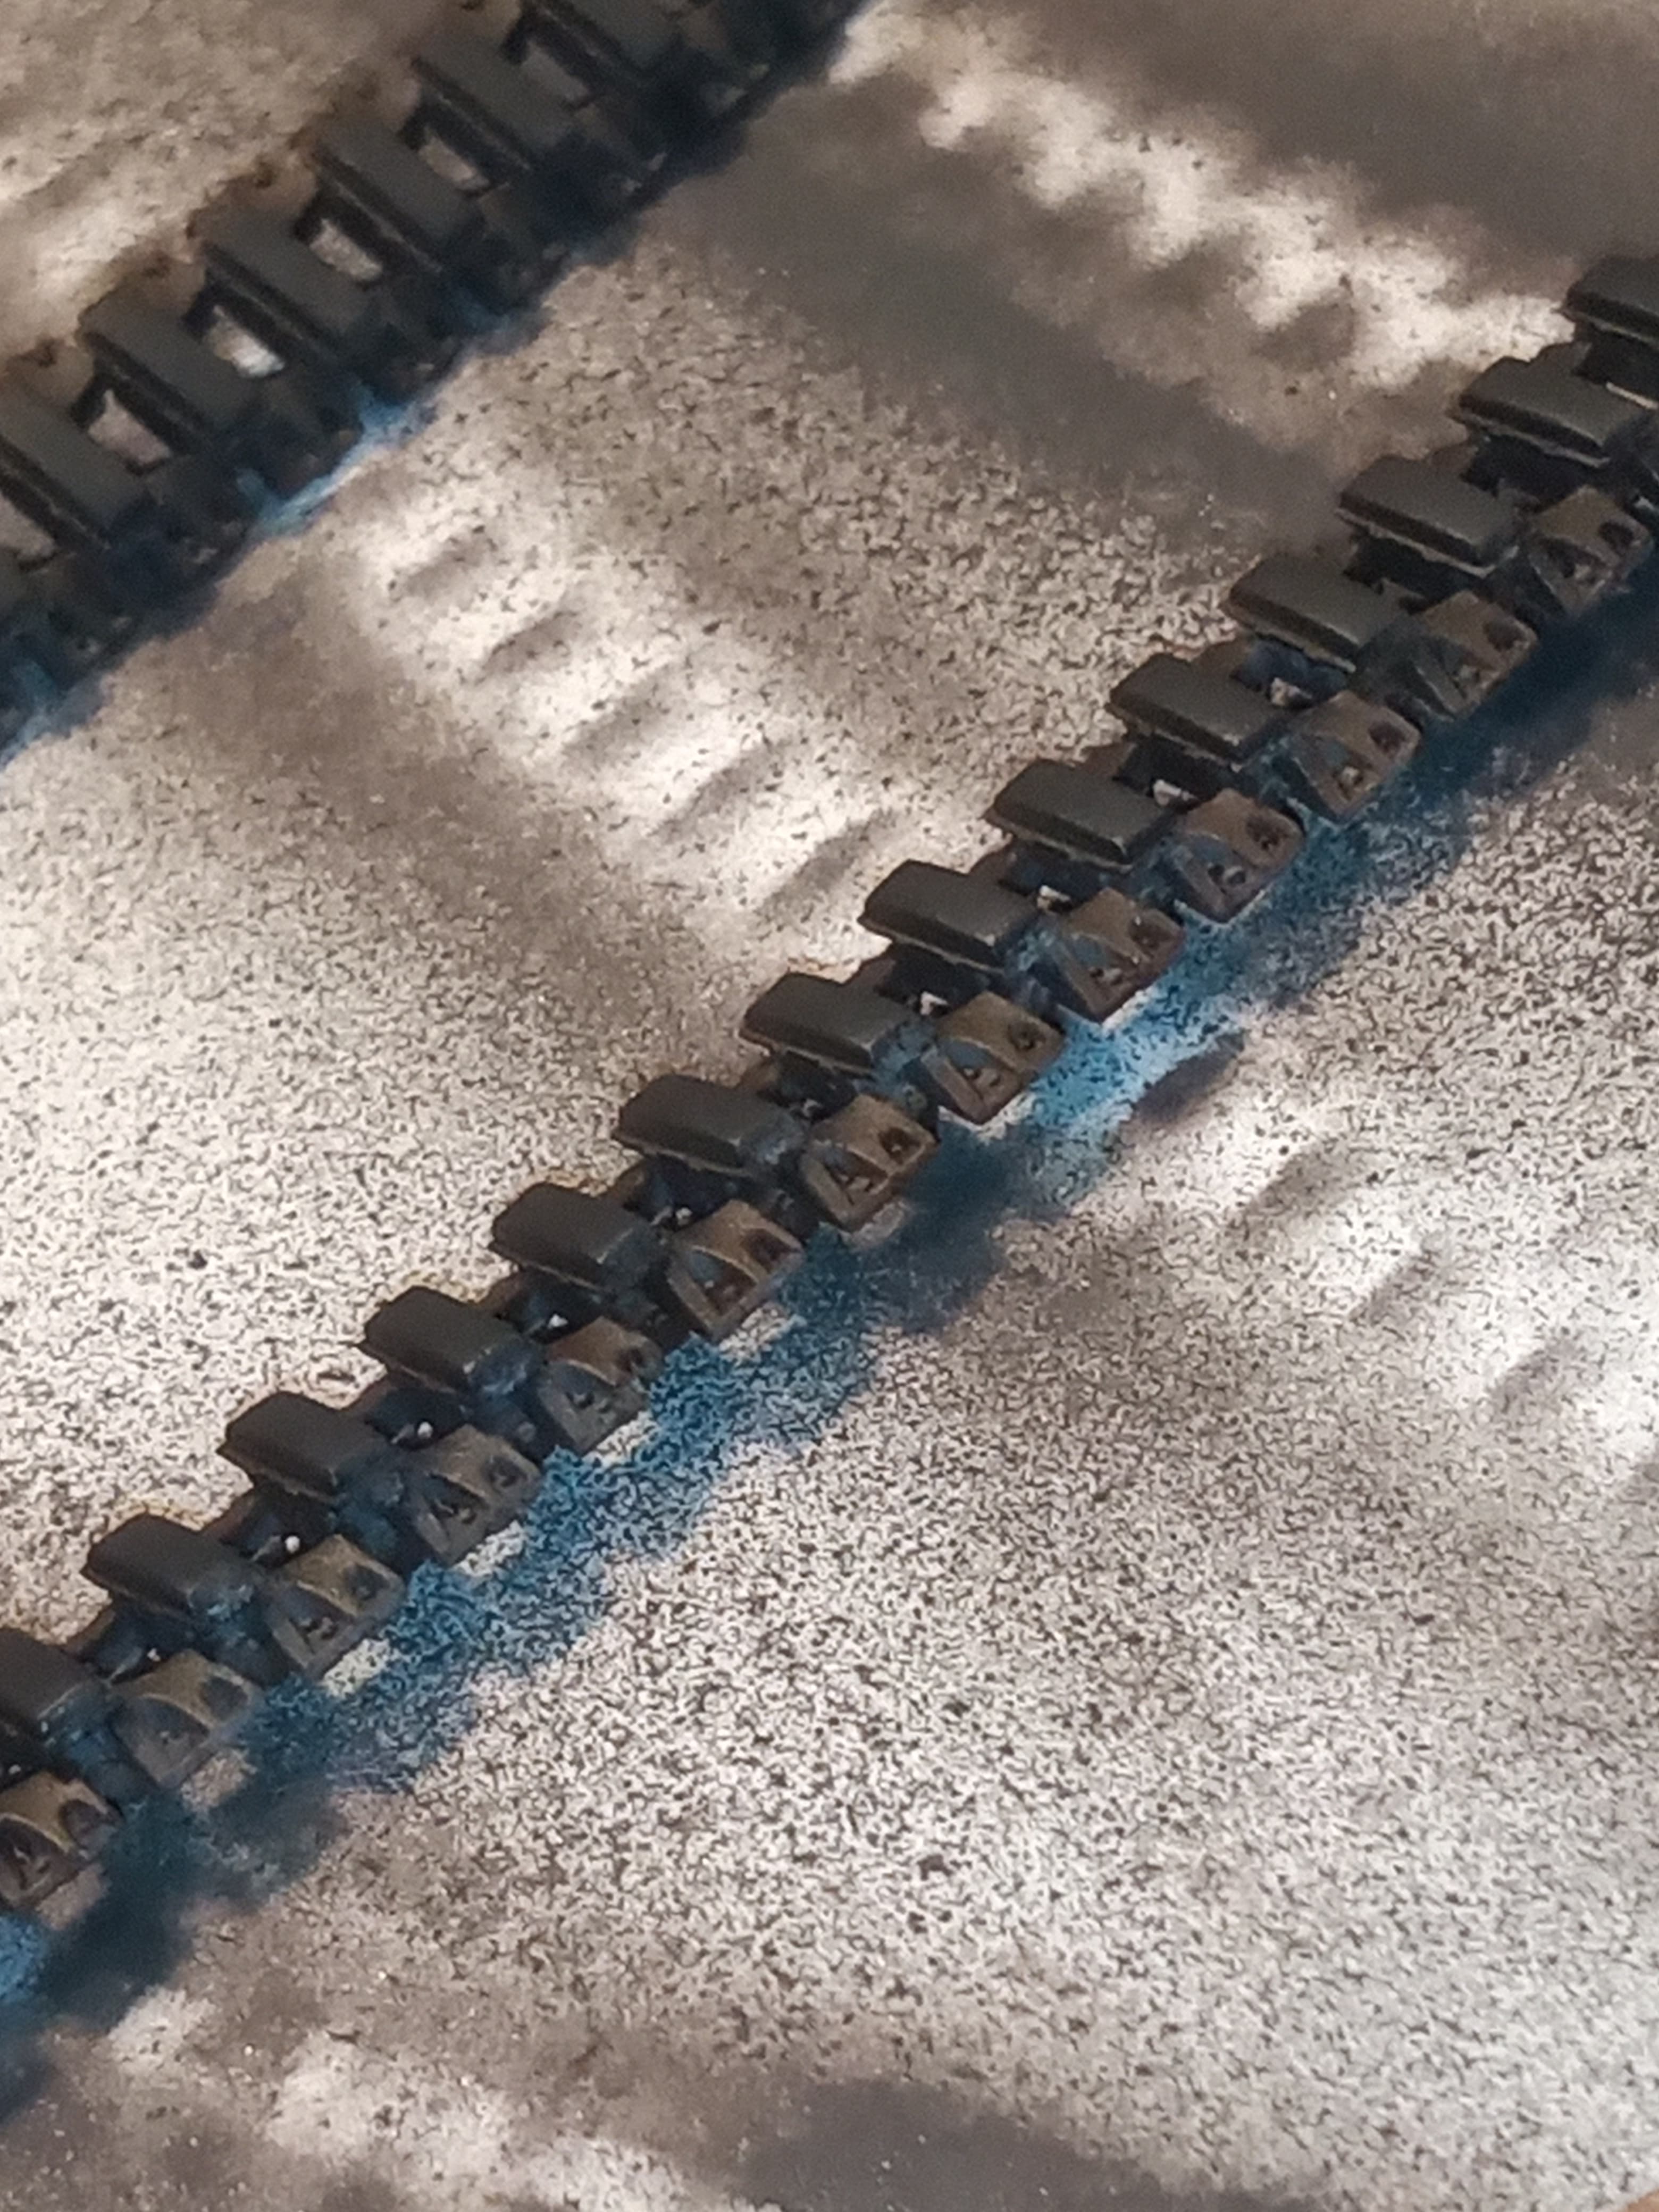
Ready for painting… Base coat of flat black then Tamiya dark iron on the metal areas …
I can see the finish line…
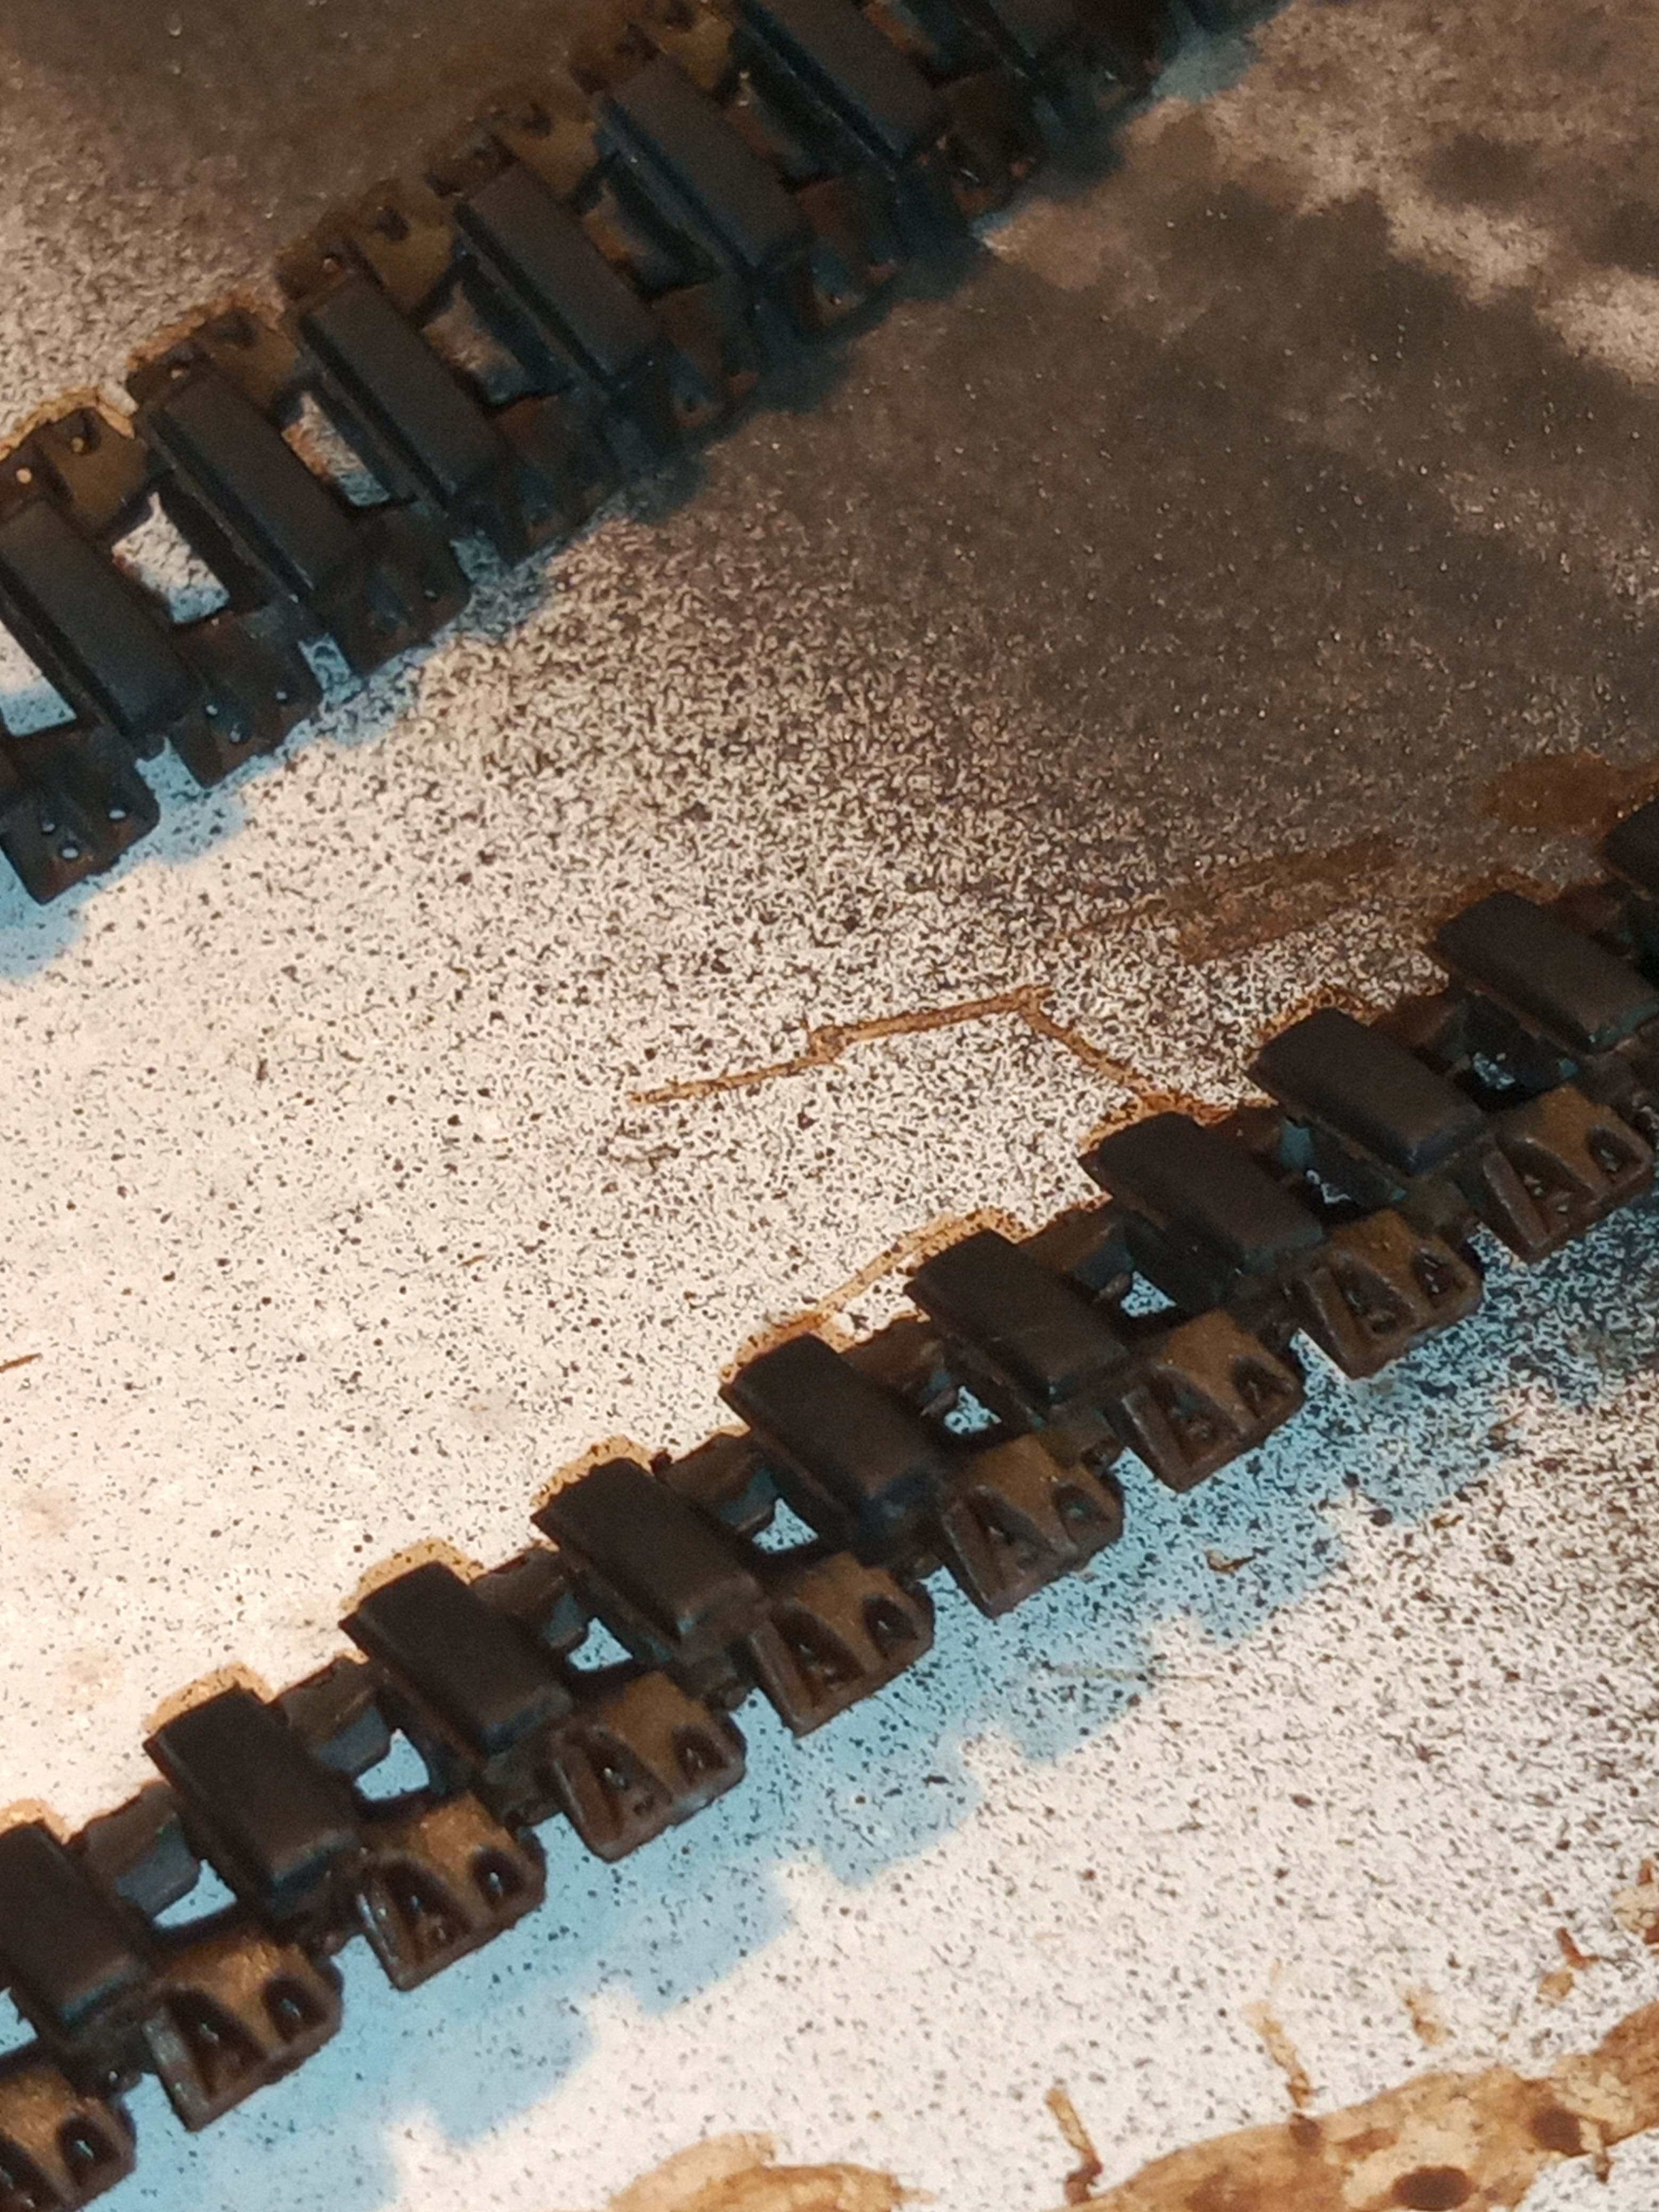
Tracks painted…
Did a straight base coat of Tamiya cold/dark iron, then a MIG track wash then did the pads in Tamiya rubber black.
Will do the wash again when tracks get fitted as there are bound to be some grey areas that can be seen…
Tracking along nicely John. ![]()
I found these some of the best track links around for workable finish. Being workable makes it easy to fit later- just make sure you put them on the right way around. They only fit the drive sprocket correctly one way.
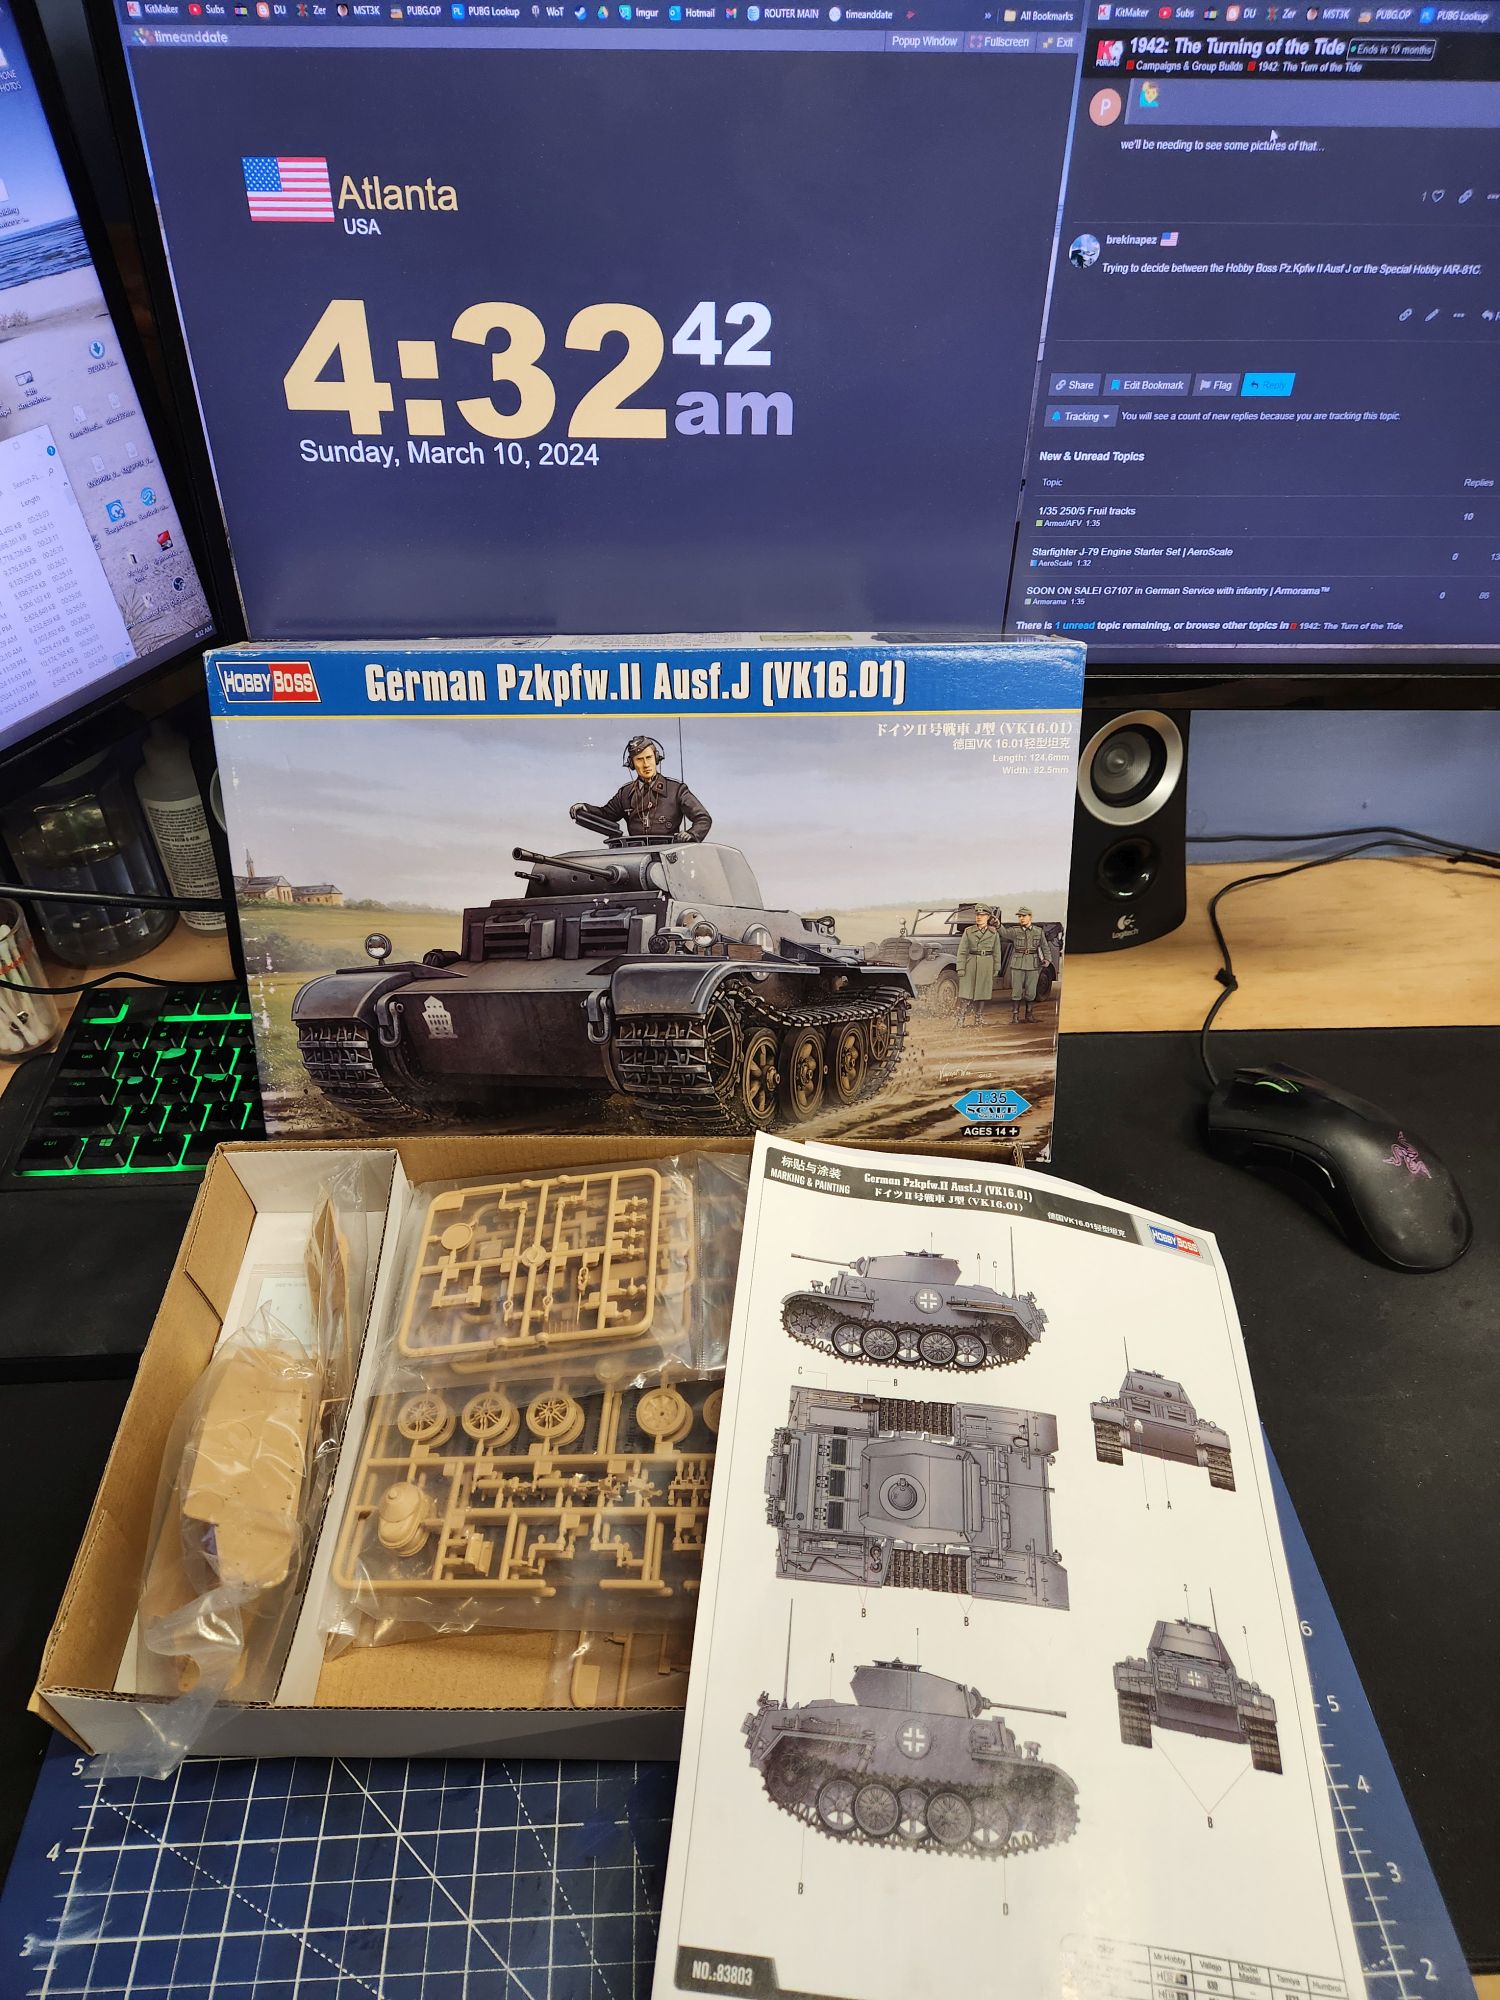
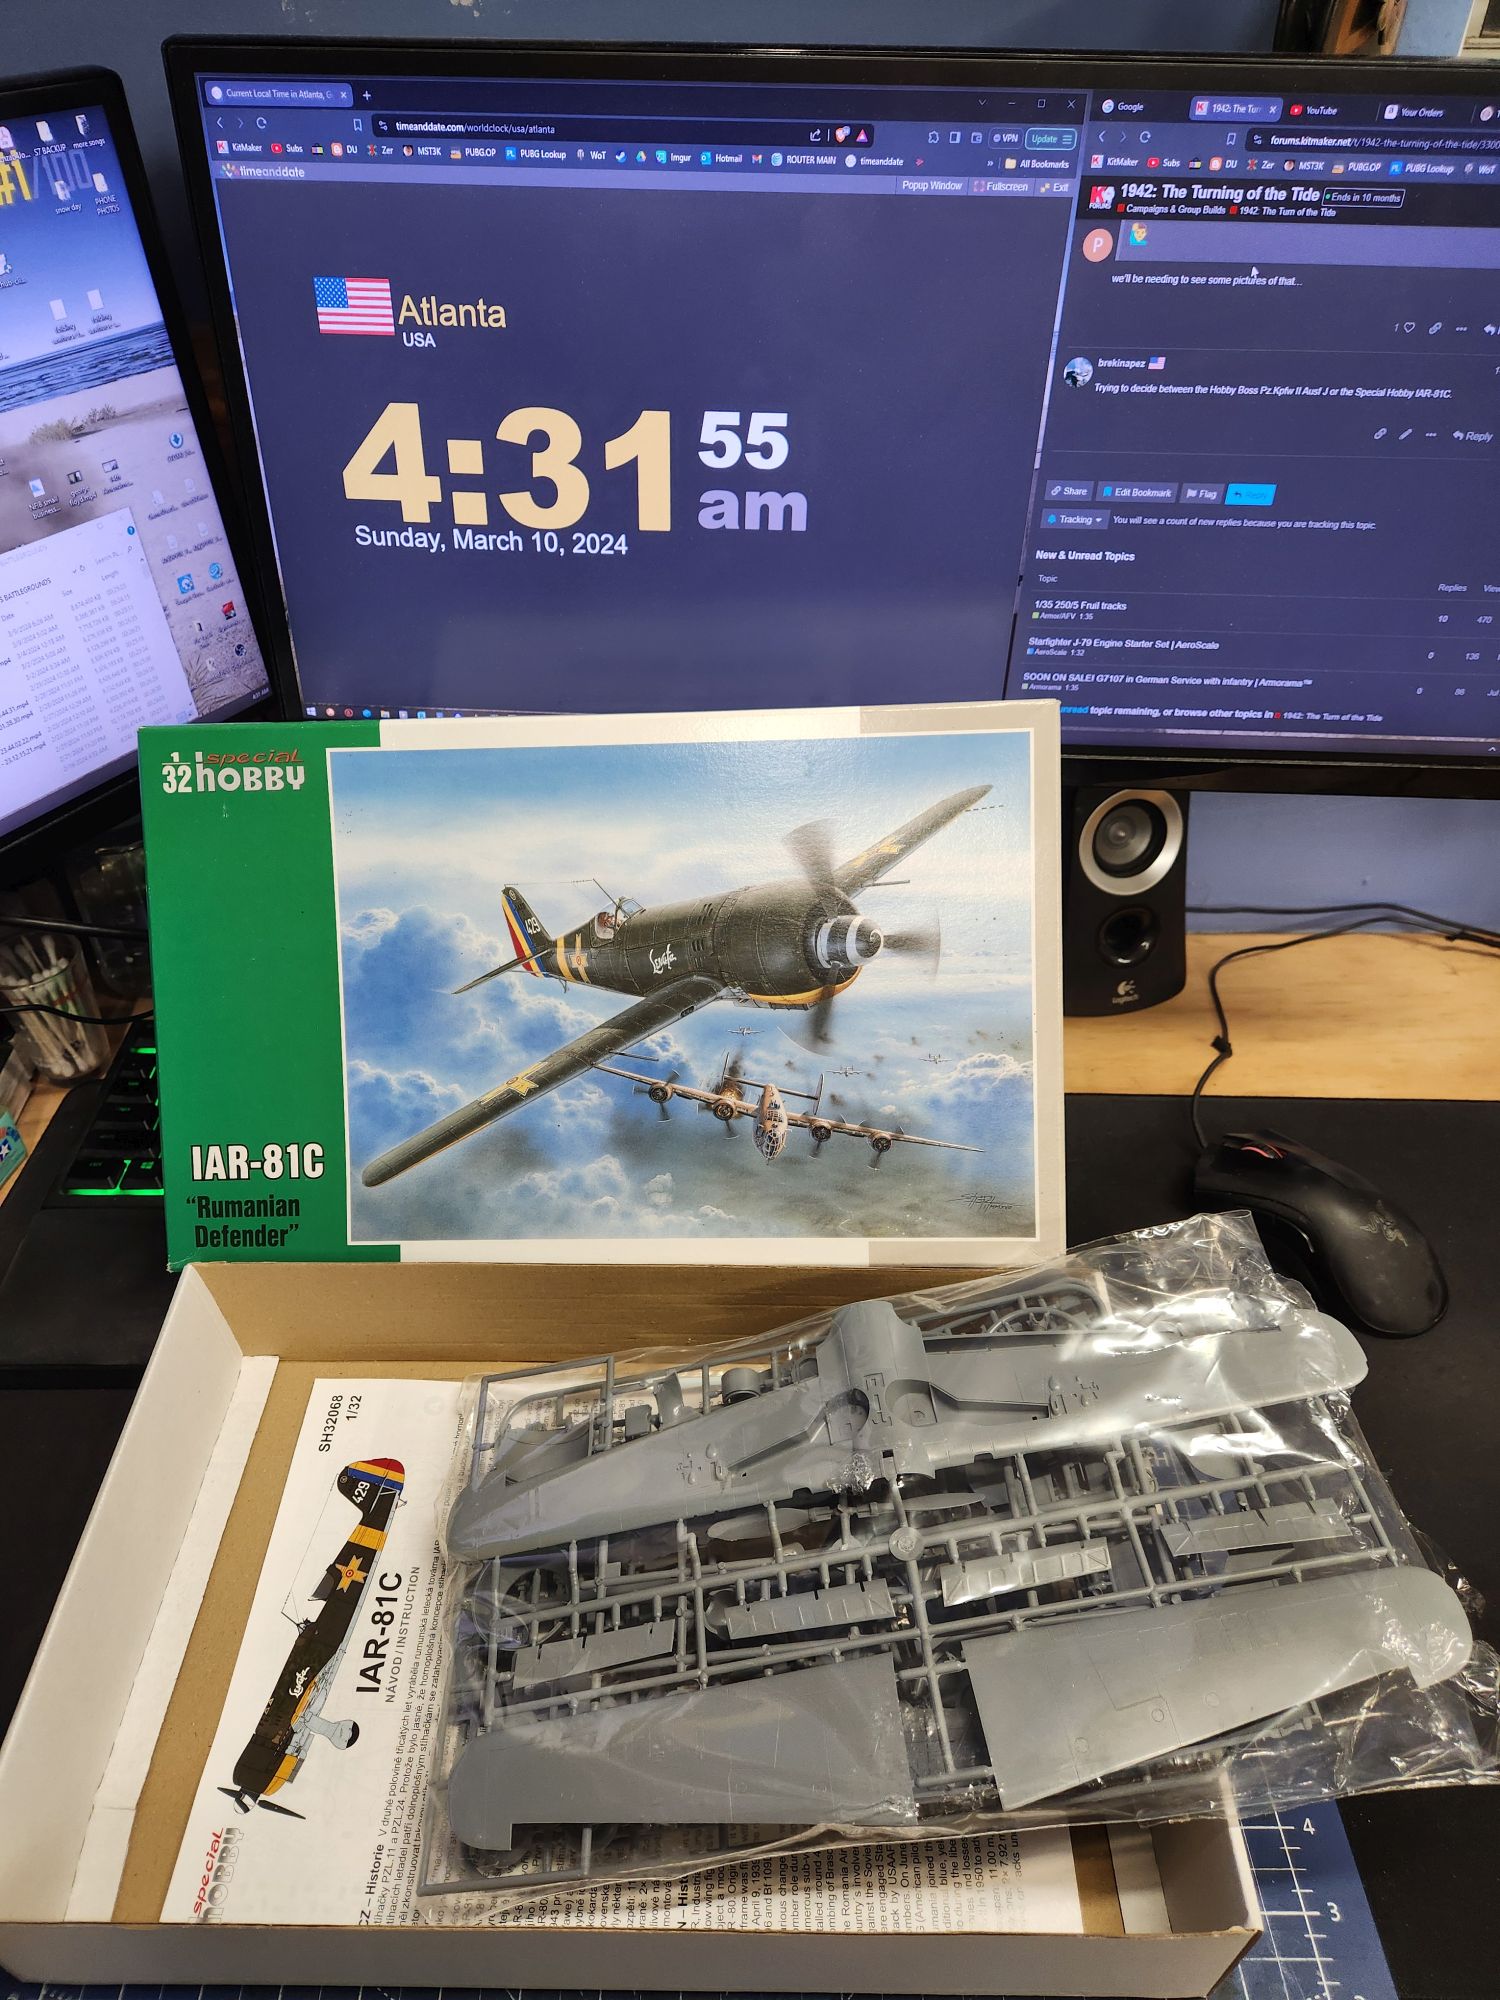
Still haven’t decided if I am doing the Pz II J or the IAR 81c yet, but here are my start photos so I don’t forget:
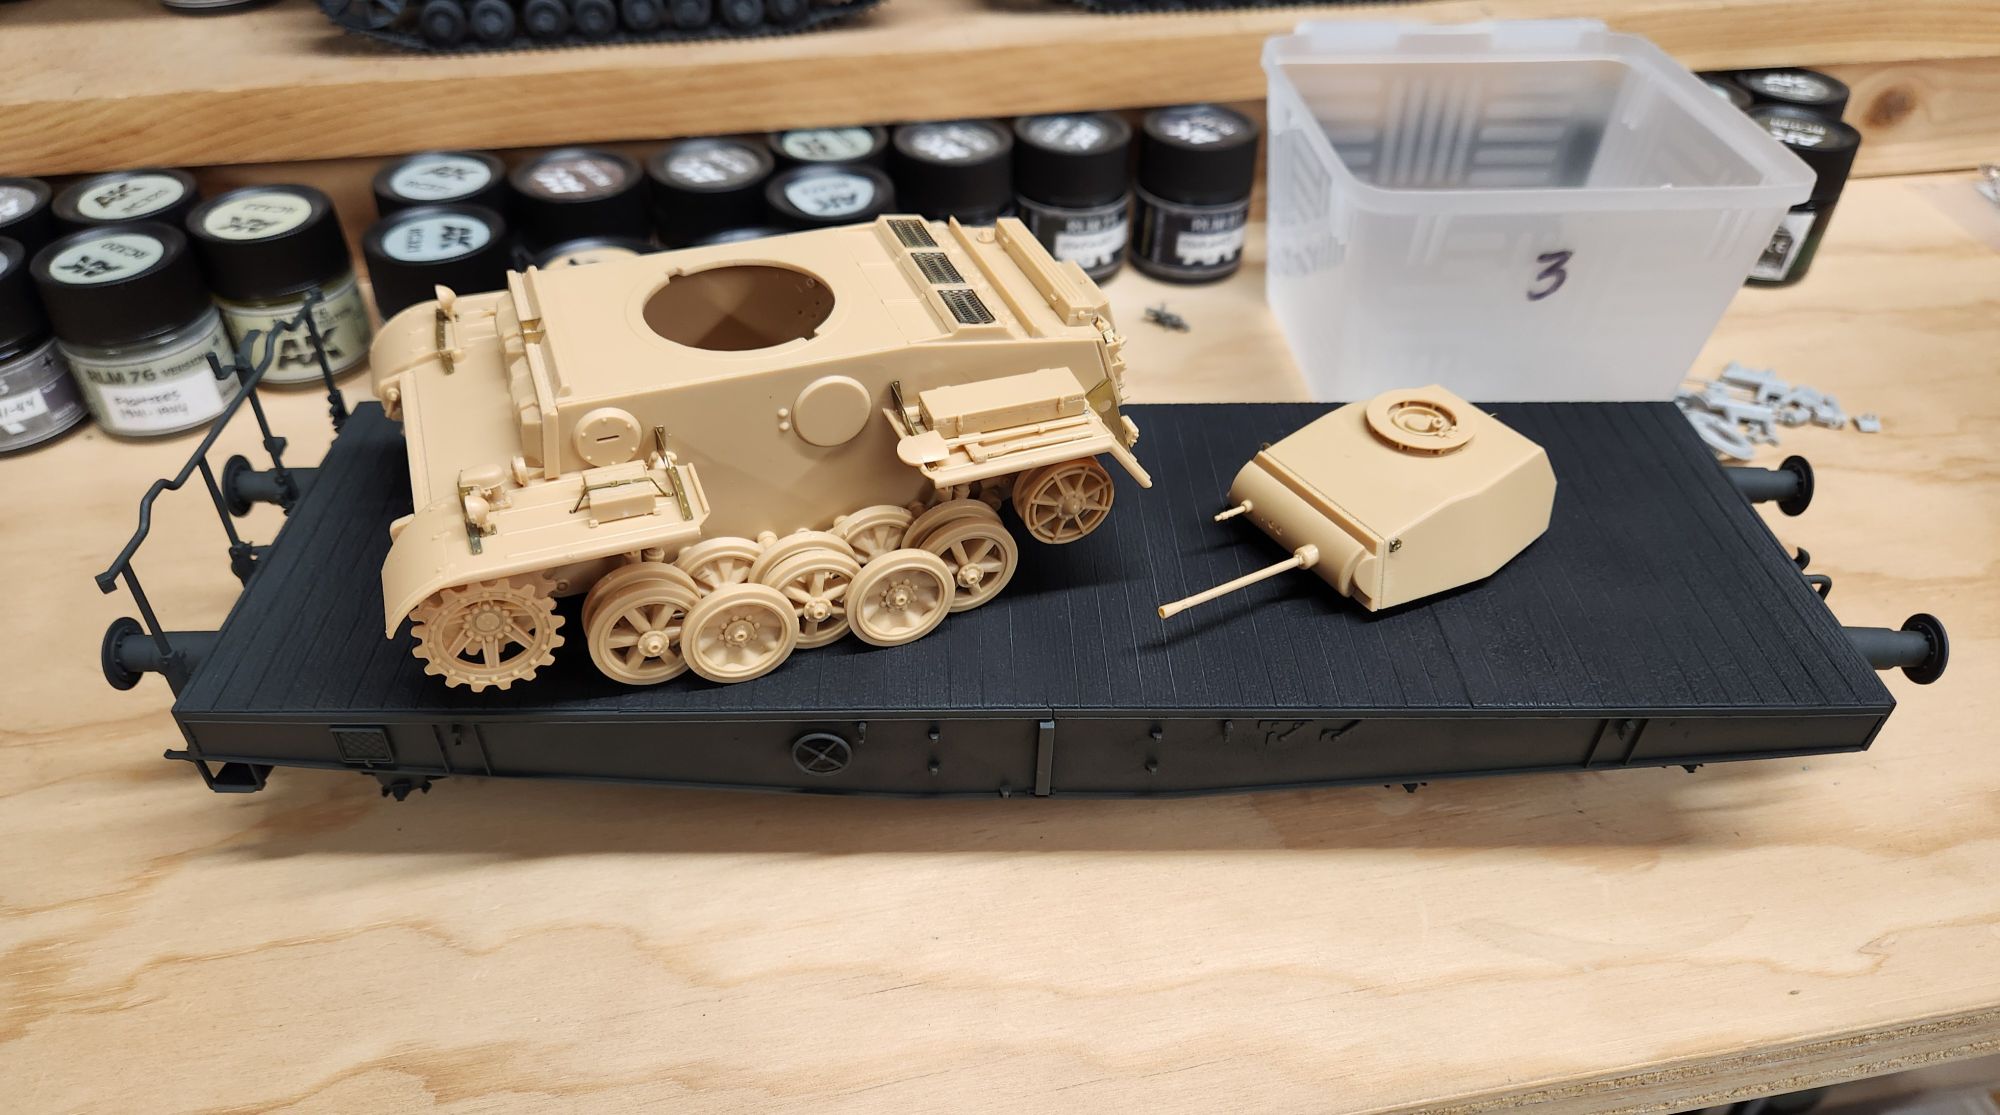
And here’s where the Pz II sits at the moment:
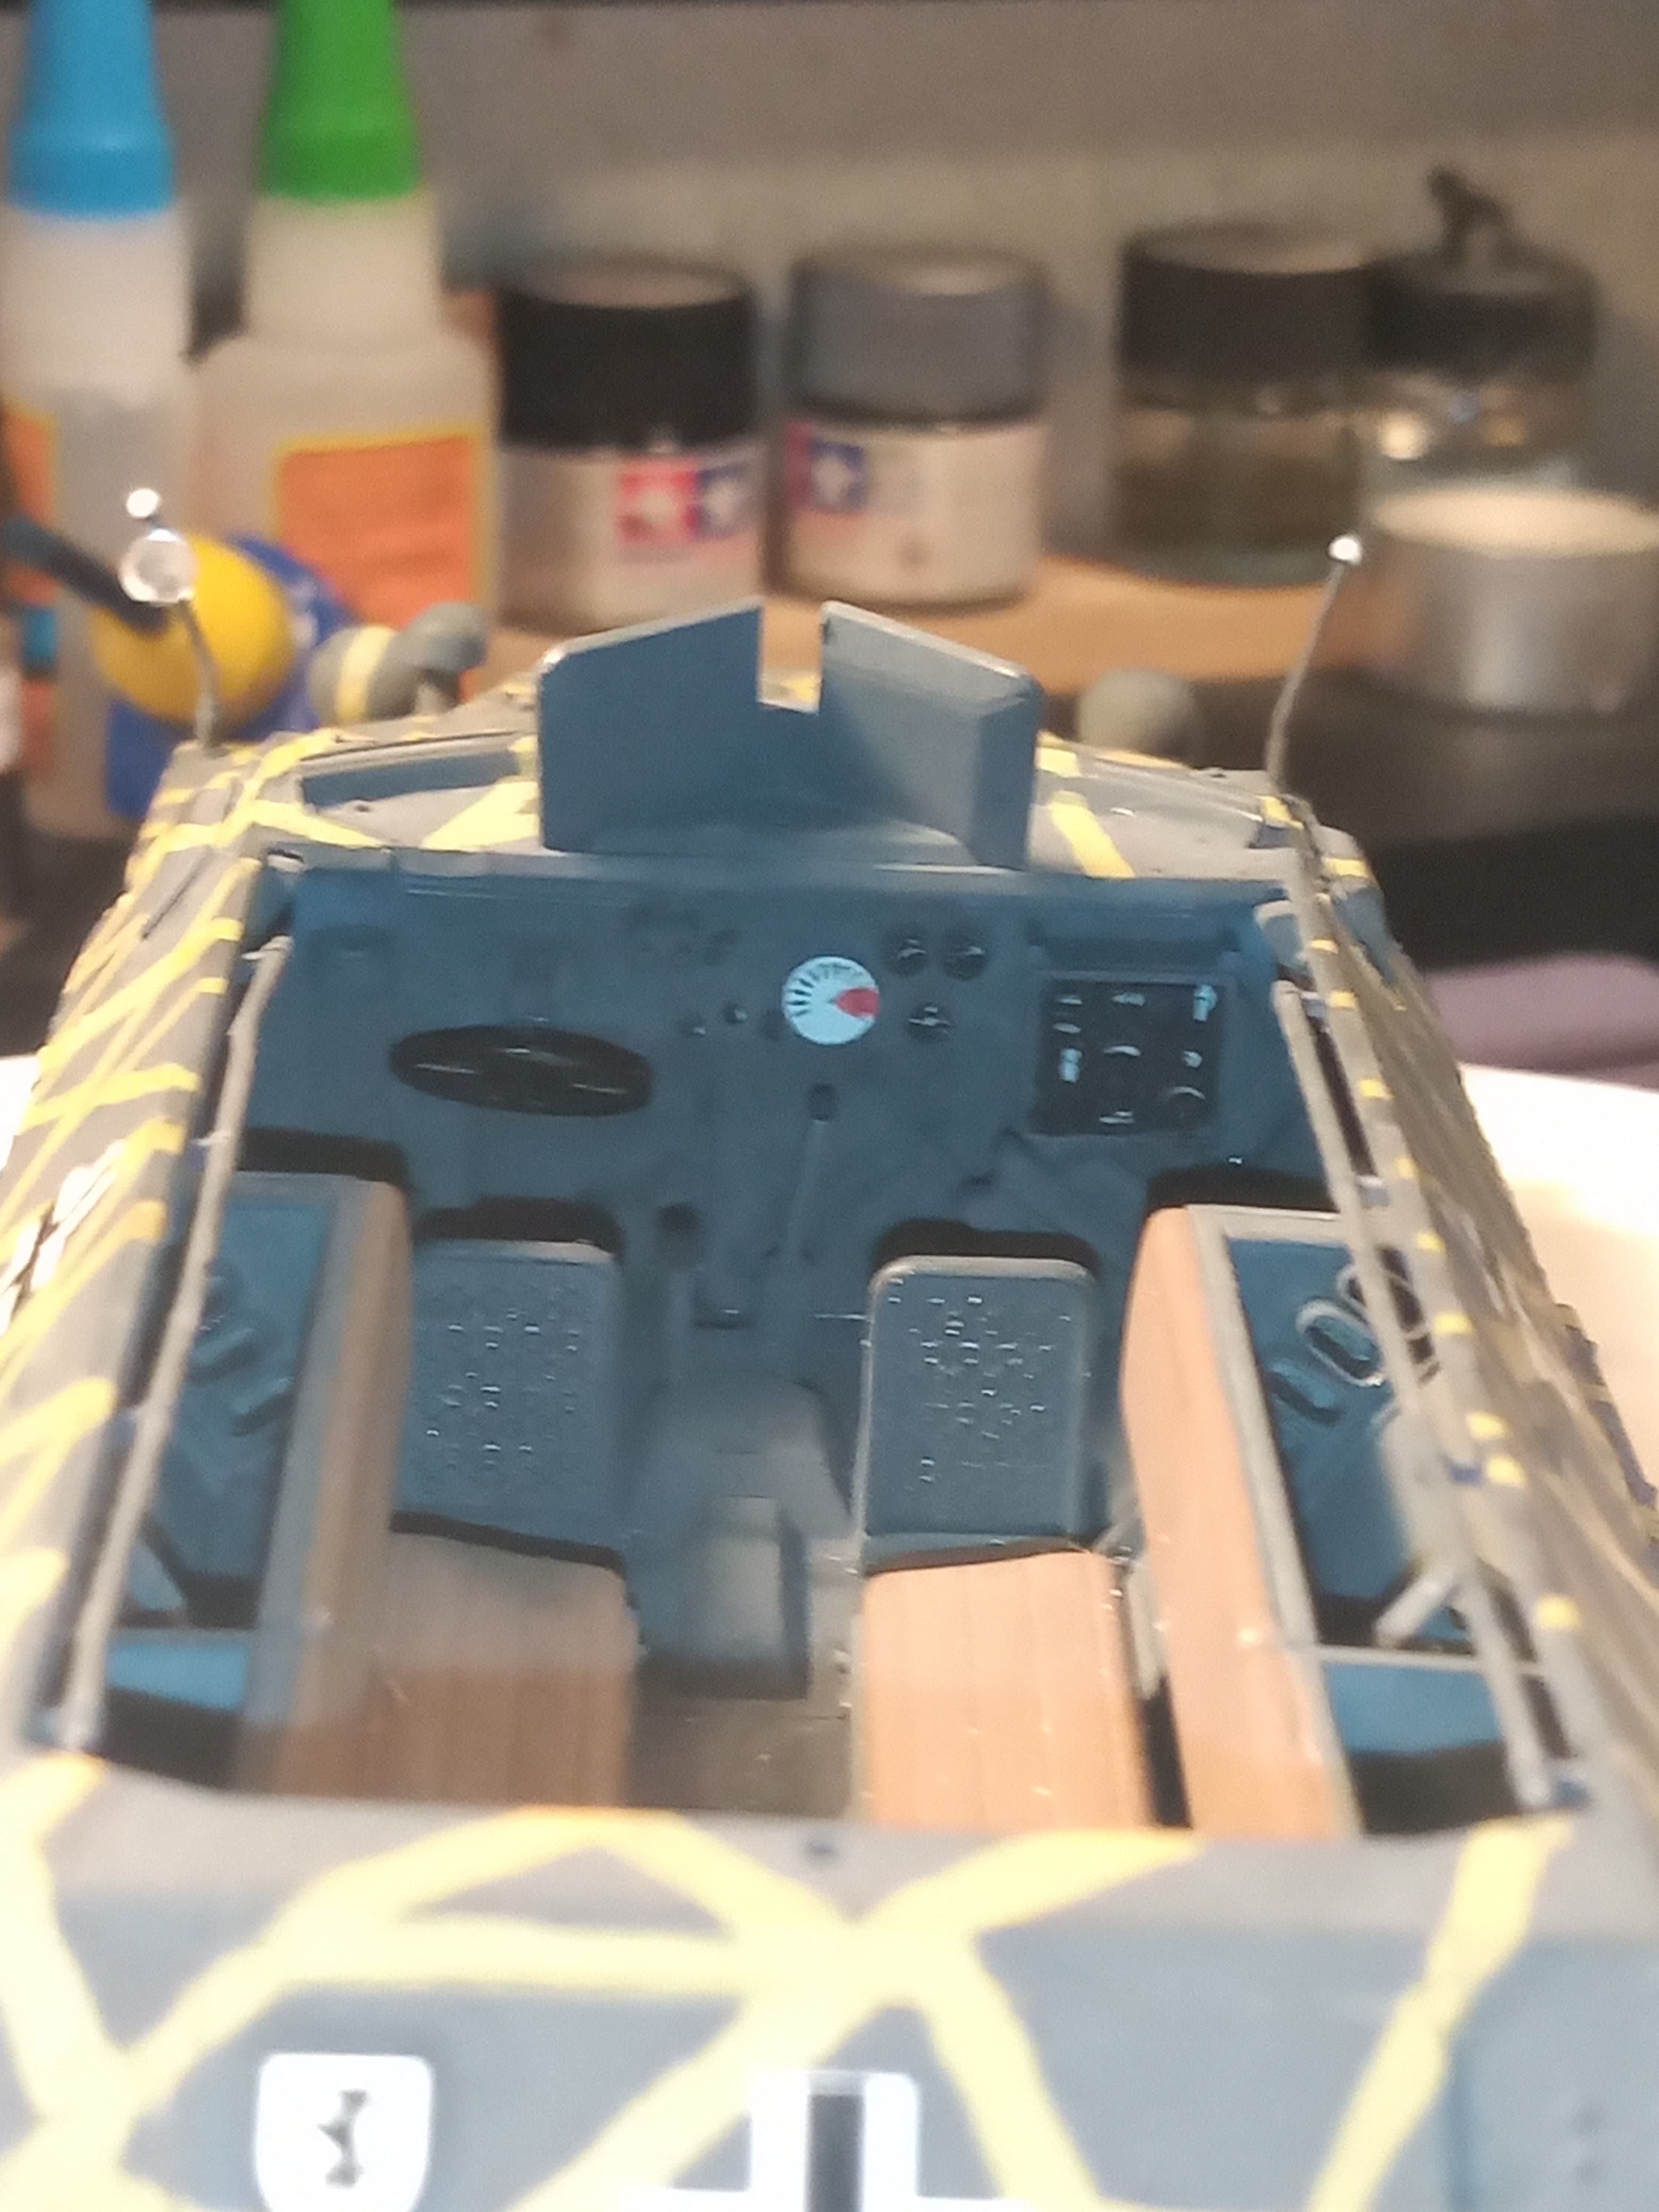
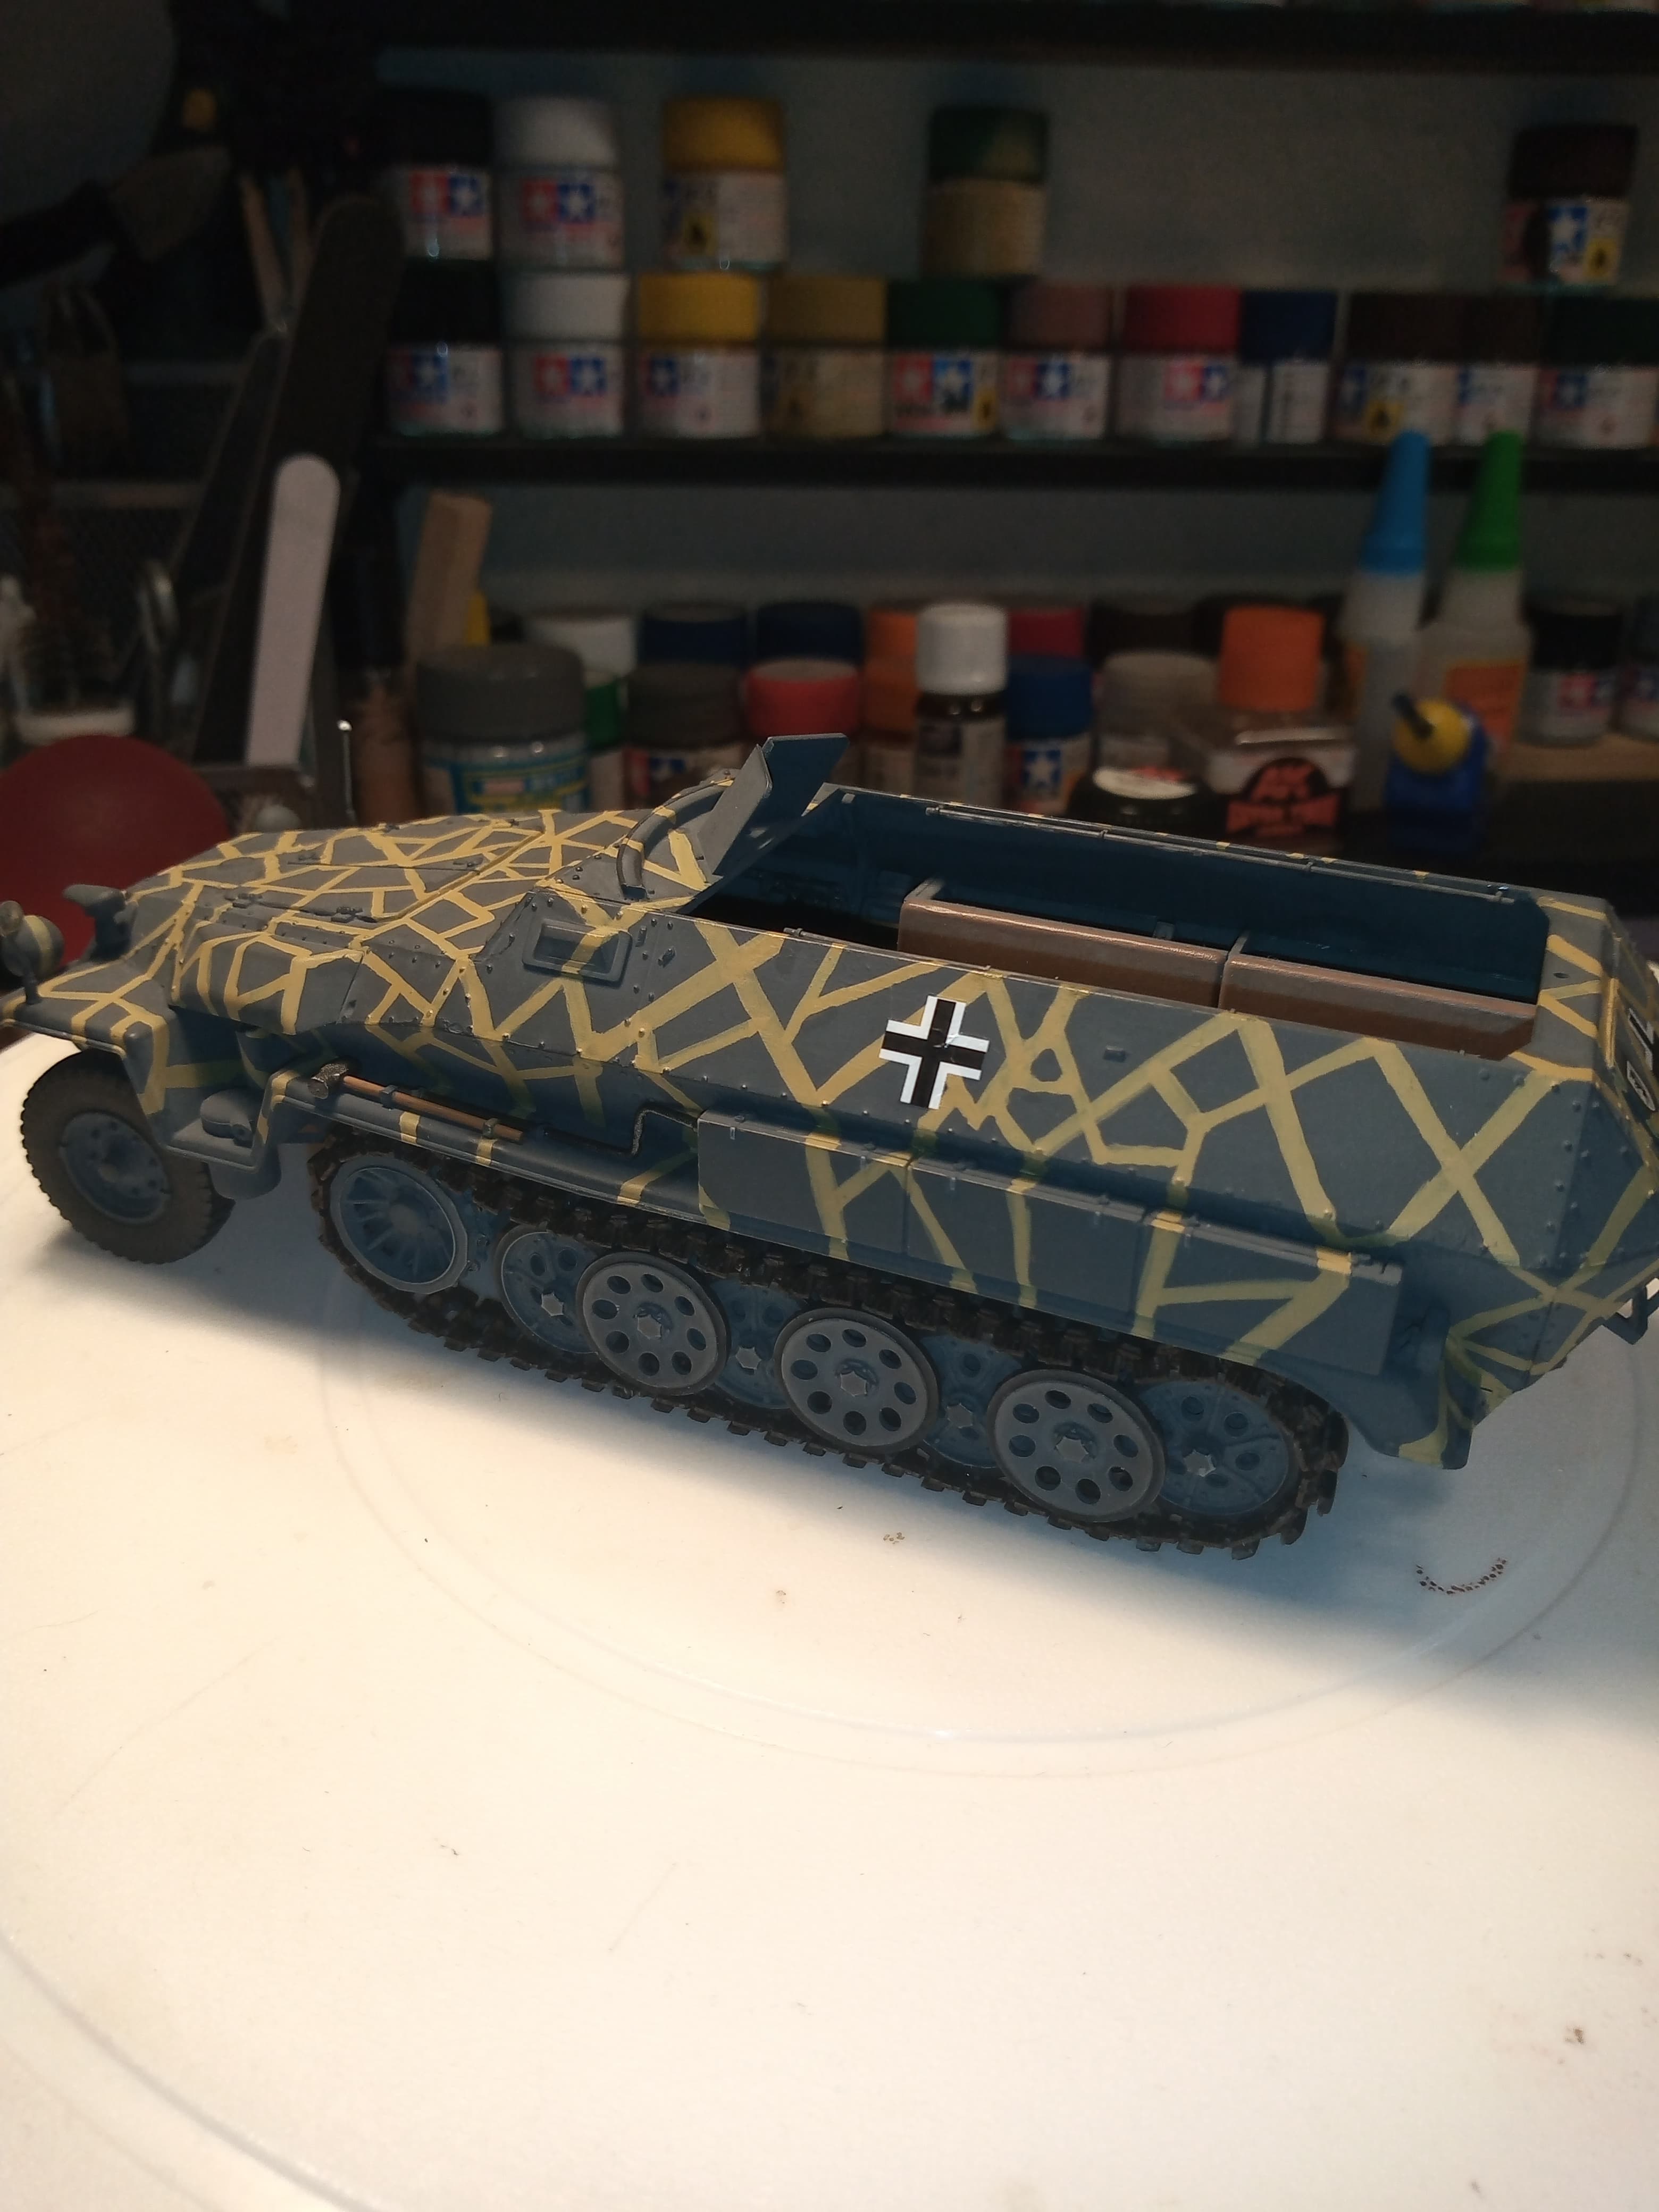
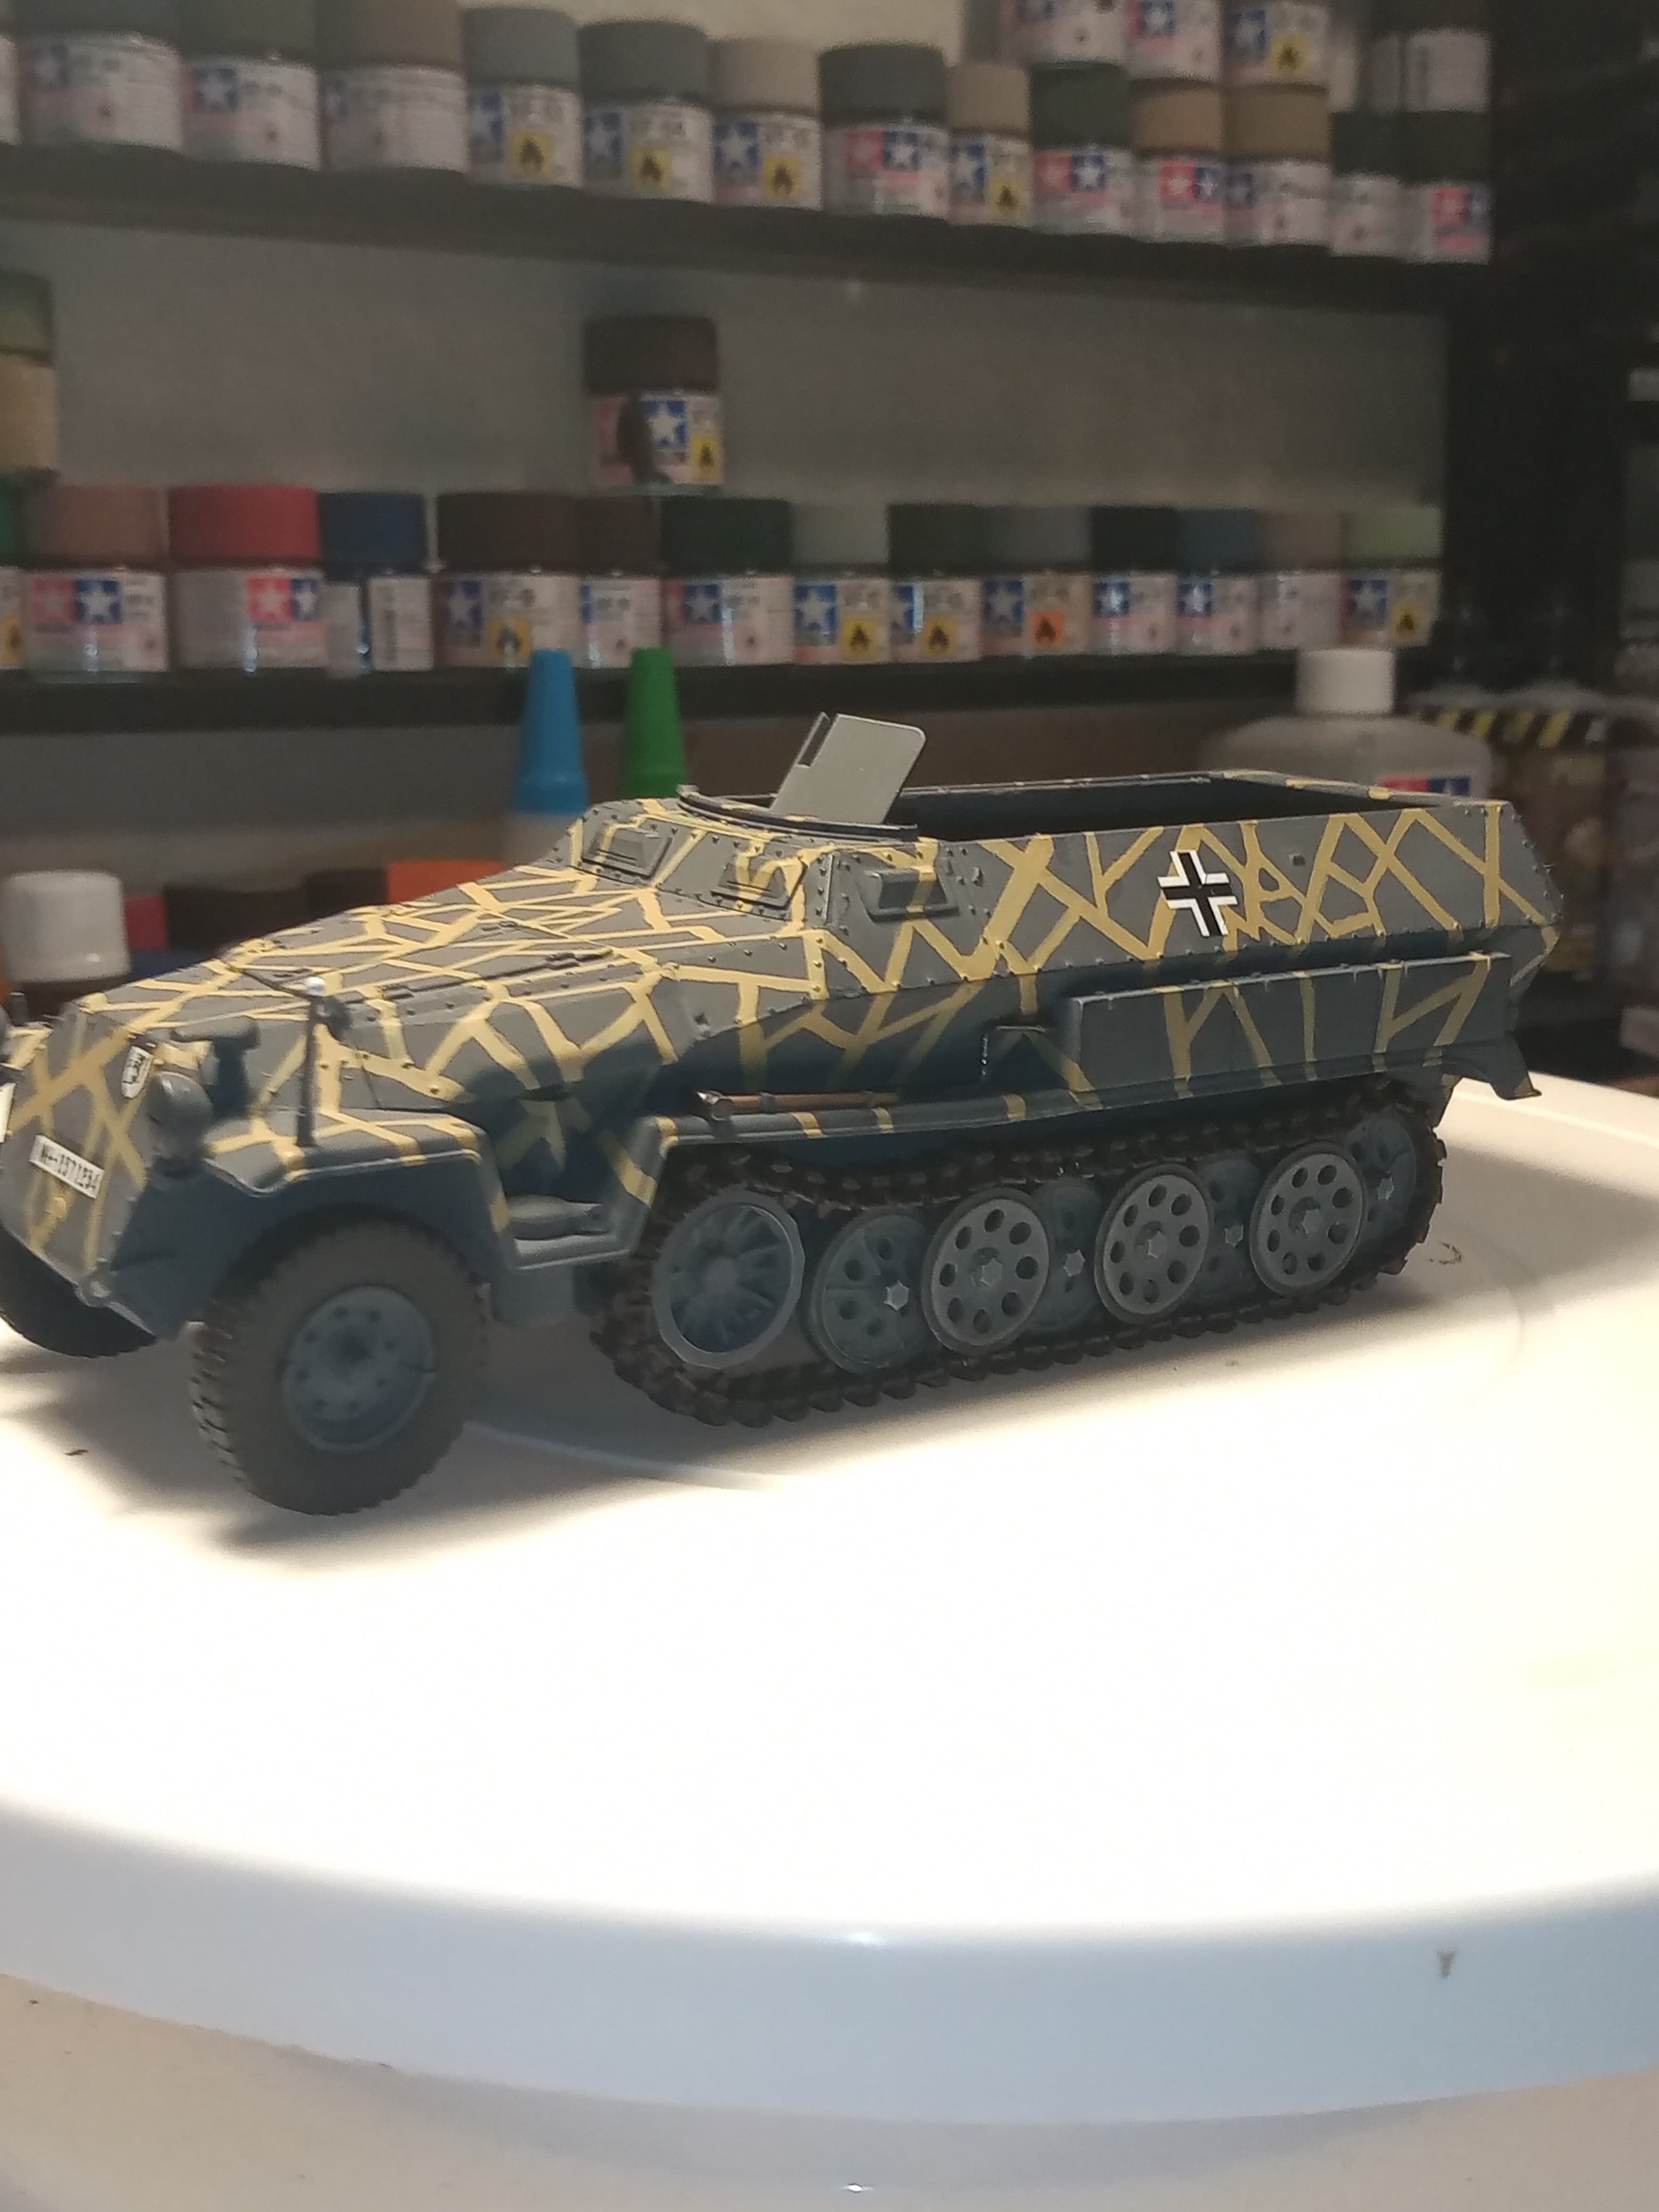
Ok, I’m at the point of calling the 251 done as far I am going with it. The kit is built, painted, with decals. It isn’t weathered, the MGs are not fitted as I want to do a small Dio with the 251 and either an early Tiger or Panther D… So I want to weather both together and not have weathering pigments on and set that look wrong later on…
Anyway, this kit had serious issues, even up to the end, which I will talk about.
Now, the build issues were complex and I won’t go into them again, but on the whole, considering the age of the kit, it finally went together ok.
The most annoying part was right at the end… You get 60 track links which is ample to make a run up of 56 initially per side, which I had to eventually go down to 55 per side …
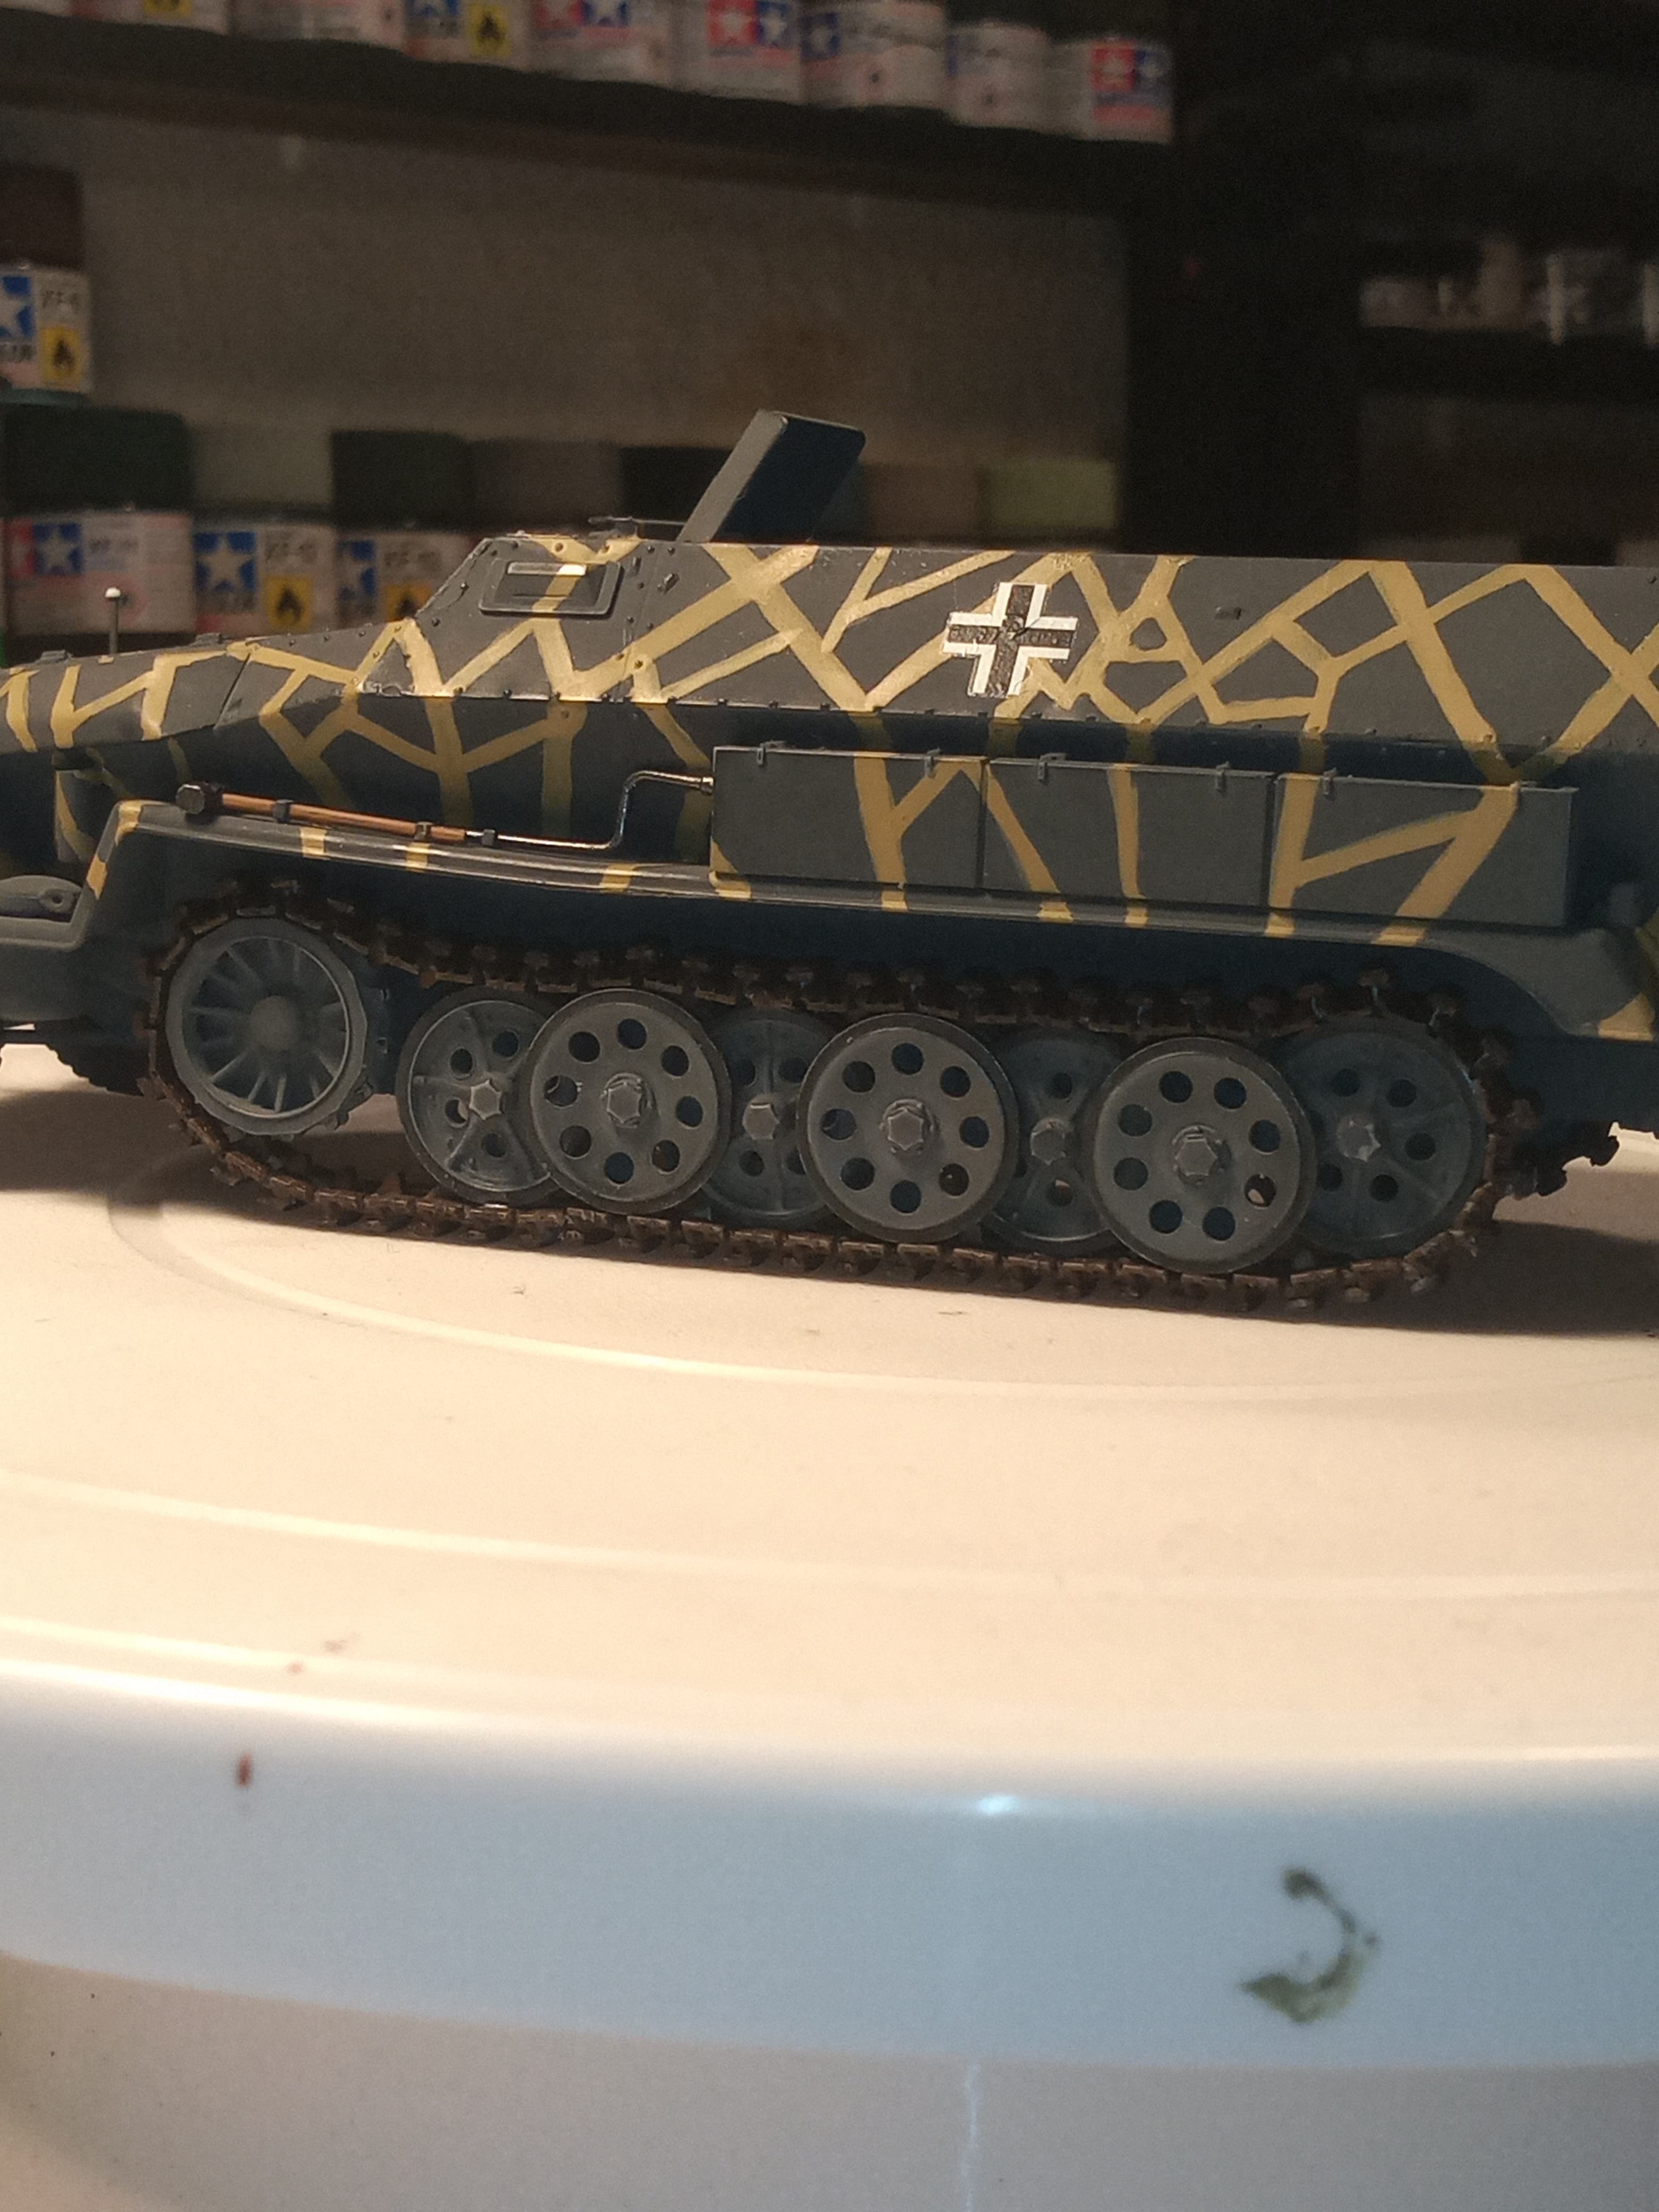
Now, the running gear went on fine… it’s mirrored each side and fitted correctly with the proper spacing and gaps etc…
When I fitted the right hand track, it fitted perfectly, no issues at all…
The left hand track was the issue, I dropped it to 55 links but its still to long, but I couldn’t go down to 54 links as it was then to short and wouldn’t connect together, which is a shame as the track is actually pretty good and fully articulated…
It is what it is, and it won’t effect the future Dio as I plan on having one side fully bogged in…
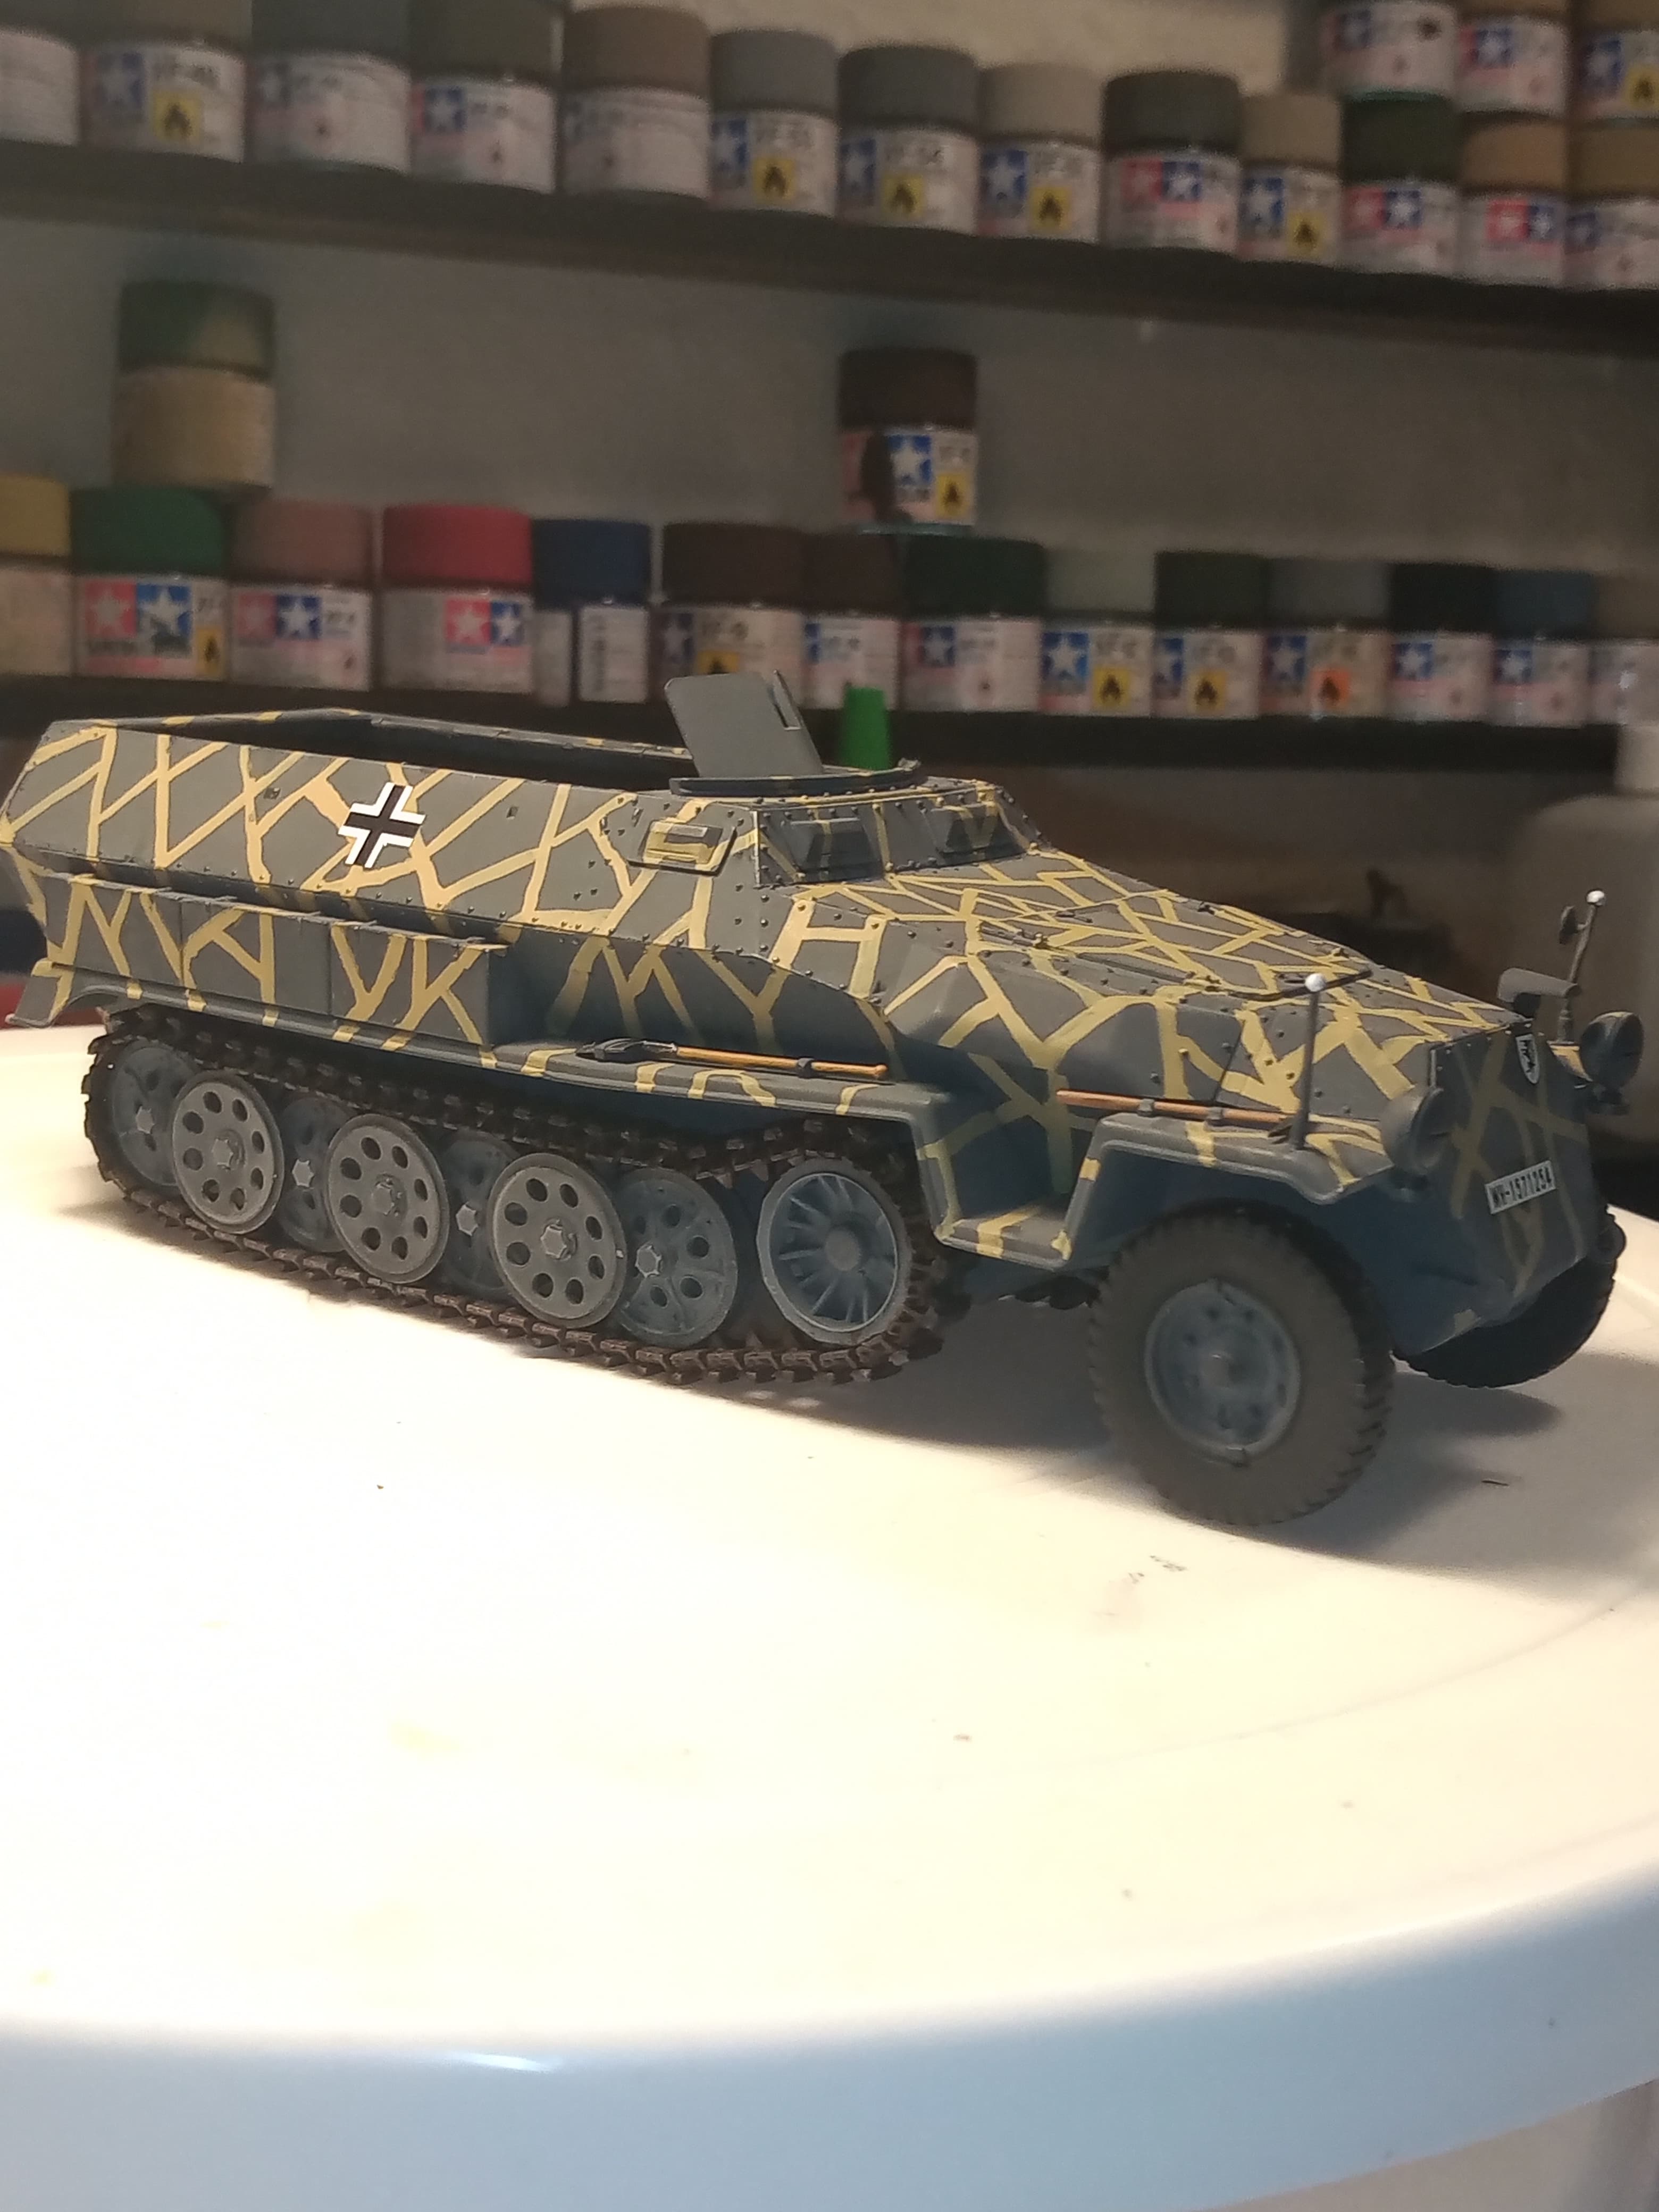
The other issue was odd… Without the tracks fitted, the wagon sits perfectly on the ground, … Once the tracks are fitted, the front wheels are both about about 2 to 3mm off the ground. Now they are fitted correctly and as per the instructions so I don’t know what the issue is … If the tracks didn’t have track pads, the wagon would sit level… Just odd … Hey ho …
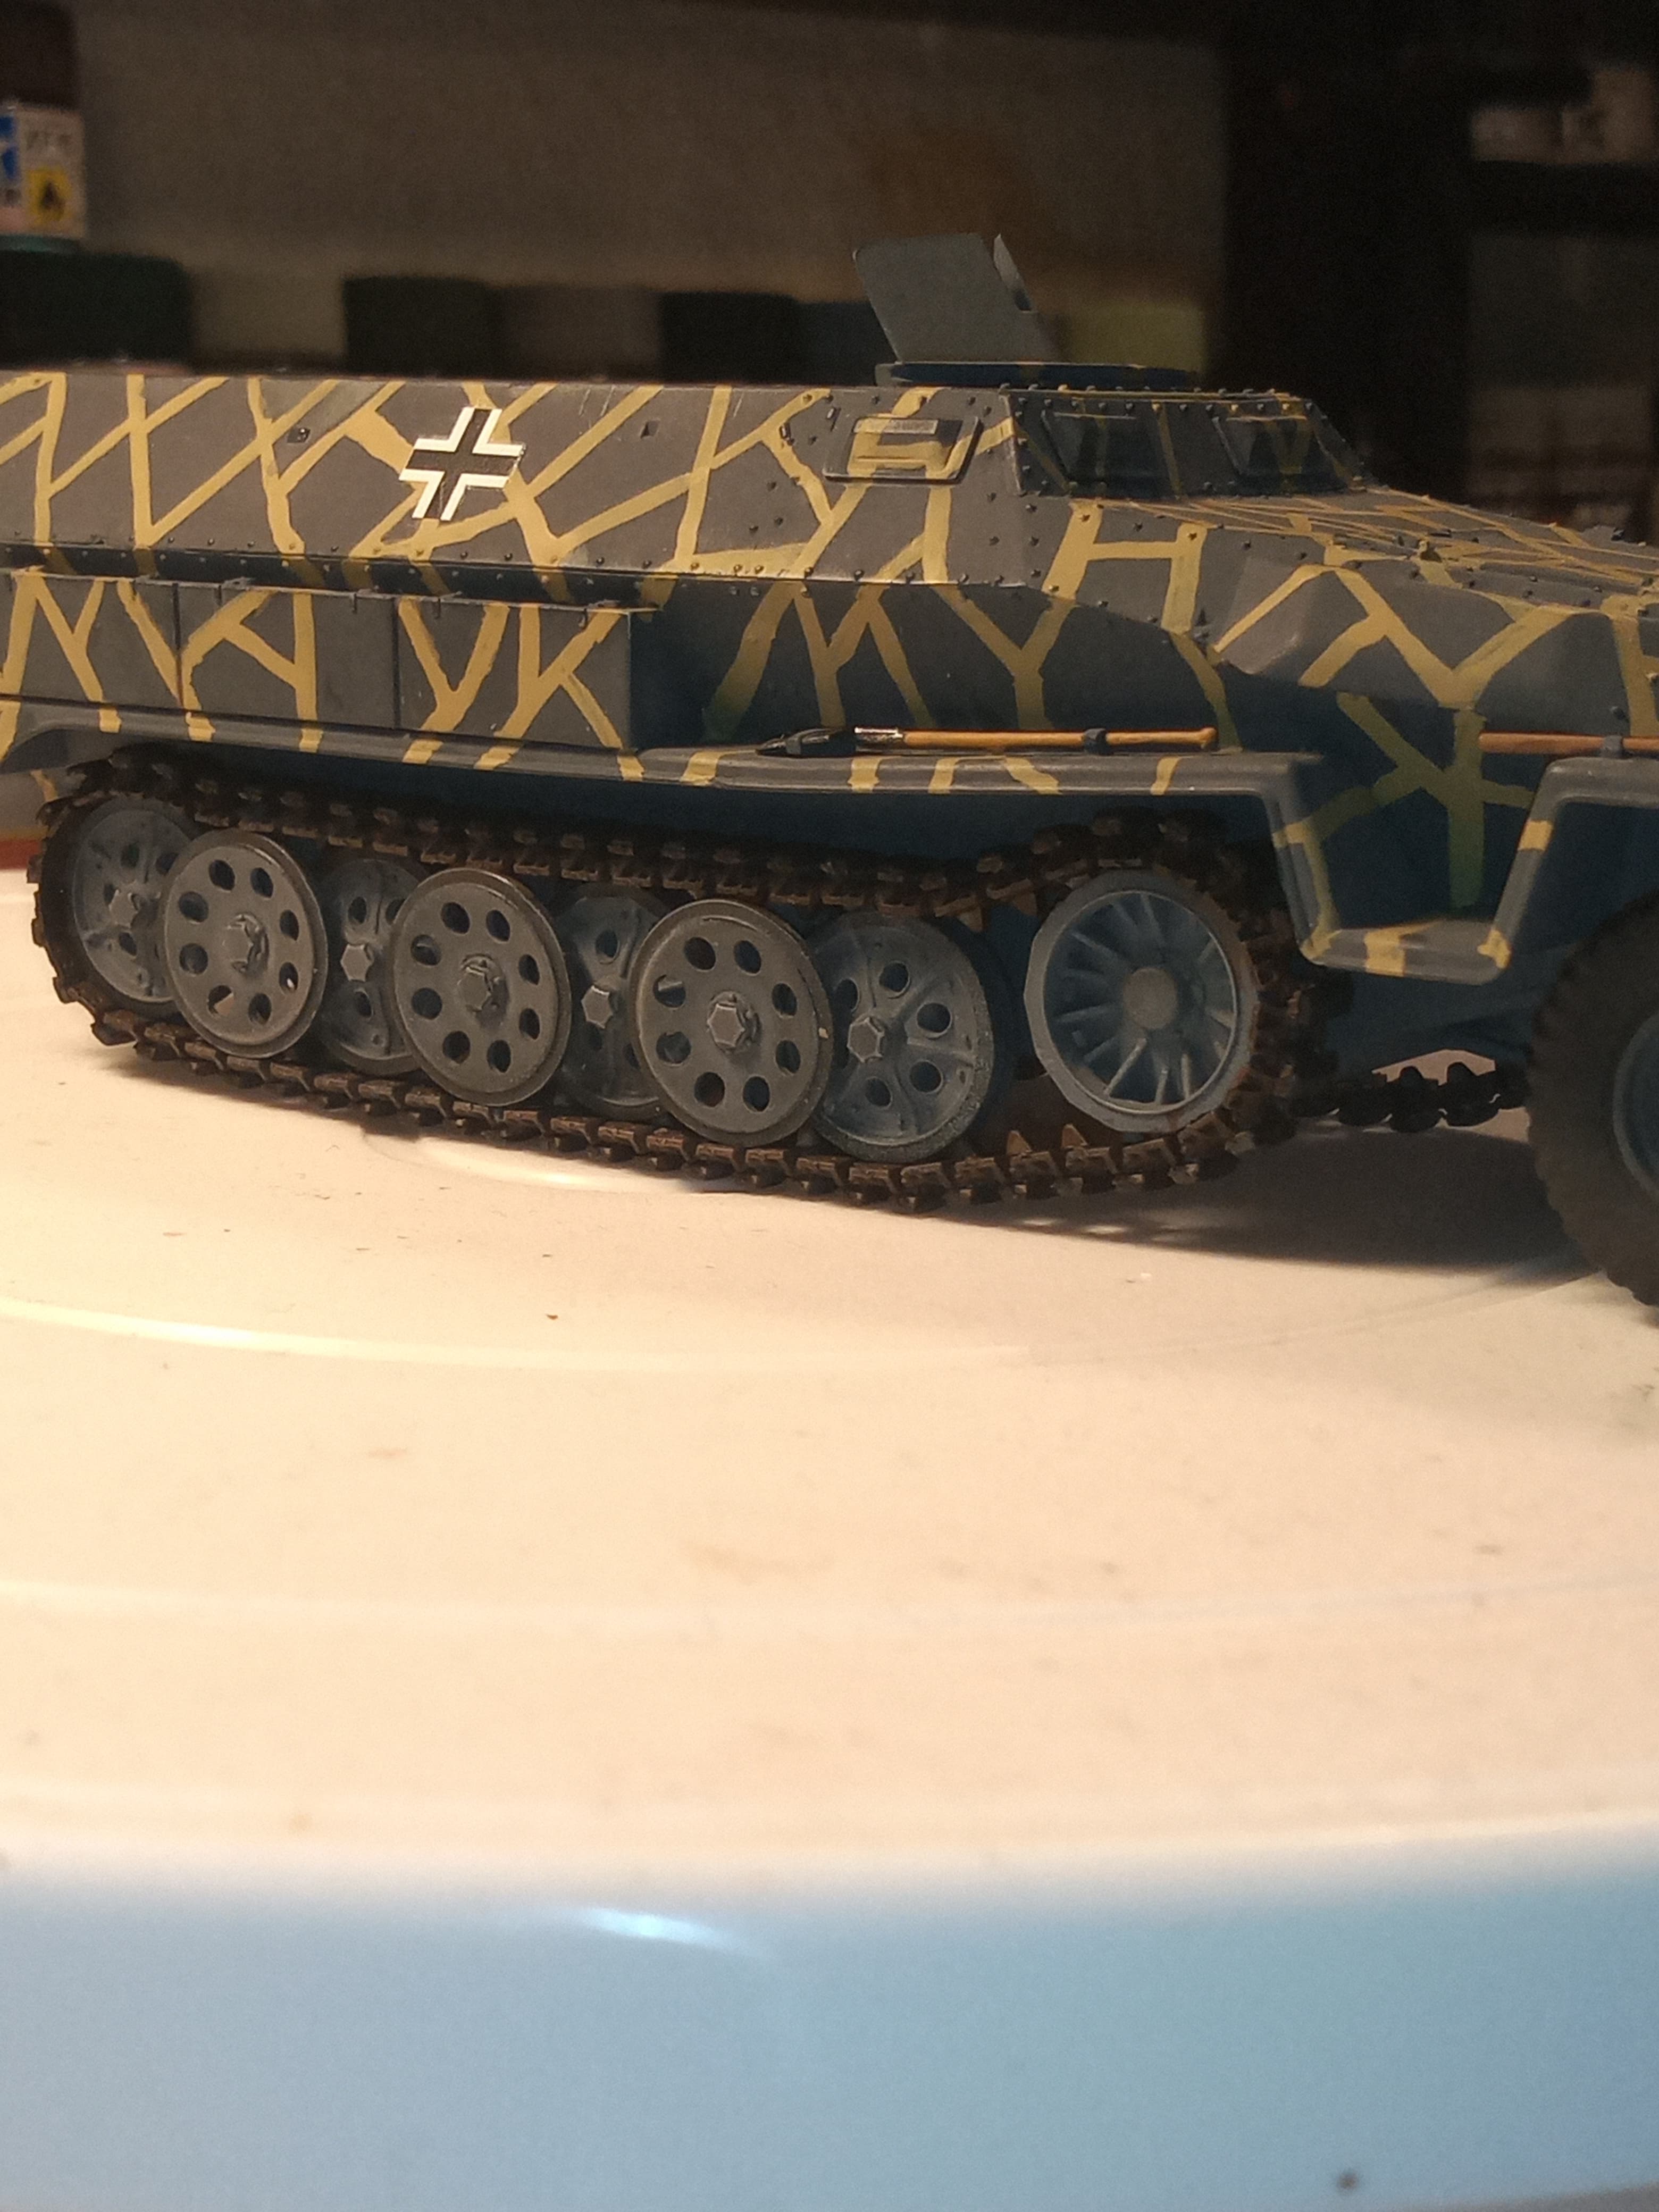
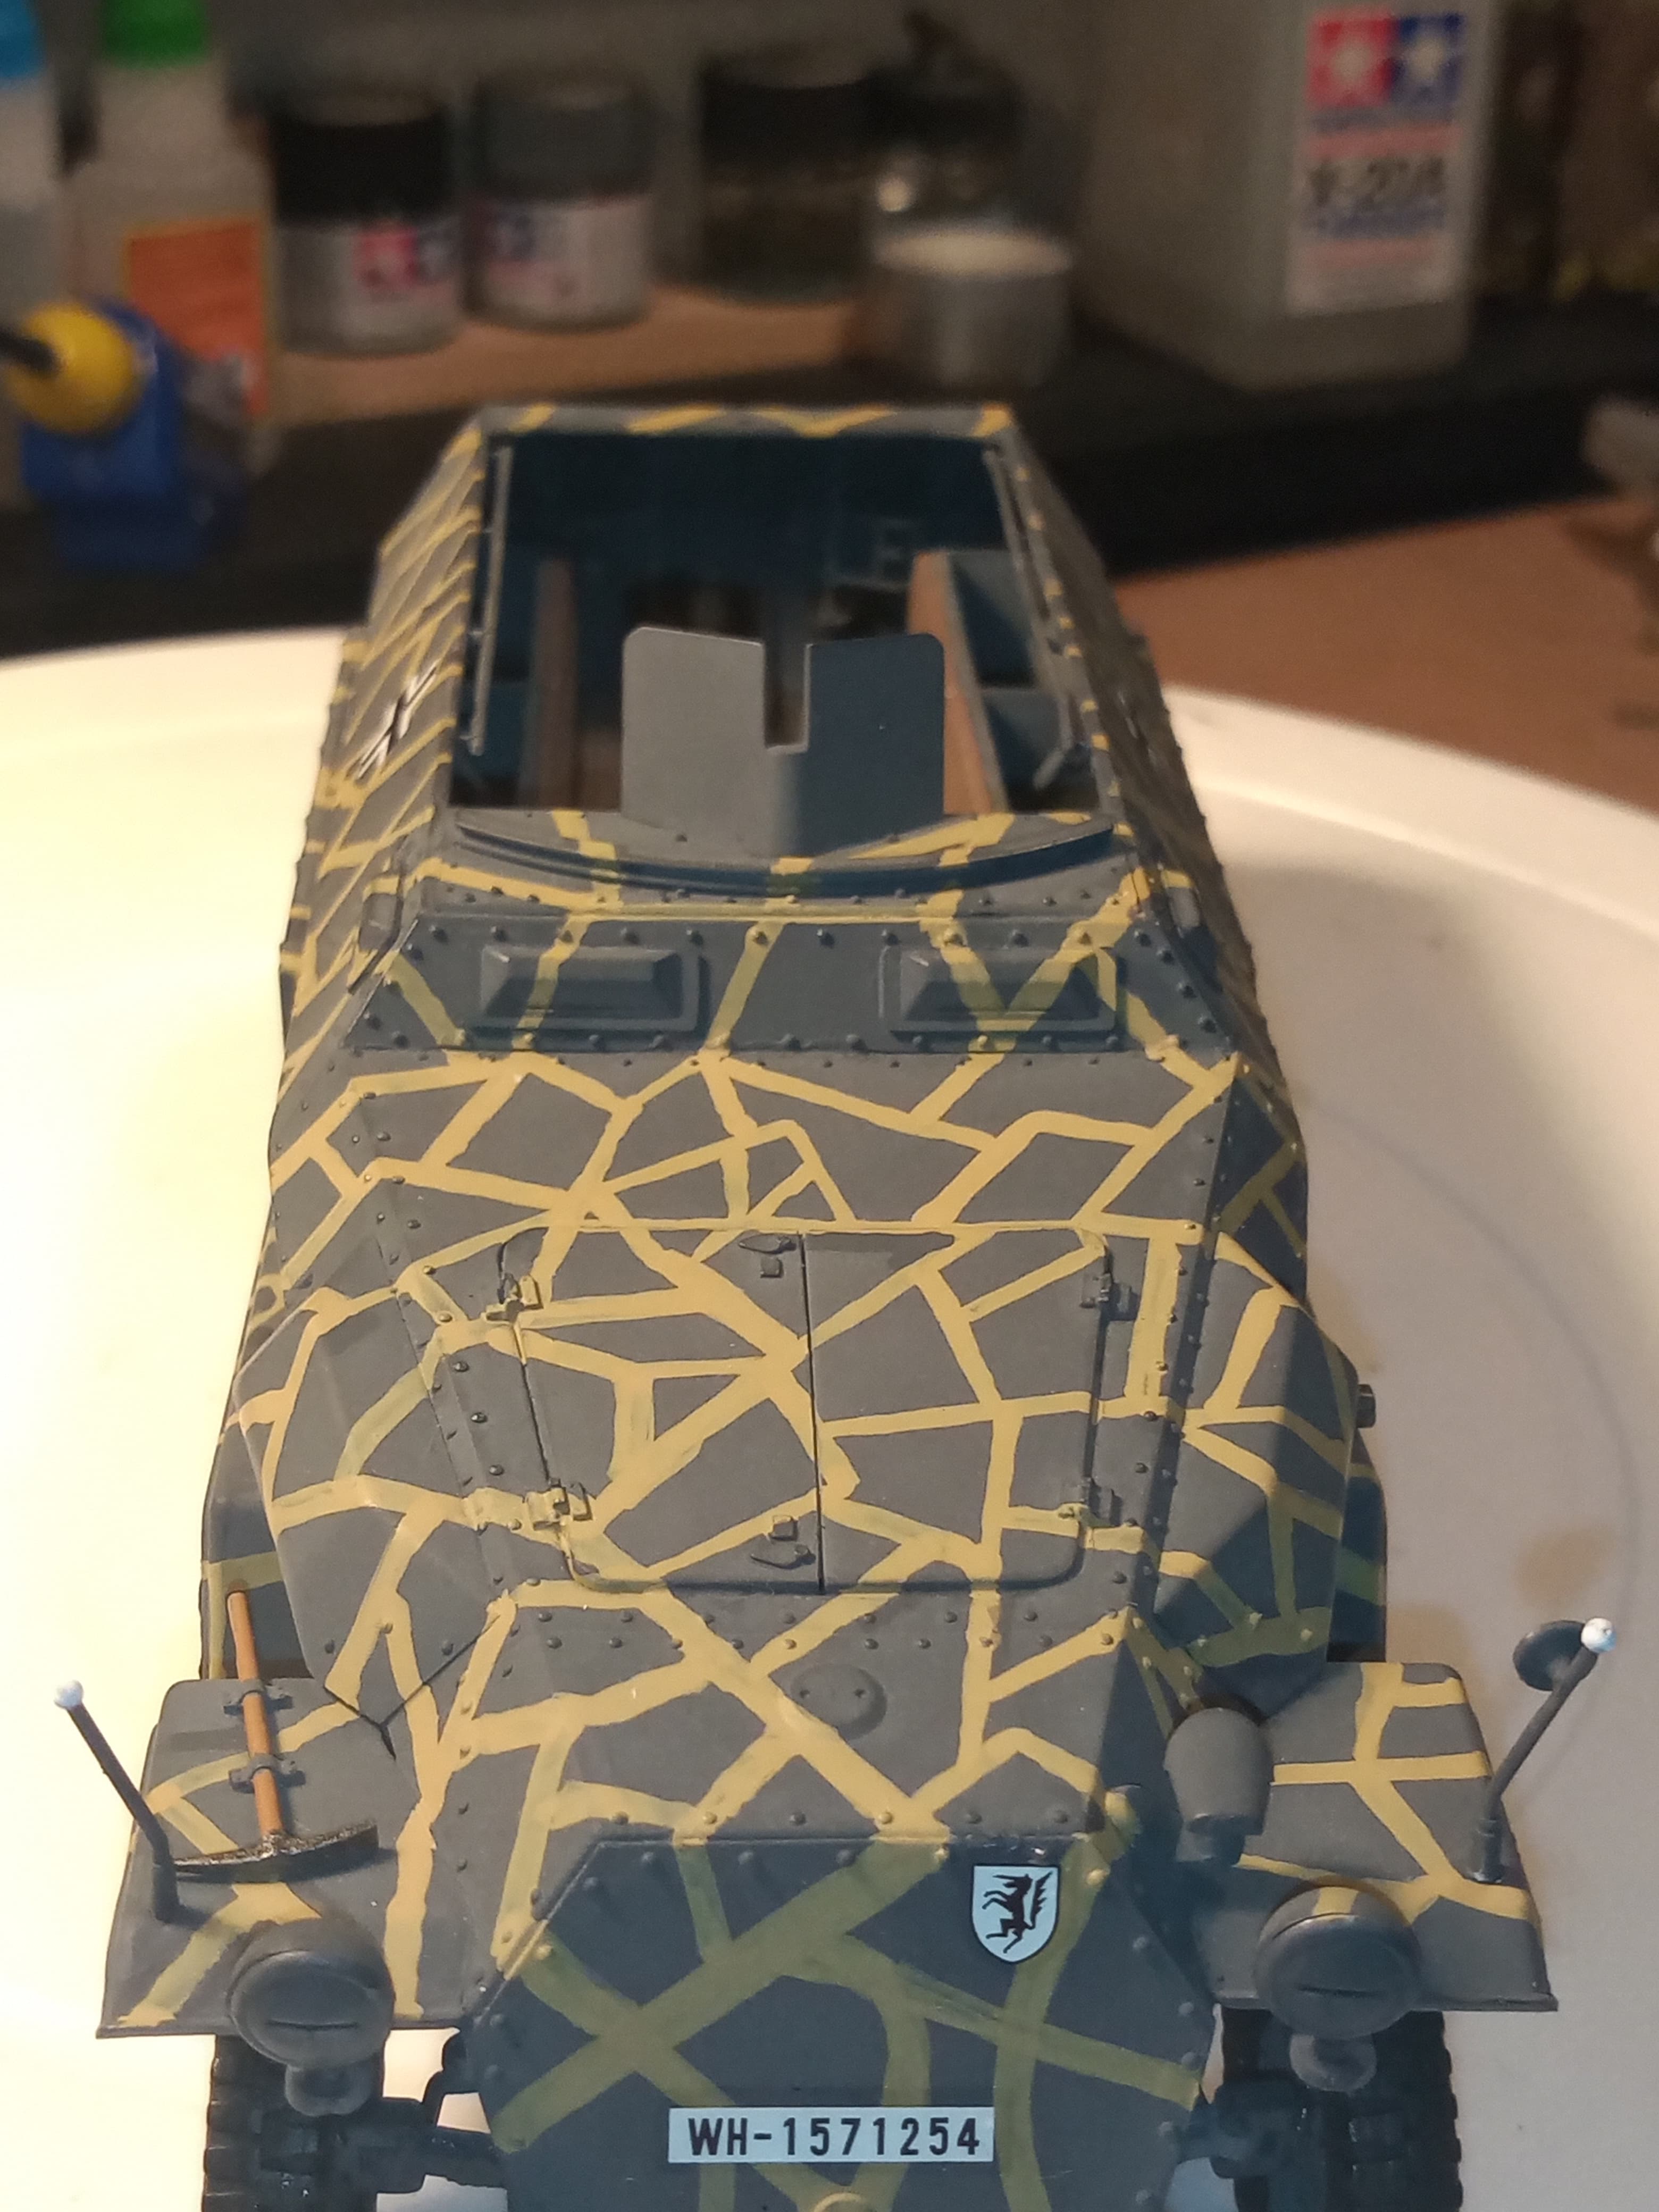
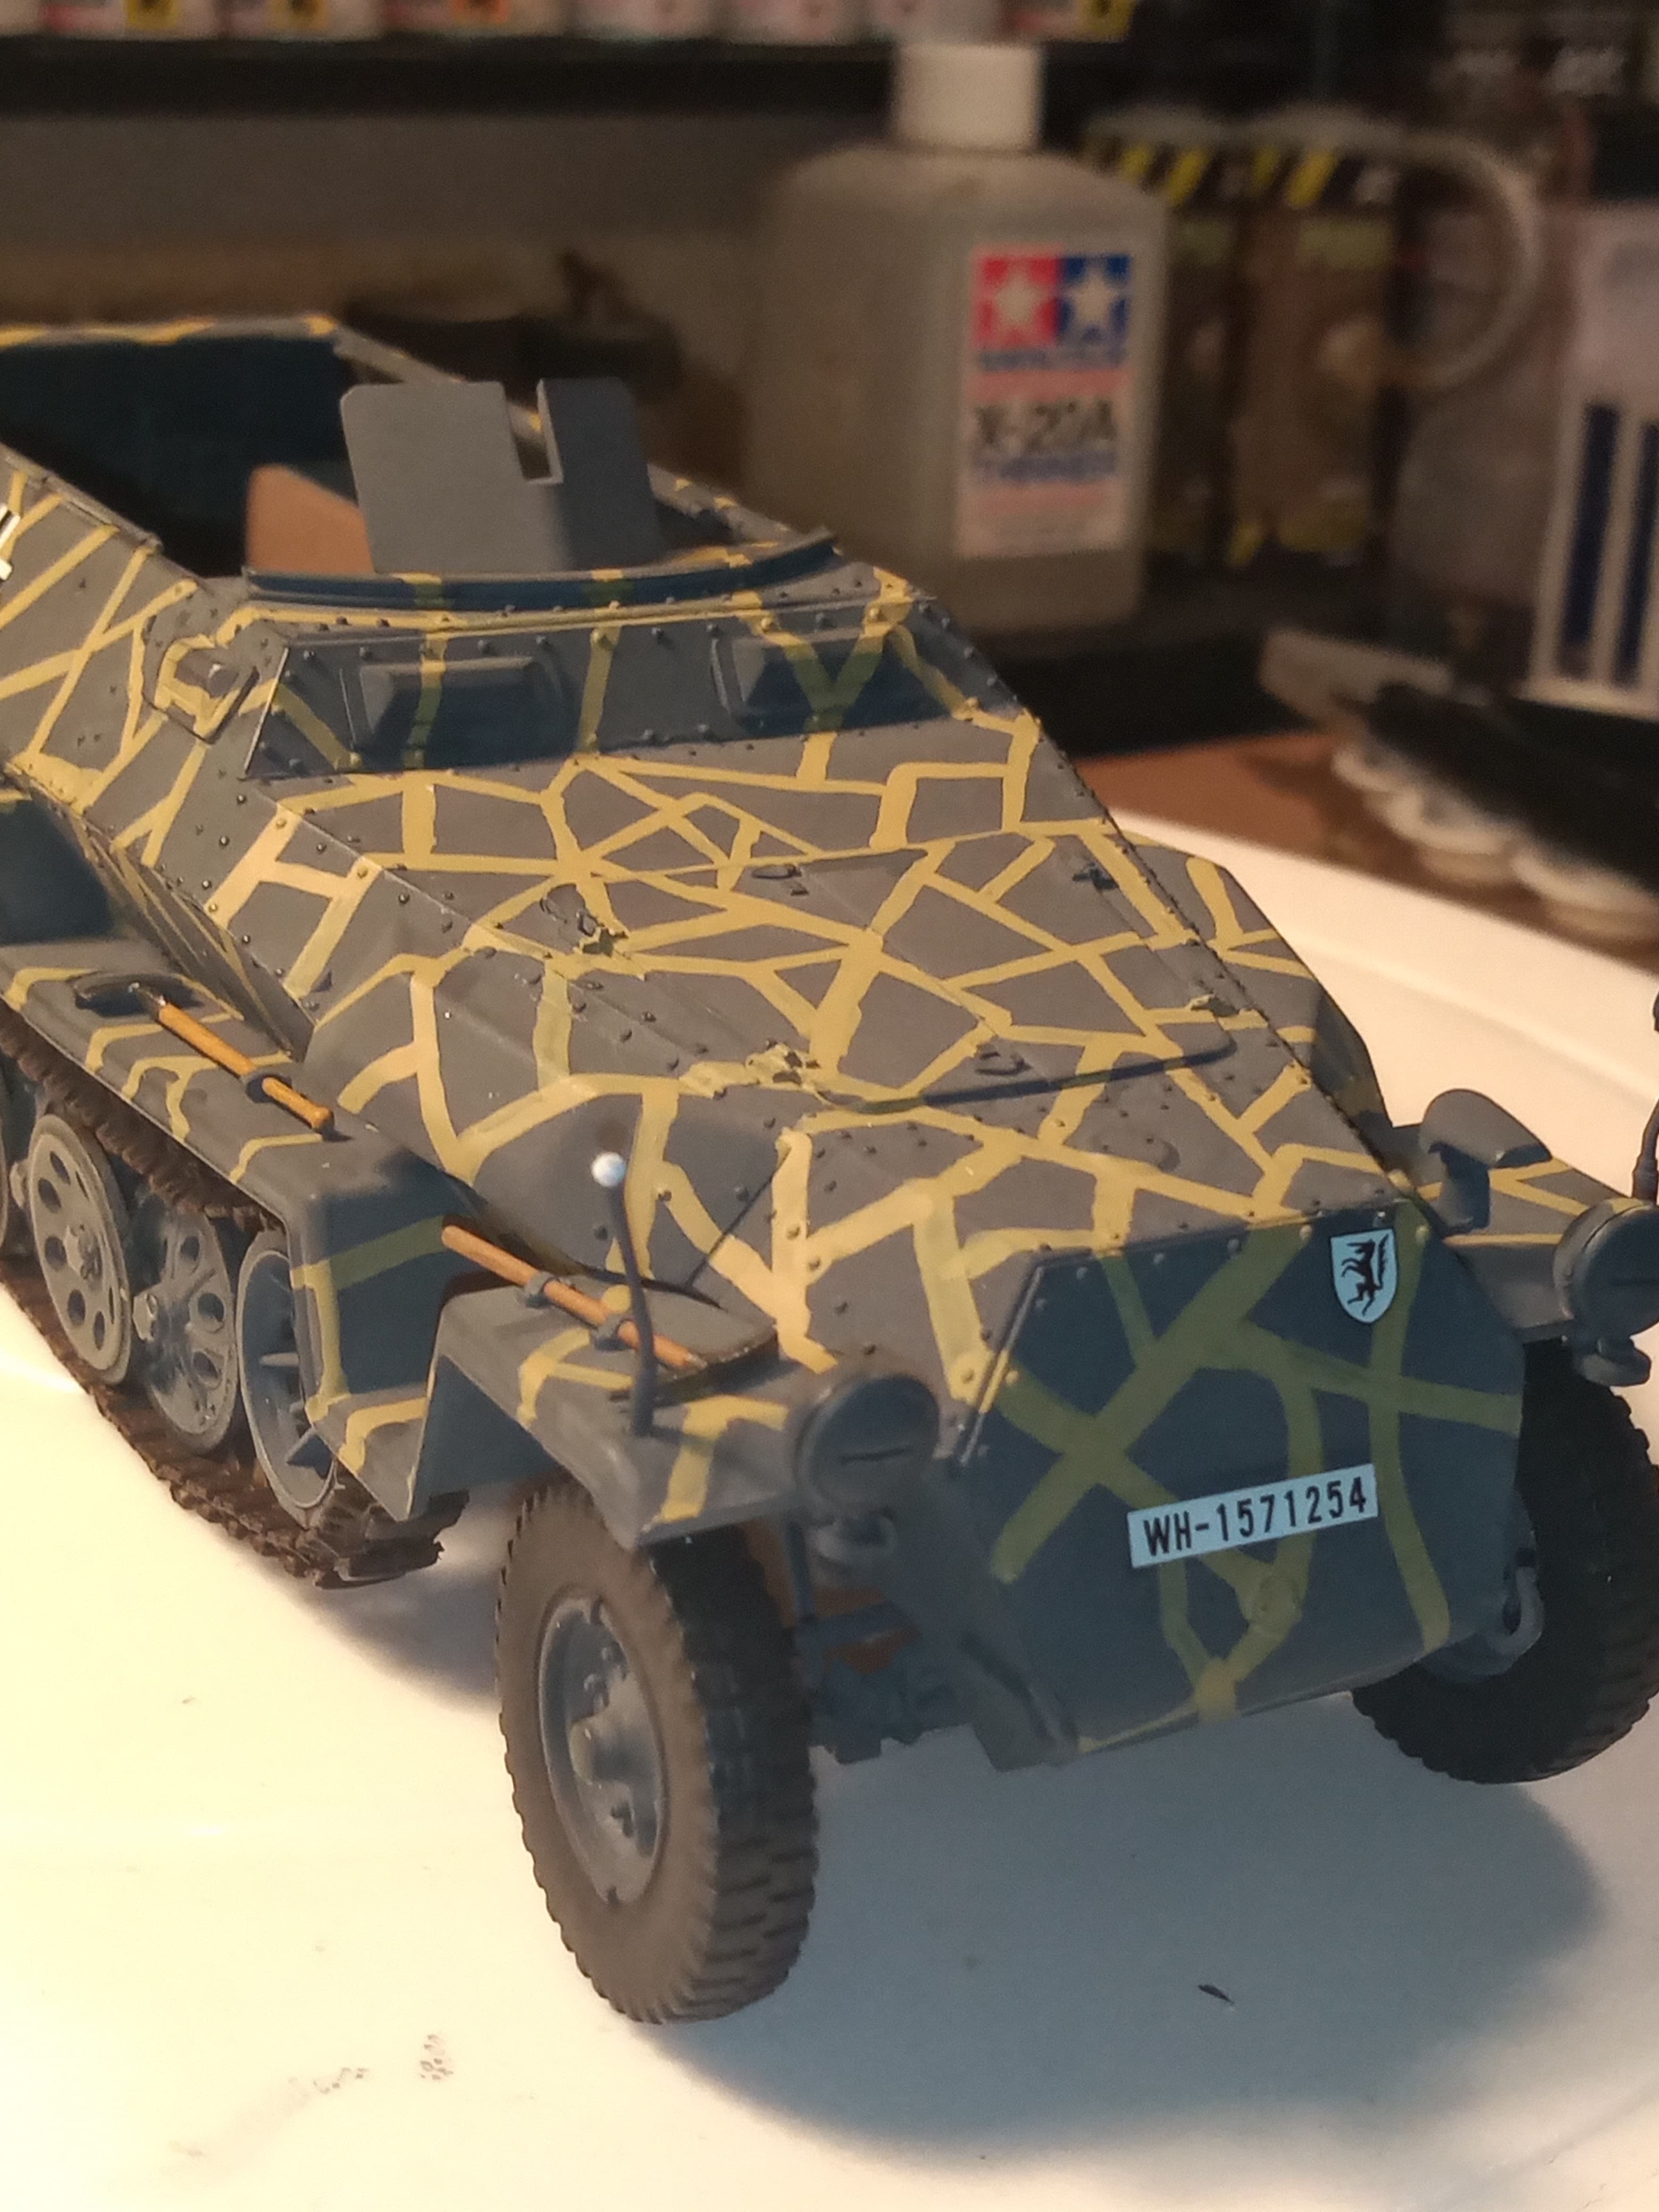
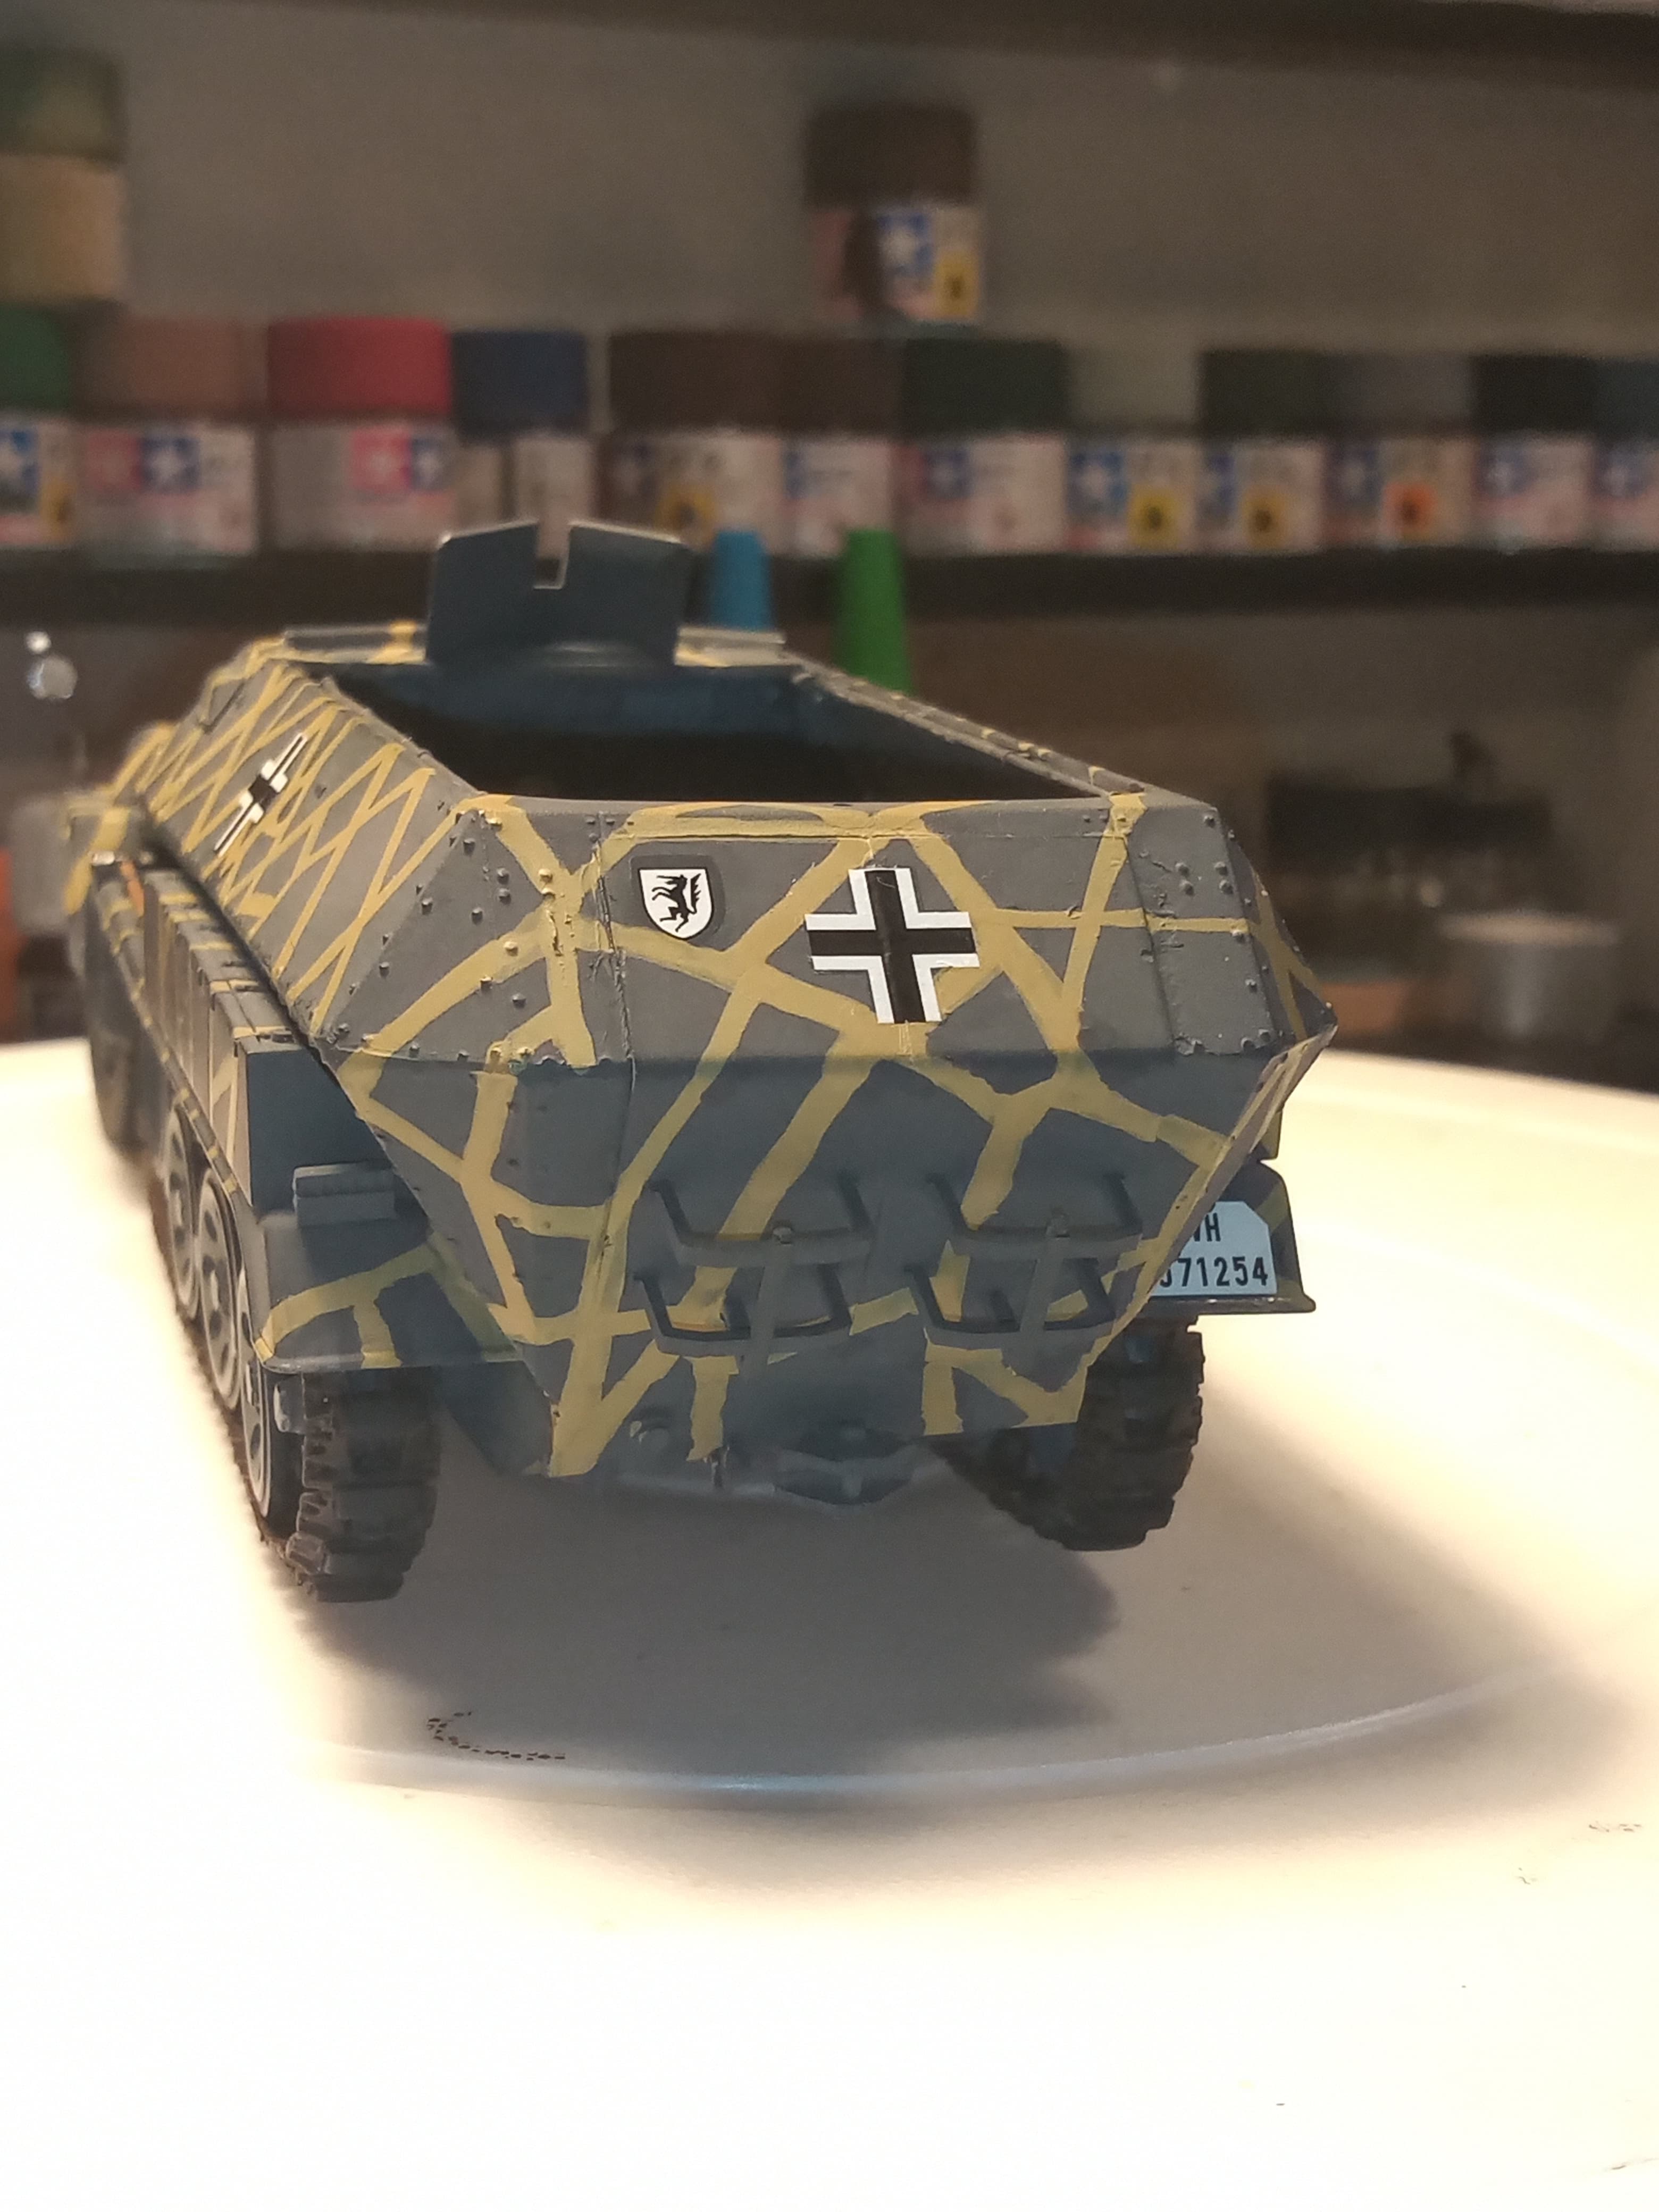
The images of the finished build … I did the earth hatch stripes / lines free hand which I expect they would of done in the field, (I’m not even sure if it’s an actual scheme or someone’s artistic licence) so they are not the same width all over, some are faded and heavy in some areas etc… I didn’t want it to look like a factory finish… Something a bit rougher …
Decals still have Micro sol on, and waiting for that to get them to set nicely.
Lookin forward to watching the rest of the builds as they progress… Keep at it chaps .
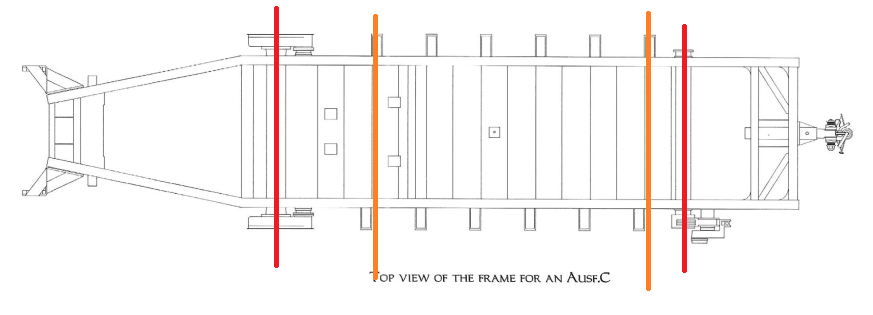
Due to how the torsion bars are laid out in the bottom of the chassis, the left side is actually shorter than the right, hence the different lengths. The discrepancy would have been adjusted at the idler but the kits usually key the connecting pins so you can’t adjust them without doing a little extra work.
Actually, this is not the case on the 251. Whilst the road wheels are offset torsion bar mounts, the drive sprockets are exactly opposite on the hull sides, as are the idler mounts. The Idler mounts are exact mirror fittings of each other, and when fitted to the hull, the idler axle is exactly opposite each other:
Whilst one set of road wheels is slightly further forward the distance from centre bottom idler down to road wheel and under them, then up to centre bottom DS is actually the same each side. Same goes for the top runs.
I’m not doubting you, and I can even see that when I turn my 251 builds over and look at the suspension, but the left hand run of links looks about 1-2 links shorter on each one. And it isn’t a manufacturer thing as they aren’t all from the same one (2 Dragon, 1 AFV). So what is going on?
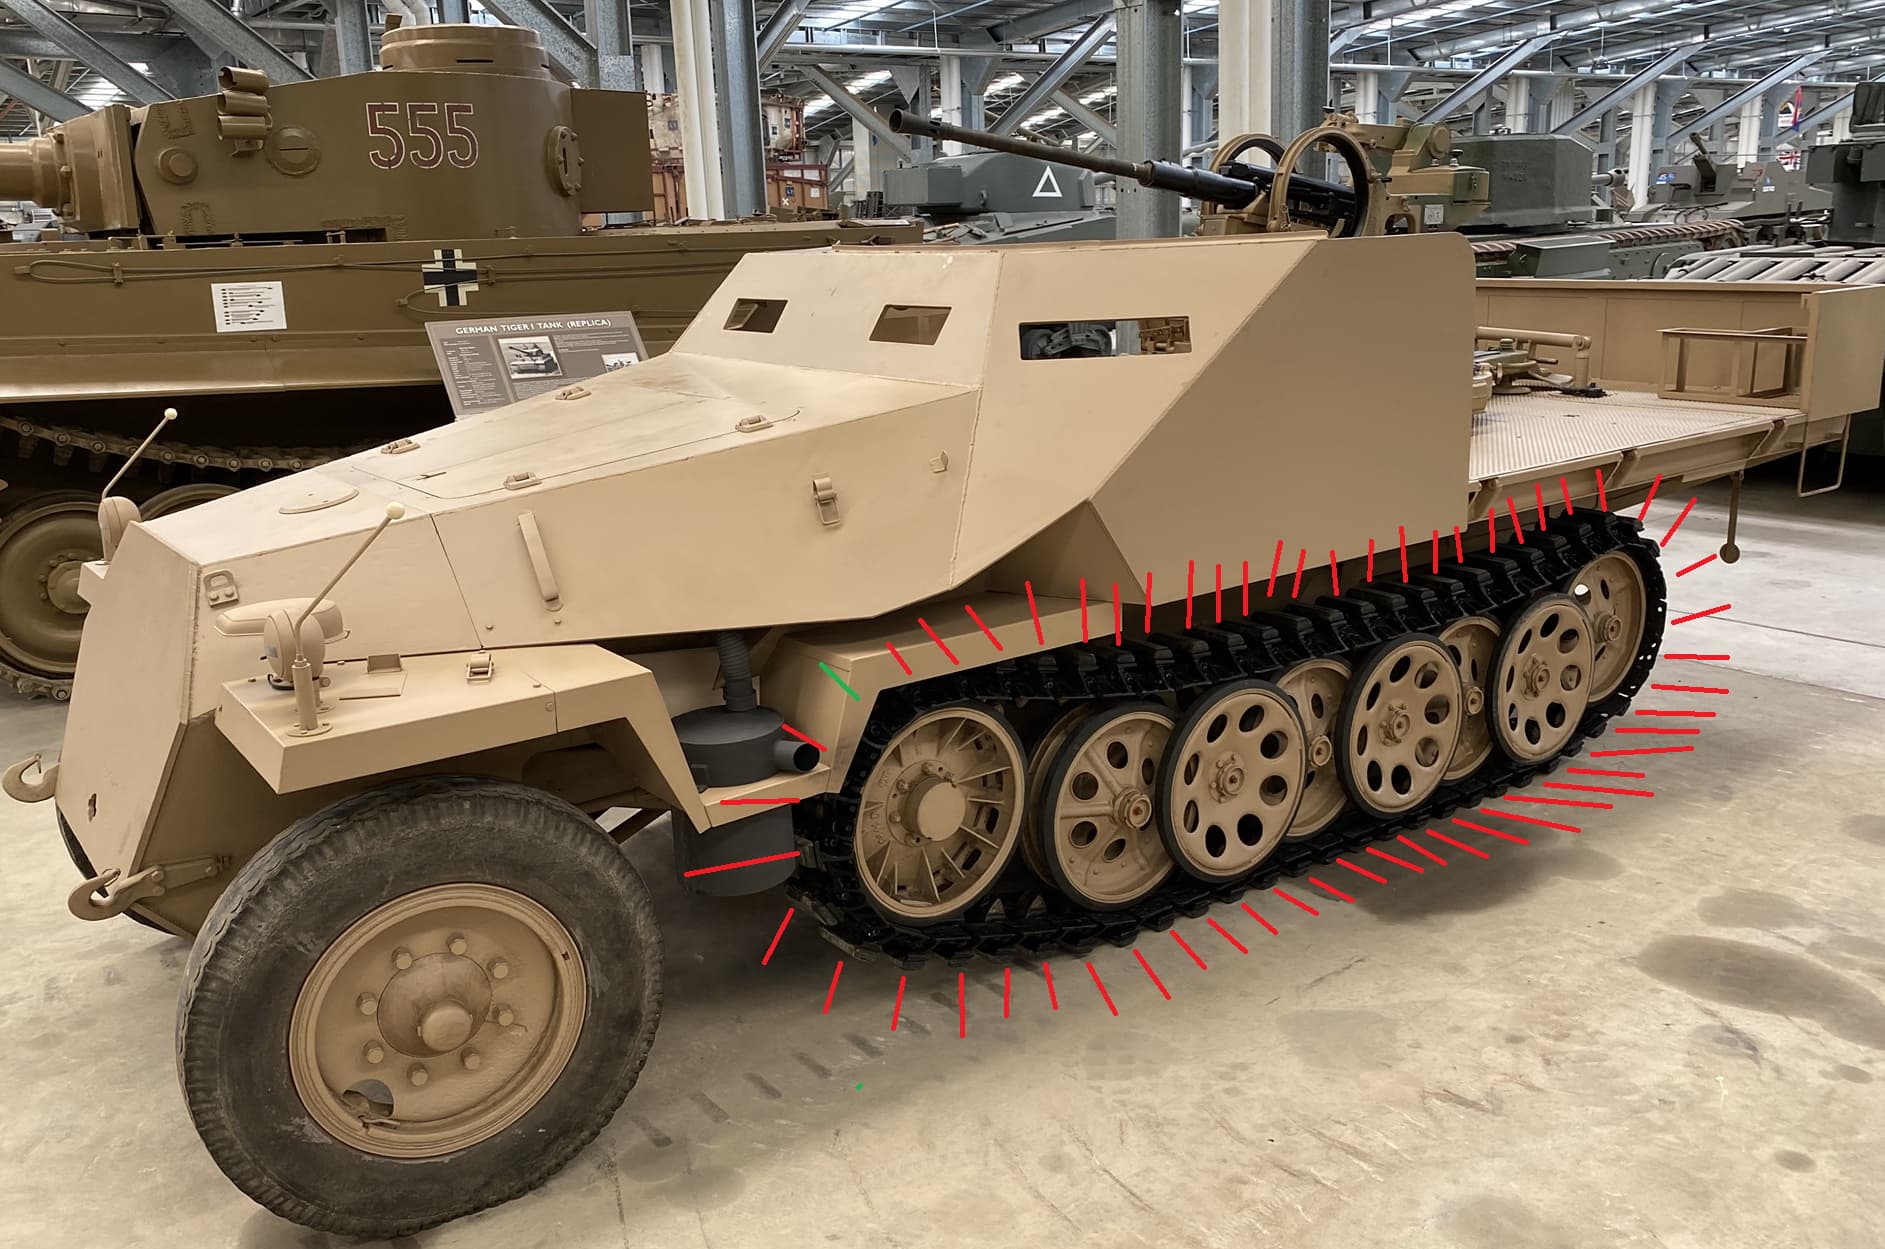
Interesting. I actually counted the tracks on the SdKfz 11 (same chassis) at AAAM Cairns a couple of years ago. I thought it unusual that both sides had the same number of links. Trusty tape measure confirmed same measurements.
Caveat of course, you really can’t trust museum vehicles for accuracy…
PS This is not my photo.
Brilliant camouflage John, I really like it. The whole vehicle looks excellent. One would never know what a nightmare the kit was going together. I thought for sure that kit was headed for the bin when I saw how far off the sides were. You’ve got perseverance and a modeler’s heart! Outstanding job!
Cheers Matt … it certainly had its moments but I’m glad it turned out ok in the end.
Cool camo! Looks interesting and realistic, at least for me, I’m not an AFV specialist…
Great job! Looking forward to your dio. ![]()
![]()
Peter
Thanks Peter … much appreciated.
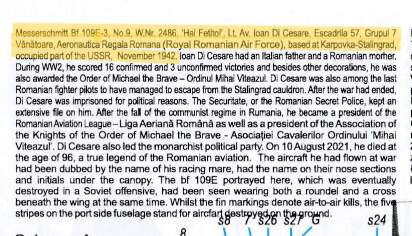
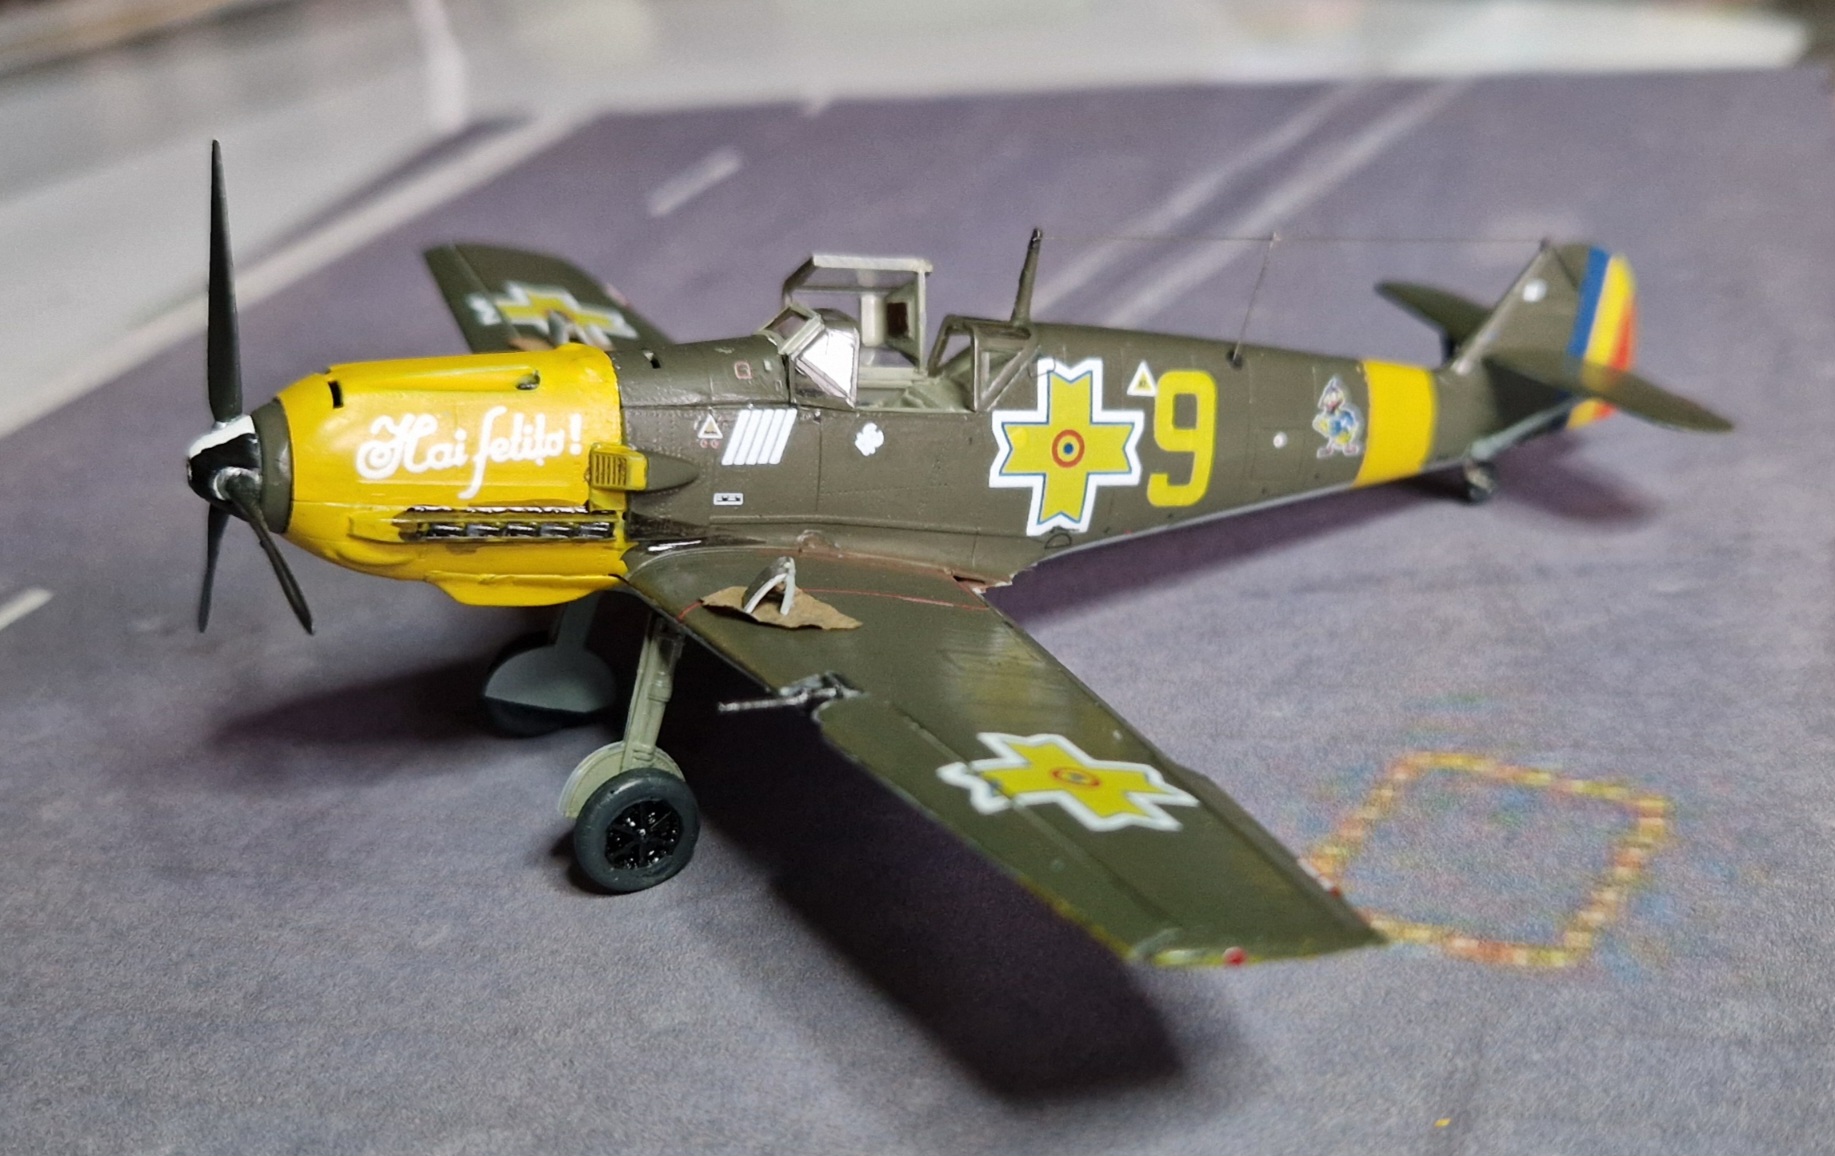
Today I finished my build for this campaign:
Very nice build and bit of history with it…
Really like the colours and finish… Yellow goes very well on the green. Lovely work
Very eye catching with all that colour. Great job Peter.