Step 1
Looking good and the PE extras are helping to add those finer details
Hello @Johnnych01, the kit assembles well despite its age. As time went by I decided to abandon scratch building staying only in the assembly and sometimes using some extra PE.
Tamiya Sd. kfz. 232 Armored Radio Car
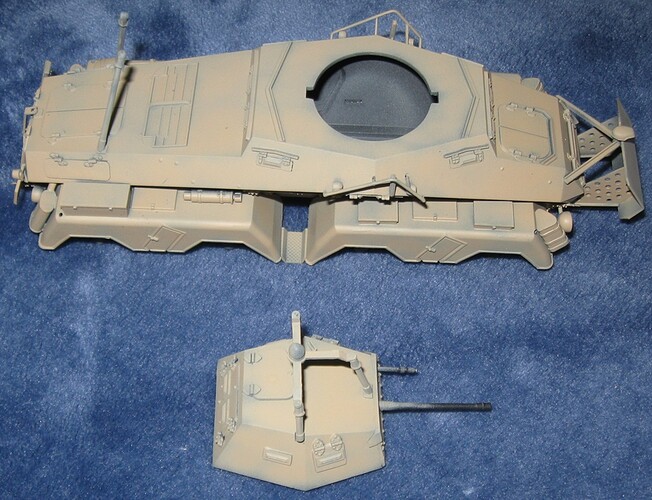
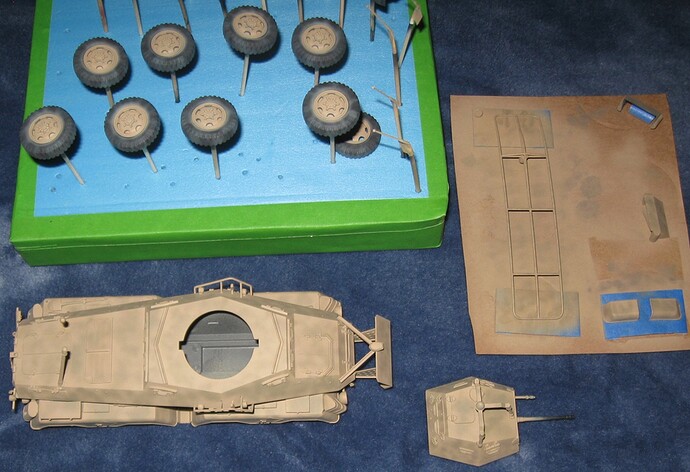
After messing up a couple models earlier this morning, I decided to try my luck at painting. What could go wrong? I started by mottling various colors onto a whole bunch of tires, including those belonging to the 232. My airbrush likes to barf and sputter but overall, it went okay.
That left me with a cup full of medium gray paint so I mottled it onto the 232. Next, I mixed up some Africa '43 base color paint. This was my first time using this paint color. It is very watery. My normal mixing procedure made it more watery. Okay. Turn down the pressure and go slow.
The picture above shows the result after one cup of paint. In real life, it looks considerably darker. My airbrush was being very nasty and my back was hurting pretty good so I stopped there. I decided to post a picture because the current state looks kinda interesting. My airbrush started spitting garbage so I will pick that out of the paint coat and try again tomorrow.
I noticed my airbrush now sprays wide, like a hose set to fan instead of stream. Even more curious, when cleaning, water comes out the tip at a 30 degree angle instead of straight. That was not happening yesterday.
At one point in the paint session, my airbrush barfed up a glob of snot. There must be a gelatinous mass in there.
got the decals on, a few finishing touches and it will be done.
i added some lines in the wheel bay from fine solder and also for the brake lines which will be installed soon.
Joe
Paint job is outstanding! How was the kit? Just grabbed in the form of the academy rebox
Sd.Kfz. 222
Attaching gun
 sdkfz_222_build_07-1 by Ricardo Duarte, no Flickr
Upper hull
 sdkfz_222_build_08-1 by Ricardo Duarte, no Flickr
 sdkfz_222_build_08-2 by Ricardo Duarte, no Flickr
 sdkfz_222_build_08-3 by Ricardo Duarte, no Flickr
Attaching turrent
 sdkfz_222_build_08-4 by Ricardo Duarte, no Flickr
 sdkfz_222_build_08-5 by Ricardo Duarte, no Flickr
 sdkfz_222_build_08-6 by Ricardo Duarte, no Flickr
 sdkfz_222_build_08-7 by Ricardo Duarte, no Flickr
That’s a very sweet looking gun. Nice detail work.
Thank’s Phil!
Super detailing. Looks terrific
Agreed, amazing detail on that little armoured car. Going to look brilliant when it’s done.
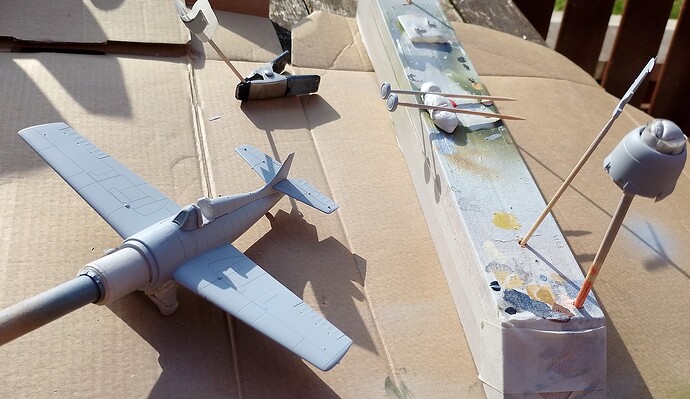
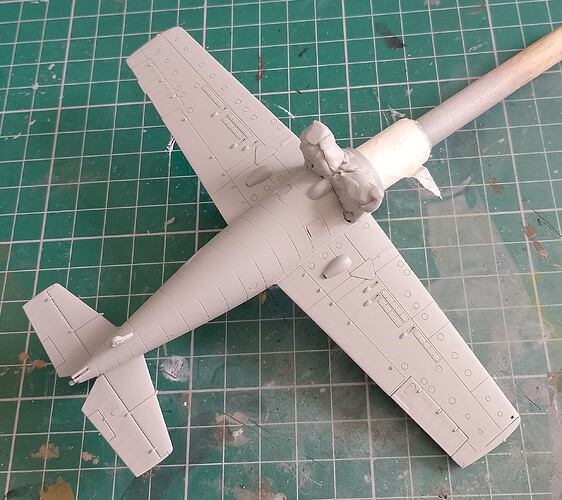
Got some primer down on my Wildcat today. Will make a start on the paint tomorrow.
Sprayed the underside light gull grey.
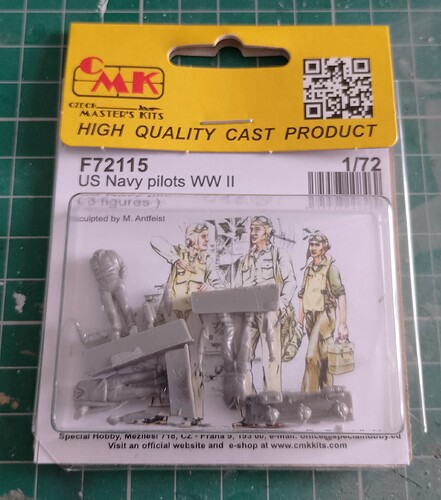
And some figures arrived over the weekend to go with it.
Really nice set.
@RicardoScouts, beautiful details added! Really makes a difference for the build.
Thank’s Jesper
Phantom Phanatic, can’t wait to see more. I bought the same pilot figures about a year ago but haven’t used them.


