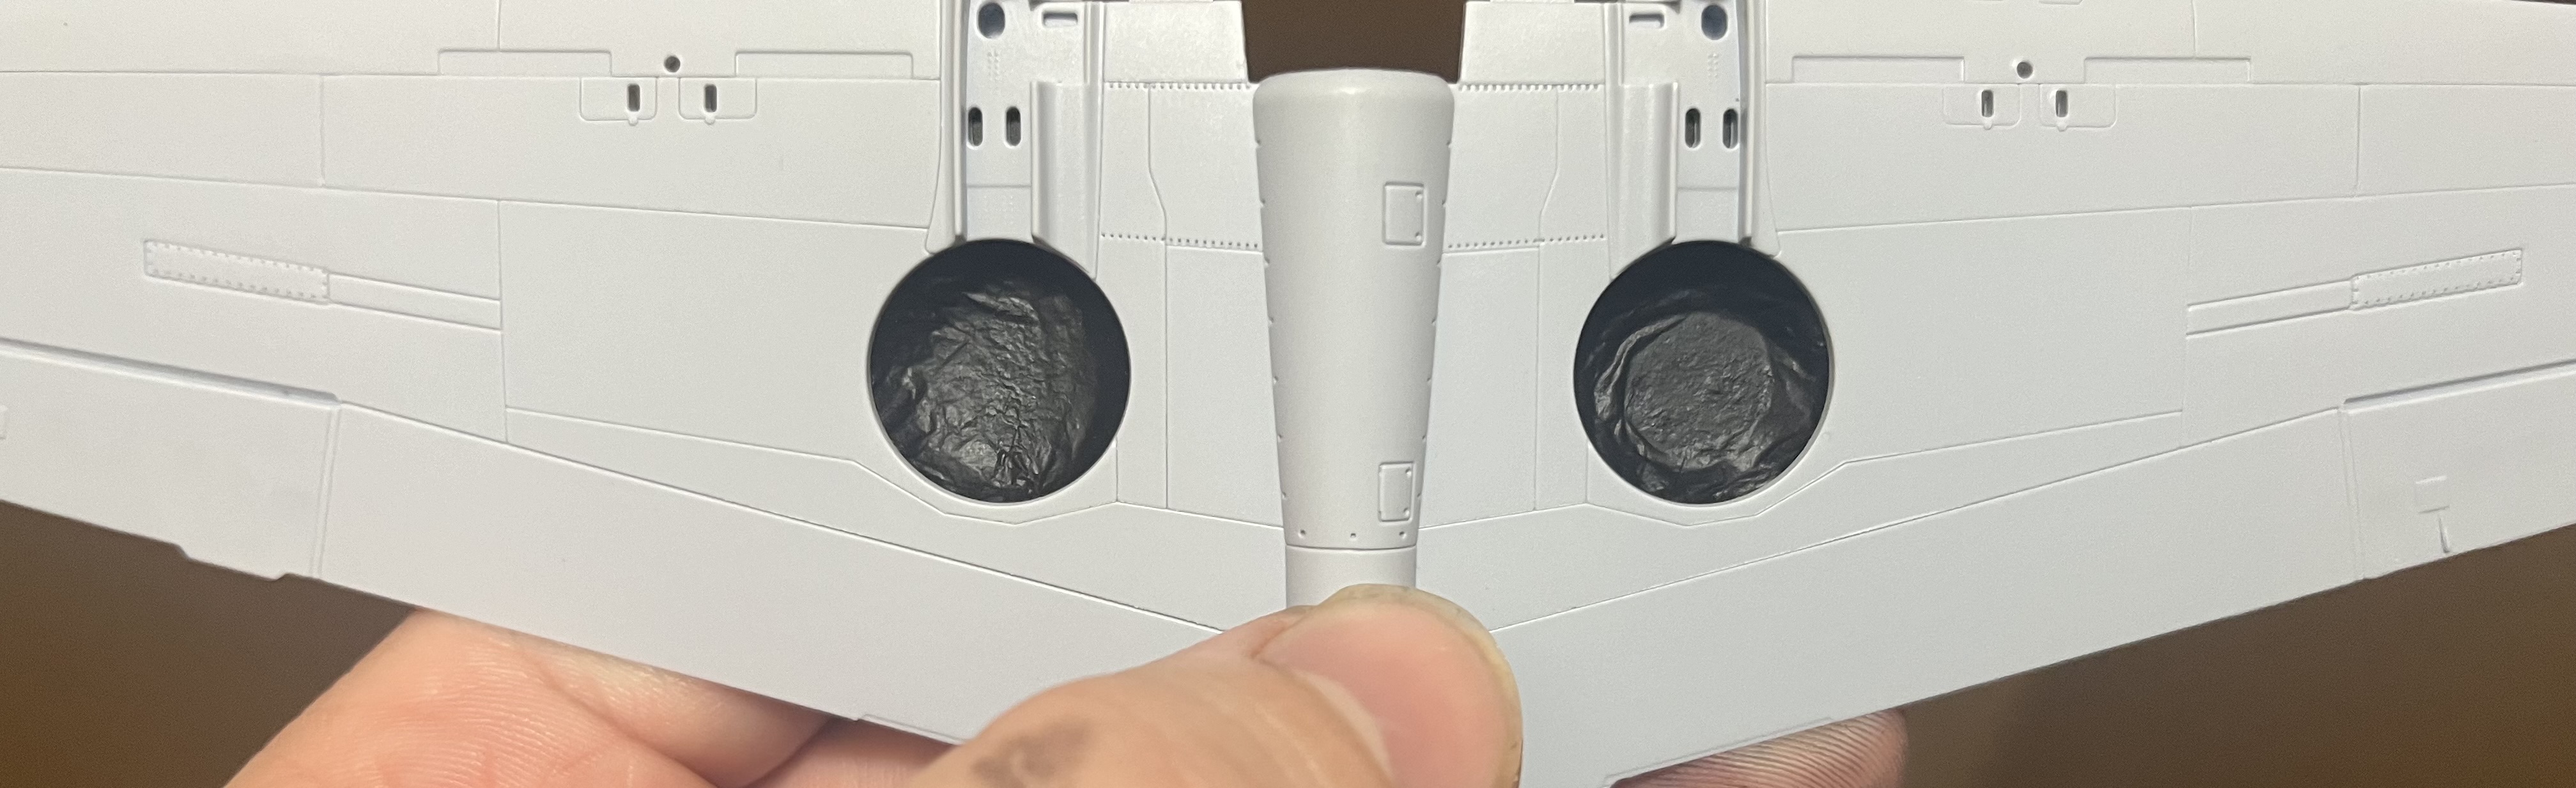
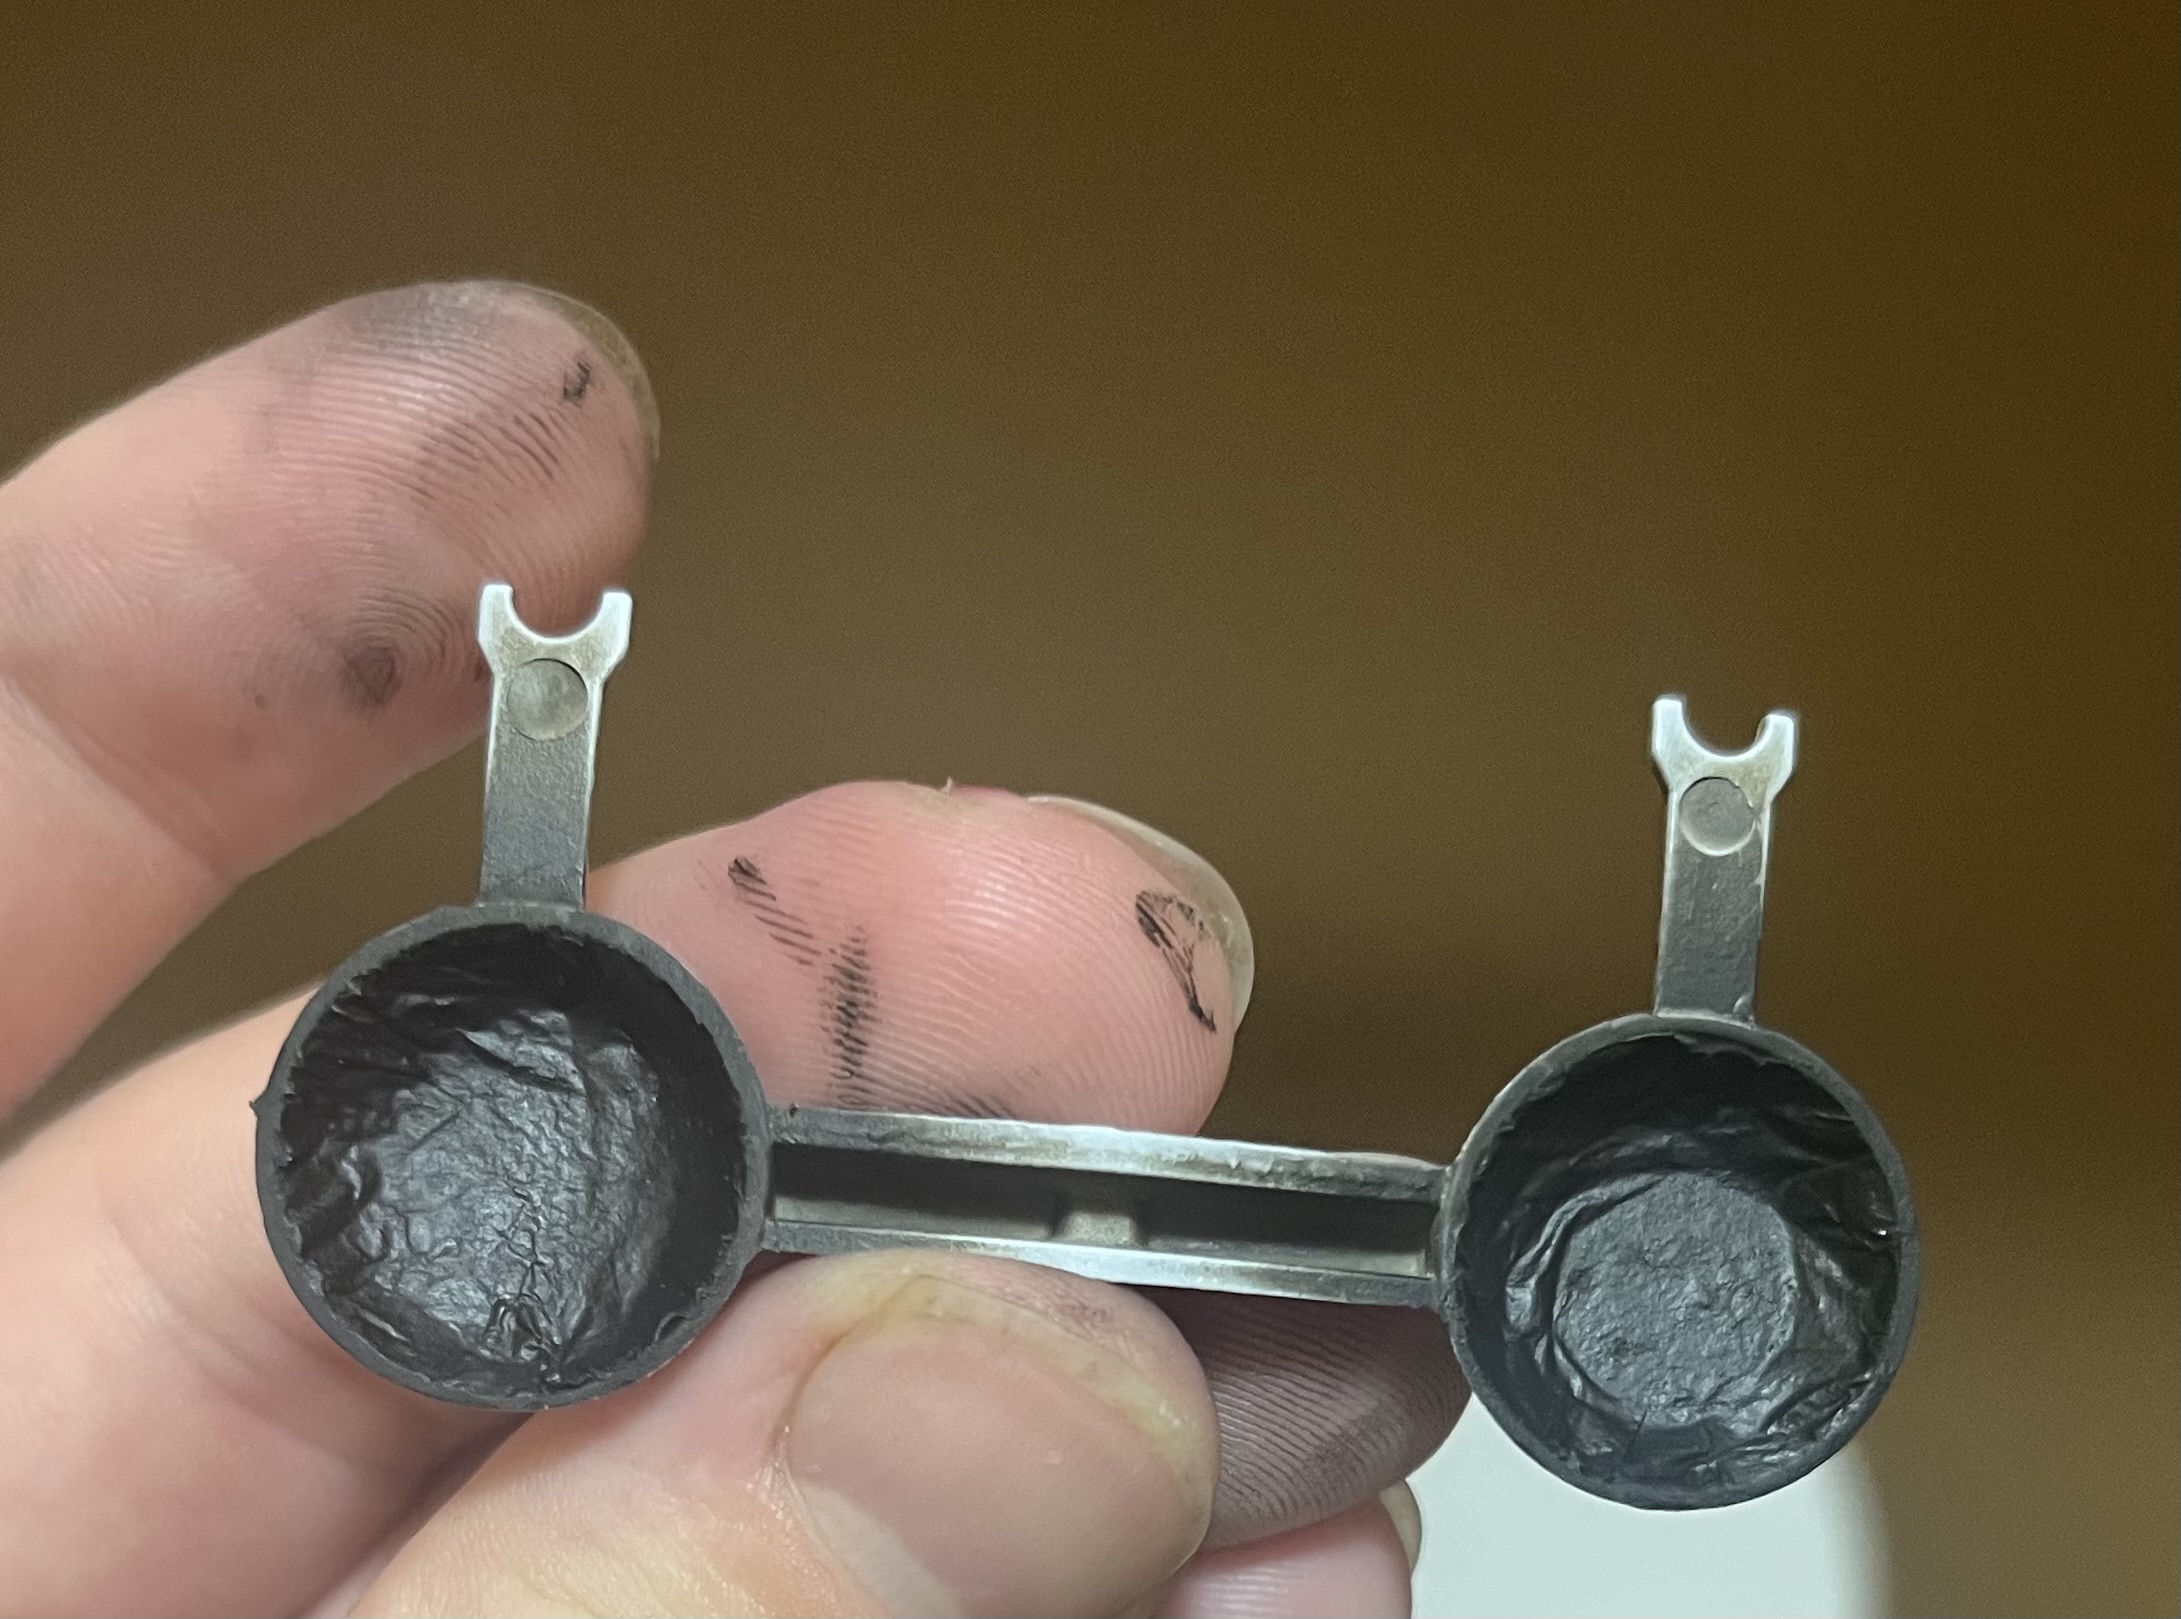
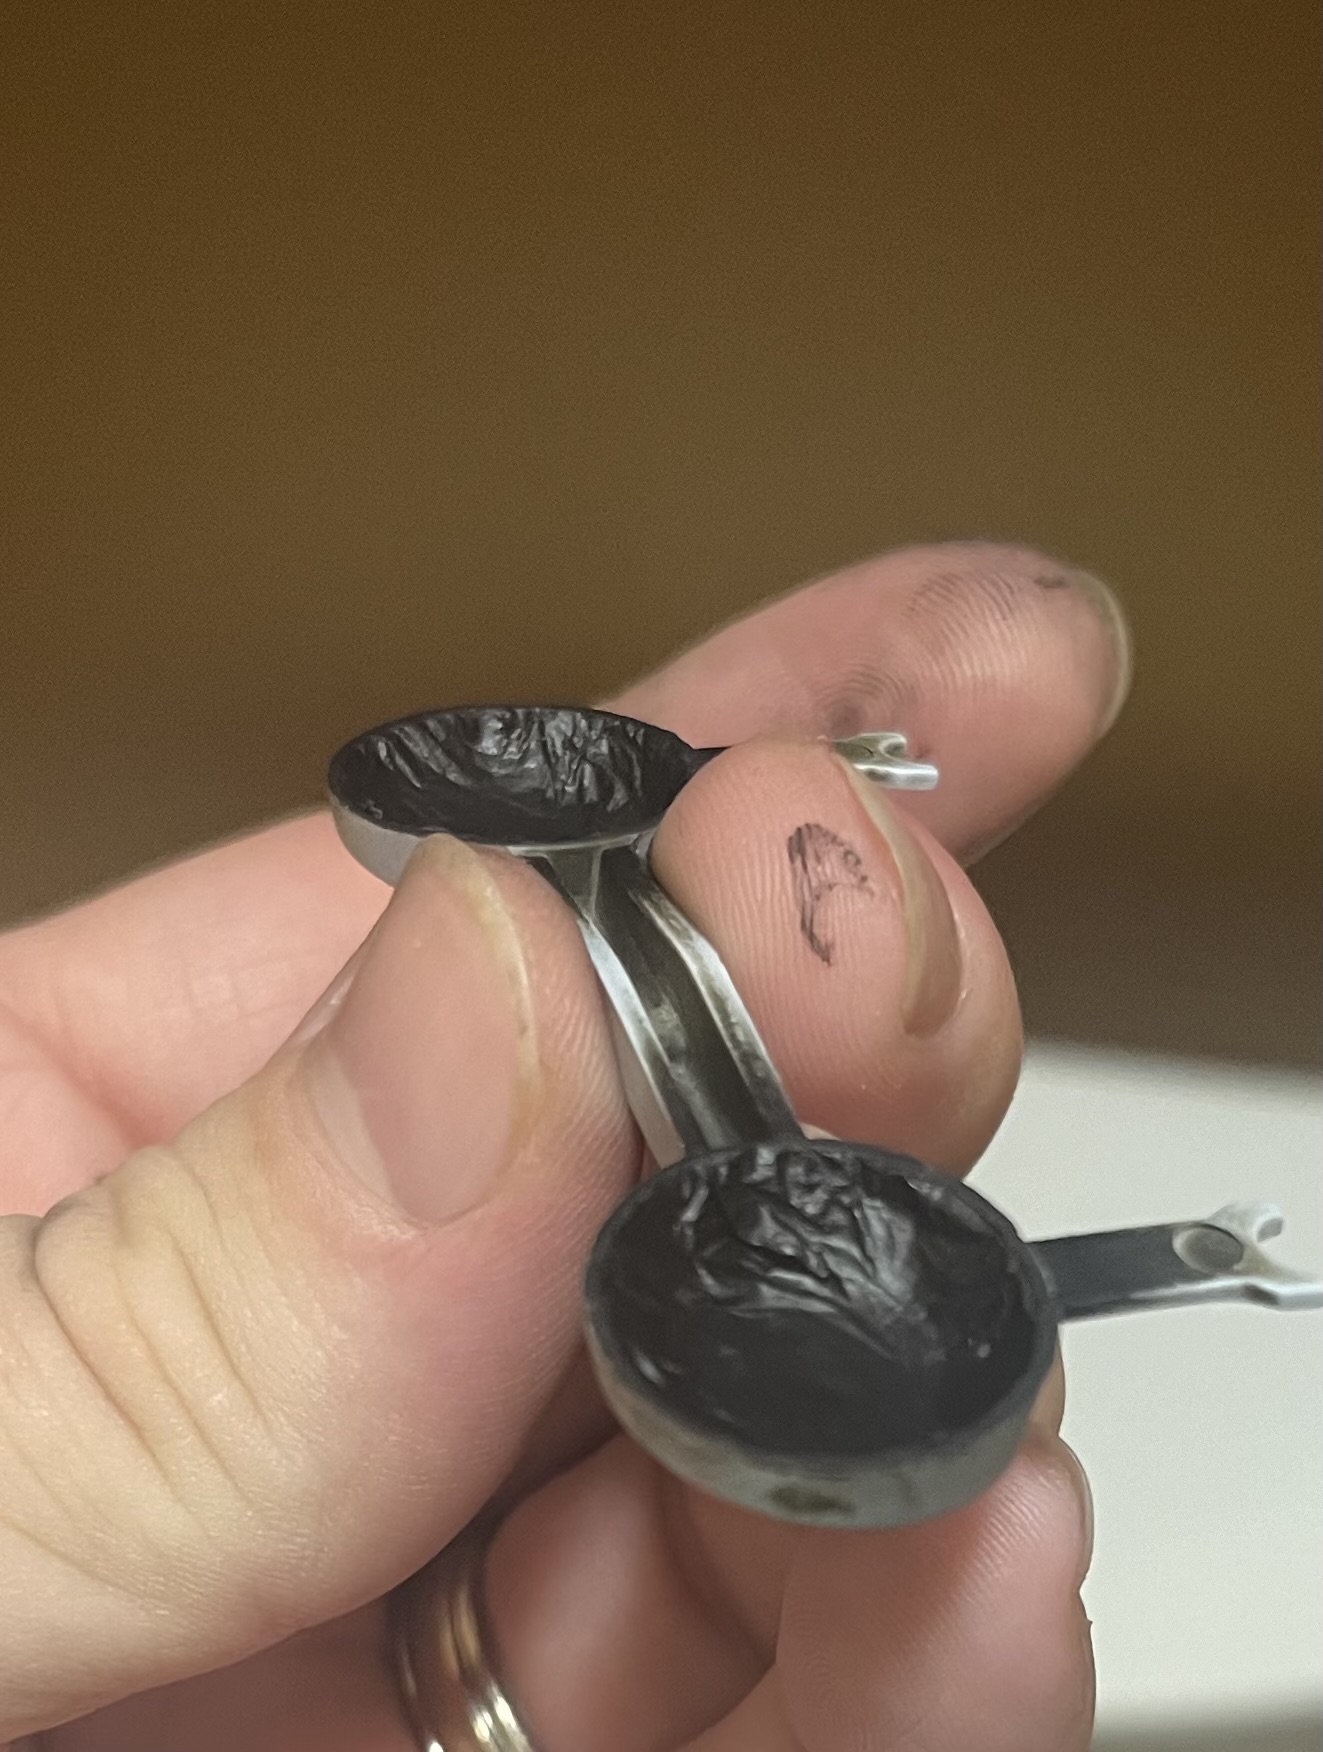
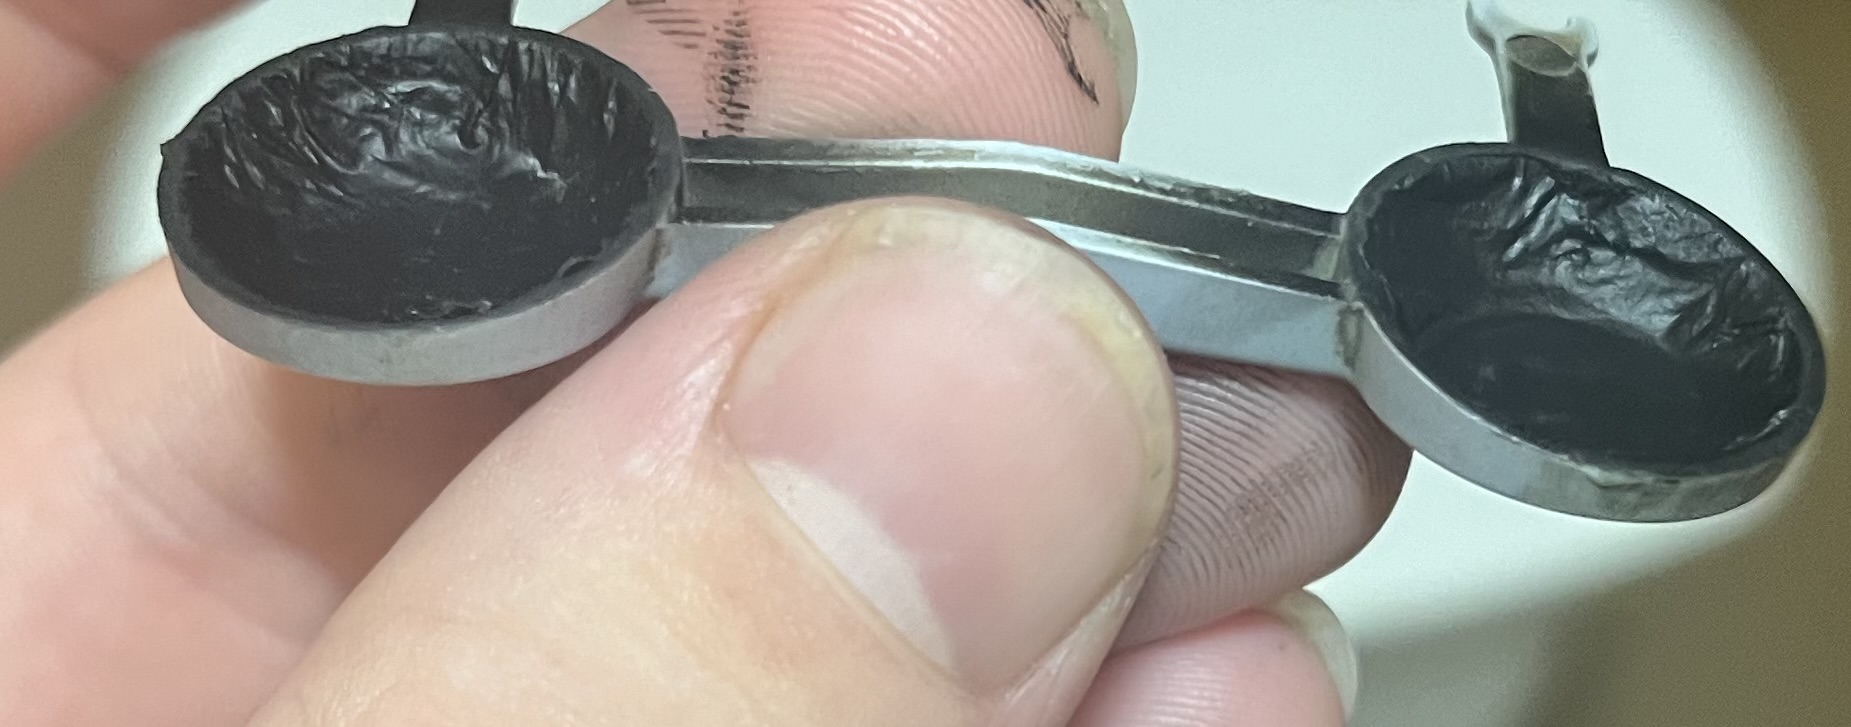
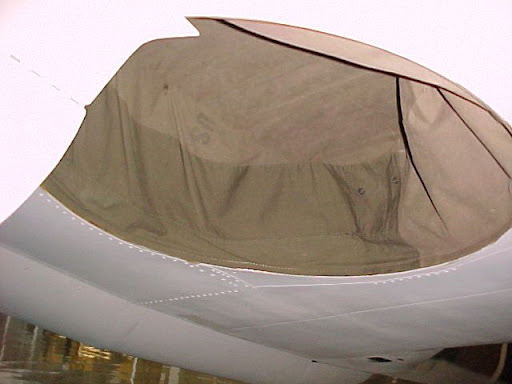
Finally got some bench time. I wasn’t not very happy with the wheel wells on the airfix P-40. There were two big ejector pin marks, two big sink marks, and overall a kinda lame attempt at fabric texture. So I decide to fill the sink marks and ejector marks and then sand the whole thing smooth. Next, I soaked some tissue paper in white glue and water and let it dry. This helped give the tissue a rubberized canvas type texture and have it some strength. Next I shape it to the wheel well, then super glued in place. I think it looks the part
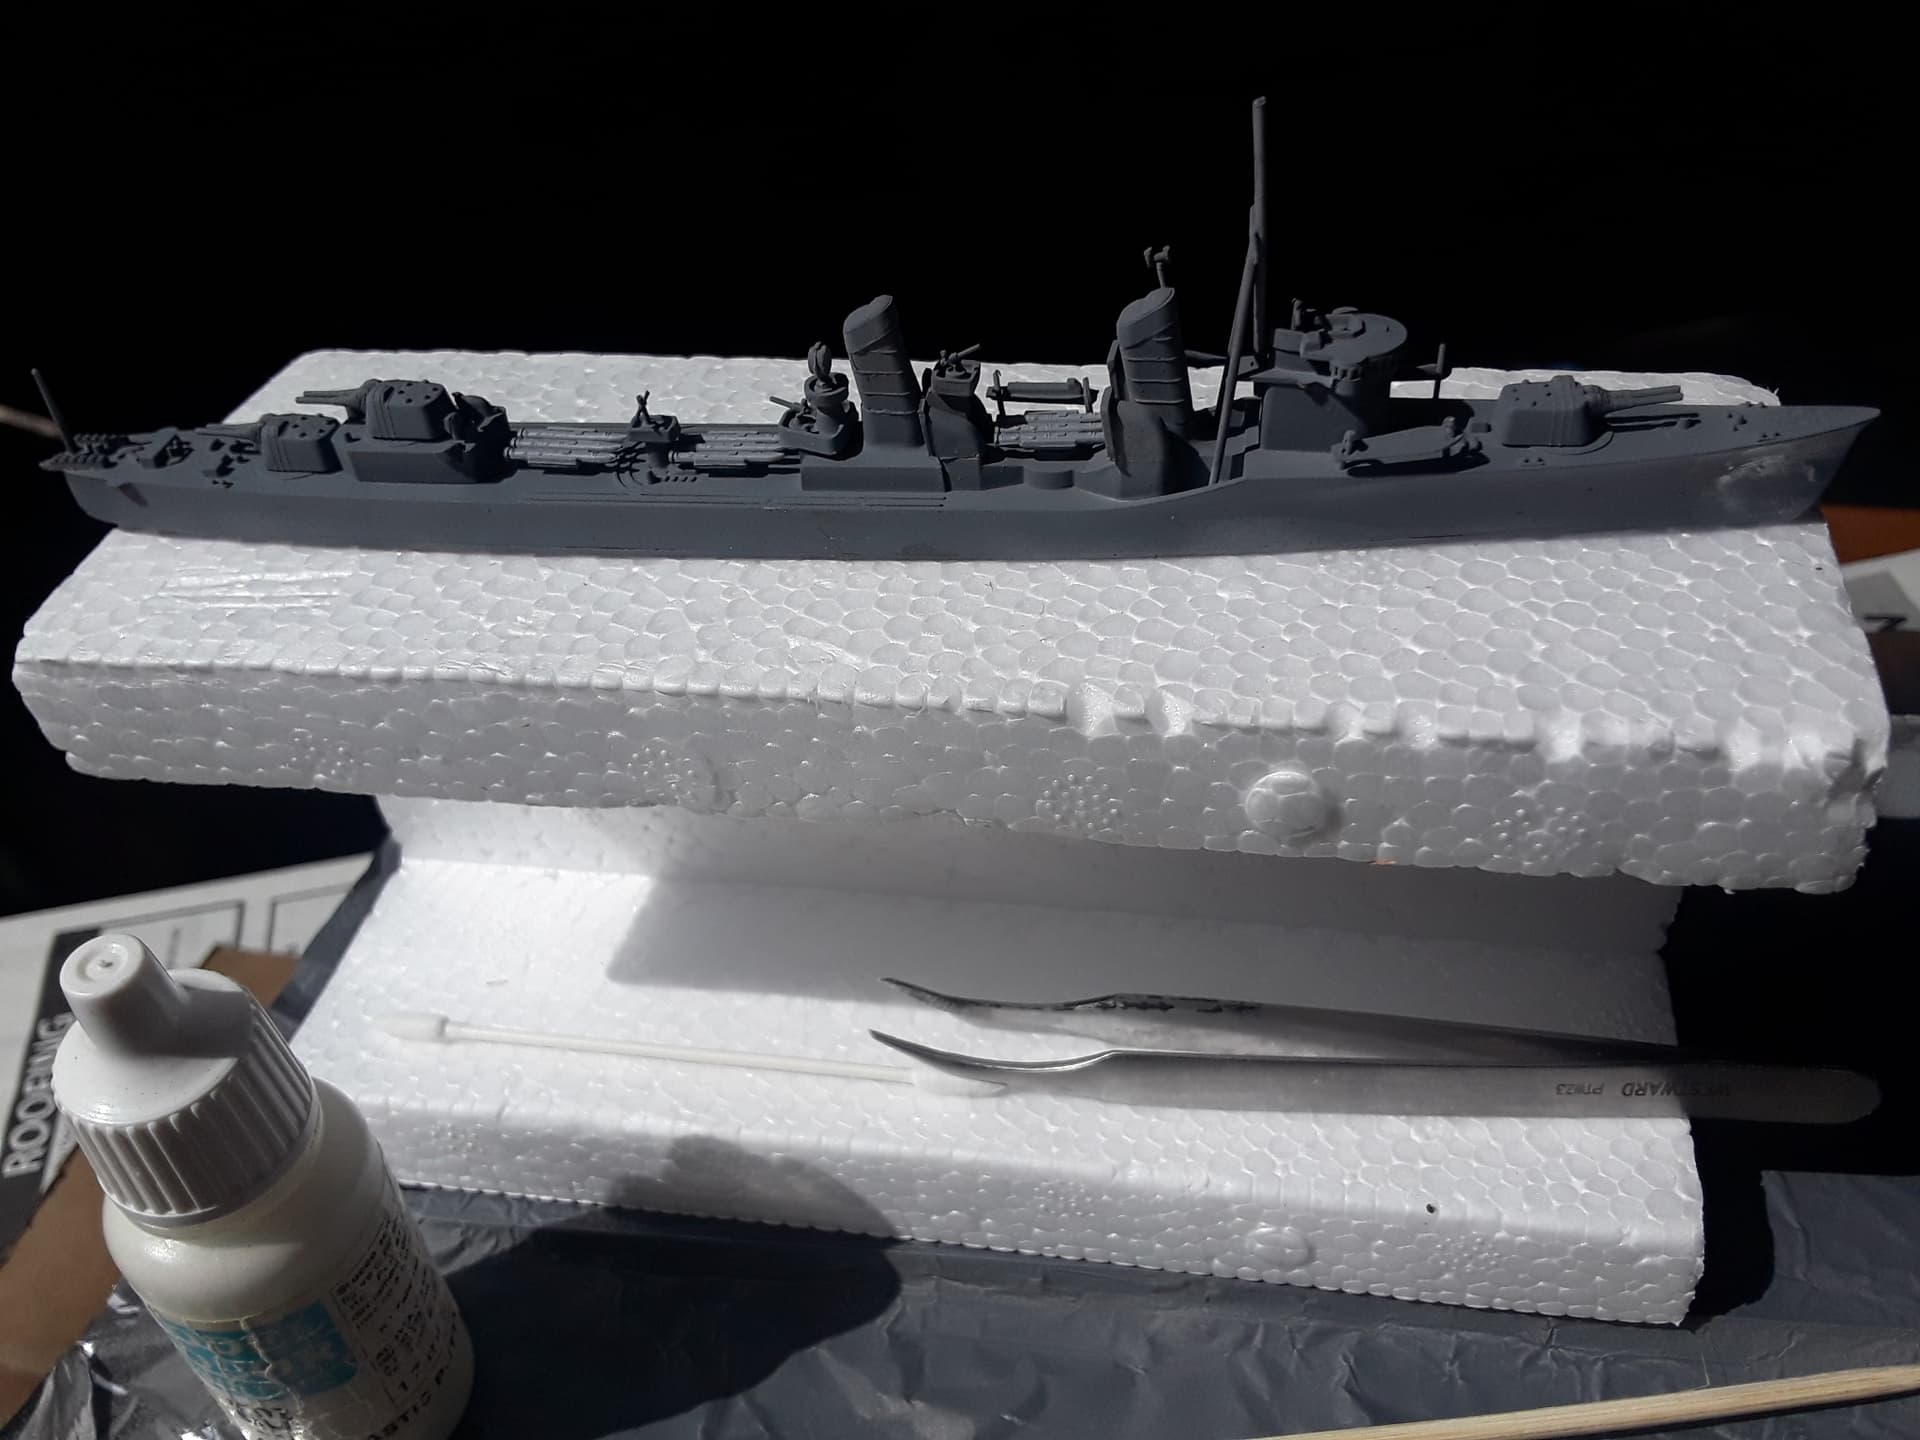
Work continues on the Tamiya IJN Fubuki destroyer. Having some filler work on a couple of sink marks, using plastic putty. Laid on a coat of Tamiya XF-75 IJN Gray. Using aluminium foil for a water base, glued to particleboard and primed with automobile primer. Have a question: would the torpedoes be facing fore or aft if they were in normal non-firing position?
Wasn’t fully happy with the canvas. So I pulled out the tissue and redid it. This time I after soaking it and letting it dry, I used a brush wet with the glue water mix to form the tissue to the wheel well, which also worked to fix it to the model. Much happier this time
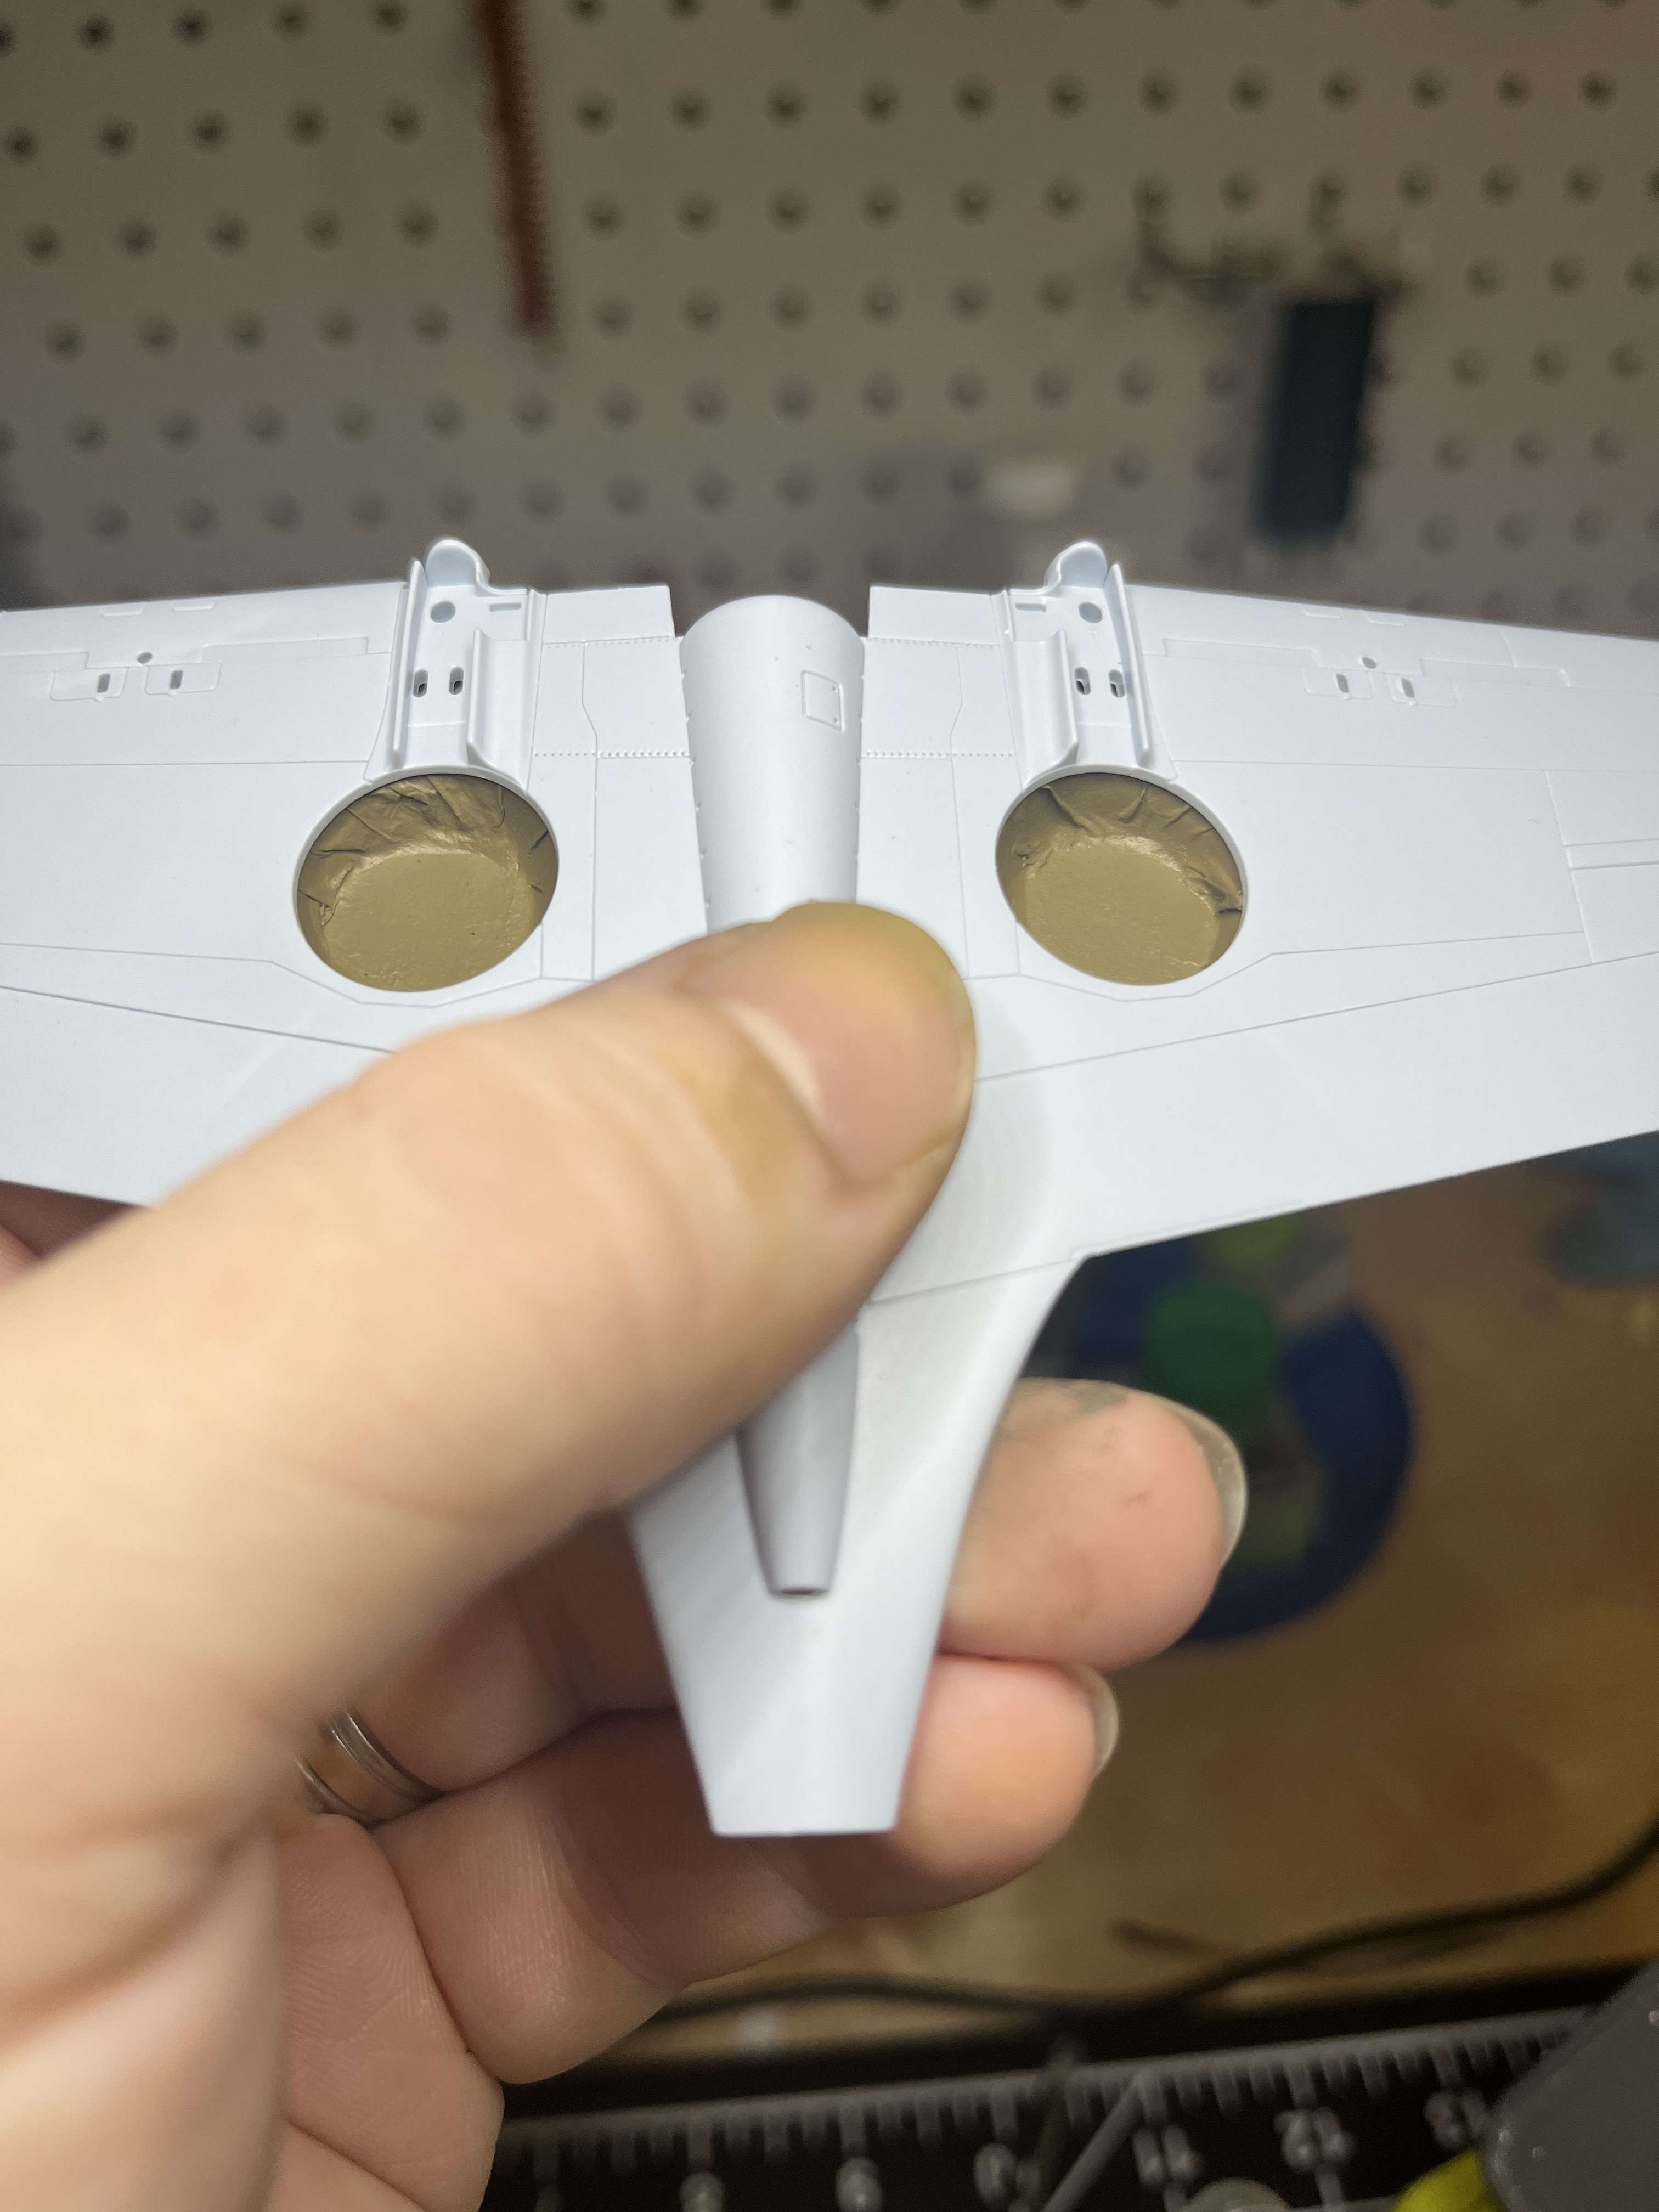
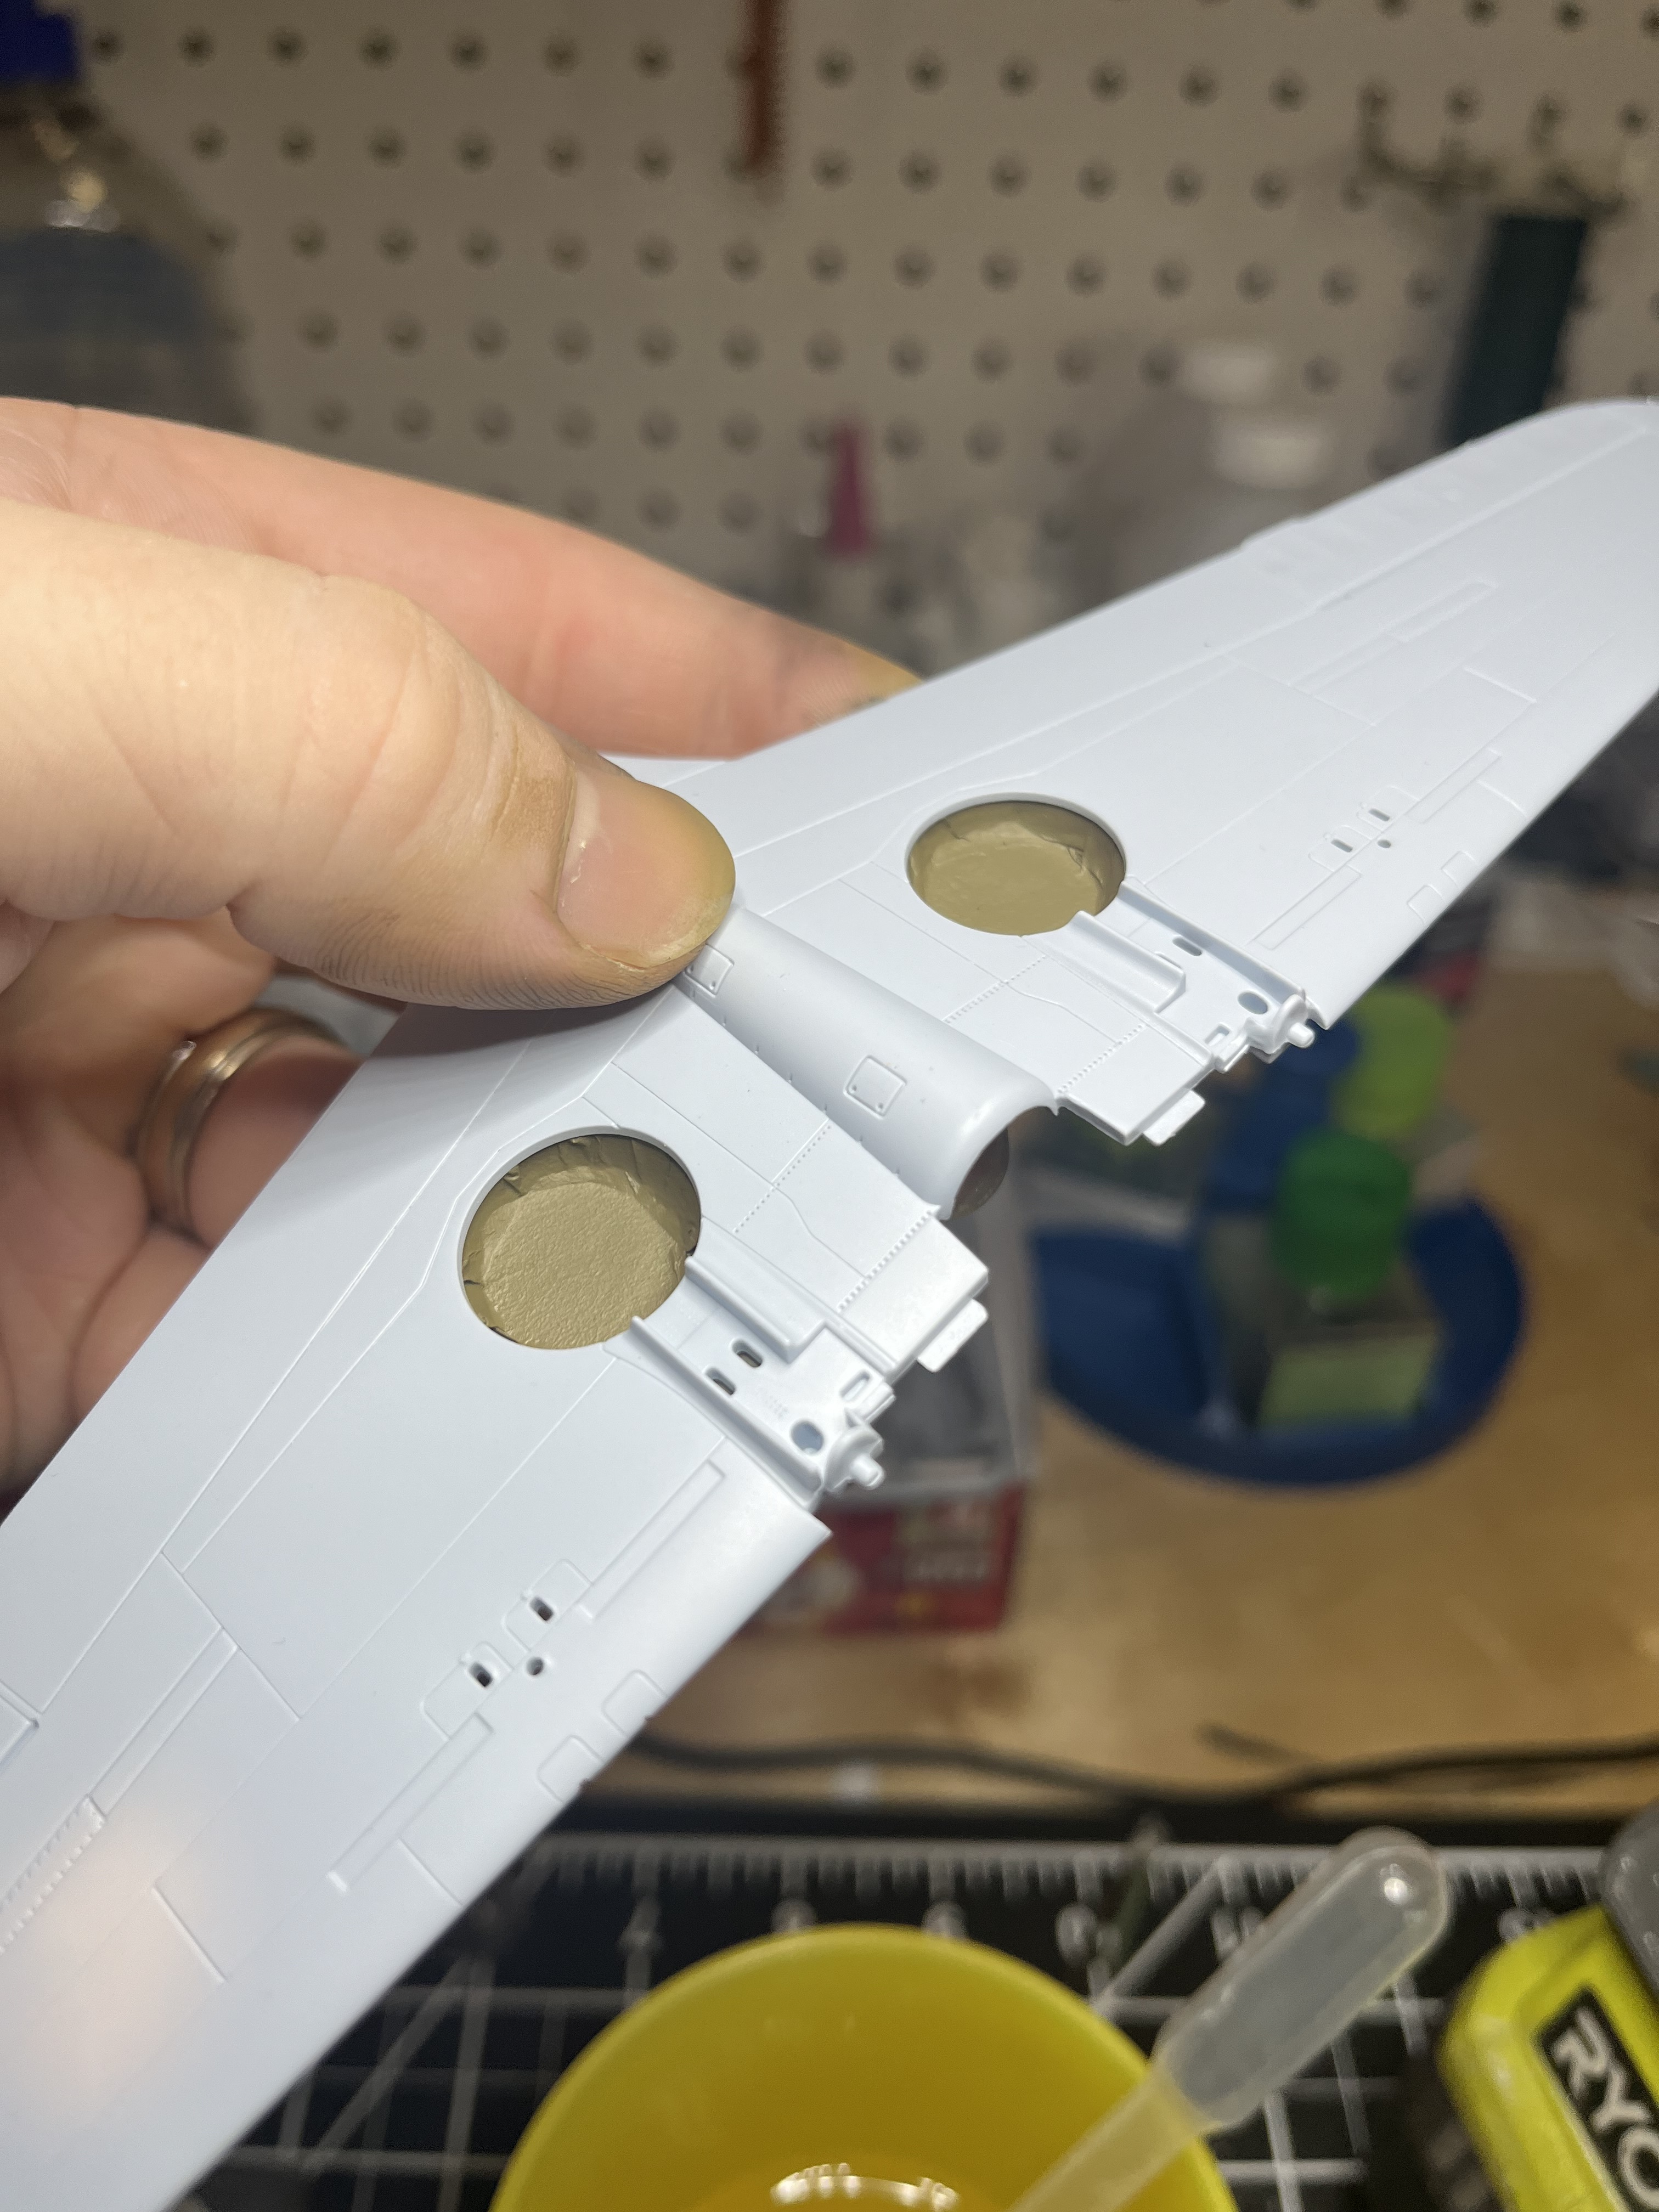
Looks good. Interesting detail and something I hadn’t known. I assume this was to keep dust and dirt from entering the wing?
I’ll have to remember to do this when I get around to mine. In 1/72 sculpted putty would probably work just as well.
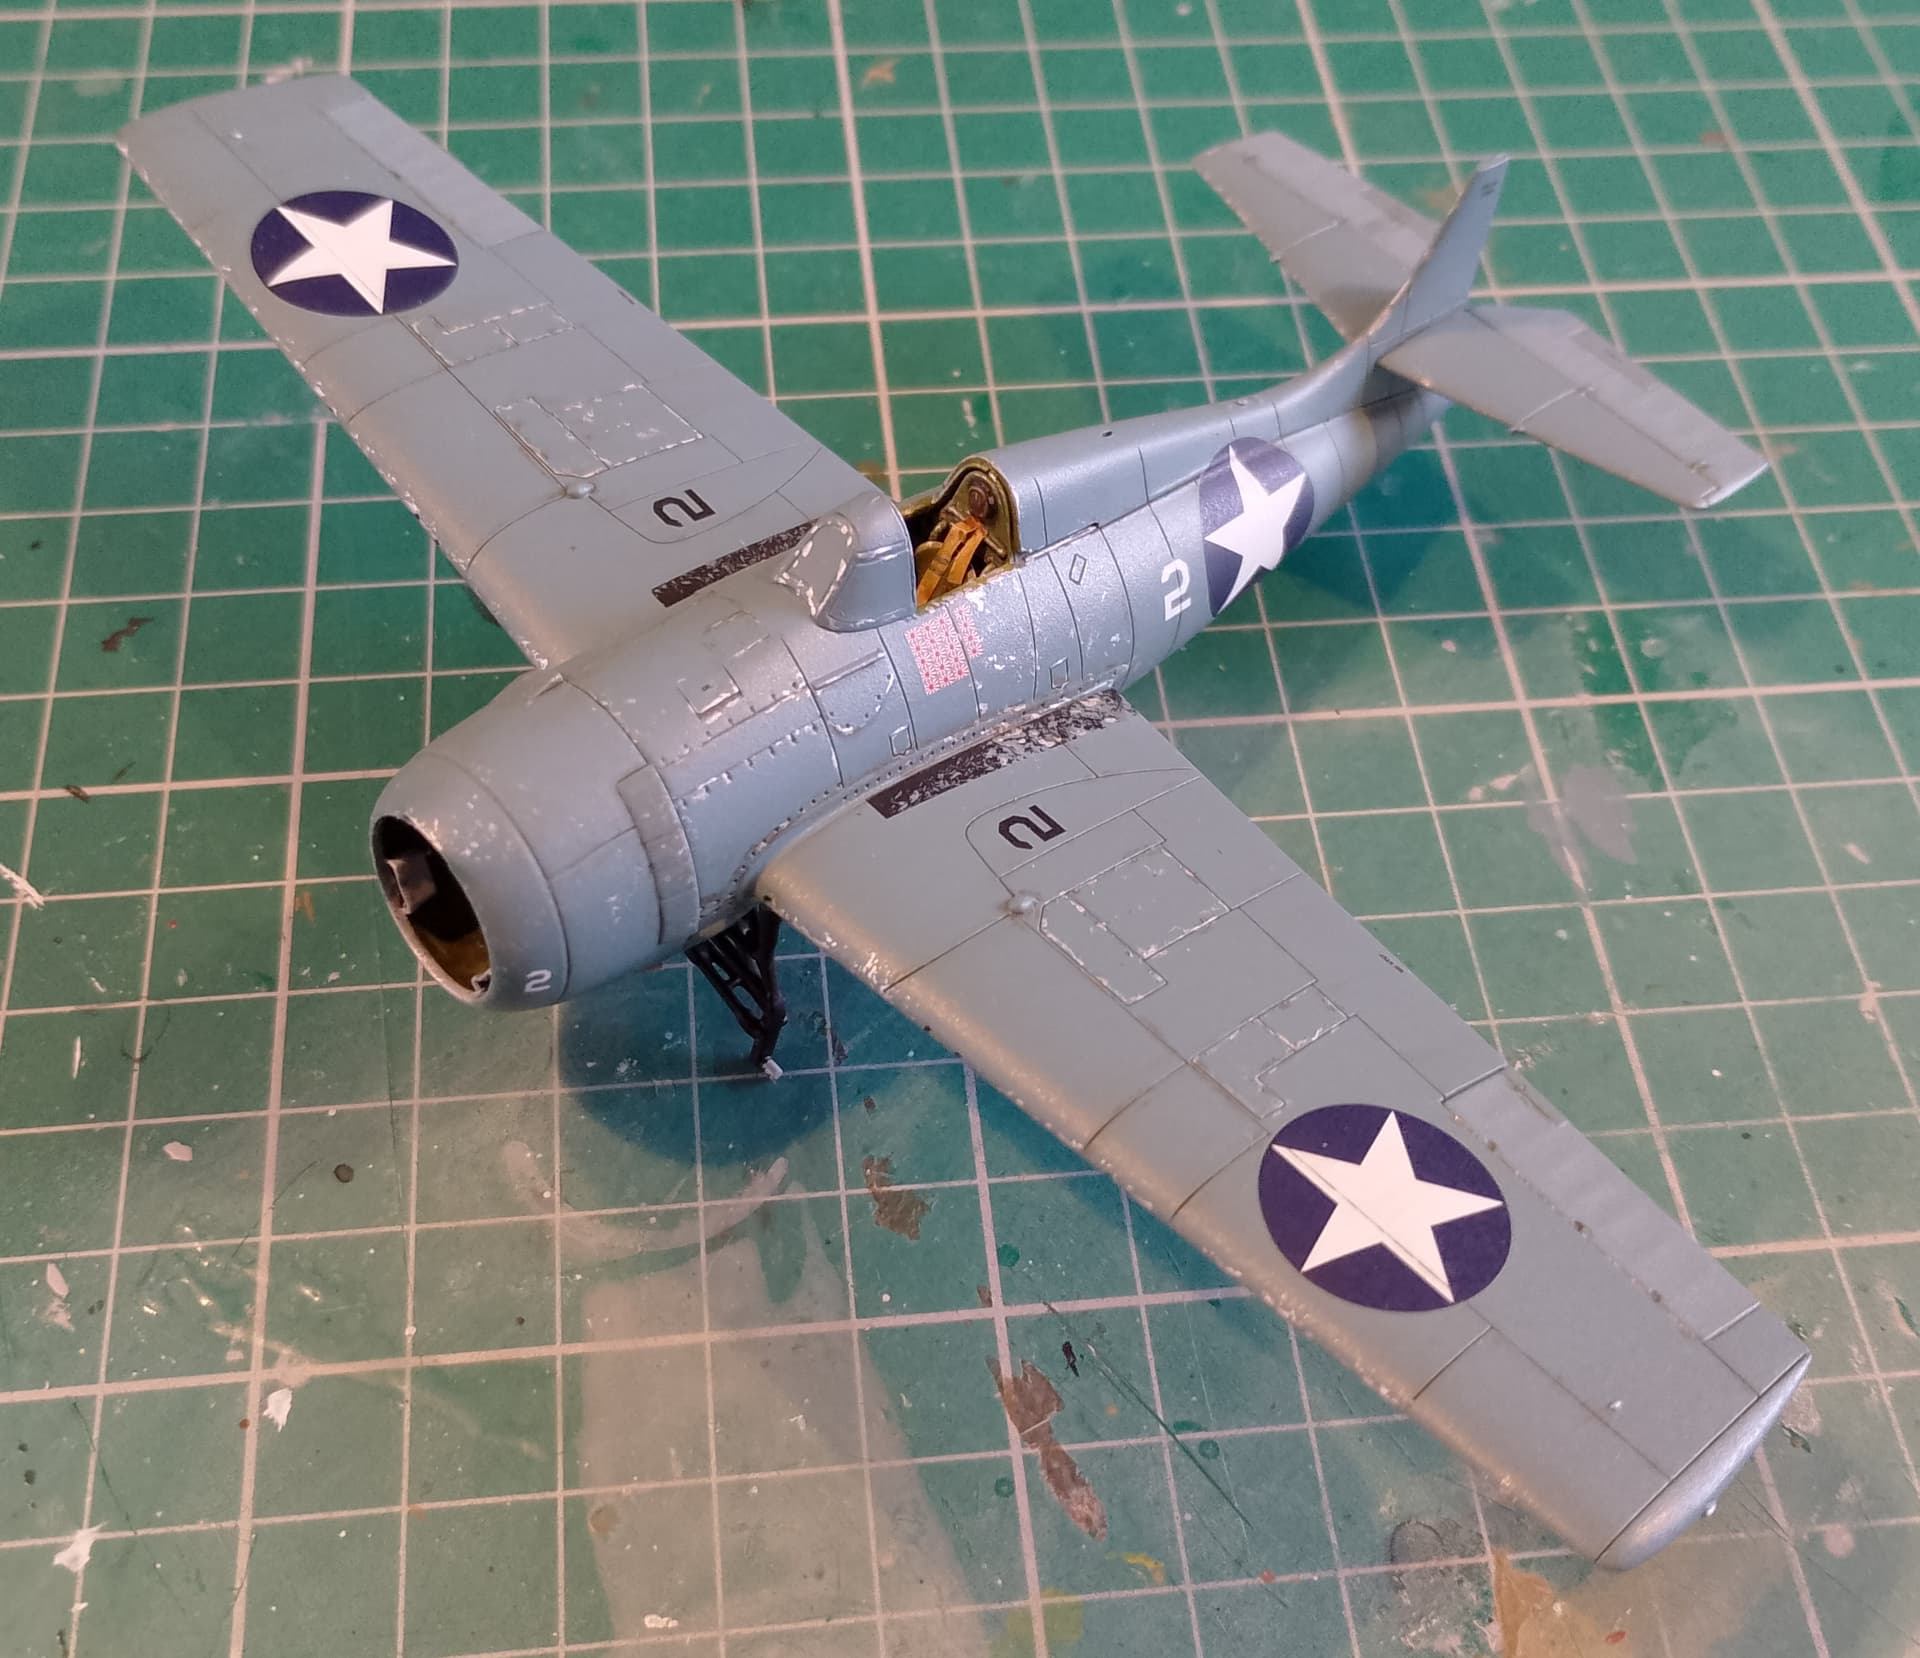
Got a coat of clear gloss on the Wildcat earlier this afternoon. Hardly worth taking a photo of really. Oh and I did pick out the fabric covered ailerons, elevators and rudder with lightened blue and grey. Just to add a little tonal variety. Planning on dealing tomorrow before putting it on hold before we go on holiday.
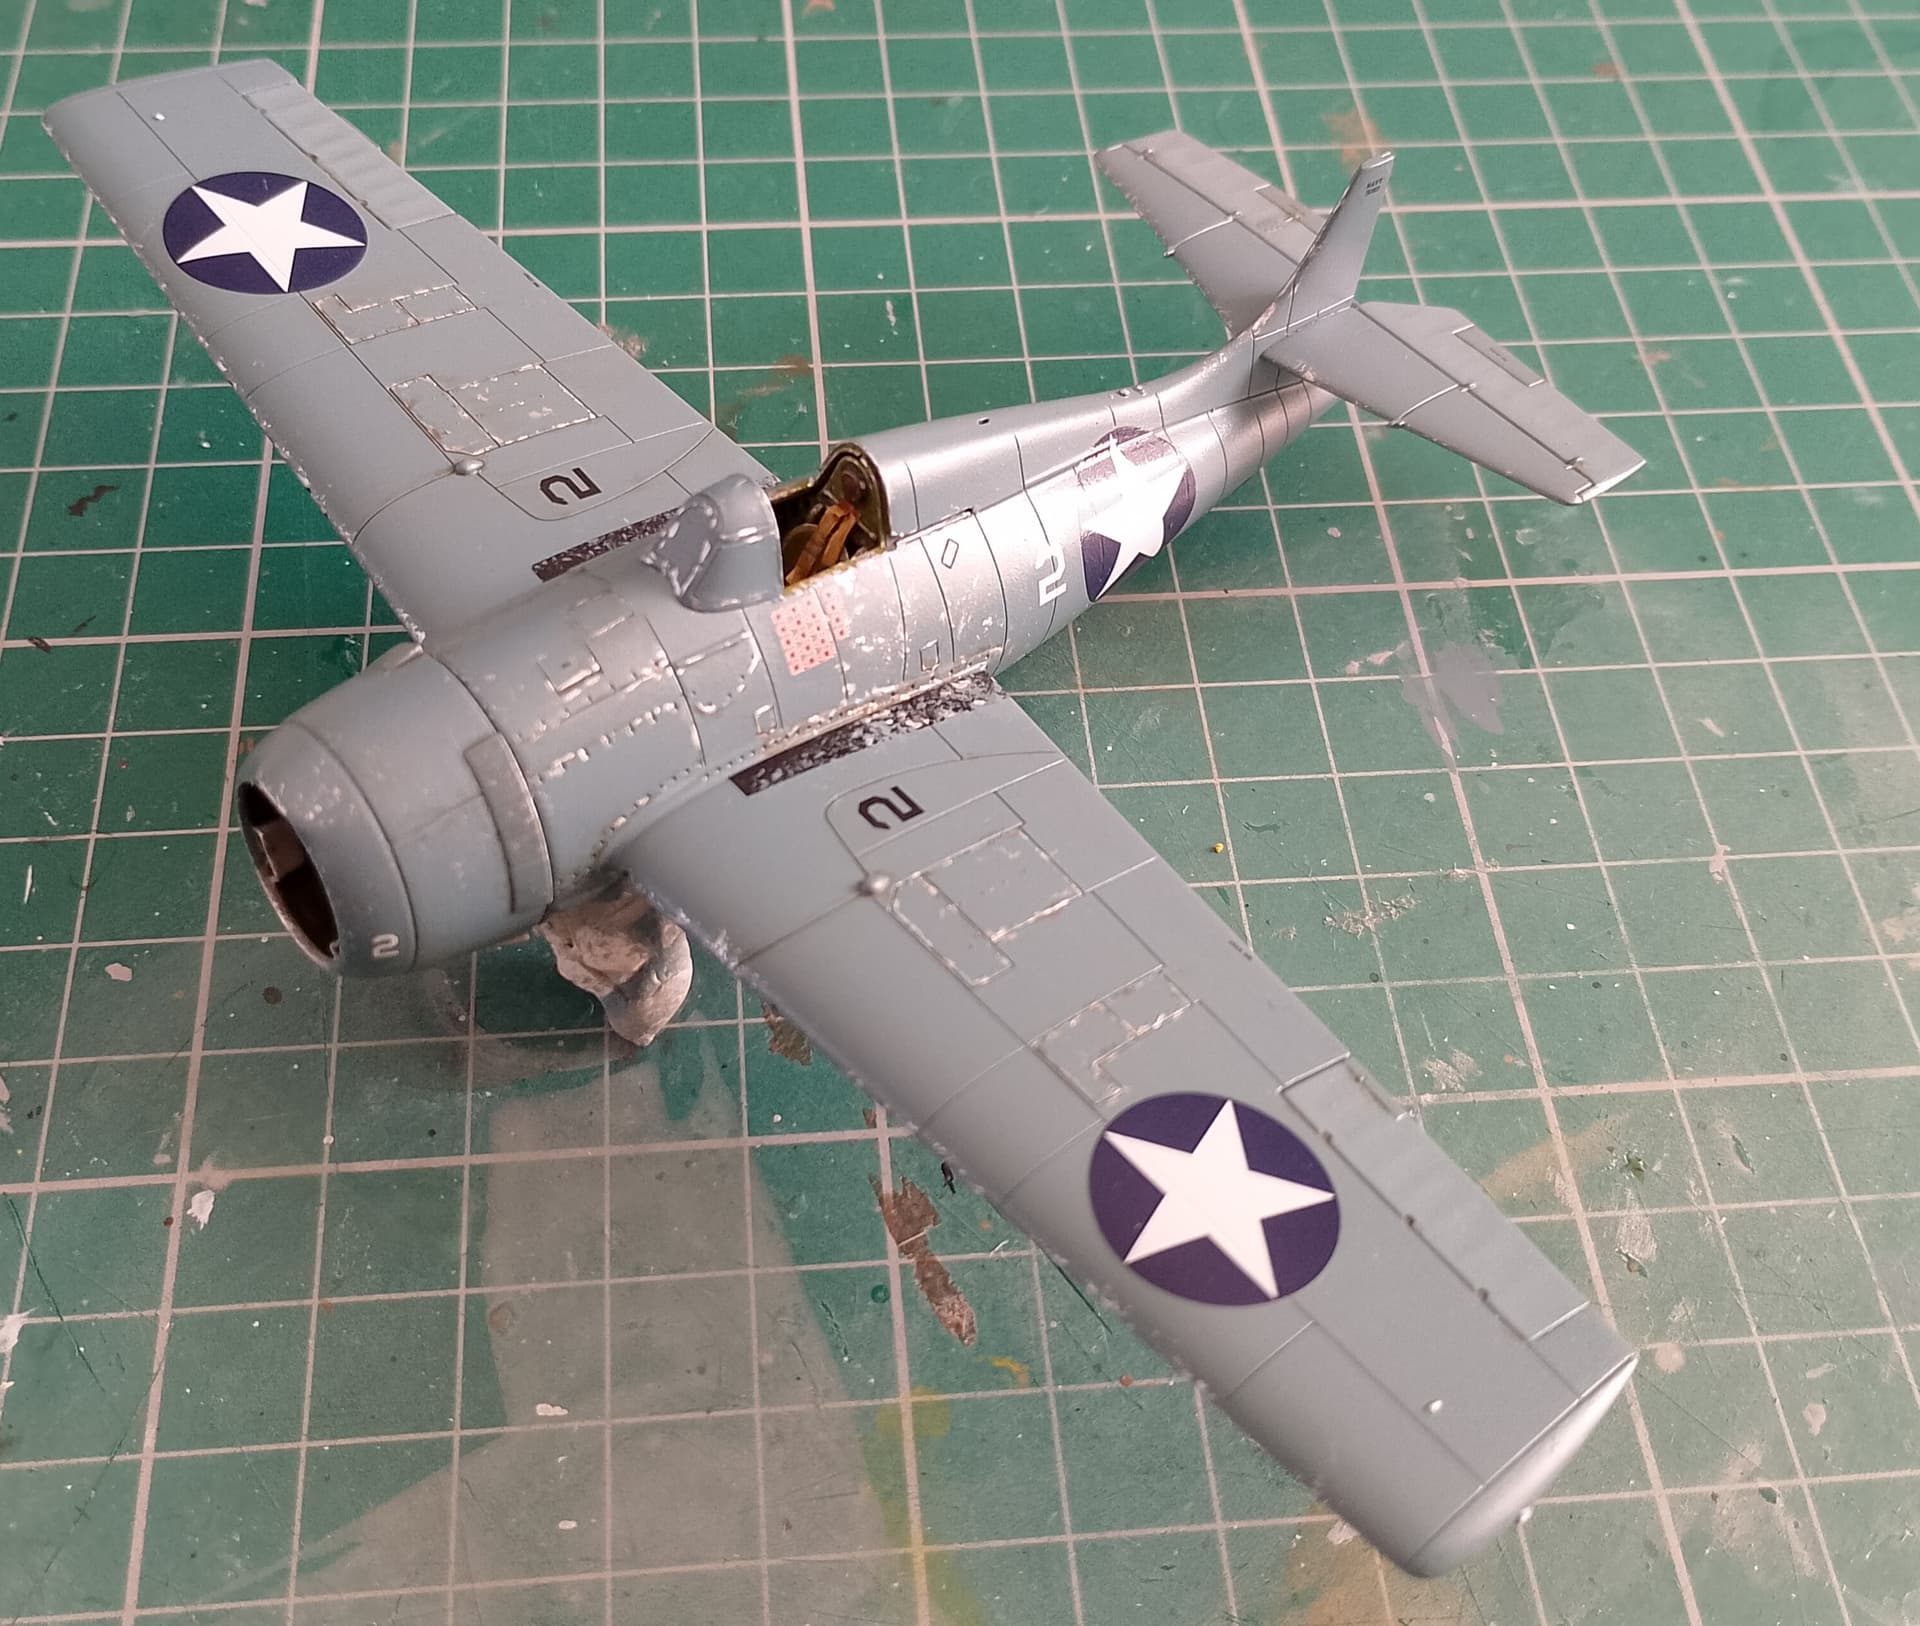
Yeah my understanding is that the P-40 has a spar with lightening holes that fold one side of the wheel well. To prevent crud from getting in the wing they used the canvas. Although I have read they were often removed in the field. However airfix molded them with some fabric detail and I didn’t feel like scratch the other gear bays.
Decals down. These went down really well and again shows how much Airfix have improved in recent years. Very little carrier film and perfect registry, not a single misalignment unlike the old sheets.
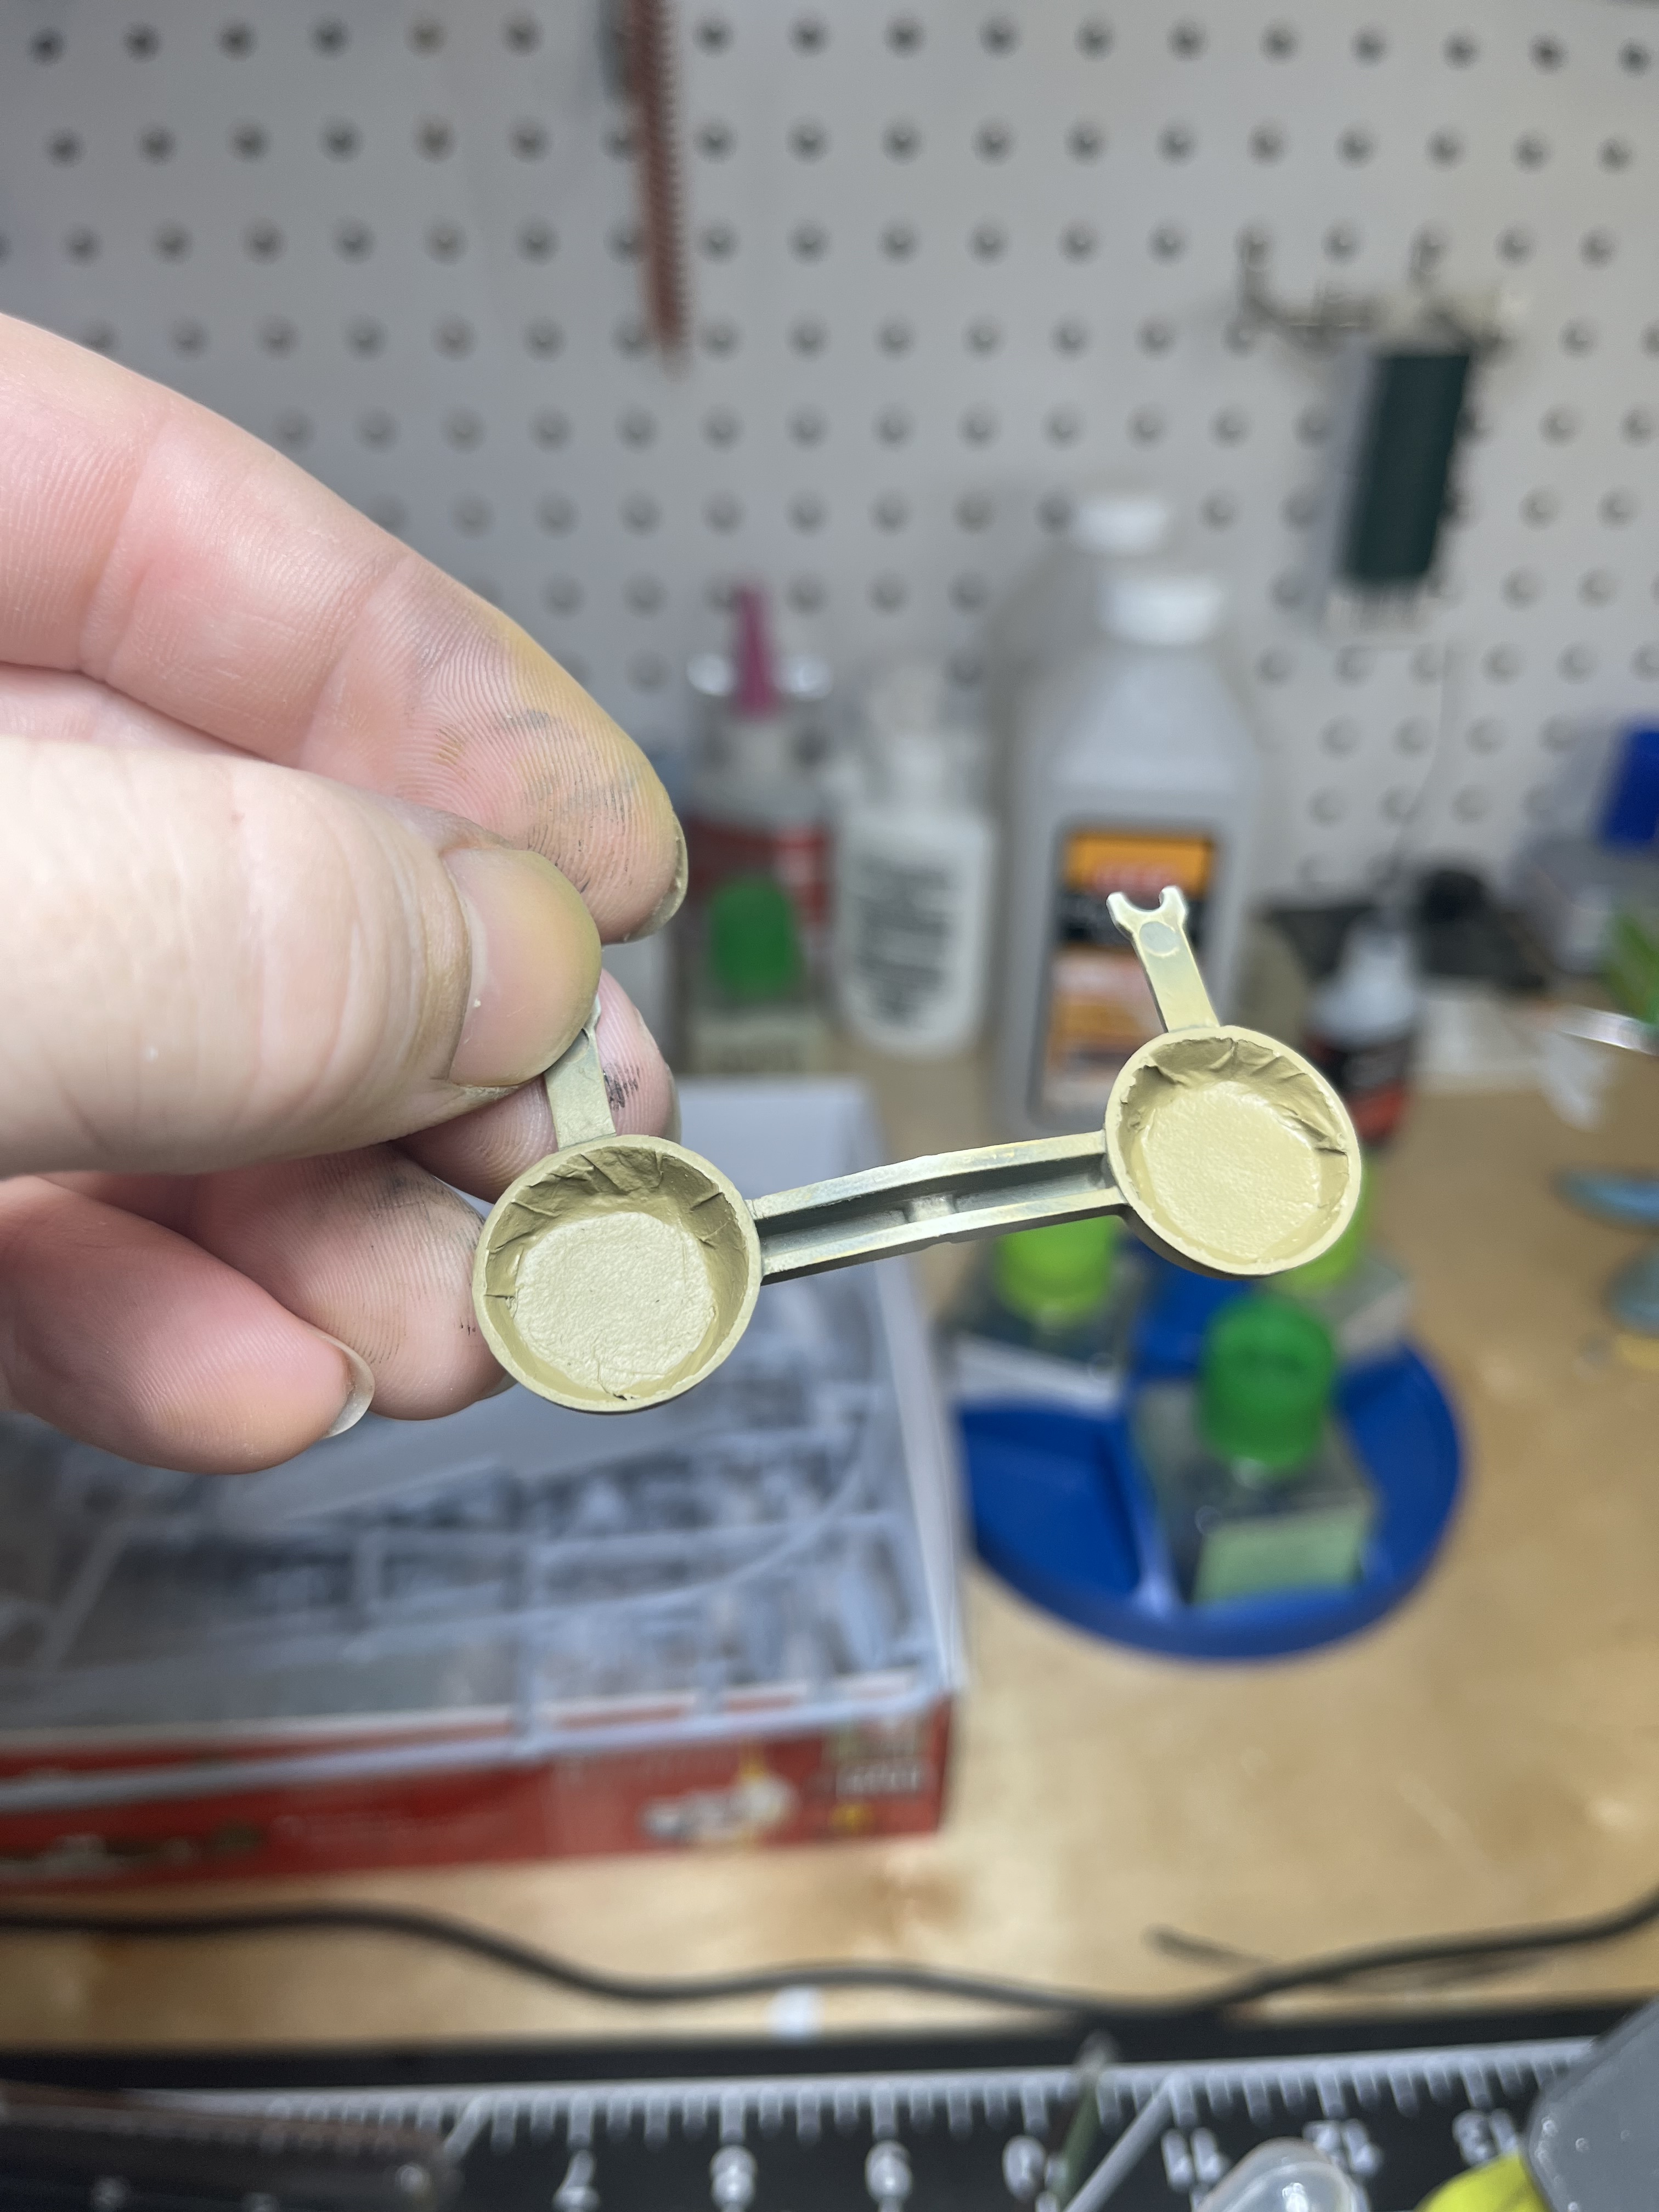
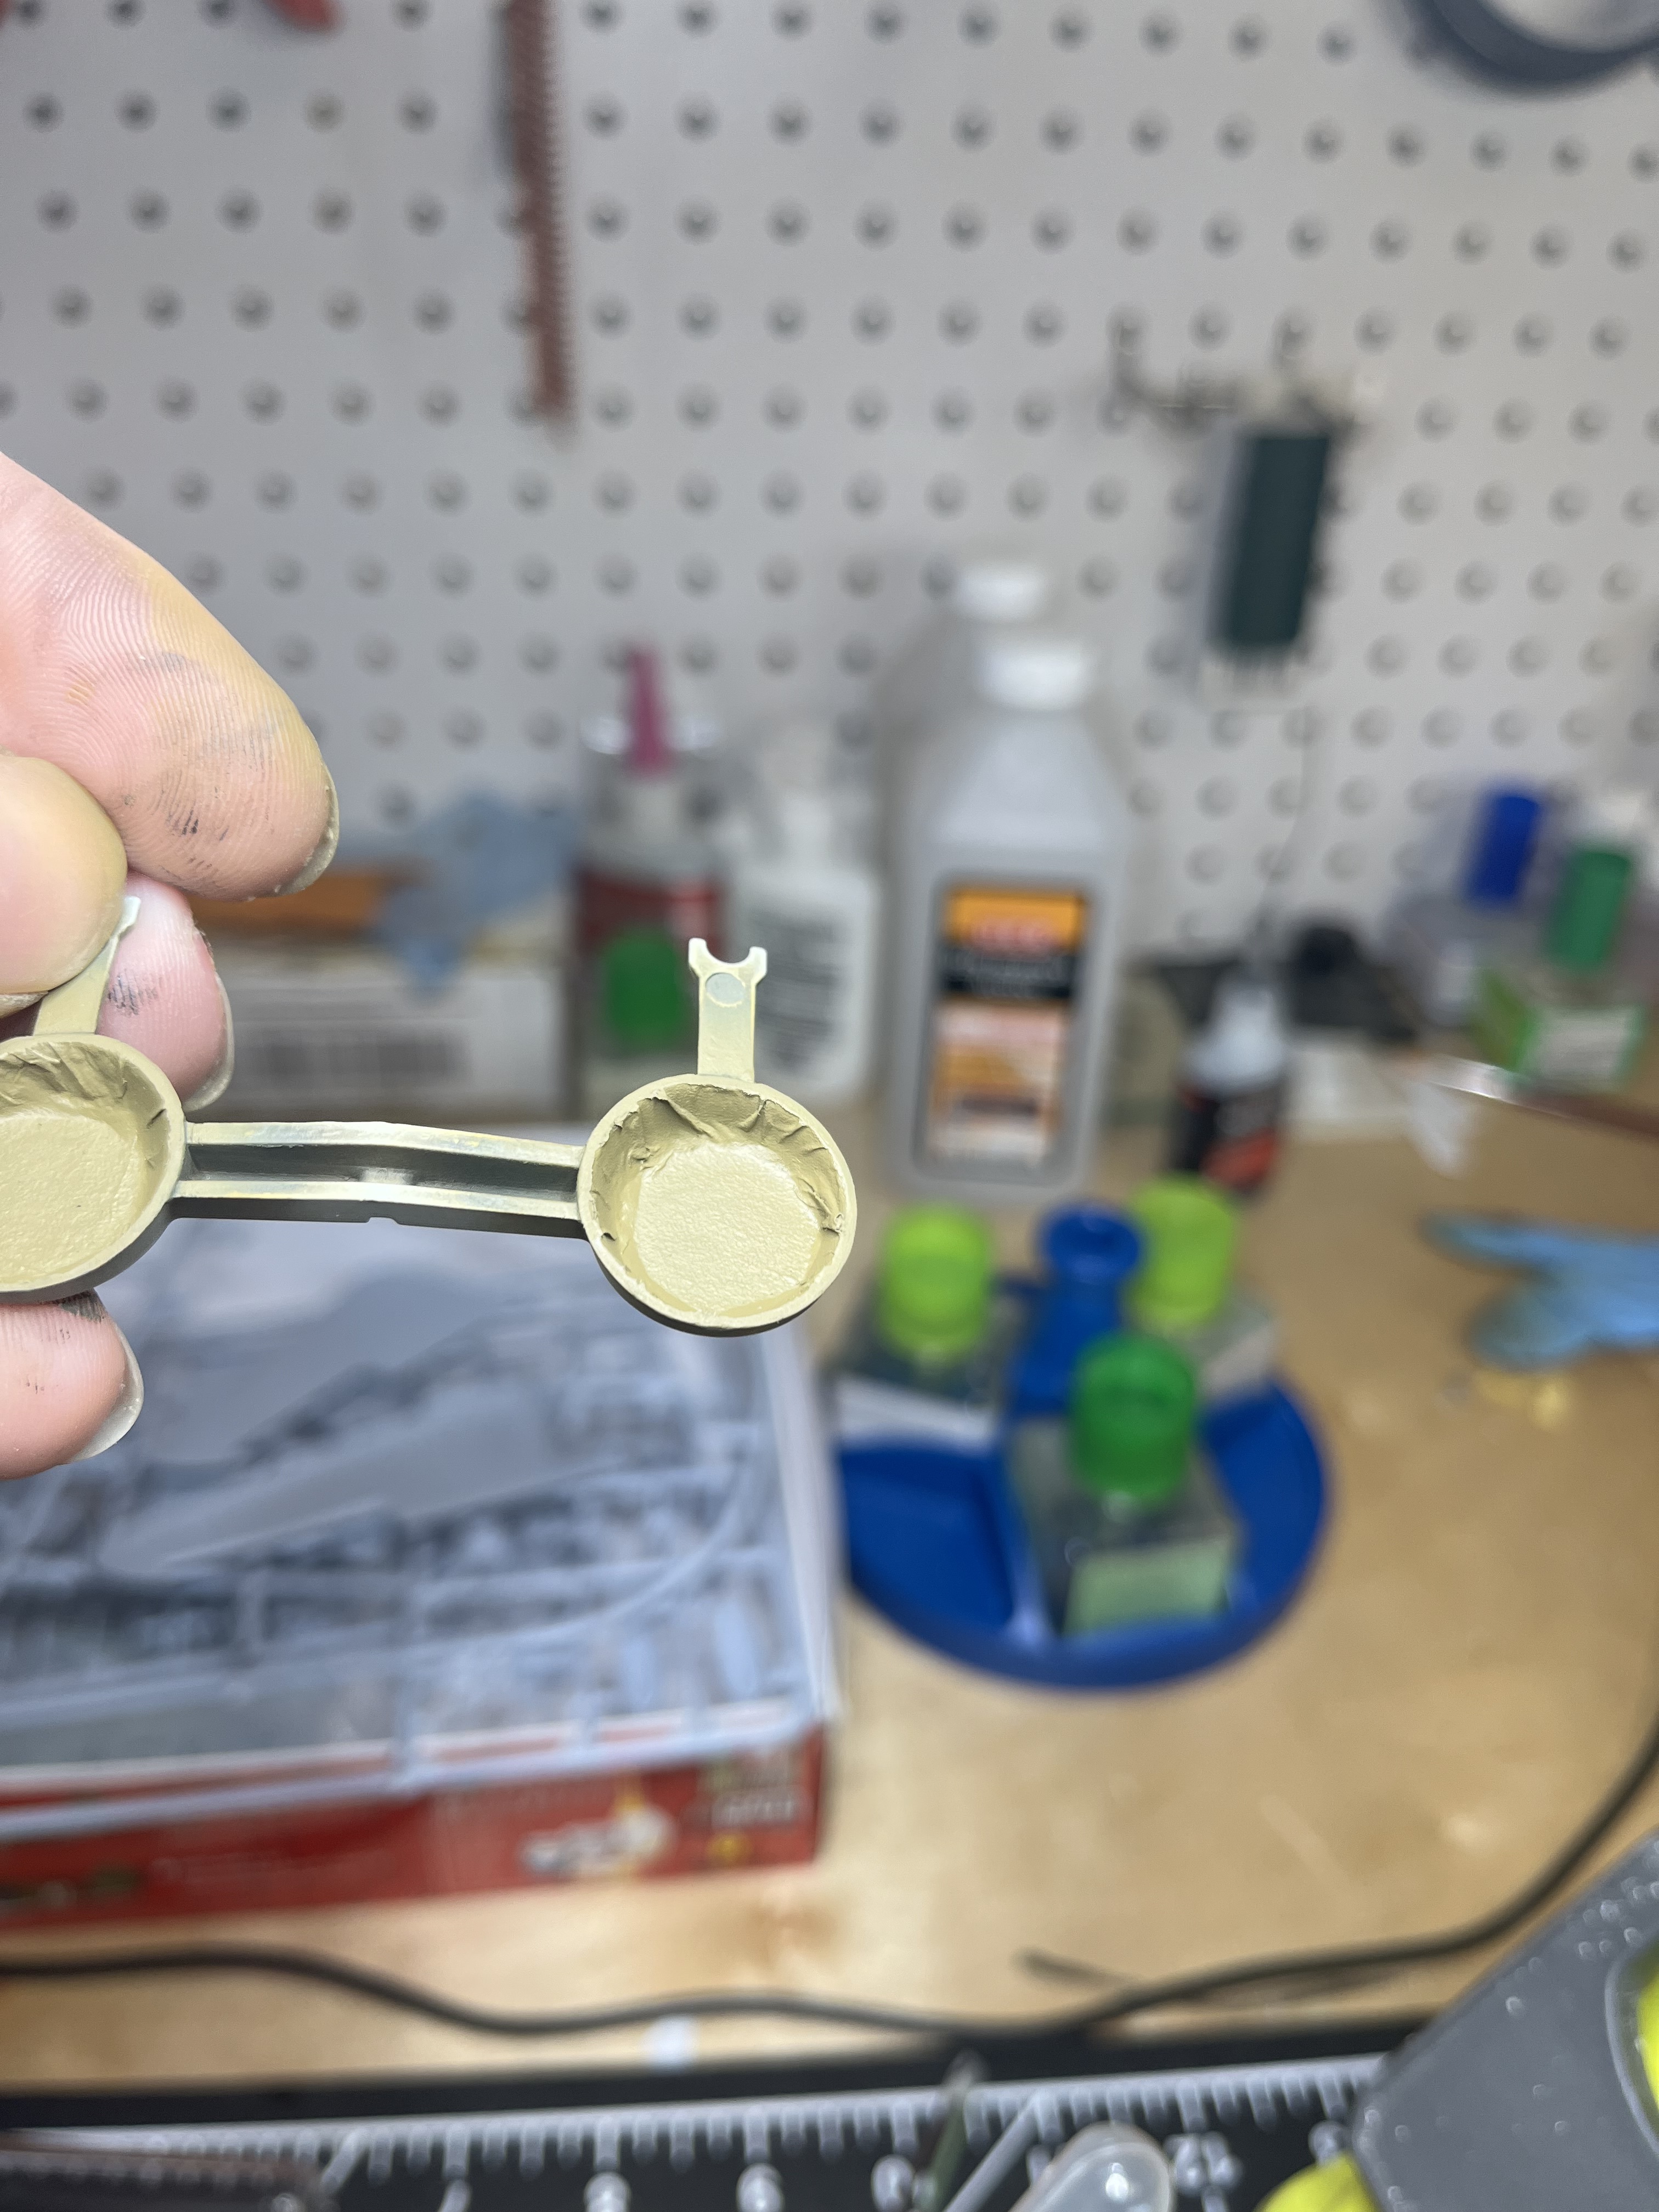
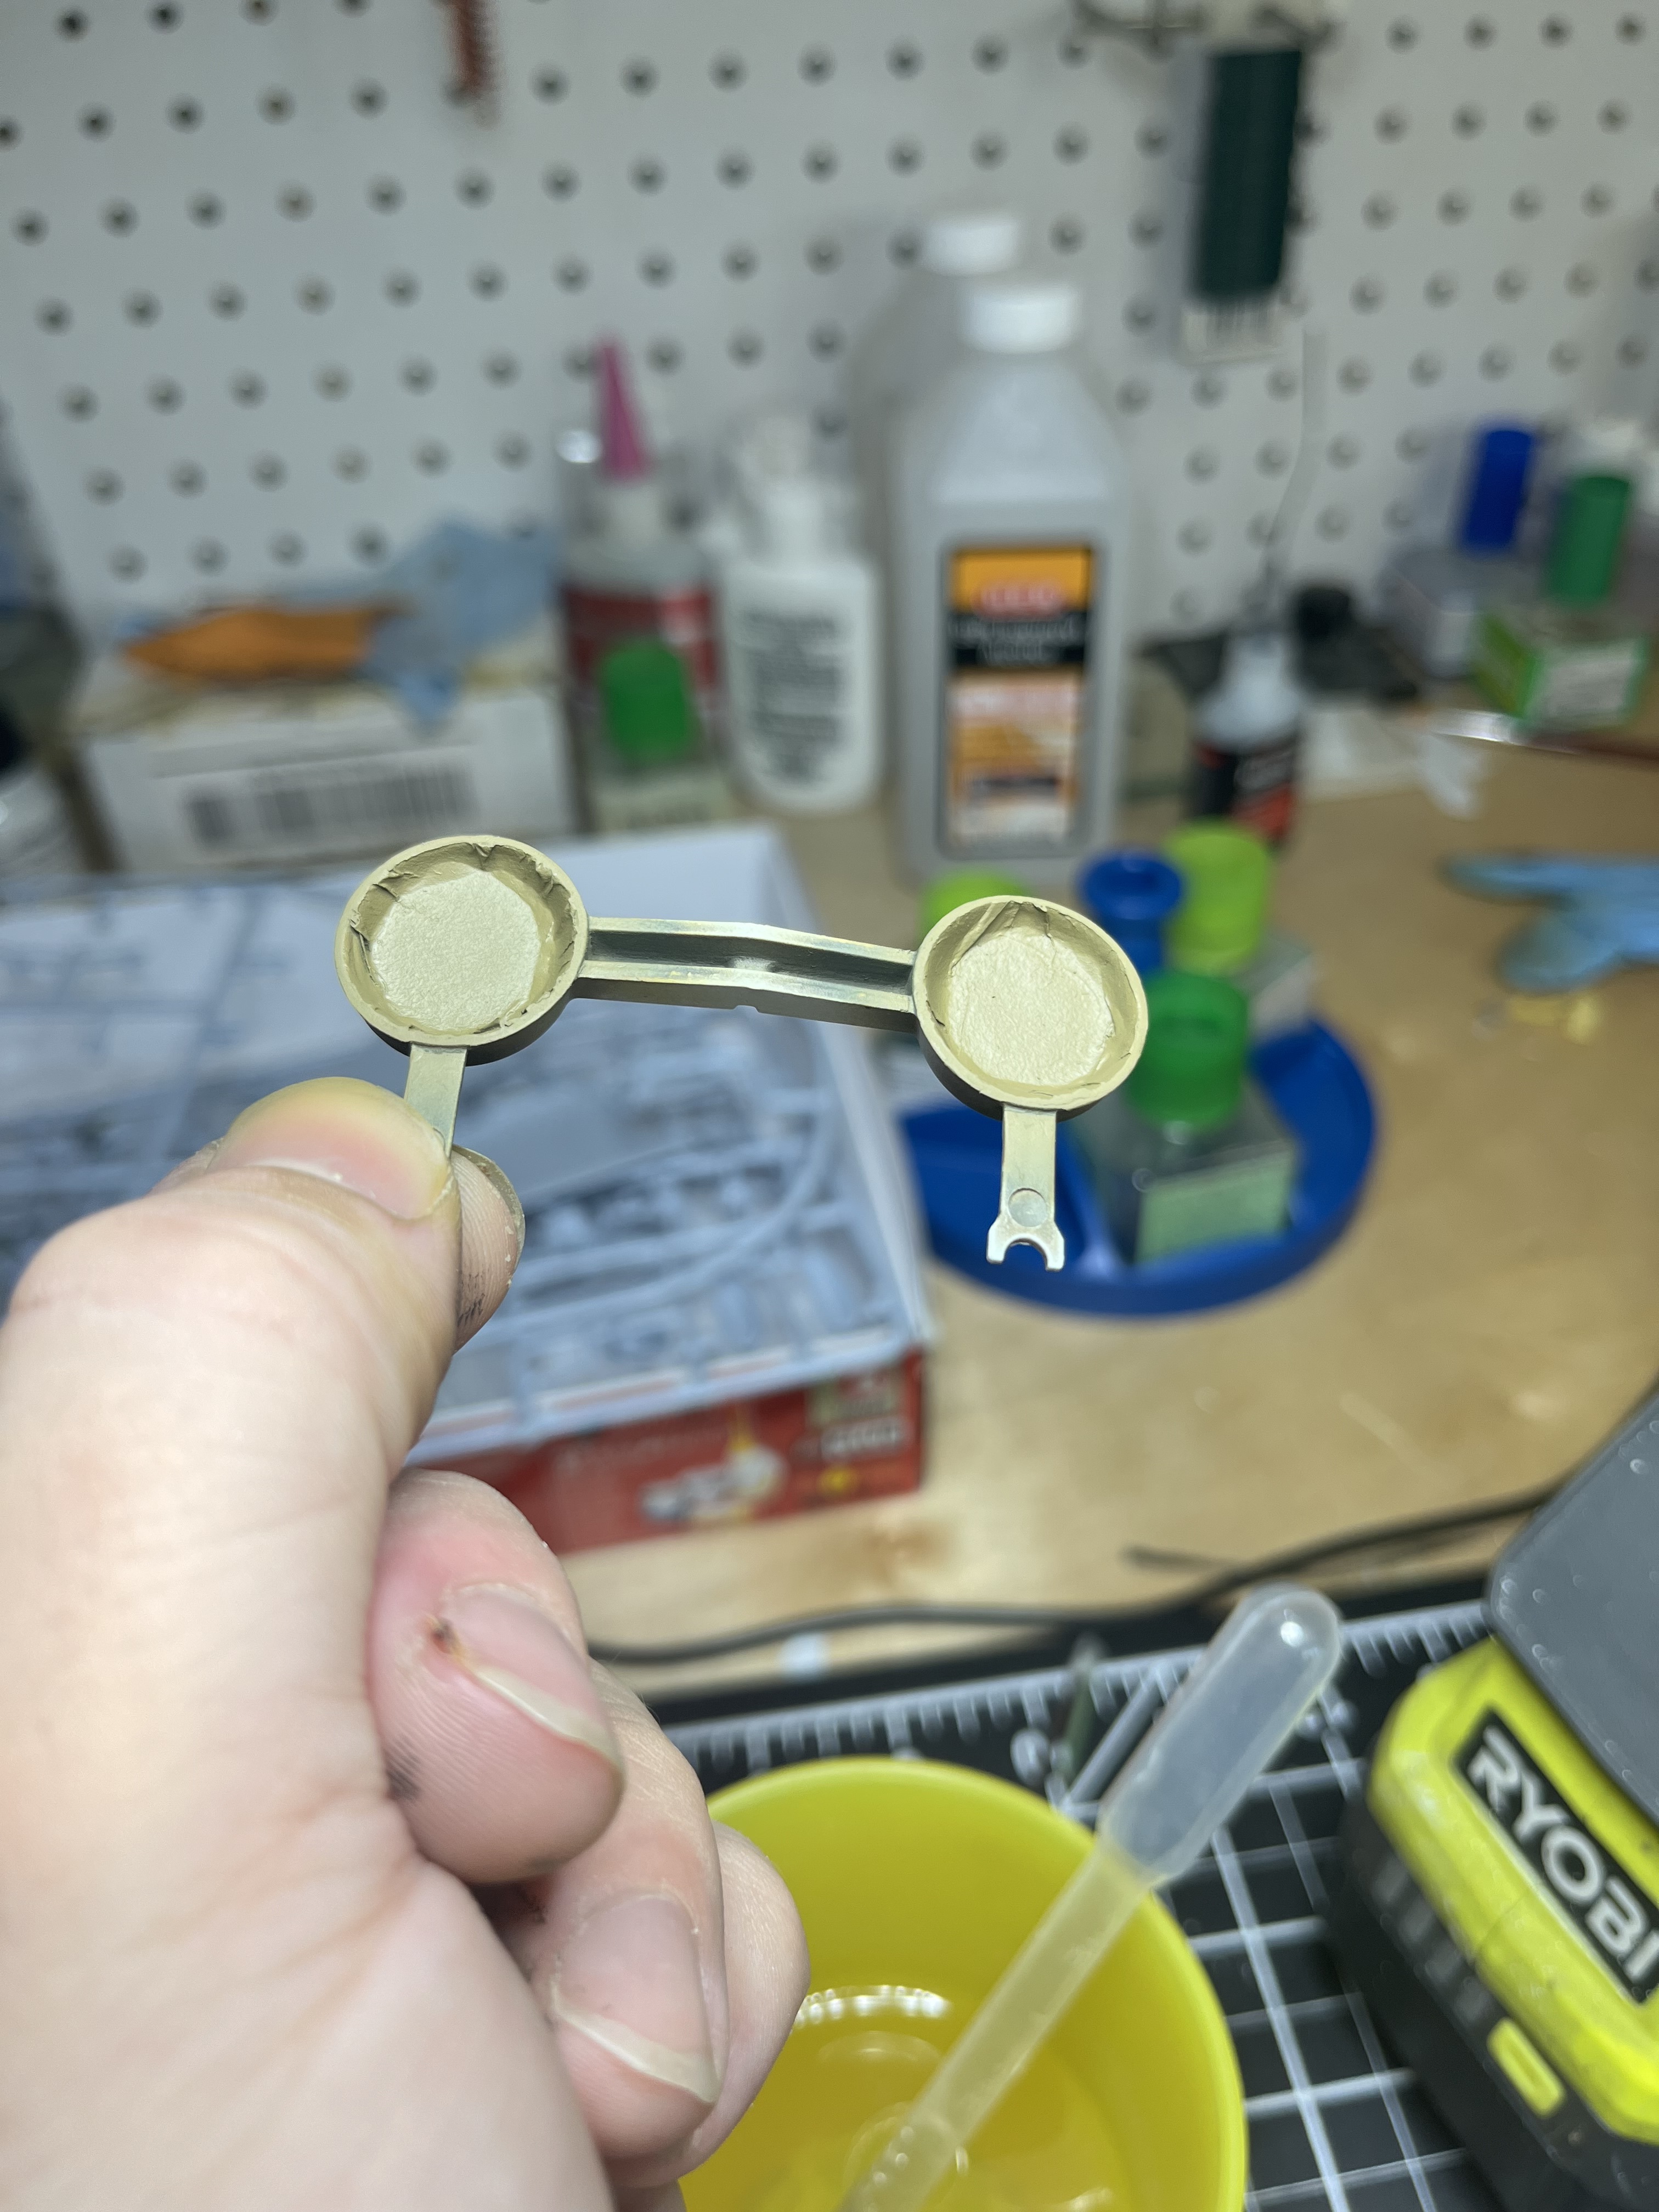
Well having unmasked the SM79 I wanted to pose the fuselage hatch open which led to the disvovery that the hatch door has steps on it. Trumpeter declined to model the steps so I decided to scratch build a set as I felt photo-etch would’ve looked to flat and was well out of the budget for this build. I mananged to source a pic online showing the basic outline of the steps and went from there. I took measurements from the door and drew the resultant shape on some black foamboard with a white pencil and the used pins to hold the evergreen rod in place while the glue dried.The resulting steps are likely well oversize but they do at least look the part in my humble opinion. Now comes the painting and weathering and then attching the door to the fuselage. Then I’ll call this done!
Okay so I’ve installed the fuslage entry door and it’s at a more acute angle than what it appears in the photo of the original. I’m gussing that when they looked at the copies in the museums the landing gear was possibly fully or partially extended from there being no fuel, oil, munitions etc onboard. So the steps aren’t quite at the right angle, however it matters not in the greater scheme of things. Just got the pitot tubes and aerial wires to install now.
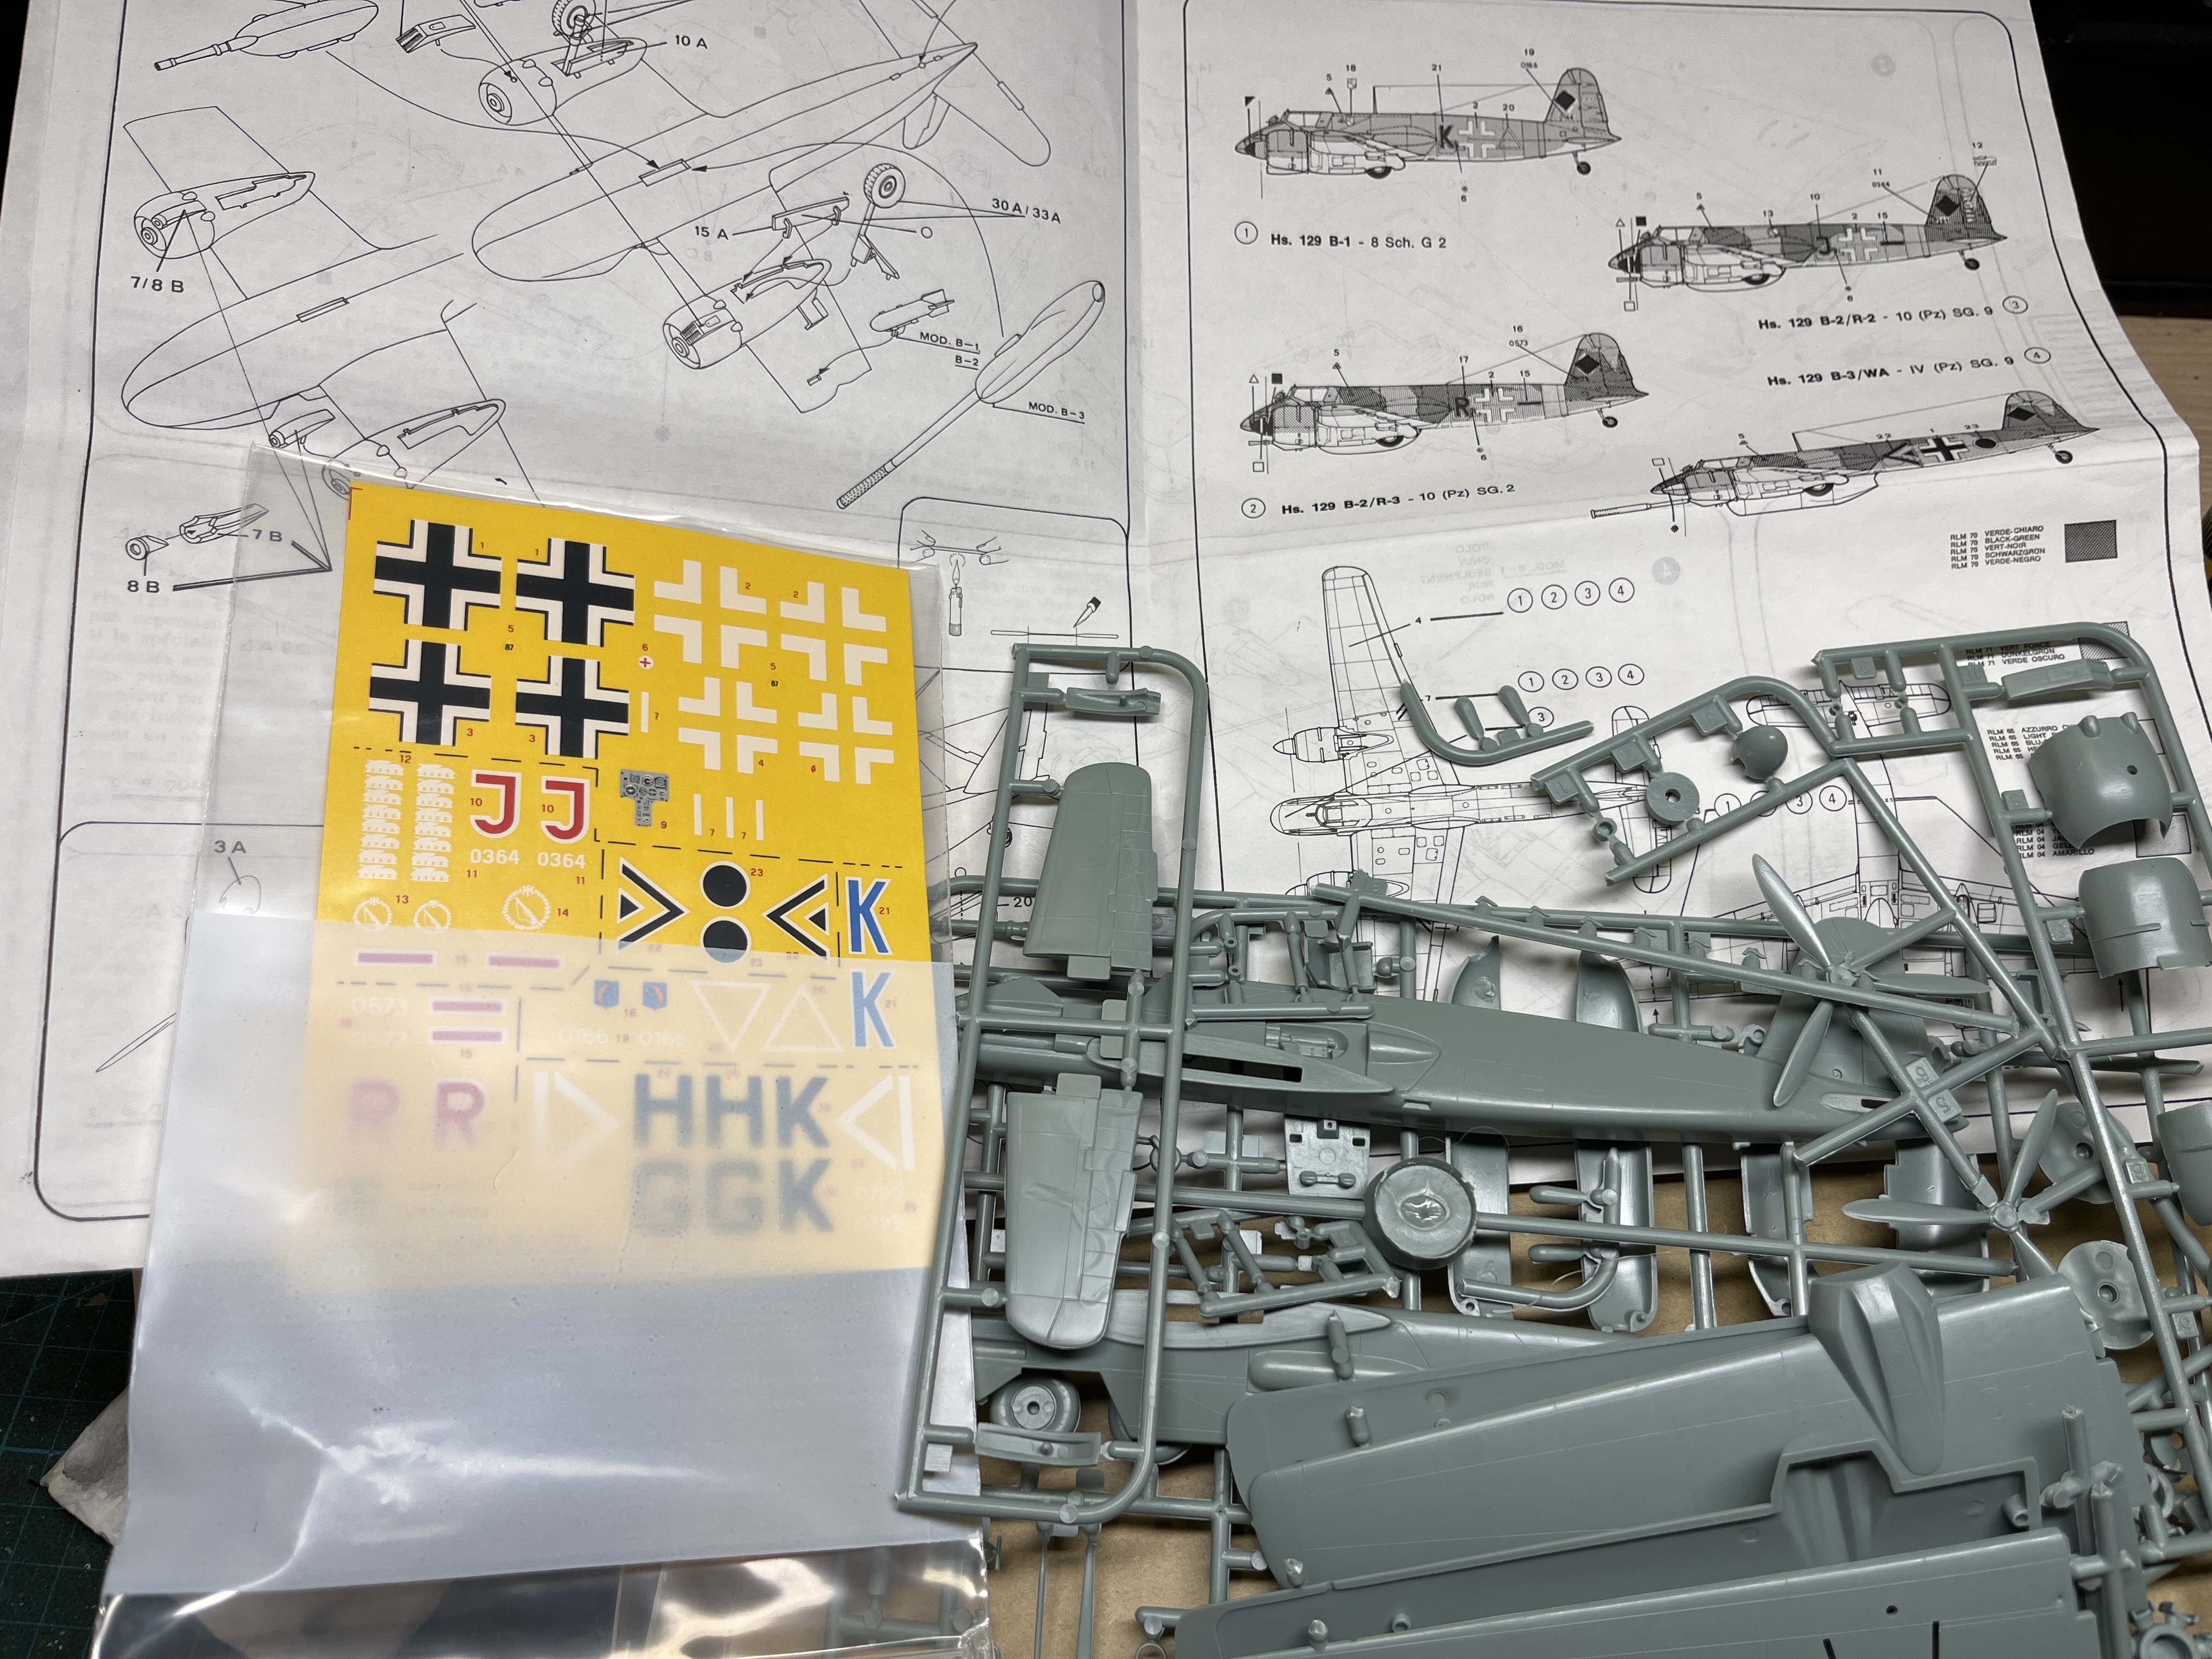
I am getting ready to start my Hs. 129 in the African campaign in November 1942. The kit is the old ESCI 1/48 version. I am really looking forward to get into this kit.
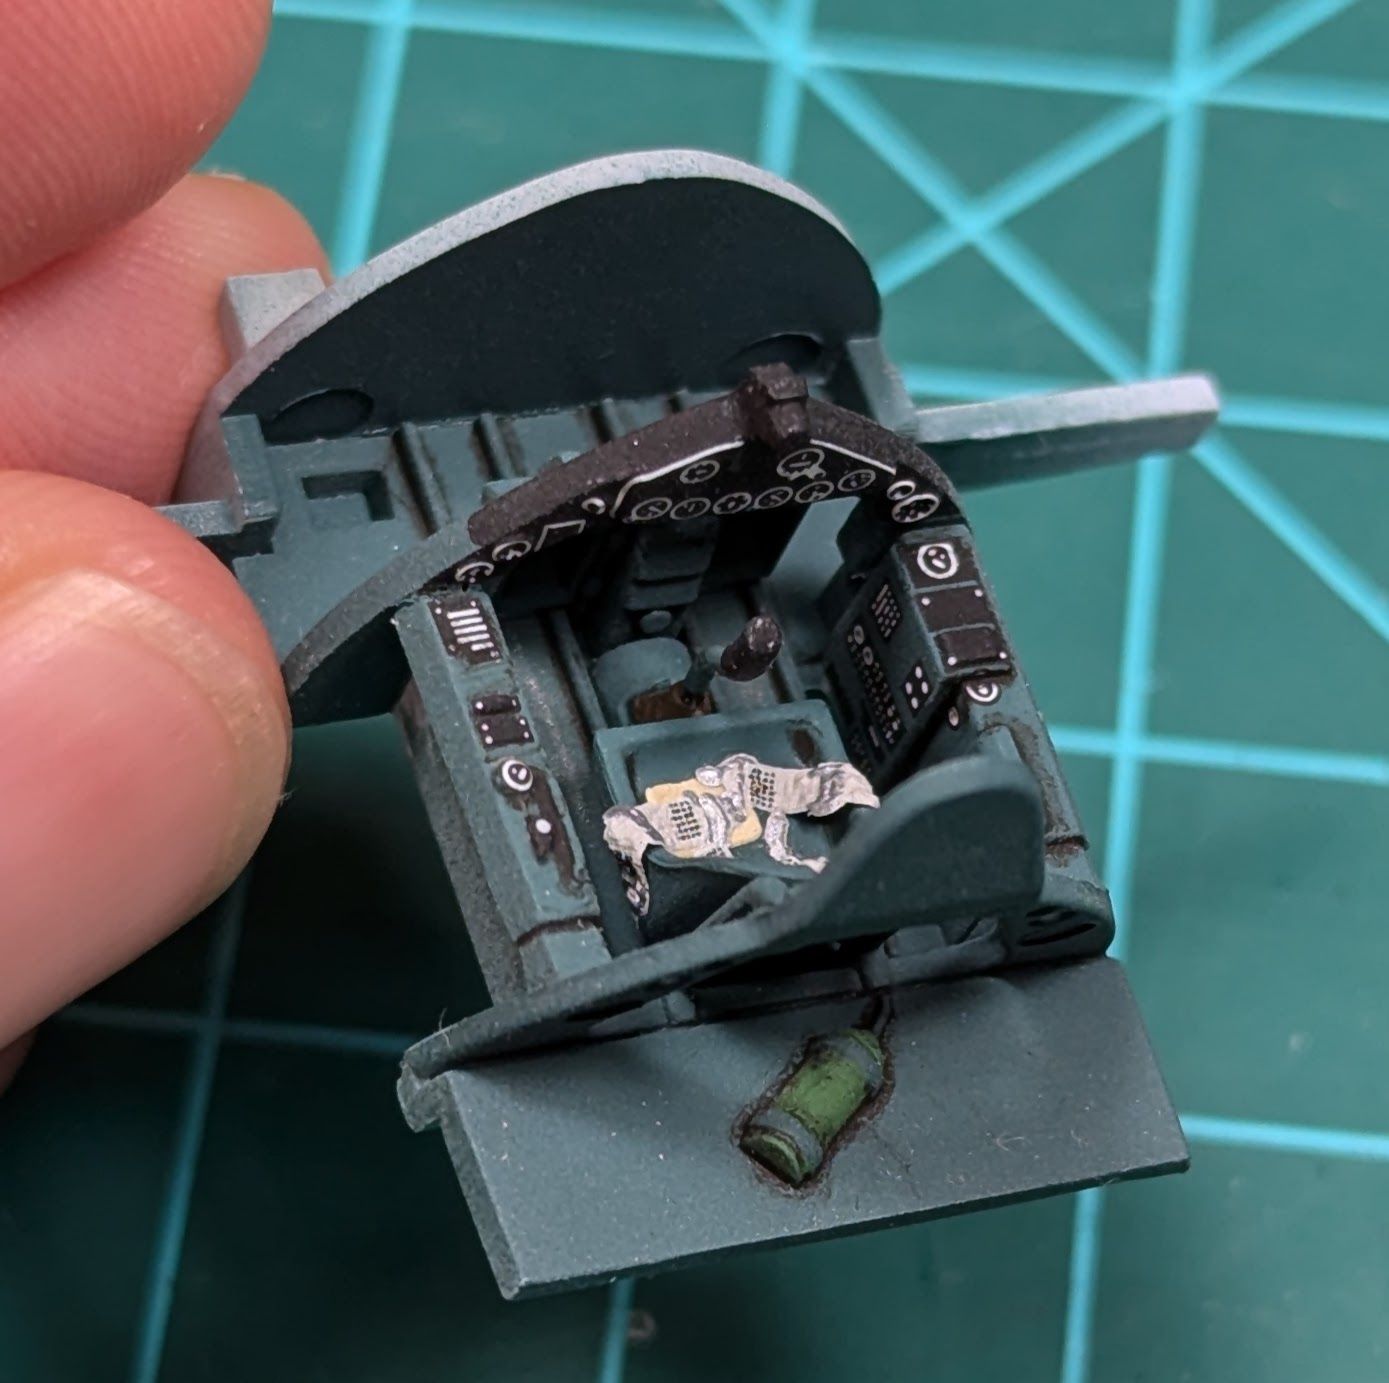
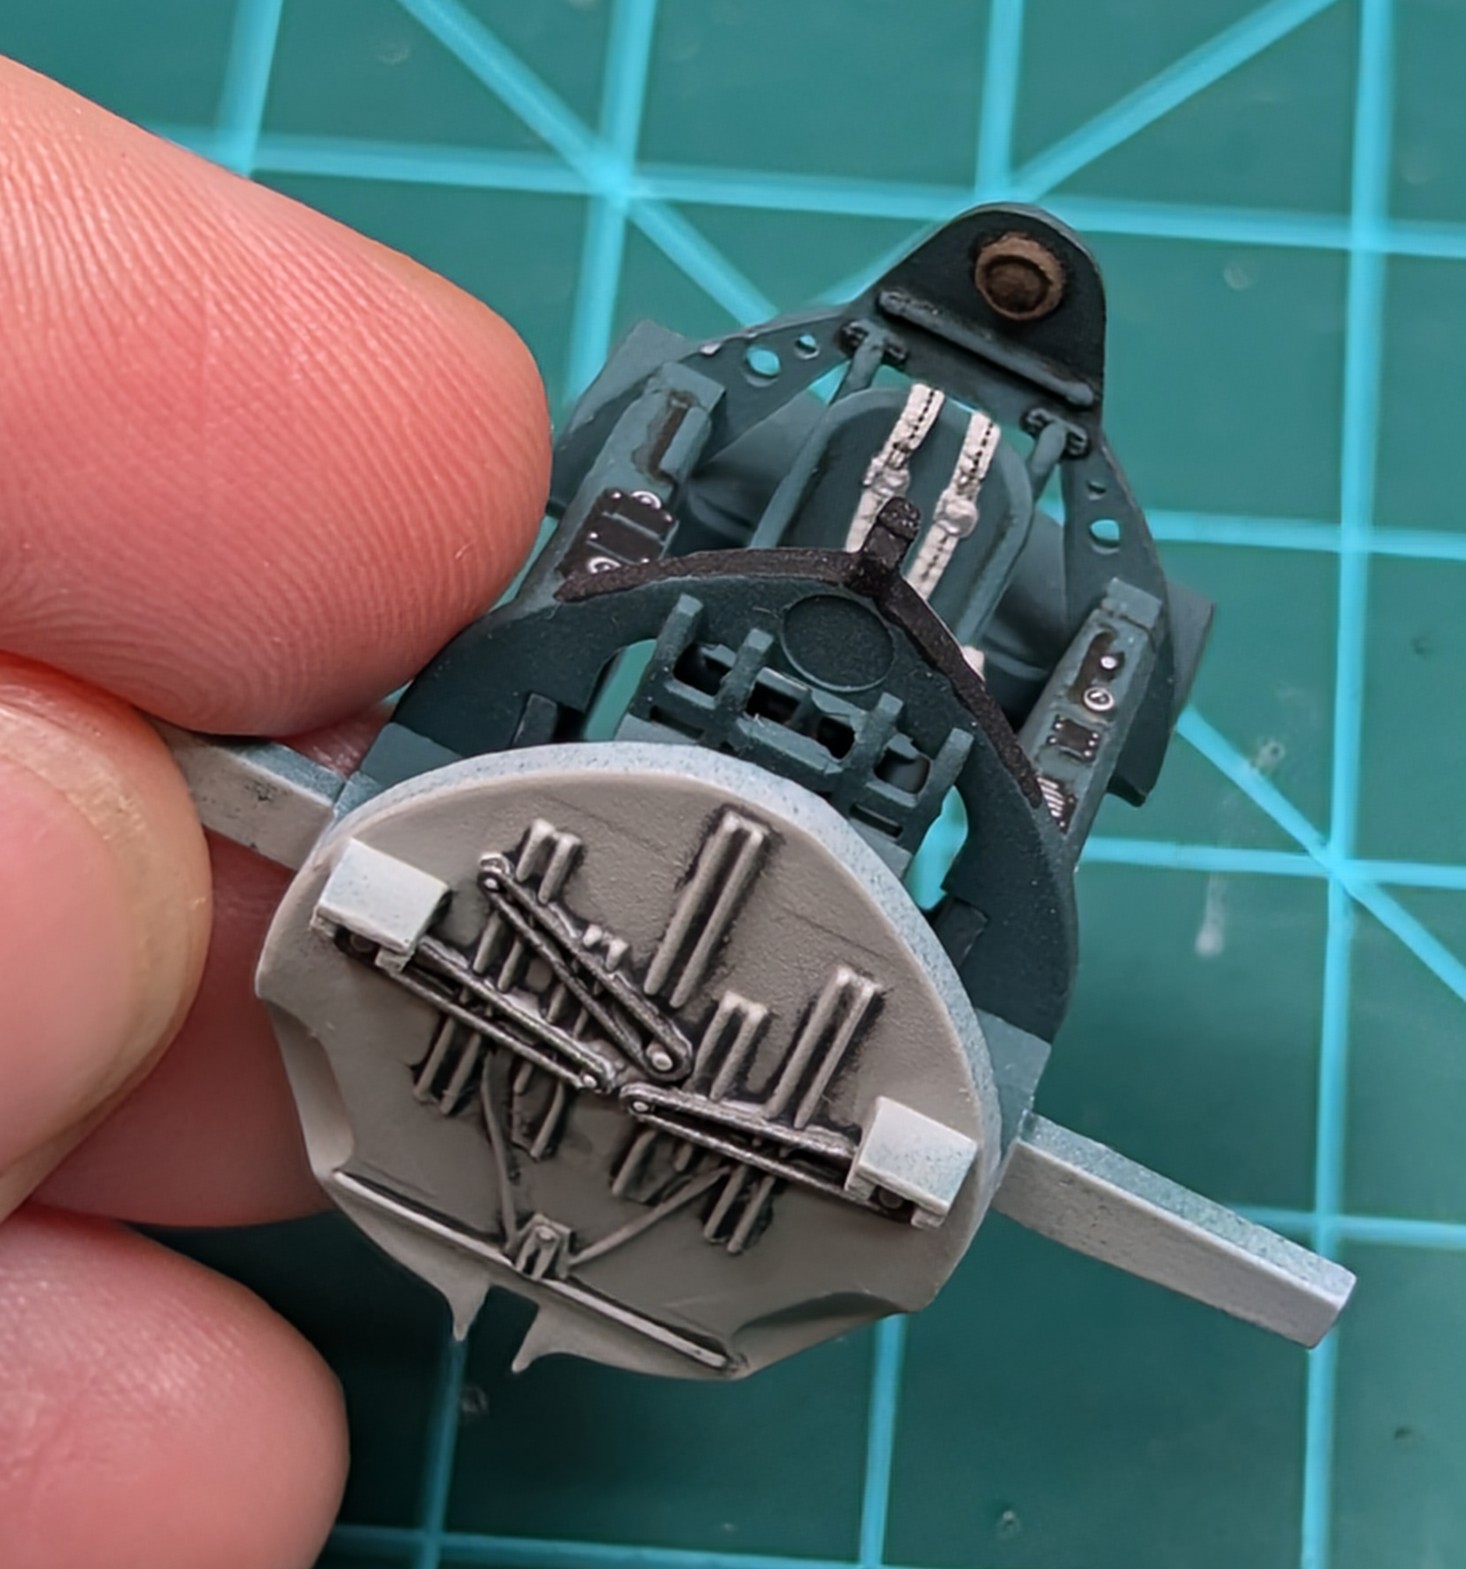
I finally got some bench time last week and finished the cockpit of my Airfix Wildcat. Here’s what it looks like. I’m now noticing that it has a lot of dust on it, so I’ll need to clean it before installing it.
Just props and a couple of little bits and she’ll be finished. Just waiting for the case to come into my LHS before I get to work on the little diorama for it.
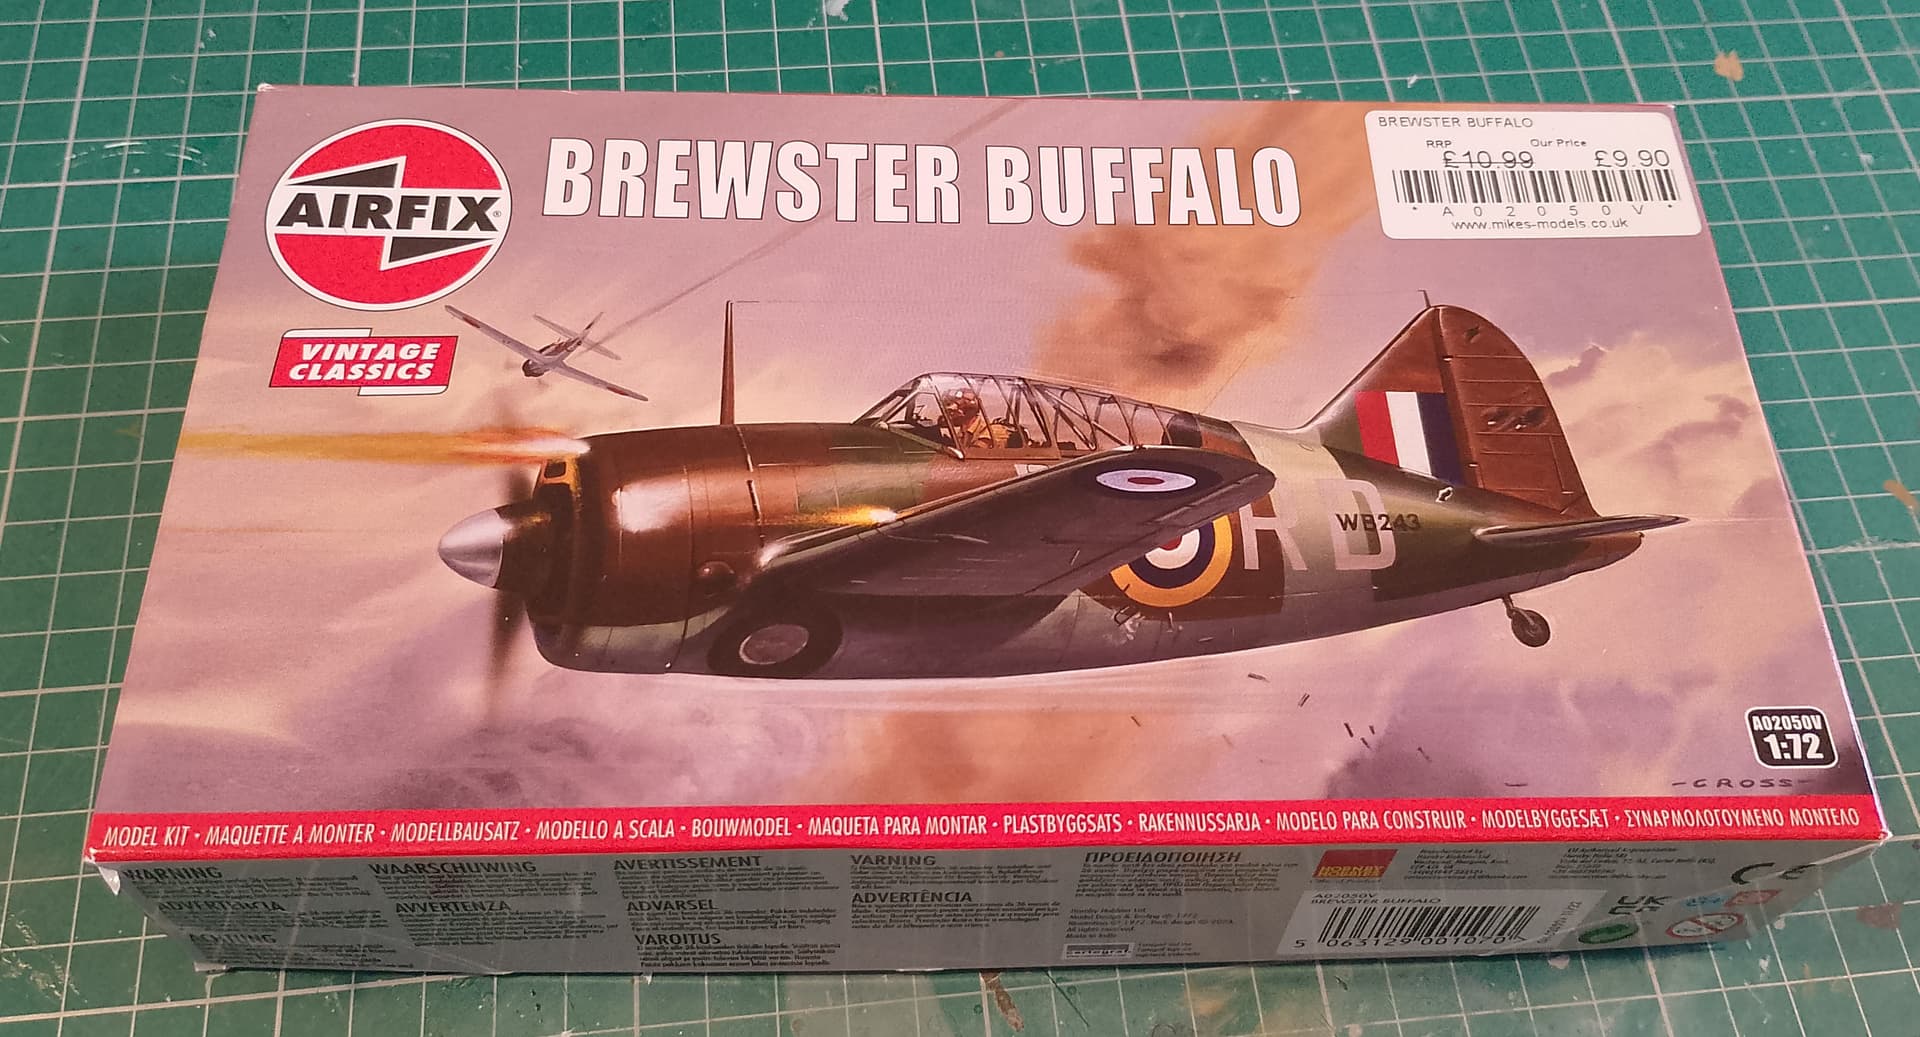
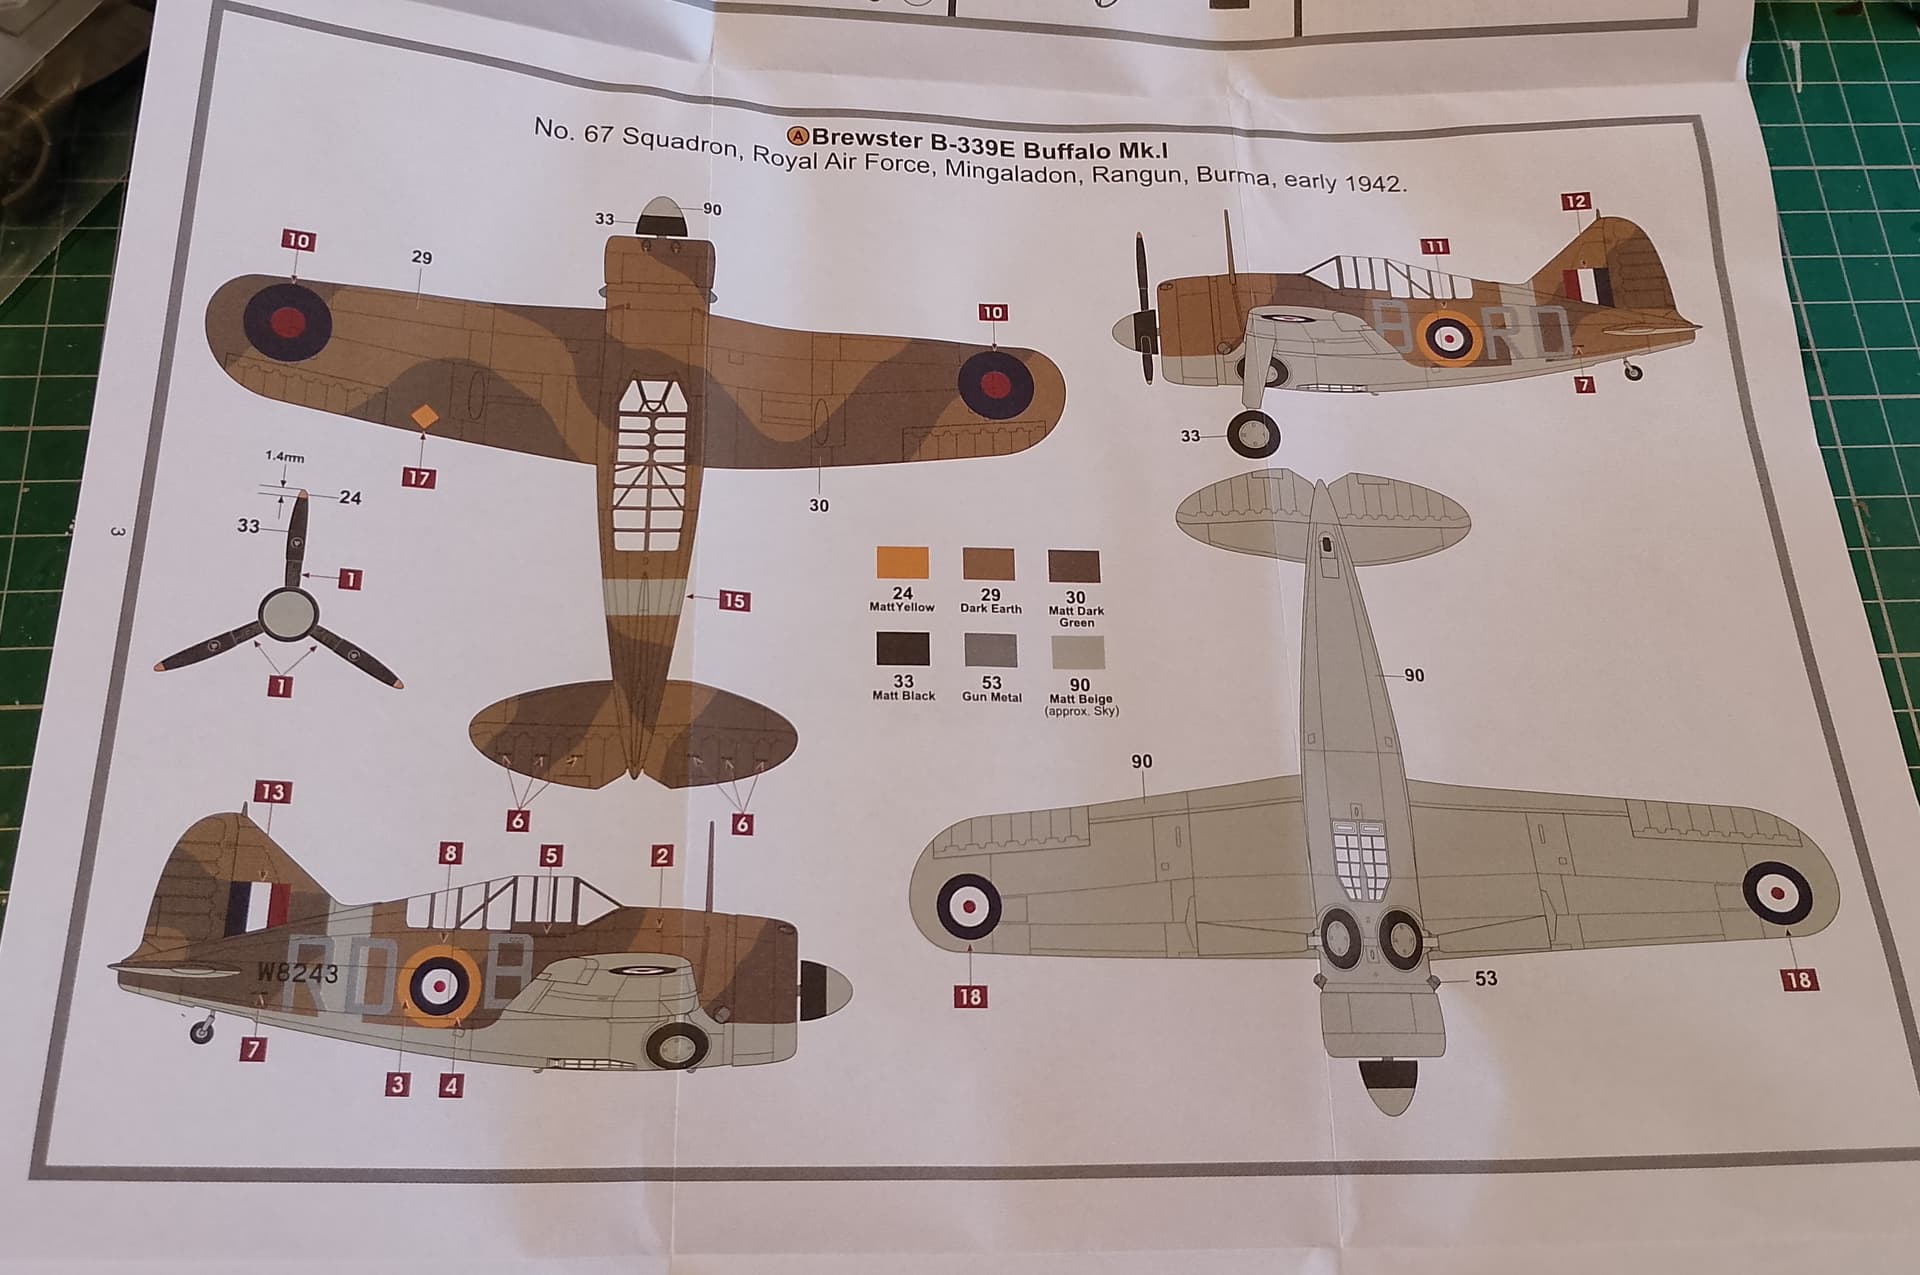
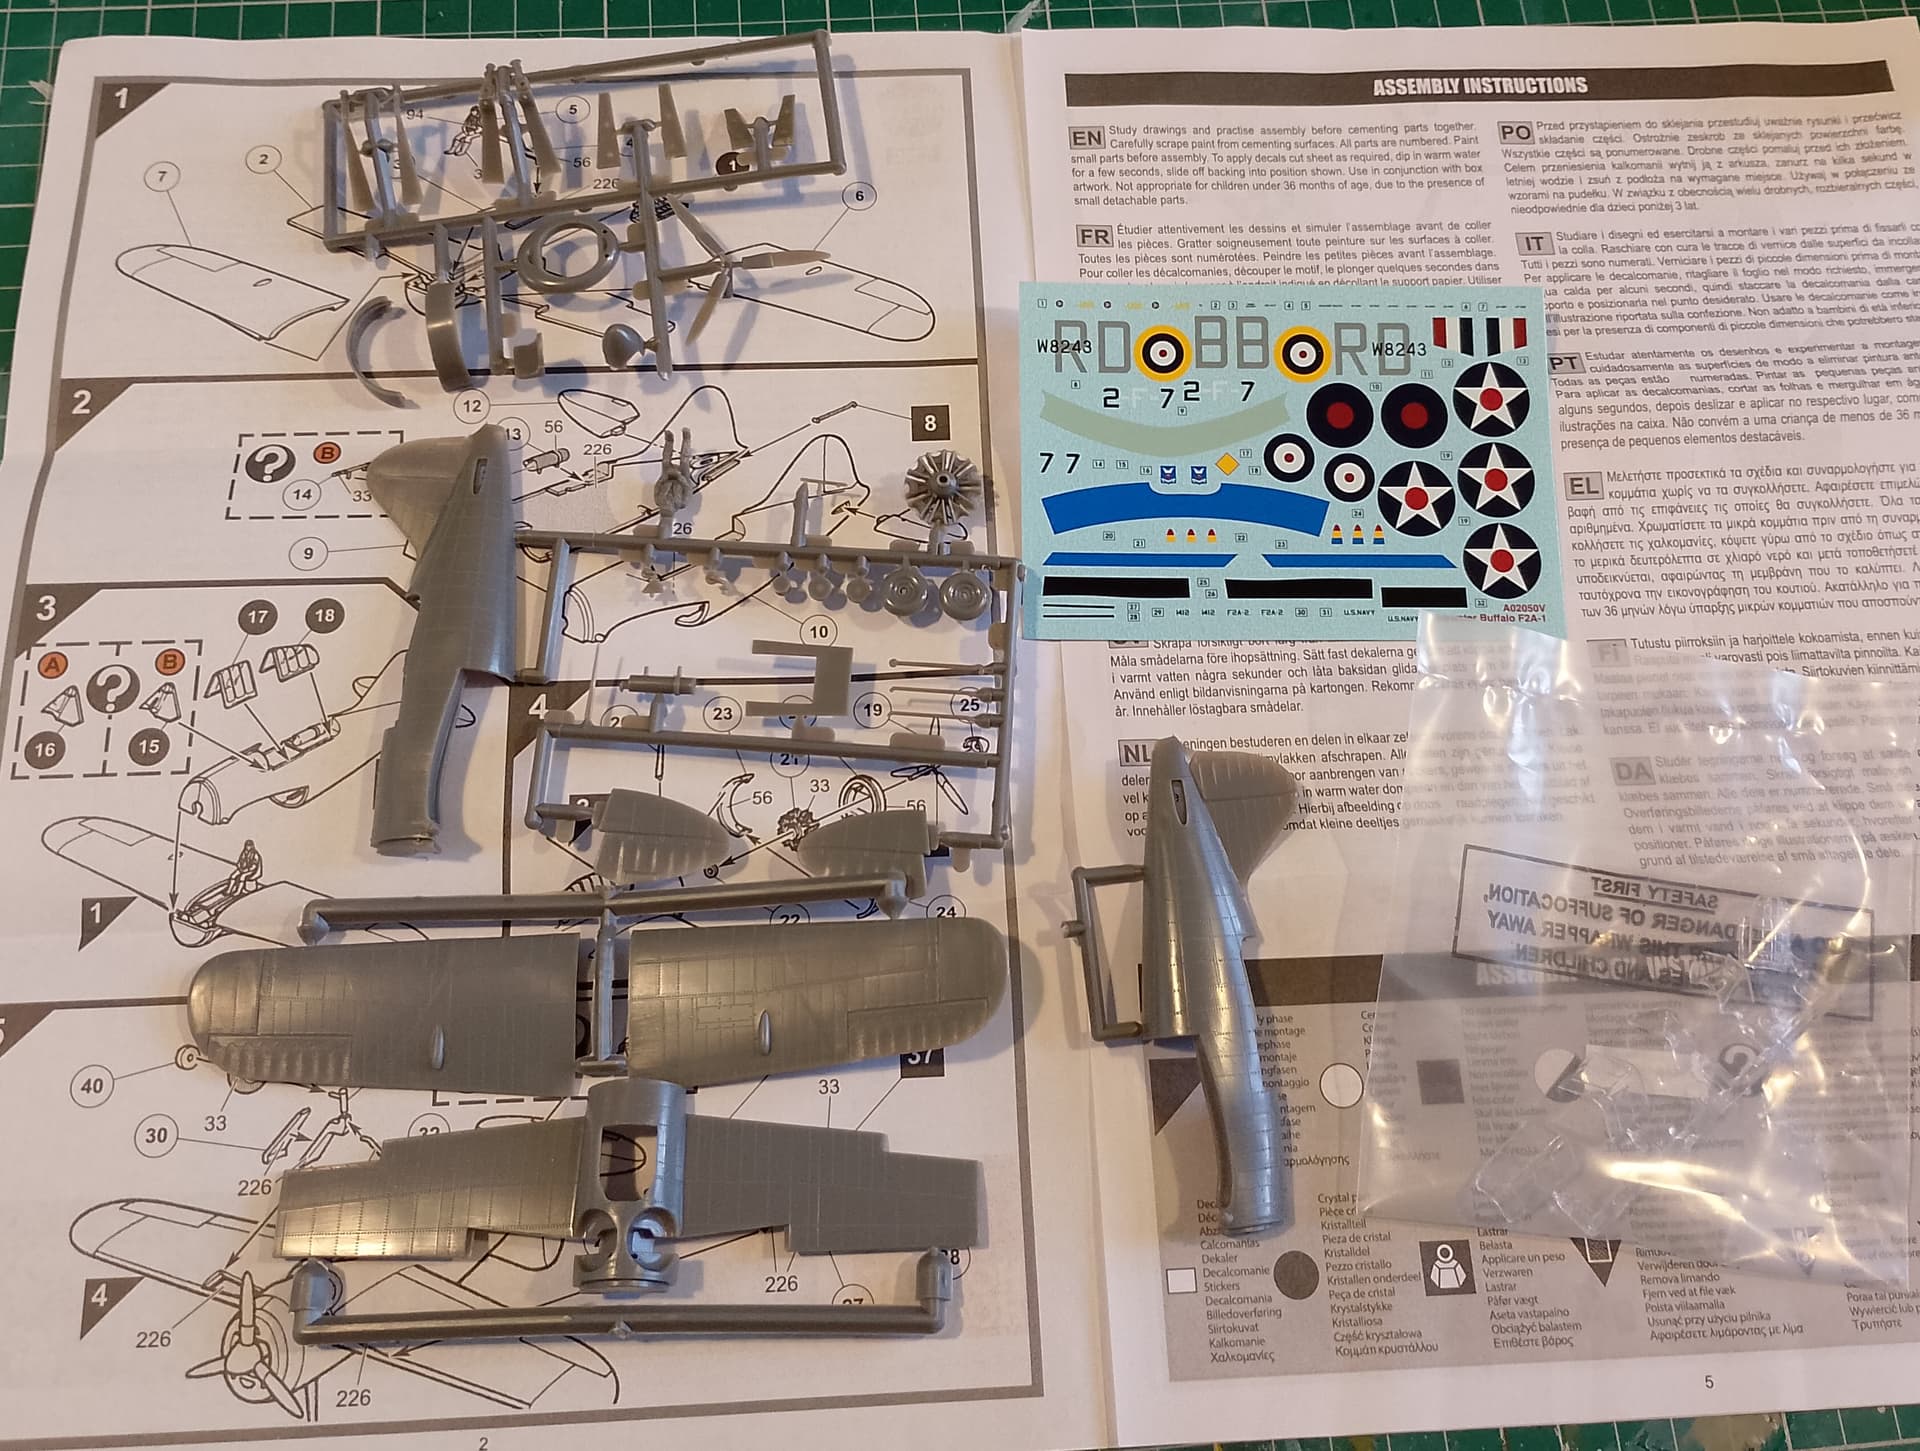
Until then, I’m going to have a crack at the old Airfix Brewster Buffalo. Quite a simple kit and I’ll build it out of the box.
The Hobby Boss Pz.Kpfw II Ausf. J is done. Slight delay when the kit tracks proved to be violently opposed to being used so I had to order a set of workables online which HB makes for the kit yet doesn’t include.
It’s had a few tumbles resulting in the re-attachment of PE and headlights but I managed to keep it presentable to a mainstream audience.
We actually threw our 30th anniversary party this weekend and had quite a few guests in the house and my daughter took everyone on a tour so I was able to show off my builds to a civilian audience. I am sure they quickly forgot all the geek speak but they all seemed impressed, especially when I told them how I used my German armor as an analog for clades in evolutionary organization when I teach Biology.