Hey all… Been a while since I posted. Just started my vacation and thought I’d kick it off with a new build.
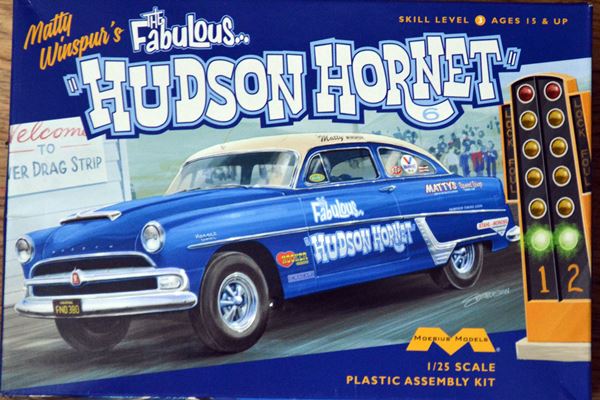
This is Moebius Models 1954 Hudson Hornet Special Jr. Stock Dragster in 1/25 scale. I pretty much have the complete line of the Hornets and I really like the look of them. So this is my first Hudson Build.
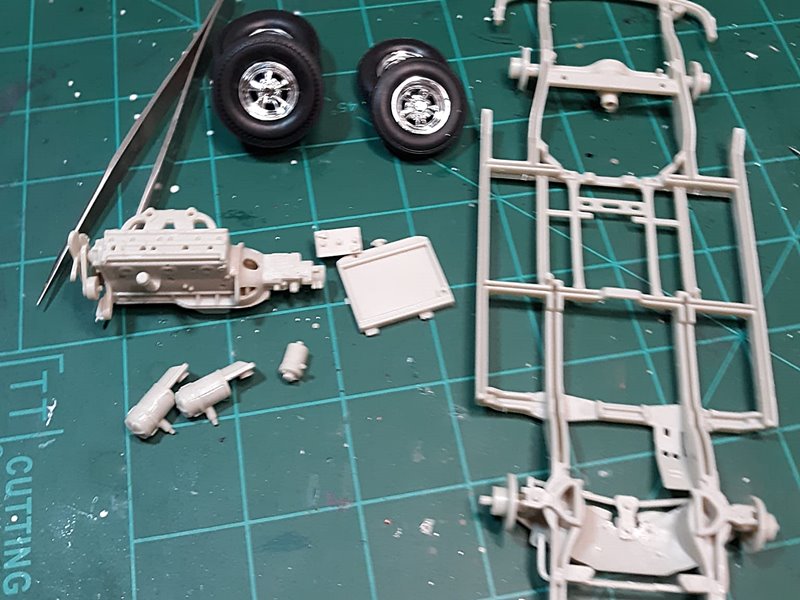
Just the start so far… Lots of loose pieces to paint up for the engine. Seems very detailed.
Well I pretty quickly encountered a section of the directions that are a little ambiguous. For the most part the directions are pretty good but it seems there places to watch out for.
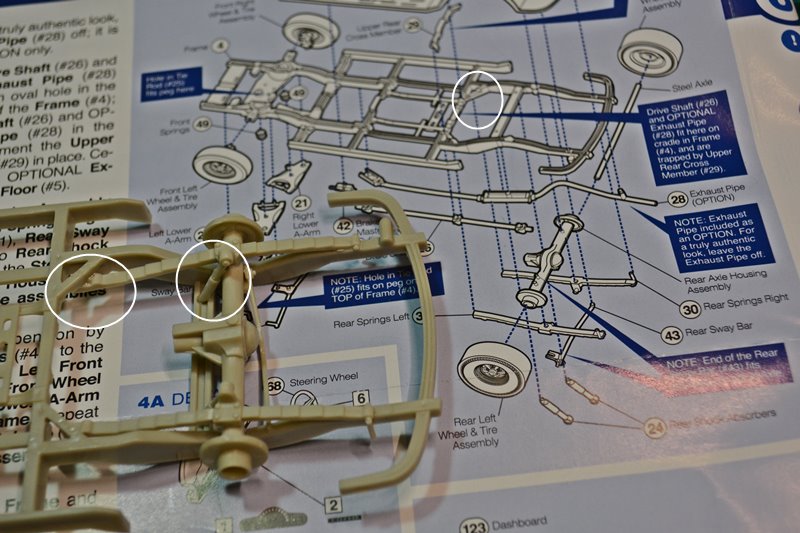
First one I’ve found is the assembly of the rear end and springs… as you can see in the photo where I’ve outlined this issue. the rear of the spring goes on the bottom of the frame, and cants in at an angle and the front of the spring goes on top of the frame. If not done correctly the shocks don’t fit. The directions just have a straight line from the spring to the frame. Threw me for a bit. This may be common with all the Hudson Hornet kits.
Delby,
I’ll be pulling up my modeling rocker and following your build right along.
Doesn’t much surprise me that the older directions have basic construction errors and even leaving out parts all together. The Fujimi instructions for my Porsche 917K at times seem like a 6th grader drew them.
OK every one a record setting total of 8 colors in one long run today. Light Grey, Flat Red, Gloss Red, Steel, Burnt Iron, Rubber, Semi-gloss black, Flat Black… whew
Still got dark gray, medium grey, blue, cream, yellow, and a few more to go… LOL
and just for the record… yes I am showing pretty much every step of my build here…
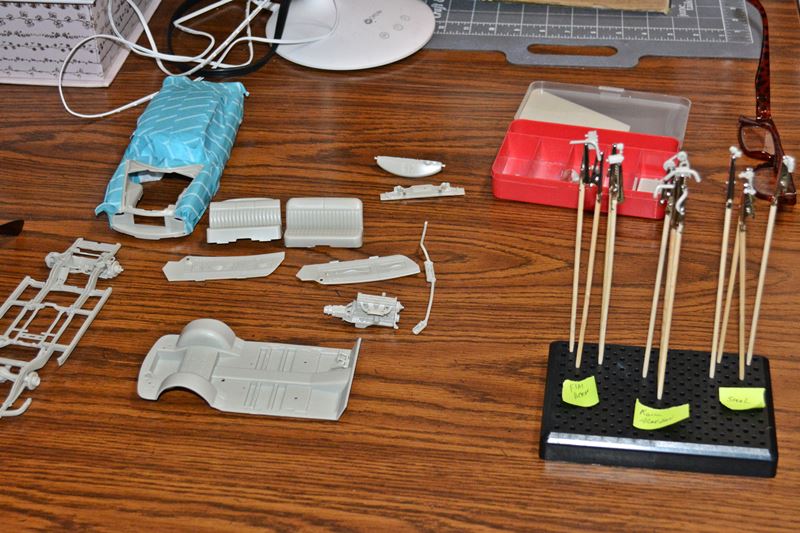
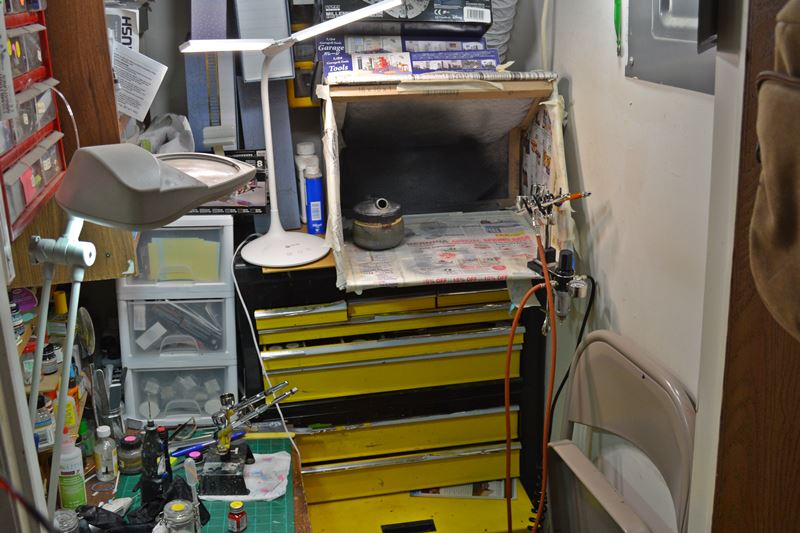
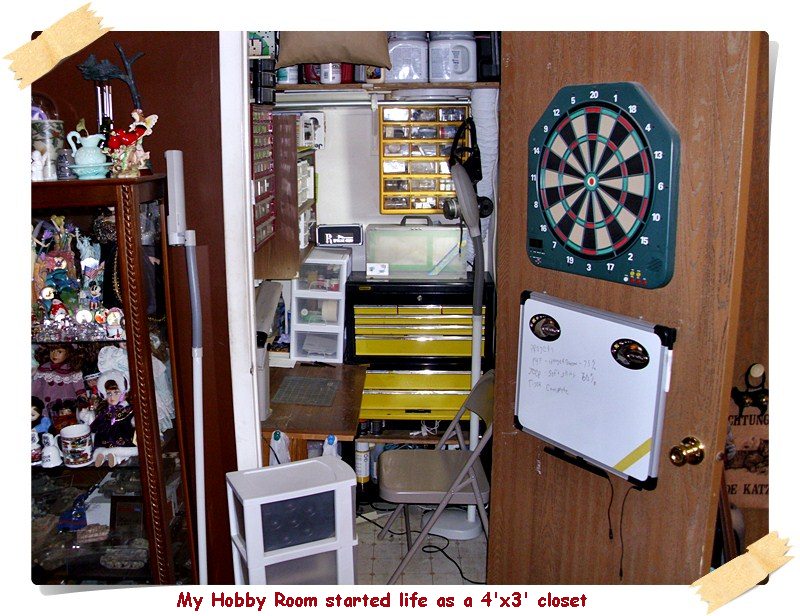
and just thought I’d throw up a photo of my airbrushing area… my hobby room is a 4 foot by 3 foot closet off the dining room… LOL amazing what I can get in there besides myself.
Delby,
BTW, your use of a confined space is amazing. But where do you actually do your building? Inside of the paint booth looks like the only way I can see.
If you look on the left side you can see a build in desk top i made…when I sit at the desk the booth and toolbox are to my left… hard to see the desk top as I keep my airbrushing stuff handy there when I am painting…
Here is an older photo from when I first set it up… not as messy
Delbert,
Now that’s one extreme feat of engineering. And I’m constantly complaining to my wife that a 10ft by 10ft bedroom with a double closet isn’t big enough for my modeling supplies, workbench, display shelving racks, and my computer desk.
joel
Hello Everyone… I know its been a while… its been hot and I work in a warehouse, and mandatory overtime doesn’t help get things build… but enough on that…
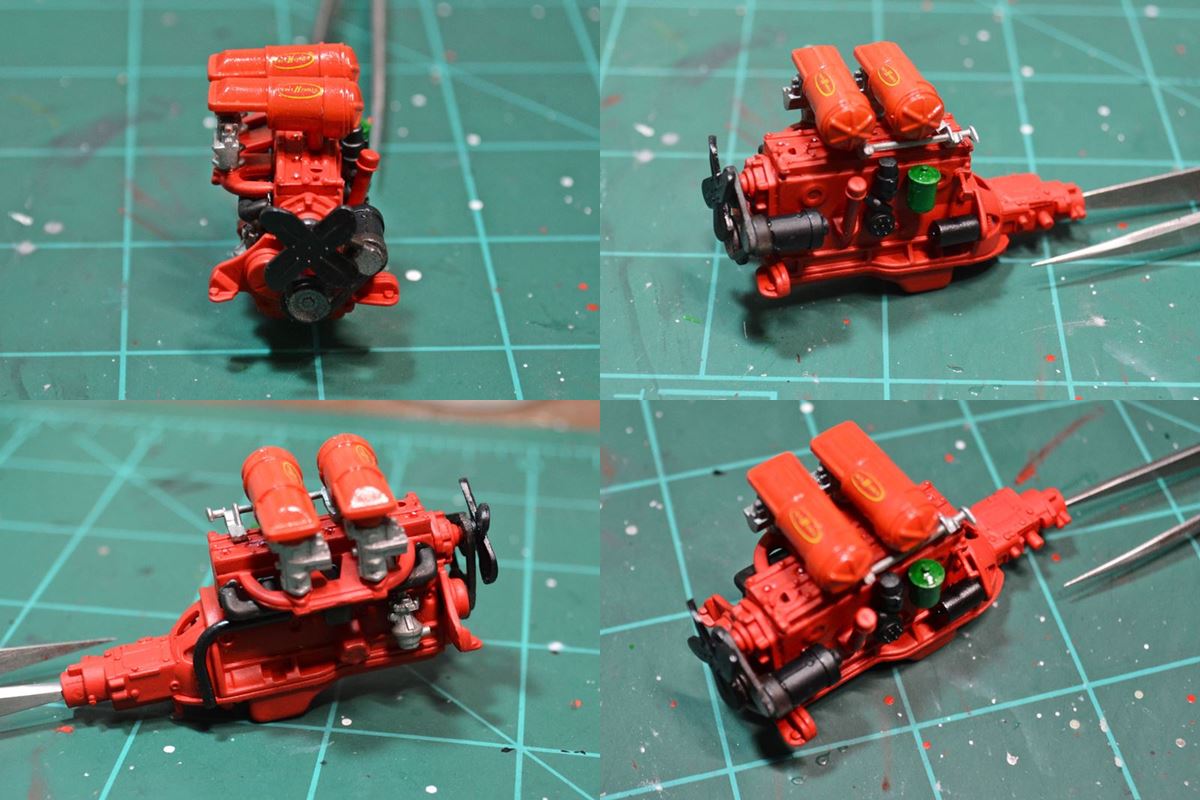
I got a bit more done on the Hudson Hornet… Here is a montage of photos of the finished engine… maybe the next one I will wire up the plugs.
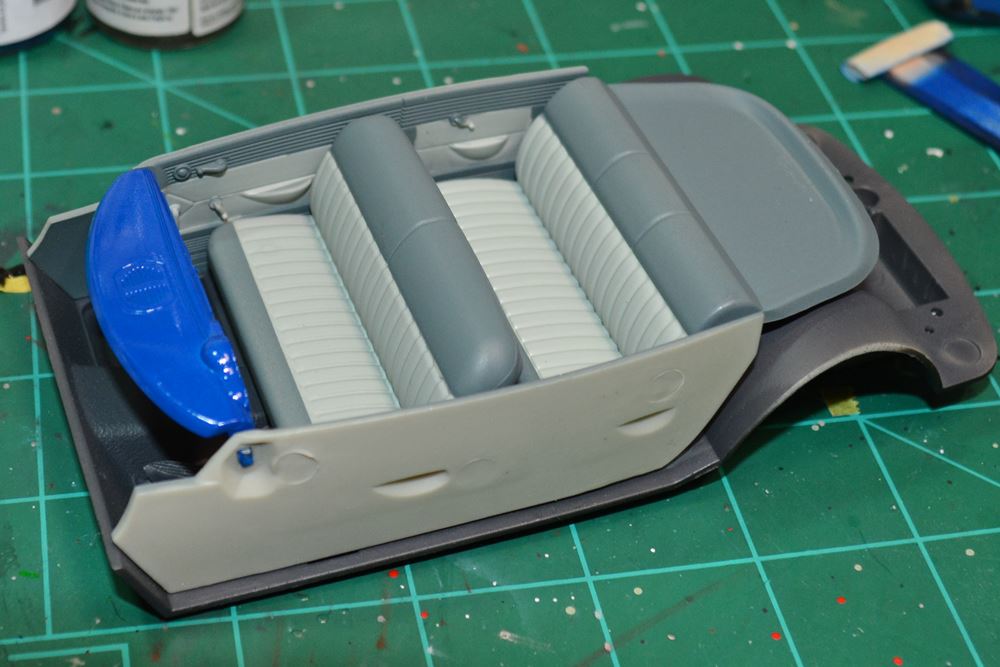
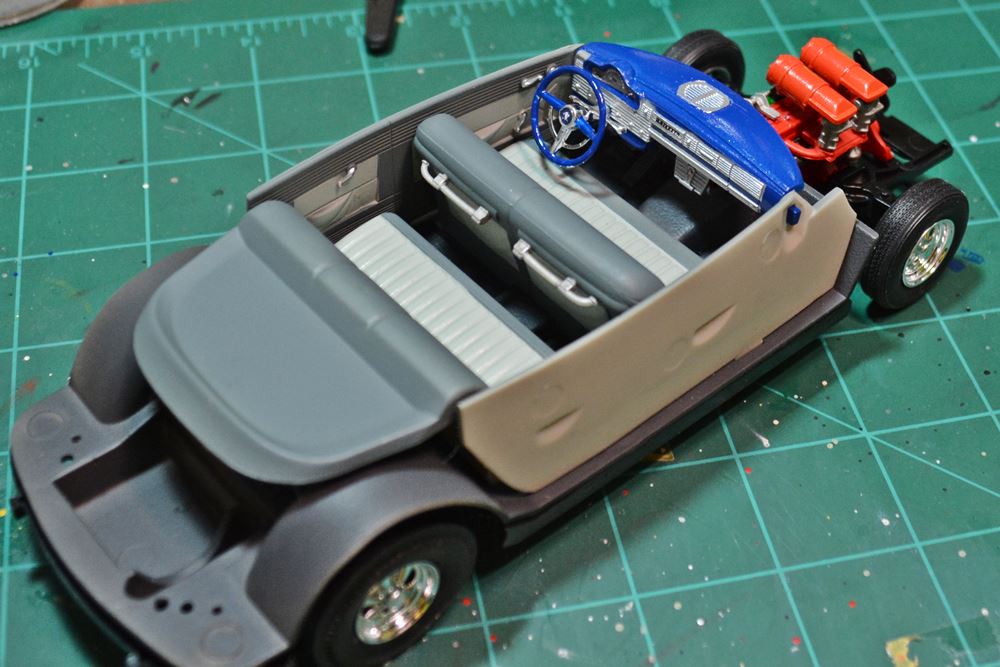
Hello everyone. I know its been a while but with overtime at work and stuff at home… I just haven’t had a lot of time… and this is a build I do now want to rush. I think this will turn out great… anyways the last few days I got some time in and worked on the seats and door panels… still got some detailing to do. the color of the dash is also going to be the color of the car itself…
Ok got a bunch of stuff done… the interior is mostly done… the undercarriage is mostly done just a few bits to glue. started working on the body… mixed some paint for the top which is called coronation cream a very light almost off white cream/beige color… I’ll show that later as I had to sand down the first coat due to some “imperfections”.