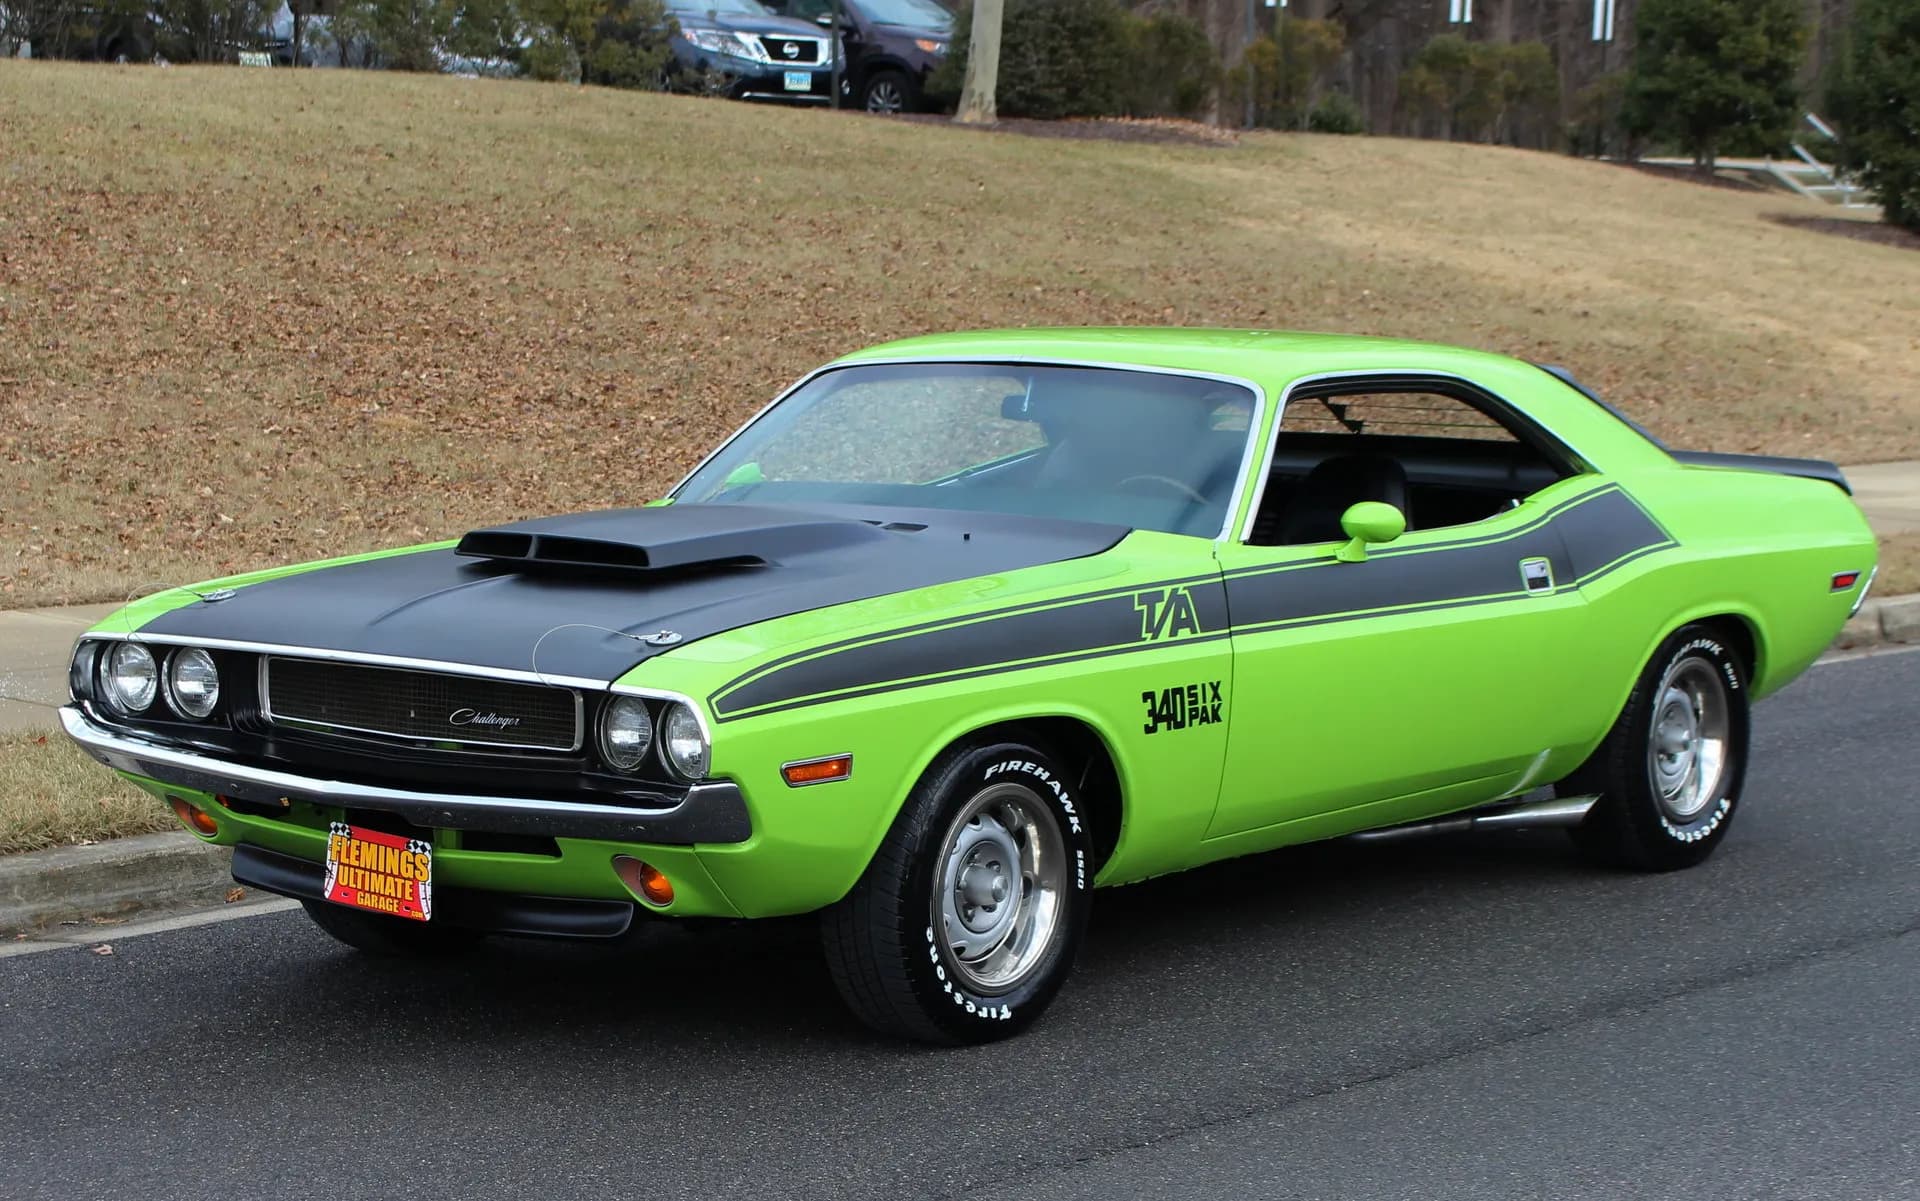
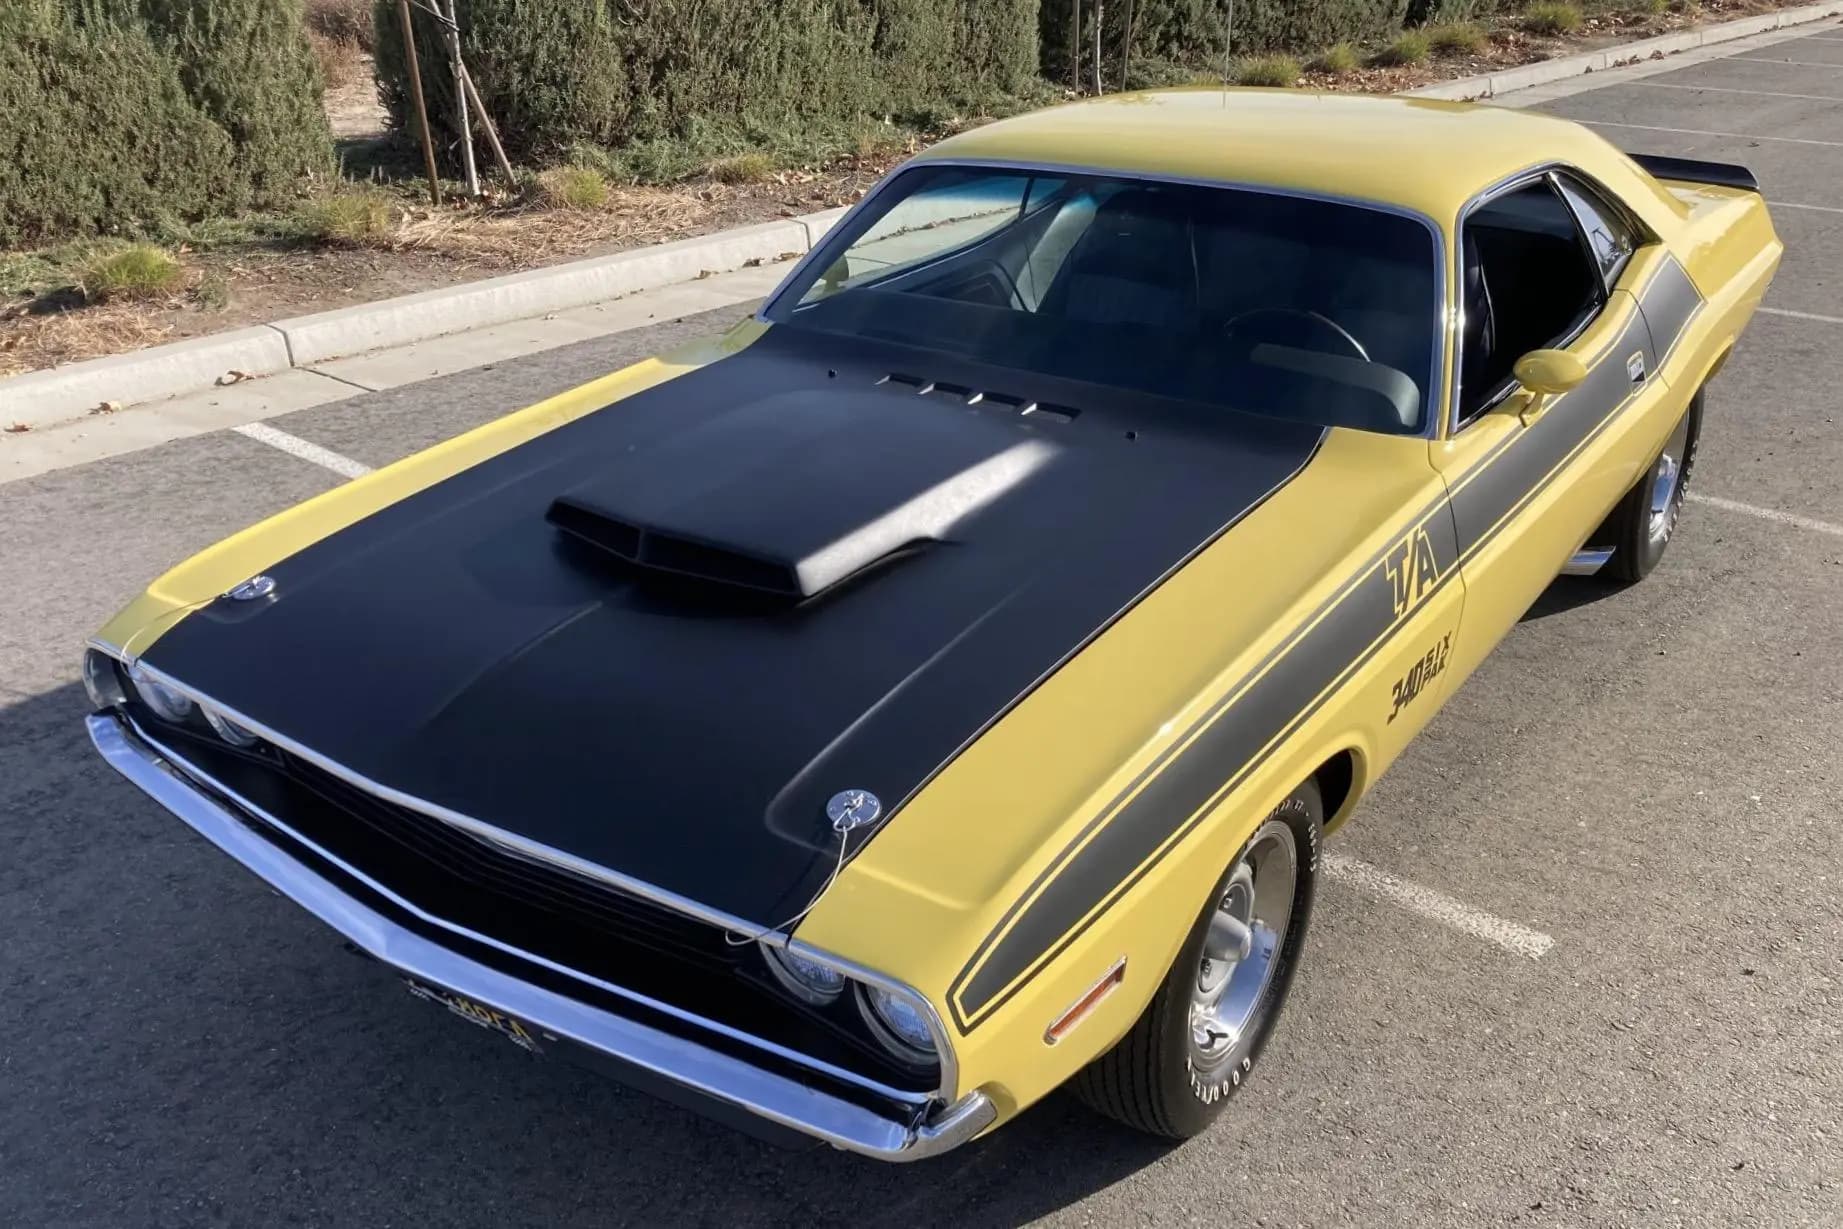
My next project i decided to take a build i did many years ago when i was about 12 yrs old, strip it down (which isn’t hard since it was unpainted except the hood and int/chassis) break it down to it’s components and rebuild it with a proper paint job and hopefully detail. i have been wanting to do this for a while but didn’t know how i would replace the custom TA stripe for the sides. that got a boost this past october when i found a set of the original set of the kit decals in a discount bin at a contest. the kit the original monogram Dodge Challenger TA.
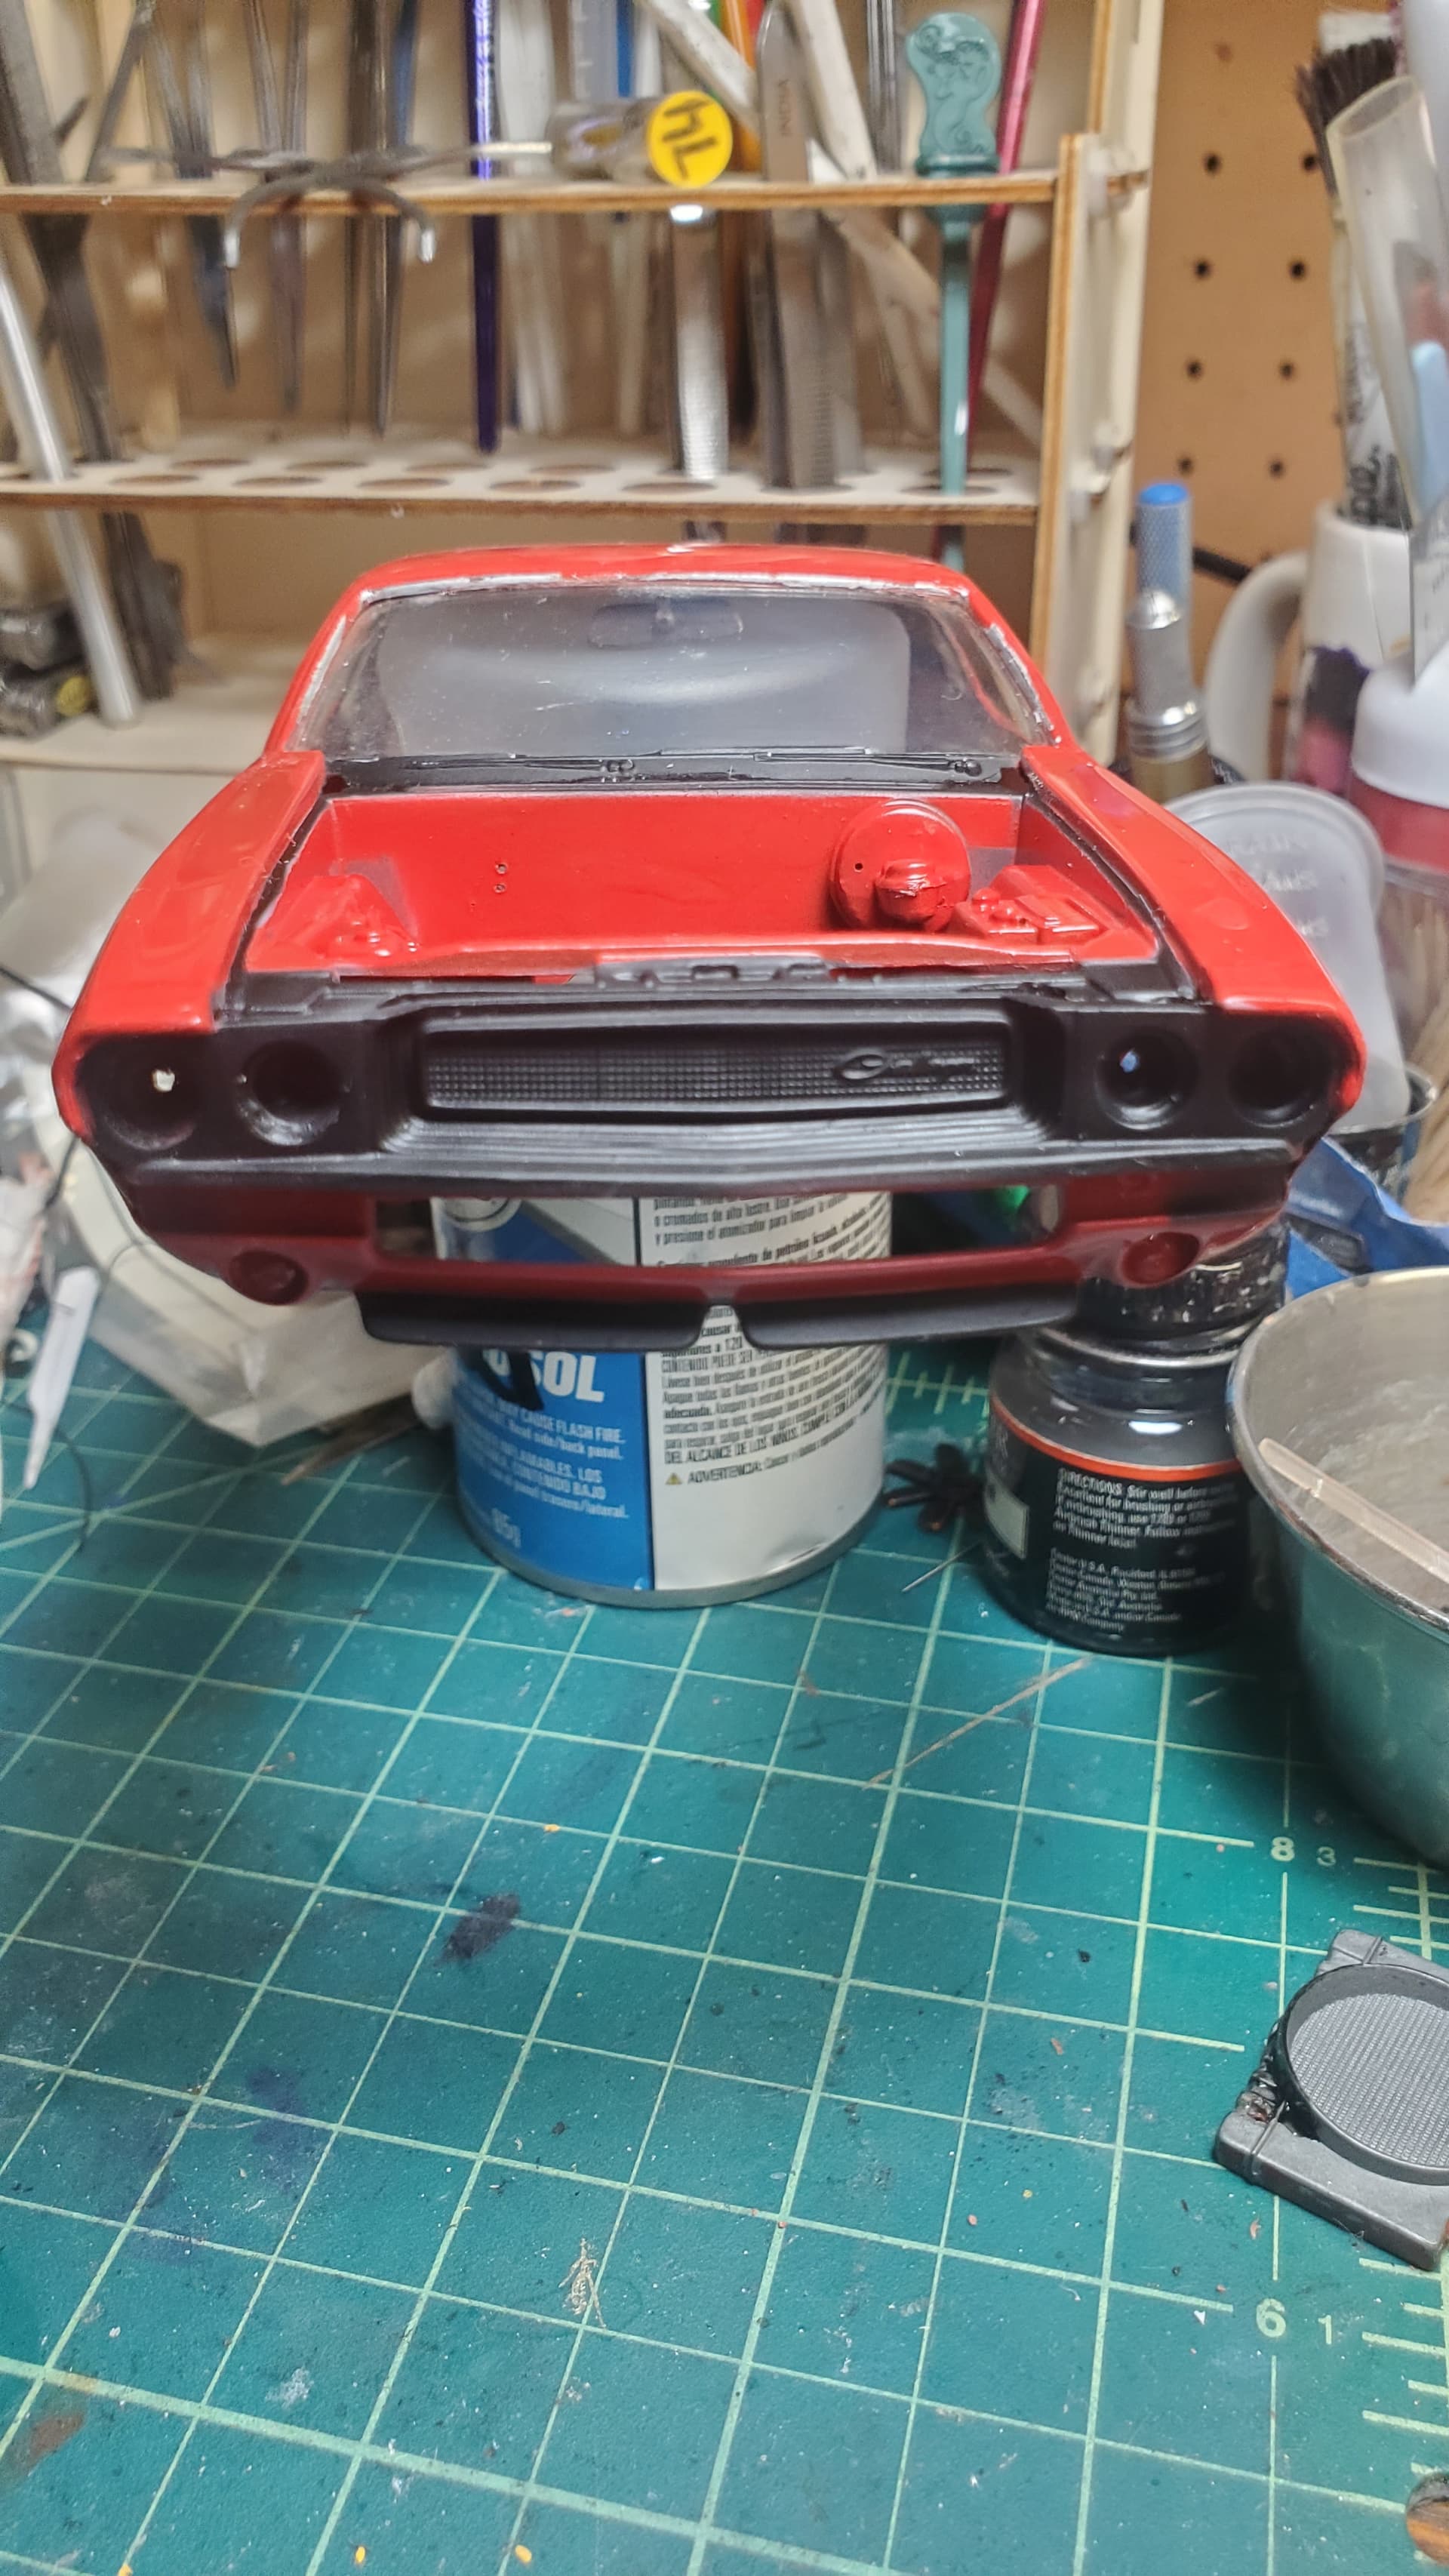
I probably should have taken a photo of the car before i broke it down but i forgot so here it is after it is broken down. most of it broke apart easily since at 12 i didn’t practice scraping paint from gluing surfaces. the only issue i had was separating the engine from the chassis which didn’t go so well. i broke off the engine mounts despite a spell in the freezer. also i did not even attempt to remove the glass, i will mask them when painting
I used my trusty eagle 1 etching mag cleaner on the kit chrome. unfortunately i bought this over 20 yrs ago and i don’t have much left. i did find another one at ollies a few years ago that works but it smells awful.
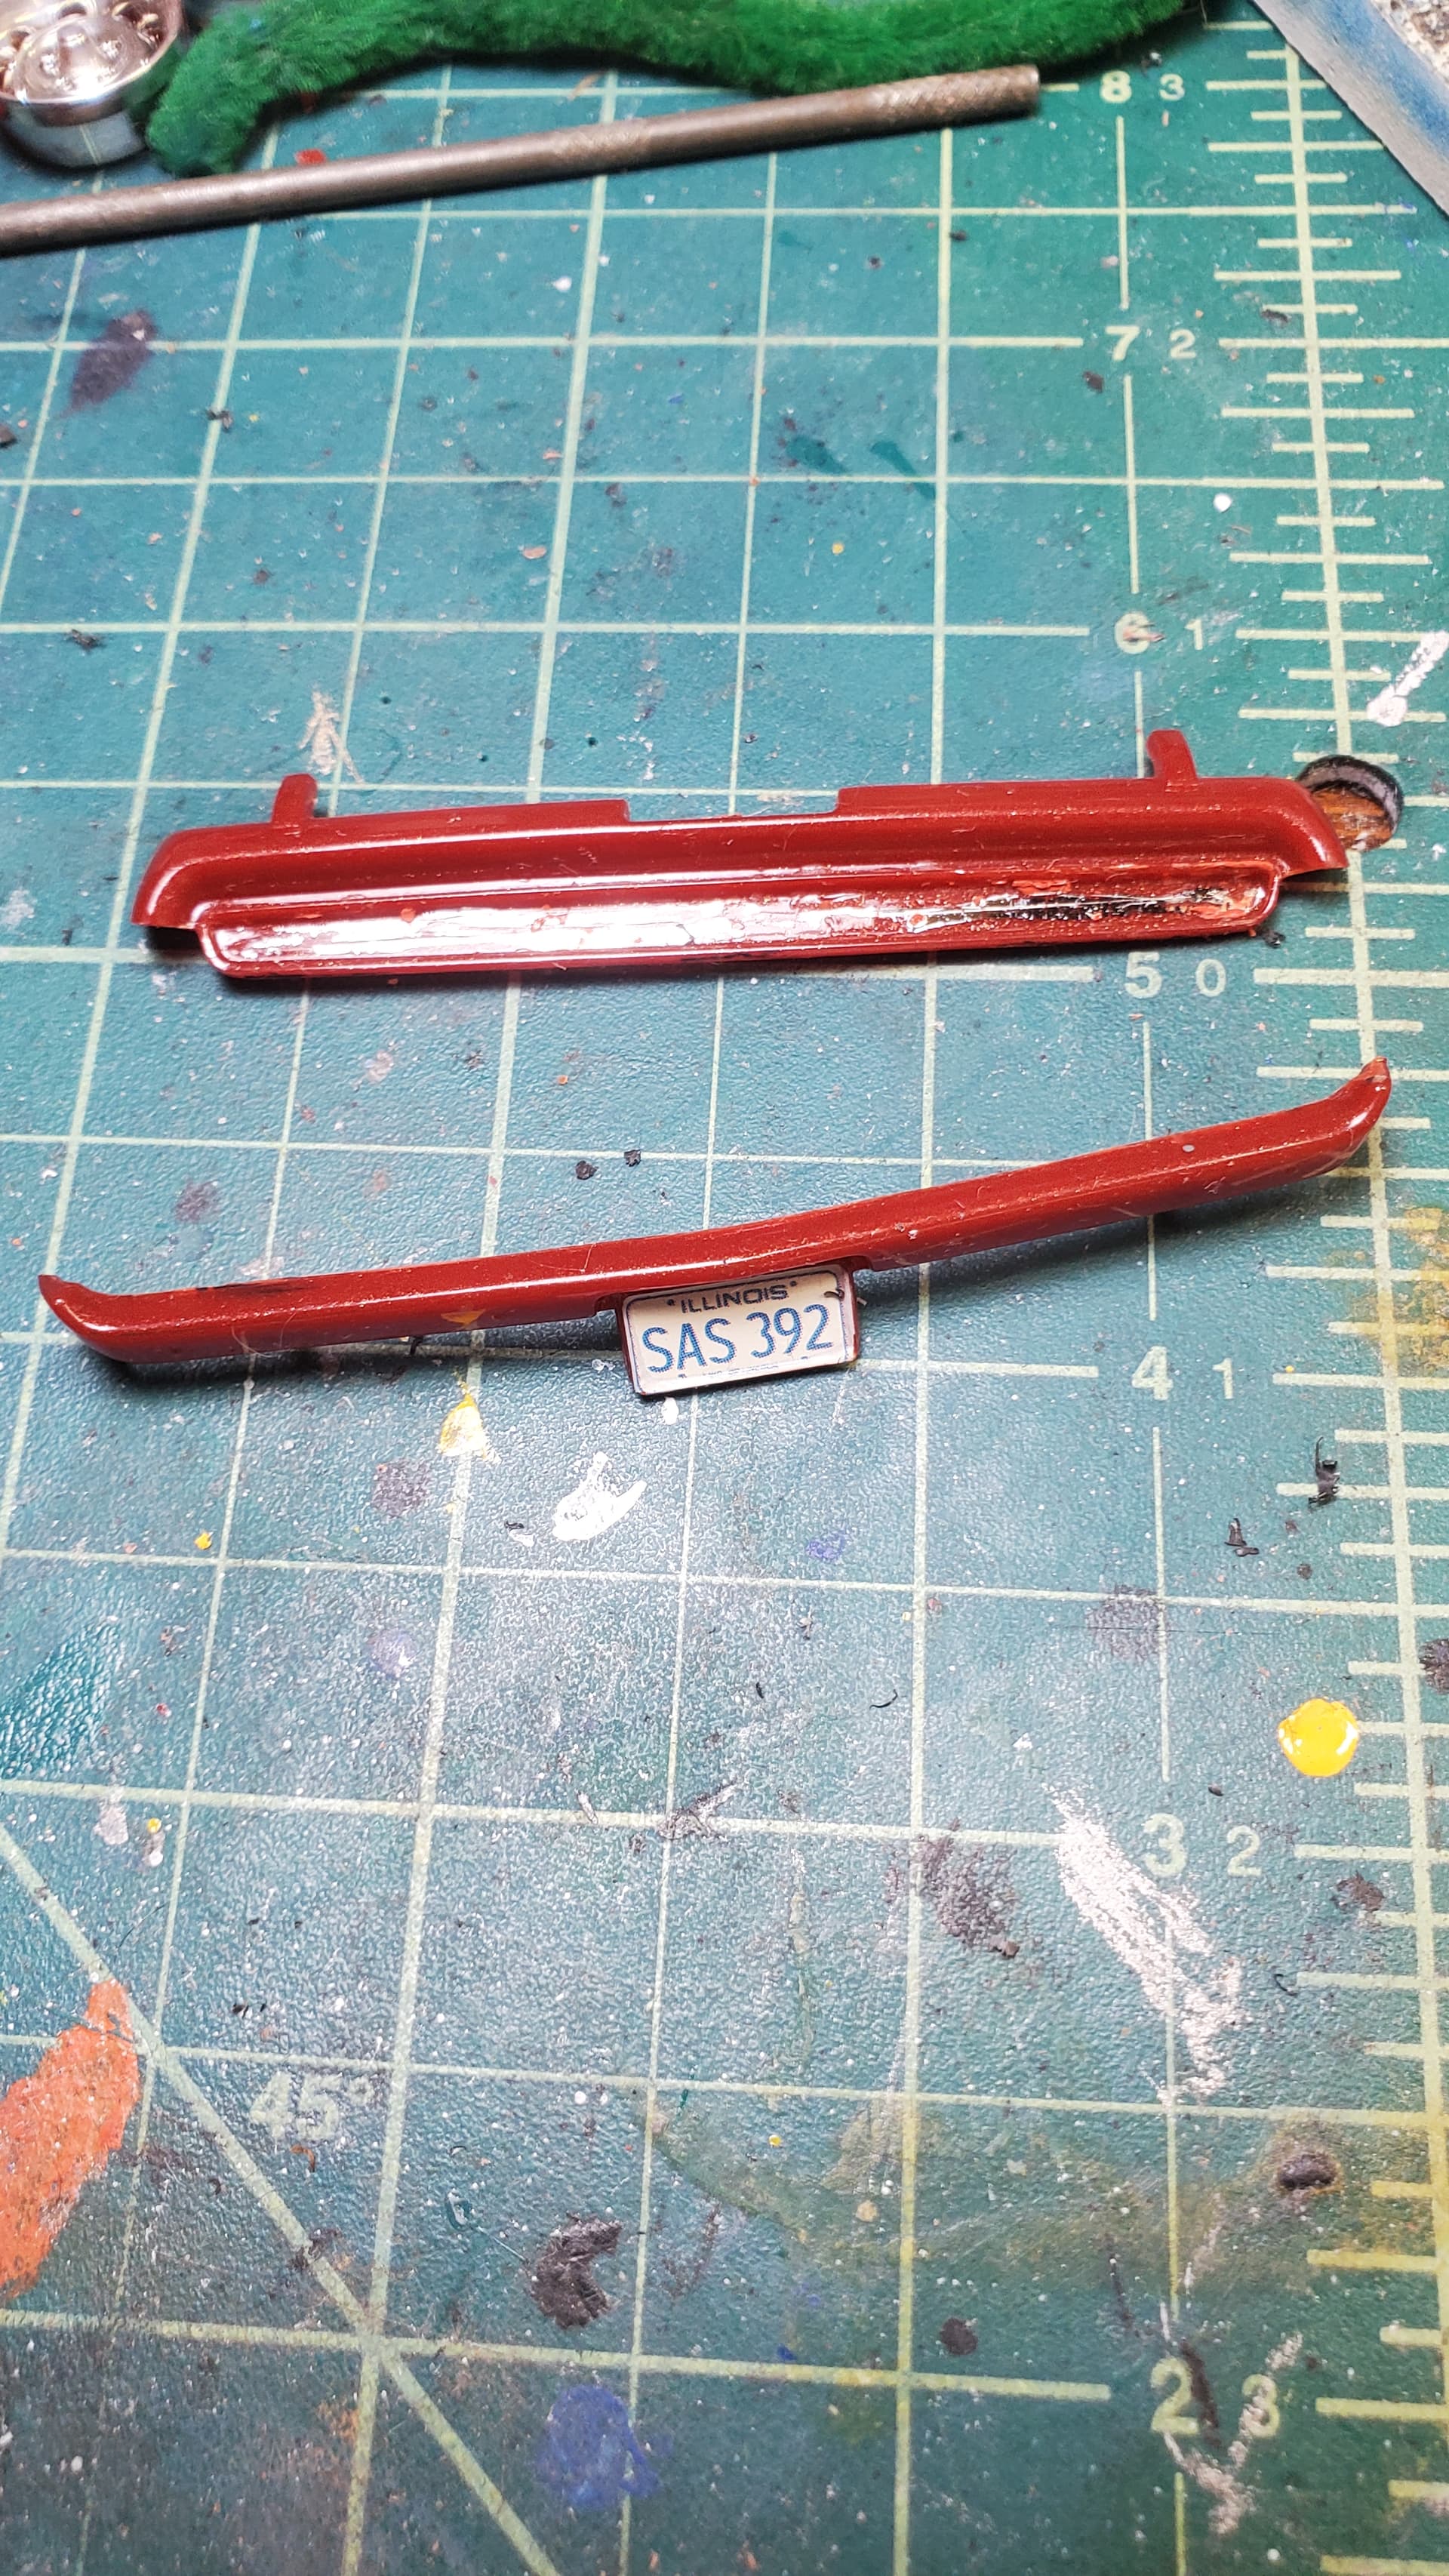
strangely it didn’t remove the license plate decals and i assume the chrome beneath them.
I plan to order some custom paint from scale finishes to try them out. i can’t decide between the chrysler bright red or plum crazy purple. i am leaning to the red since the plastic is red (metallic) and i am concerned about the color bleeding into the paint.
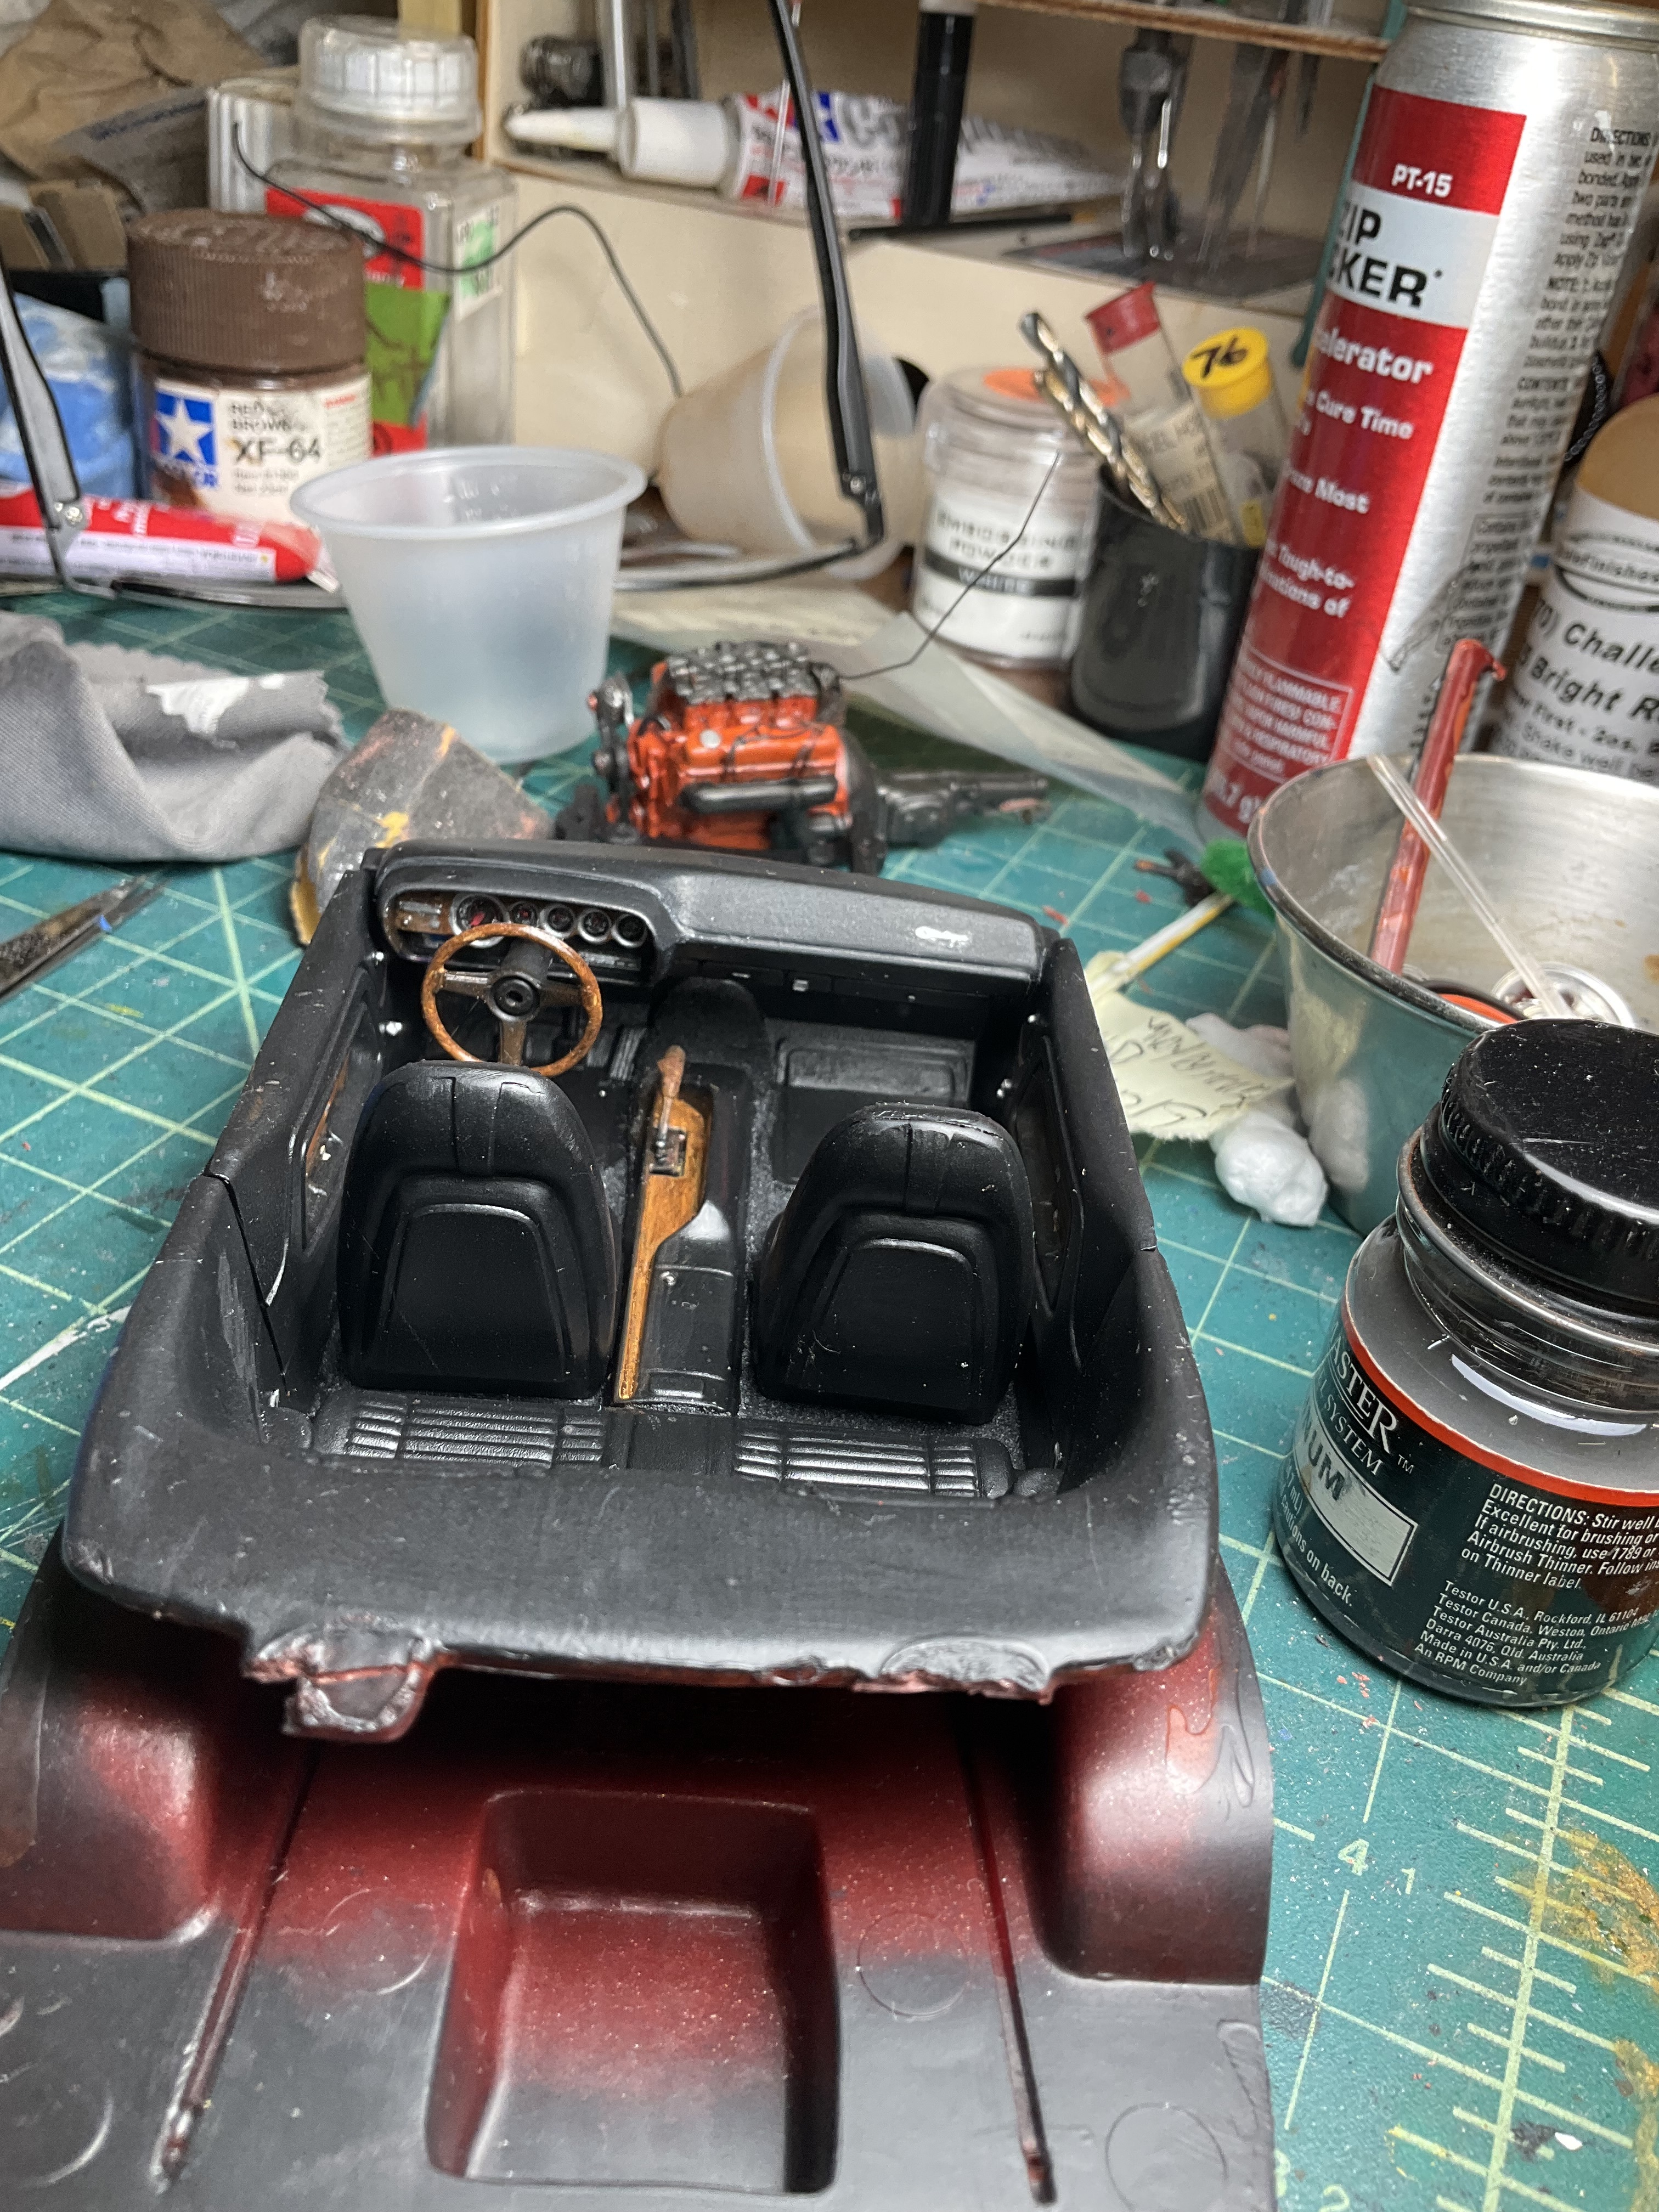
next step is some engine detail and work on the interior. i am planning to try some embossing powder to replicate carpet and some wood grain for the center console and instrument pannel.
I will post more soon
Joe
I remember that kit, I had one just like it! If I remember correctly, that was a Monogram kit and it came with a tiny wax pad, so you could wax and shine it’s molded metallic finish. Quite gimmicky for the time. I had a few kits in that line and they weren’t bad. The only problem I had with those kits was that they scaled out at 1/24th, slightly larger than the standard 1/25th automotive kits
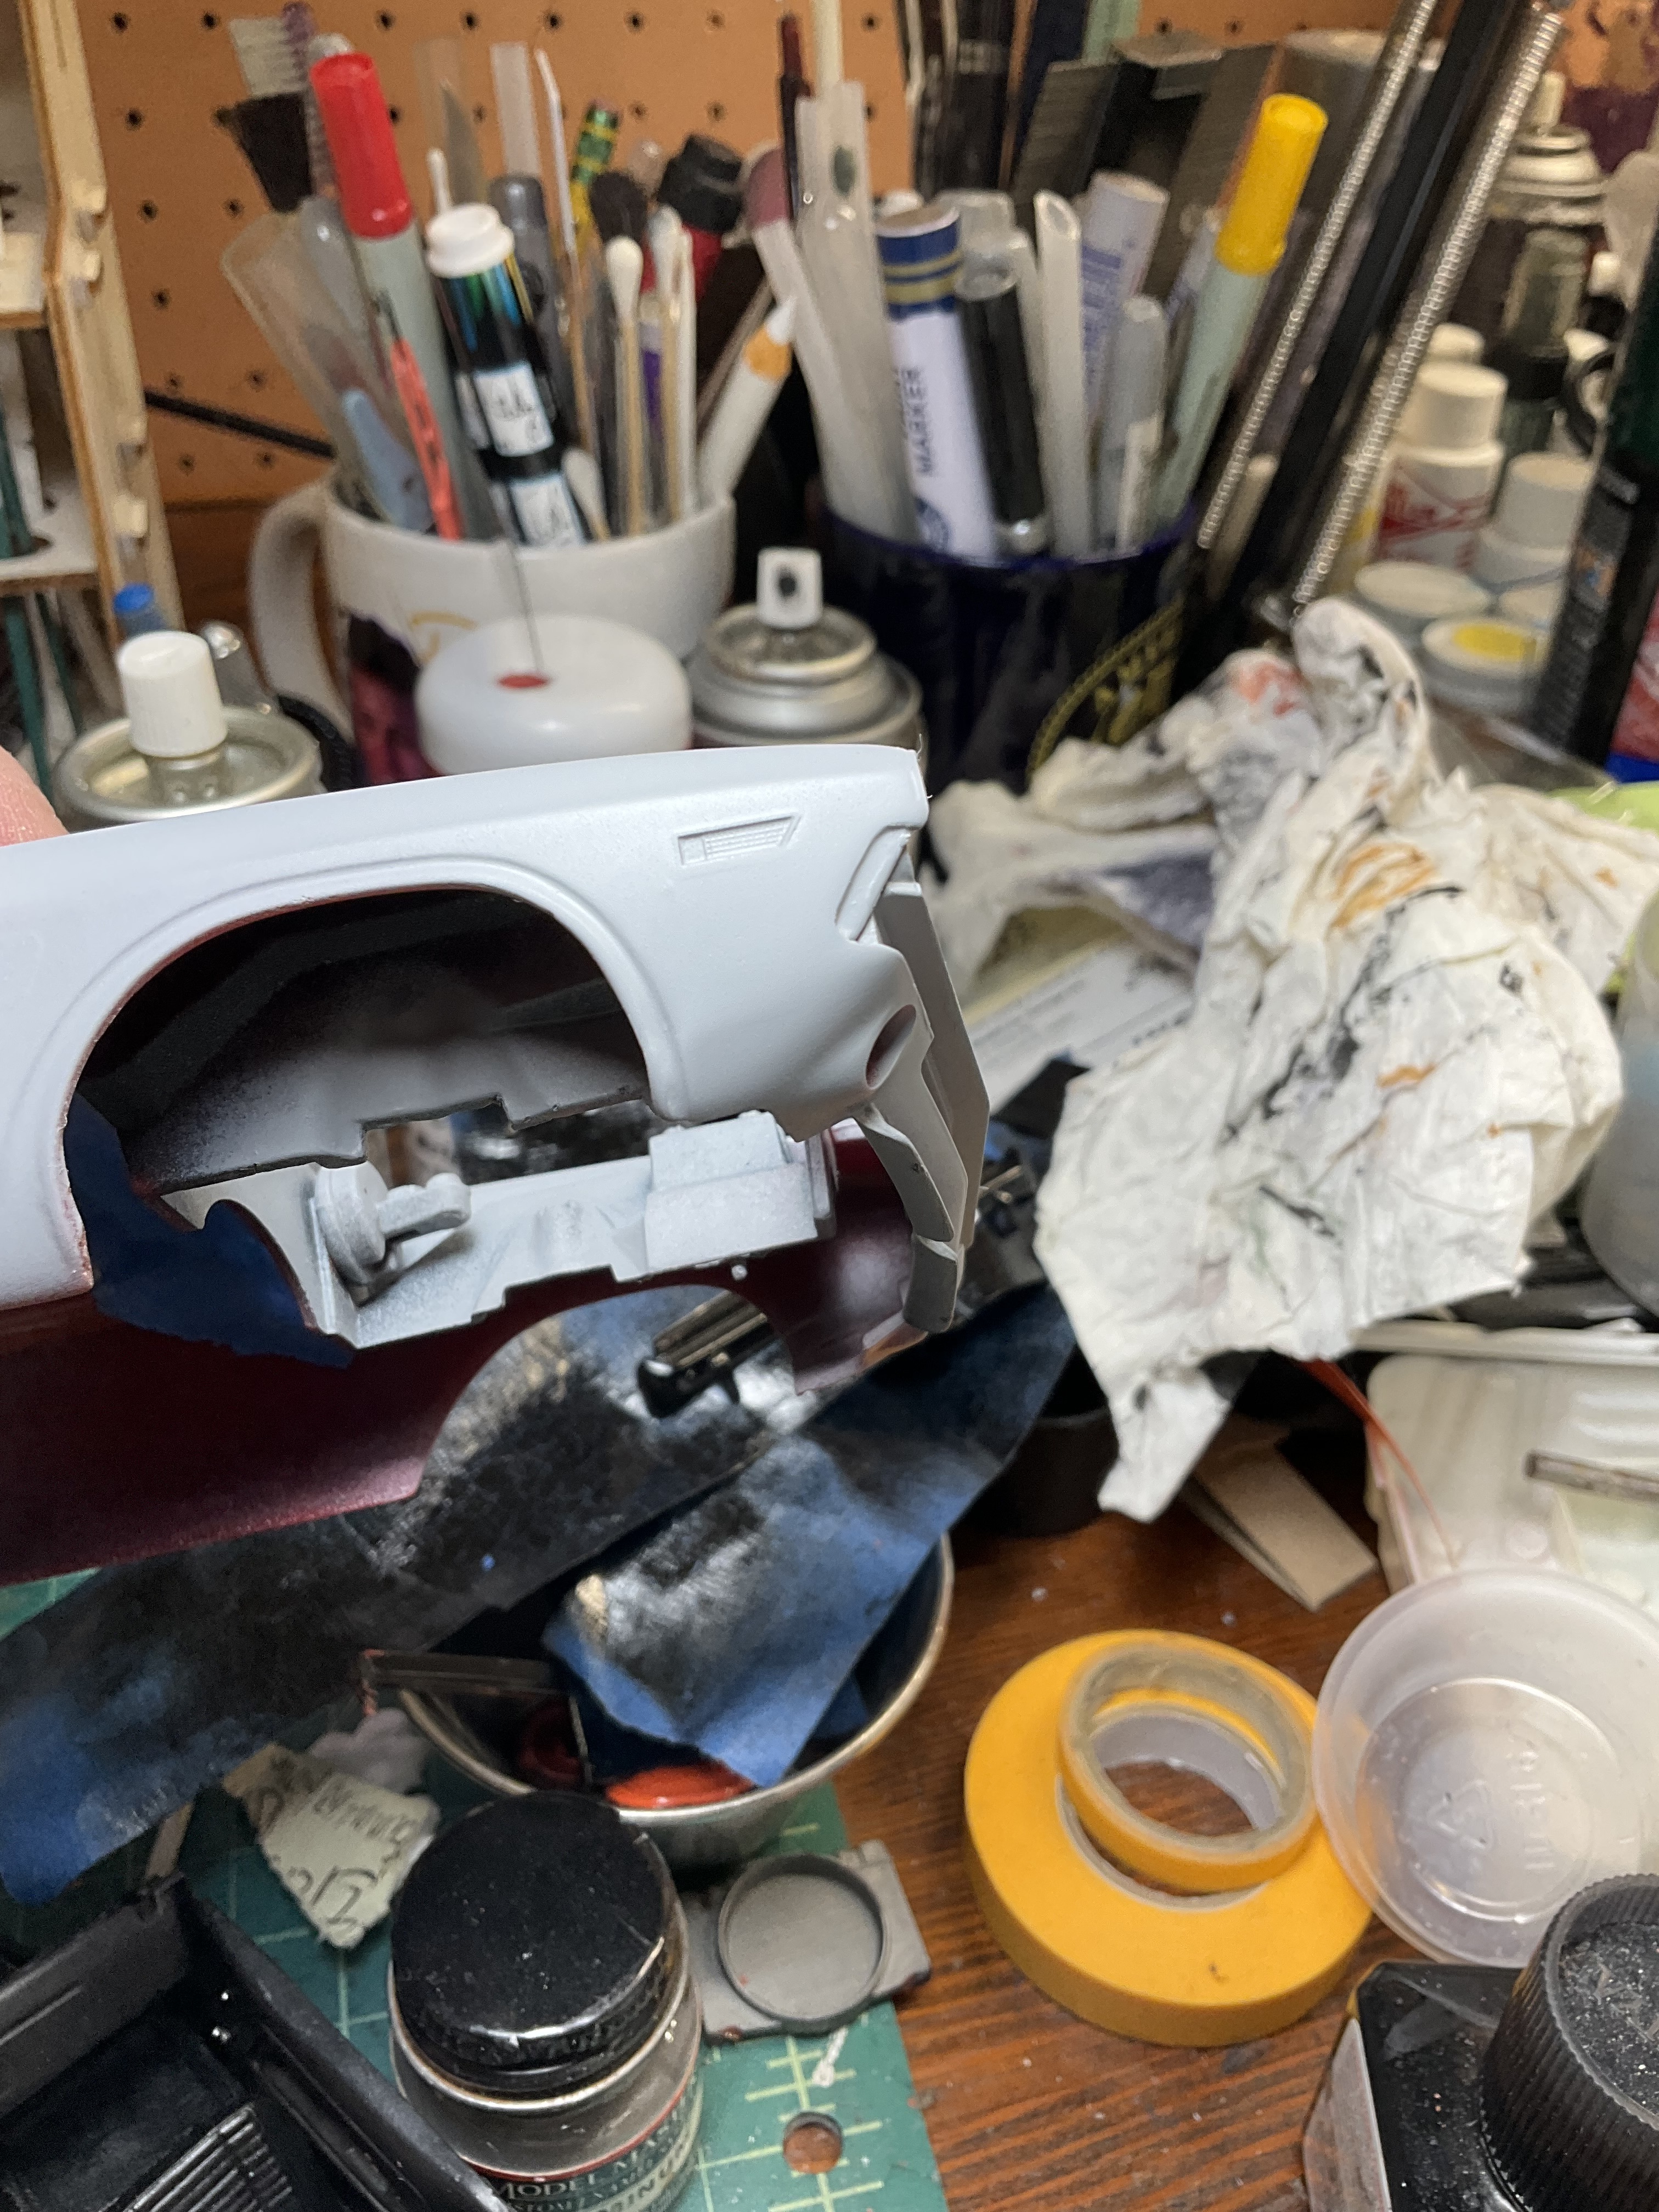
don’t remember the wax pad but it was a long time ago .the one problem i see is the the front valence by the front of the wheel wells needs some trimming and shaping. the part extends into the wheel opening.
I think I got mine somewhere around 88-89-ish, and I no longer have it. But I do remember the wax pad. That was the reason Monogram molded these in metallic factory-like colors. I made the mistake of using the wax pad, -sure the wax made the model shine, as advertised, but unfortunately, the wax filled in molded in details, like the door and fender seam lines, the hood vents, trunk seams, and windshield trim, which left a white residue that you had to dig out with a toothpick. Never again!
I detailed the engine with wires and PE looms, added an alternator bracket and fuel line. Still more to add. I also cleaned up the join seams of the engine halves. I am currently working on the body., blending in the bumpers. The pant from scale finishes came last week, bright red, and I hope to get it in primer soon.
I don’t remember any wax in the kit. I do remember building this one originally, where I was and putting it together. I remember painting the backside of the rear clear tail lights Ora ge and white and painting the engine which it is rare any of us can say we remember building a specific model when we were twelve.
Out of curiosity, I wanted to find that kit with the wax pad that came with it because I was certain that this kit came with the wax…. But it was a long time ago and these days my memory isn’t good past 24 hrs.
But I found this on some site which confirms what I recollect
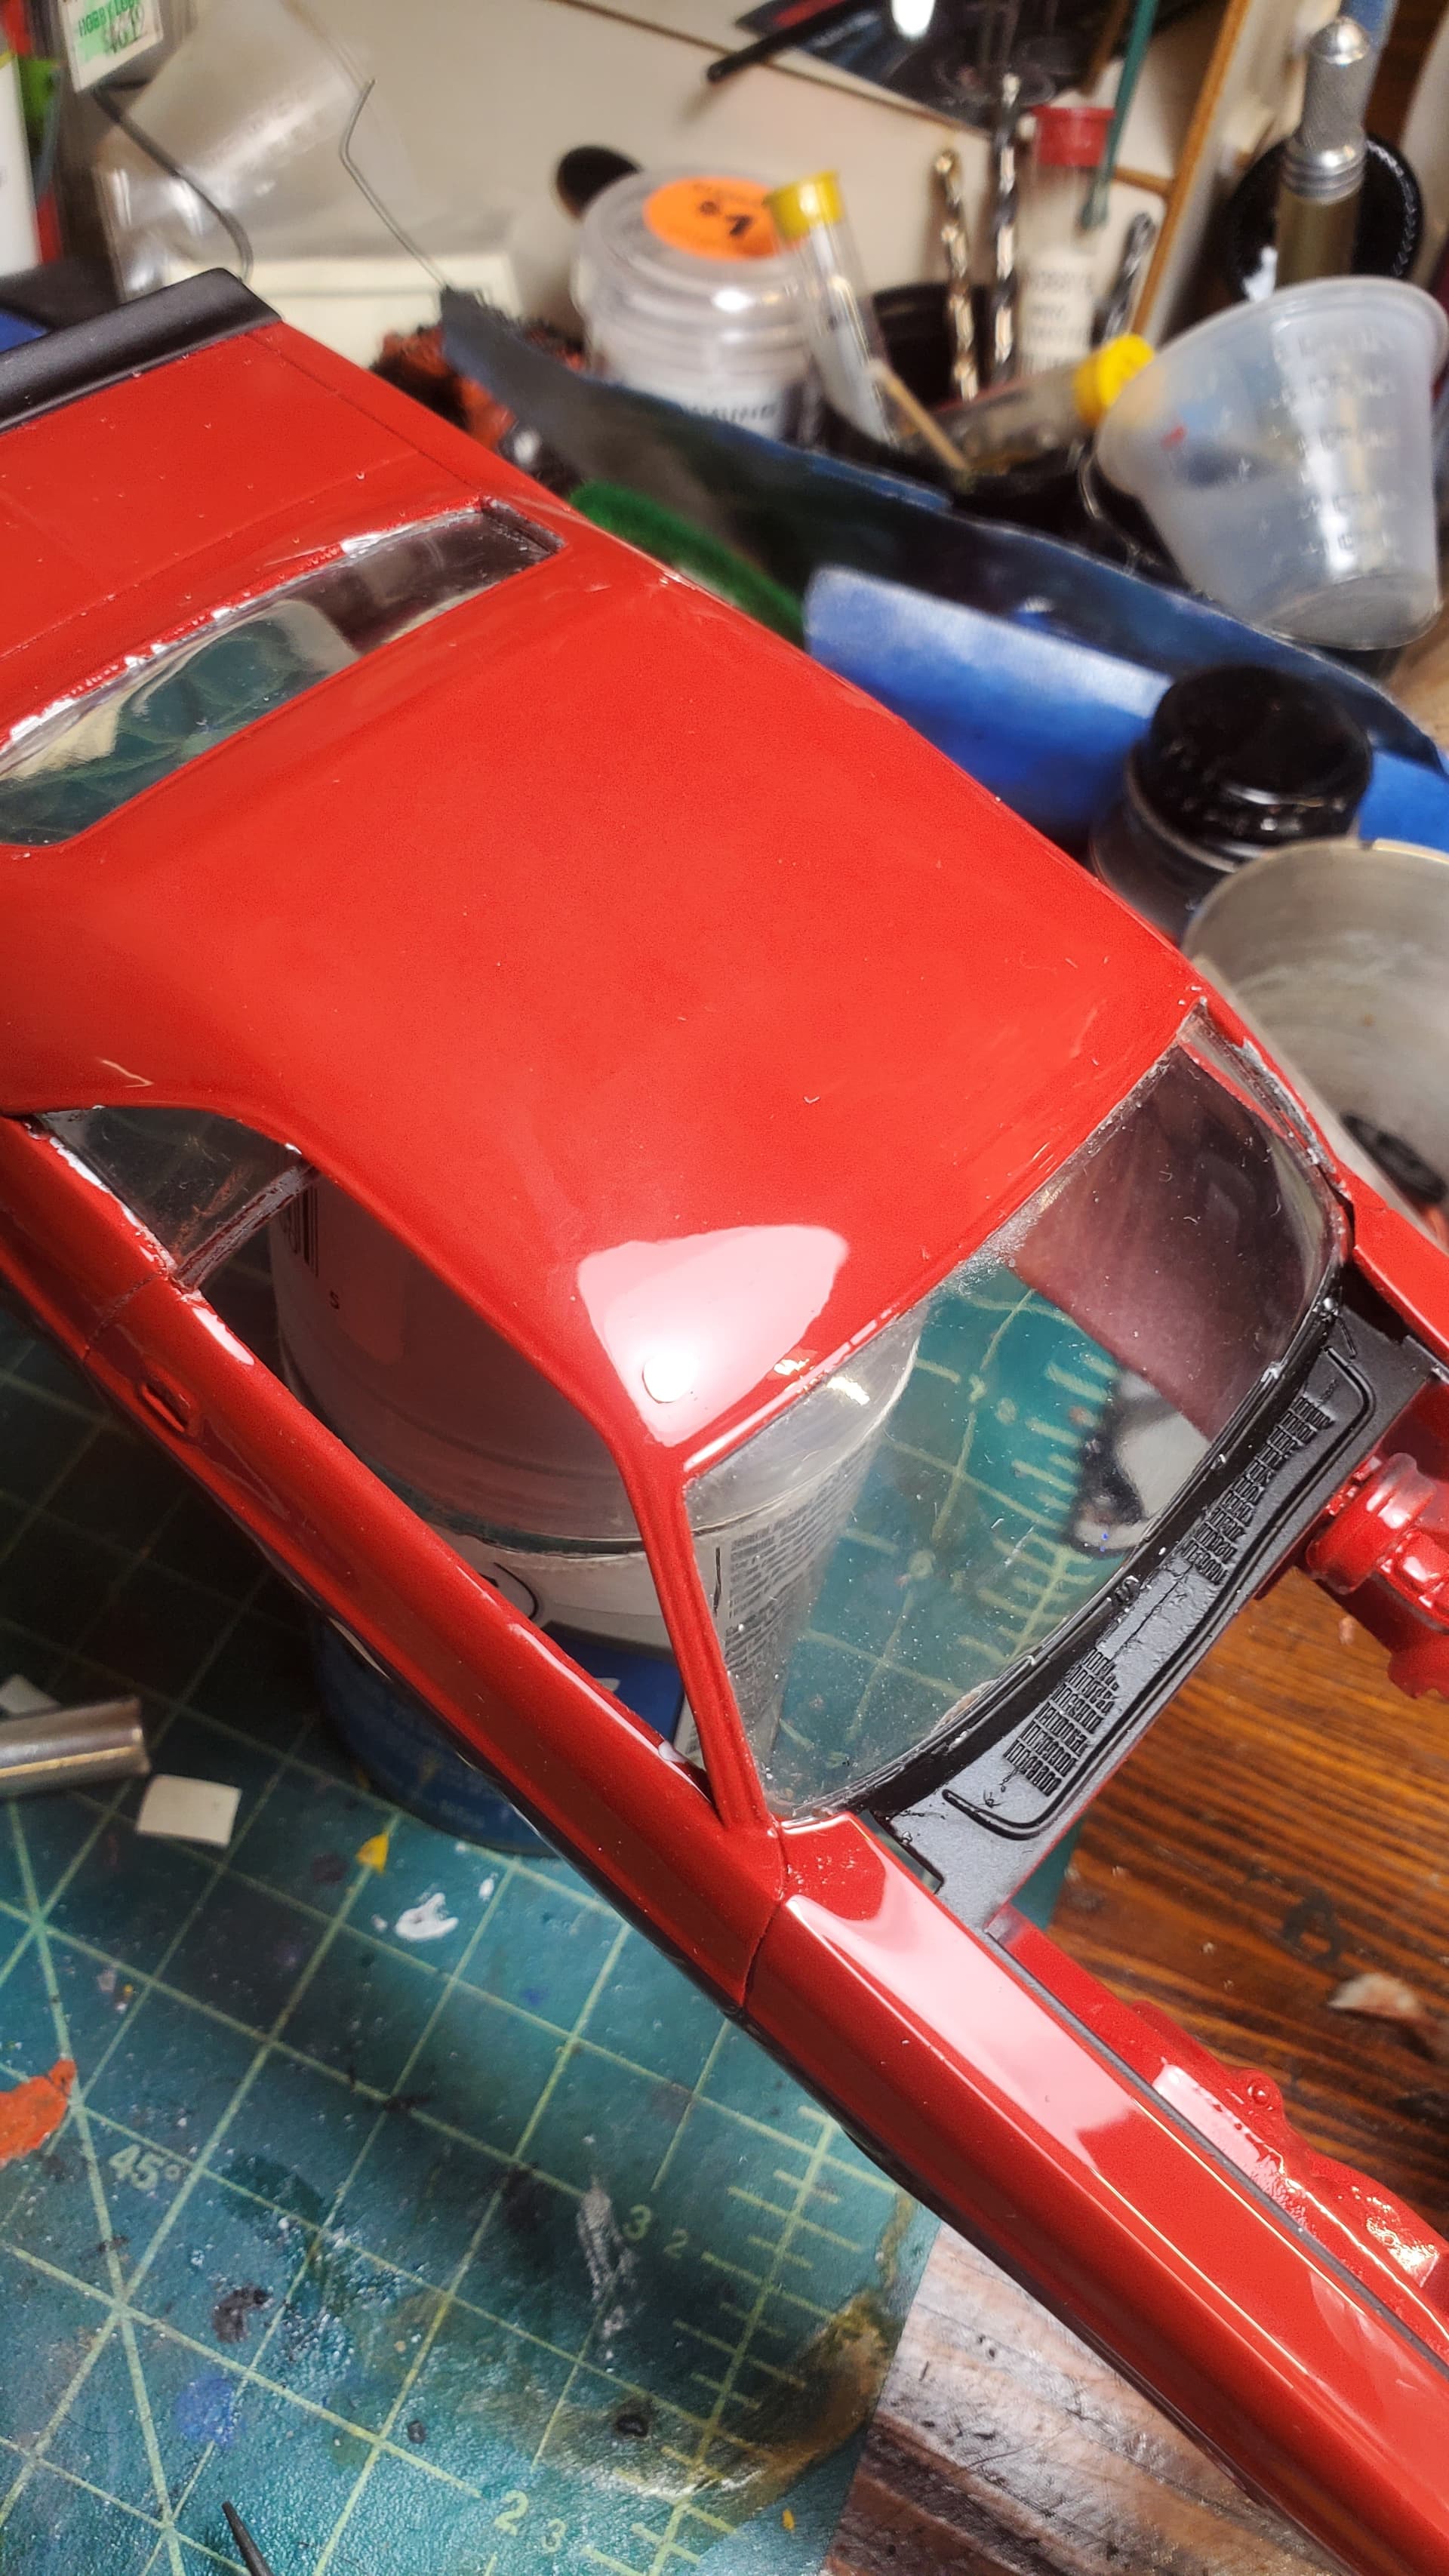
I masked the windows and finally got a coat of primer on it. I will clean up any imperfections and wet sand it and put another layer of primer on but this time in white so it will make the bright red pop.
I also finished the interior, I wanted to use some wood grain decals I had but they broke up even with a coat of decal film applied so I painted the console, instrument panel, steering wheel and inserts on the doors MM wood then streaked them with burnt umber oil thinned with mineral spirits. I also used white embossing powder to represent carpet then painted it flat black. For some reason the paint can be easily rubbed off so I have to be careful handling it..t
I forgot to get some close ups of the bodywork on the front fenders.i will do that next time I Amat the bench
A question for you all. I need to paint the hood satin black, how can I make that myself instead of buying it? I was thinking of using some flat black and adding a little gloss or should I use gloss black and add flat clear?
Thanks Joe
Here is the mod I did on the front fender
The lower piece is part of the front bumper that wraps around to the wheel well. It was also loo long and protruded into the wheel opening. I trimmed it, continued the edge trim that was missing and blended the seam with spot glaze.
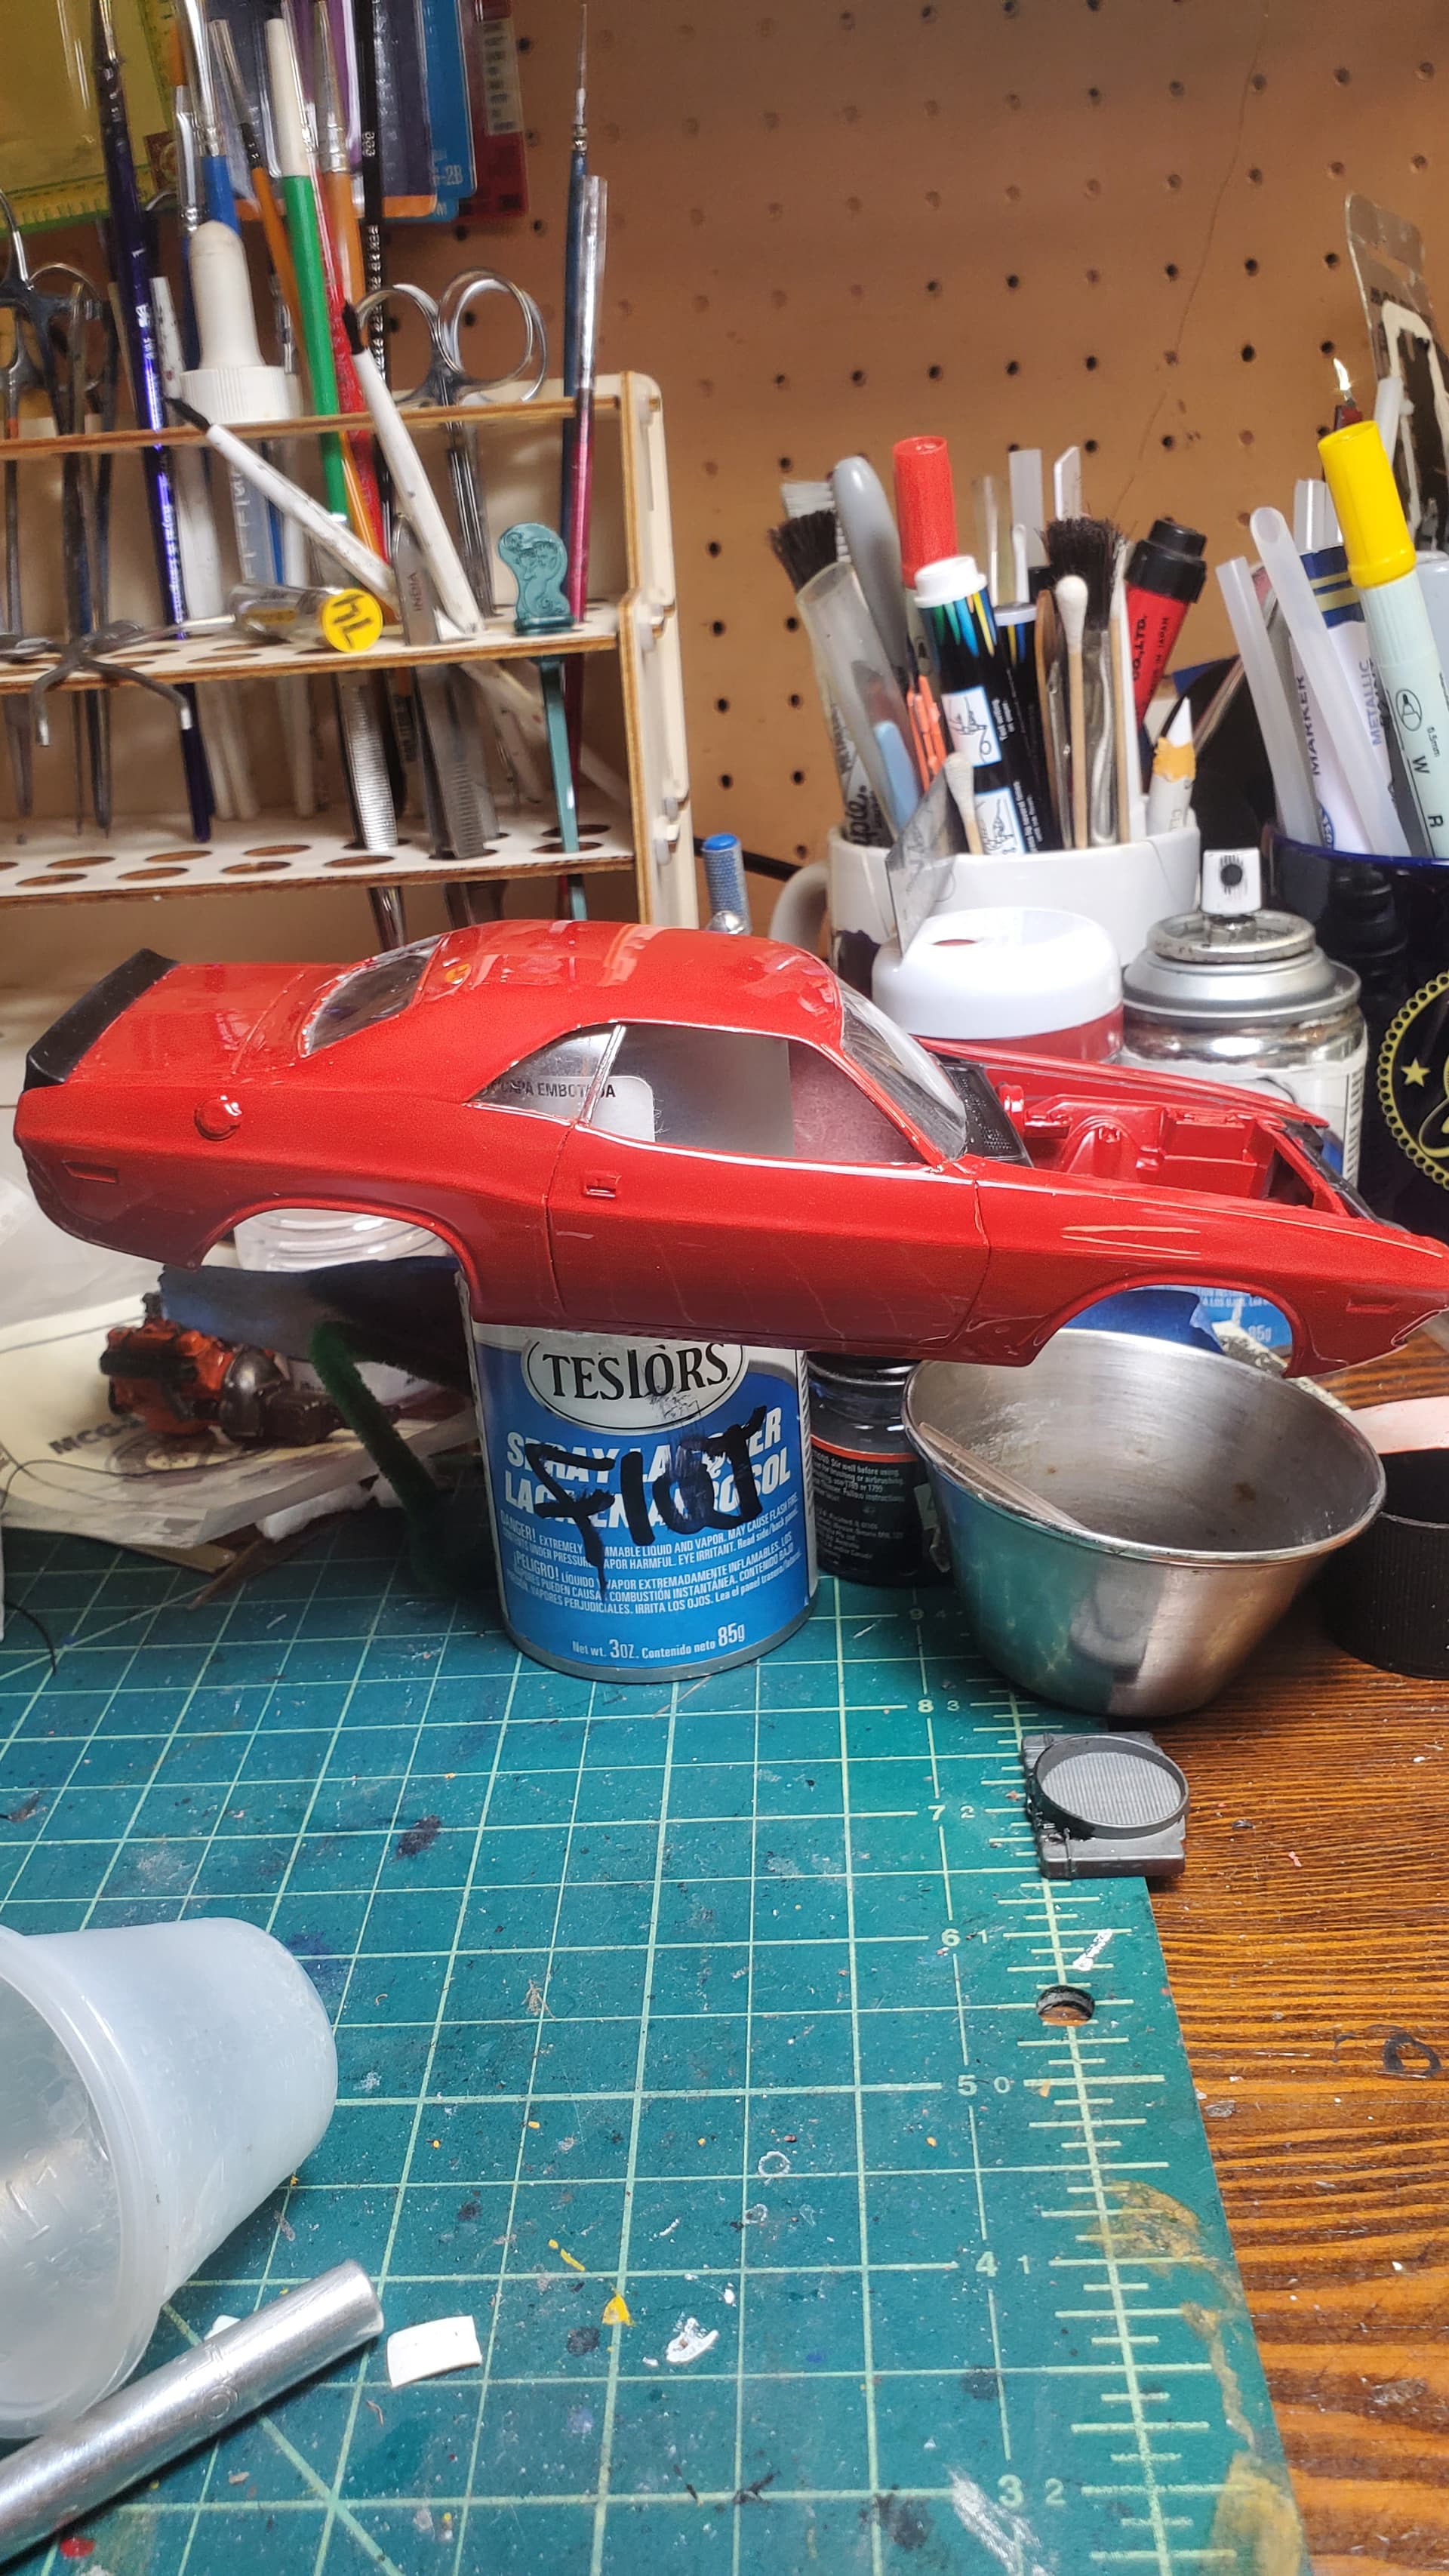
It’s been a while since i did an update. truth is i kinda lost my mojo. I just didn’t feel like doing any bench time but i got moving on this re build. wet sanded the color coat down and shot a 2k clear from splash paint. got some dust in the clear so i wet sanded and re shot the clear. still ended up with some dust in it but not as bad. i found by testing the 2k doesn’t polish out so well, either that or i am doing something wrong. i polished out starting out with 1800 micro mesh pads working up to 12000 and then finished up using tamiya fine and finish polish. i did not get the super gloss finish back just a semi gloss dull finish. do i need to use auto wax to bring back the shine? either way i am hesitant to try it on the finished body, i don’t want to end up doing another gloss coat. i may try to just polish out the trunk lid so that way if i need i can just mask off the trunk and re spray.
Anyway i then mixed up a flat black/ gloss black mix of 10:1 flat-gloss to spray the hood, spoiler,grill area and chin spoiler, masked off and sprayed. i want to give the hood another coat though. maybe today.
Nice paint job! Truth be told Dodges’ factory paint didn’t come close to this kind of finish (their emphasis was under the hood).
Nice work Joe, anxious to see the front end four feet off the ground and that trademark body flex as it smokes another Bowtie/Blue Oval
What level of gloss were cars then? I think that the standard gloss from the can is about right. Custom cars got the super gloss treatment. Did they even have clear coat back then
not exactly perfect. i have a few dust spots on the trunk, door and 1/4 panel. i tested wet sanding and polishing out this clear on some old meaningless bodies i had and did not get good results. despite going through all the stages of grits -1800-12000 and then polishing out with tamiya fine and finish polish followed by an automotive wax i still had sand marks and haze left behind. never had that happen before on a clear, either this splash 2k does not like to be polished or i am doing something wrong but i follow the same technique i always do.
Joe
Thanks for sharing your experience! That sounds really tricky. Sometimes even with the best techniques, the clear coat can surprise us. Maybe that Splash 2K clear has a different chemistry or hardness that reacts differently to sanding and polishing. Have you thought about trying a different clear or maybe a different polishing compound?