I have started Revell’s 2010 Chevrolet Camaro. The model will be build oob, with a few details painted differently, from the original. Not that much to show yet though.
Jesper,
I’ll be following along your Camaro build to it’s conclusion, as even I love all the various Pony cars that the big 3 has produced over the years.
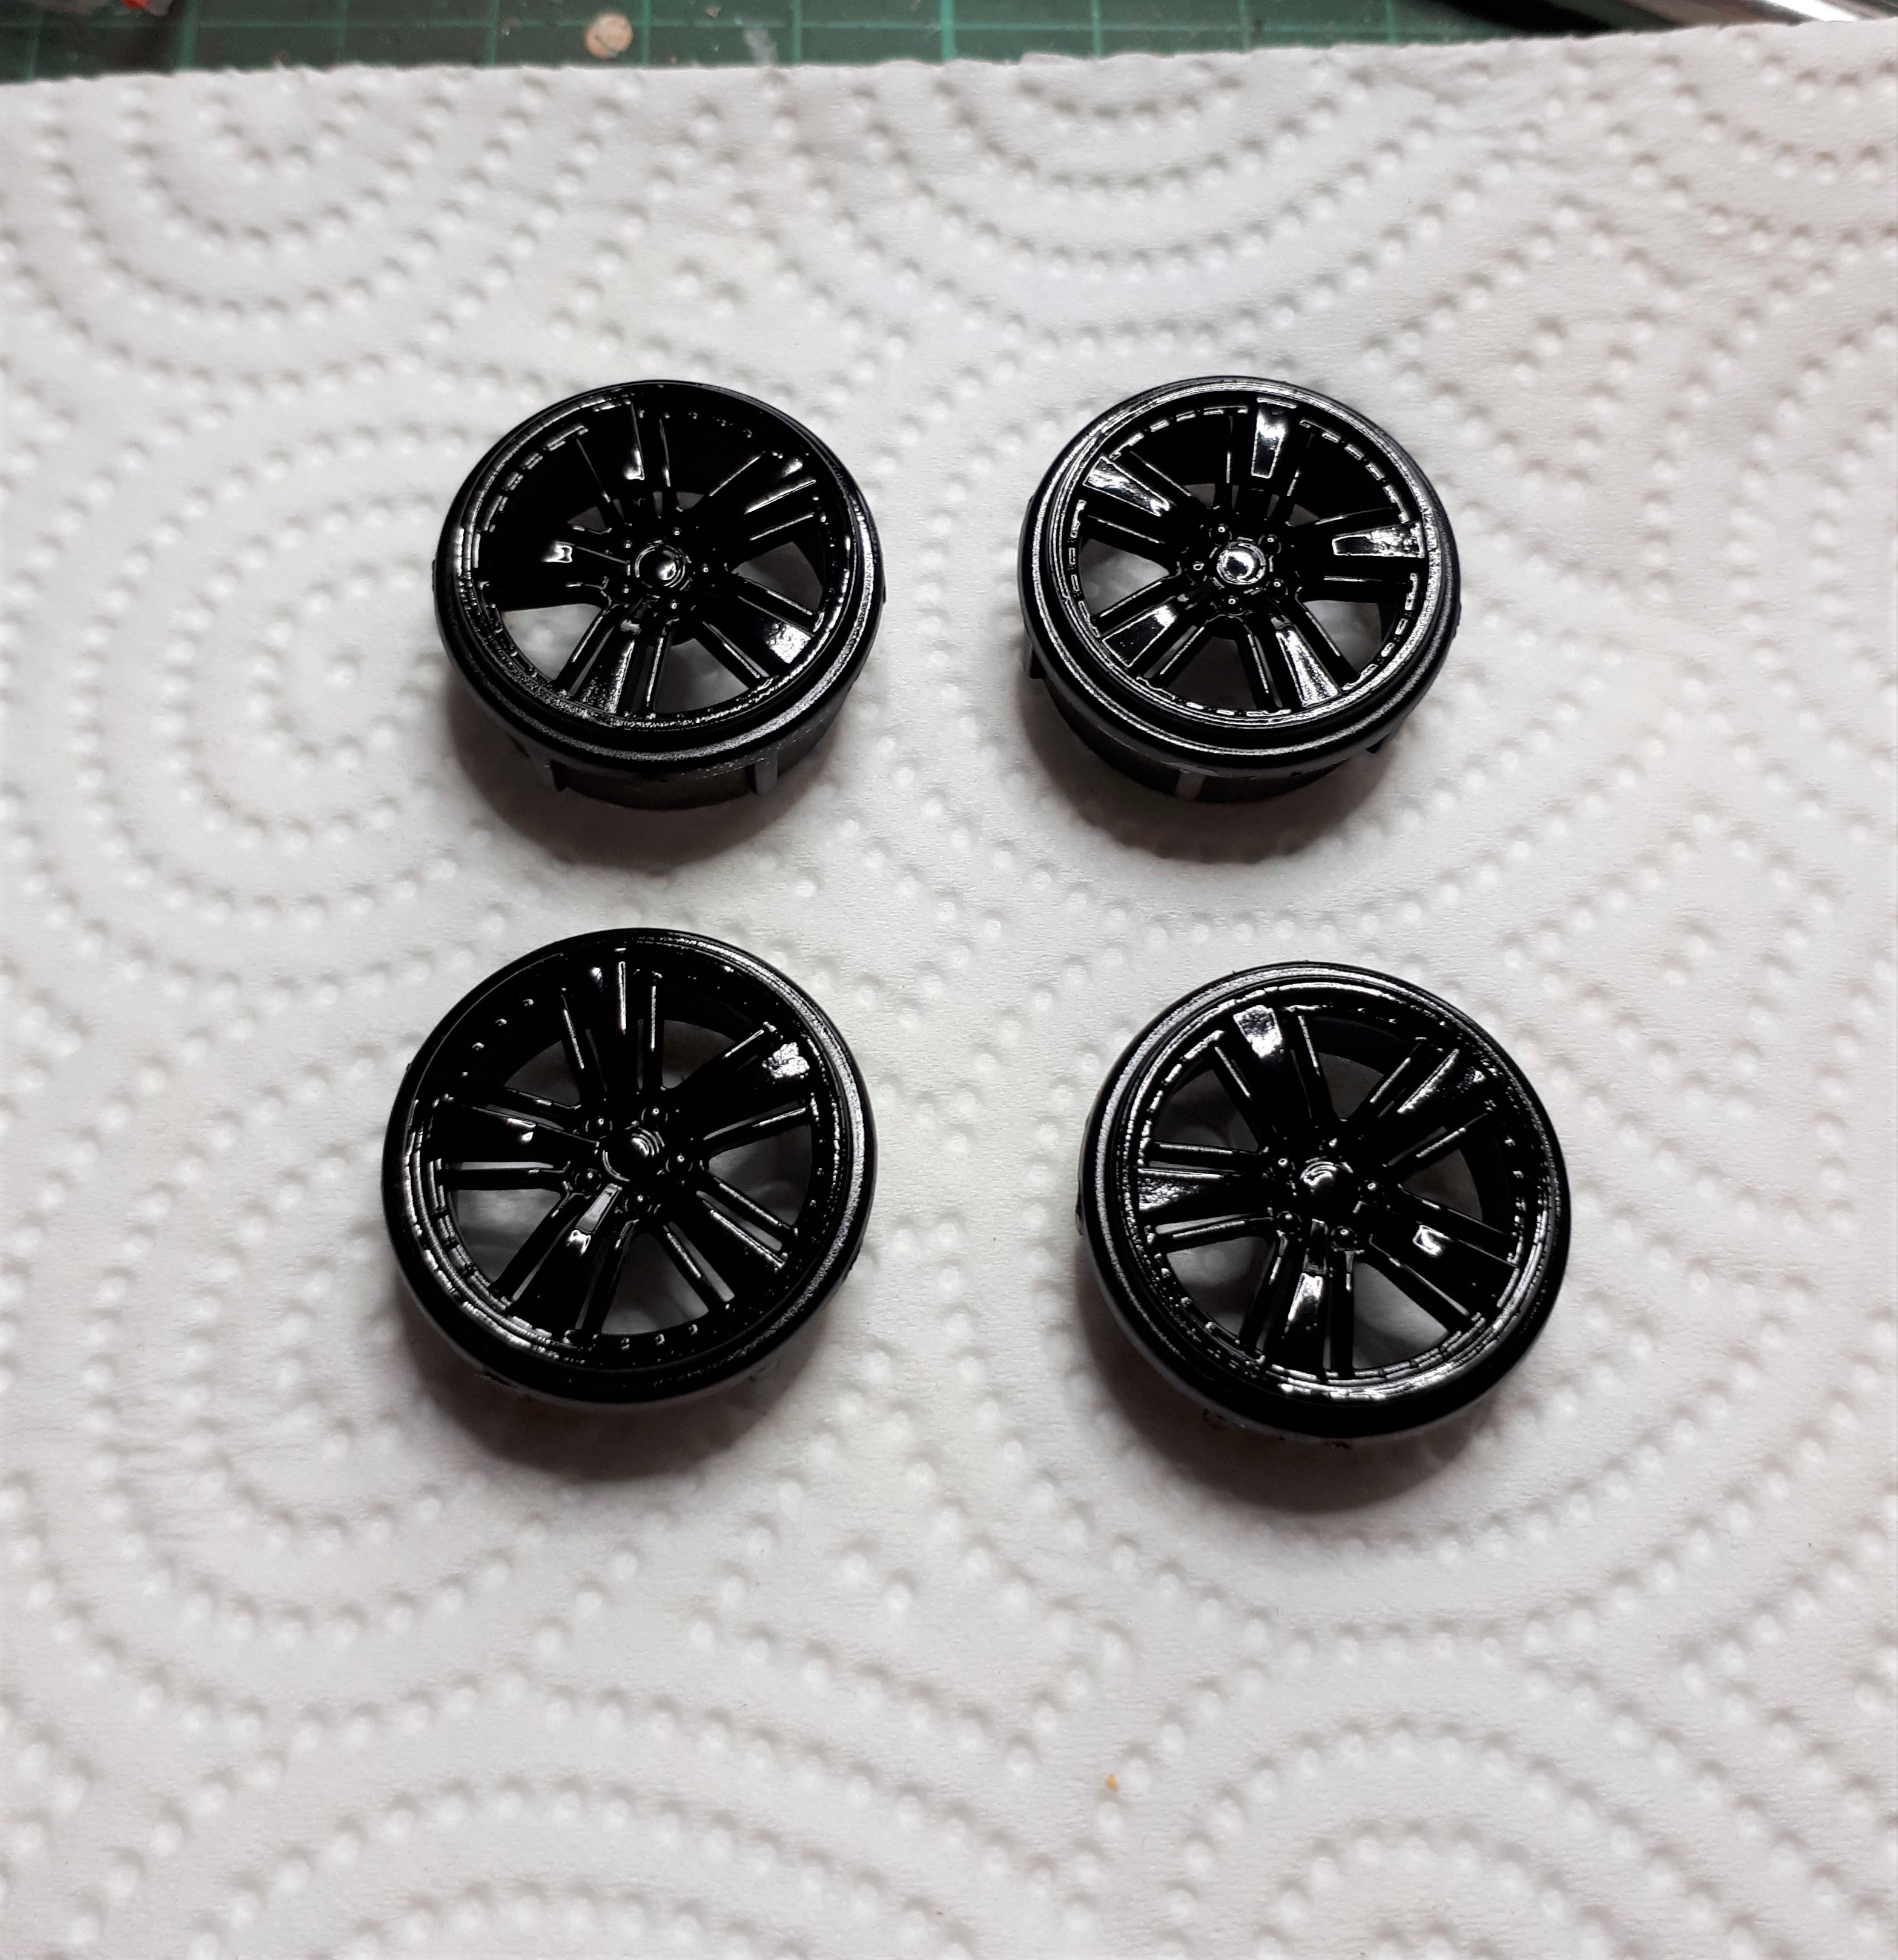
Just one thing that I learned the hard way, all the mag type wheels that came out of Detroit aren’t what they seem to be, they’re painted/anodized. I can attest to that fact 1st hand as I have to repair and then repaint one of my wheels that had a slight argument with a cobble stone curb on my driveway. Easiest way to do it it just Matt clear coat the chromed wheels in the kit.
Although I’m not a big fan of the modern muscle, this one has enough of its heritage reworked in the styling to grab my attention. Looking forward to more progress reports Jesper, best of luck with the build!
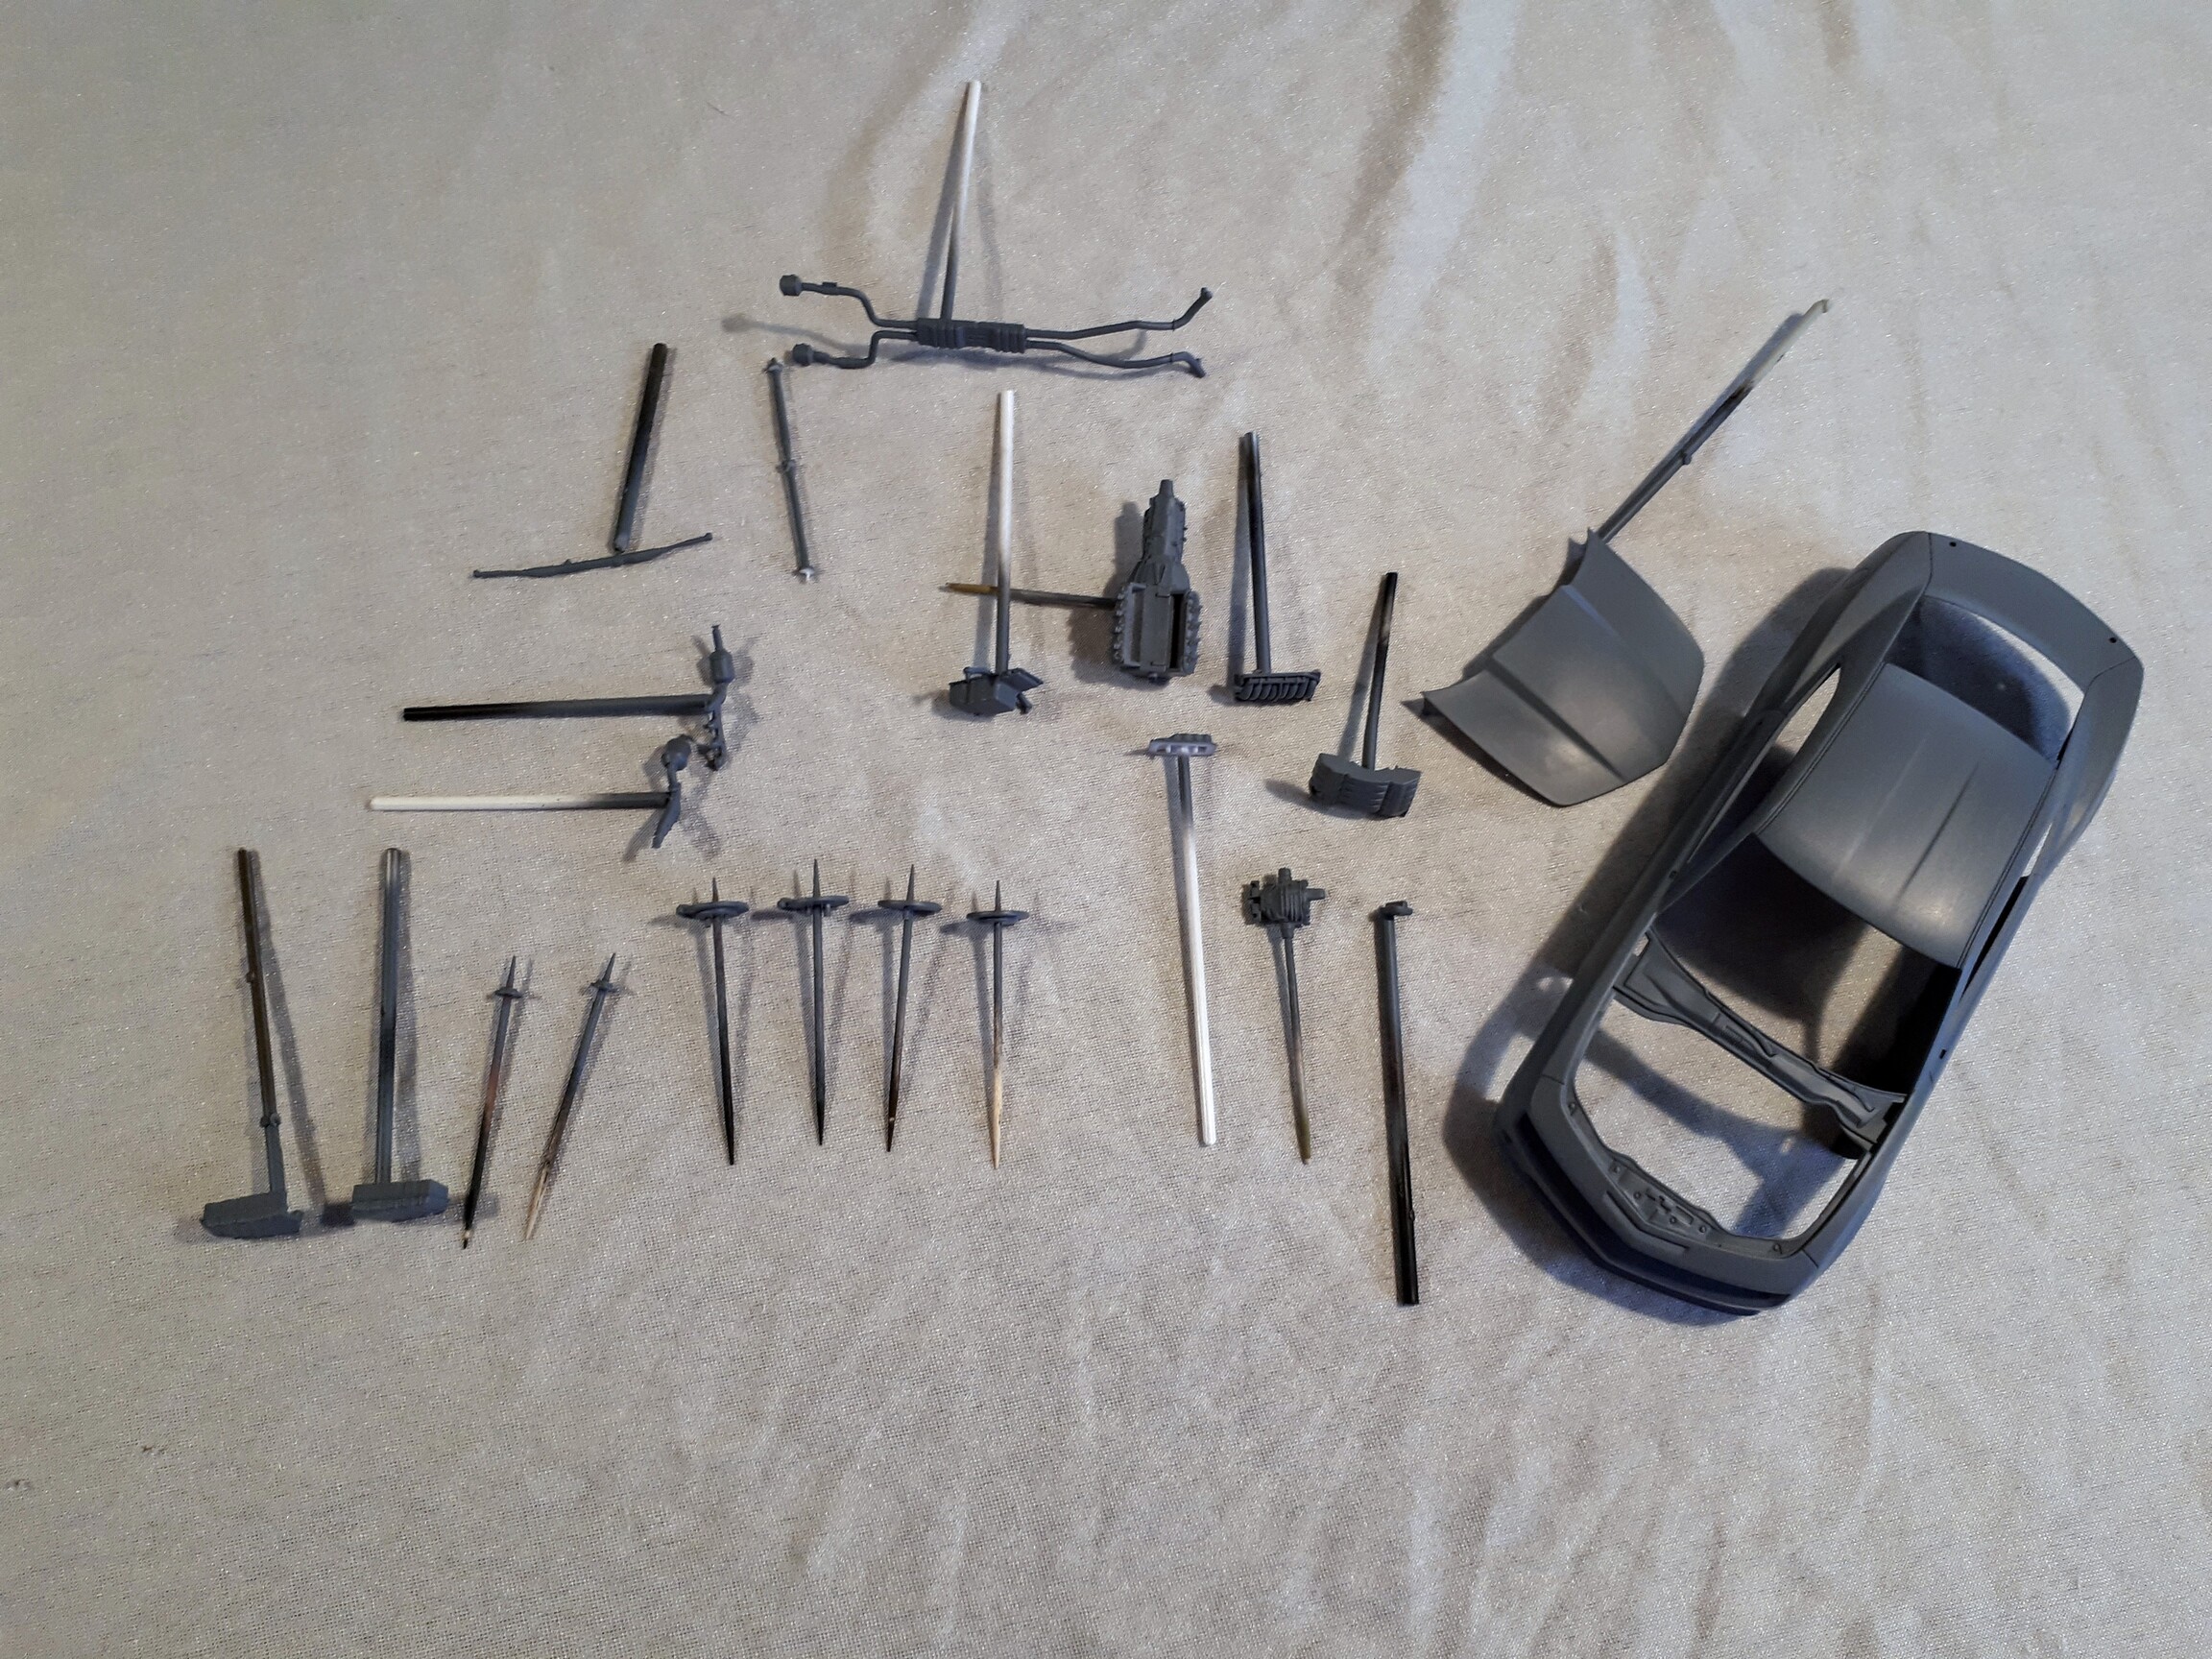
@Joel_W : Thanks for looking in Joel. There are two sets, of wheels, in the kit; I plan to use the custom alternative and paint them gloss black.
@AussieReg : Thanks for checking in D. Even though I’m a Mopar guy, I must admit, from a design point of view, the modern Camaro came out a lot better, then it’s Mopar counterparts.
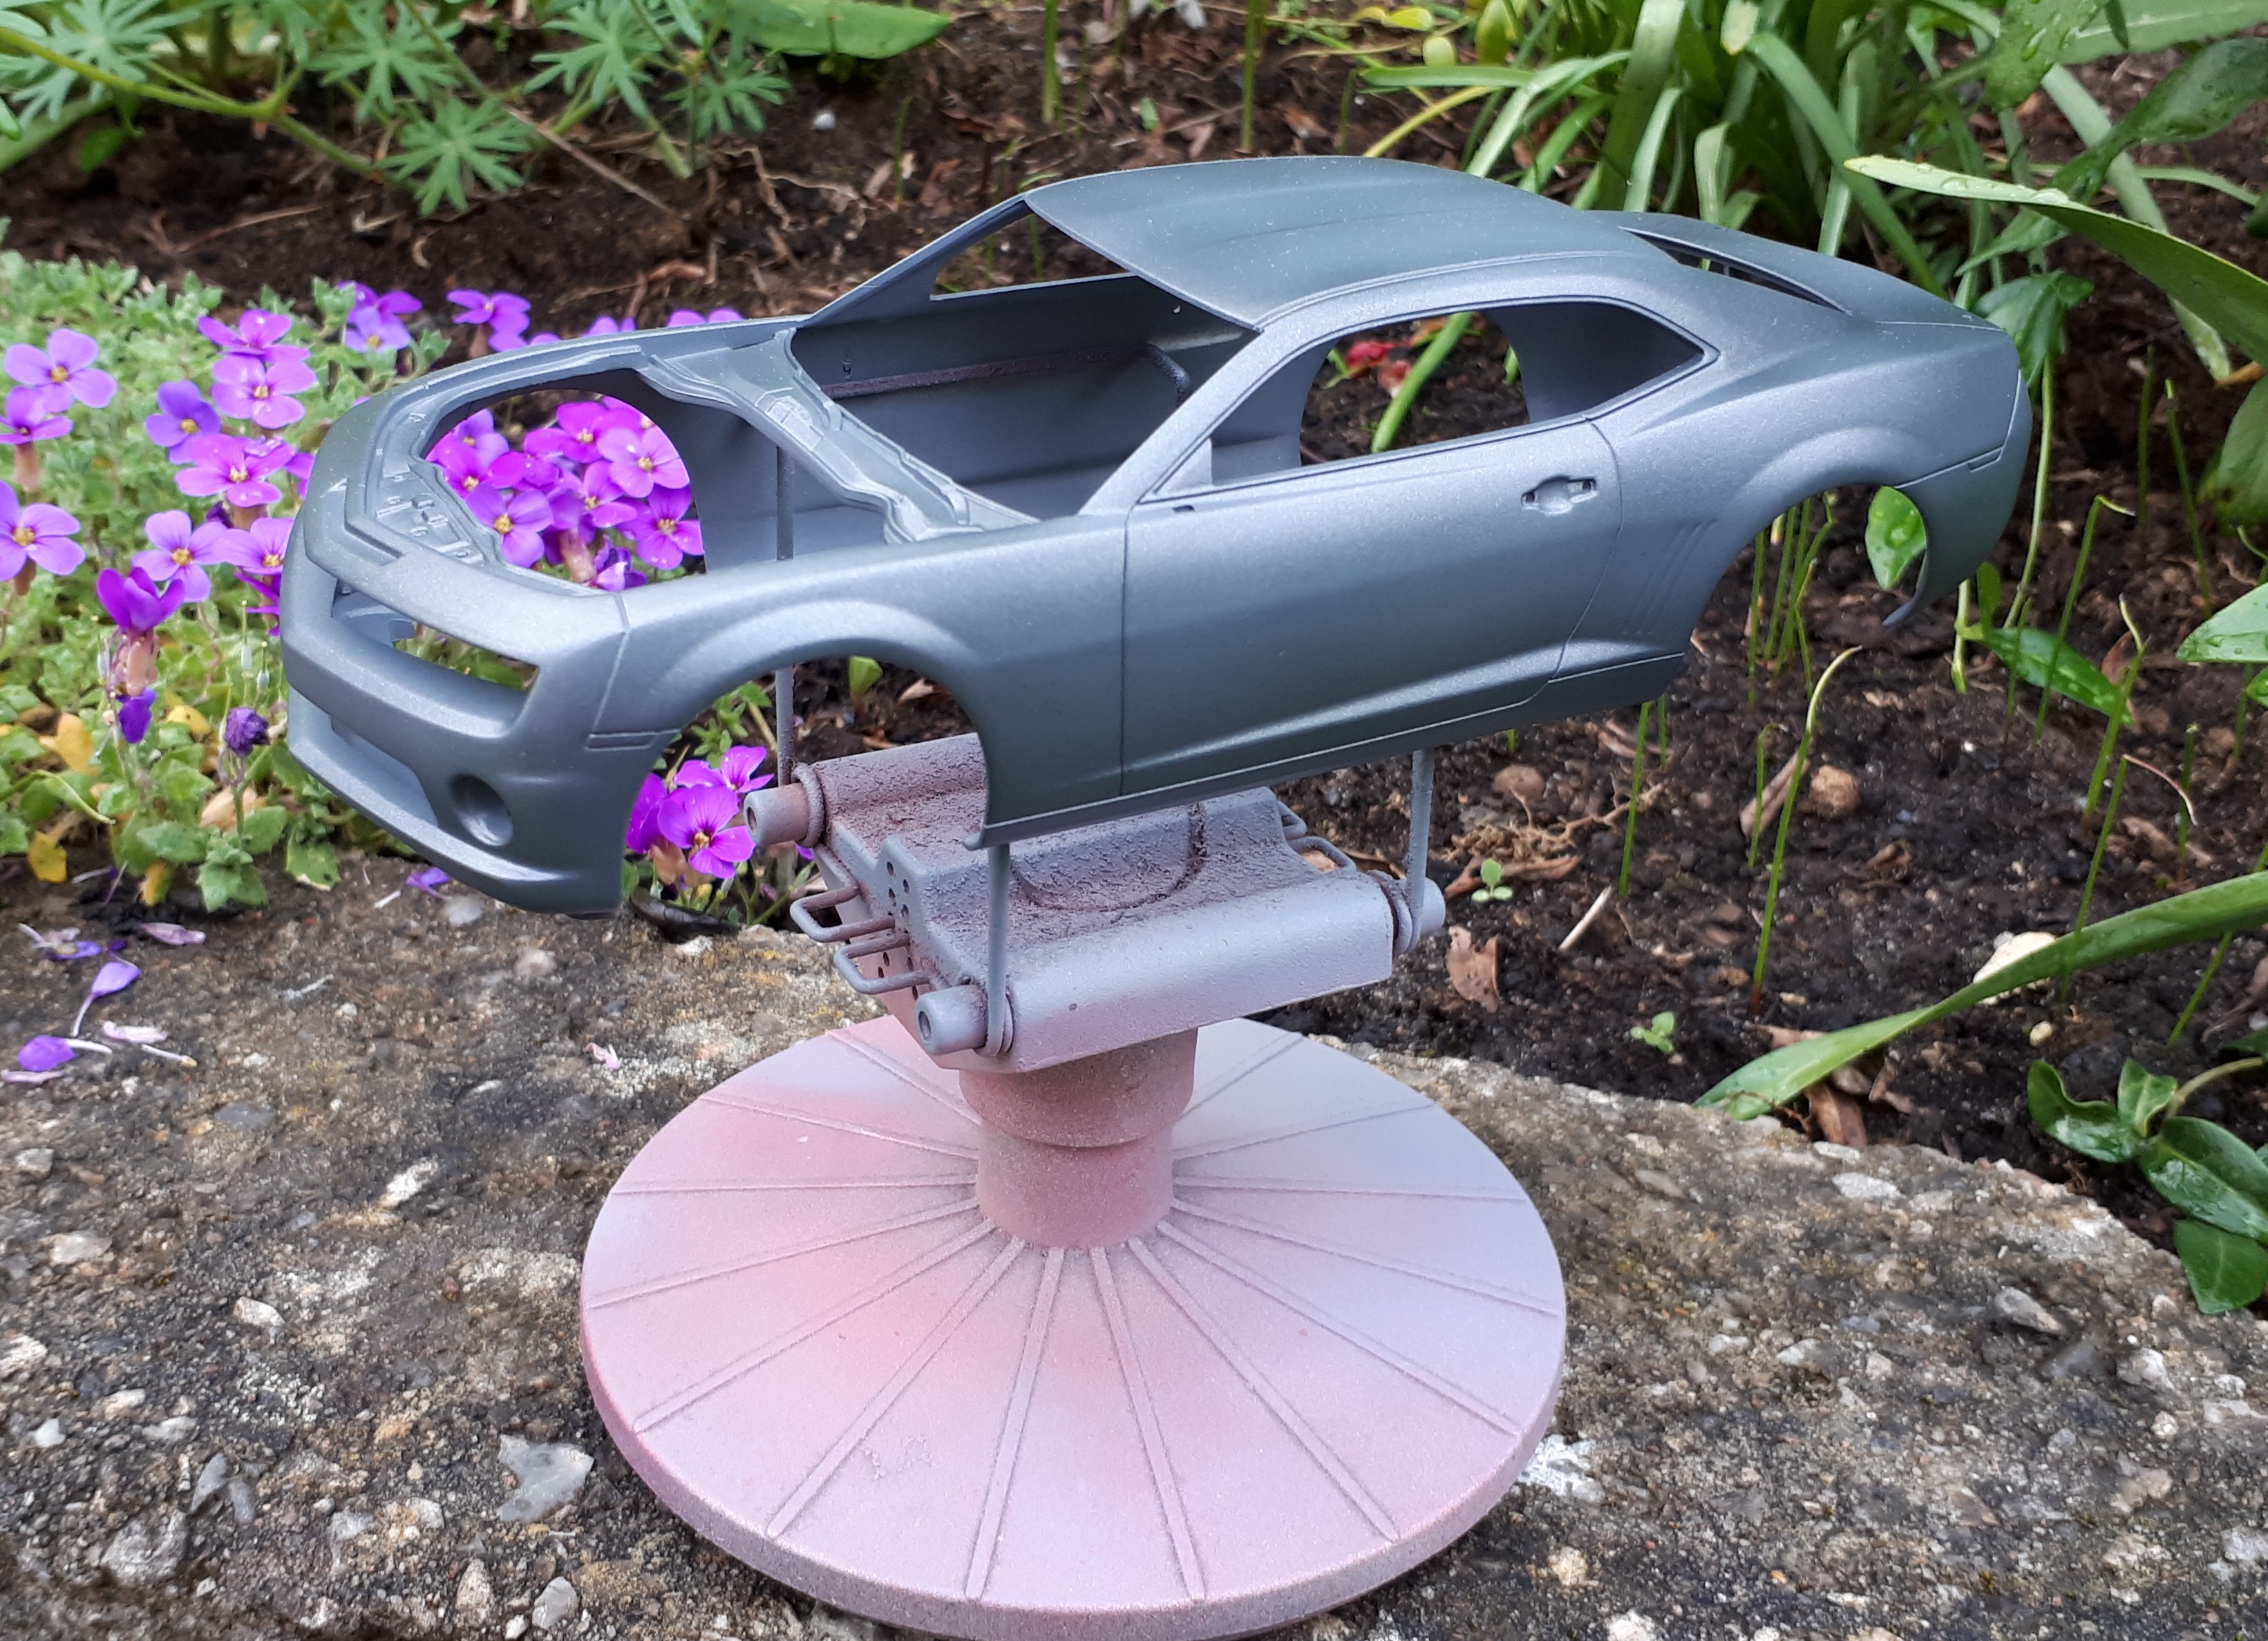
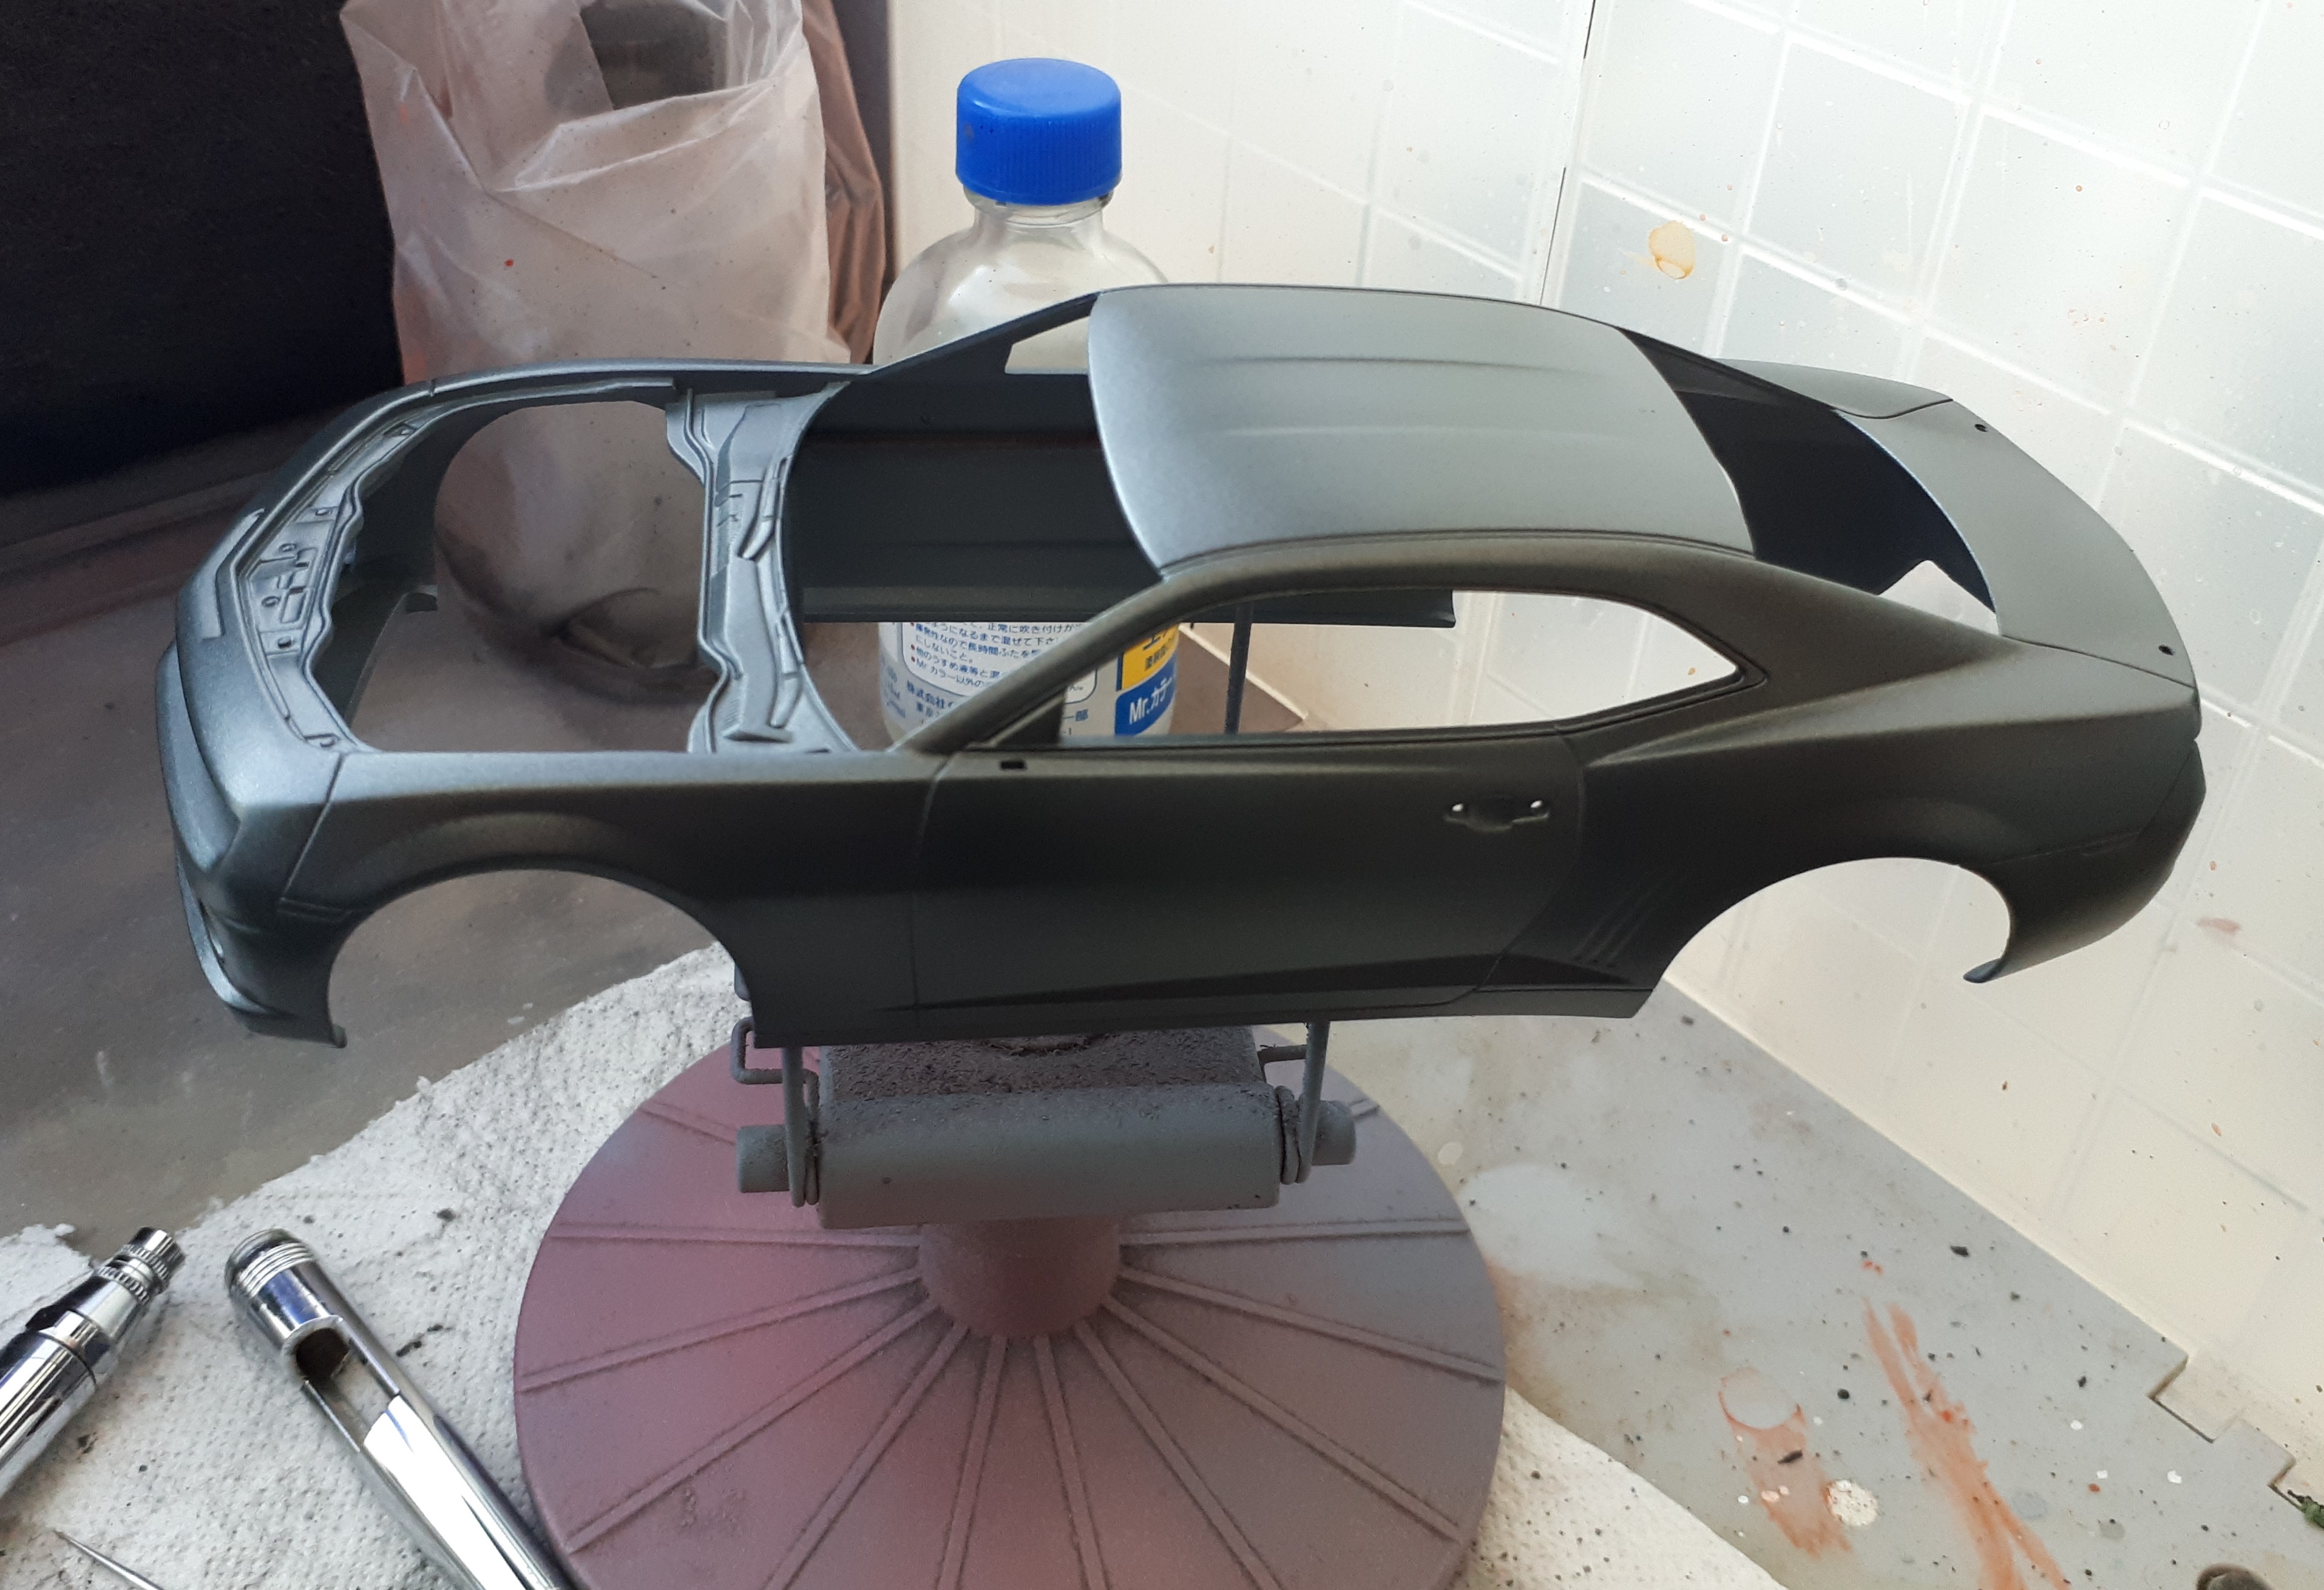
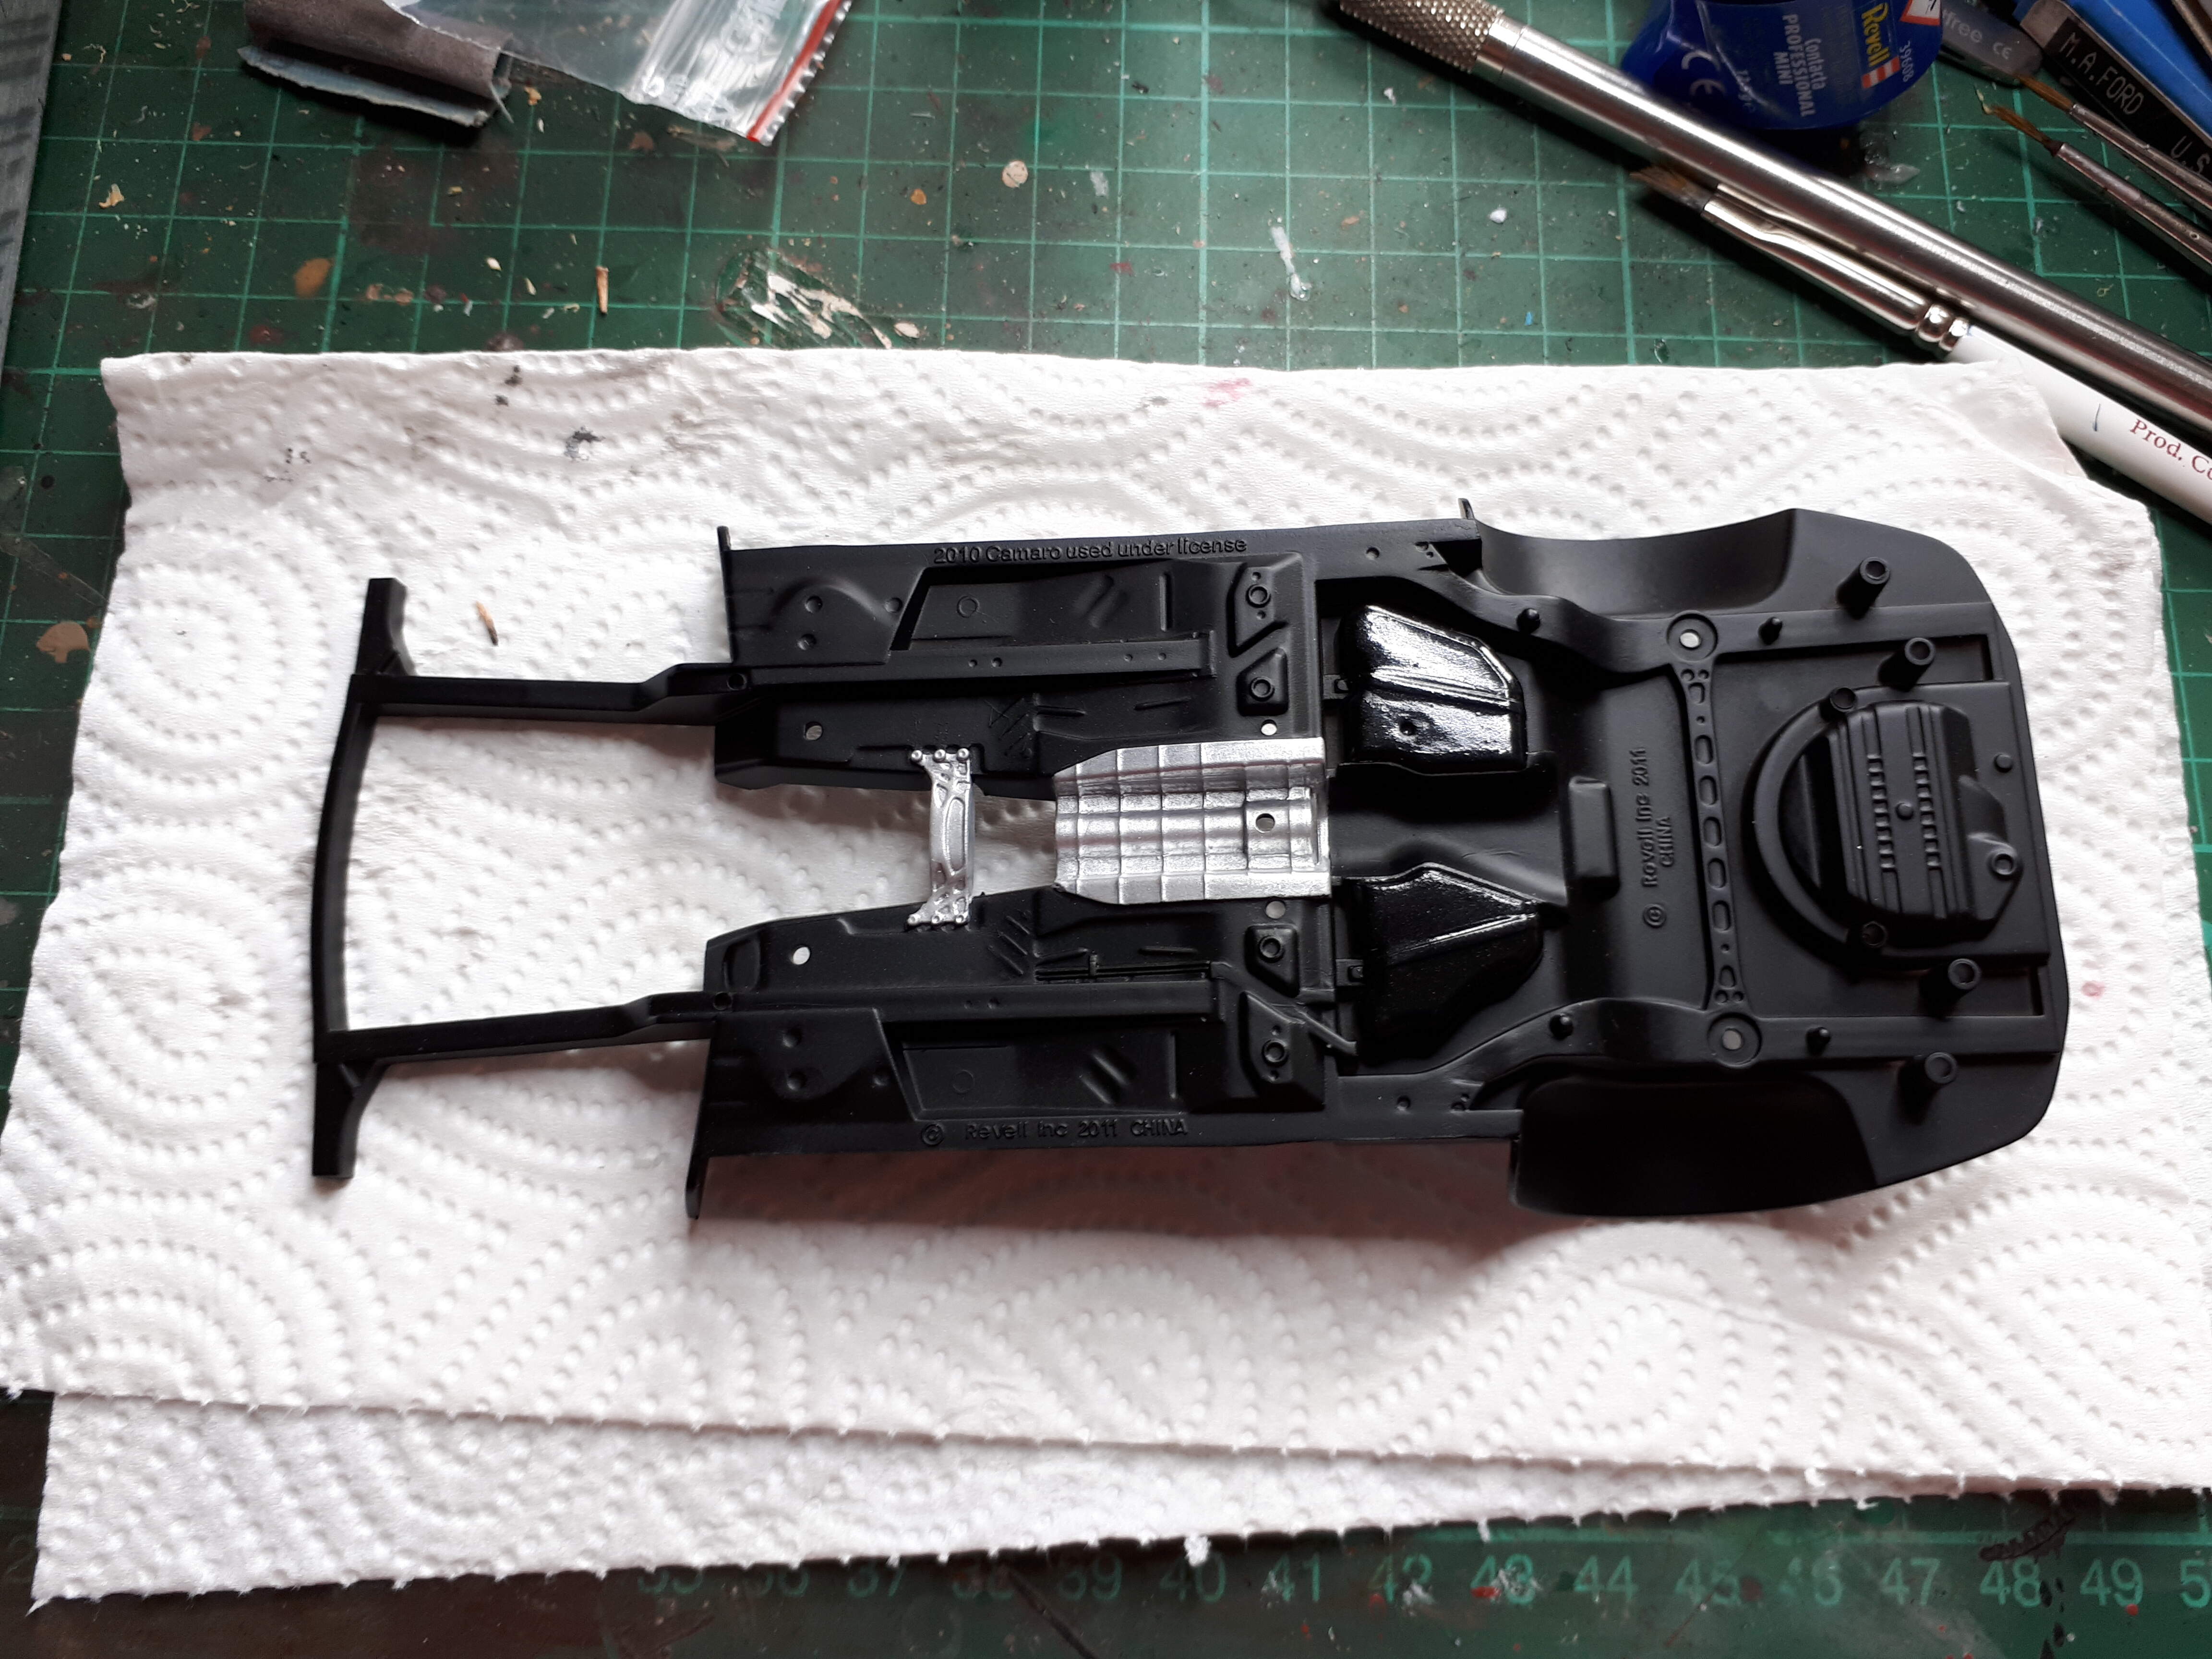
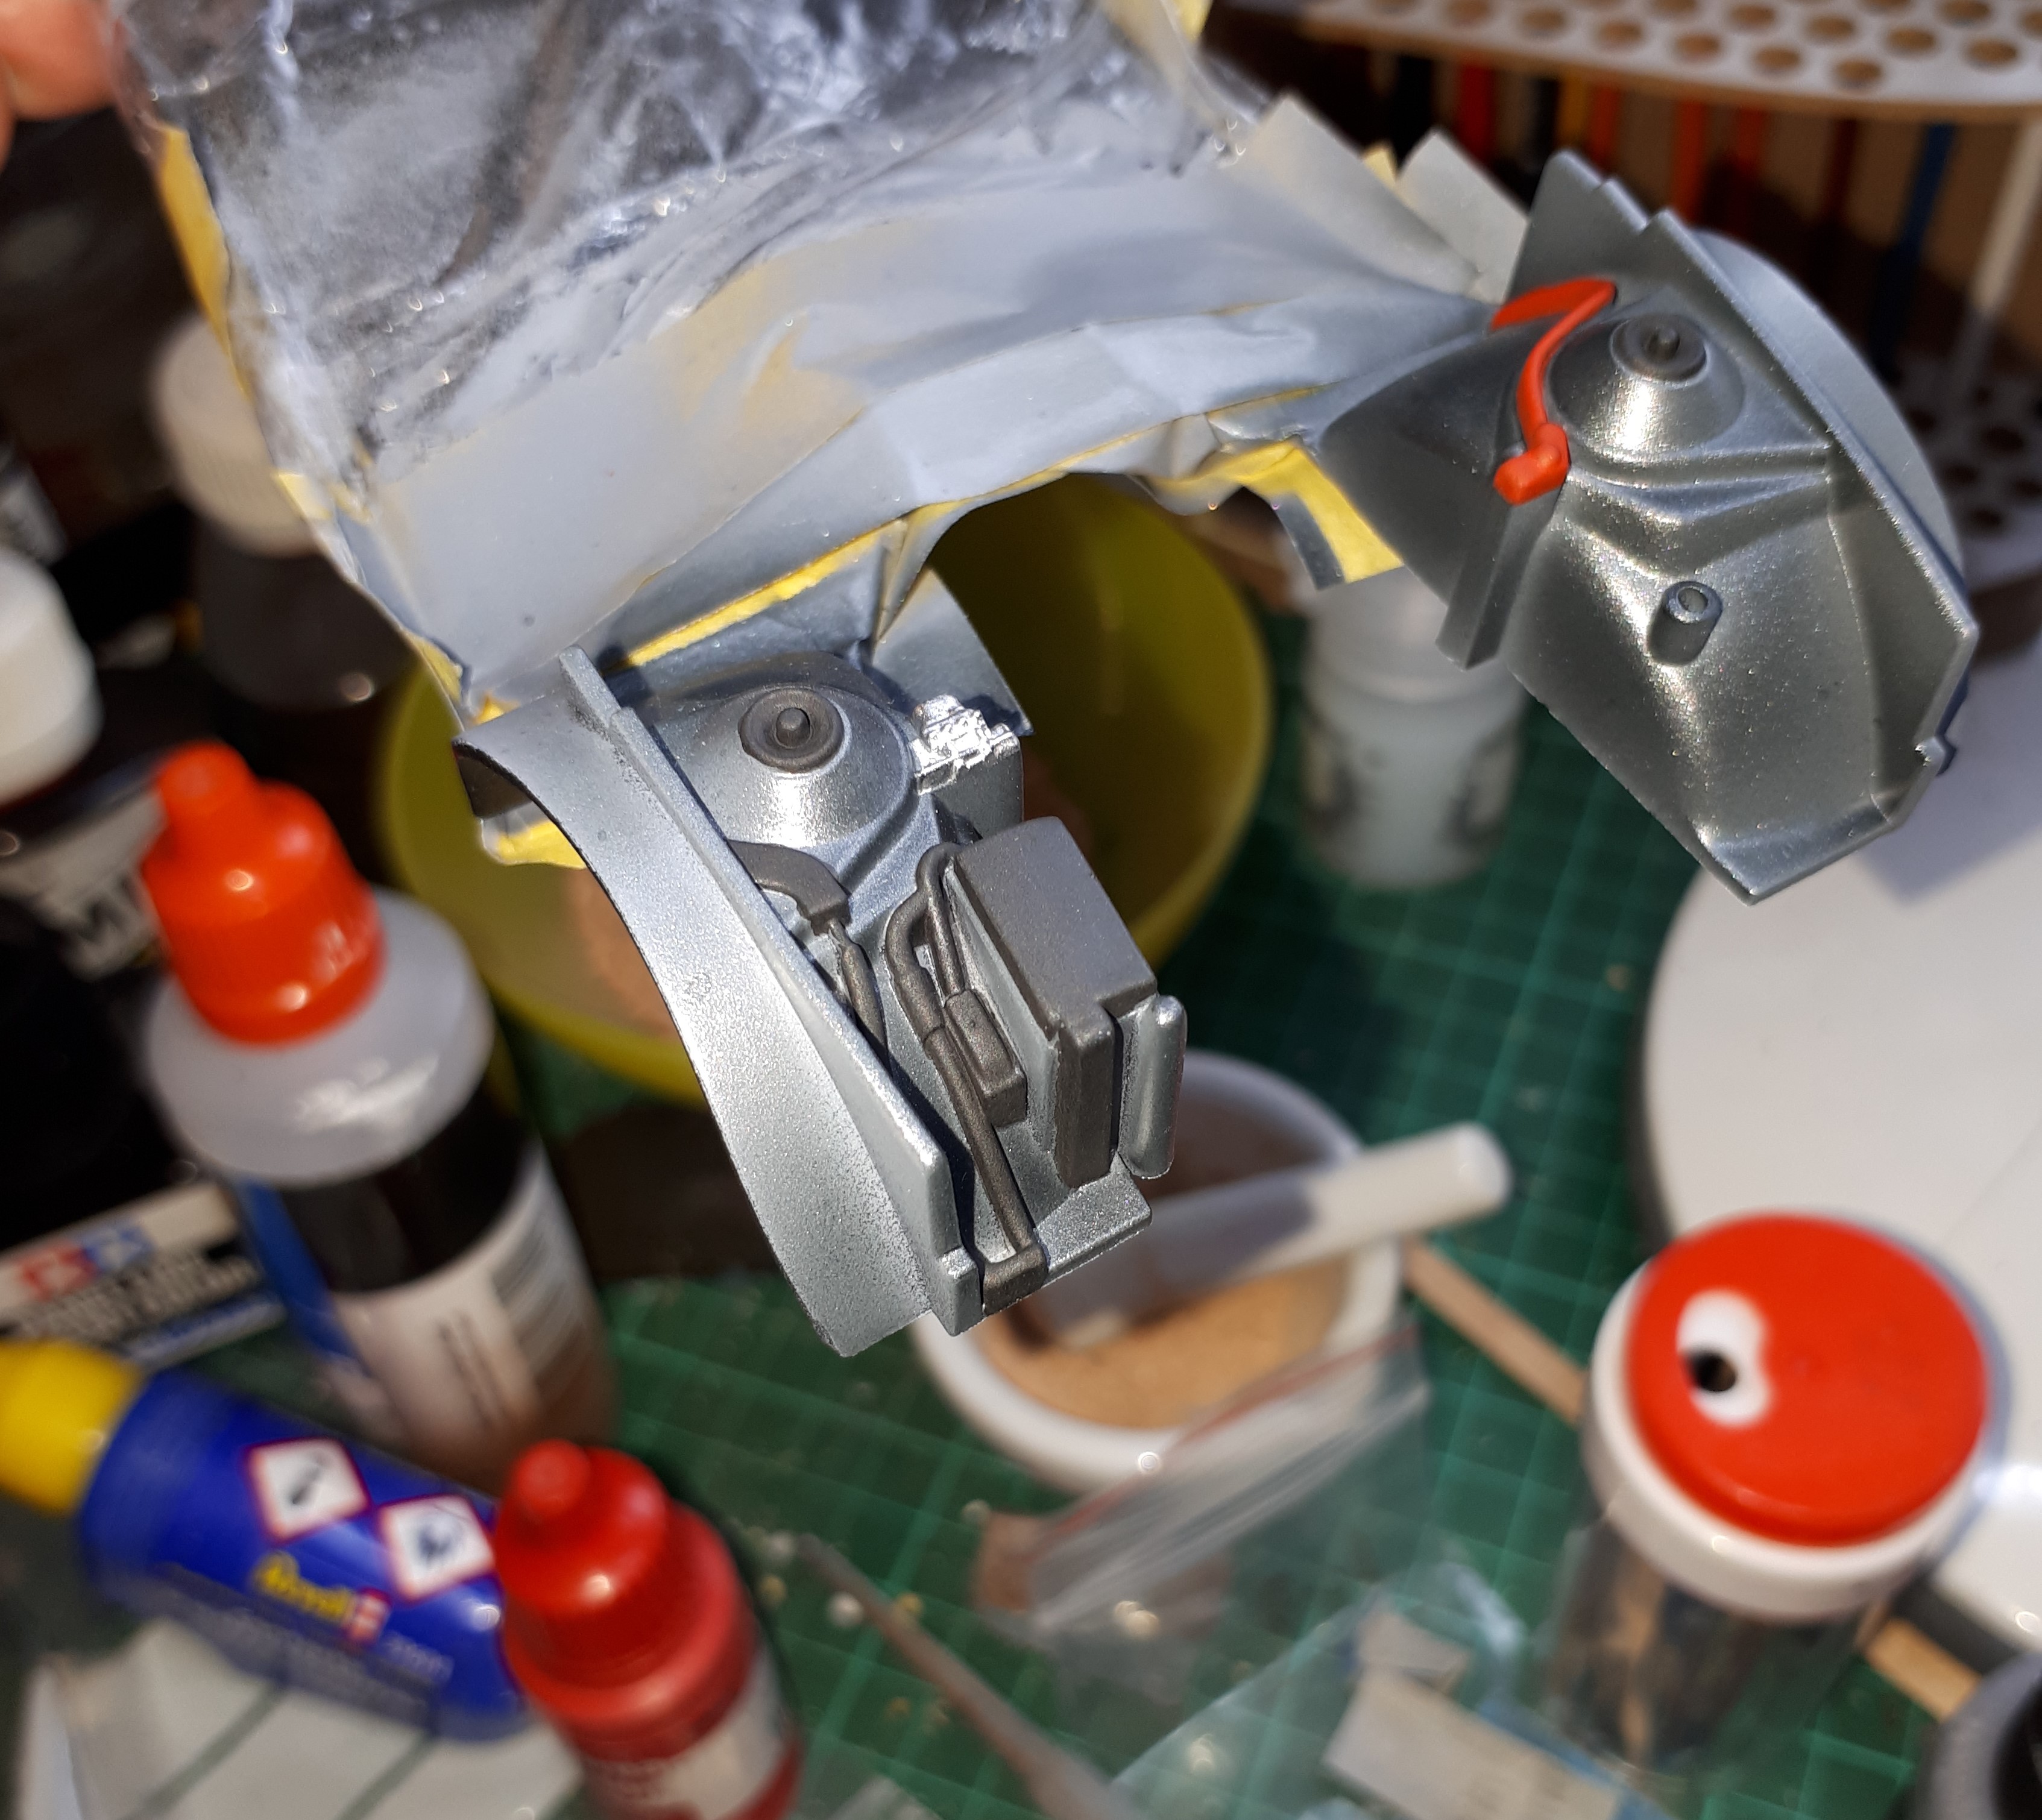
Got the first two layers, of paint, on the Camaro; Chevrolet Nightfall gray. The color looks a lot brighter, in the image, than “live”. More layers should darken it even further.
Jesper,
That’s just insane. Sounds like the crap the Asian crowd is selling models for these days. I looked, balked, and won’t buy a thing from those thieves.
The Gray looks spectacular and should look even better as the next few layers hopefully will darken it up.
joel
The colour looks great Jesper. What colour primer did you use it over? Some gravity paints require a dark primer to accentuate the colour. They usually have that on there website for each of the colours.
I’m very impressed by Gravity colors, they spray on so well. First a few very light coats, then two heavier coats(Not quite wet coats). A single, very small hair, got caught in the paint, but was easily sanded down and a light dusting, of paint, removed all sign of it.
Jesper,
I’ve got more then 60 full bottles of Gravity paints and maybe 6 Zero bottles that I bought years ago for two F1 builds. One of the kits is the Lotus 49 of Jim Clark. To this day Gravity still doesn’t make a specific Yellow for that kit. Other then that Gravity has been my go to paint company until this year when I switched ScaleFinishes which is located on the East coast of Florida, USA, which makes ordering/shipping so much easier/cheaper as the DHL charges from Gravity of Spain always required me to place a min order of 6 bottles to make it cost effective. But if ScaleFinishes doesn’t have the color, I end up back at Gravity.
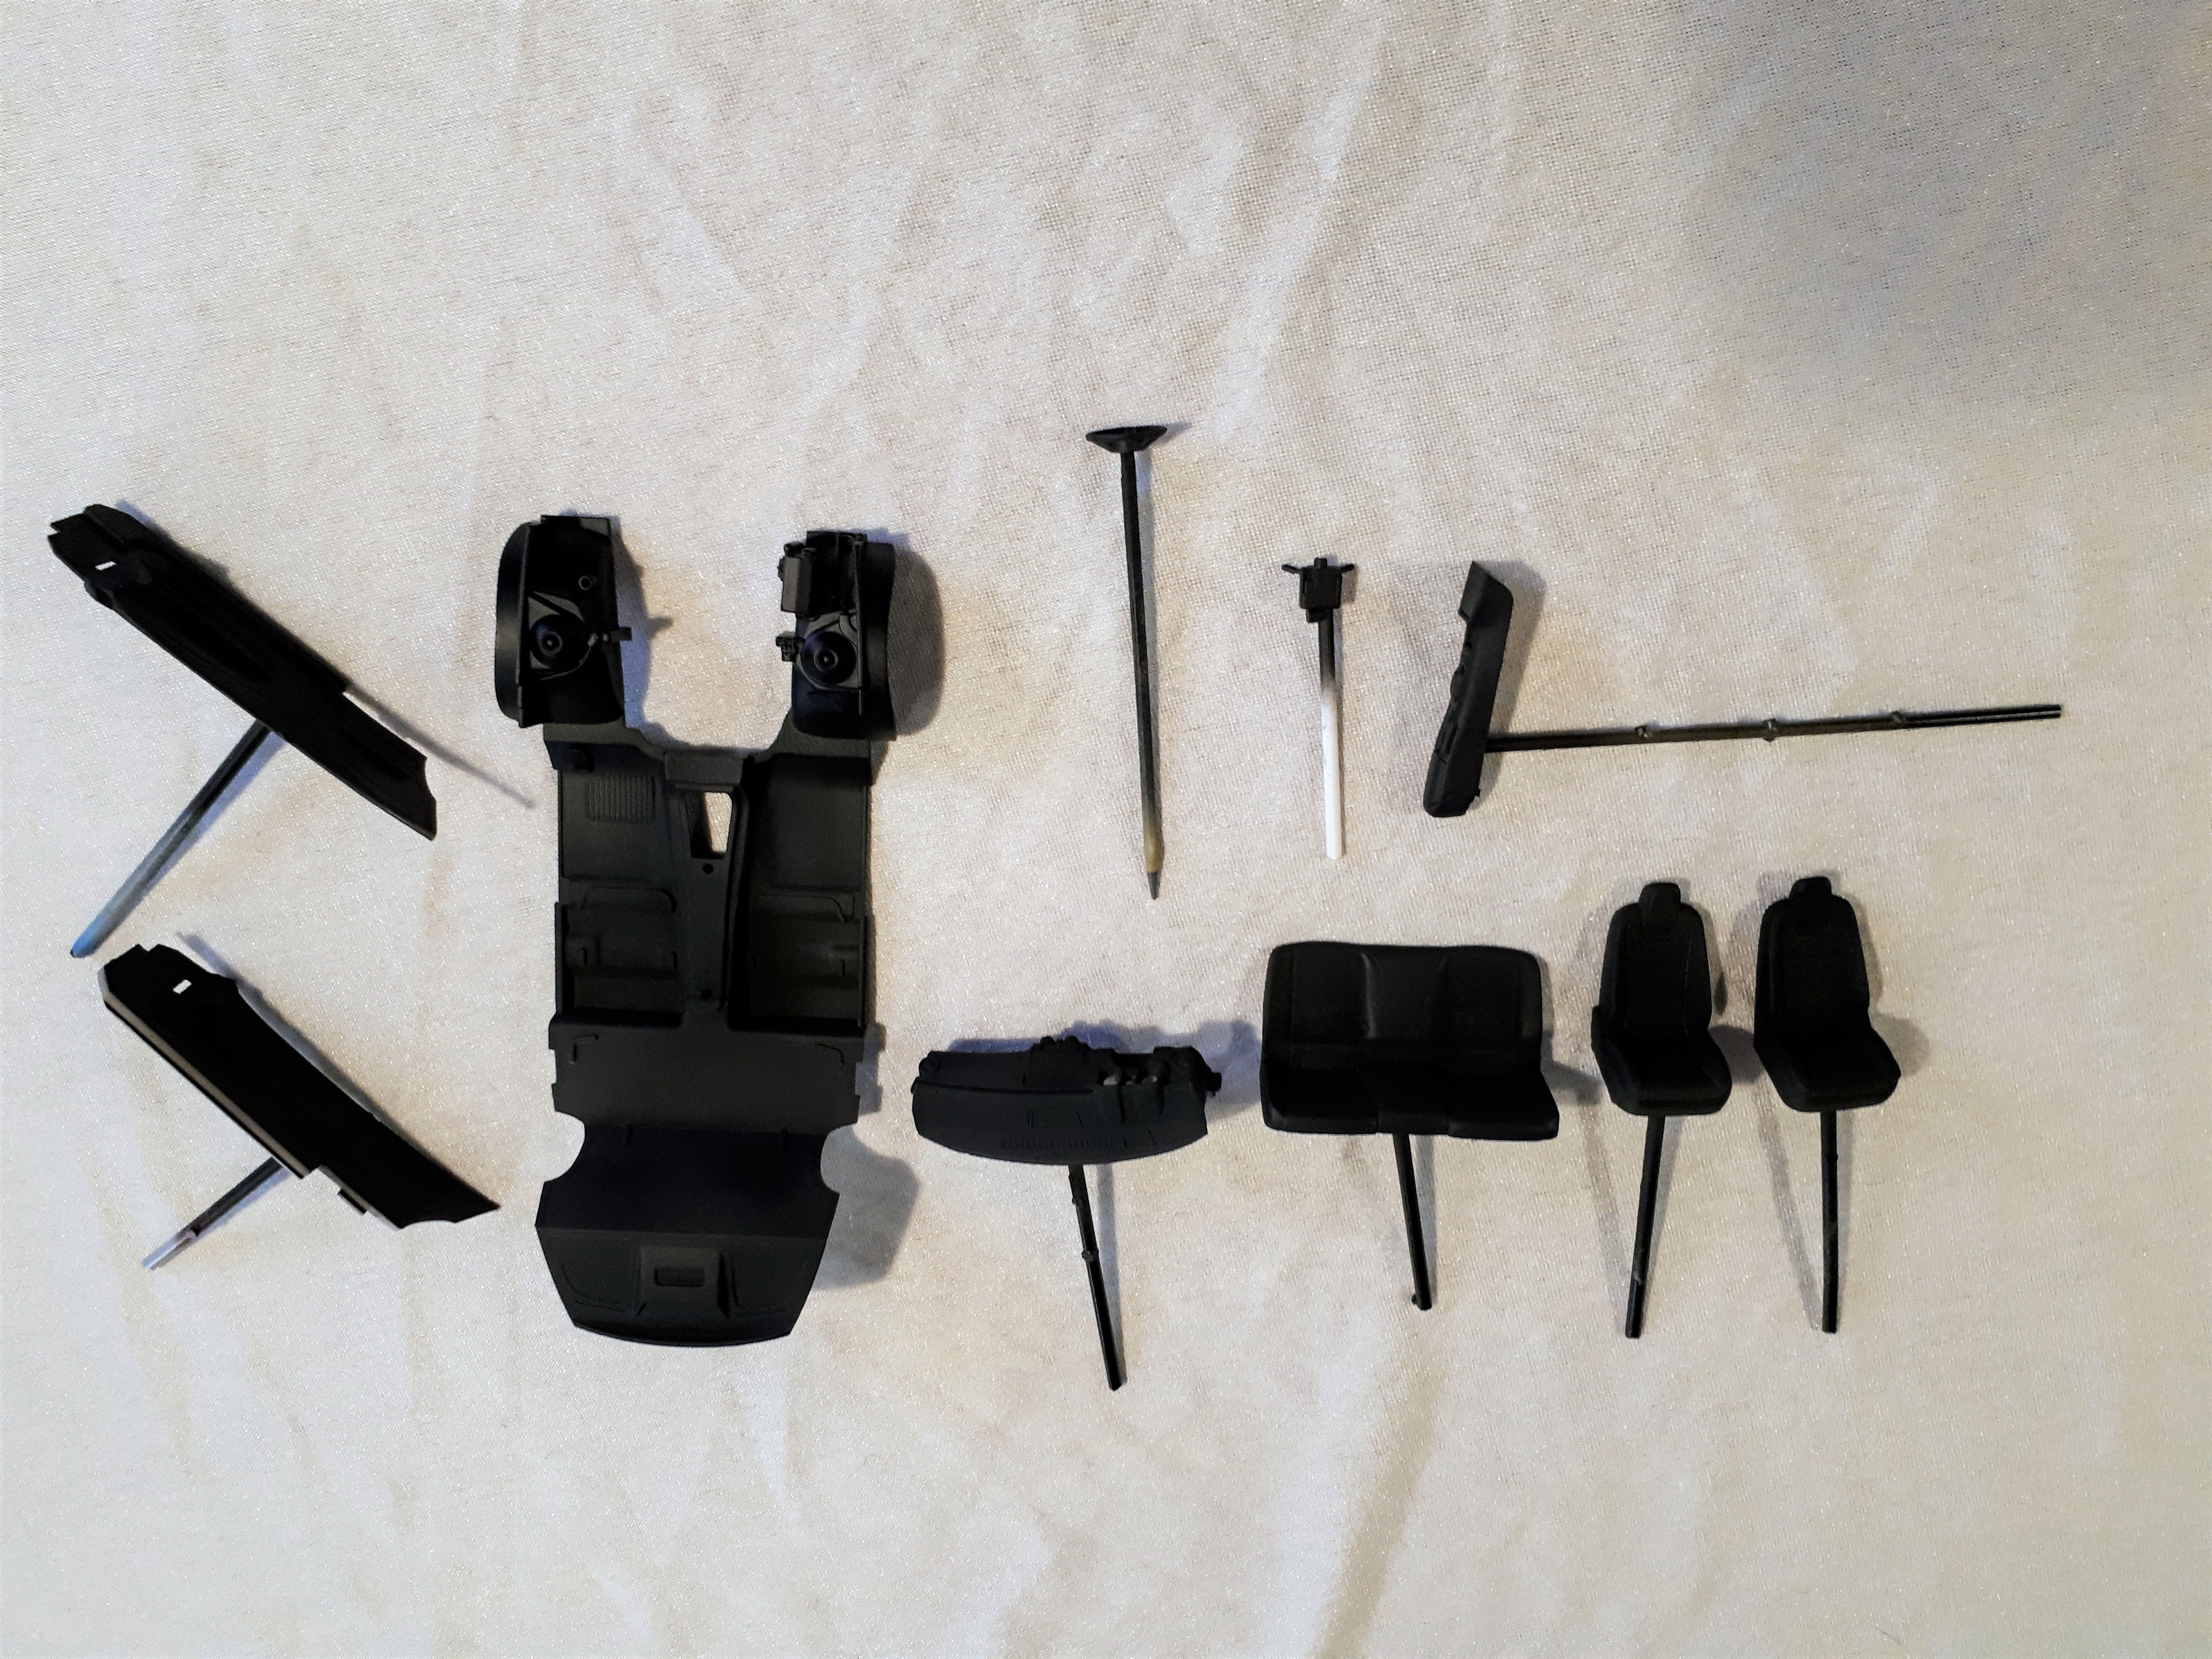
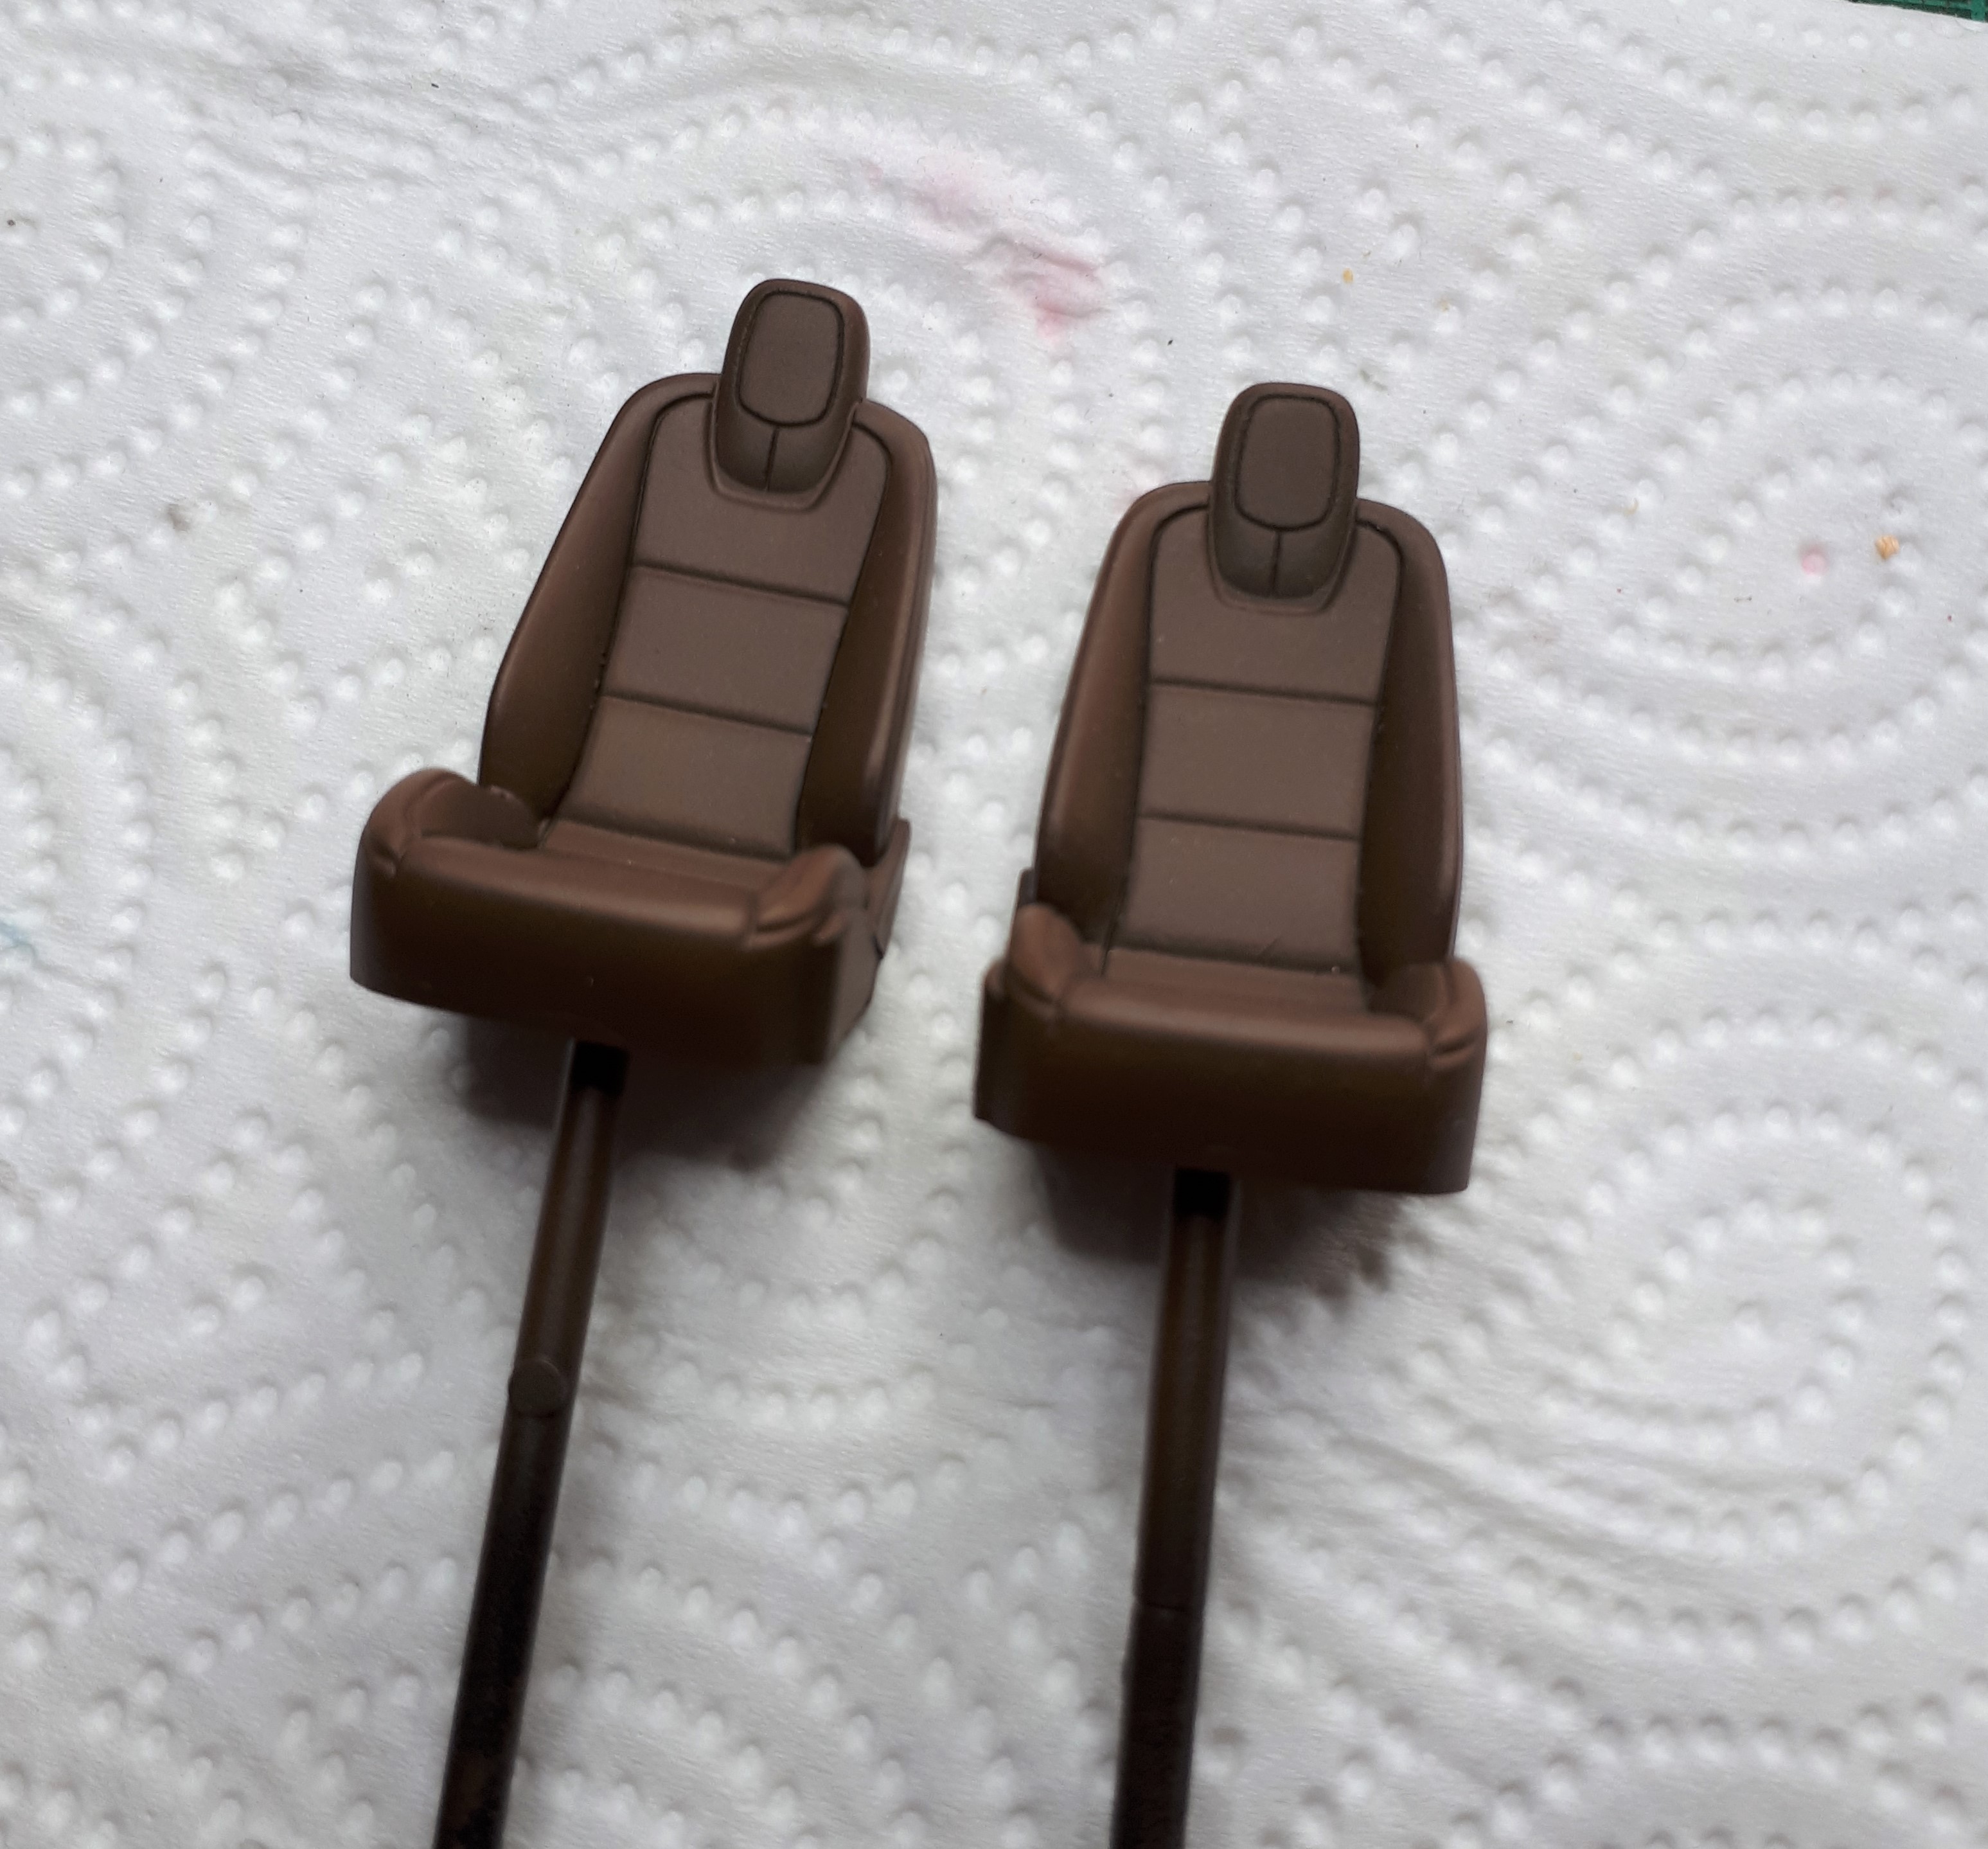
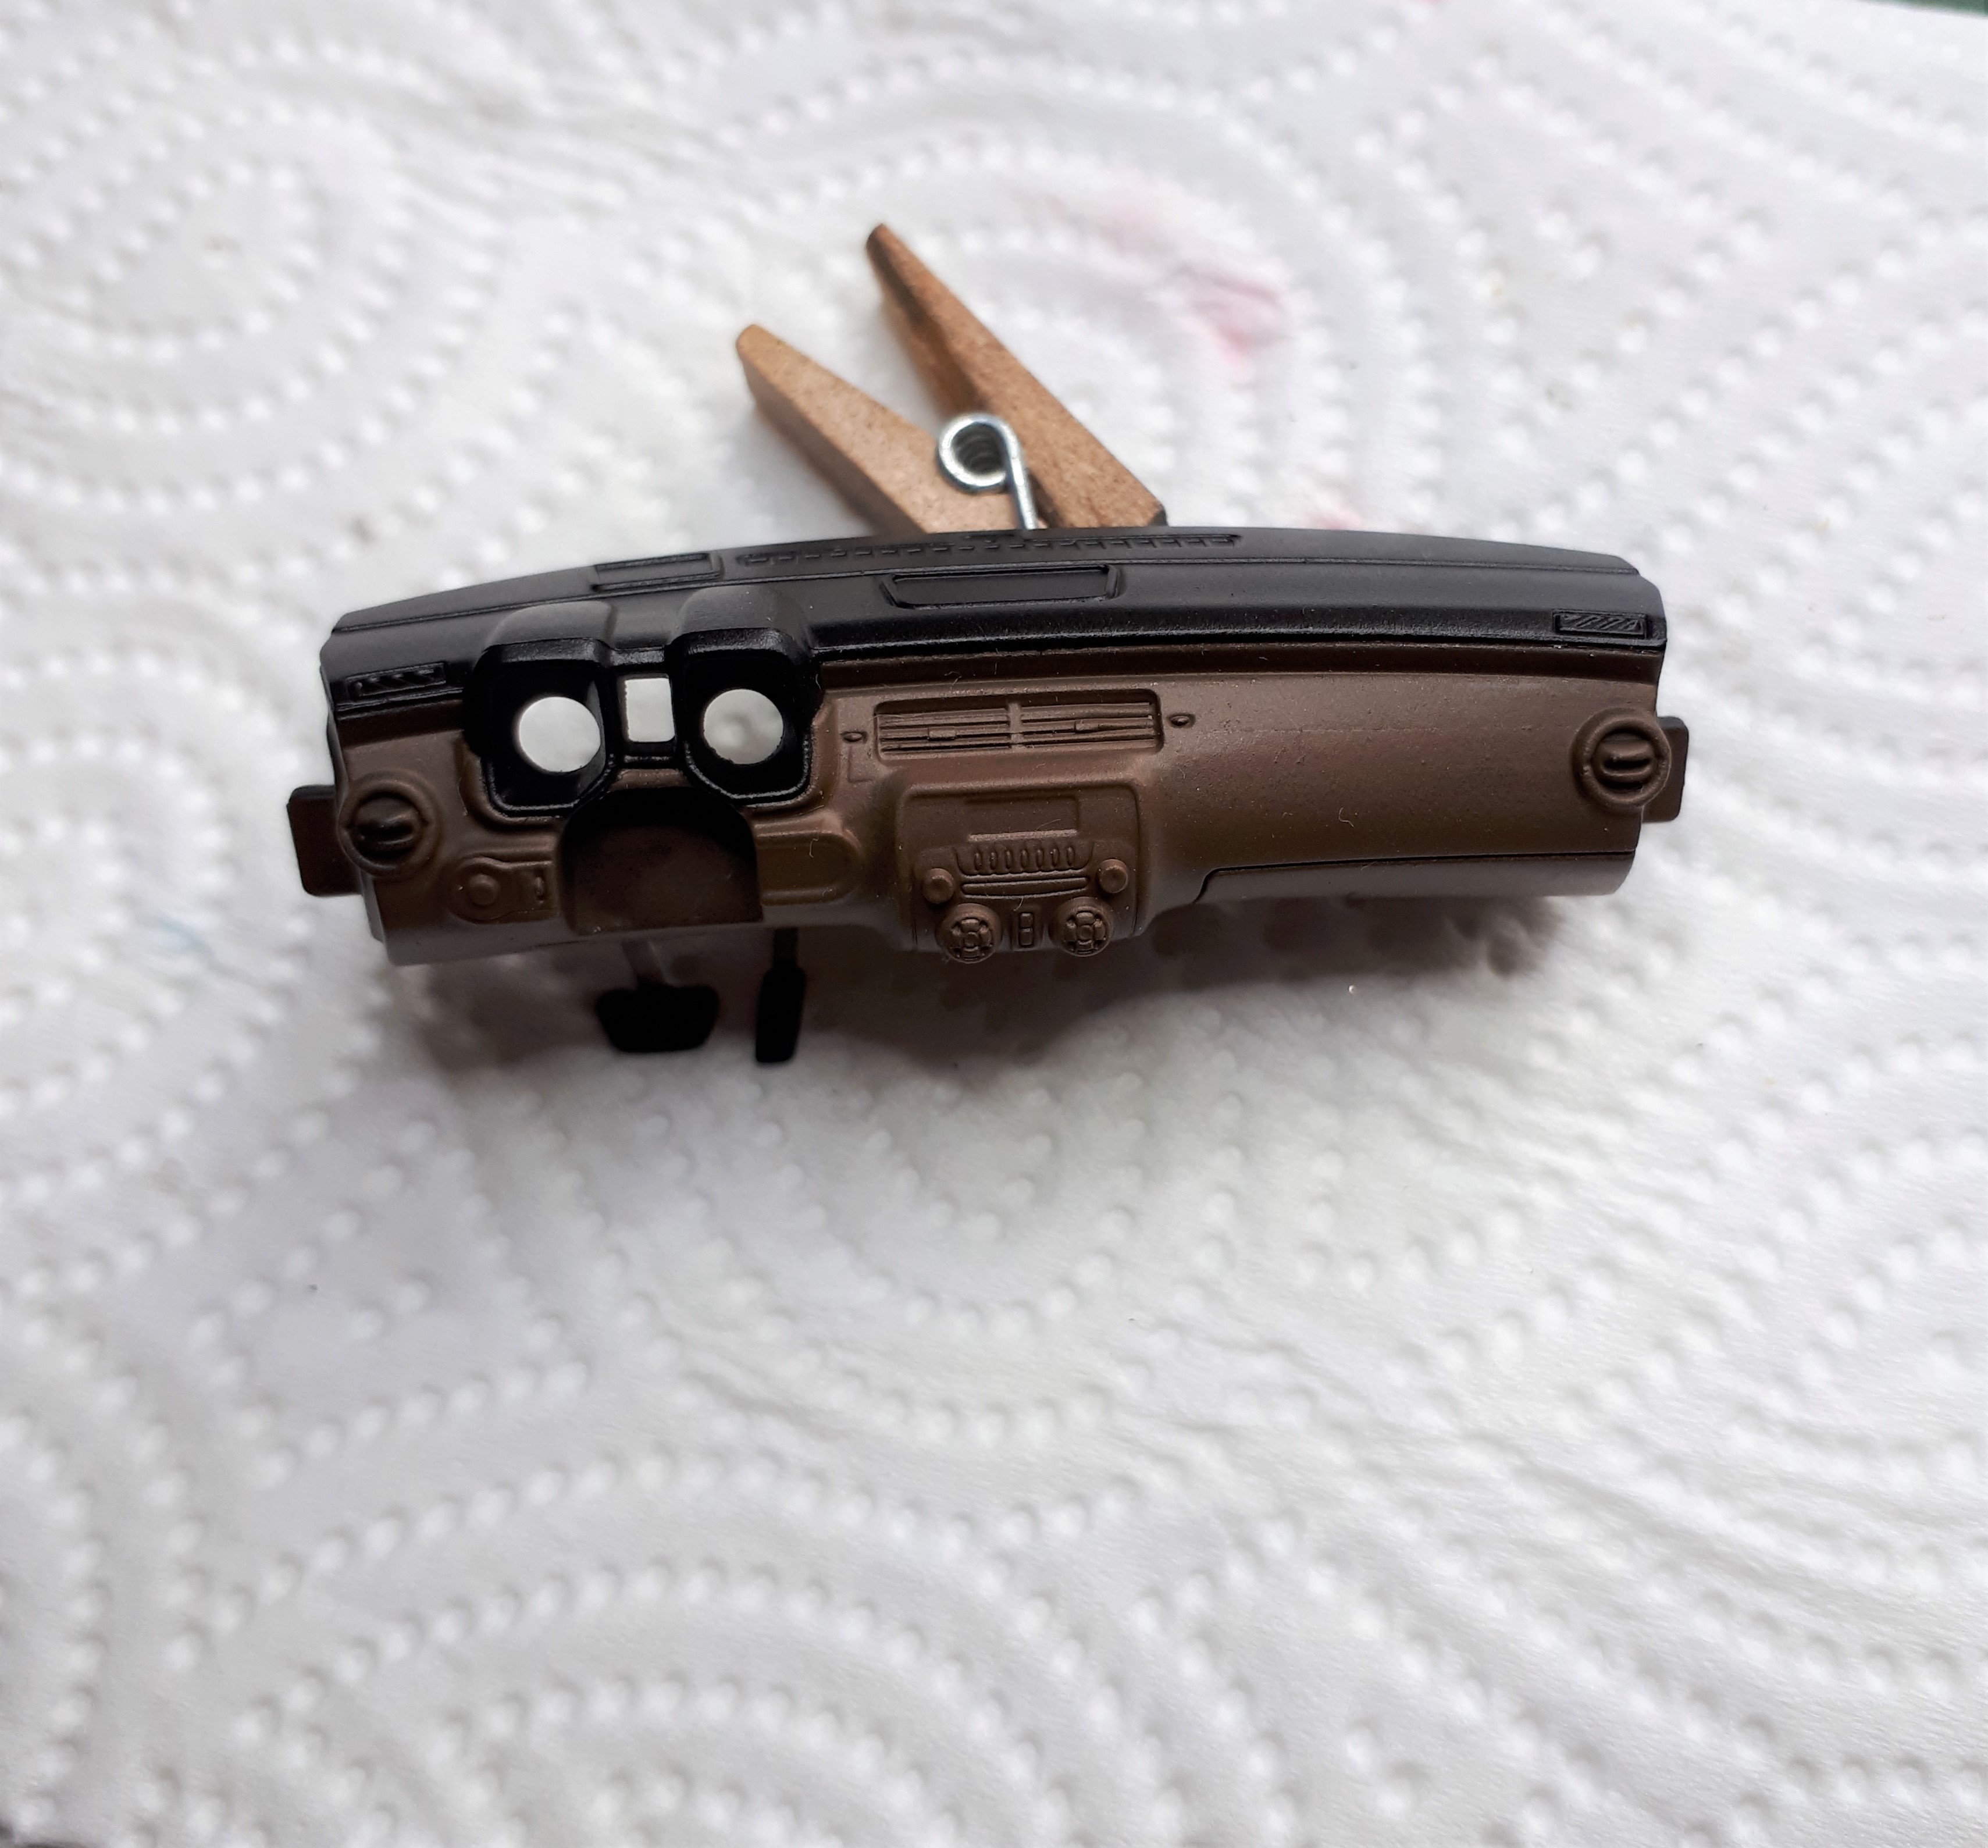
Decided to go for a two tone interior. Tamiya Semi gloss black and Tamiya red/brown. I might darken the brown, a bit, with Tamiya clear smoke. Lot’s of detailing yet to be done.
Jesper,
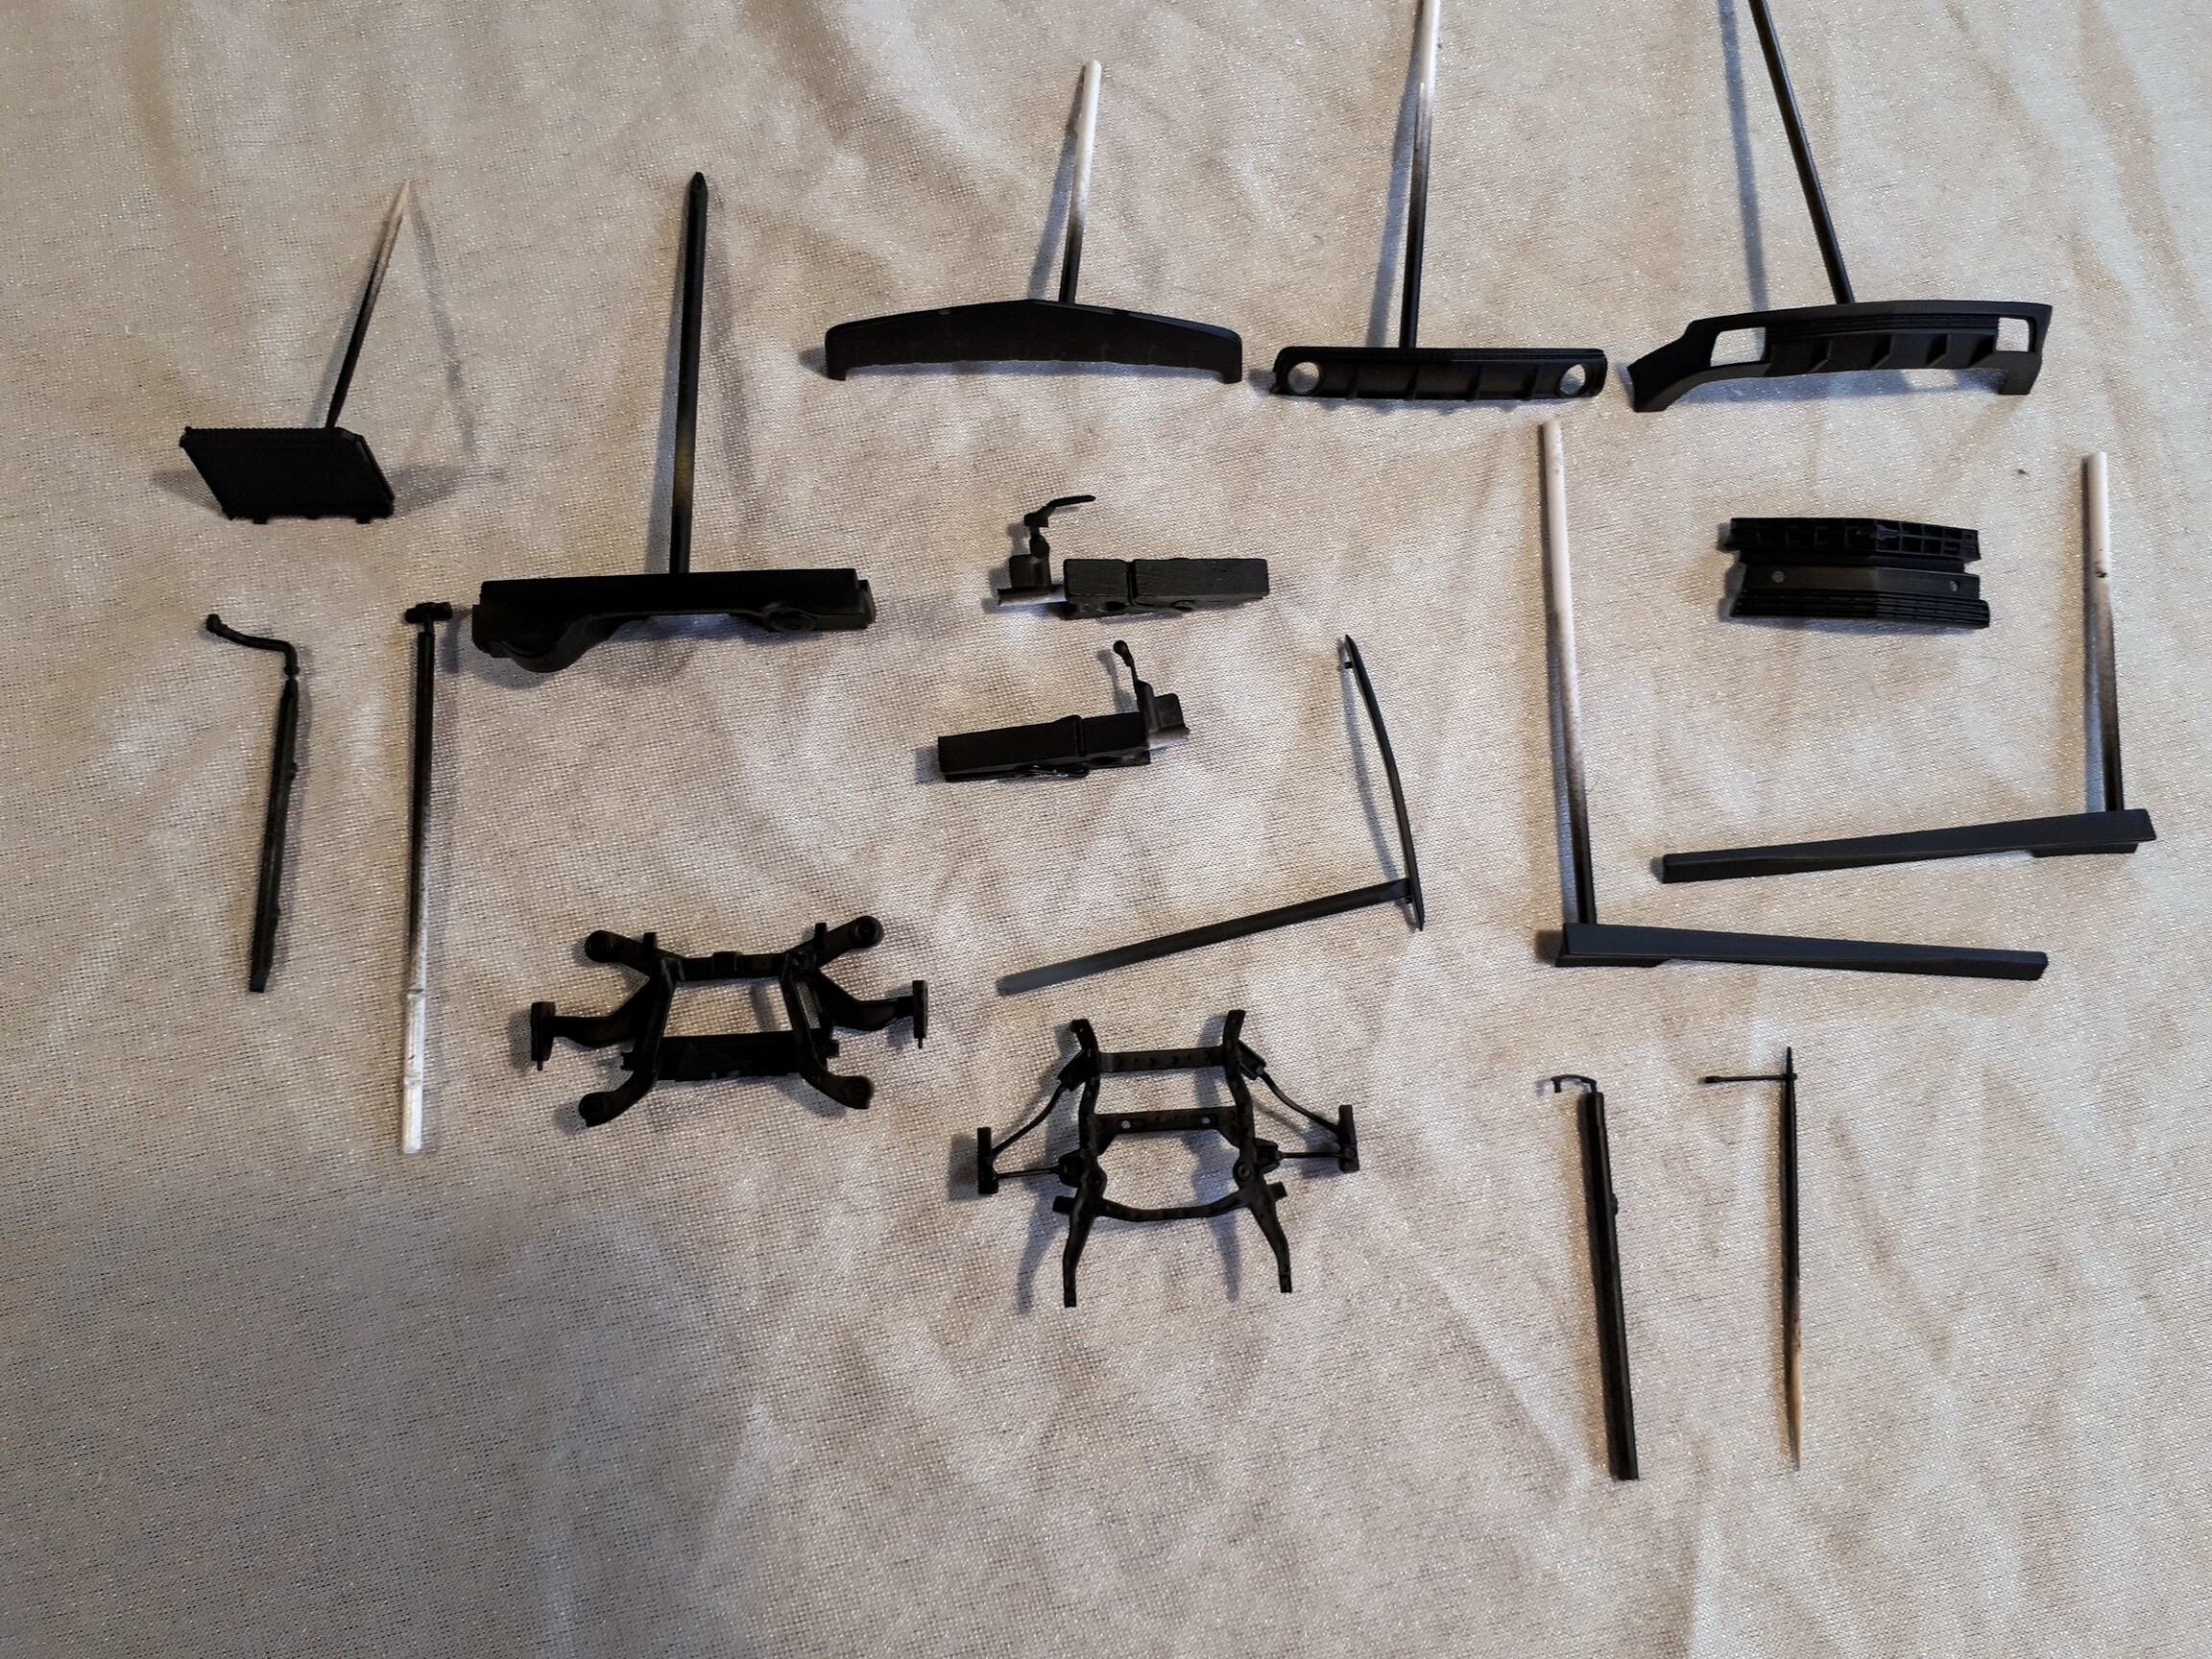
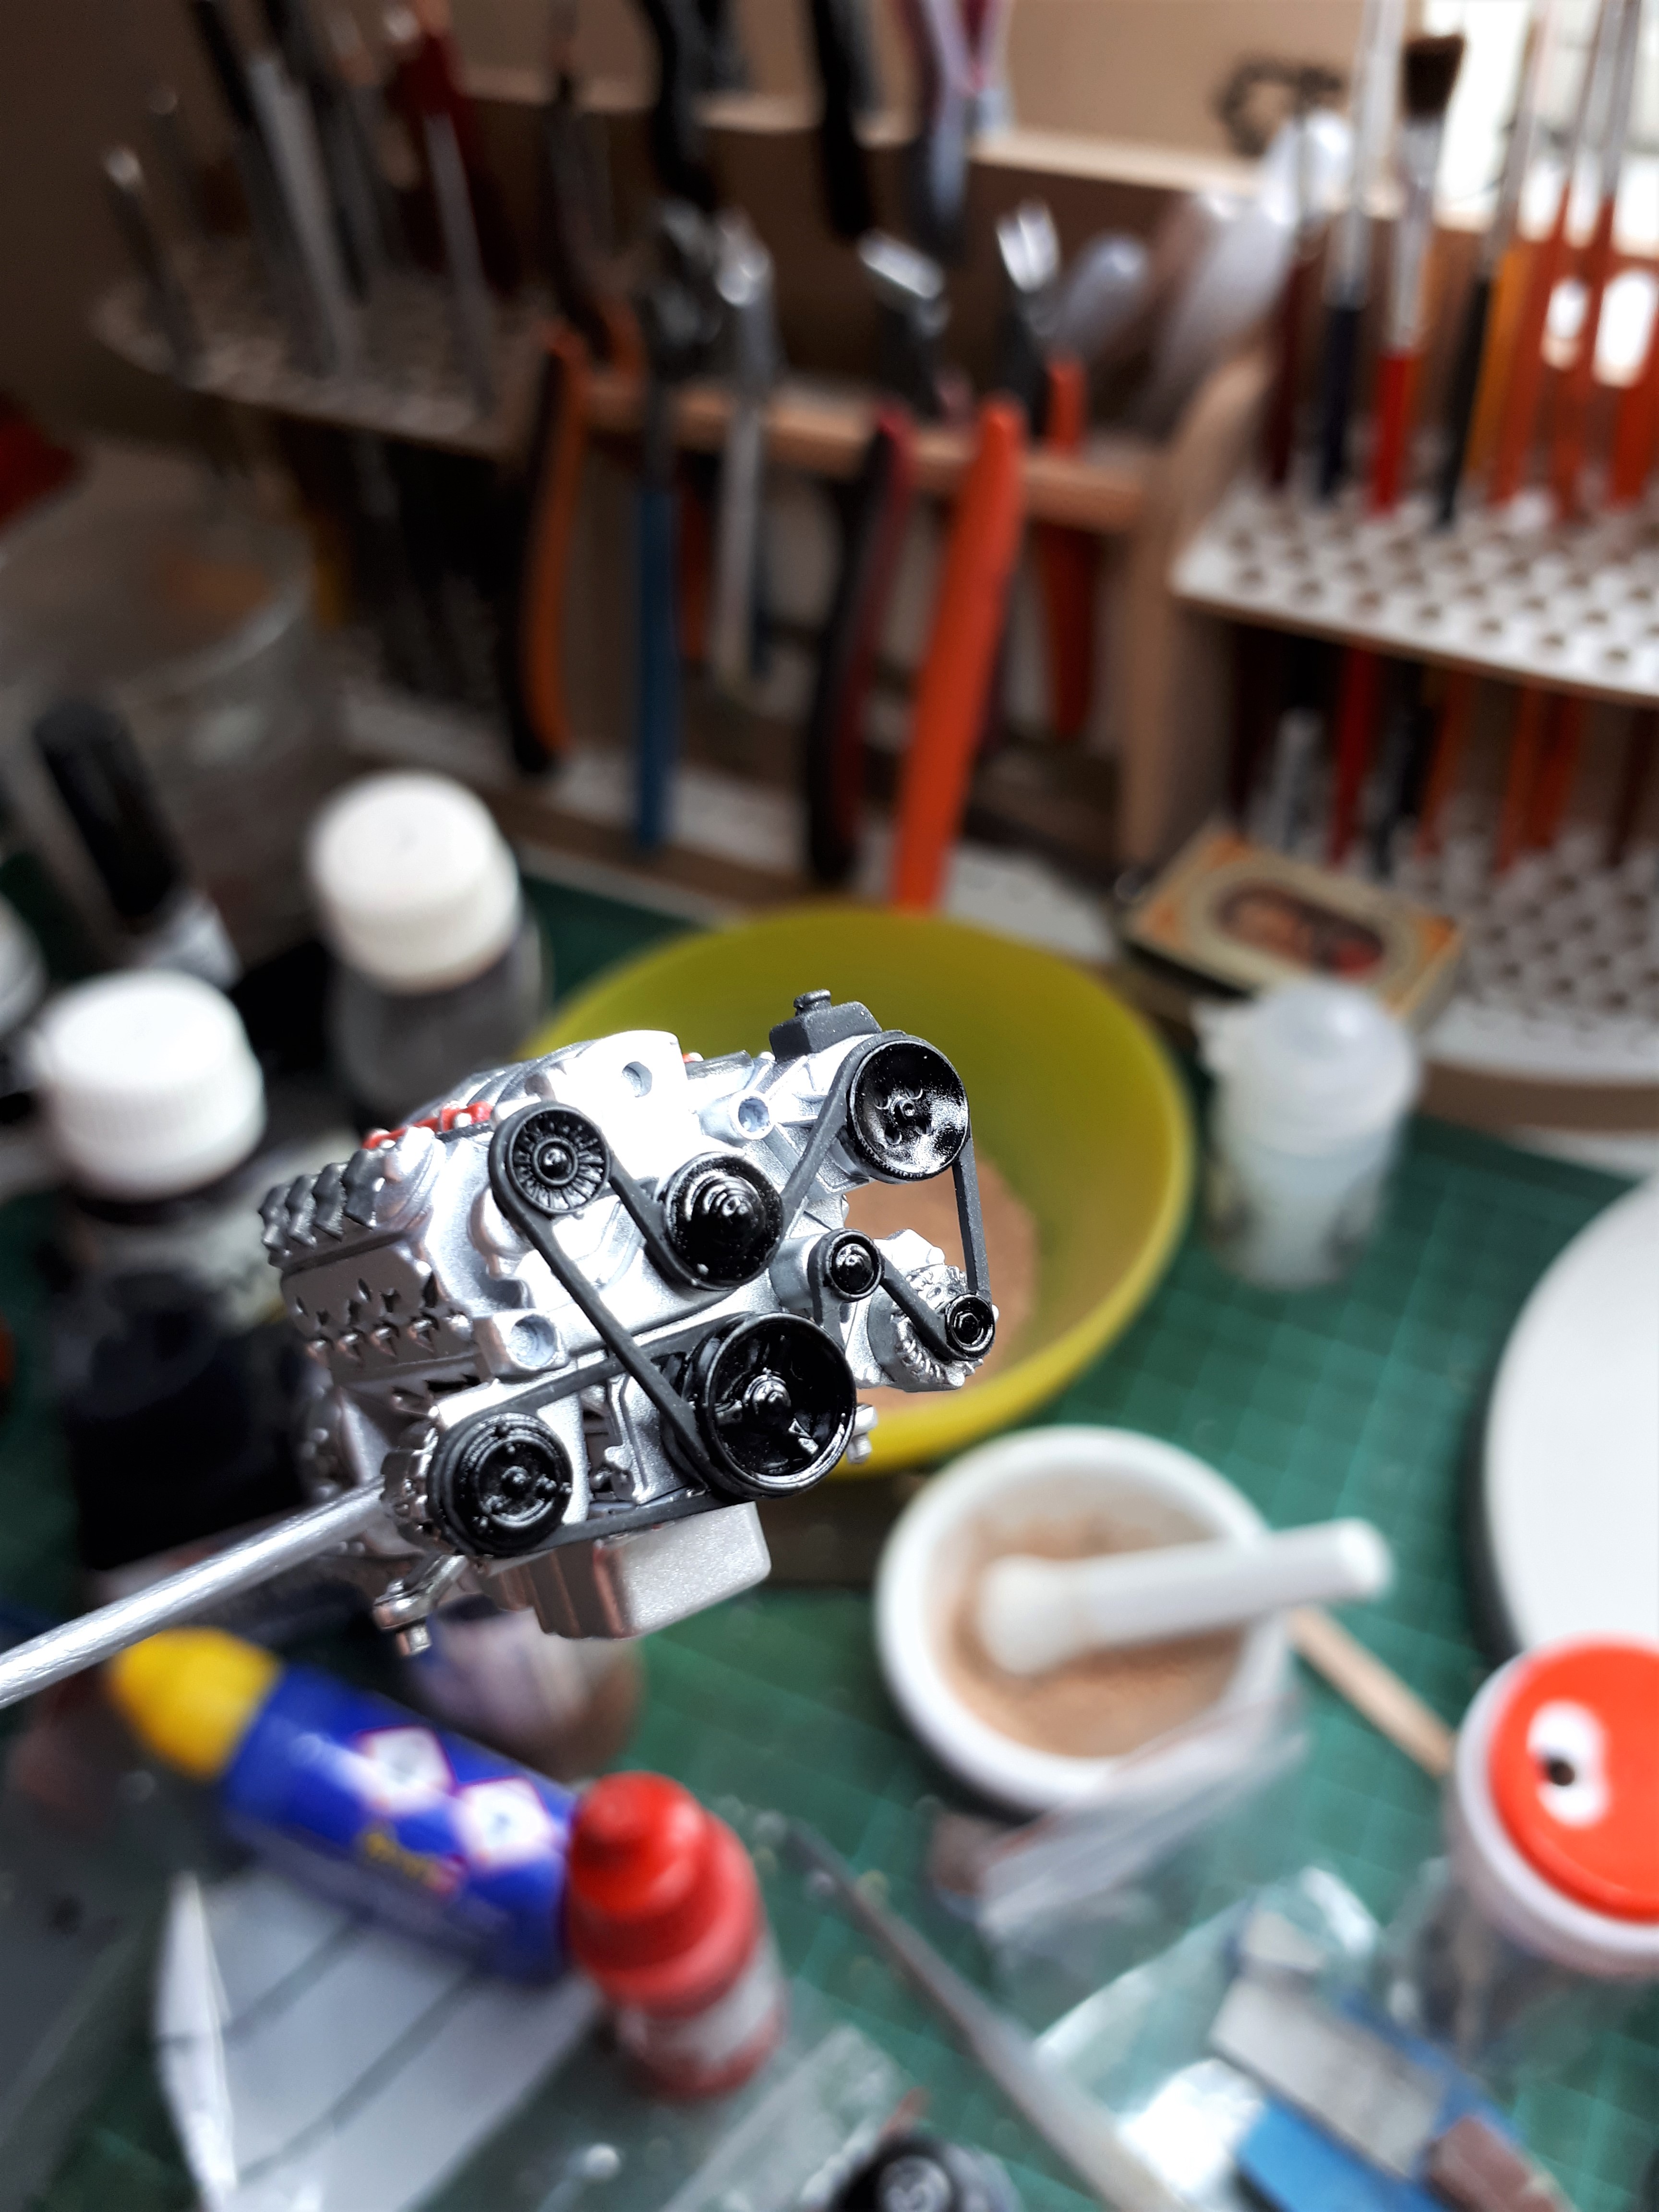
excellent painting and detail painting on the Chevy Camaro. You’ve really nailed all the pulleys in gloss black and the belt in a matt rubber lookin black without a single run over. That’s not an easy thing to do. The two tone seats really will add a great deal to the interior as it’s quite eye catching.
My only suggestion is to remove the Manufactures kit info on the bottom of the chassis. Why they put it there instead of on the inside is beyond me.
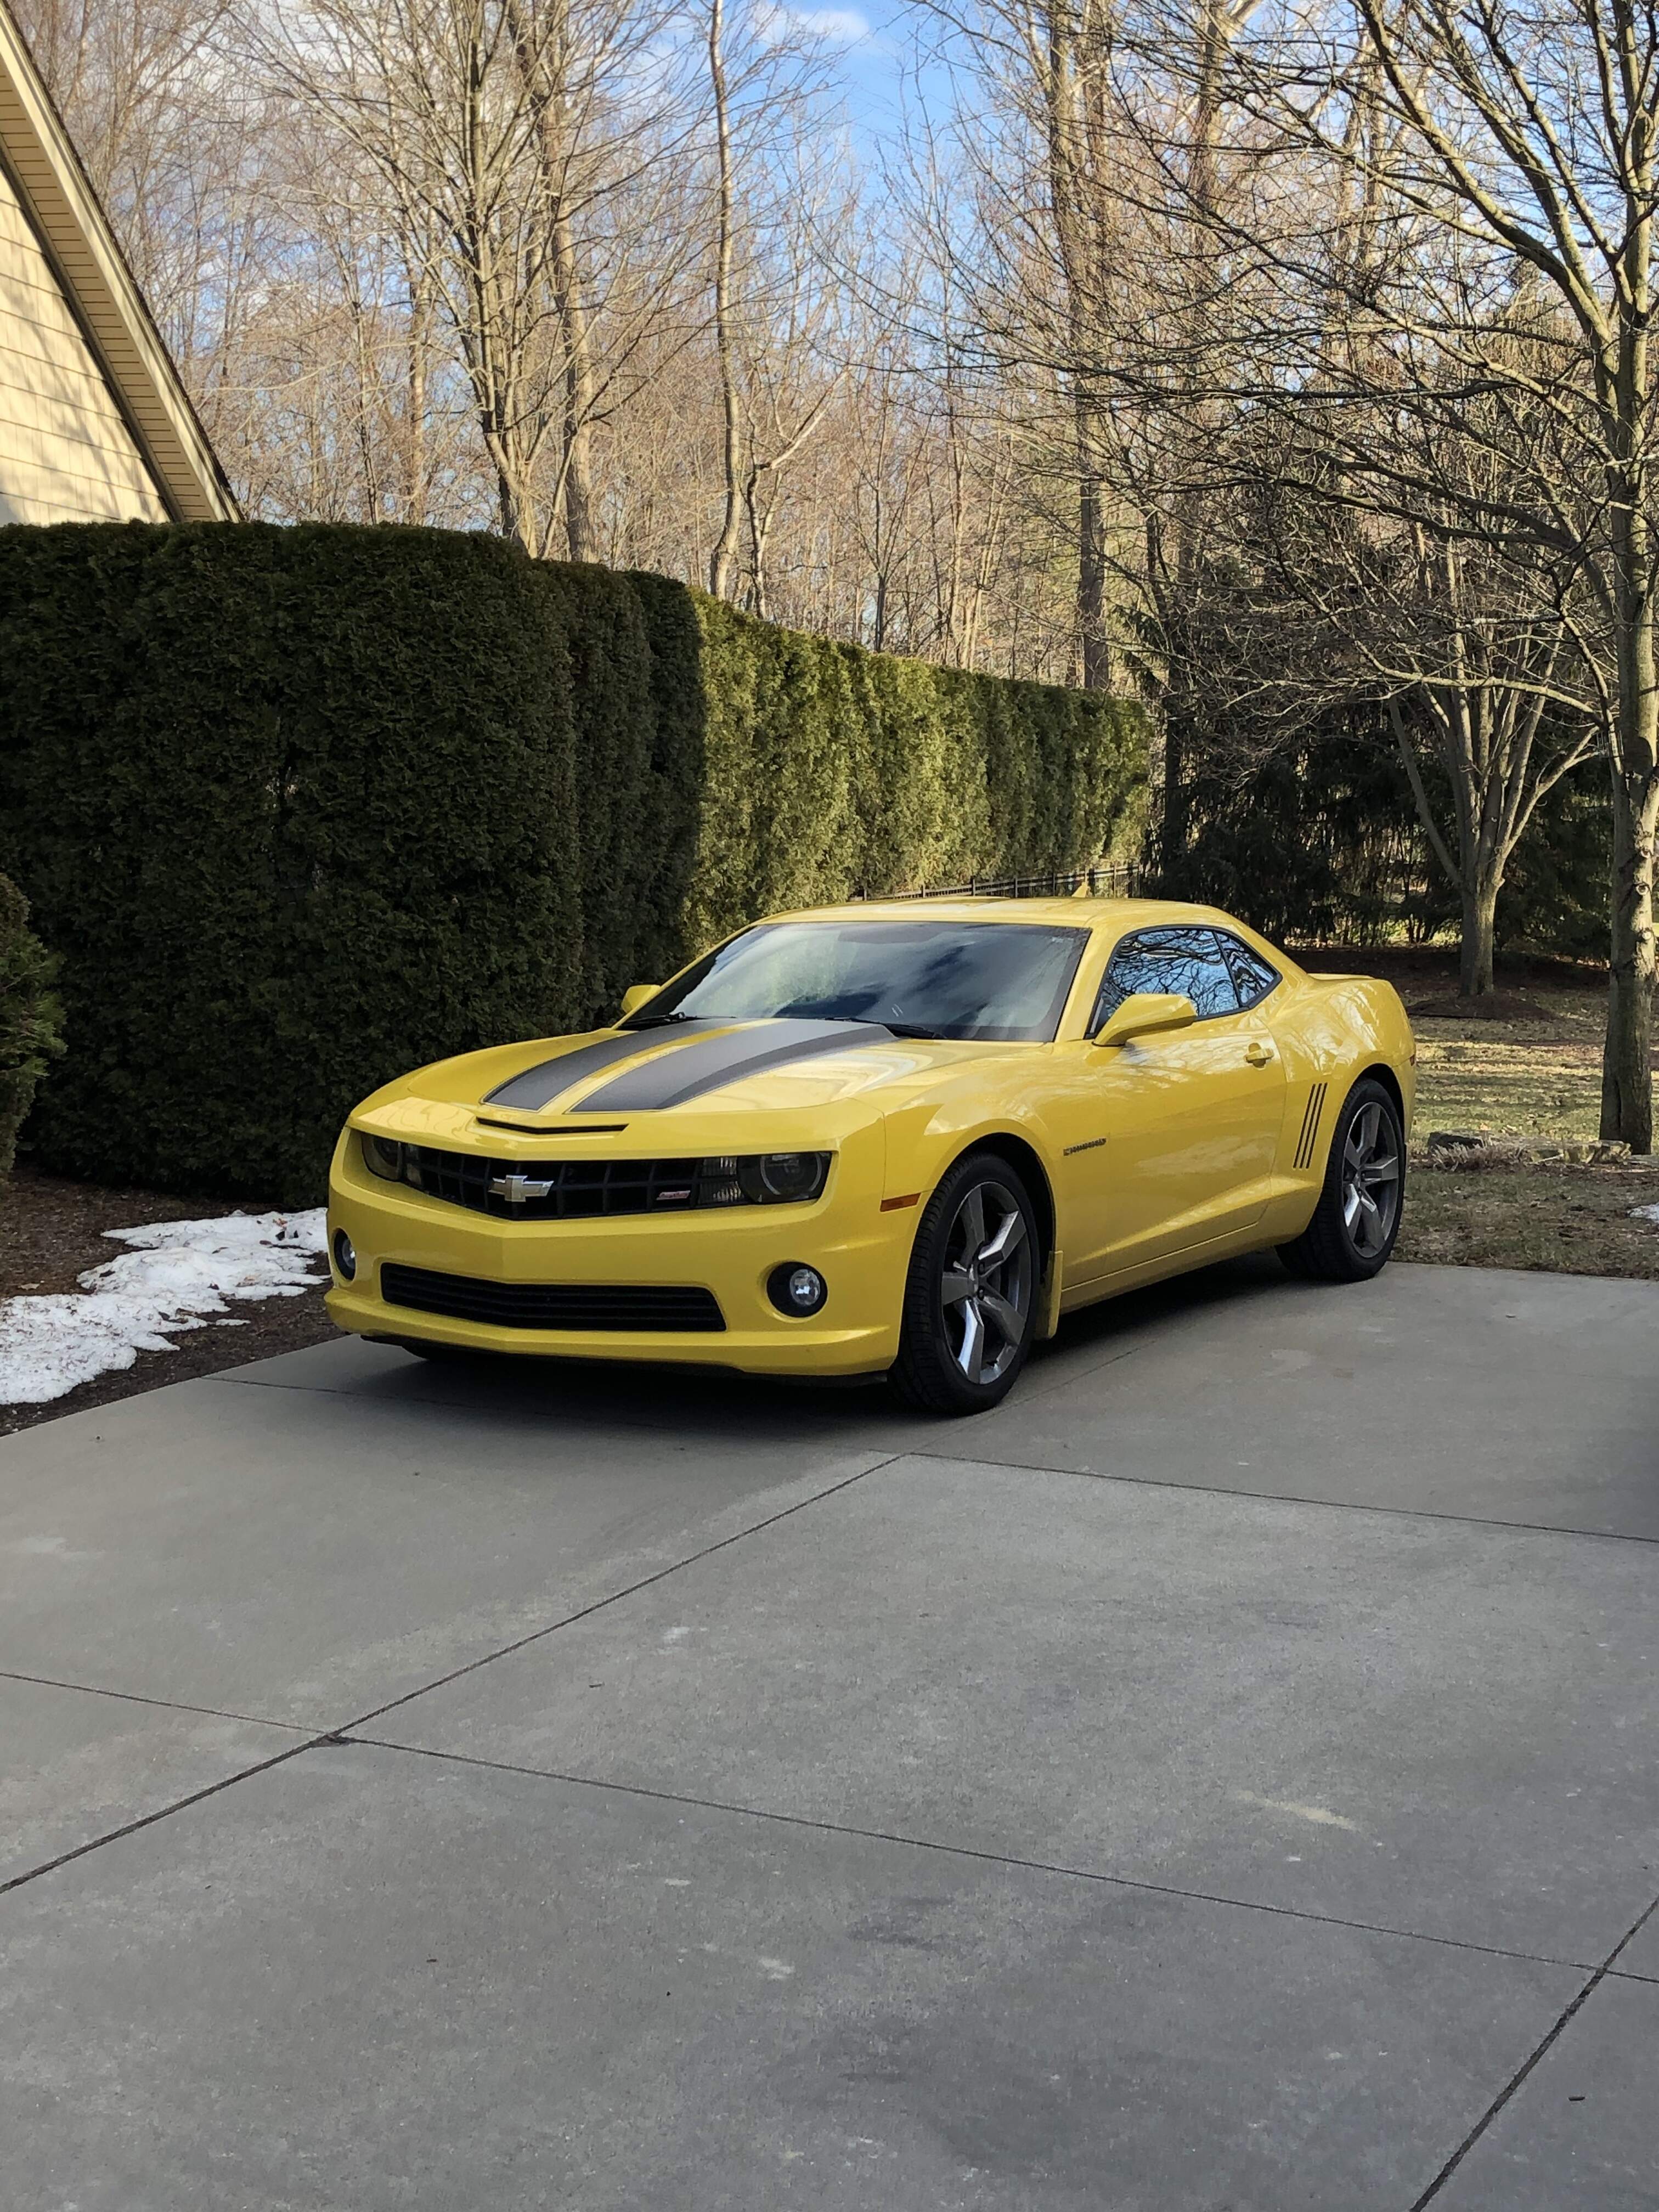
Hey Jesper, great build. I don’t normally go for cars myself, but do own the real thing and can say you’re definitely doing that model justice. Feel free to reach out if you want pics for reference.