Ben,
Your Camaro sure looks like you’ve maintained it to the T. I always appreciate a well maintained car, as I know that effort that goes into it.
joel
Ben,
Your Camaro sure looks like you’ve maintained it to the T. I always appreciate a well maintained car, as I know that effort that goes into it.
joel
Thank you, for looking in gentlemen, much appreciated.
I’m quite happy, how this turned out. My time, with figure painting, certainly improved my, brush painting, skills.
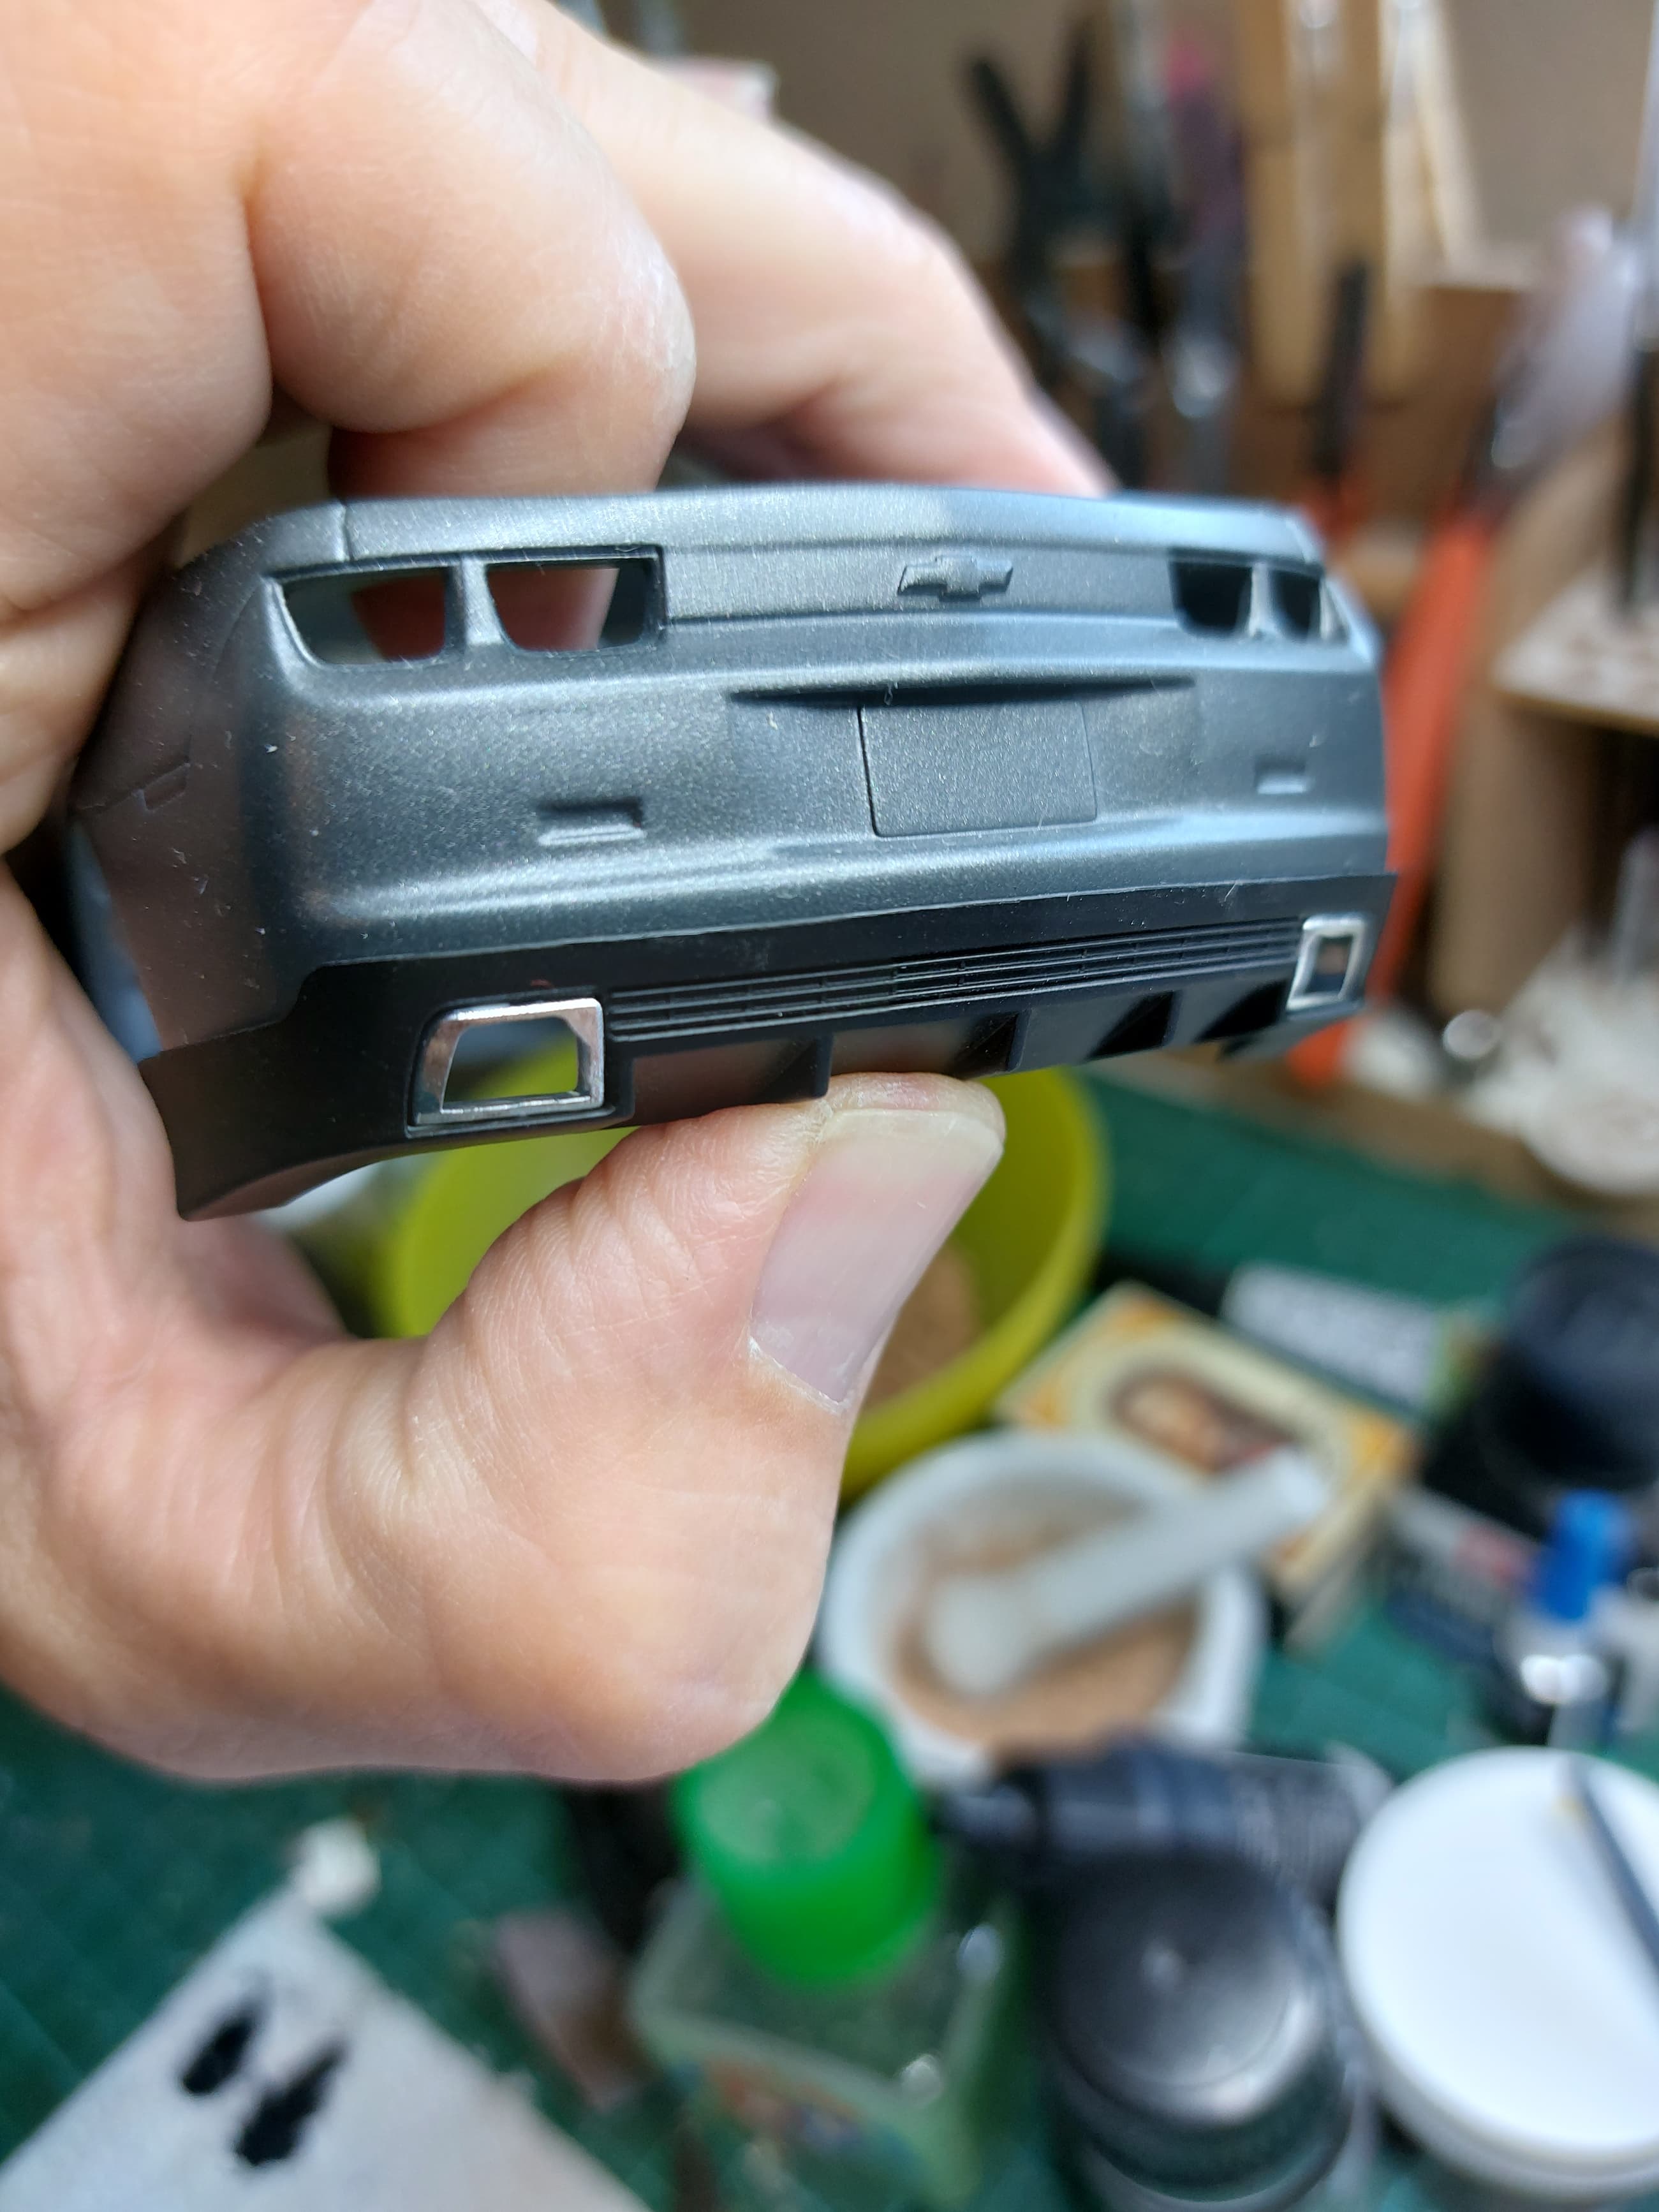
I’m a bit indecisive, when it come to manufacturing info. On one hand, we try to replicate real life and in that regard we don’t want Revell written all over the bottom of the model. On the other hand, I kind of like to see, this is Revell, this is Monogram etc. etc. In this particular case, they put the info 3 places, which is rather excessive. The one at the center, of the rear, will mostly be covered by the rear suspension though.
I really like that combo of the black/dark brown interior, with dark grey cars. Have seen a few times and it just works so well.
Beautiful car Ben. Thank you, for your kind offer, I might reach out, when I do the other 2010 Camaro, I have, in my stash. That one will must likely be painted in yellow, with black stripes ![]()
Jesper,
I see. Nothing wrong with wanting that info on the bottom of your model, especially since you decided that it should remain there.
joel
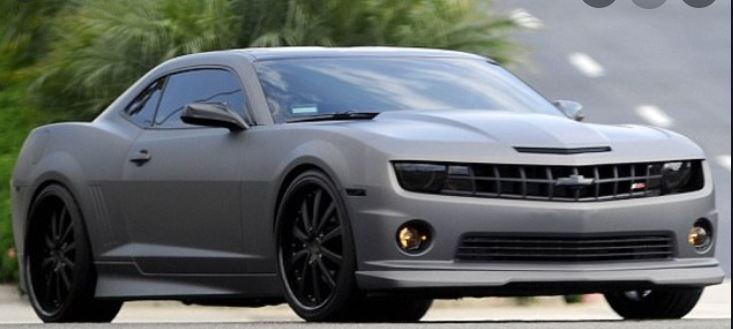
My original idea was to use the black stripe decals and make it nice and glossy. The decals, however, are not usable; due to a production error, there’s and odd texture, in some areas, of the decals.
So no black stripes and that got me thinking, do I go in a totally different direction and go for a matt/silky finish, with matt black details? 
I Googled for matt finish Camaro’s and found a car owned by D. Beckham, which looks pretty tough.
So this is, most likely, the look I’ll be working towards.
Jesper,
That’s a great idea to go with a matt finish. It should really be quite unique as I don’t recall seeing any cars with a matt finish on our site.
joel
Jesper, that is some strange texture on the decals for sure.
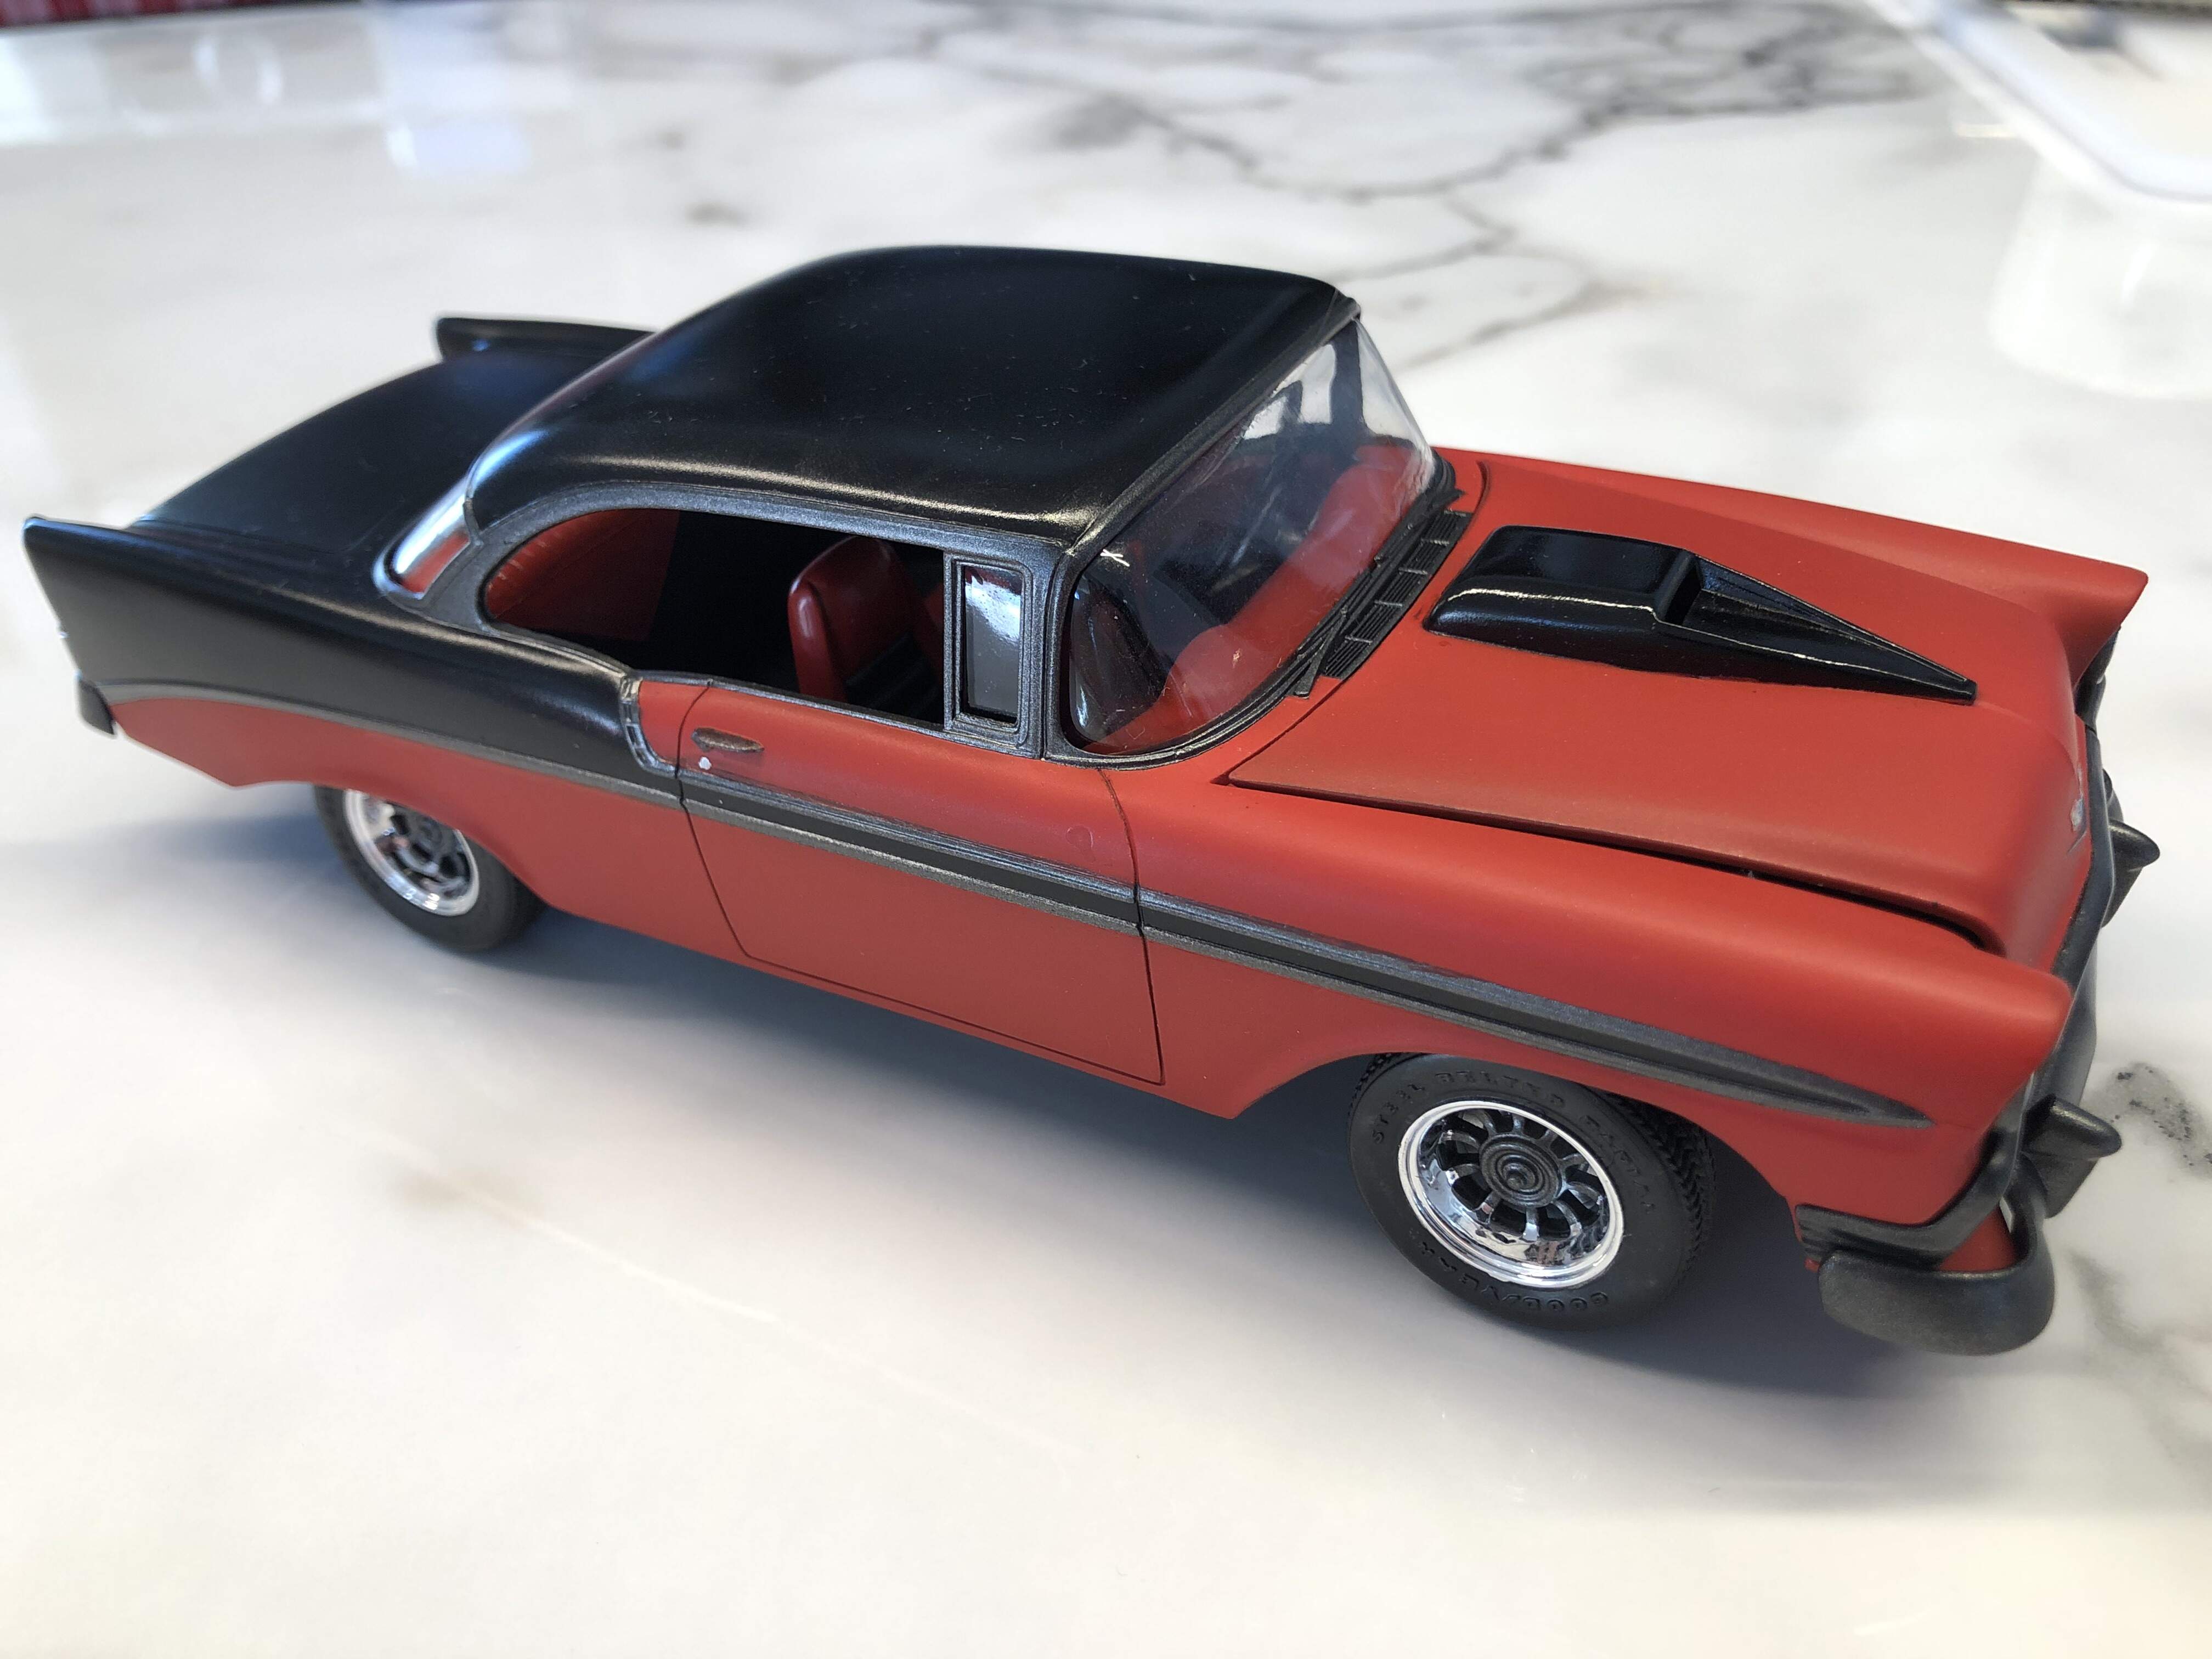
Well there was the flat red on half of my '56 Chevy, but I agree, that Camaro in flat grey looks evil!
Cheers, D
D,
I completely forgot about it. I claim being old and slowly loosing my memory, which wasn’t all that great to start with.
joel
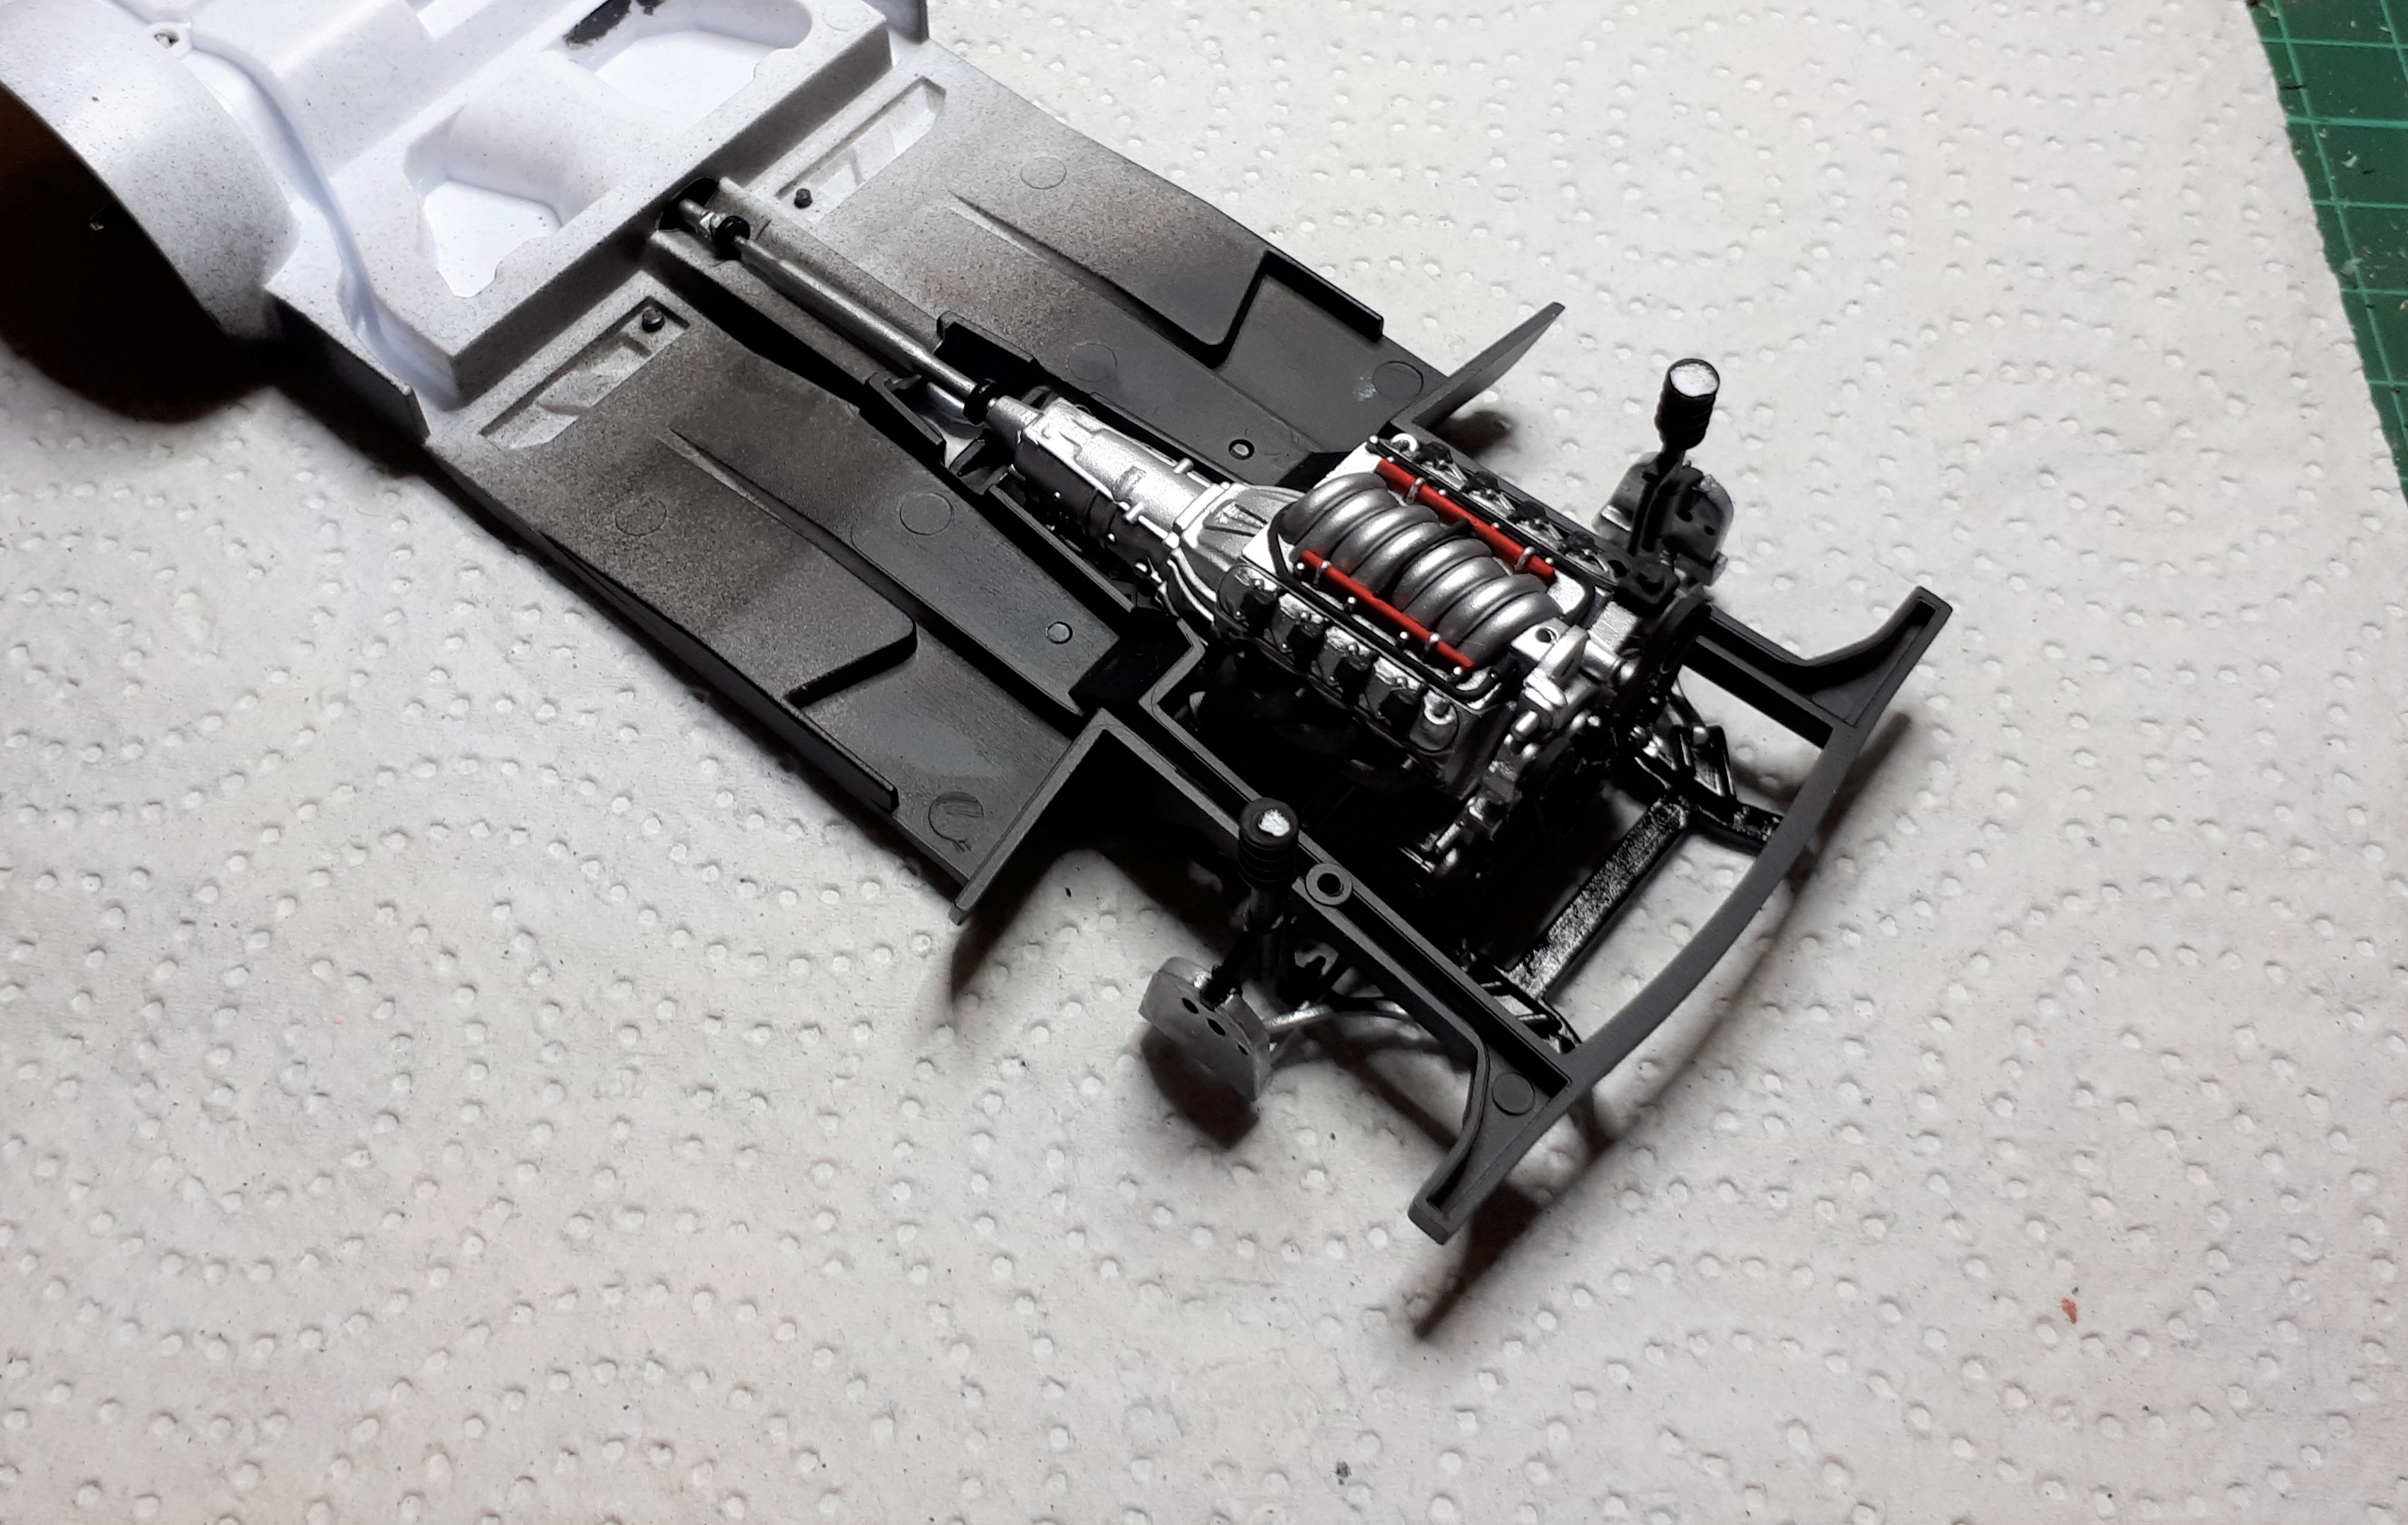
Jesper,
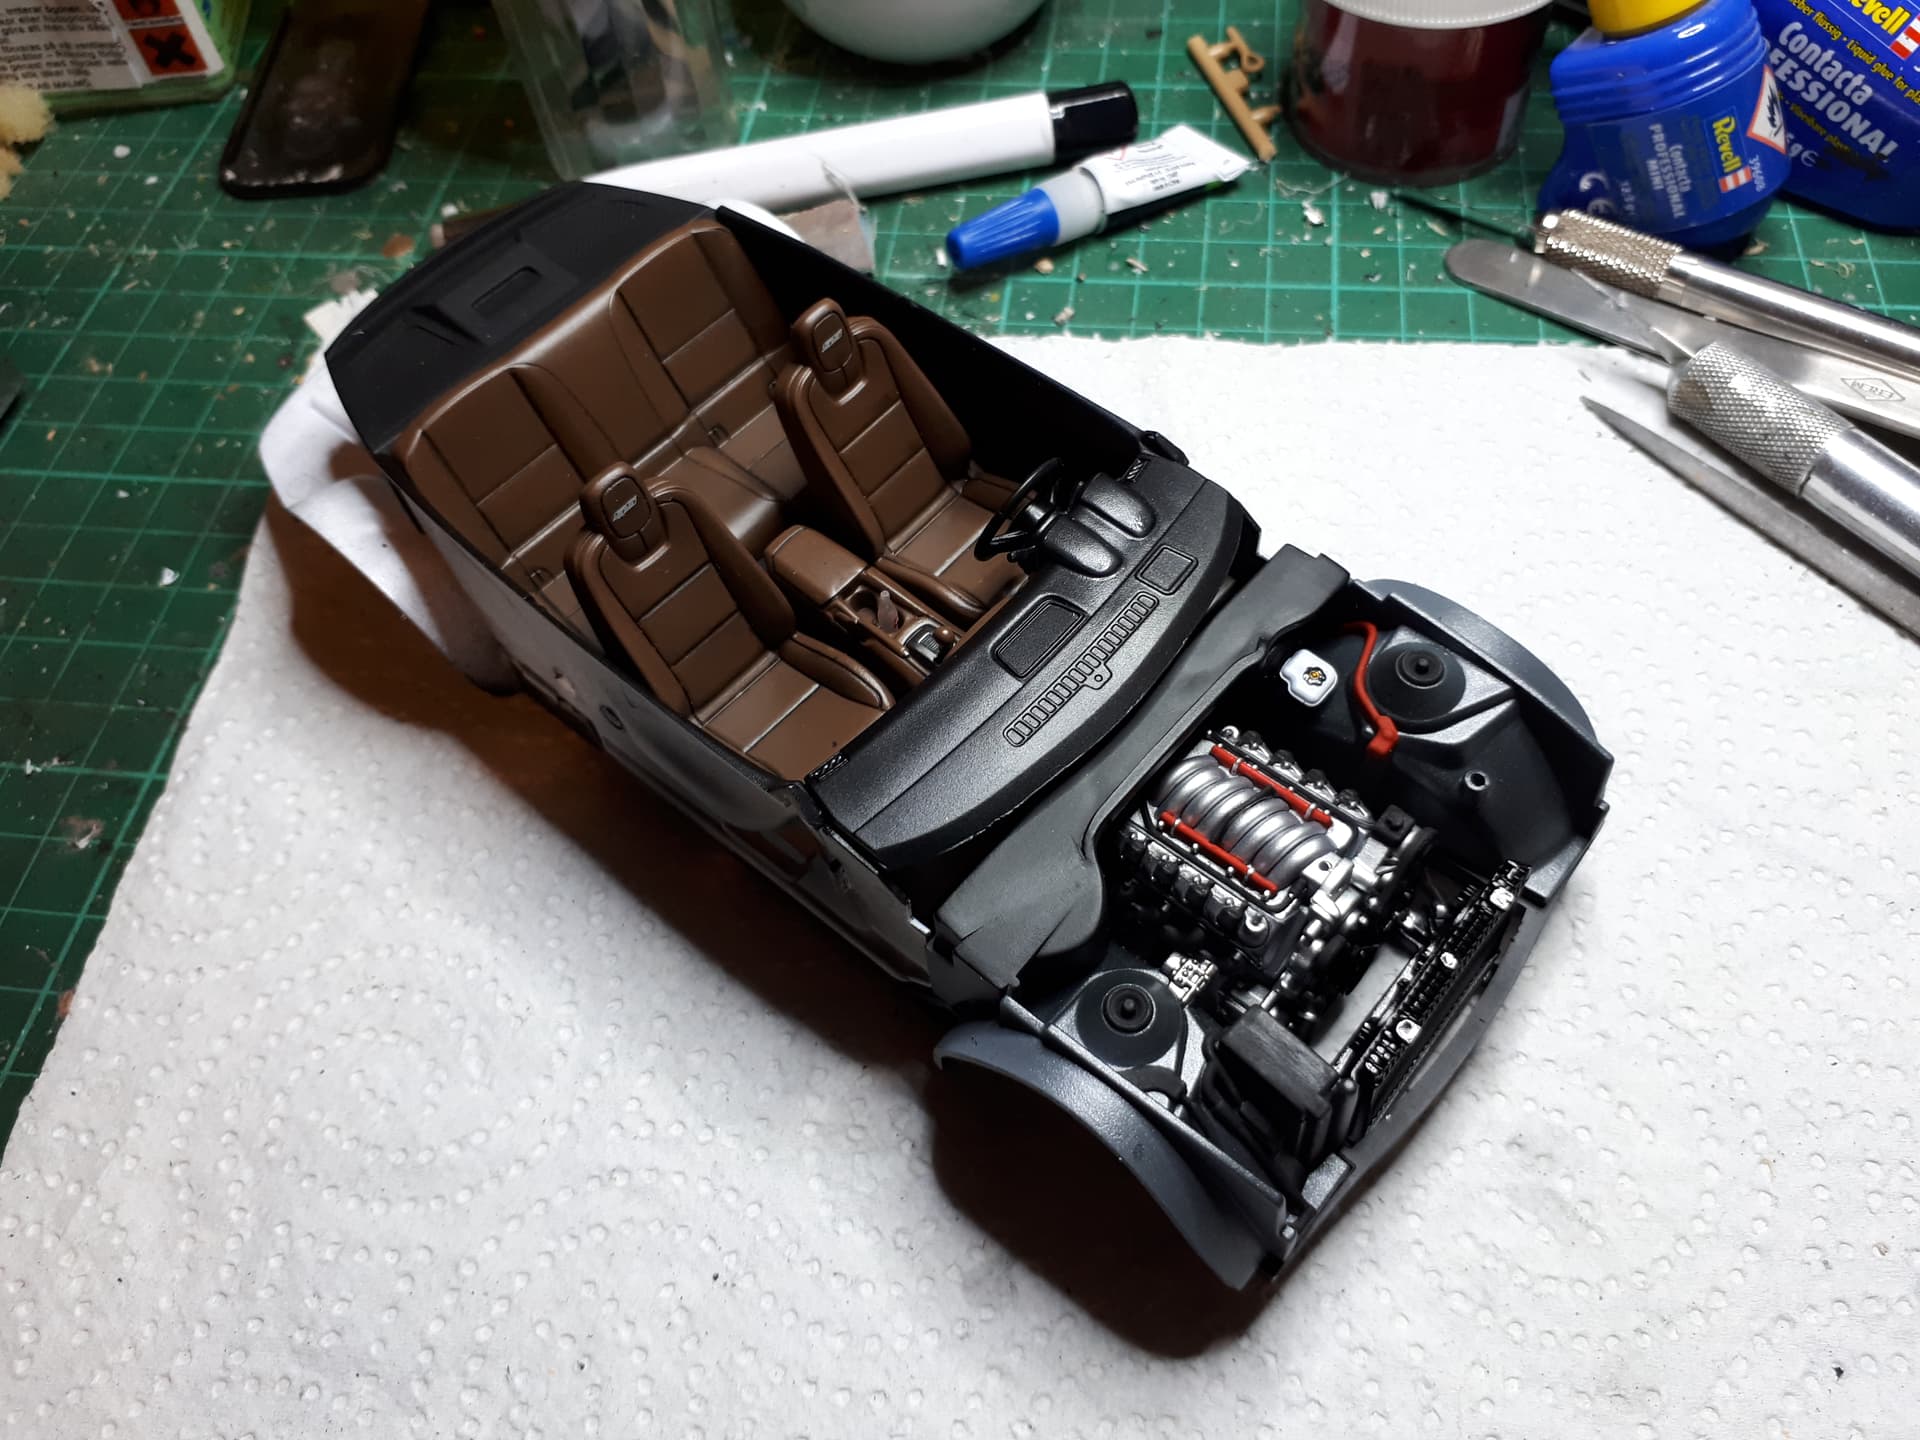
the engine looks outstanding now that it’s been installed in it’s proper home. And the bottom of the chassis really comes to life with the engine, transmission, and exhaust system in place. The Metallic shades on the exhaust really do stand out.
Well done my friend.
joel
Awesome! Really lovely neat work Jesper, this build is coming together beautifully!
Cheers, D
Looking good, Jesper. As Joel said, the work underneath is very impressive.
cheers
Michael
Thank you gentlemen, for your kind words, much appreciated.
the next two weeks, will be dedicated to a domestic, non modeling project, so must likely no updates, in that period.
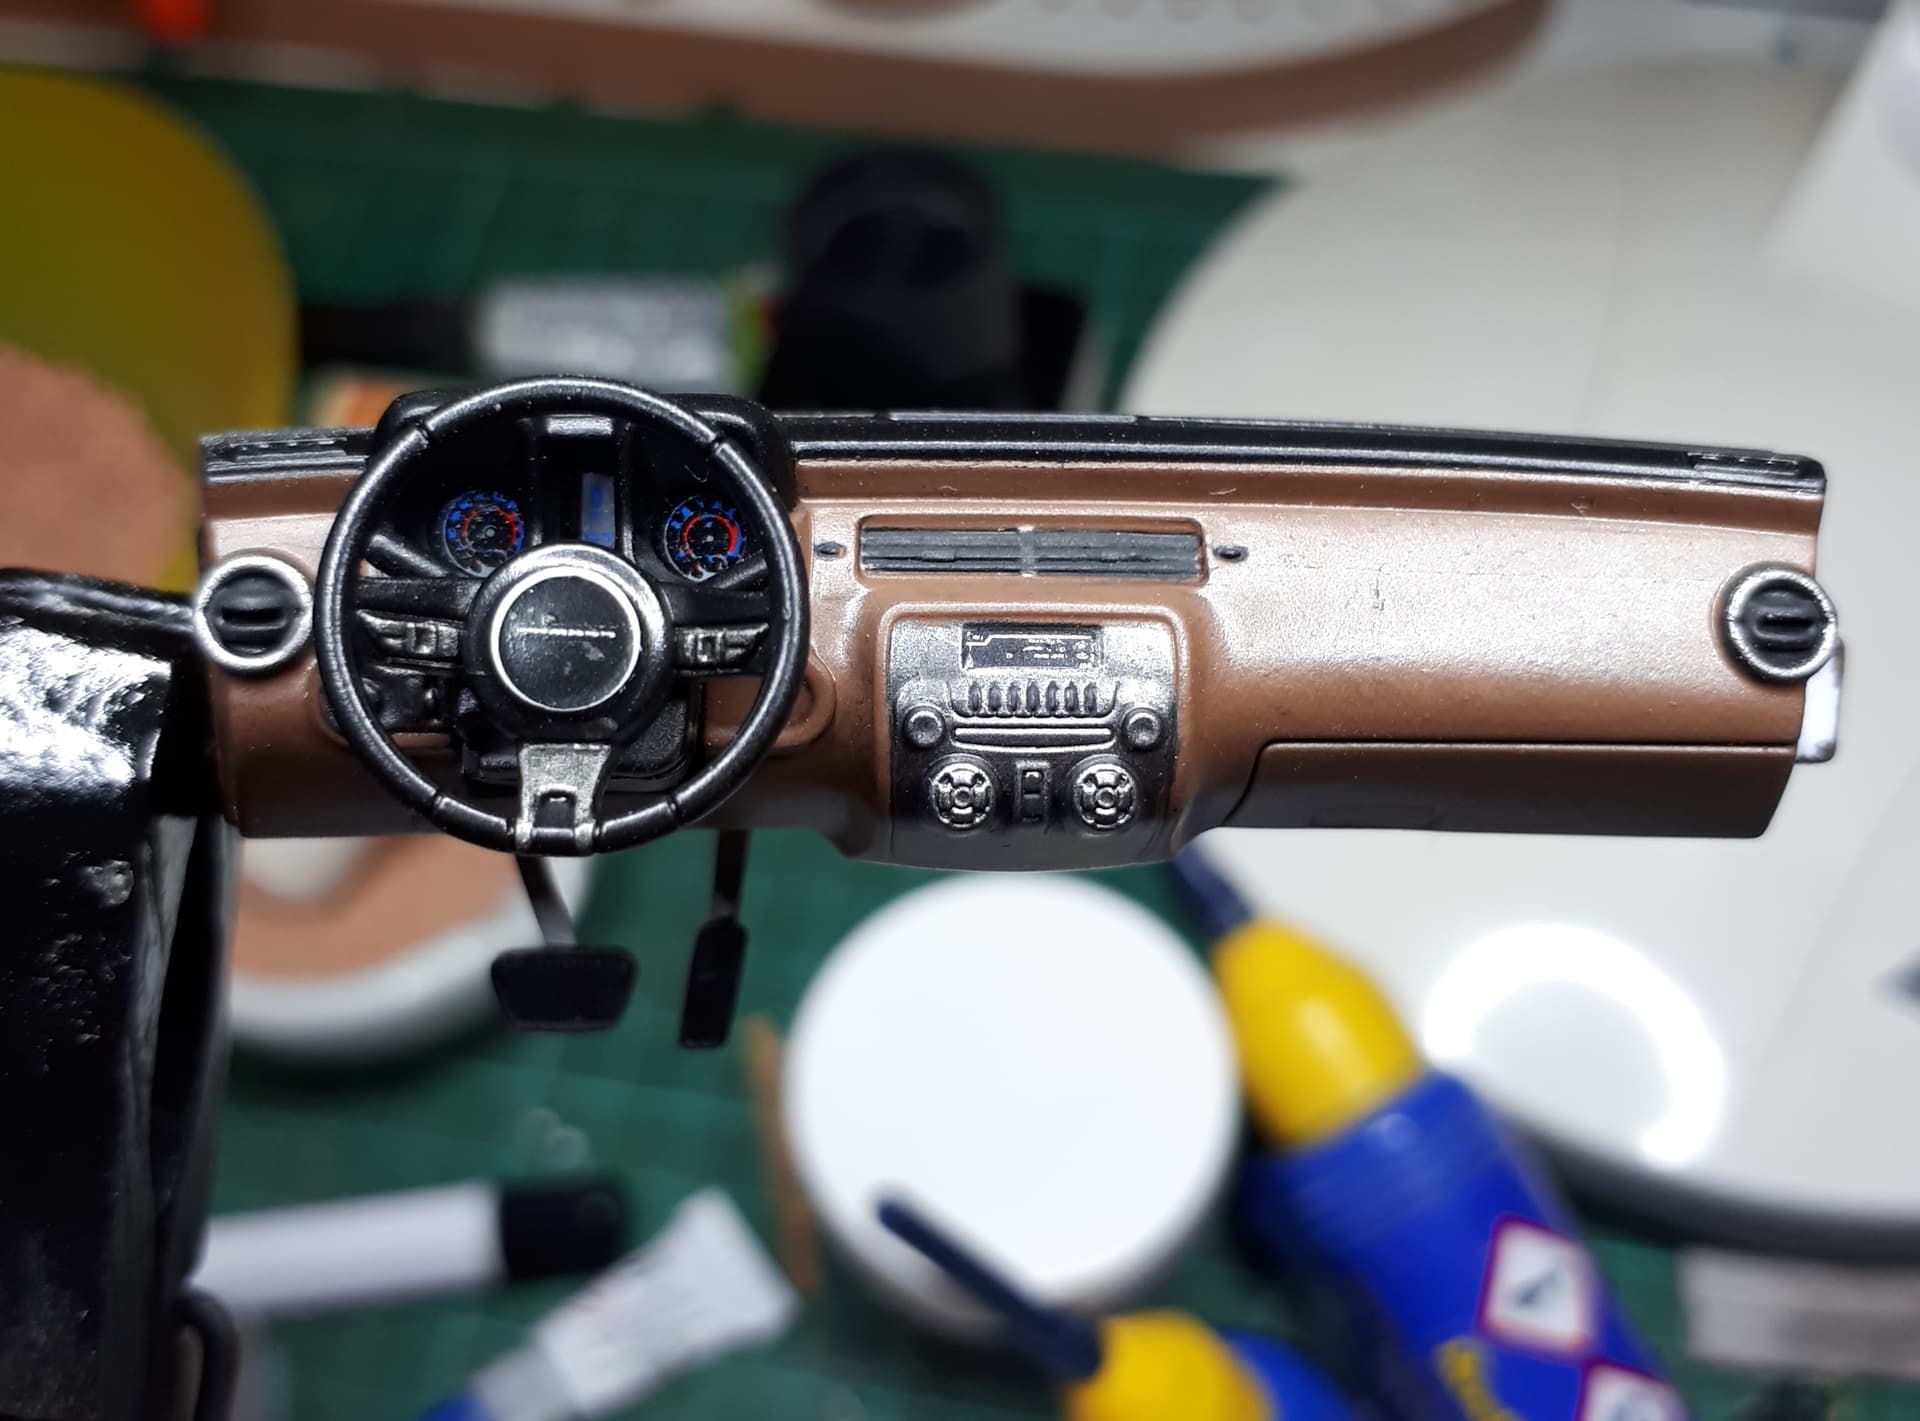
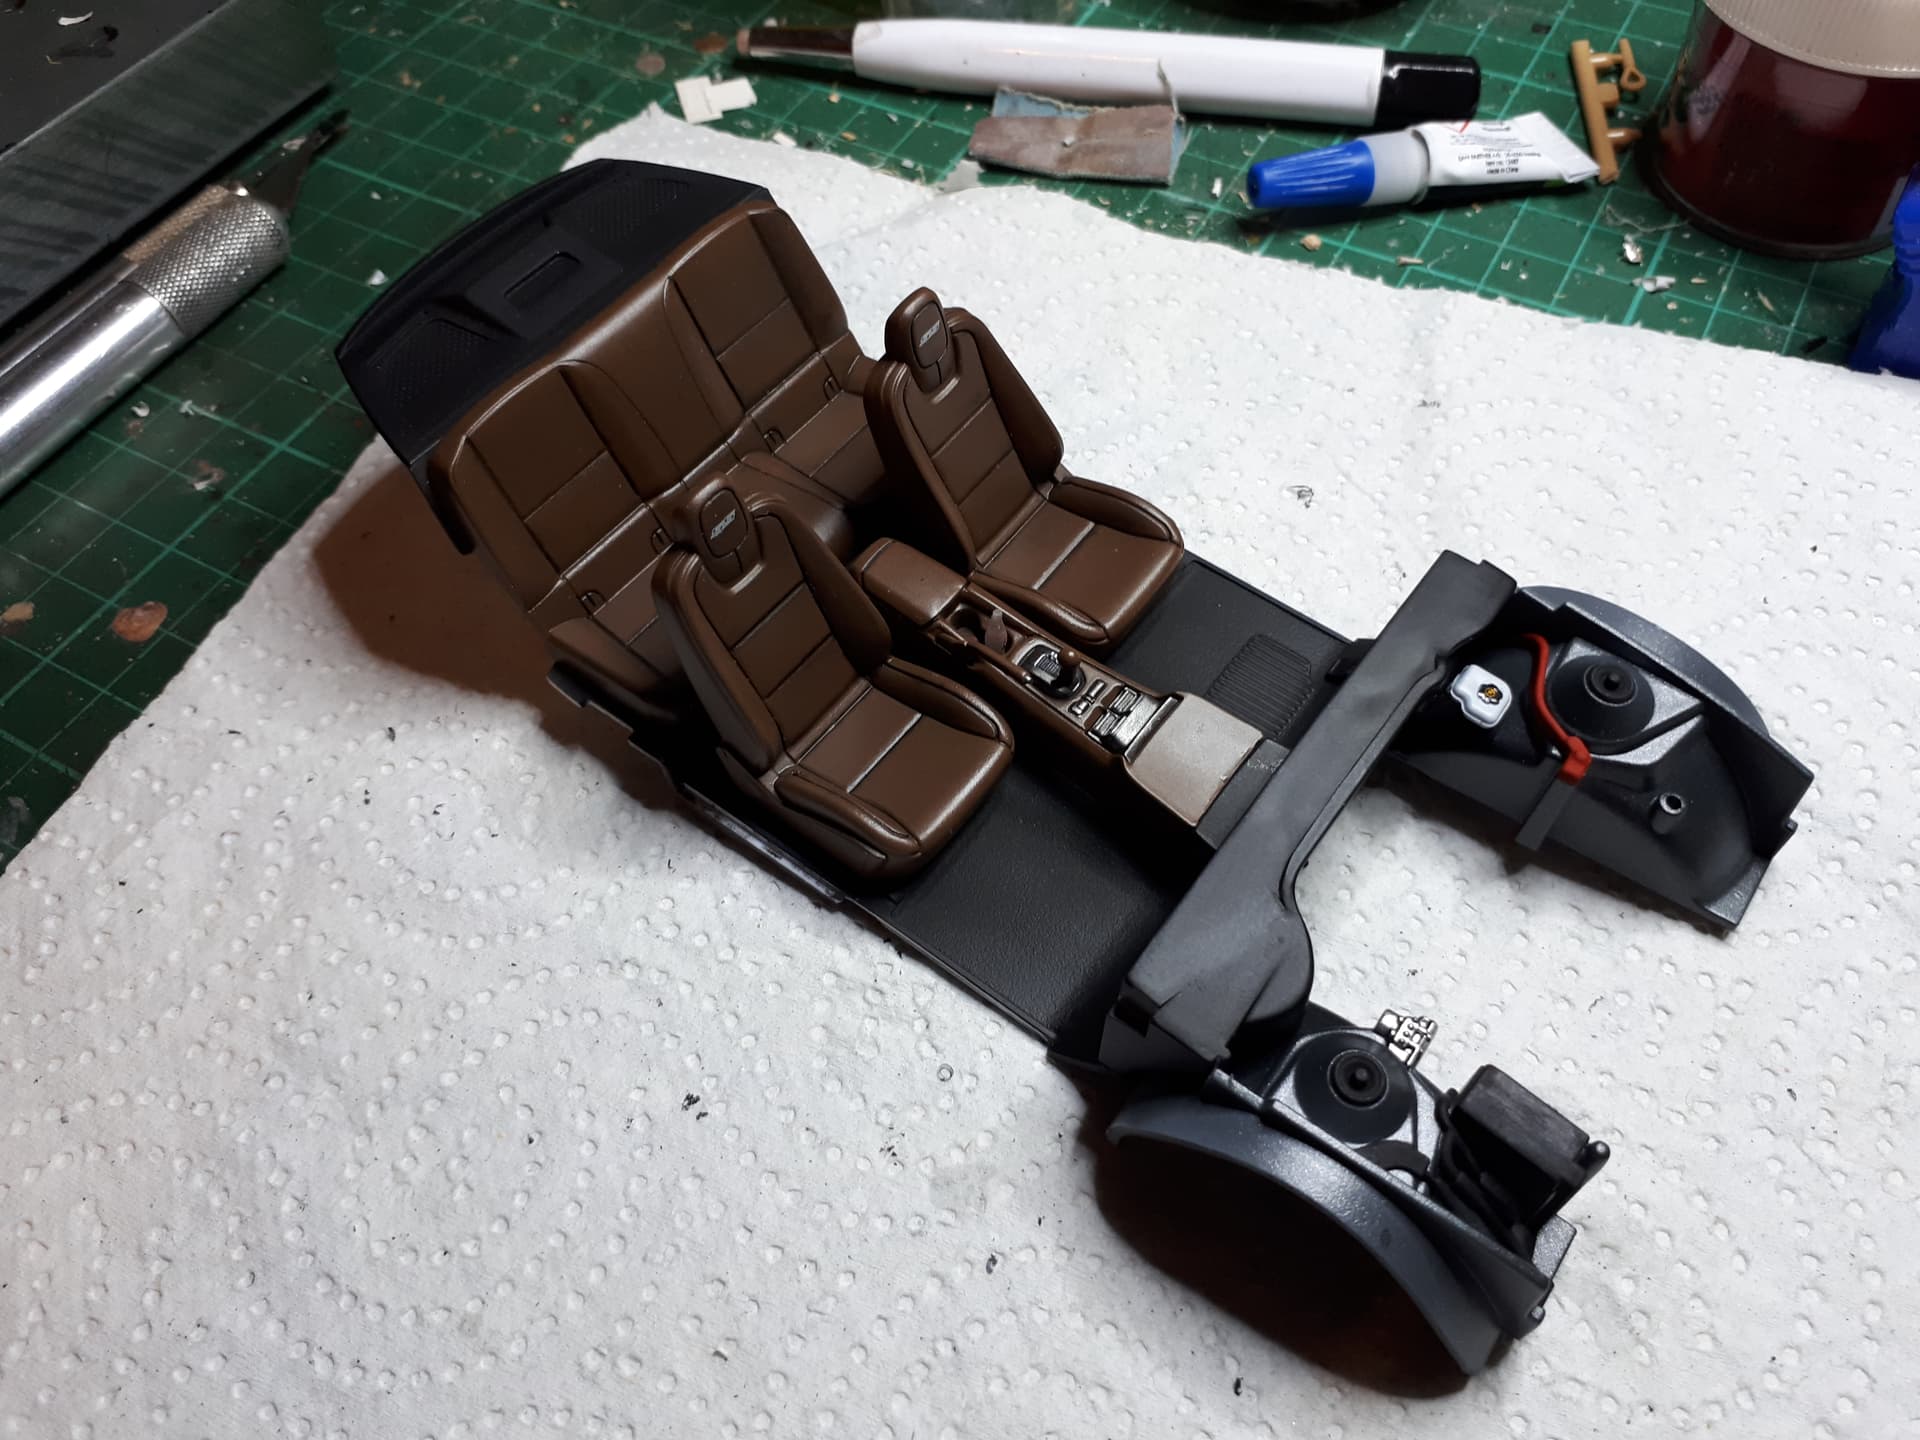
Well, I’m back to modeling. Interior is almost done.
Gave the brown “leather” a coat of fairly heavy Tamiya smoke, which came out fine; darkened the paint ever so slightly and worked as a dark wash as well. Everything was then covered with AK satin varnish.
Jesper,
your painting technique really worked. The dash and seats do indeed look like Leather with a slight worn effect to it.
Glad that you’re once again back at the bench.
joel
Thanks for looking in Joel.
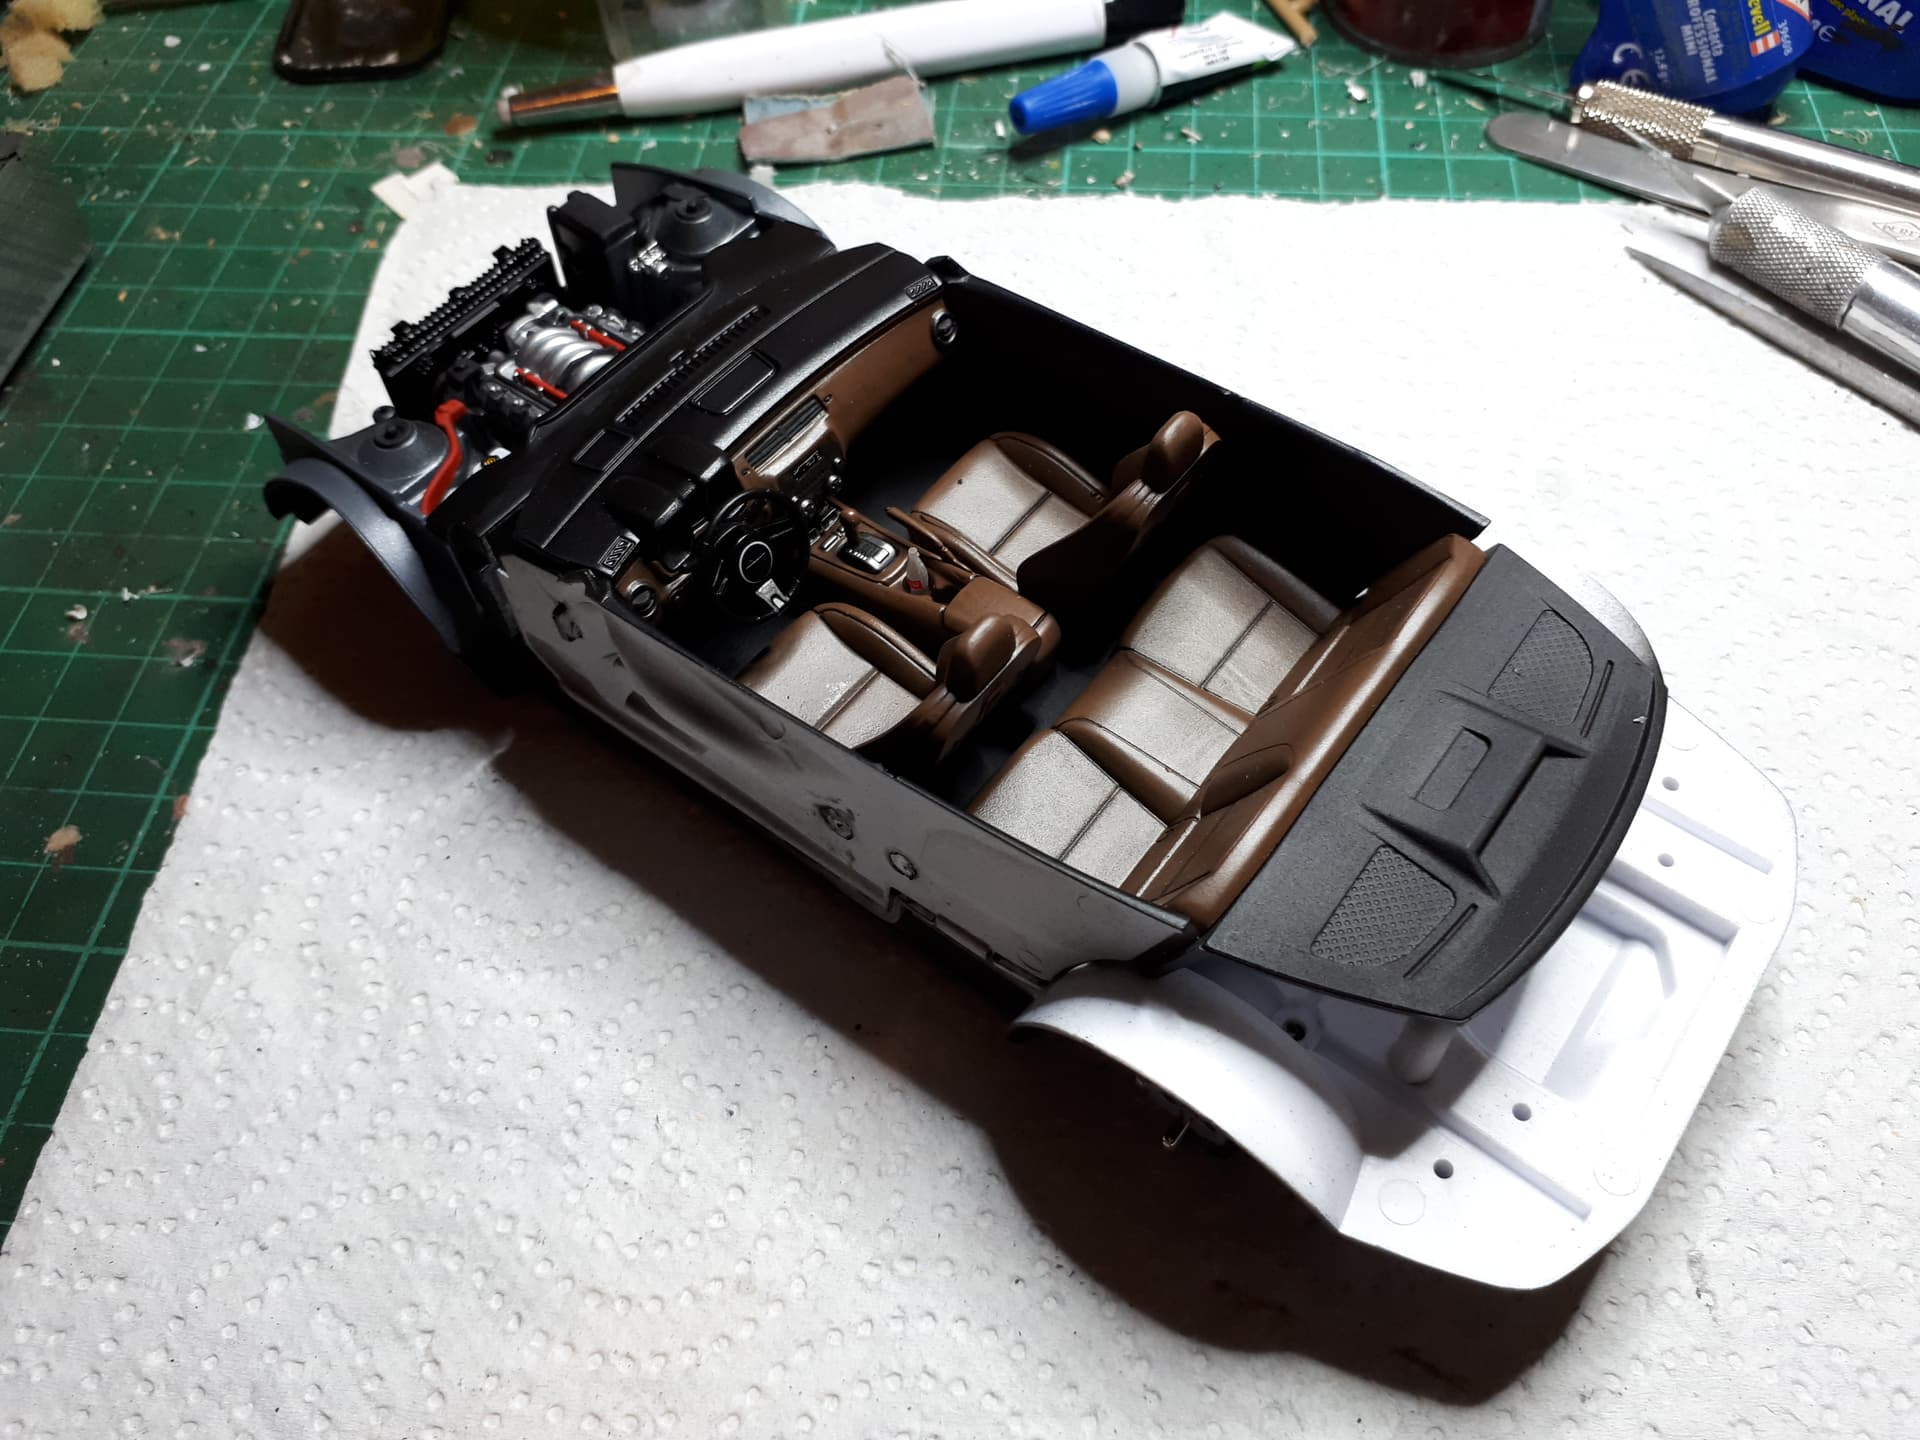
Finished the interior section and “married” it to the bottom/engine section. The images don’t show the detailing, of the doors, will have to take better pictures.
Jesper, that interior looks awesome! Great dash details.
Jim
Great work Jesper, looking really nice. I’m definitely going to try out the Tamiya Smoke on the seats on my next build, it’s an effective weathered look!
Cheers, D
Jesper,
Now that’s impressive for sure. The interior came out looking absolutely perfect.
joel
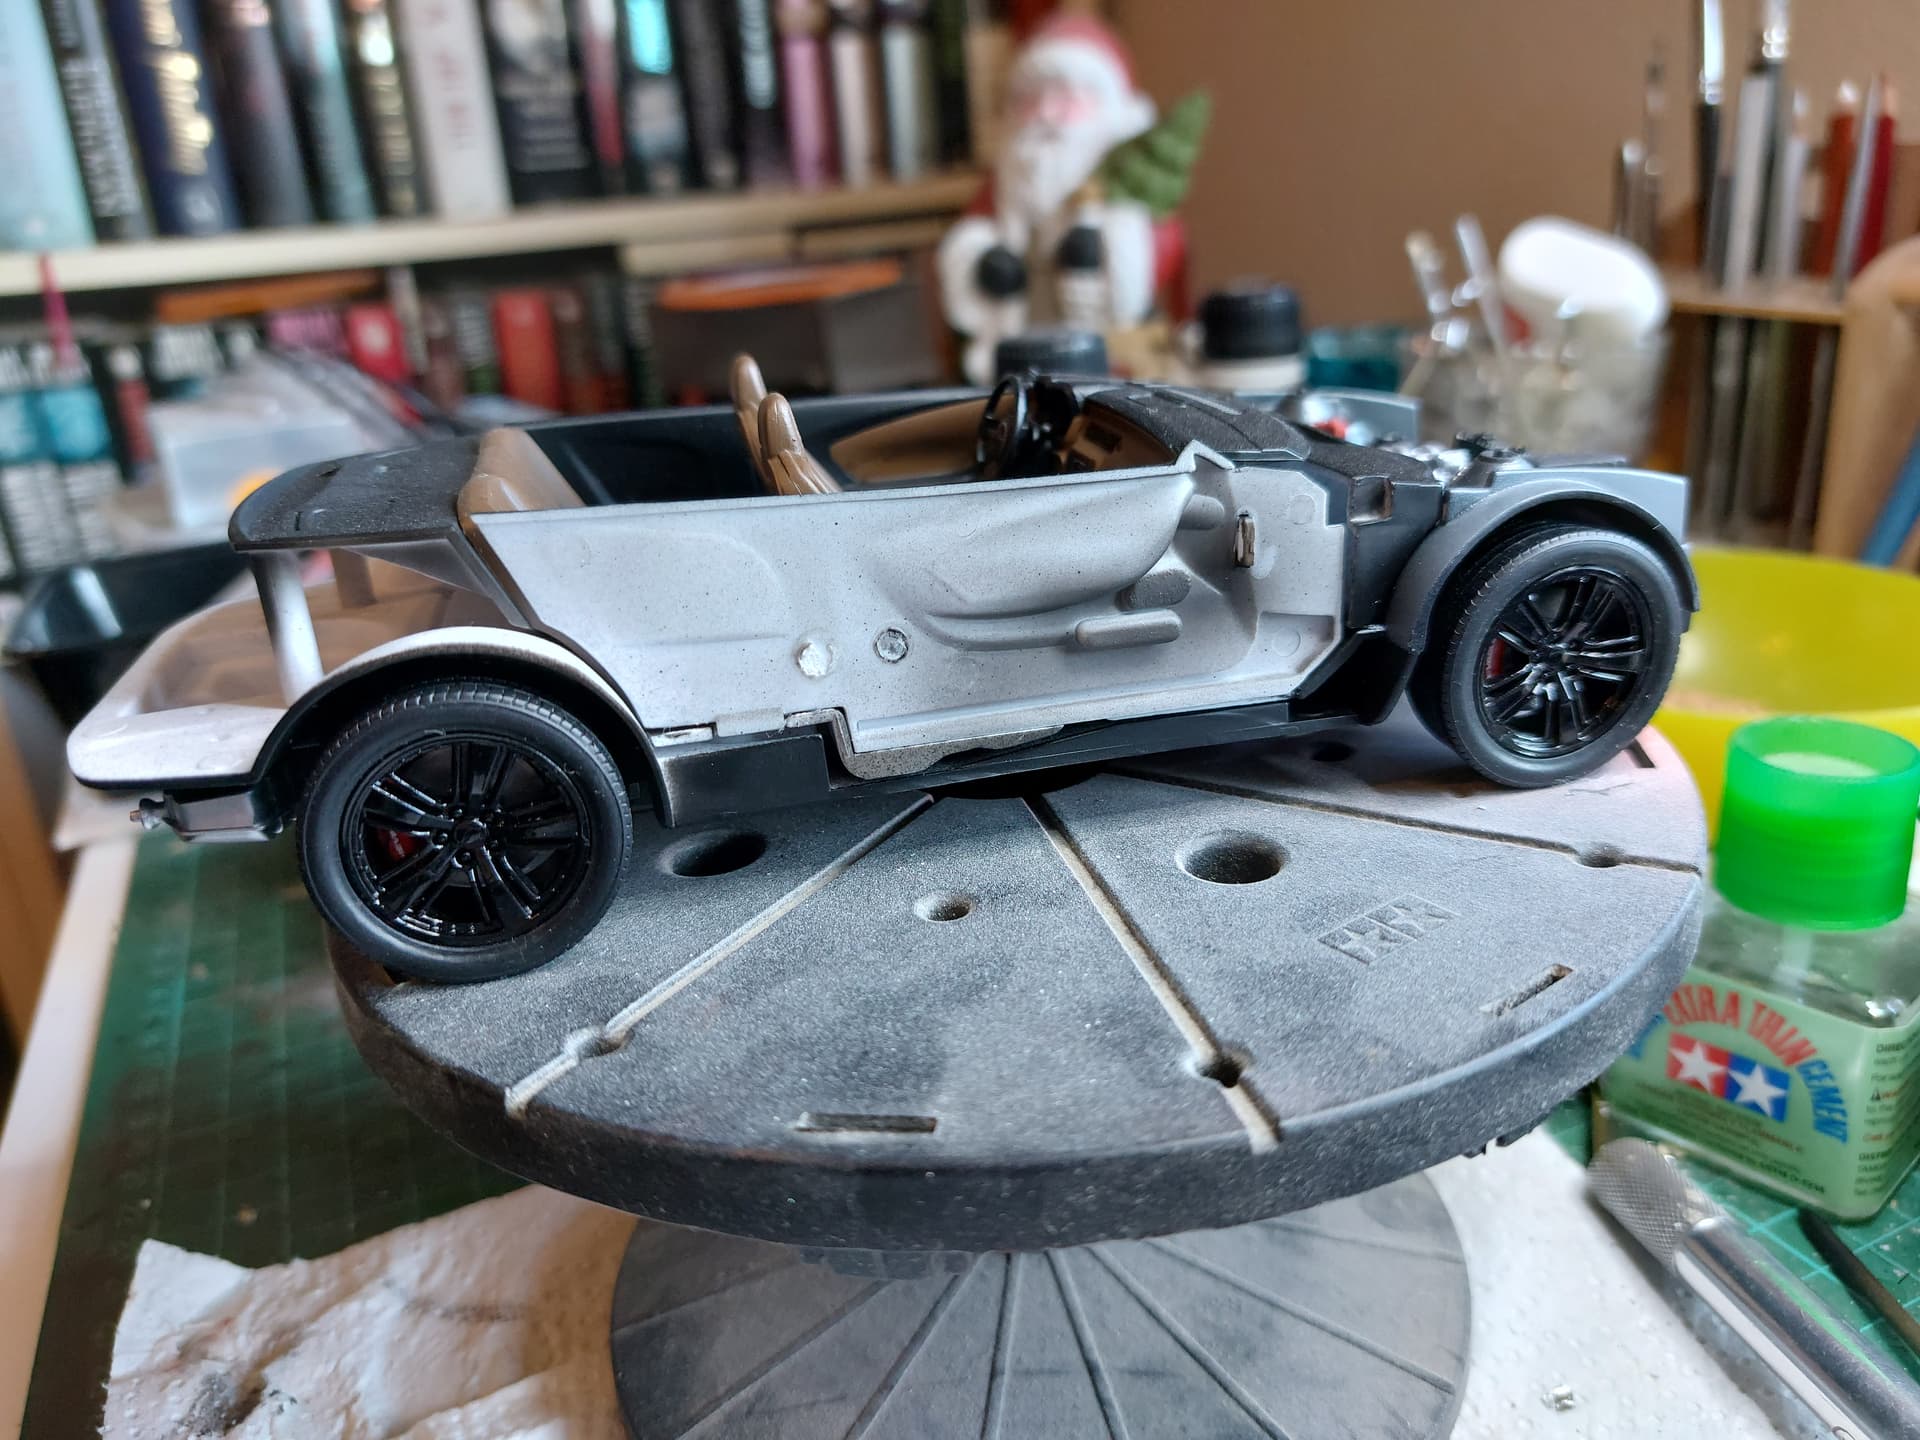
A wee update.
Wheels are in place
The window frames, have been painted.
Front\rear brushpainted, from the inside, no masking.
Side windows, masked and spraypainted.
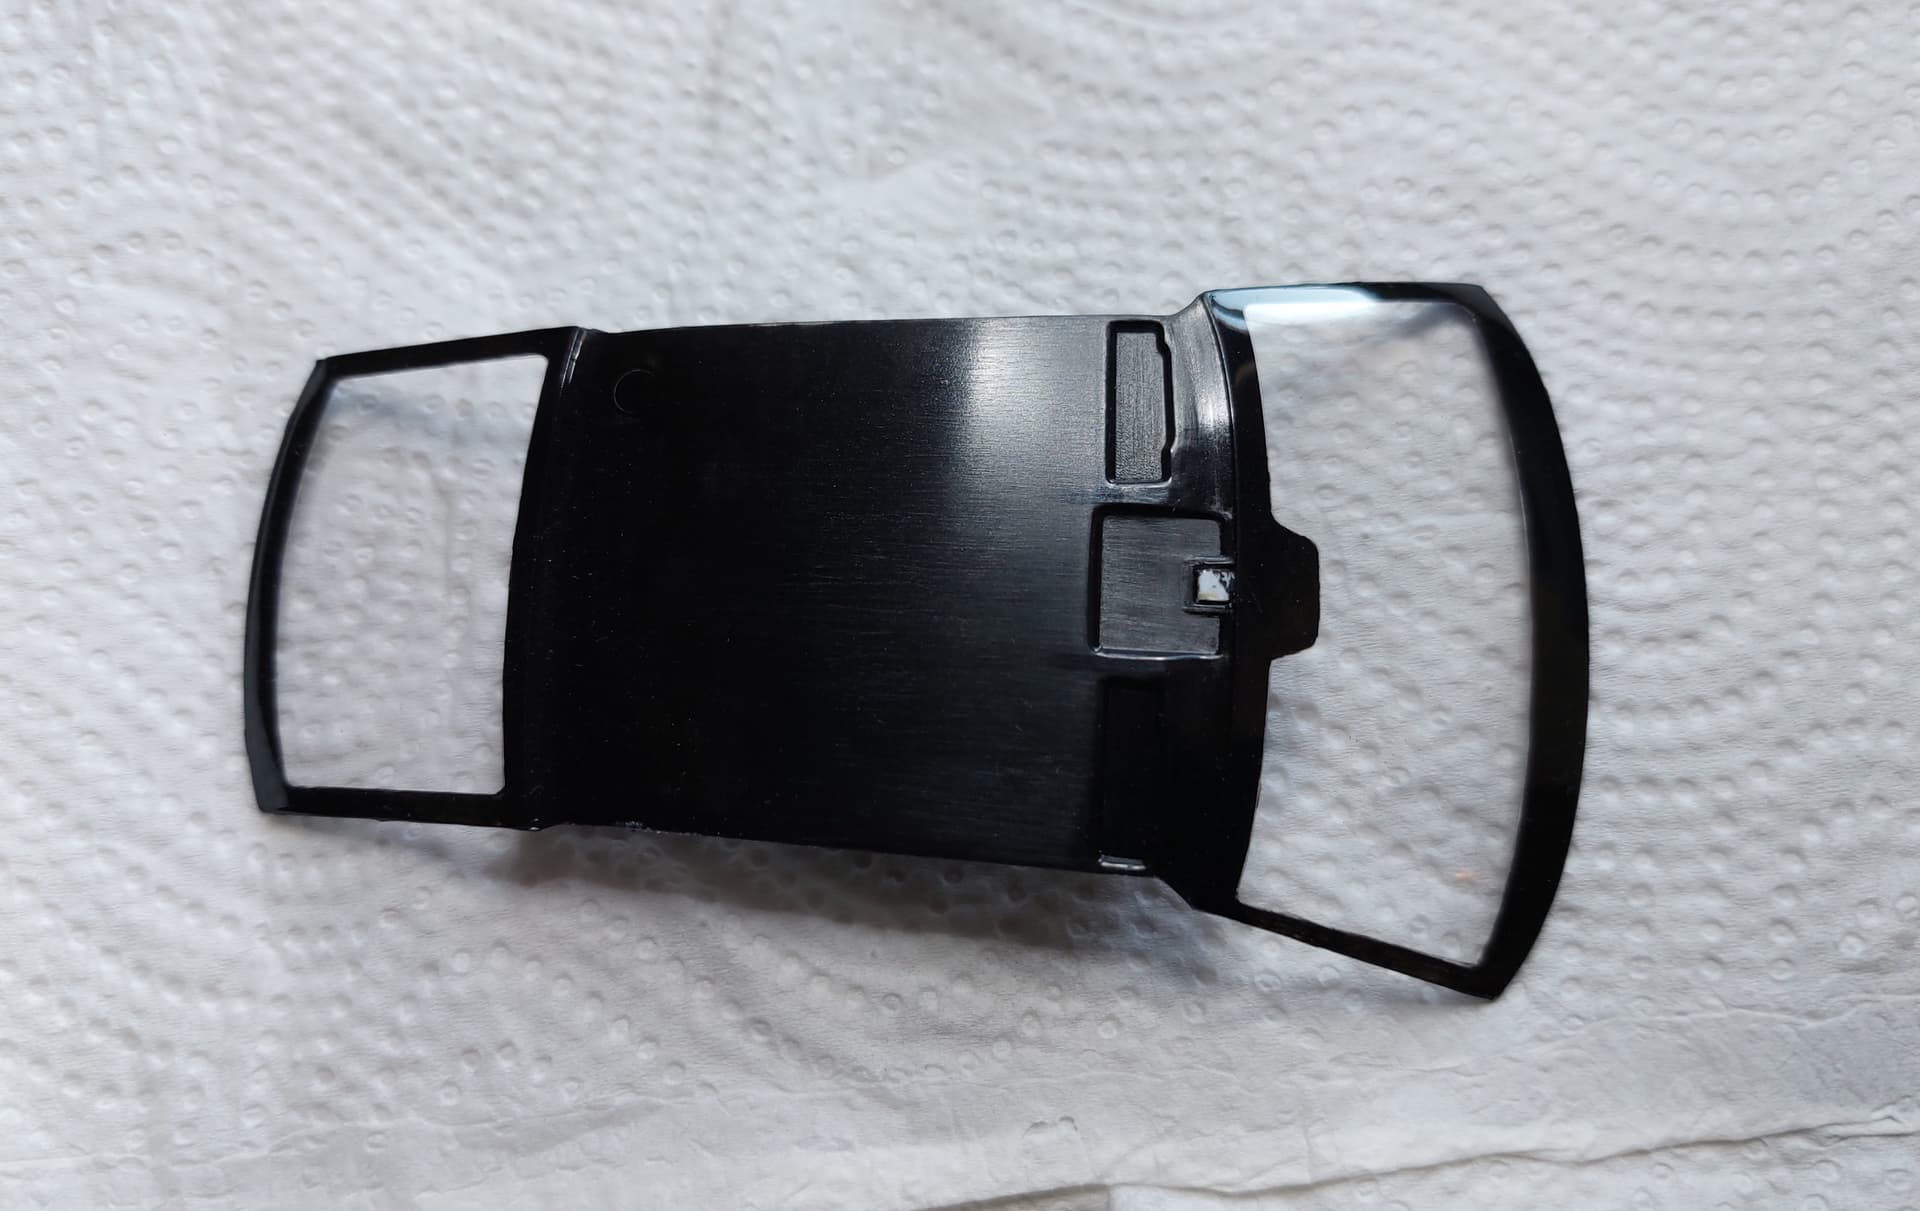
There are two nice chromed parts, for the exhaust. Not sure what to do, with them, though. All, of the exterior, will be matt dark grey and black, so do I want chromed exhaust tips? 
Jesper,
Nice update.
Every build has a milestone when she’s seating on all for wheels. I’d say you did really some job free hand painting those front and back window rubber seals. They look straight as an arrow.
As for those two square exhaust tips, I’d chrome the outside and give the interior of each one a combination a dark gray to simulate built up Carbon with a dry brushing of a lighter shade of Gray towards the end of the exhaust tips, and finish it out with a grimy almost Black on the edges.
joel