21st Panzer Division Normandy (Somua MCG S307(f) 7.5cm Pak 40)

I’m starting a new project around the Panzerjeager-Fahrzeuge Somua MCG S307(f) mit 7.5cm pak 40. What a mouthfull.

I’ve begged for Tamiya or one of the new big names to release this vehicle and it’s variants in 1:35 plastic, but since it looks like that’s not going to happen this year, I pulled the trigger on an expensive printed kit. KM’s offering, to be exact. It was about $120 after shipping here to the Midwest US and took a little over a month to get here.

I’ve always been fascinated by Major Becker’s modified French vehicles and their integration with the panzergreandiers of Regiment 125 and 192.

I find their D-Day and June '44 service fascinating. They’re already unique vehicles but when covered in foliage and surrounded by grenadiers in heavy WH camo amongst the hedgerows, it’s always made for compelling imagery for me.

I’ve recently picked up and read through Hans Hoeller’s ‘D-Day Tank Hunter’ to absorb what I can about that night and the initial weeks of the campaign. Really good stuff.

Some here may remember that I have a weird thing about figures. I always have to modify and have a big thing for Zeltbahns and Gewehr 41’s.

I’ve purchased what I can find as far as German figures in zeltbahns. I need them to pull form when kitbashing.

Unfortunately there’s quite a scale/size discrepency and It makes a fairly arduous process.

I also picked up Tamiya’s incredible Marder I auf Lorraine. I’ve always loved the look of it and it showed up in decent numbers in Normandy. I know the static infantry division 716 had a panzerjeager kompanie with some. I’ve wondered if one of those, a halftrack and men from the units pioneer abteilung were responsible for the investigation into Benouville on June 6th just prior to Hoeller’s Panzerjeagers. Stephen Ambrose claimed it was a Panzer IV but I’m almost certain that wasn’t the case.

Regardless, I’m likely going to build 2 dioramas out of this research project. One with the Somua and one with the Marder I.

Here is comparison pic of Tamiya’s Marder I next to KM Model’s Somua MCG S307(f).
It’s clear that the MCG is much larger. I’m still not sure if this is accurate or the KM Somua is oversized a bit.

Apart from feeling enormous, another issue I’ve run into with the KM Model Somua is the Pak 40. I found it lacking in detail and the barrel seemed off.

I decided to buy a supplementary Pak 40 and went with Miniart’s new Pak 40 early production.

The issue is now that Miniart’s barrel really feels off.

I finally decided on buying one of Panzer Art’s barrel/breech assemblies. I’m happy with it and will work it into the build.

I did run into some frame warping which cause the frame to fracture when I tried to fix it.


These figures are kitbashed using Dragon and Hobby Fan sets. A technique/build I used years ago on a Panzergrenadier Regiment 25 project, but had to sideline because my painting just wasn’t up to snuff and I’d rather put it on hold than commit to something I don’t care for.

The SS figures built in a similar way a few years ago:

For inspiration I’m using a broad assortment of pics I’ve found online.


Doing some blocking and staging to get ideas for the build.

You may recognize Mk.35 production’s Norman Fence, Tree and Norman telegraph pole. I’ve had them in the stash for over a decade and it’s time to use them.

24 Likes

German WW2 AFVs are ‘my thing’ so I shall be following along with interest.

Great job so far!

1 Like

Very interesting indeed; those vehicles all look familiar yet suitably different.

As an aside, and I’m merely showing off, I met von Luck back in 1993.

1 Like

All looks really good, and the Somua MCG is one of my favourite vehicles. You would have been much better off using the Brach Model kit though, in my opinion. The KM kit just looks off……:

And one built by Steve Zaloga a number of years ago:

2 Likes

Nice work here. You have assembled quite a collection of vehicles and men.

J

2 Likes

Spent the weekend bashing together some Dragon figure kits.

Trying to get the right look for men of the Panzergrenadier Regiments 125, 192 and Kampgruppe Von Luck.


7 Likes

Somehow I nearly missed this. Major kudos for going down a hedgerow less travelled, what a great idea & all power to you. Even more kudos for customising the figures, bravo :+1: :+1:

3 Likes

Hello all!

I was able to make some progress on figures and the vehicle this weekend.

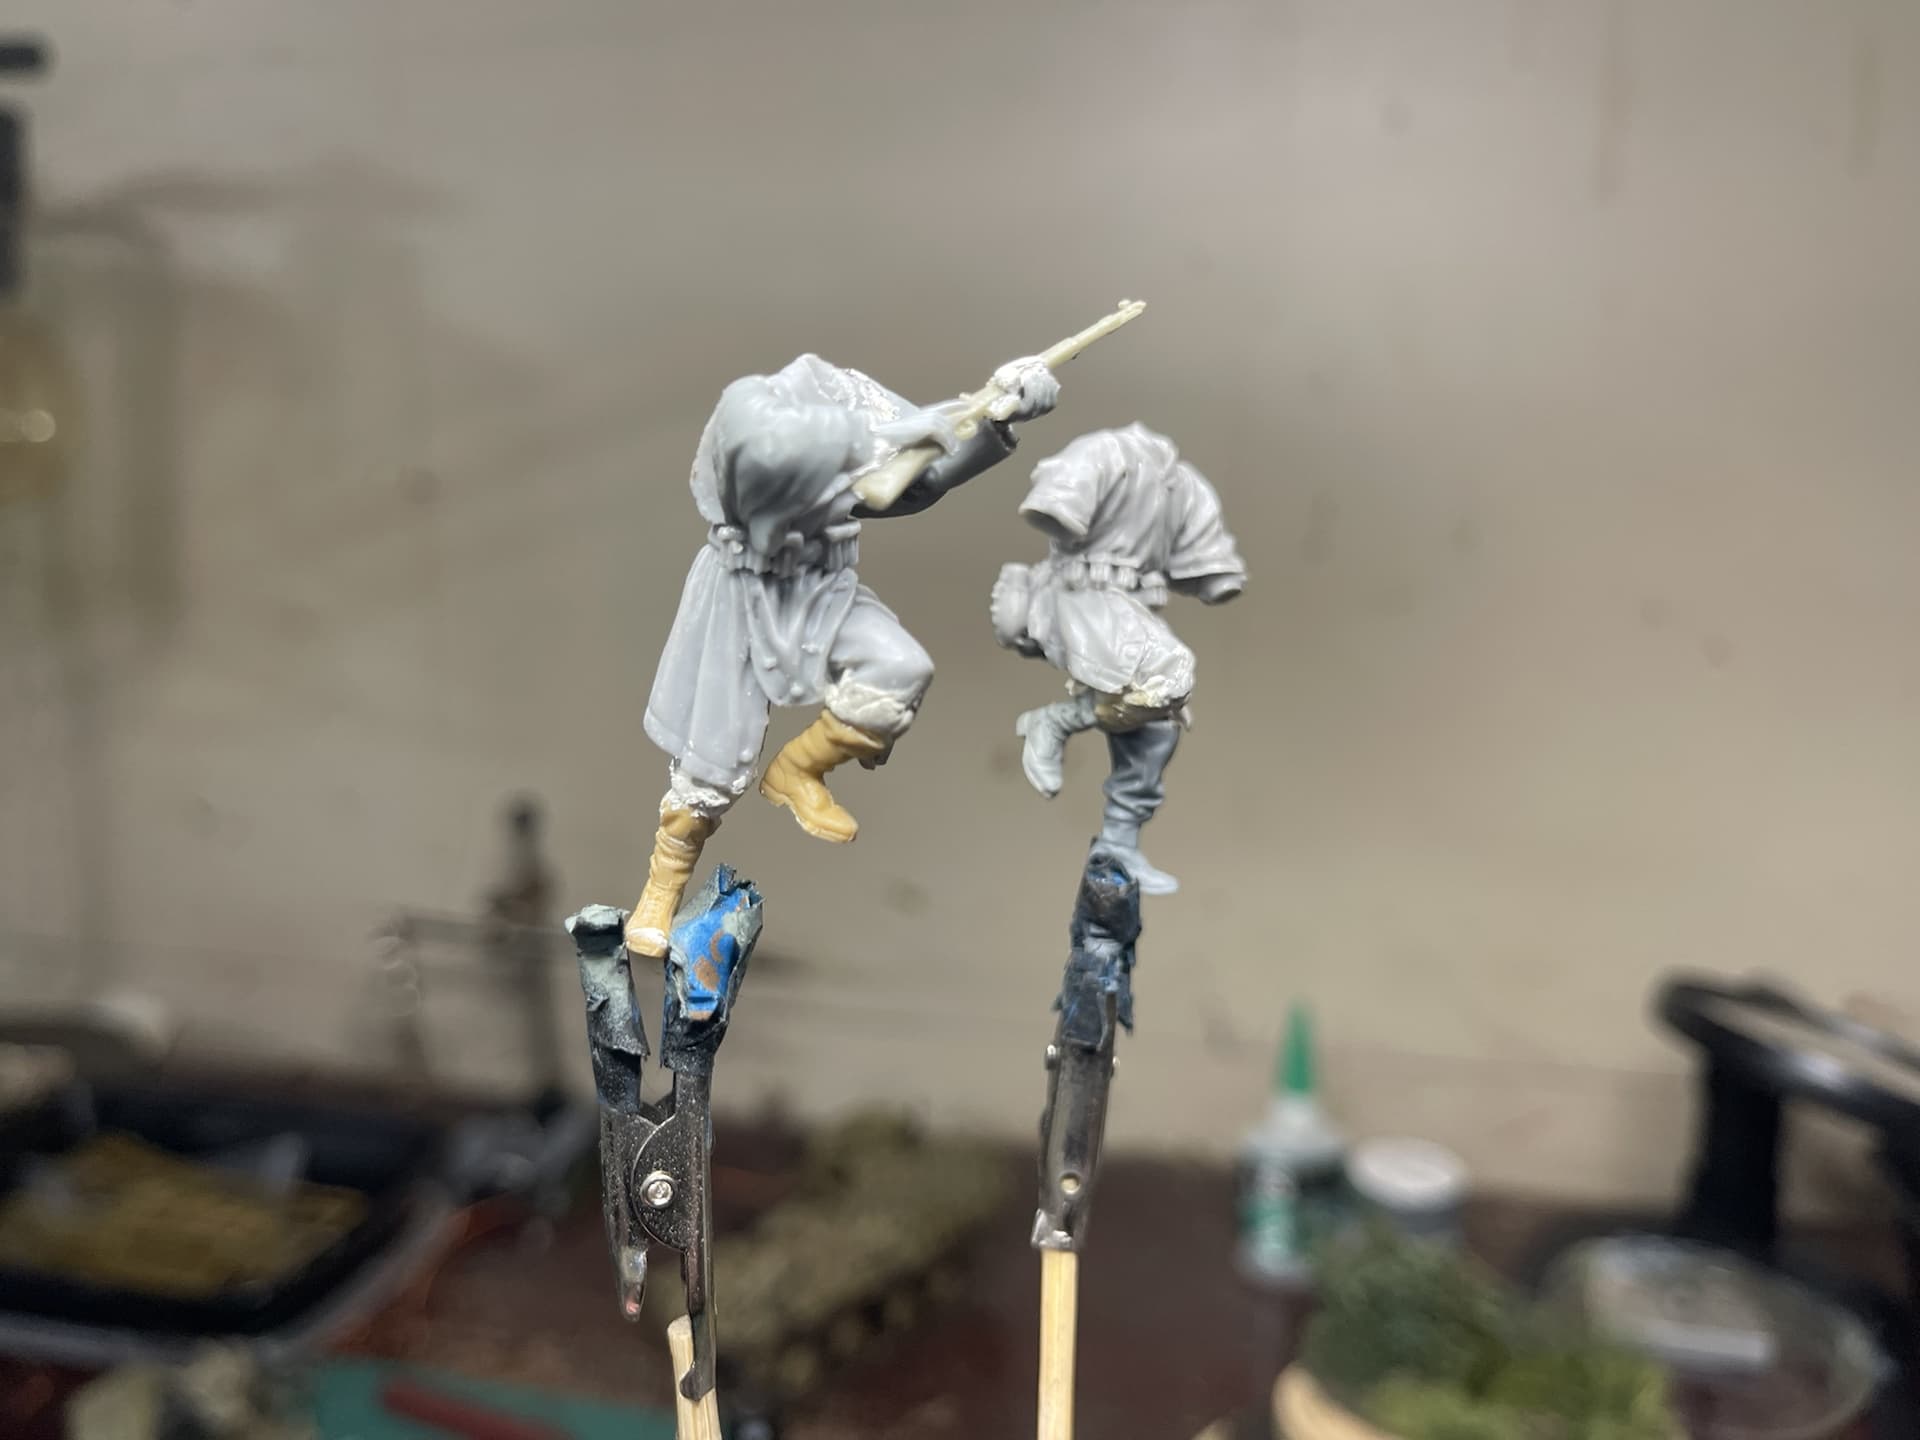
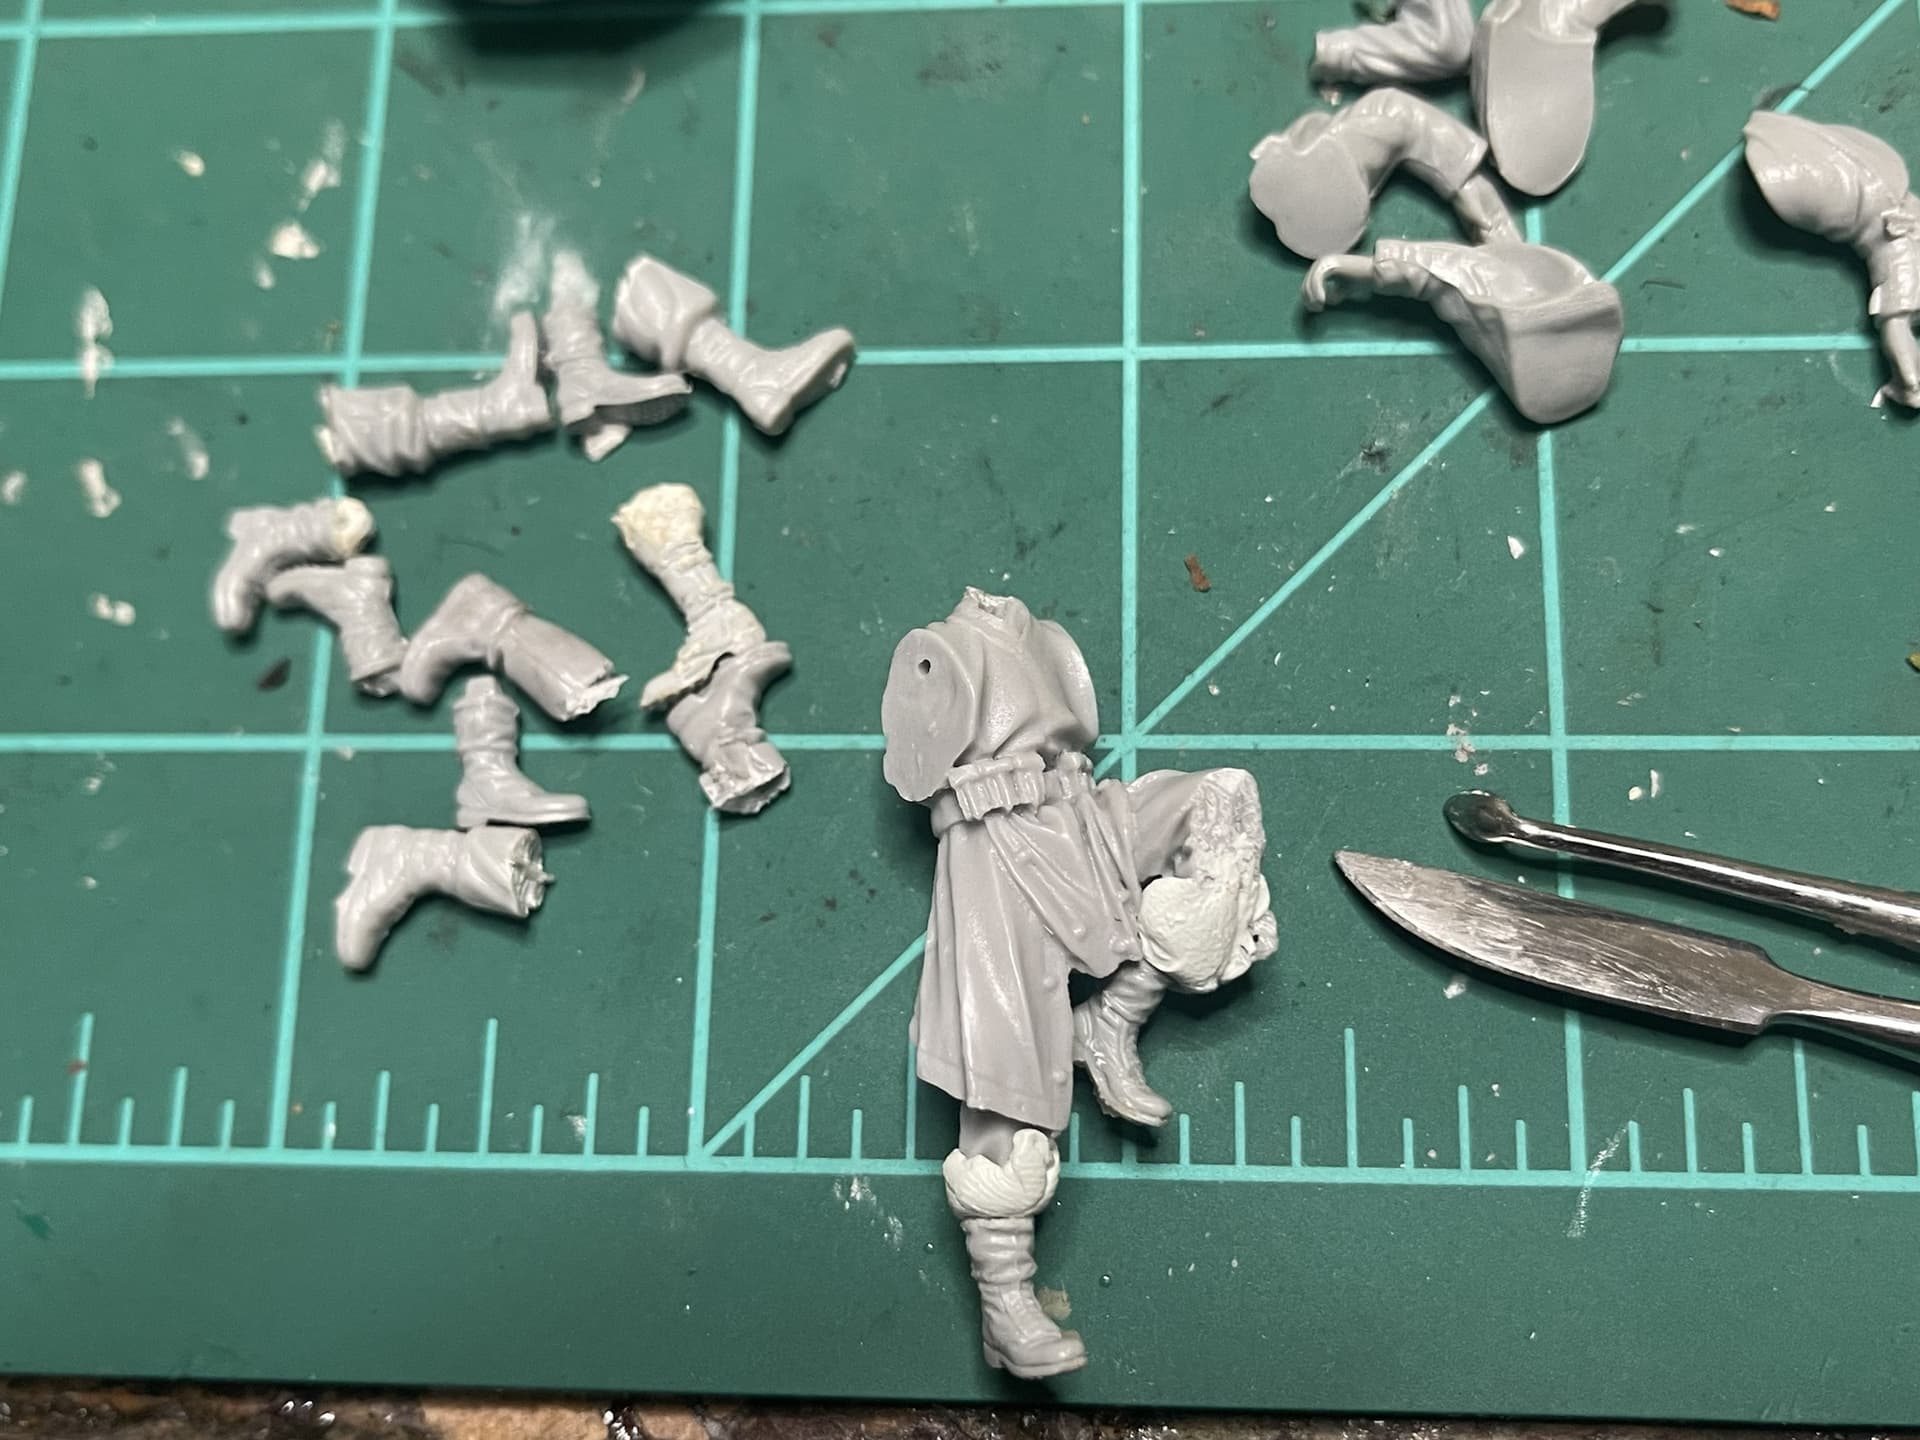
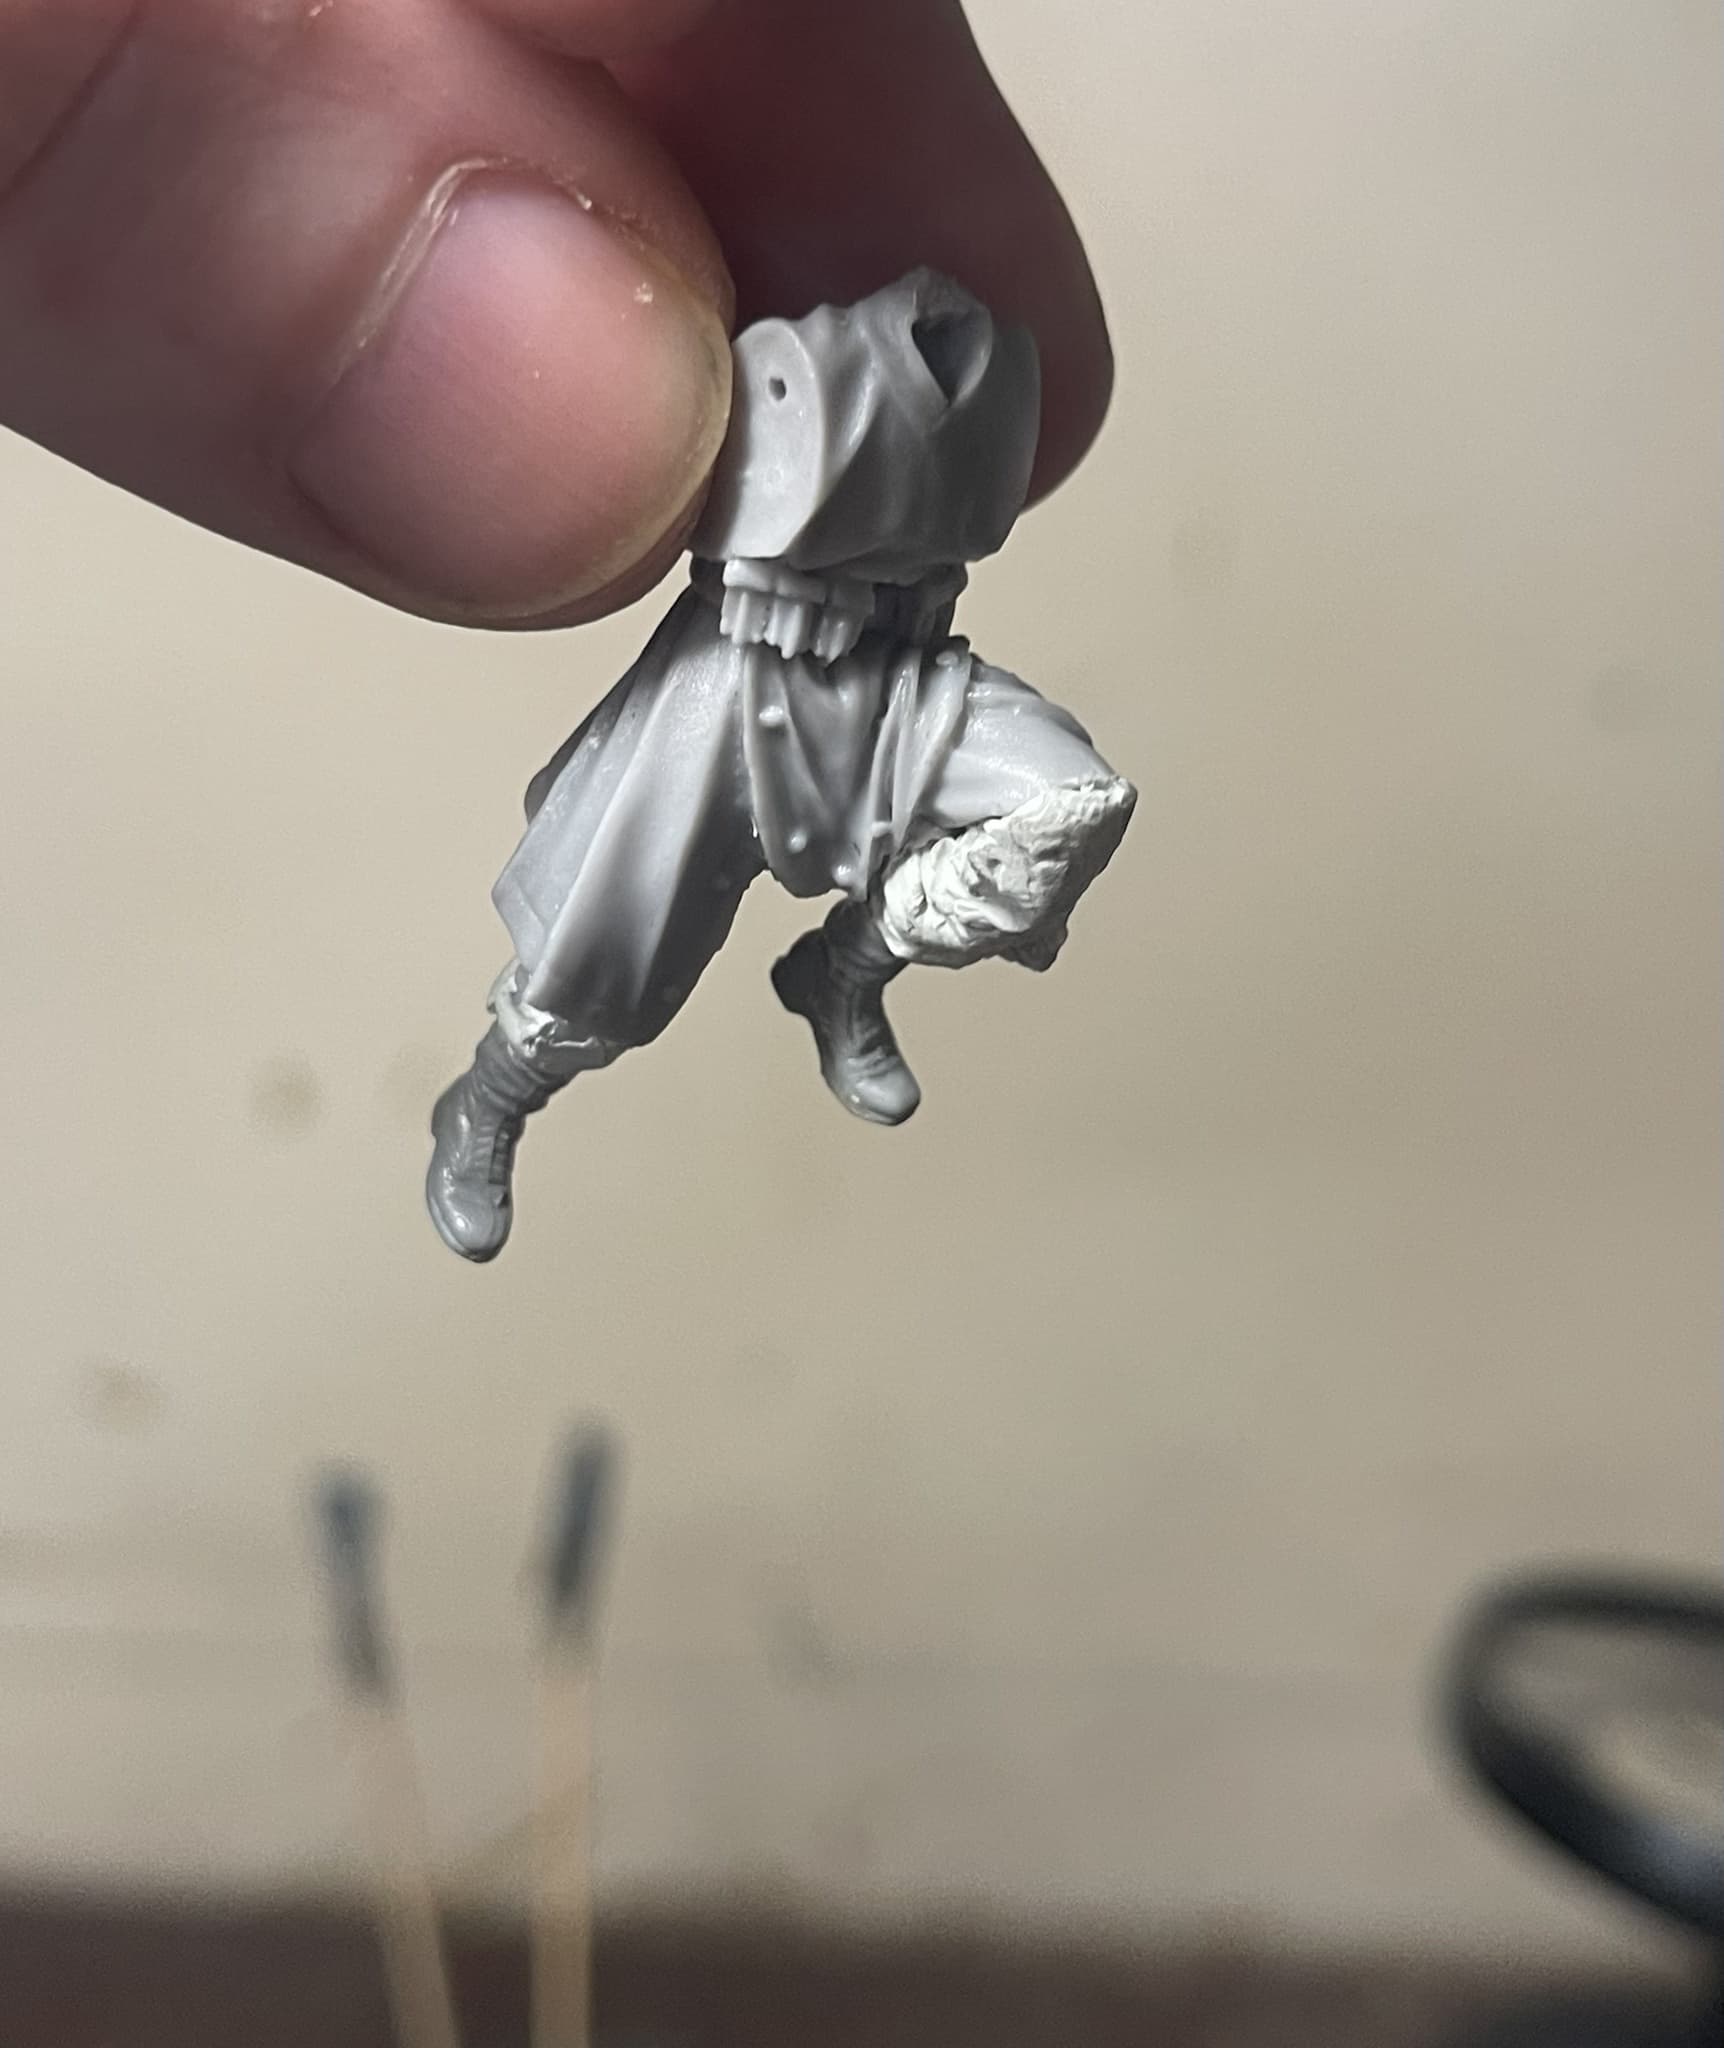
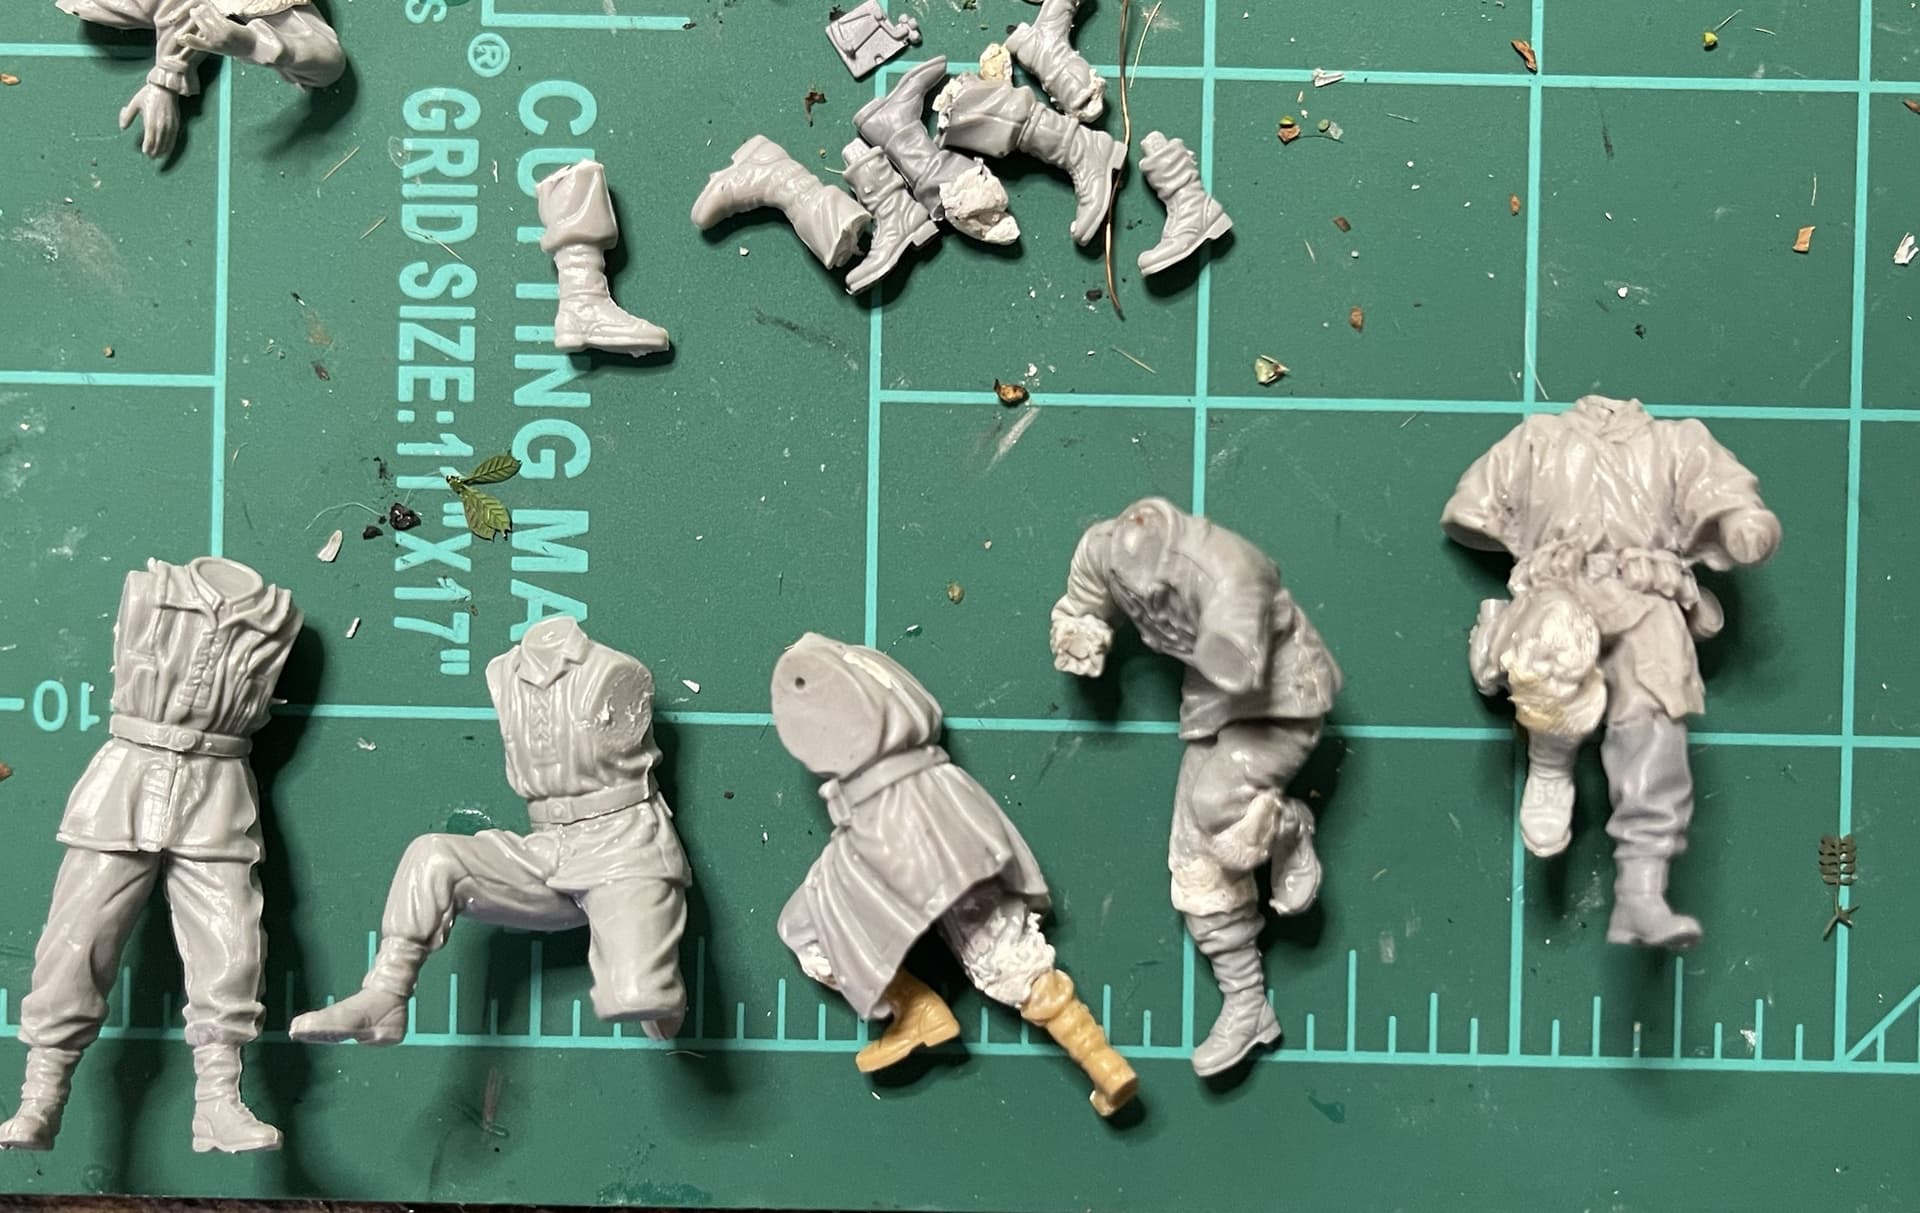
Making custom figures is arduous model work. It requires a tremendous amount of putty sculpting, test fitting, sanding, more sanding and lots of CA that can create quite a mess if one isn’t careful

One product I’m now using that has escaped me for the last 3 decades is Mr Surfacer 5000. I absolutely love this stuff. It’s like sprueglue but much better than the stuff I make.

I’m not sure why, but I hadn’t checked it out. I guess I thought it was a primer meant to be applied via airbrush.

Mr. Surfacer 5000 is really going to cut down on the amount of careful putty filling and sanding I’ll have to do.

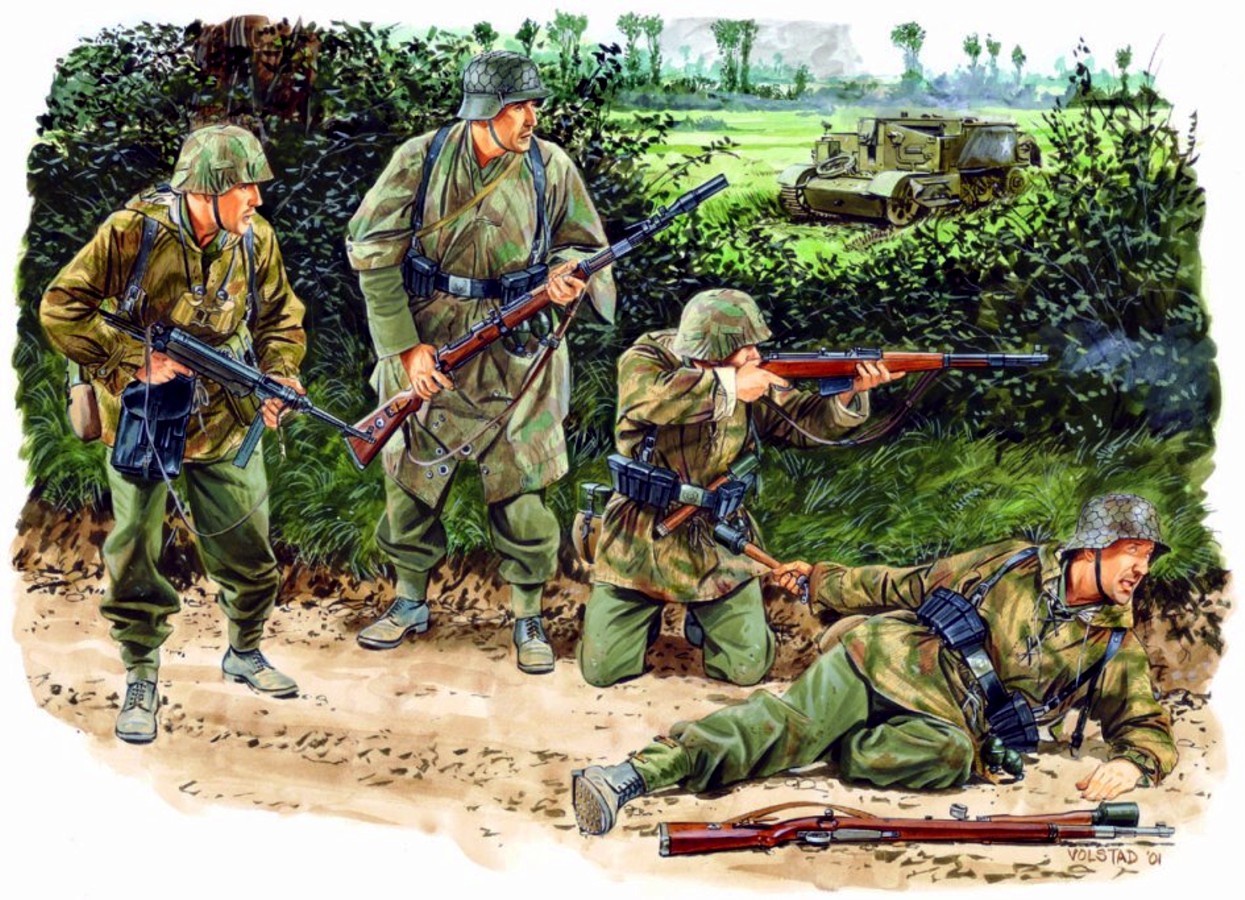
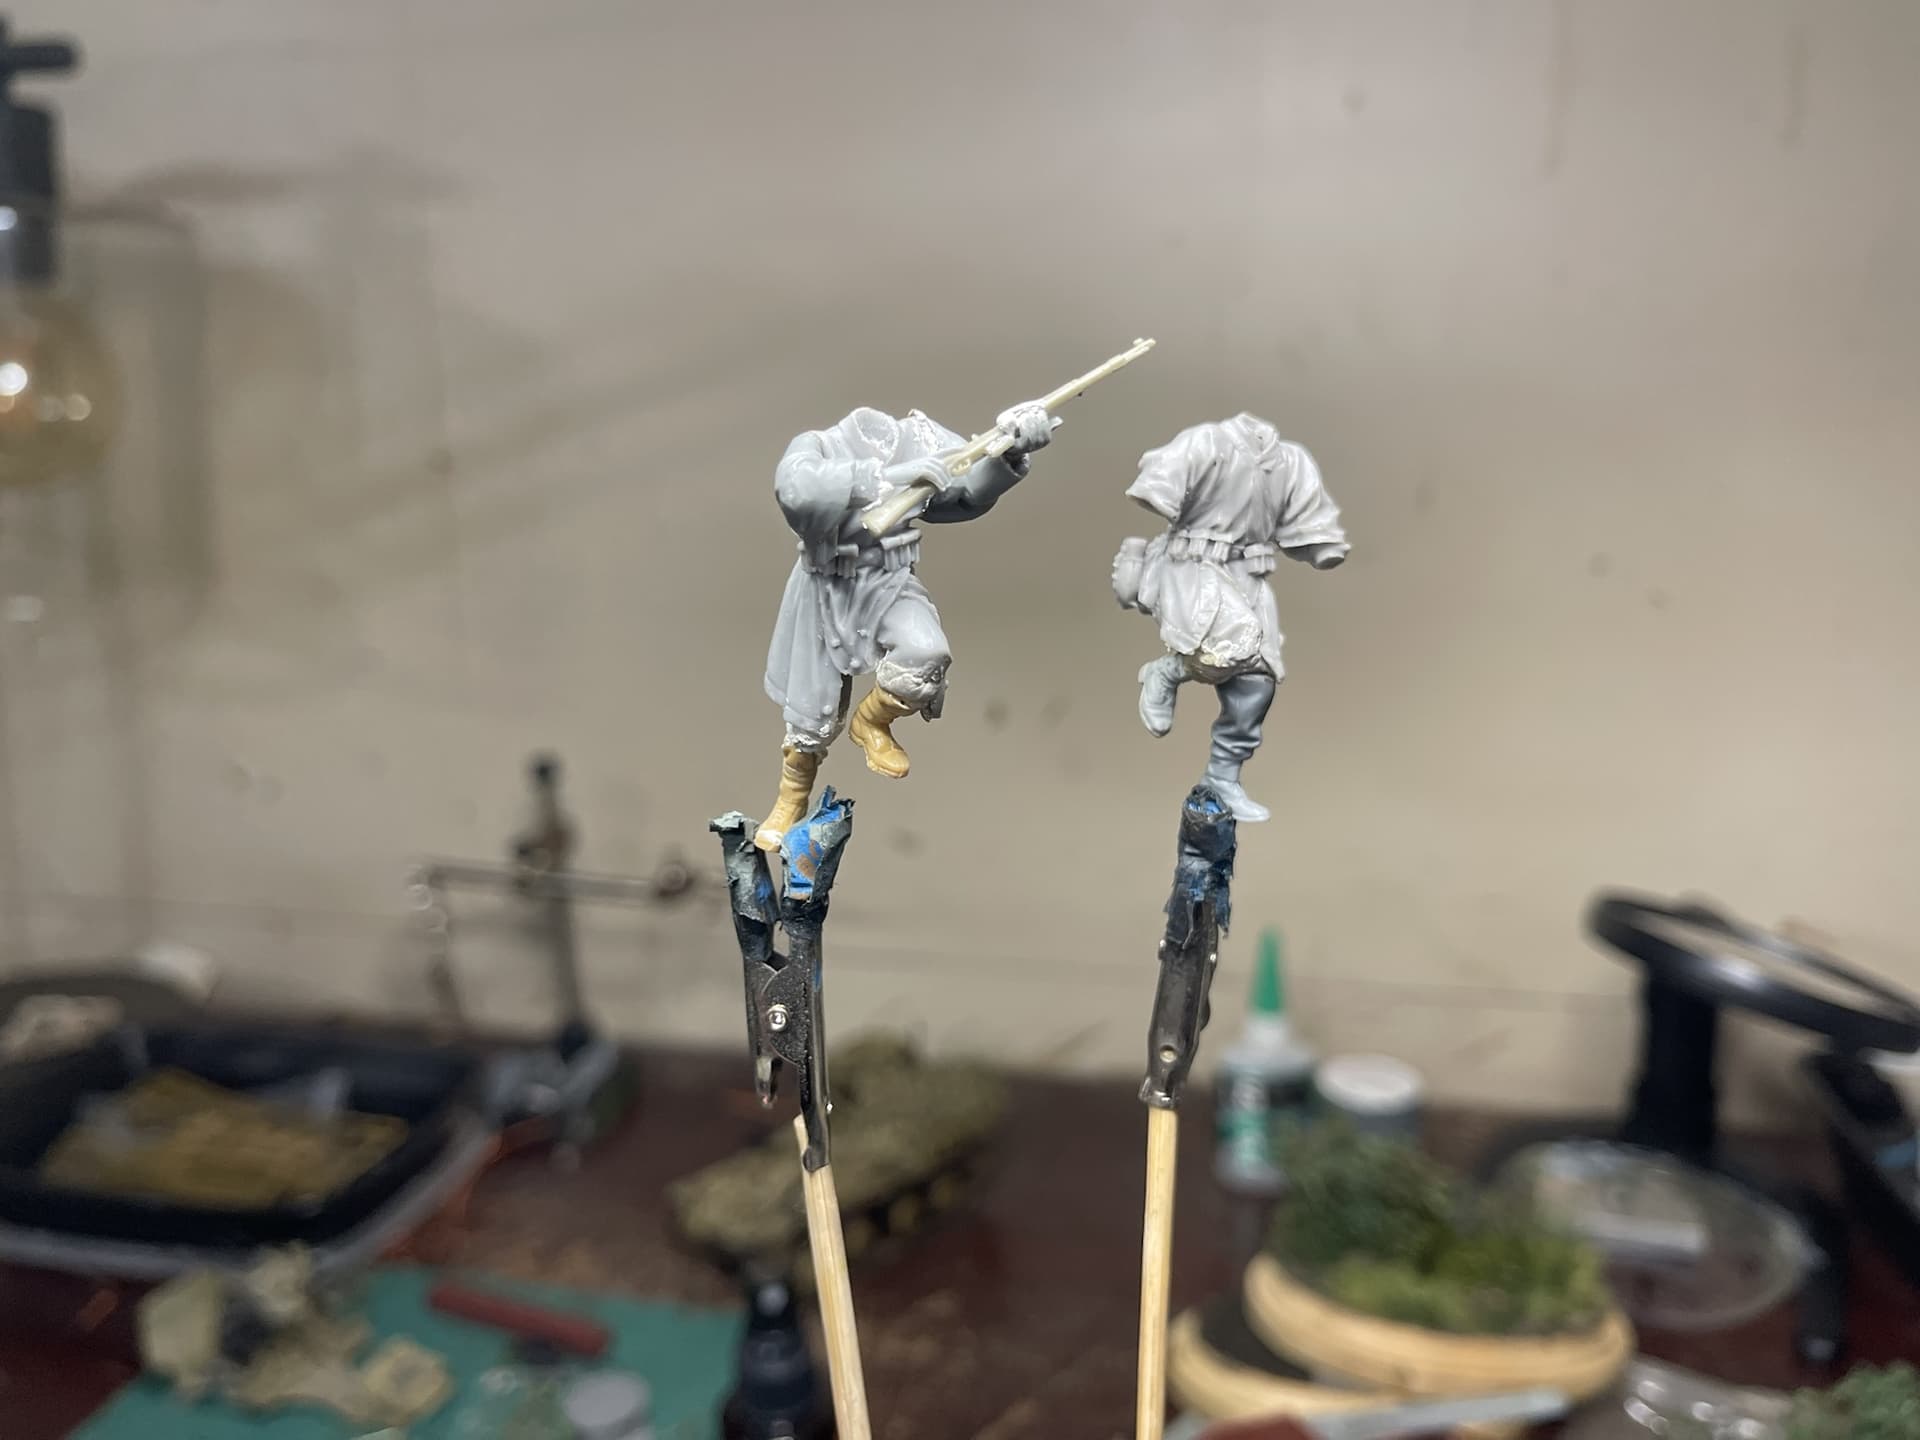
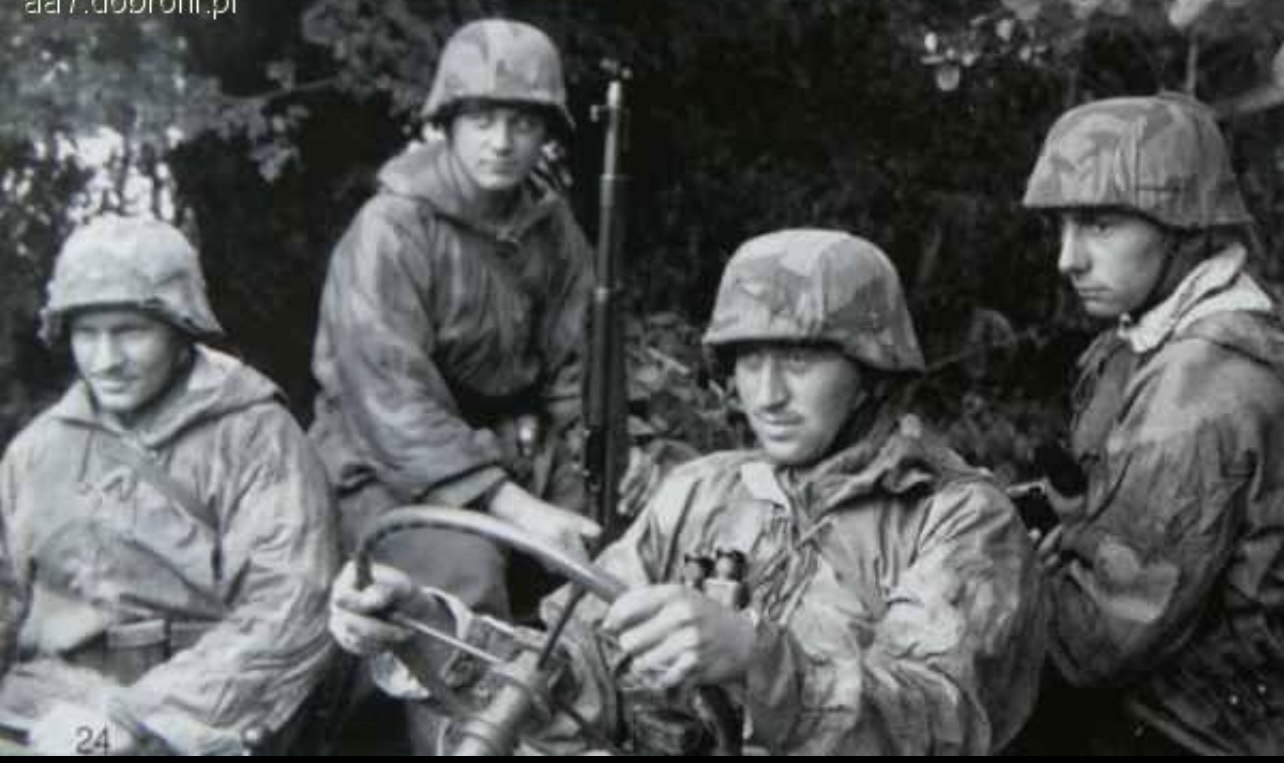
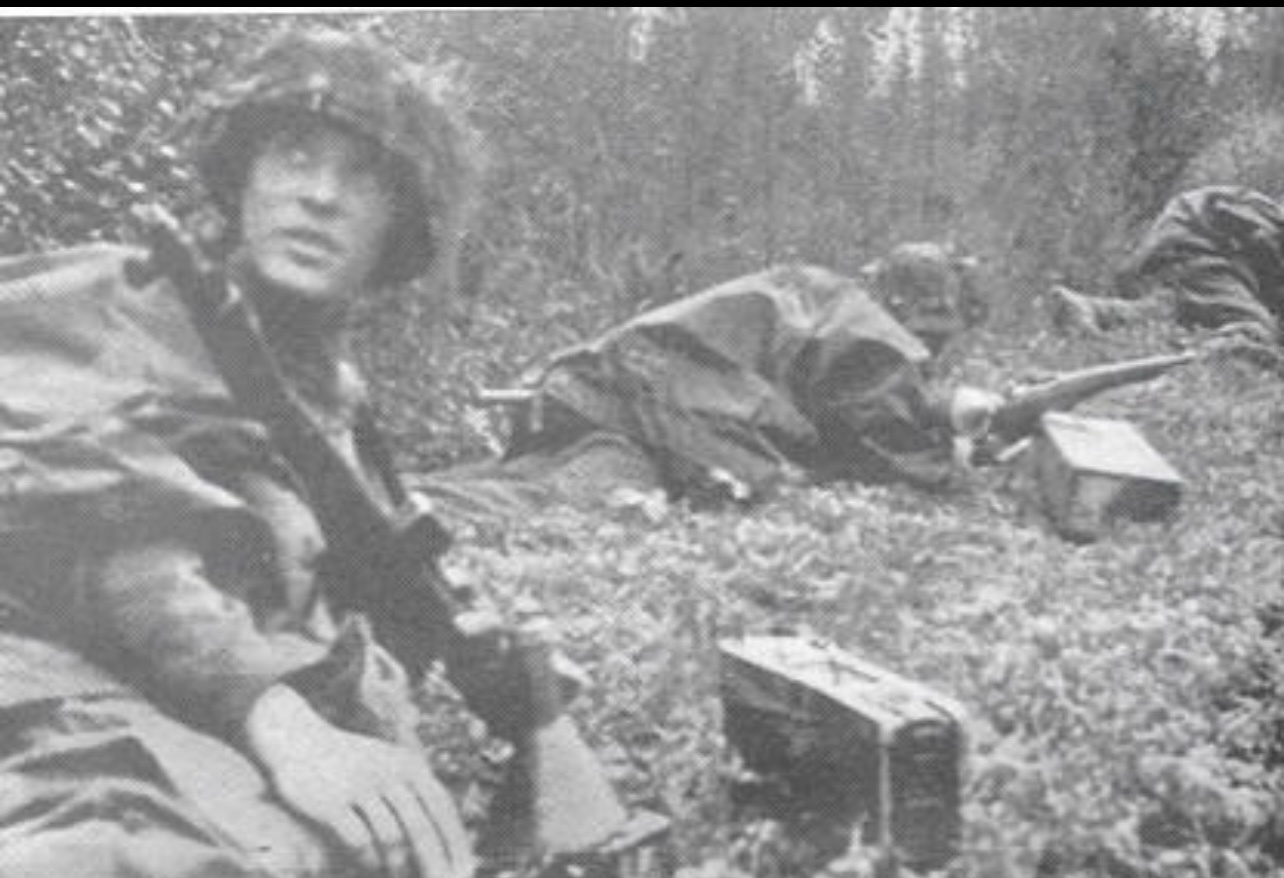
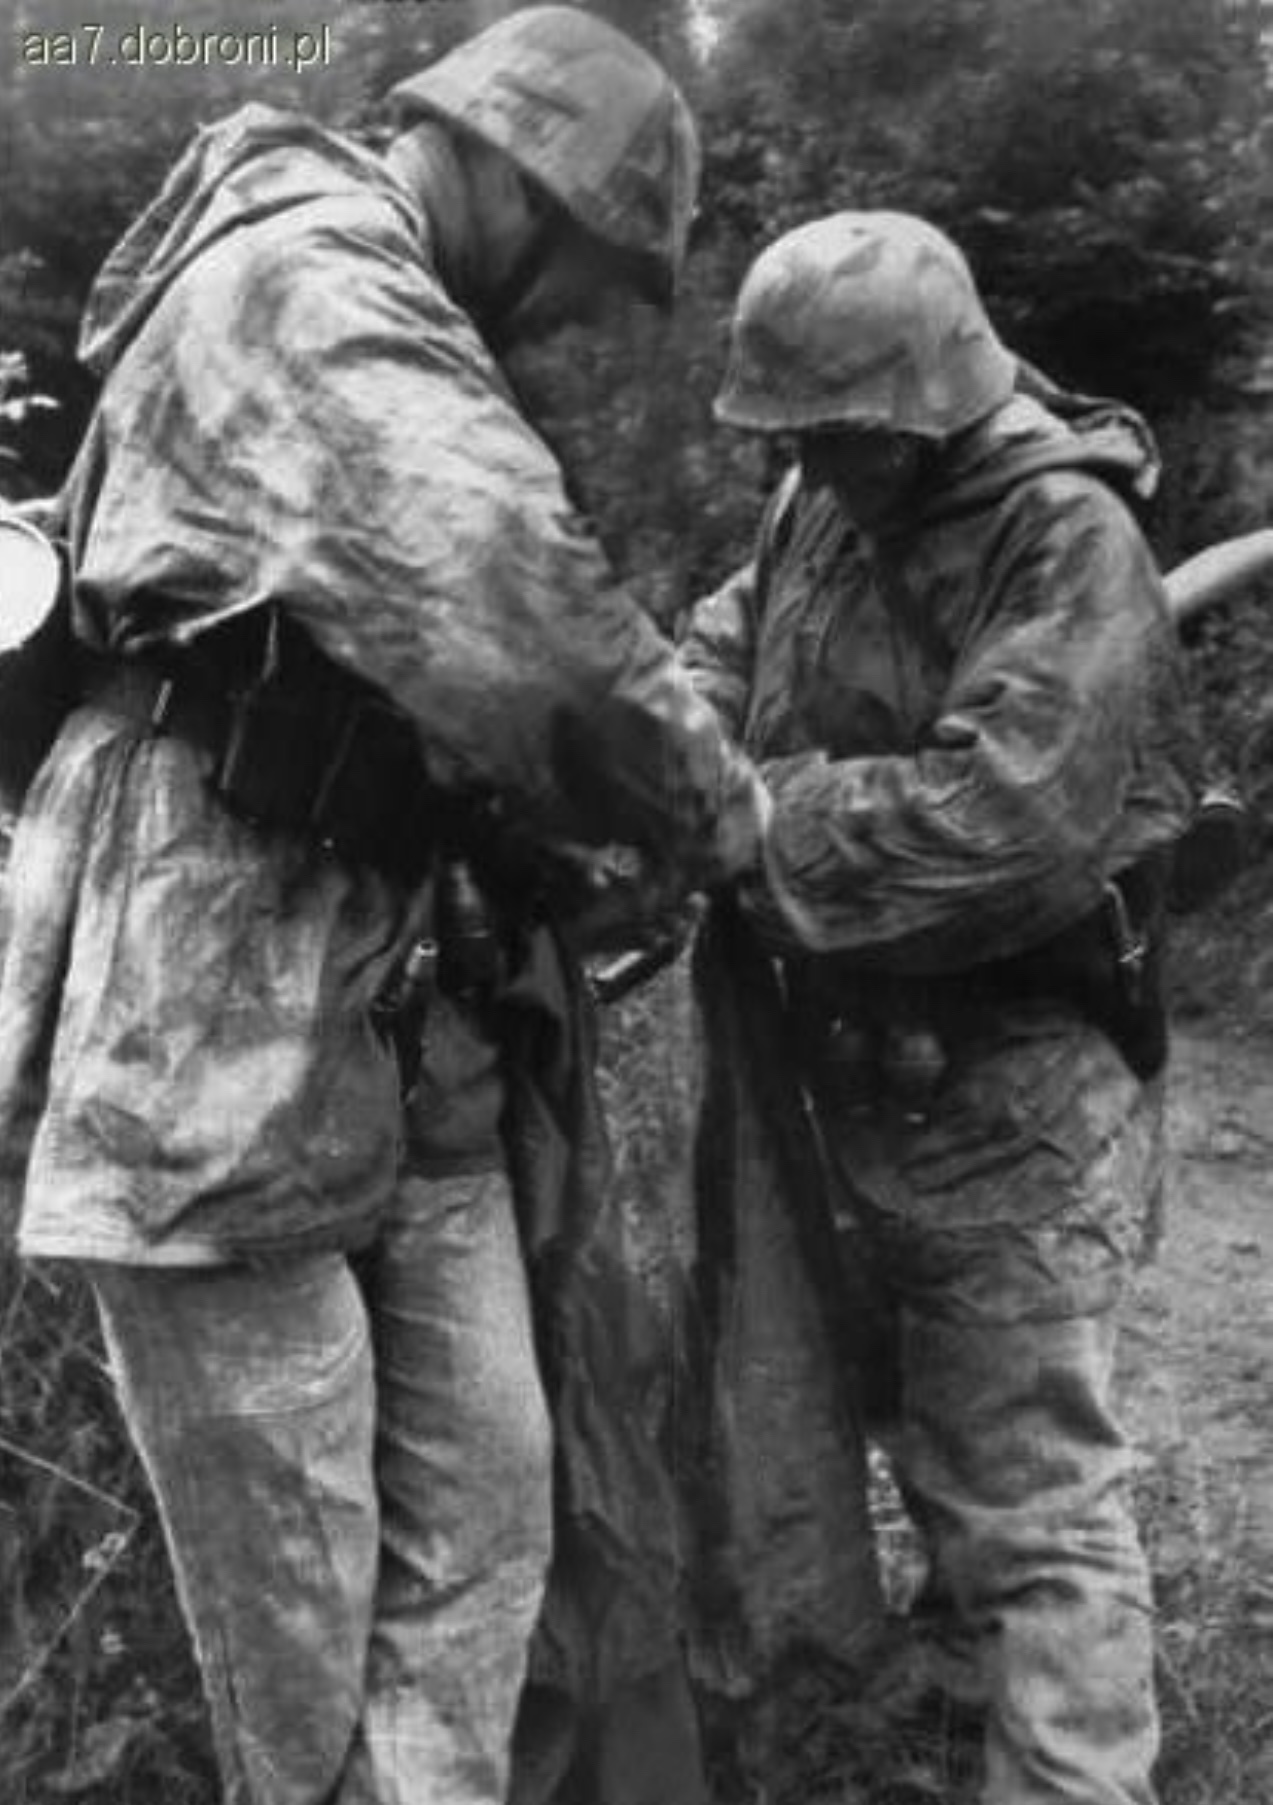
I’ve continued work on 2 grenadiers wearing sumpfmuster 43 smocks firing Walther Gewehr 41’s. Based on the famous photos of Kampfgruppe Von Luck and my favorite Ron Volstad artwork.

First up is the grenadiers: Using Ron Volstad’s artwork and photographs as inspiration, I kind of ran with those as inspiration.

Again, figure painting is always my biggest failing. It has derailed both my SS Panzergrenadier Regiment 25 and 24th Panzer Division Stalingrad Factory dioramas. I need more practice and would rather shelve a project rather than put all the work into the figures and fumble the painting.

Here is the progress:


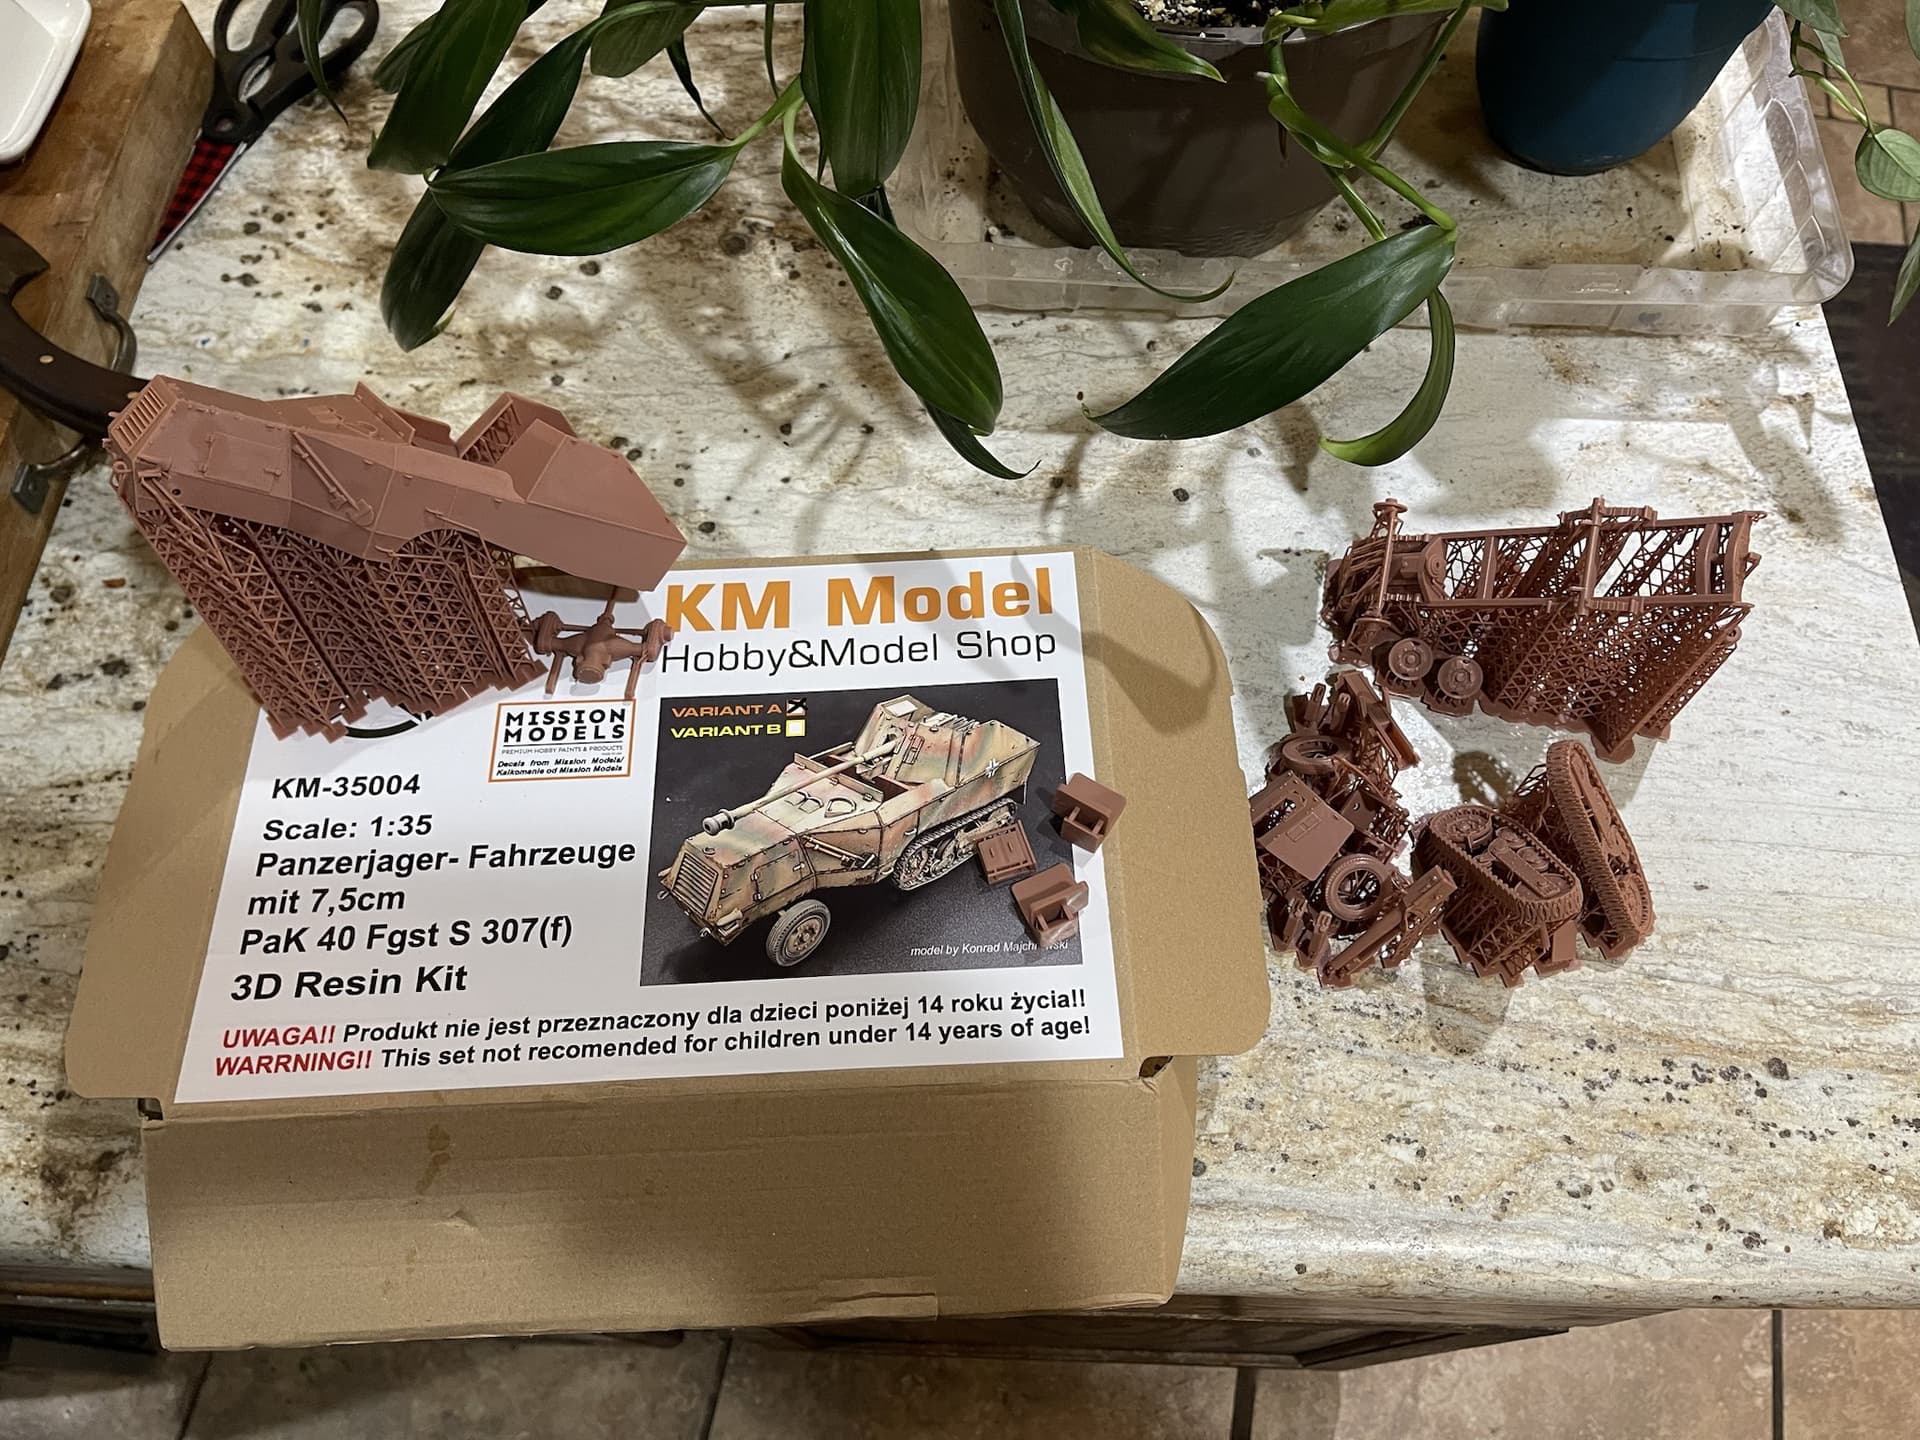
Next up is the Somua.

Man, is this thing a challenge. Not only are there very few resources available on this thing, KM’s offering continues to present scale and structing issues.

The interior is sparce and only has a floor plate and 2 electrical junction boxes, presumably for a radio.

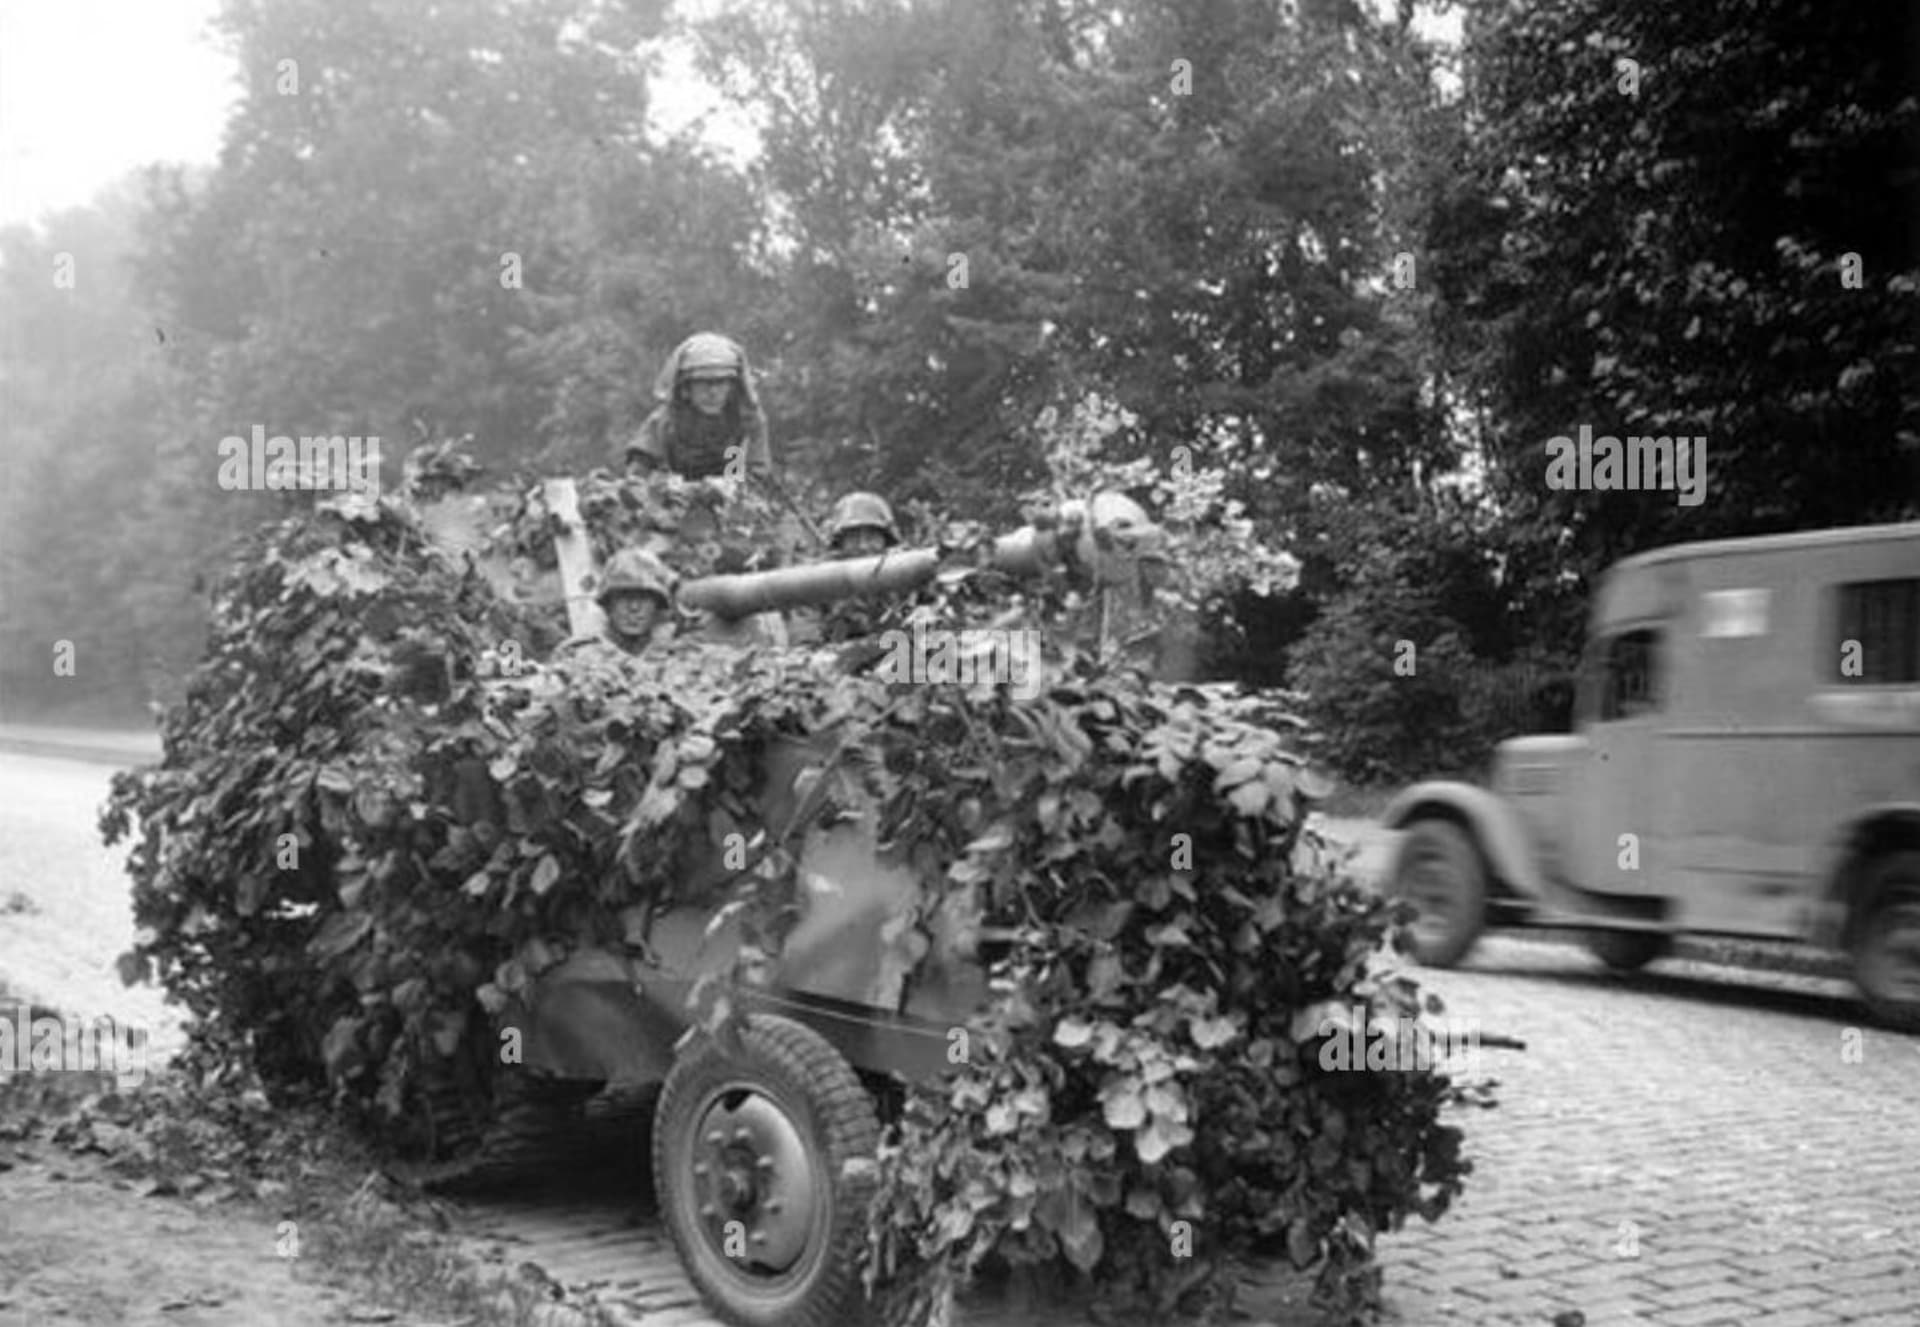
Hans Hoeller stated many times in his book that the vehicles did not have a radio. This was an issue because it was very difficult for his recon teams to communicate back to Kompanie HQ and signals to other teamates and vehicles had to be done by either hand or flares.

I removed the electrical boxes on KM’s interior with a dremel.

I then began to think about the interior, for which very few photo’s exist.

I was able to find a few images that have been greatly helpful.

You can see here that in this photo and these video stills, there are benches mounted in the interior on what appear to be metal stowage boxes. They have a padded seat cusion much like the Sdkfz 250 Neu. In fact, many of the interior elements seem to be form the 250 or very similar. Clasps, mounting brackets, cleats and cusions. I will be adding some personal equipment mounts for gas masks, MG, SMG, flare gun and a box for flare rounds.

This is not meant to disparage or in any way rip on Steve Zaloga’s build on missing lynx seen here. Brach Model resin kit BM 073 1/35 Selbstfahrlafette fur 7.5cm PaK40 auf Somua MCG S307(f) by Steve Zaloga.

He did a masterful job of scratch building and modifying Brach’s resin offering and I have nothing but praise for he and his build.

I just have to preface with this to explain why my build will look quite different as far as the interior goes. I just haven’t been able to find enough reference material and can only scratch build and mod off of what I have and what Hans Hoeller has written in his book.

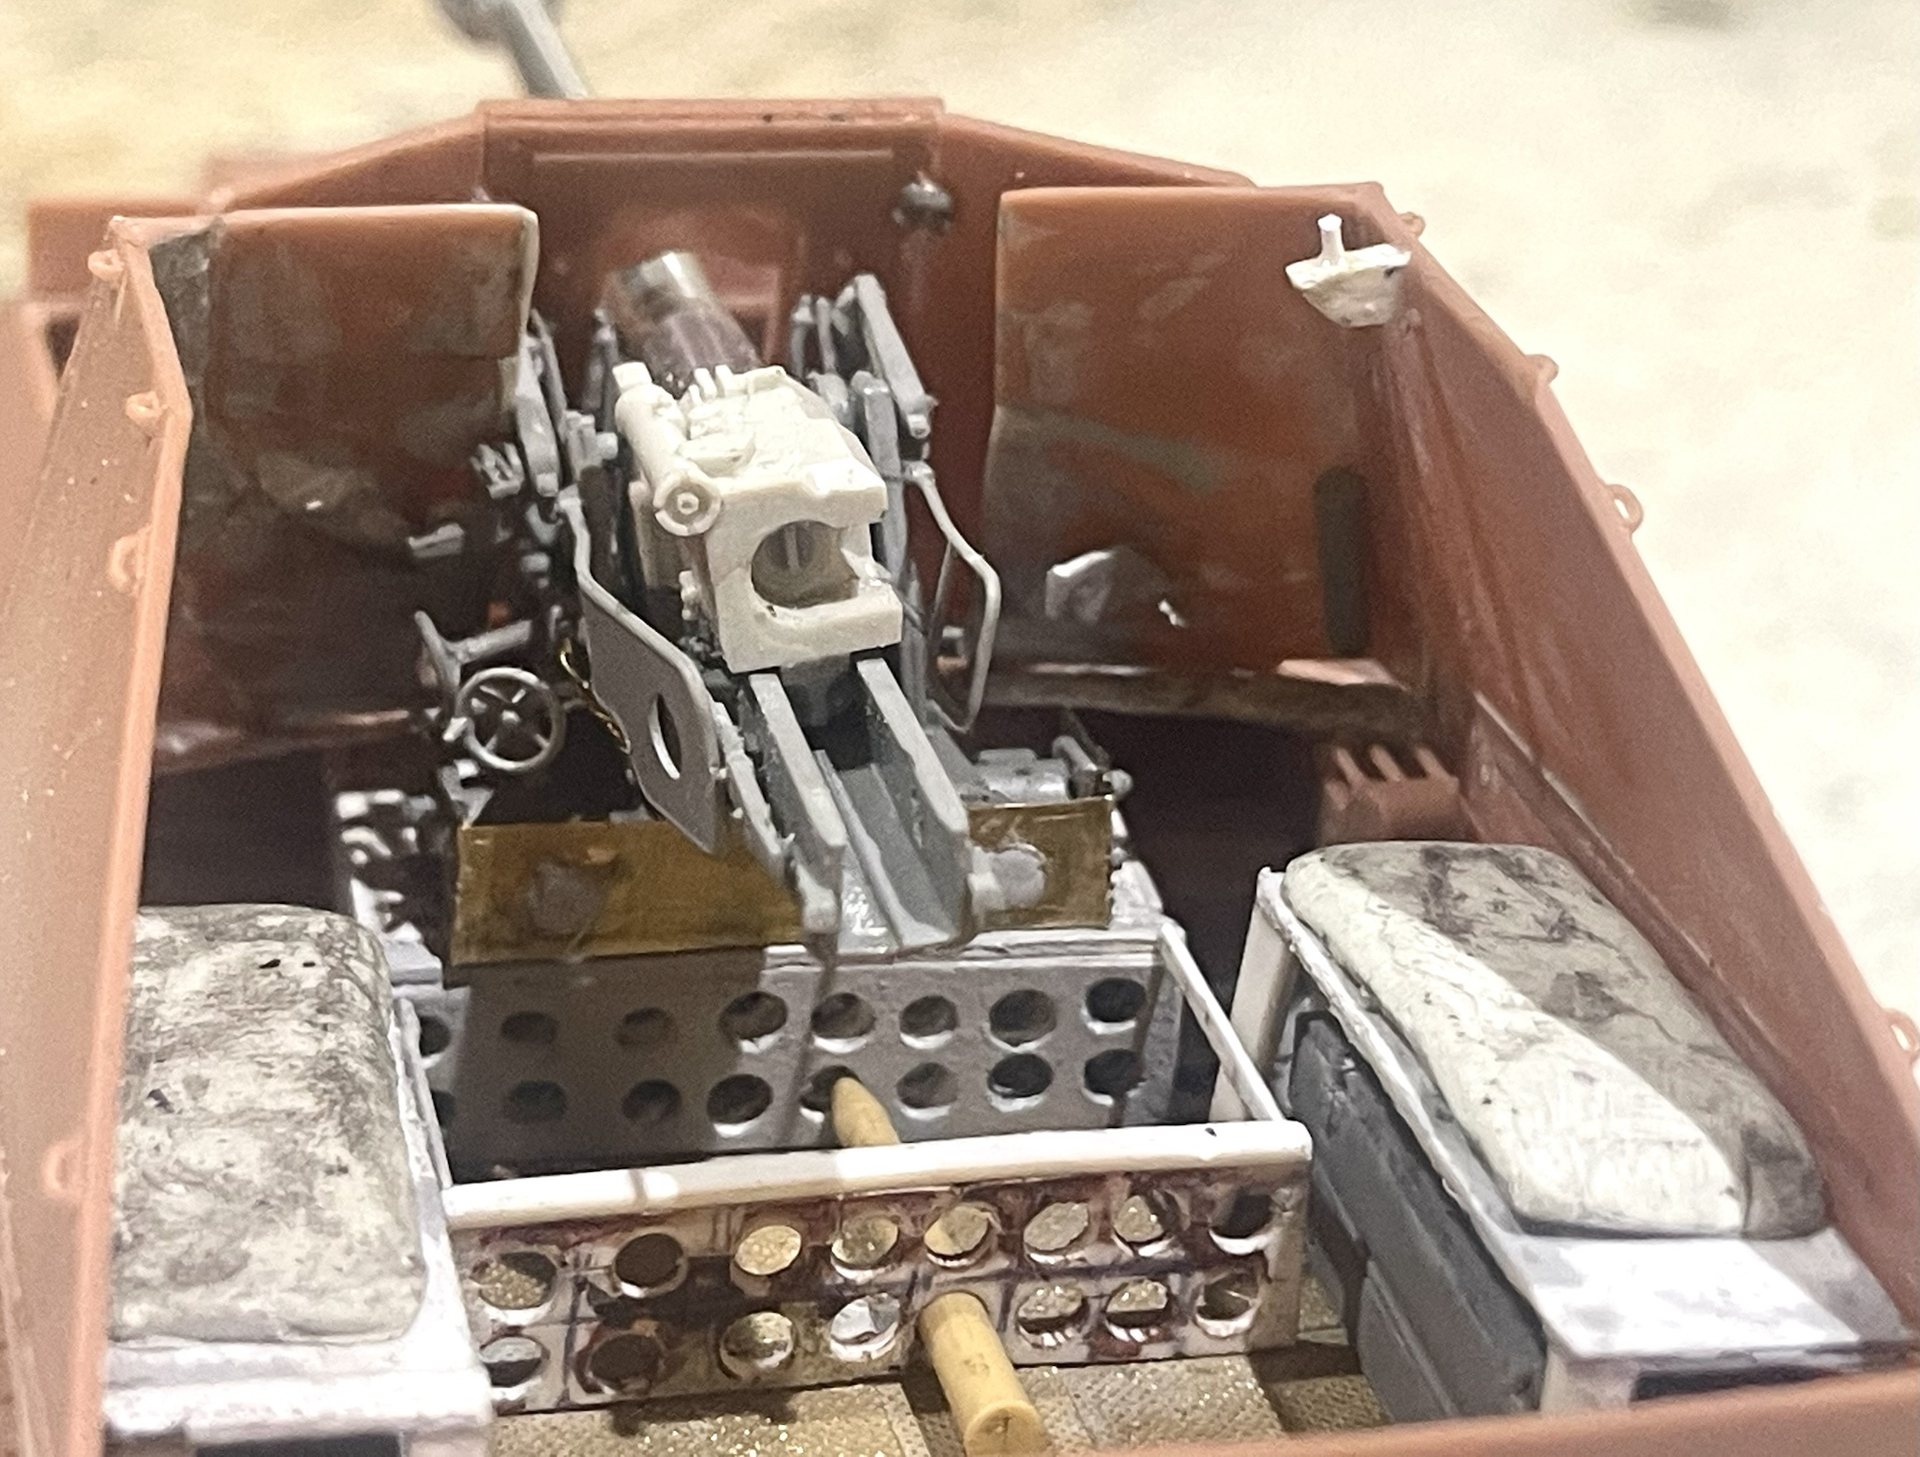
Here is some reference pics and the build up of the protype/test fits of the interior:


Not knowing what size of plastic card I needed, I used Evergreens assortment pack “Odds and Ends” which I didn’t know existed. I have been searching for a product like this for years! No more guessing with $8-$15 sheets that don’t work!

I started with this seat but it proved to be too narrow when I test fitted it, so restarted with wider dimensions.

Test fitting of the new benches and outline of the floor mounted ammo rack.

I first had to remove the electrical junction boxes which I don’t think were in the real vehicle like this.

Then test fitting can begin. You can clearly see that my build will not have rear doors and all the ammo will be stored on the floor in a custom ammo rack built in Becker’s shop.

Multiple photos also show wooden ammo boxes layed on top of the bench seats, but I’m pretty sure this is for the practice rounds used in the training for which those photos capture. Perhaps some did have this in combat, but I’m more likely to include a few single canister containers than the wooden crate box.

I feel this is pretty well in line with how the vehicle actually was made and looked, as well as working correctly in scale and what will work with my figures.

I have begun building up figures for the crew compartment.

I have used Hans Hoeller’s description of his gear and men to do so.

It’s very important to remember; These are not traditional panzerjeager or stug men. These vehicles were not crewed by those who had extensive training as drivers, gunners and self propelled gun operators from the beginning of their service. Some may have had attended driver’s school, but from what I’ve read, the majority were veteran grenadiers from North Africa, the Eastern Front, or where fresh recruits.

These were panzergrenadiers through and through and that’s how I’m building them.

The Panzergrenadier Regiments of the 21st Pz Div were unique in that when they were built back up in 43, the battalions had a “Heavy” Kompanie buit instead of mortars, heavy machine gun laffettes and infantry guns, they had these. Self Propelled Pak 40’s, 8cm mortars and 2cm flaks.

I kept this in miuned when designing the “crew”.


You can see I’ve tried to build the interior mockup after this photo which is probably the best out there.

I really cant tell what’s going on with the benches above. They almost look similar to SDkfz 251 wooden bench boxes with something like the 250’s seat cushion. I don’t know.

There’s a Jerry can in front of the right bench. This is because there’s one in the 1943 photo (likely filled with water by 21st veterans of North Africa). I secured to the floor via putty to act as a reference point of something standard and easily discernable.

You can also see that Becker secured the Pak 40 to the vehicle by way of it’s own carriage mount. This is also different from KM’s design and others online that suggested the Pak 40 was mounted via a robust pedestal mount. From what I’ve seen, it is not. Just the carriage base mount secured in the superstructure like the Marder I.

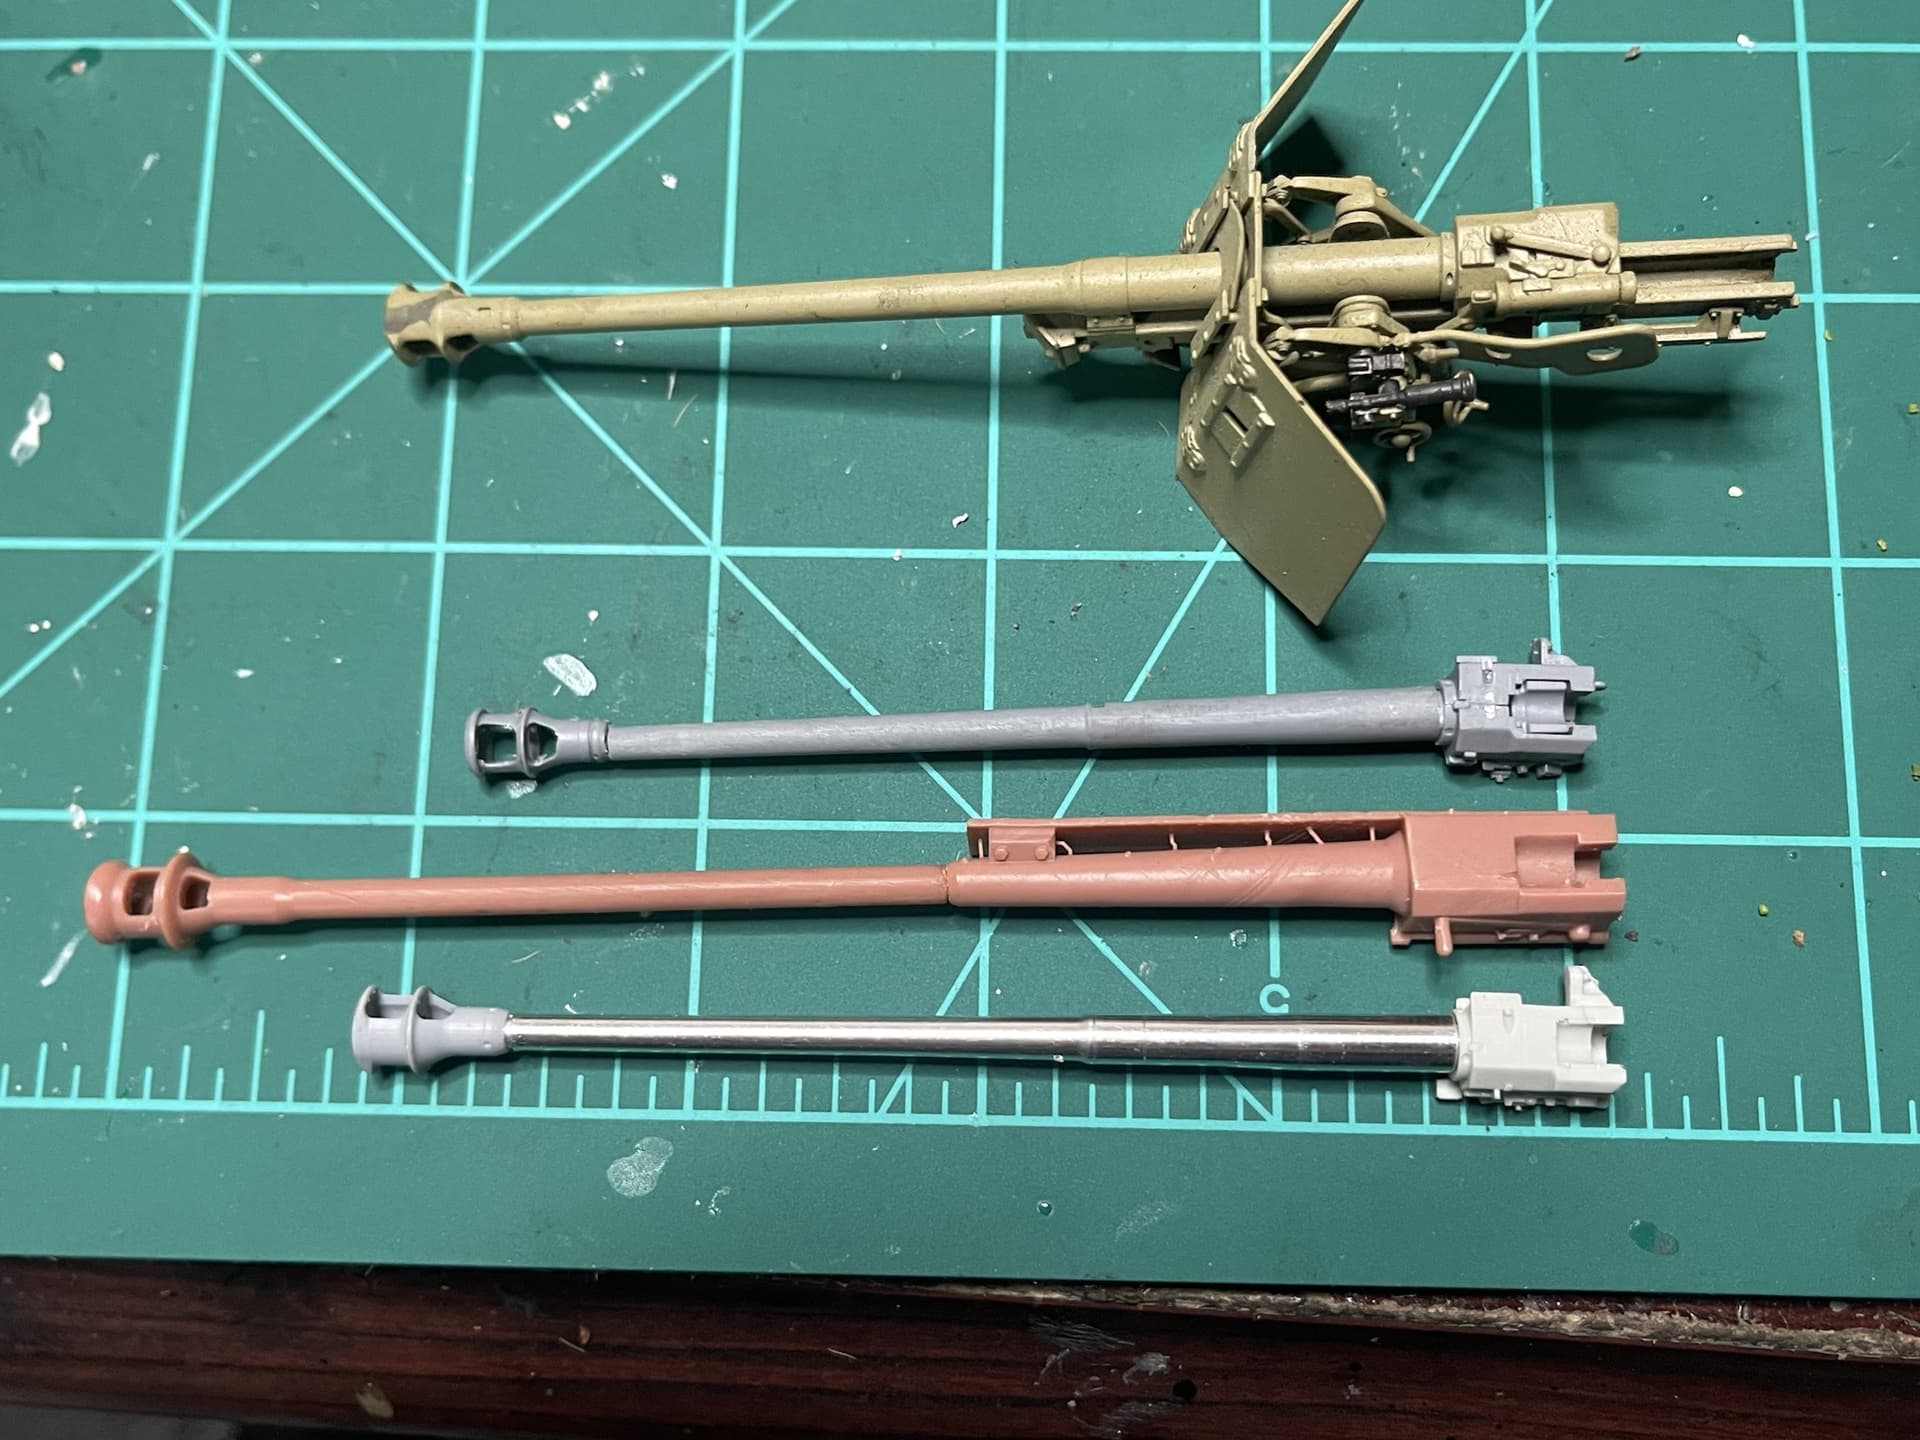
It’s going to require an additional pak 40 kit to cannibalize for these elements.I think I’ll go with Border’s new offering.

You can clearly see the ammo rack isn’t like a Marder III and mounted against the superstructure’s wall. They’re stowed in a custom rack on the floor.

The rack stores 8 rounds horizontally with 2 layers totally 16 rounds, from what we can see.

The mockup will allow me to analyze the scale and modify the benches to make an accurate ammo rack.

As I’ve stated before, the KM model is almost certainly too large. This has required me to custom sculpt my figures to be larger than they otherwise would be.

The build moves along.

I have ordered Panzer Art’s fabulous pak 40 barrel and breach and will be buying either a DAS WERK or Dragon Pak 40 for the gun carriage mount, gun cradle and details. This is proving to be a very expensive build.

BONUS:
The figures I made for the crew are very easy to make and while I’ve specifically built them for the Panzerjeager-Fahrzeuge Somua MCG 7.5cm Pak 40, they also fit perfectly in the Marder I auf Lorraine.
If anyone is looking for a good Summer '44 through 1945 combat crew. It only requires 1 Dragon figure set and very little putty and sanding.

Here’s how they fit in the Marder I:

9 Likes

Totally absorbing & fascinating build Nate, bravo. I’m no expert & have no issue with anything, I’m happy to trust your judgement in lieu of references.

3 Likes

An amazing build and fantastic figure work. I think you are right on the money with your estimates.

2 Likes

Great build you have going there Nate, and your figure work too. Very unusual subject matter A+++++

2 Likes

I have discovered through this photo (the best we have for the interior) that the pak 40 is mounted via it’s own carriage base rather than on a thick pedestal.

This will require me to cut out a large portion of KM Model’s shelf where the pak was suppose to be mounted.

I’ve used a Dremel to remove enough material to get in and carefully cut away around the shield.

I will have to build a custom shelf top at a lower level where the Pak 40’s carriage base can be mounted.

Cutting away KM’s shelf. There’s still much more work needed to complete this. This is just showing how I’ve started it. It will require a lot of careful scratch buiulding work to get the look right and it’s not made easier by the fact that this model is larger than it should be and won’t match perfectly with the 1943 photo.

The process is brutal, but necessary to have access to work in the accurate scratchbuilt shelf and Pak 40 mount. Now we can begin mapping out and creating the gun mount. Once that’s done, we can build up a decent Pak 40 to install.

11 Likes

Staging and testing out the floor mounted ammo rack using Evergreen plastic card, putty and lots of adjustments via scalpel and sanding.

Of course; It looks absolutely hideous, but this process is crucial to figure out the dimensions/staging so final improvements can proceed, and then final adjustments. I feel it’s beneficial to document the whole process and not just the flashy visually pleasing ones. :woozy_face: There’s very little to work with as far as references, so it’s just a ‘little-by-little’ trial and error process.

I also was able to clean up some of the grenadiers using Mr. Dissolved Putty. This is another product that is brand new to me, but I’ve had such a great experience with it that I can’t see doing without it in the future.

6 Likes

It’s been a week of slow but sure progress. A lot of this build has just been trial and error, building up things with plastic card, testing the fit and comparing it to the one single photo of the interior I have.

Through this process I think I’ve finally learned what the seat orientation was. Instead of metal trunk-like compartments with a bench cushion on top, I now think they were 4 legged table-like benches with a cushion on top.

I believe the object we see under the bench seat is actually 2 pak 40 ammo boxes on top of one another.

I think they were able to carry 4 boxes this way giving them an additional 12 rounds under the seats. This would make for 28 stowable rounds total, assuming they didn’t stuff additional rounds in the compartment.

All-in-all, a ton of work was put in this last week. I managed to completely gut the interior, build up and make adjustments to the ammunition box and shelf. I then was able to modify it too match the actual interior photo more closely.

I then went to work on the shield adding bolts and cutting in more defined panel lines.
I added textured metal floor plating to give it that shop-modified look.

The last few days have had me detailing the fighting compartment, adding features, adding putty and sanding non stop.


I purchased Border Model’s 1:35 Pak 40 which was an absolute joy to build. I supplemented in Panzer Art’s Pak 40 barrel, breach and muzzle brake.


I was able to build up an accurate gun mounting that very closely resembles the one in the photo.


It looks completely different from it’s original state but I am happy with it.

It will look much better when I’ve finished making final adjustments, glue everything down and can get a coat of MIG Ammo’s one-shot black primer on it.


10 Likes

I really appreciate it! It’s been a very tough build.

1 Like

I really appreciate it at it, Tim. This has easily been the most challenging build I’ve taken on. This has put my scratch building skills to the test.

I truly think the hardest part is done now, though.

I’m at a stage where I can really start enjoying the process and bring this thing to life!

4 Likes

Spent nearly the whole weekend working on the interior. I made many adjustments and installed PE details like the mg mount, mp40, k98k and flare gun stowage mounts.

These vehicles were operated by panzergrenadiers and made in a factory along side schutzenpanzerwagens, so I installed mountings similar to those of the Sdkfz 250/251.


5 Likes

Pulled an all nighter and got the grand majority of the fighting compartment PE completed!


9 Likes

Happy Thanksgiving from Springfield Missouri!

Ok. It may appear as if little progress has been made, but let me assure all that non stop work has taken place.

I applied a lot of PE. I really tried to take the one interior photo I had to work off of and Hans Hoeller’s description and add some detail of my own.

We must remember that these are manned by Panzergrenadiers, not tankers, spg gunners or arty men.

This unit was the 8th (heavy) Kompanie within a Panzergrenadier unit. The vehicles in this Zug are essentially schutzenpanzerwagens with a heavy AT support weapons.

While crewed by 5 men, the way Hoeller describes action with these, is that the vehicle commander and another man would hop out and run a short recon forward on foot and relay the situation back to the 3 on the vehicle. Why the vehicle can serve with as little as 2 men, (driver and gun operator), typically 3 (with a spotter/gun commander and loader) were present while 2 men ran recon and protection outside the vehicle. It’s an interesting read and played a big role in my final interior layout.

I added similar features an Sdkfz 250 Neu would have. Fire extinguisher mounts, a flare gun and cartridge box (since these had no radios according to Hans Hoeller), Mp-40’s, map cases, K98k rack, gas mask canister mounts, ammunition cases for the Mp-40’s and the onboard Mg-42. I really like the way it came out.

She is officially ready for primer. Thank God. I know what I’m thankful for this Thanksgiving.


One of the largest hurdles with this build has been the scale issue of the KM model kit. The kit is too big for 1:35. Even Larger figures appear too small and next to a Tamiya figure, it’s the size of a Panther.

This meant modifying everything to find a middle ground including the Pak 40 itself.

I purchased Panzer Art’s Pak 40 breech and barrel which is excellent, but quickly realized I had to extend the barrel. I hate doing that, because rarely does it come out totally straight and uniform. The barrel length should run about flush with the nose of the vehicle, however the Panzer Art 1:35 Pak 40 barrel came up about 3/4 of the way and looked way too small.

After an extension, this is how it came out. I’m pleased with it.

The drivers side panel contains PE mounts for an Mp-40, and gas mask canister. The left seat side panel has 2 different map cases and a holster for a pistol. An empty fire extinguisher bracket/mount lies between the 2 on the bulkhead.

Unfortunately, this 3D printed model is very brittle. I have broken so many parts that I’ve lost track. One that’s been particularly challenging has been the tow hooks. These French tow hooks are curved. They’re like an angle curved version of captain Hook’s hand.

These broke in the seperstion phase and the answer was to take some plastic rod similar in gauge, heat it with a lighter and then curve the piece over and backwards. It took many attempts but it worked.


I can also confidently say that I now know how the Pak 40 was mounted in these things. This was yet another huge challenge with this project. Figuring out how they actually mounted it and scratch building the base and mount. All with only a single grainy photograph to go off of.


Onward and upward, gentlemen!

9 Likes

Lovely work thus far mate! Impressive amount of PE too!

2 Likes