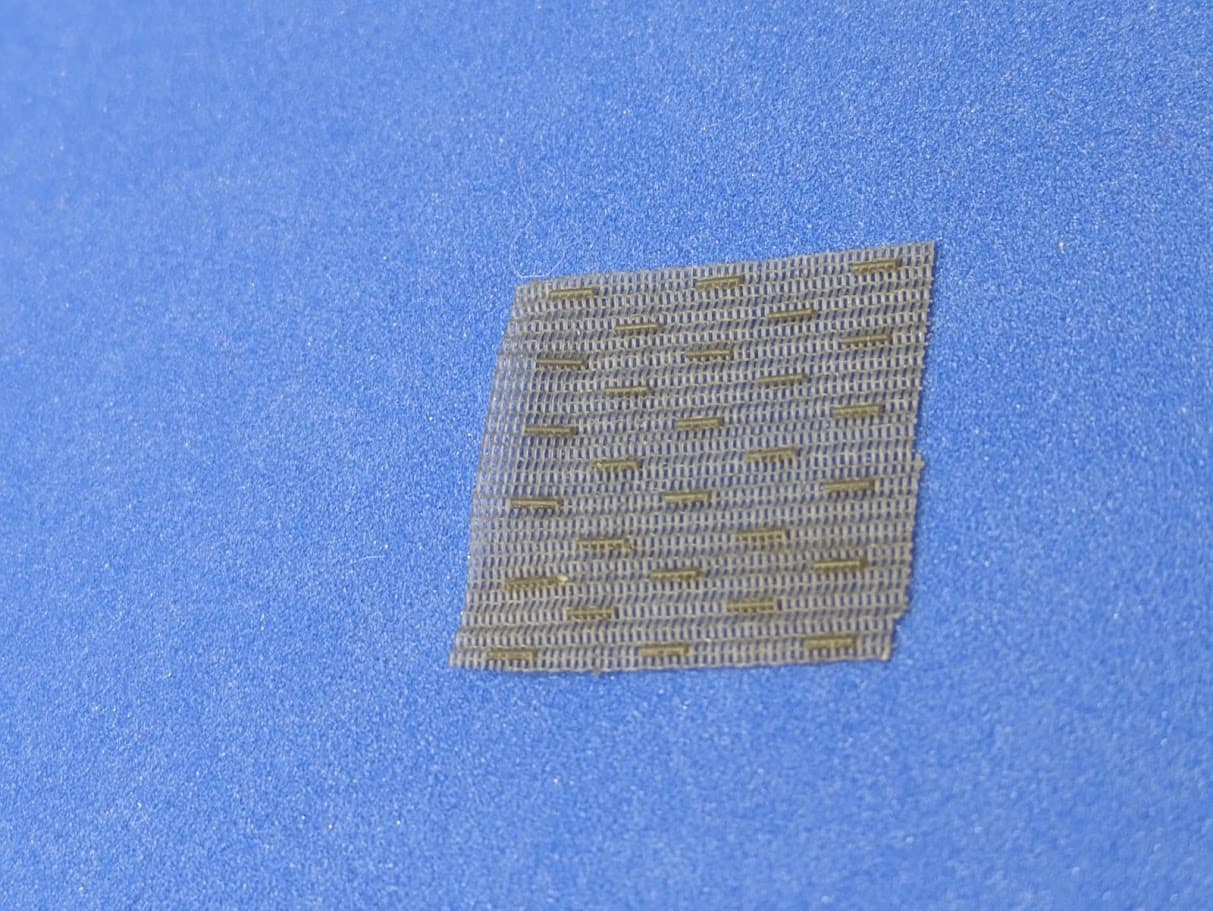
WIP: 1/35 M113 grill mesh. Trying to achieve what PEs have done. This will push my 3D printer’s limit - each strand is about 0.15mm thick/diameter. Must be a bit over-scaled for printability.


Reference photo:
WIP: 1/35 M113 grill mesh. Trying to achieve what PEs have done. This will push my 3D printer’s limit - each strand is about 0.15mm thick/diameter. Must be a bit over-scaled for printability.
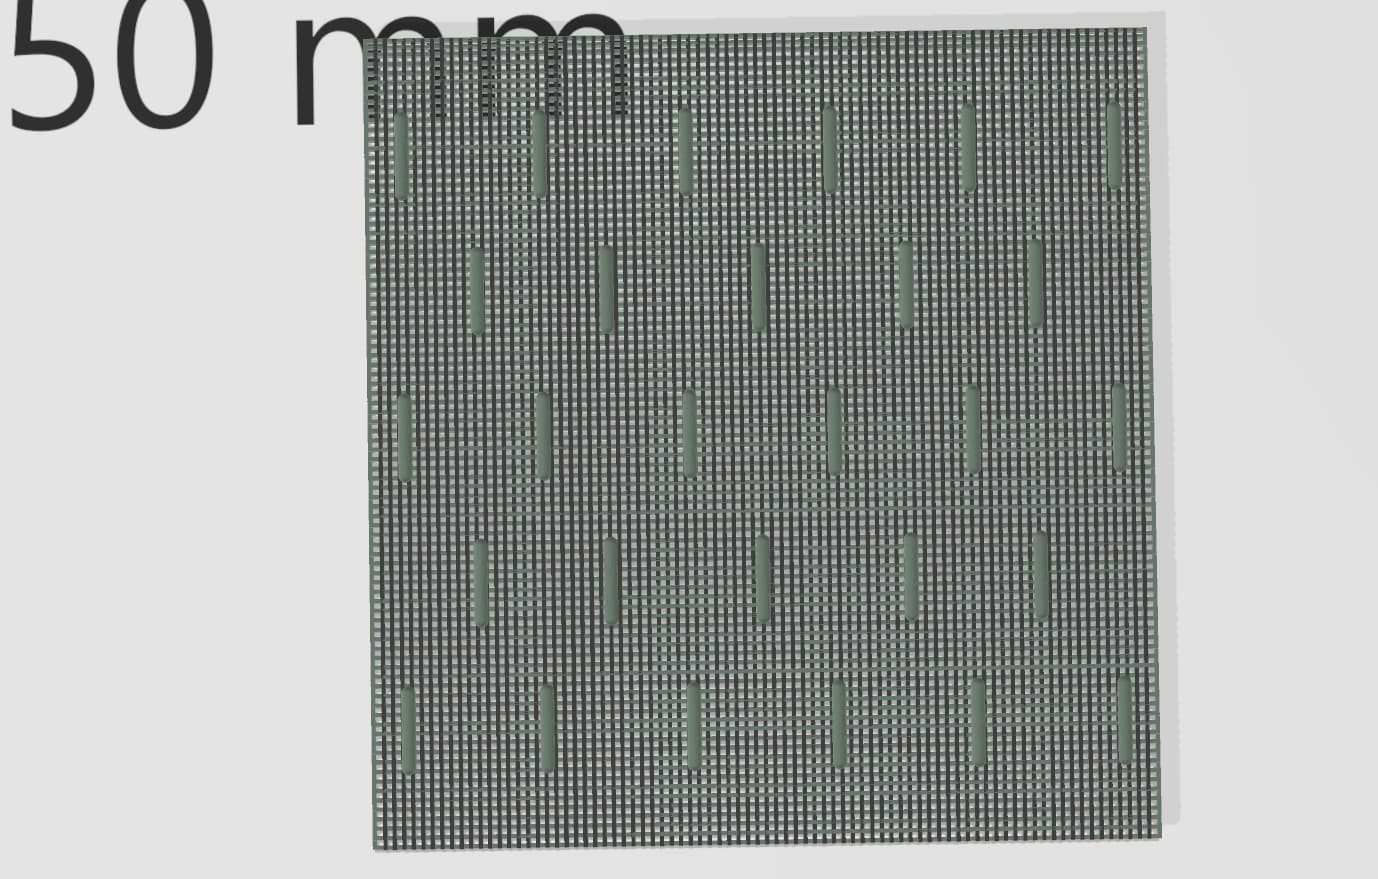
Happy Easter all! M113A2 grill meshes in 1/35 done! The measurements based on AFV Club M113A1s.
Their STLs will be available on my Cults3D page.
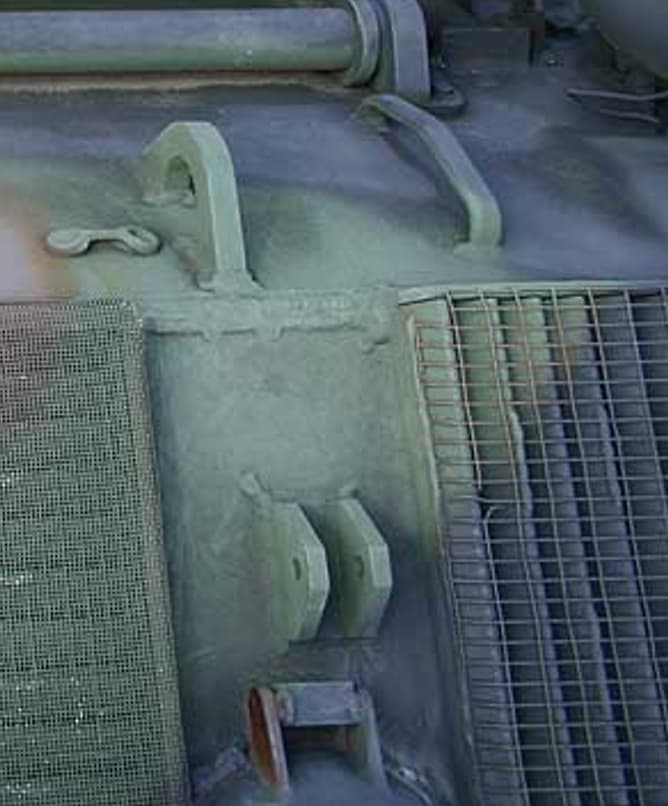
Reference photo used
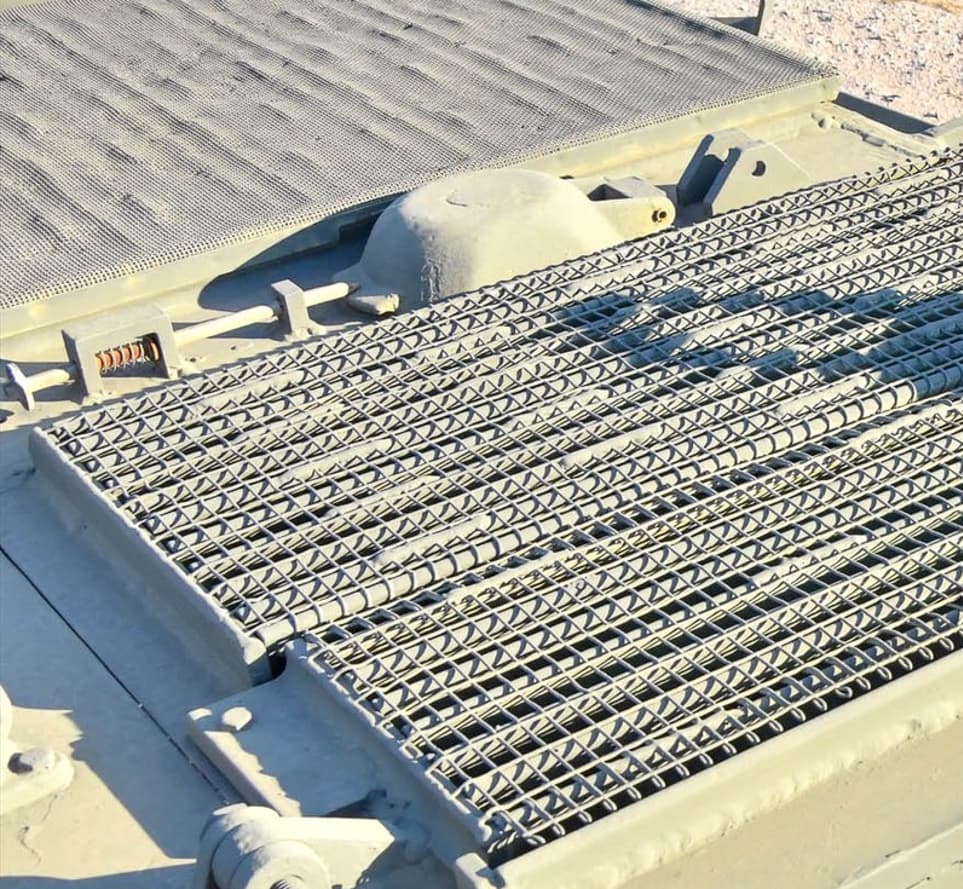
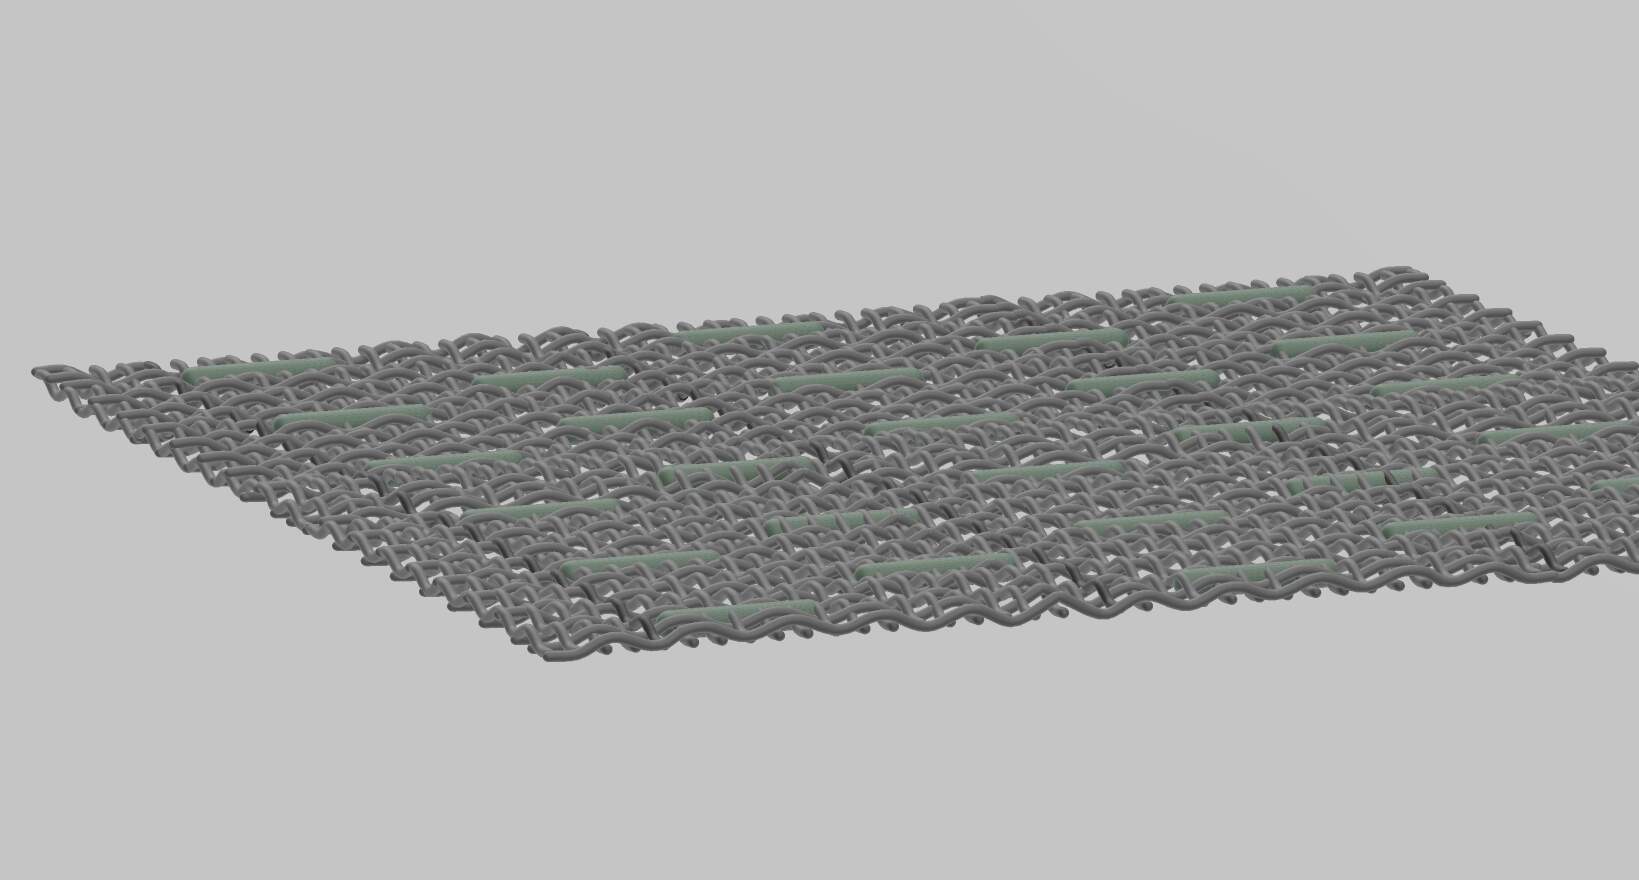
Someone corrected me that M113A1 engine deck mesh on the left side is weaved, while the A2/A3’s left side meshes are fine layered like I CADded above. So I made a correct A1 weaved version for the left side also:
Reference photo used
Noice! ![]()
Again, so well done. And the bravery you have! 0.15mm! I bought STL files for an M2 50-cal for my tank and had some detail trouble. (Asuka makes a great model but no decals and “this is where the machine gun goes but you don’t get one” - Whaaat?!!!). The carrier handle on the M2 barrel is too fine and got chewed up a bit, I think it needs need exposure adjustment. I’m going to beef up the handle I think!
Sounds like you bought the “overtree” boxing. Like Eduard, it is just the plastic.
Seemed like a good price, would have been nice for them to tell me! I’m going to do custom decals anyway (my friend has a laser that takes white toner), but it was disappointing. No machine gun either! US$2.00 for the print file, but it’s not as easy as cutting the parts and a bit of cement!
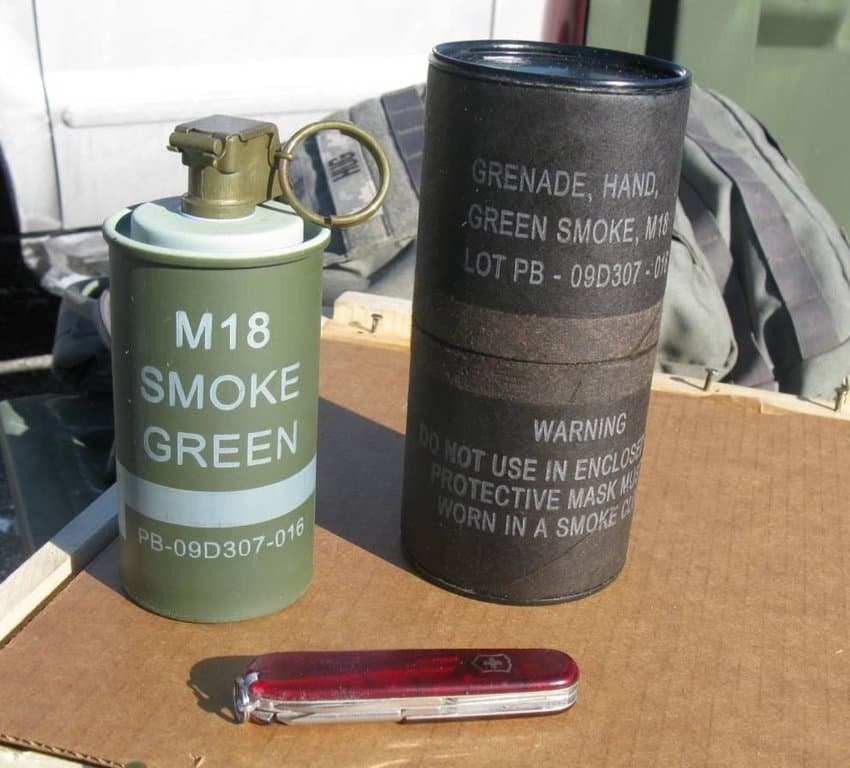
M18 smoke grenade CAD in 1/35 done. Slightly oversized for printability. Embossing will probably not show up. Uploading it to my cults3d page soon. 3D prints available for fellow Armoramans in the US.
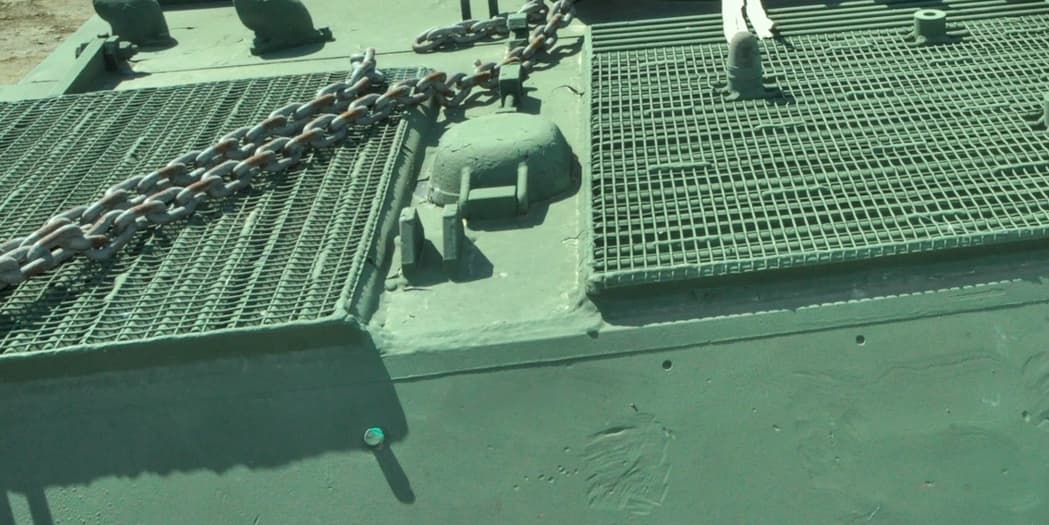
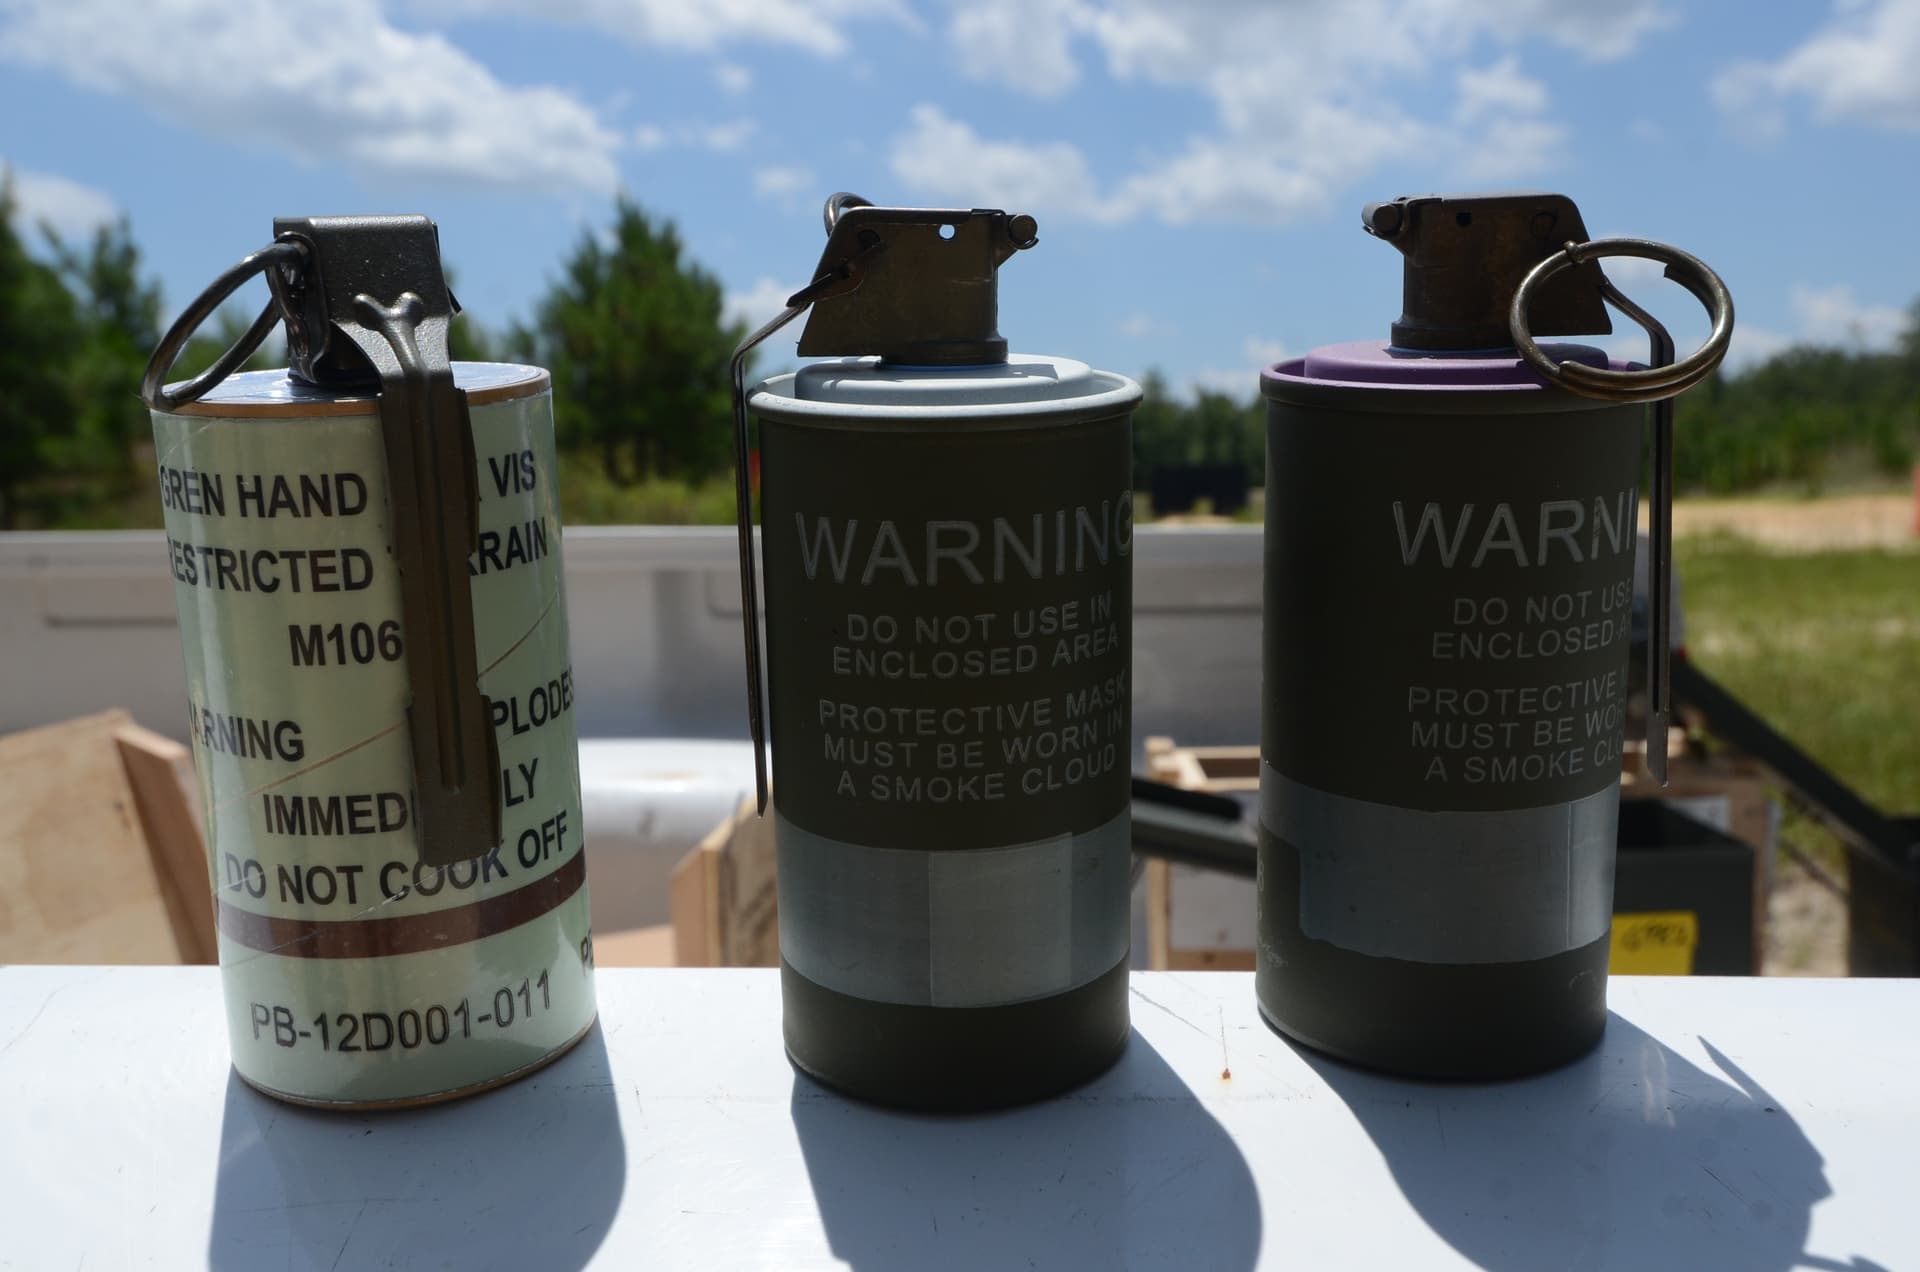
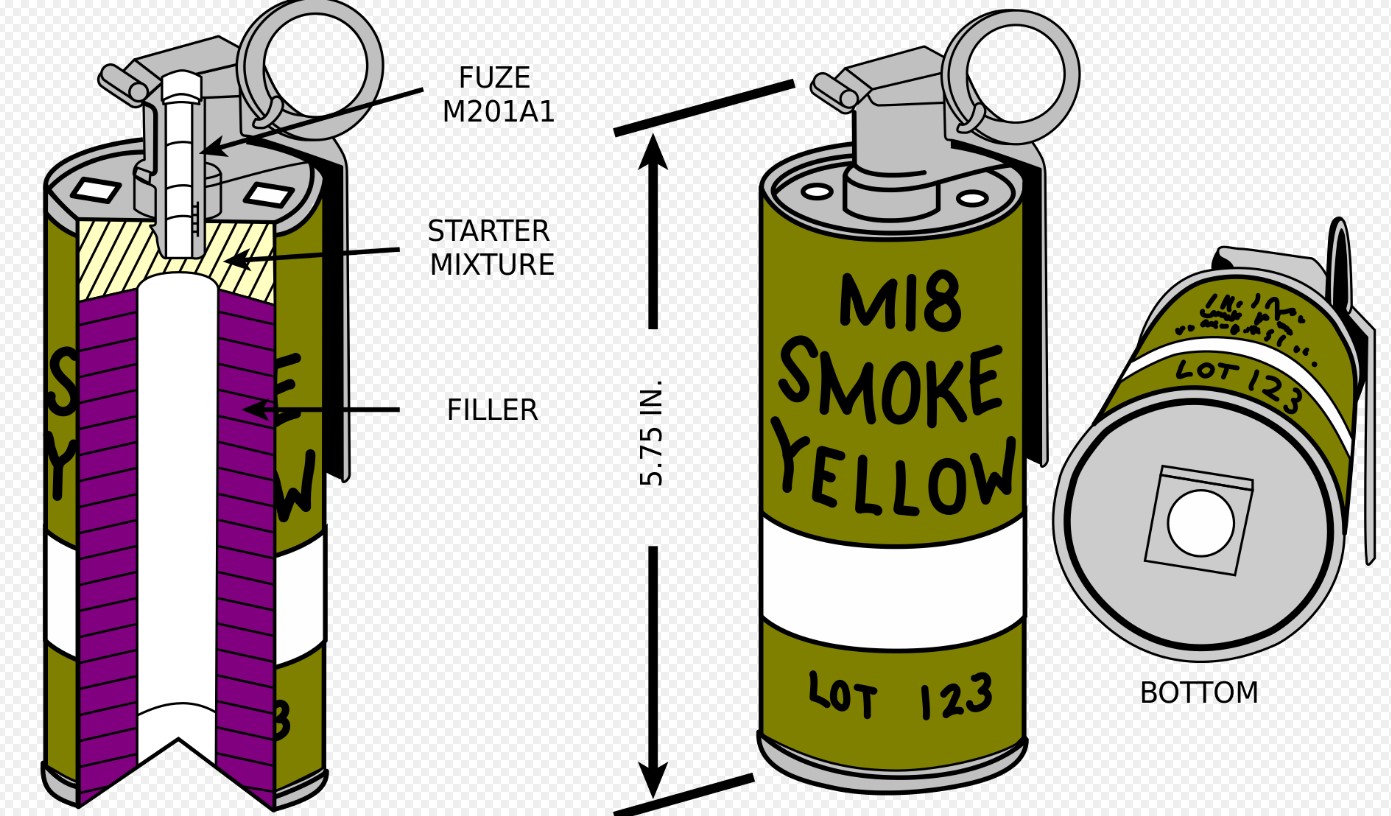
Reference photos used:
Yes please. Thank you!
I’ve got a insulated coffee mug in the red color!
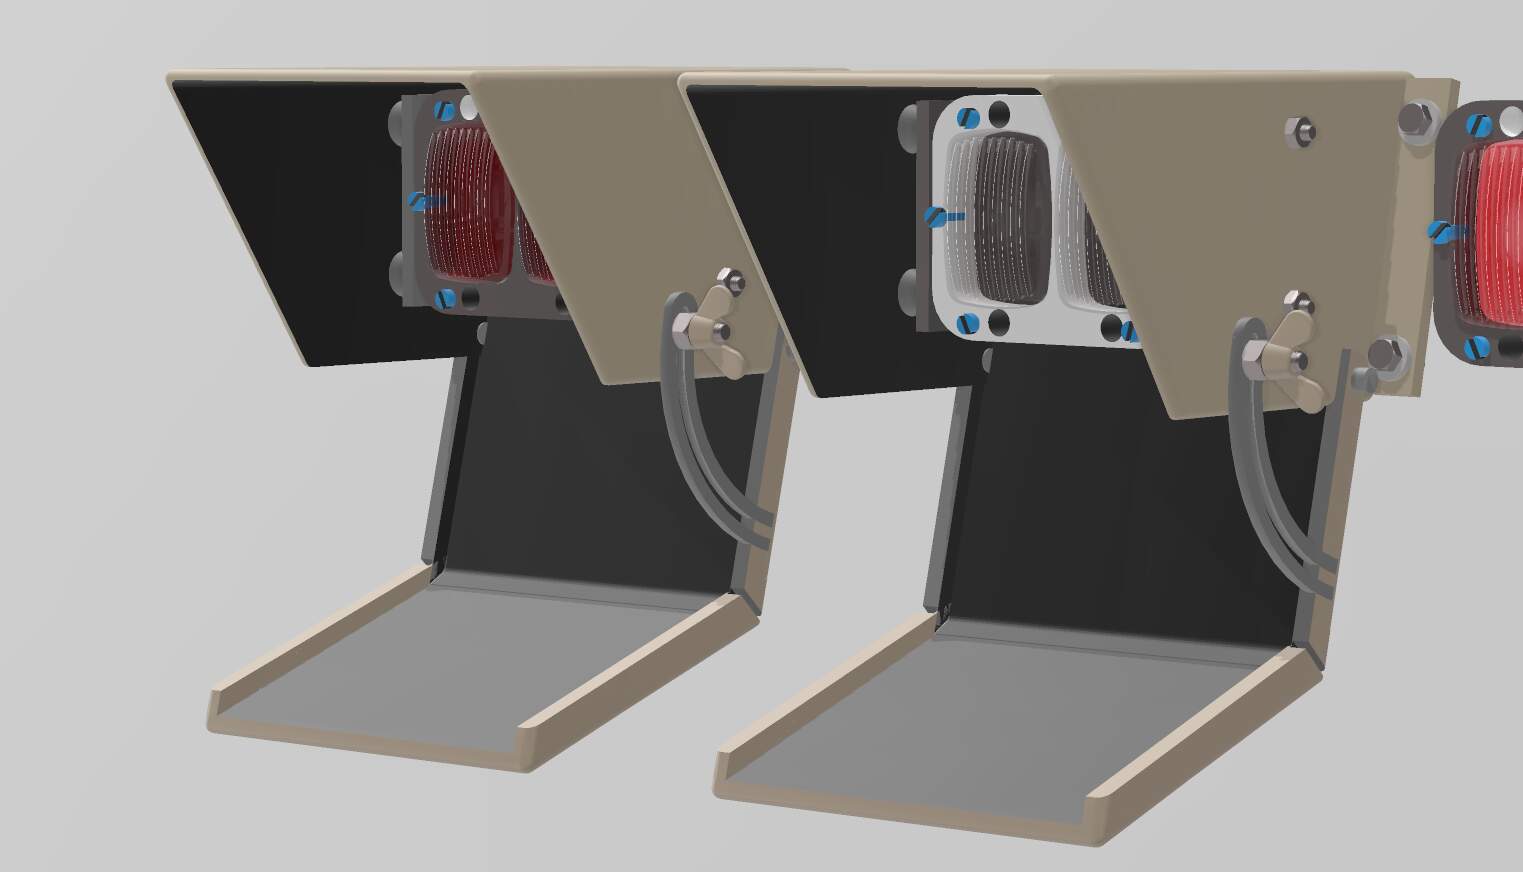
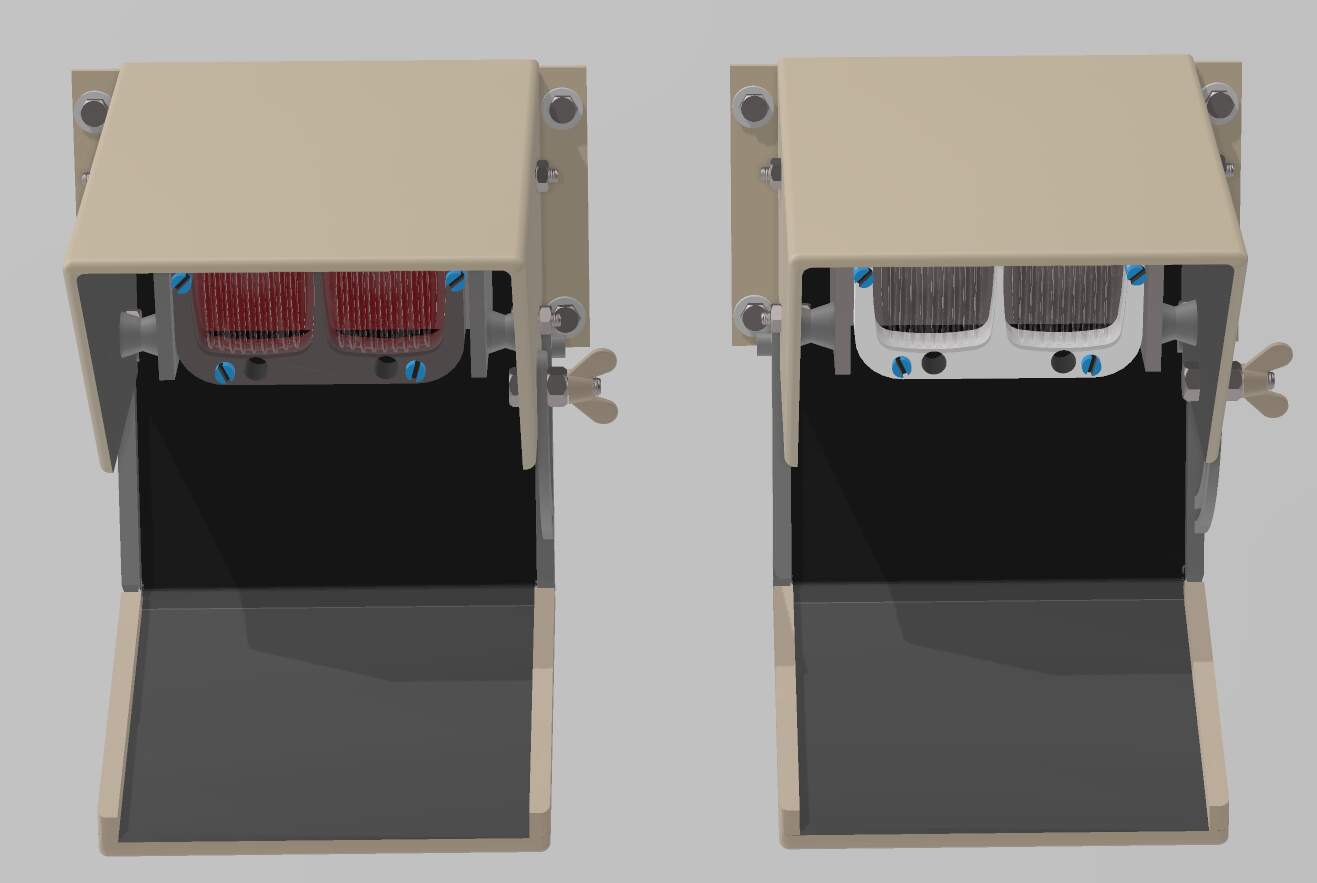
AMX-30 EBD rear light casing CAD - open position and the lights finally done! Ready for 3D printing!
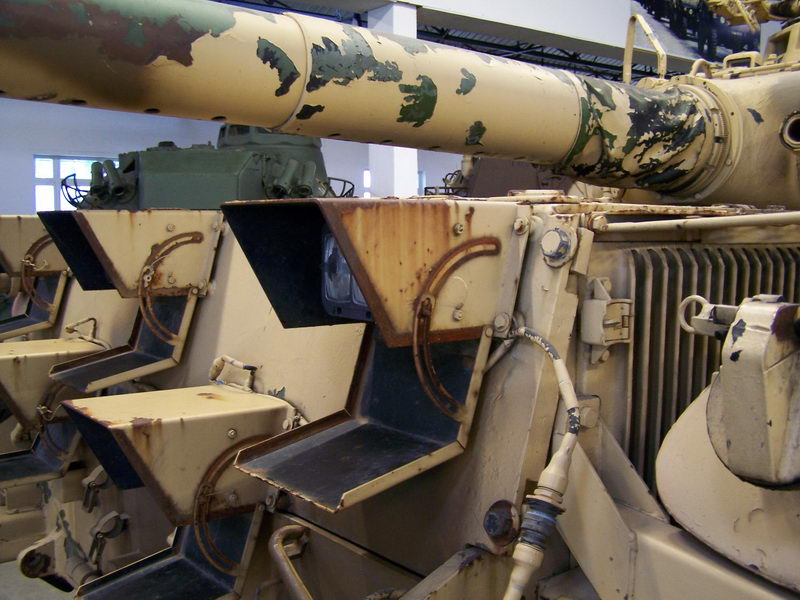
Reference photo used:
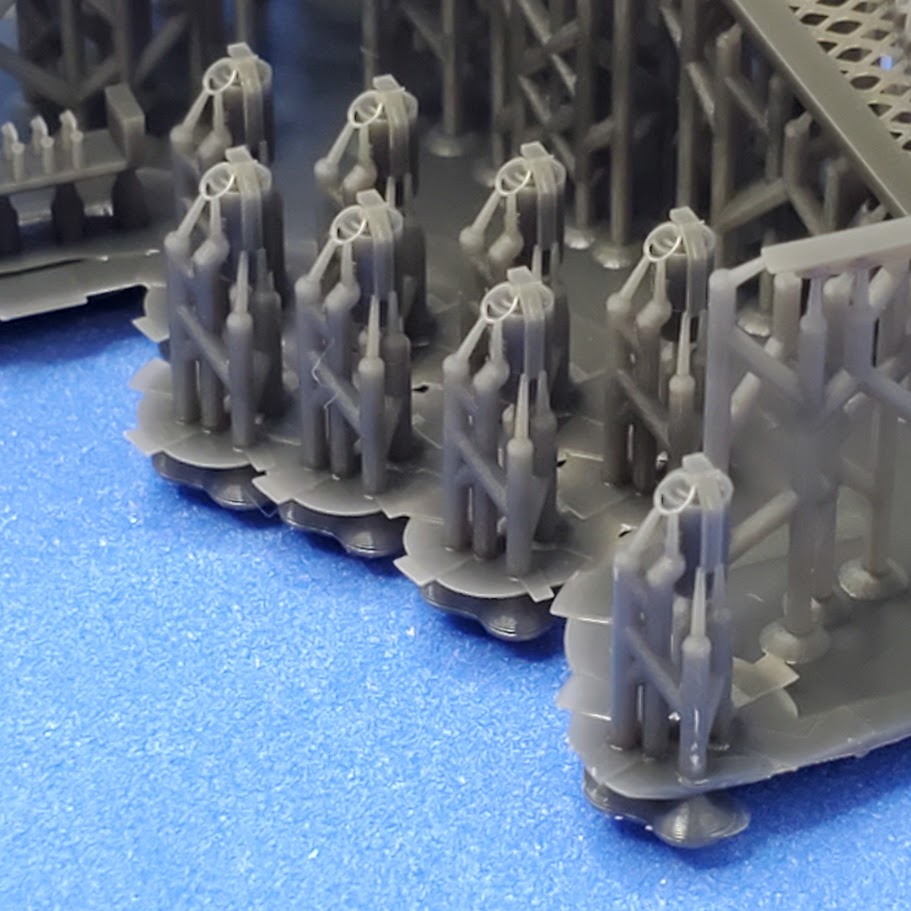
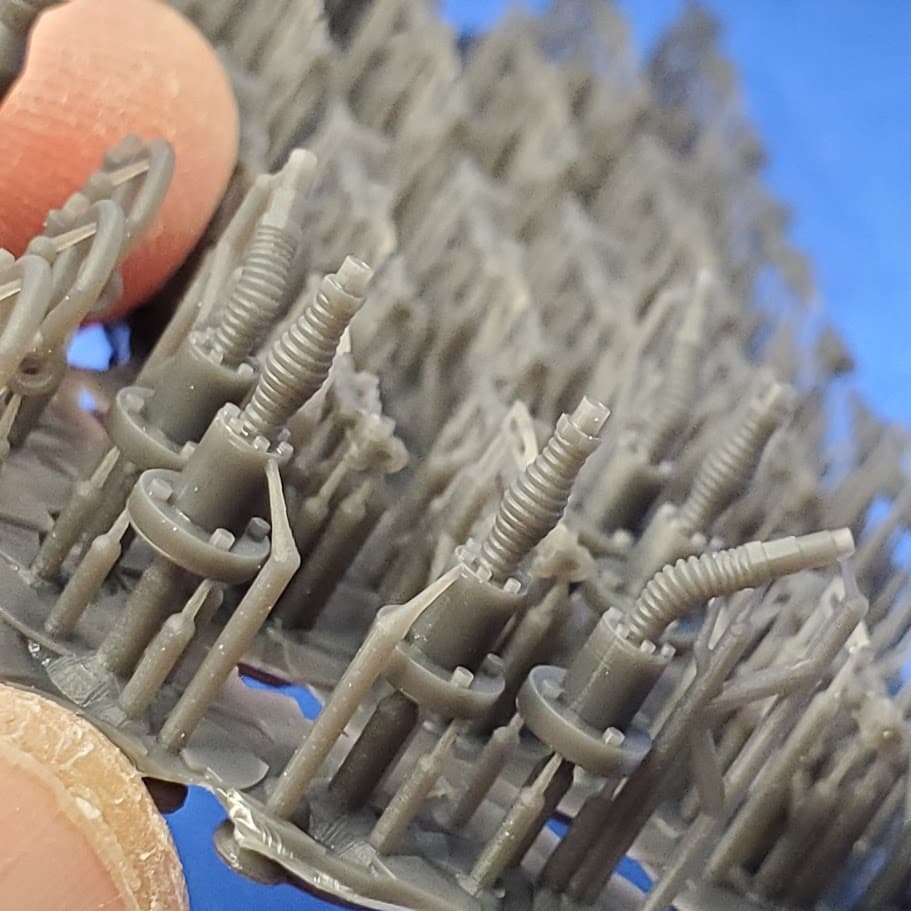
3D prints from this past weekend. Still need to UV cure and take some supports off:
M18 smoke grenades in 1/35:
At my phone’s maximum x8 zoom:
My 3D printer attempted the embossing with the letter height of 0.09mm.
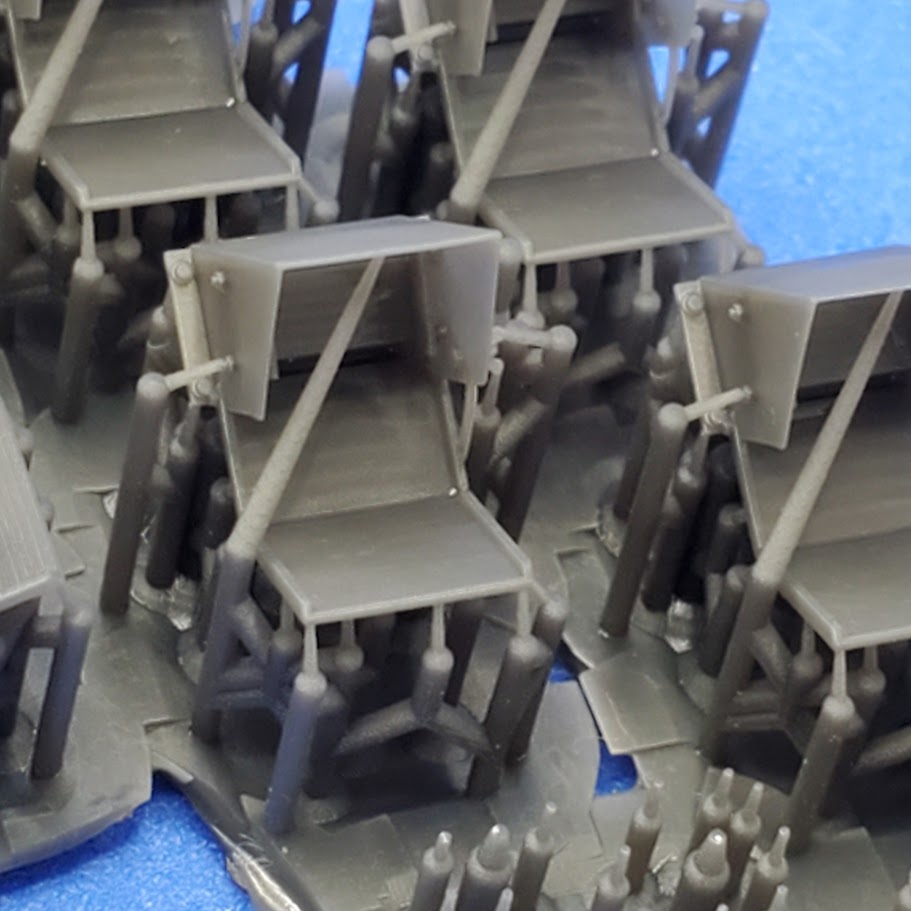
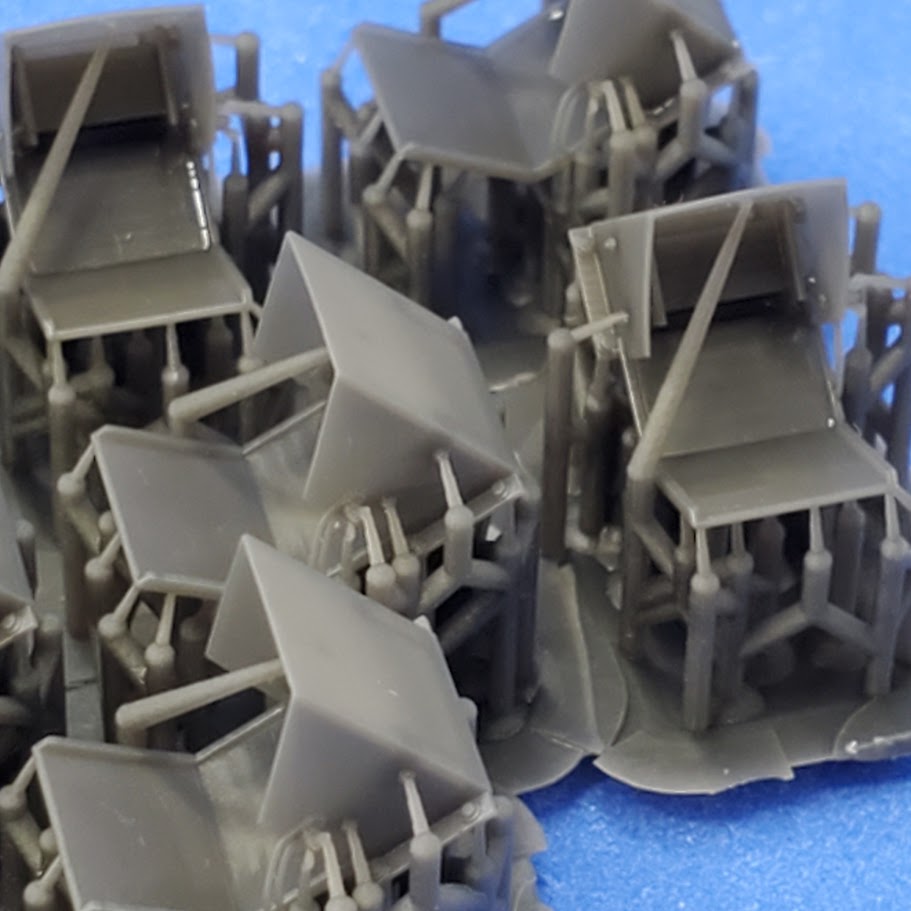
M113 deck meshes:
Some footman loops:
Sheridan extended basket and “Cold War” period US jerry cans:
What’s your mesh secret? (Other than skill and knowledge!). It looks fantastic. I’m trying to make a rough basket for my Sherman. Depends what figure I use in the hatch, but a TINY bit might be seen, but I thought I’d give a basket a try to expand my “skills” (I use the term loosely). The quick and dirty method I tried was only an approximation, and ended up opposite when I Booleaned it - not because of the operation, but because of my microscopic brain!
Hi Wink,
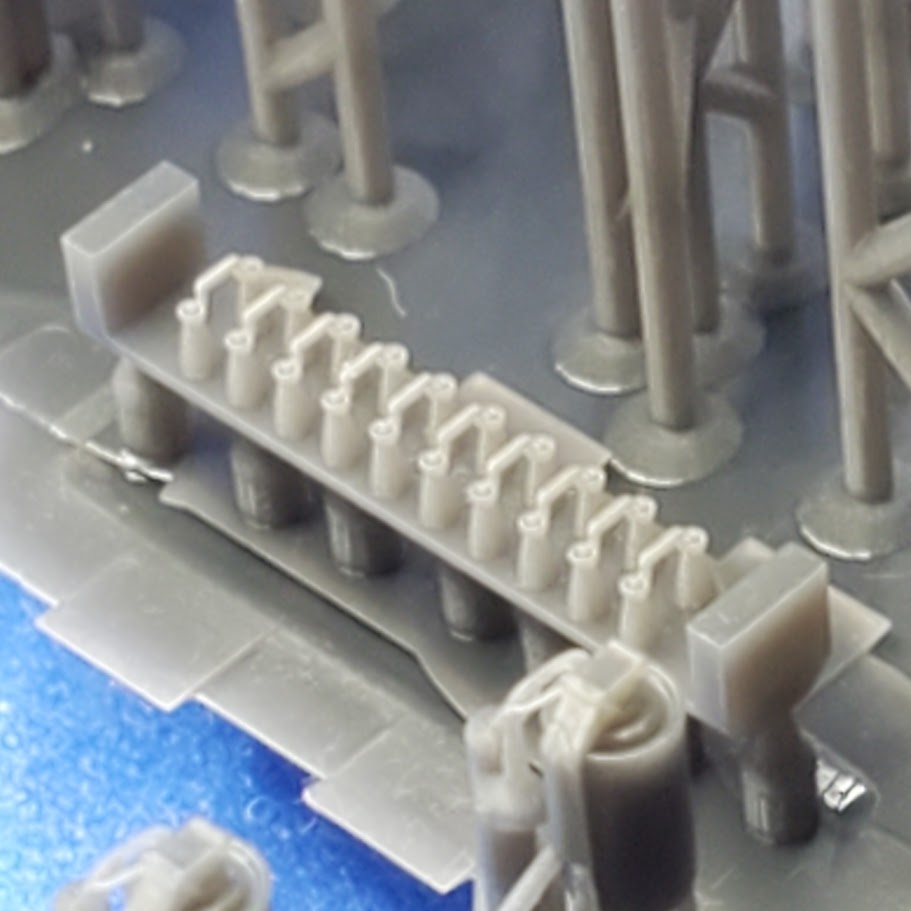
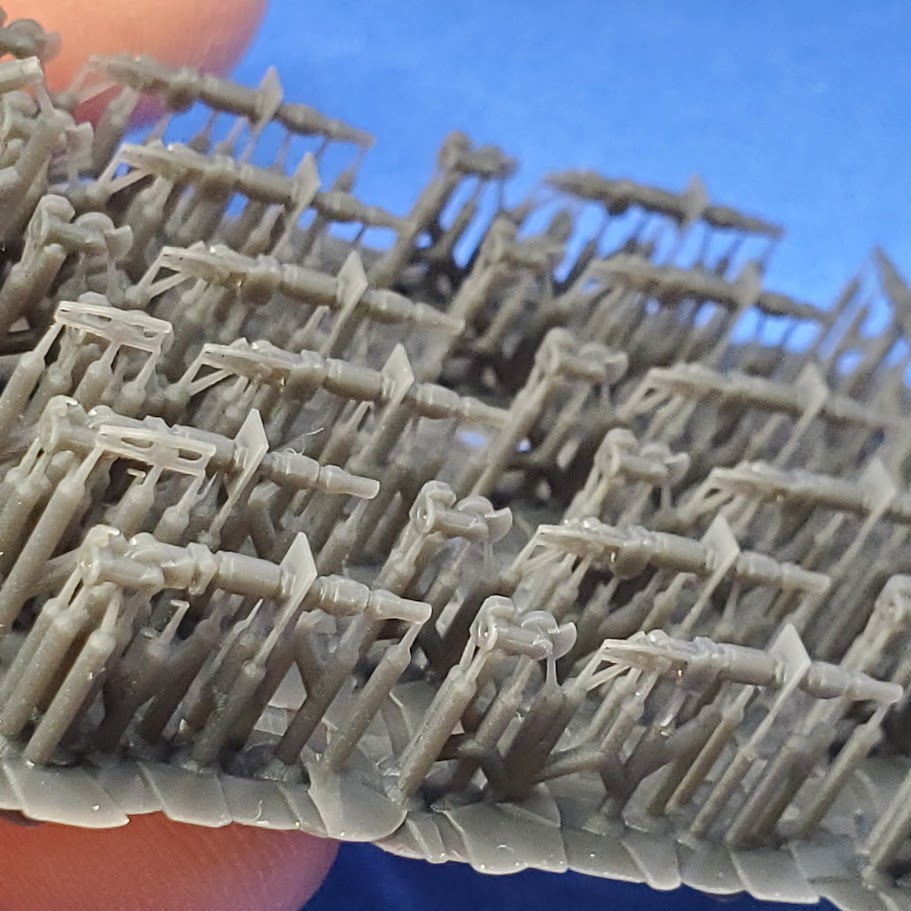
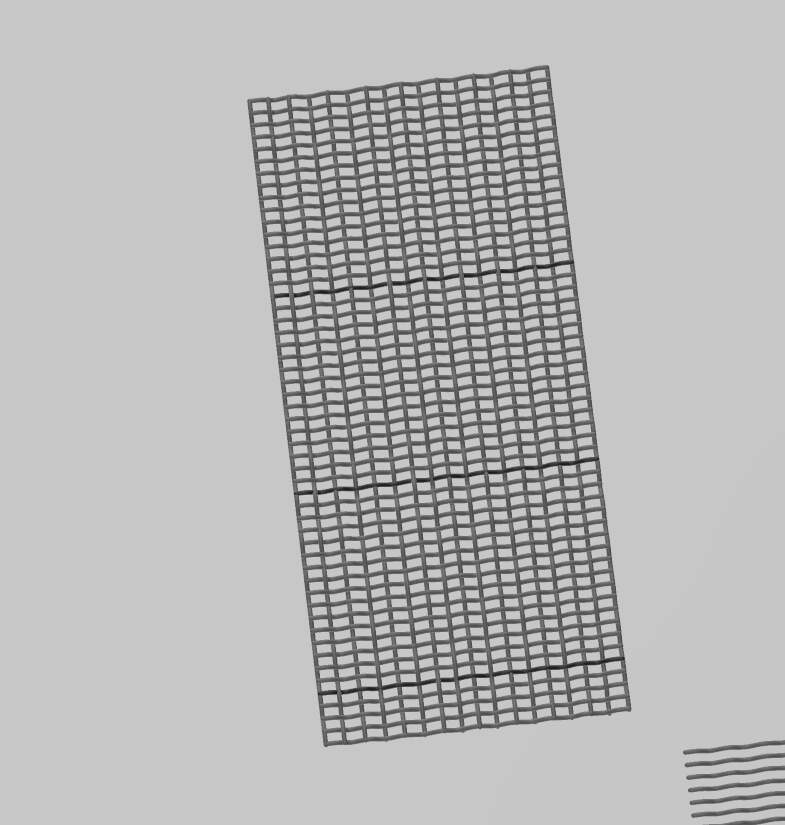
I am not sure about a secret. I just made sure that each strand’s diameter was greater than 0.12mm to prevent a print fail. I printed it vertically for an easier support removal. Added a few supports in the middle and for the top. There were many supports at the bottom of course.
Here’s what one of the M113 meshes looks like after removing the supports. One strand on the right got damaged as I was pulling the supports. I think it’s still useable but I need to be more careful next time.
I hope this helps.
Thanks, James! I guess the magic is like I said, skill and talent! I appreciate the diameter info. We’ll see what kind of a mess I make with version 2!
3D prints from this past weekend Apr. 28, 2024:
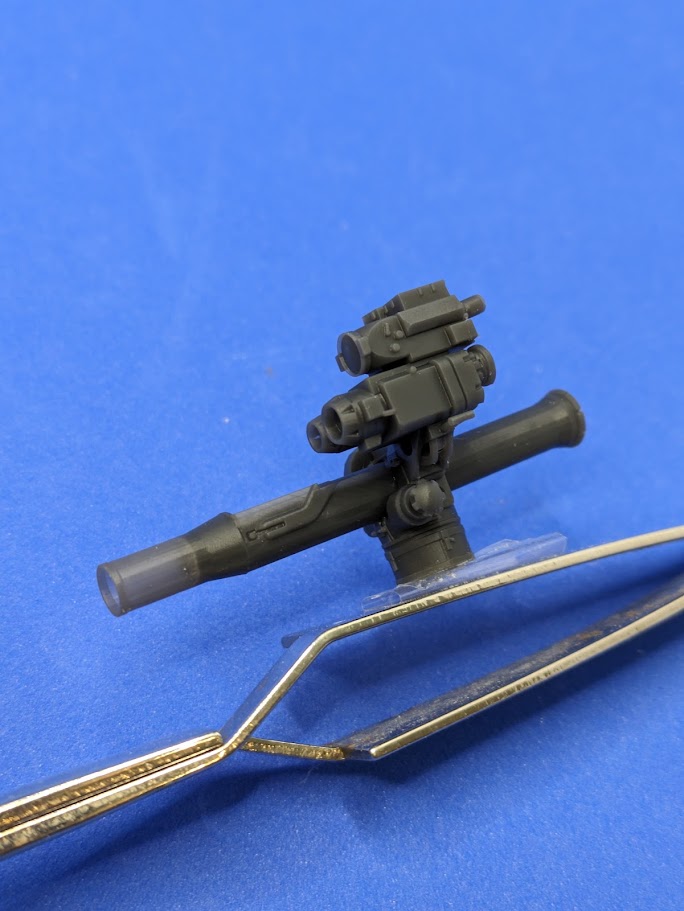
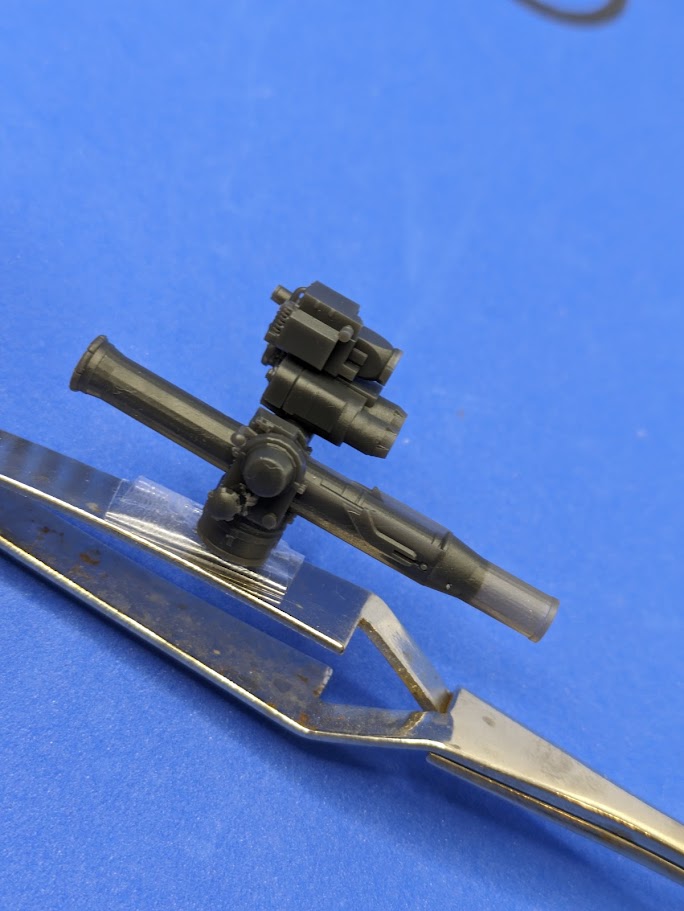
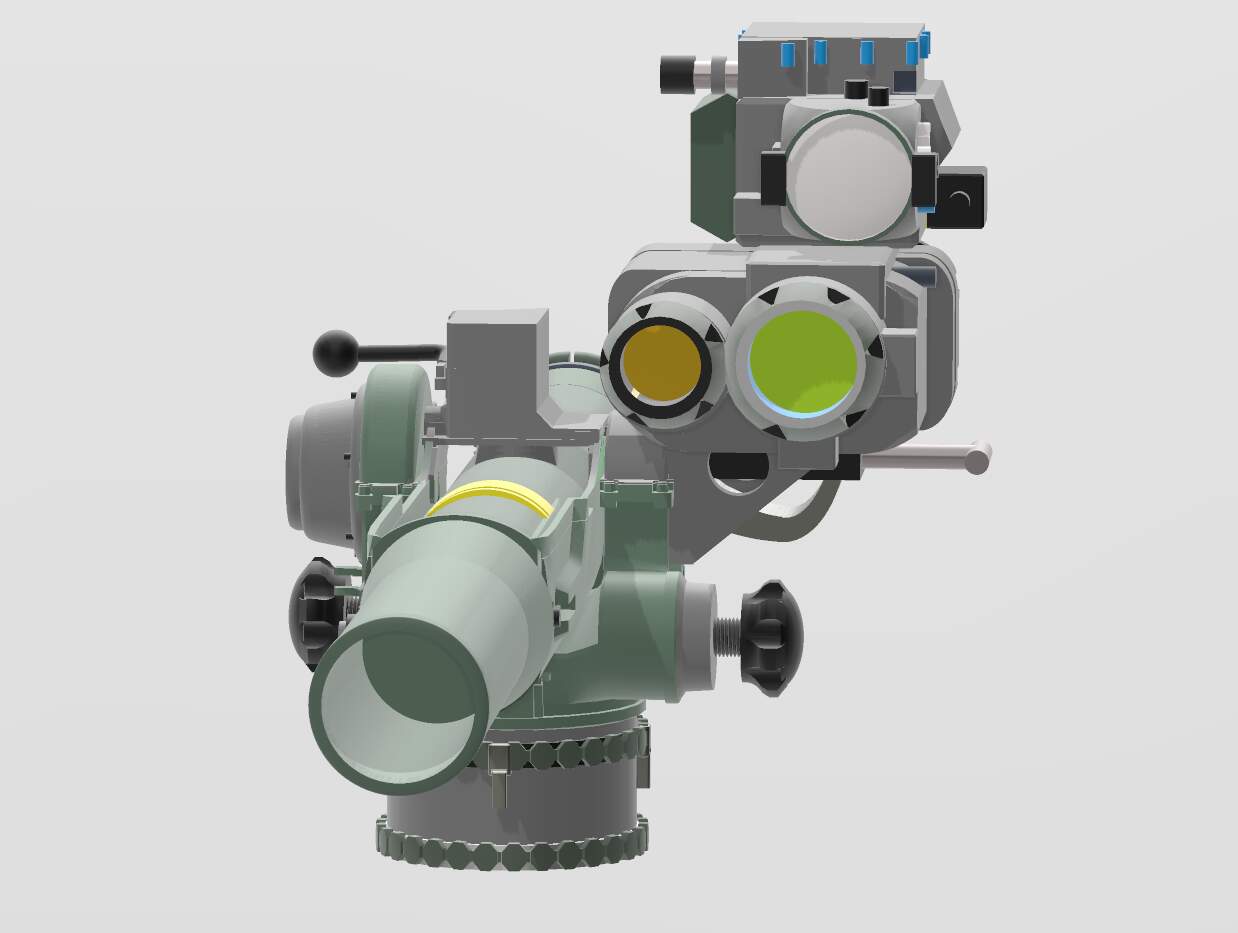
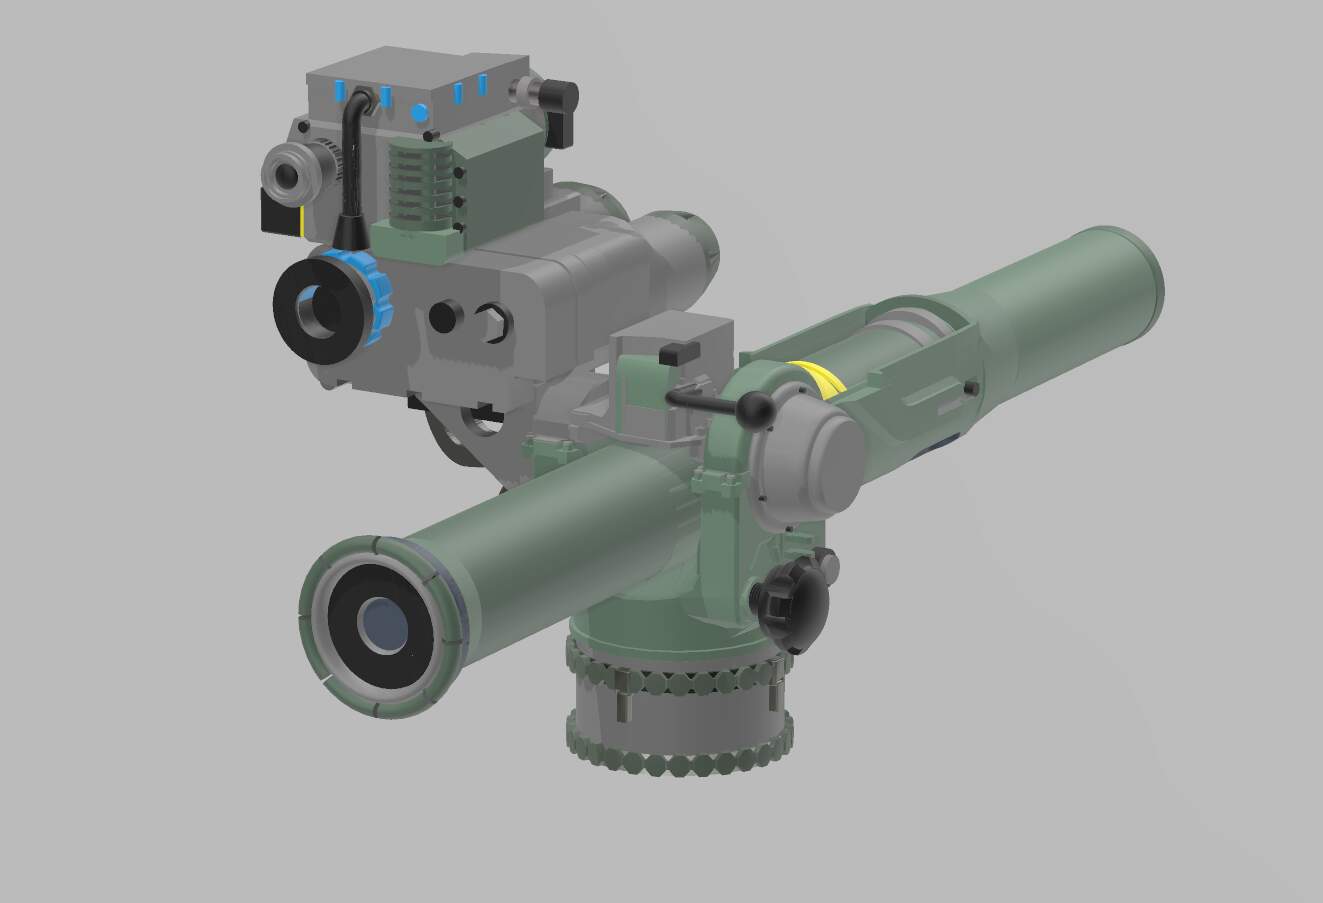
1/35 BGM-71 TOW - older version to put on Tamiya Humvees or M151A2 jeeps.
This was one of my older (1.5 years ago) designs when it took so long to CAD. Never bothered to 3D print on until now:
CAD screenshots:
If any Armoramans in the US want to purchase a 3D print, please PM me. I’ll print you one for $7+ postage from CO.
Obviously, some parts were simplified for printability - Back then didn’t have enough skills to make them more complicated actually.
AMX-30 EBD rear light casings [open configuration] printed:
More jerry and water cans, etc.:
Modern glad hands:
My best selling product:
Found some erroneous details on my original CAD of BGM-71 TOW in 1/35 and improved the CAD.
I based the original on Tamiya kit parts and realized there were several dimensional errors.
Fixed a lot of them last night - mainly elongated the front part of the barrel by 2.5mm, added details at the bottom, added some more knobs, put some holes underneath the gun tube, etc.
Thanks @Tank_1812 for the purchase. 3D printing some this weekend.
Kind regards,
James
Noice. ![]()
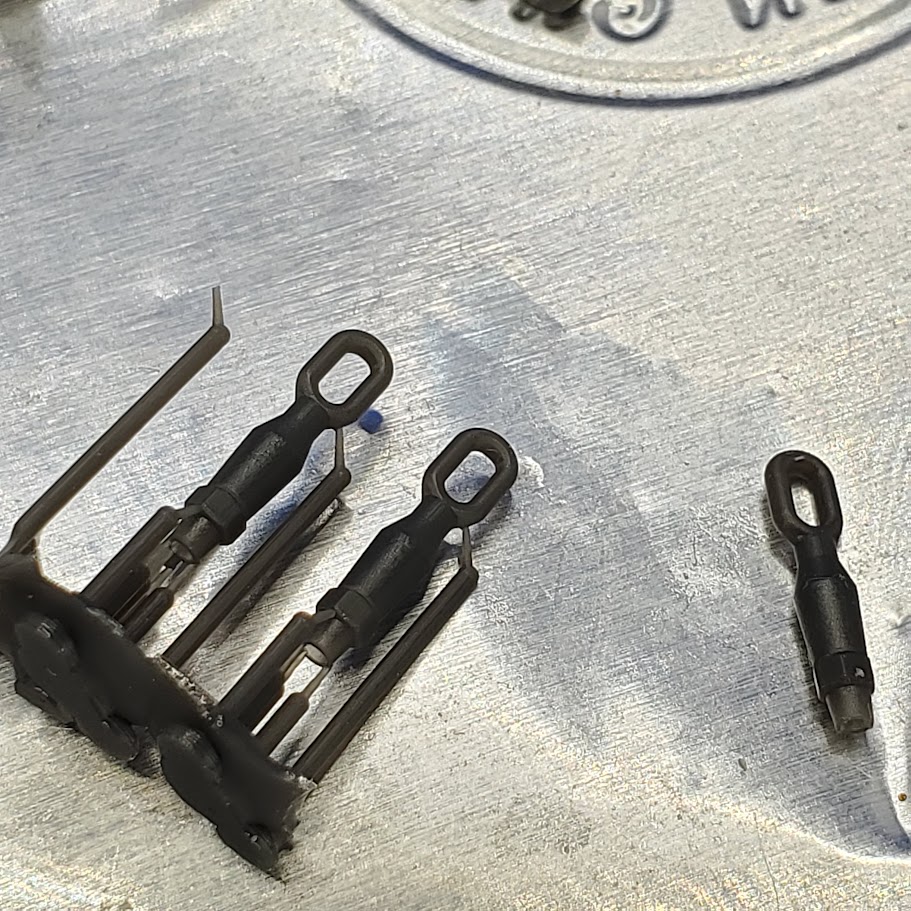
Interesting - the track jack used on Abrams SEP V2 today looks only slightly different from the track jacks used on WWII vehicles:
vs. WWII to Vietnam version I CADded last year: