Hey Sean, the reference photos are nice but do you mind conversing directly with Fubar, instead of posting here? I want this thread to be about my 3D prints only. Thanks.
sure, no problem.
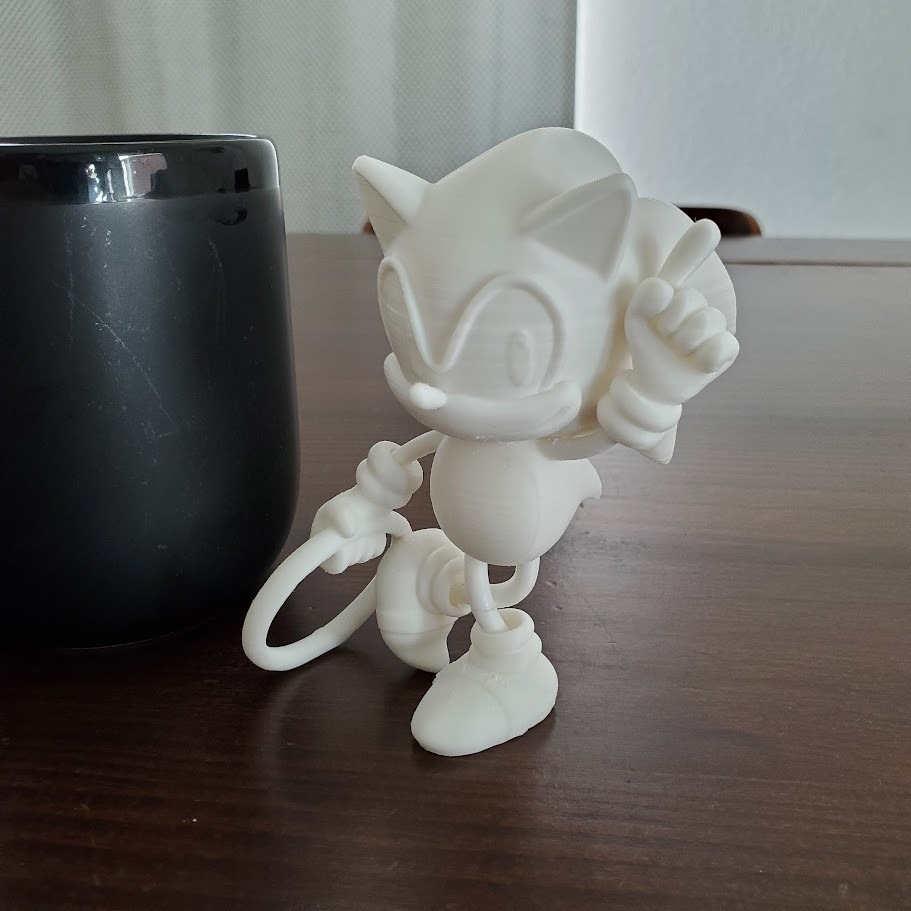
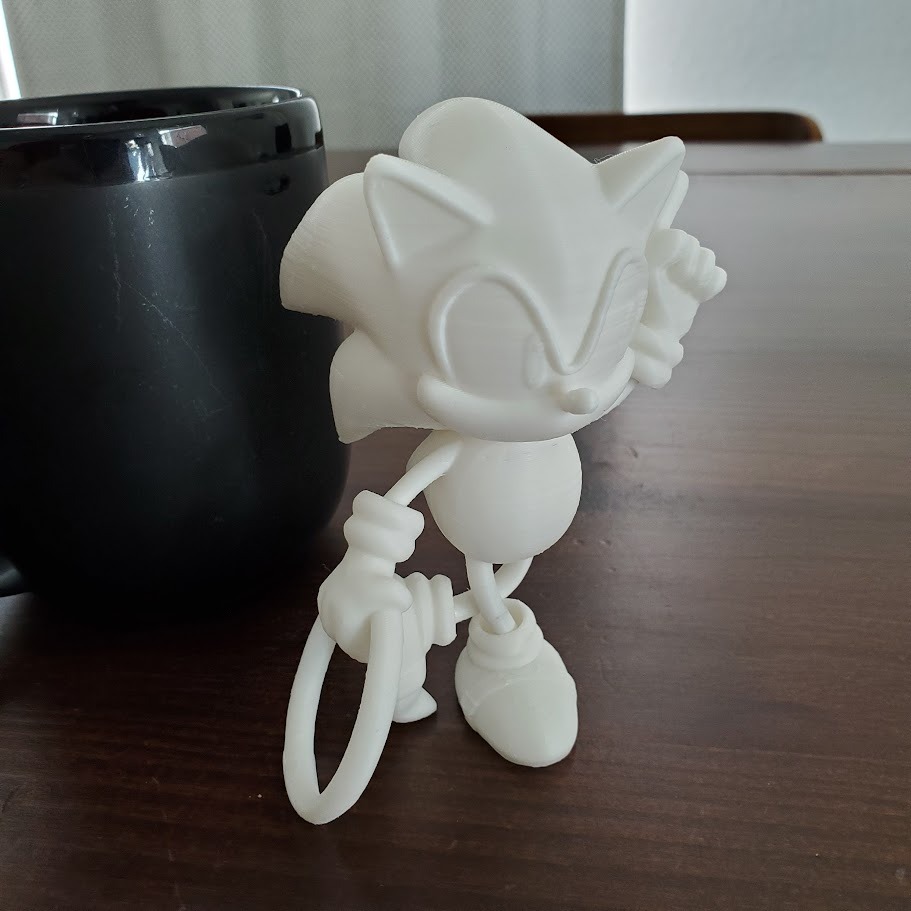
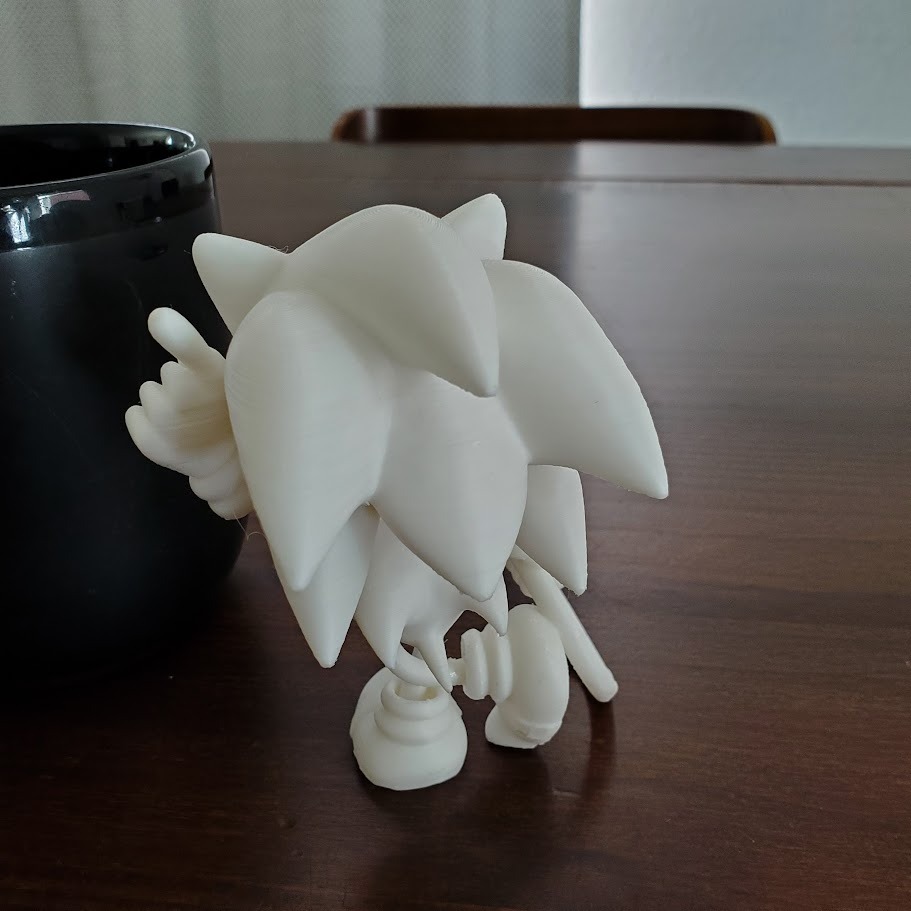
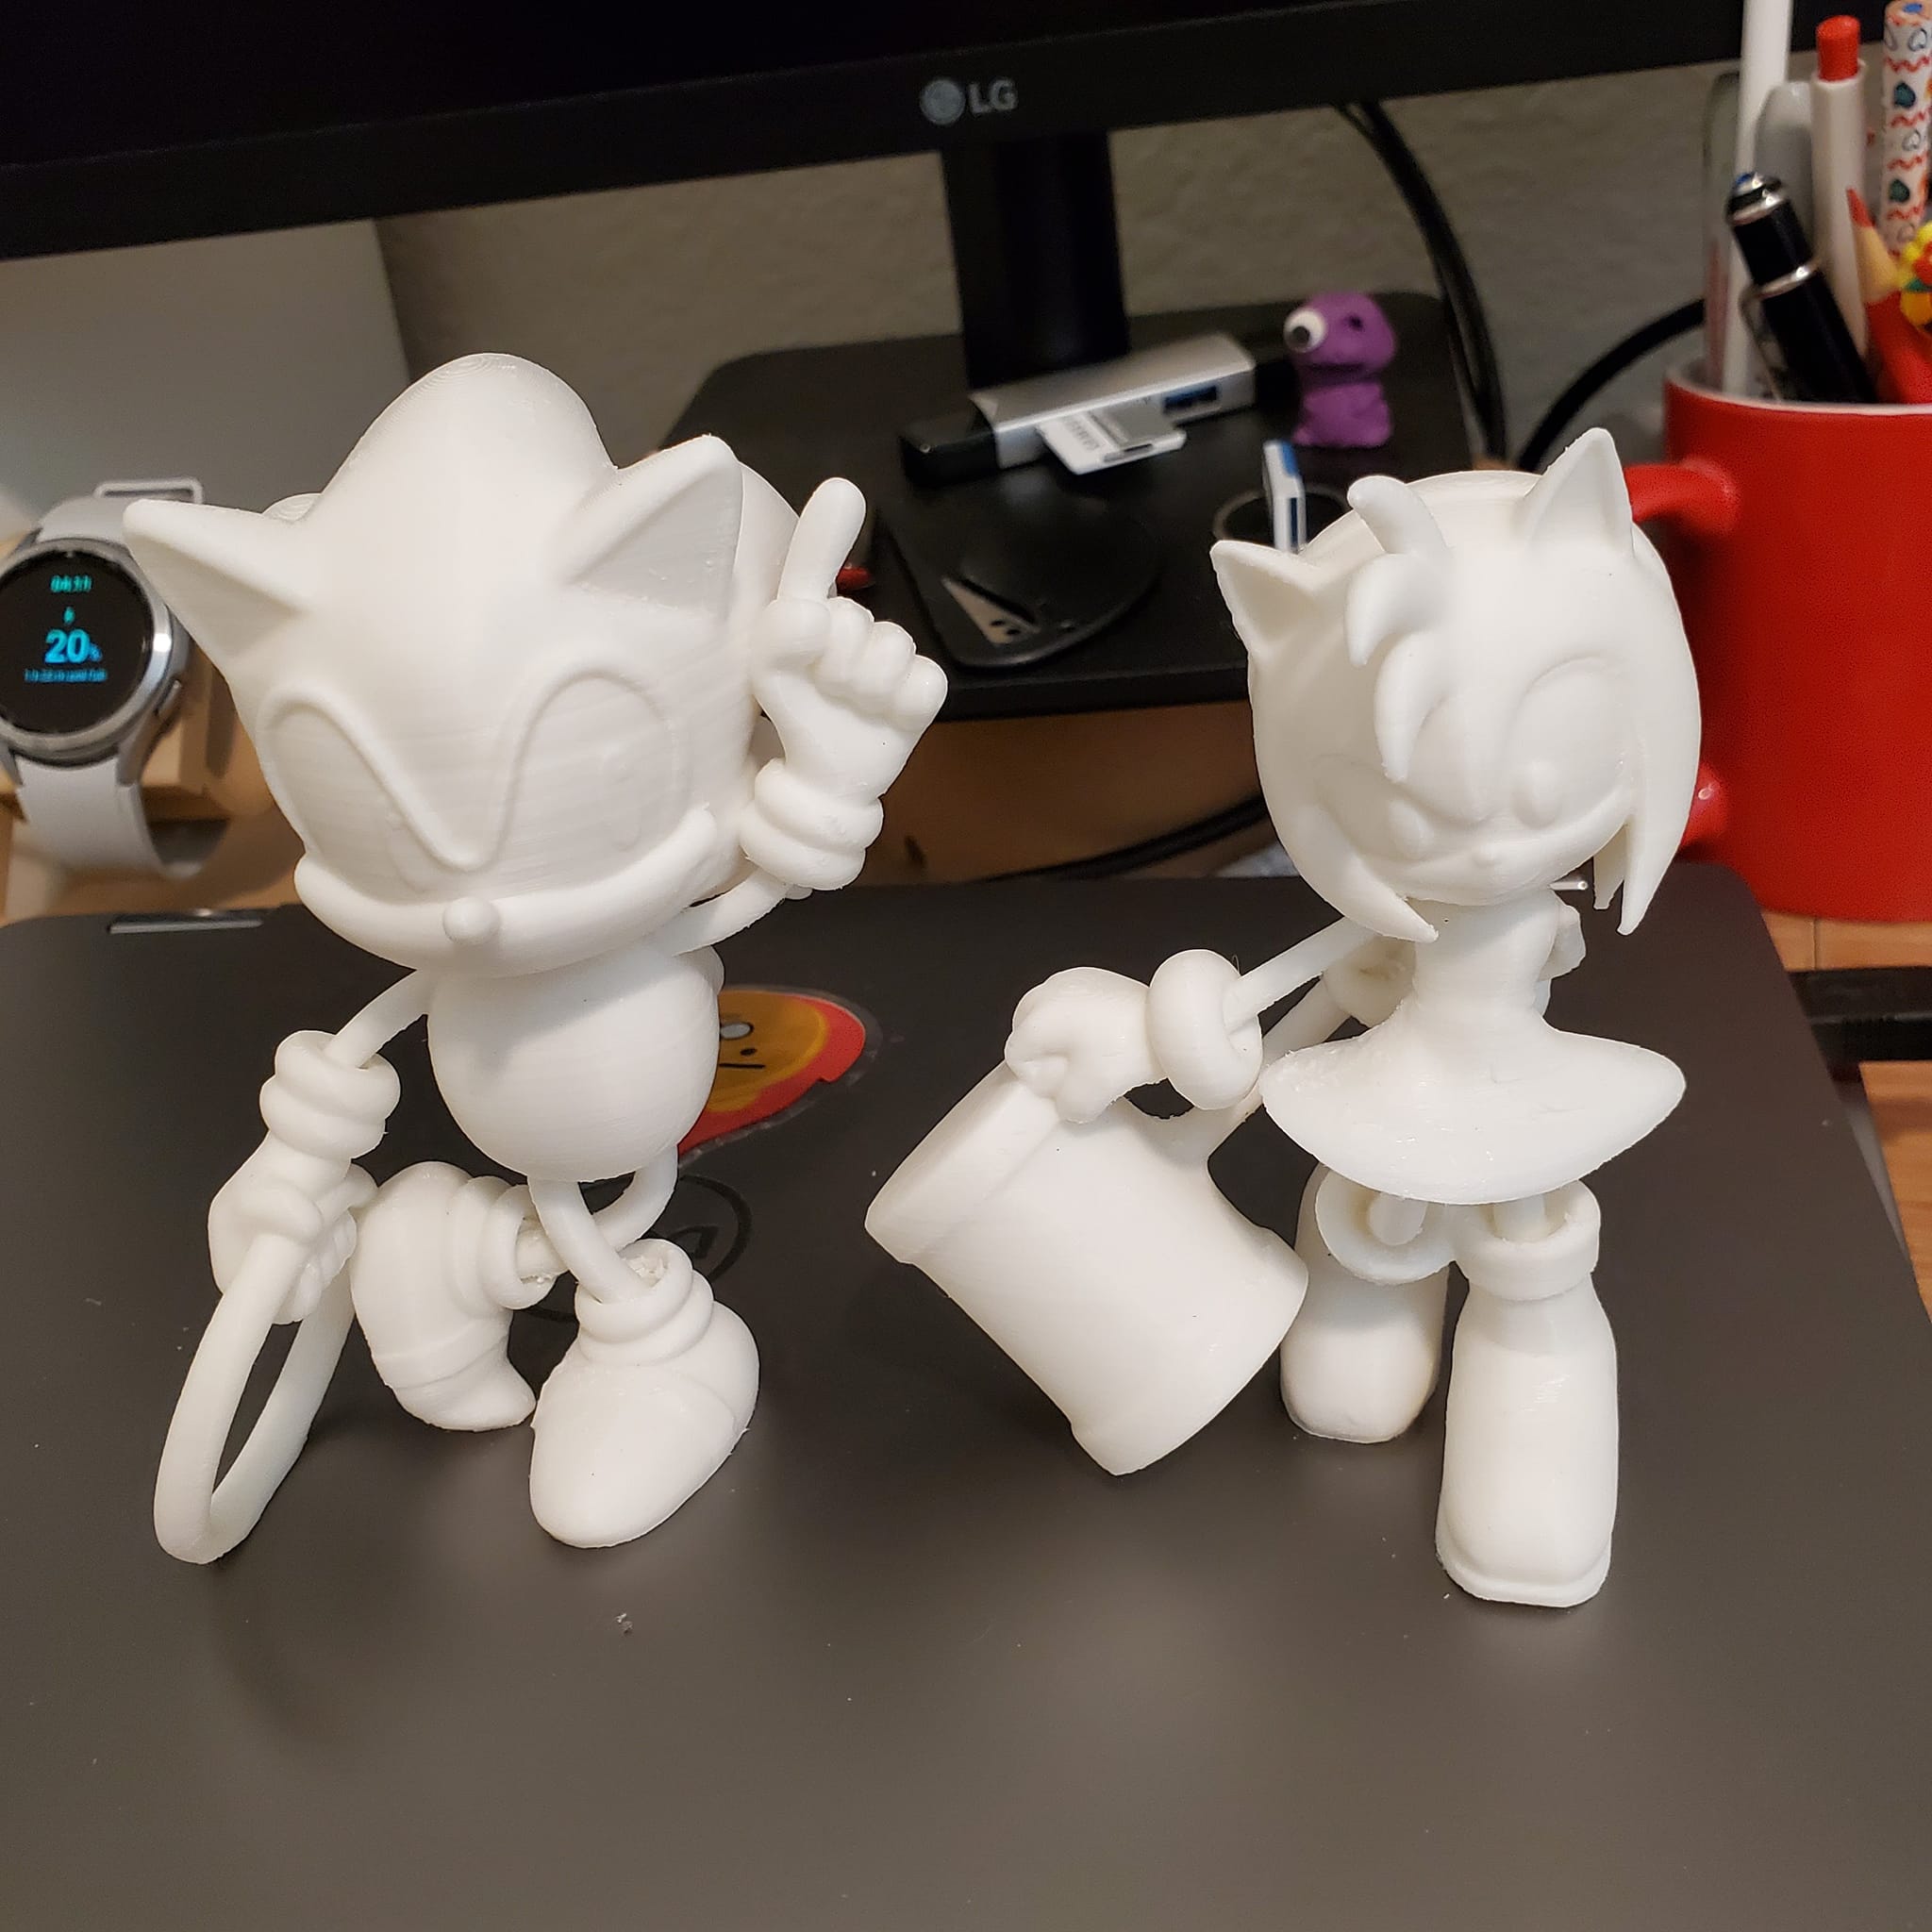
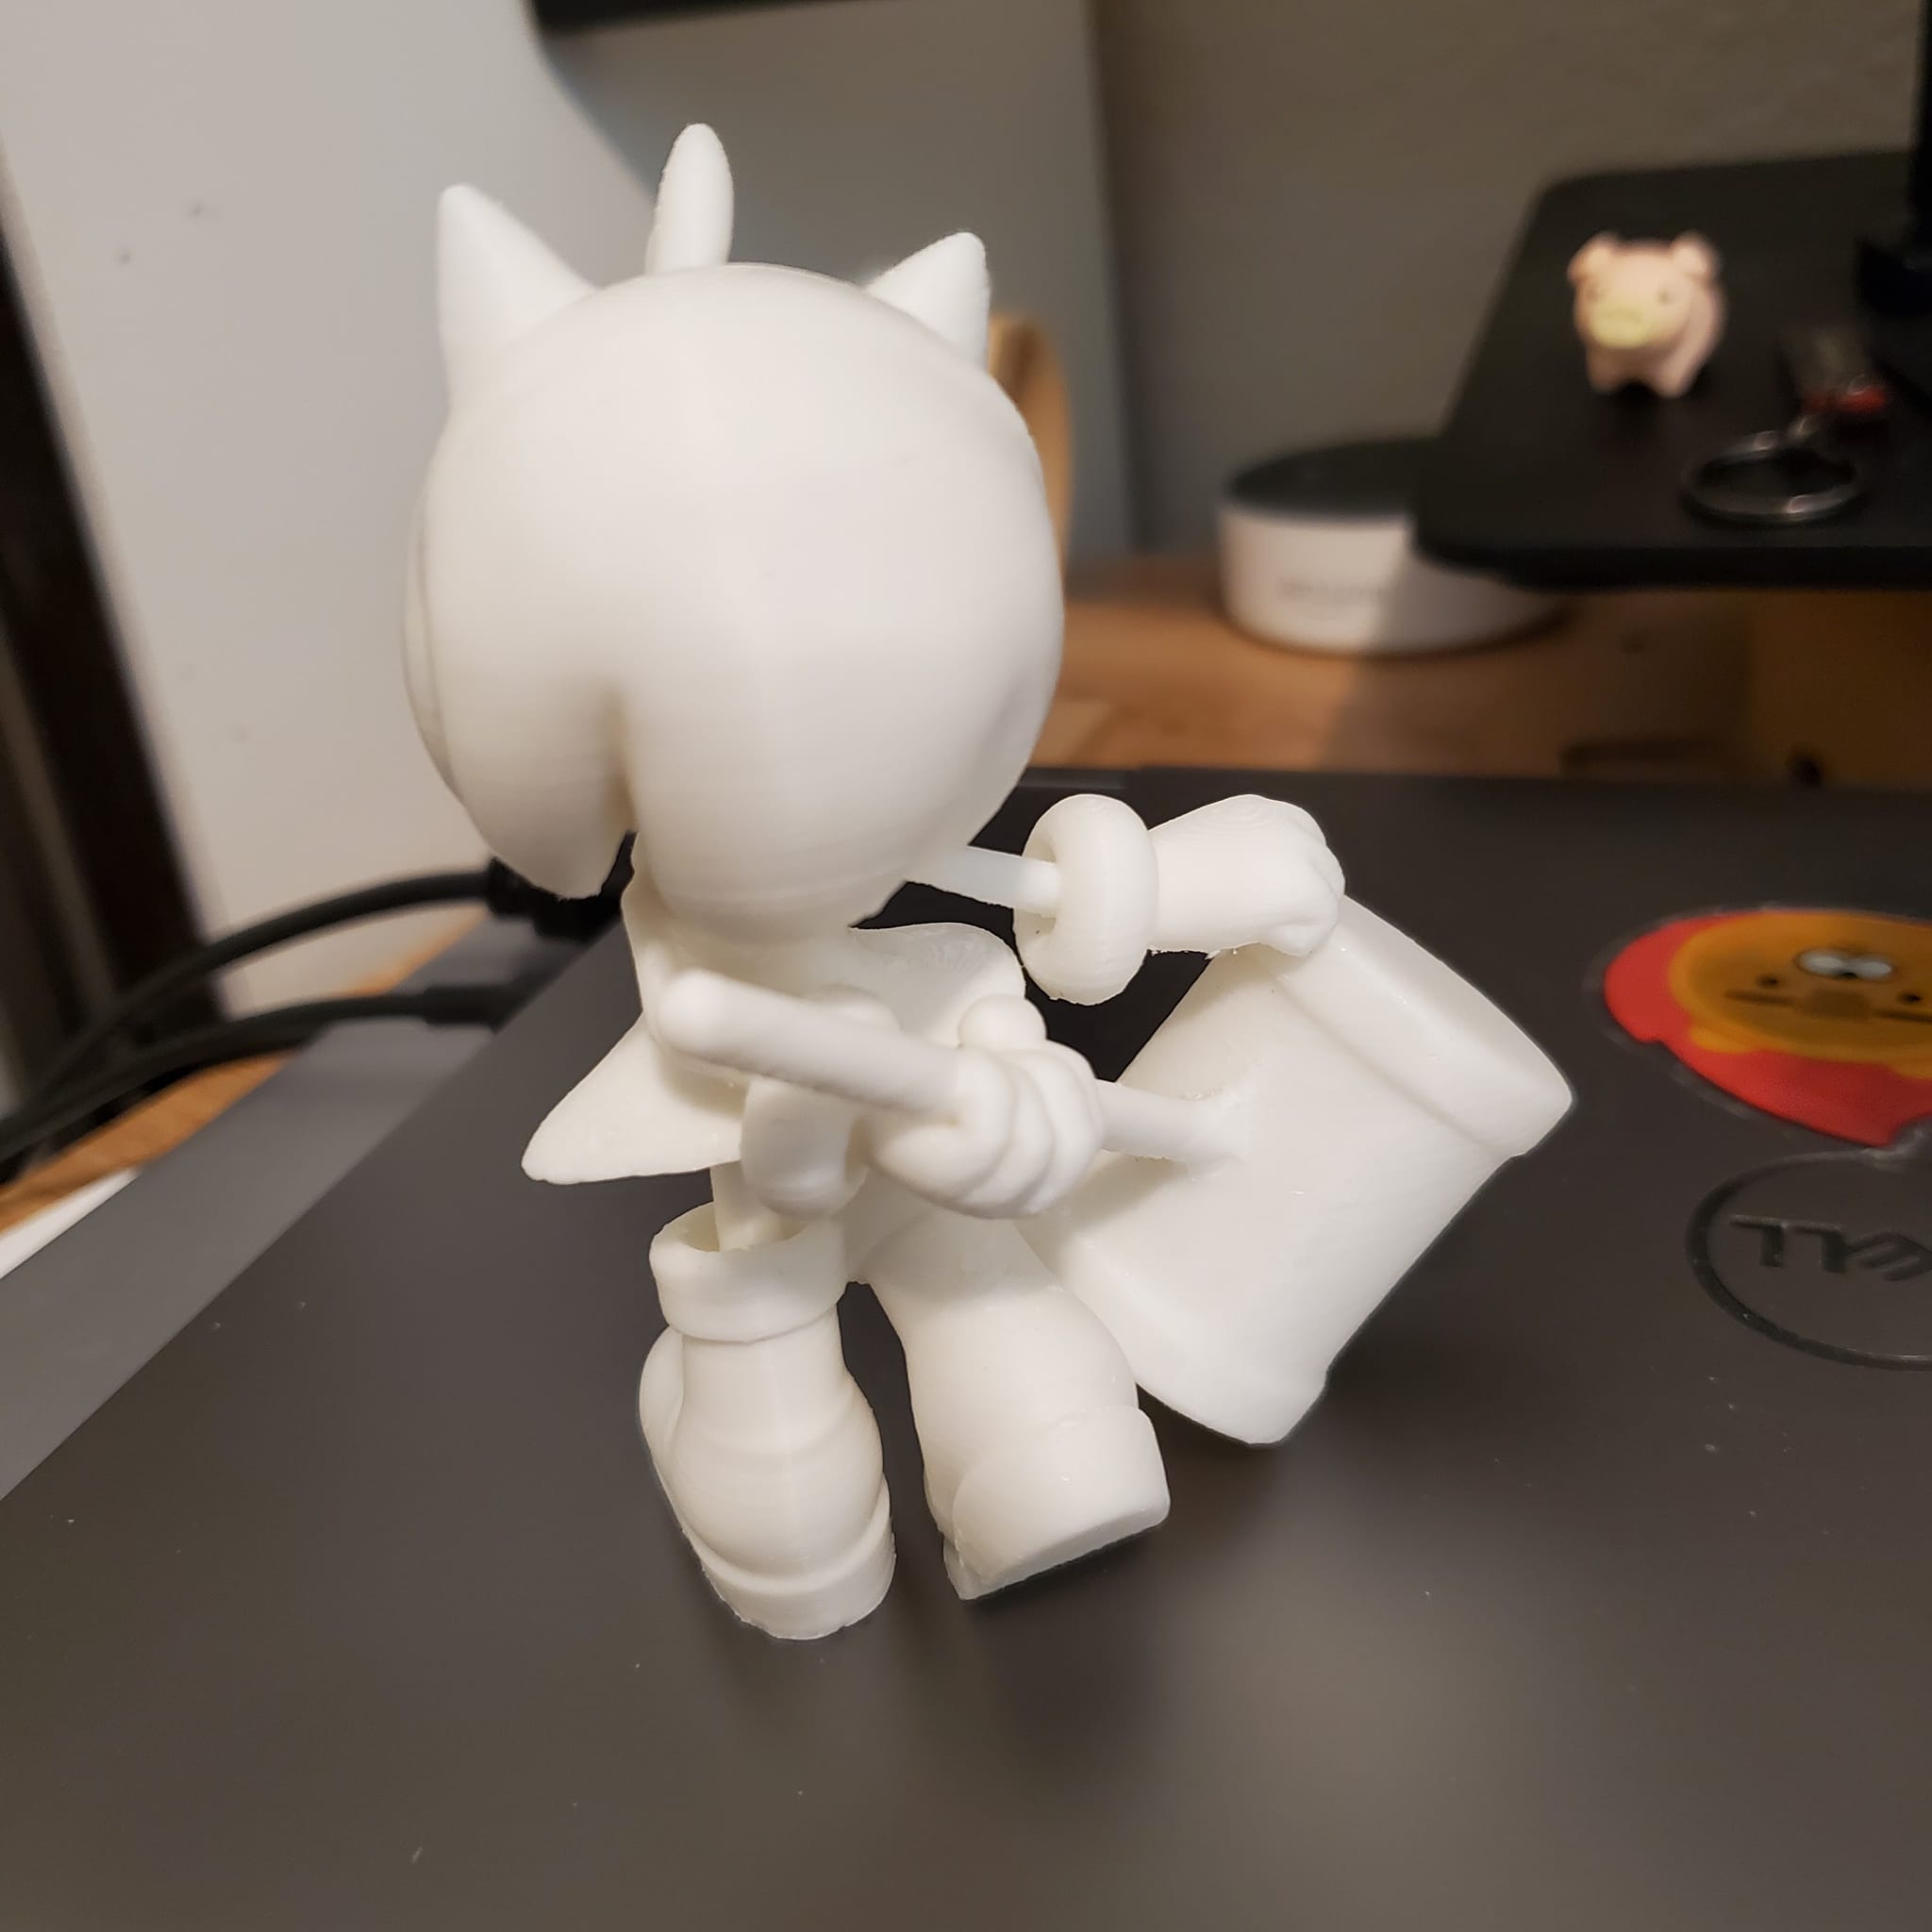
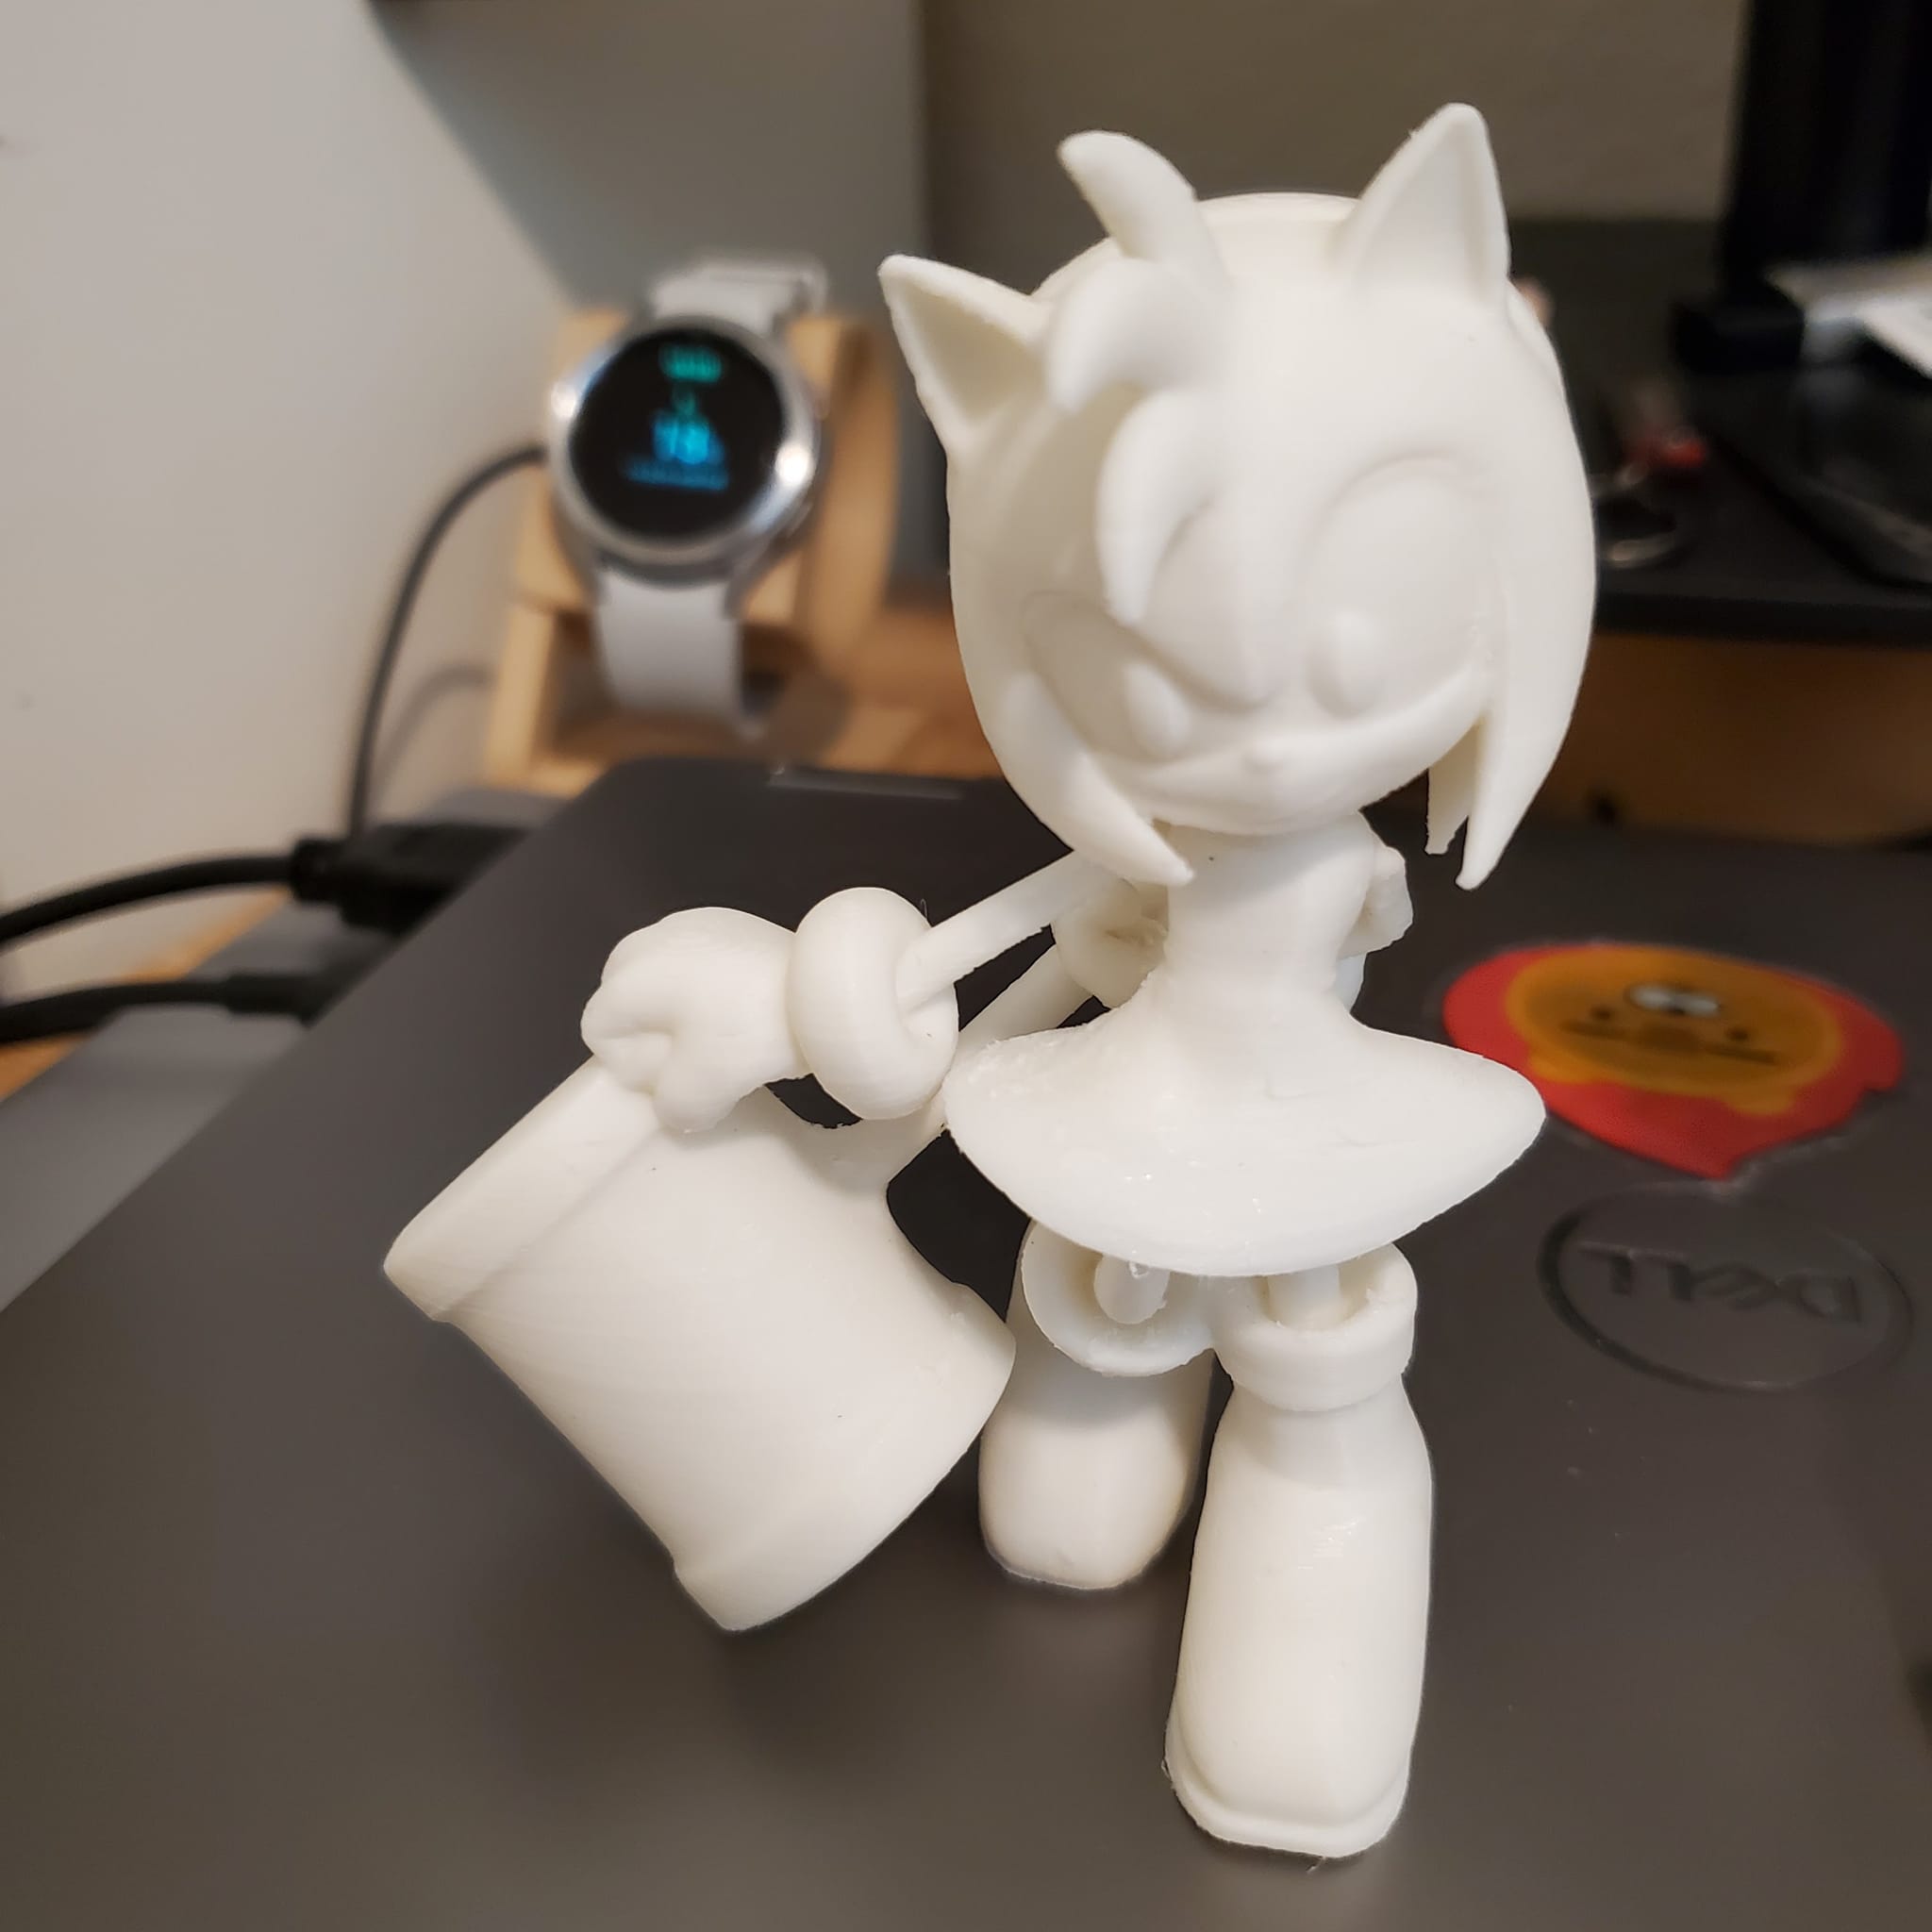
Taking a break from guns and tank parts. Sonic and Amy Rose for my children. ![]()
Attribution: https://cults3d.com/.../various/sonic-classic-reddadsteve and Free STL file Amy rose statue 🌹 ・3D print design to download・Cults
1 Like
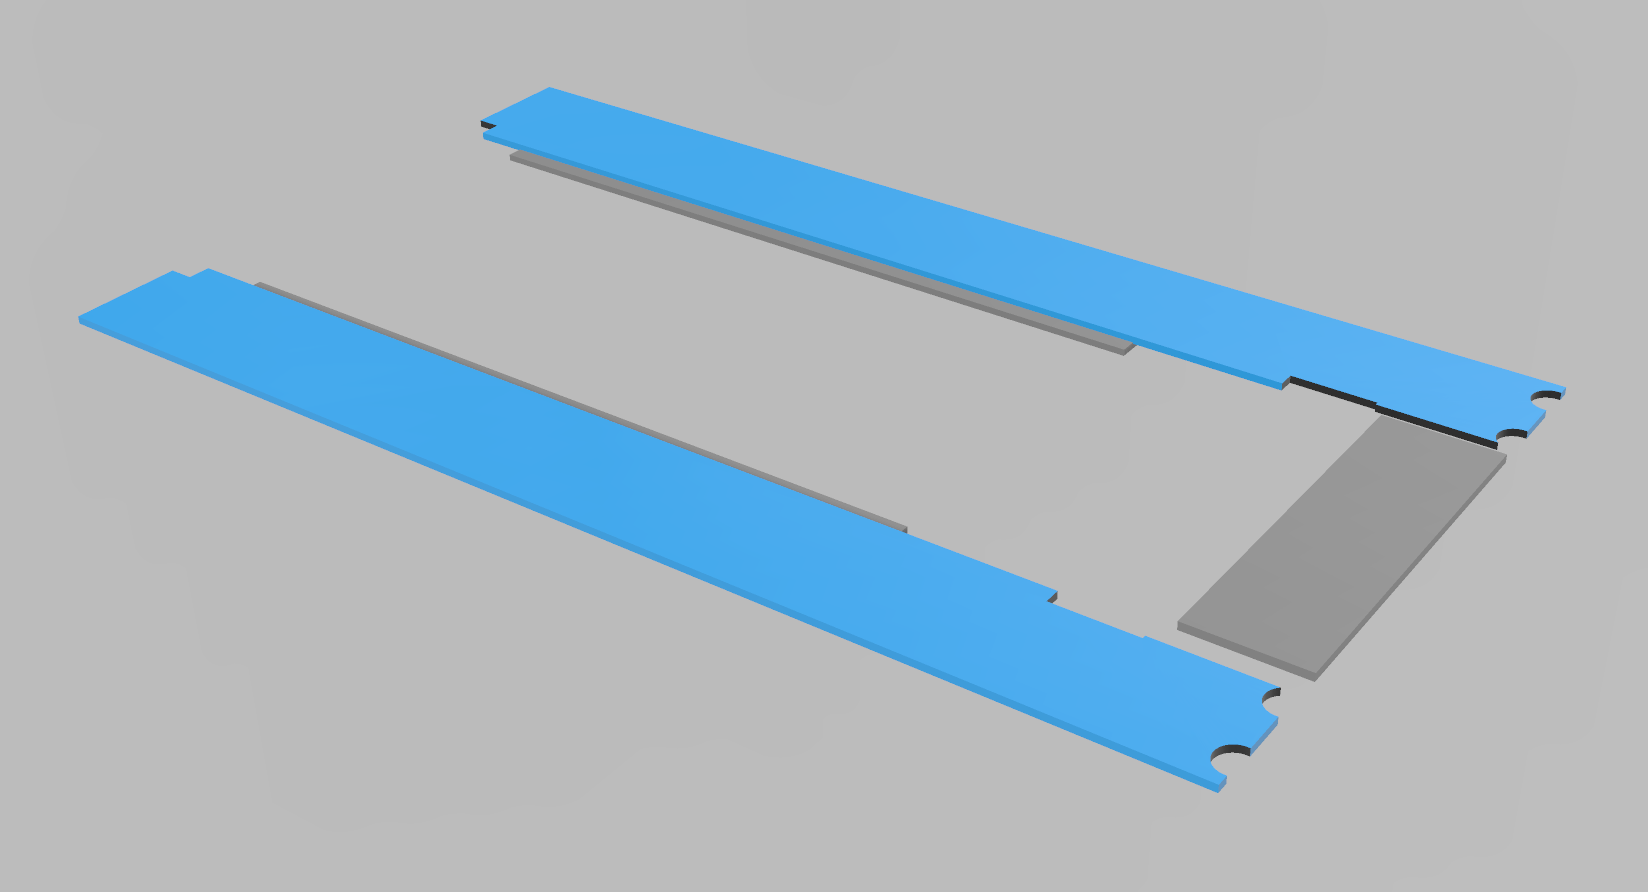
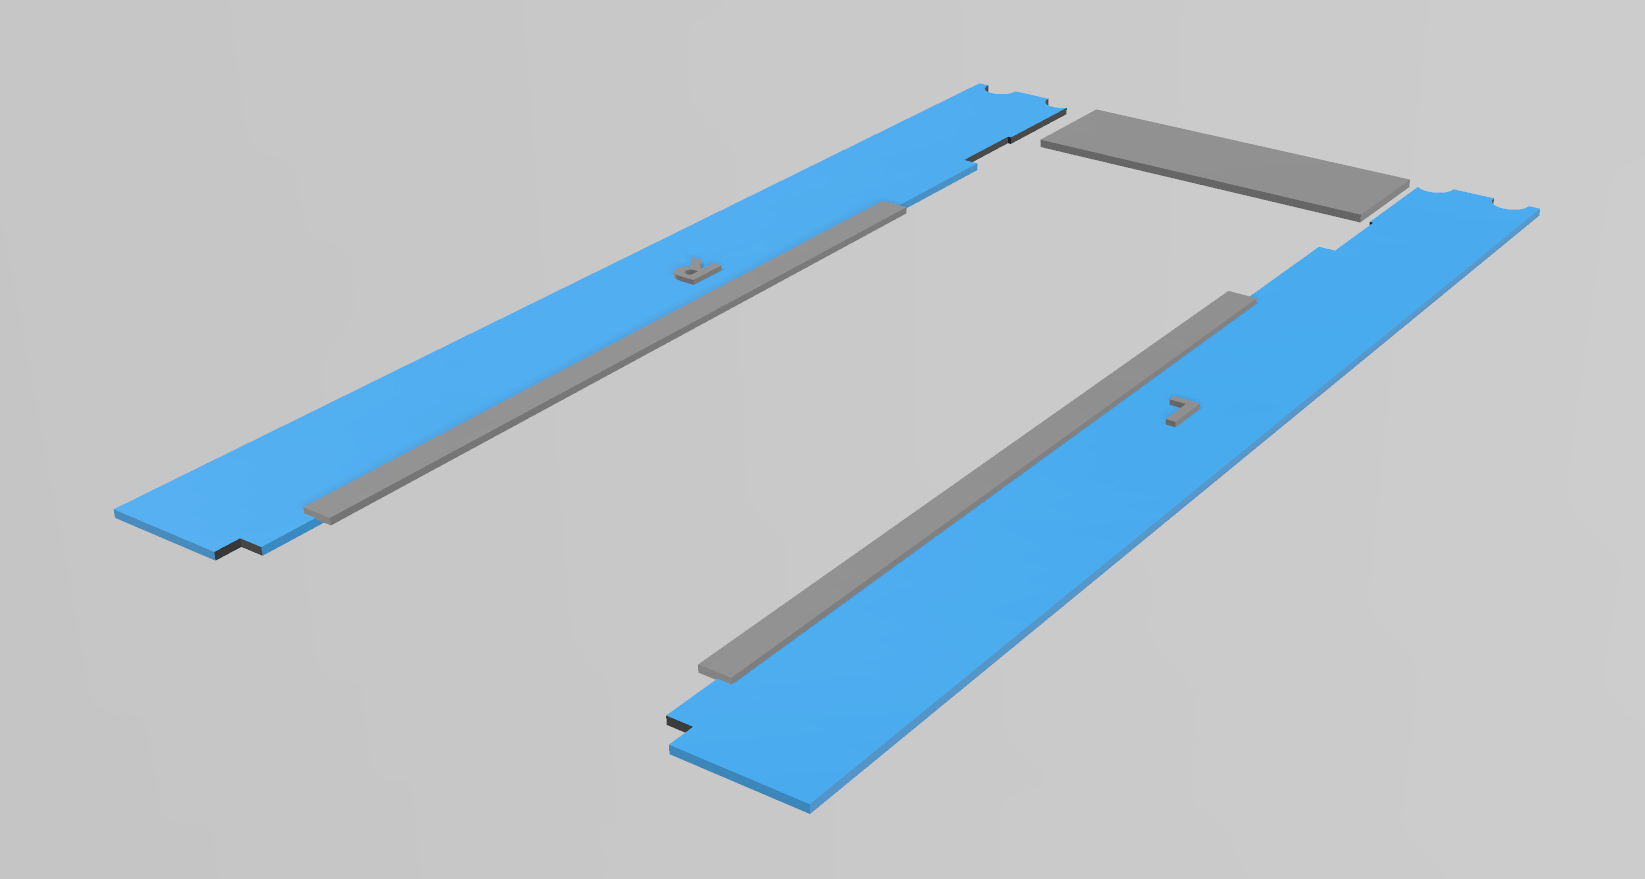
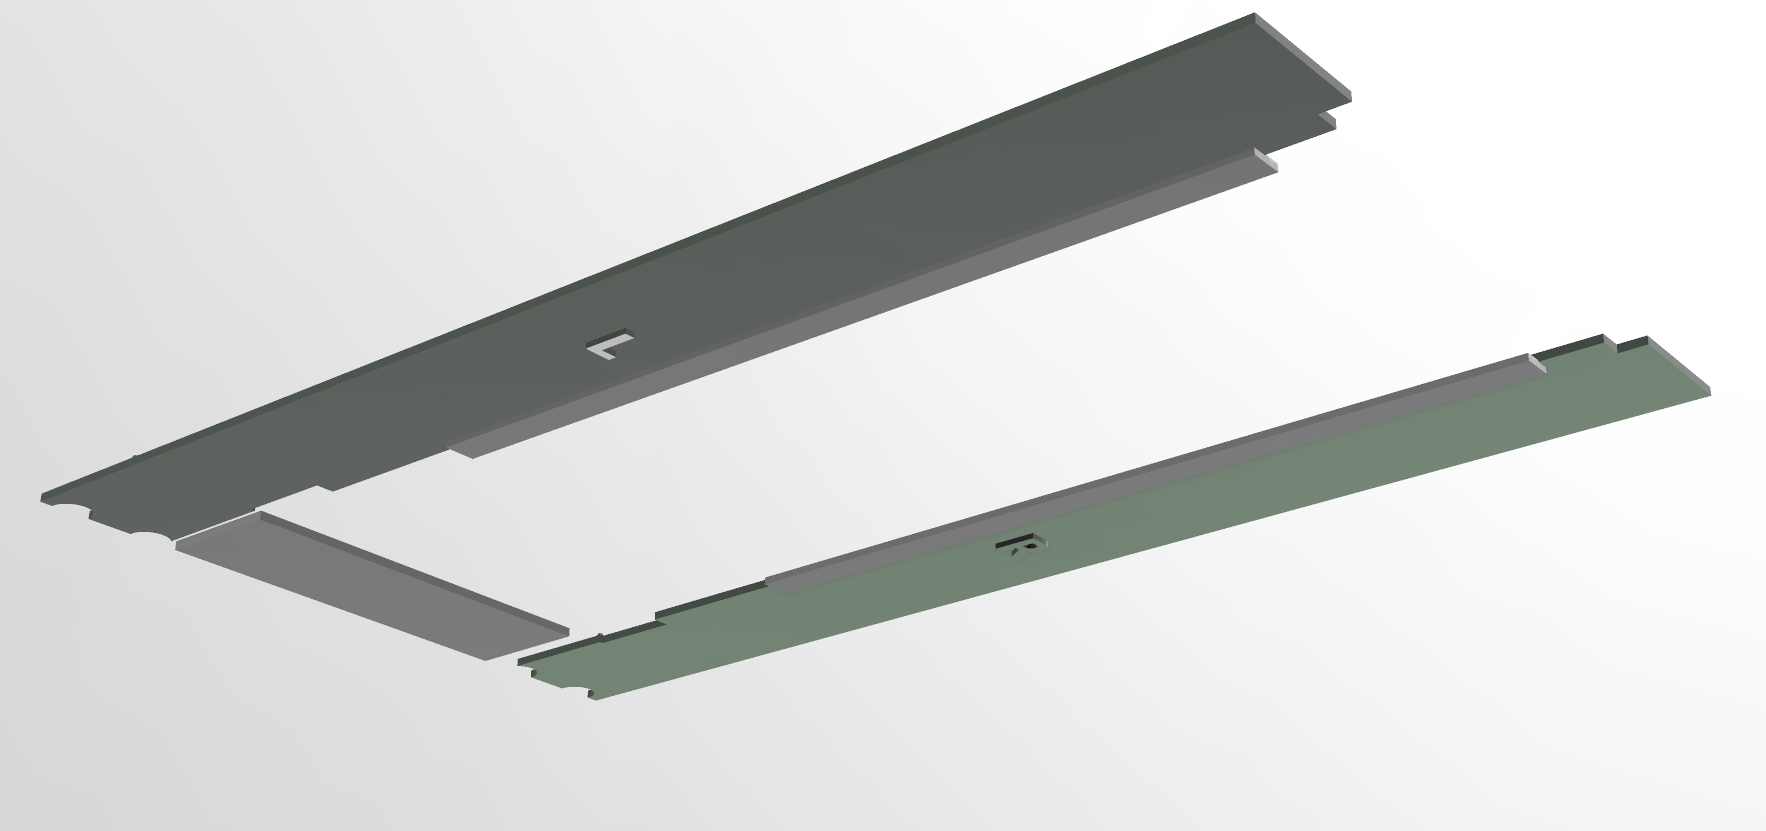
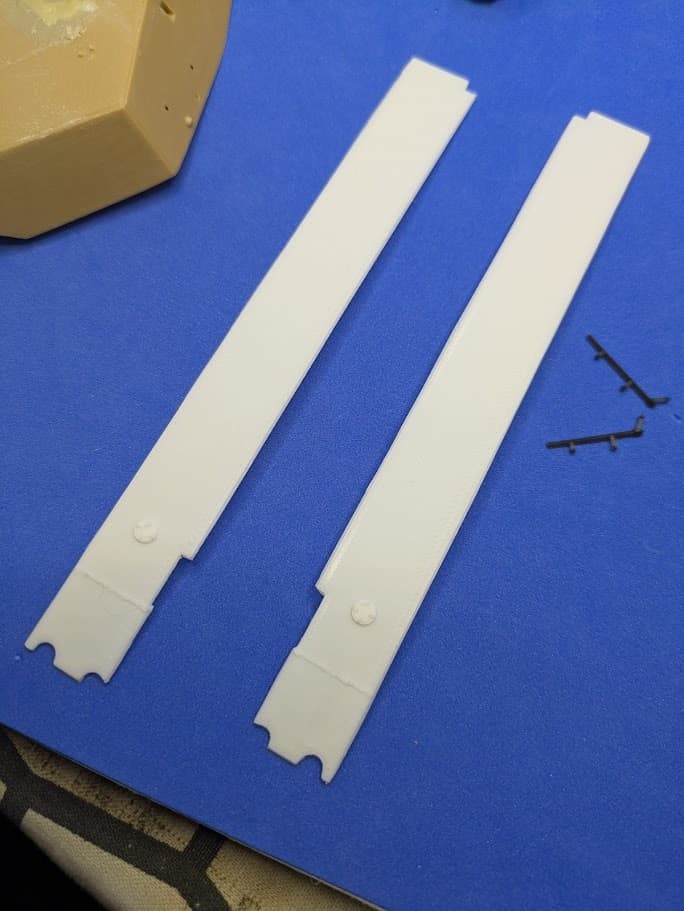
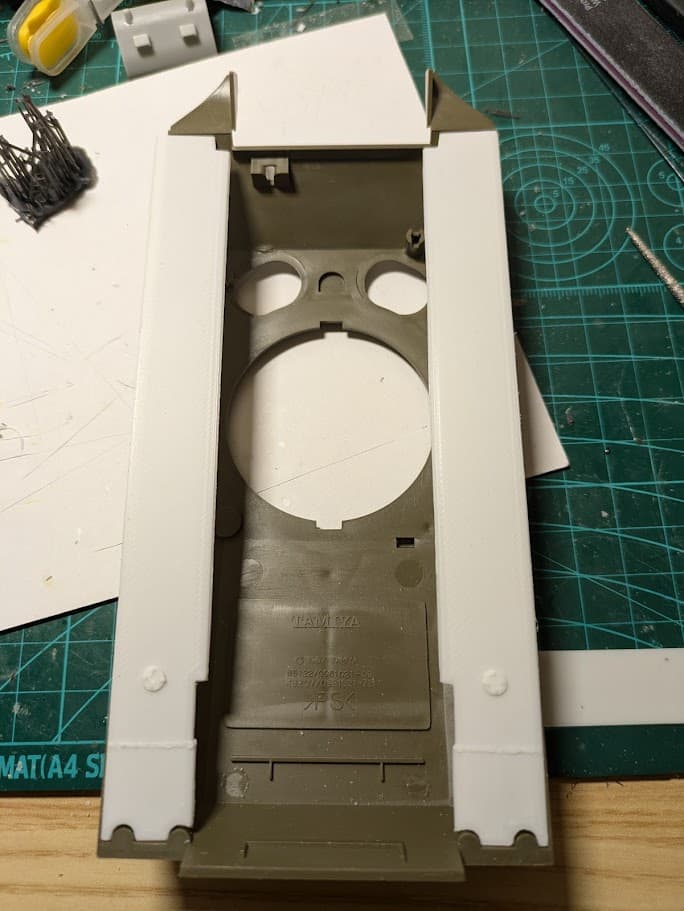
Sponson covers for Tamiya M4A3 Shermans in 1/35 scale.
Something to simplify your building of the Tamiya M4A3 kits in 1/35. Despite all of their inaccuracies, they are still the most popular (possibly most sold) Sherman kits in 1/35 due their availability, affordability, and ease of build.
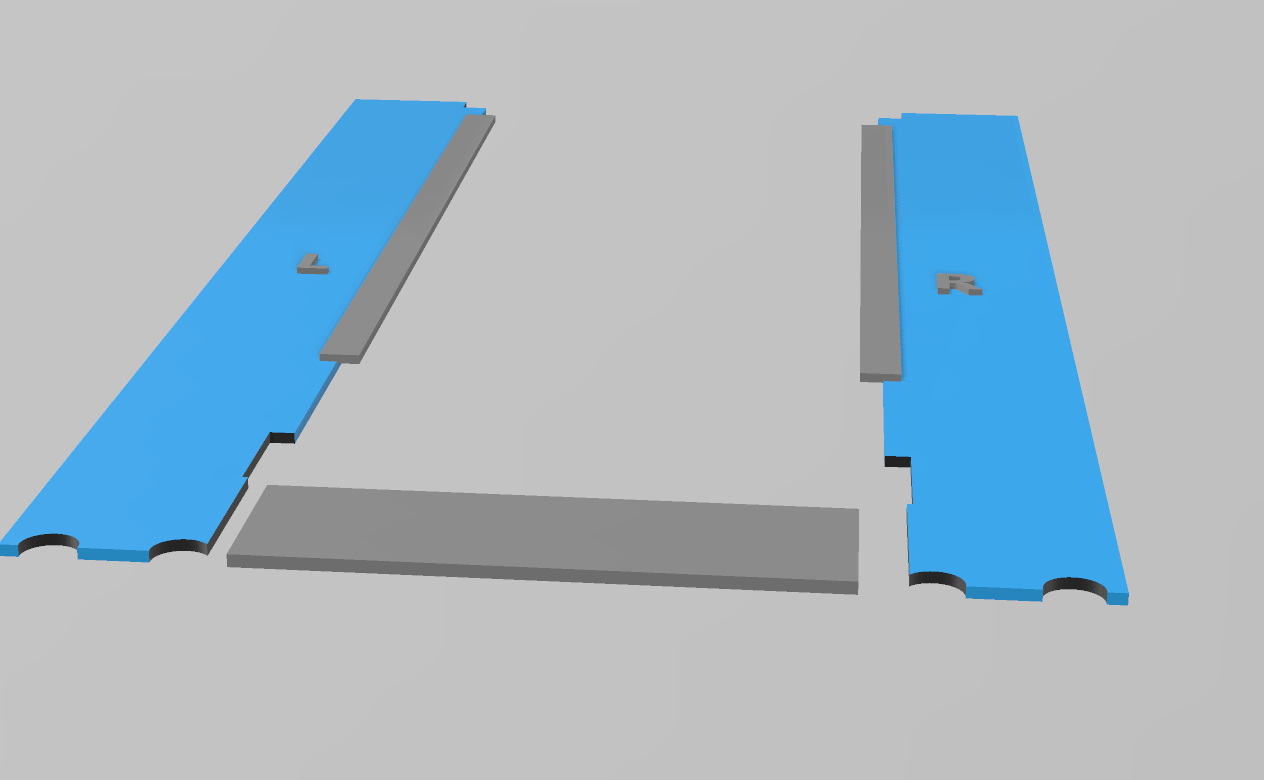
There will be 3 STL files - Right side, left side, and rear (bottom) covers.
Available to download on my cults3D page for cheap.
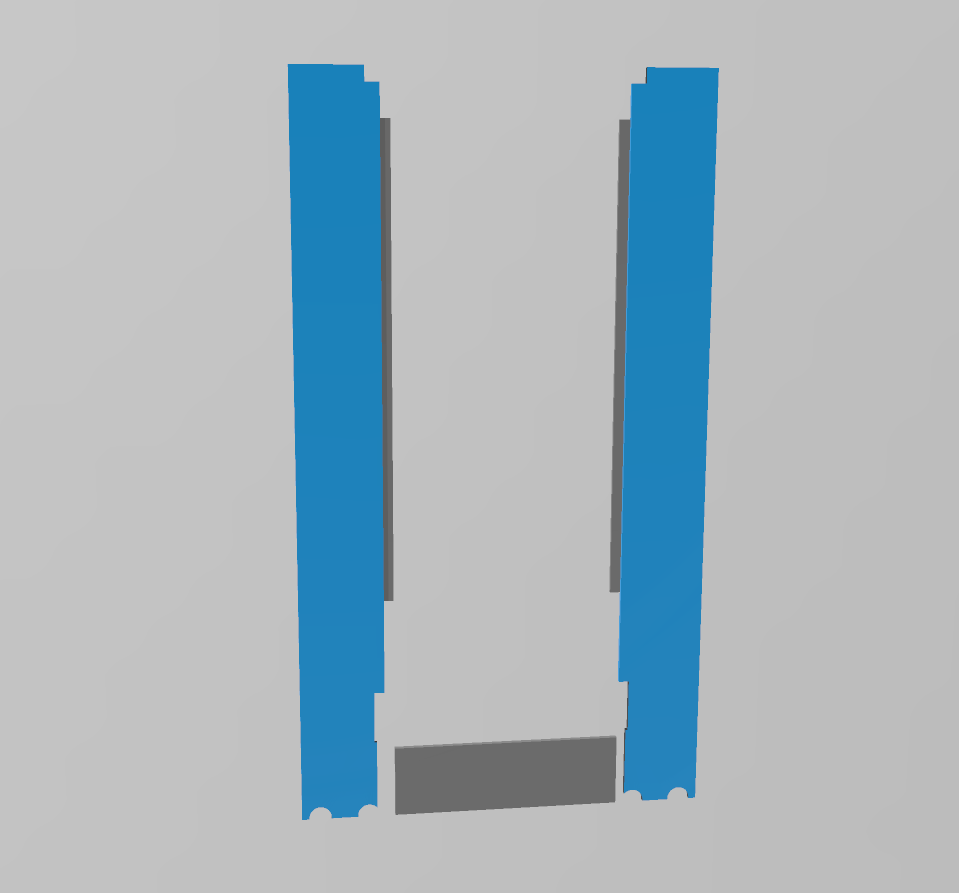
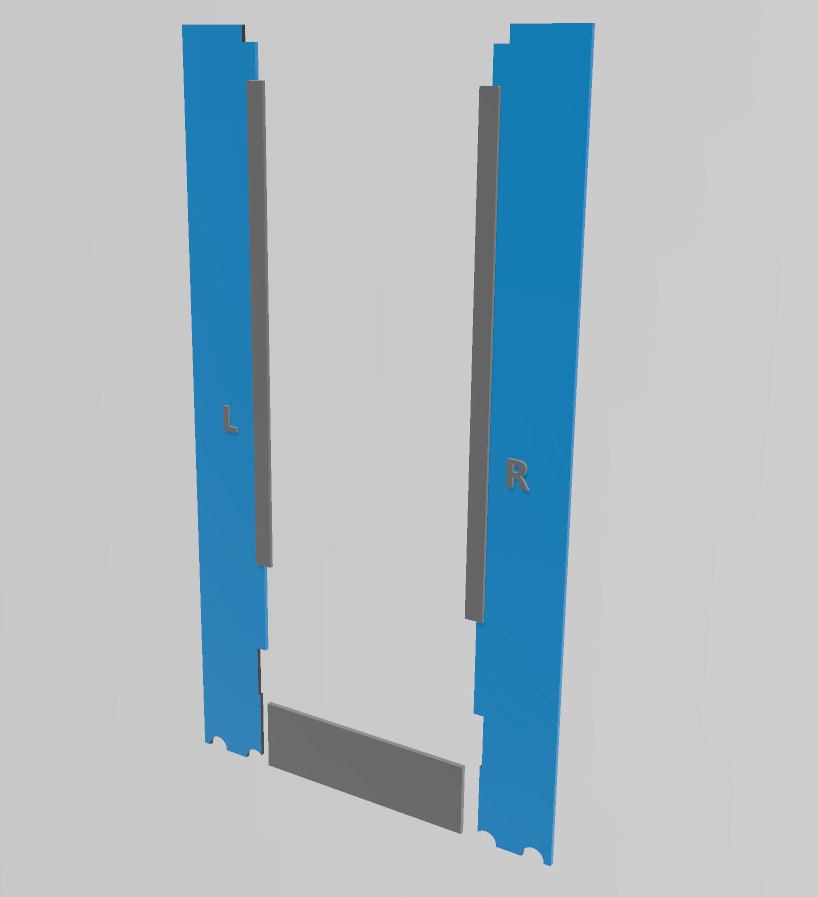
These can be printed in either in FDM or MSLA 3D printers.
2 Likes

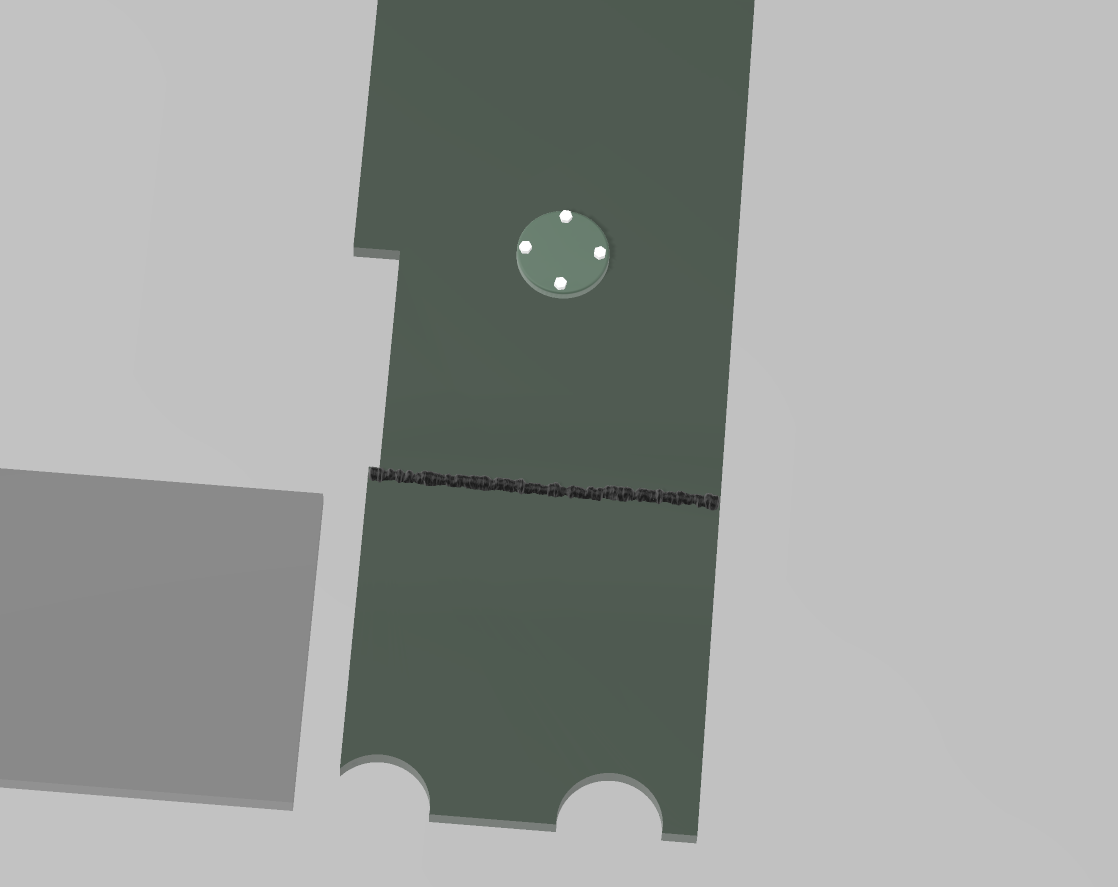
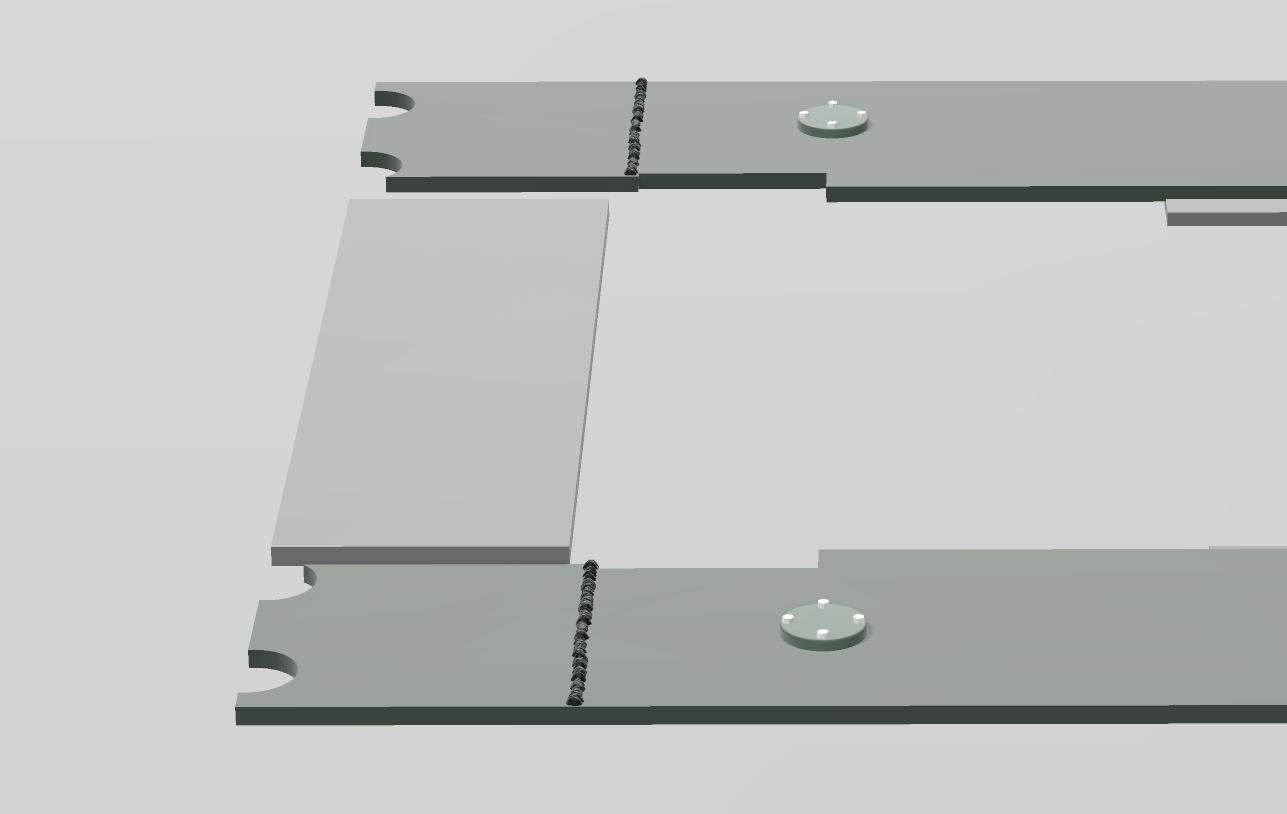
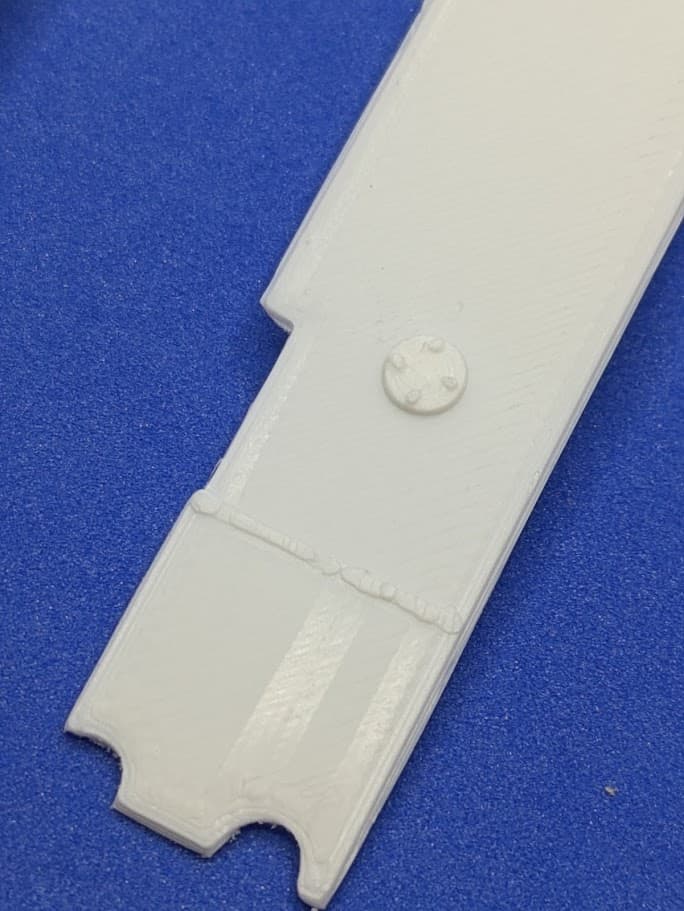
Improved the design of the Tamiya Sherman sponson covers in 1/35 by adding the drain plugs and some weld lines:
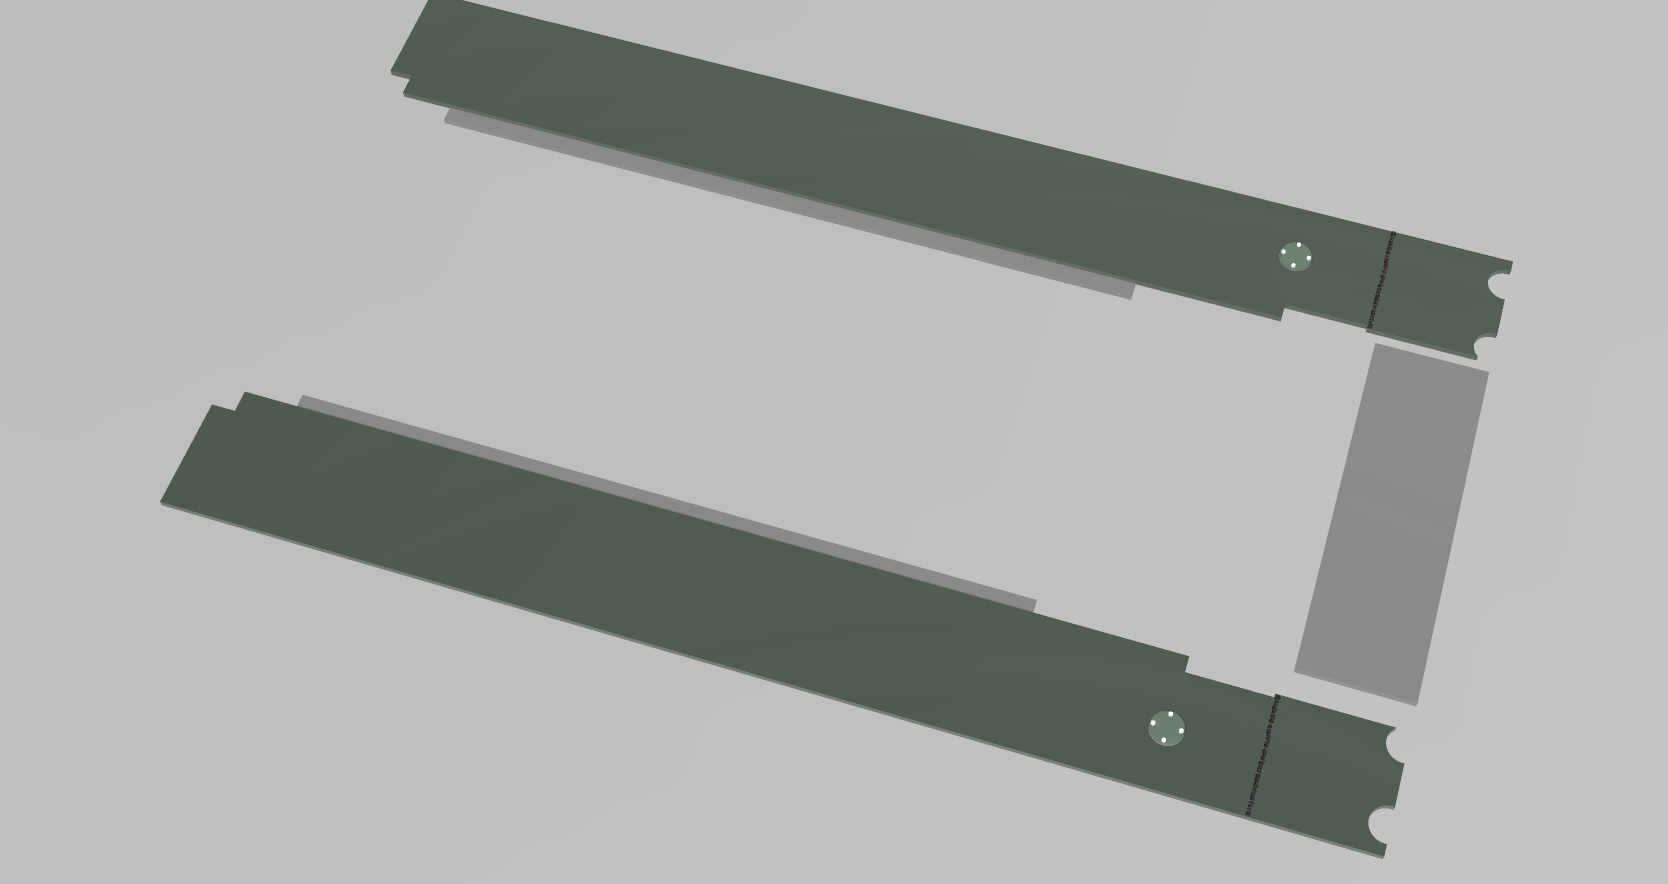
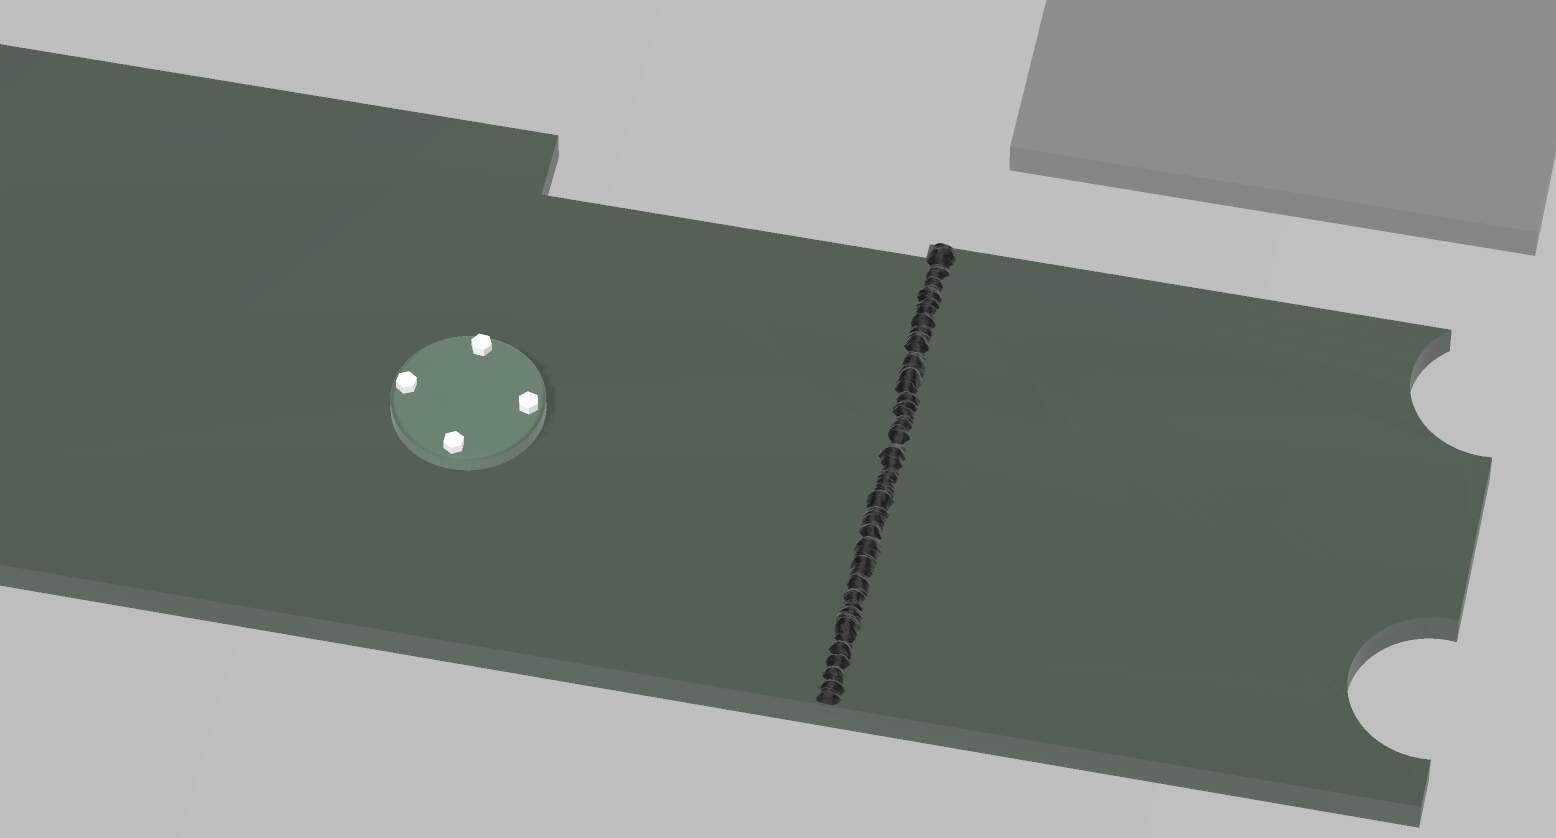
4 Likes
More great stuff, James!
Interesting about the shrinkage.
1 Like
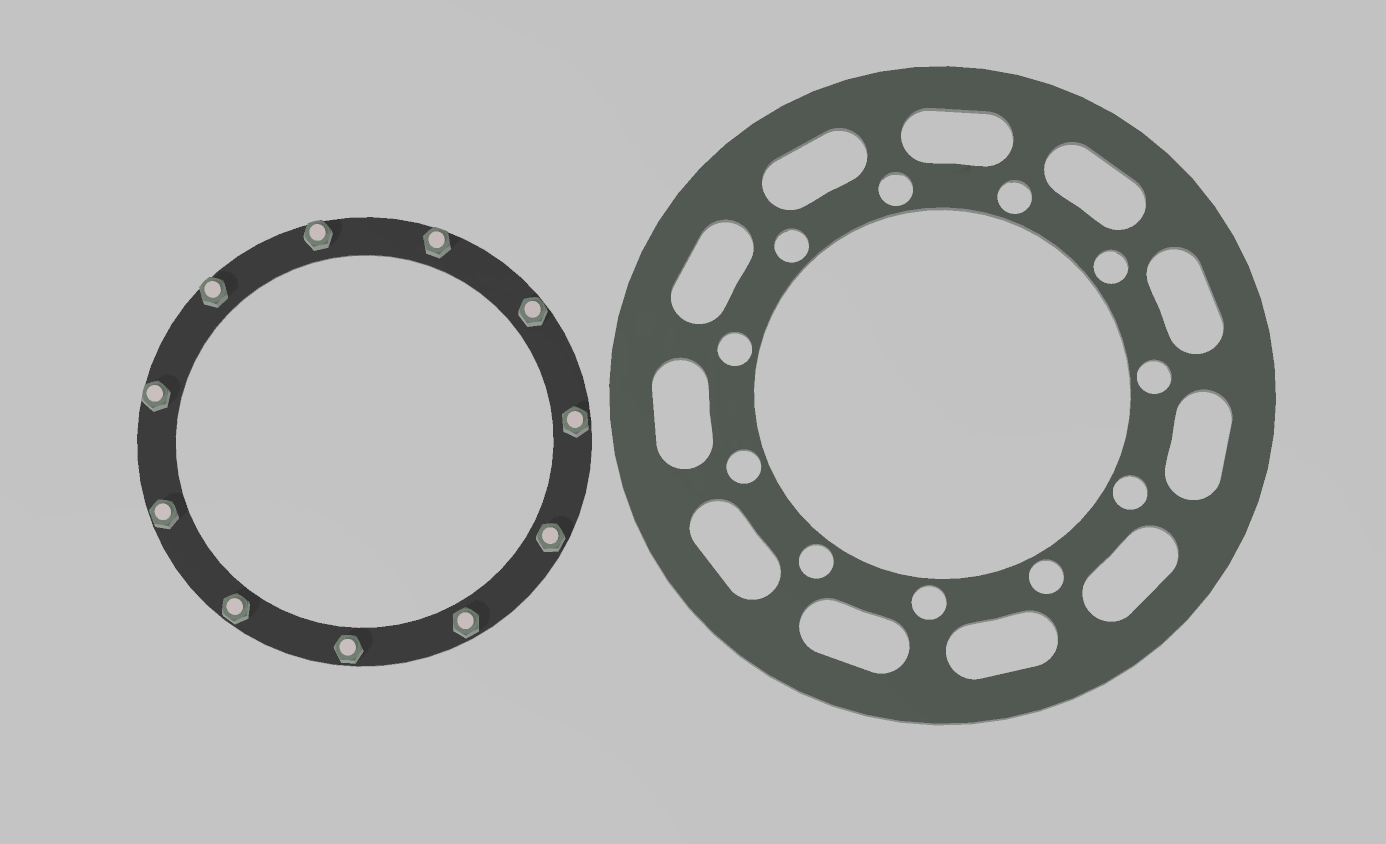
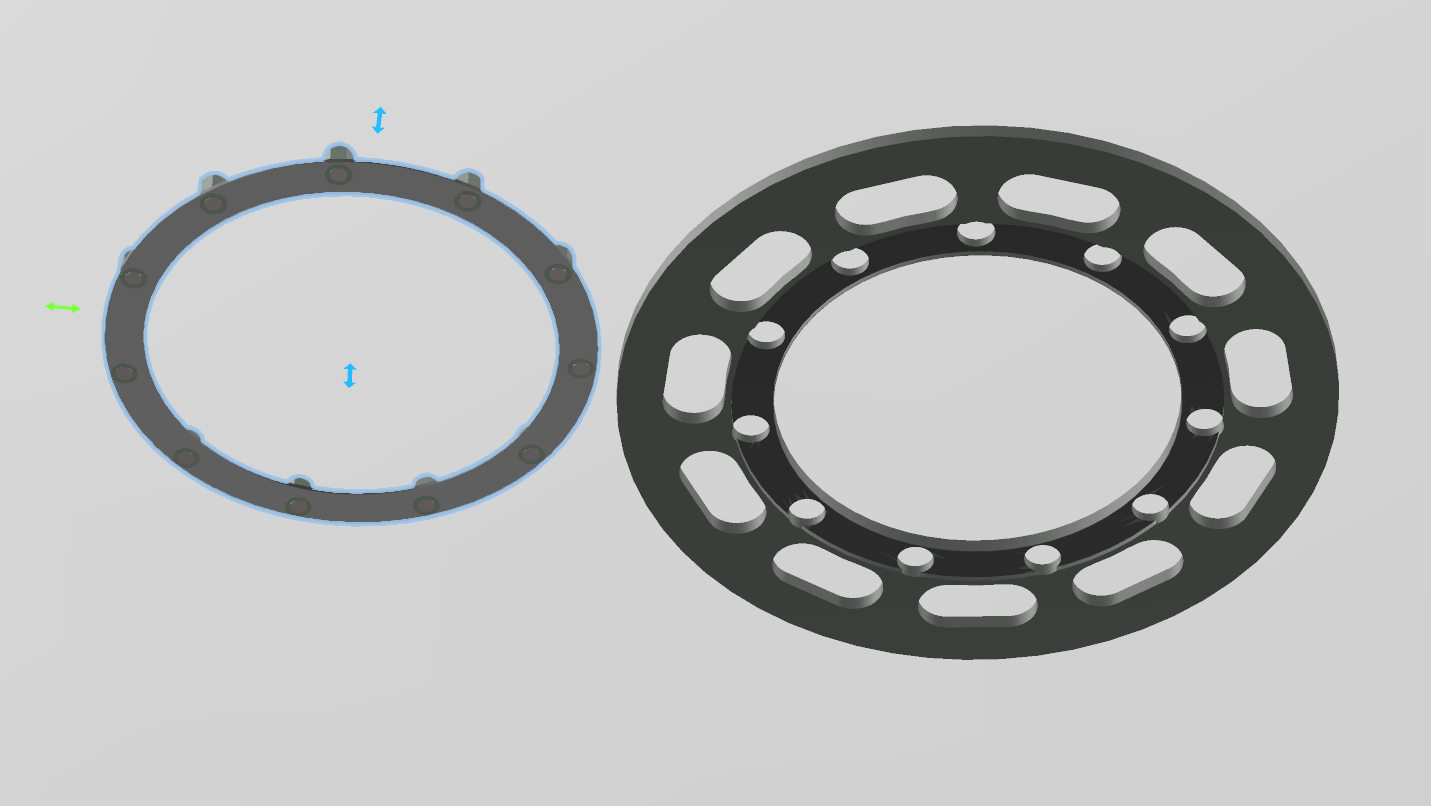
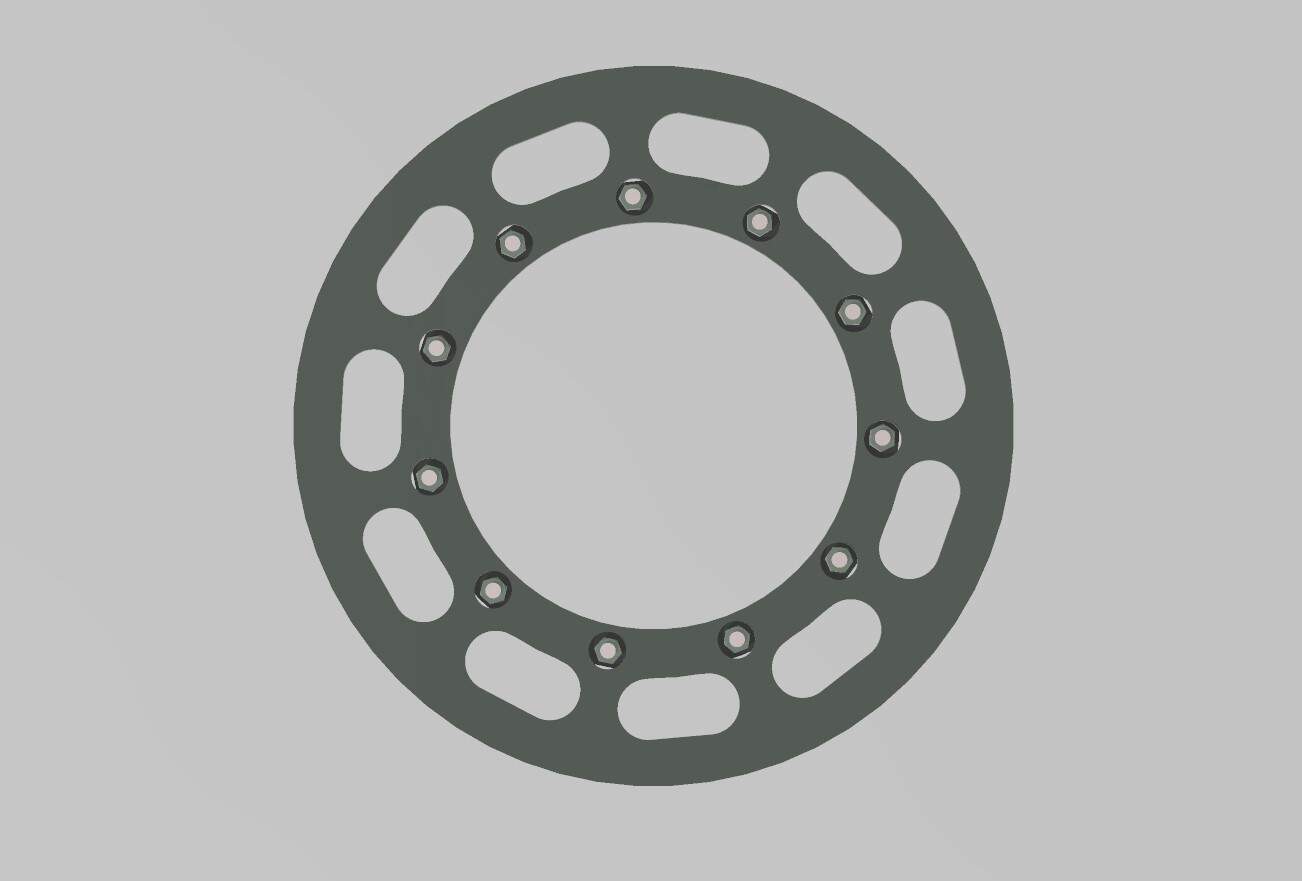
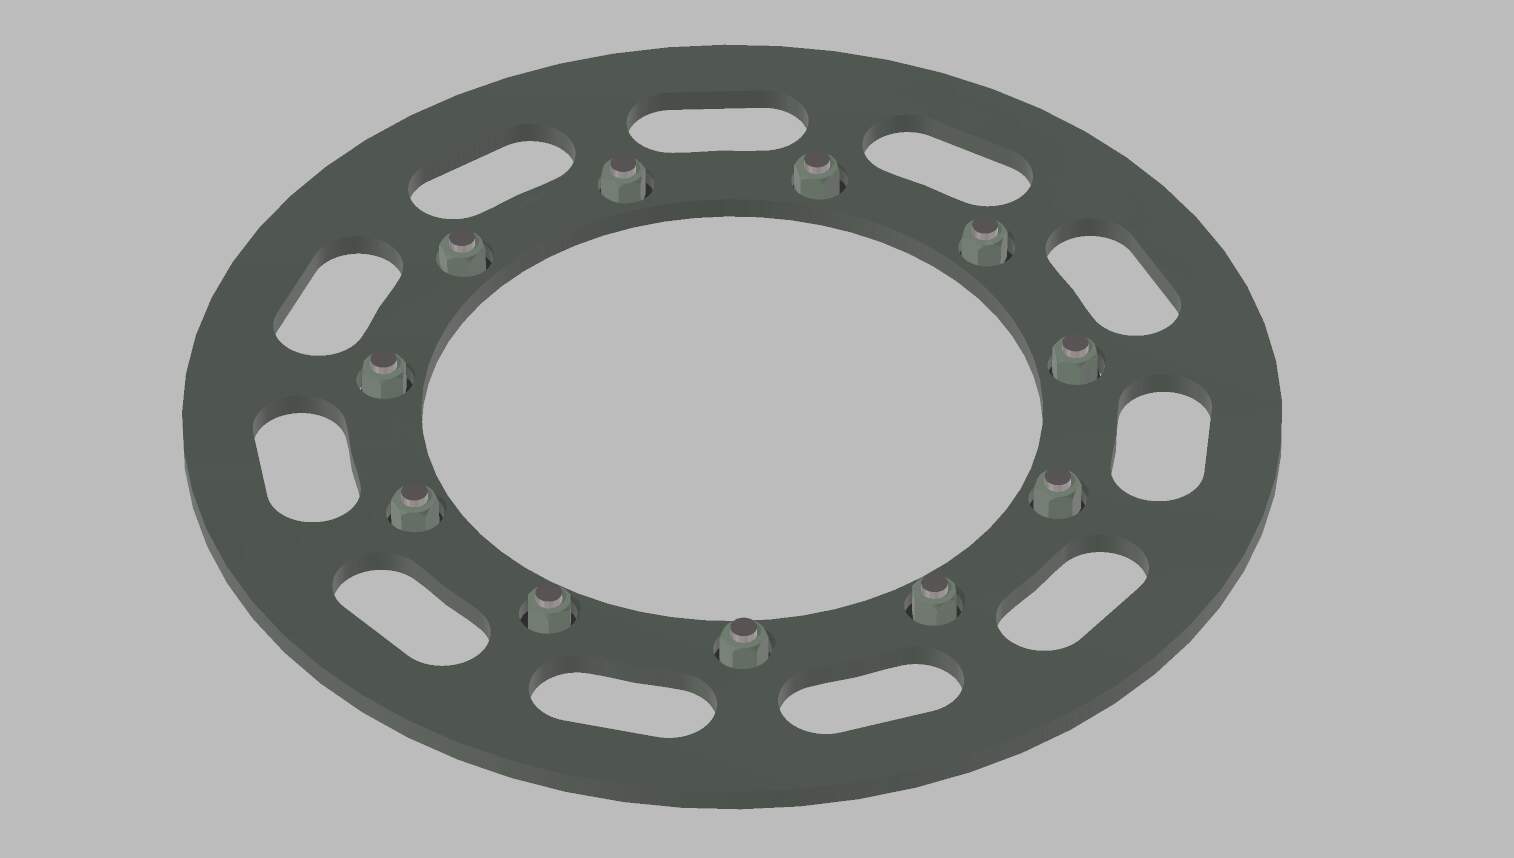
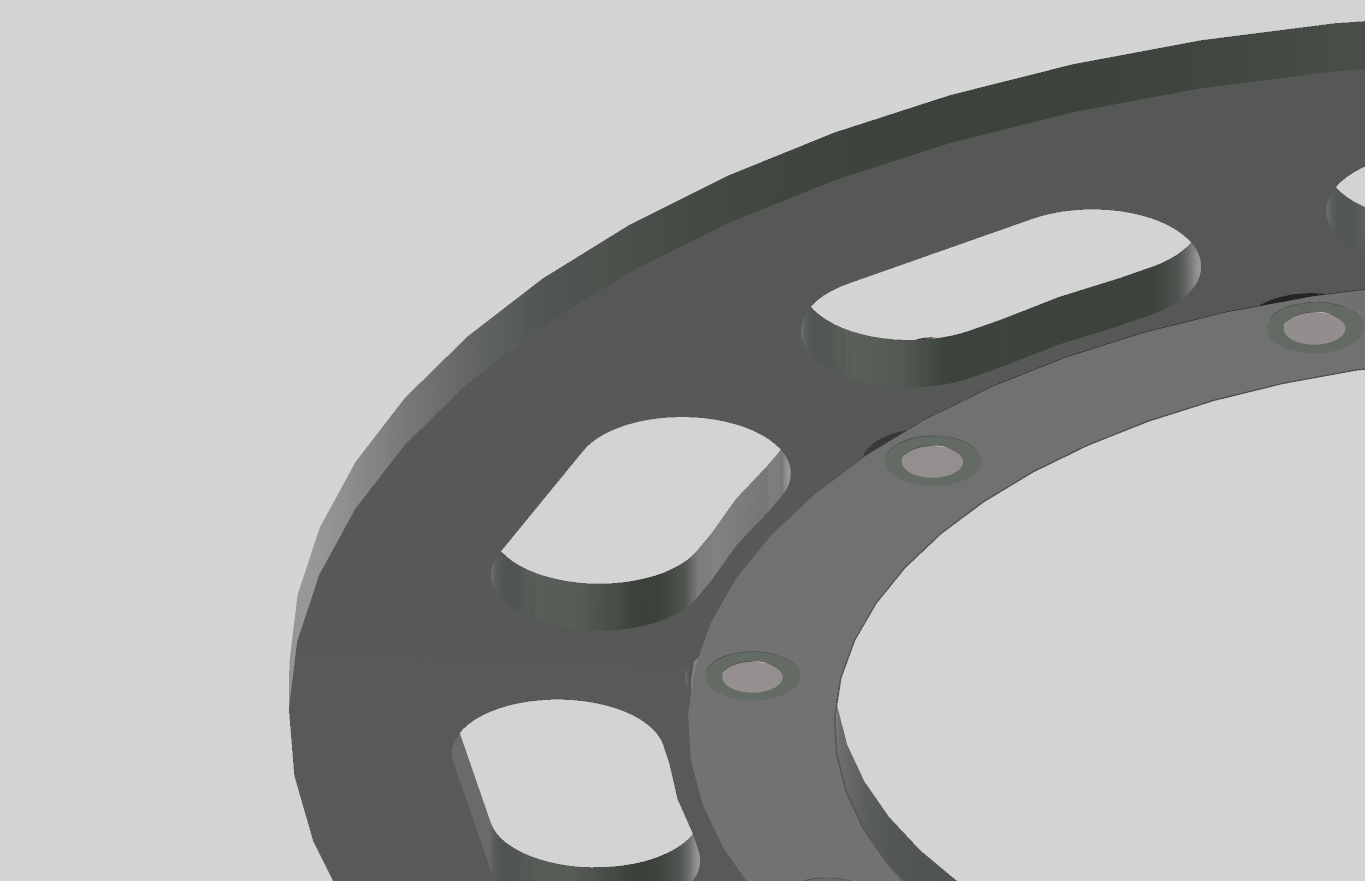
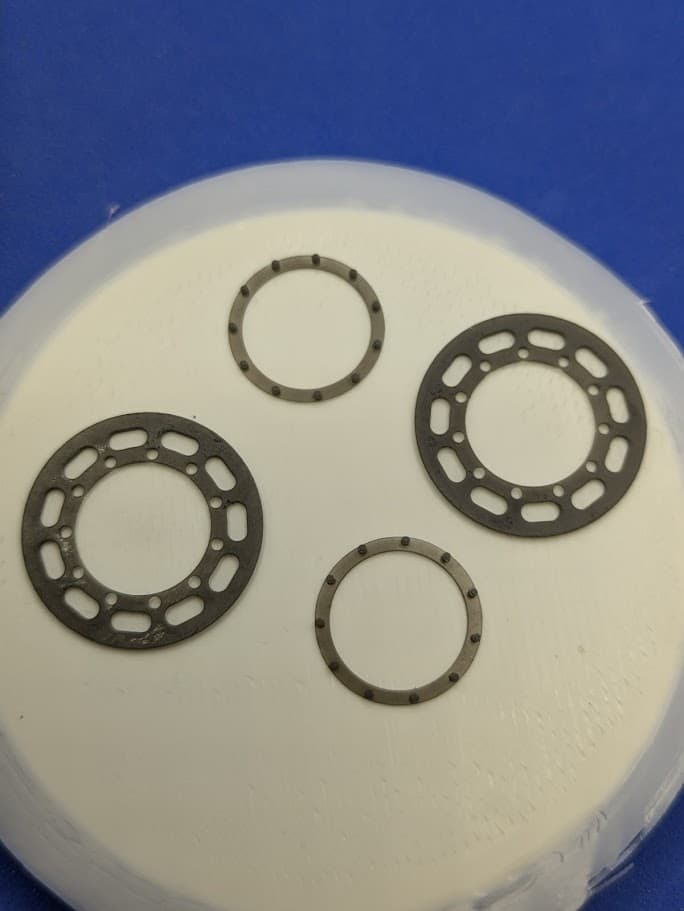
Retainer ring for M1, M1 IP, M1A1 Abrams sprockets in 1/35 and 1/16.
None of the kit-provided retainer rings were that accurate. The Eduard PE version was too thin and a bit smaller I thought.
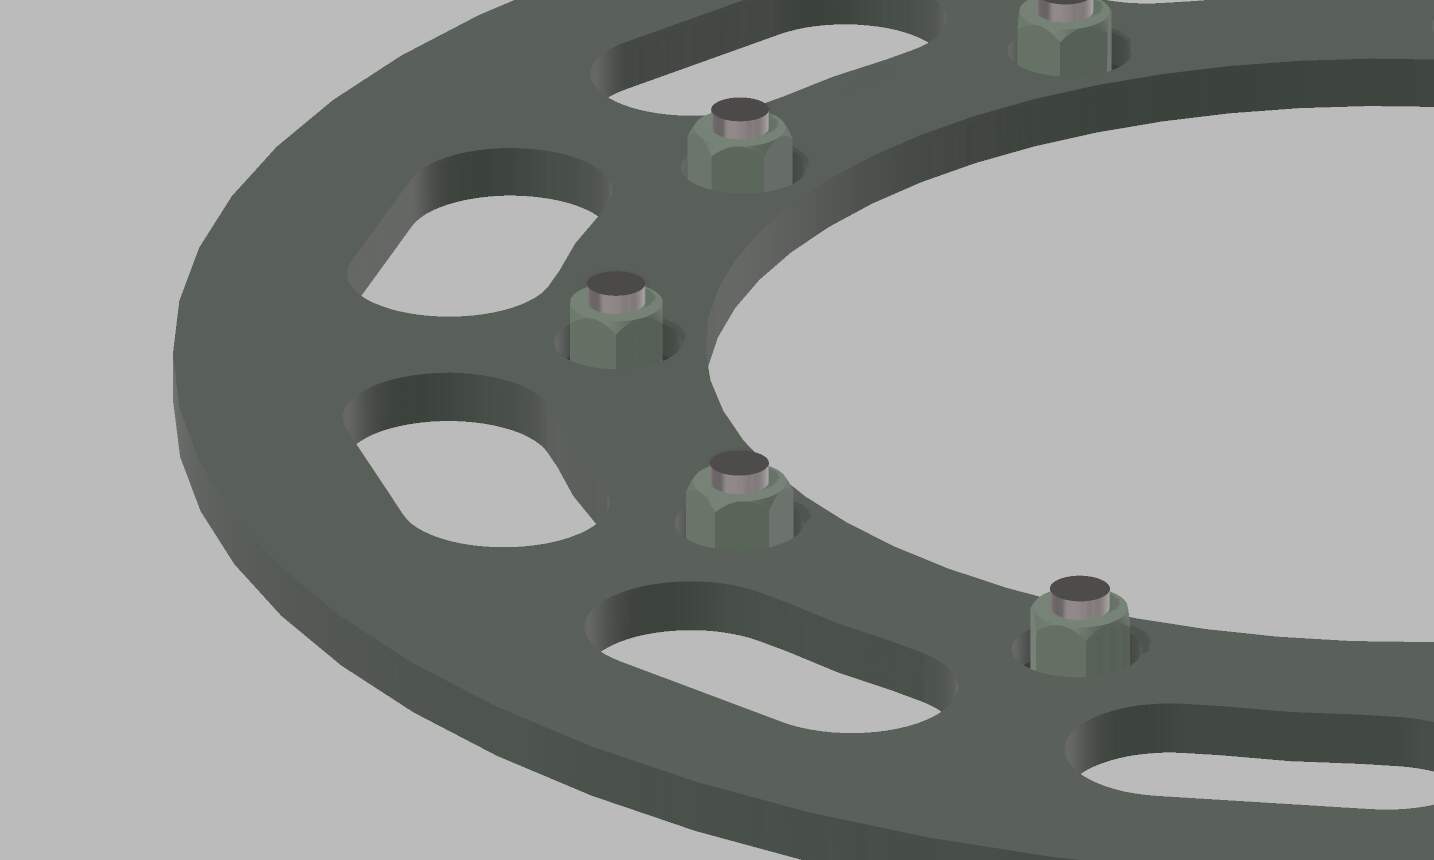
So here’s the idea - made up of 2 main parts: inner ring with the bolt details and one outer ring. Then you sandwich them together before gluing to the sprockets.
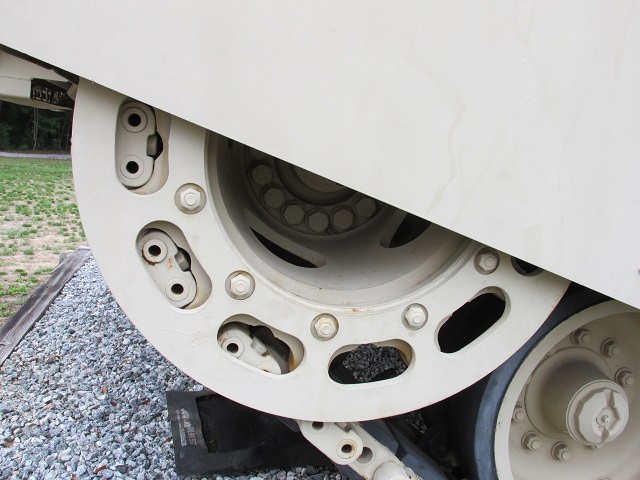
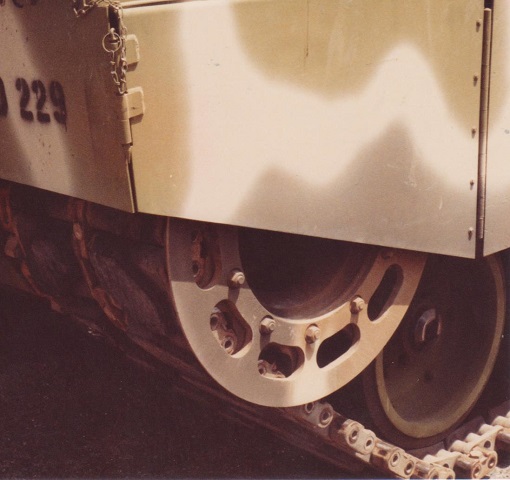
Reference photos used:
2 files for each scale made - 1) Inner ring and 2) outer ring.
STLs available on my cults3d page.
10 Likes
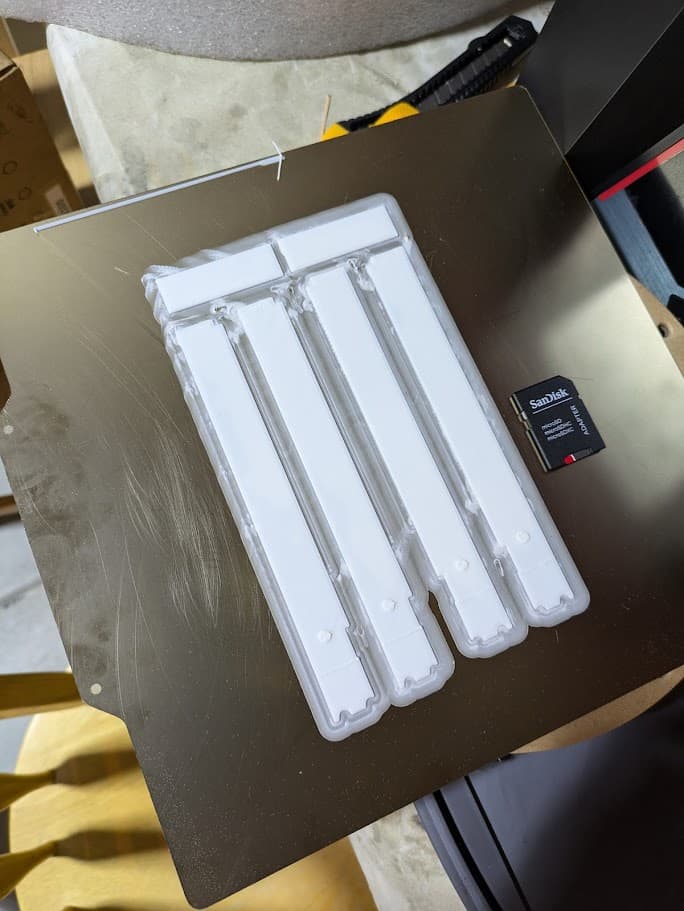
Some 3D prints from this past weekend.
1/35 Tamiya Sherman M4A3 sponson covers. Used an FDM printer instead of resin for convenience:
1/35 M1 Abrams track retainer ring or “training wheel” for the sprockets:

4 Likes
Good looking parts. Makes sense to use FDM for the sponson covers. ![]()
![]()
1 Like
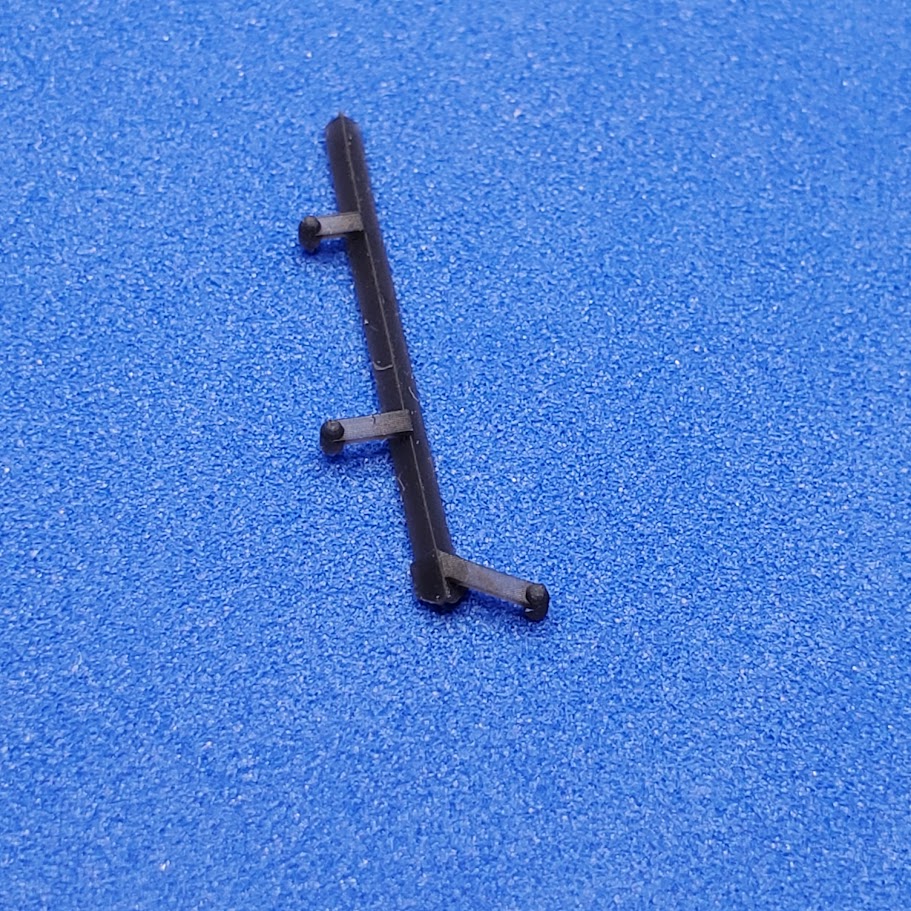
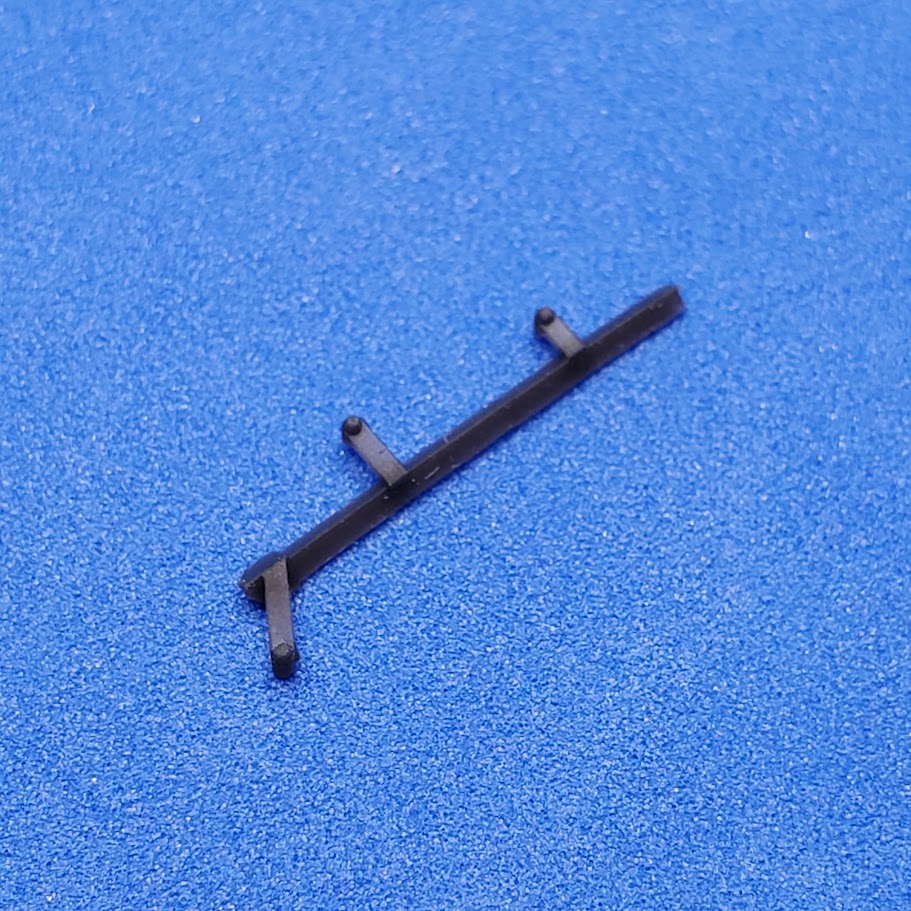
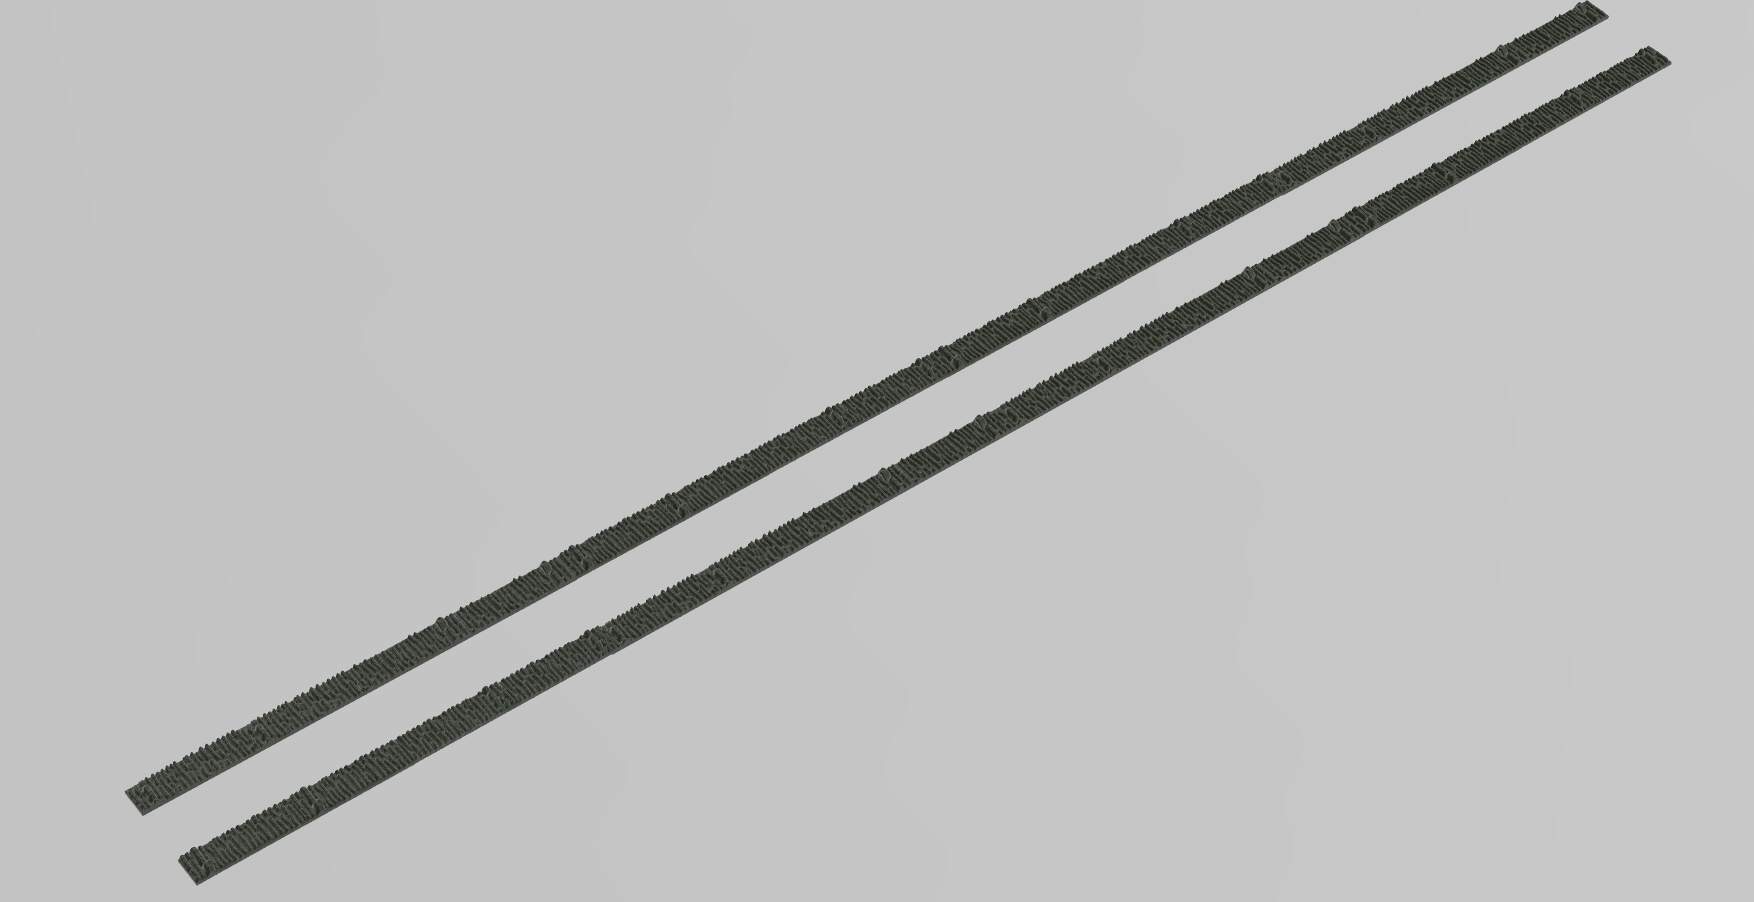
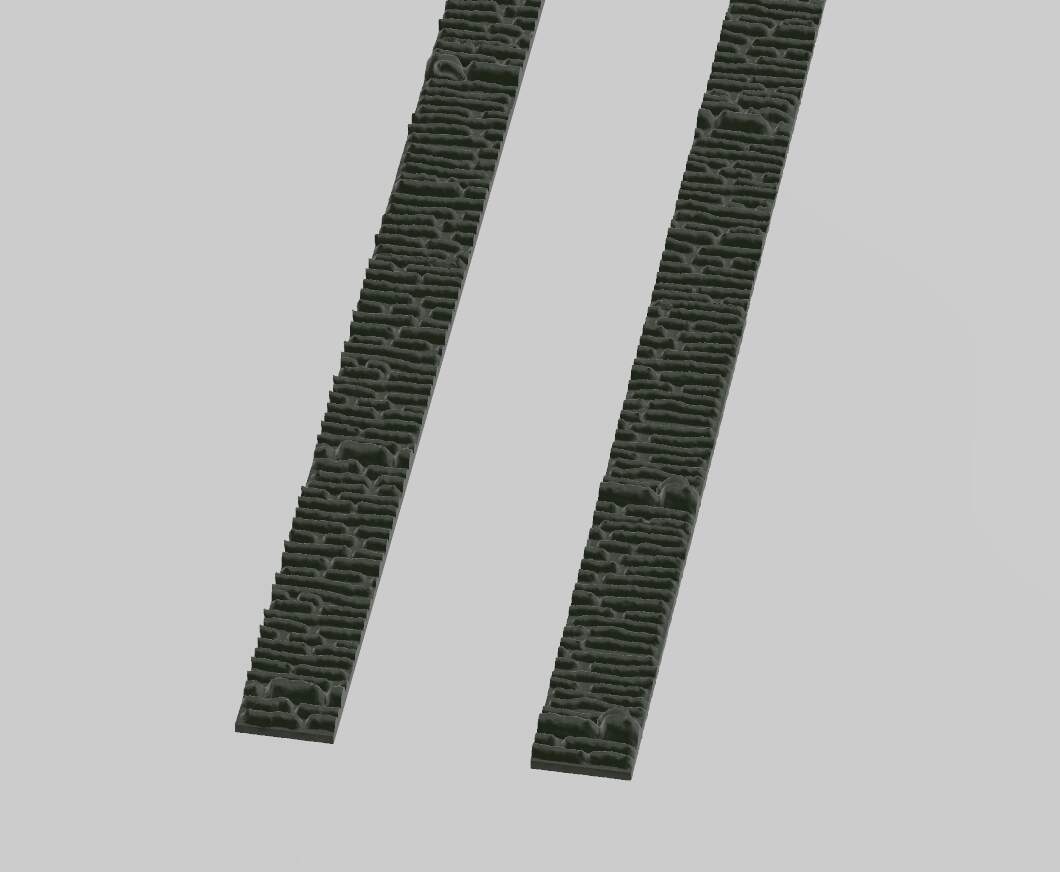
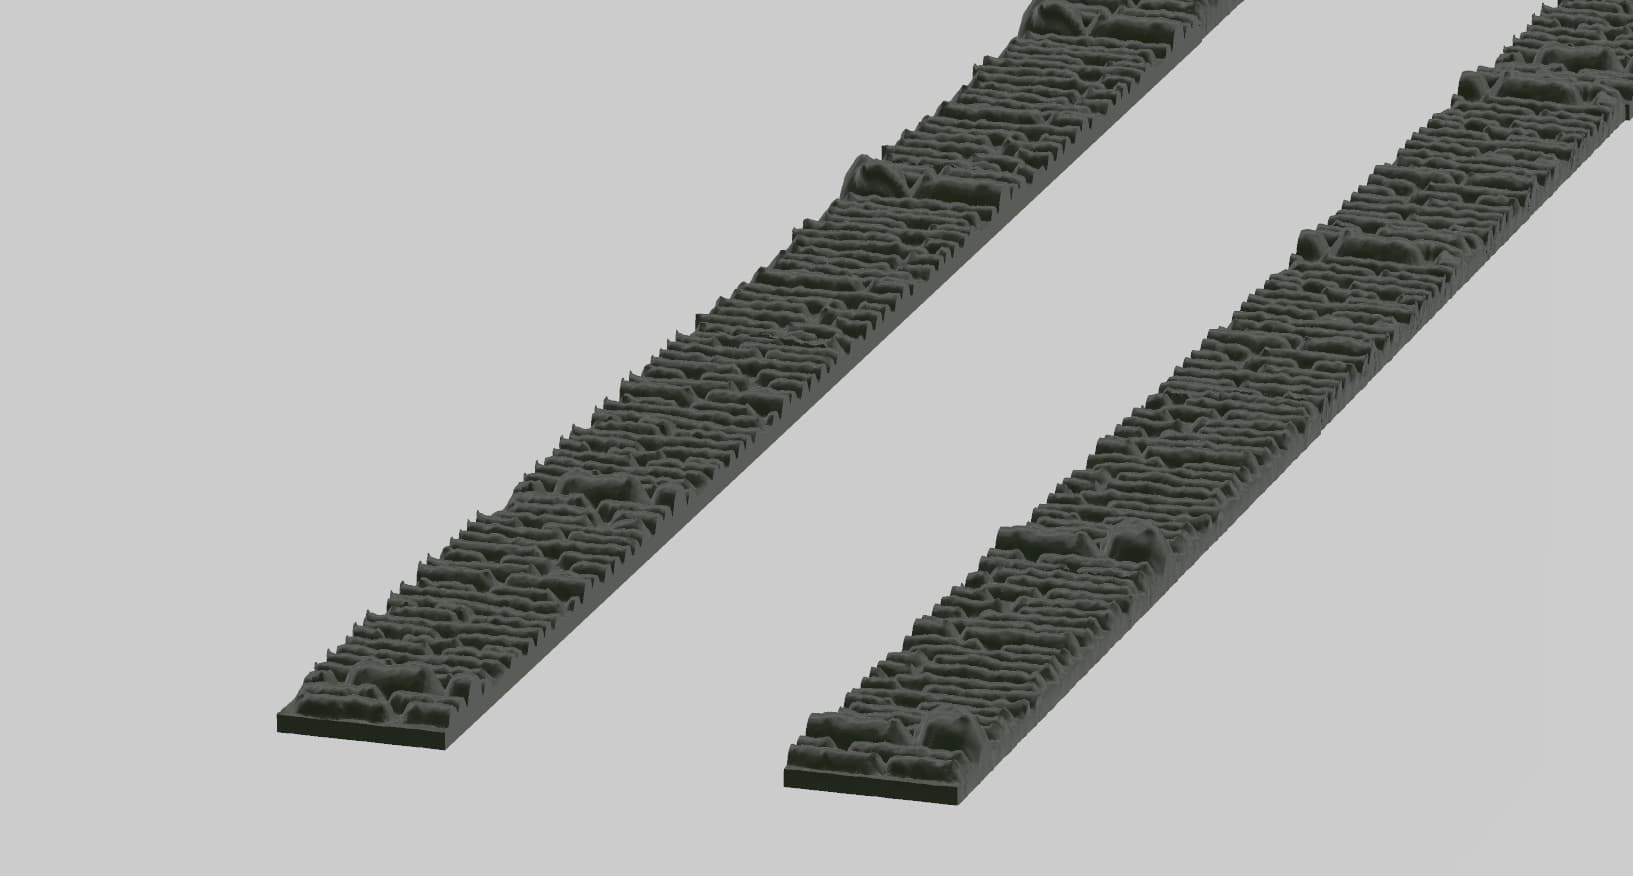
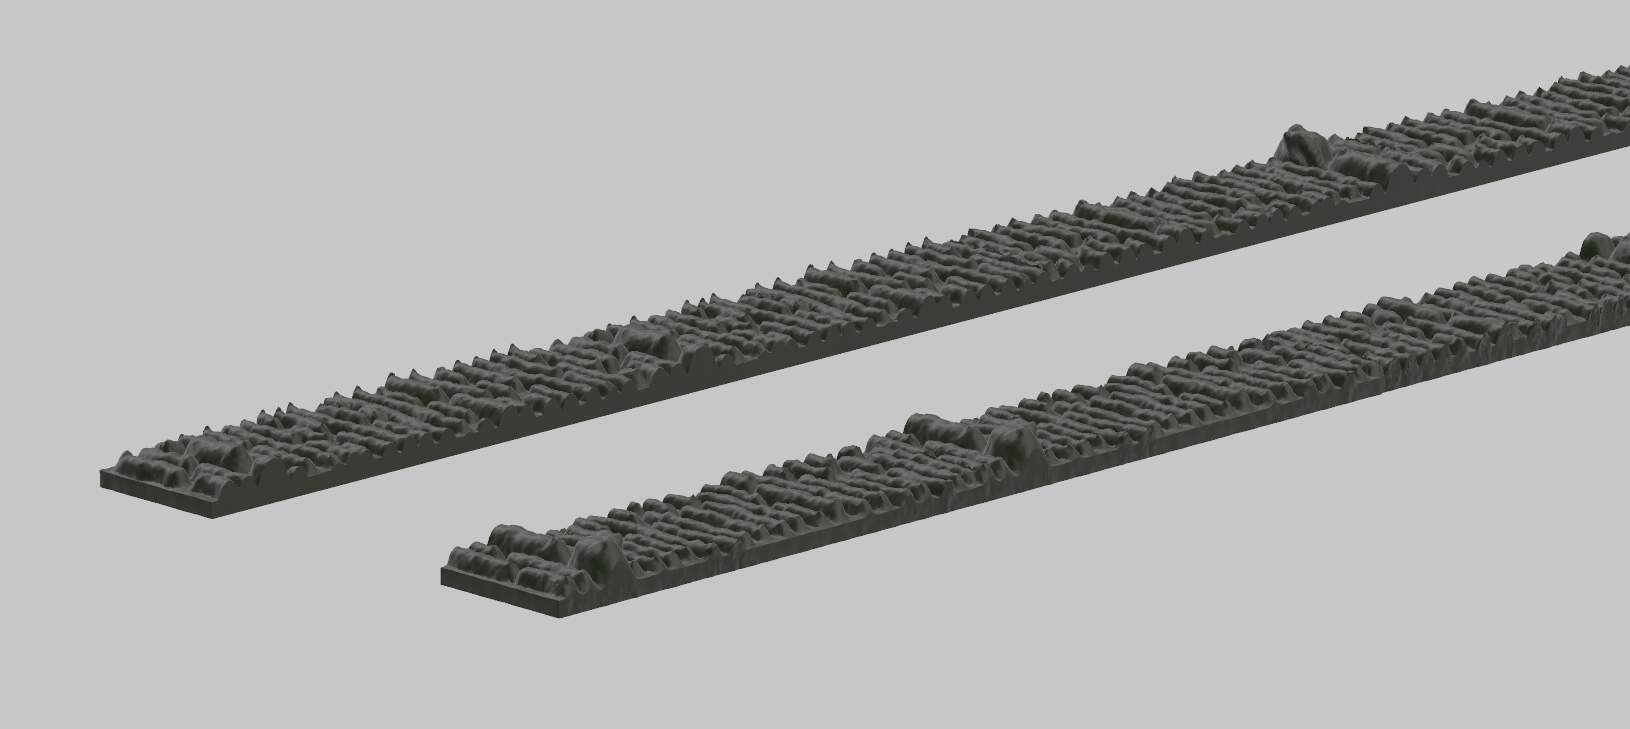
1/35 and 1/16 scale horizontal pattern weld seams. I made the round pattern before, and that pattern STL was popular so decided to make a different one.
1/35 patterns = 60mm length x 1.1mm wide x 0.4mm high
1/16 patterns = 131.25mm L x 2.41mm W x 0.89mm high

Reference photo used:

STLs available on my Cults3D page.
2 Likes
Could you 3D-print her?
Asking for a friend …
1 Like
Incoming PM for you, Robin.
1 Like
I’d thought of 3D printed weld seams but wondered how’d they’d do. Assuming you have to cut very carefully (resin snpping/brittle/etc.). How are they to use? Very well done, as always!
Also been meaning to ask, James, if I’m not prying, what printer do you have? You do great 3D work, and I’ve seen your prints, so obviously you chose well.
Your questions are welcomed, Wink. I have four 3D printers - 3 MSLAs: Elegoo Saturn 2, Mars 3, Mars 4 Ultra, and 1 FDM printer: Elegoo Neptune 3 Pro.
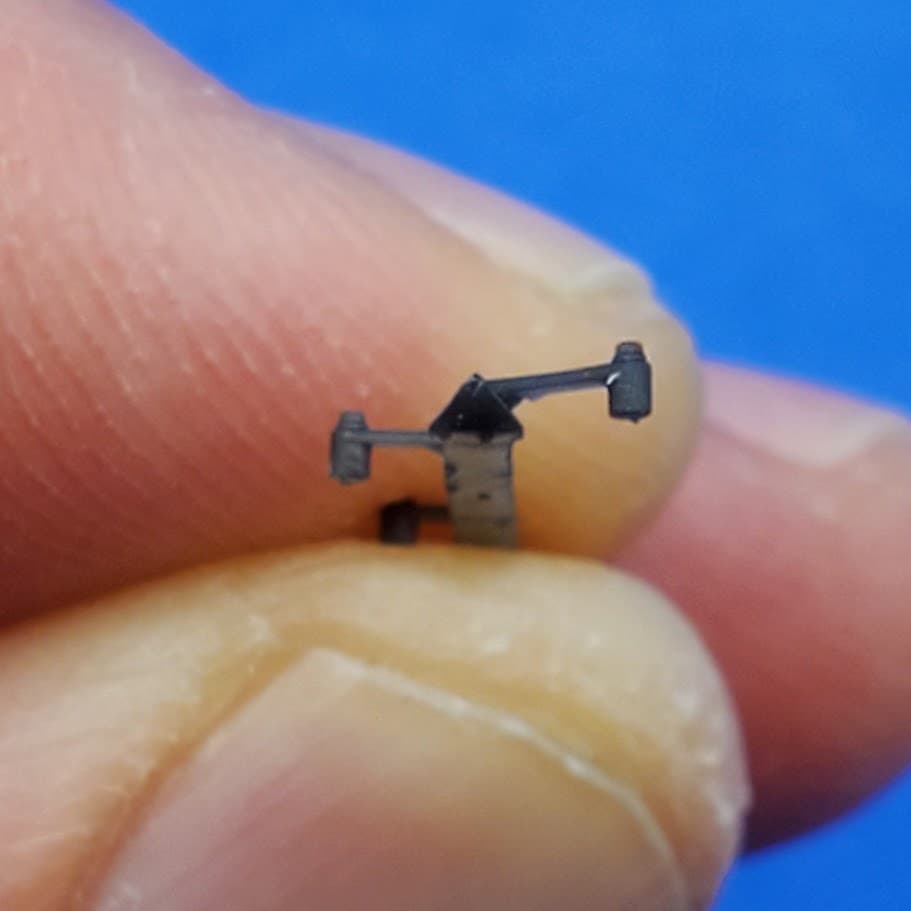
As to the weld seam prints, I have not had much difficulty in the resin print snipping or breaking as long as you take off the tiny supports before UV curing. It also helps if you use the more flexible “ABS-like” resin.
Here’s an example photo of the weld seams.
2 Likes
Thank you! So, I’m thinking you like Elegoo! ![]()
How is the ABS-like resin? I usually use Eco Resin. I know it’s not “healthy” but it’s better than regular. It’s also semi-flexible. I’d love to try ABS-like and similar (there are a lot of “tough” resins"), but it’s hard to find economically in Australia (as in, almost comedy prices), and I don’t have any project that needs it yet, but if it’s good…
I love the weld seam idea. I tend to use masking tape roughed up, and Tamiya putty, then a light sand. I’ve had incredible results. I’ve never been successful stretching sprue, for welds or antenna! But buying your seams might be the way to go.
I’m testing UV cure. I did multiple experiments, which don’t conclusively prove anything, but make you think. I need to bring heat cure into it, and get someone to replicate the experiment to truly be scientific. I expected people to comment “you’re crazy!” but no one seems interested. Here’s my test:
UV Cure test
Yes, I like Elegoo products for sure. ![]()
ABS-like resin is good so far. I don’t use 100% of it bc of the high cost. I mix it 30-70% mix with water washable UV resin. The results have served me well so far.
That video about not UV curing resin at all and giving the best strength - OK, that may be true for bigger prints but for tiny and thin prints in 1/35 mostly need some curing to hold the shape, to get rid of stickiness, and to increase the surface strength. That’s my experience at least.
1 Like
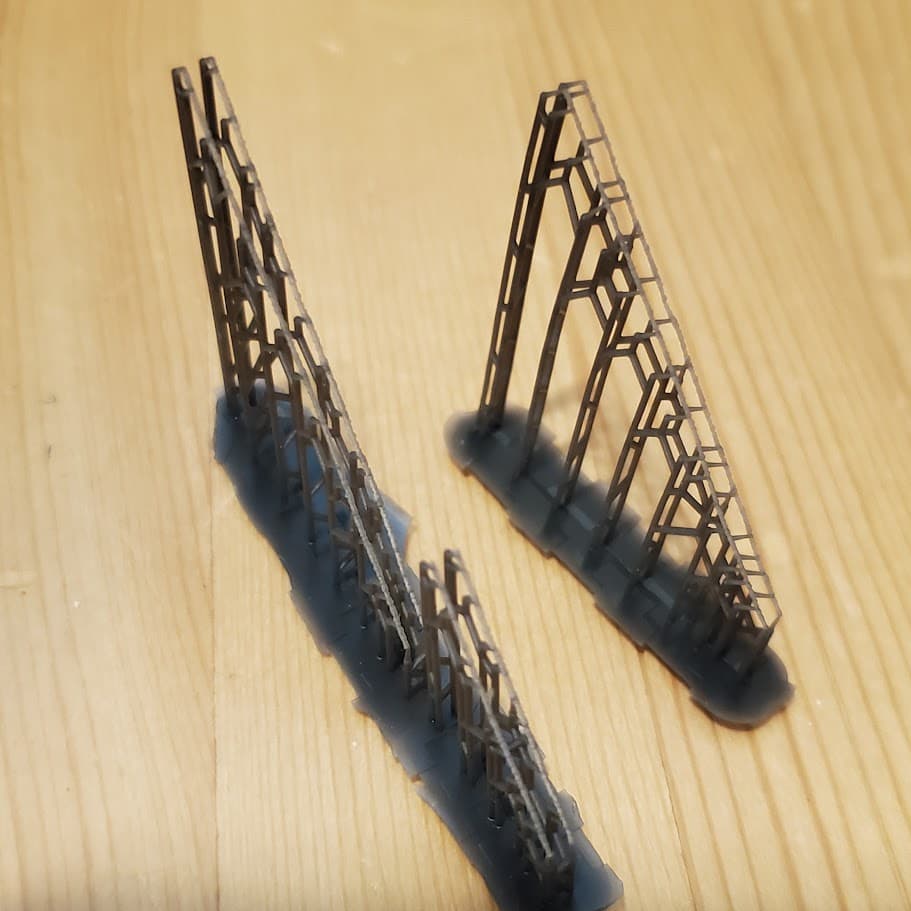
Yes, I made a small ladder/stair piece in 1:72. It was so wobbly I couldn’t handle it until I gave it a bit of cure.
Interesting about mixing. I’ll have to bite the bullet and buy a bottle and experiment.