Well you guys know how things go with me. I really wasn’t going to start another new kit this year until I knocked over a couple of WIP projects, but then I got invited to join a group build on one of our local Aussie Facebook Groups with a “Black and Blue” theme. Any subject matter, any scale, just has to be mainly either black or blue paint. It is being sponsored by the owner of SMS Paints, who is a friend of mine, so honestly I couldn’t really say no 
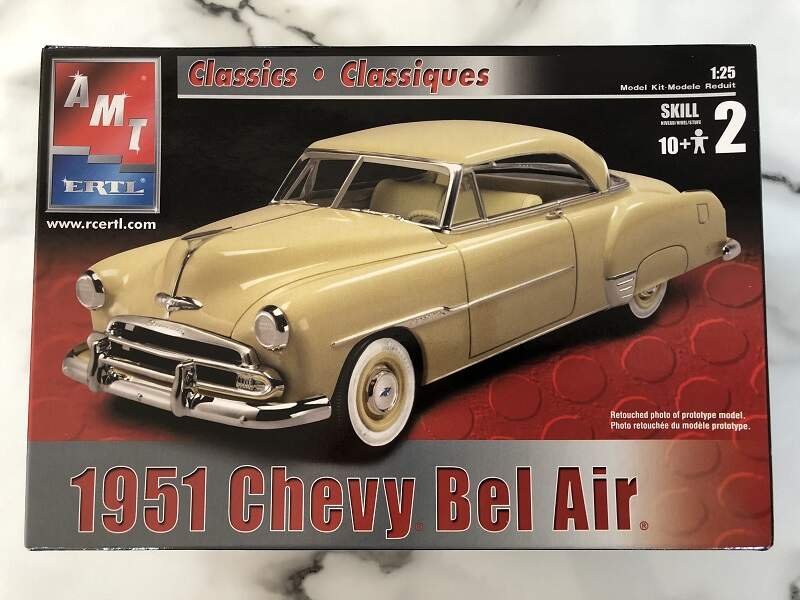
It didn’t take me long to decide on a kit to build, the last Facebook Group Build I built a kit for was also sponsored by SMS Paints and was a fundraiser for the Royal Children’s Hospital here in Melbourne. That was about 12 months ago, and we all had to build the same kit which was the '51 Chevy Bel Air hardtop.
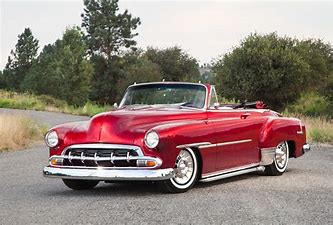
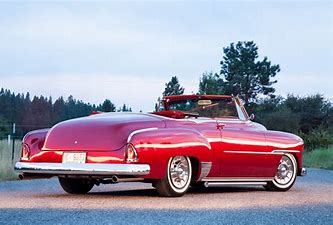
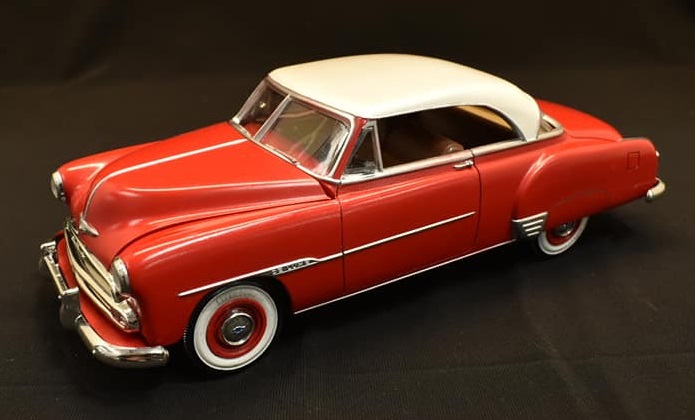
This is the Group Build “glamour shot” of my build back then.
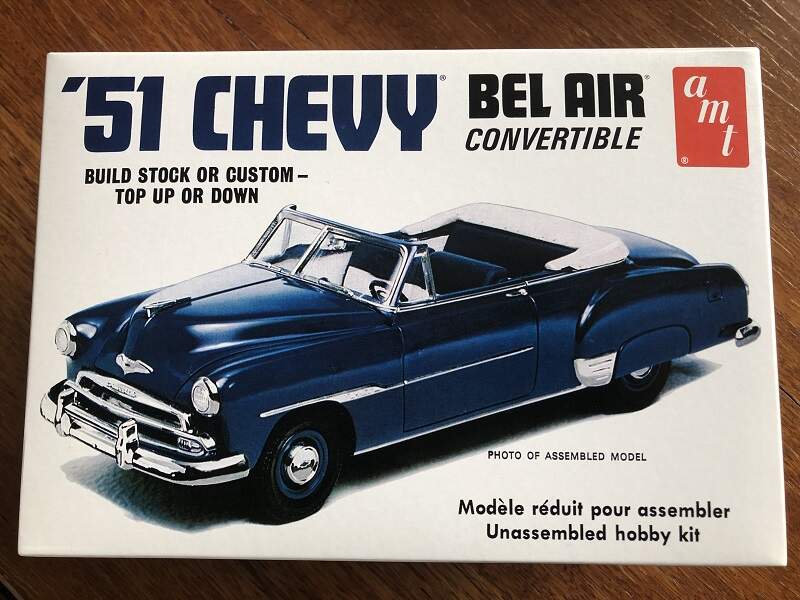
It was an easy decision to drag out the ragtop version of the same car for this Group Build, and I dedicated some time over the past week to crack into it. The Group Build runs for 3 months, with judging based on submitted images starting April 1.
Anyway, here we go! As always, all feedback, comments, advice, constructive critique is most welcome.
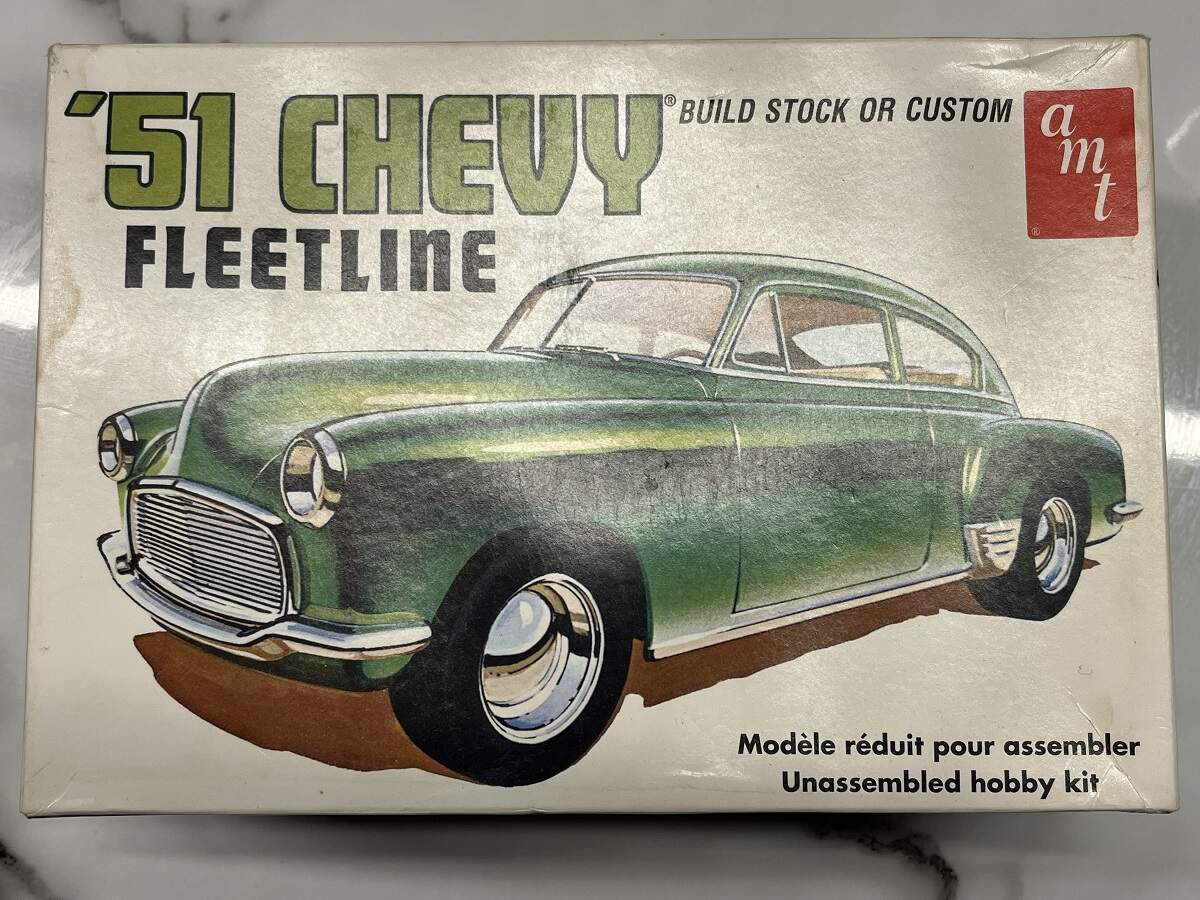
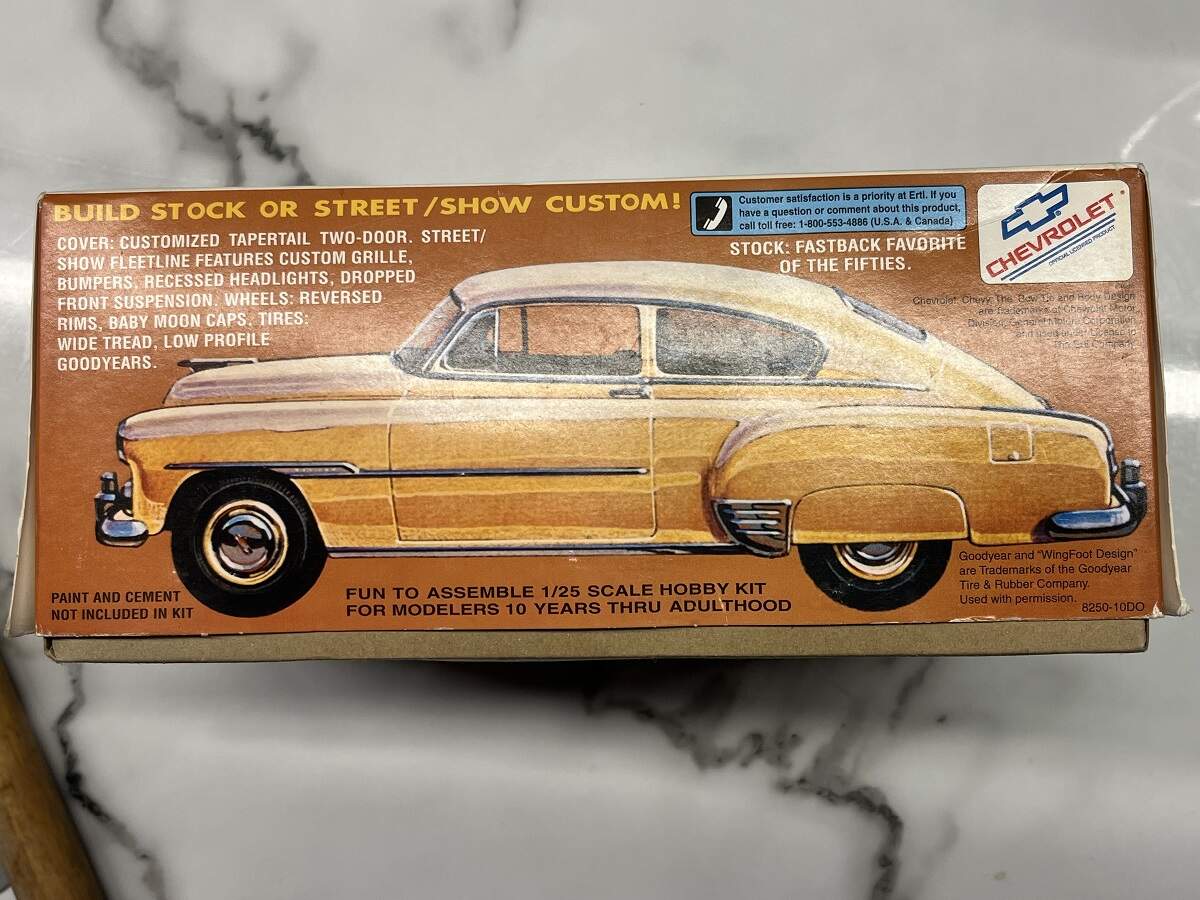
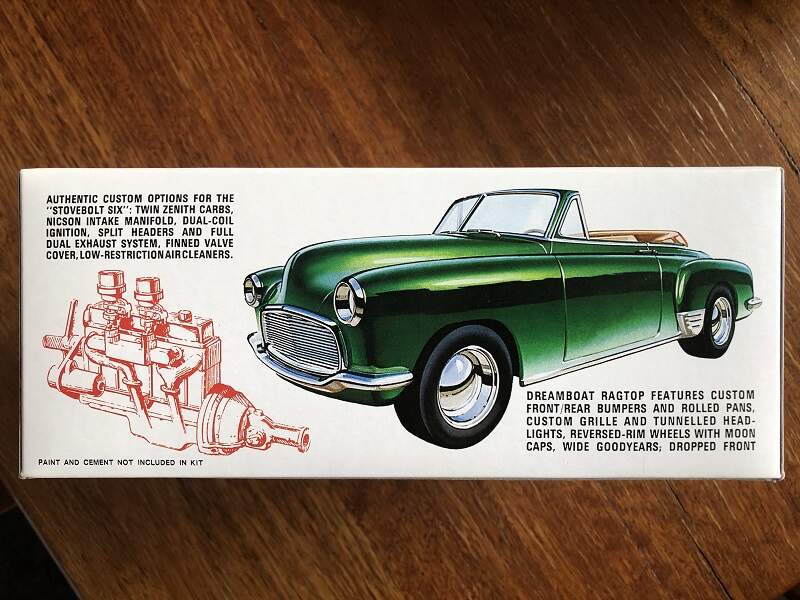
First up, box art.
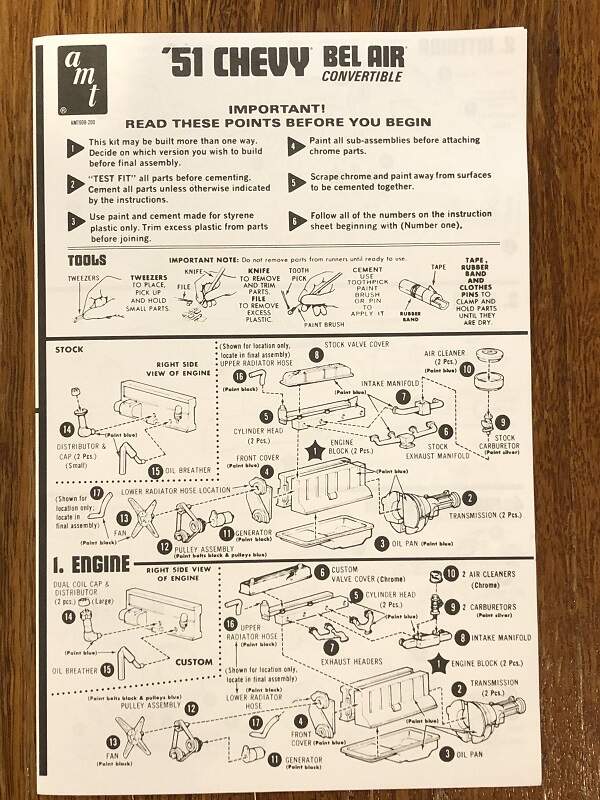
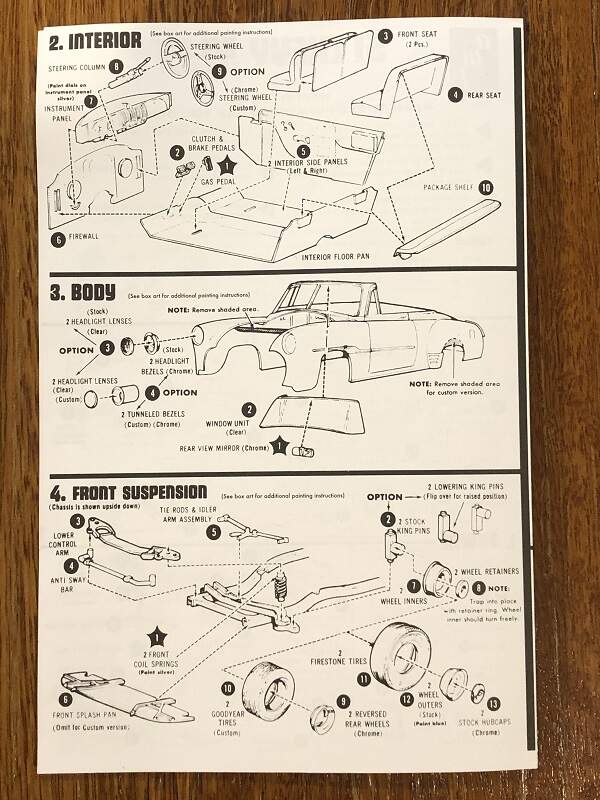
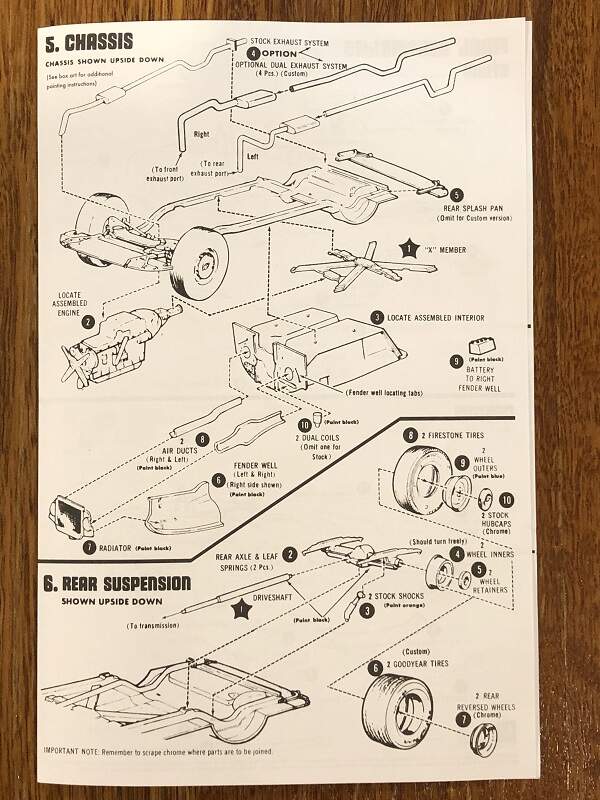
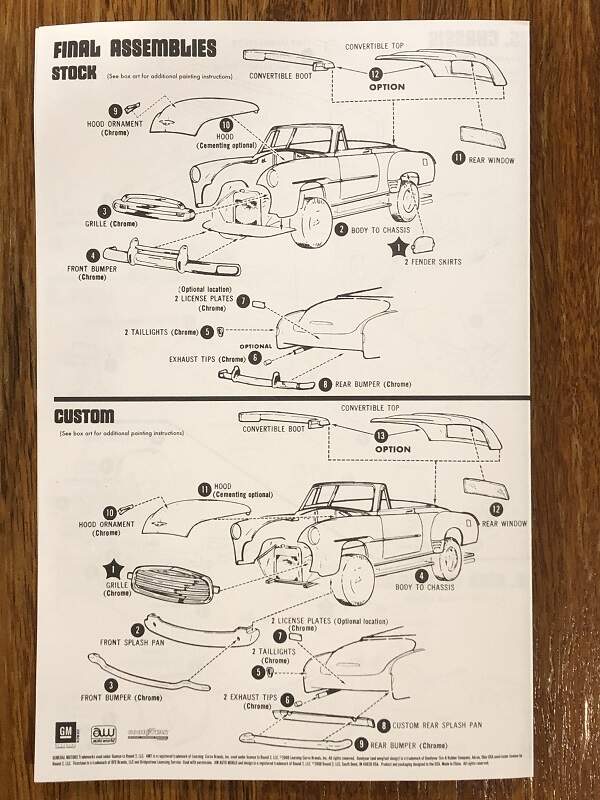
Instructions.
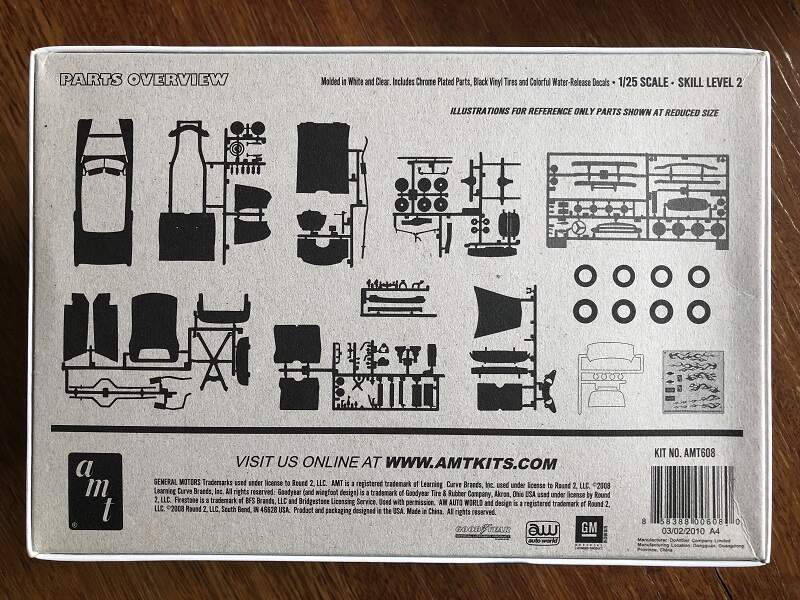
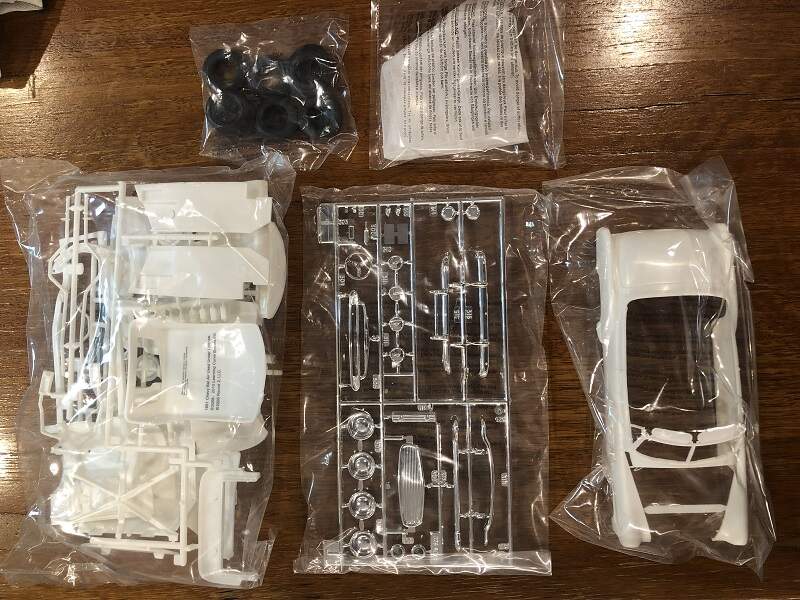
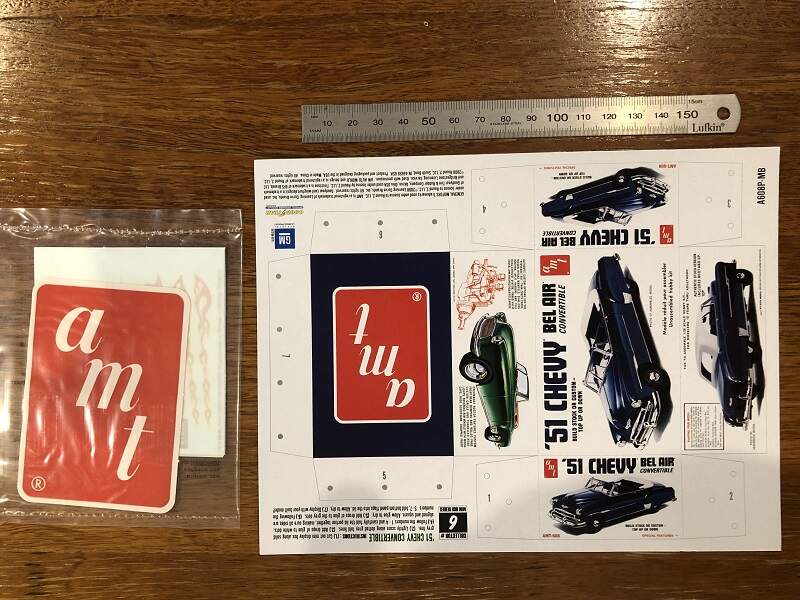
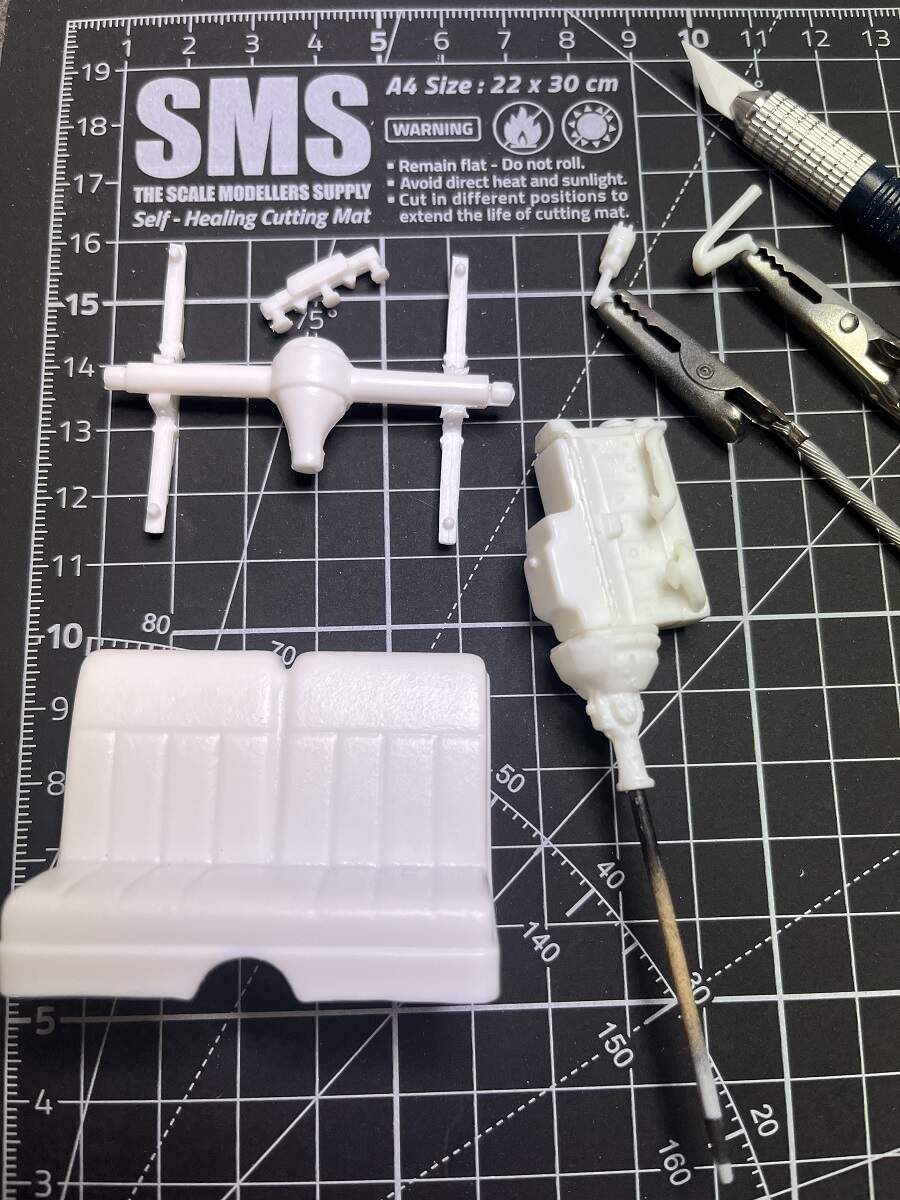
Contents.
Cool mini version of kit box to cut out, assemble and display beside the completed build.
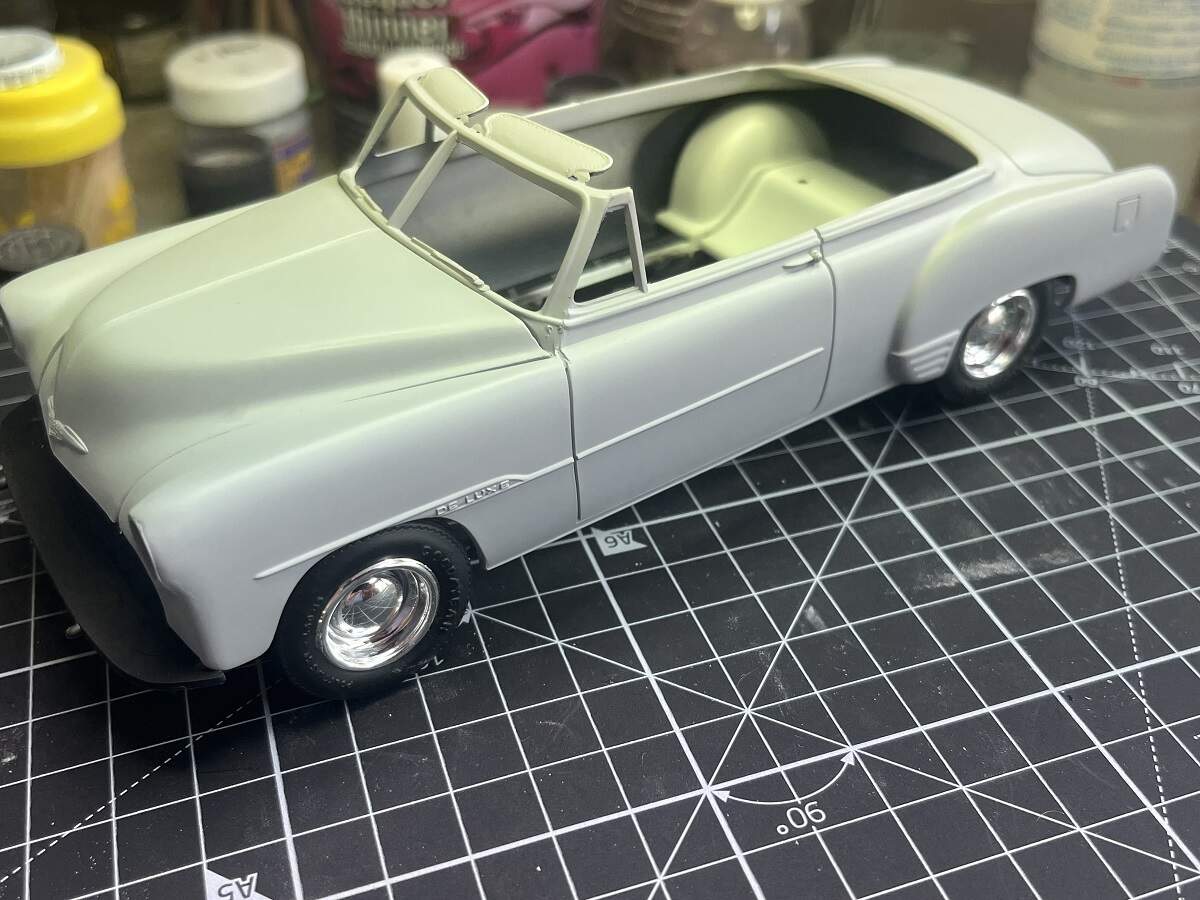
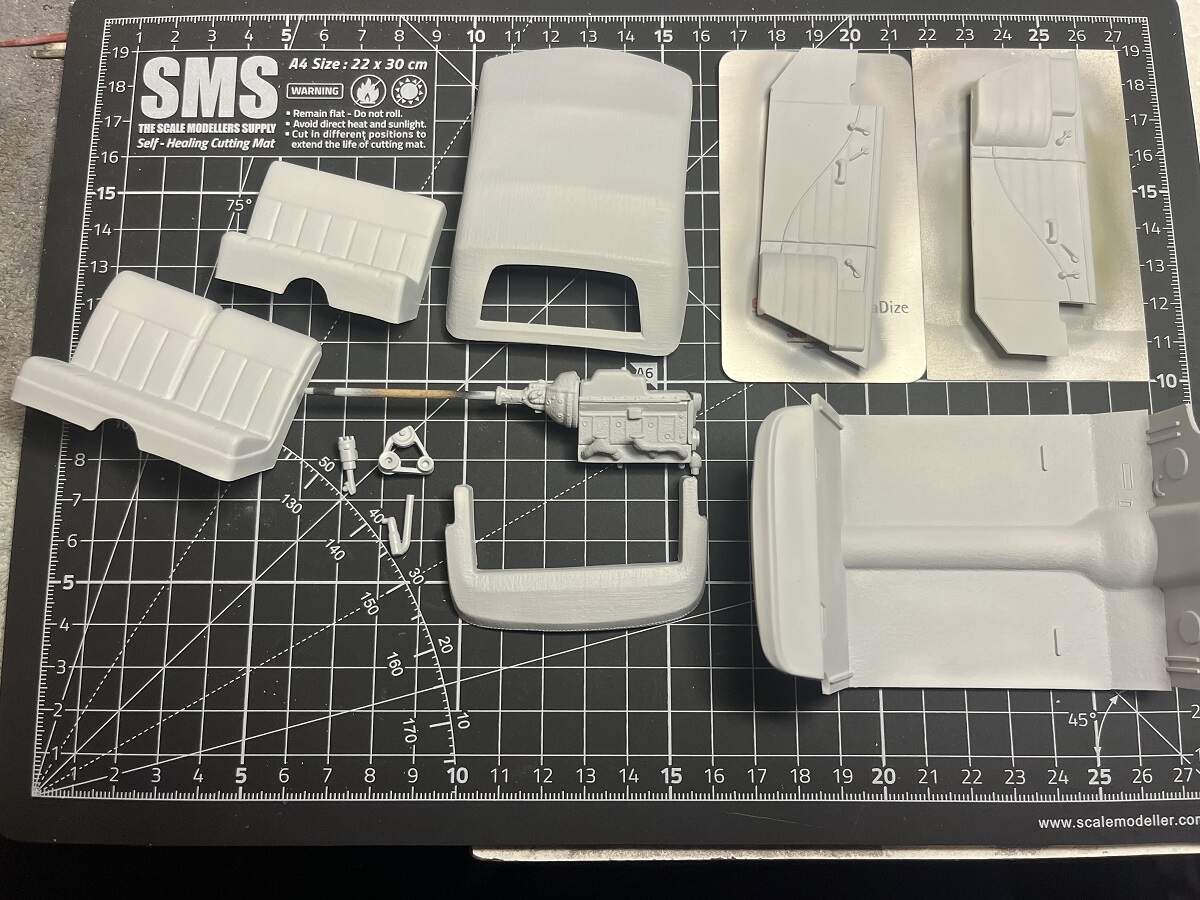
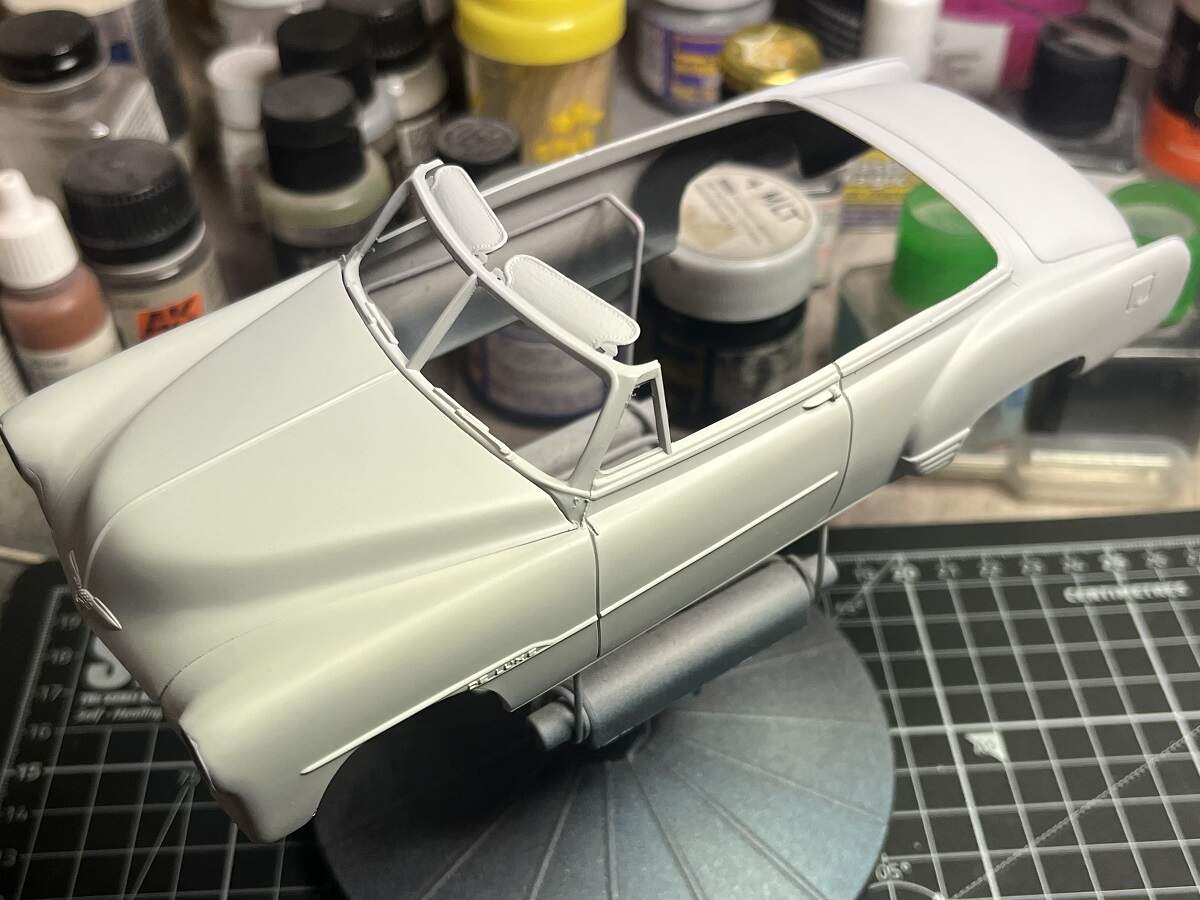
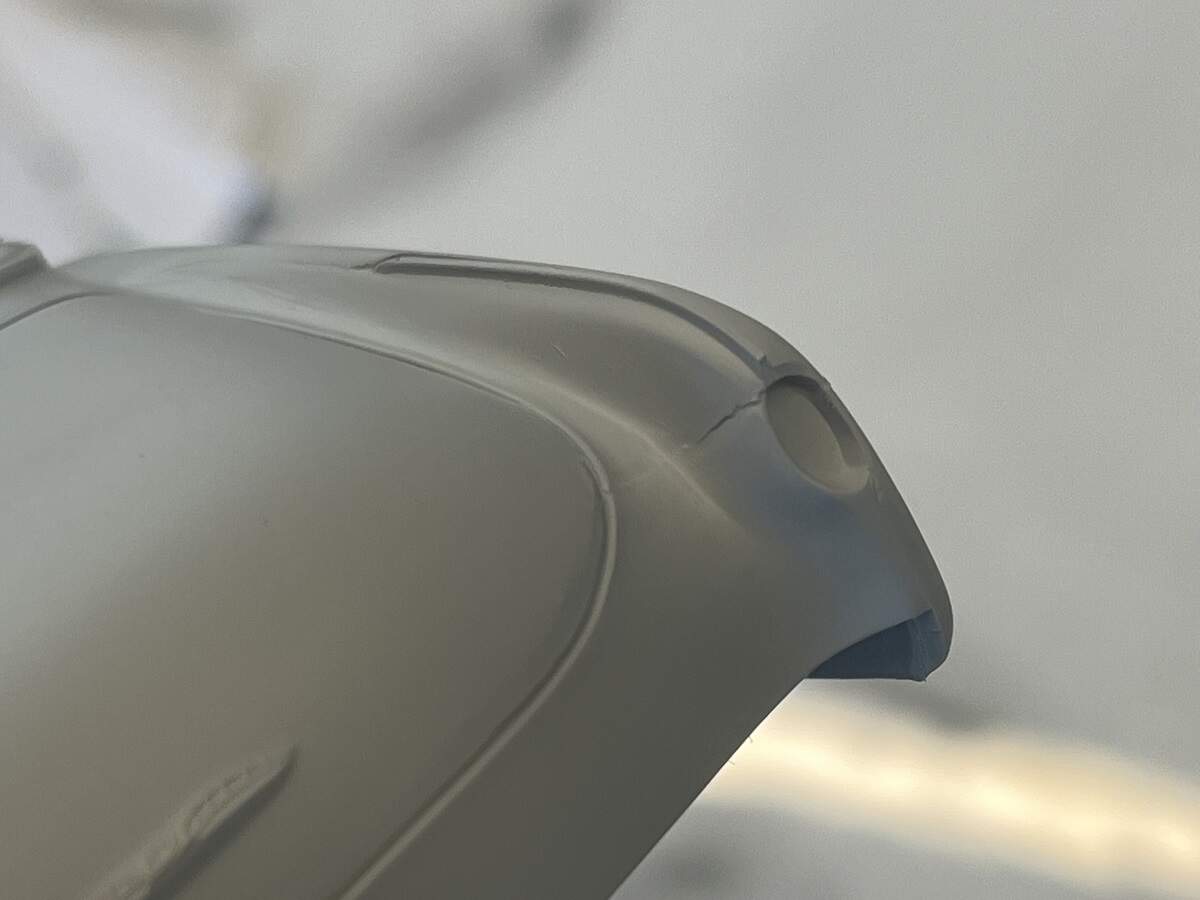
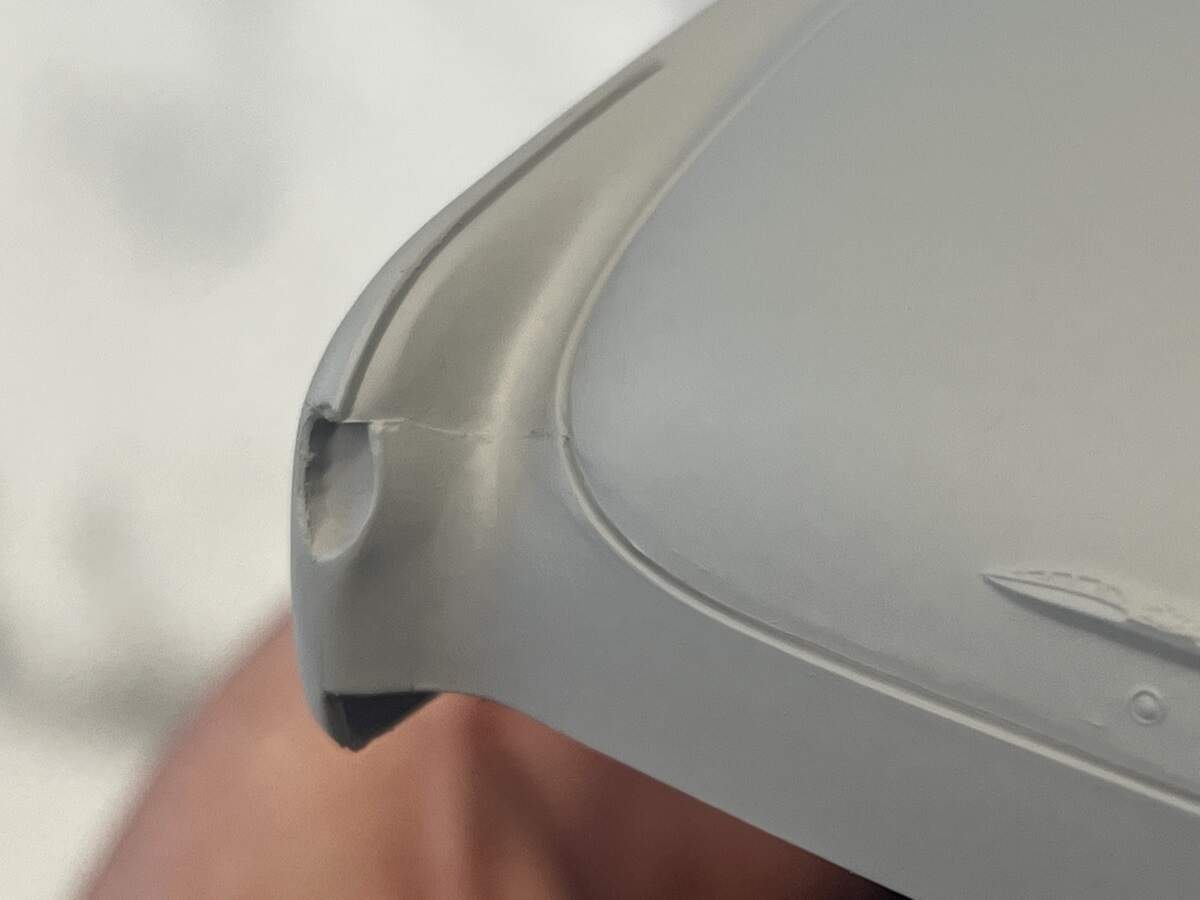
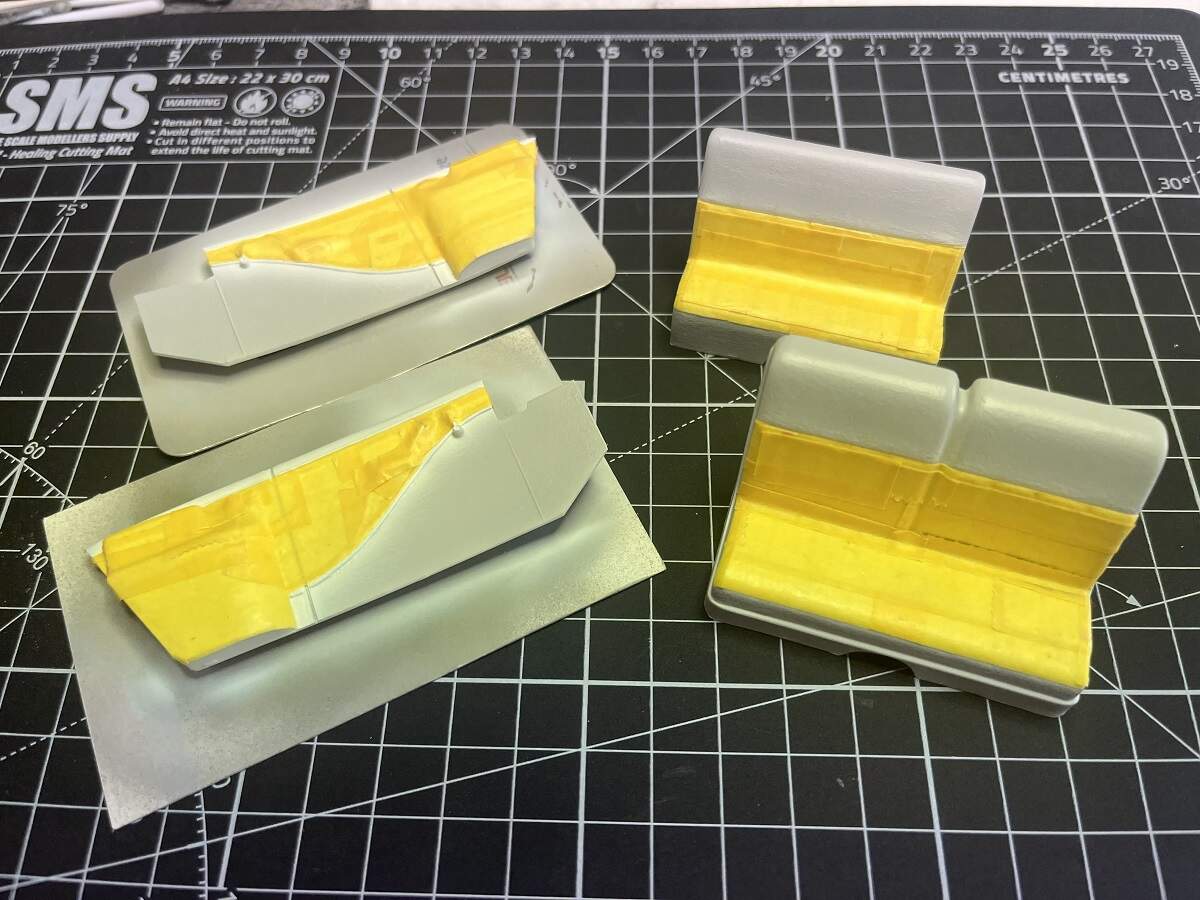
First up I got to work on the main body, cleaning up mould lines and flash.

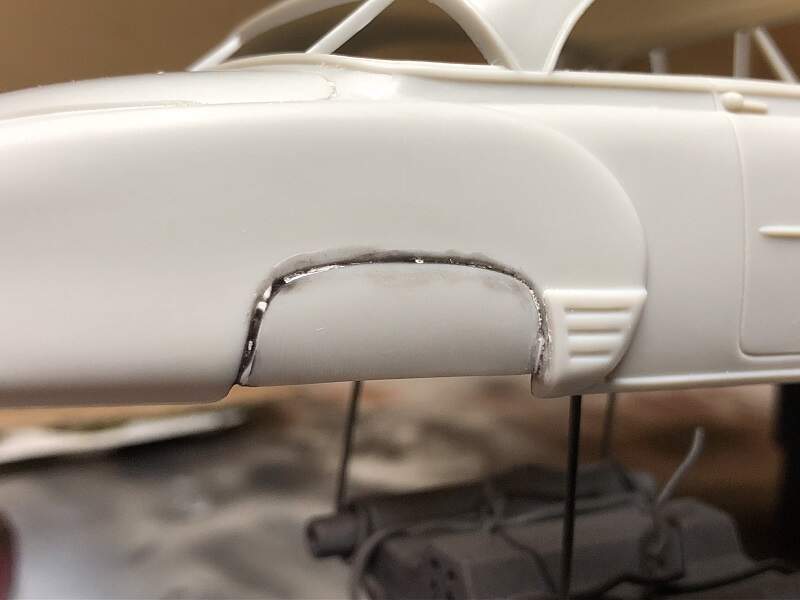
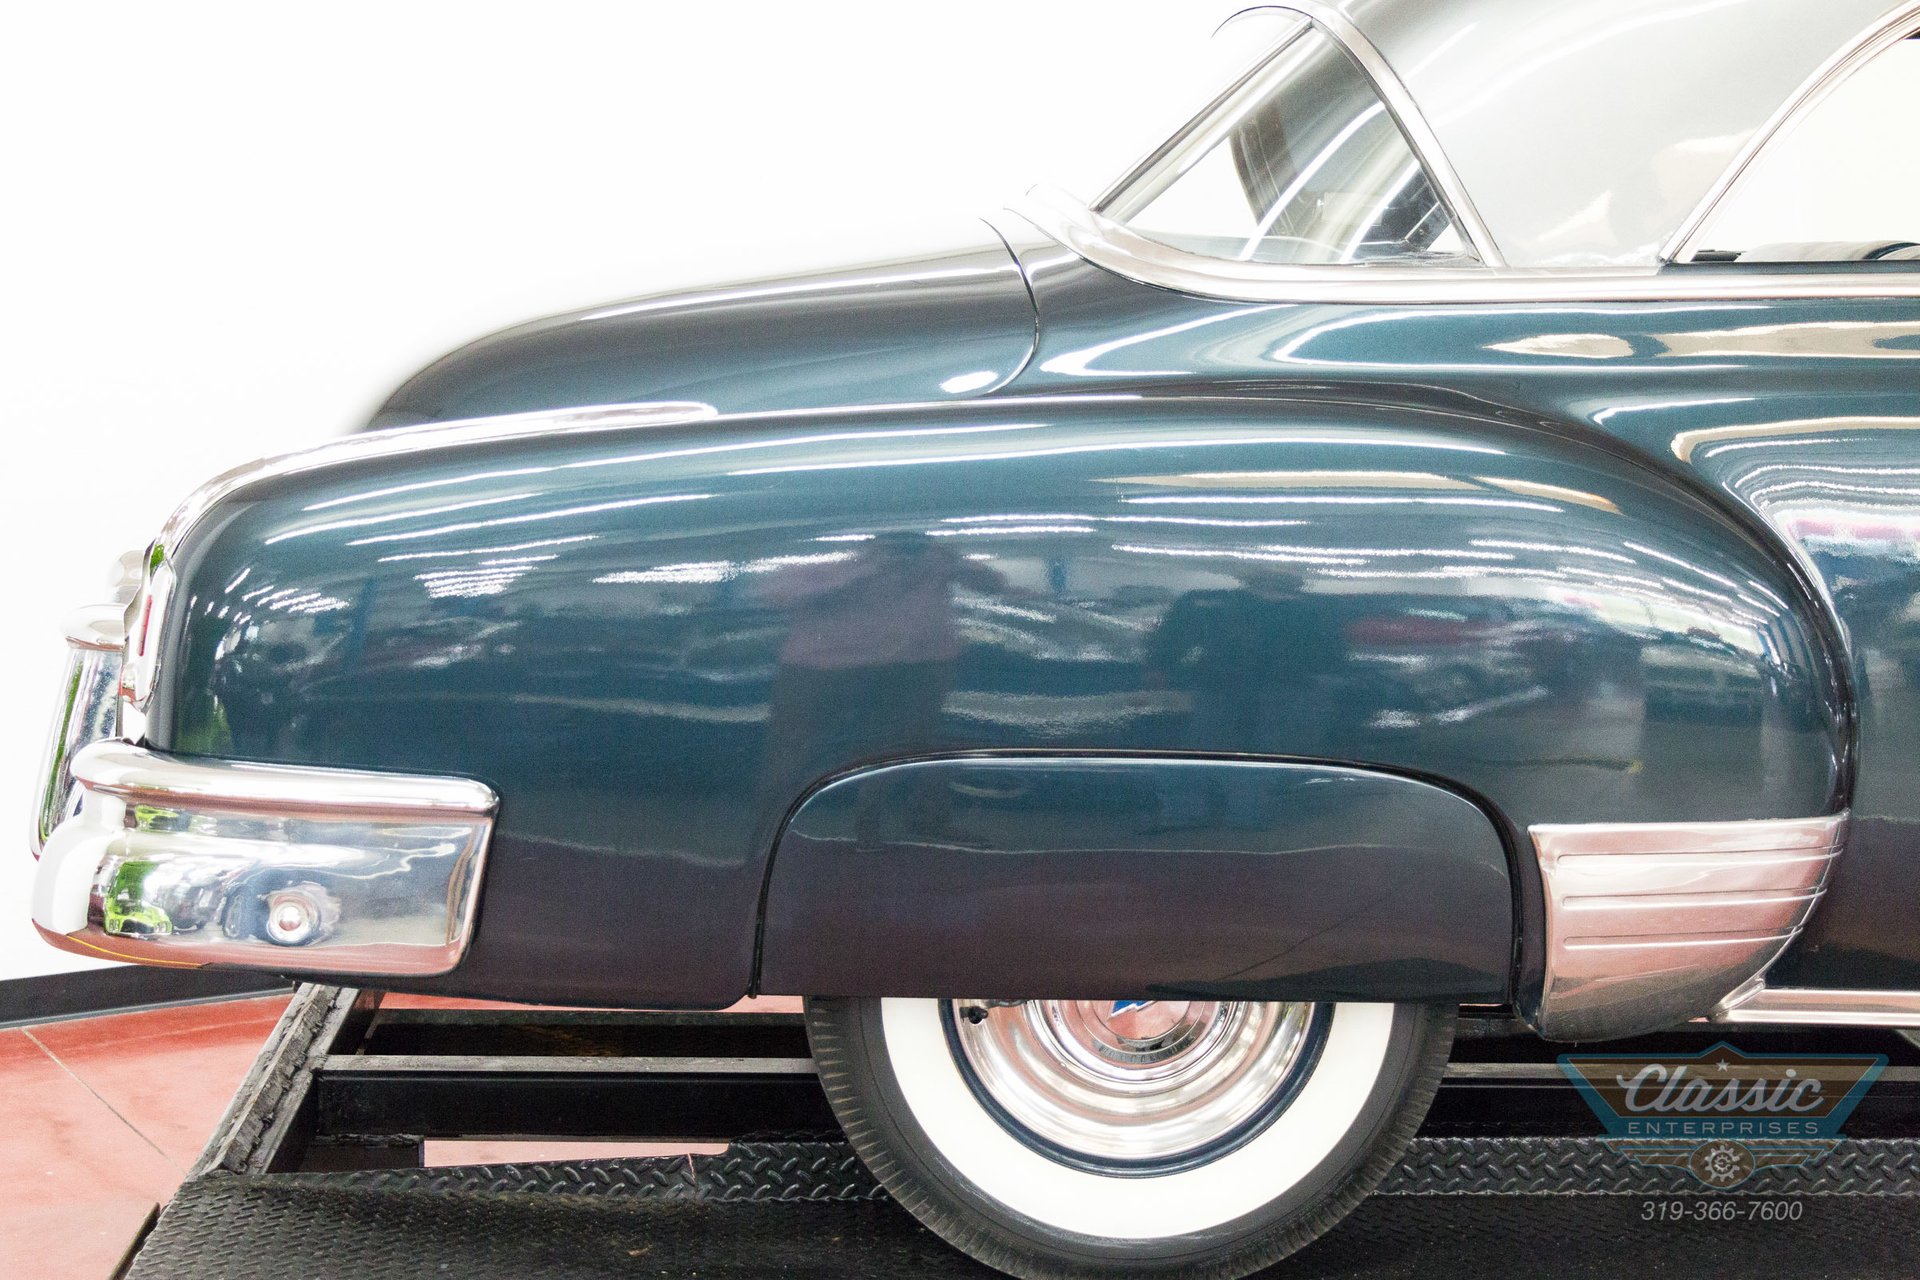
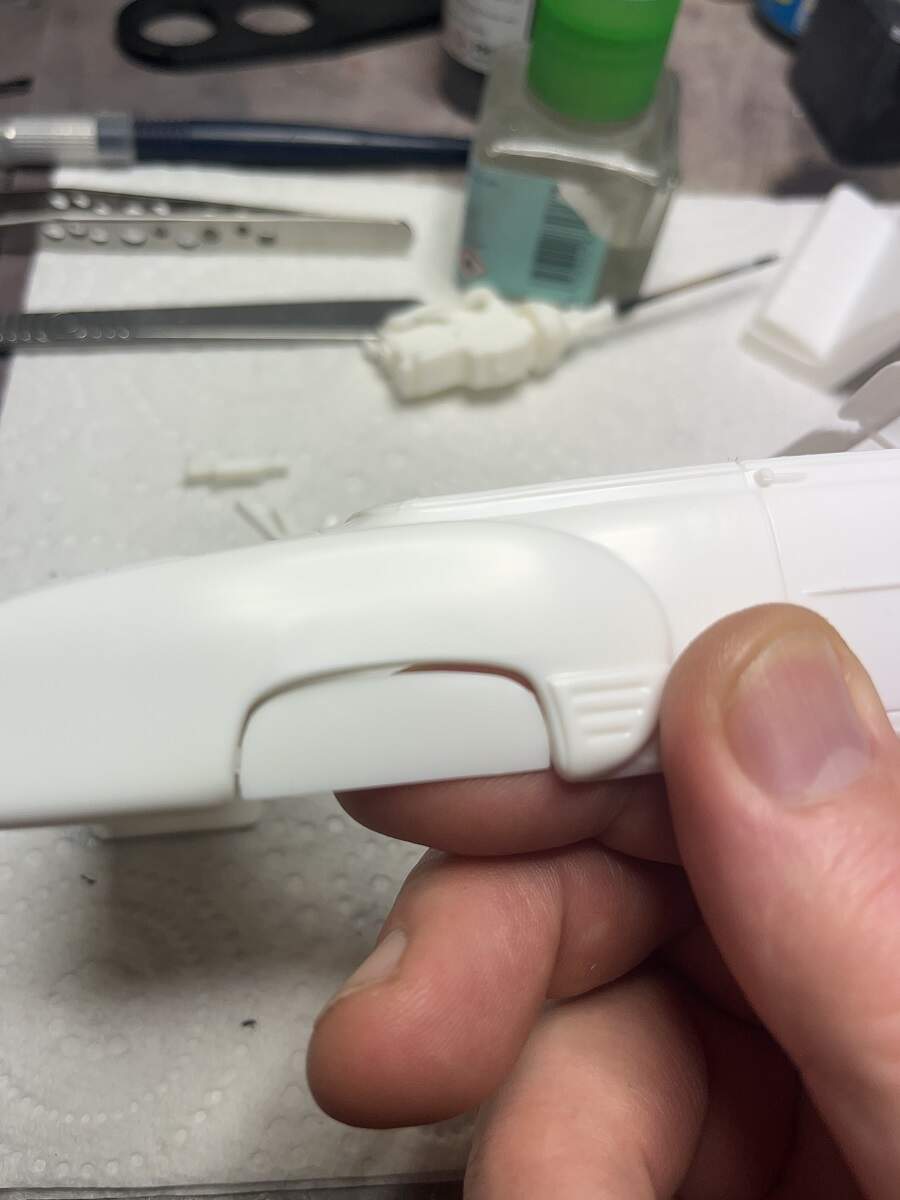
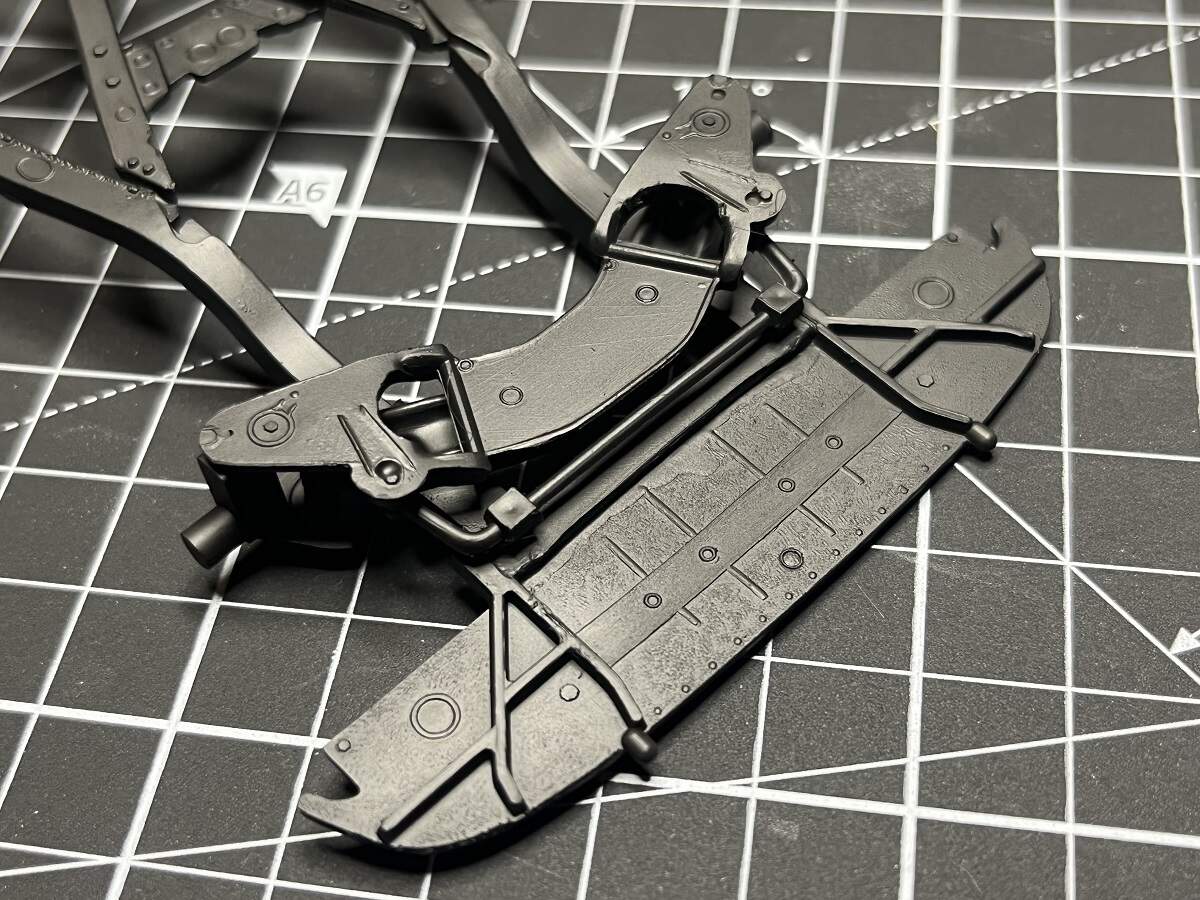
The fir of the rear wheel spats is atrocious, they won’t be used.
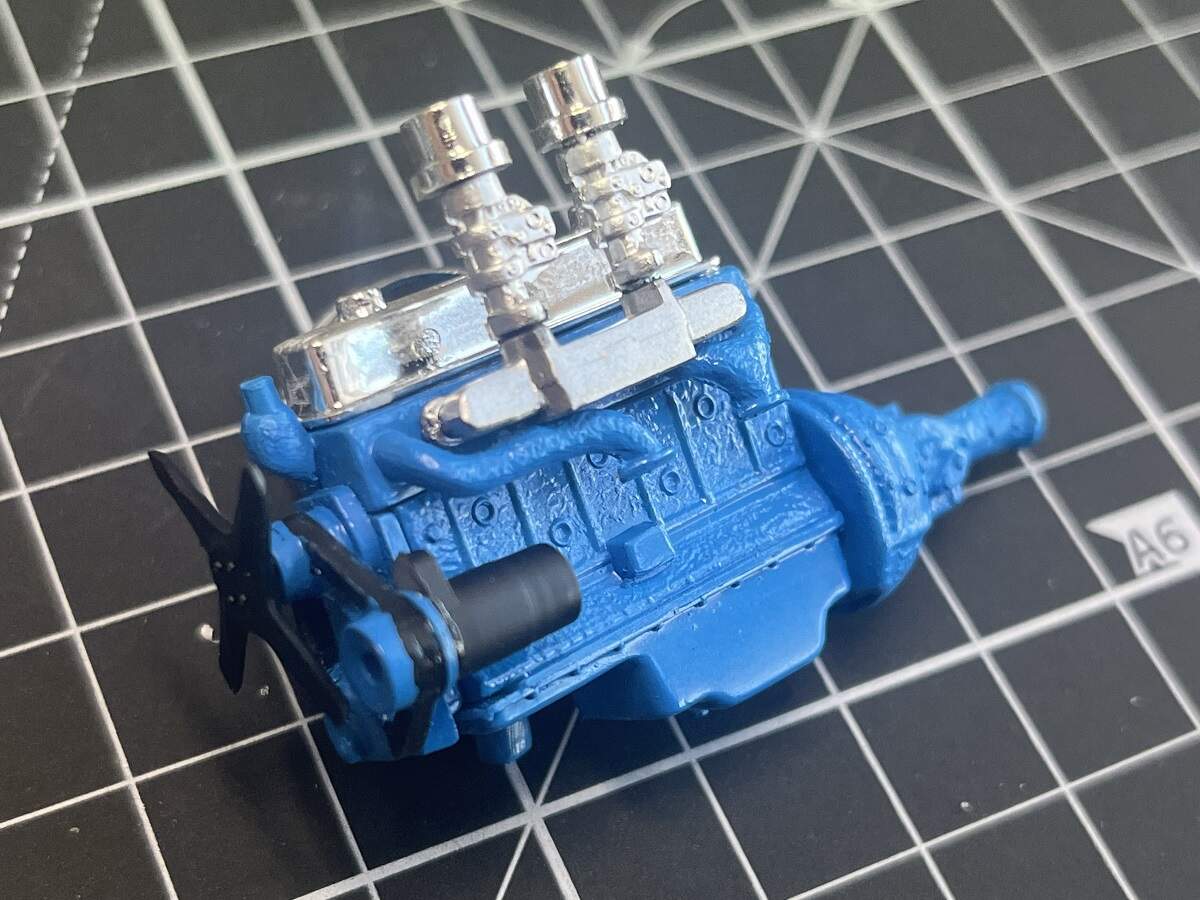
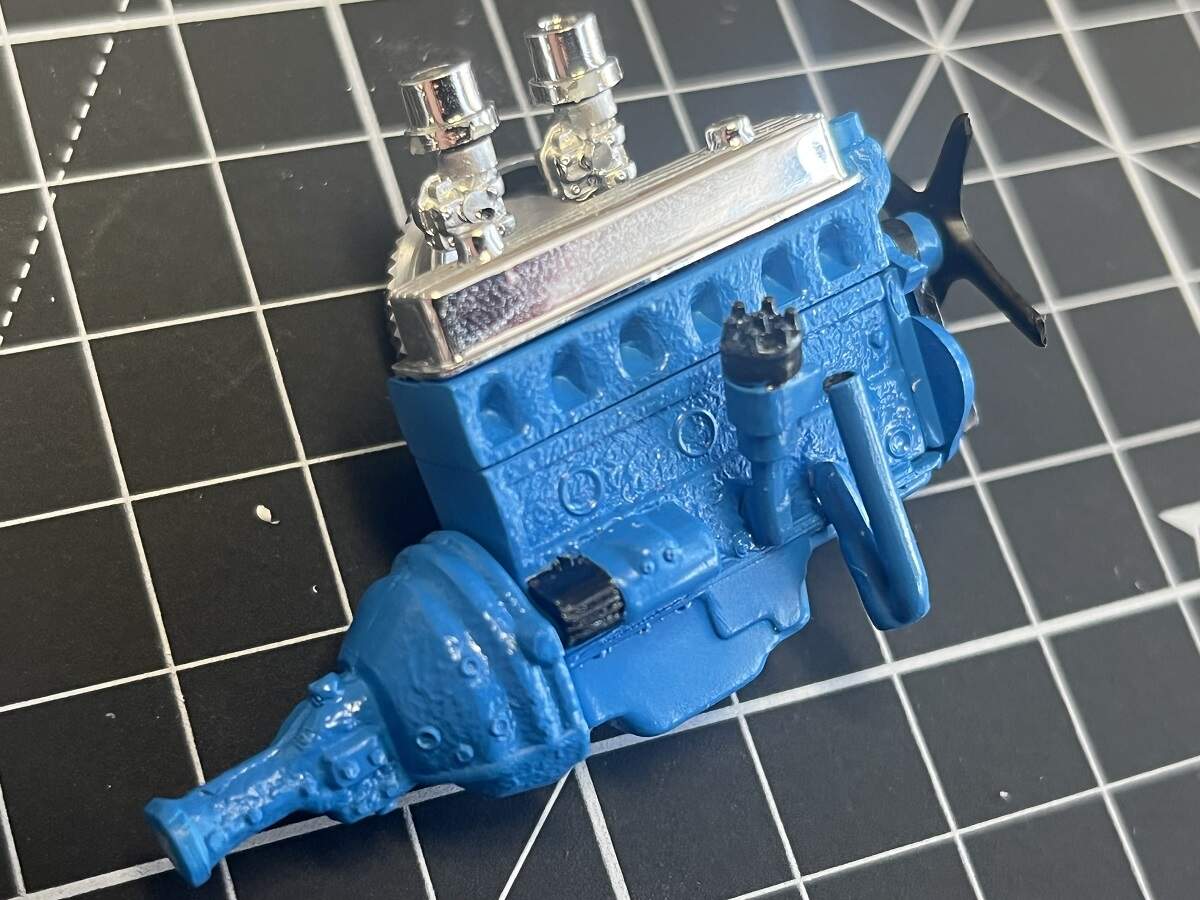
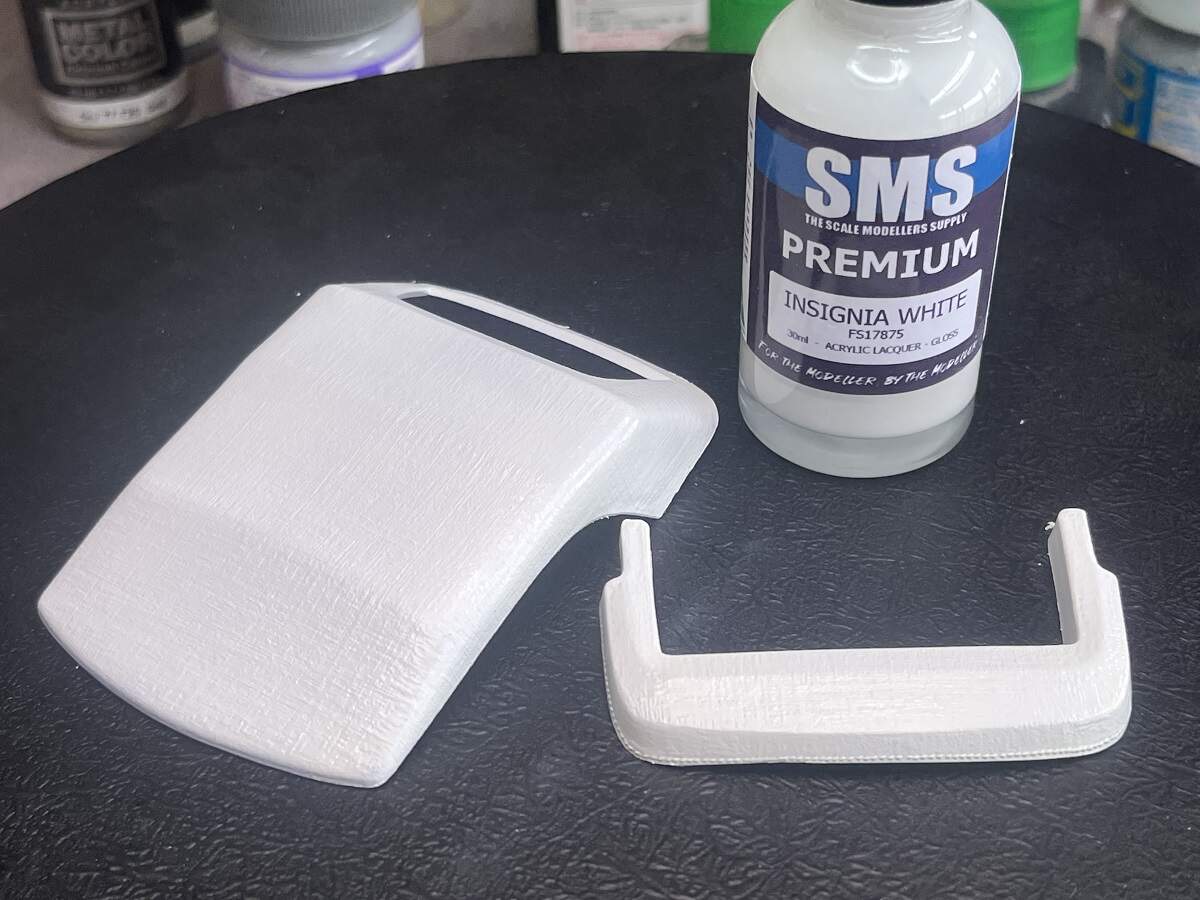
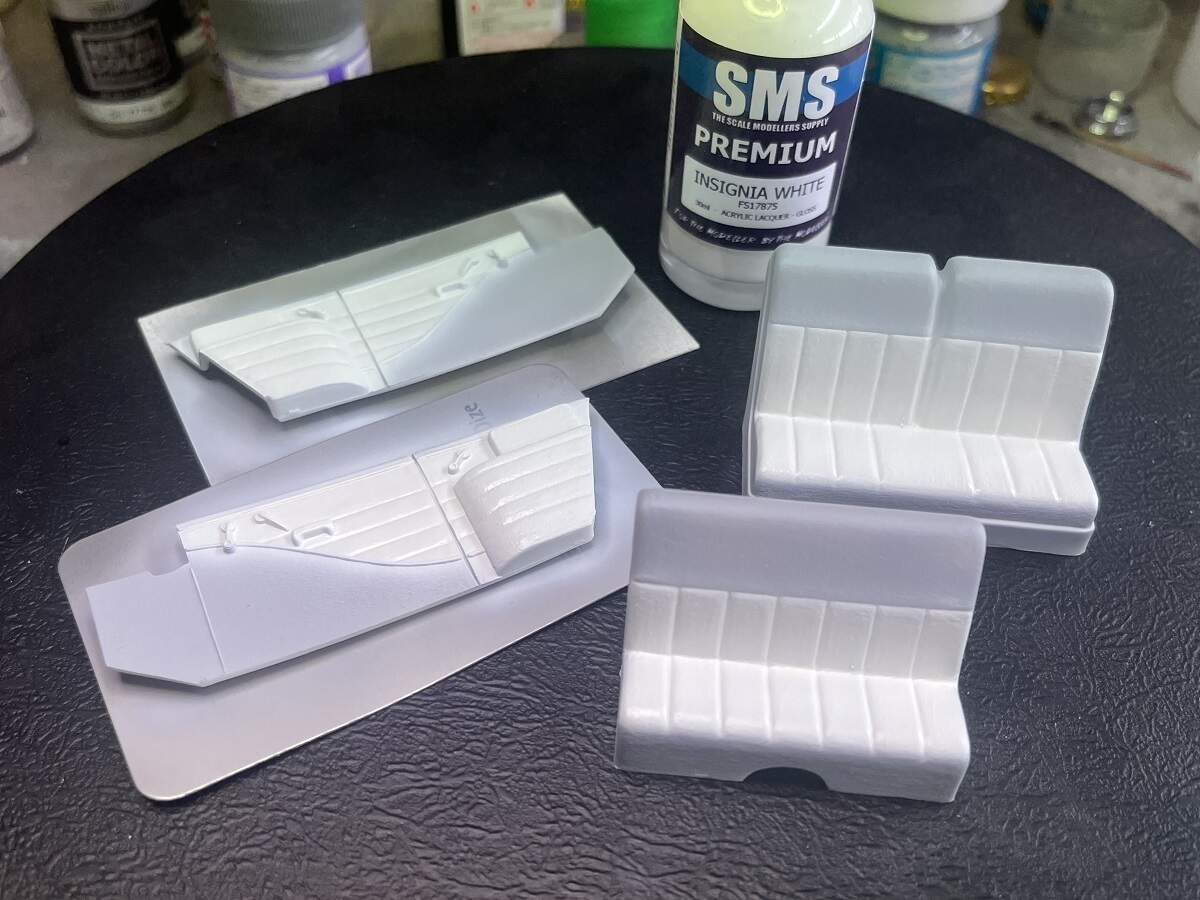
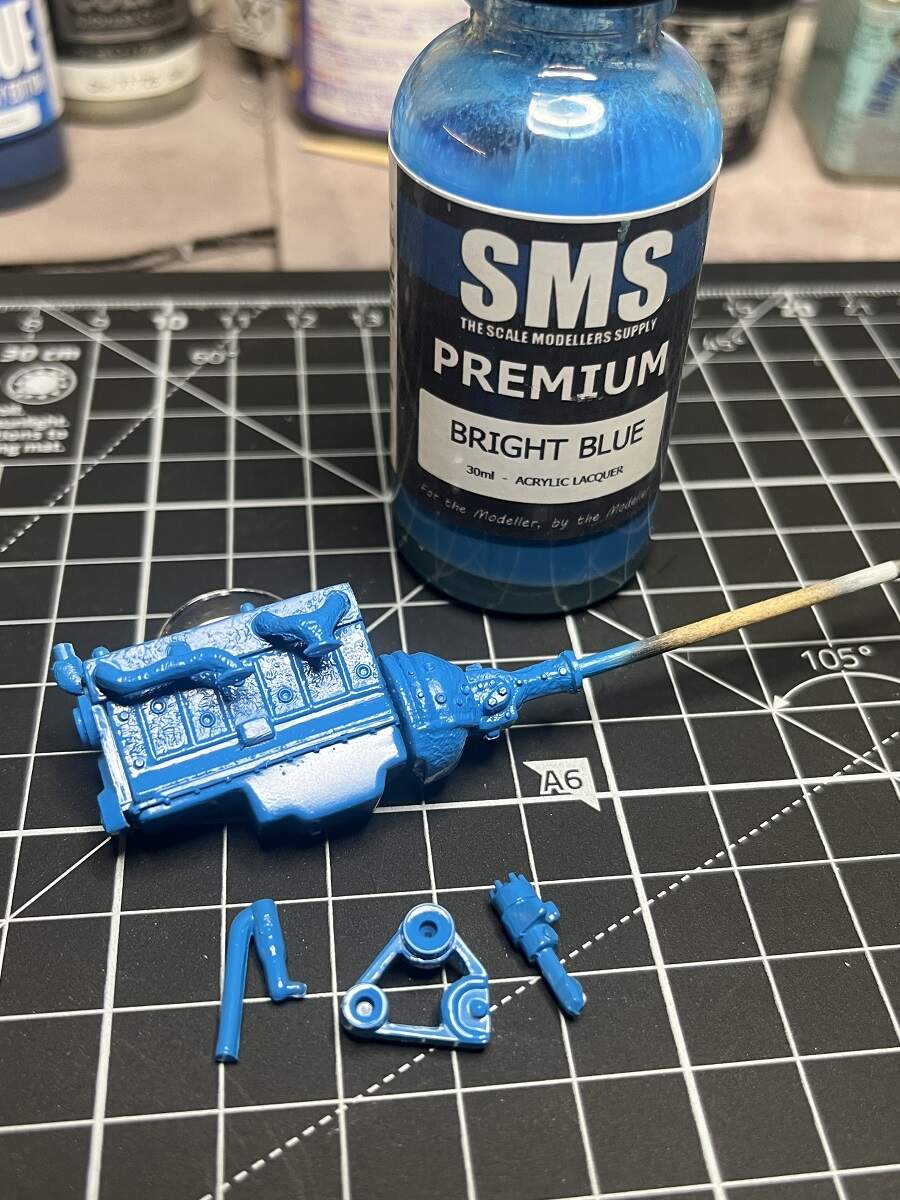
Working on cleaning up parts and the first few sub assemblies. Some SMS product placement to support the sponsor!
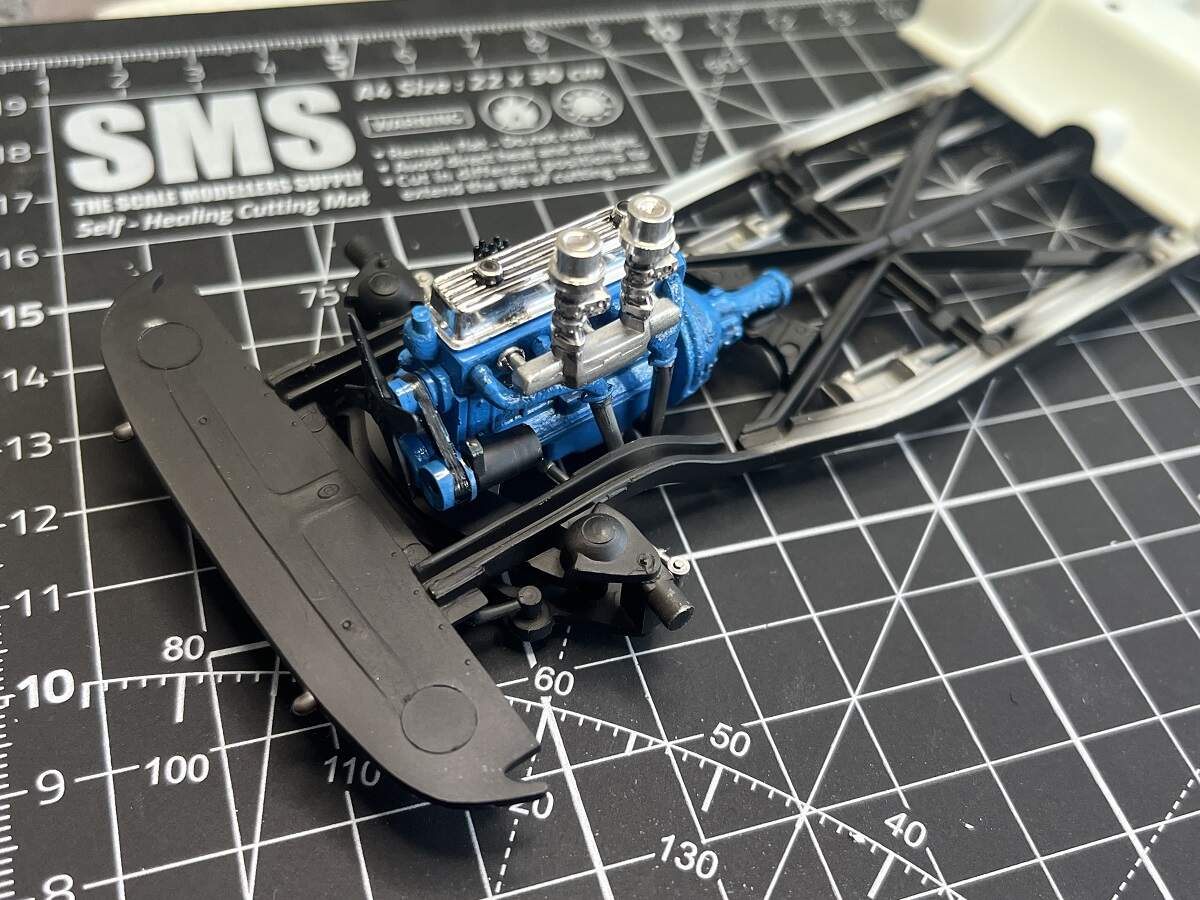
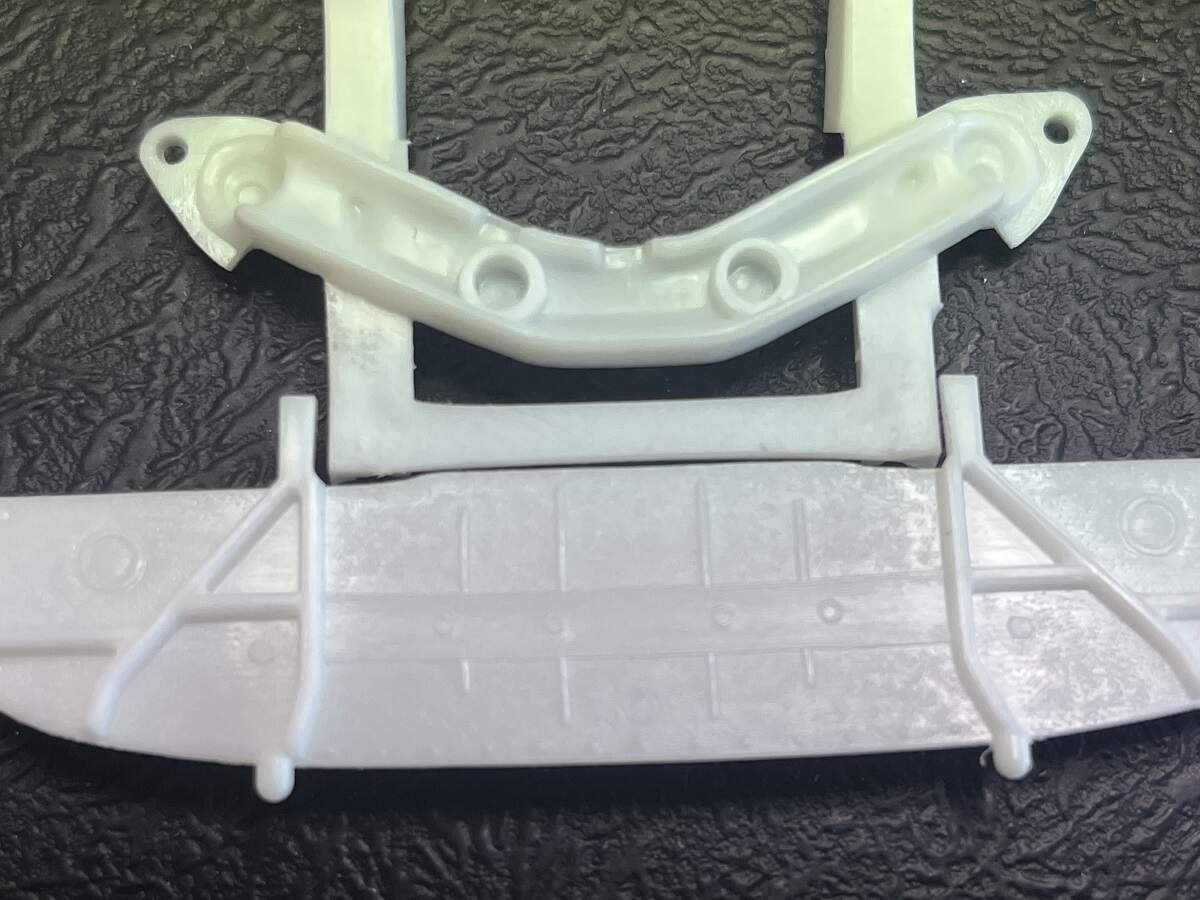
Another fit issue, but this time I can leave the parts out. I will need to shim the outside of the chassis rails to be able to fit the front splash pan.
The firewall fit to the main tub is ok, but needed some sprue goo to beef up the join.

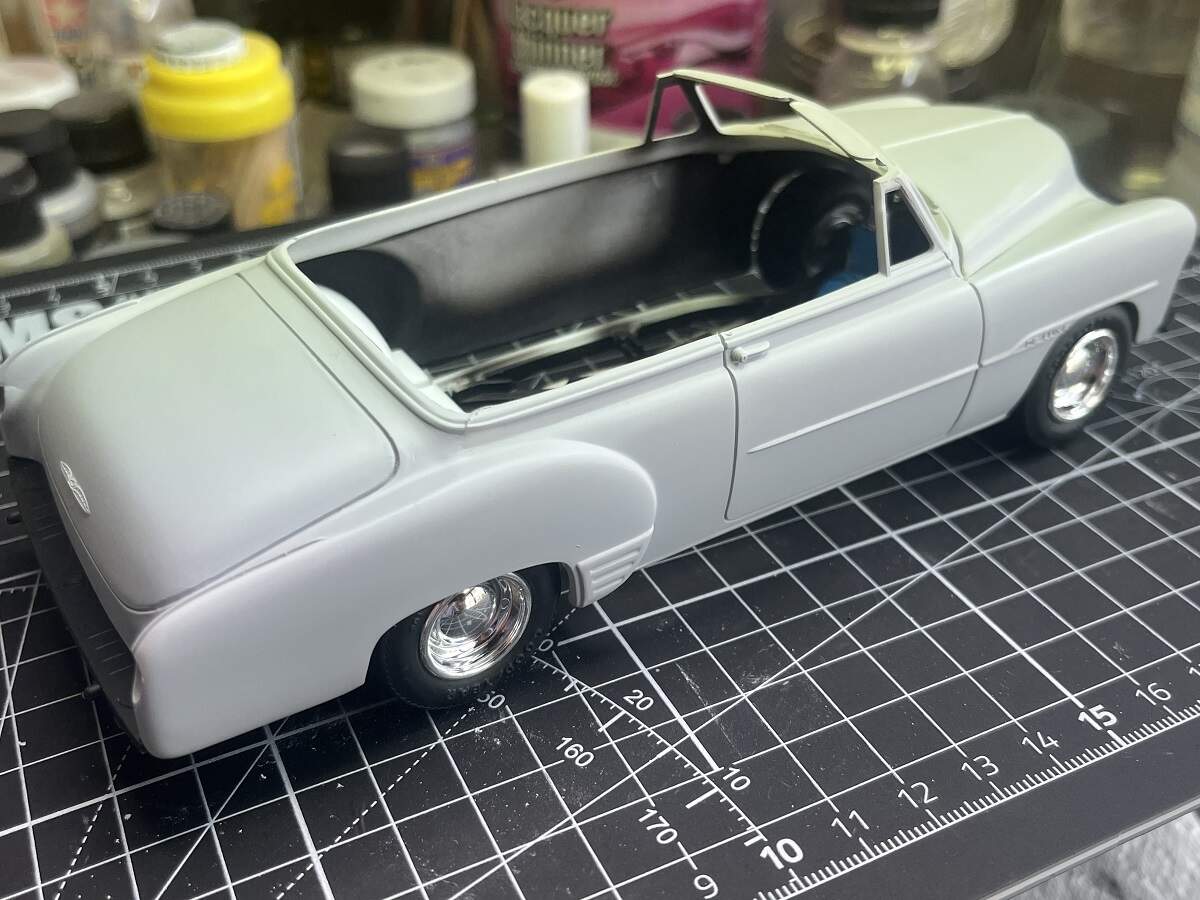
And then it was time for some primer, as always Mr Surfacer 1500 in Grey and Black, thinned with about 60% MLT.
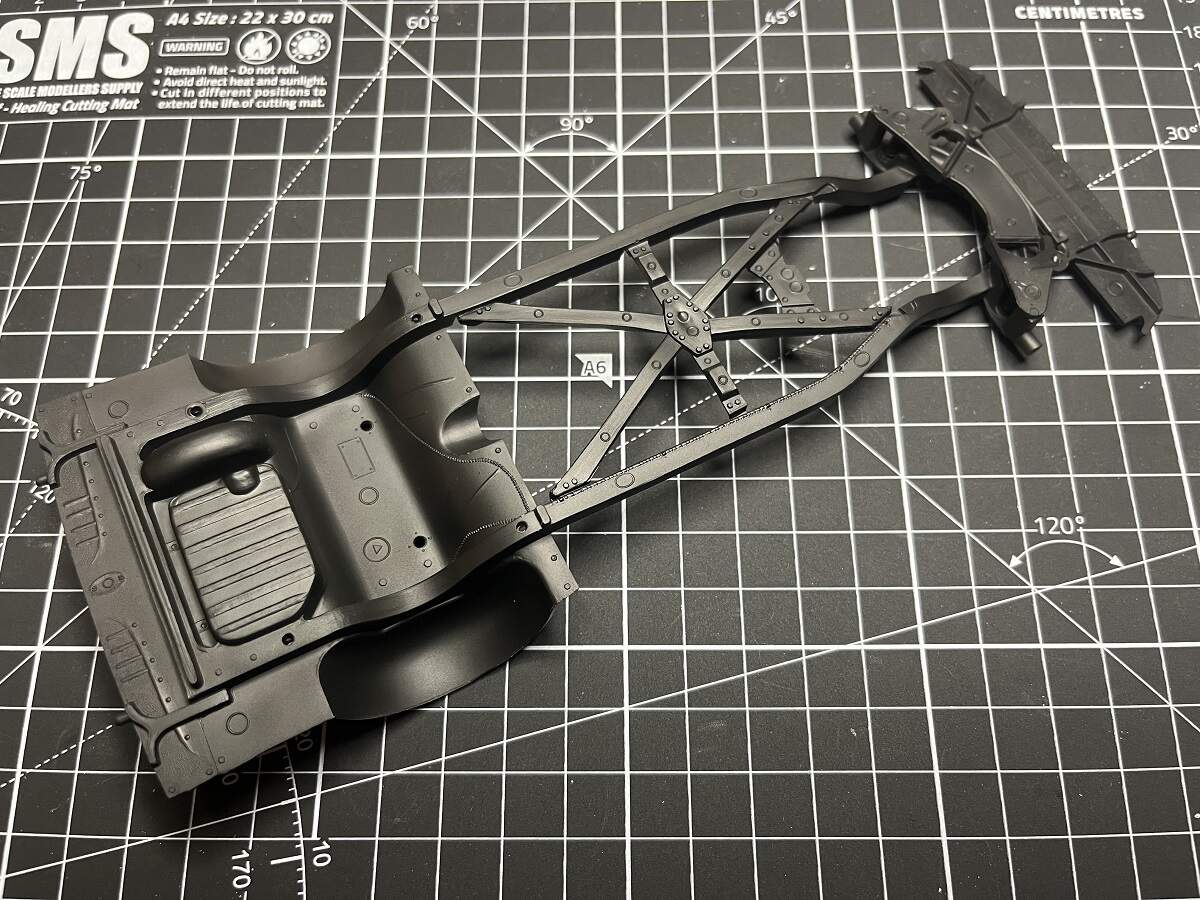
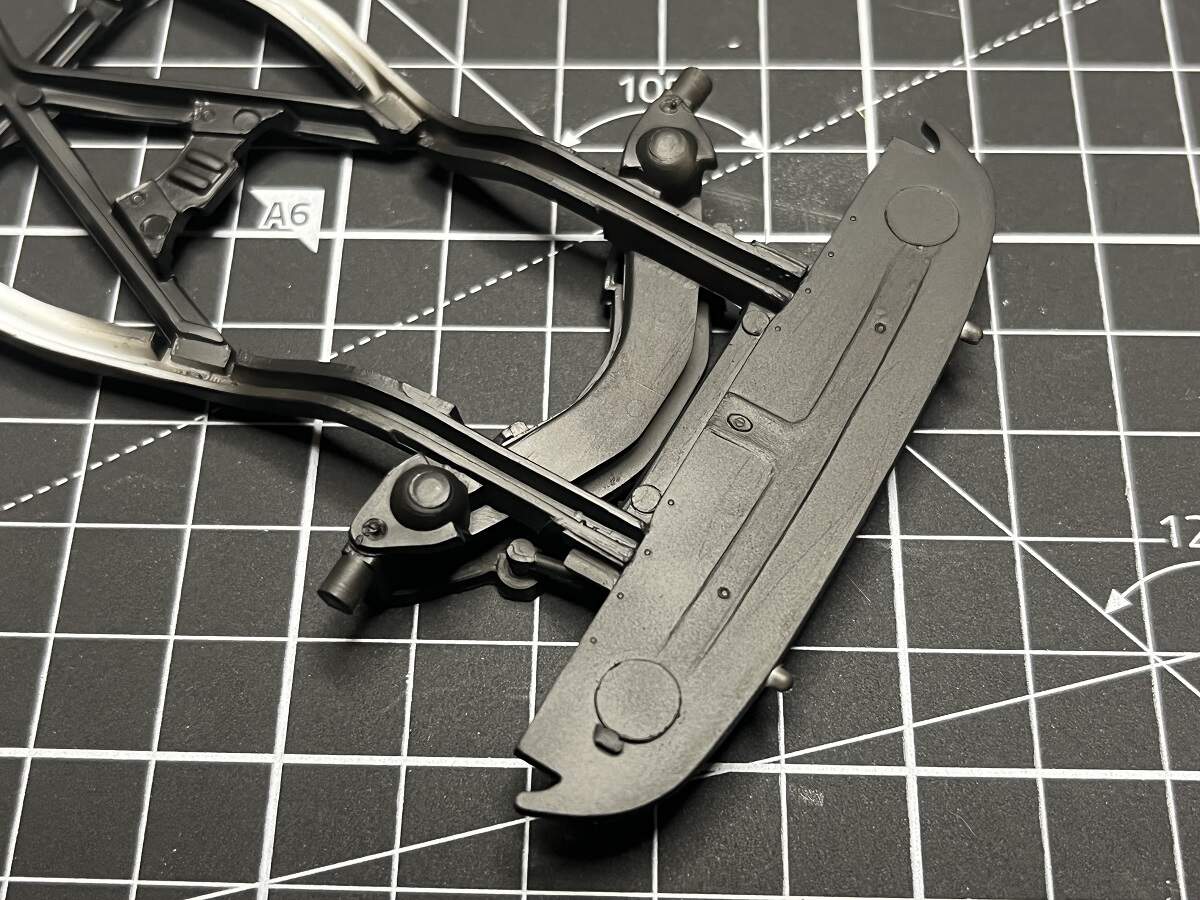
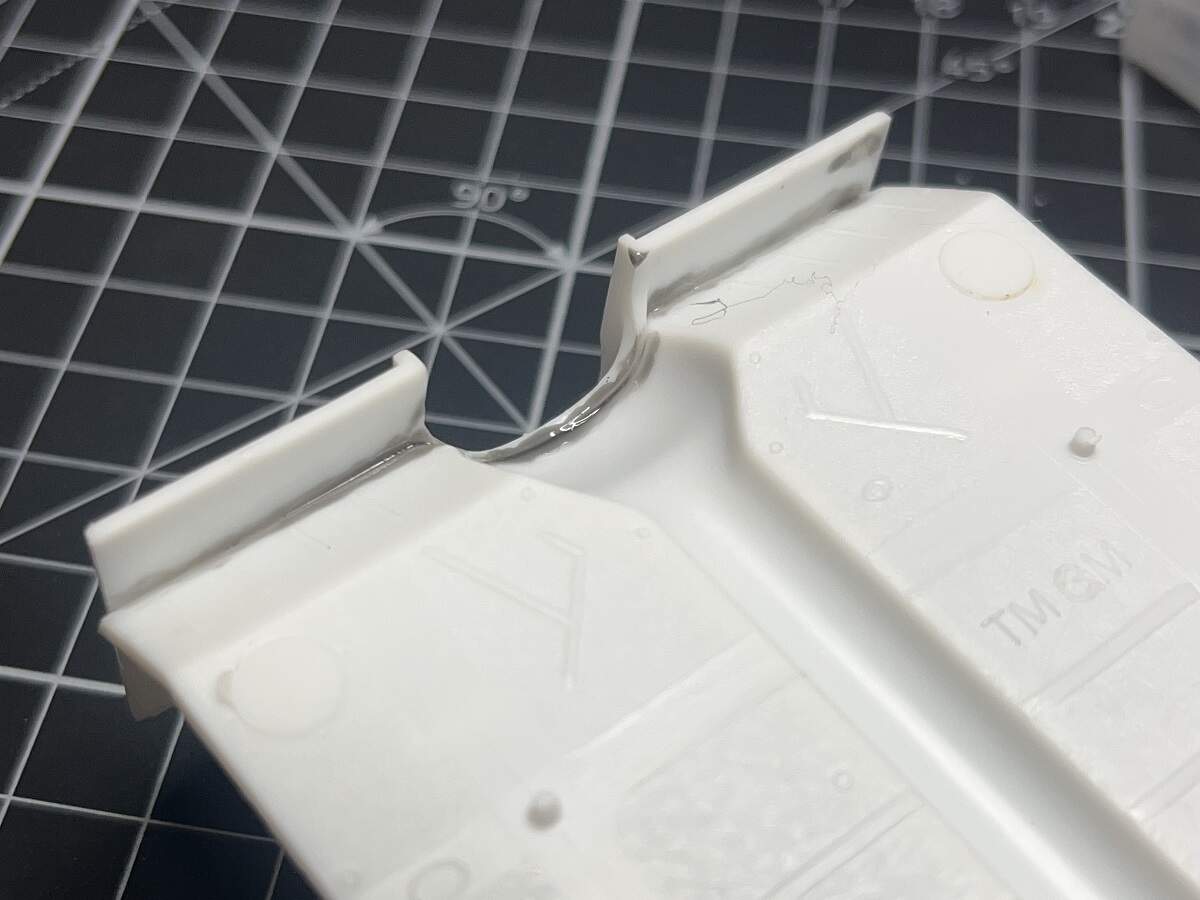
As you can see, shimming the chassis rails worked a treat as the front splash pan is nice and secure.
More work required on the body, I will use Mr Surfacer 500 thinned a bit with MLT and brushed on to sort out the mould lines.

First post sorted, next up will be my progress from today with the start of the colour coats.
Cheers, D

 In all seriousness, you’re making good progress. It looks really nice.