51 Chevy Fleetline - 1/25 AMT Kit

I feel that we are well overdue for another Chevy build log, so here we go :sunglasses:

One of my local Australian Facebook Scale Modeling Groups has just started another themed Group build, once again sponsored by my friend Scott Taylor at SMS Paints. This time around the theme is “50 Shades of Grey.” Basically any subject, any scale, it just has to be a plastic kit and painted grey.

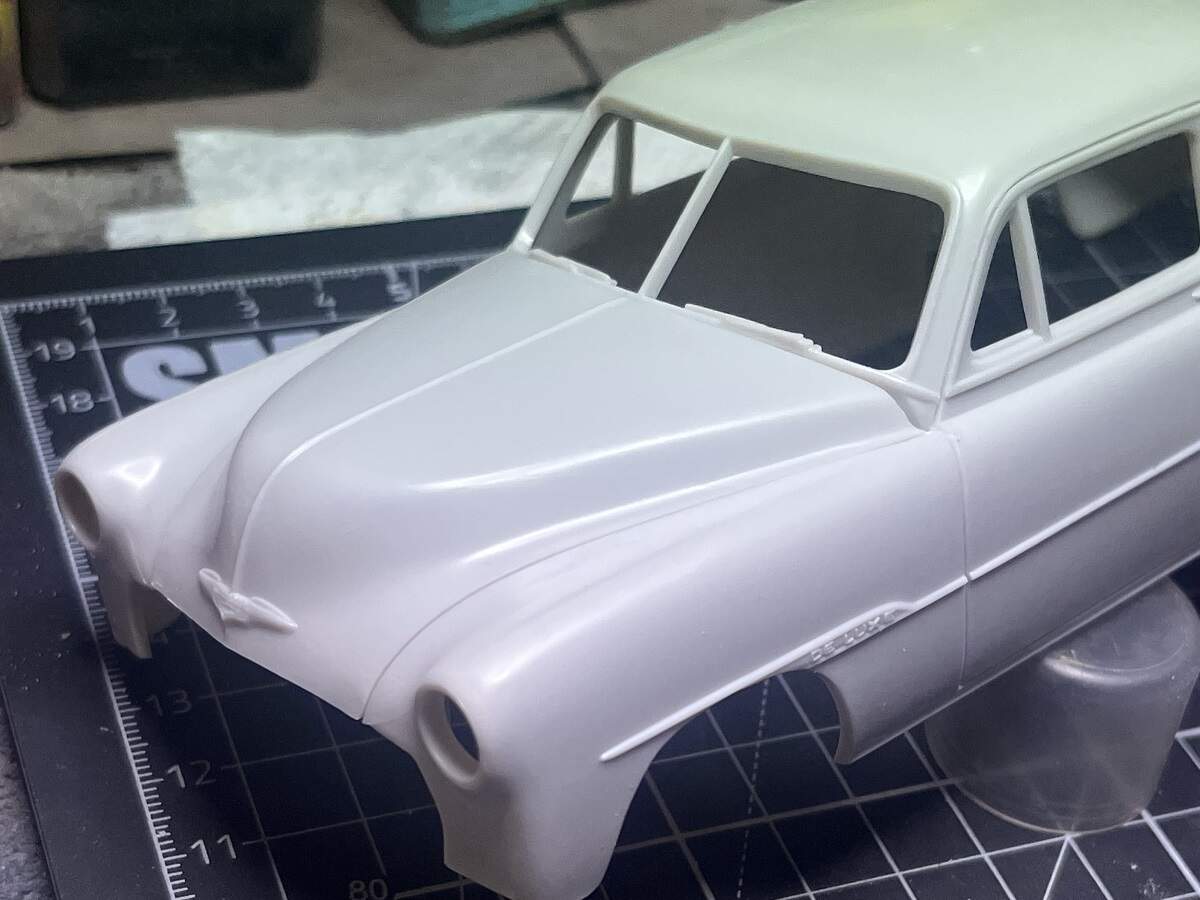
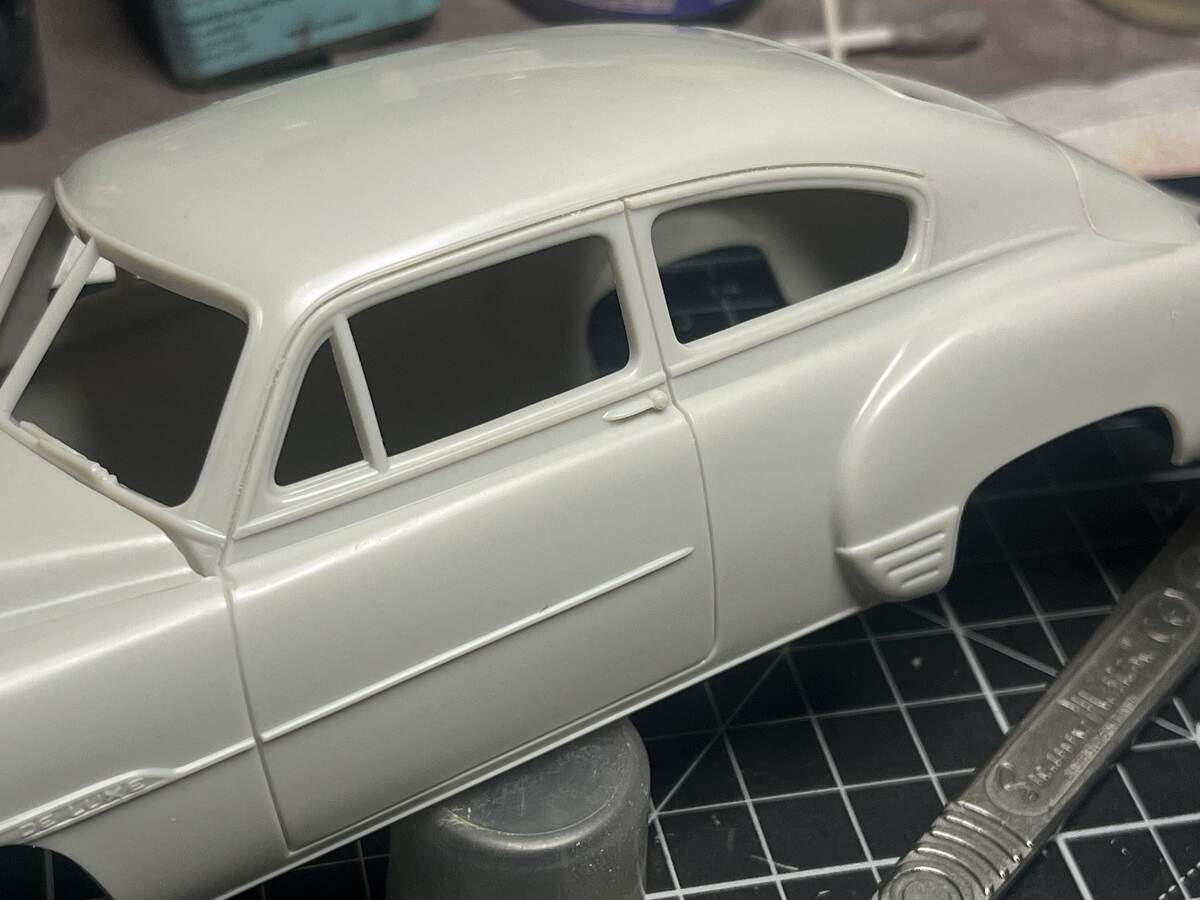
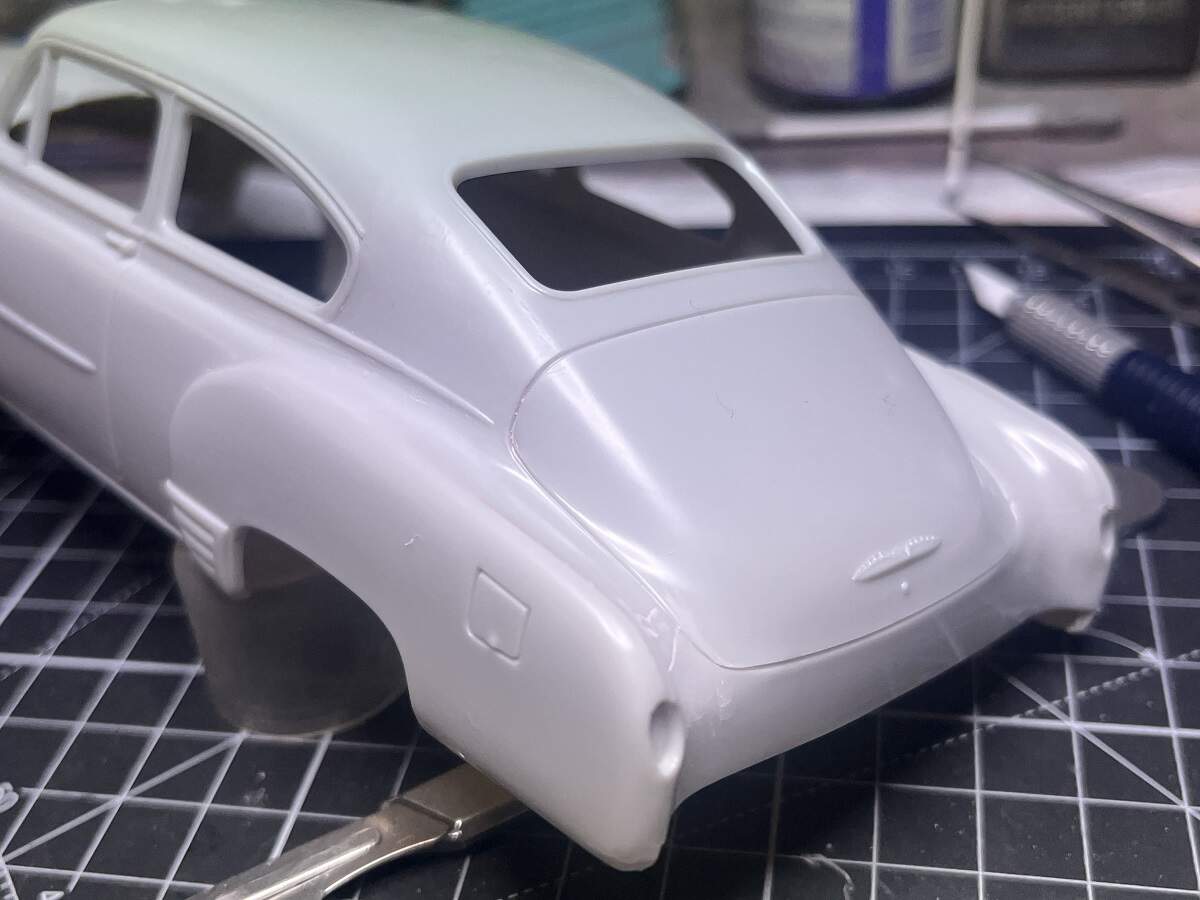
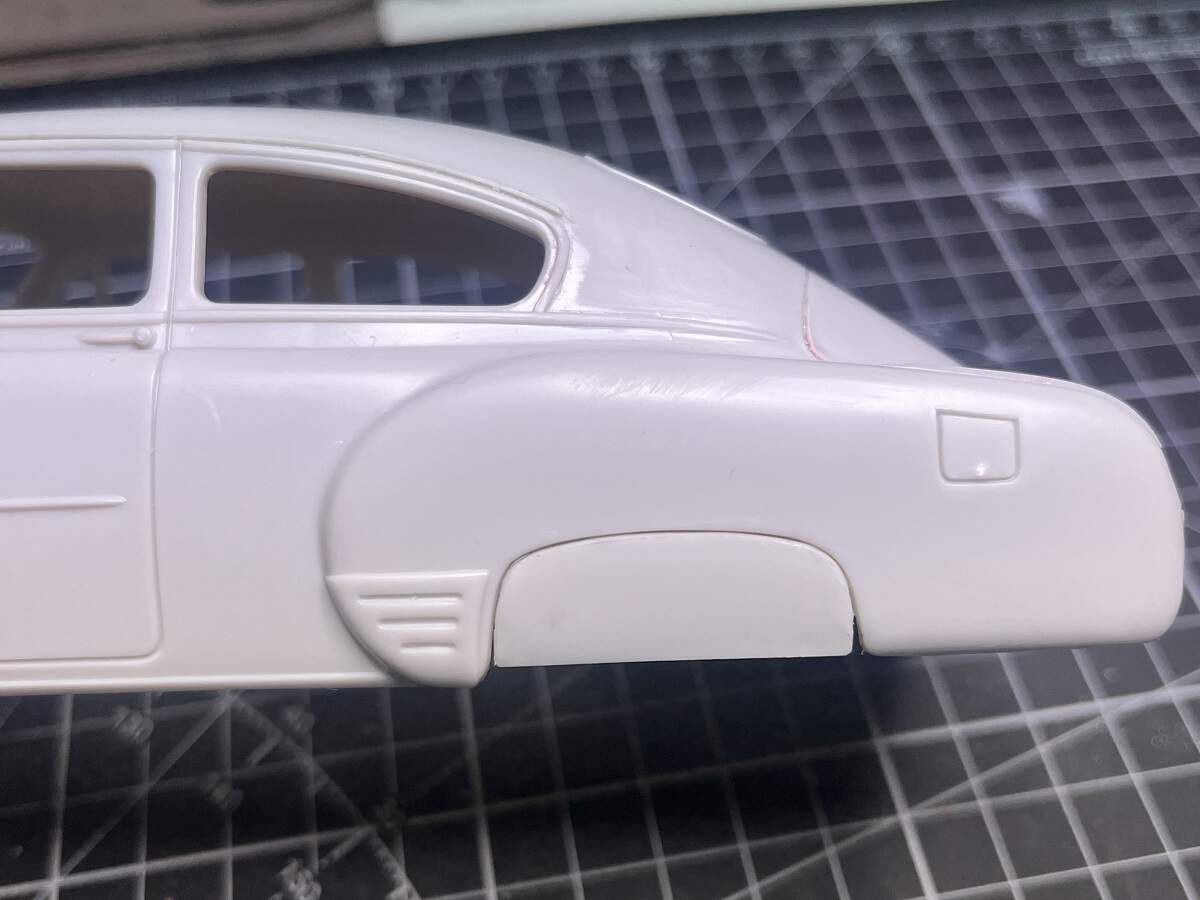
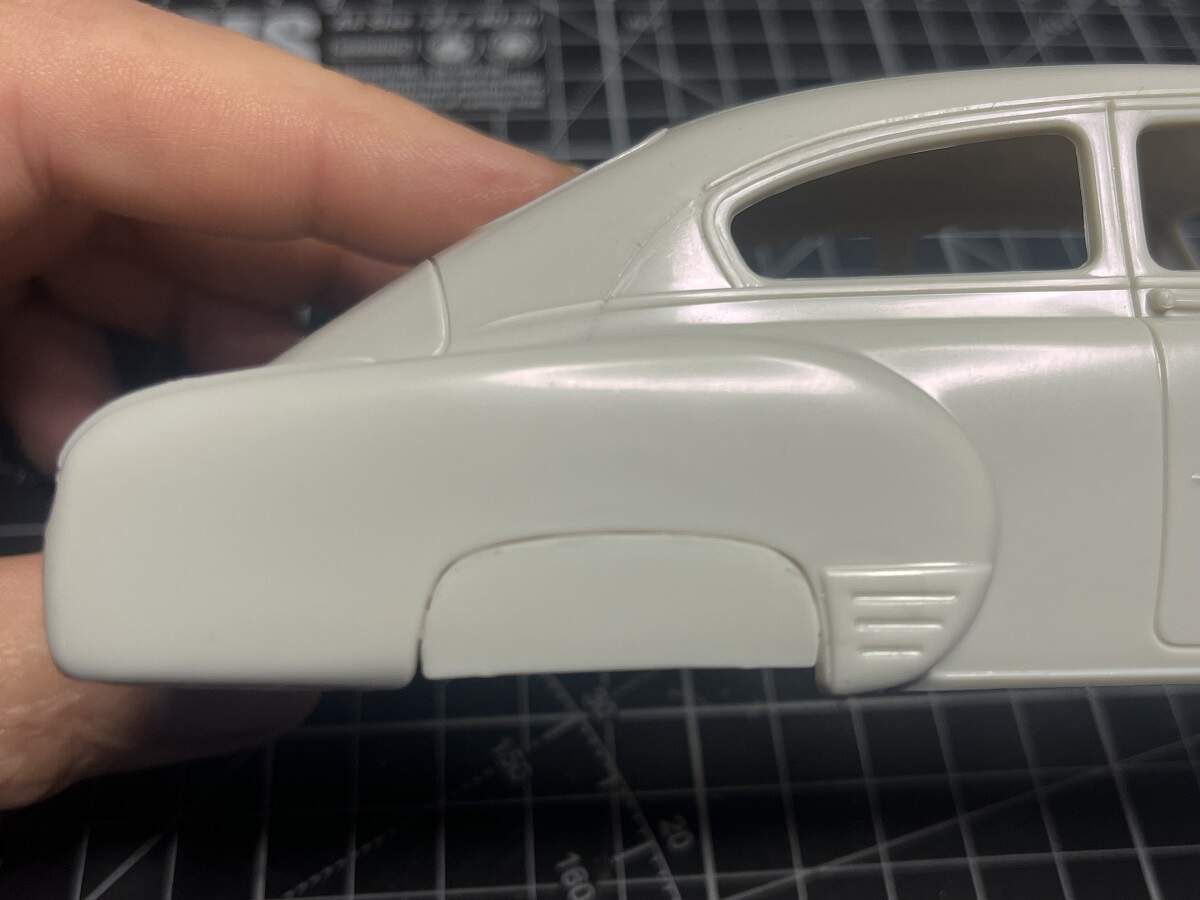
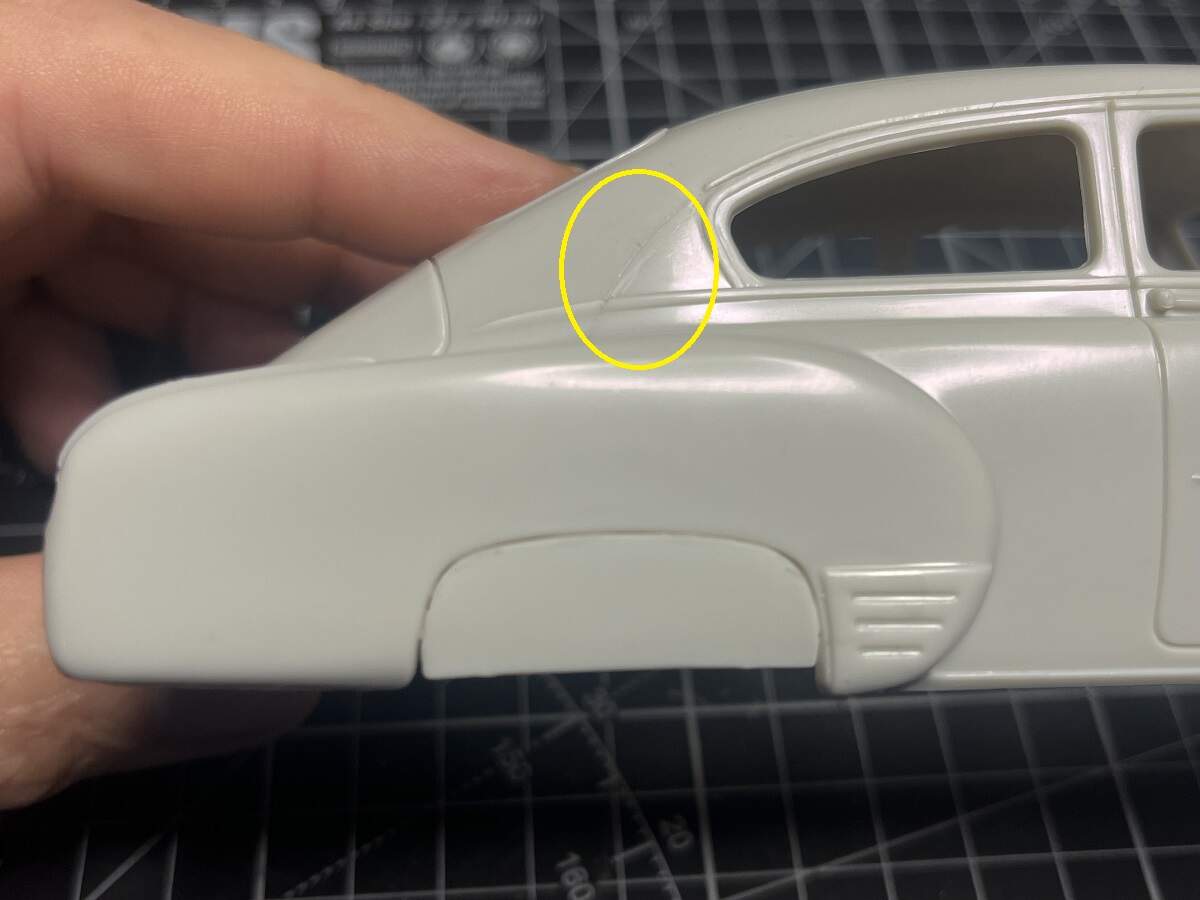
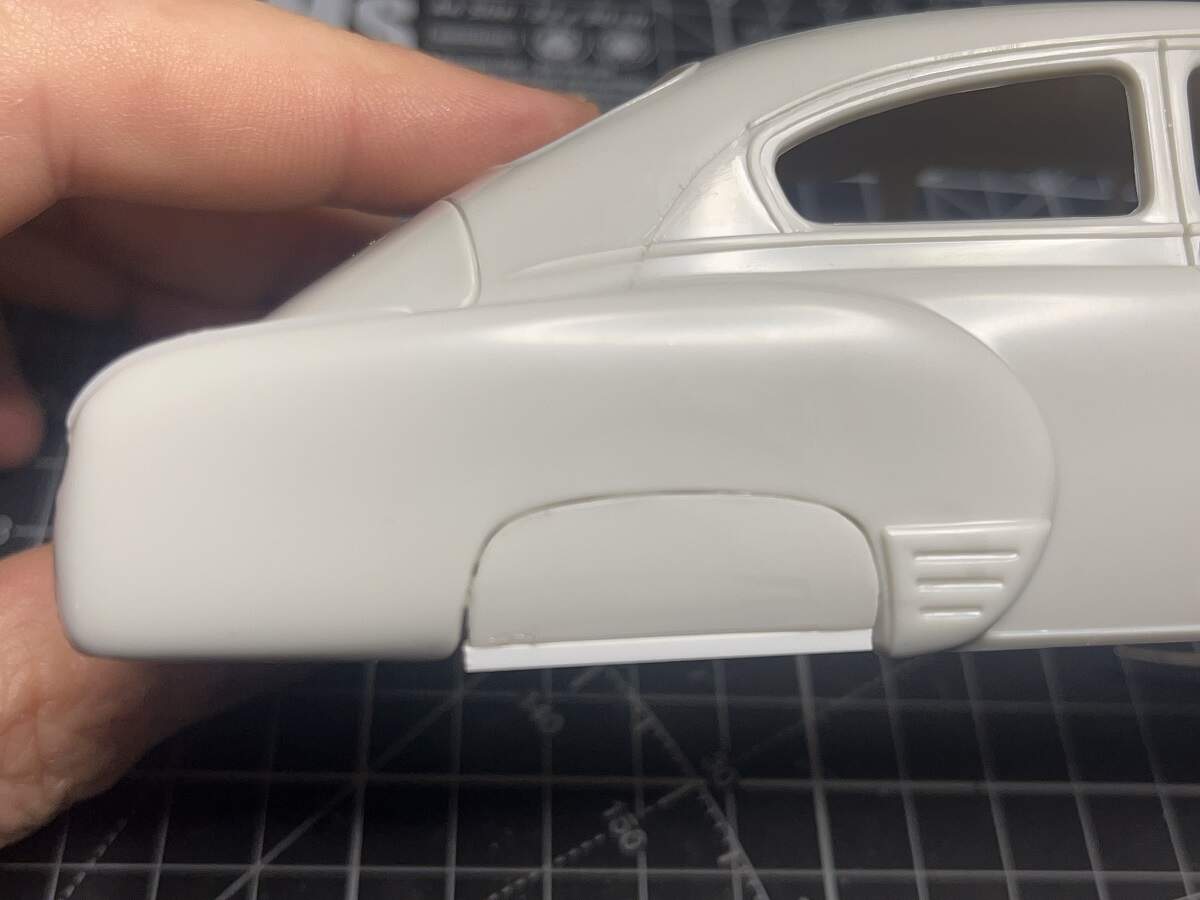
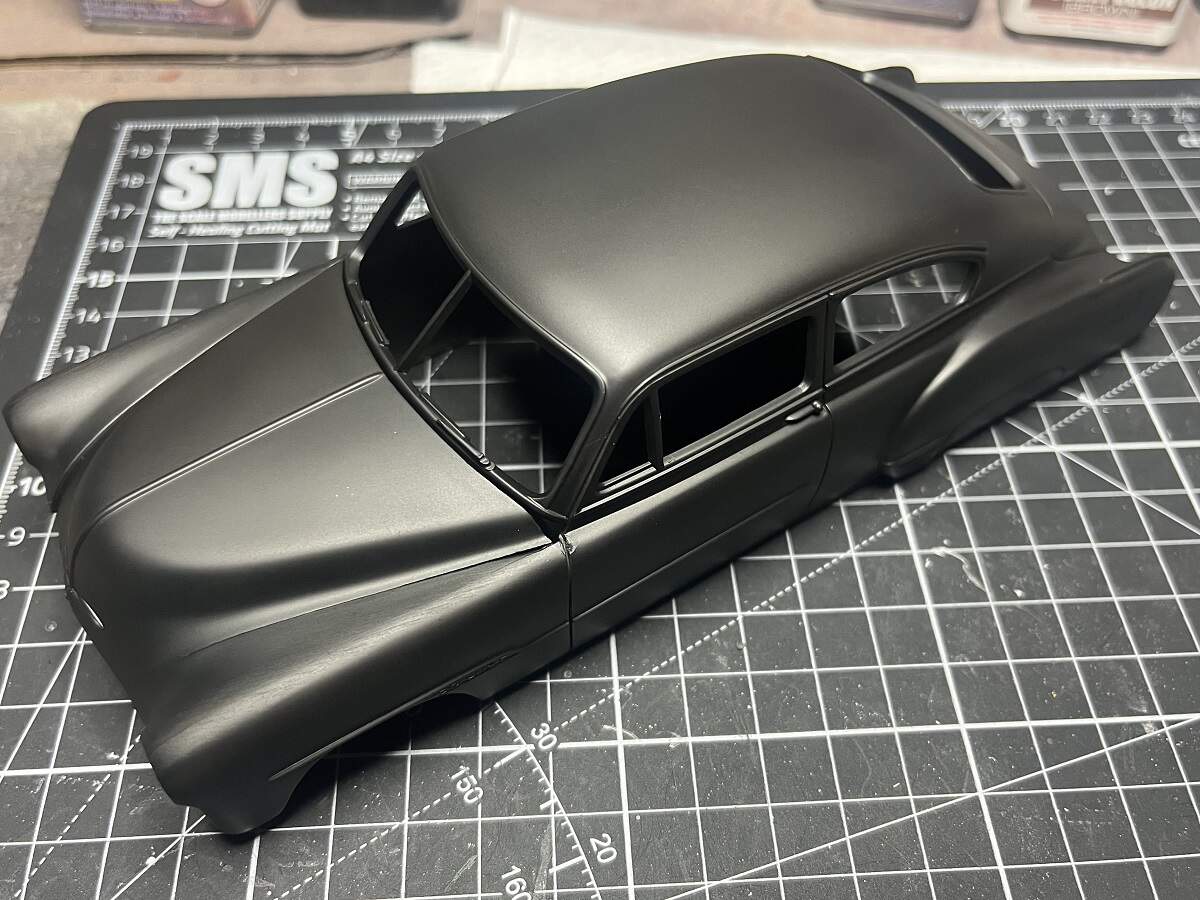
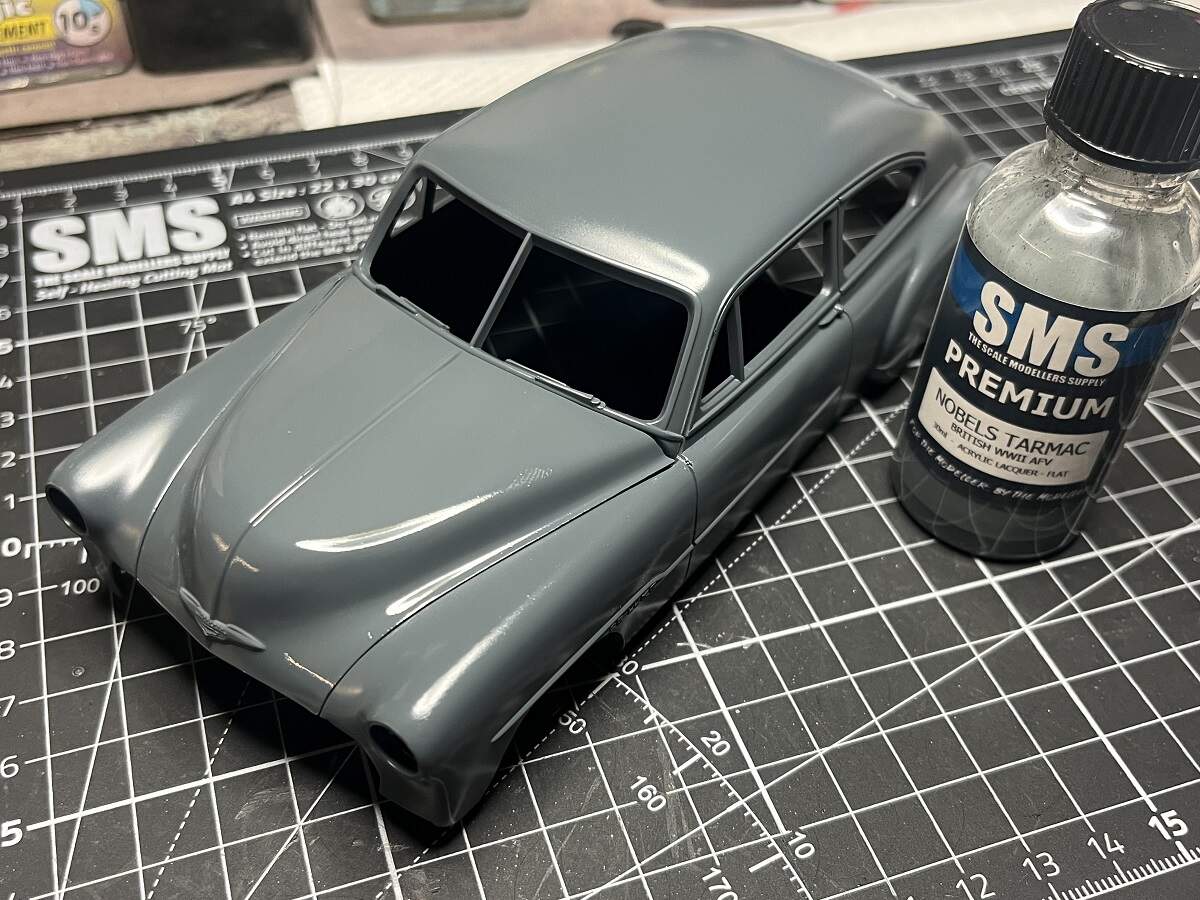
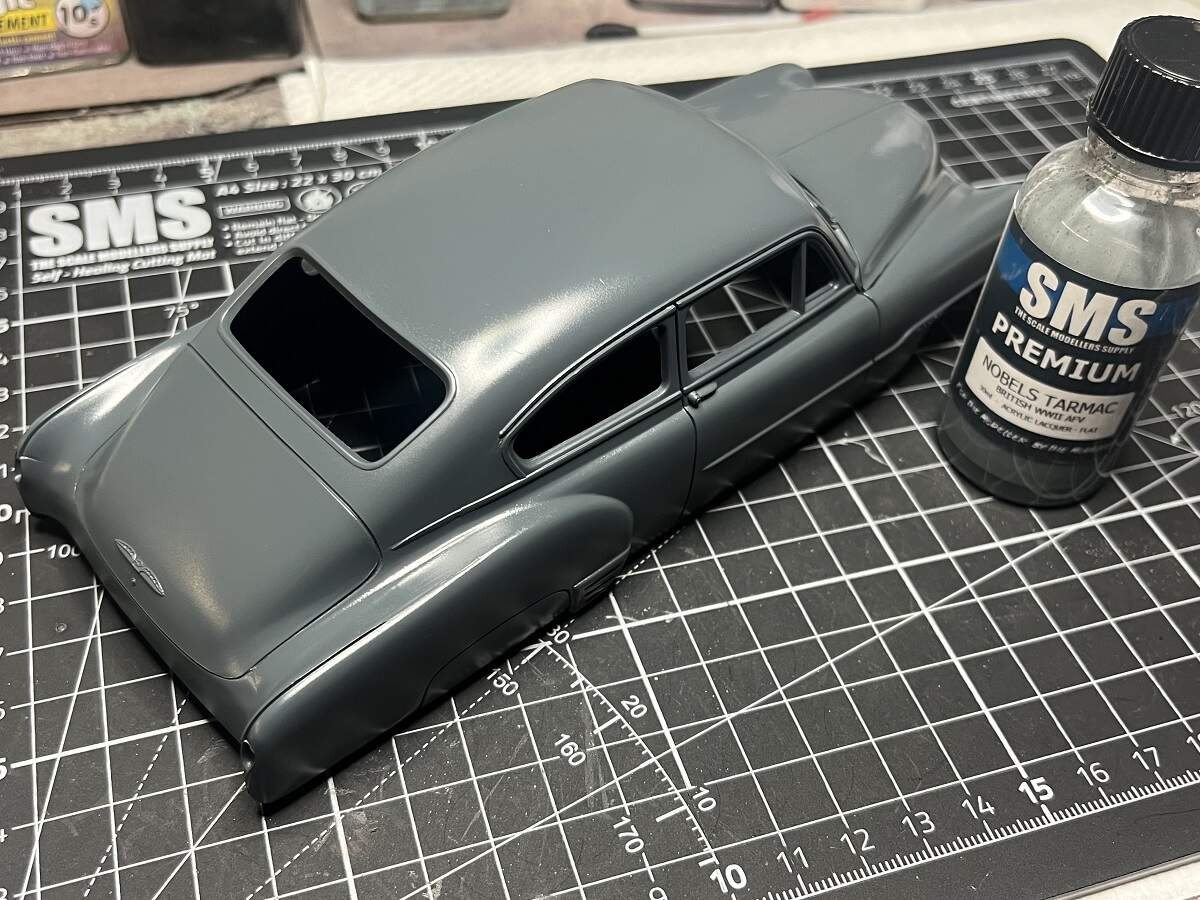
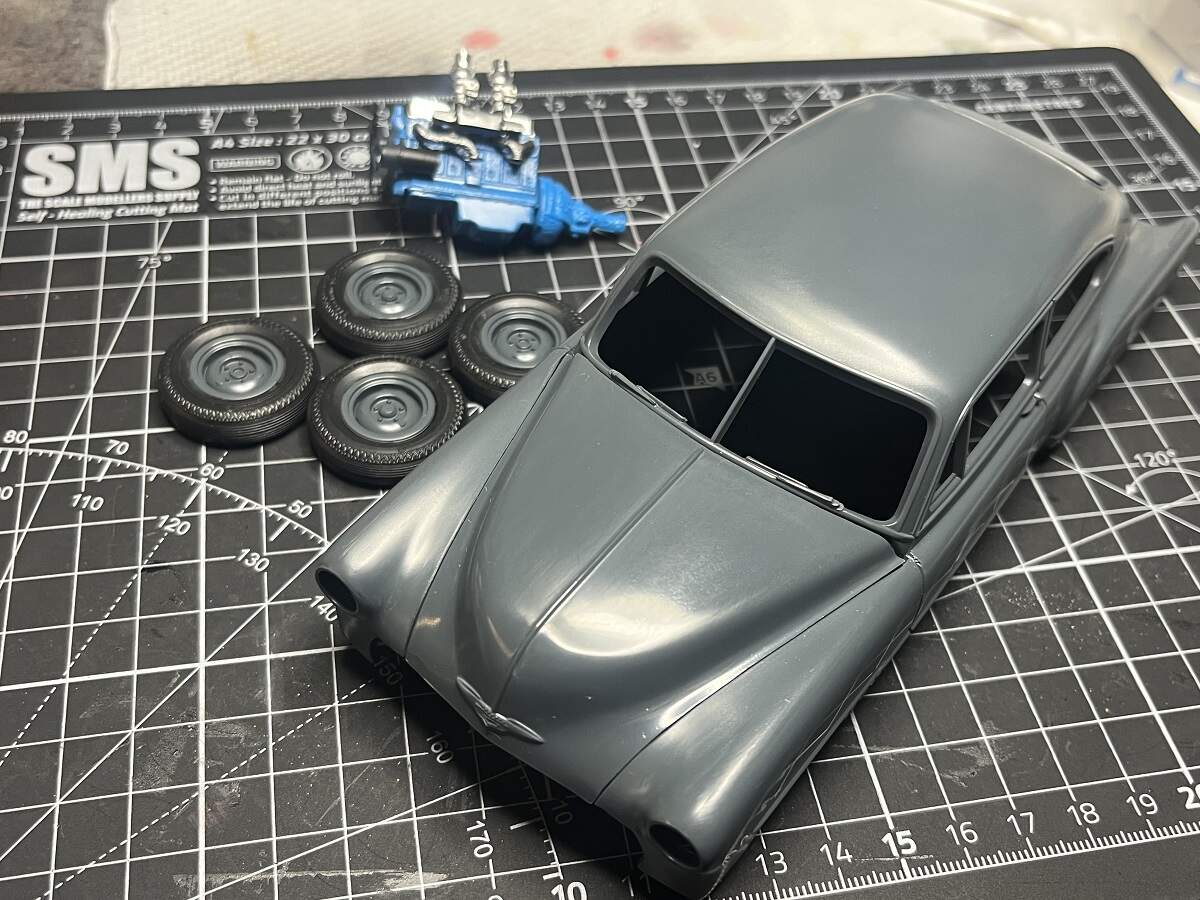
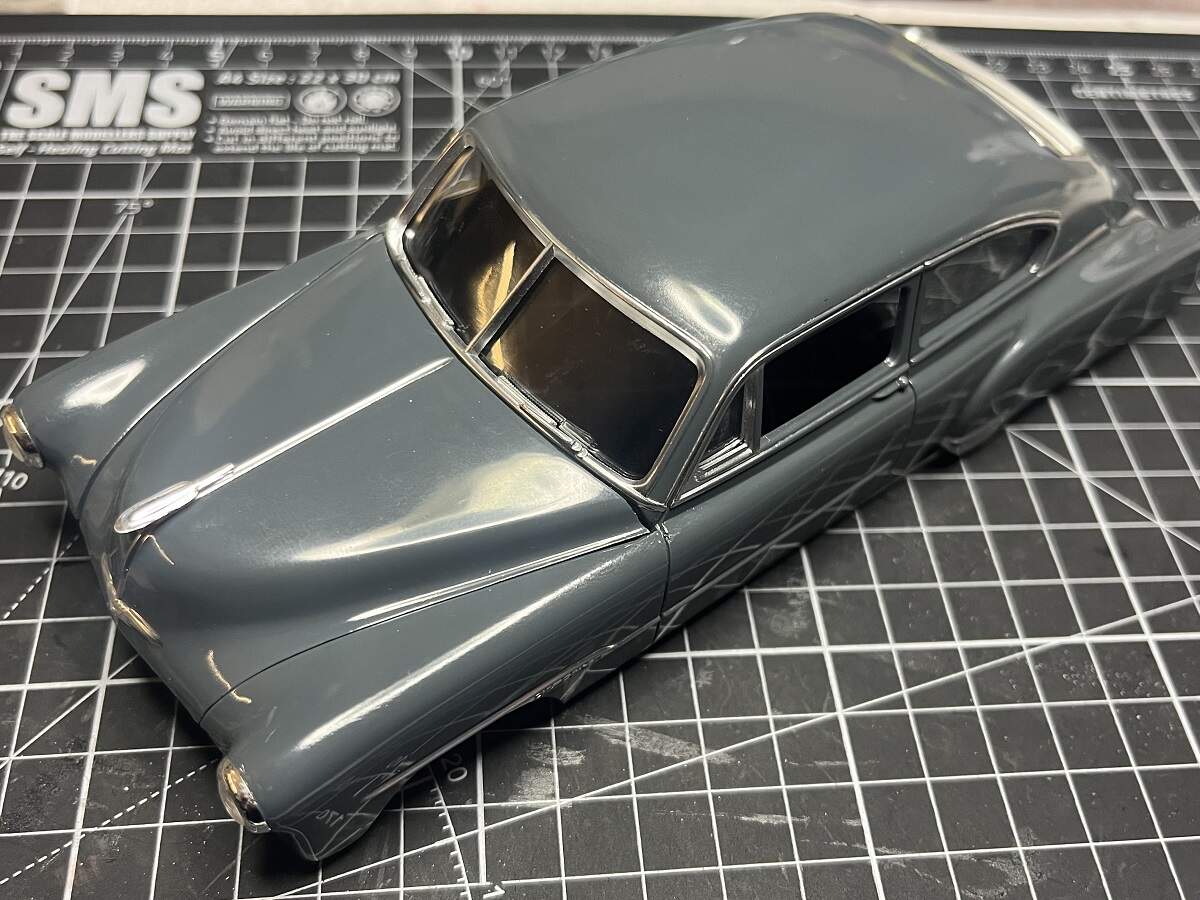
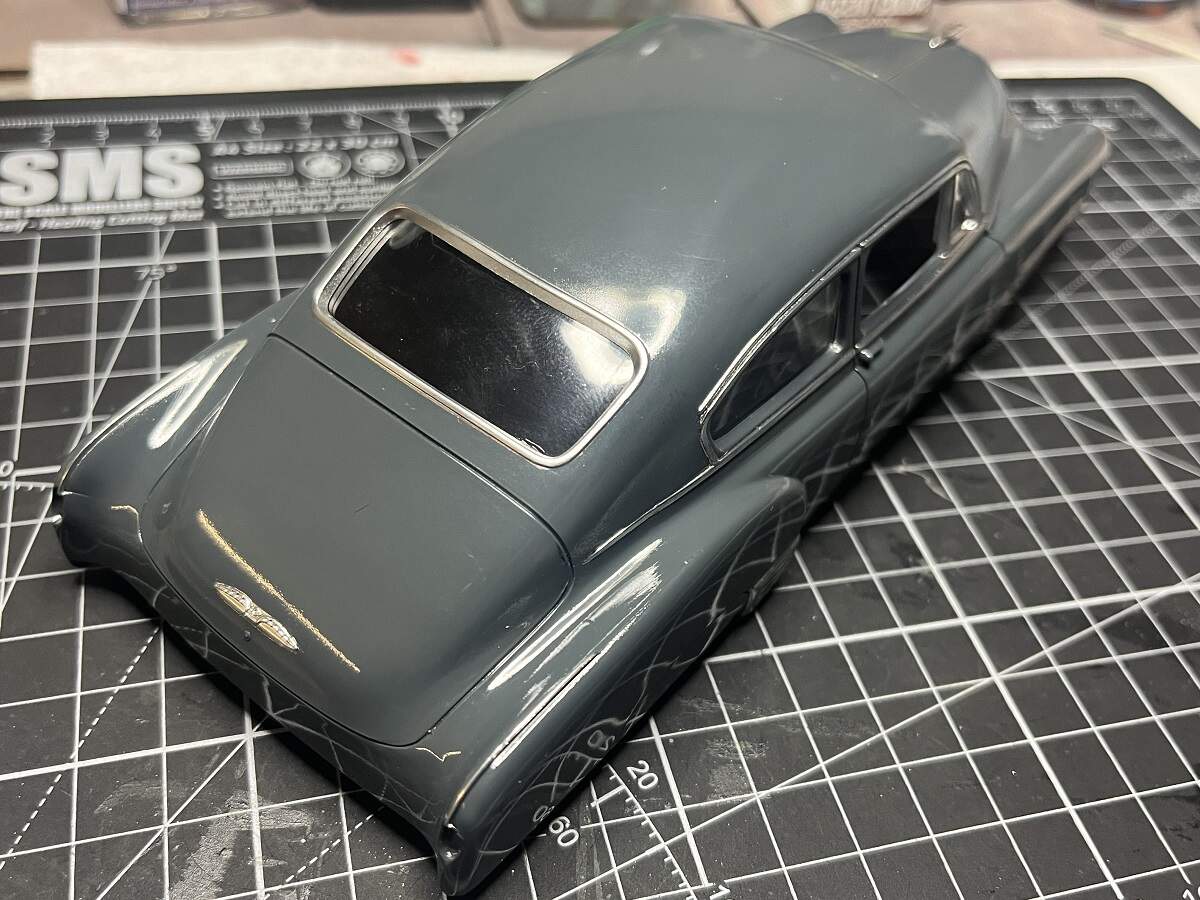
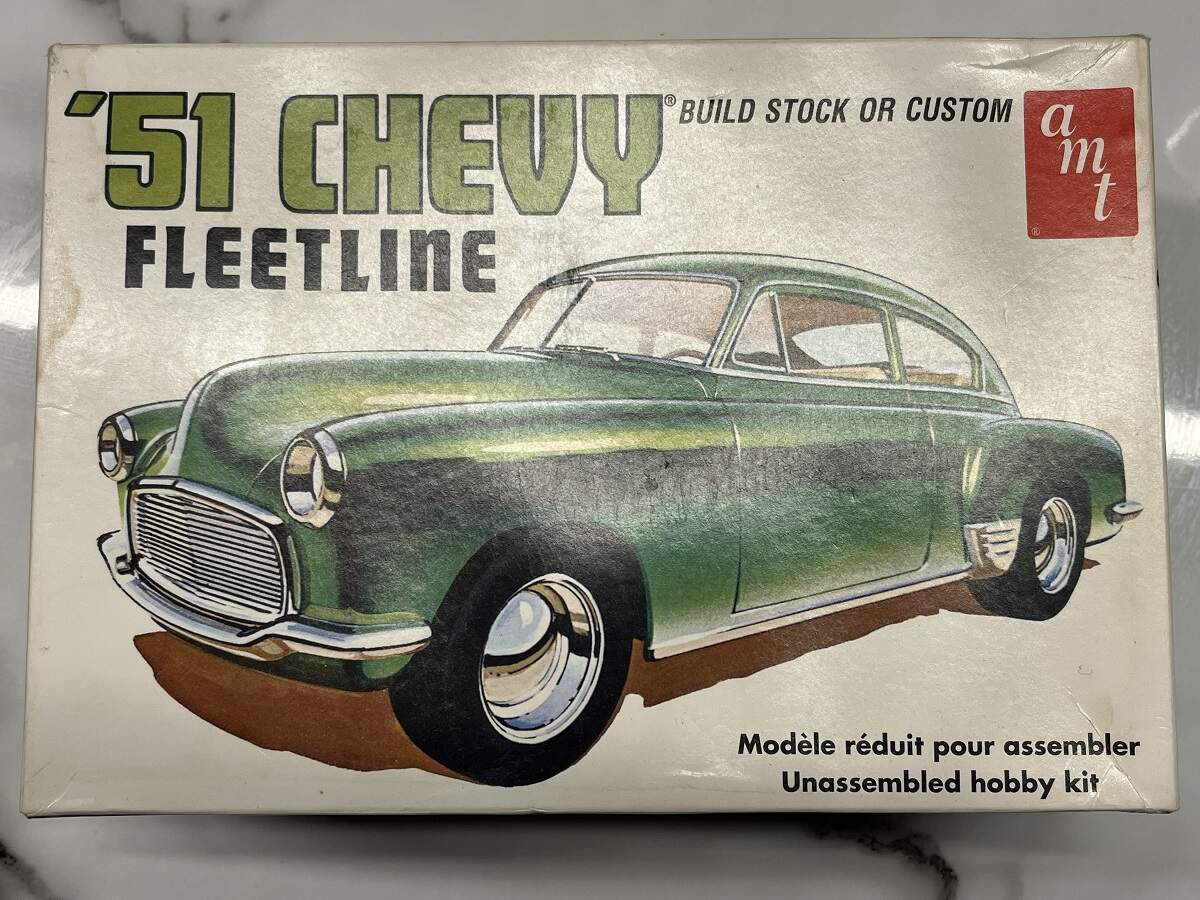
My builds for the previous two SMS-sponsored Group Builds were the '51 Chevy Bel Air Hardtop and Ragtop, so it made sense to complete the trio with the Fleetline for this one.

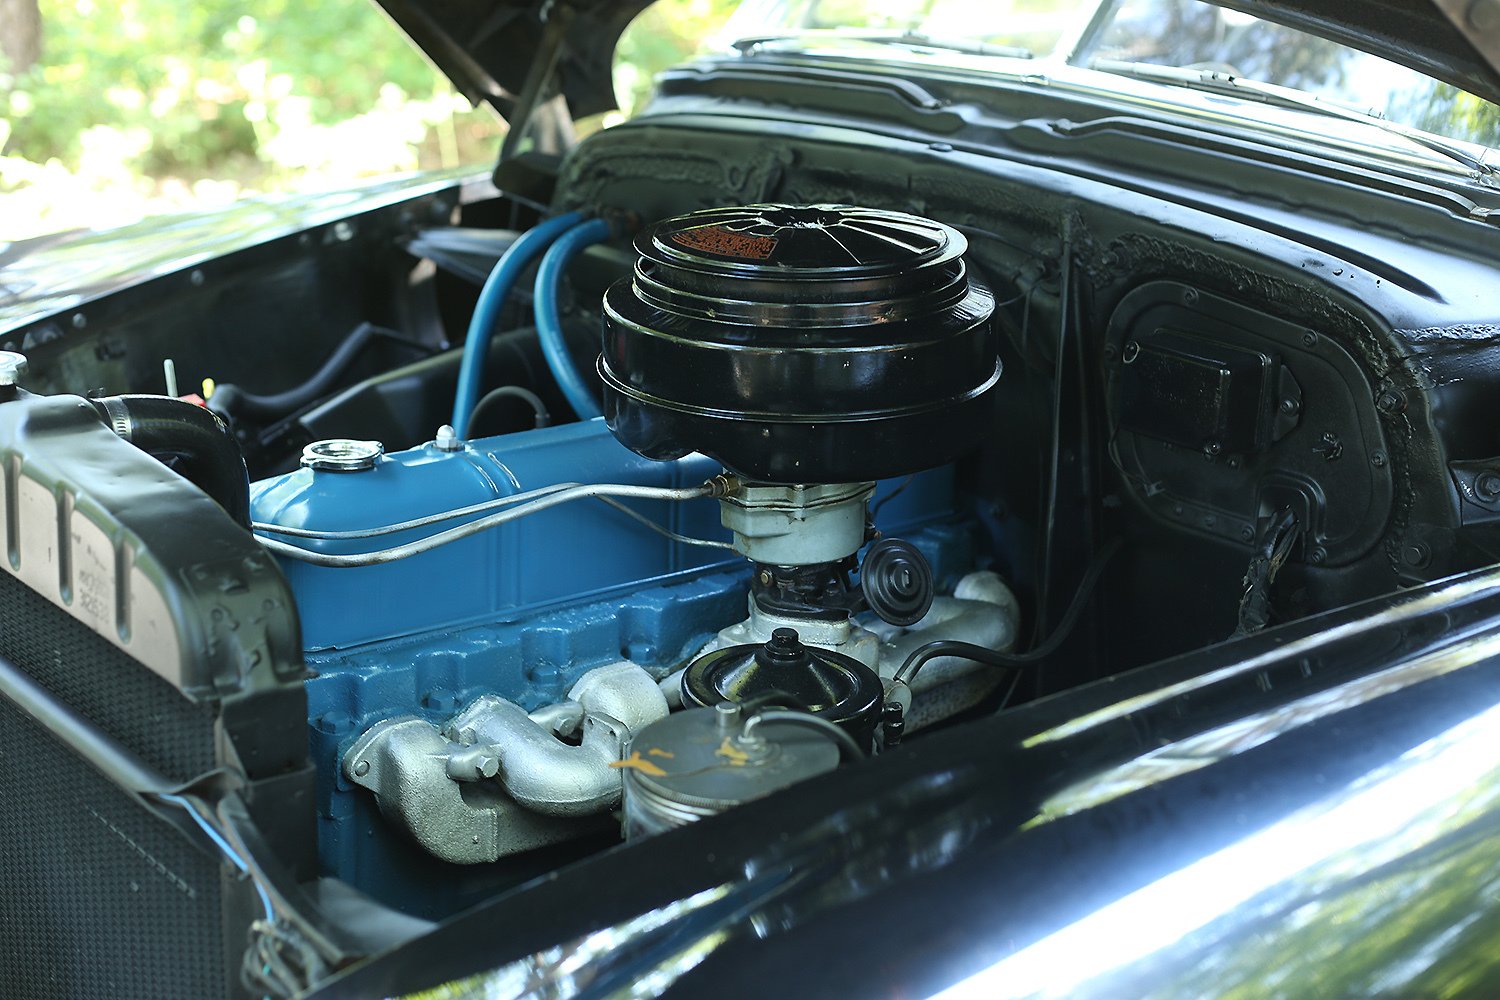
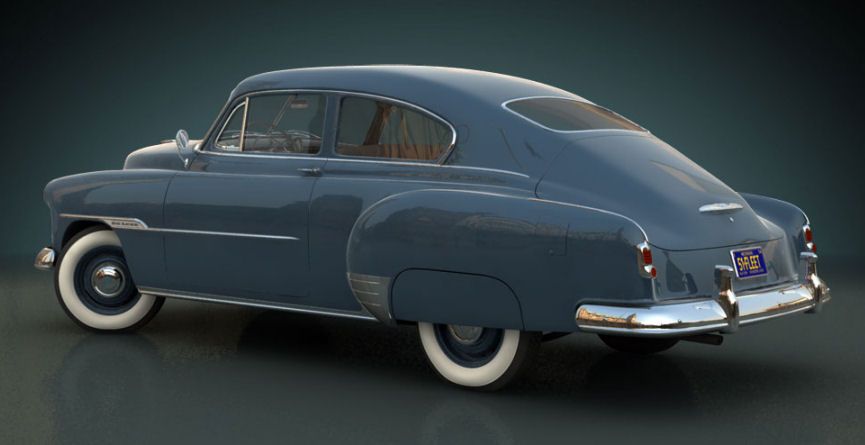
I found a really classy-looking dark Blue-Grey Fleetline for reference.

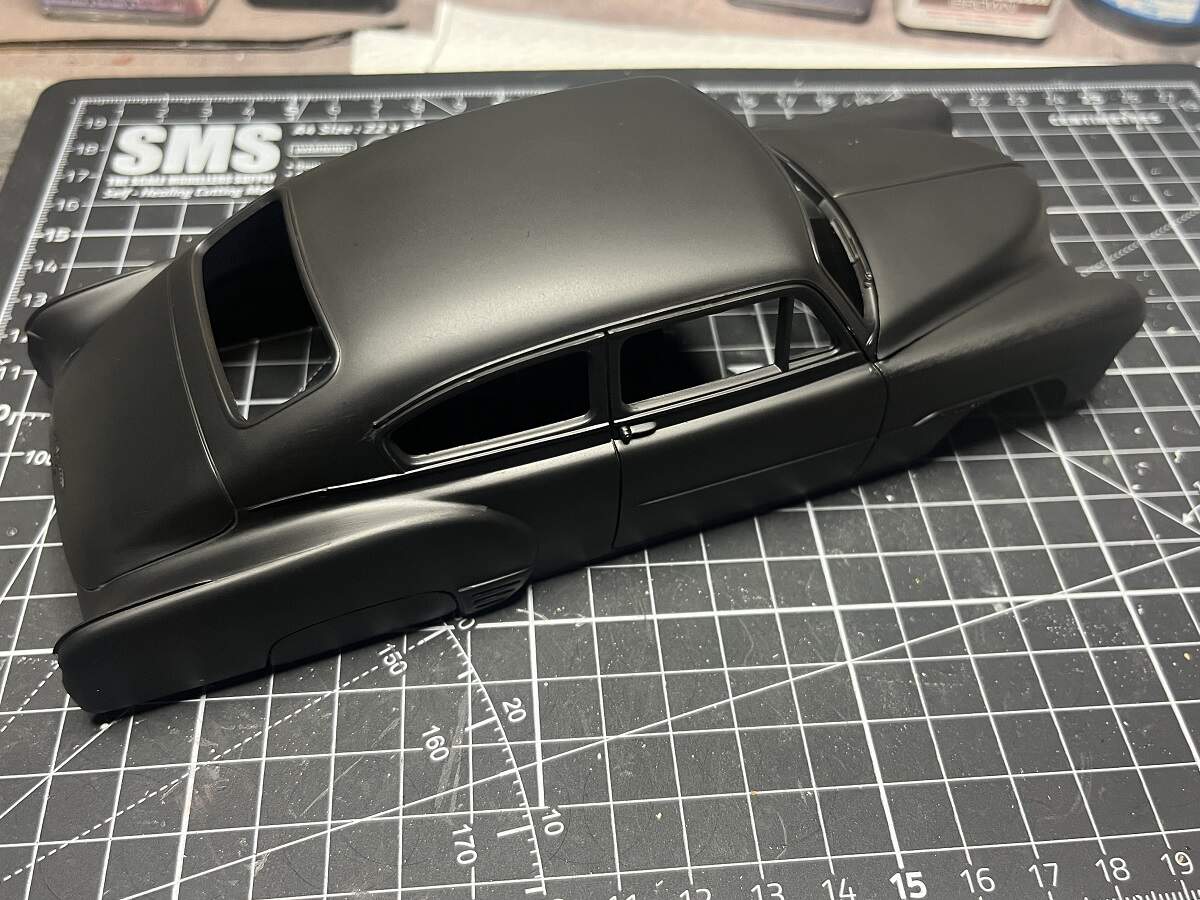
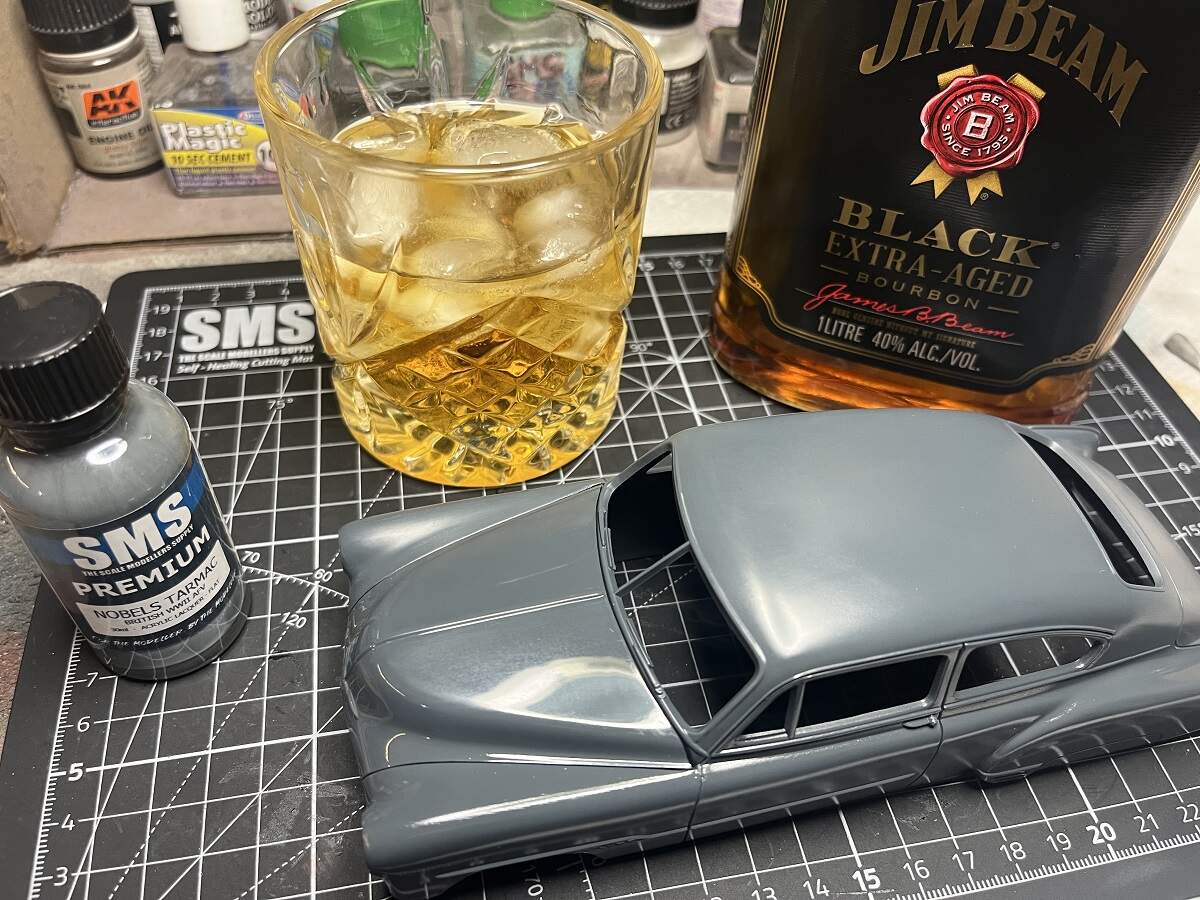
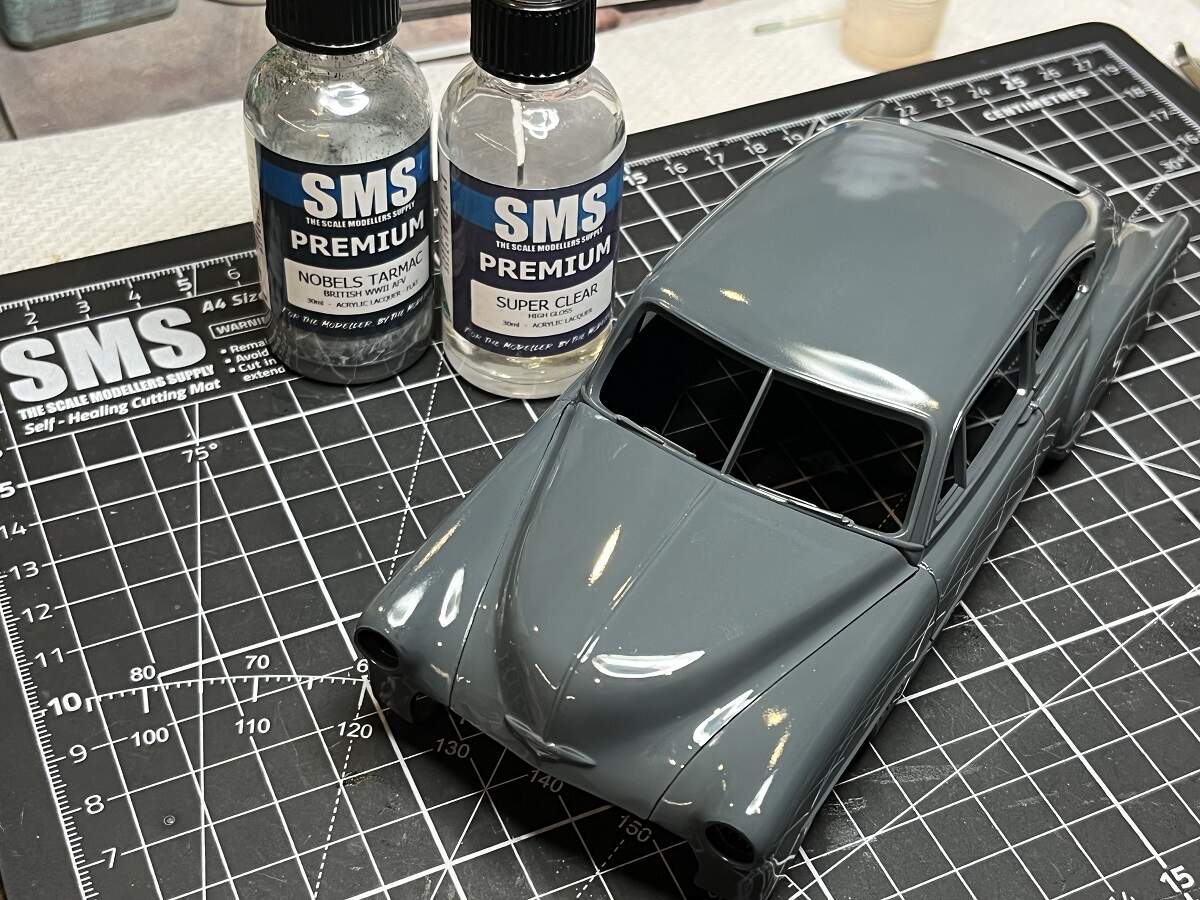
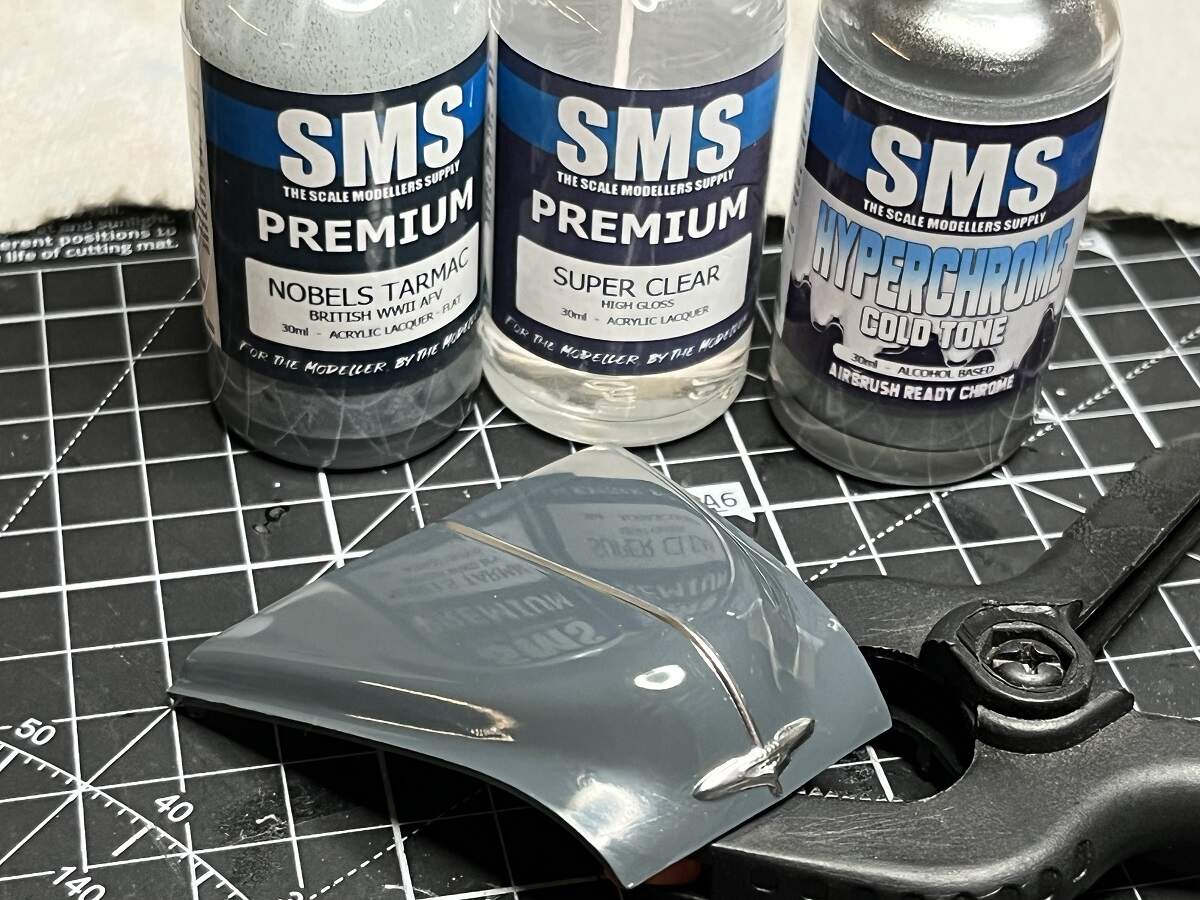
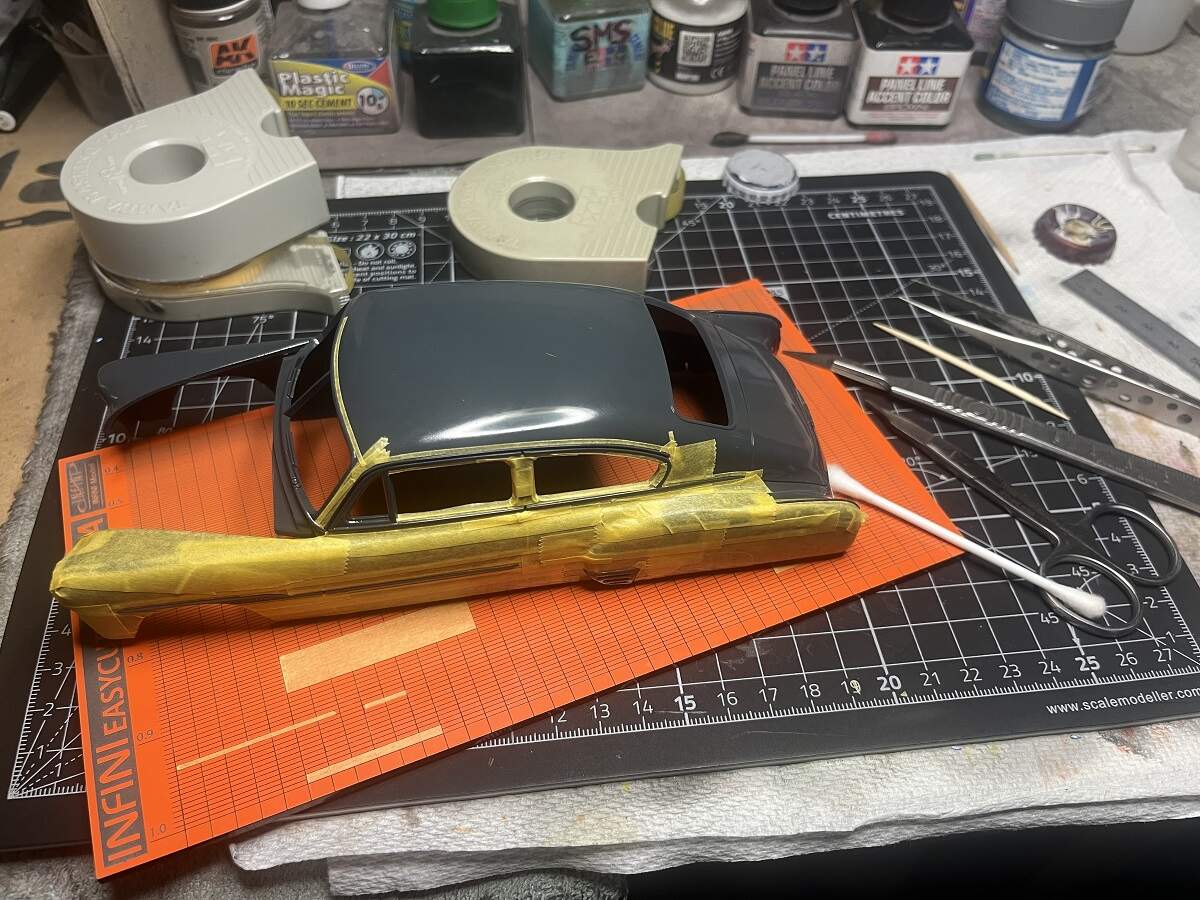
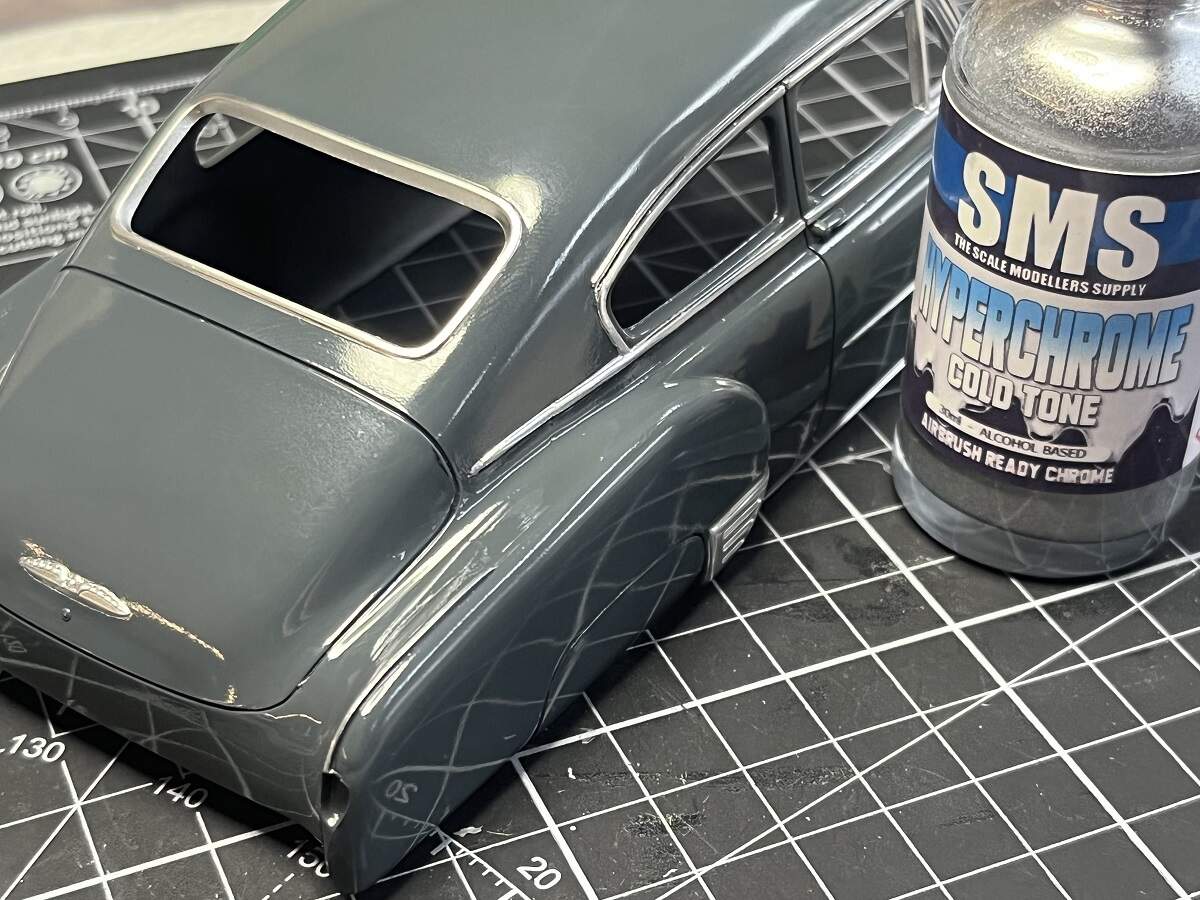
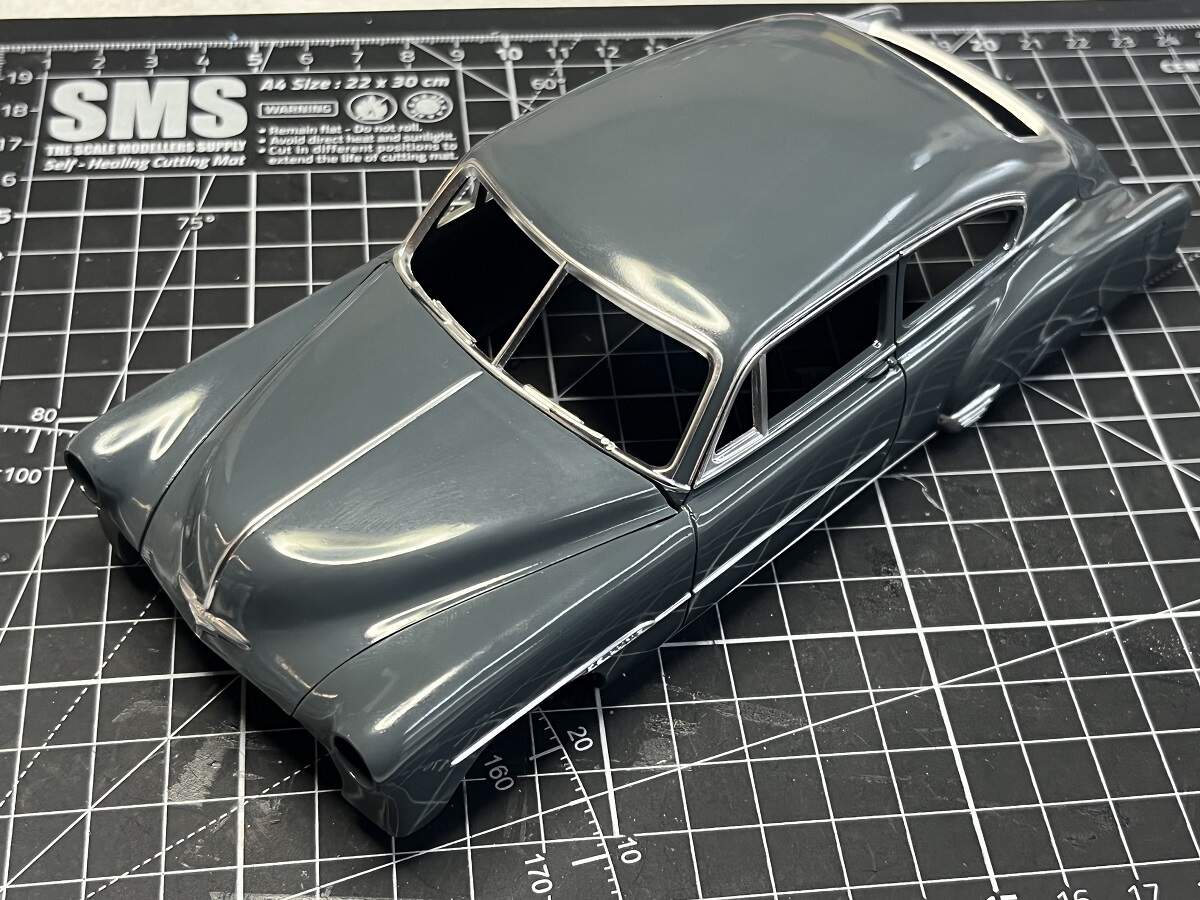
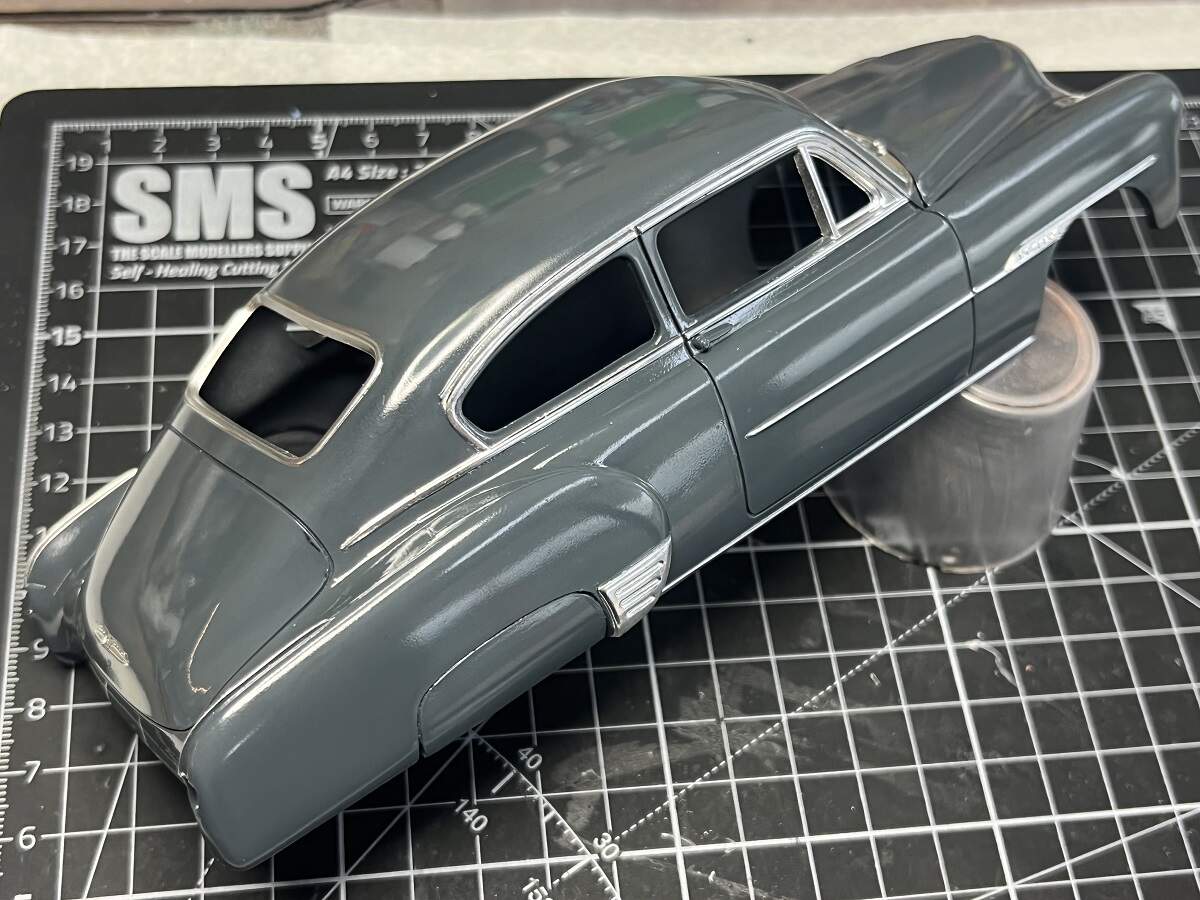
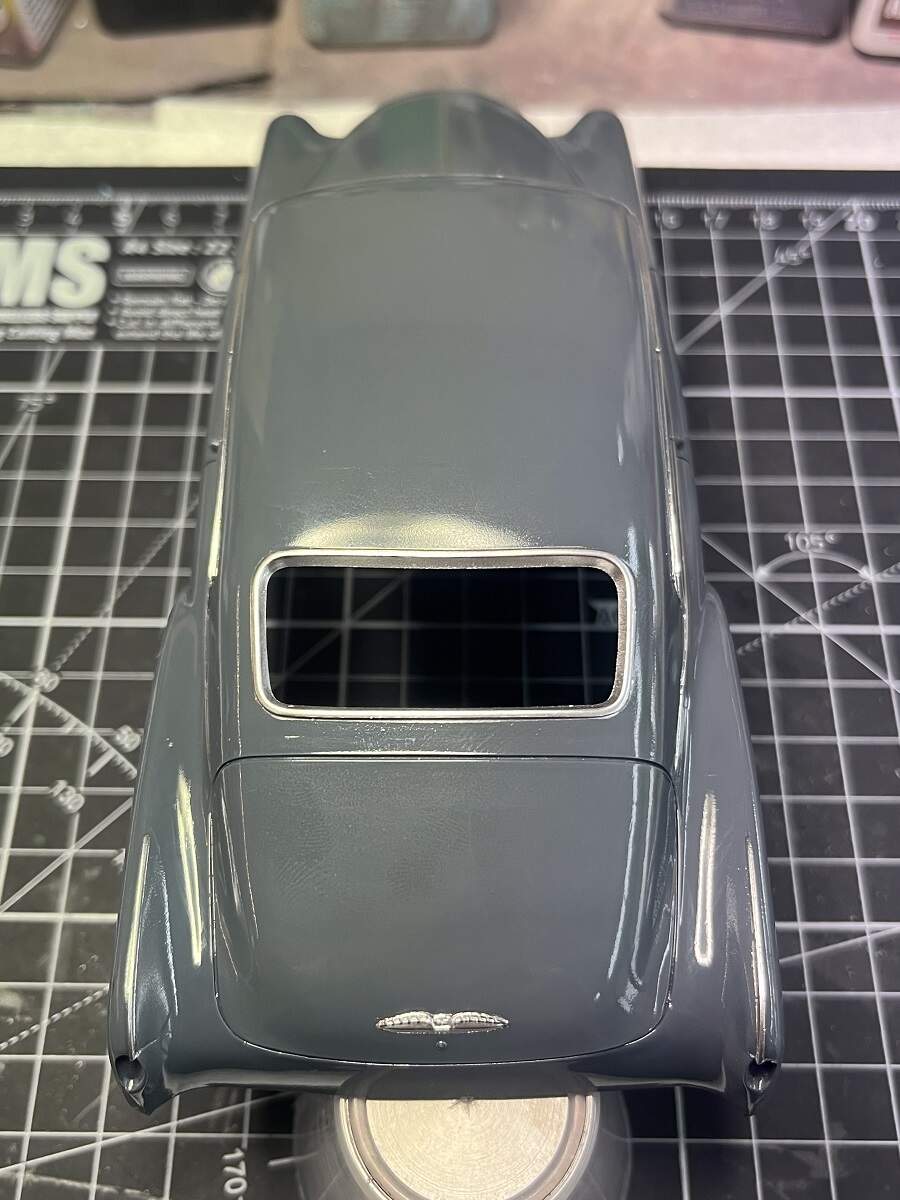
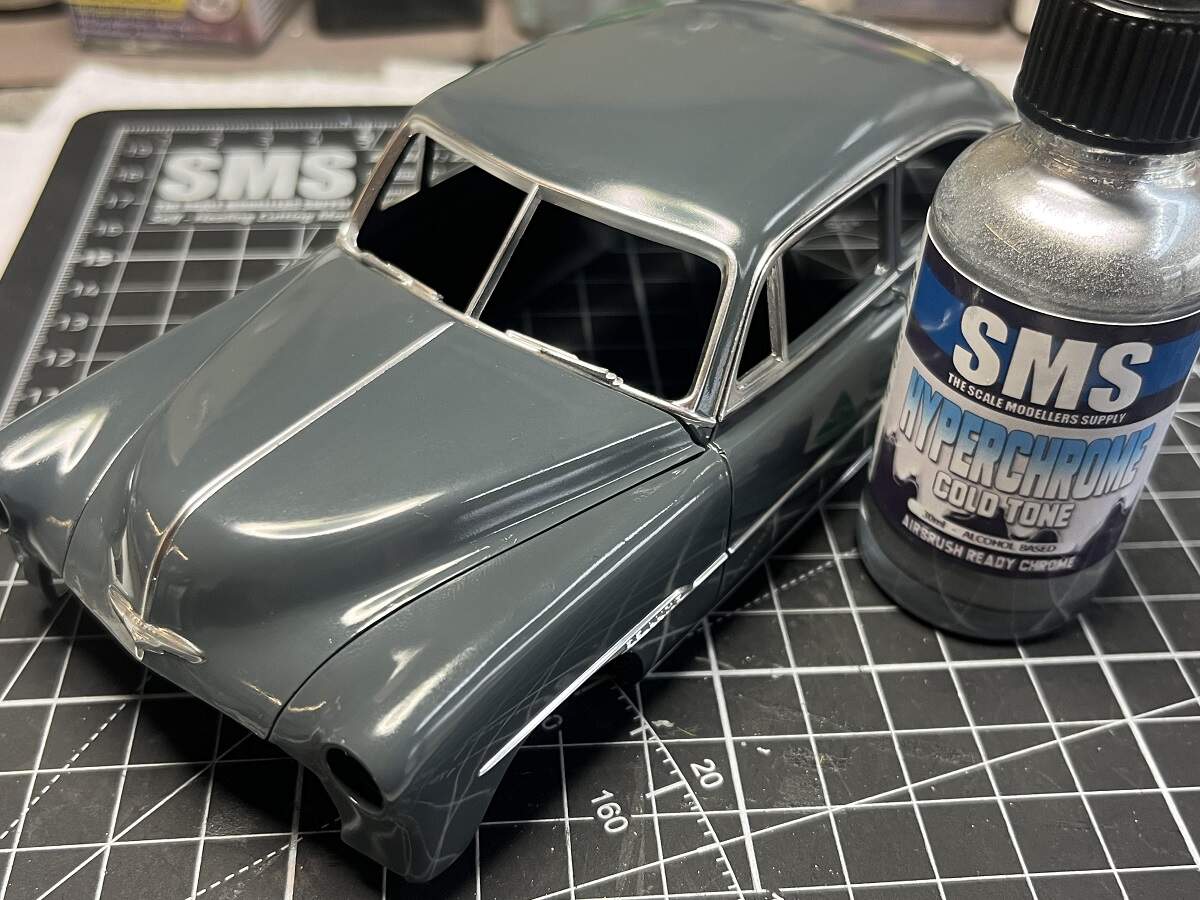
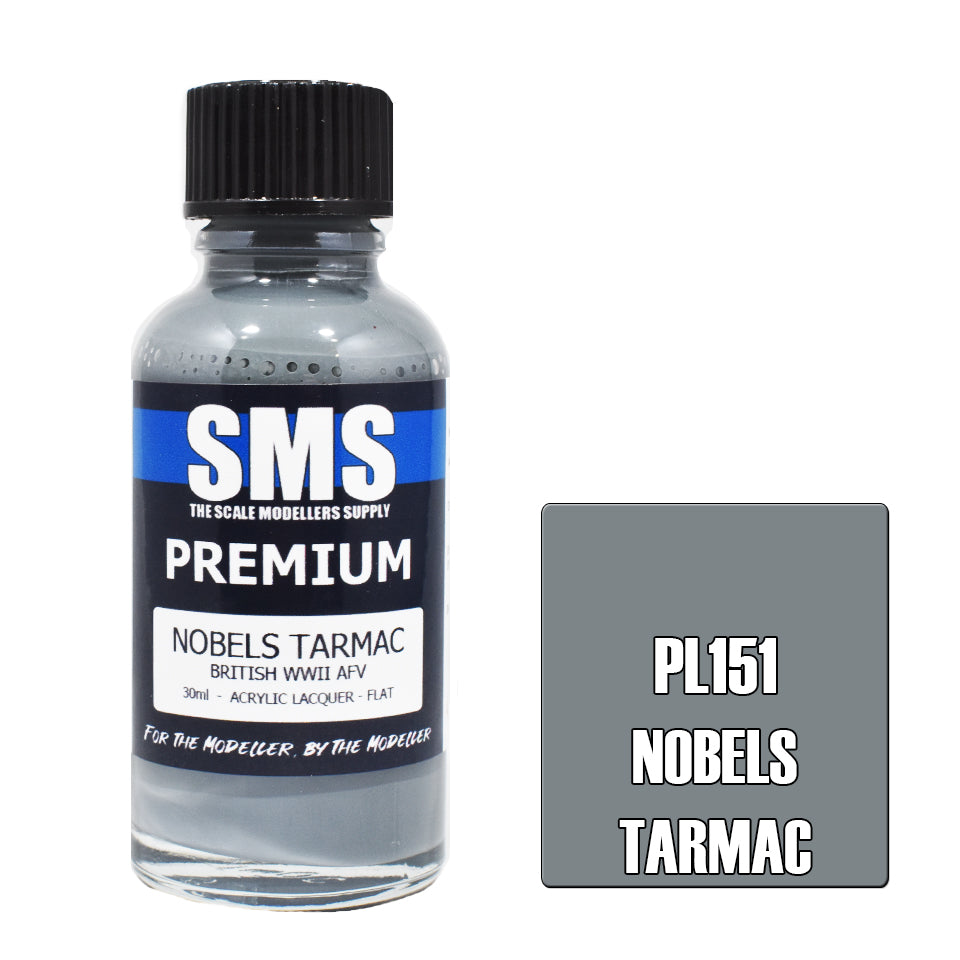
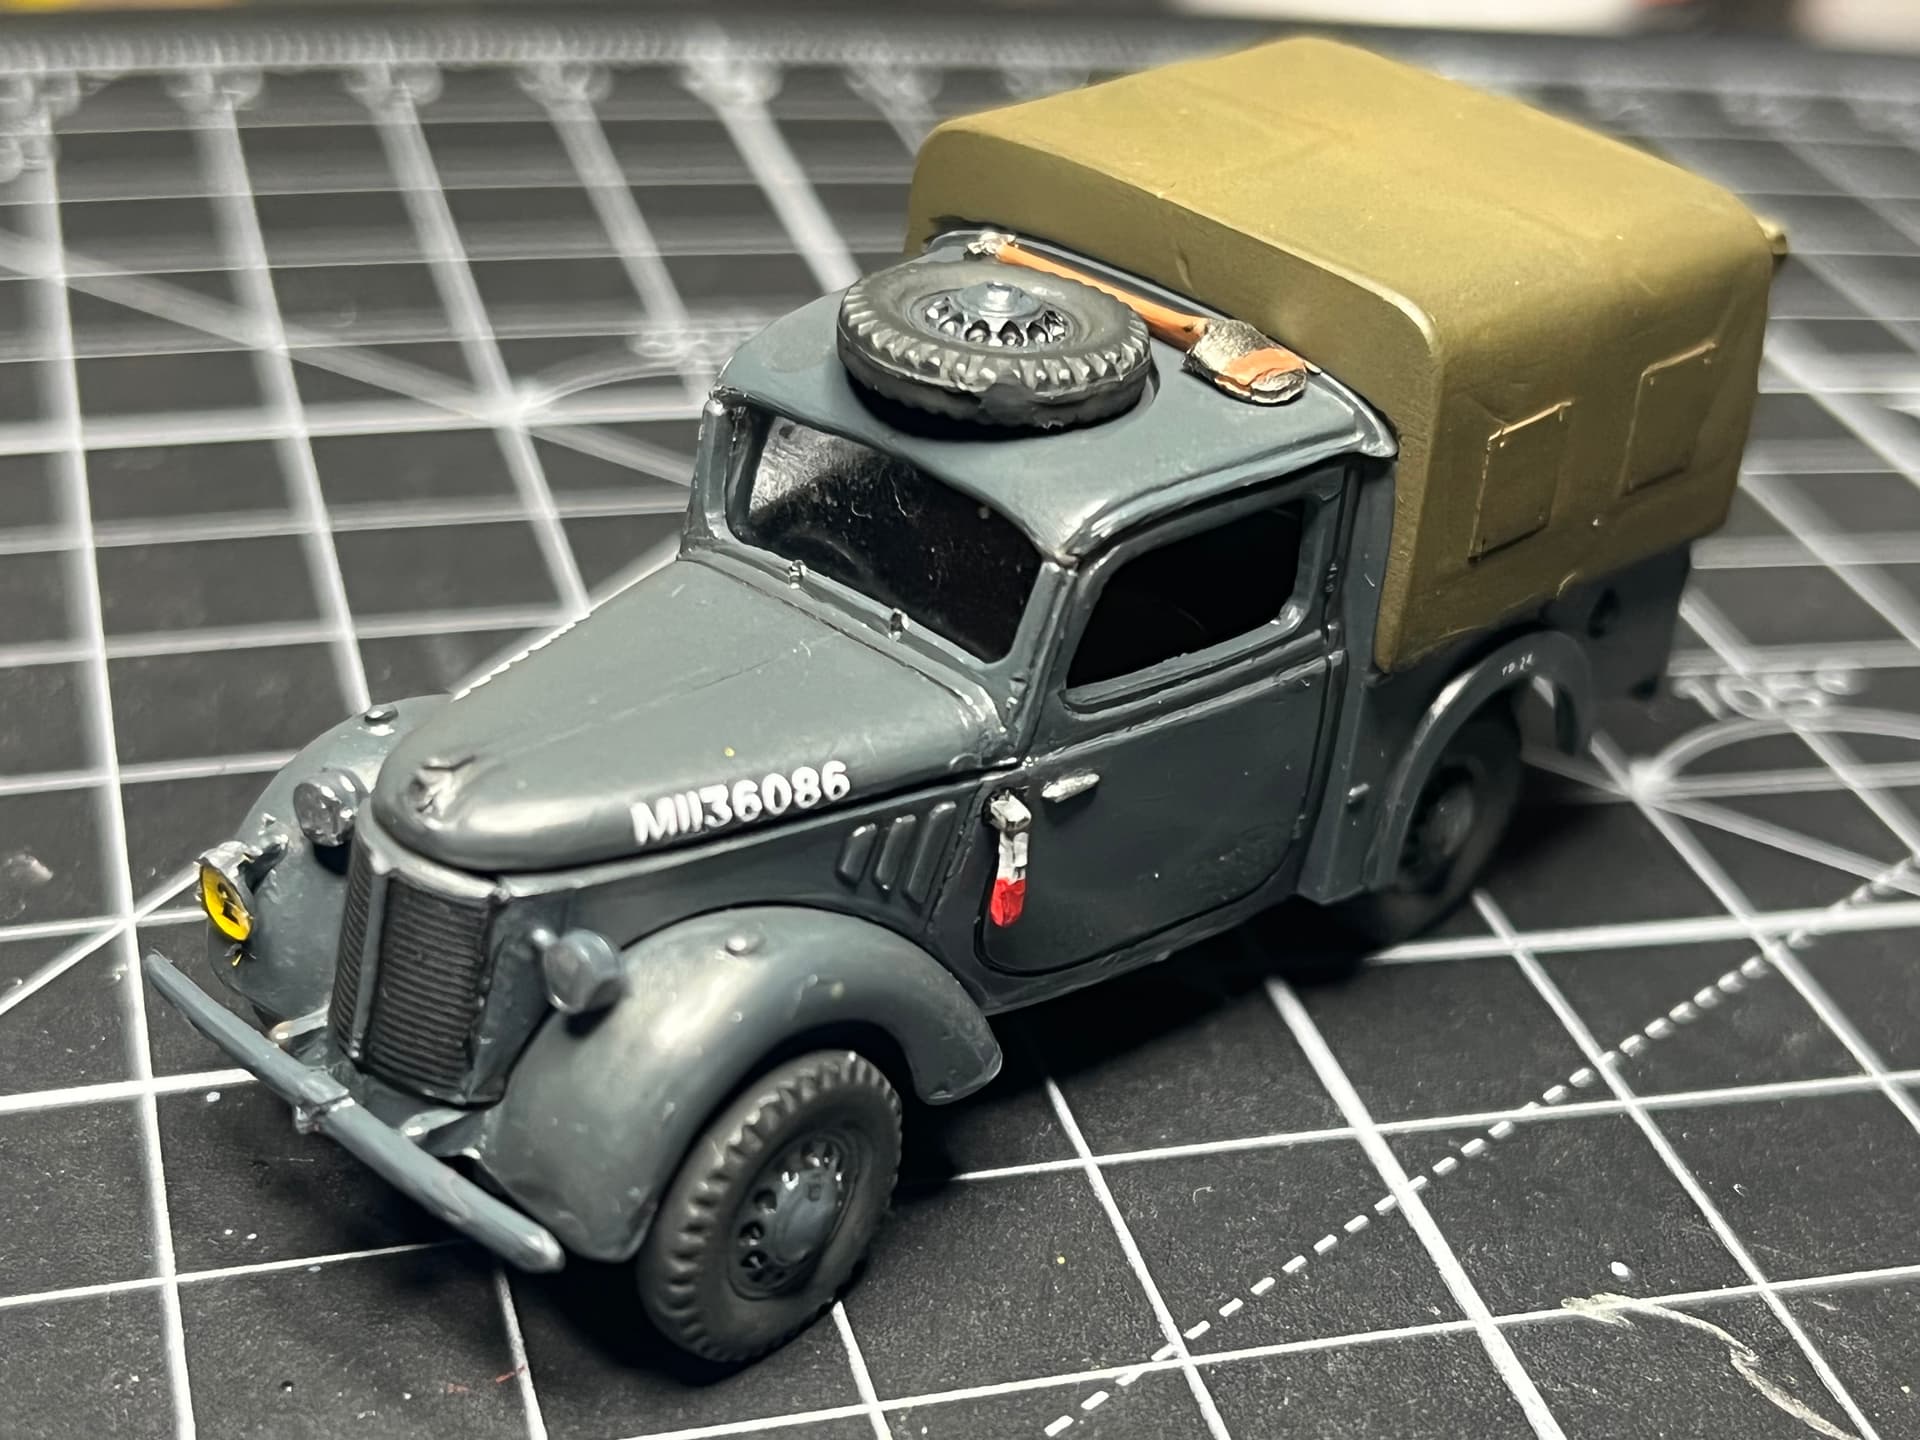
Paint will be SMS (of course) PL151 Nobel’s Tarmac which I have just used on the tractors and Tilly for my Short Stirling project.


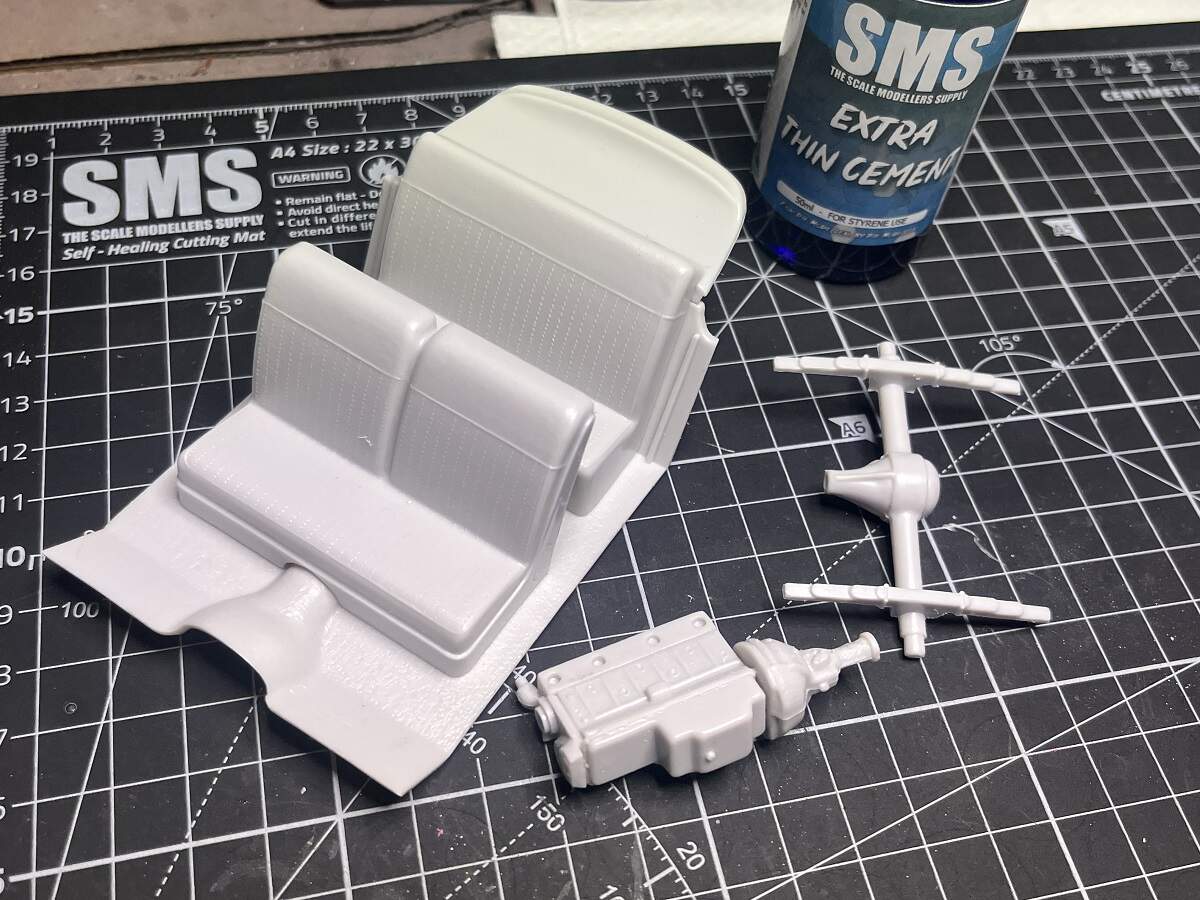
I will be cracking open the box and getting started over the next couple of nights, so stay tuned for progress reports. This Group Build finishes on September 4, so I will need to do some juggling of projects to get it done.

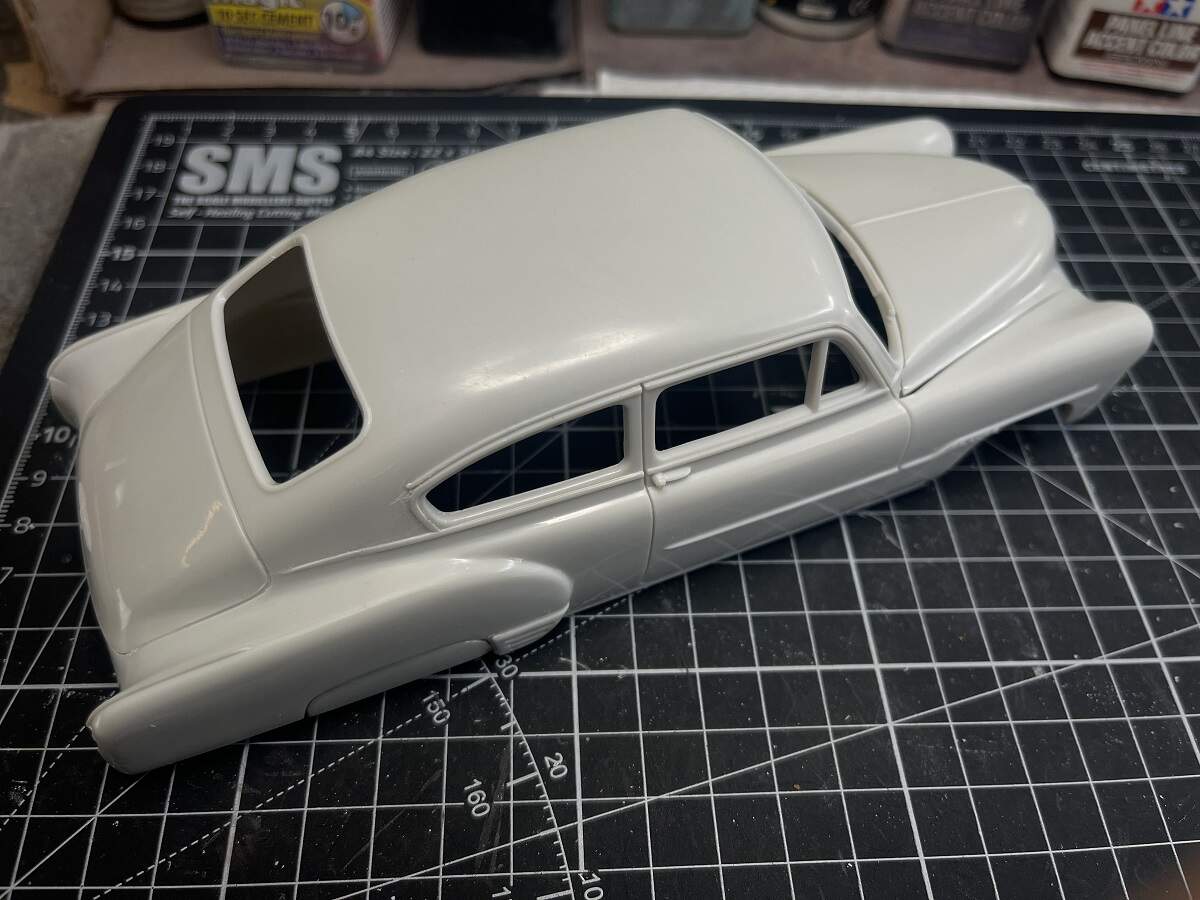
Here is a teaser with the Fleetline body and the other 2 builds.

Cheers, D

6 Likes

That looks to be a sweet looking build. :+1:

1 Like

D,
That’s an interesting subject for sure. Covers almost every type of car. Looking forward to following your Fleetline build. BTW, I was all of 4 years old when the Fleetline was introduced.
joel

1 Like

The body on the Fleetline kit must be much more recent, otherwise AMT did a great job reworking the moulds, because the quality of the finish and the crispness of the details is much better than the other 2 kits.


I got some time over the last few nights to start on the parts clean-up and sub-assemblies.


The rear wheel spat on the LHS fits very nicely.

On the RHS . . . . not so much :pensive:

There is also a step where it seems that the moulds weren’t quite lined up, some serious work required here.

I glued a 1.5mm square rod to the bottom of the RHS spat to give the right depth, then marked it up to line up with the LHS and set to it with the Dremel once it was cured properly.


With the panel work done, I gave it a drop of Sprue Goo to fill the slight join, and when that was cured I sanded it back to line up with the panels.


Prime Time :sunglasses:


Wet Sanding Time :thinking: :pensive:


Another shot of primer over the weekend then ready for a wet polish and the top coat paint job starts! In the meantime, more sub-assembly work.

Cheers, D

4 Likes

D,
Nice job on getting the spat to fit correctly. Looking forward to the 1st color coat.
joel

Amazing progress Damian. You’re a machine once in full model mode. Must be something in the red wine! :rofl:

1 Like

I’ll drink to that! :wine_glass: :wine_glass:

Once I’m on a roll I like to keep the momentum up, and I usually surprise myself with the amount of progress I can make in one session.

Like tonight, I sanded out some more marks, reprimed, polished out and started the top coat. No red wine was taken in this session though :pensive:


Cheers, D

5 Likes

D,
Nice job on the Spat. And a great start to the color coat.
joel

1 Like

Nice. I like that color. It looks like something the USN would have used for their staff cars.

Jim

1 Like

Excellent work, so far D.

When, at first, I read it would be painted grey, I thought “That won’t work” BUT, now, seeing it in grey, my initial thought is put to shame. It looks great on the car :grinning_face_with_smiling_eyes:

1 Like

Thanks for the feedback guys, much appreciated and I’m glad you’re enjoying this build.

Some paintwork on the engine components, then it was assembled along with the wheels. No Whitewalls here, just body colour and chrome caps.


Body fine wet sanded ready for clear gloss.

More shades of Grey for the interior.

Cheers, D

6 Likes

D,
Excellent progress for sure. One question on the Baby Blue engine Block as I thought that Chevy’s were that classic Orange from the mid 50s on. Google came up with a Dark Gray for the 1951 Fleetline engine color, which was the basic color of all Chevy engines till the switch to Orange.

Excellent call on no white walls as they really 1st became standard in 1954. We had a 54 Ford, but no white walls. Didn’t matter much to me, I just loved to seat behind the wheel of the parked car and pretend to be driving. To bad i couldn’t reach the pedals, so I guess I was just practicing power shifting even back then.
joel

Thanks Joel!

I searched “51 Chevy Engine” images on Google and came up with a mix of Grey and Bright Blue straight six engines, along with the usual bright orange on the drop-in V8 modified units. Since everything else on this one will be Grey, I opted for a little splash of colour with the blue that won’t be seen until you pop the hood!

This one is from Hemmings or Barrett Jackson auction house if I recall correctly, saved in my reference file for the '51 series.

Cheers, D

1 Like

D,
Excellent reference picture. I do recall reading that Chevy did use the Blue for the 235 ci straight 6 cyl engines. I just assumed that you’re using a V8 in the Fleetline. So you’re right in the color, and I was completely off base as usual.

joel

Hi team.

Spare time has been scarce of late, so I have used it at the bench rather than at the computer.

Progress on the '51 Fleetline for the “50 Shades of Grey” Group Build has been good.

First up, some modeling fluid to add to the ambience . . . .

Detailing and test fitting the interior assembly.


After lightly tacking the side walls in place I test fitted to the body and found my first fit issue with this build. There is a guide on the rear wall of the floor part to align the side walls (yellow arrow in the image below), but it makes the assembly too wide and it won’t fit up into the body. The top of the interior tub side walls fouls on the lower window ledge towards the rear.

I removed the side walls and carved off the alignment tab on each side, then refitted the side walls about 2mm further in, and we are in business now! Wheels and exhaust are fitted off, so the rolling chassis is virtually complete. Just the steering column/wheel to be added. I’m not going to bother with a wash or further detail on the interior, it’s too dark to really see anything in there.


On to the body next. I gave the base colour a fine wet sand and then SMS Super Clear Gloss (a light tack coat, 2 wet coats and a final almost-wet shot of neat MLT). After a couple of days to cure I wet polished it out with 8000 and 12000 grit sanding sponges.

Time to mask up and test out the new SMS Hyperchrome lacquer paint, so I used the bonnet for proof of concept rather than straight on to the body first. Just a couple of light mist coats of the Hyperchrome was all that was needed, really happy with the result.

So, the major masking job begins . . . . . .
I cut 1mm strips of Tamiya tape using the Infini cutting mat, and used these strips to edge the body trim, then filled in the broad areas with wider strips.


A couple of close inspections to make sure there are no gaps, and on with the BLING !!!


Apologies for the stack of images, but I’m powering through this build and really happy with the results so far.

Final shot, let’s call it Aftermath

Cheers, D

9 Likes

BLING !!! … Wow! You can say that again! Looks fantastic! :star_struck:
And who doesn’t love a nice tape ball. :smiley:

—mike

Fantastic paint and masking work, D! :+1:
And yes, I also know such a pile of masking paper, which has been applied over a couple of days and demask within 30 minutes … :joy:

D,
Nice job on getting the interior to fit correctly. It’s always the end results that count.

Super impressive gloss finish. You really need to put a disclaimer in so we have our sunglasses at the ready.

And your chrome painting came out PERFECT!!! I’m looking at going that way and having balls of masking tape to play with afterwards, as both sheets of BMF has lack of sticking issues. A google search turned up that it’s more of an issue then I thought it was. So going with your method makes good sense to me. I’ll try the BMF when needed but knowing that there’s options makes the job all that much easier.

joel

1 Like

Progress on the ‘51. I used the SMS Ceramic Scraper to remove the chrome from the steering wheel and hand-brushed it with Vallejo Saddle Brown. The interior is done now with the steering column and wheel in place.

AMT really fixed a lot of issues with the Fleetline release vs the Bel Air and Convertible kits. The clear parts fit perfectly and have no distortion.


Almost ready to join the body and rolling chassis. There is a slight twist in the front end which lifts the front LH wheel a couple of mm off the deck, I’m hoping that can be straightened out when the body goes on.

Cheers, D

8 Likes

D,
The finished interior really came out looking darn good. And nice job on that steering wheel.

joel